Frolicking Again

The newest clue (#4) came out on Friday. I got up early that day so I could get 1,000 things done before I had to leave the house, so I downloaded it almost as soon as I got up.

My head started to swim when I started to read the clue. It is not written in a well organized manner for my brain. It is written in a friendly and conversational manner. When I went back, more fully caffeinated, I was better able to process what she wanted readers to do.

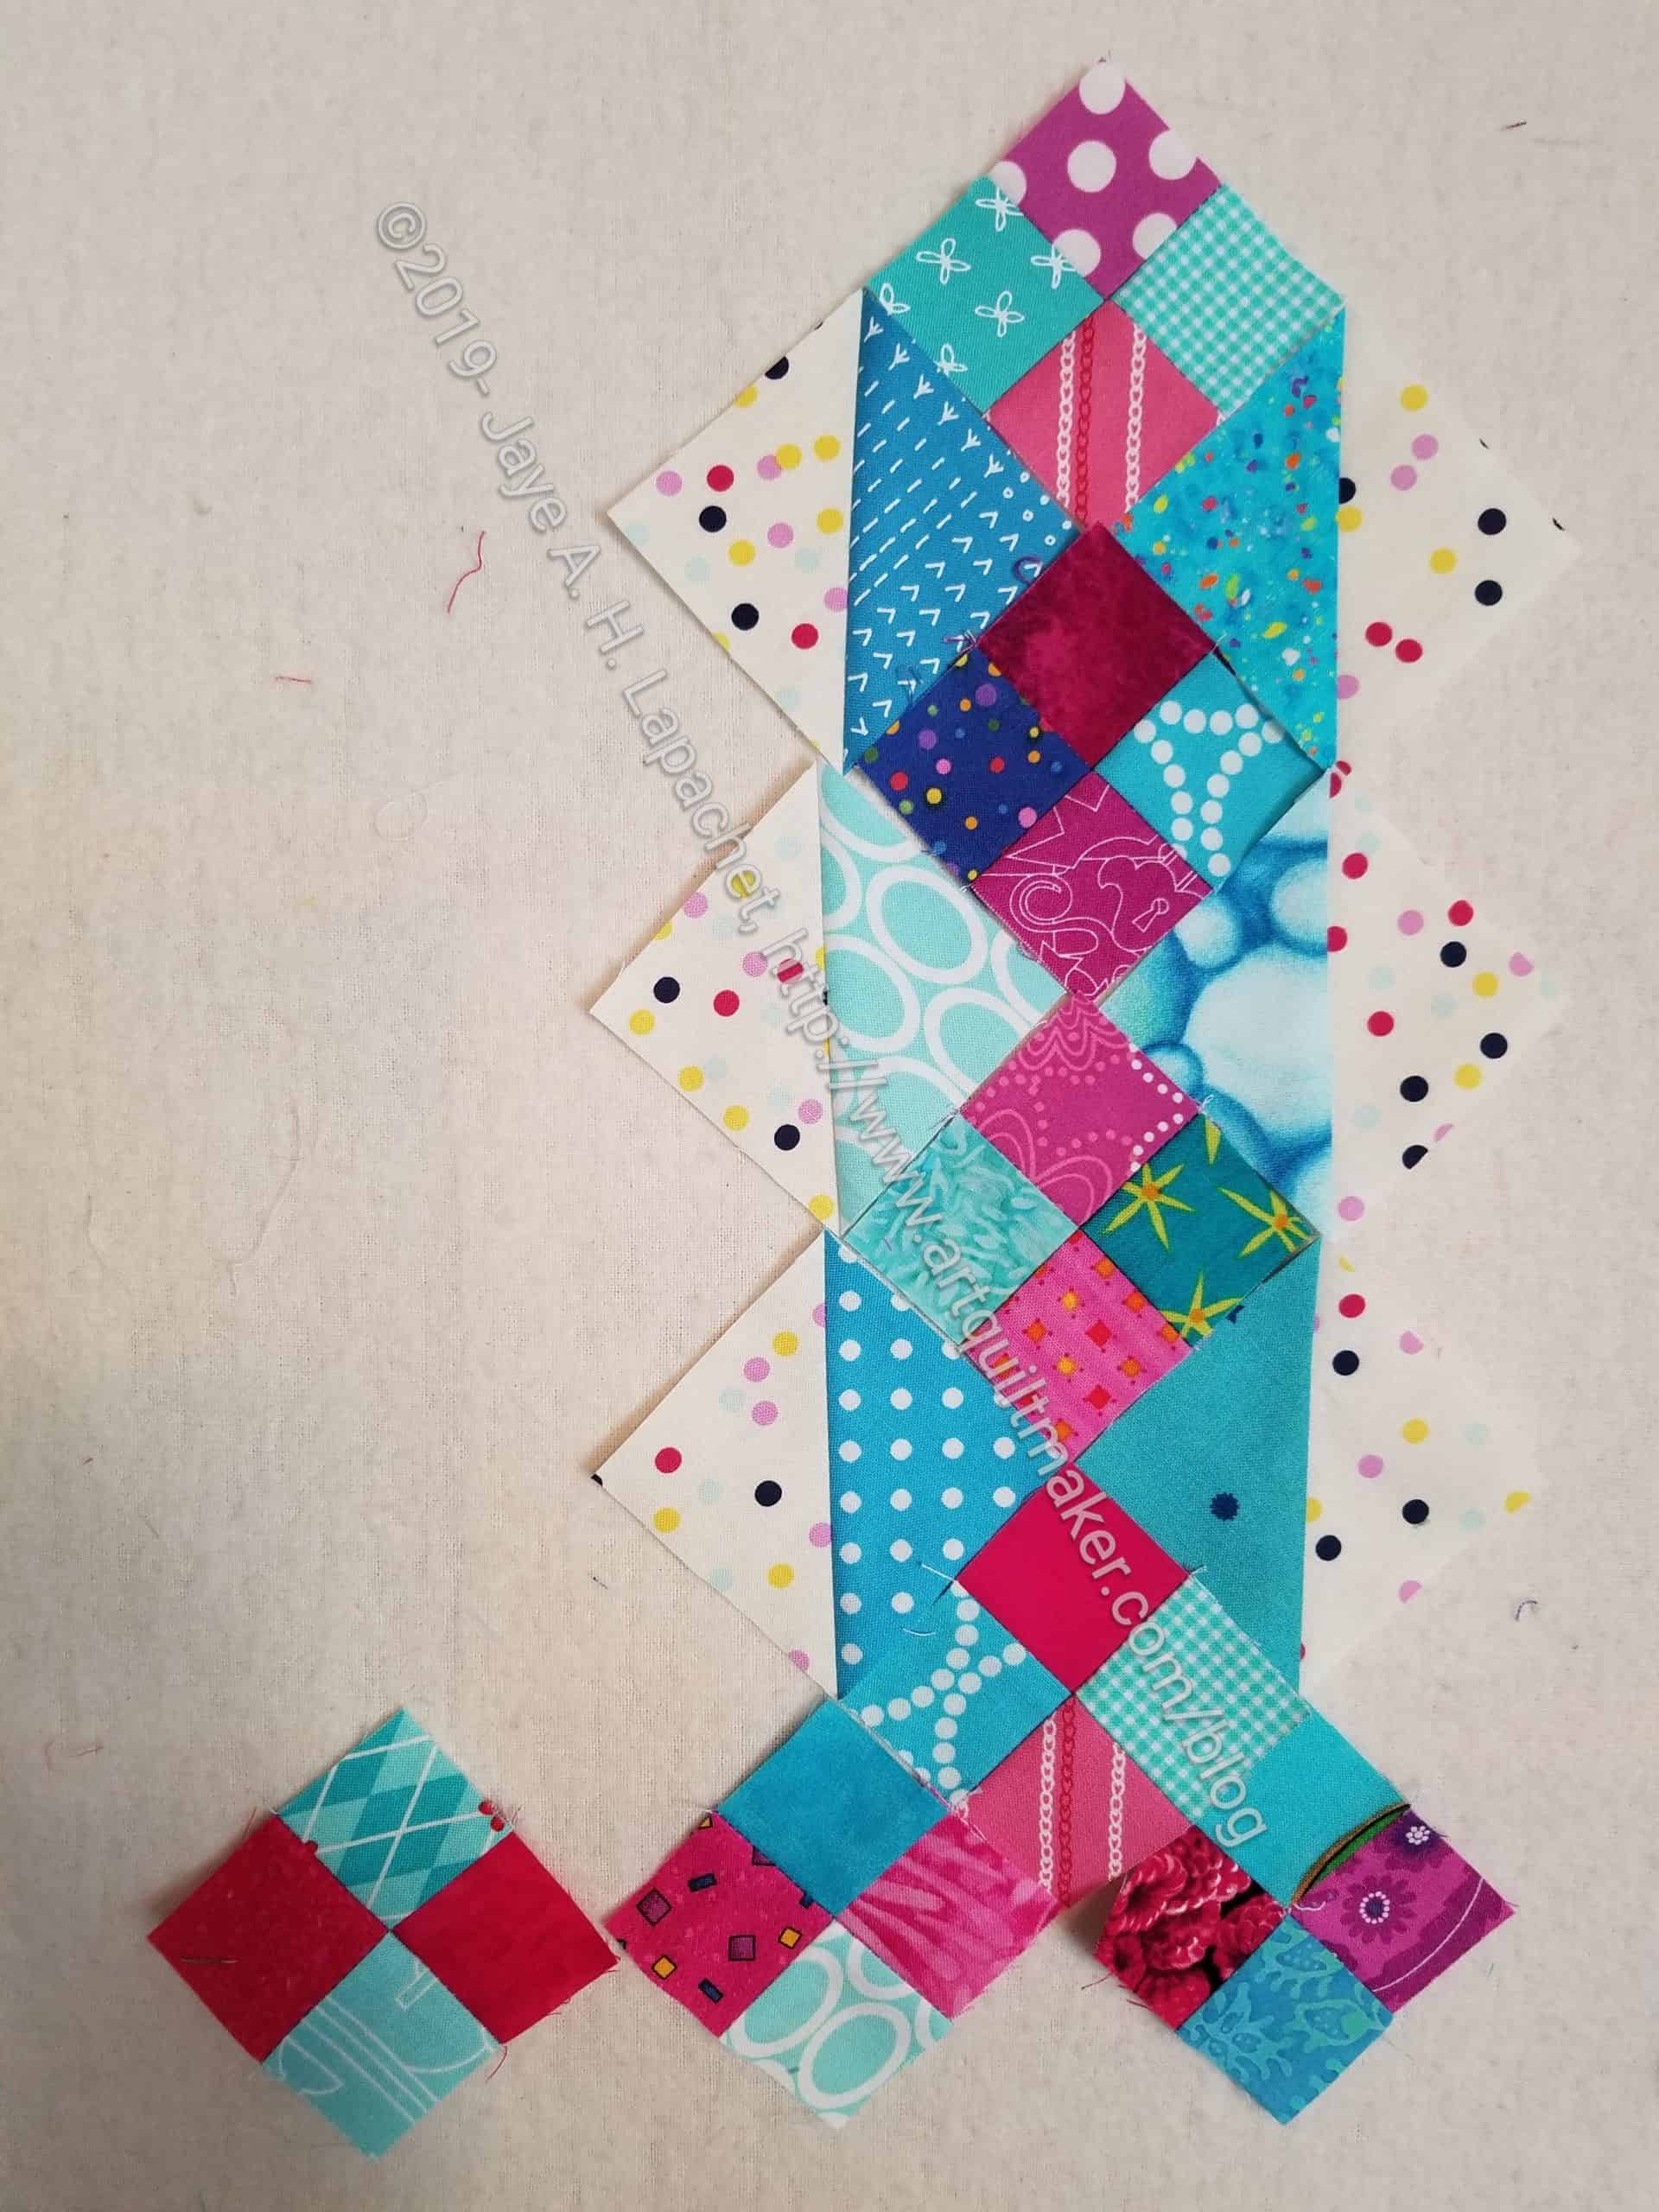
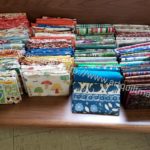
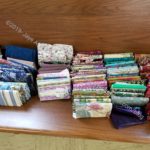
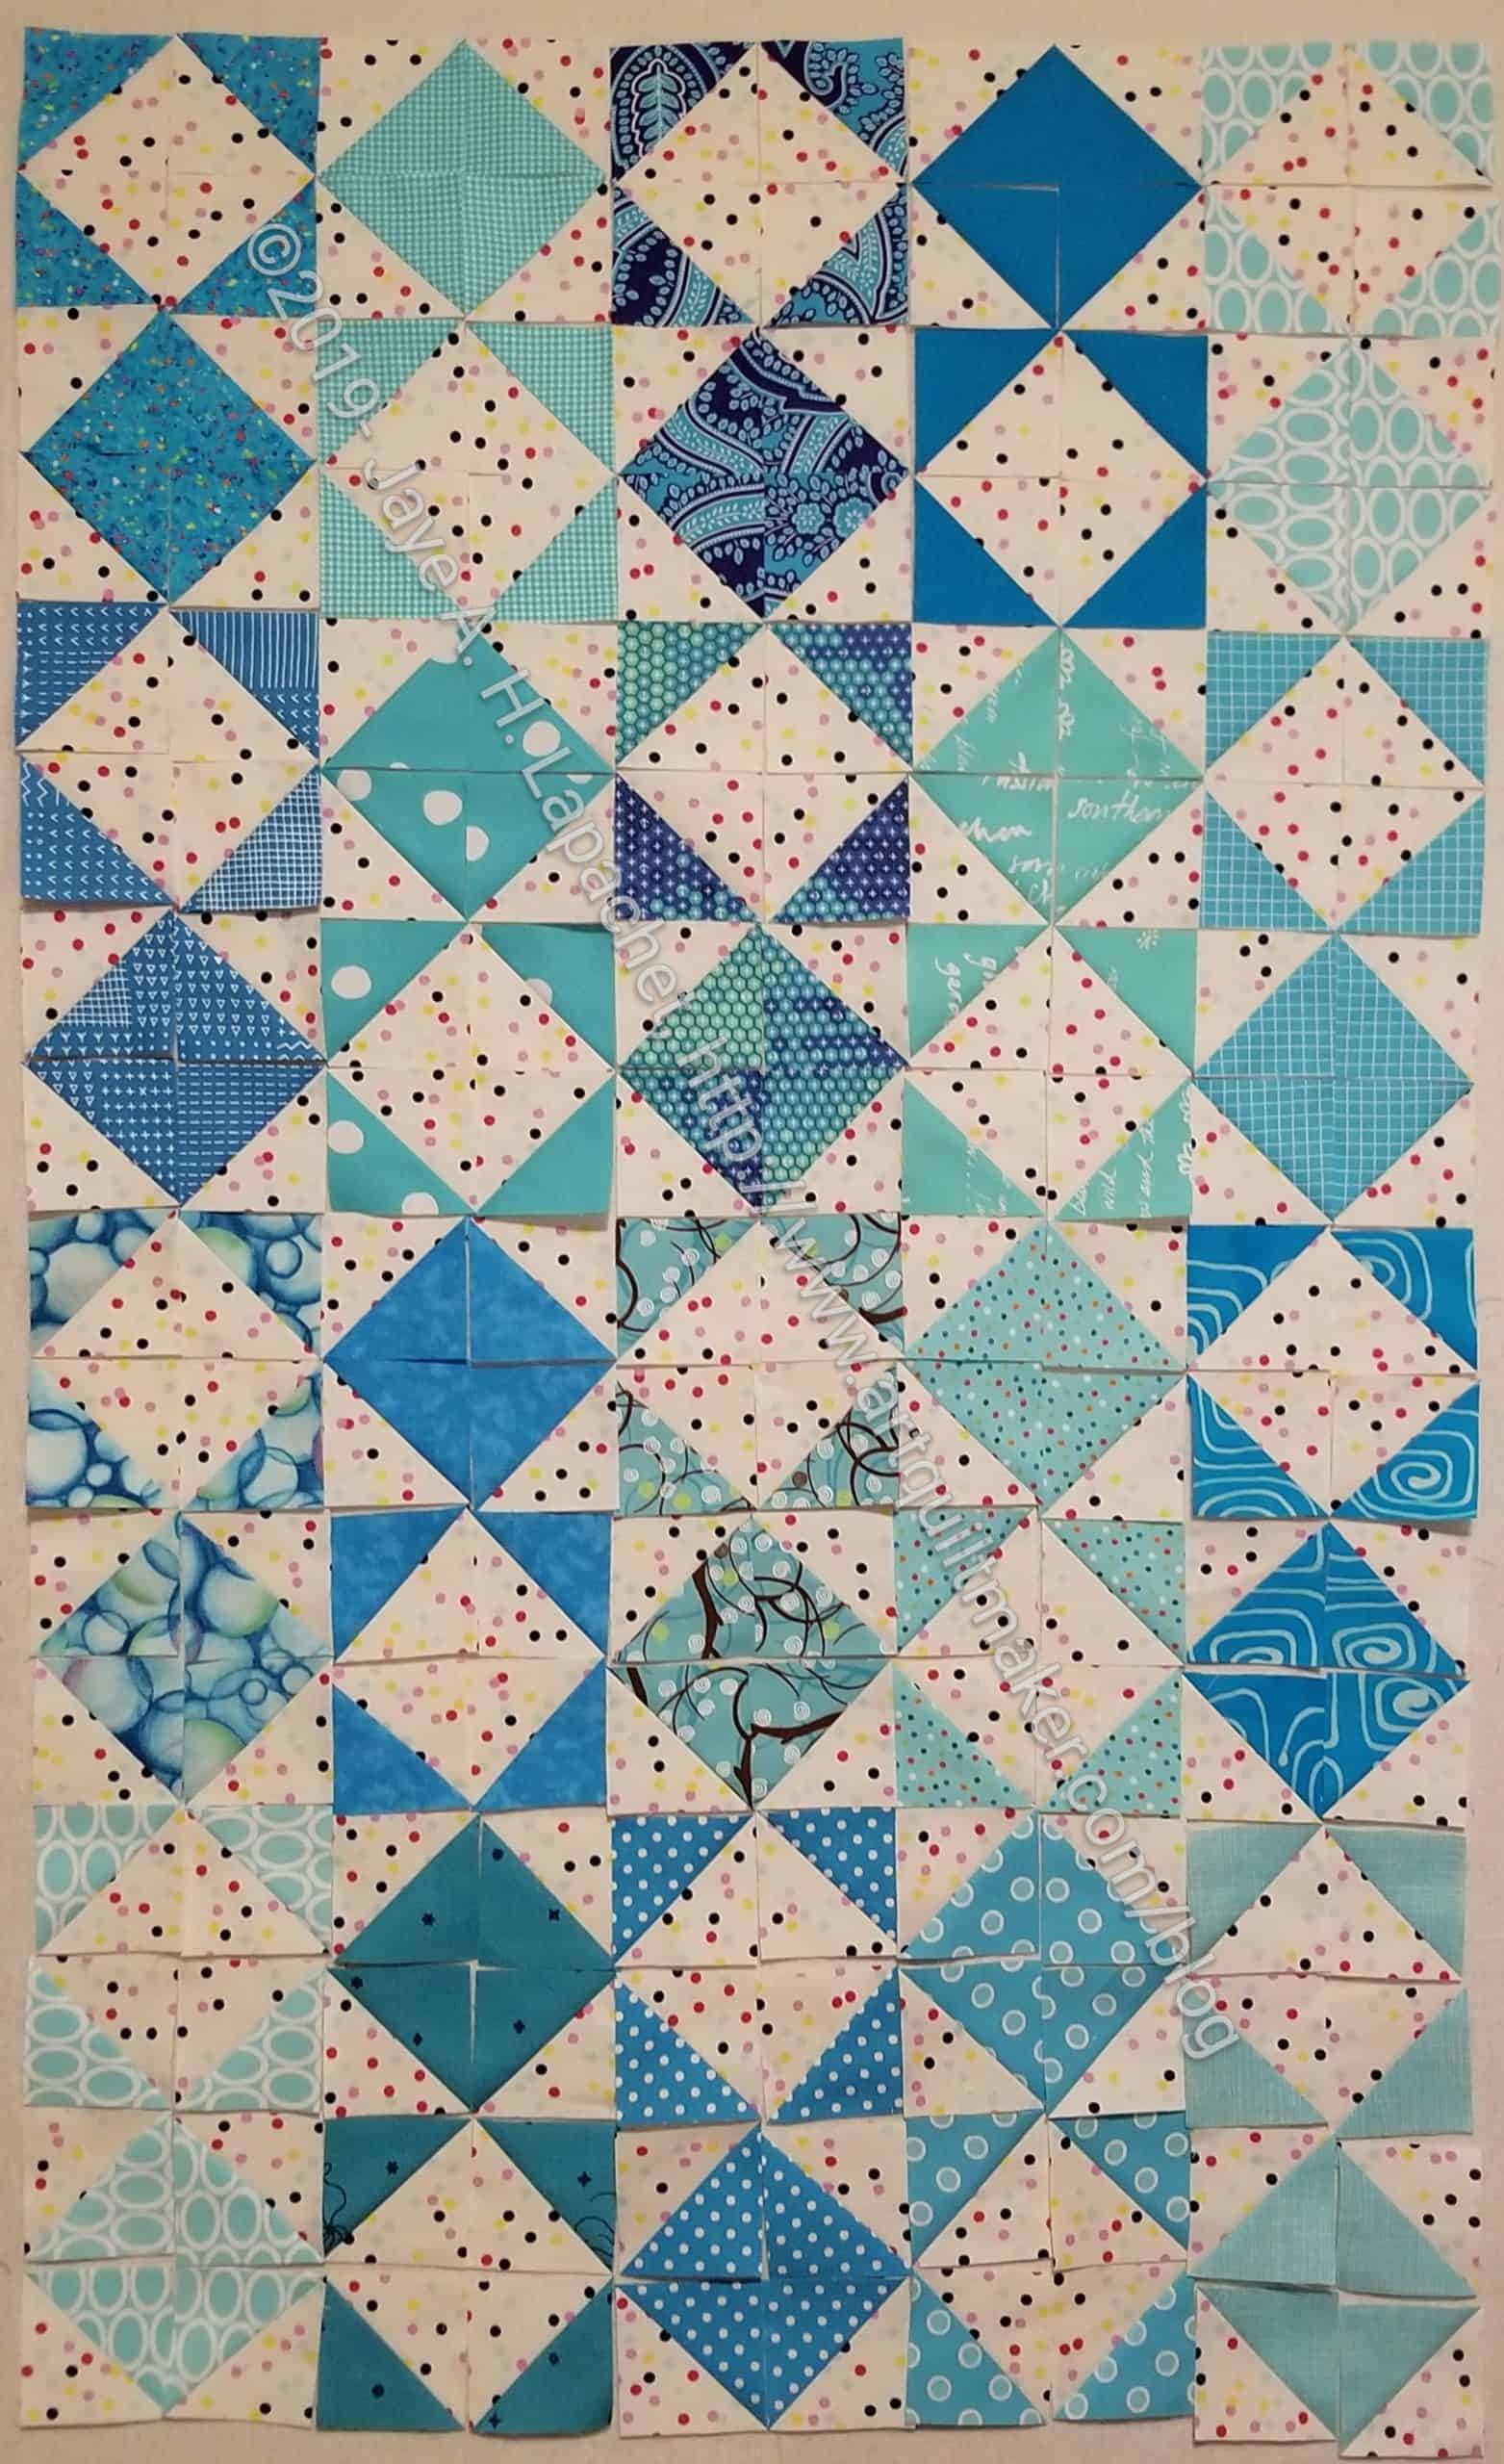
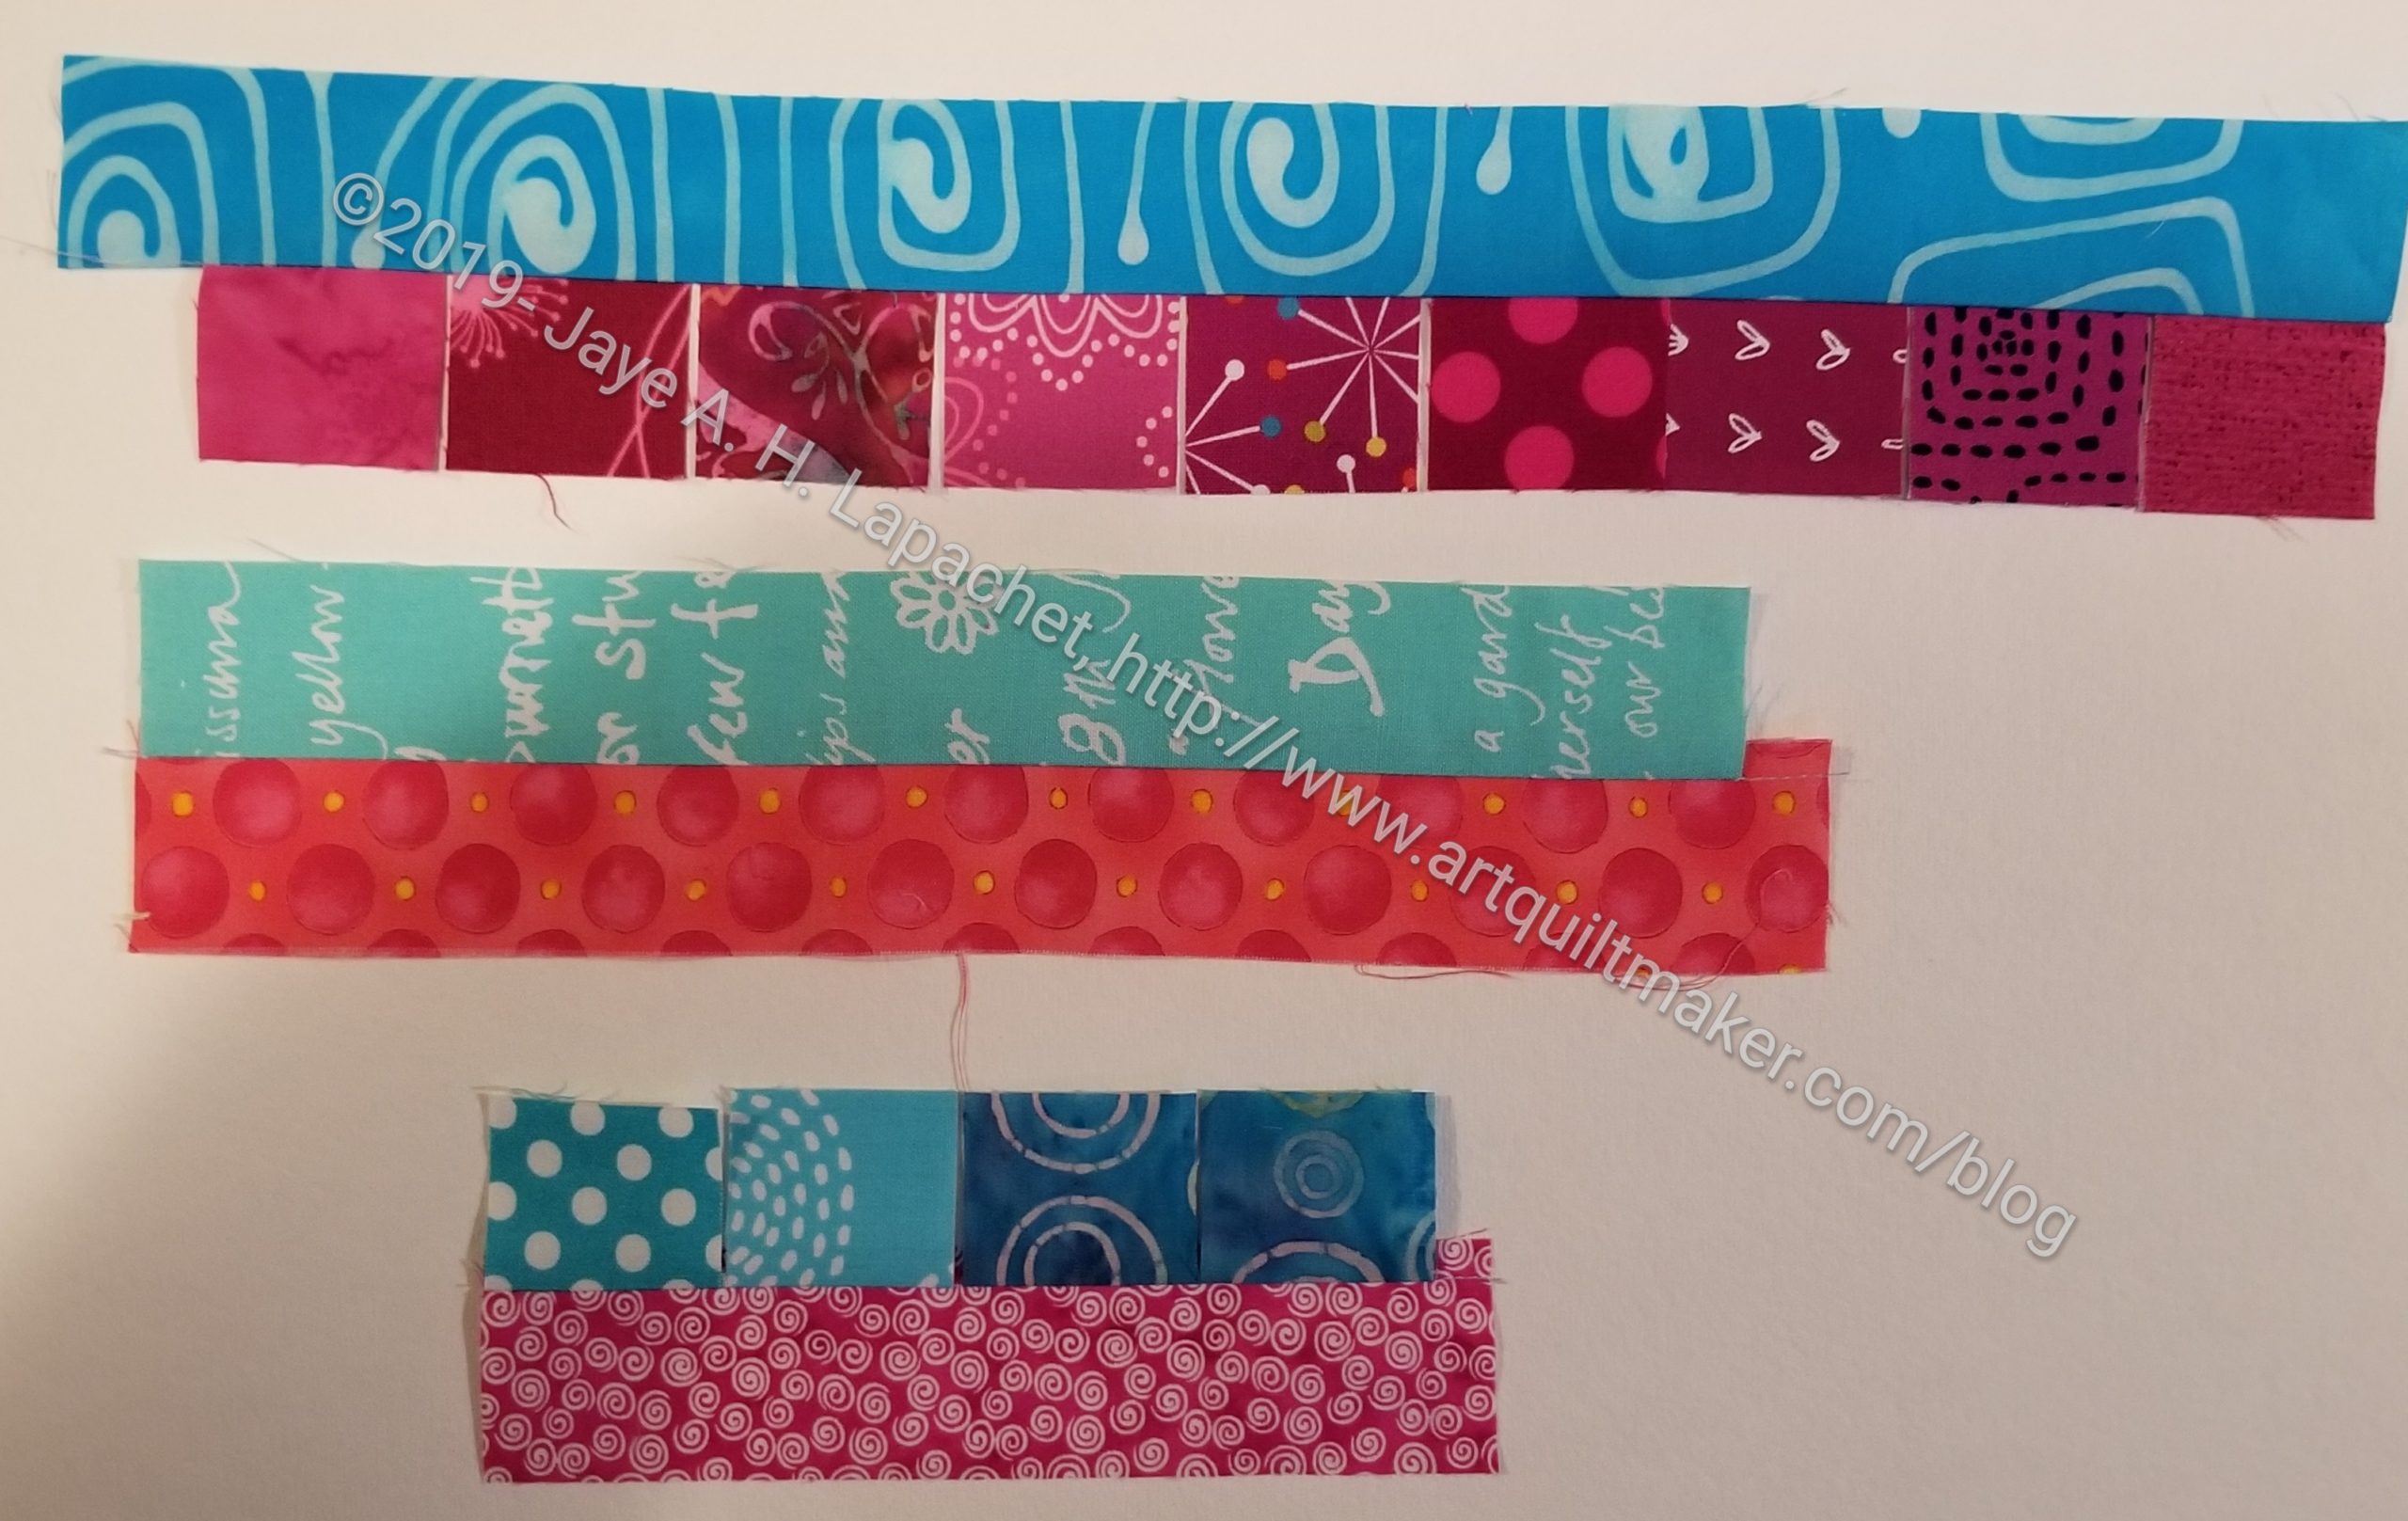
The clue necessitated a hunt through all of my cool fabrics for the correct color. I don’t have exactly what she suggested, but I have two fabrics that I think will work.

Clue 4 Frolic fabric possibilities

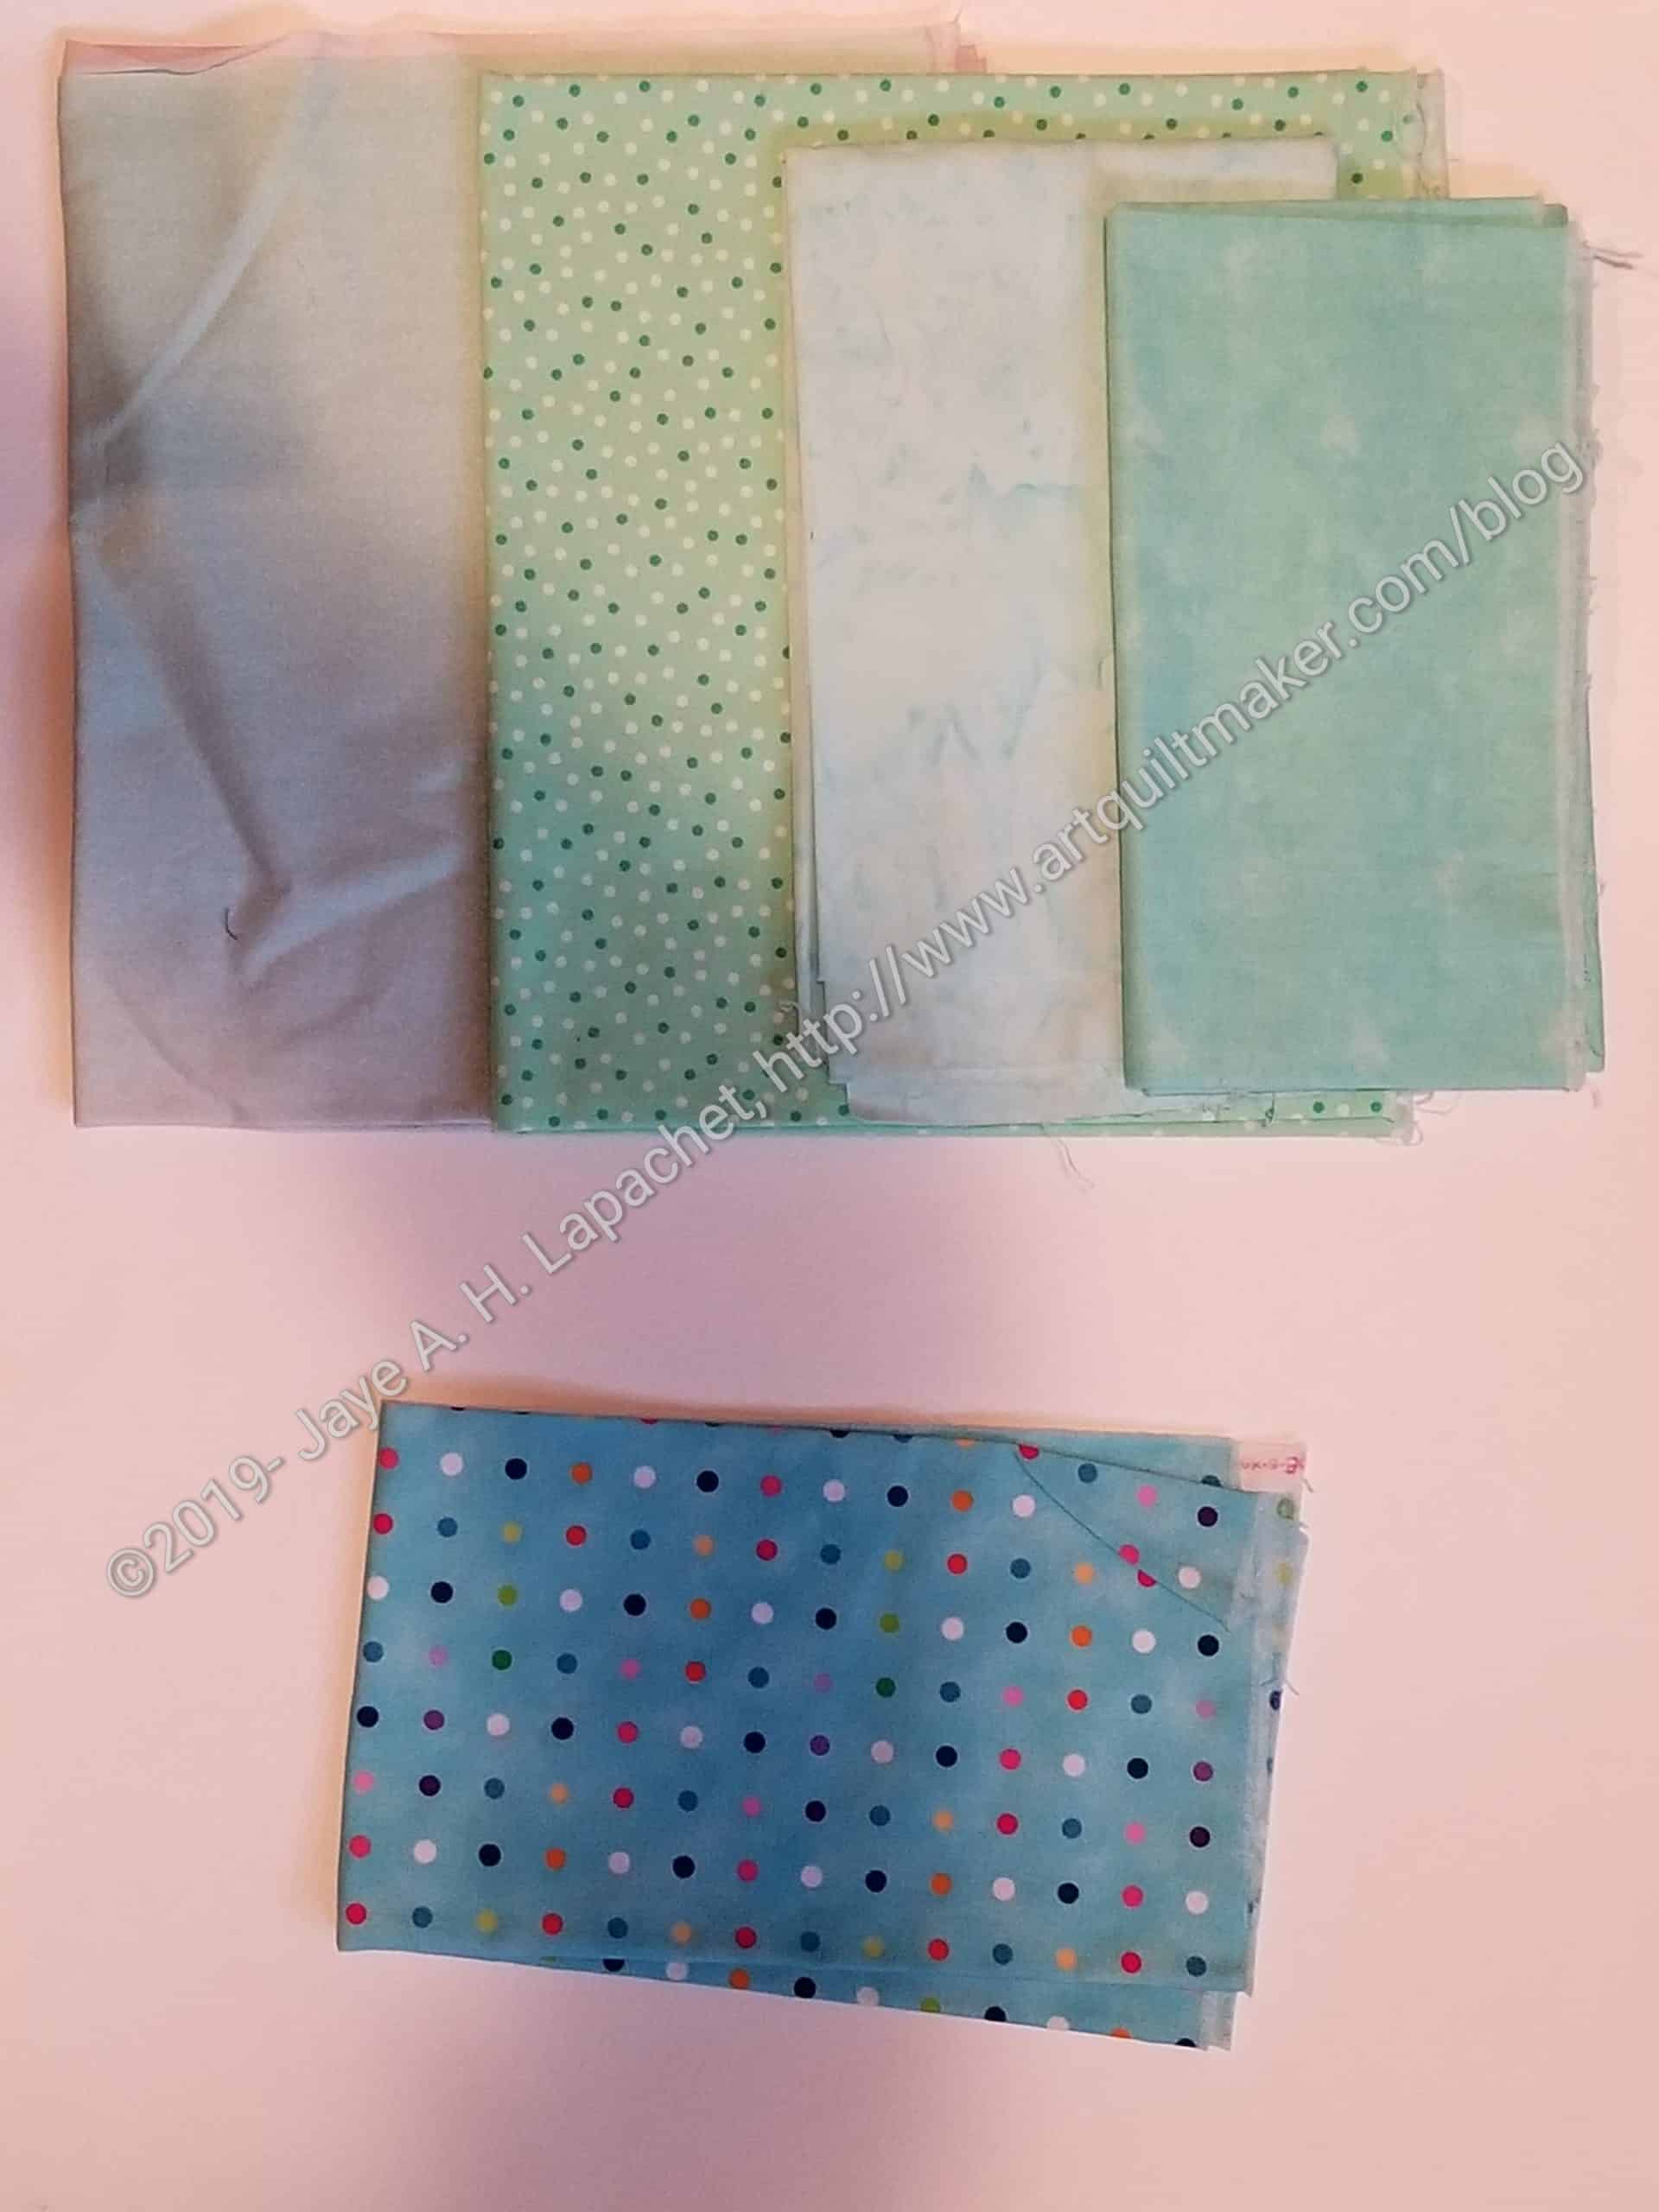
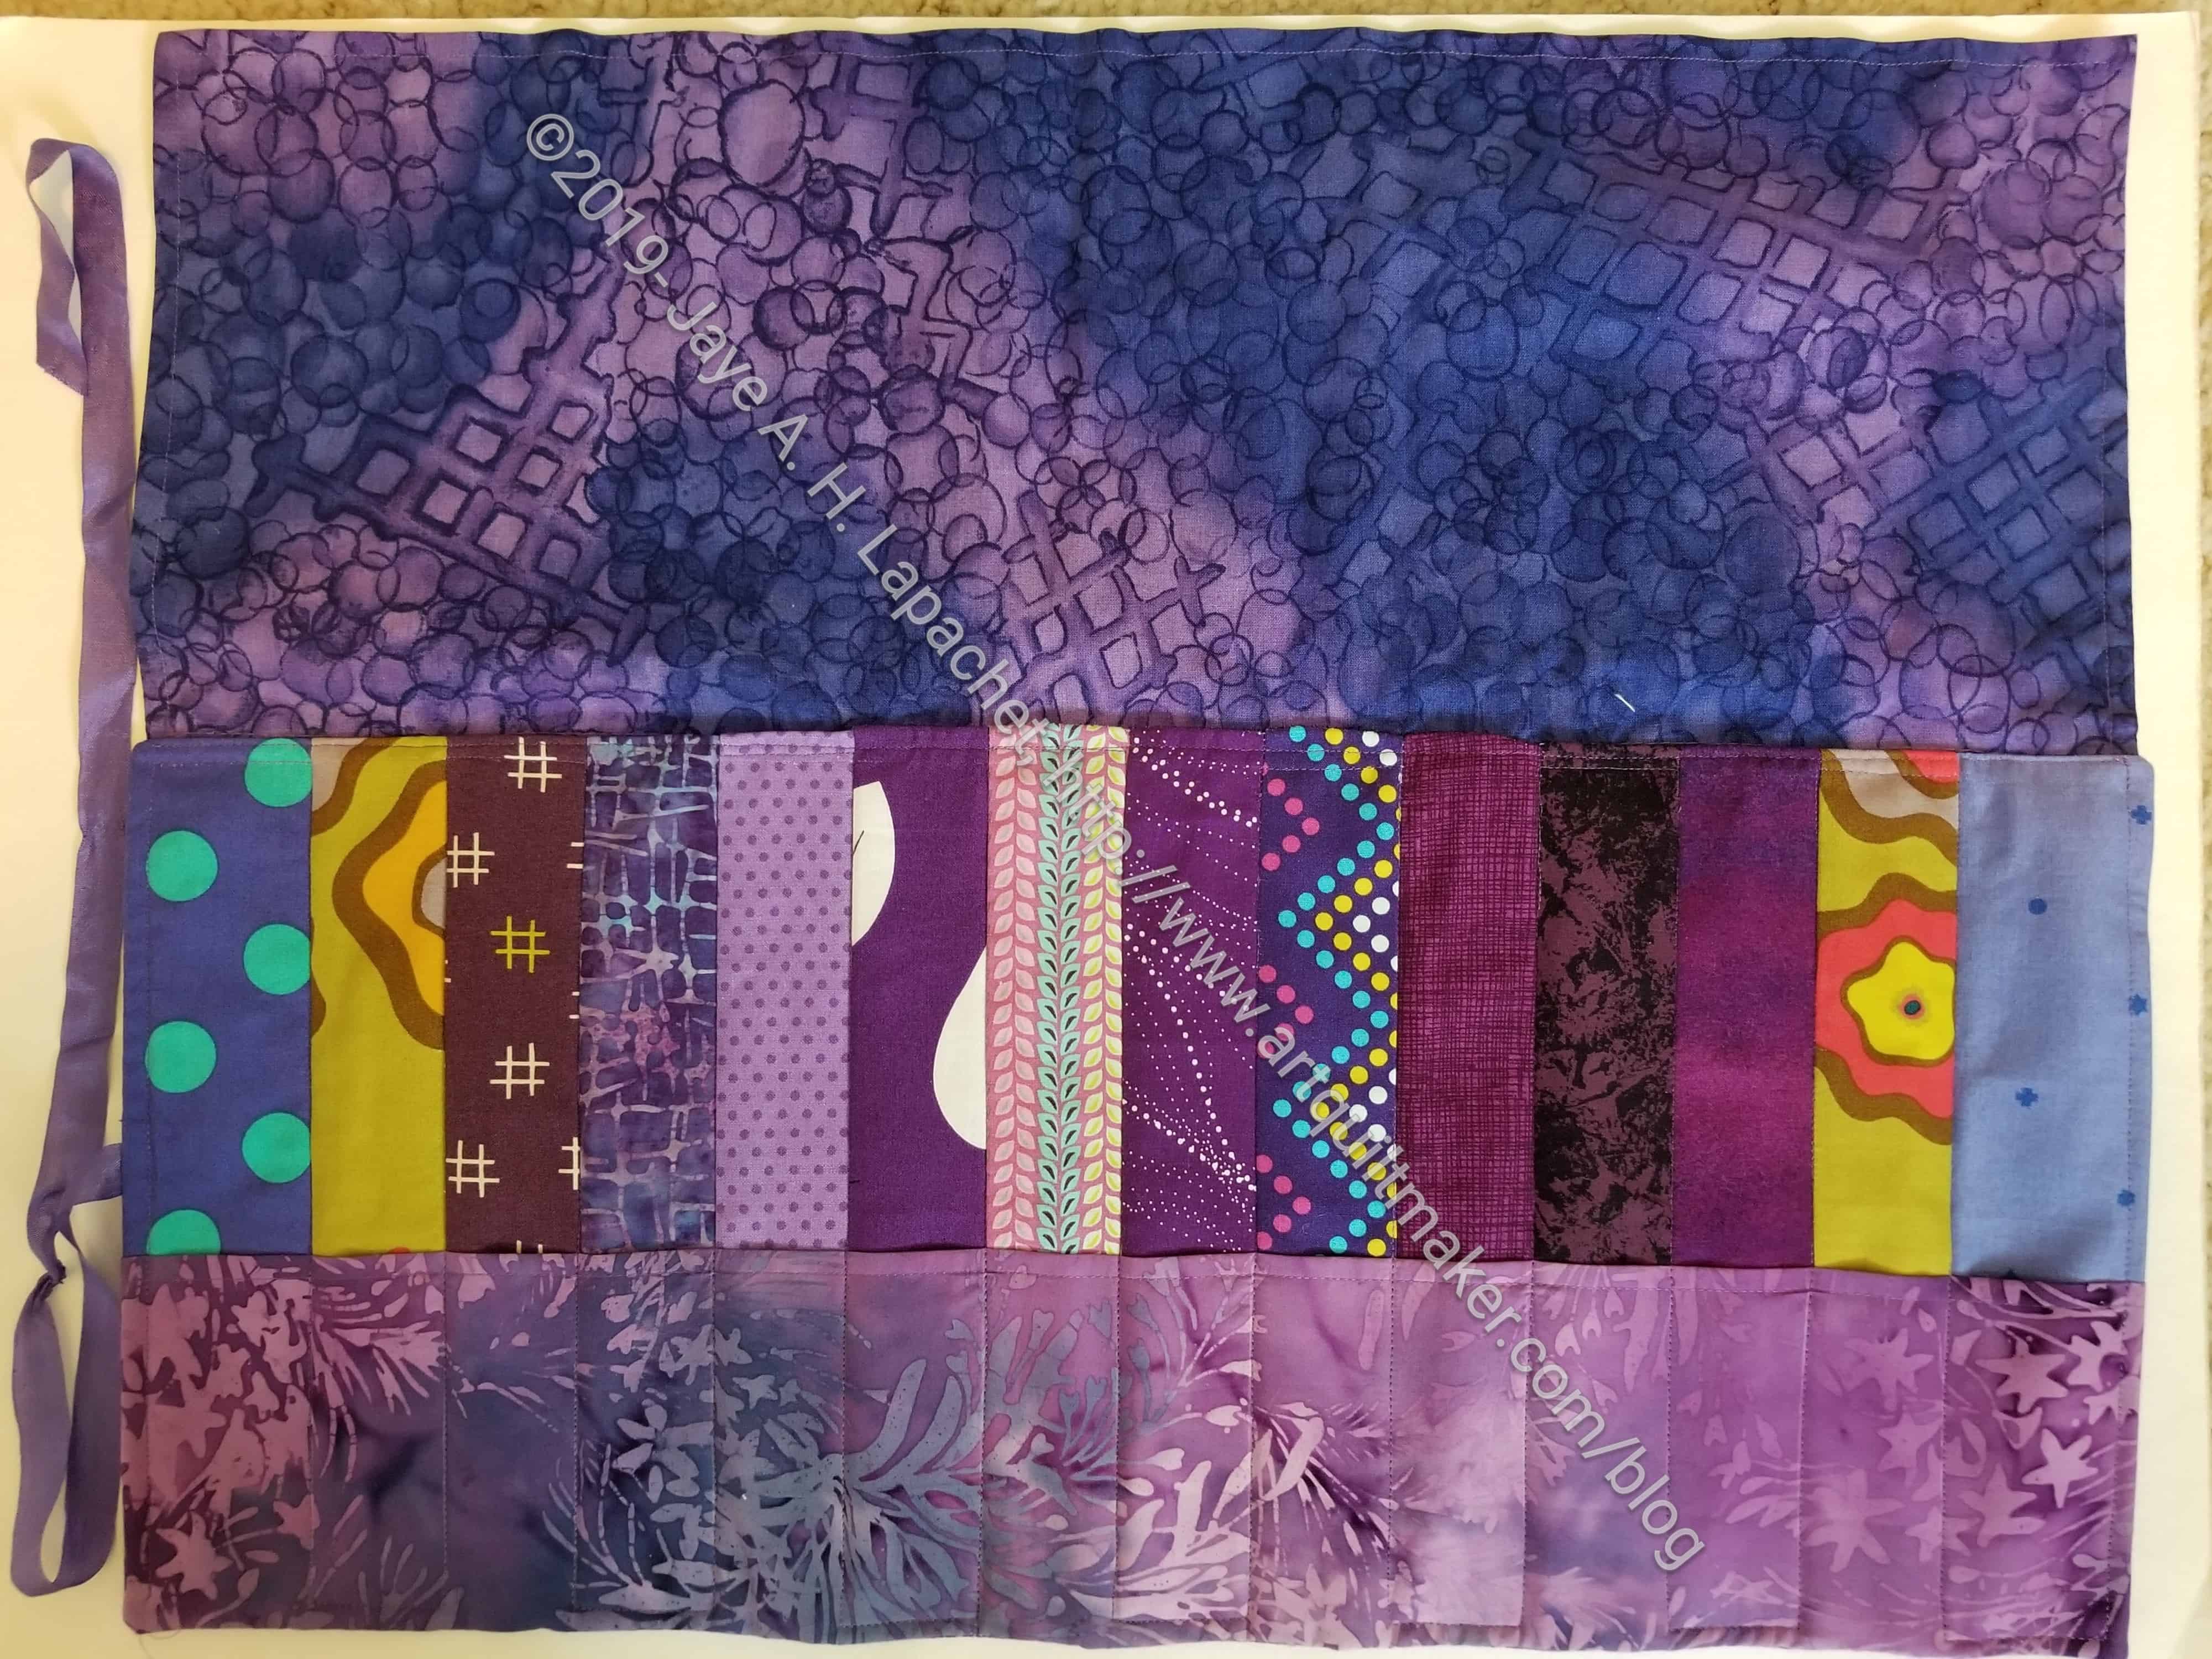
Bonnie asks for aqua, but the two fabrics must have contrast. I needed something a little different. I really want to use the bottom dots. The color is a little lighter than it looks in the photo. Sadly, I think it is too medium and won’t provide enough contrast, or any, frankly, to use. I have about a yard and a quarter so I think I would have enough for all of the strips.

I think I will use the top fabrics. I am not sure what that color is called. It could be aqua, but I always think of aqua as more blue and that is definitely green. I will also have be very careful about the blues I pair with the greeny aquas so that there is enough contrast.

This is the part I dislike about a mystery. If I knew what the pattern would look like I could choose with confidence. I made my choice, though, and will move forward.

I wanted to choose the fabrics early in the week, so that I could be ready to cut whenever I had the chance. I haven’t had time to do anything more, e.g. actually sew, because I have been decorating and wrapping gifts. I have to wrap gifts as they are covering my ironing board.

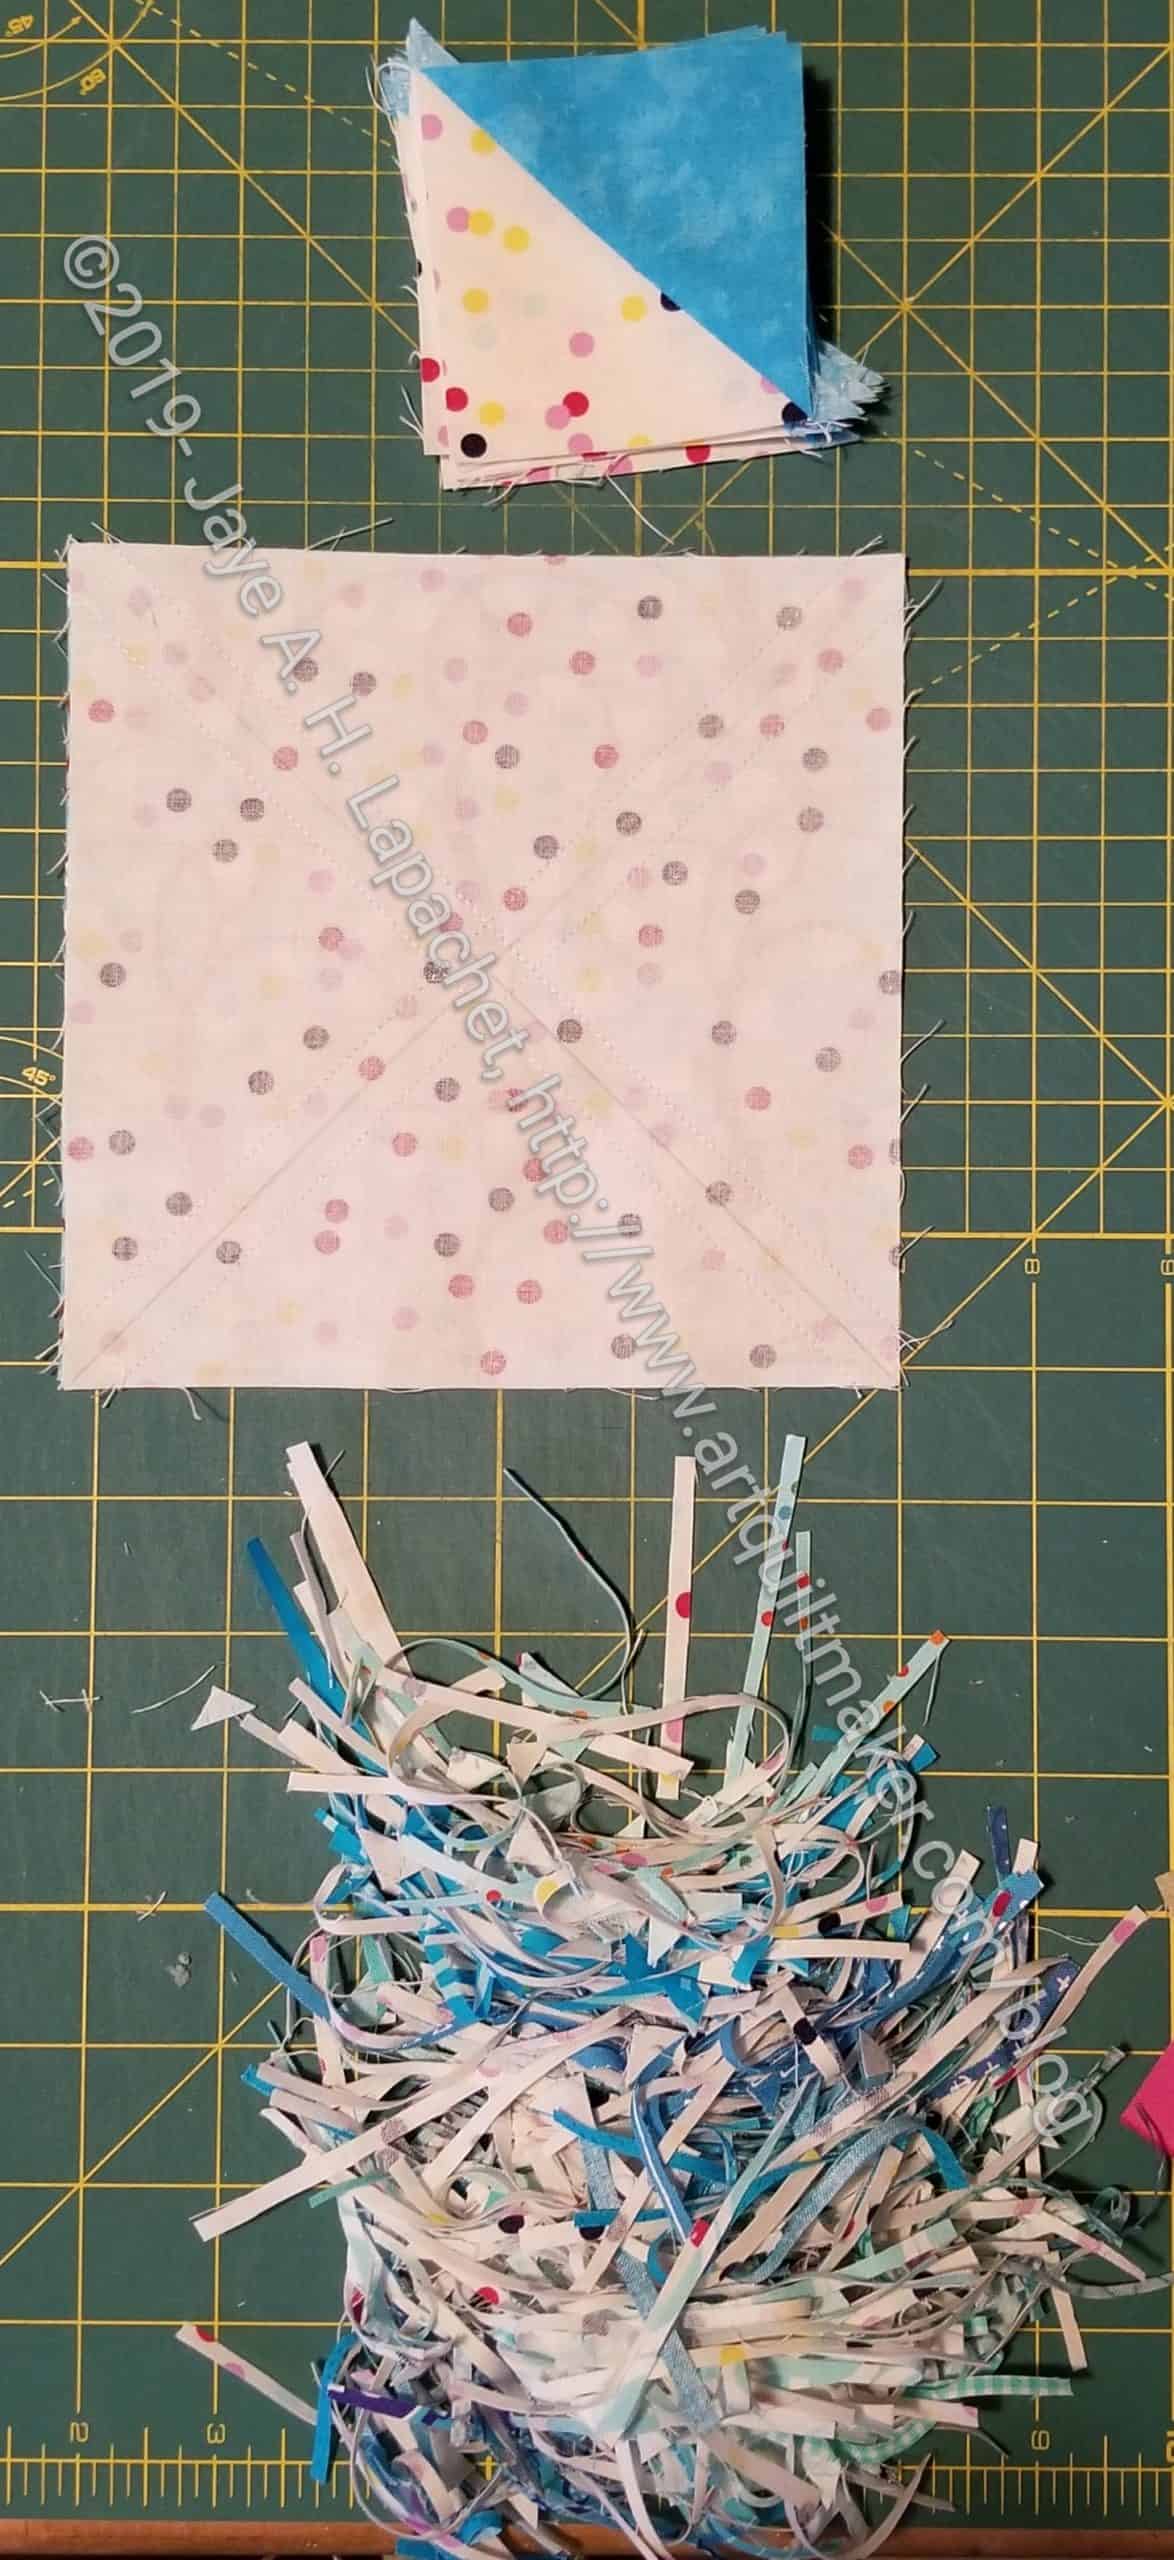
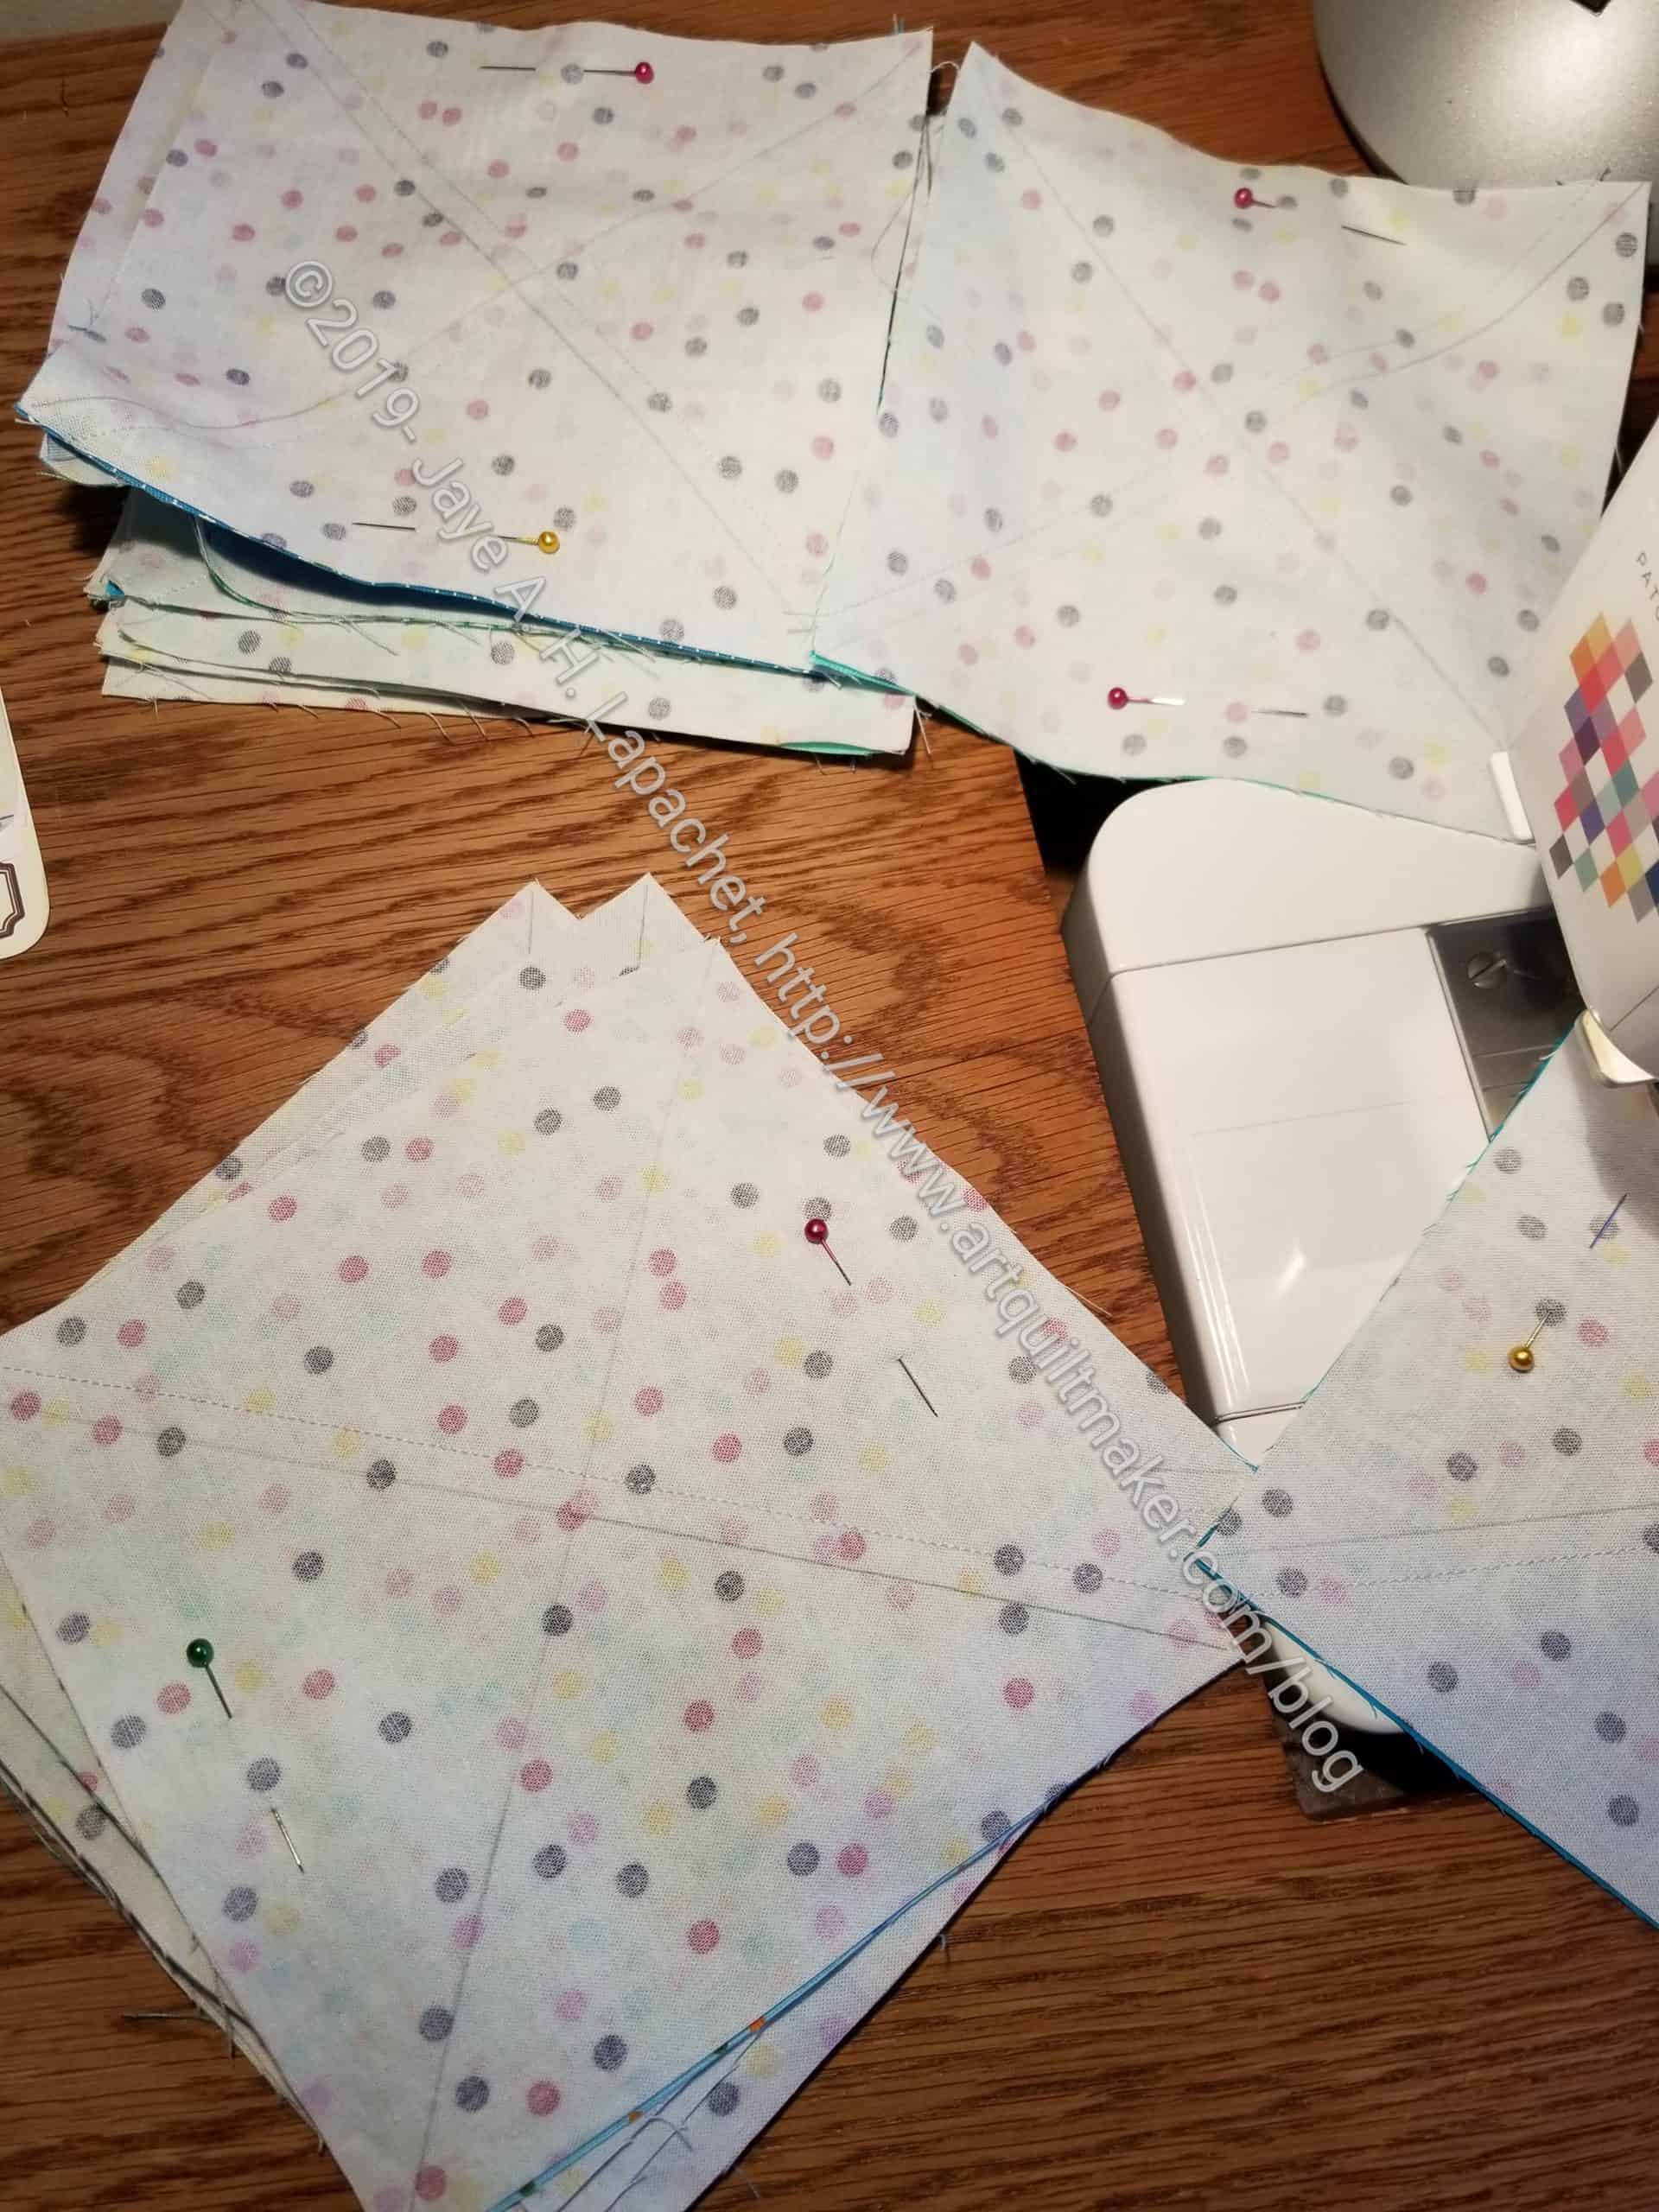
I plan to cut these pieces using Bonnie’s Essential Triangle Tool*. You might remember that Julie bought this for me for my birthday this year. This will be the first opportunity I have had to use it.


*I use affiliate links and may be paid for your purchase of an item you click on. There is no additional cost to you for clicking or purchasing items I recommend. I appreciate your clicks and purchases as it helps support this blog.

Community Quilt Bonanza

Cheryl agreed to help me with a few projects, so the other day I received a large-ish box from her. At first I didn’t realize it was from Cheryl as it seems like boxes are arriving at our house 3 times a day. The YM is sending stuff here, DH and I plus gifts from out of town relatives are also being sent here. It’s crazy.

Anyway.

In addition to stuff from the project on which we are working, were three community quilts.

She asked me to bring them to the meeting in January. I am happy to do so, especially since that means I will have something to show! HA!

Clearly #2 and #3 are related. Also, #1 and #2 are in the same format as the Color Group Donation Quilt I worked a few years ago. I can’t say whether she was inspired by (or even remembered or saw) that quilt. It isn’t as thought that layout is novel in Modern Quiltmaking circles.

So, these will be the first three quilt tops for the 2020 BAM Community Quilt Project. YAY!!


Zipper Challenge

I don’t think I really had a good tag for this post, which means I will probably never be able to find it again. 😉 It is all about zippers.

I am faithfully following the pattern for the Poolside Tote. This is the third Poolside Tote I have sewed.  I am not sure why, but I always have trouble with different parts.

This time I struggled with the facing. I also wondered about the zipper. On mom’s version and on my knitting bag, I just used slip pockets. On this version, I cut zipper pockets, which I didn’t remember. I guess it forced me to make pockets with zippers.

Zipper pocket
Zipper pocket

The directions for the pockets were pretty good. I didn’t have much trouble except for lining up the stitching. One side is hidden, so I leapt that hurdle. The only question I had was about the size of the zipper. The pattern called for a 10 inch zipper and that just seems weird to me. It seems too small. There are holes at the ends and no directions for zipper tabs. Obviously, I can make my own zipper tabs, but I just wonder why the designer asks for such a small zipper. I wonder if a 12 inch zipper would be better?

Are there rules for the size of zippers one includes in patterns??

This is not the end of the world. The zipper works fine and nobody will put something so small in the pocket that it will fall out if the bag falls over. This is just a puzzle about which I am curious. I might try the bag again with a 12 inch zipper.

Windmill Starts

Along time ago, Friend Julie and I started cutting Windmill shapes for each other. It’s possible that the last time I posted about this project was in 2012. Last weekend, I decided that it was time to sew them together. This project is coming off the Hunting and Gathering list.

Windmill first sewn blocks - layout 1
Windmill first sewn blocks – layout 1

The blades sew together very quickly once I got the placement correct.

My first layout, shown left, was kind of a wonky looking zigzag. I was starting to change the layout to the one shown below, so the upper right hand corner blocks are in a different layout. Check the bottom. 😉

The zigzag layout has its charms. Then I texted Friend Julie and she called the pieces blades, so I started thinking about them in a kind of fan format.

Windmill first sewn blocks - layout 2
Windmill first sewn blocks – layout 2

I rearranged the blocks into that format. I am not sure about this quilt in general. I think I might need to use all warm colors or all reds and pinks or something. I think both layouts look strange.

At some point, I decided to cut background fabrics, so that the foreground blades would be highlighted. The idea works; I am just not sure if I like the whole effect.

Also, I have a lot of these blades. I think I can make at least two quilts.

Frolicking! Around

With the 3rd clue finished, I can now start playing with layouts. I had to take a look a En Provence in order to see if I could get an idea of what the block and layout might look like.

Frolic! Layout Play
Frolic! Layout Play

I believe there will definitely be some kind of chain effect going. Bonnie loves those kinds of arrangements and I have to say they can can be very effective for a cohesive design.

I doubt it will go straight up and down like I have arranged it. The four patches will probably be on the diagonal again, like the En Provence larger units and sashing. I think these four patches and HSTs will probably act like sashing.

In En Provence, the 4 patches were on point and only two HSTs connected them in the middle. The other ends were connected by Peaky & Spike blocks. I kind of expect some Peaky & Spike blocks to show up, but we will see. Maybe more HSTs in a different color?

Frolic! Layout Play
Frolic! Layout Play

If the 4 patches connect in some way, as in an Irish Chain type setting, I don’t know how that would be. The extension of the layout above looks weird because the blues and the raspberries in the 4 patches connect and I doubt Bonnie would design a quilt that way. I am not her, so perhaps they will and she has a master plan to make them look awesome, but I think the connections, as I have laid them out look a little weird.


Frolic! Clue 2 finished

I don’t have much of an idea yet what those rectangular segments will be, but I am guessing part of the block. I looked through the reveals of the past several years and didn’t see any units using that shape. I guess I’ll just have to wait and see.

It is kind of fun to speculate. I am now eager to get the next step and play some more.

BAM Largesse

A week or so ago, we celebrated Winter at my guild. There was a short Sew Day where I worked on Frolic! Clue 2, then a potluck lunch and a swap and socializing.

In between all of this fun and excitement was fabric. We hold our Sew Days in a church hall. On the side of this room are 4-5 old pews. The room used to be the church sanctuary. Normally, we store our bags and other Sew Day paraphernalia there to keep it off the floor and reduce tripping hazards.

On the Winter Party/Sew Day at least 3 of the pews were filled with fabric. The guild had been given a  donation of fabric by a longarmer who was closing her business. She donation only about a quarter of her stash to the guild. People at the party were allowed to look through the fabric and take what they wanted. I stayed away, having plenty of fabric of my own. Plenty of the members took a few pieces or filled up grocery bags with their selections. The rest will be used for our community quilt project.

This was kind of startling in a number of different ways. Will my unused fabric end up like that? Why get rid of all of her fabric? Doesn’t she want to sew anymore or did she keep her favorite pieces? I know I will probably never know the answers to these questions. I will have to think about what I am going to do with my fabric and make sure my DH knows so it doesn’t all go to Goodwill. What happens to your fabric and supplies when you go to your next adventure?

Frolic! Clue 3

Frolic! Clue 3: finished mostly

I finished Clue 3 on Saturday after starting it on Friday afternoon. I have to say I am shocked at how fast I am speeding along with these clues. I am not saying that I will be able to keep up the pace, but for now I am pleased that I am not falling behind.

Finished might be overstating just a little. I think I need to make a few more, but I need to check my math.

Frolic! Clue 3 in process

The most recent 3rd clue came out on Friday. Go to Quiltville to find the clue. I am linking directly to it, for better for worse, as the links will expire on Feb.1. I had to make about a bazillion HSTs. As I was finished with my work week, I could start working on the clue late Friday afternoon, which I did. I used my Triangle Technique to make the HSTs. This technique, as I have mentioned, makes 8 of the same triangles at a time, but doesn’t involve actually sewing triangles. It also affords the opportunity to trim, if you want, which I like, despite the work involved.

Triangle Technique in process

I also shamelessly self-promoted this technique on Instagram. It would be nice if more people discovered and read my blog, but I know blogs are fashionable anymore, so I am pleased if you are one of my continuing readers.

People really like the colors I have chosen. Of course, I like them, but I am surprised that I am getting such feedback. I don’t think they are anything special. Still, I am pleased that I seem to have made good choices.

More Raffle Gifts

I have the best raffle team ever! At the meeting last Saturday, a couple of them came through with MORE gifts. These raffle baskets are going to be the best ever.

Cheri's Raffle Gifts
Cheri’s Raffle Gifts

Cheri started in on some bags and coasters. I need a bunch of those little bags for stocking stuffer gifts! 😉

She tried out a few things and found they took too long, so she is trying some different patterns. Cheri only made them for a couple of months with the first pattern. AFter she decides on a new pattern she will work on the rest of the months. We have time.


SueG's boxy bags
SueG’s boxy bags

Sue G also made some small boxy bags. Aren’t they adorable?

She made three or four. I forgot to take photos when I brought them home. Since I organized everything, I don’t want to undo all that hard work. I’ll get some photos when I stock the bags.

Tool Tote Purpose

Art Bin with bag hardware

I finished the Tool Tote awhile ago. It has just been sitting around. I thought about giving it as a gift, but I made it with fabric that I used for several bags I wanted to make for myself. Thus, I hadn’t found a purpose for it until recently. I decided to use it to organize the hardware and supplies I use for bagmaking.

I had put a few tools in it, so those had to go somewhere else (or will have to go somewhere else).

Tool Tote with bag supplies

These supplies weren’t disorganized, but they weren’t in great shape and I was having a hard time keeping track of what I had. Since the Tool Tote was there. It was also the right size to hold the Art Bin I got last birthday. I filled the Art Bin with little pieces of hardware. I put the zippers and things on top.

It isn’t a huge tote and if I buy a lot of supplies before I use up the ones I have, I won’t have space. Perhaps that is a good thing. It is good to be organized.

Frolic! Clue 2

Frolic! Clue 2 finished

I was able to finish Frolic! in record time. I downloaded the clue. When I looked at it I realized that I could do the clue at Sew Day, I sewed strips really quick and took everything to Sew Day to cut up.

This clue was an easy one, but it was done very quickly and it seems like an eternity ago that I did it. I am already working on Clue 3.

Mega-Pinnie Thanks

Cheri's Mega-Pinnie in use
Cheri’s Mega-Pinnie in use

The other day I talked about the first Mega-Pinnie that I made. I got a really sweet thank you note with a photo that really shows how the Mega-Pinnie is used.

I photocopied some of my tools and stuck them in the pockets before I wrapped the piece so she would know there were pockets. This is kind of an unusual tool and I don’t think many people have seen it.

I am so pleased. I might need to make another one! 😉

Another Kind of Chain Piecing

Chain/Strip Piecing
Chain/Strip Piecing

I was working on the Frolic! piecing and I realized that I was doing chain/strip piecing in a different way.

In strip piecing, you put two strips right sides together and you sew up one side. In this case, I had one long strip and a bunch of smaller strips and squares. I lined up the various bits and pieces on the long strip and just sewed. Later, I cut the pieces apart to the appropriate length.

It works and is great, because you can get some scrapiness without as much cutting.

Gift #4: Julie’s Scissor Cozy

Scissor Cozy
Scissor Cozy

I finally got my head around the Sotak Handmade scissor cozy tutorial. This is one I made for Julie from the same fabric I used for the pillowcase I sent along with her walker bag.

Mine is a little different as it has a leash and a lobster clasp, so it can be clipped to another bag. I don’t know if I have made Julie a bag with a D-Ring. I’ll have to put it on the list for next year.

I was thinking I could make one of these pouches for my Ultimate Carry All Bag  or All Rolled Up tote and clip it to the inside.

Gift Post #3: Mega Pinnie Angel Gift

Angel Mega Pinnie
Angel Mega Pinnie

I made this Mega Pinnie as kind of a test. It was the second one I had made. I thought I would use it as one of the raffle prizes. 

However, we are having a Winter swap in a few weeks. Last year, people didn’t show up so others did not get their gift. I decided that I would donate it as an angel gift for the swap.

I didn’t go as crazy on the pockets, so the pockets are larger than on the Swap Gift Mega Pinnie. I also forgot the handle. I think it will be great, though.

Gift Post #2: Julie’s Pencil Roll

Julie's Pencil Roll
Julie’s Pencil Roll

Yep, we are all about gifts here on the blog right now. In case you hadn’t noticed. I am having a hard time wrapping my head around the fact that Christmas is coming. I just don’t believe it. It would probably help if I got some decorations up.

Still the practical part of me knows that Julie’s birthday is before Christmas and I needed to get her gifts done before the Thanksgiving frenzy arrived. So, I also made this pencil roll for Julie. I thought I made her one before but couldn’t find any evidence. She wanted one with a flap. Apparently, the one without the flap leaked writing implements. I have had this experience with mine and keep it upright in order to keep the implements where they belong.

Julie's Pencil Roll, open
Julie’s Pencil Roll, open

I was really pleased to choose fabrics for this pencil roll. I found some great batiks that I had been hoarding. I also threw in some lime/icky greens. They go well with purple and will tie this piece to the Undercover Maker Mat she made. I knew she would like them.

Julie's Pencil Roll, flap down
Julie’s Pencil Roll, flap down

I left the top open to turn the piece and I won’t do that again when the pencil roll has a flap. I had to carefully stitch the thing in order to make it look right on the top.

These don’t take long to make and I might make some for the officers. I don’t know if they are pen people, though, so perhaps a scissor cozy is better?