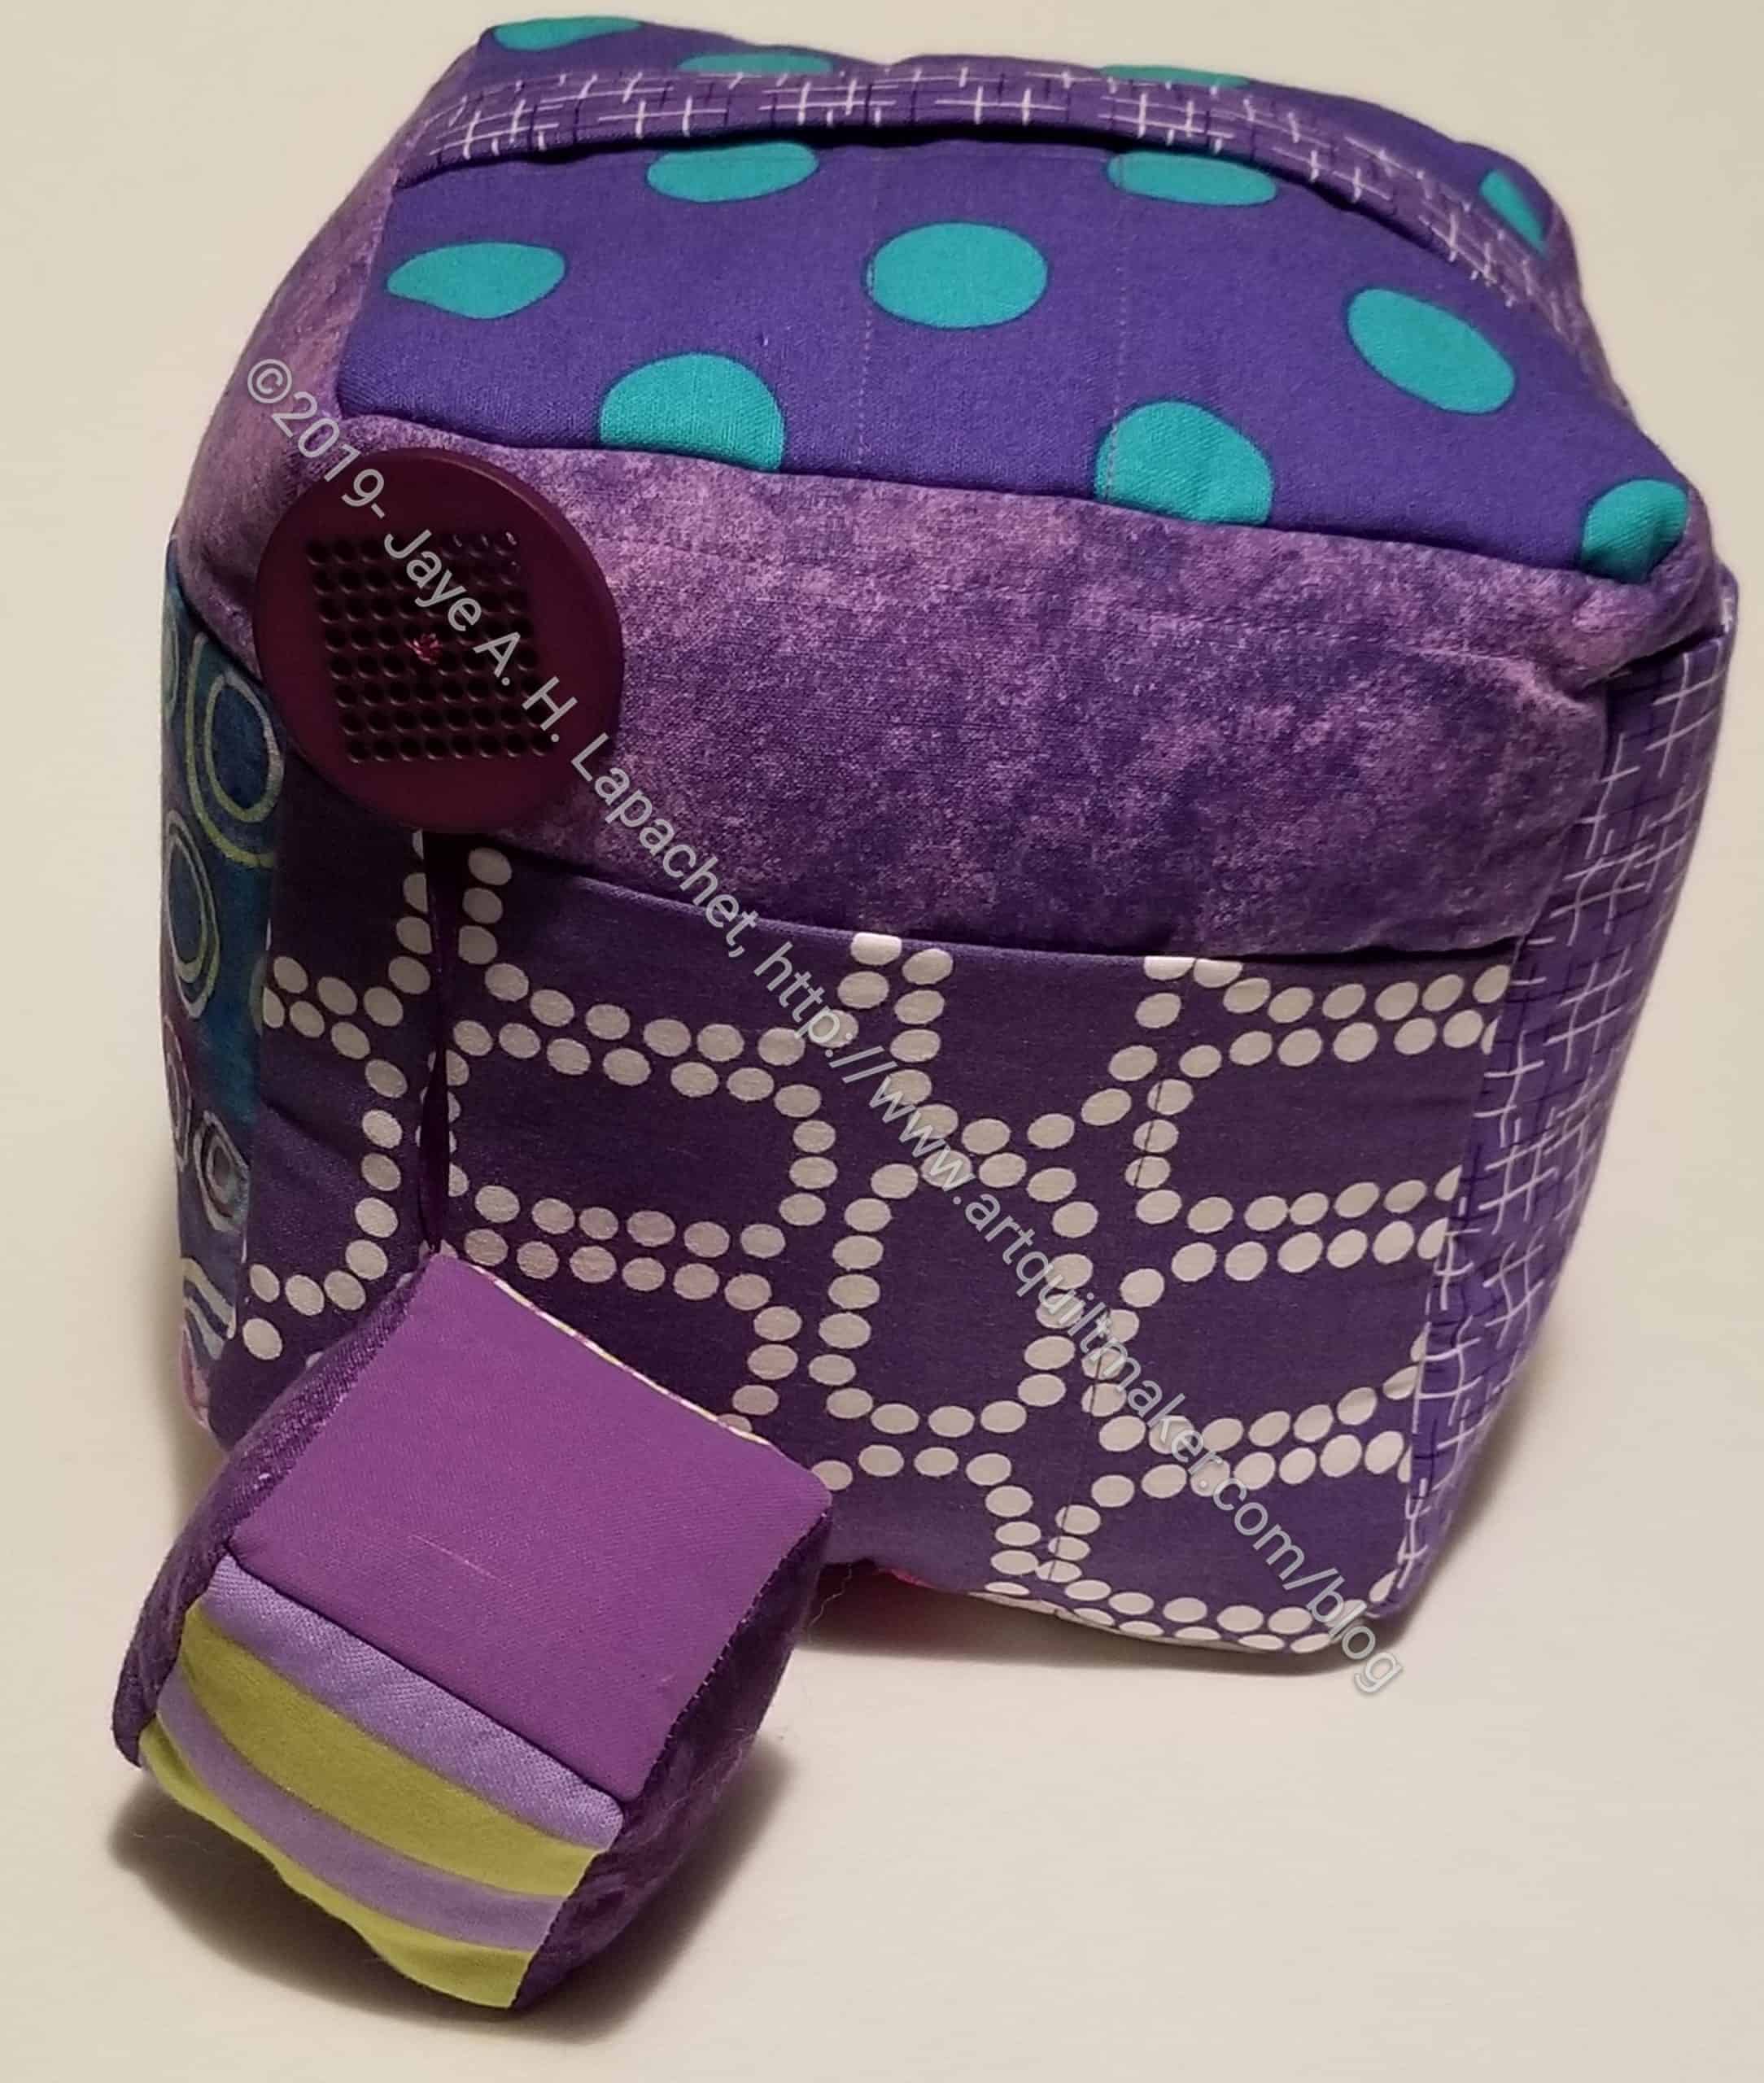
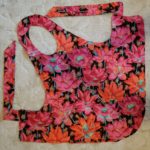
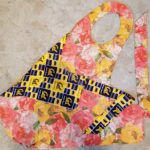
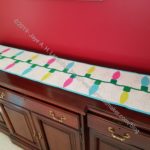
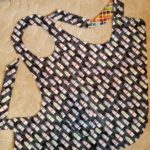
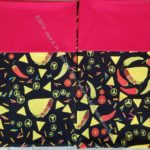
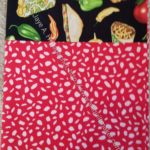
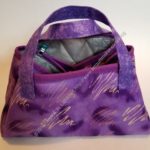
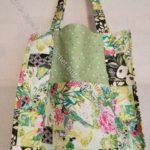
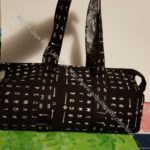
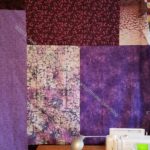
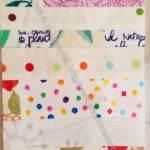
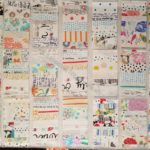
This is the Mega-Pinnie I made for Julie. I am really pleased with the fabrics I used. They were mostly handy, but I did crawl into the ‘attic’ of the fabric closet to make sure I found the most special fabrics to use for her version.
I gave it to her when we went out on New Year’s Eve. I forgot to photocopy tools to put in the pockets, so I had to explain that there were pockets and that always feels awkward to me.
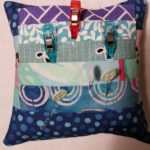
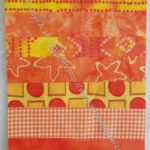
Julie’s Mega-Pinnie with lobster clip
It occurred to me when I was explaining that it would be a good caddy if you wanted to carry some stuff to another room and work on a project away from your studio.
I’ll have to make her something to which she can clip the Mega-Pinnie.
I might be done with these Mega-Pinnies for awhile. I have an idea for one more, so we’ll have to see.
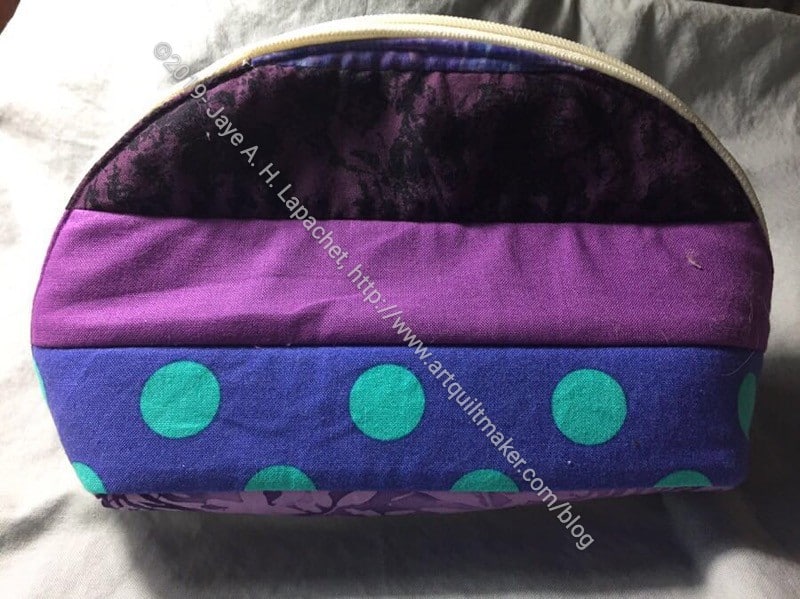
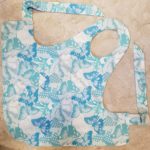
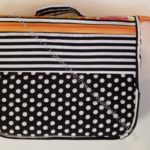
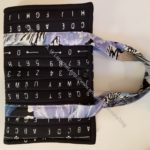
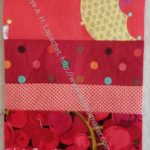
I forgot to take photos of this pouch before I sent it off, but Friend Julie was kind enough to send me some photos. The photos were much better than I would have taken so I was glad I asked her.
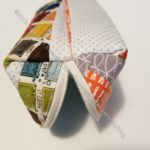
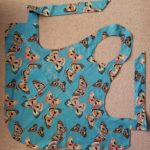
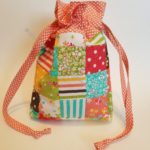
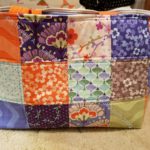
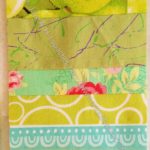
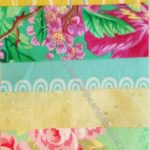
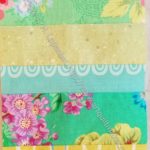
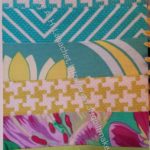
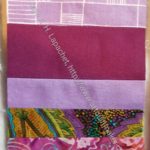
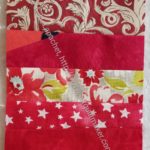
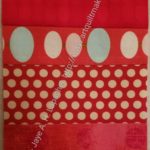
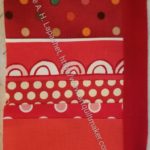
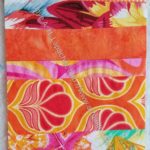
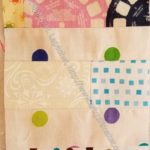
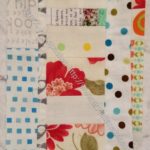
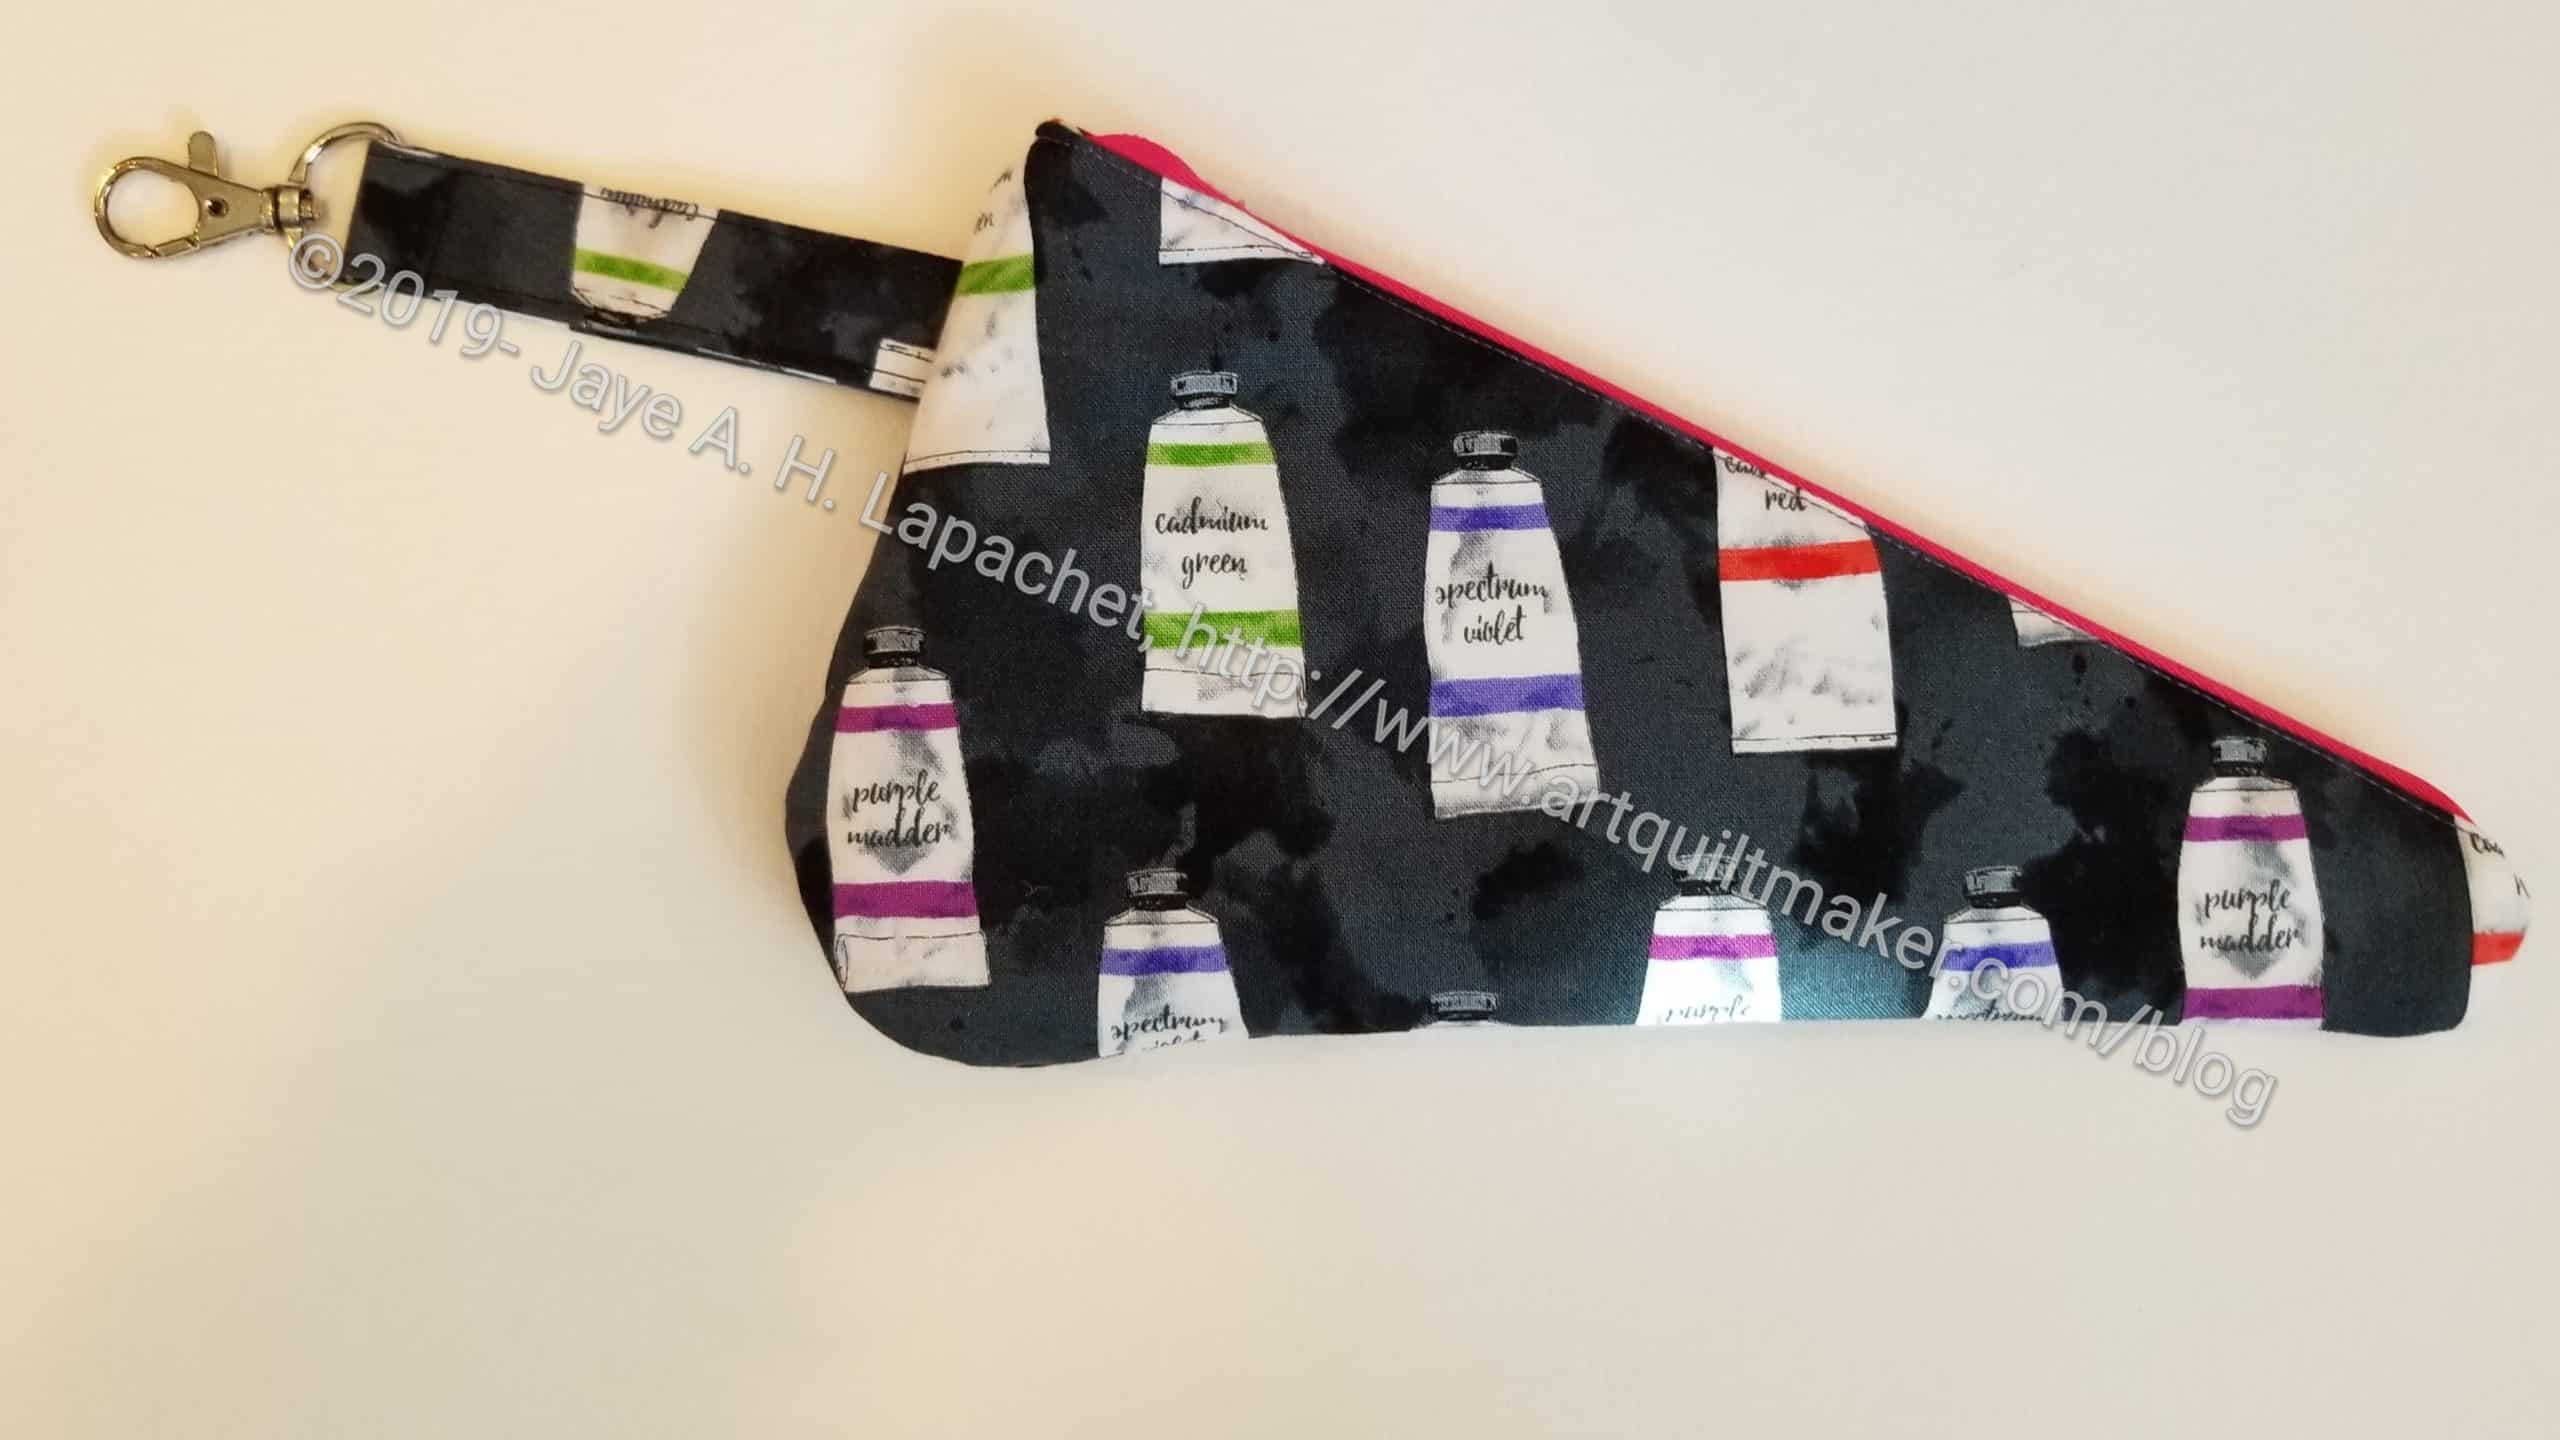
This is another version of the Persimmon Dumpling Pouch by Sara Lawson. You can find this free pattern at the Sew Sweetness website. I made a few of these during my fabric gift foray (November 2019) and found it to be a clever design.
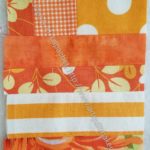
Persimmon Pouch for Julie side 2
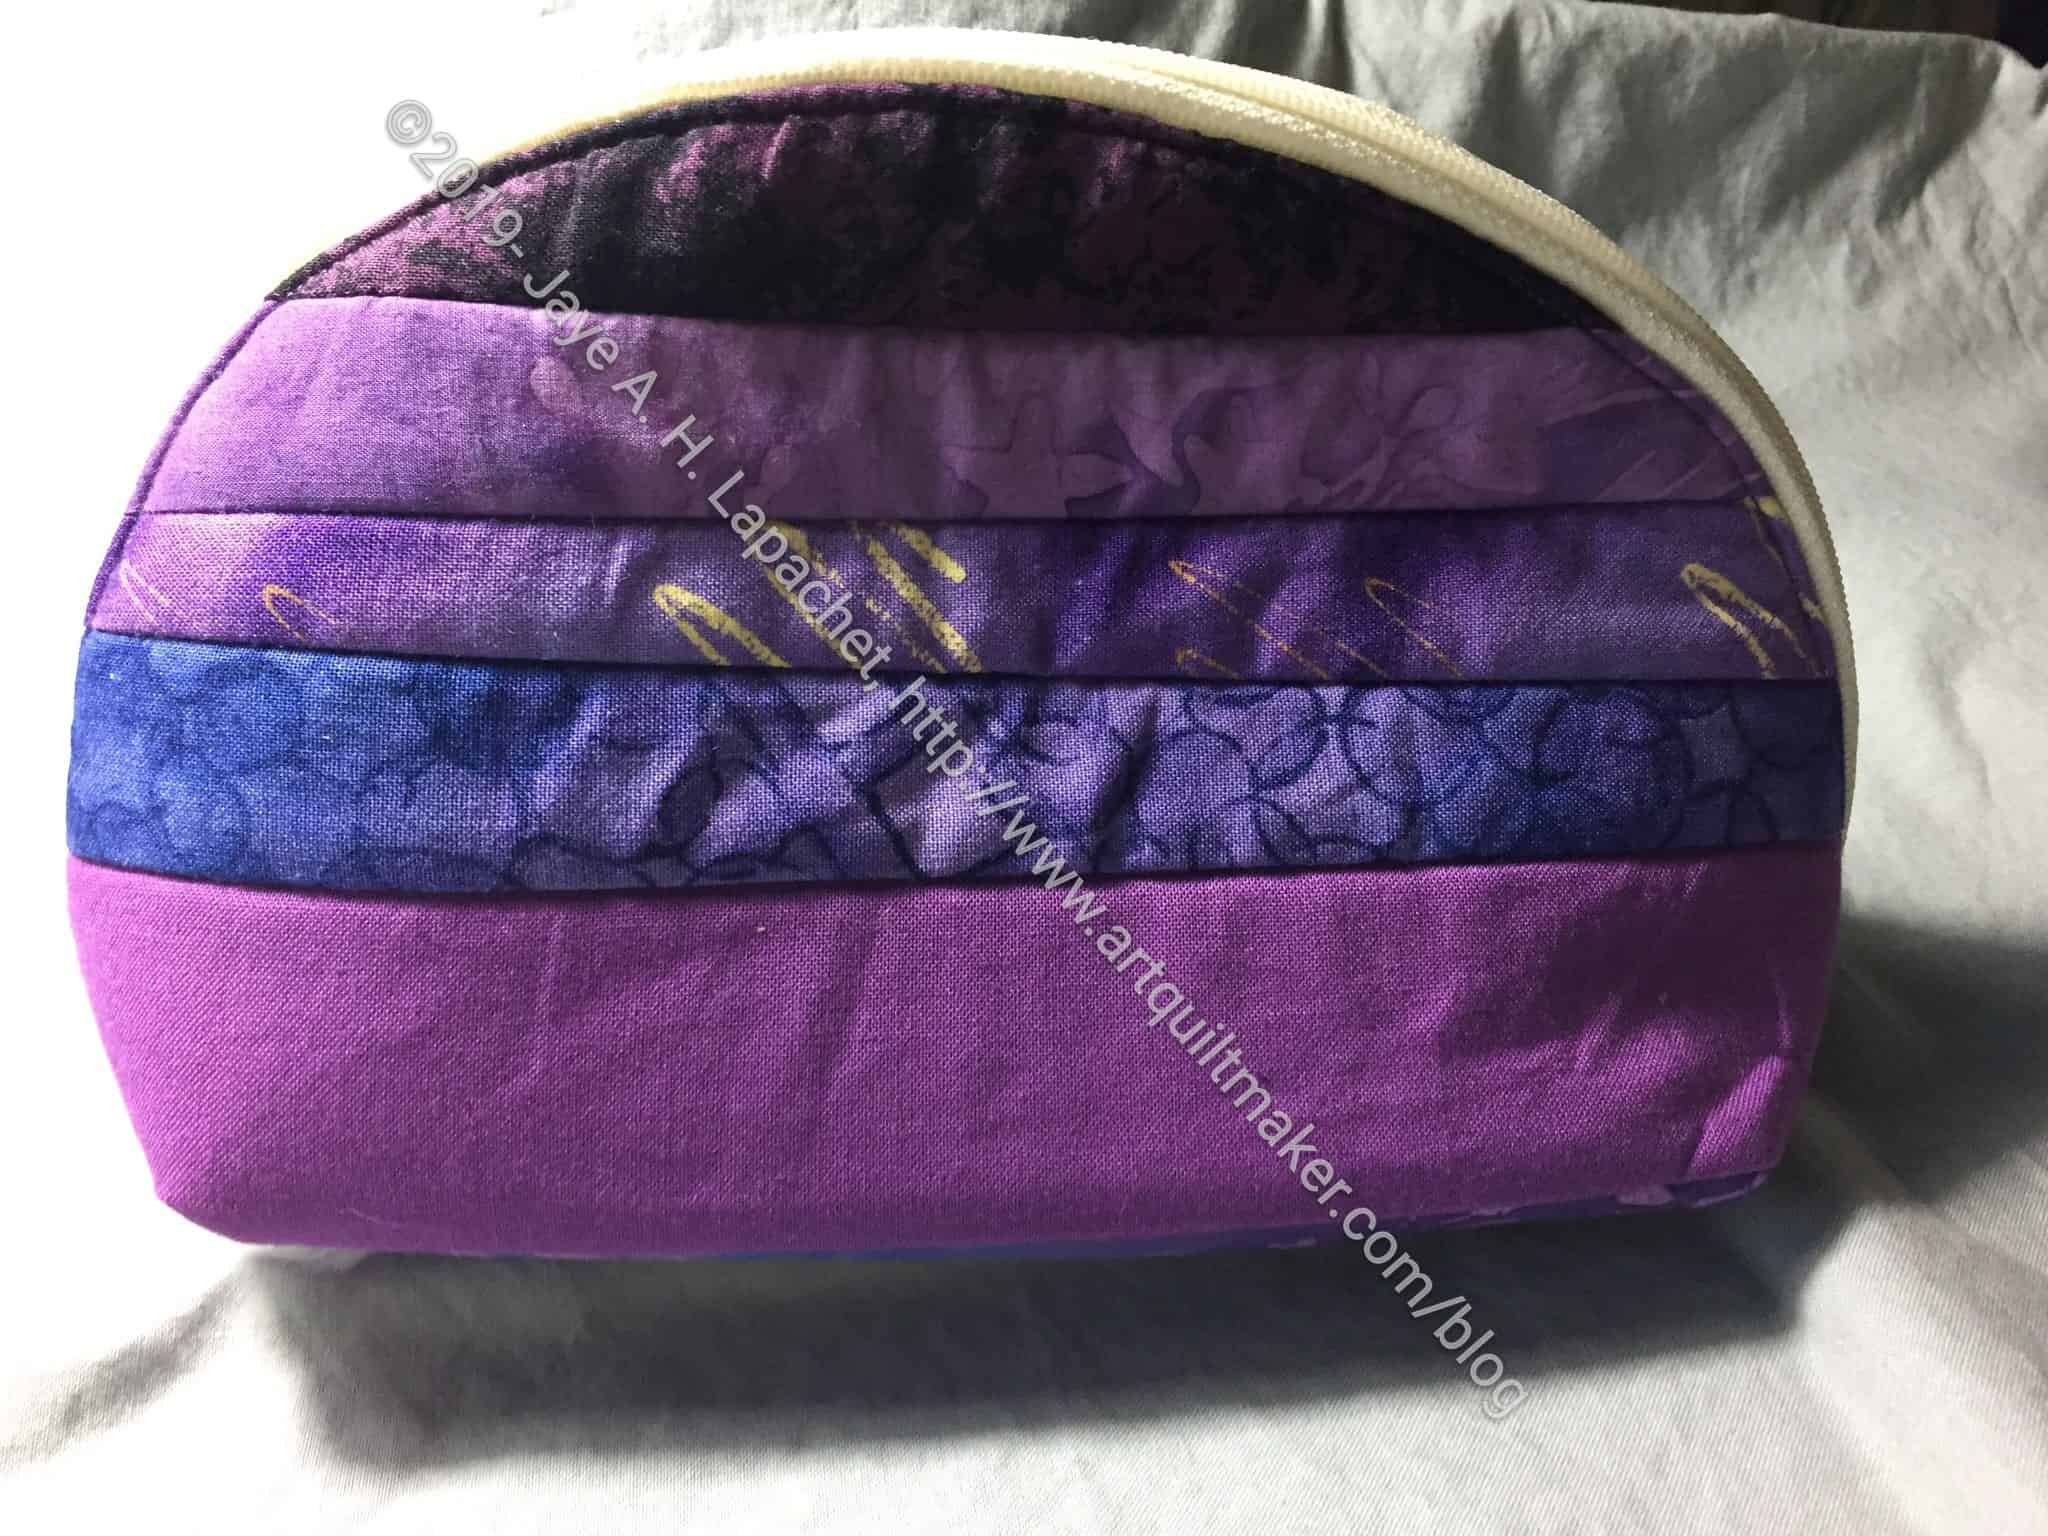
I made this one, as well as another, with Soft and Stable*. I think the pattern calls for Soft & Stable, so I cut the pieces out, but decided not to use it in the first pouches I made. I just used fabric with SF101/ ShapeFlex* and that worked fine. After making a few of these, I decided I was ready to tackle one with Soft & Stable*. I used the Soft & Stable as a base and piece it using the Quilt as you Go. This prevented me from having to quilt the pieces later. I also got to use up some scraps. I didn’t do anything crazy, though I can see improv possibilities using QAYG.
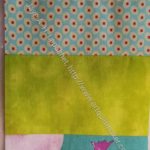
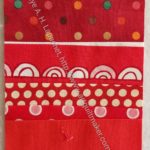
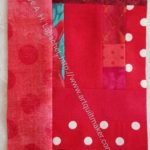
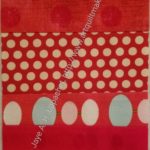
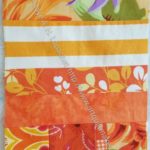
Persimmon Pouch for Julie bottom
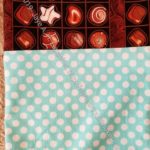
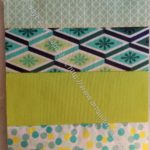
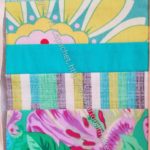
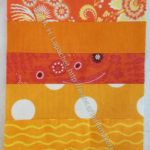
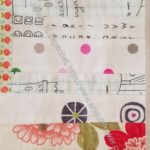
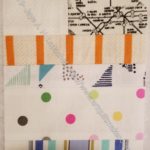
One thing I like about this pattern is the zipper installation. It is very clever and there are no issues with the ends of the zipper. The ends get tucked into the lining out of sight. There is no need for zipper tabs or cutting zippers or anything.
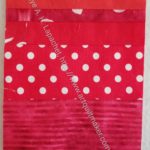
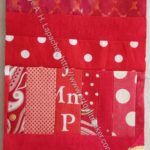
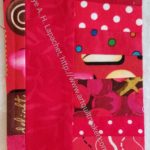
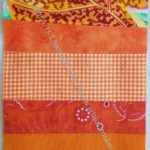
Persimmon Pouch for Julie lining
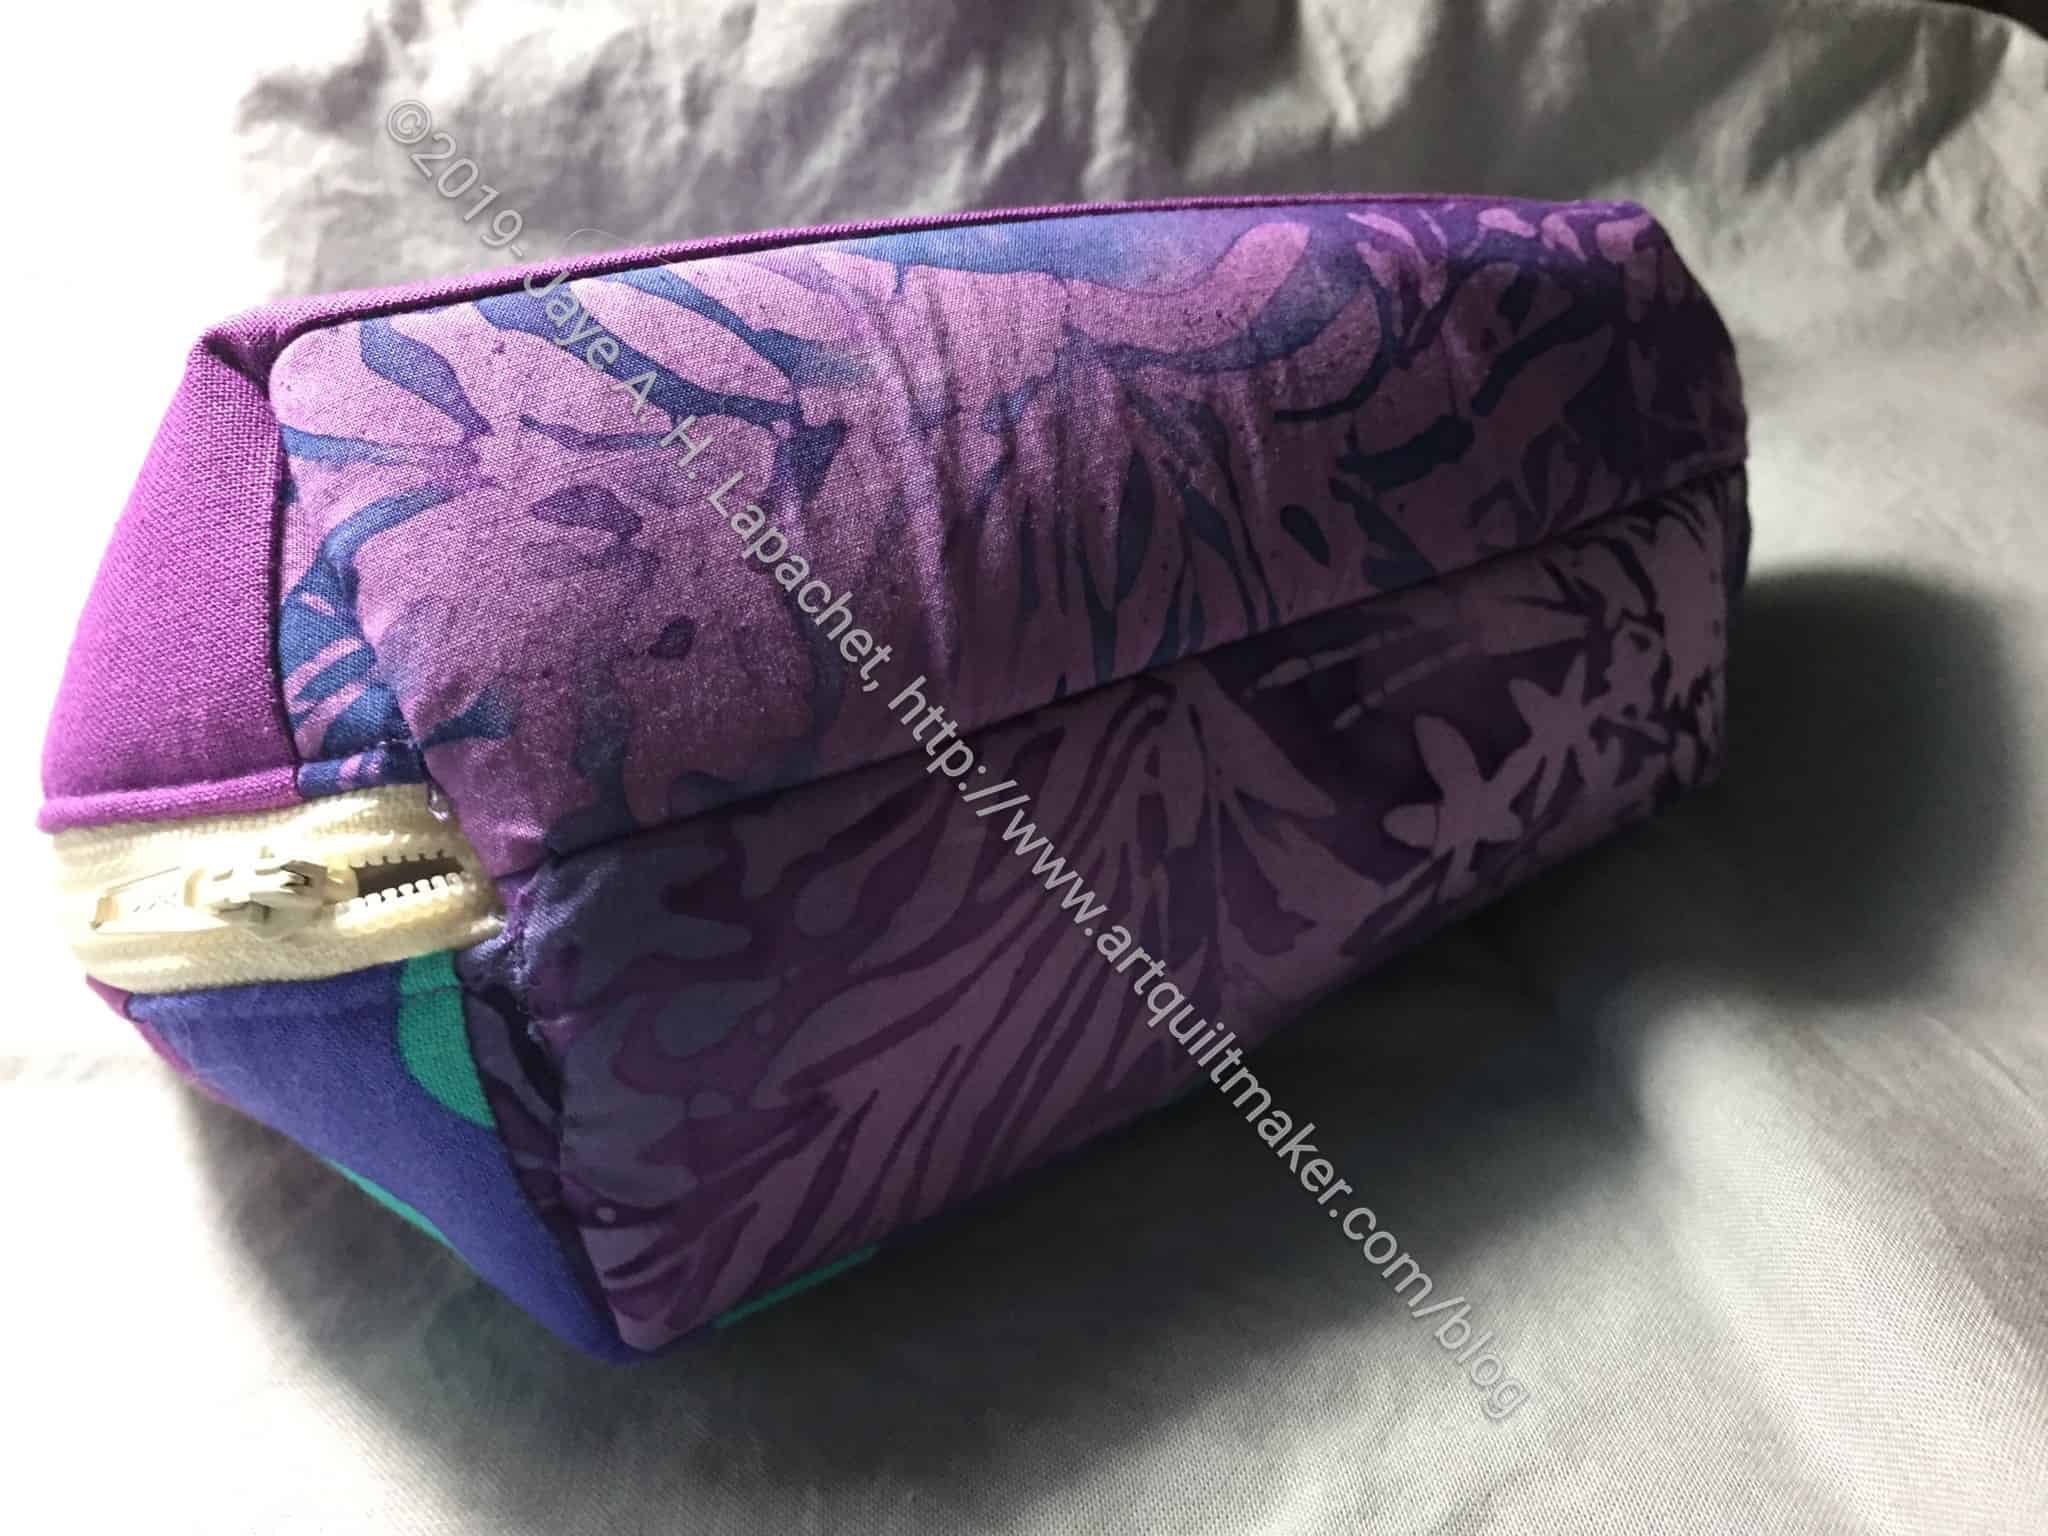
Turning the pouch was a little tricky because of the Soft & Stable, but not terrible. Normally, I like to make my interfacing a little smaller than the fabric, to reduce layers. When I make this pouch again with Soft & Stable, I will cut the piece larger than the pattern and then trim after I sew fabric pieces to the Soft & Stable. I had a couple of problems with the ends and I think this method would increase accuracy.
I did not hand sew the inside shut. I just wasn’t up for it. Still, I think the piece looks nice and Julie seems to be happy. The only other thing I would change is to get a zipper than matches.
*I use affiliate links and may be paid for your purchase of an item you click on. There is no additional cost to you for clicking or purchasing items I recommend. I appreciate your clicks and purchases as it helps support this blog.
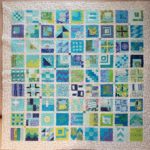
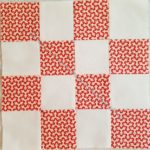
I am sort of keeping up. I am still working on Clue 4, but I did finish Clue 5. This was another clue that went pretty quickly and where I used the Triangle Technique for making HSTs.
I find now that I am two clues behind as Bonnie slotted in a clue on New Year’s Eve when I was otherwise occupied. Oh well, one is pretty easy, so I should be able to catch up soon.
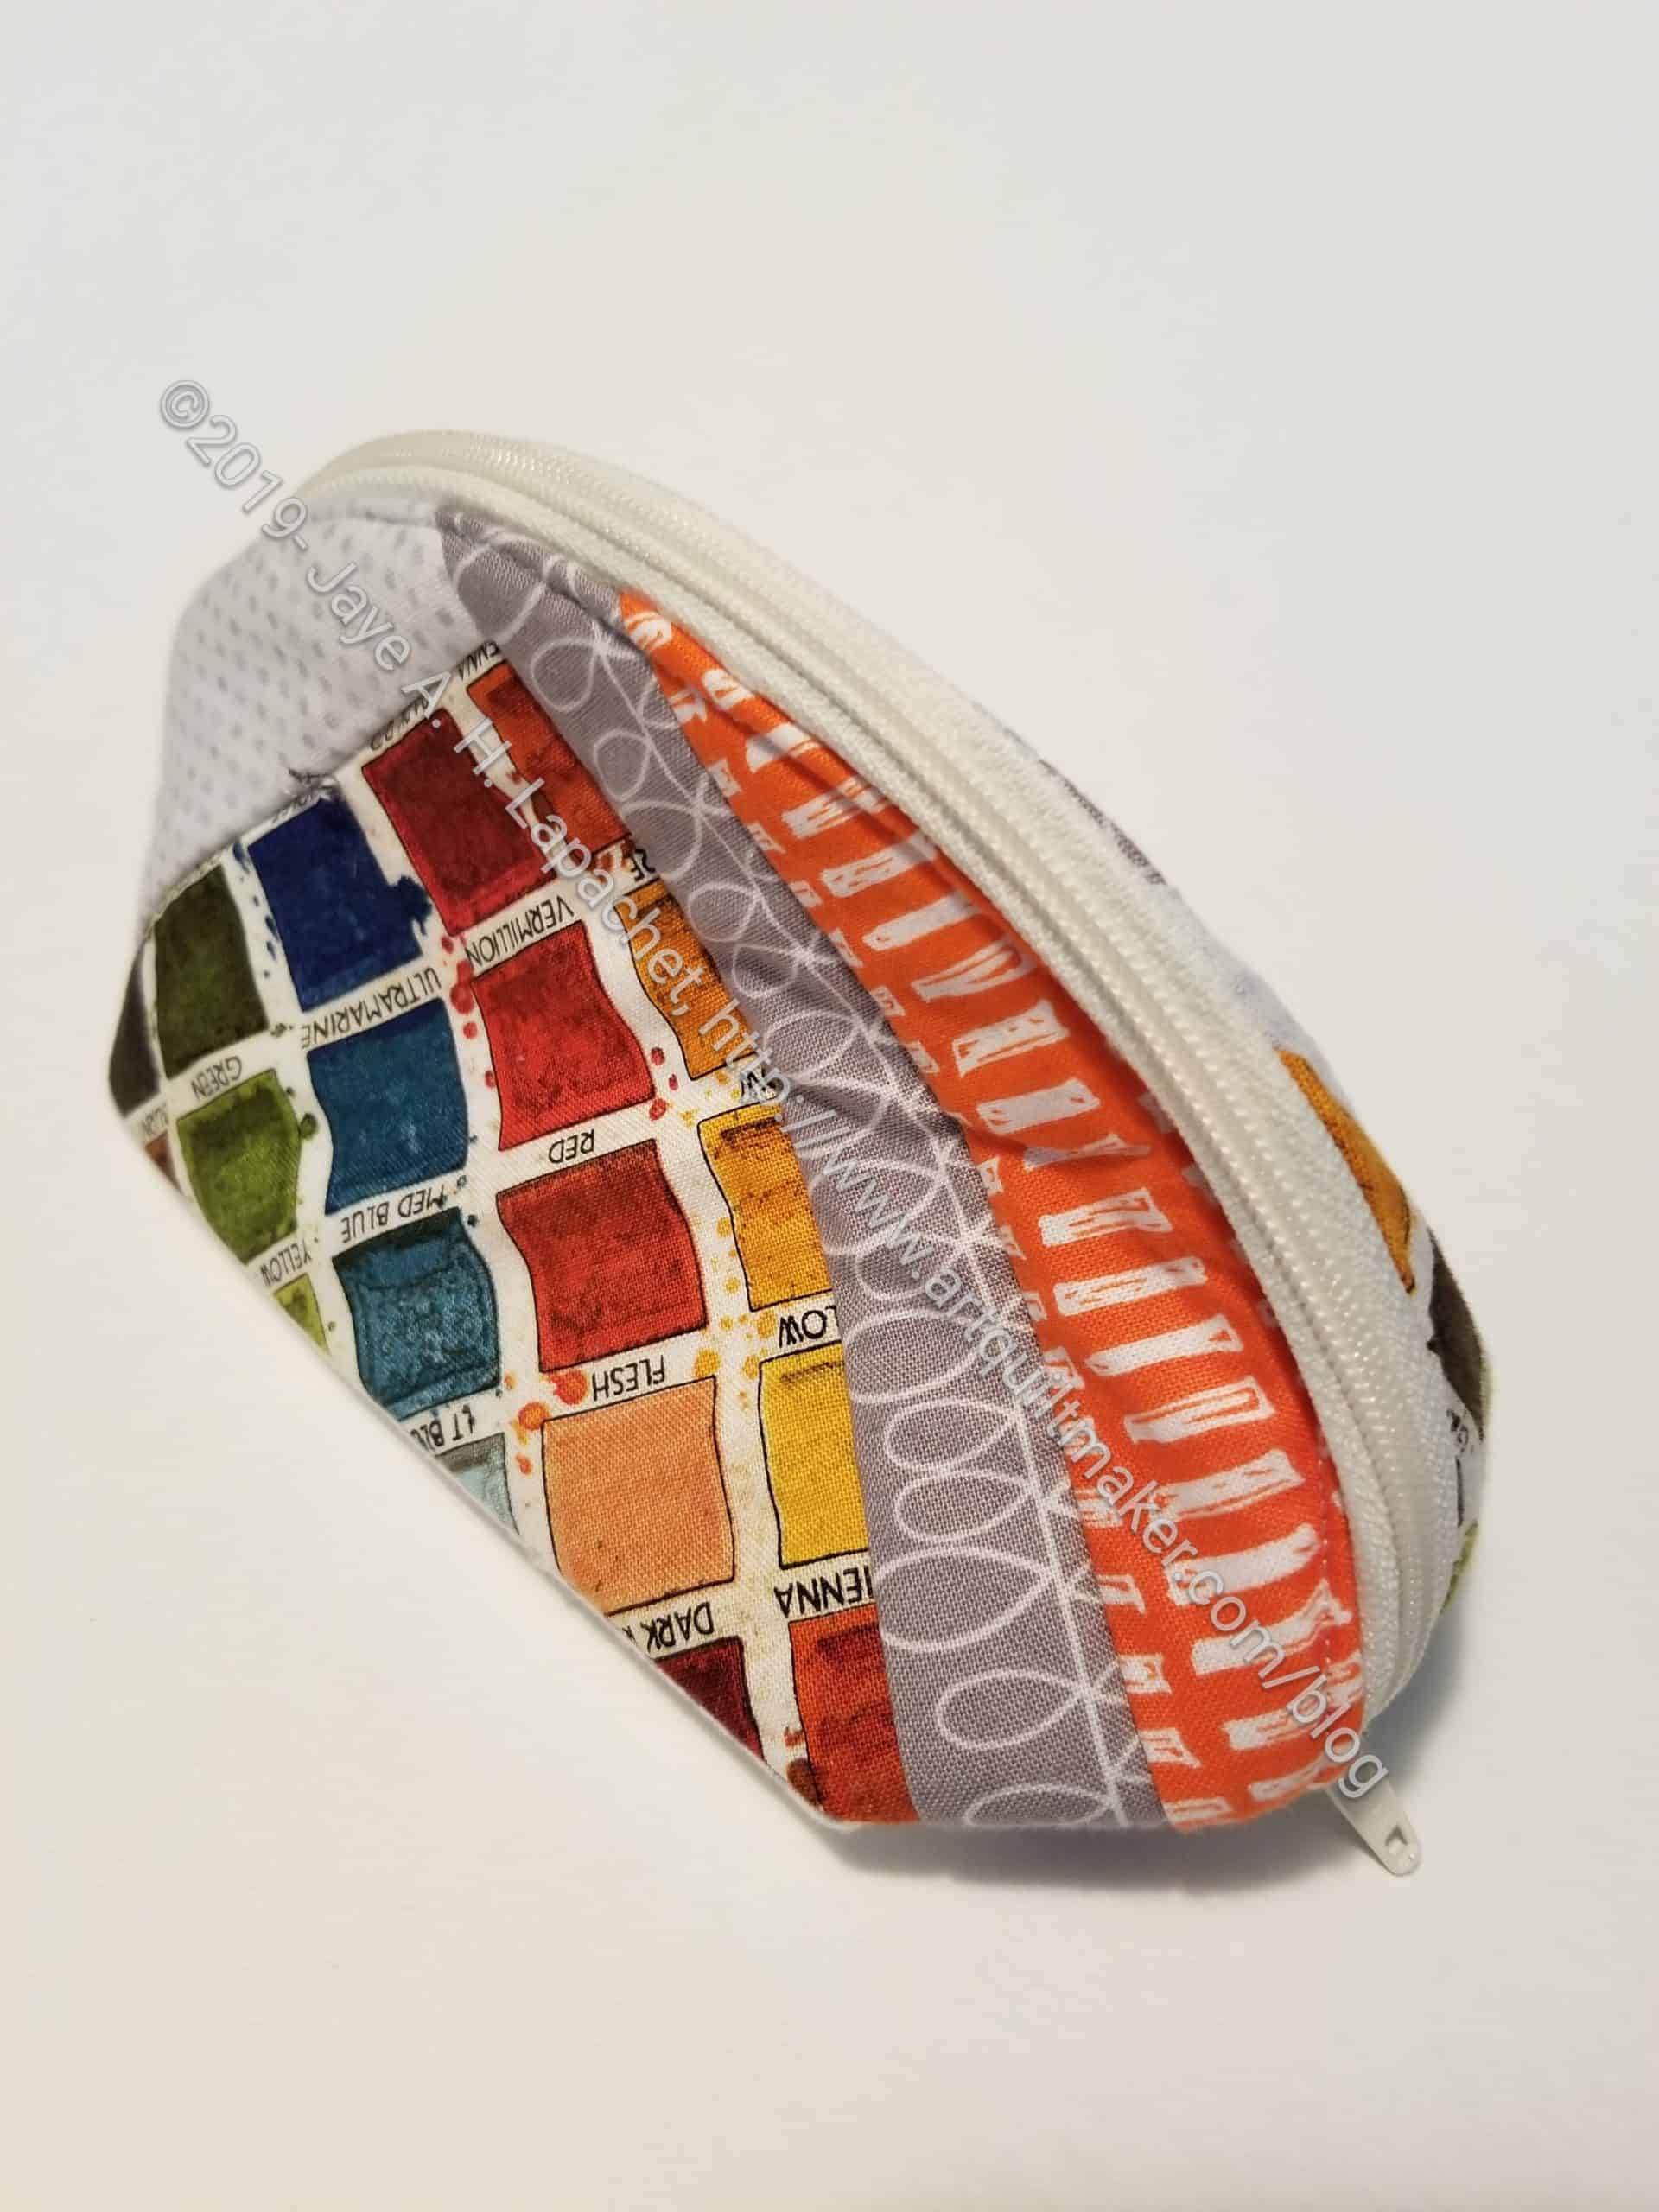
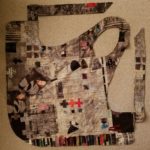
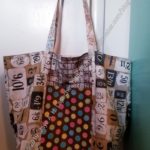
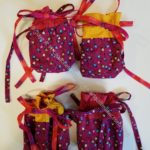
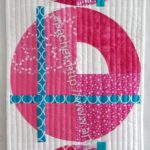
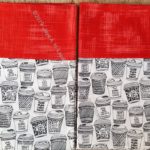
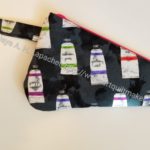
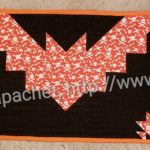
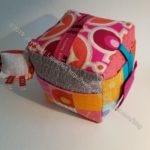
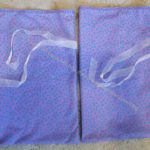
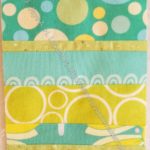
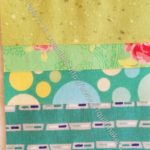
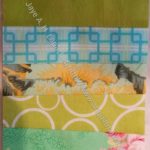
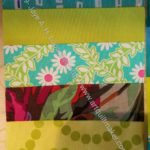
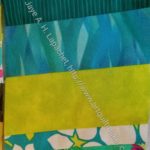
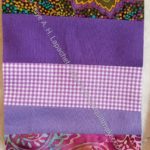
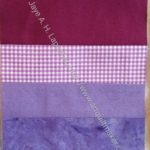
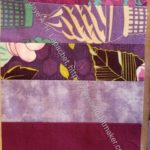
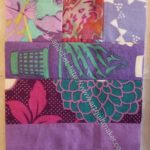
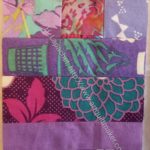
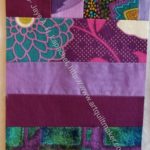
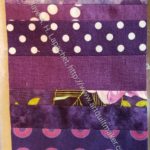
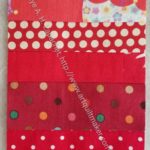
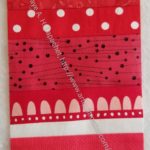
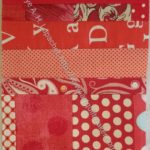
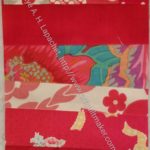
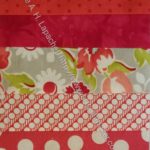
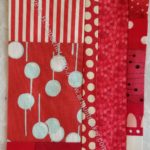
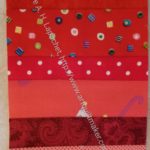
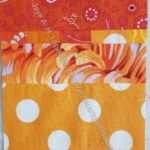
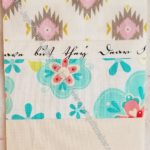
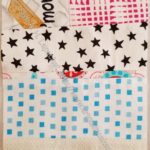
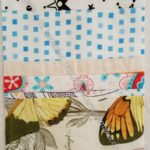
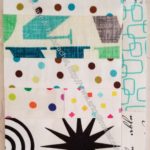
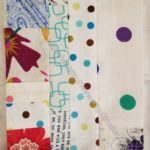
Like the pouch I talked about after Christmas and back in November, this pouch is made using the same Persimmon Pouch pattern, still FREE from Sew Sweetness. I made this one and Julie’s at the same time. I used Soft & Stable* for the lining.
I used the Soft & Stable as a foundation piecing base and sewed scraps to the base. The Soft & Stable* makes for a good base and I liked not having to quilt the sides separately.
I also used some of the artist fabric I had in my scrap pile to keep the idea of the set of items going.
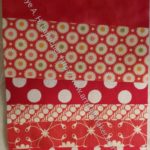
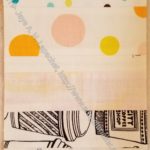
Mom’s Persimmon Pouch inside
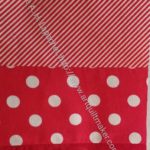
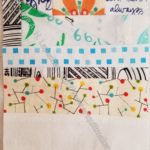
Mom’s Persimmon Pouch amazing end finishing
*I use affiliate links and may be paid for your purchase of an item you click on. There is no additional cost to you for clicking or purchasing items I recommend. I appreciate your clicks and purchases as it helps support this blog.
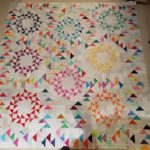
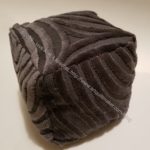
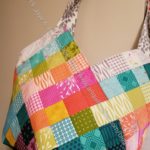
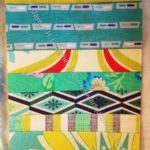
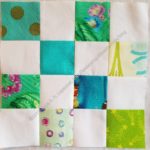
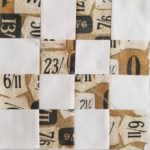
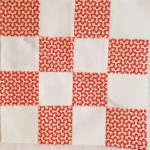
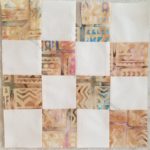
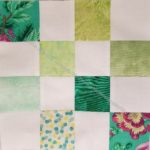
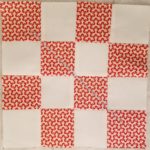
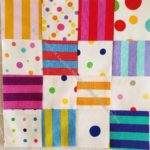
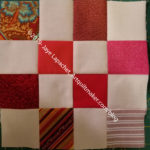
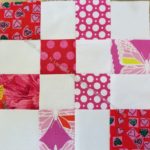
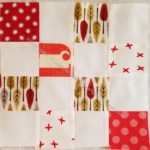
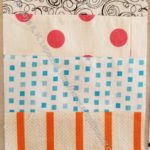
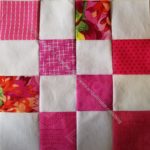
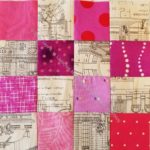
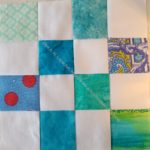
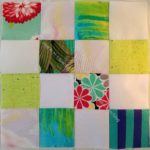
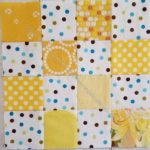
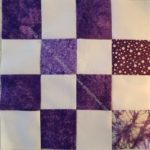
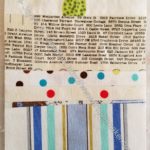
As mentioned, I started working on Windmill blocks. Last time, I talked about this project, I was sewing all the blades together. I realized that I had TONS of blades, so I shifted gears. I have enough blades to make at least two quilts. I decided to make a warm version first. This will consist of red, orange, yellow, pink, brown, beige and any mottle fabric that reads ‘warm’.
Windmill patches
I wanted something easy to sew together. Despite the angles, my idea worked. I can eyeball how to put the patches together so they sew up into a square.
Since I started cutting greys, I made the background grey so the foreground fabrics stand out.
I think this will be part of the Niece-phews project.
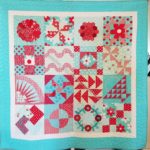
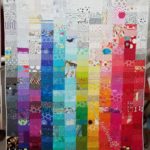
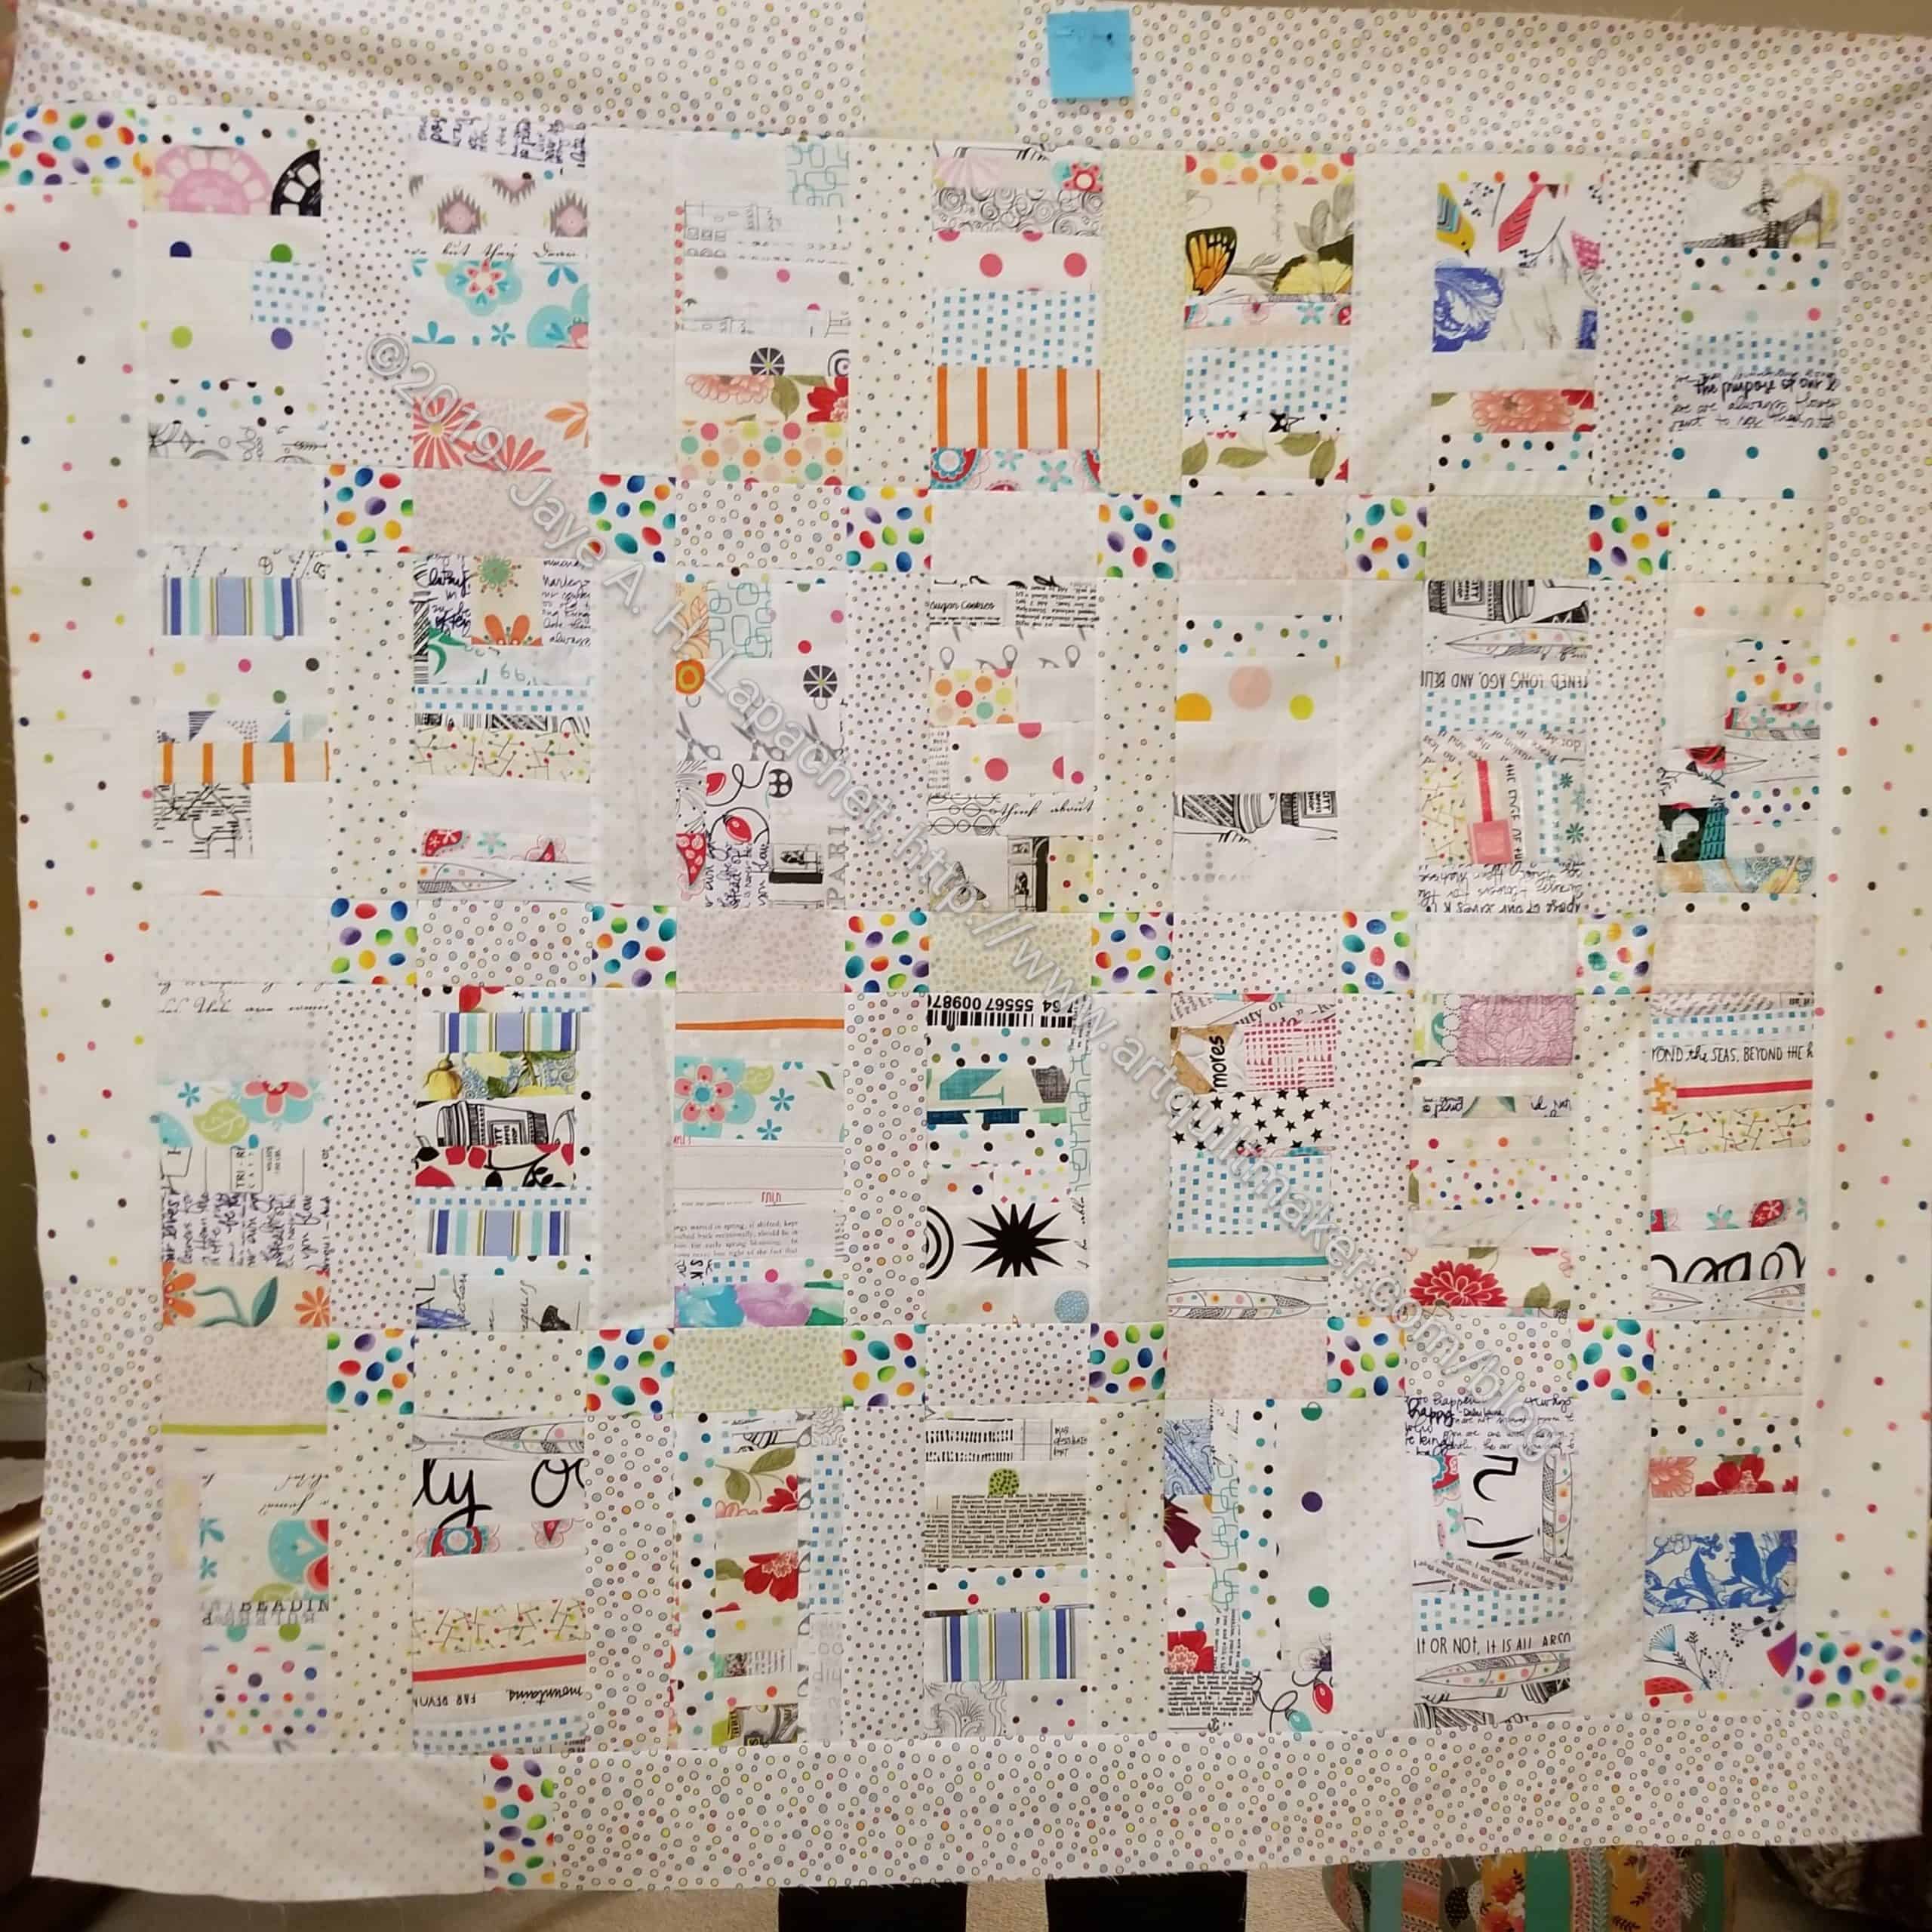
I feel like posting all of my donation quilts really makes me see that I have accomplished something good in the world. When I feel down, I can go and look at them. I made 14 donation tops last year. You have seen them all throughout the year, but it is nice to have them all in one place.
Total: 13 donation quilts
Ends n.7 Donation Quilt
This is Ends n.7. I made it from two half yards of burgundy (with visible pink undertones) fabric and the ends of the Triple Star quilt. Finished January 2019.
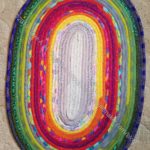
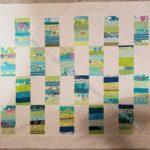
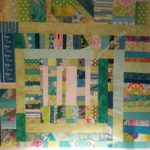
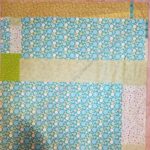
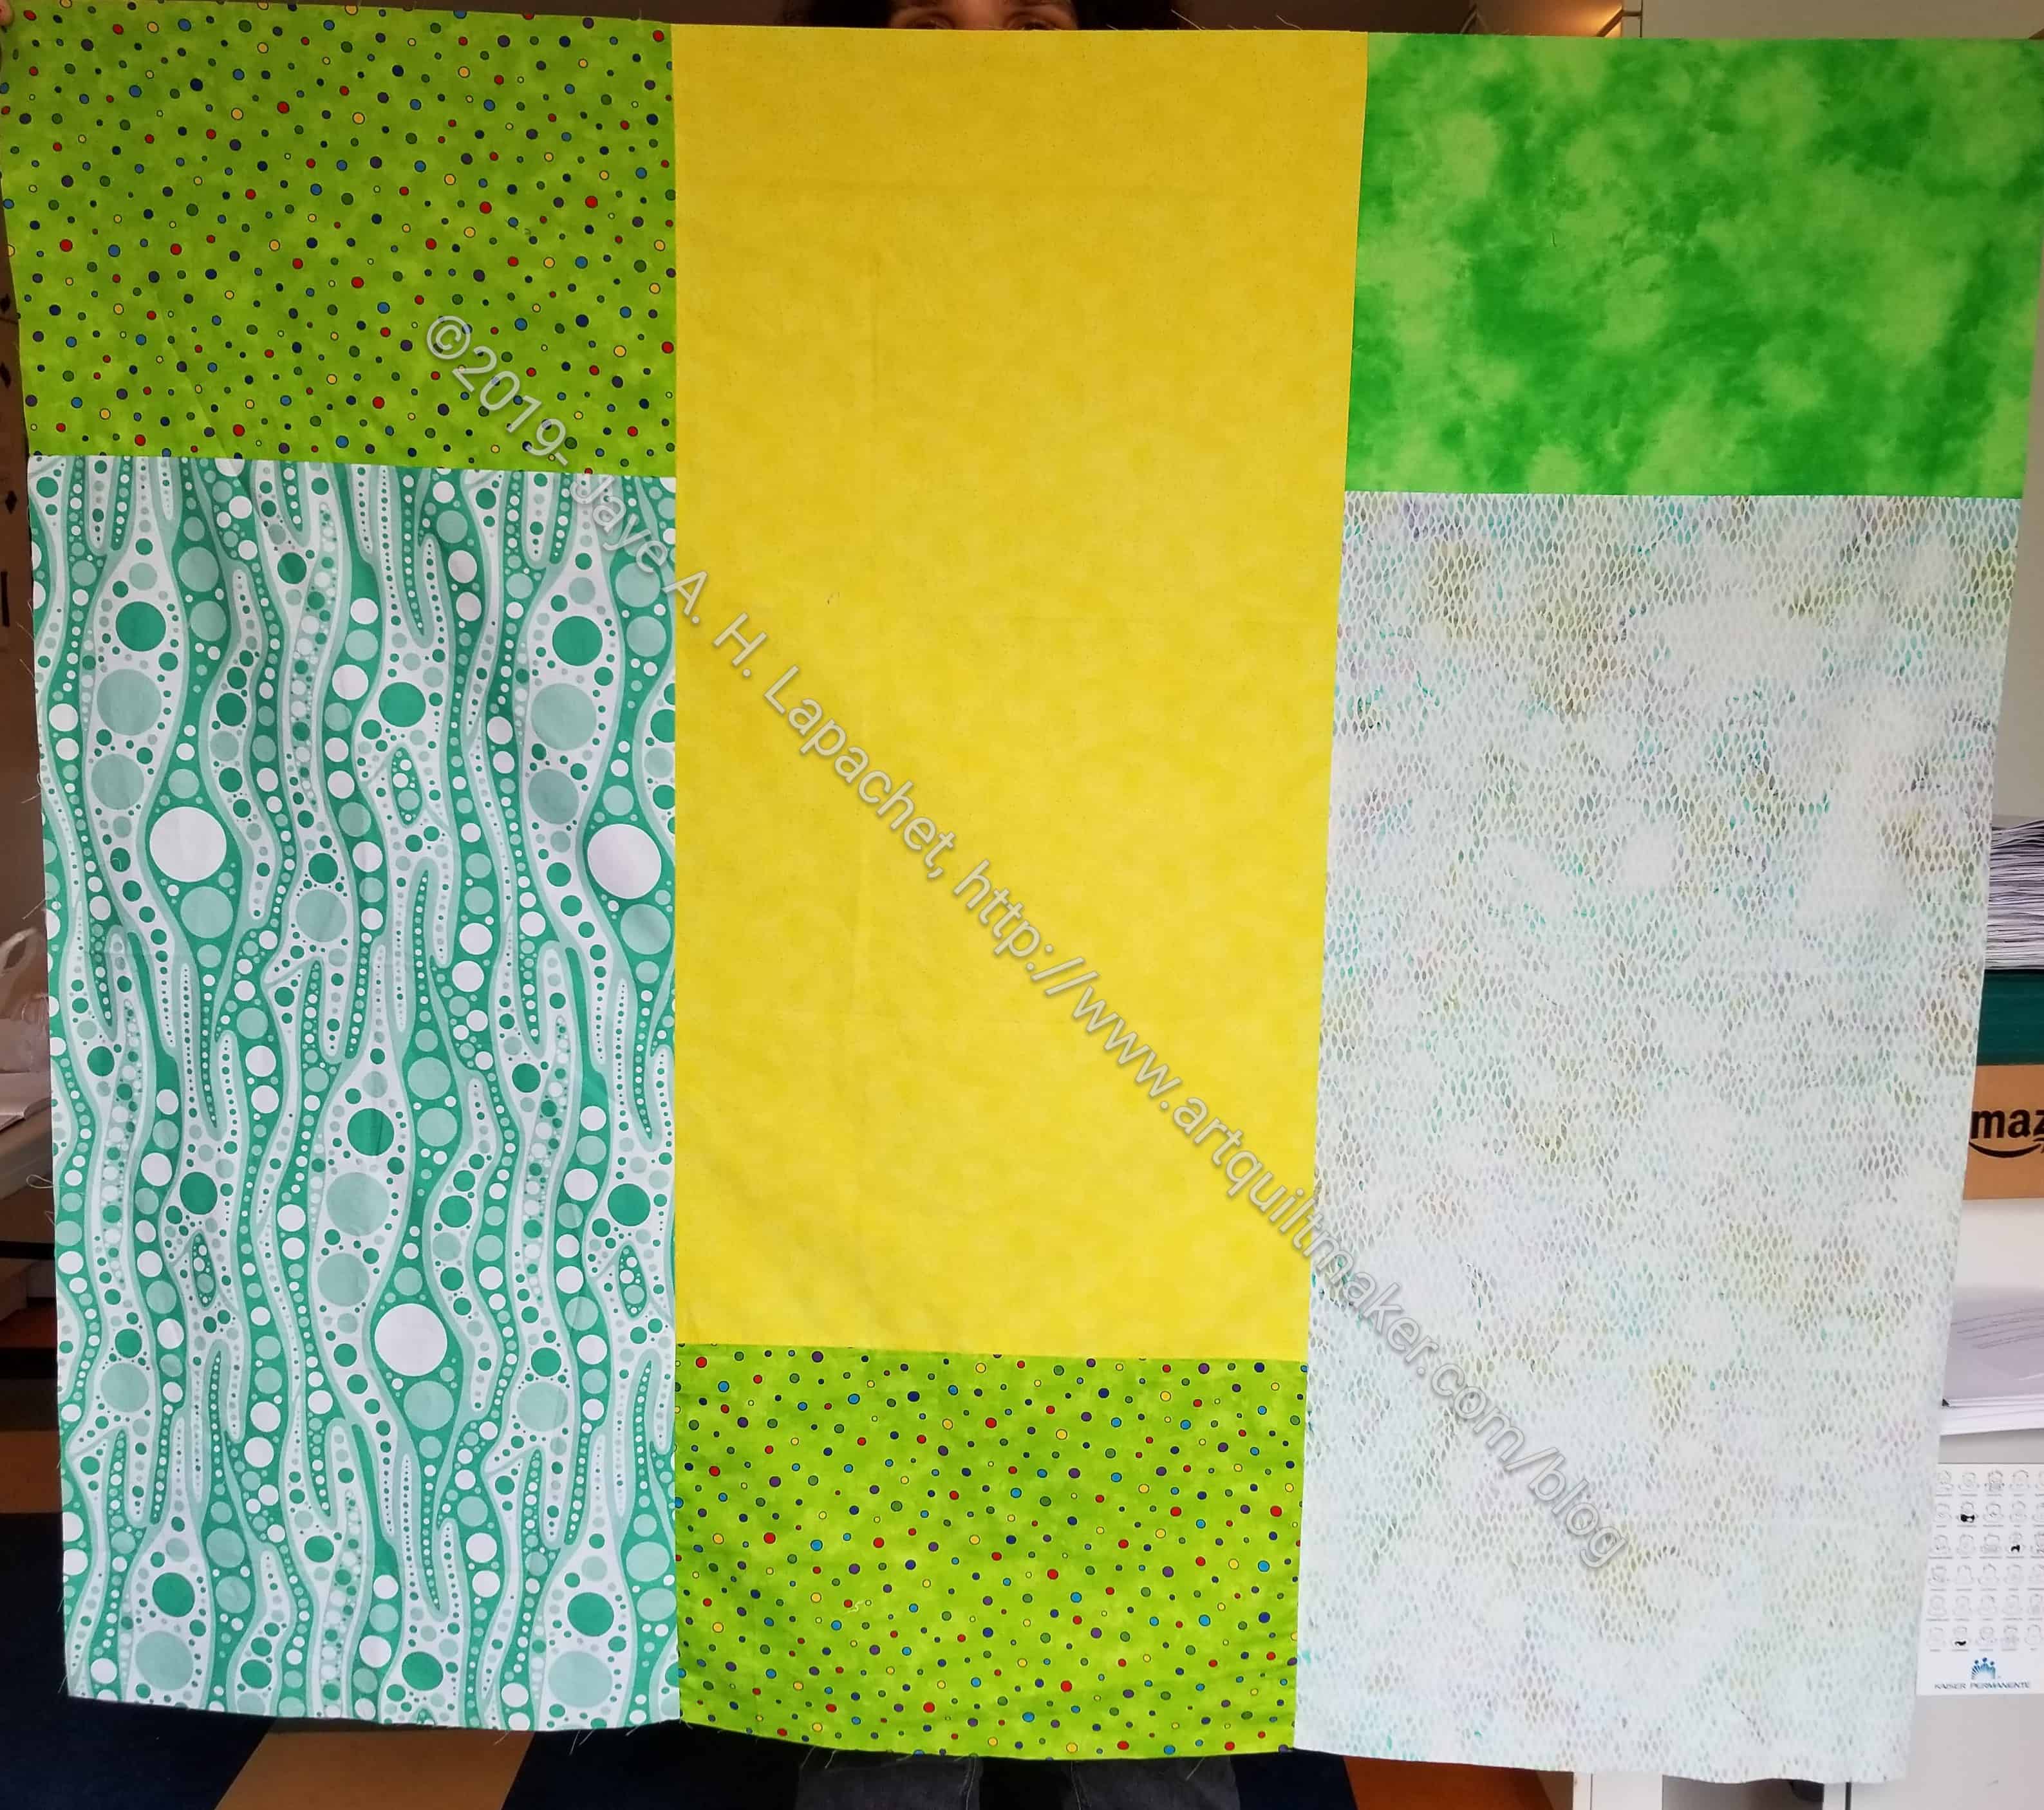
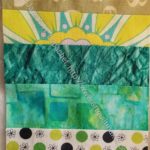
Green Strips donation top
Green Strips donation back
Green Strips donation quilt is made from a yard of Kona Cream and 19 blocks that I made from strips found in my scrap bin. This was inspired by Alison. Finished January 2019.
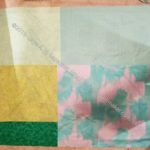
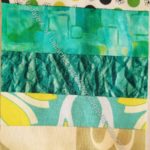
Green Thing donation top
Green Thing donation back
The Green Thing donation top was finished in February. I used leftover pieces from the Green Strips donation top and a lot of scraps from my green scrap drawer.
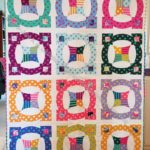
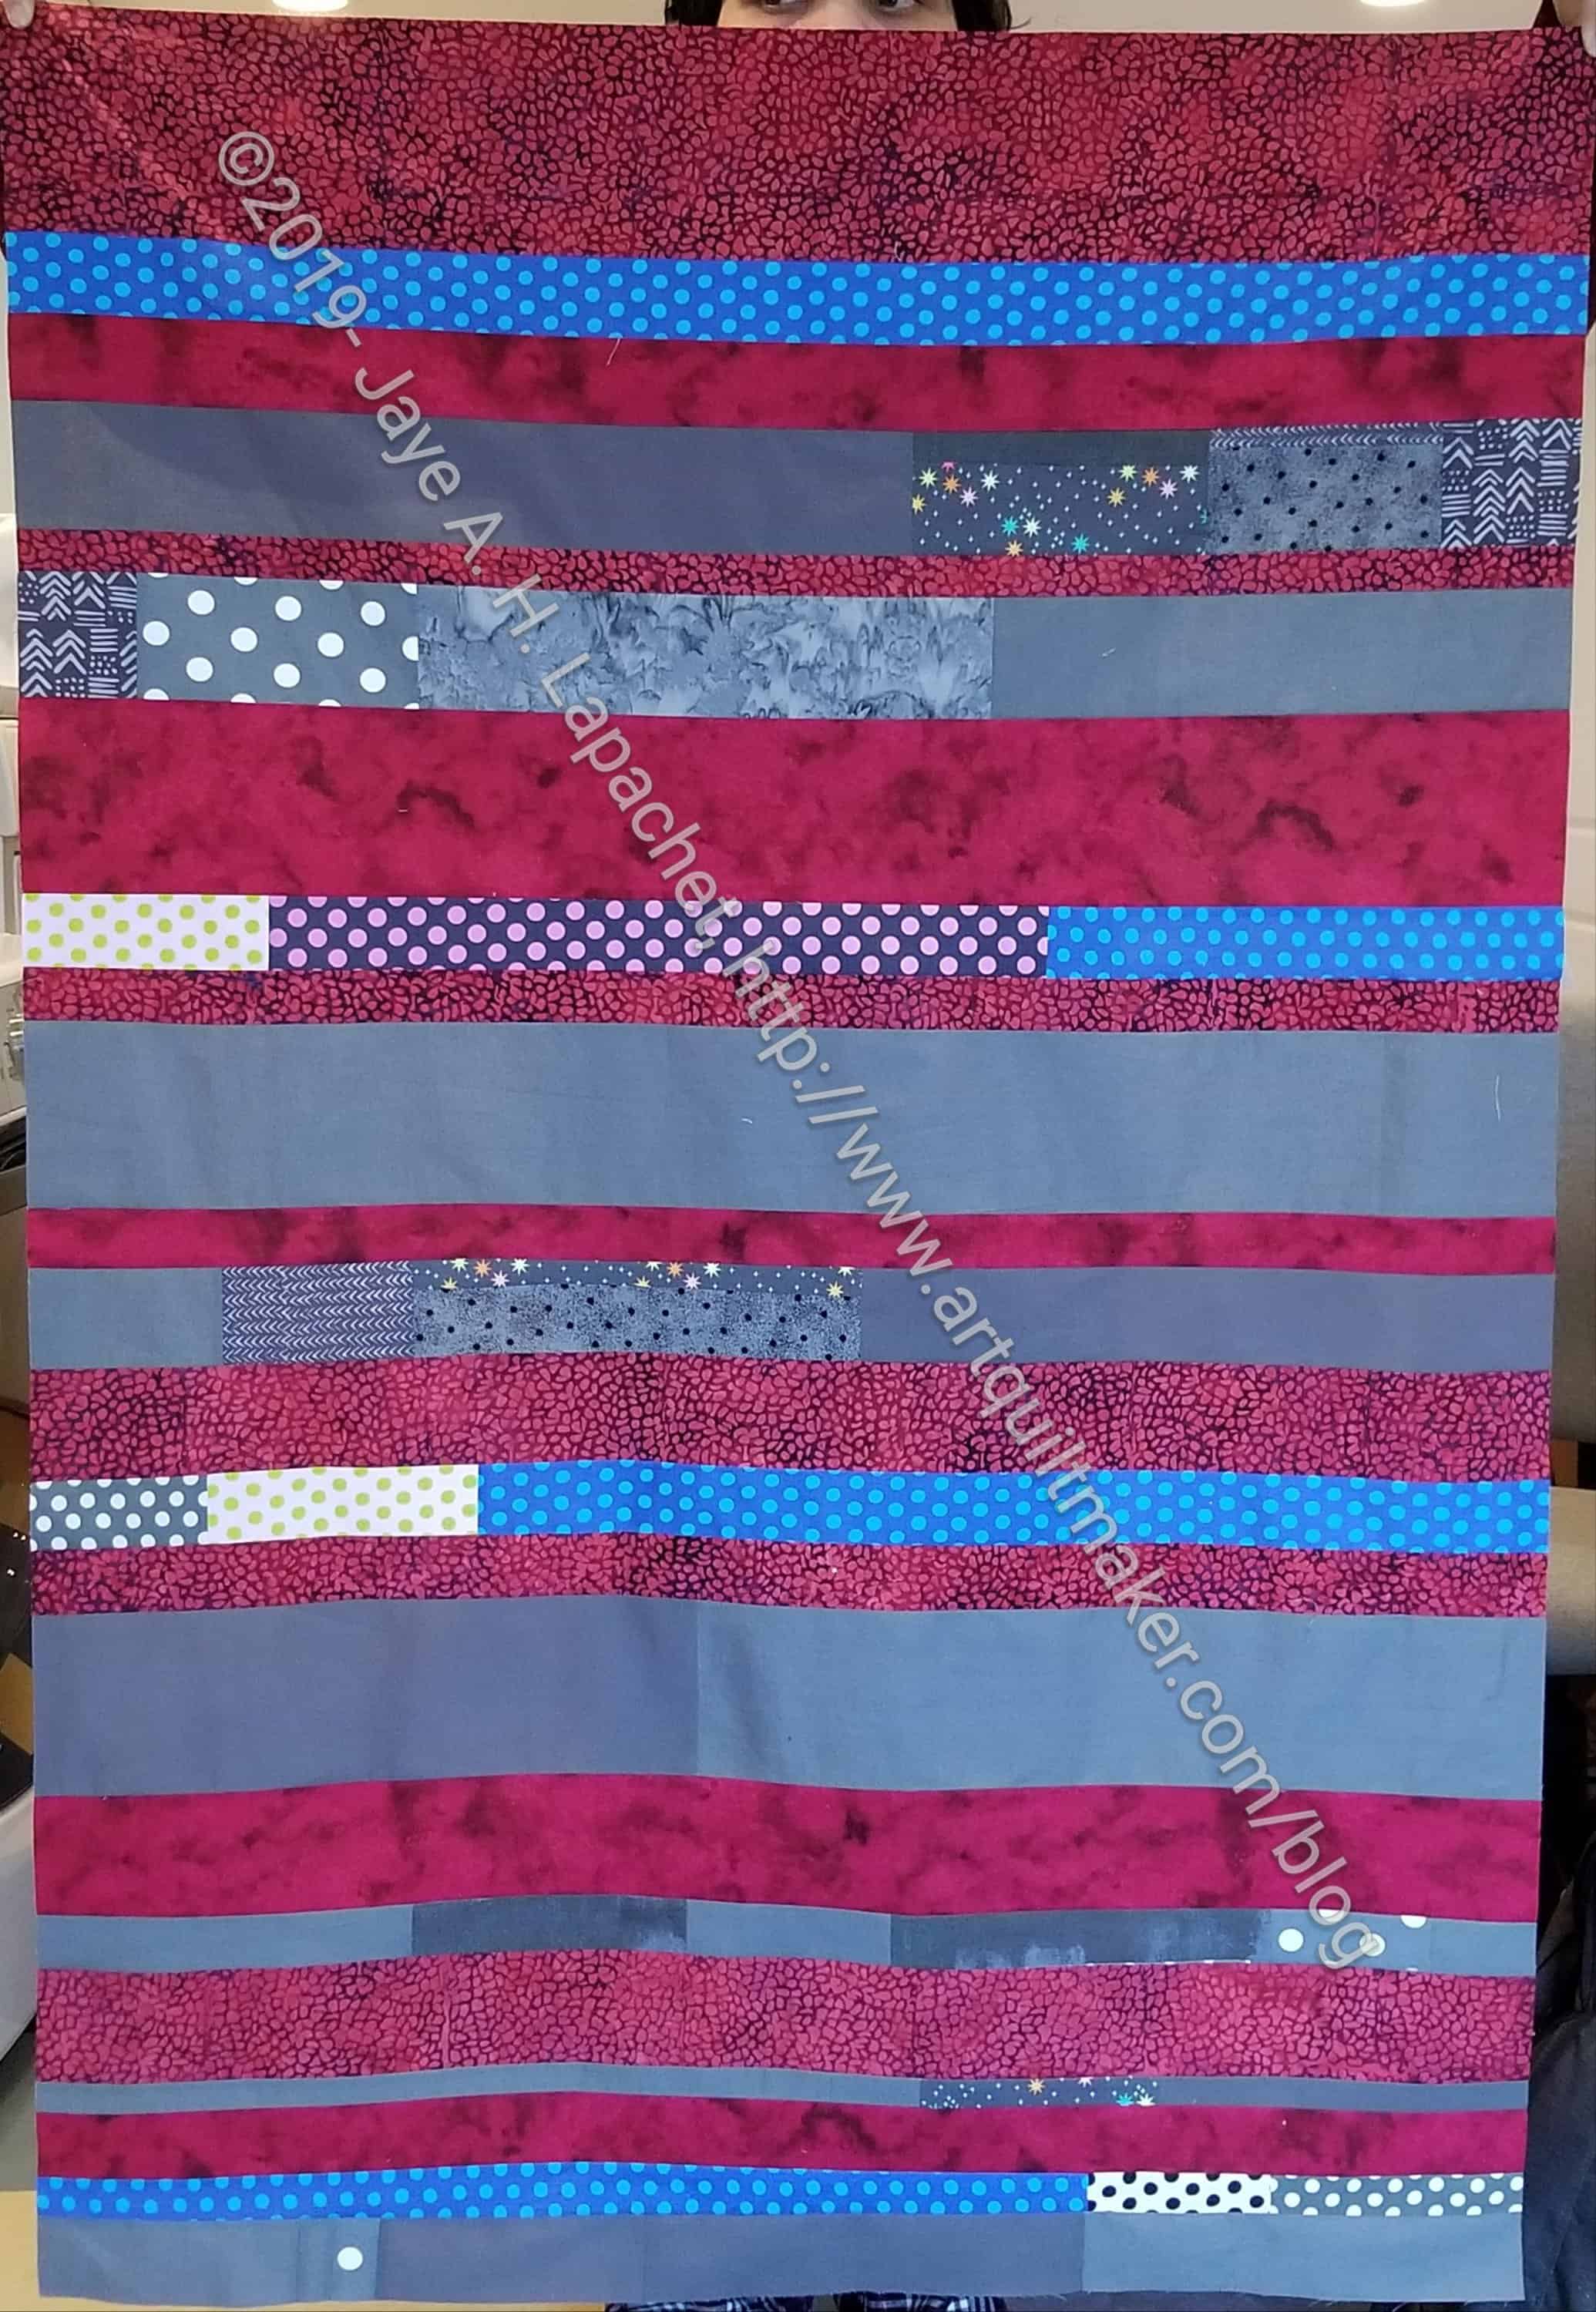
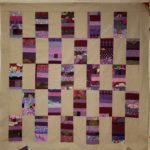
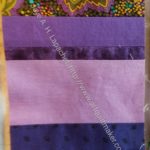
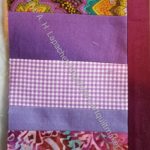
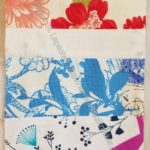
Purple Strips Quilt
Purple Strips donation top
This may be the second in the series of strip quilts. We’ll have to see if I do anymore. I have more scraps, so it is a possibility. Tim suggested the grey as the background and I think it works well.
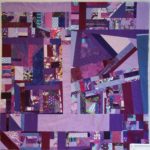
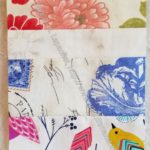
Finished: Improv Donation Top
Purple Improv Donation Back
As I did with the Green scraps, I made an Improv donation quilt with purple scraps to further clear out that bin.
Ends n.8 – Bonnie & Camille
Ends n.8 (Bonnie & Camille). I made this from the edges of the back of the Stepping Stones n.2 quilt.
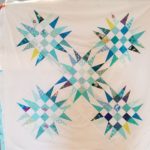
Spiky 16 Patch n.3
Spiky Star donation quilt n.3
Spiky Star donation quilt n.3 -back
I made these blocks in 2018, but just got around to put them together in March. Frankly, they were in the way on my design wall and I needed the space.
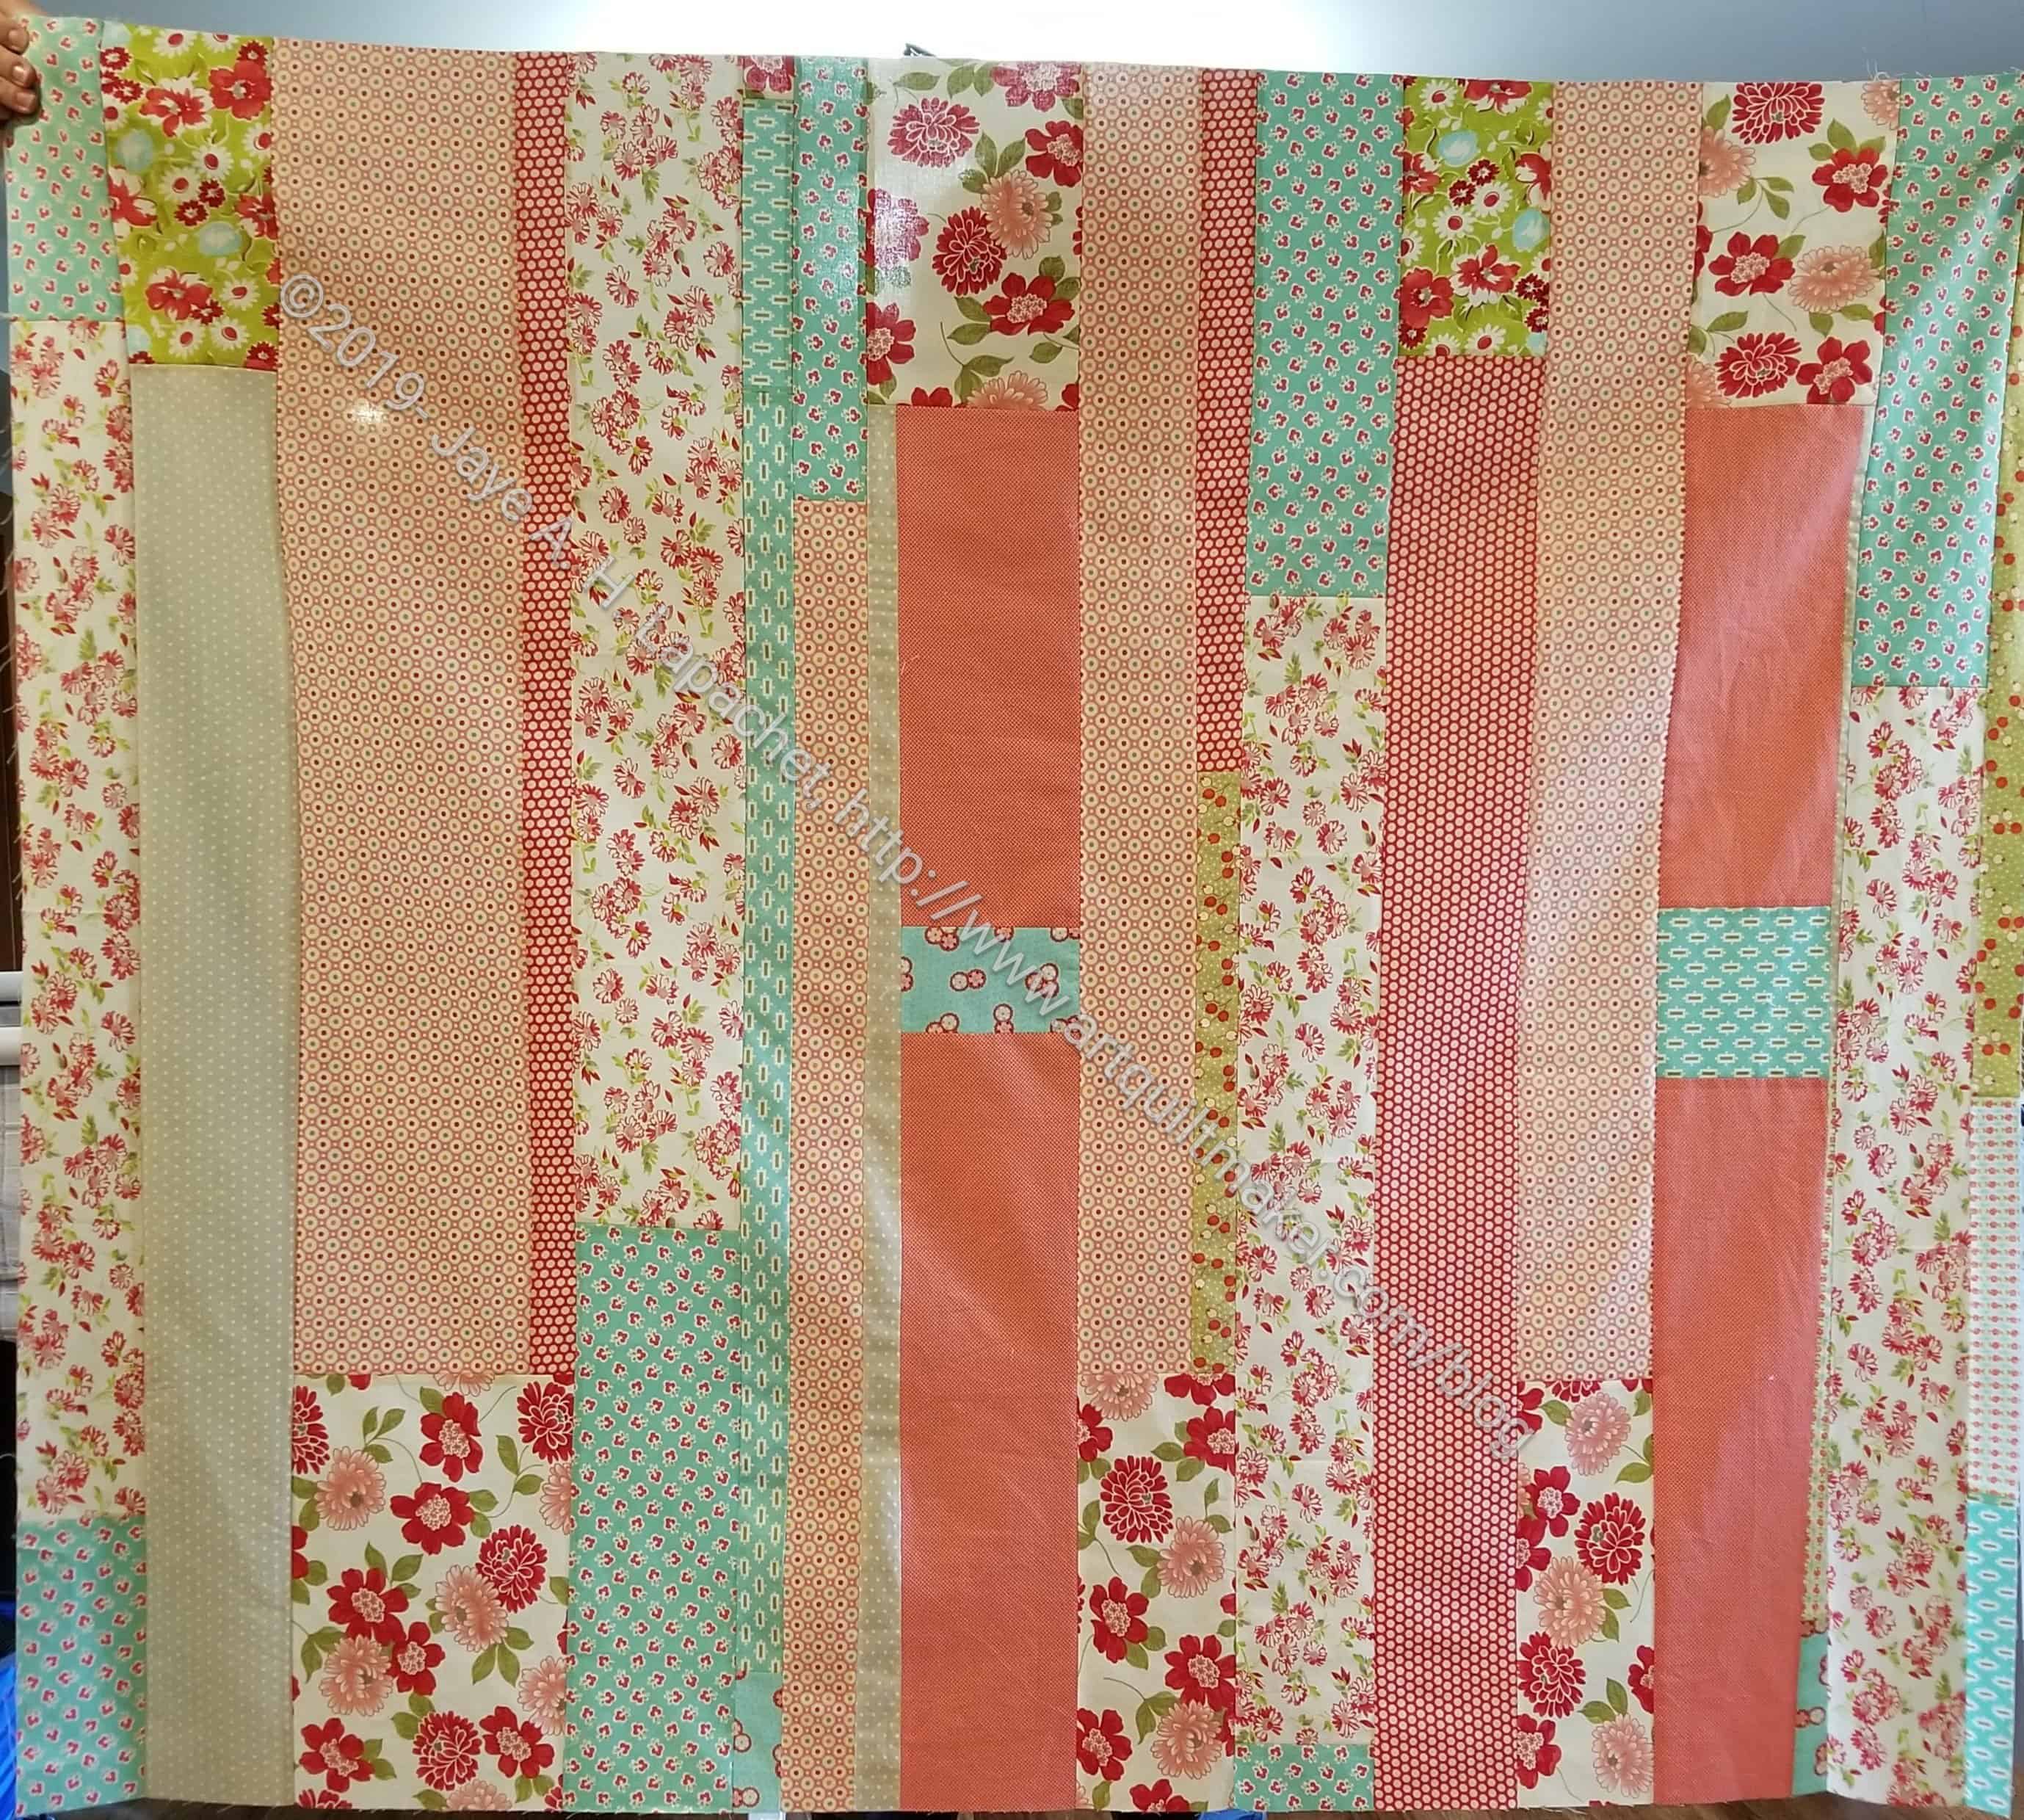
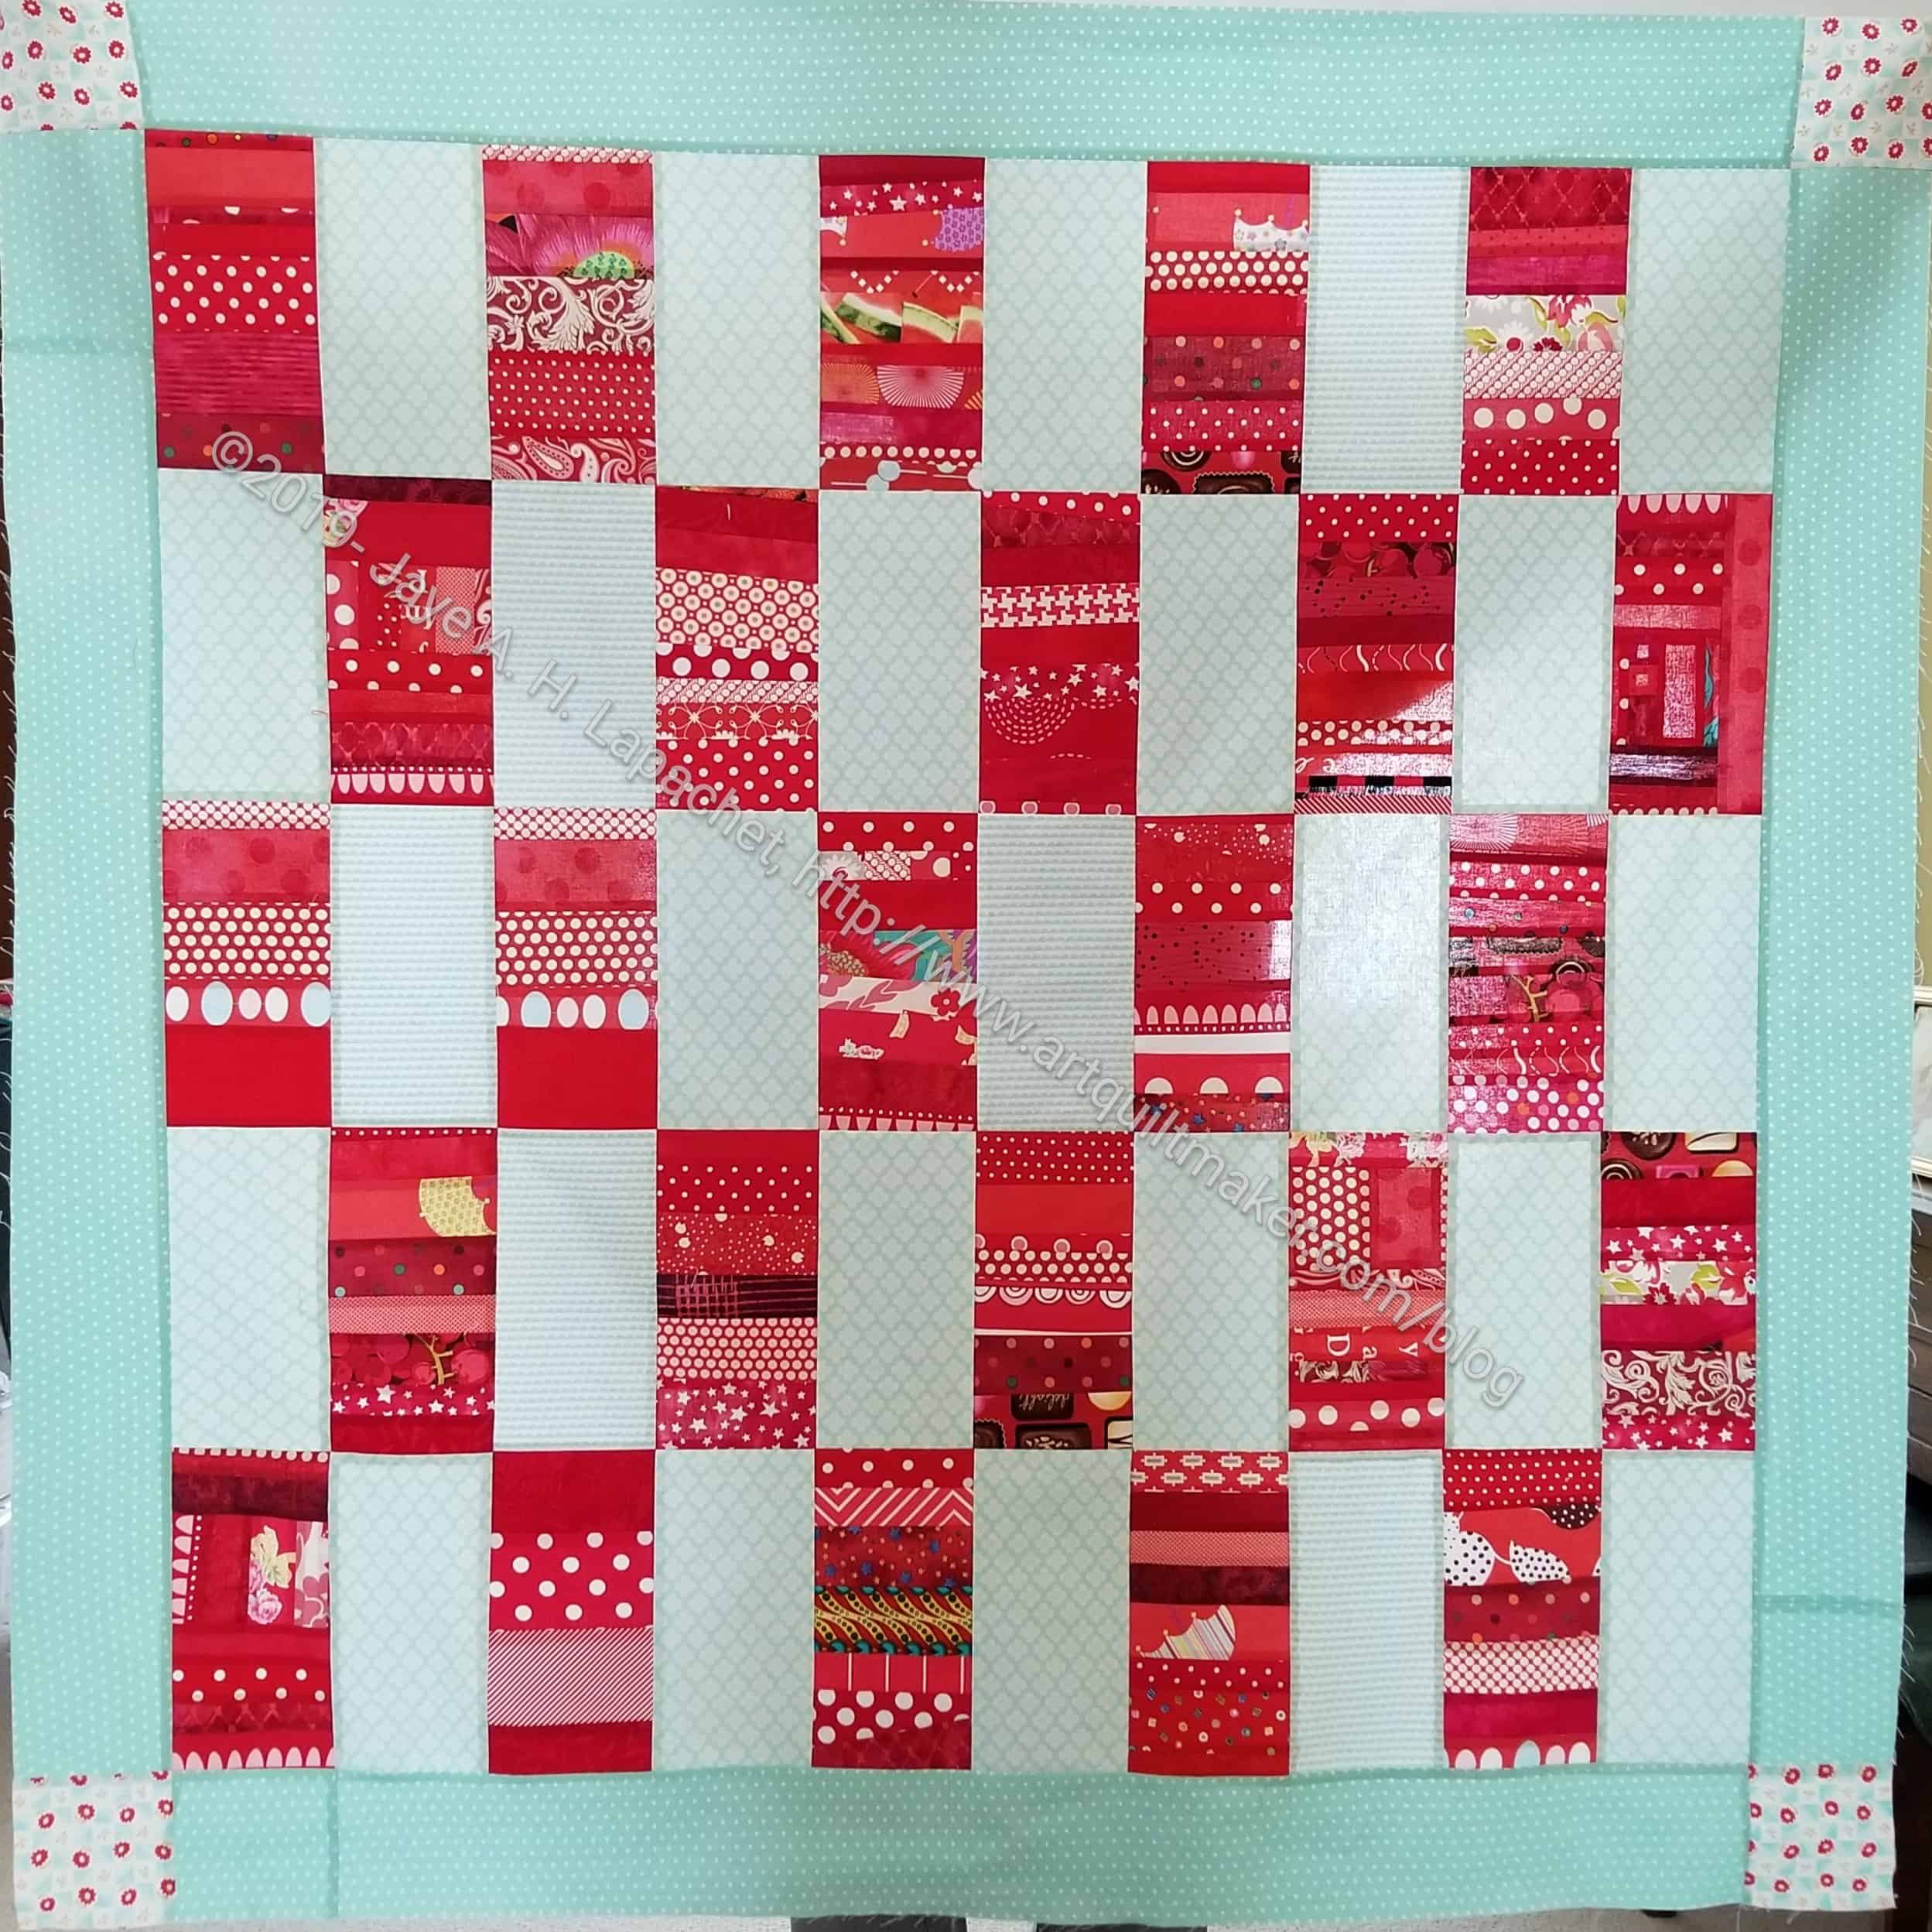
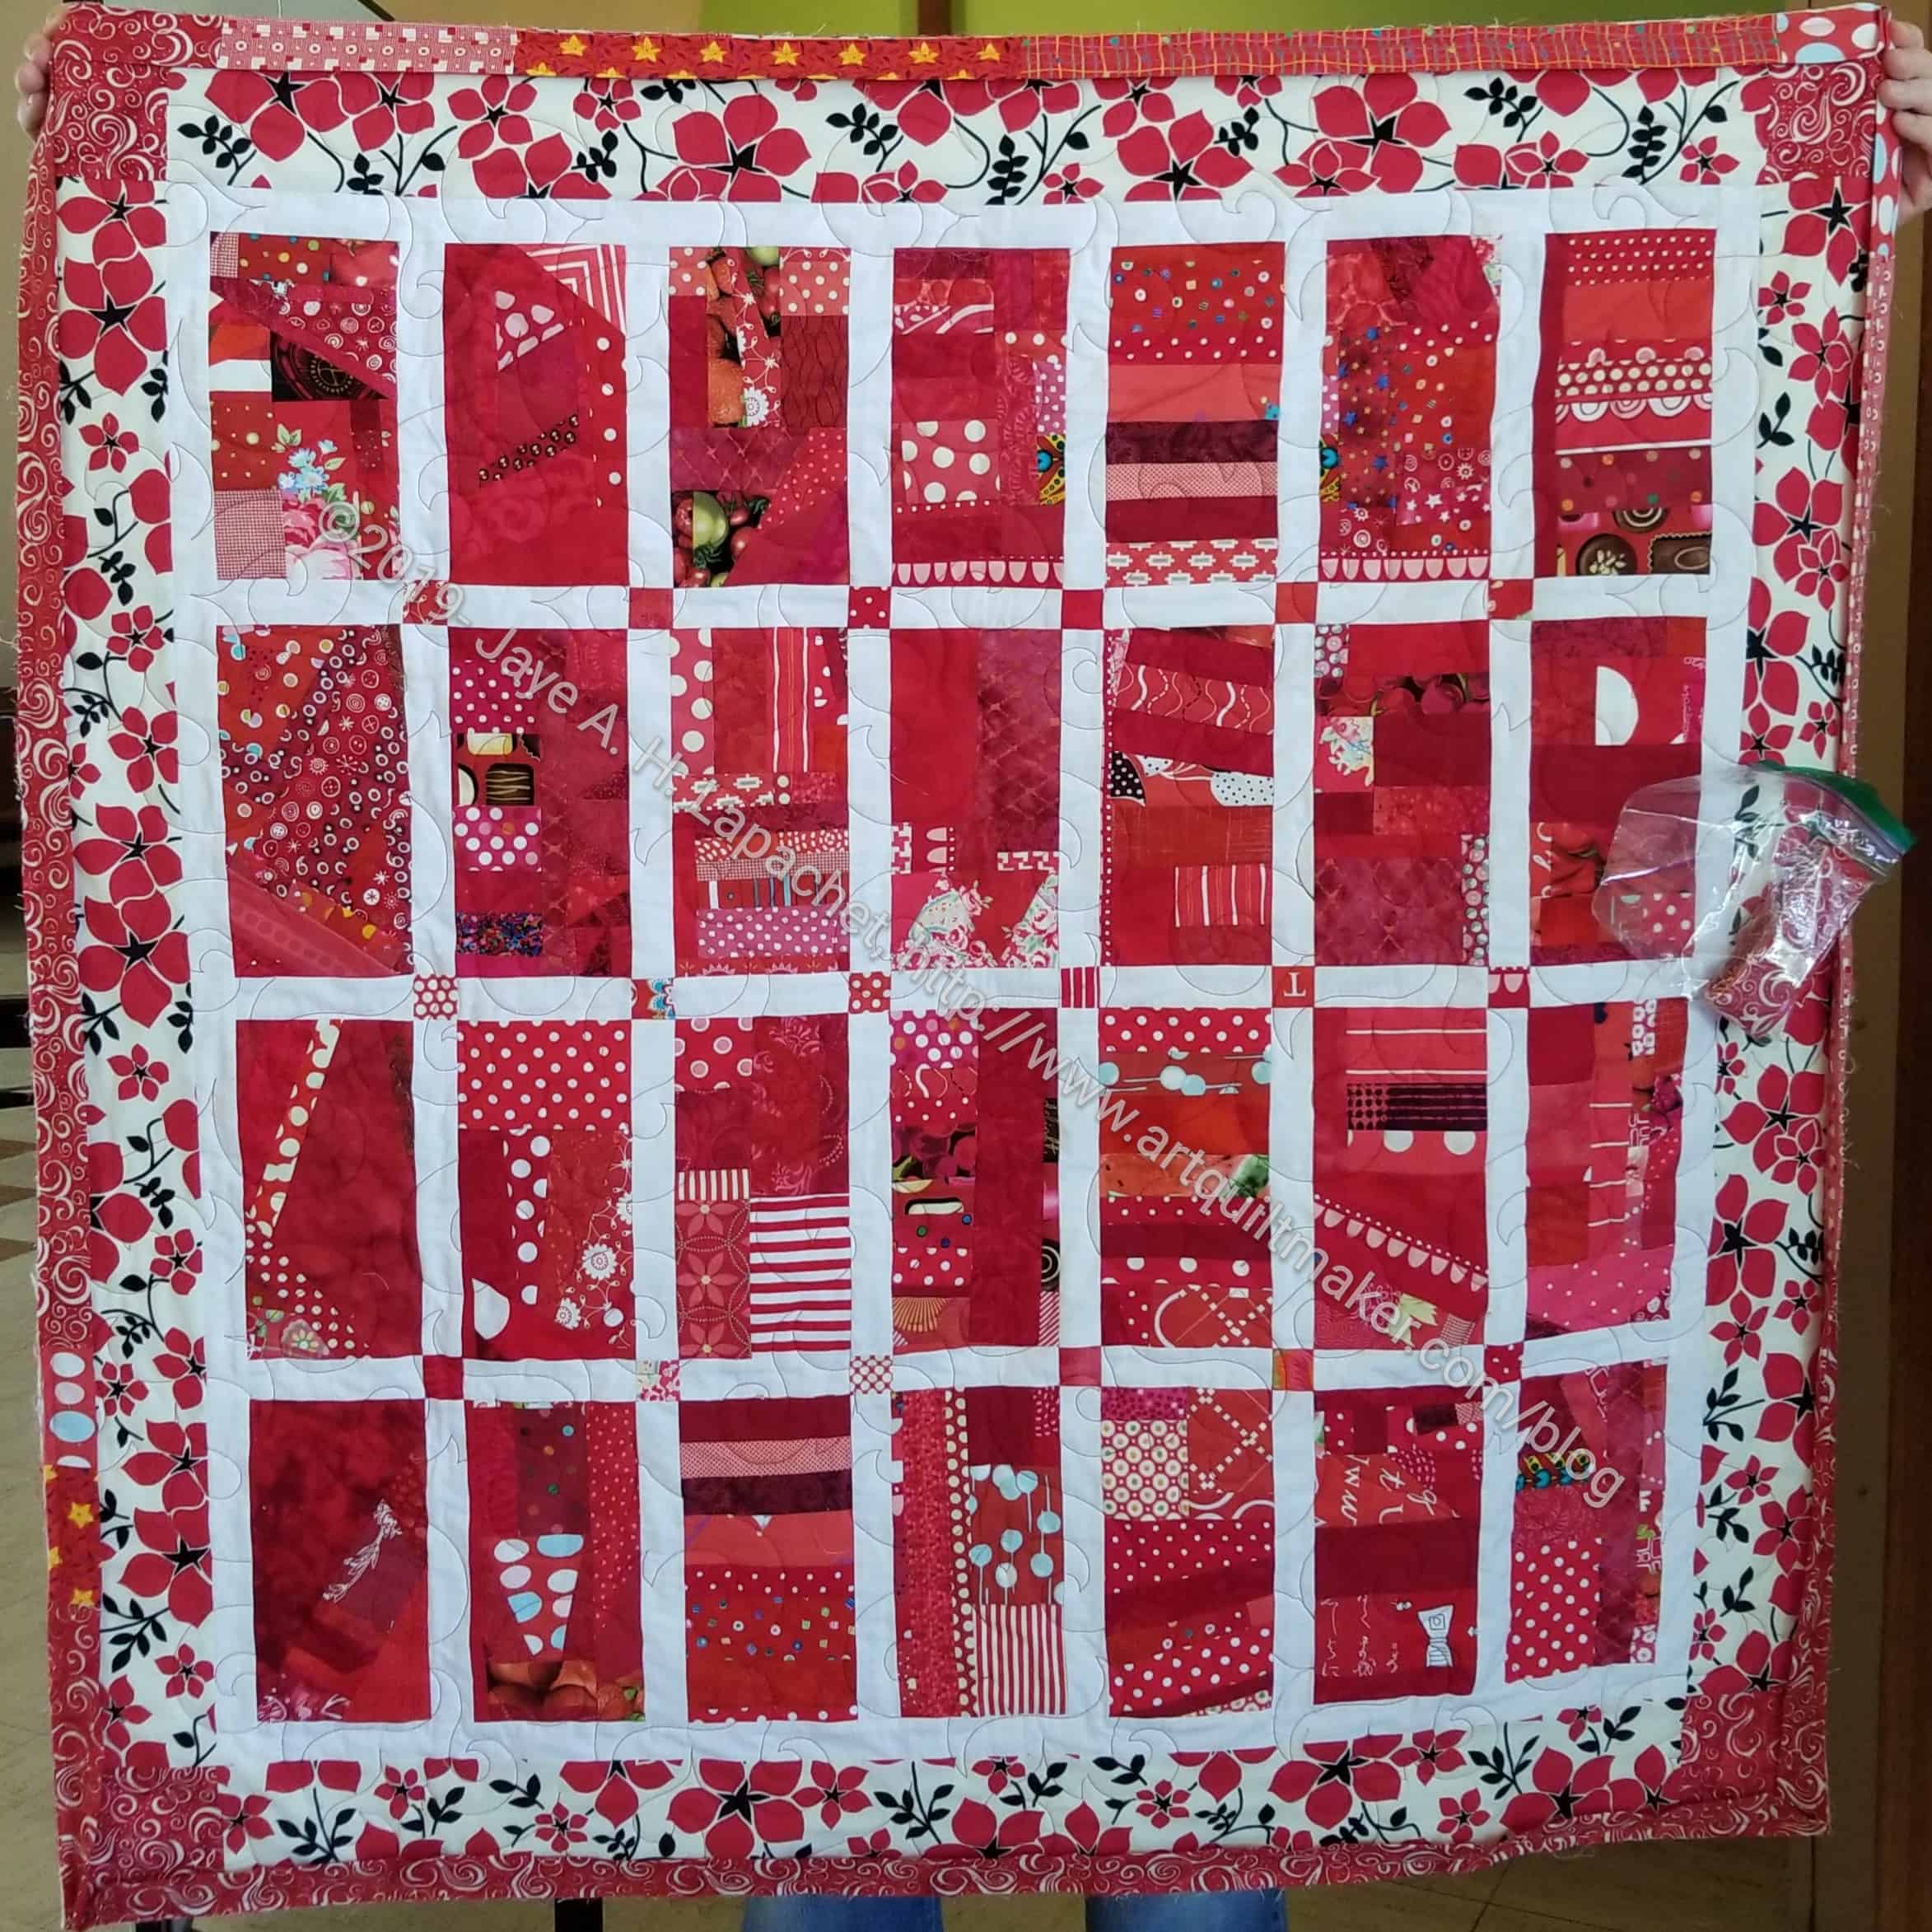
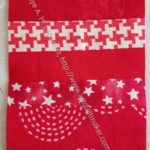
Red Strip Donation Top- Finished
My first Red Strip Donation top was delivered to Tim so he could quilt it and enter it as a triptych with the purple and green versions. He dealt with the backing.
Red Strip (Chunk) Donation Quilt
This started out as a second Red Strip Donation Top, but as I didn’t have enough strips, it became the Red Chunk Donation Top. This is the second quilt I finished from the scraps in my red scrap drawer. You can obviously see that I did use some yardage.
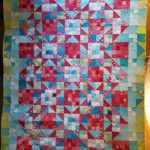
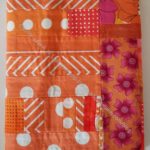
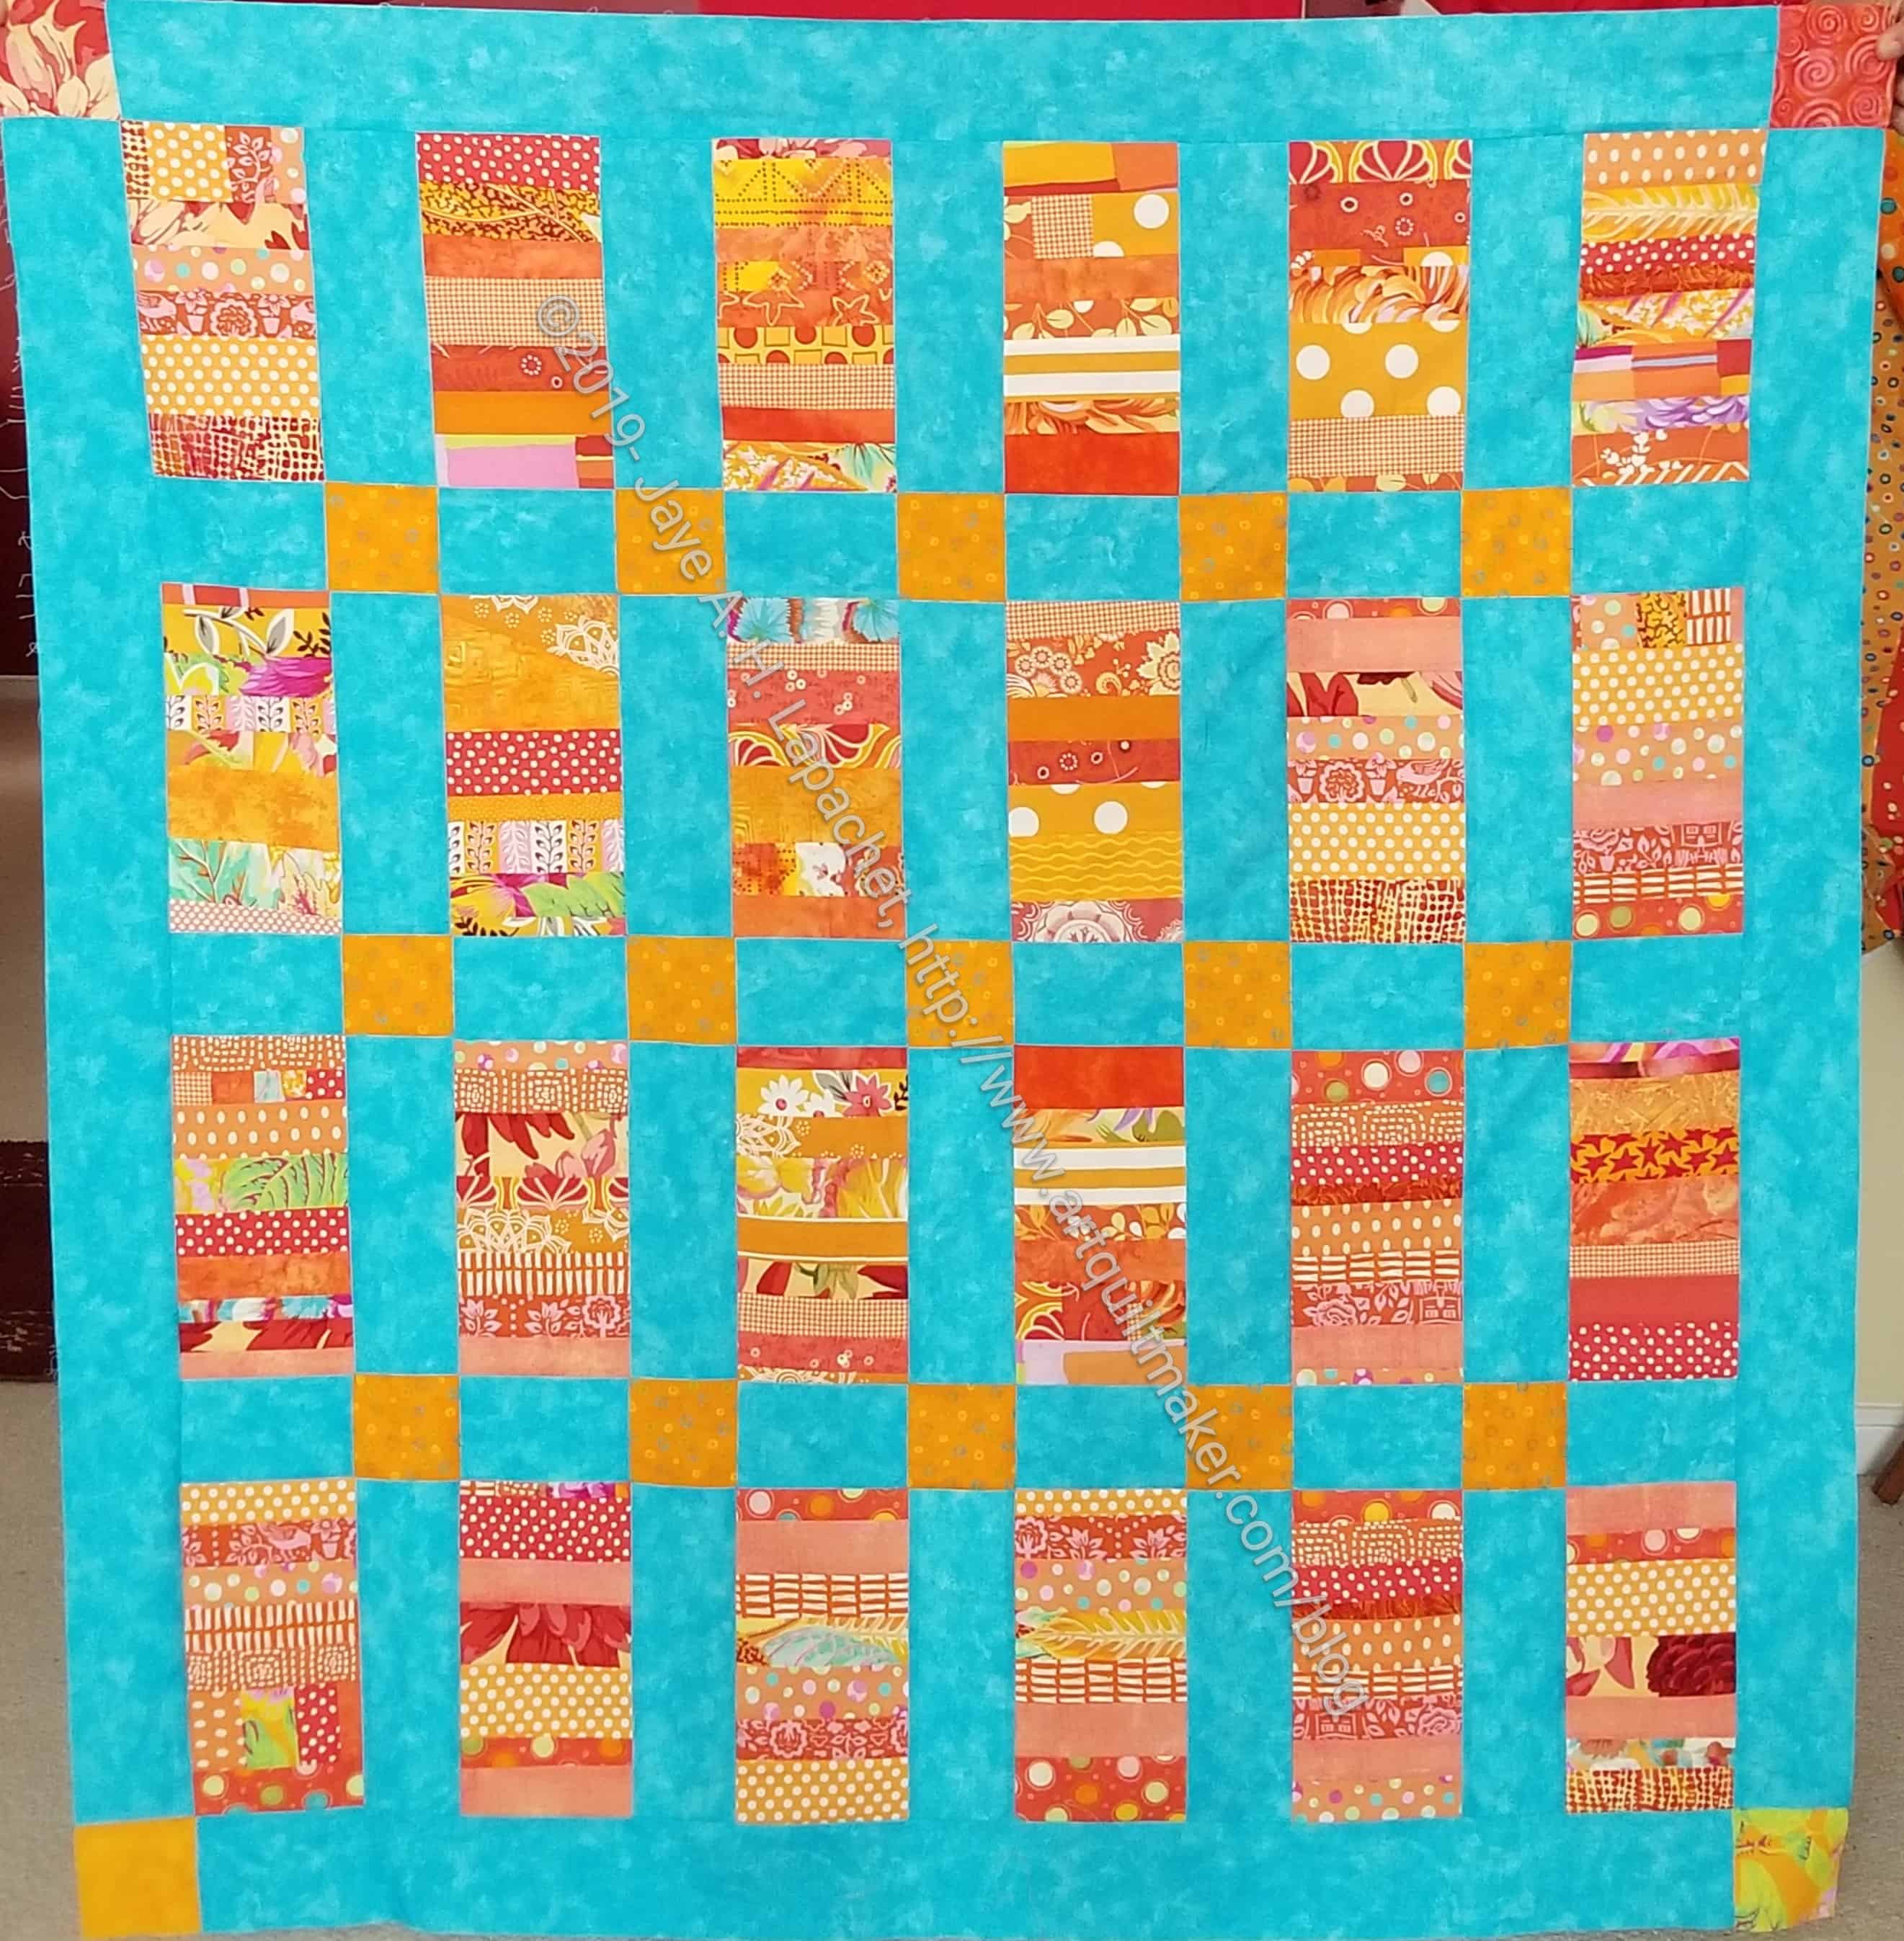
Orange Strip Donation Top: finished
I don’t have as many orange scraps as I have other colors, but I have enough. It is surprising how little fabric it really takes to make a quilt. I wonder what the least amount of fabric one can use to make a quilt – not a mug rug, but real sized quilts that can cover humans? The orange strip quilt came out really well and I am pleased with it. I definitely have an orange that I like. The consistency worked well to pull the whole piece together.
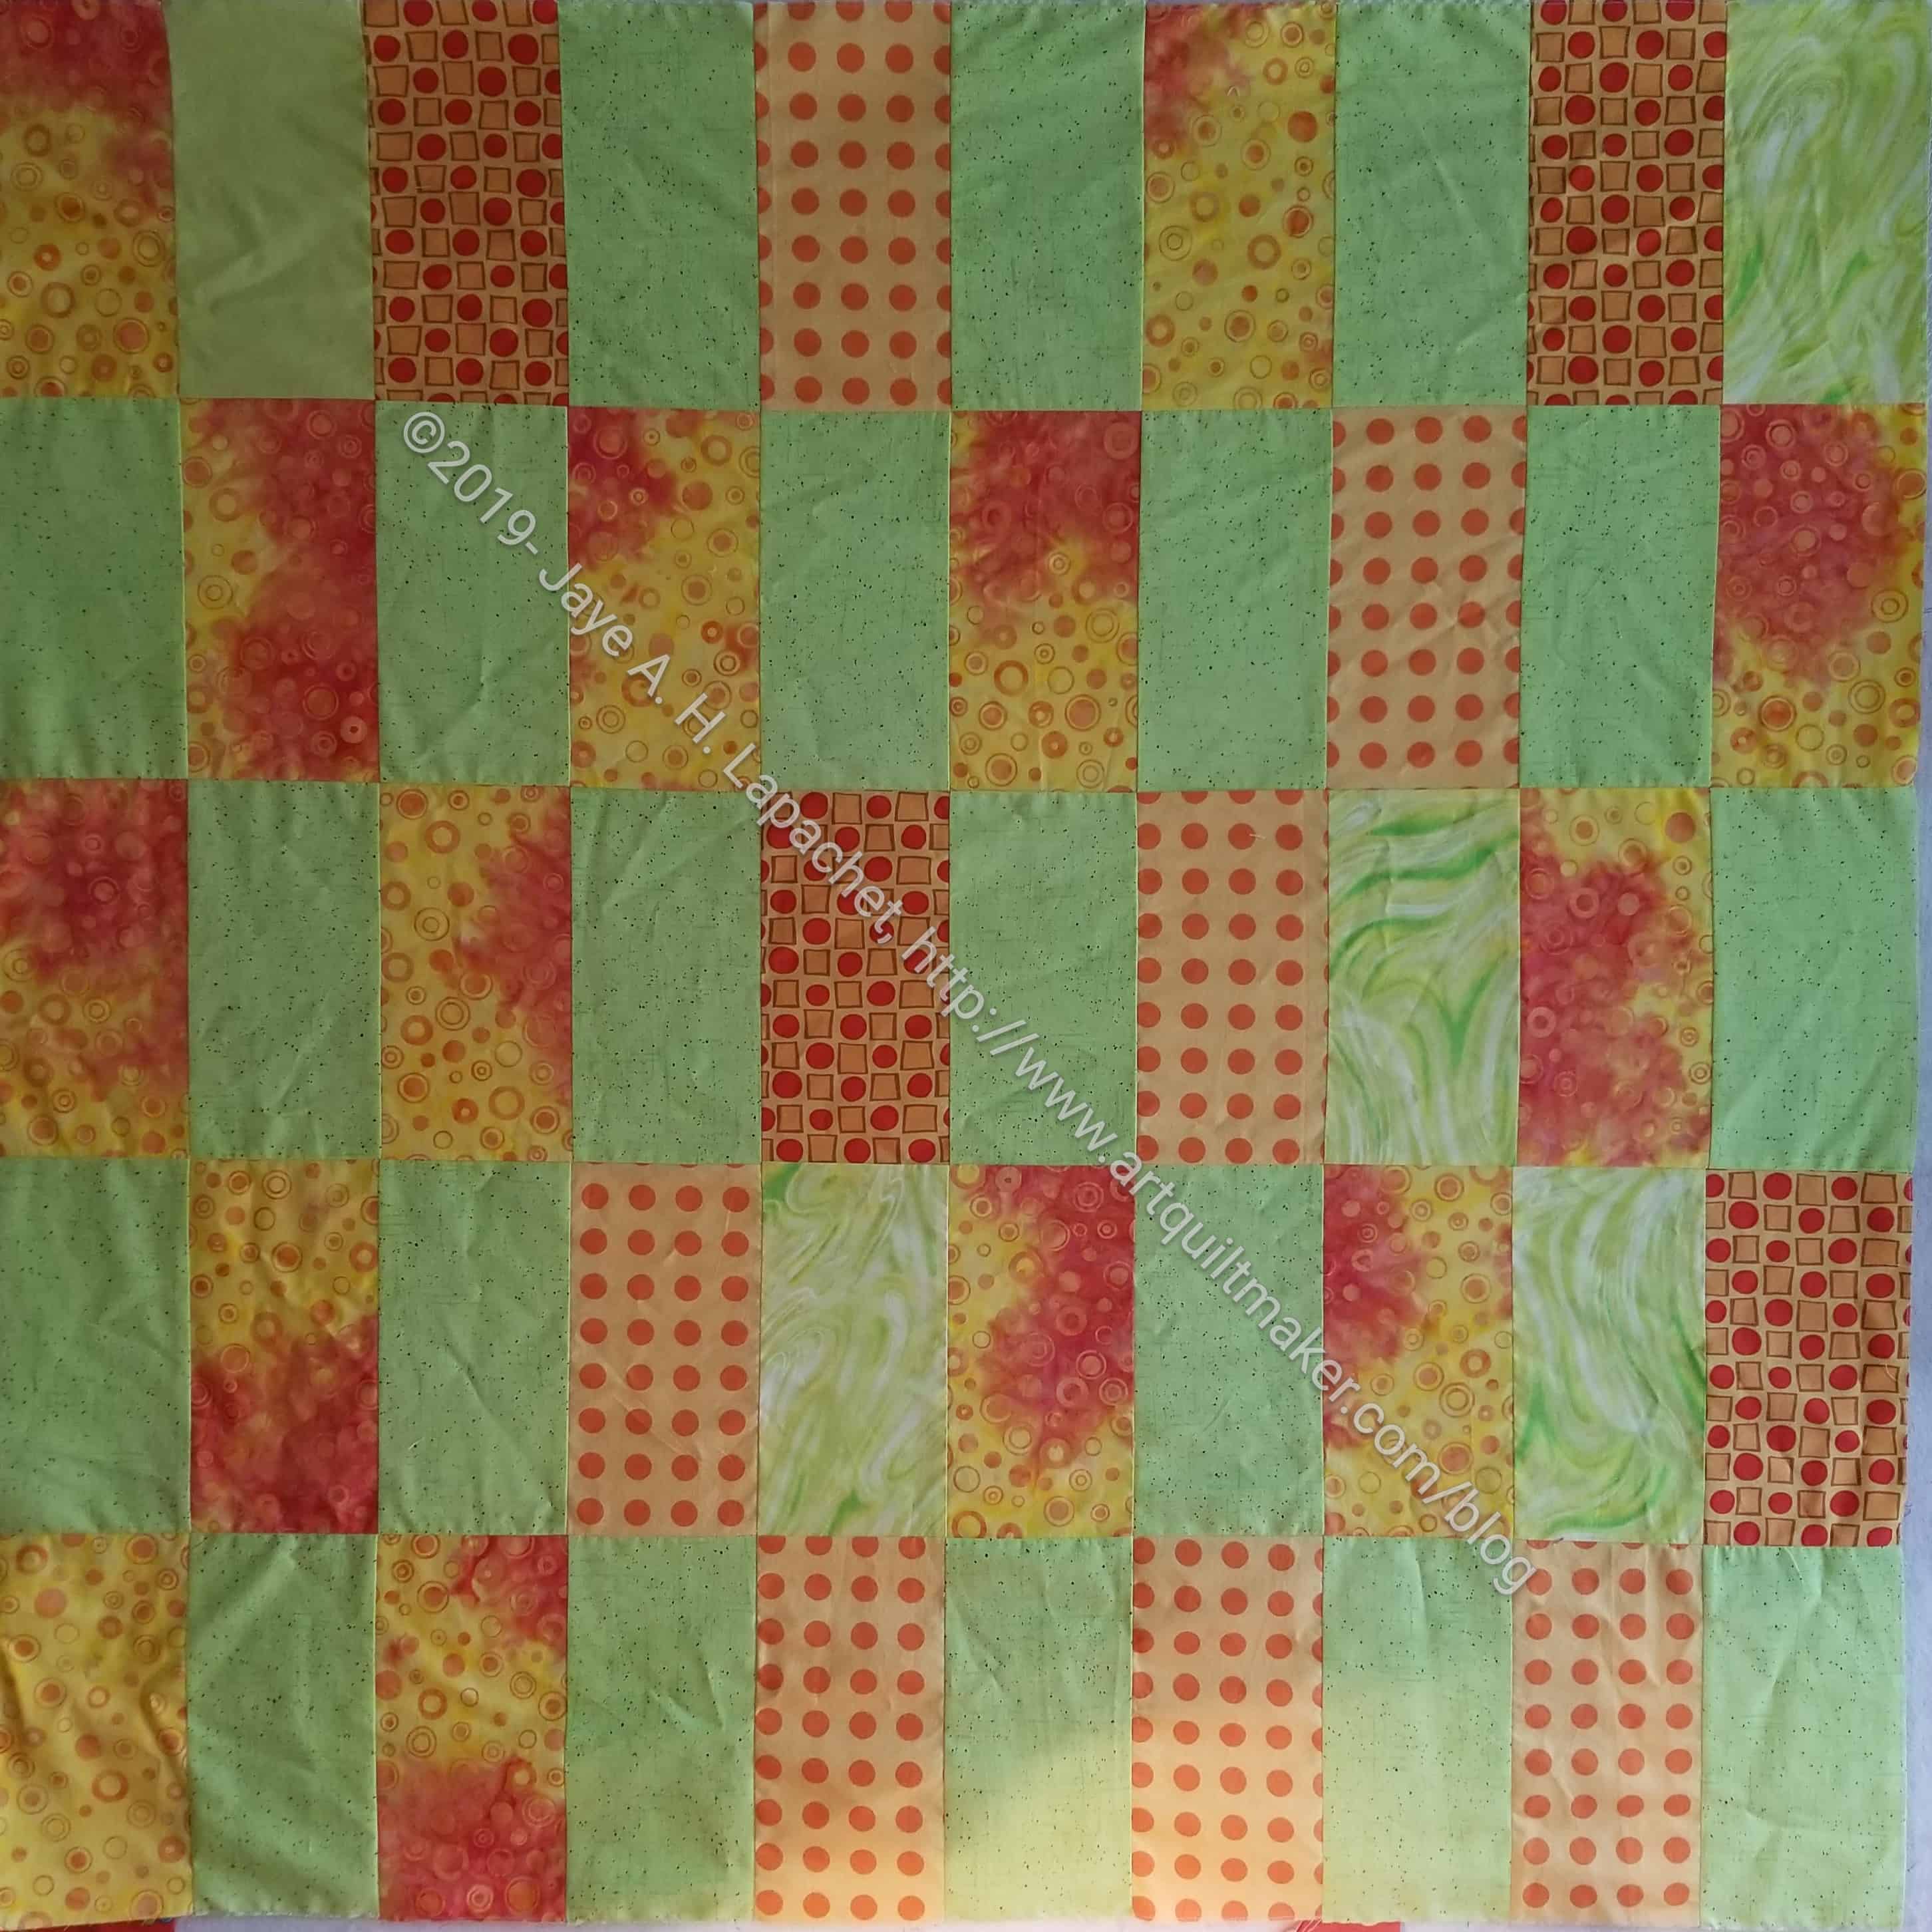
Orange & Green Donation TopOrange & Green Donation Back
I used up the green plain blocks I cut for the background of another quilt and then didn’t use. They were laying on my sewing table bugging me and I wanted them out of my hair. I was in orange mode, so I cut some plain orange blocks and made a quick donation top.
Orange Improv Donation Top – almost finished
I finished the Orange Improv donation top and back for Tim to quilt.
I always have in the back of my mind that I would like to make 30 donation blocks per month-360 in a year. This year’s achievement is 115 blocks. So far, I have made a good effort, but haven’t quite achieved that goal.
We are taking a break today from your regularly scheduled end of the year/holiday extravaganza that is the blog,. I want to show you that quilted things are not just pretty. They can also be useful.
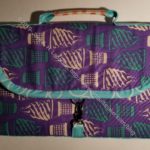
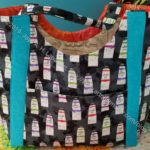
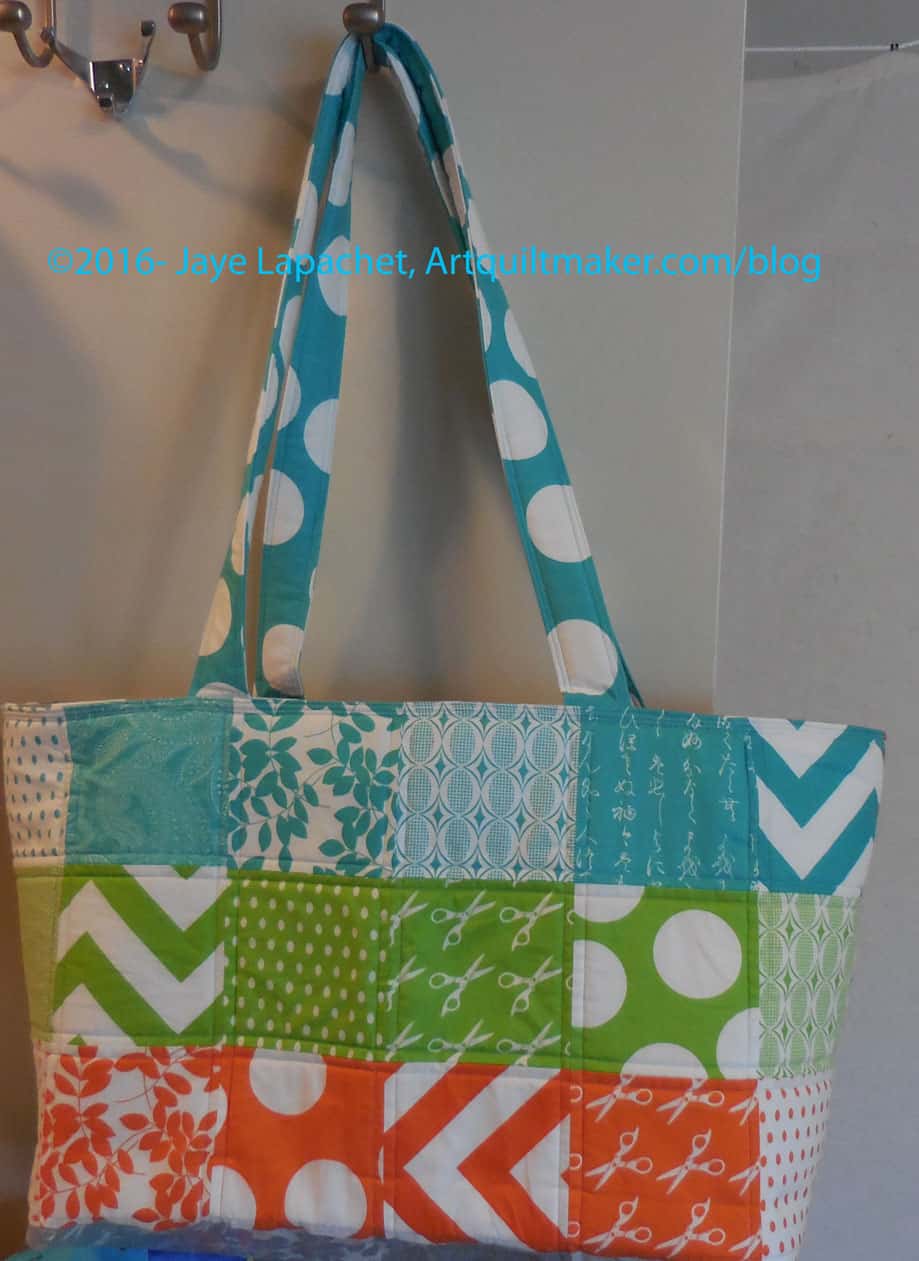
Half Moon Modern Chubby Charmer Finished
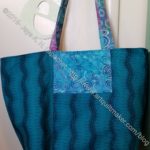
Remember my Half Moon Modern Chubby Charmer? This is a bag I worked on for a long time, mostly, because the fabric was so precious I couldn’t think of a ‘good enough’ project for it.
Fortunately, I still like the fabric and still use this bag.
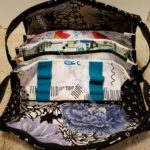
In fact, this bag does double duty as present transport during the holidays. To do that I have to clean it out. I actually use the large pockets for my collection of pie servers and knives. You might think dishing up pie is easy, but with 40 people who want to try everything, 7 desserts and two gluten free diets that will make people sick if wheat wafts past them, I need multiple implements and a strategy. That strategy includes knives (BIG knives) for cutting recalcitrant crust and pie servers since you don’t serve with a knife.
One of the attractions of the Chubby Charmer is that it is big. Big enough to bring a quilt to show and tell. And big enough to bring my pie implements, a mixer, a metal bowl, plastic bag with whipping cream (unwhipped) and 25 small gifts to the Christmas Eve celebration and some back home again.
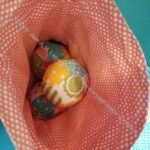
Chubby Charmer pocket contents
In order to use this bag for a non quiltmaking purpose, I had to clear it out. All the large items went on the floor, but I needed the pockets, too. All the small things went on my desk. Later when I had a few minutes to look at them, I was sort of amazed and shocked at the variety and non-variety.
What I was most interested in were the multiples of things:
in that cool aqua pouch is a selection of pens. More than one.
3-4 nametags?! I guess I can share with a friend or really want people to know my name.
Two chocolate bars: emergency and backup emergency, I guess.
3 ATCs, because you never know when you are going to need a random ATC.
Out of date meeting and exhibit flyers. Good for nostalgia, I guess.
Multiple post-it notes. You can never have too many pens or post-it notes.
I put most of the stuff back in, if it wasn’t out of date or spoiled. I did spread out the nametags among other various bags. Better to have one than none.
What’s in your guild bag and do you use your bags for other, non-quiltmaking purposes?
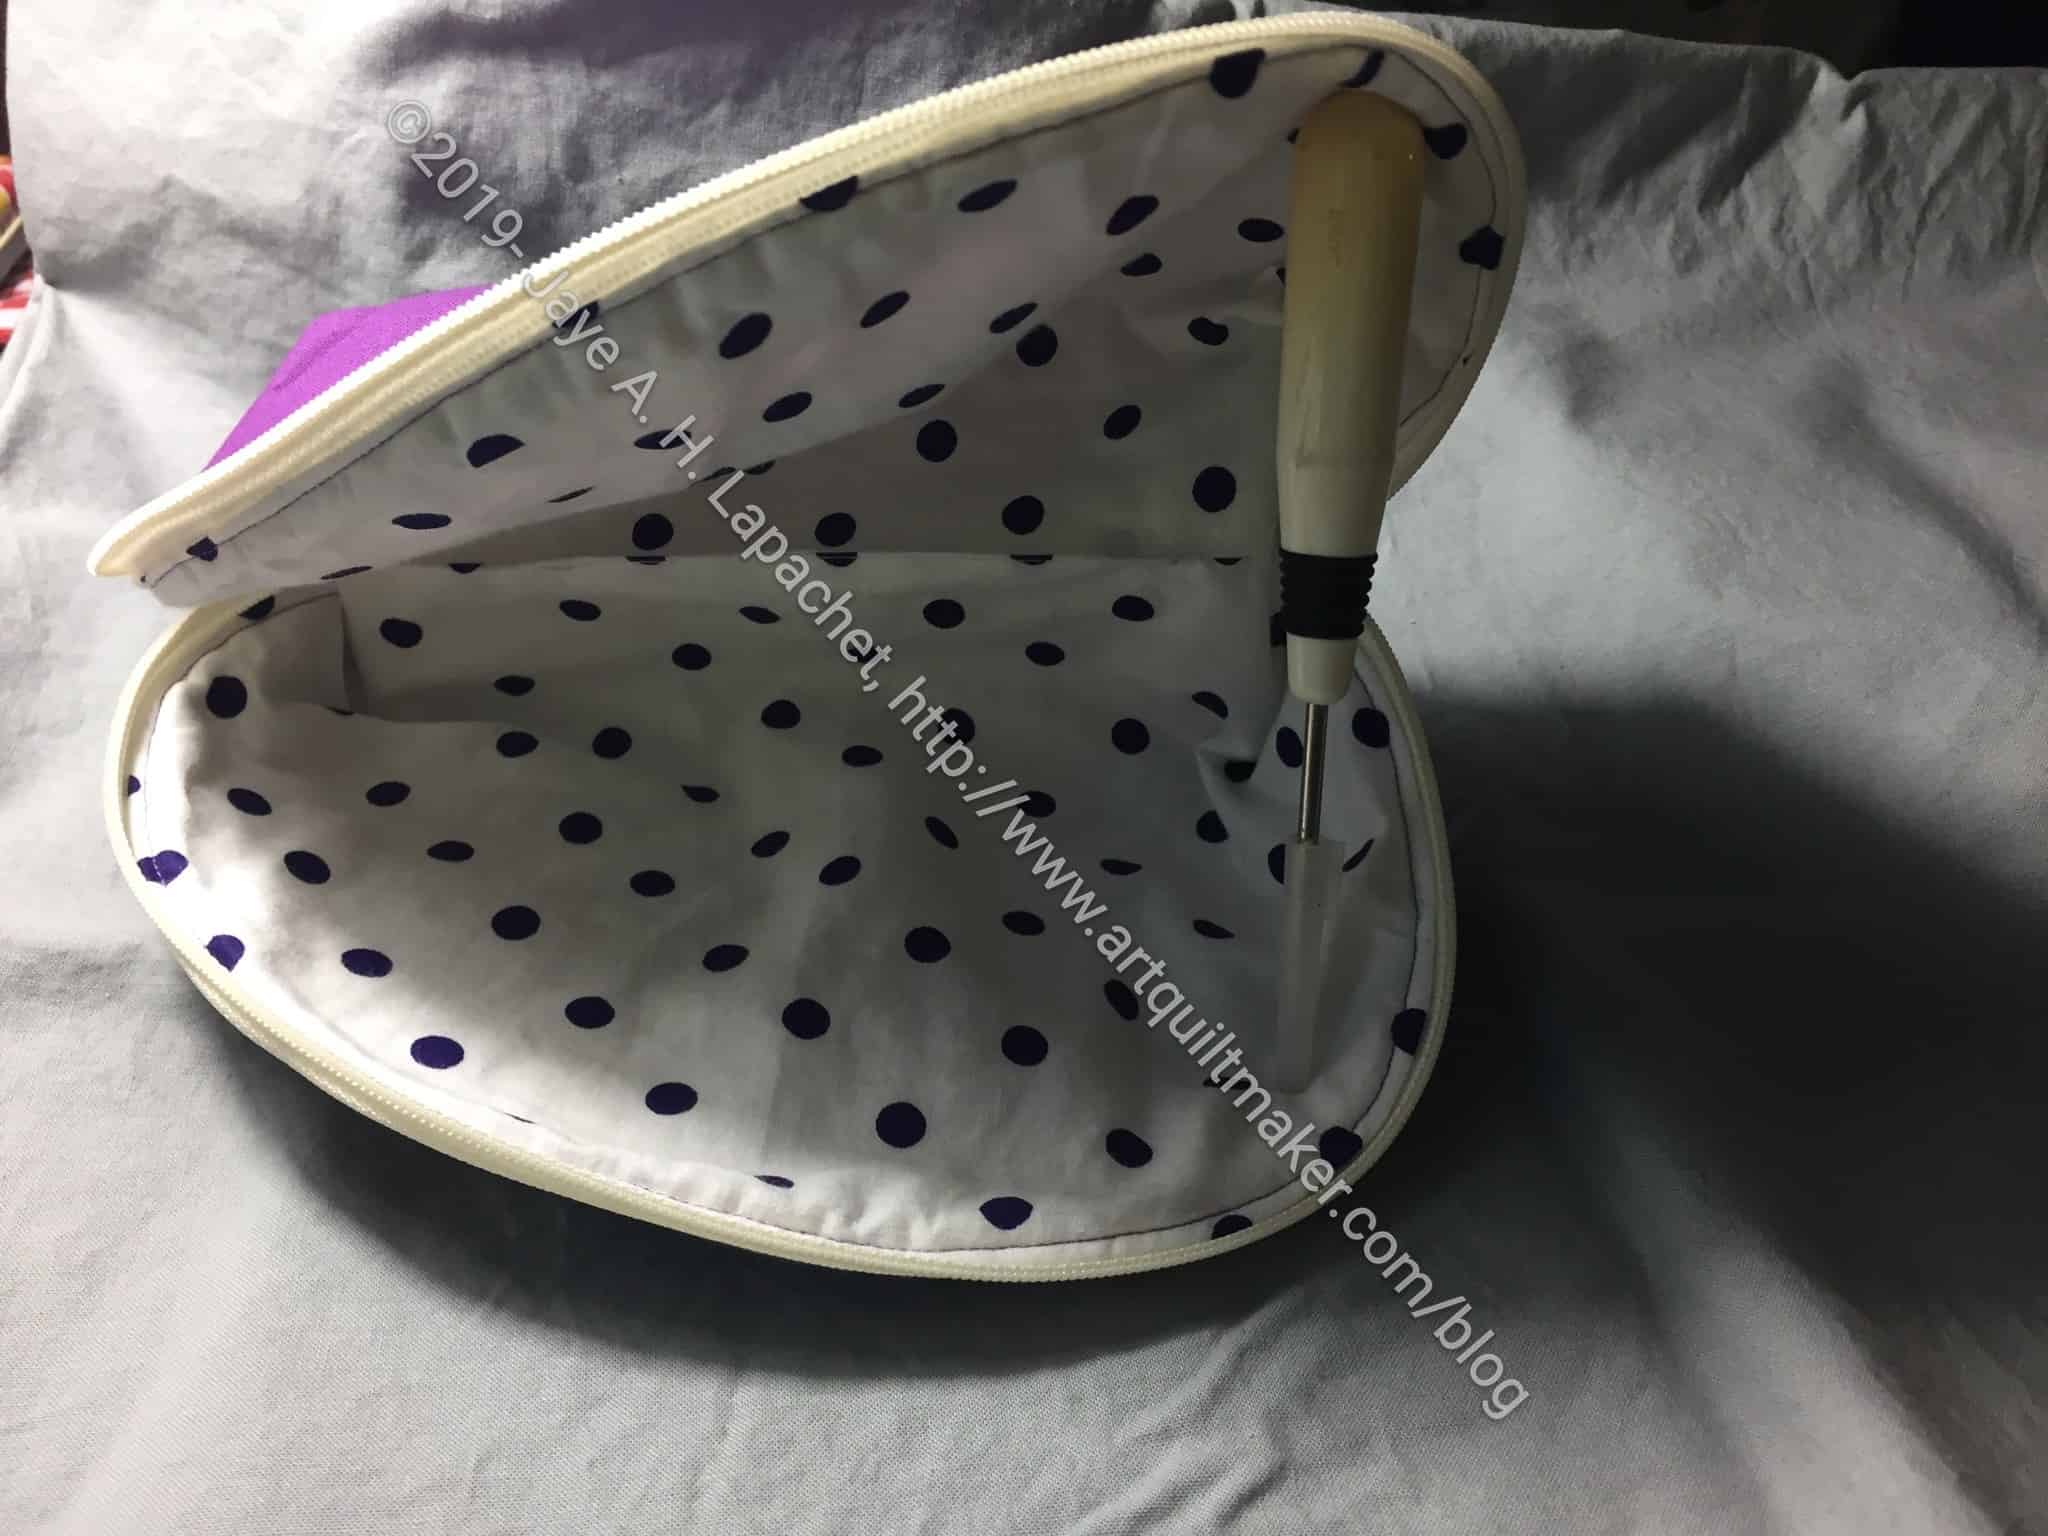
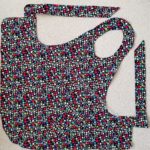
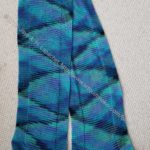
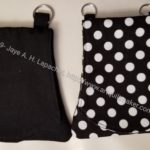
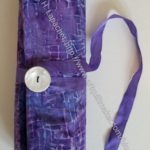
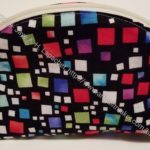
I finished Mom’s Scissor Cozy on November 17, but couldn’t post about it until today. I had trouble on both of the cozies with the tips.
I am not sure how to remedy that except to eliminate the batting near the edges. i don’t know if that would work, but I’ll try it if I make this pattern again. It’s a cool shape.
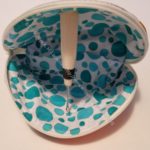
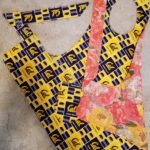
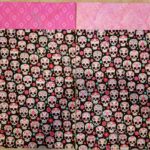
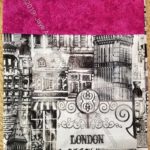
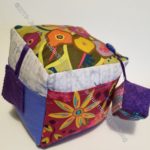
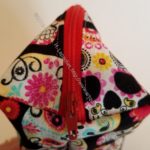
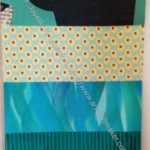
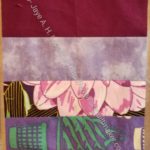
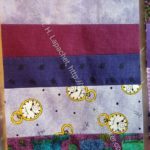
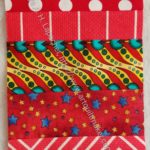
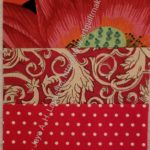
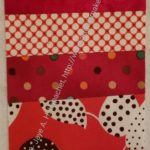
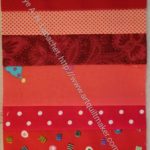
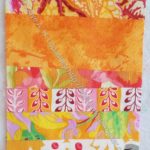
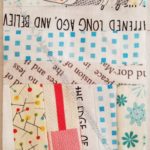
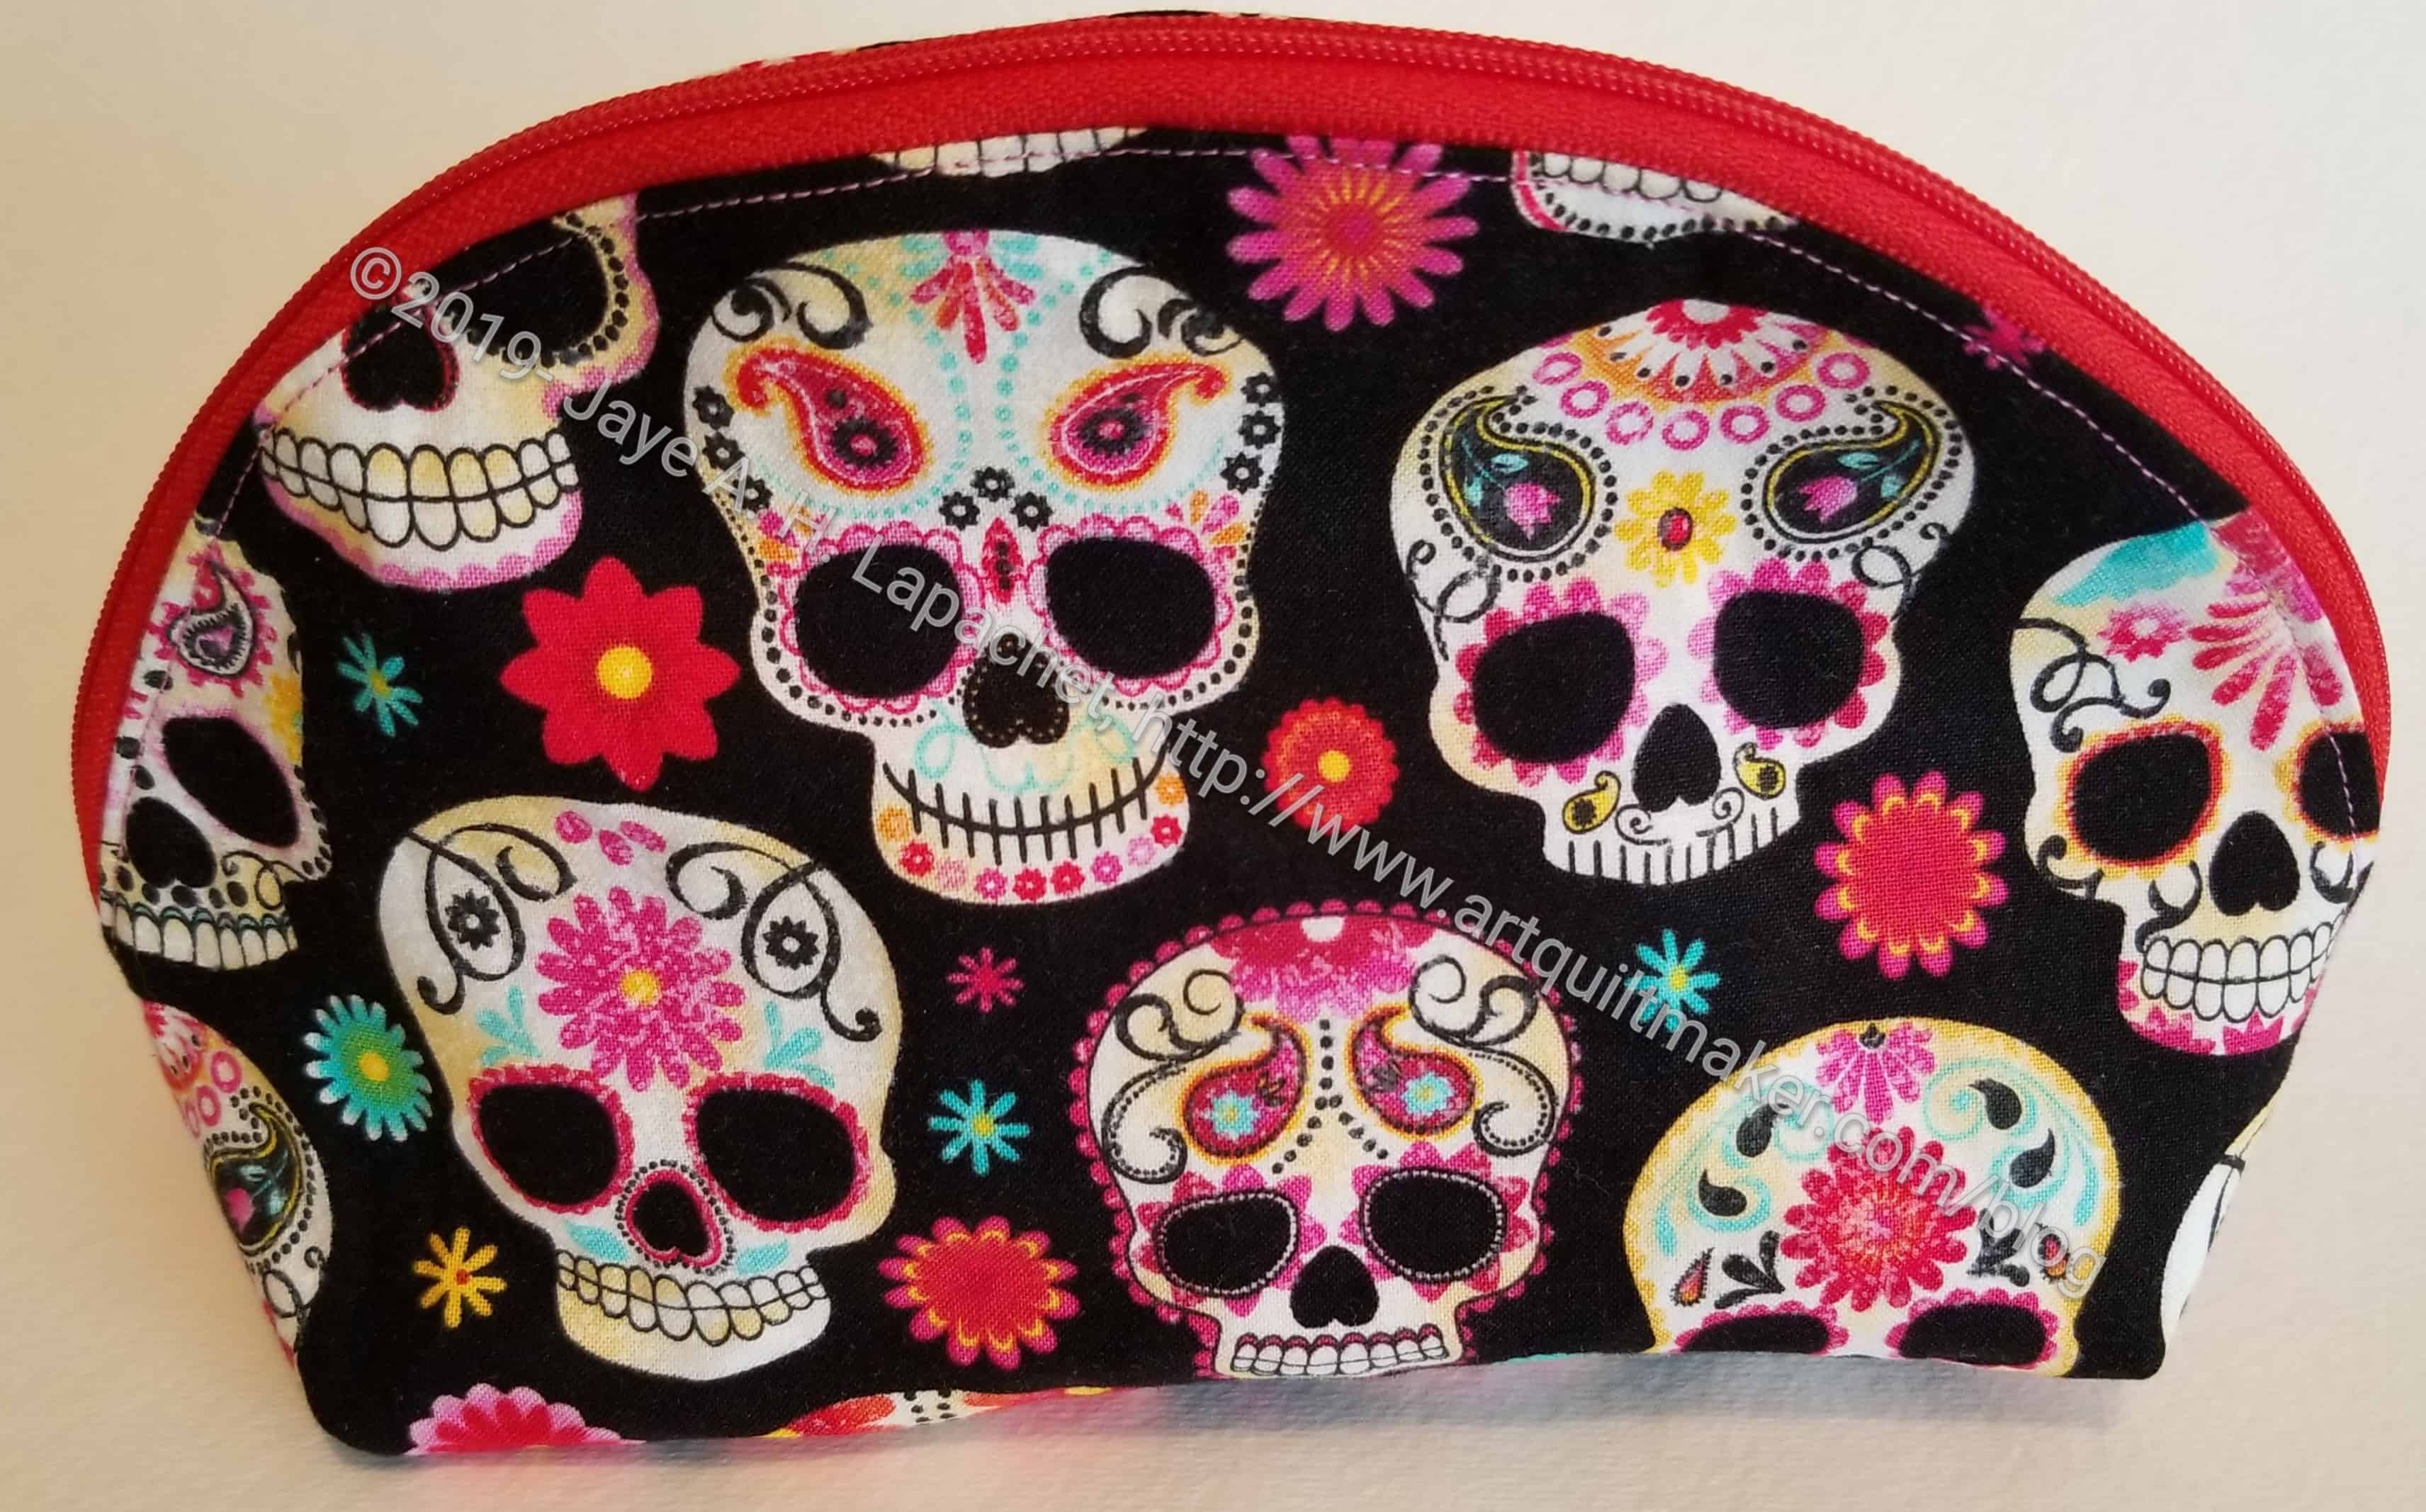
This isn’t very Christmas-y, but I knew my friend would like it. I cut this one at the same time I cut the other Persimmon Pouch. Same pattern. Same FREE pattern.
I used the fabric leftover from some pillowcases I made for her.
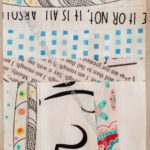
Dia de las Muertos pouch end
I wasn’t able to get this zipper to behave as well as the one in the first pouch, but the pouch still closes and I think it looks fine.
I still love the way this pouch finishes! It is so clever.
We are celebrating with friends and family today, so I am not going to write much. Just a wish that you have love and friendship in your life whether you celebrate this holiday or not. Back soon!
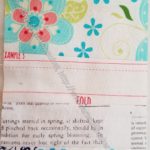
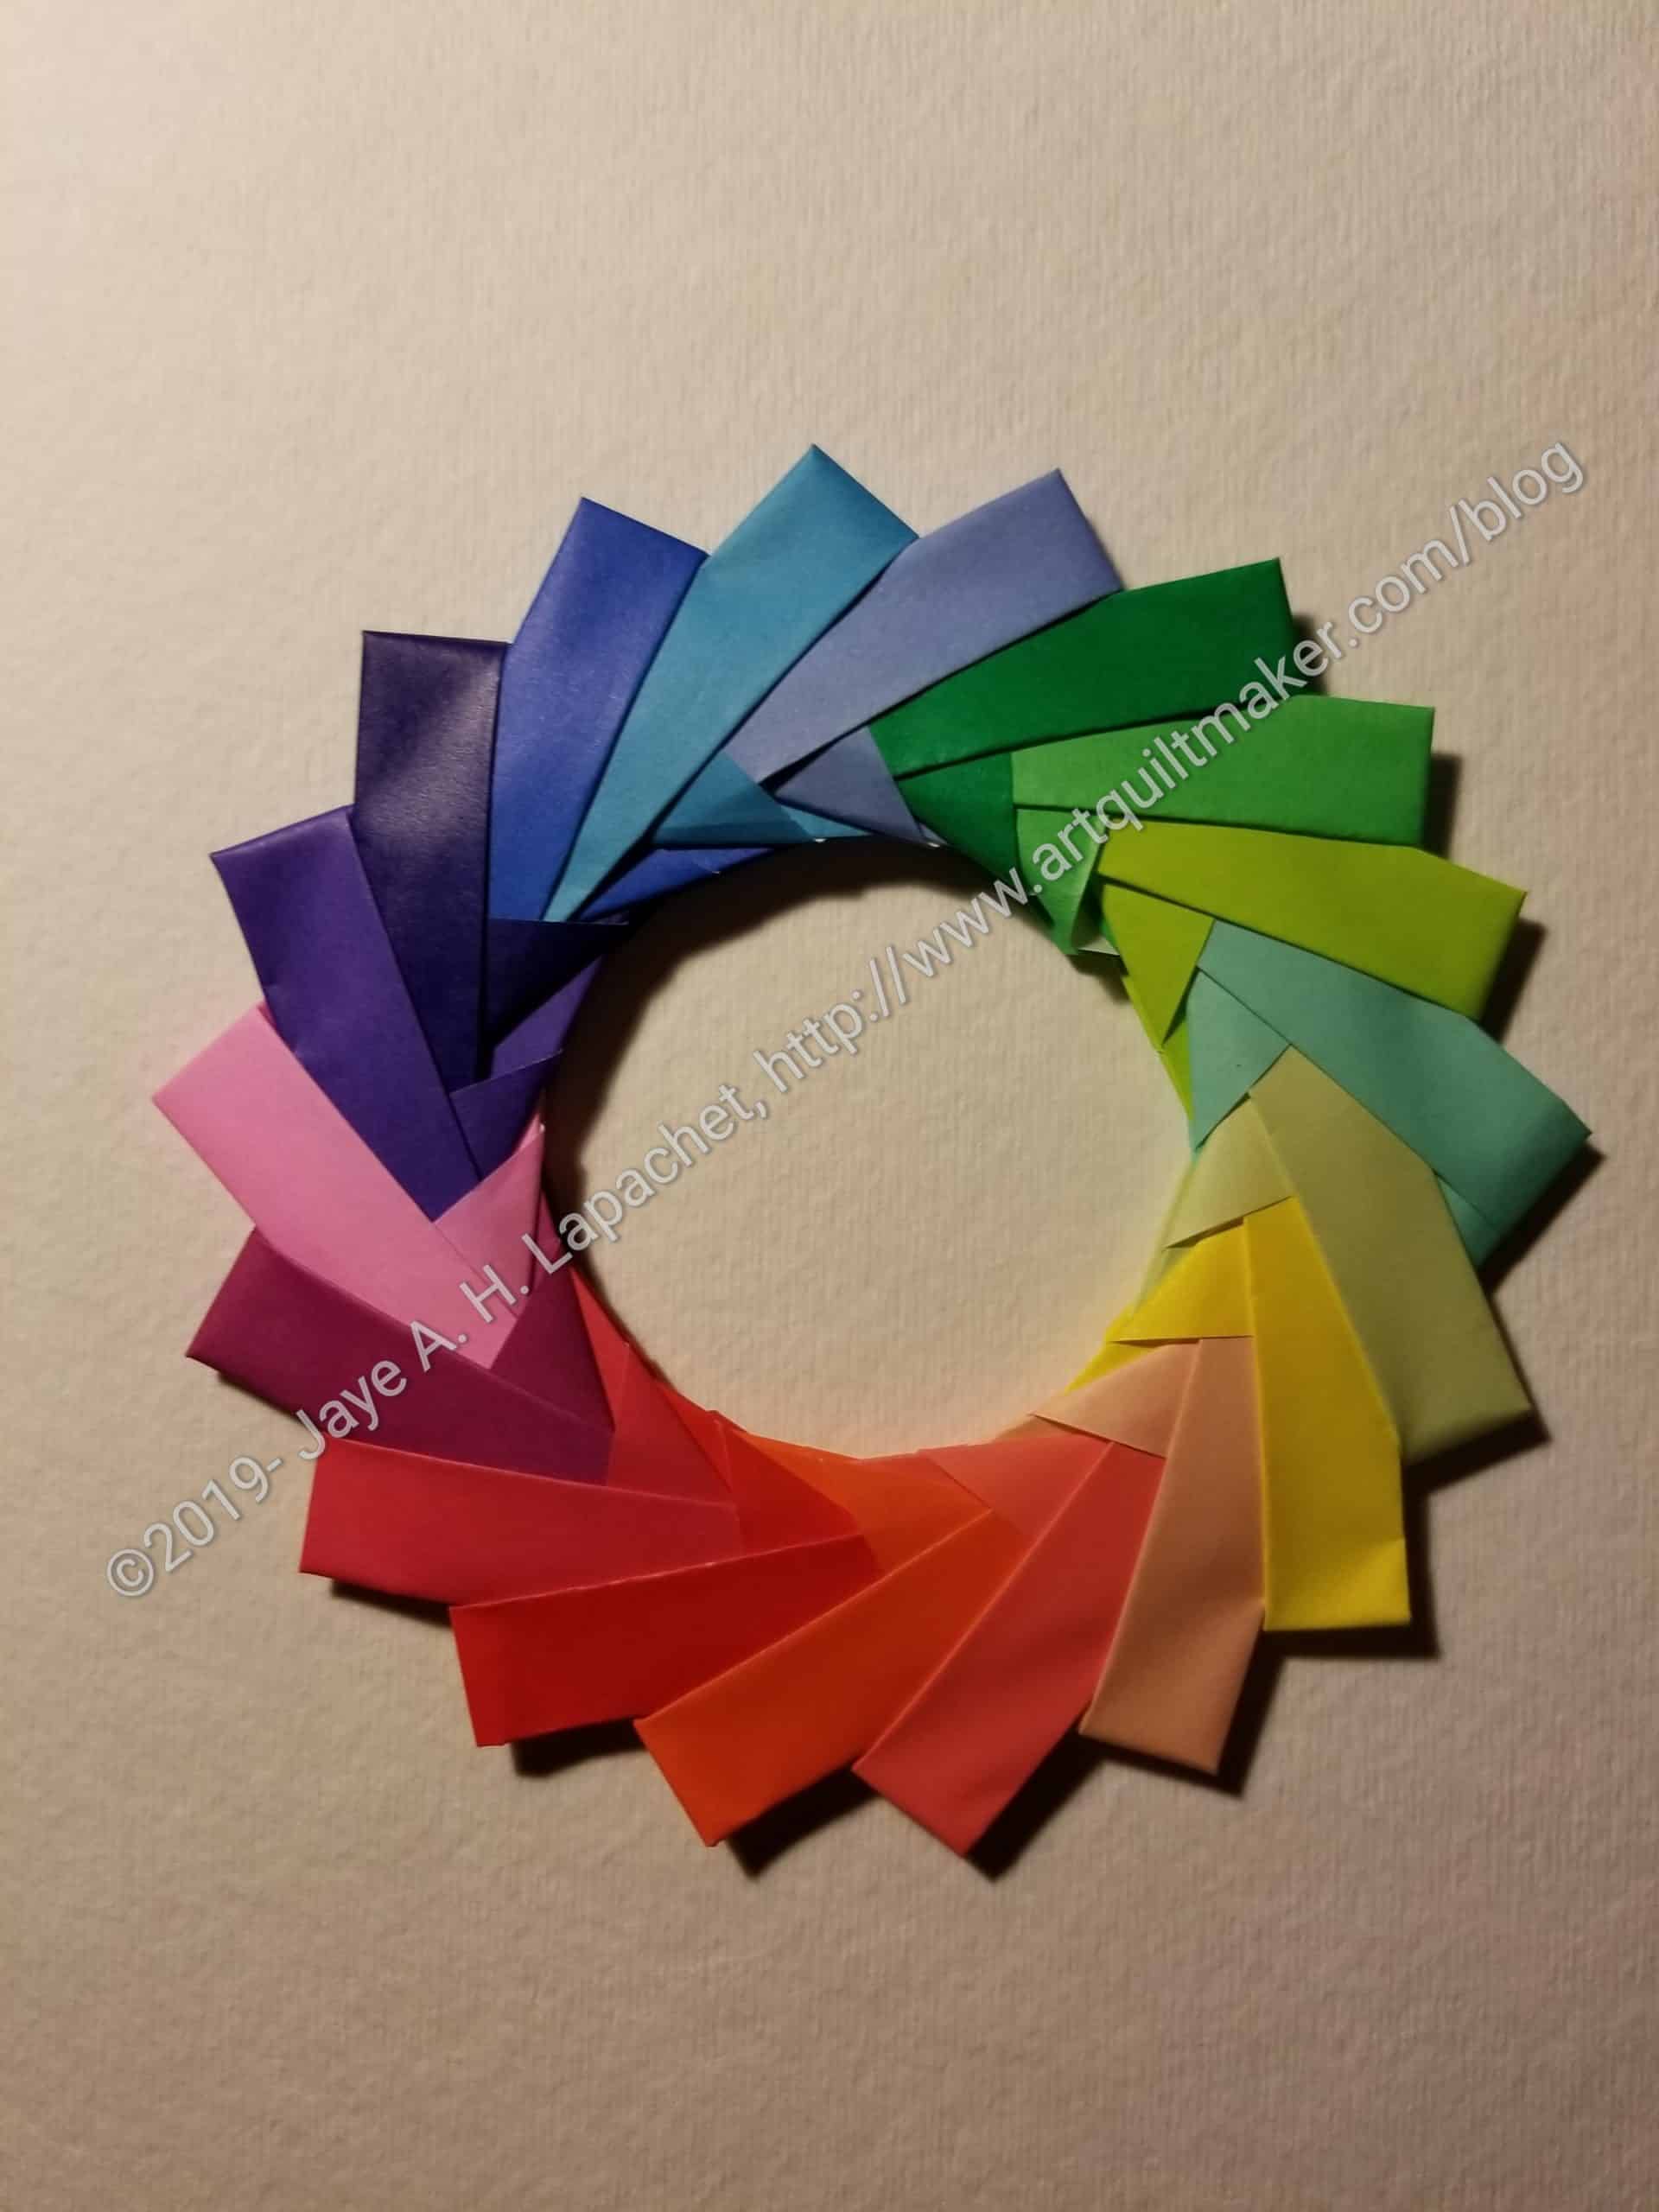
Need a break from the holiday frenzy? Paper folding is very soothing. It doesn’t require machinery of any type and you can fold at the cafe while drinking some coffee or hot chocolate and staying away from crazy family antics for a few minutes.
I spent some time folding a Mette Ring the other night when DH was watching football after he spent a day at the mall. I had found the pattern some time ago and decided it would be a good way to do something and stay off my feet, which were tired and sore.
bone folder (optional, but highly recommended if you are using thick paper)
Make 18 units. Directions below makes one unit.
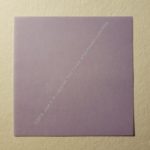
Use one piece of paper
Turn paper over
Use two pieces of paper.
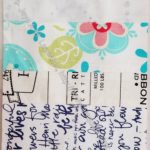
My paper has a lavender front (right side) and a white back (wrong side)
Start by turning the paper over so the back faces up.
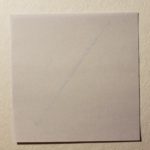
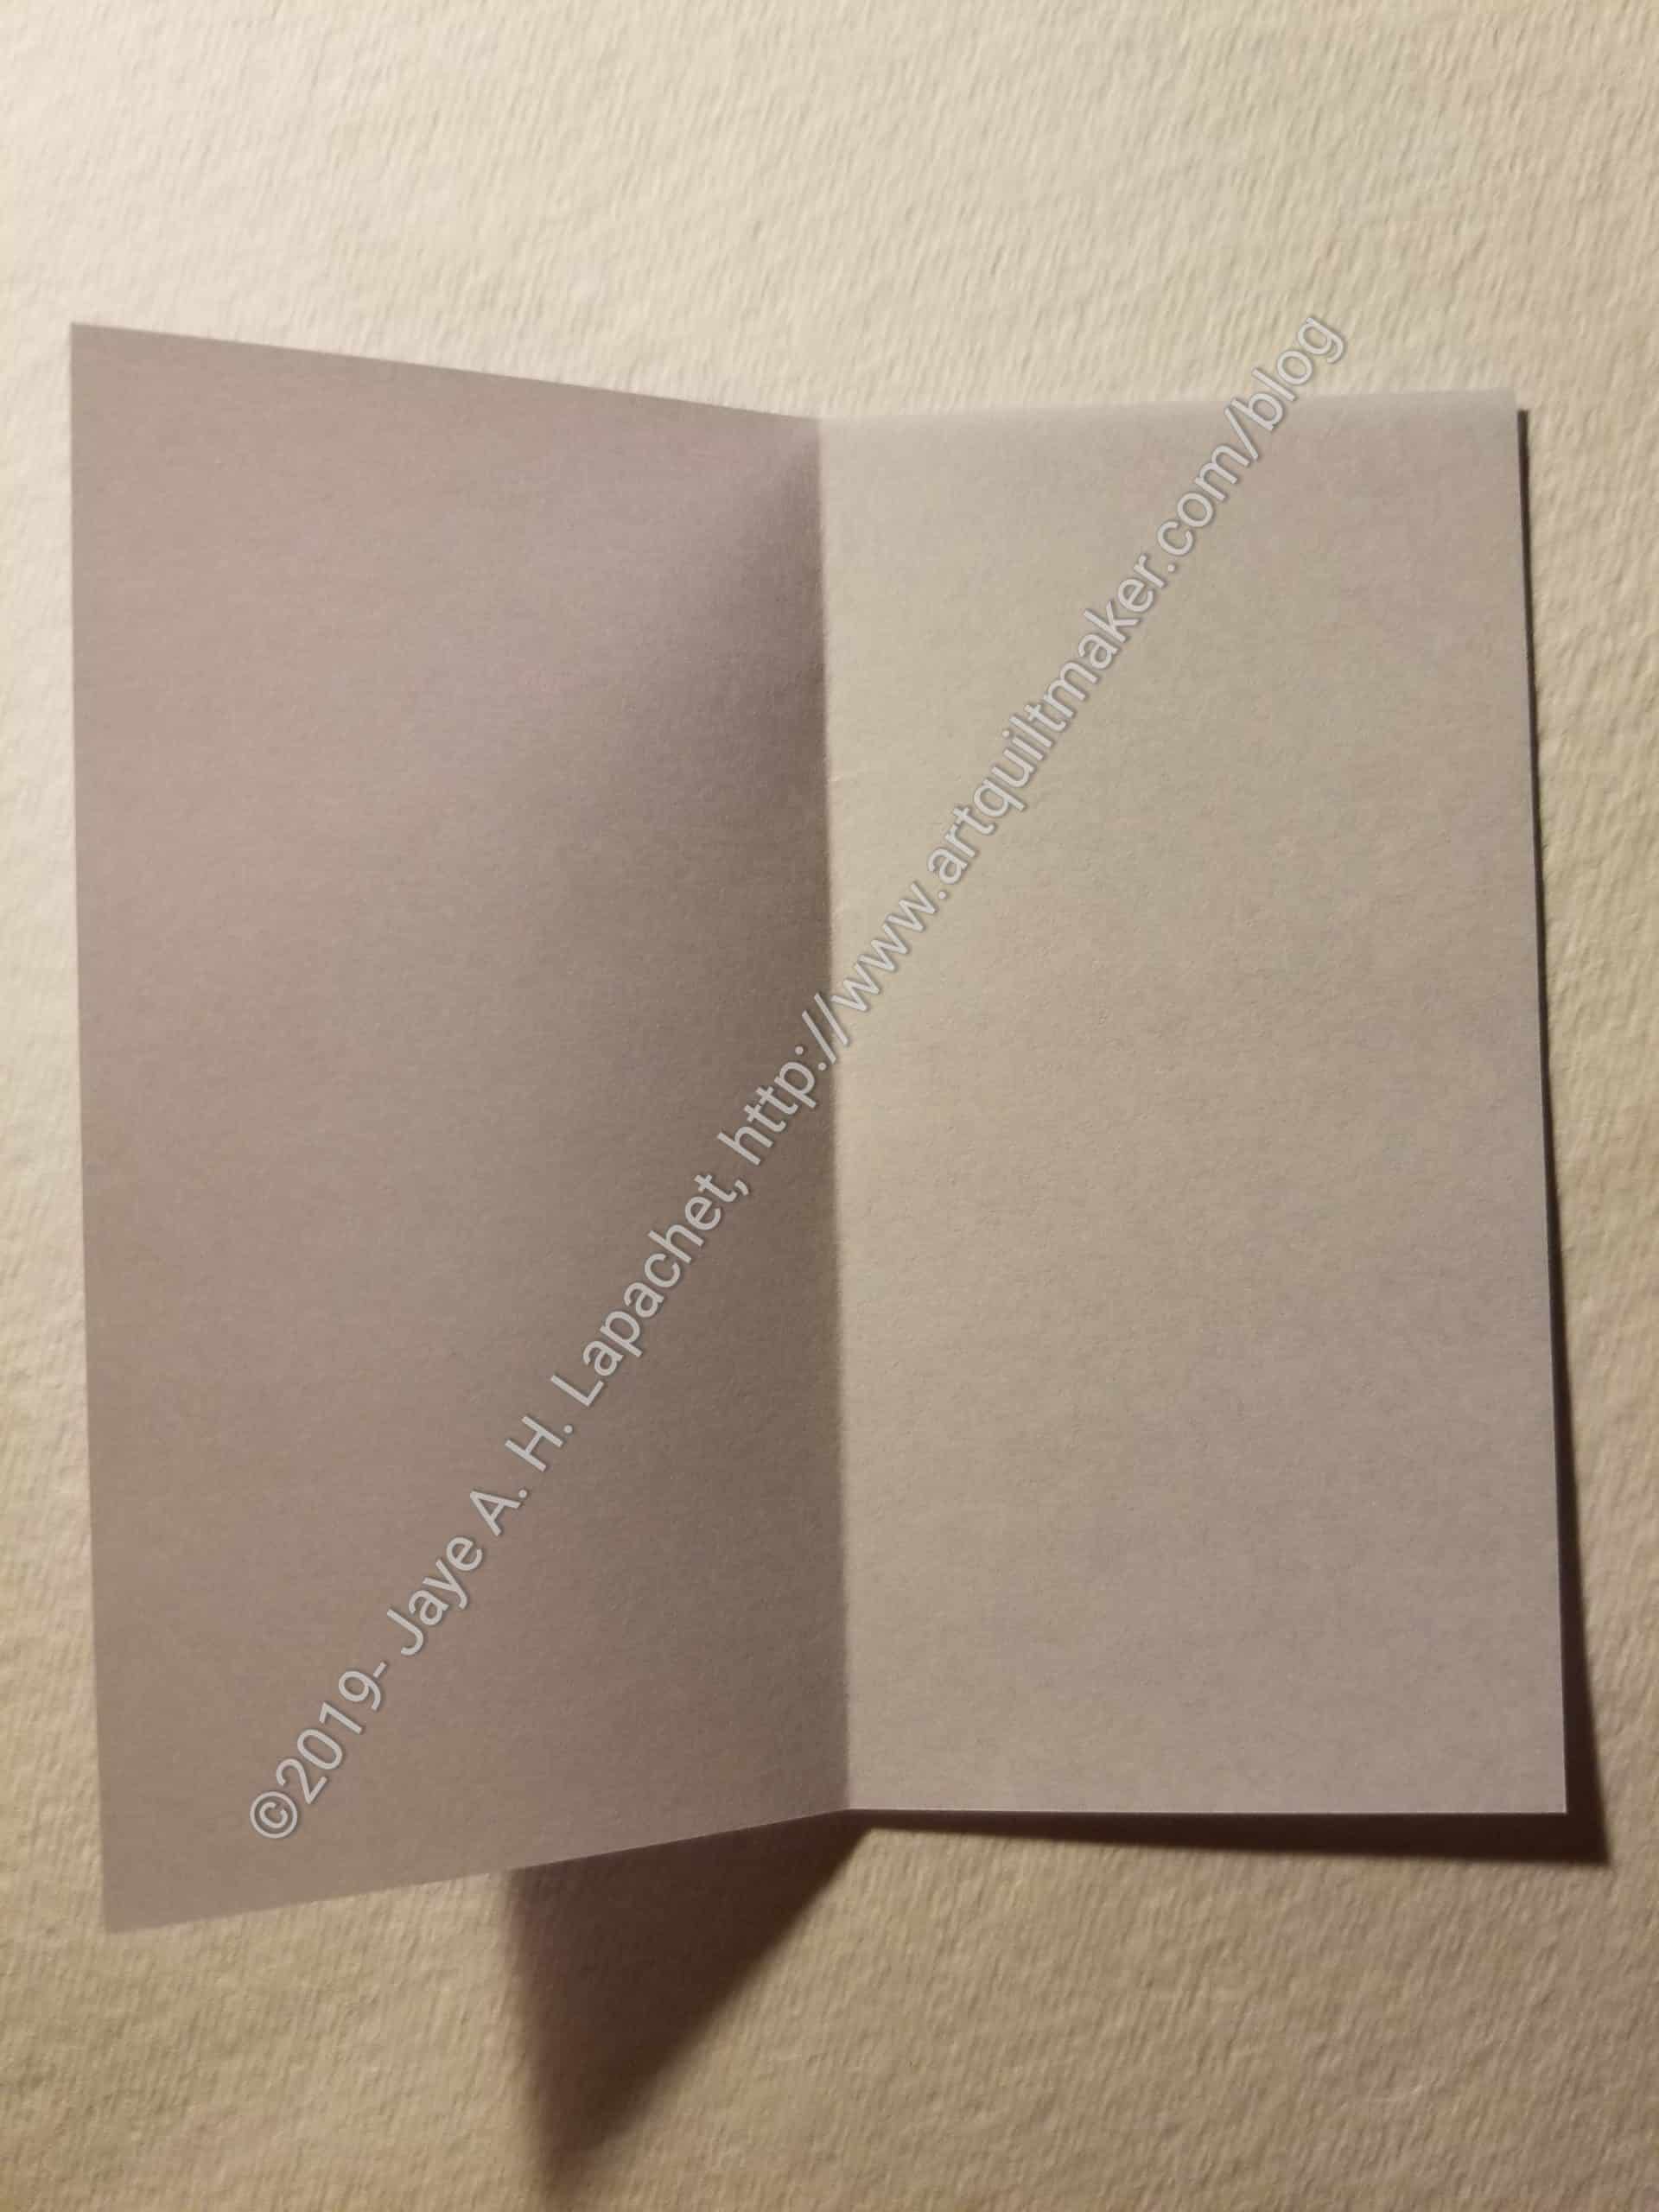
Fold the paper in half
Fold square piece of paper in half
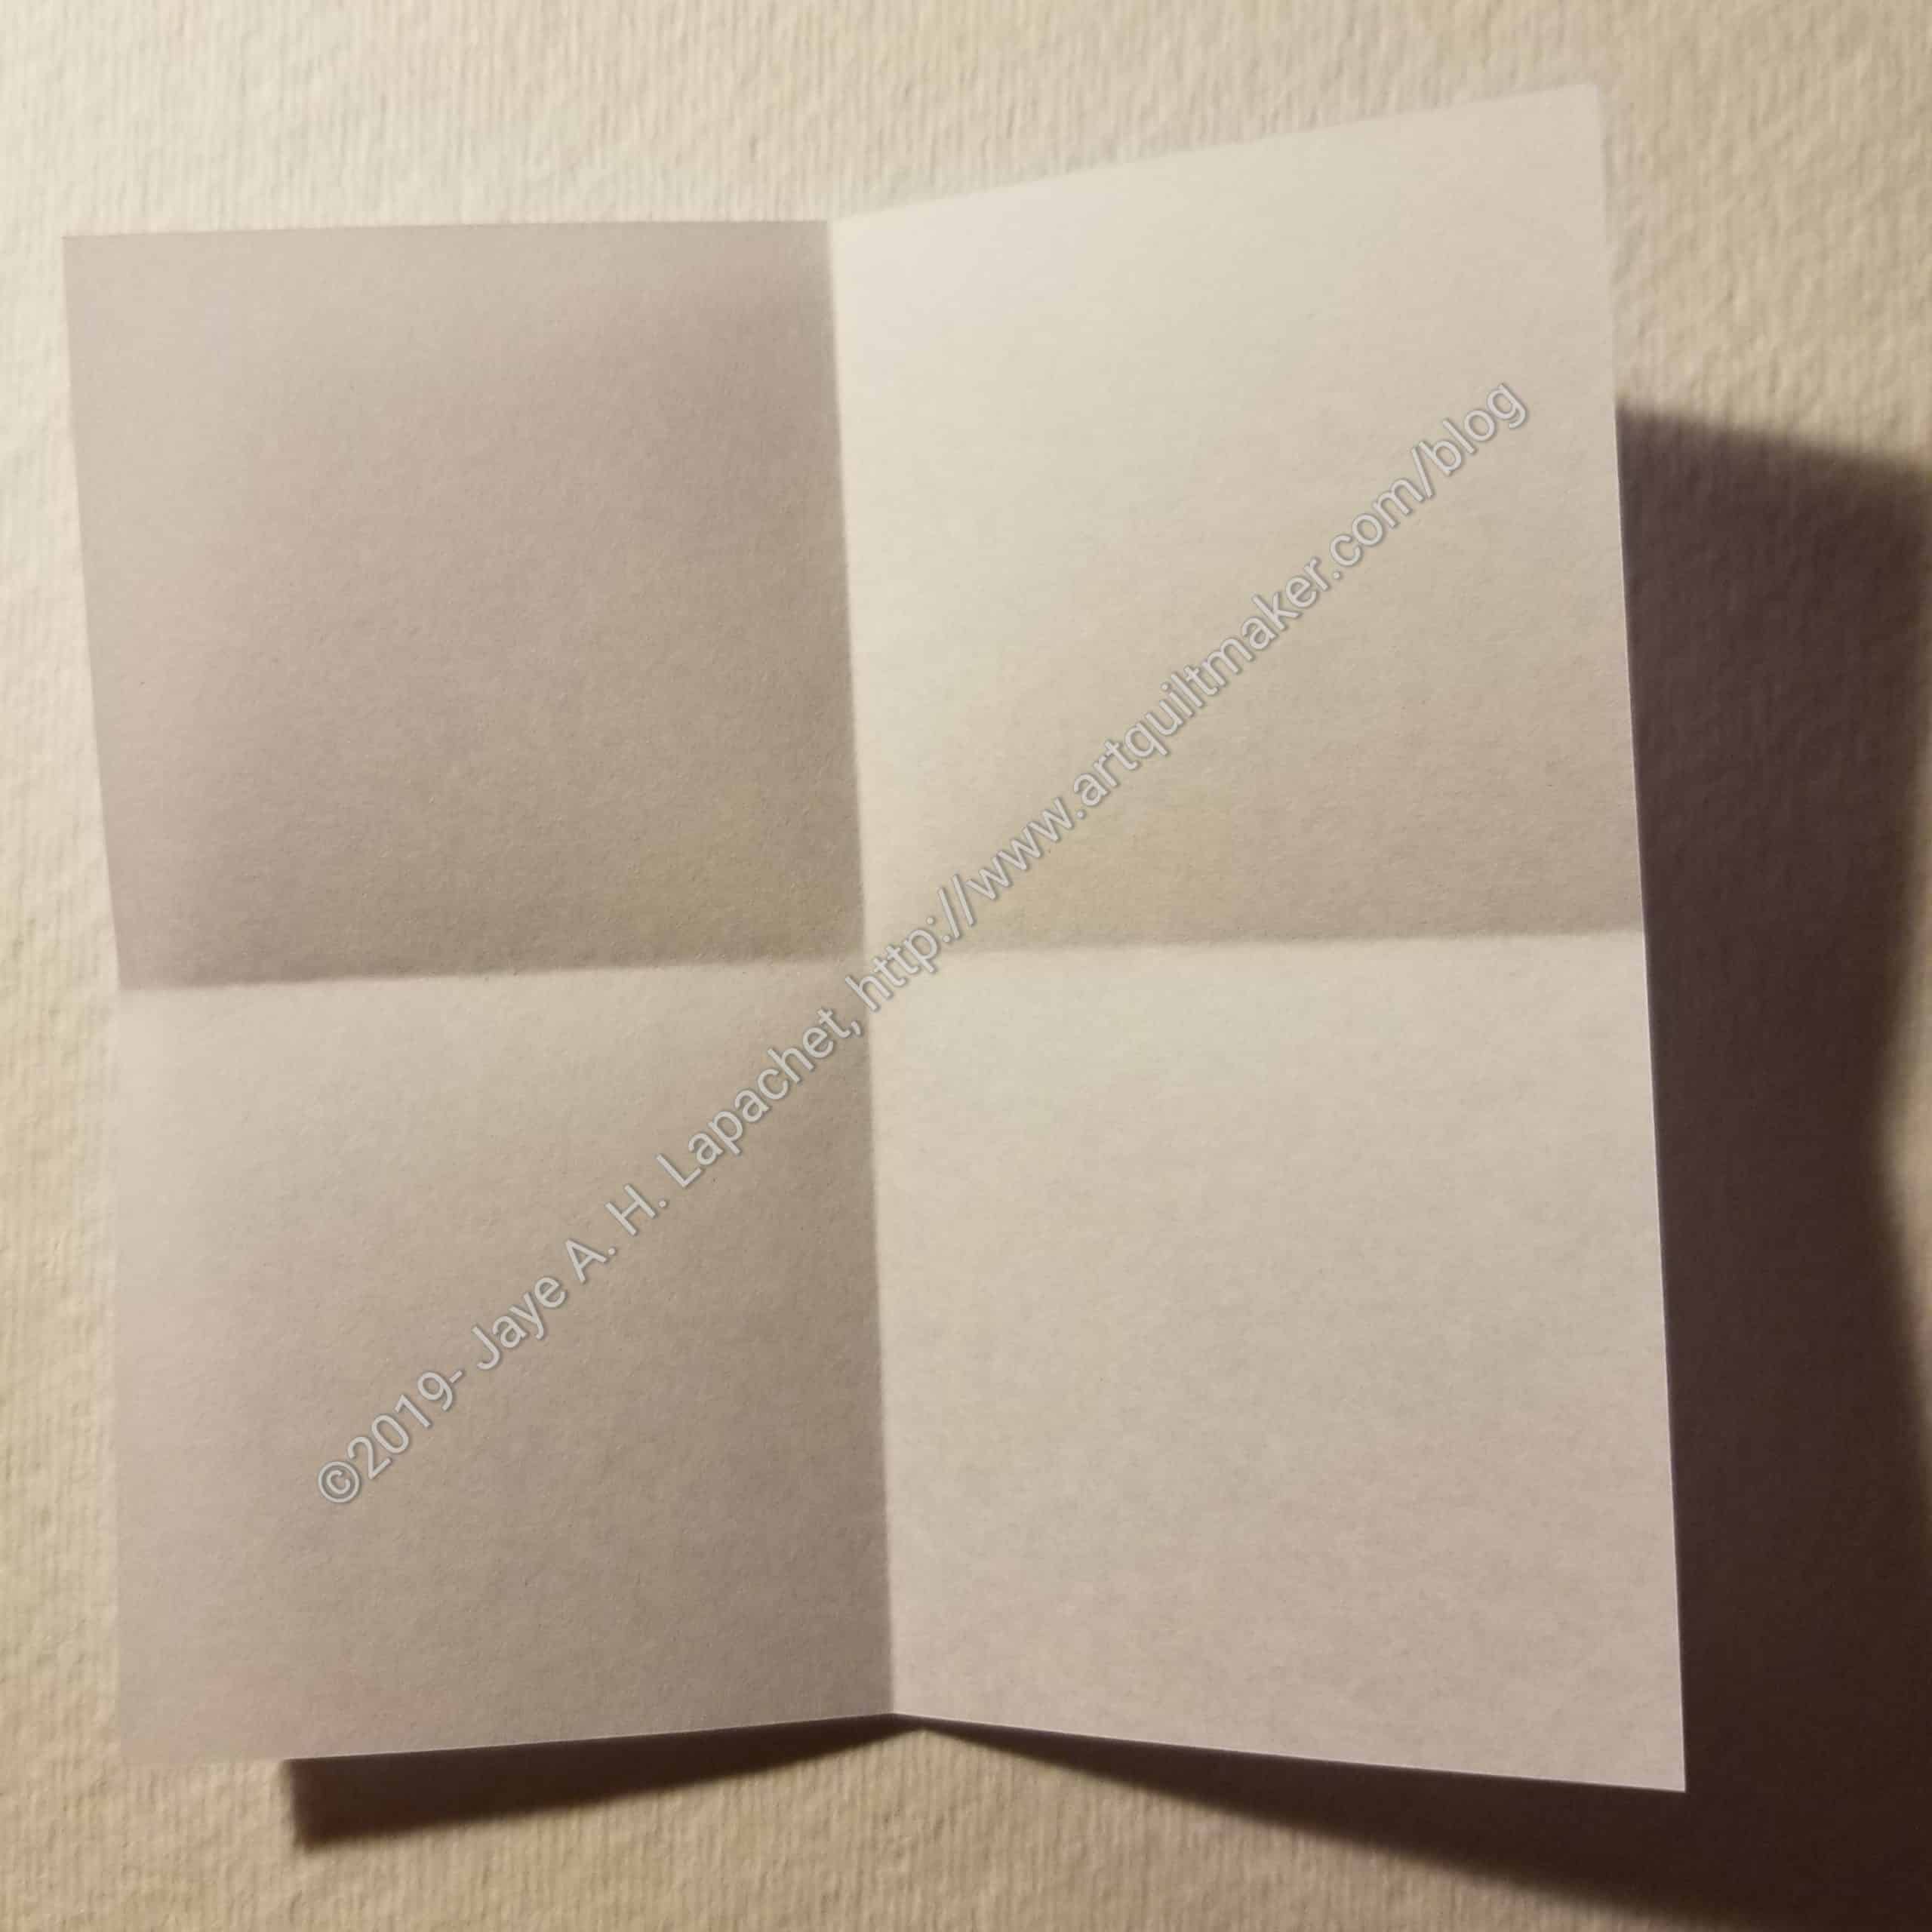
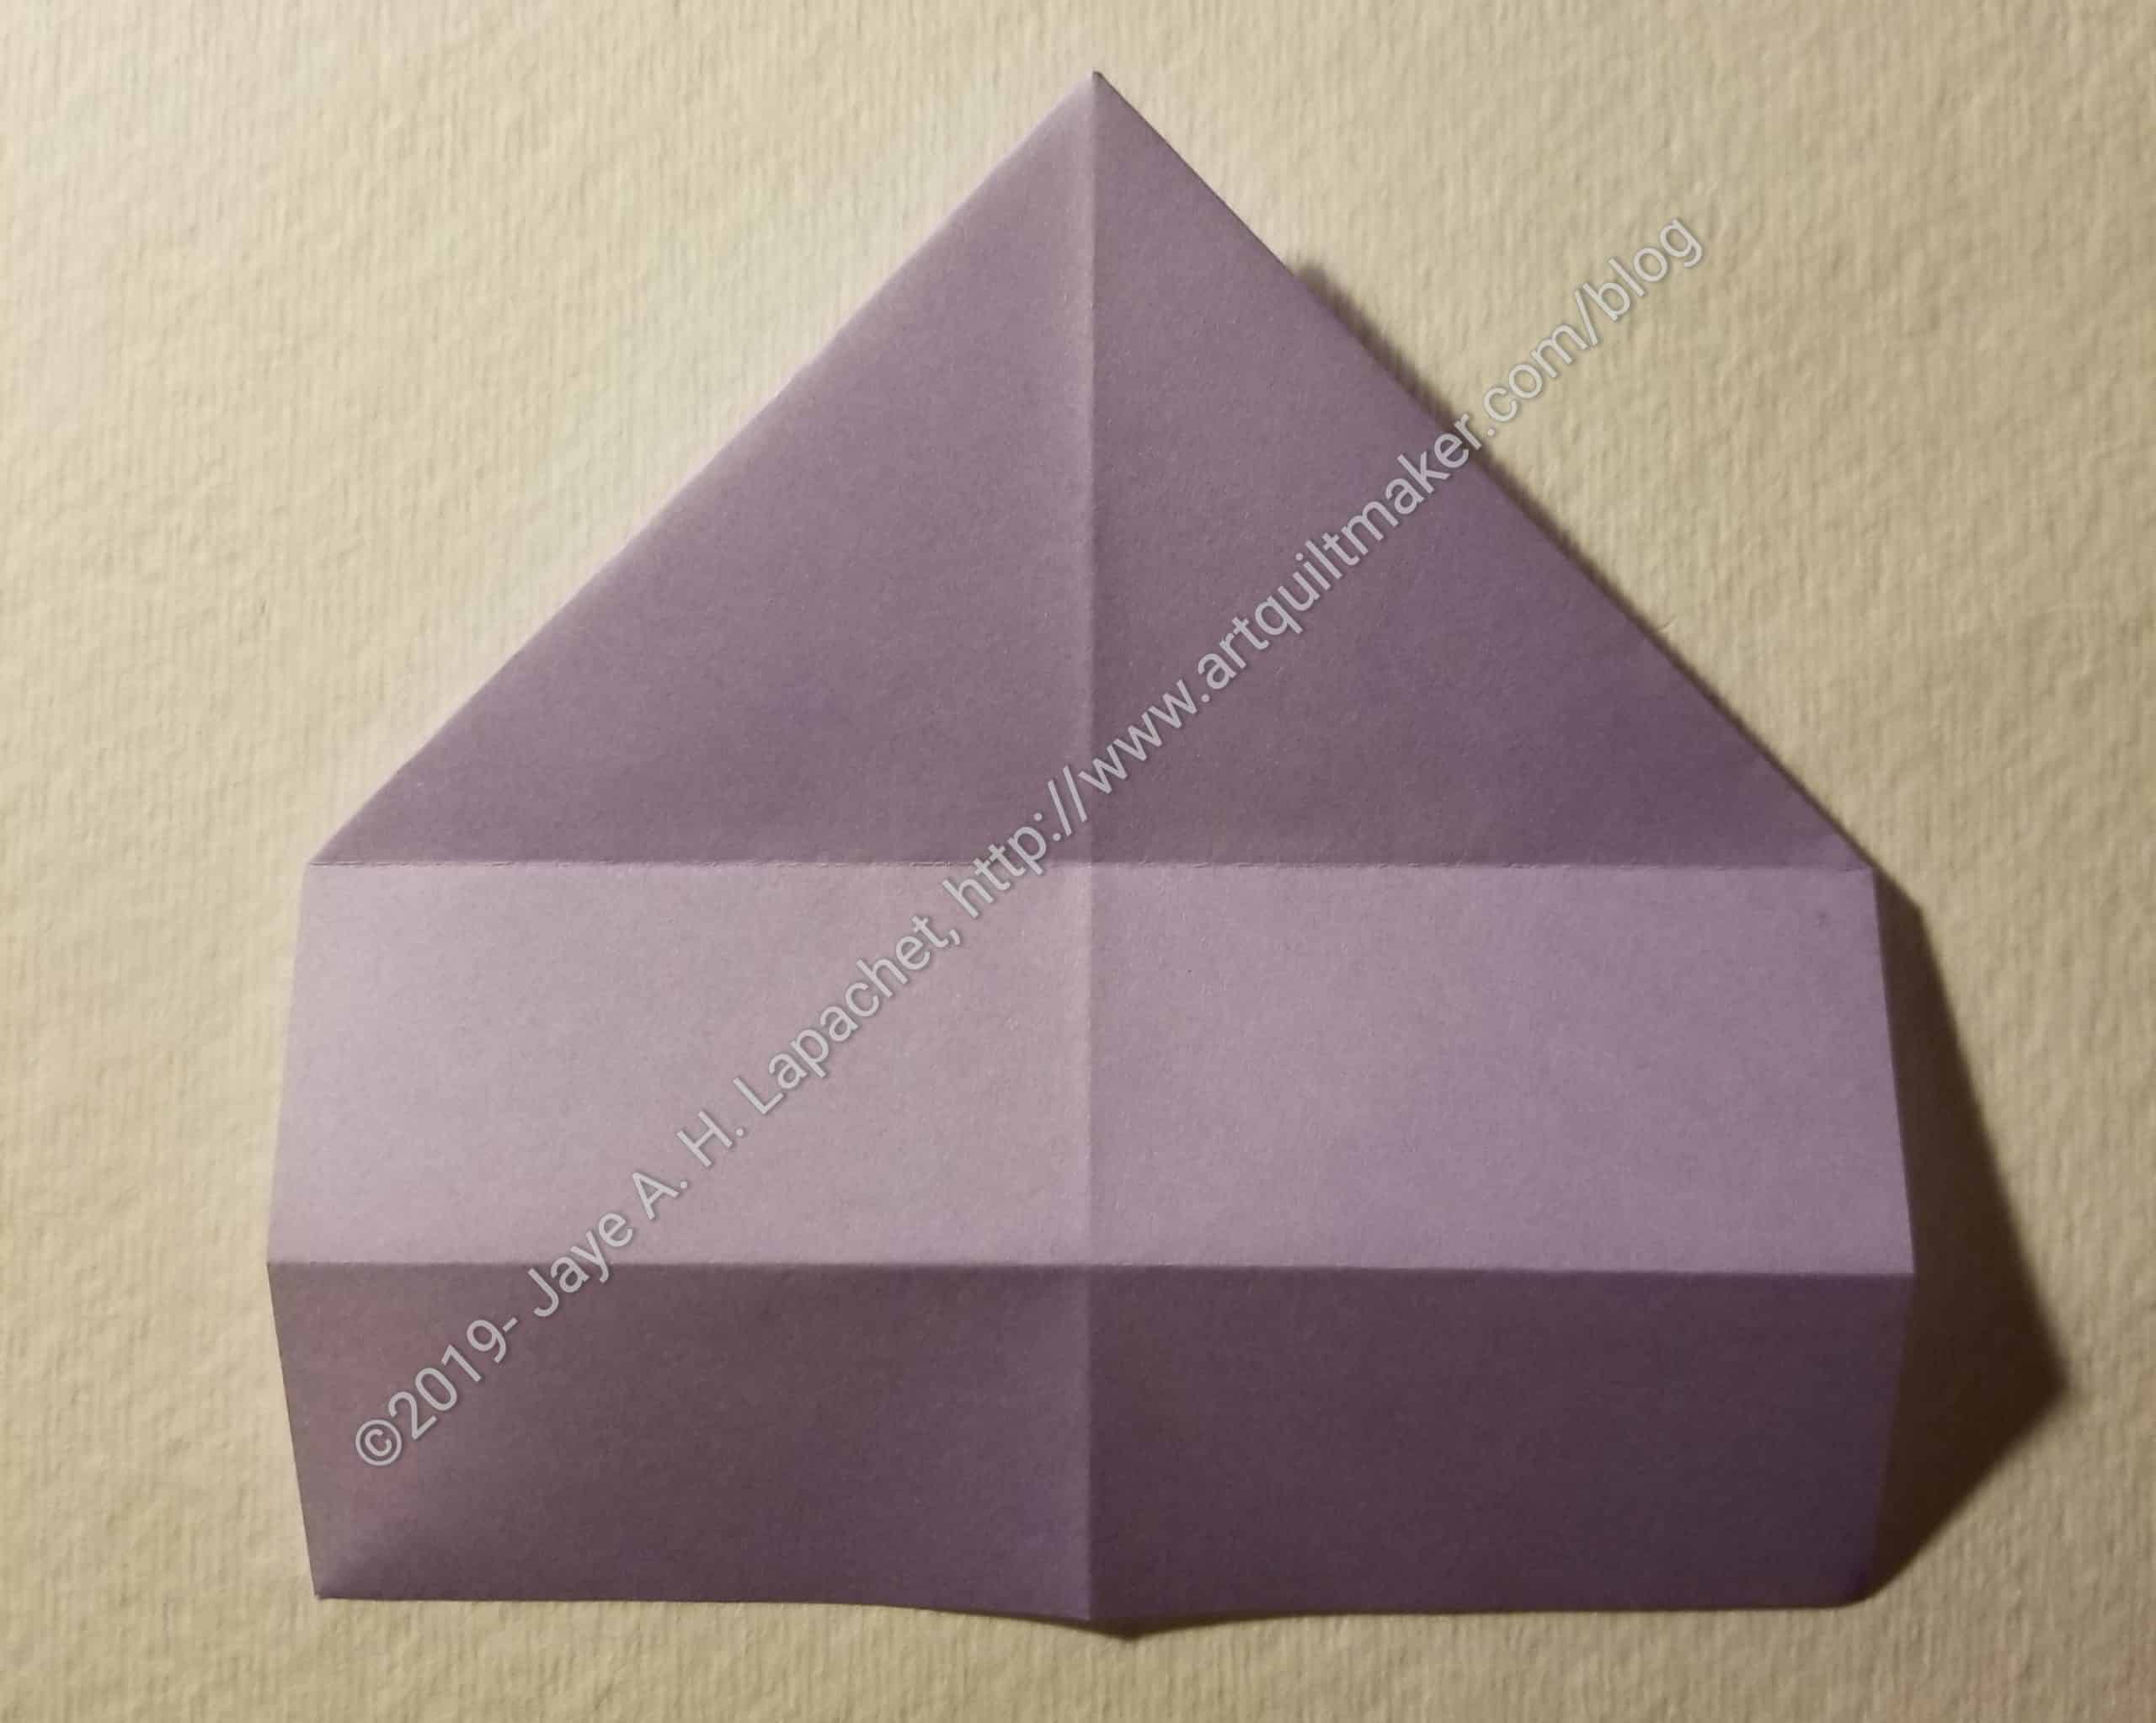
Fold the paper twice
Open up the piece of paper and fold it in half the other way. You will have a cross made of folds on the paper. If you are a quiltmaker, you will see a four patch.
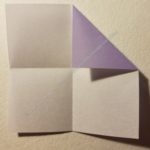
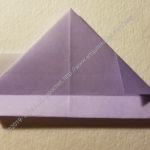
Fold corner down
Fold two top corners towards the center on the diagonal
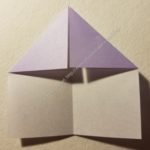
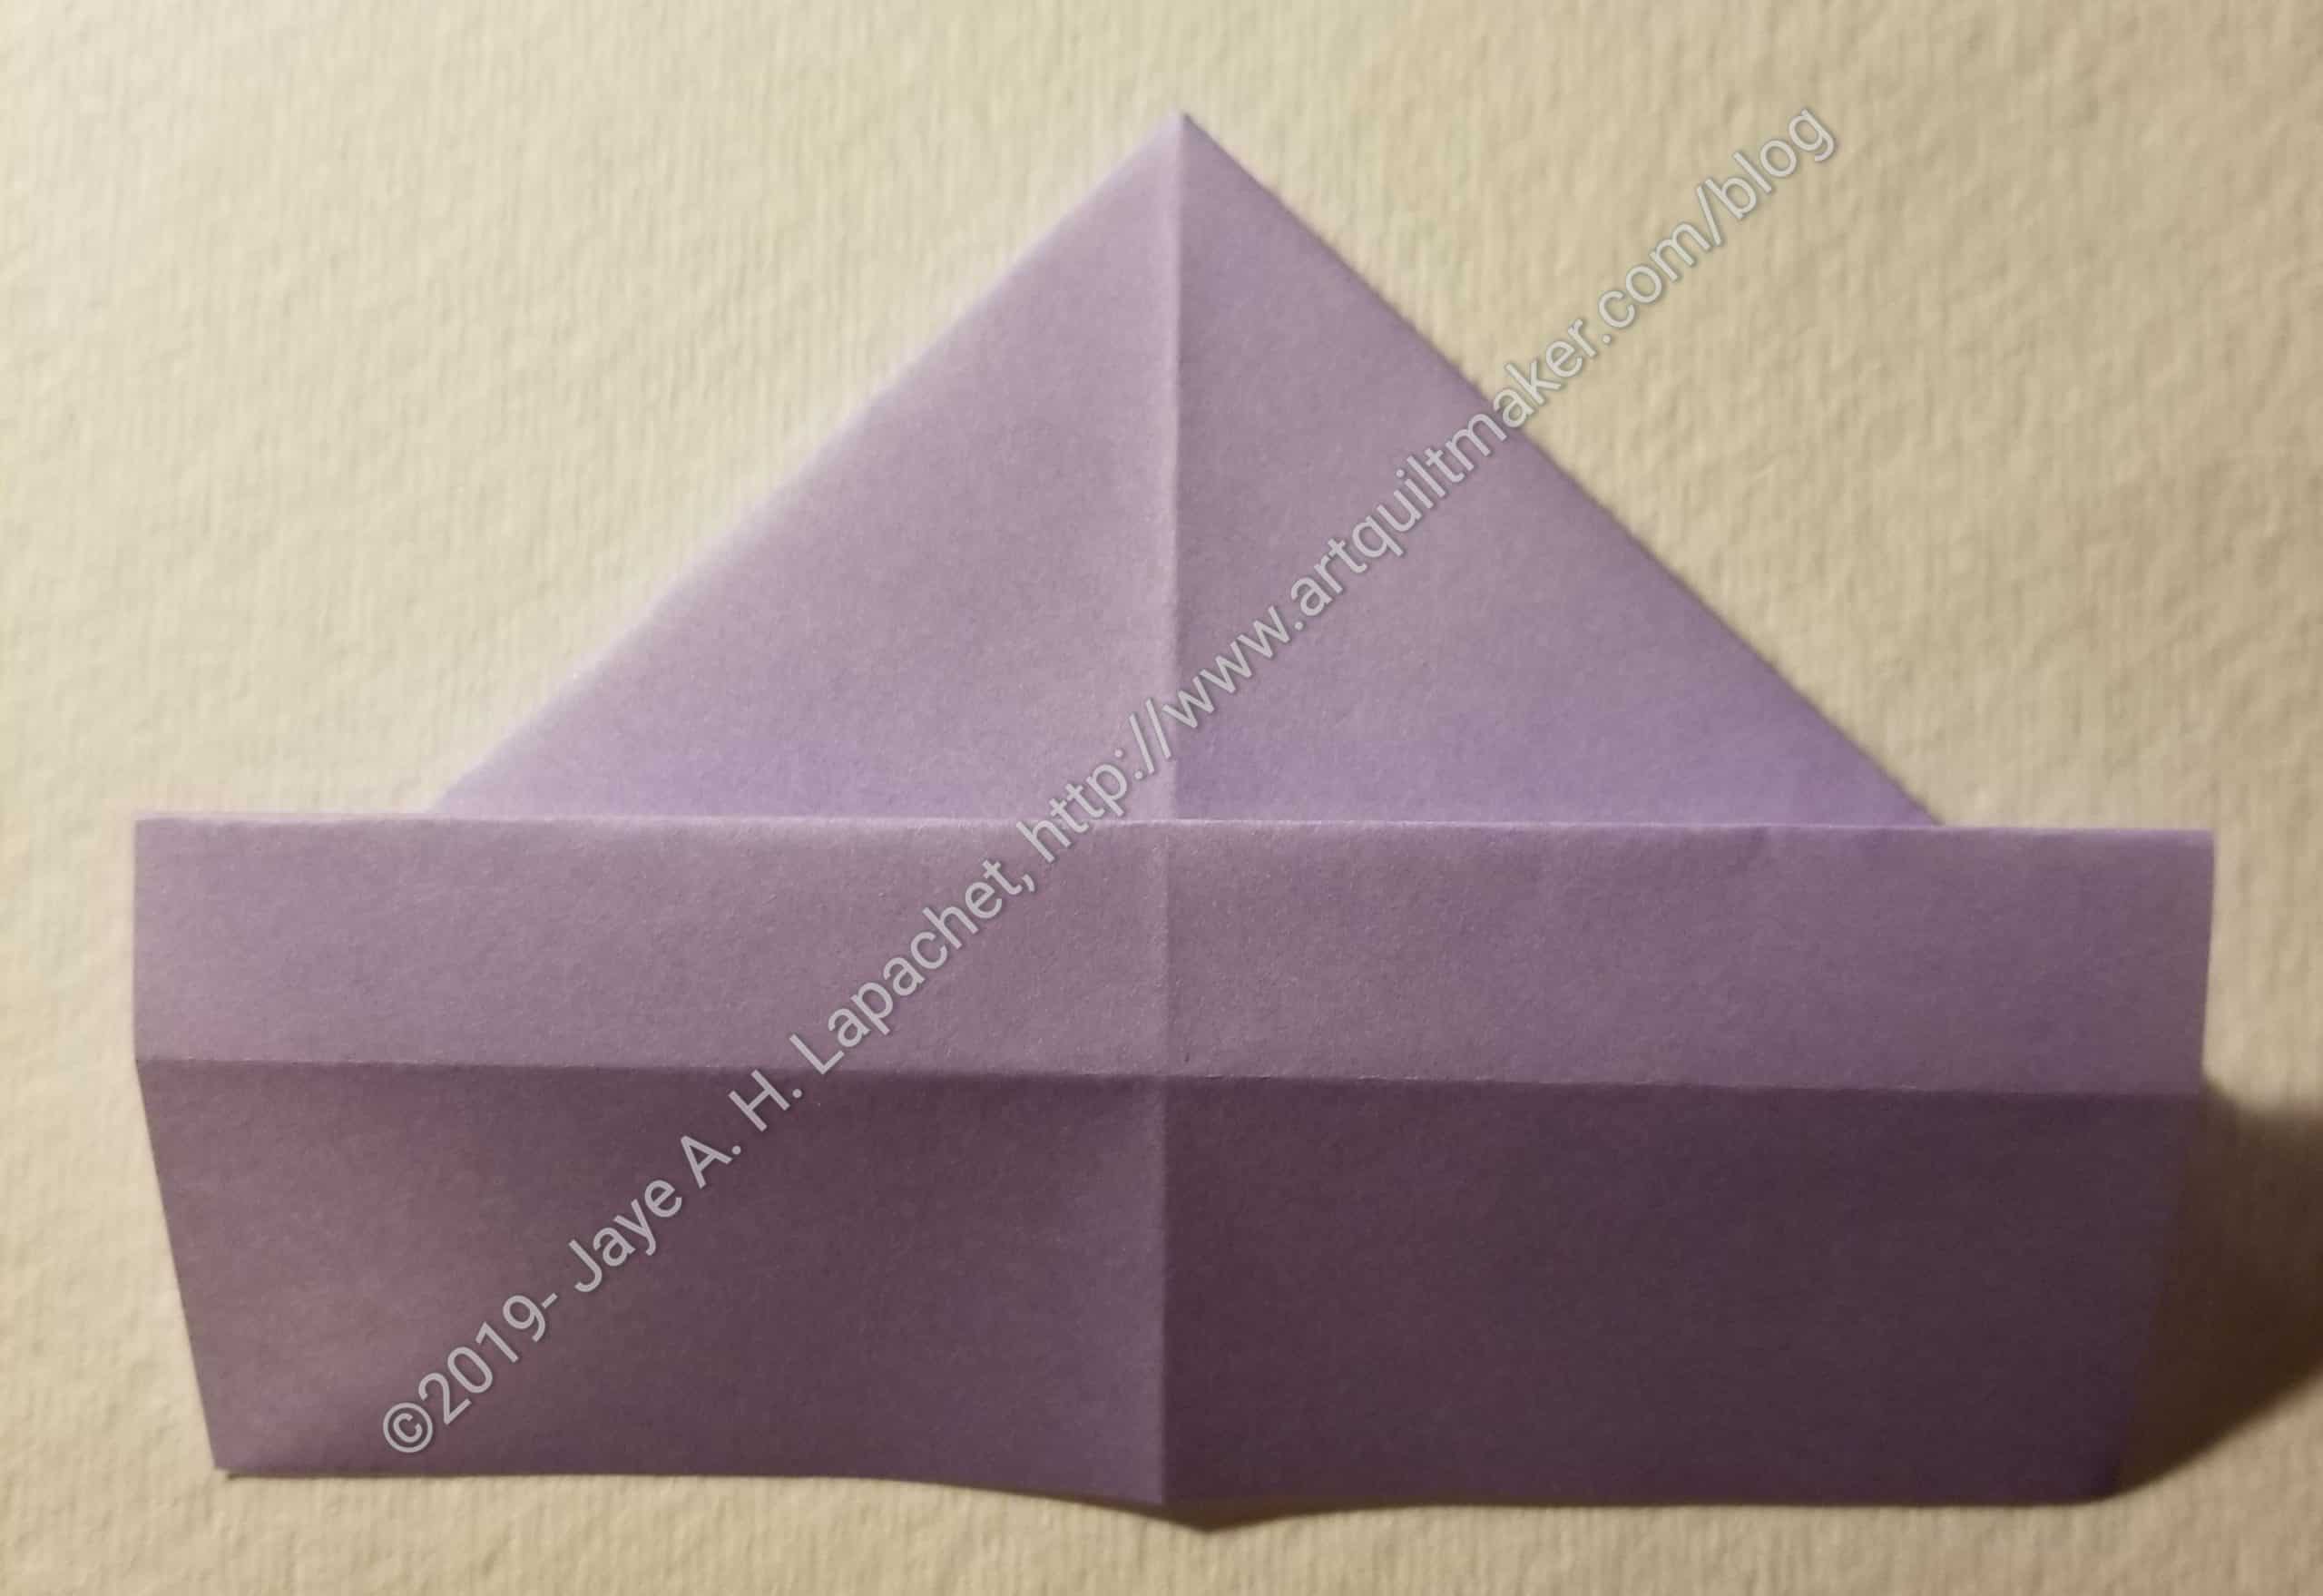
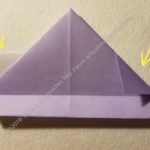
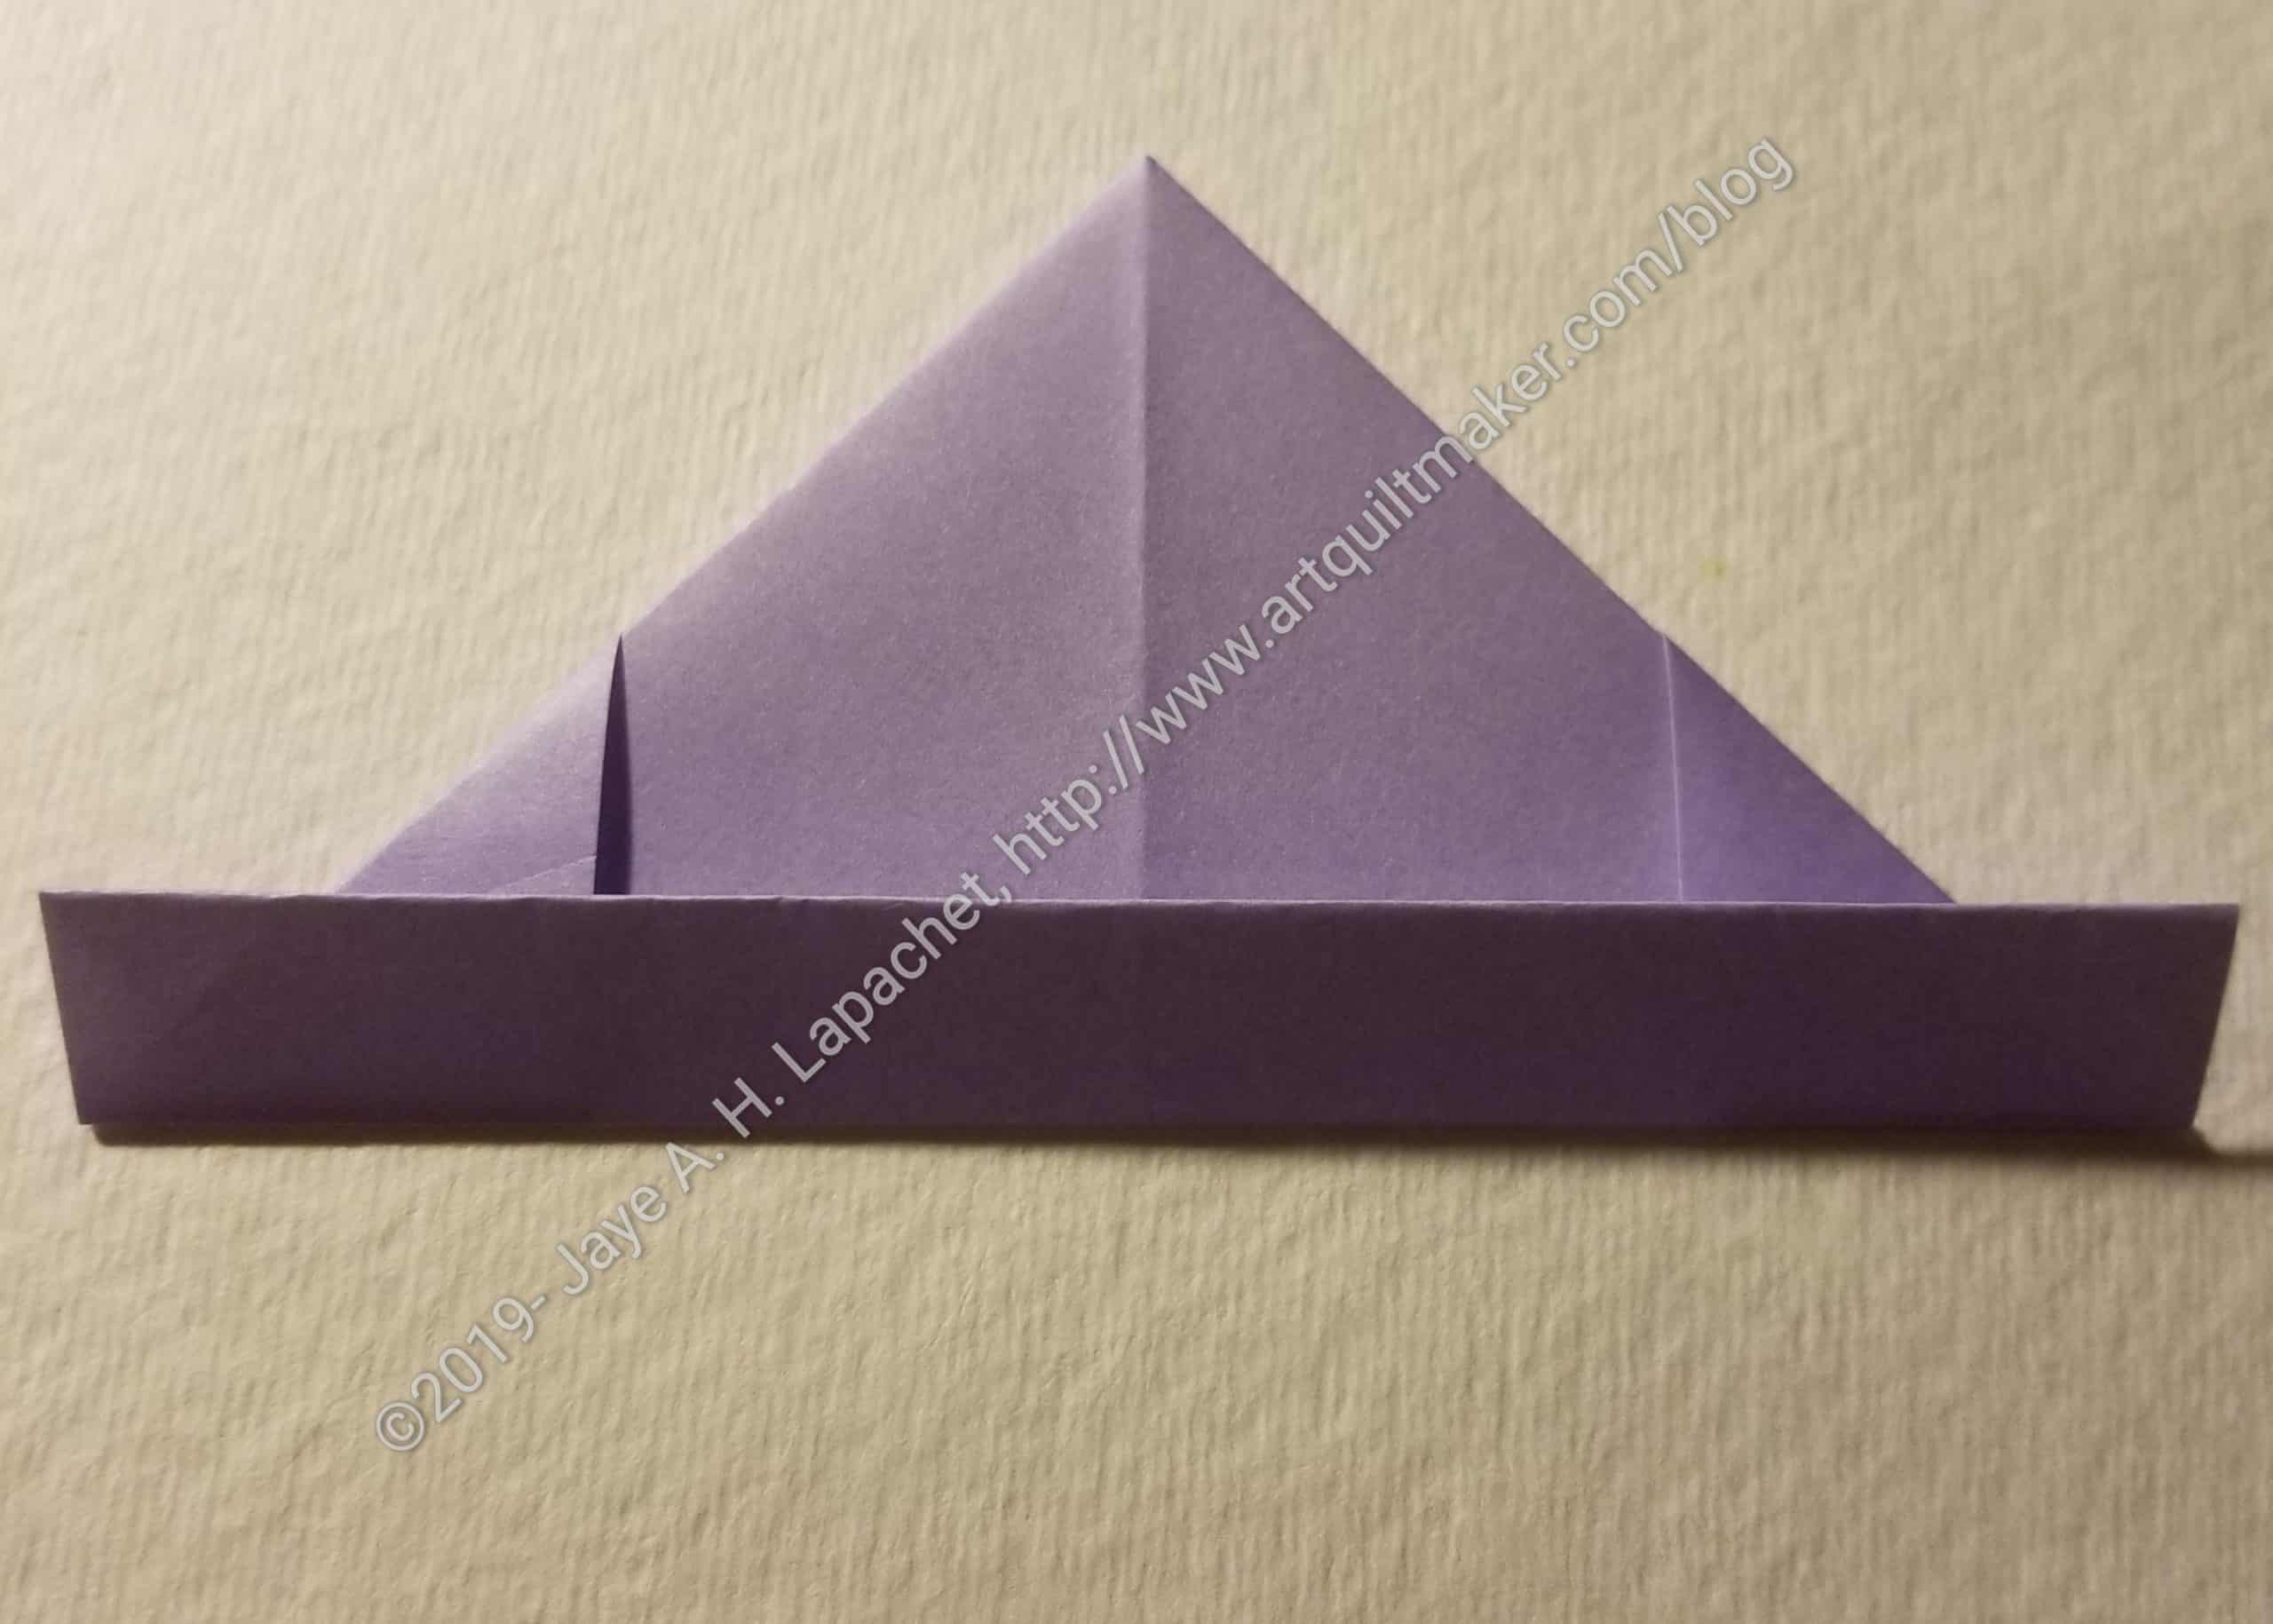
Fold bottom up to meet the two corners
Fold bottom up to meet the two corners. The edge of the paper will be even with the original folded center line and the break between the two triangles from the previous fold.
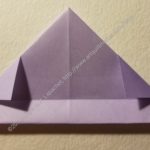
Turn the piece over
In the above photo you have two rectangles. They are just made from folds.
Turn the piece over.
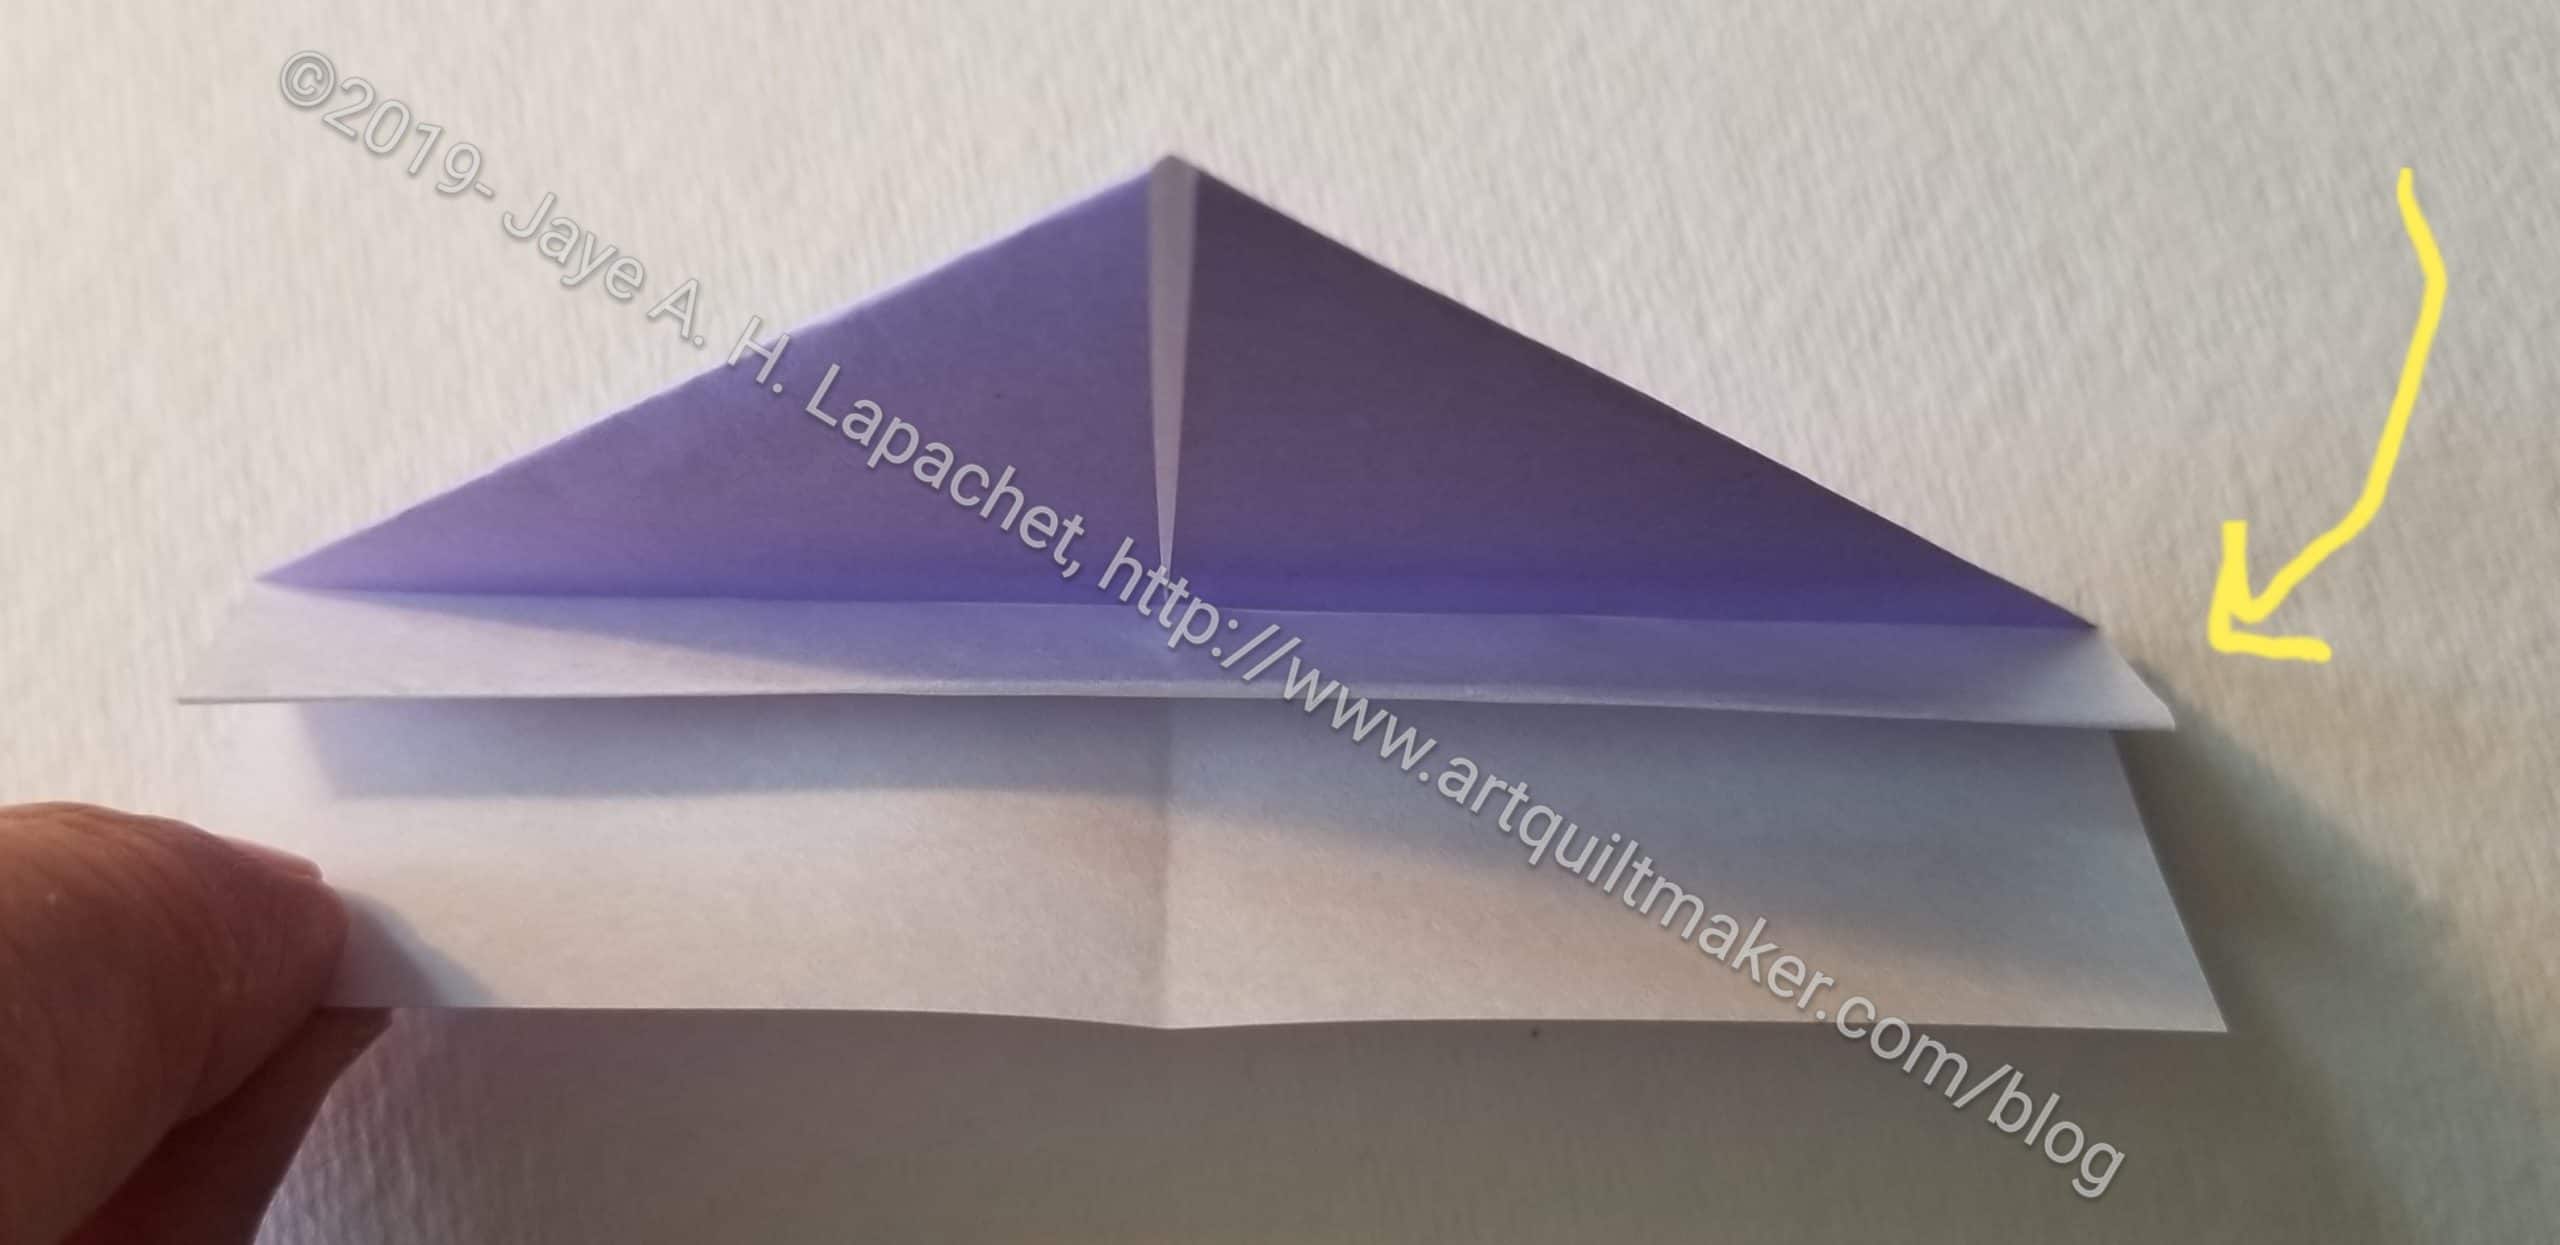
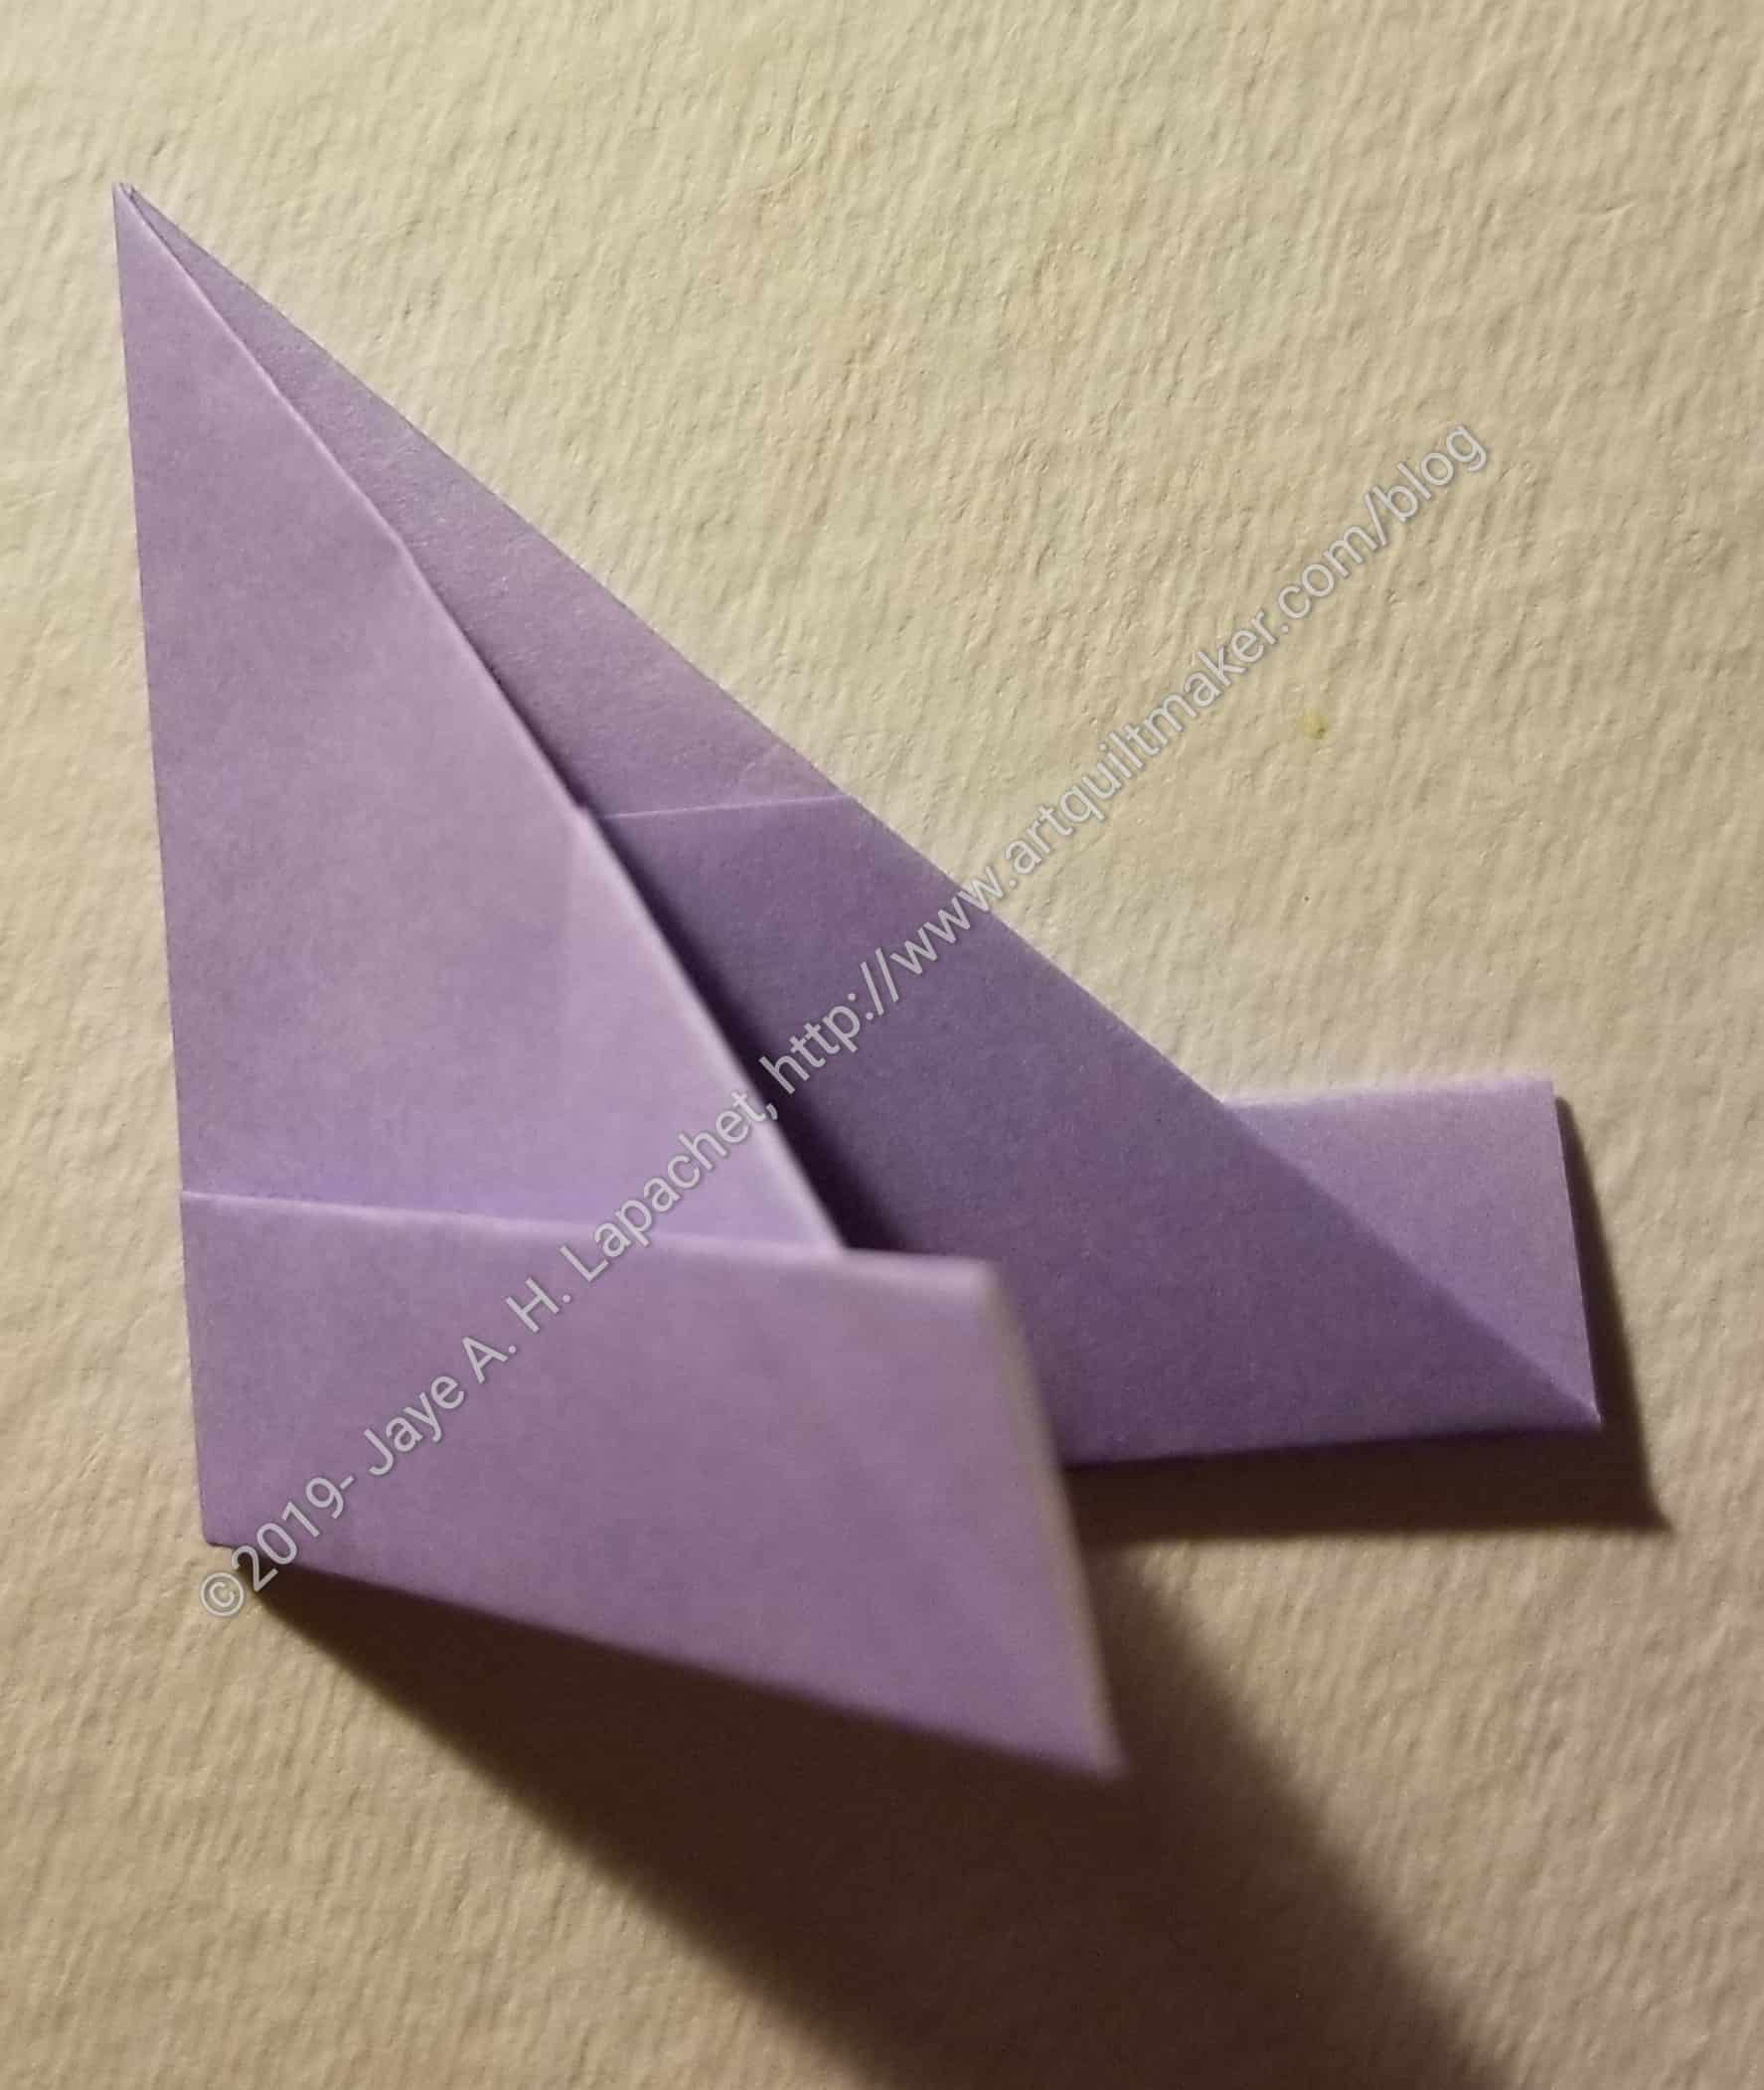
Fold the bottom rectangles
Fold the rectangle-bottom section back onto the triangle portion so the right sides of the paper are together and you can see the wrong side.
The next part is a little tricky, but only to explain. The basic idea is to fold the topmost rectangle in half lengthwise.
Fold the top rectangle in halfFold rectangle in half
Fold the top rectangle in half lengthwise wrong sides together. N.B. In the bottom photo, I flipped the unit over so I could show you how the folds look.
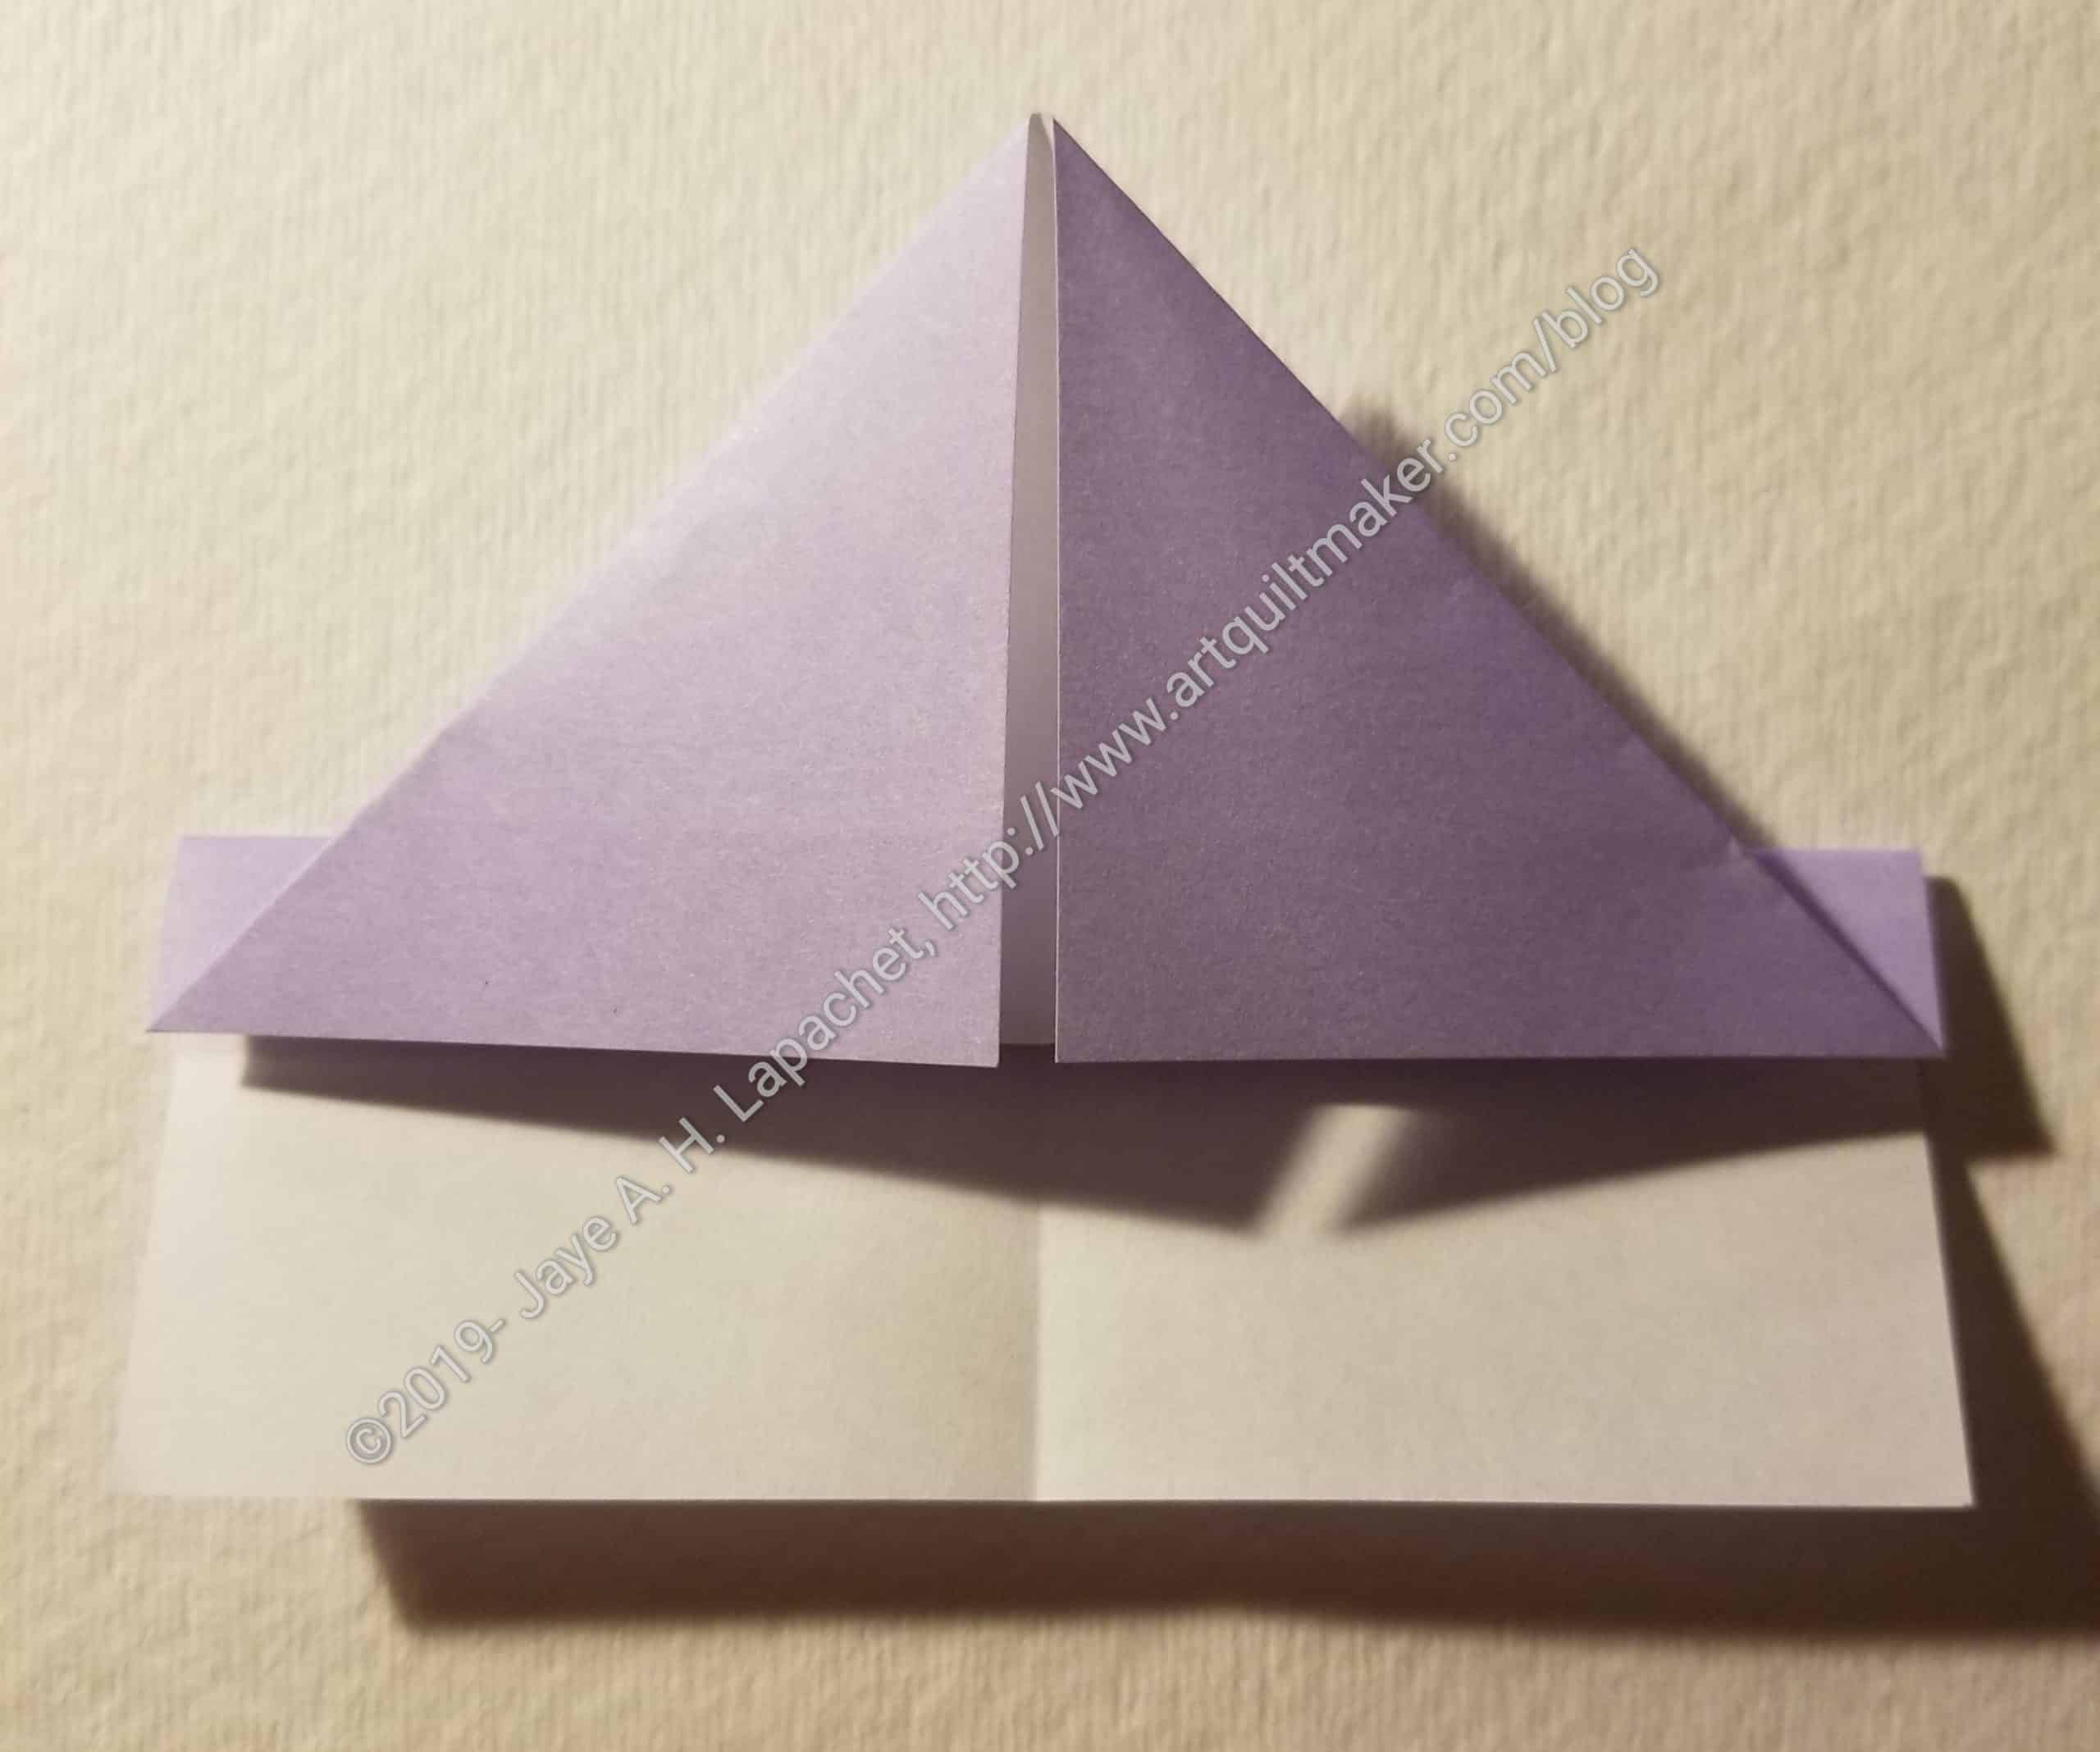
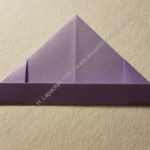
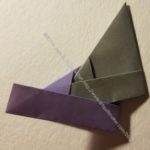
Fold the bottom rectangle up
Turn the piece over again. The opening between the two triangles will be on top.
Fold the bottom back on to the triangles
Fold the bottom rectangle up, covering part of the opening made by the diagonal folded corners/triangles
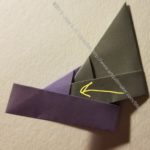
Turn the piece over again, so the larger rectangle is on the bottom.
Fold one corner down
Fold one corner down
Fold other corner down
Tuck the corners under the smaller rectangle
You will need to move the thin rectangle out of the way. Fold the two corners down and on the diagonal so the back of the paper is not showing
Tuck the corners under the smaller rectangle
Tuck the corners under the smaller rectangle. See an additional image on Mette Pedersen’s site.
Fold the thin rectangle back up. You will have a shape that looks like a paper hat
Fold the piece in half vertically
Fold the piece in half vertically along the opening between the two triangles.
Tuck tabs into the little pocket
Tuck tabs into the little pocket
Tuck one leg into the next leg in the little pockets formed by the second folded corners
Now: go practice. It took me at least a ring and a half to really get the hang of folding the units. These make great gifts and tree ornaments.
*I use affiliate links and may be paid for your purchase of an item you click on. There is no additional cost to you for clicking or purchasing items I recommend. I appreciate your clicks and purchases as it helps support this blog.