I think it might have been last November that I did a design wall post. I am a little short of content, not having finished or really worked on anything worth showing recently. Some projects are actually worth showing, but not in a recognizable stage. I kind of feel like this whole year, so far, has been dedicated to process and some mindless sewing.
I had to work hard yesterday to fill it up so it would be interesting for you to look at. Not that I hadn’t planned to sew a lot anyway, but you gave me true purpose.
Design Wall, March 26, 2017 annotated
I was pleased and a little shocked that none of the major projects on my design wall were there last November. I am pleased that I have made some progress.
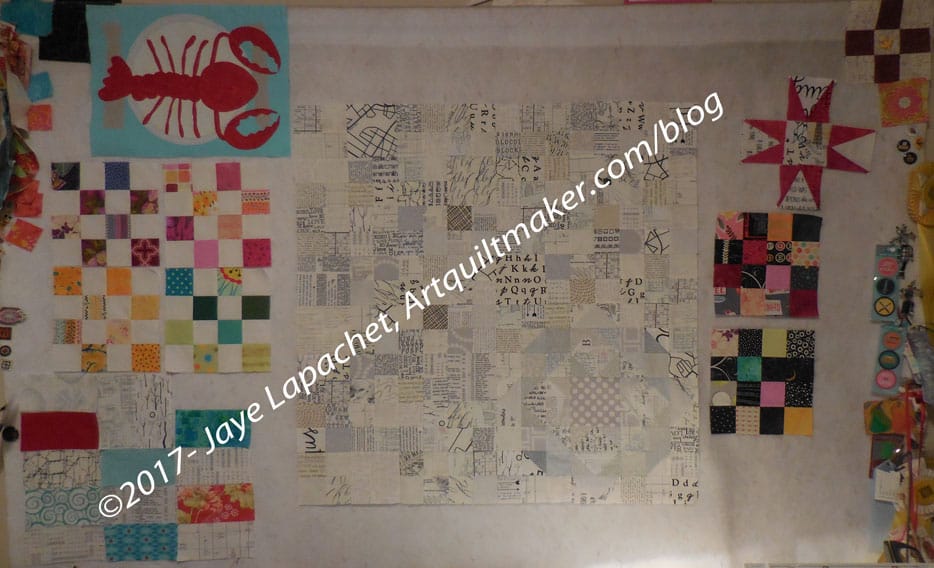
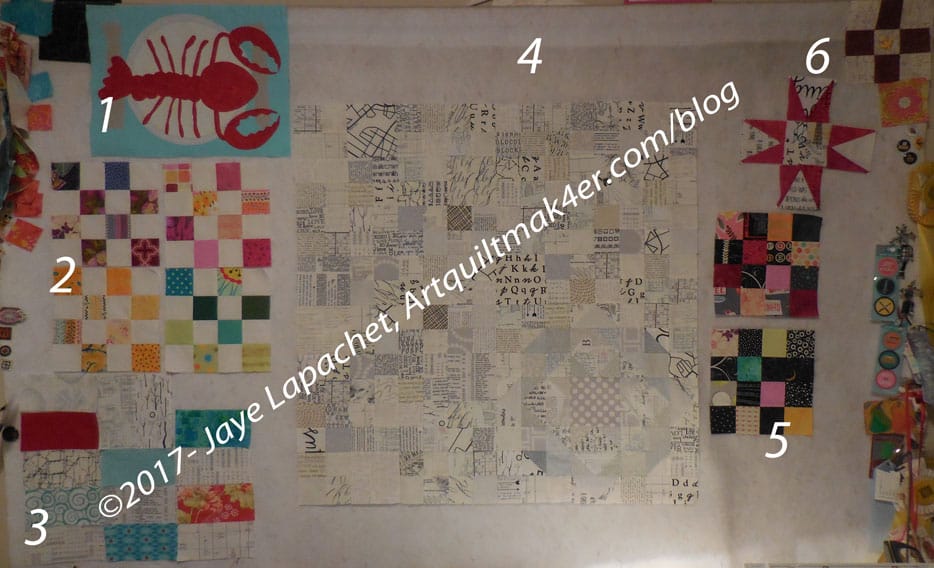
The Lobster has been up there awhile, but not 5 months, which is a relief. I have been feeling twinges lately about continuing to stitch on it, so you may see some progress in the coming weeks.
Latest standard donation blocks
Latest patches for FOTY 2017
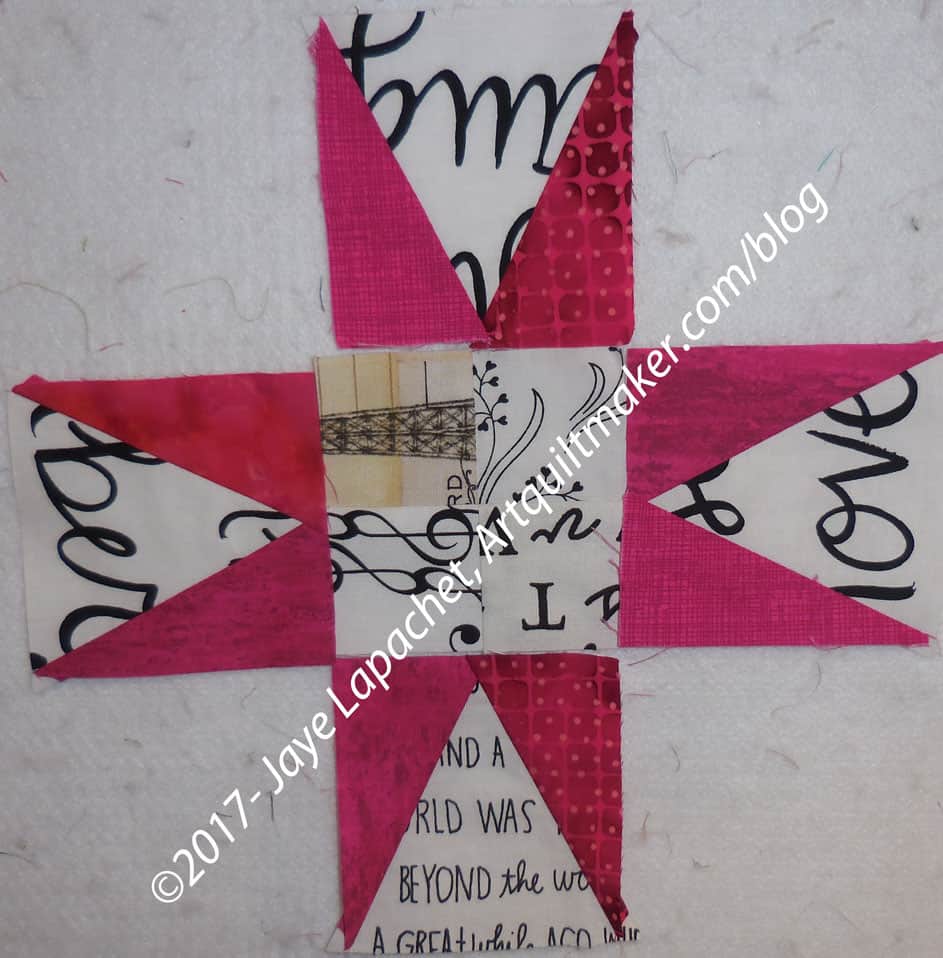
Four Carpenter’s Wheel blocks I made yesterday
Latest non-standard donation blocks. I ran out of white squares. While I have more charm packs and can cut them, I didn’t want to stop and take the time. I have been thinking of making some postage stamp blocks with all colored 2.5″ squares and no white. I seem to have a lot of black and dark grey squares, so I decided to head in that direction by making a couple of blocks with those darker colors as background.
The En Provence square is still on the design wall in an effort to keep it on my mind. As I think I mentioned, the Peaky and spike patches are done and I need to move on to clue 3. I am not quite there yet, so it is up there as a reminder.
We had Craft Night at SIL’s the other night. Her design wall was awash with BAMQG projects.
One thing that is cool about this is that SIL never belonged to any guilds (that I remember her talking about) when she lived back East. The other thing is that she does more of the various challenges than I do.
SIL’s Design Wall n.2
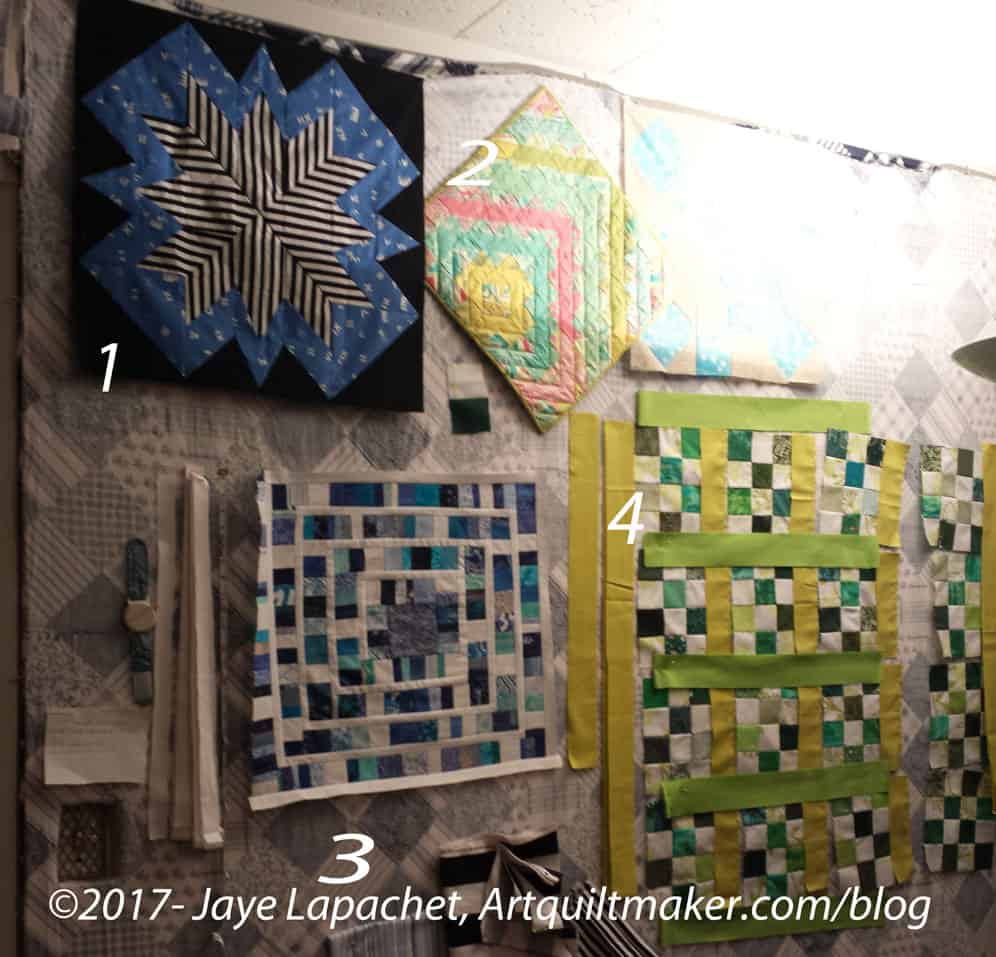
The first project is the text project. SIL is smart and makes small projects for the challenges. The blue fabric is a text print and her piecing of the striped fabric is truly genius.
The green and pink piece is actually a quillow. That fabric was truly a challenge for SIL as she normally works in a different palette.
The blue and white square and rectangle piece is the latest challenge from BAMQG. This year’s theme is scraps and the first challenge has to do with using scraps to make a piece from squares and rectangles. I like the white as I think it adds a lot the the piece.
You might recognize the postage stamp blocks from the various posts I have written about donation blocks and quilts. SIL is using sashing on hers as I often do.
There is a certain cohesiveness on her design wall that appealed to me.
SIL and I went to the SF Quilters’ Guild Show yesterday. It is still on today so you can see it if you have time. The show was held at the Event Center at St. Mary’s is located in St. Mary’s Cathedral. The Cathedral is a San Francisco landmark designed by award winning architects Pietro Belluschi and Pier-Luigi Nervi, in case you were wondering.
I had never been to that particular venue, though I have driven by many times. I thought it was an improvement in terms of lighting over the place they used to use South of Market.
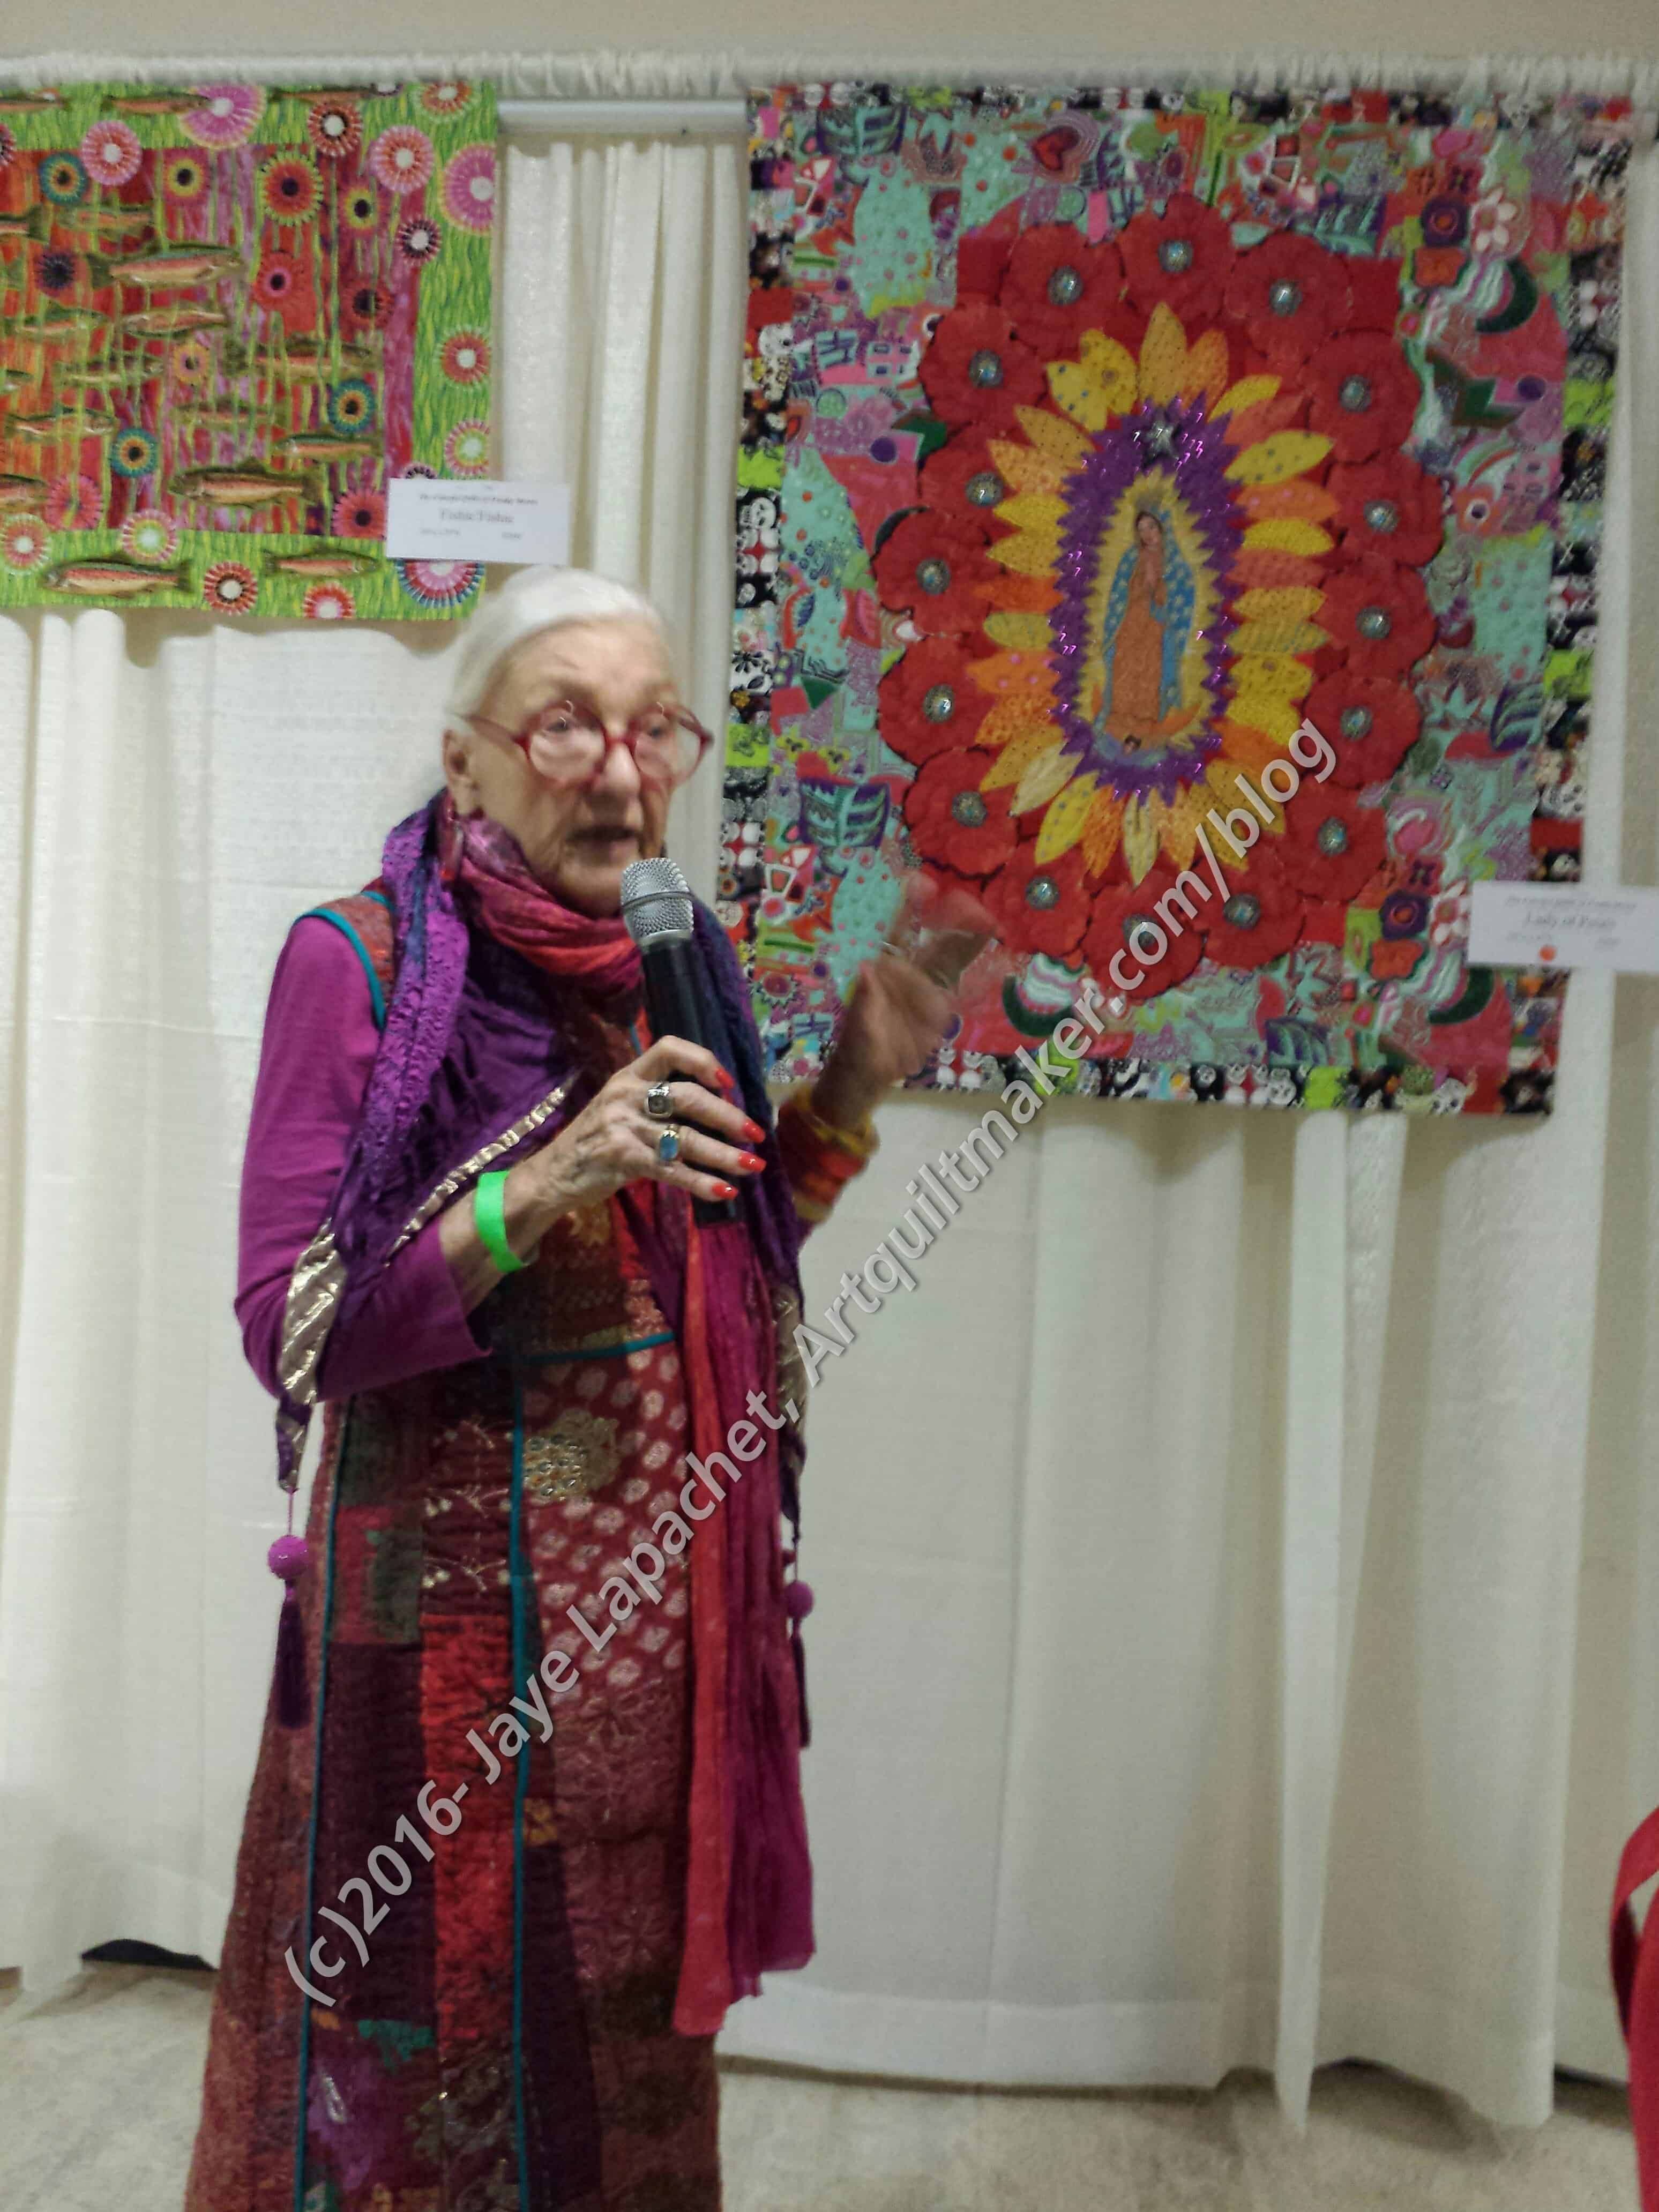
Freddy Moran – talking about her special exhibit at SFQG Show
Luke Haynes and Freddy Moran both had special exhibits. We were able to catch Freddy speaking but missed Luke. We saw both exhibits, though many of the quilts Freddy had hanging were the ones she showed at the lecture I attended several months ago.
I am always interested to see Freddy’s work. She is getting up there in age and I am inspired by her continued work, visiting classes, etc. She talked about going to Sisters every year and taking classes, which I think is wonderful. Everyone can learn new things.
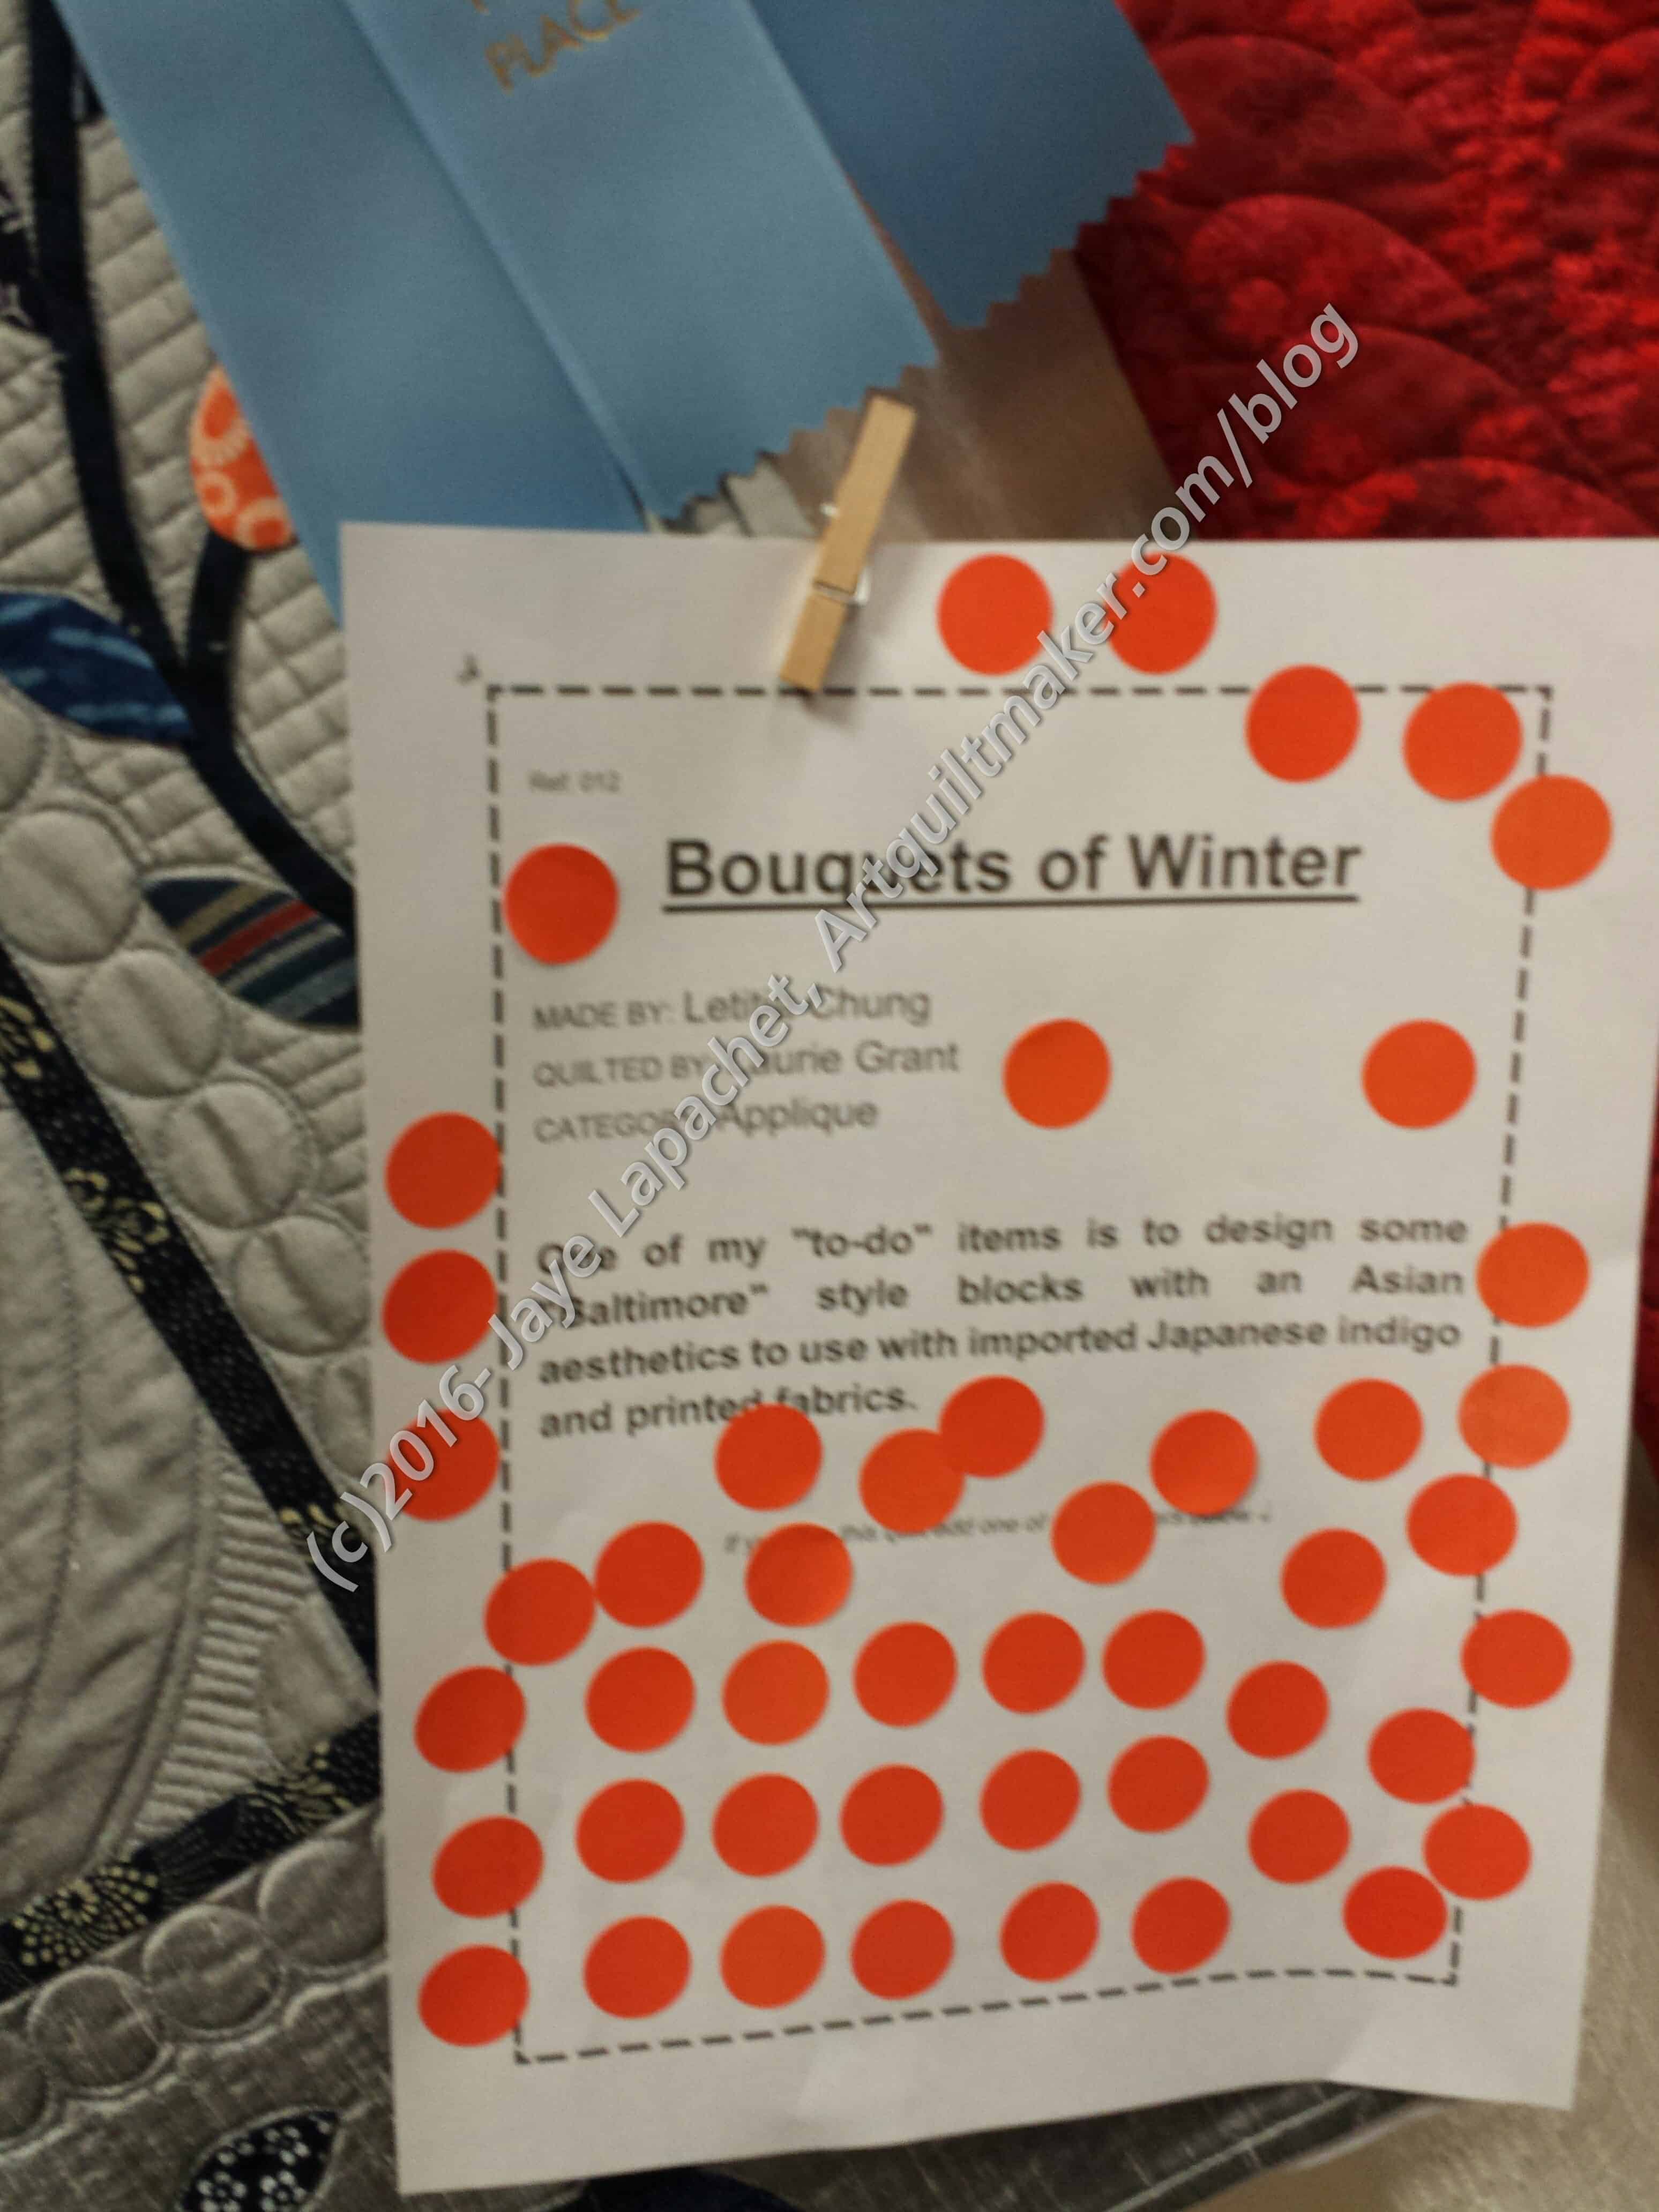
SFQG Viewer’s Choice Award System
The show had a very interesting system to determine Viewer’s Choice. They gave each entrant 5 stick-on orange dots. Our job, as viewers, was to stick an orange dot on quilts that were Viewer’s Choice favorites.
While this might have given some quilts an unfair advantage, because people could see the favorites, I thought it was easy to manage. I rarely vote for Viewer’s Choice at quilt shows. Since I didn’t have to try to find the quilt’s number or the ticket box for depositing choices, this was and easy activity in which I could participate.
I have found that each show has a signature or theme. It might only be noticeable to me. I think it can be because of a workshop given where a lot of participants finished their quilts. It can also be that someone showed a quilt and others were inspired. I noticed a LOT of log cabins at this show. There were certainly other quilt designs, though I would say that log cabins dominated. They were certainly not all the same type of log cabin, but there were a distinguishable number.
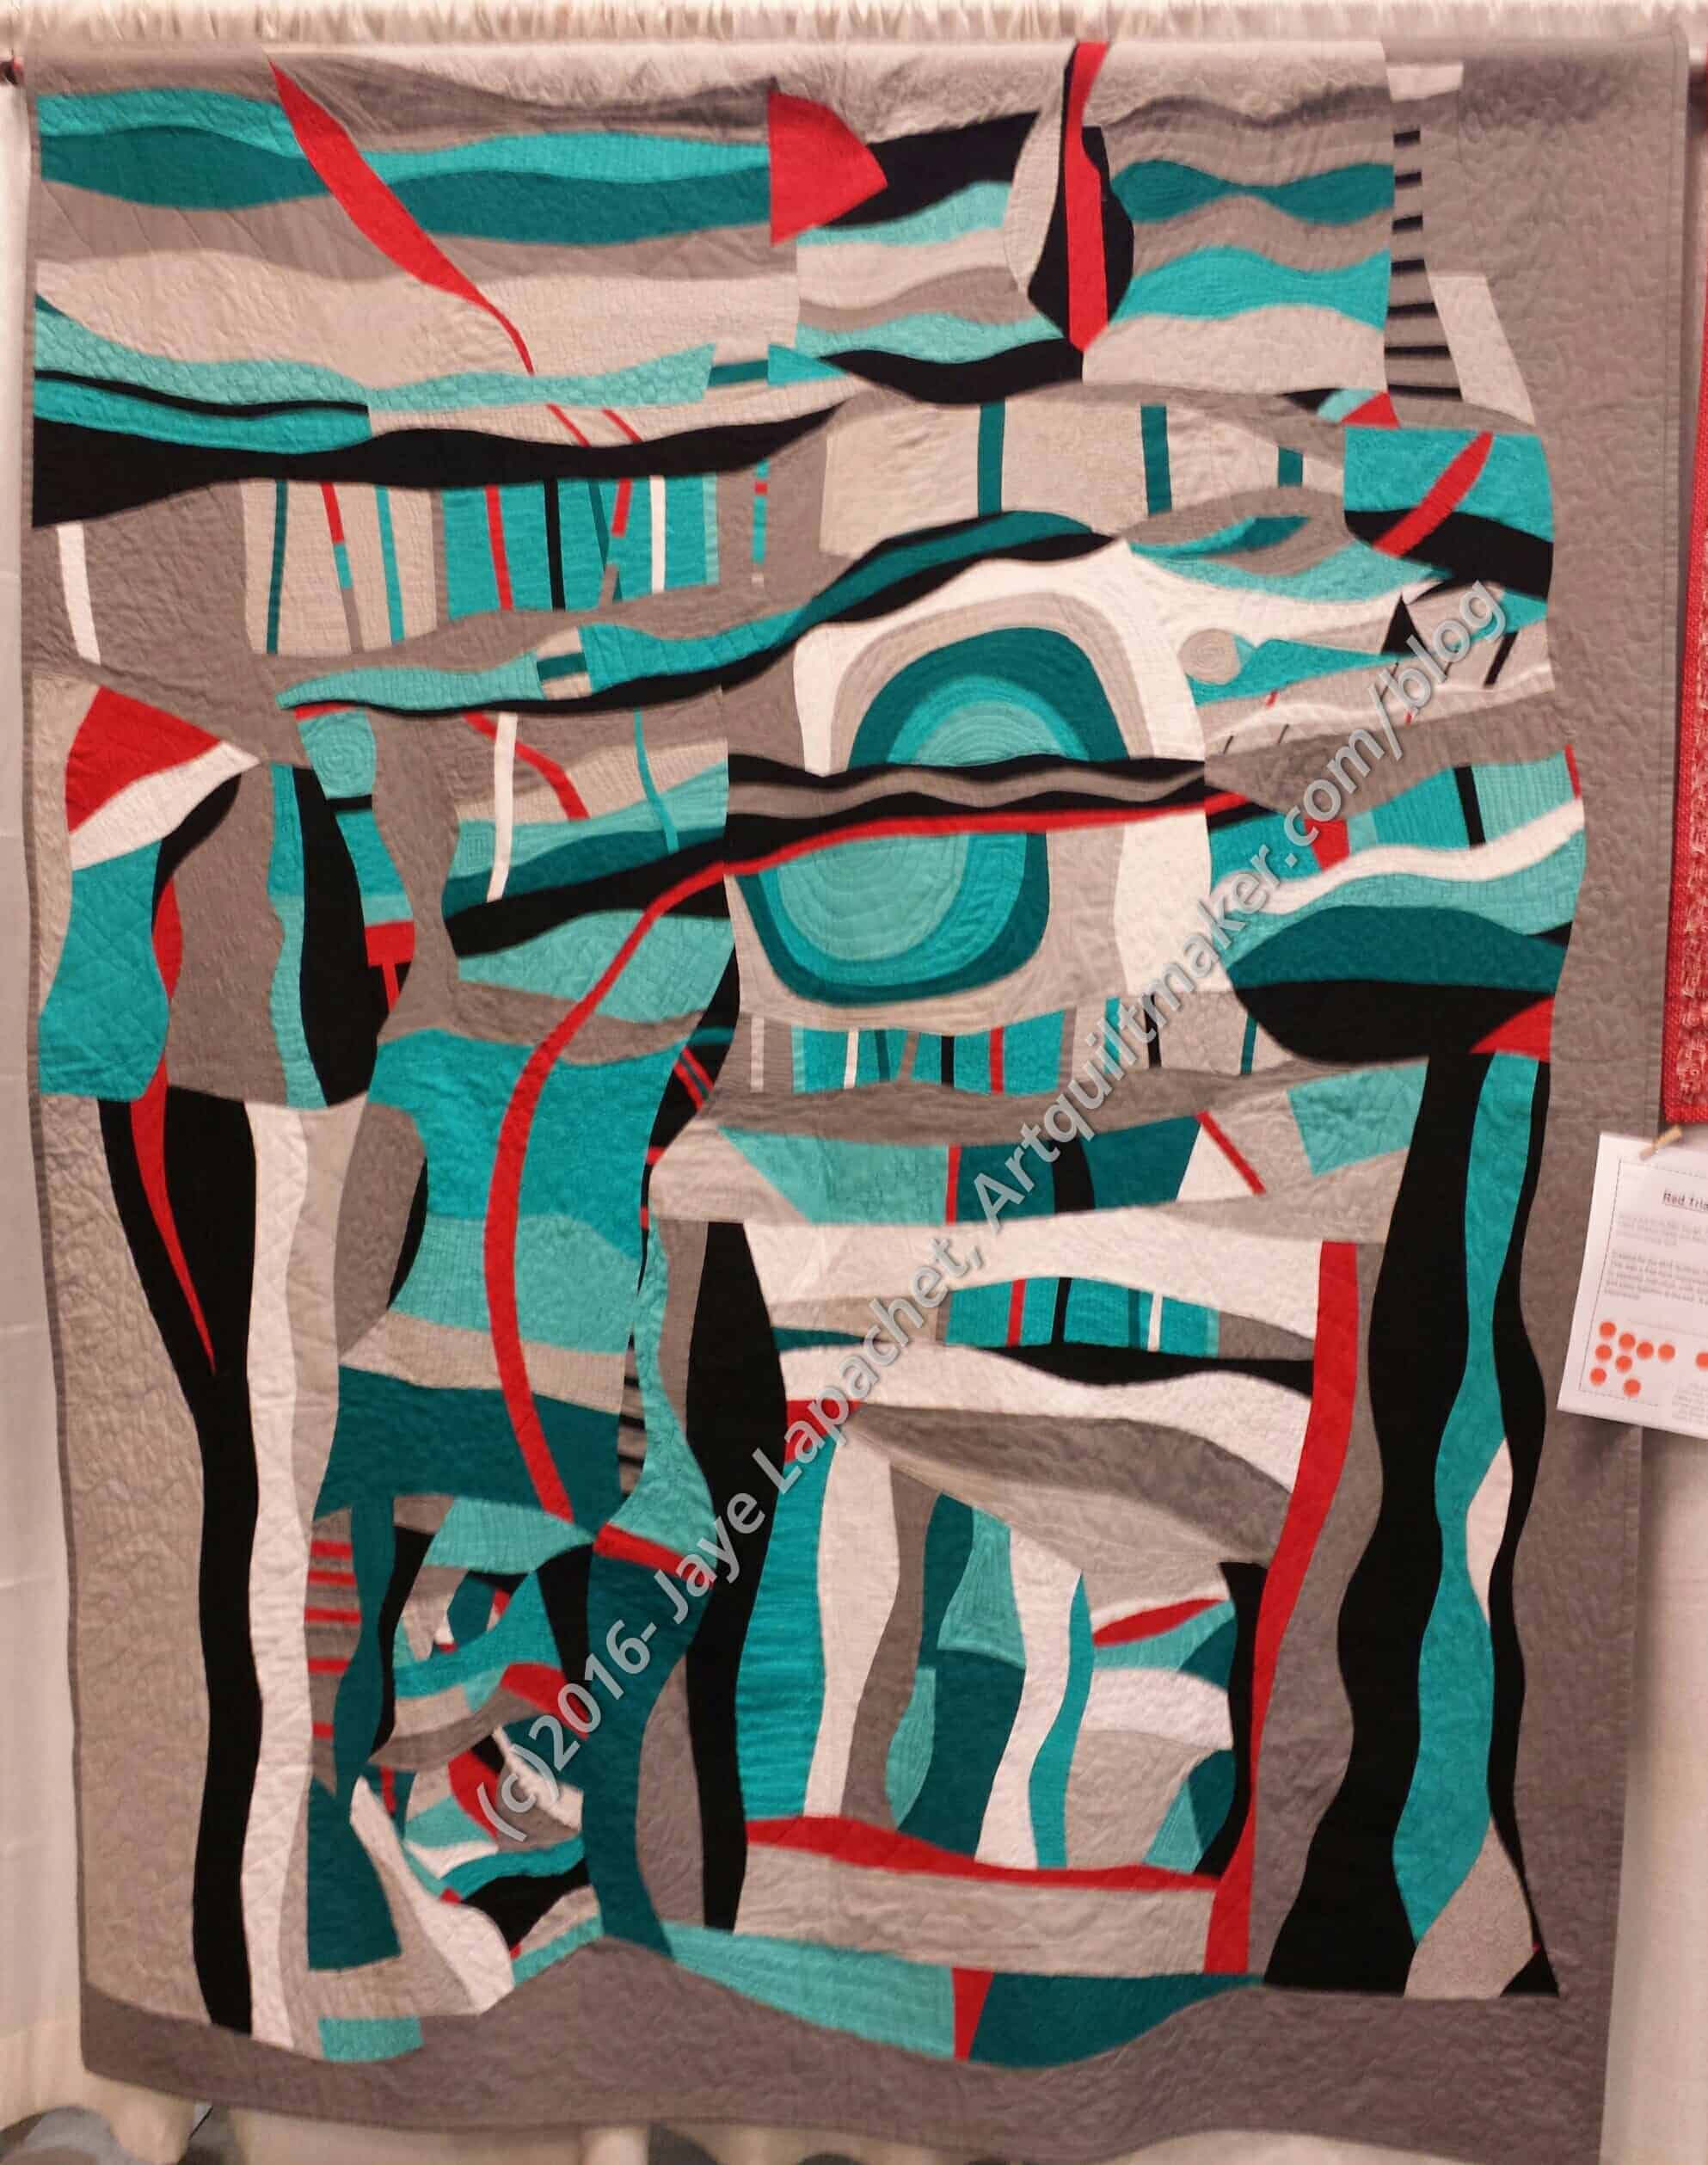
Red Triangle by the Mod Squad
SFQG now has some modern bees (small groups). One of them purchased the same fabrics. Each member made chunks, then they got together one day and put the chunks together into a really great Improv design.
The cohesive colors definitely help. However, the overall design doesn’t look like it was made by seven people. In addition to the colors, there is also a sense of cohesiveness in the design. Of course, I can’t help liking the colors. 😉
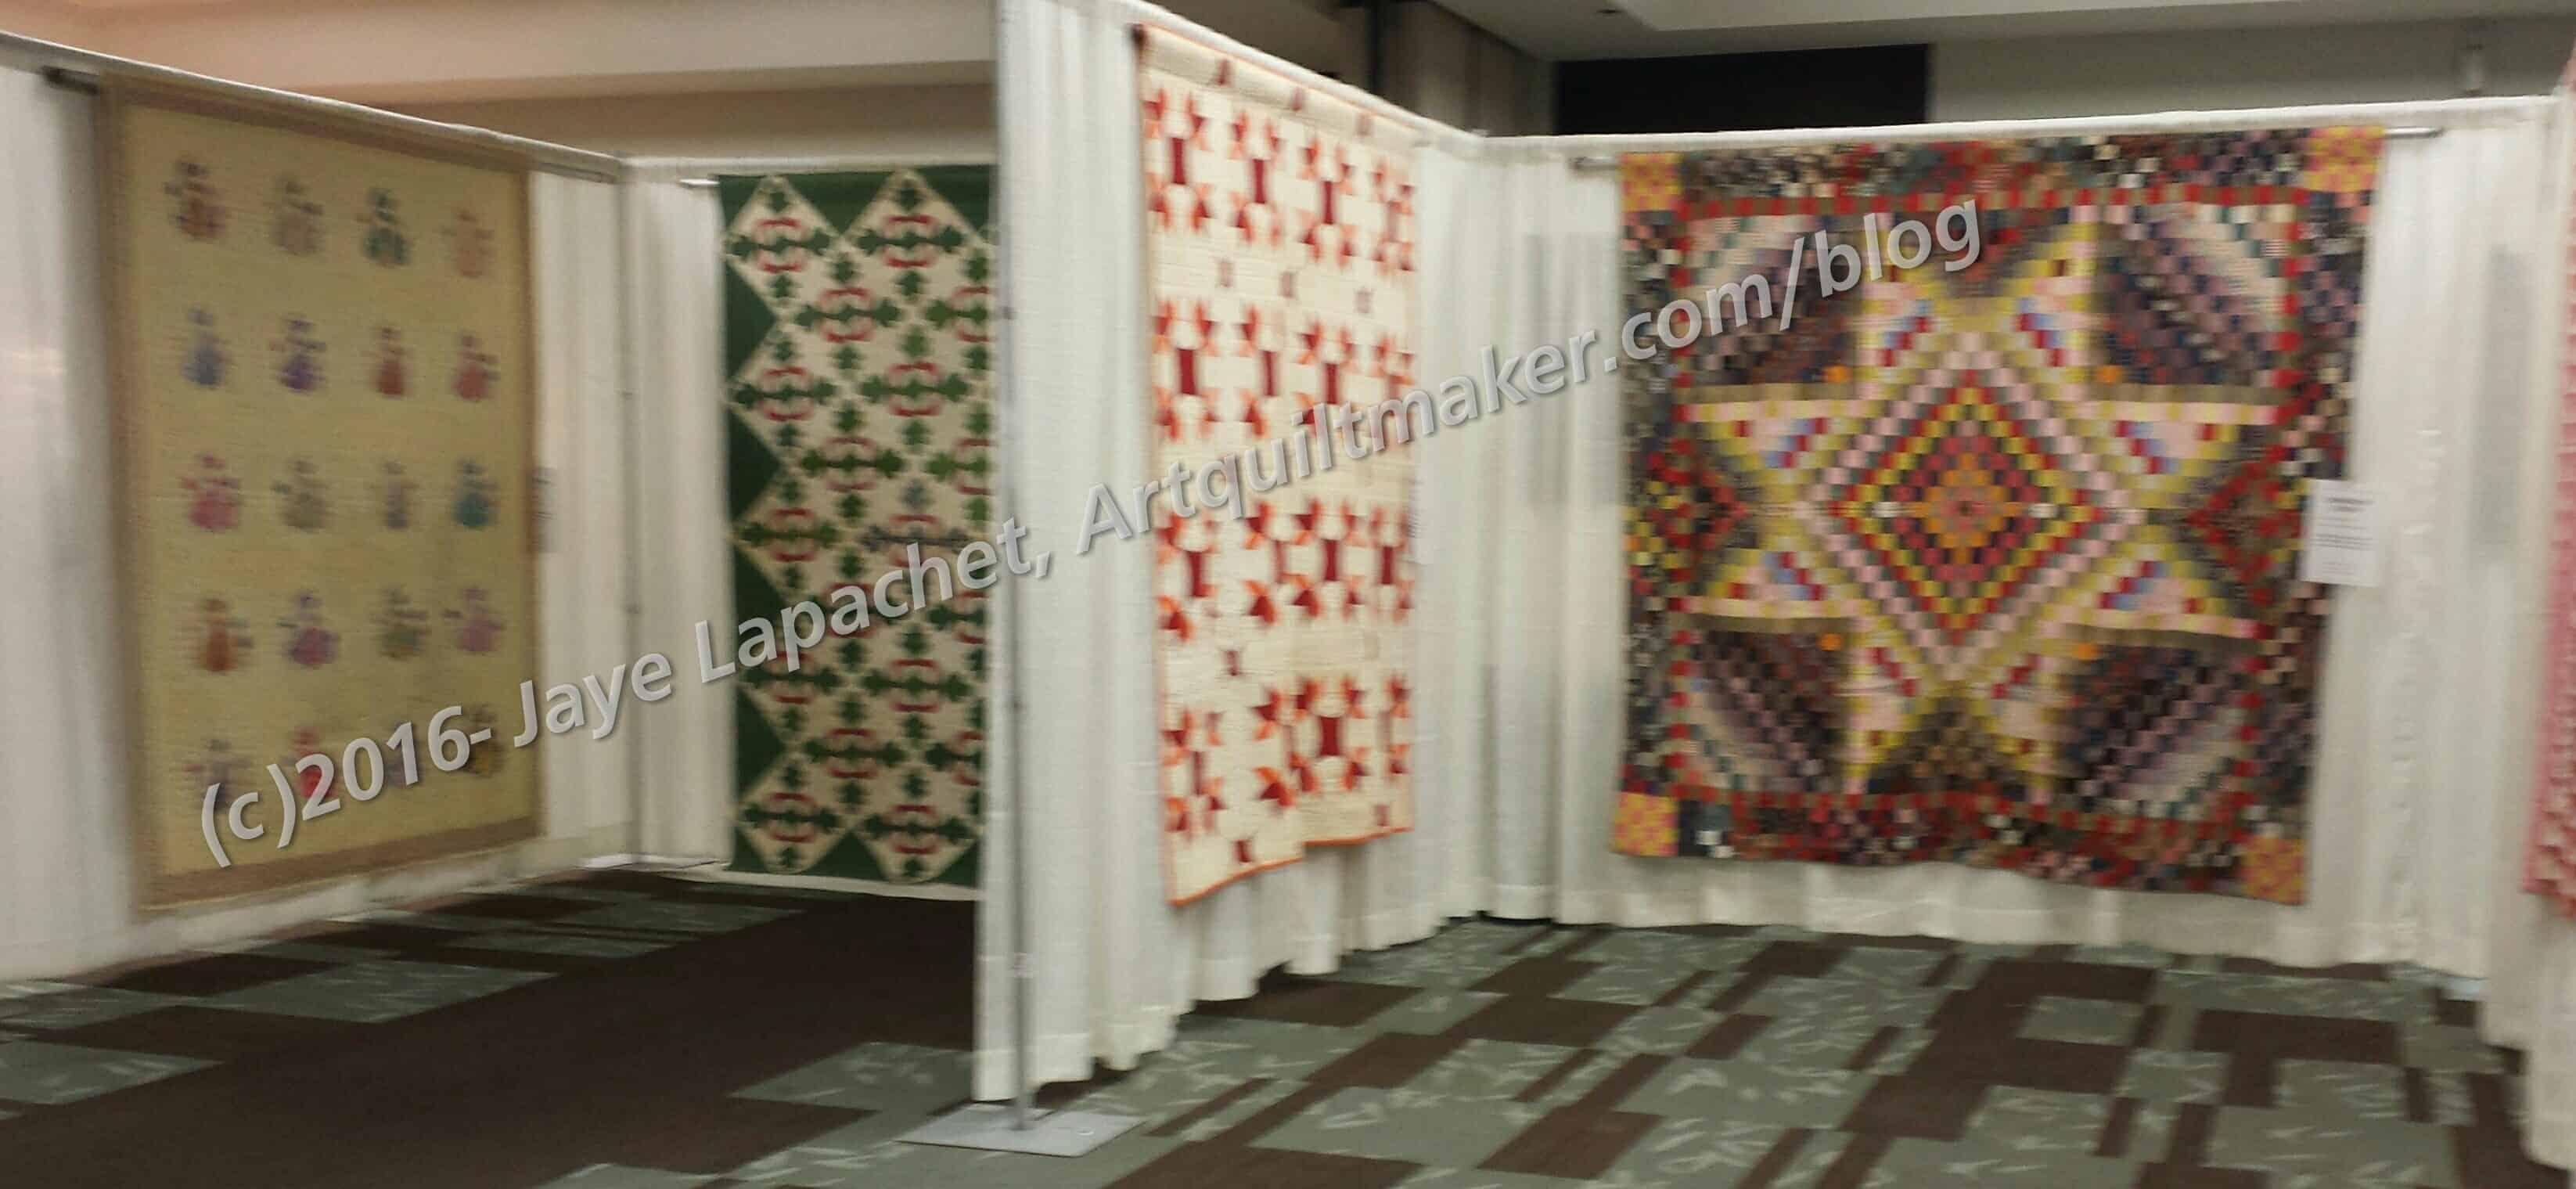
SFQG Antique Quilts
There was also a room full of Antique quilts. Many of these were in amazing condition. I was shocked at how good the colors had held up, especially in one quilt, apparently from the 1880s that a bright and vibrant Turkey red included.
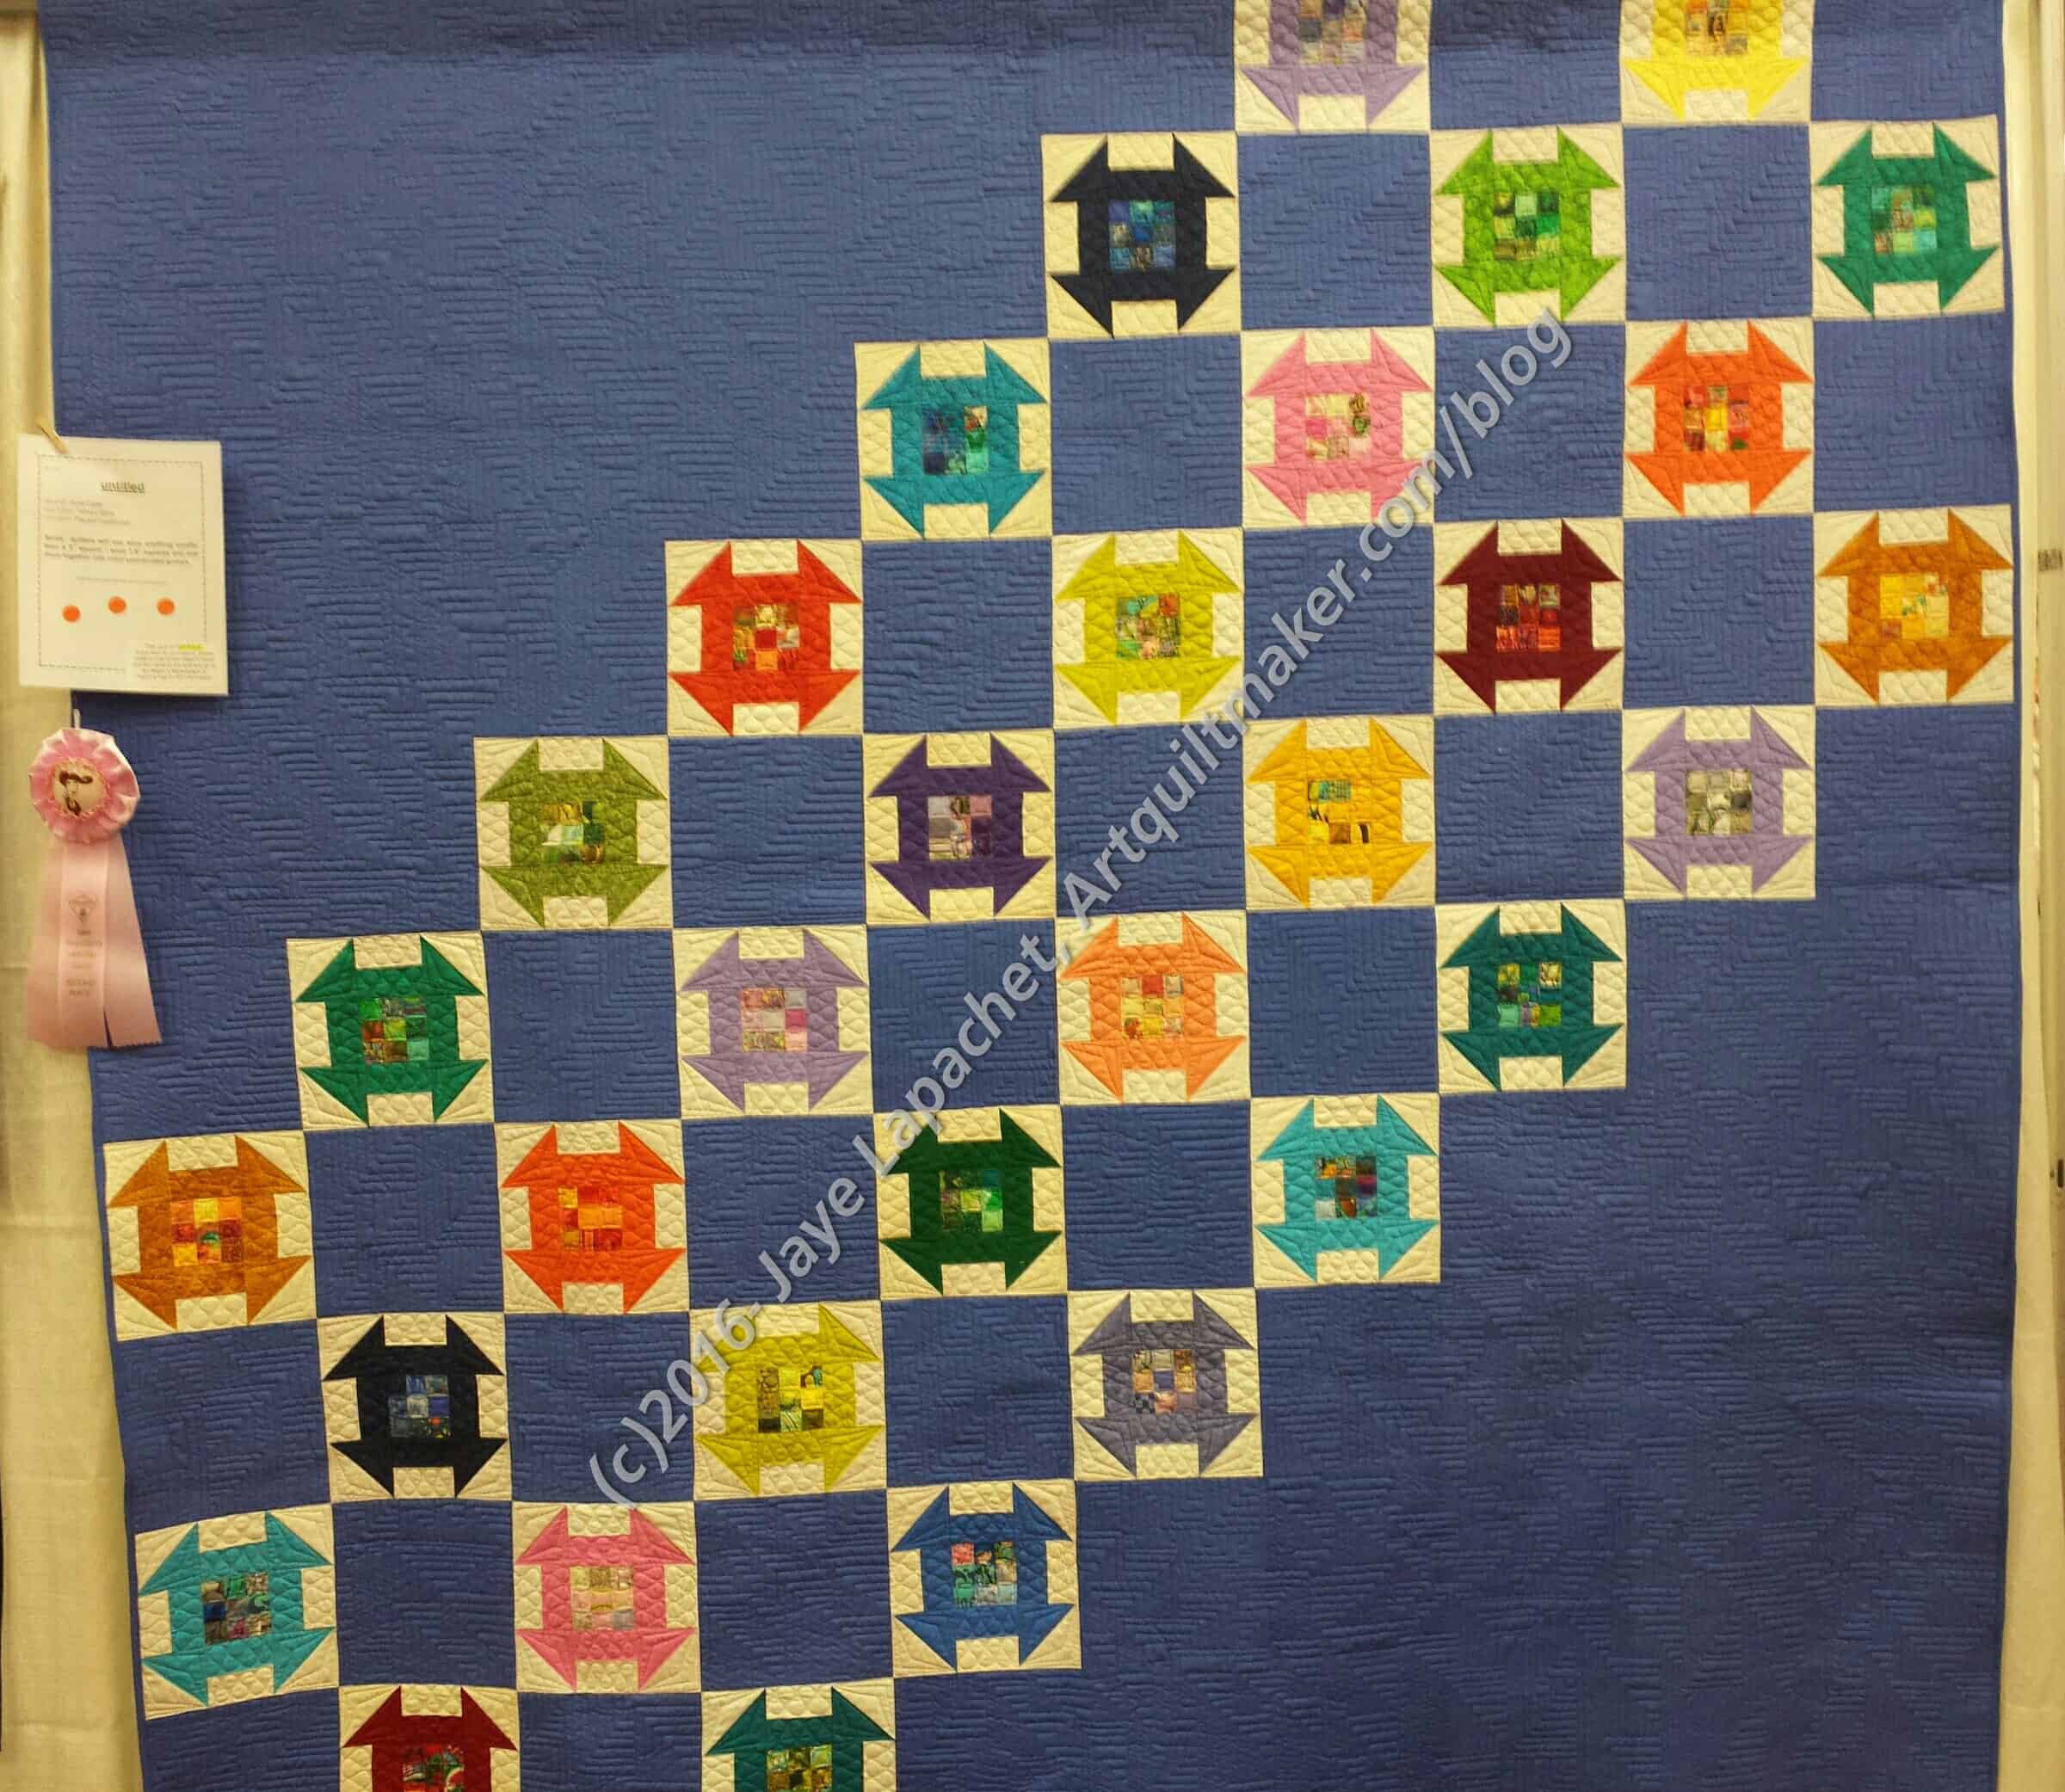
Untitled by Juna Carle (quilted by Theresa Silva)
I saw a couple of excellent La Passacaglia efforts. We looked carefully at the quilting of most of the quilts. We weren’t in agreement on all of the efforts, but found a number that could have been improved by better quilting efforts. One quilt made a group of Monkey Wrench (Churn Dash) friendship blocks shine. They could have been set straight or on point and been indifferent, but the artist did a great job.
The vendor mall had a couple of good booths. Serge-a-Lot and Heartway were both there, which was great. The Sashiko booth from which I bought a selection of needles at PIQF last year also set up shop. The Featherweight guy had his fabulously painted Featherweights. I was pleased see he also sells Sew Steady Tables. It is good to have multiple options. There were 3 jewelry vendors and a makeup booth. I found there to be a distinct lack in the vendor department. I wanted to buy some fusible fleece and no booth had it.
We spent about 3 hours at the show and it was a good way to spend a Friday afternoon.
Nota bene: Copyright marks on photographs above are intended to denote my ownership of the photographic image not of the quilt or the quilt design.
For a number of years (3-4), I took a picture of the Ferry Building in SF every day as I went to work. I had read an article about a guy who took a photograph of the same NY shop every day around the same time. Somewhere in the article the author (or, perhaps, the photographer) commented on the subtle differences that can me seen in such a project.
This sort of subtle project appealed to me. While I took photos from different angles, there are still differences. Periodically, when I am downtown near the Ferry Building, I will take a new photo for old times sake. Photos to use for my ColoPlay posts are getting thin so it seemed like a good time to dig out a Ferry Building photo.
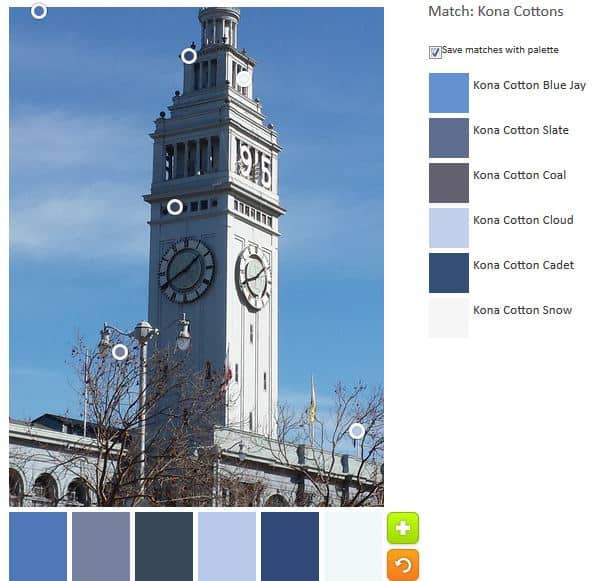
ColorPlay March n.2
The default effort actually turned out quite nicely. No nasty or ugly neutrals. I got a palette that would look great for a boy. I like the addition of Kona Blue Jay. Not because of the same, but because I think it reflects the color of the sky almost perfectly.
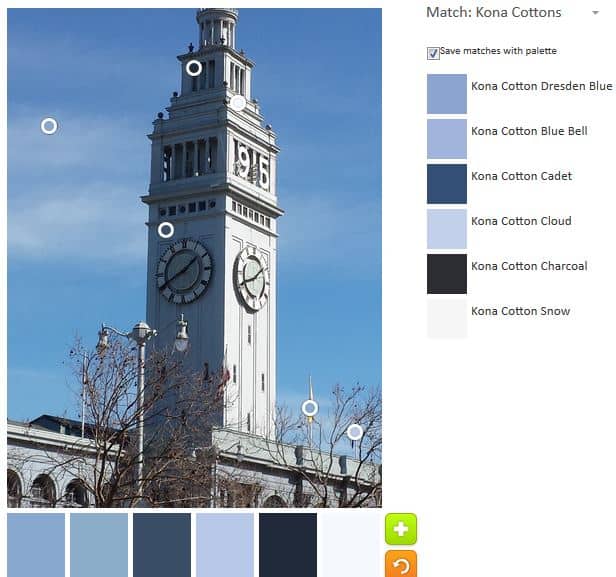
ColorPlay March n.3
I do like the lighter blues shown in the example above.
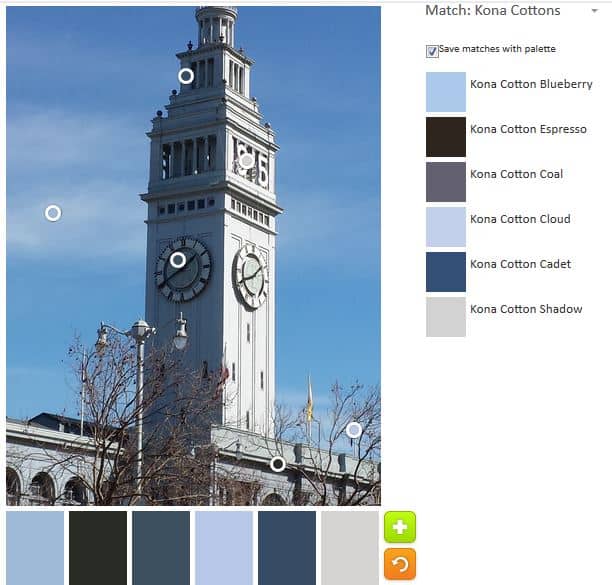
ColorPlay March n.4
The above palette tends more towards the greys and is very San Francisco-like. The Kona Shadow is particularly good for representing fog.
The photo really doesn’t have enough color data points to get very many palettes. All of them seem to have a variation on the same group of hues.
Try out the Palette Builder by Play-Crafts to make your own palettes.
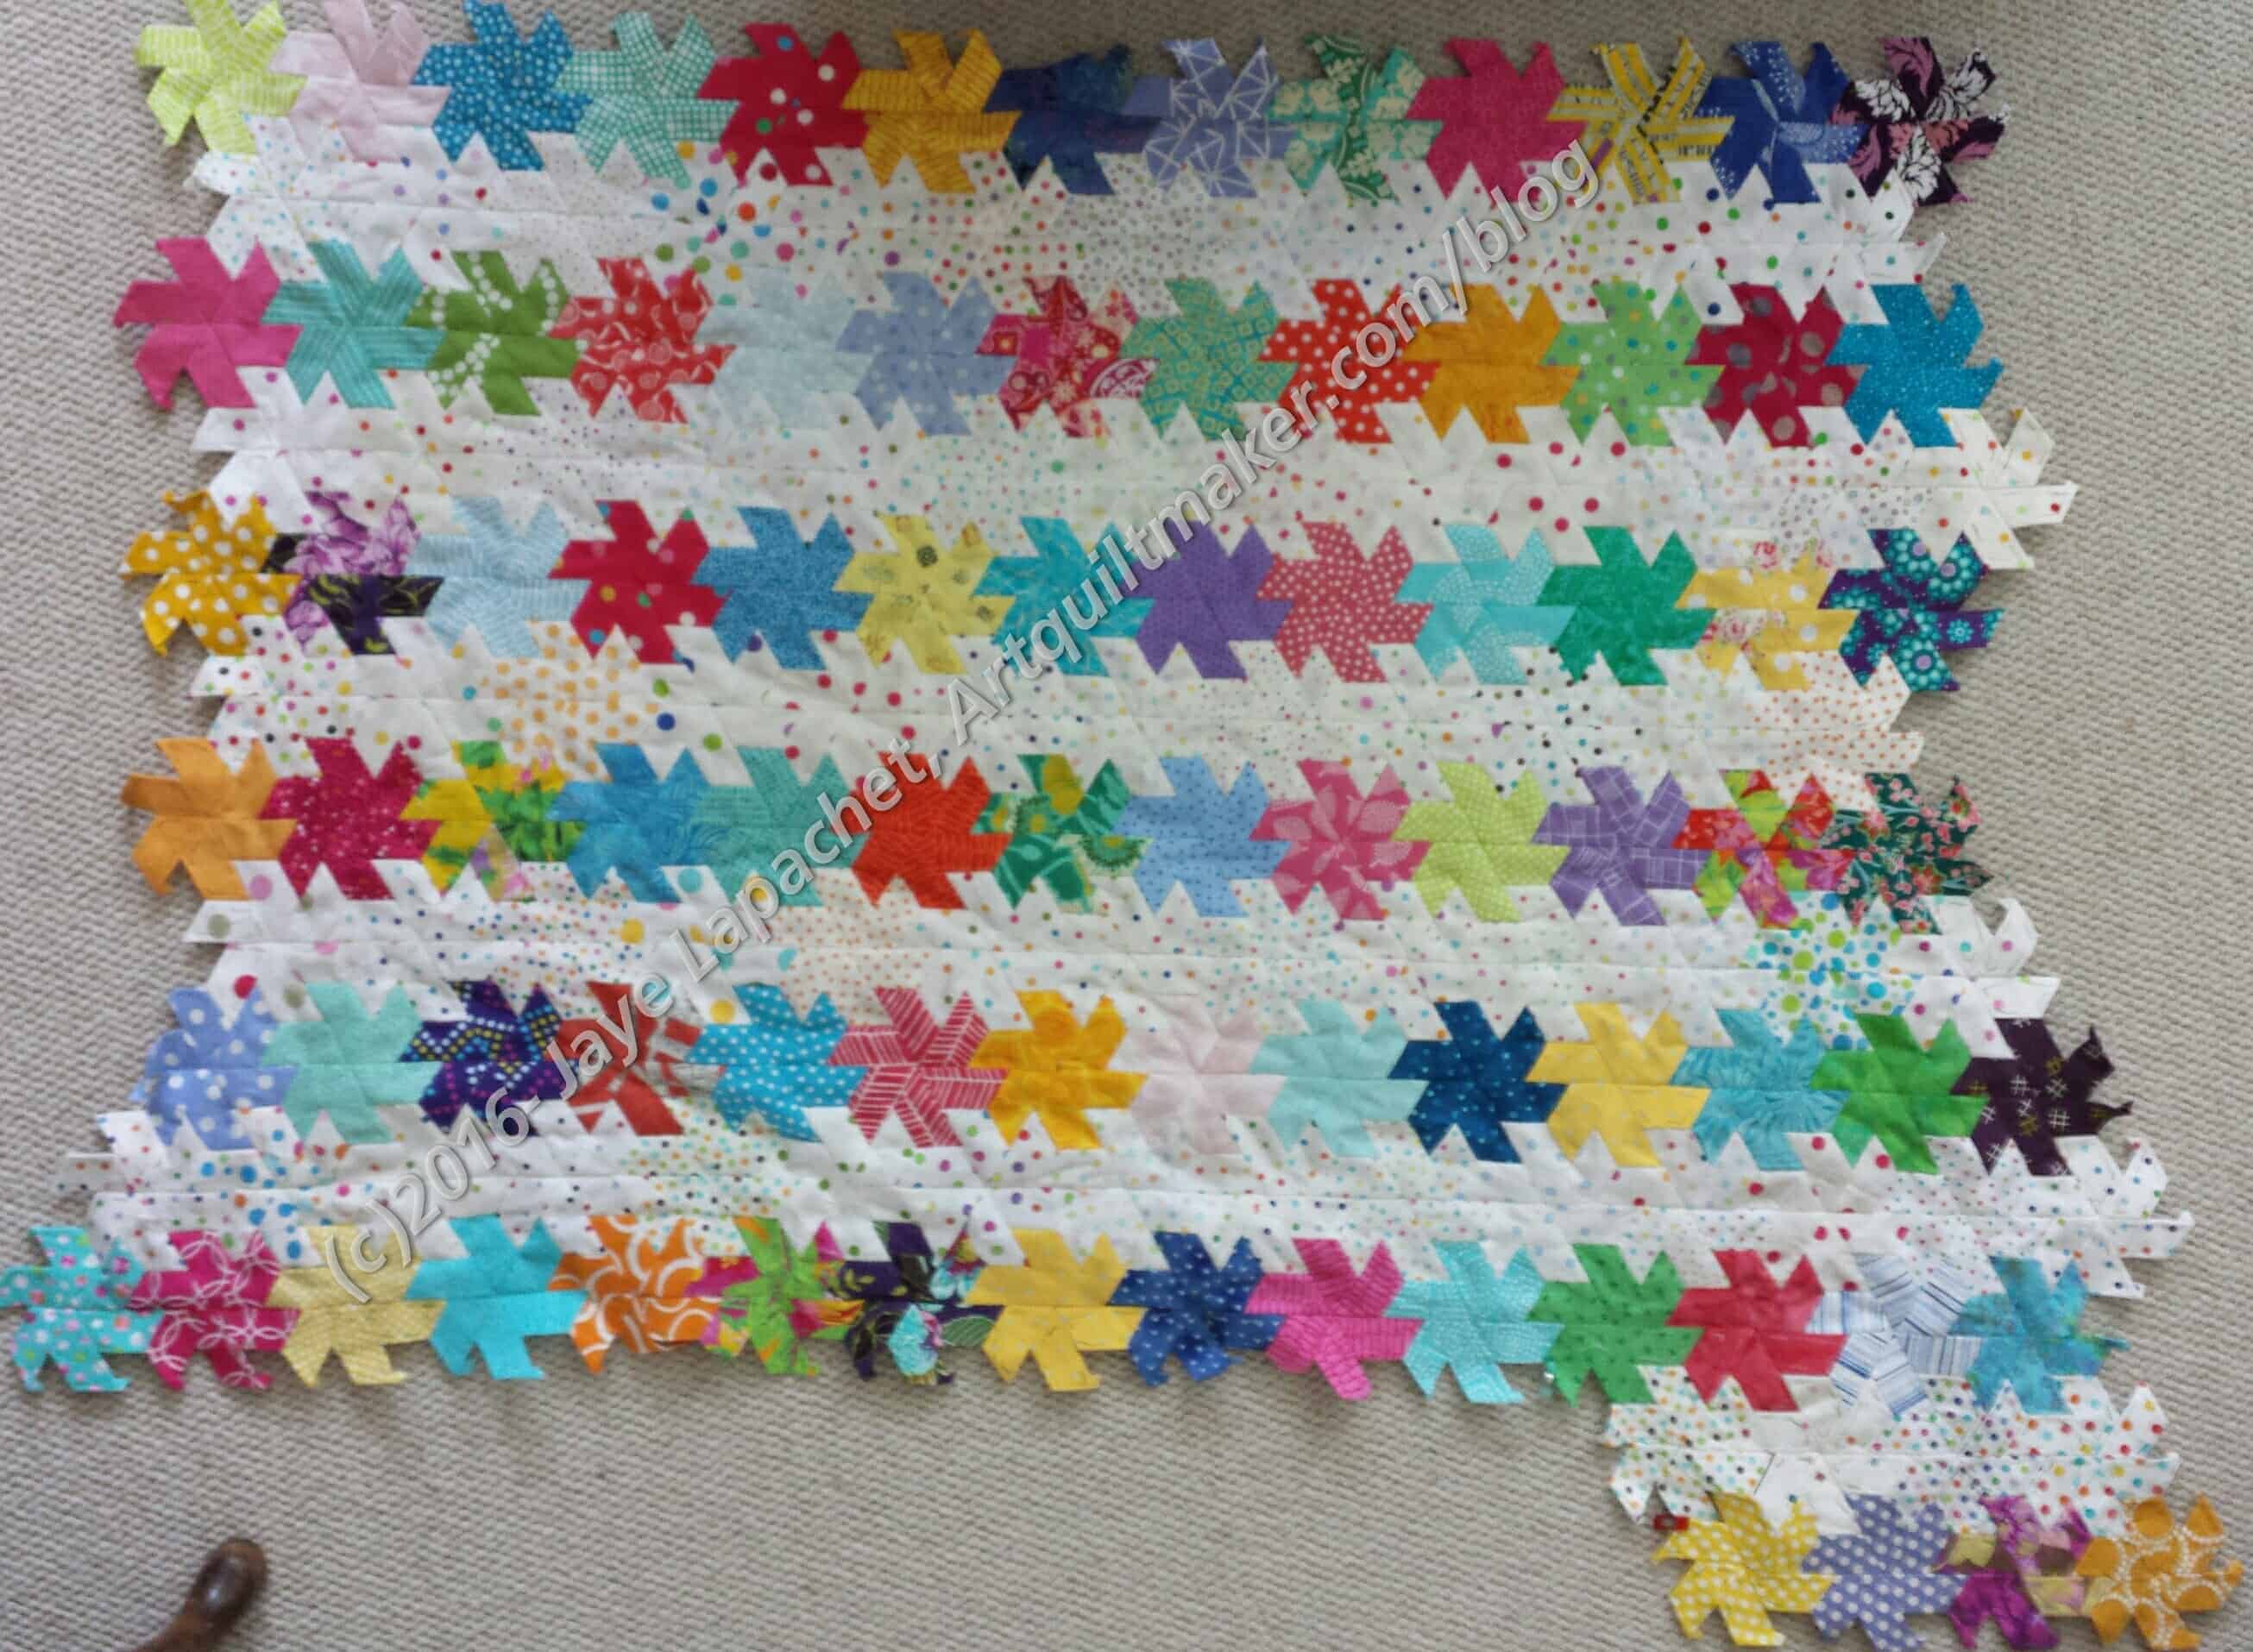
About a week ago, I showed you my big English Paper Piecing project. I have been working on it quite a bit and am showing it again with its new and attractive bulge on the lower right. I have thought about EPP a lot in the past week, wondering why I am enjoying it so much. I don’t suppose I really need a reason, but I do wonder.
What I have come up with is that I enjoy handwork, but something like needleturn applique’ isn’t really my thing. EPP provides a convenient type of handwork that is pretty different from machine work. Why would I hand piece something I can easily machine piece?
For a challenge?
Yes.
After a few blocks, however, it is no longer a challenge.
EPP is handwork, but it is different enough in process to fill a hole. It is also strangely convenient and can be the catalyst for creating amazing designs. Have you seen La Passacaglia?
On my half hexie piece, I have been working on making dots on white half hexie stars and I am making progress with my next two rows (one with a white background and one with fabrics prints in colors.
I have to admit being a little sick of this project and wanting it finished. I have a long way to go before it is finished, however. Learning something new about basting at the last guild meeting reinvigorated me and I can’t wait to try it with my half hexies.
Gerre is the president of the guild. Late last year she started talking about merit hexies. In her idea, they were kind of like merit badges in Scouts.
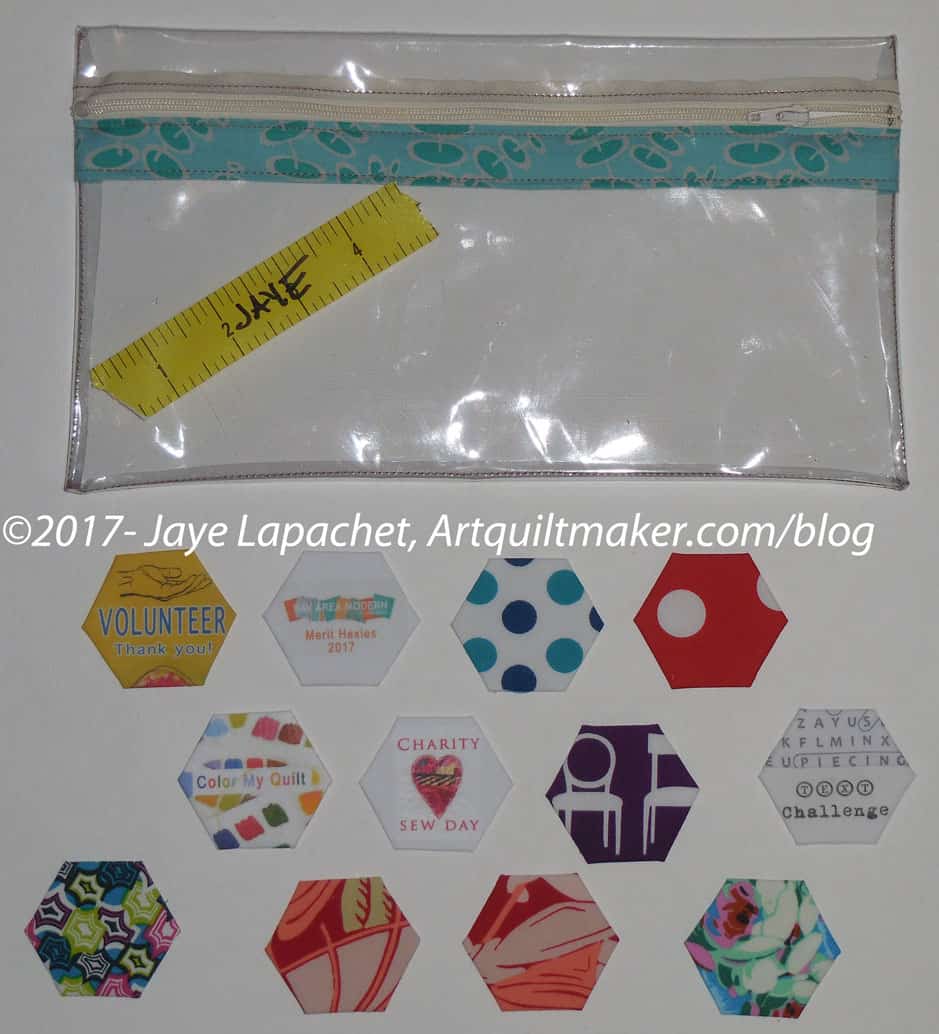
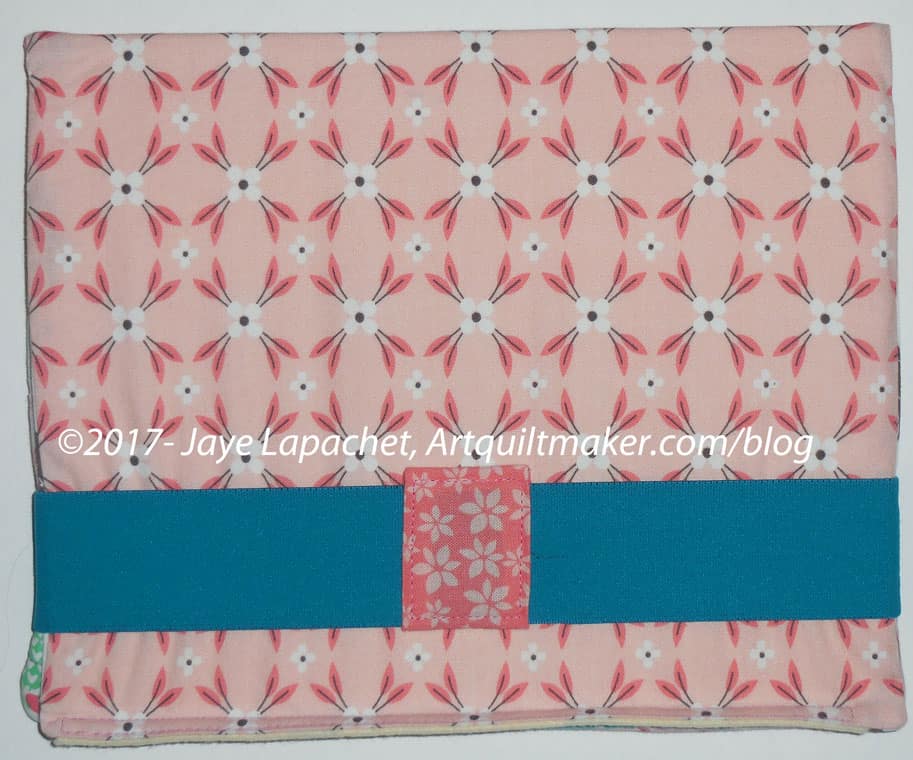
At the meeting on Saturday, I received my first group of hexies and a lovely bag, made by the fabulous Gerre, to keep them in.
Merit Hexies – March
The most meaningful hexies to me are the special ones that indicate I have participated in some event or activity the guild is sponsoring. Those are on the left of the photo above, except for the Text Challenge hexie, which is on the far right.
The regular fabric hexies are for other volunteering such as making charity quilts.
Gerre wants people to make something out of their hexies that aren’t necessarily sewn together in a Grandmother’s Flower Garden kind of way. She made a pillow where the hexies are spaces apart in diagonal rows and appliqued on during the quilting process (appli-quilted). This is appealing to me. Depending on how many I receive, I could recover one of the couch cushions with a hexie pillow cover. The Zen of Making has a tutorial for an EPP Travel Kit that takes either 14 or 21 hexies.
After the meeting, during the small groups time, I learned a new way of basting fabric over hexie papers. Gerre did a demo and I helped her to restock her supply. It was fun.
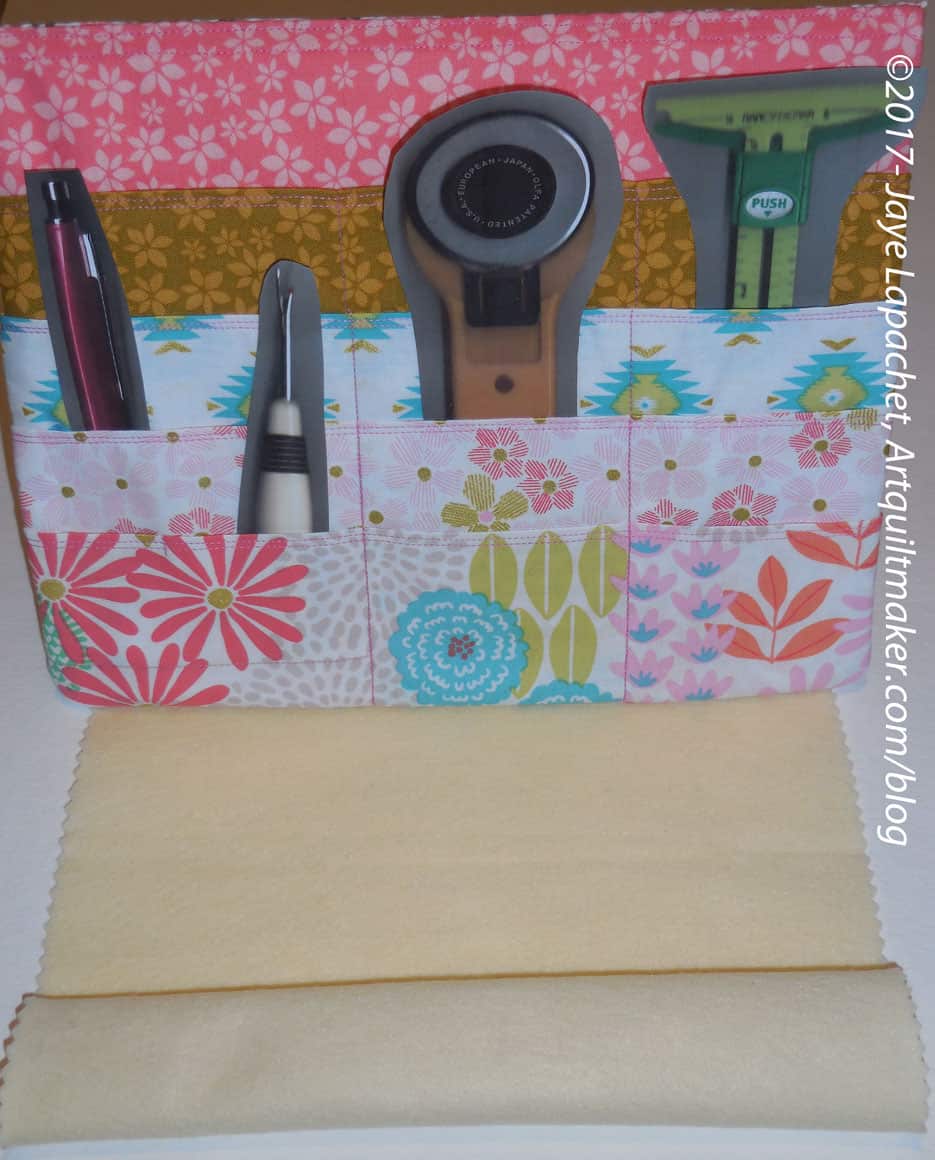
OK. This pattern is not called Tooly McToolston. That is, however, the way I think about it for some reason.
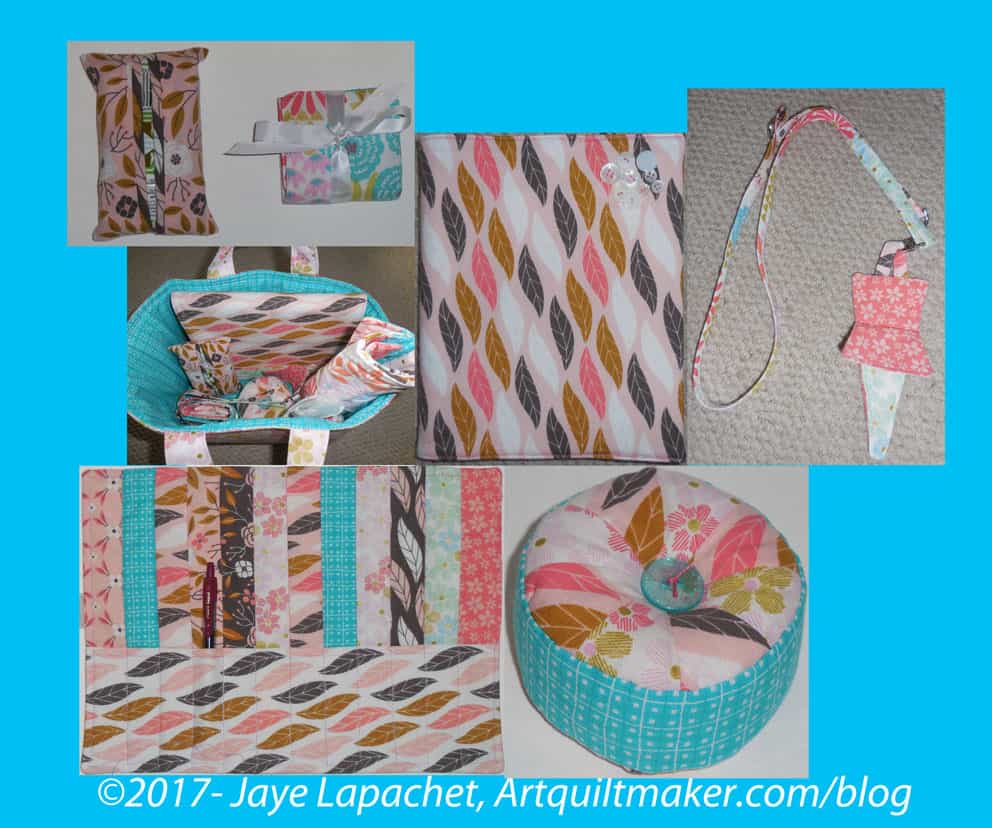
Mary’s Gifts
I am still working on various gifts. This latest item in the group is part of the group I posted a week or so ago.
I like the idea of this easel because it would make my tools available quickly when I was at a retreat or workshop or generally away from my workroom.
This is a gift, but the issue for me is that I already have a box for my tools when they are in transit. The other thing is my box doesn’t make the tools available right away. I have to dig around to get at them. I don’t know. I am on the fence. I like the idea. Clearly I am not linking this change.
Good thing it isn’t for me, because it makes a great gift. I didn’t have much trouble making it. There was one part I didn’t get, but It wasn’t problematic enough to affect the outcome of the overall pattern.
Tooly McToolston in process
I found it was really important to label all the pieces. The pocket pieces are very similar, so labeling them helped me keep them in order. You can see the green Post-it notes in the photo above.
Tooly Closed
I think this might be a great gift to make for people. I already have the pattern. I already have the a big piece of mat board left. It doesn’t take very long and is useful.
In terms of my new gift grouping, I am not sure if I will put this in another One Hour Basket or if I will make something else. I do like the Big and Little Patchwork Totes from the Make It, Take It book.
Tooly Tool Easel pattern by Sew Together products. $5 No affiliation.
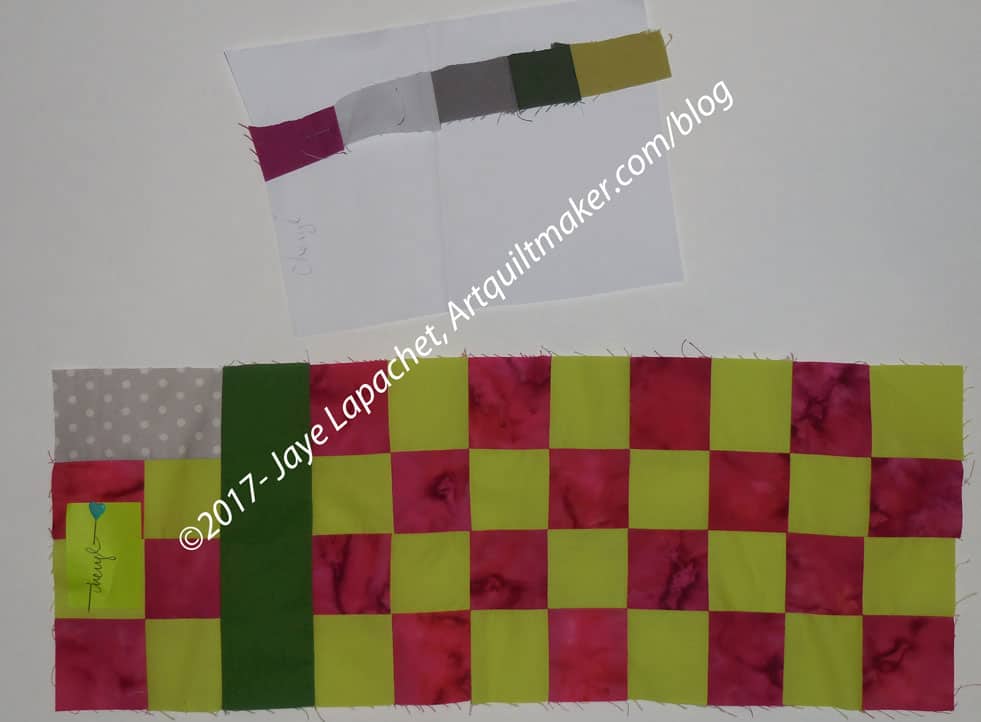
Cheryl was fortunate enough to grab the February spot and her piece was the second on which I worked. As I said Saturday, I had two pieces on which to work right off the bat. I missed the February meeting, but got my hands on the color sheet and made a piece.
Cheryl’s Color My World
For some reason I wanted to do something a bit more straight-laced and block-like. It couldn’t be too straight-laced, so decided on a checkerboard.
Kelly is next and I am curious to see what she comes up with as her colors.
I have making my own color sheet on my list. I have an idea in mind, but need to find a photo. I’ll wait a few months so I can see what other people bring to the meeting. I doubt my slot will come up before next year.
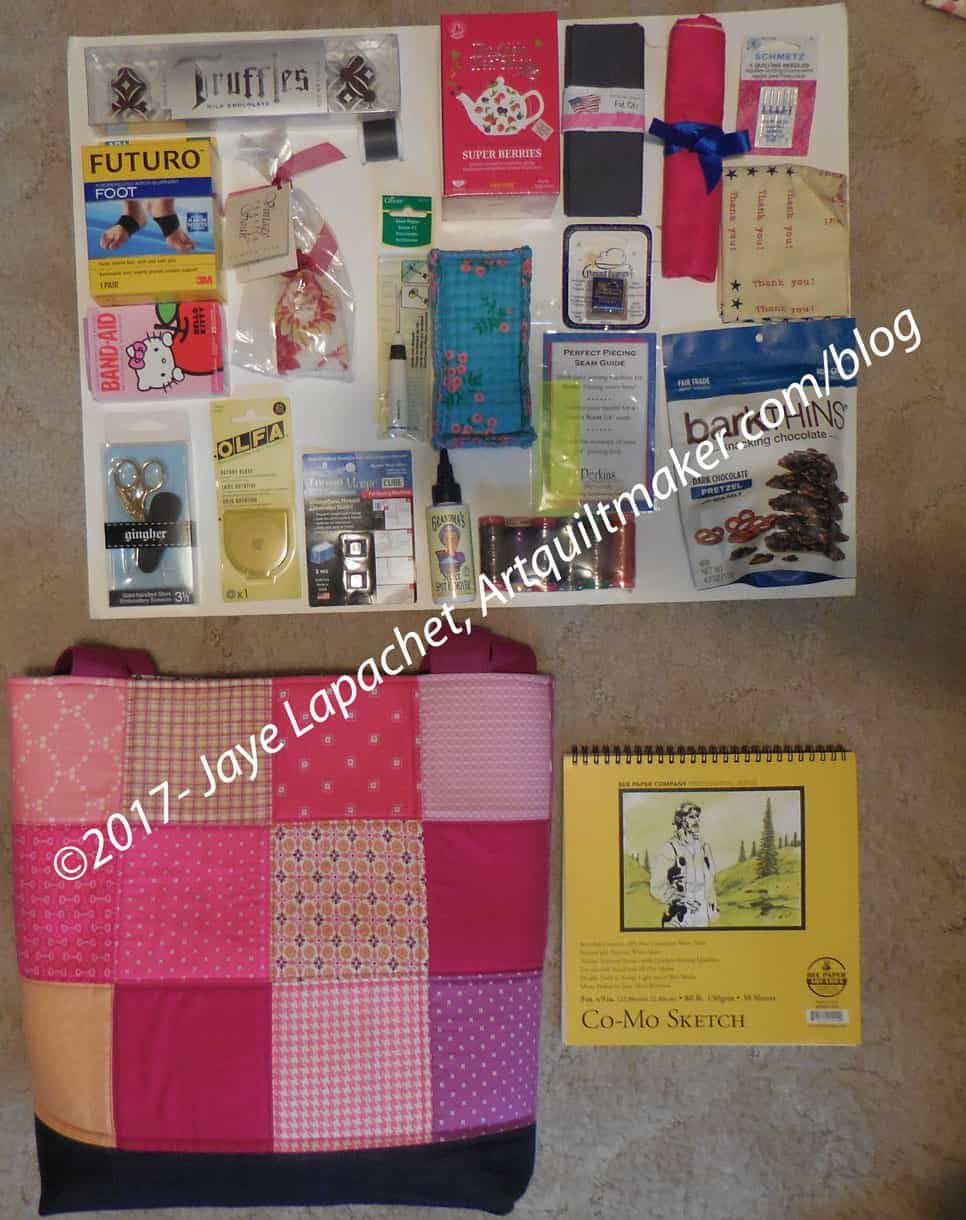
It started with the idea to give the guild officers a gift at the end of their terms. Guild officers have a tough job. It is all volunteer organization and there are few perks if a person doesn’t get satisfaction from leading.
Gift Bag
For the past few years, I have gotten people to volunteer to make bags and then encouraged the guild to bring one small gift for each of the officers. I like this idea better than making officers quilts. While quilts or blocks can be a great memory, they are a lot of work and we all have our own quilts. We all make our own quilts. I think providing a bag with a variety of gifts is a great thank you.
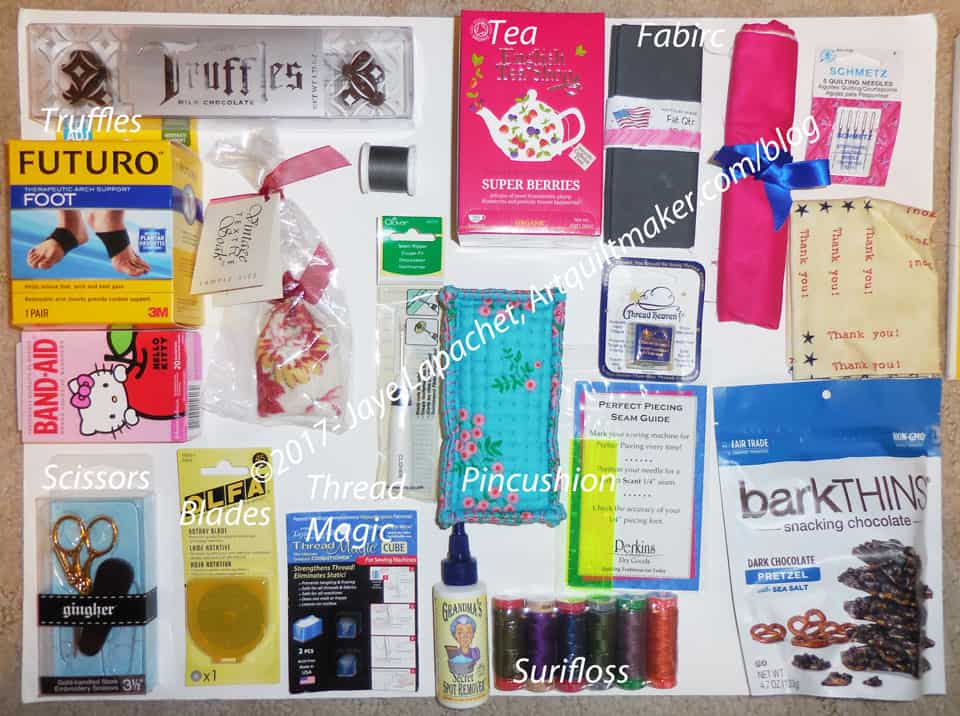
Annotated Bag Contents
Today I received the same kind of gift. It was a bag made by Cheryl full of lovely treats, including some chocolate. 😉 There are a number of things that will stock my new Sew Together Bag (I haven’t made it yet) with an embroidery kit.
There was also Thread Magic, some fabric, tea, band-aids, which I hope I don’t need. 😉 there was a spot remover and an inside joke for the arch supports.
I am so grateful to the guild for this gift. I don’t do volunteer work for accolades or event thanks. I don’t do volunteer tasks that I don’t want to do. This gift was such a wonderful and unexpected surprise. Thank you.
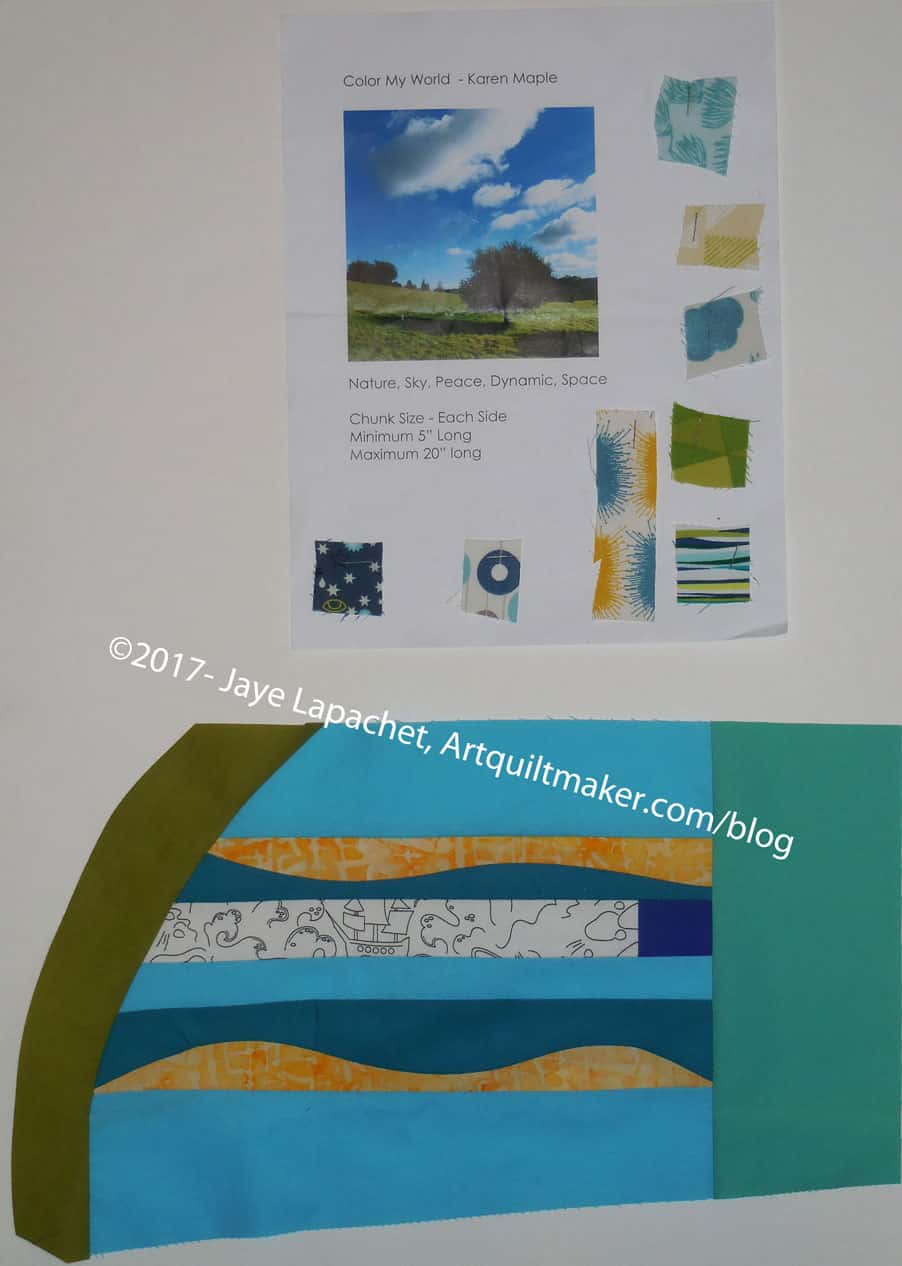
Karen, last year’s guild challenge coordinator is leading a new challenge. This challenge is in addition to whatever challenges the new challenge coordinator comes up with. I have decided to join the Color My World challenge.
As is her right, Karen was the first person to provide a color sheet for the challenge. As I join somewhat behind the rest of the group I had two to complete at once. I did Karen’s first and will talk about the other one tomorrow.
Karen’s Color My World
Karen used a landscape photo as the inspiration. I followed that idea and used curve strip piecing techniques to mimic the landscape idea. I am pleased with the way my piece came out.
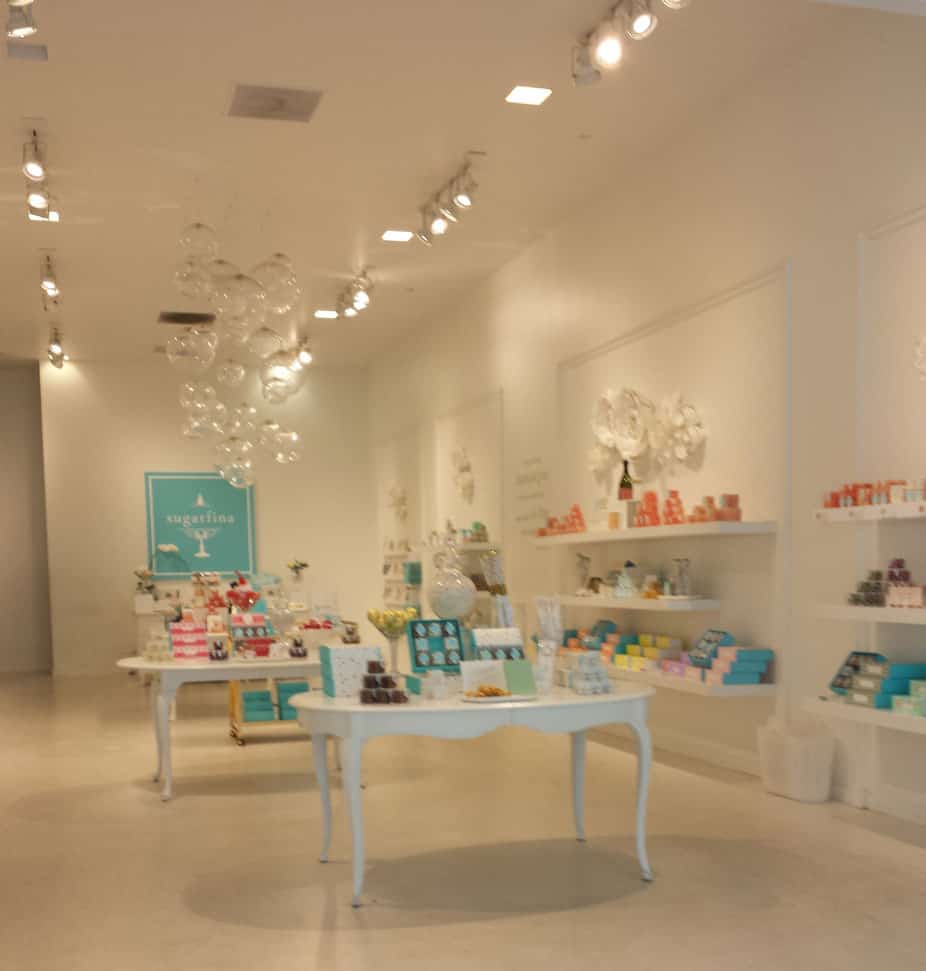
Some things take time. I know that in our house, if something comes in it is difficult to dislodge it. This has a number of effects. Nothing temporary may come in. Temporary has no meaning in our house, so only things that we want to keep forever may come in.
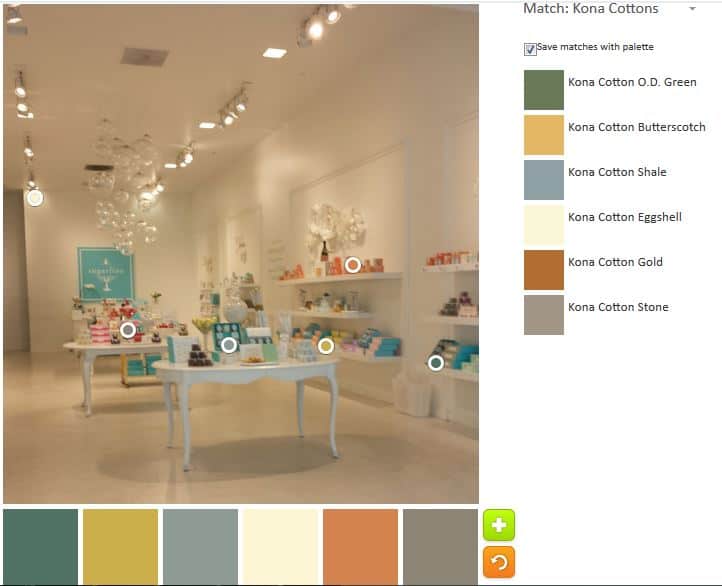
As I work towards my ideal workroom, I have to work with this stricture. Thus when I walked by a new shop downtown and saw the sweets shop with the look and feel I wanted, I had to take a photo. Knowing the look and feel I want helps to weed out anything that doesn’t fit.
ColorPlay: Dream Workroom original
I decided to use this photo as our ColorPlay this week. What is the dominant color you see? And the secondary?
For me, I see a white domination with a turquoise, or, perhaps pink (salmon) secondary color.
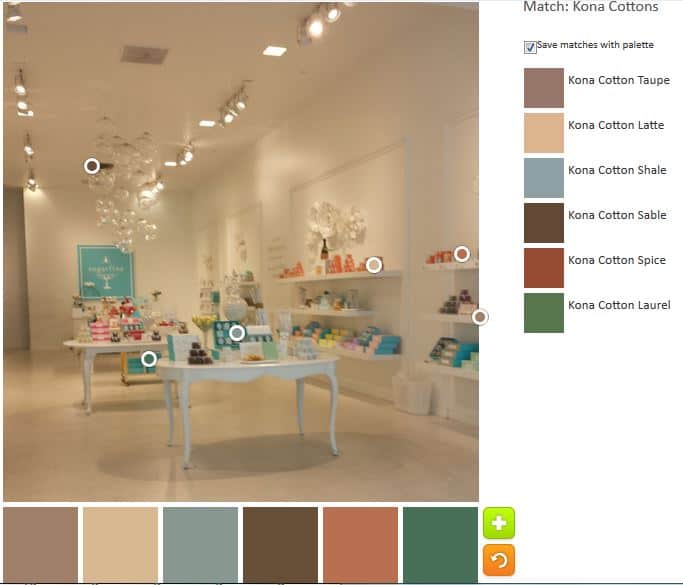
ColorPlay: Dream Workroom default
I do NOT see a preponderance of neutrals! The above is the default palette. Are you kidding me? No white. No turquoise. This is a big failure to me. If we were matching up palettes with original pictures, nobody would pick this palette to go with my picture. Can you tell I am miffed?
ColorPlay March 17 first attempt
My first attempt to stack the deck is not much better. The colors are slightly nicer, but still no white, pink or turquoise. I know this is because of the shadows, but I am still annoyed.
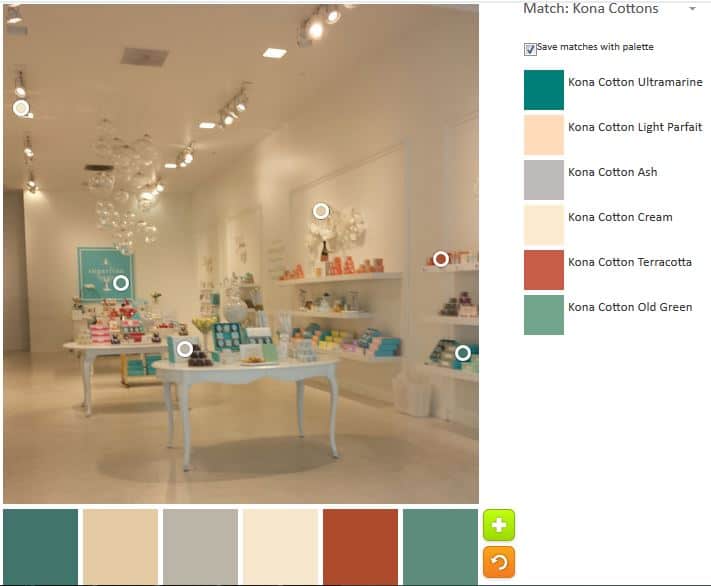
ColorPlay March 17, 2d attempt
My second attempt is, at least, slightly more palatable (HA!). The colors are a bit lighter and a bit fresher. Still no white or turquoise.
ColorPlay March 17 n.5
Despite the fact that the Kona Emerald doesn’t look anything like any emeralds I have seen, this palette is slightly better. At least there is a pinky-red included.
I absolutely will not use any of these palettes for my workroom. If you haven’t tried the Palette Builder by Play-Crafts, go and try it — after you leave a comment ;-).
As mentioned, this top was sort of unplanned. It did, however, come together very well and last week, I was able to finish the top, back and batting.
I am a little sad to give it away as I really like it. Of course, I like most of the quilts I make as donations, but this one is particularly pleasing to me for some reason.
Ends Quilt back – March 2017
The back is fairly plain. Several large half yards of fabric and I was done. I also put the batting together with Heat Press. There might be more Heat Press than batting and I hope that the quilt won’t be stiff as a result.
I finally put all the finished quilts from last year on the Gallery page. On the Gallery page, you can see a list of all the quilts I have ever made. Not all have links to photos, but I am working on that. Take a look
I have updated the tutorials page. Have you looked at it recently?
I also updated the Lanyard tutorial. Have you made a lanyard for your guild meeting nametag?
Media
The Quilt Alliance has a new post about saving our quilt stories.
Frances of The Off Kilter Quilt podcast and QuiltFiction fame has a new story posted. You must sign up for her newsletter in order to read it. Well worth it as her newsletters are short and sweet, but packed with info.
Projects & Patterns
Remember the Lined Drawstring Bag from InColorOrder? She has a new post out that details all the variations for her bags. One of them is a shoe bag. I was thinking about Grand Parlor and making shoe bags for the 9-10 pair of shoes I bring. Kismet, I think! She also has a slide show of all the bags she has made. Take a look.
I like some papercrafts and like them even more when they flow over into fabric. You might remember the paper wreath tutorial I posted, which I then translated into fabric. I found a Scandinavian Heart tutorial that is made from fabric. It would be a great gift! The Quilting Daily (@QuiltingDaily) tweeted the link out originally.
I went on a little EPP tangent looking for a Jack’s Chain (now called Ferris Wheel) pattern. It started on the PaperPieces.com site, but branched off into a search and then down a rabbit hole to different sites. One site with multiple interesting patterns is Imaginesque, a UK site. I saw a very interesting block with no name, beyond Block 21, but infinite possibilities in terms of color transparency.
Imaginesque also has a pattern and instructions for Block 49, which looks like a flower to me. I haven’t thought much about curves in terms of English paper piecing, but seeing these blocks makes me start to think about it.
I spent some time burrowing around in the Imaginesque site to see if I could find an explanation for the numbered quilt blocks. I found block number 1, though it is just posted as another pattern and doesn’t seem to be any sort of specific project. Imaginesque is no longer updated, but there are a lot of posts with patterns to explore.
Techniques, Tips & Tricks
I heard about the ‘flat back stitch’ for sewing together EPP recently. I didn’t know how to do it, but tried and like that the stitches do not show on the front. The video I had marked was actually a JPG, so I had to go searching for one to see if I was doing it right. 😉 I found one by Step Gingerly that is useful, but there are a lot of different ones you can review.
Cluck Cluck Sew has some great tips about healthy sewing. As usual DO NOT self diagnose. Go to the doctor if you have pain. Her tips, however, are useful and sensible. I have been taking Pilates for awhile, but my new focus is stretching. I have been feeling tight and creaky, so back to stretching for me. What about you?
Events, Exhibits & Projects
Some people attended QuiltCon and, kindly, wrote about it. Quiltin’ Jenny was instrumental in getting Frances to Savannah, I believe. Quiltin’ Jenny’s post talks about 6 things she saw there. There is so much more in her post than 6 things. It is a fantastic post and you should go read it. Frances has a special podcast where she talks about her experiences there. I know there are a lot of other posts, so go read some of them and plan to be in Pasadena in 2018. HollyAnne of String & Story and Quilts for a Cure also has a post, which is a more general recap, but has fantastic pictures. She posted a lot of insightful thoughts on the quilts.
Are you participating in the Scientific Quilter’s March-a-Long?
The Chester County (Pennsylvania) Historical Society is holding a Quilt Day in May. Check their newsletter for details. Thanks to AQSG’s Barb Garrett for the tip.
The Virginia Quilt Museum is showing a stunning exhibit of early applique quilts from the Mid-Atlantic region. It is a small but serious exhibit which includes 20th century examples of appliqued beauties. The museum is located a short hop off the interstate in Shenandoah Valley’s Harrisonburg, Va. See the website for details on hours etc. Thanks to AQSG’s Neva Hart for the tip.
Pat Bravo and Mr. Domestic are having an EPP party in April 2017.
Quilt San Francisco 2017 Show and sale will be presented by the San Francisco Quilters’ Guild on Friday, March 24 10:00-7:00 and Saturday, March 25 10:00-4:00. Check the website for more details.
Pine Tree Quilt Guild presents their Springtime in the Pines show on May 6-7, 2017 at the Nevada County Fairgrounds, Grass Valley, Calif. Admission is $7 and there is free parking.
The Roseville Quilters Guild presents Oceans of Fabrics, Waves of Quilts, May 19-20, 2017. It will be held at the Lutheran Church of the Ressurrection, 6365 Douglas Blvd, Granite Bay. It will be open Friday 10-5, Saturday 10-4. Admission is $7.
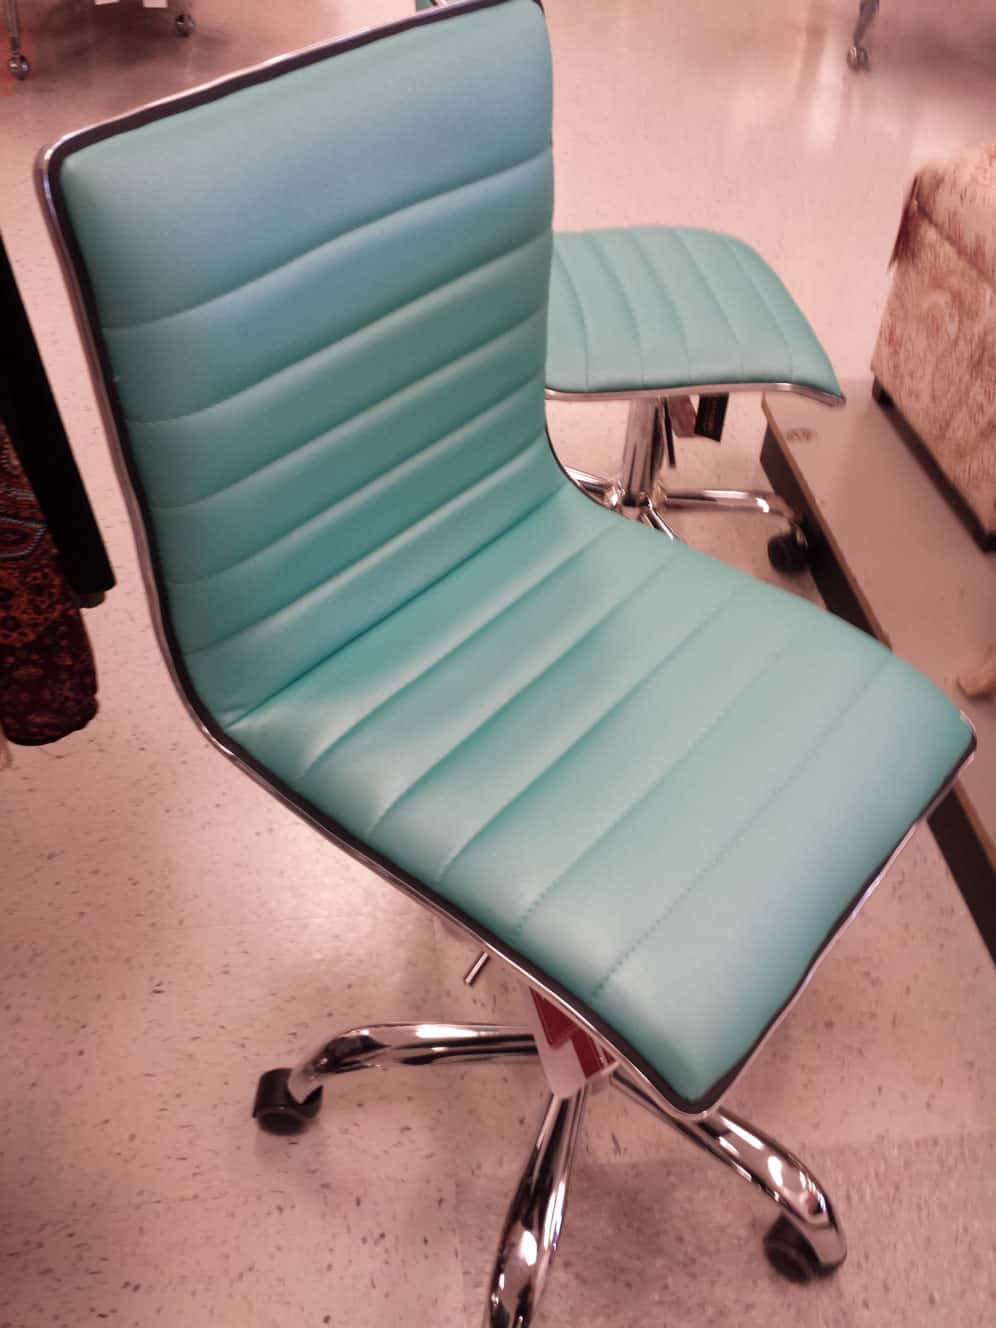
There is a TJ Maxx near my house and, as it is the one outlet type store I can actually stand shopping at, I go in for a look occasionally to see what they have. I have found some great finds: dresses for #politicalwifery, a set of sunflower plates for a gift swooned over by the recipient and recently a chair for my workroom.
I had a chair. It was an office chair we got for free when the bank DH worked at (about 1,000 years ago) was purchased and they were closing his location. It no longer moved up and down and was not hideous, but not pretty either. I saw this chair and knew it would be perfect or the new look I am working on for my workroom. It is slightly lighter weight than my old one, so I can’t pile up as much fabric on it, but all parts function and it is pretty.
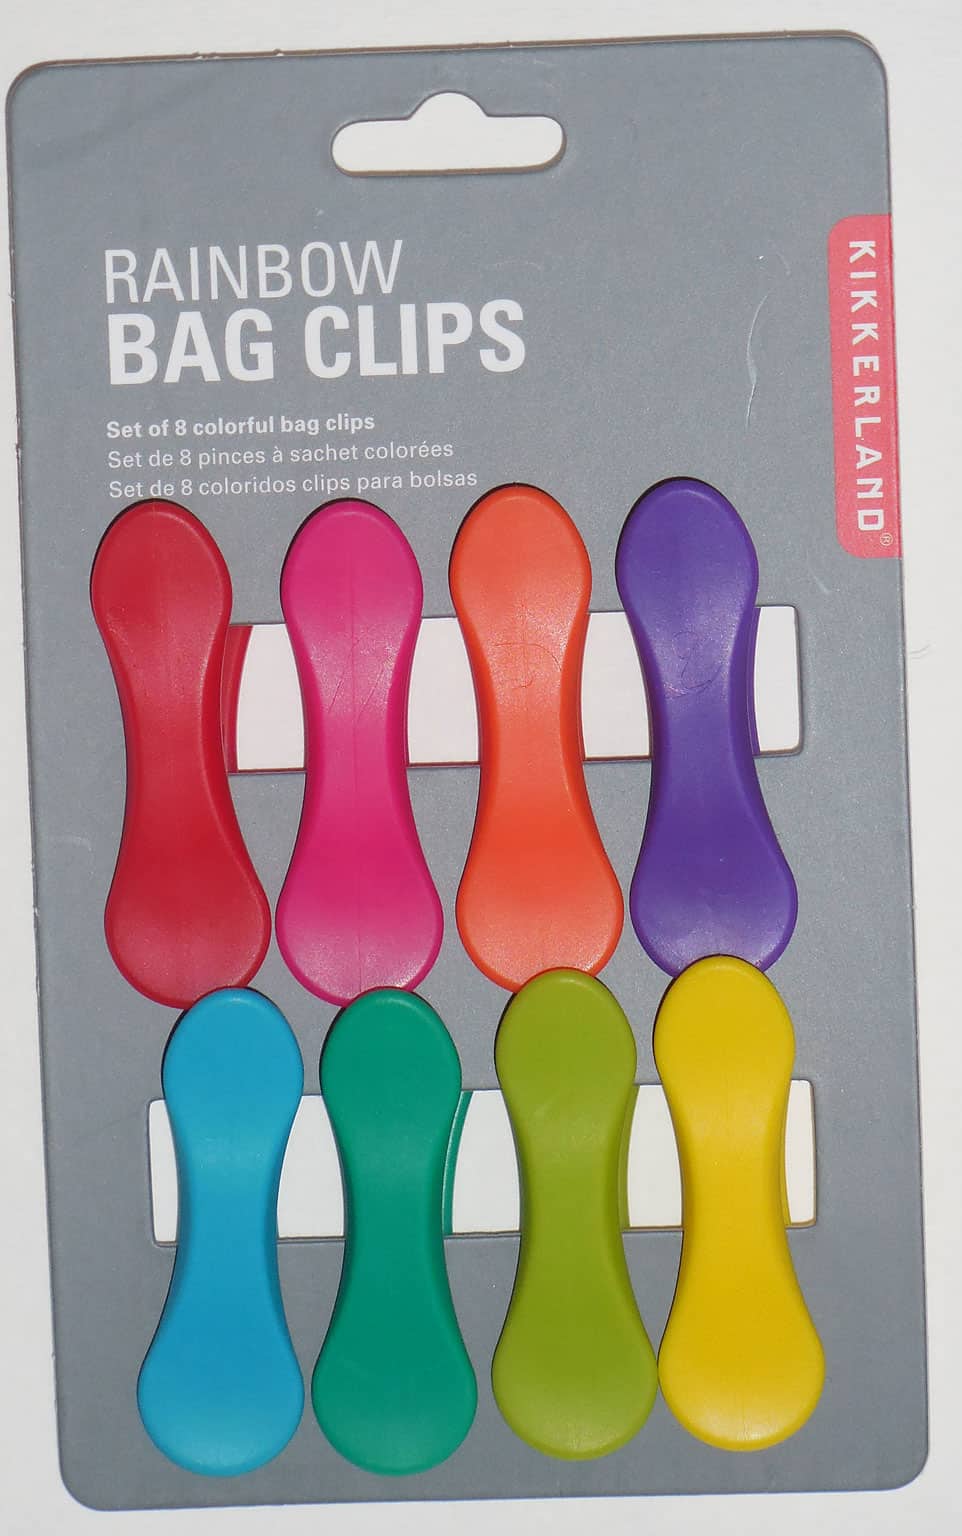
Bag clips
I bought this pack of bag clips not for chip and bread bags in the kitchen, but for my workroom. They are too pretty to hide away in the pantry. I have decided that the things I use should be pretty.
I have a very tiny update for the En Provence Mystery quilt. I have enough of the Peaky & Spike blocks finished to make 9 patches.
In fact, I may be completely finished with the Peaky & Spike blocks. I don’t know what goes in the corners and haven’t taken the time to look it up.
This block, the only one I have laid out, is not sewn. Laying it out, however, gets it closer to being sewn. I hope you don’t think this is a poor showing!
I have to say that it occurred to me that I might want to use the blues from the Blue Lemonade Hunting & Gathering box for the colored 4 patches. If the clue asks for 2 inch squares, I’ll be golden or In like Flynn. I have to find the clue and look it up.
I have done a little more on this piece since I took the photo, but it is slow going so not much.
Despite my protests yesterday that I wasn’t in a rush to finish this piece, I really do want to finish it so I can start the La Passacaglia. Having two large EPP projects seems ridiculous and I only have a certain amount of handstitching time, so focus is the requirement.
My big push now is to make dots on white stars. I need a lot of them and can’t move forward without them. I think I have three in process, but a number of strips cut, waiting.