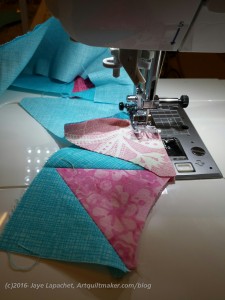
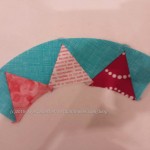
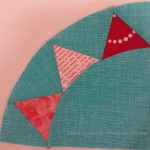
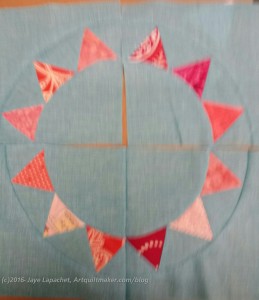
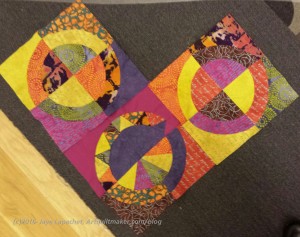
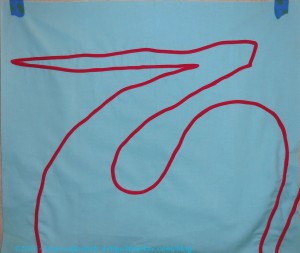
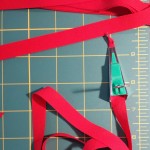
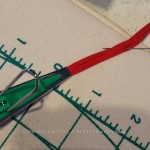
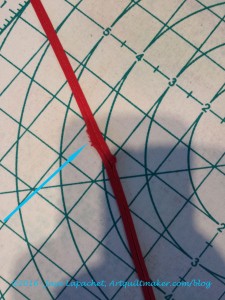
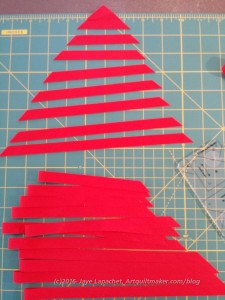
This should be easy for you! You can even make a cushion!
pillow
whoopie cushion
foam cushion
Definition: “A cushion is a soft bag of some ornamental material, stuffed with wool, hair, feathers, polyester staple fiber, non-woven material, or even paper torn into fragments. It may be used for sitting or kneeling upon, or to soften the hardness or angularity of a chair or couch.[1]
A cushion is also referred to as a bolster, hassock, headrest and a sham.[2]
Cushions and rugs can be used temporarily outside to soften a hard ground. They can be placed on sunloungers and used to prevent annoyances from moist grass and biting insects. Some dialects of English use this word to refer to throw pillows as well.
The cushion is a very ancient article of furniture; the inventories of the contents of palaces and great houses in the early Middle Ages constantly made mention of them. Cushions were then often of great size, covered with leather, and firm enough to serve as a seat, but the steady tendency of all furniture has been to grow smaller with time. Today, the cushion is considered an upholstery item.
Cushions were, and are, used as seats at all events in Italy and Spain at a very much later period, and in Saint-Simon‘s time it is found that in the Spanish palace they were still regarded as a peculiarly honourable substitute for a chair. In Italy, the right to kneel upon a cushion in church behind the king was love guarded and strictly regulated, as it is learnt again from Saint-Simon. This type of cushion was called a carreau, or bird. When seats were rude and hard, cushions may have been a necessity; they are now one of the minor things of life.
Decorative cushions are likely to have a fancy cover material which are patterned style and generally used on furniture.” (Wikipedia)
cushion grip
seat cushion foam
medical cushions
cushion cover
scatter cushions
cushion cut engagement rings
M Cushion is the first fashion forward shiatsu massage cushion.
Lumi Cushion, a liquid foundation infused in an innovative sponge that delivers the perfect amount of makeup.
As your body position and shape changes, your ROHO cushion adjusts creating a safe and comfortable seating surface.
The Magical Cushion that helps children with attention deficit disorder and sensory procession issues focus better when learning.
Darma is the world’s first smart cushion that monitors your posture, sitting habits, stress level, and coaches you to sit better.
carpet cushioning
Zabuton cushions
The Cue & Cushion is a pool hall, bar, and lounge located in Hooksett, NH.
Carpet Cushion Council
meditation cushions
CPAP mask cushions
sofa cushion covers
Arctic Wire Spring Aircool Cushion
Zafu cushion
Brooks Cushion Me running shoes
wheelchair cushions
The Galaxy Cushion combines multi-cellular air technology with a patented, contouring design, shaped to fit the anatomical form.
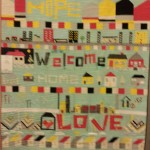
Post the direct URL (link) where your drawing, doodle, artwork is posted (e.g. your blog, Flickr) in the comments area of this post. I would really like to keep all the artwork together and provide a way for others to see your work and get familiar with your blog or website.
The Creative Prompt Project, also, has a Flickr group, which you can join to post your responses. I created this spot so those of you without blogs and websites would have a place to post your responses.
We are also talking about this on Twitter and Instagram. Use the hashtag #CPP
throw pillow