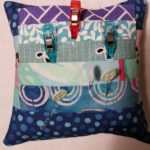
As you from my post the other day, I was in Portland. While there I saw a quilt and a pillowcase in use at my YM’s house. A friend was in town for graduation and she stayed on the couch at his house. Yay! I was thrilled to see him using a pillowcase and a quilt.
This is one reason I make quilts and give them as gifts. To see them in use is a joy.
We spent a long weekend in Portland last weekend. The main reason was to see our son graduate. We didn’t do a lot of other stuff, but a little. I was able to see a couple of friends and do some sightseeing around downtown.
Books at Powell’s
Of course we went to Powell’s! I saw the most amazing collection of books. They were informational and inspirational and slightly ominous looking. Of course, I wanted them all. I didn’t buy them, though since I have no shelf space. I will look for them at the library.
SIL and I discussed a misguided family who paid $6 million to get their kid into Stanford. Thereafter, we had an ongoing discussion about what we would do if we won the lottery and had skads of money. We agreed that we would create an amazing library. SIL had the great idea to start a publishing company. I already have an idea for a book!
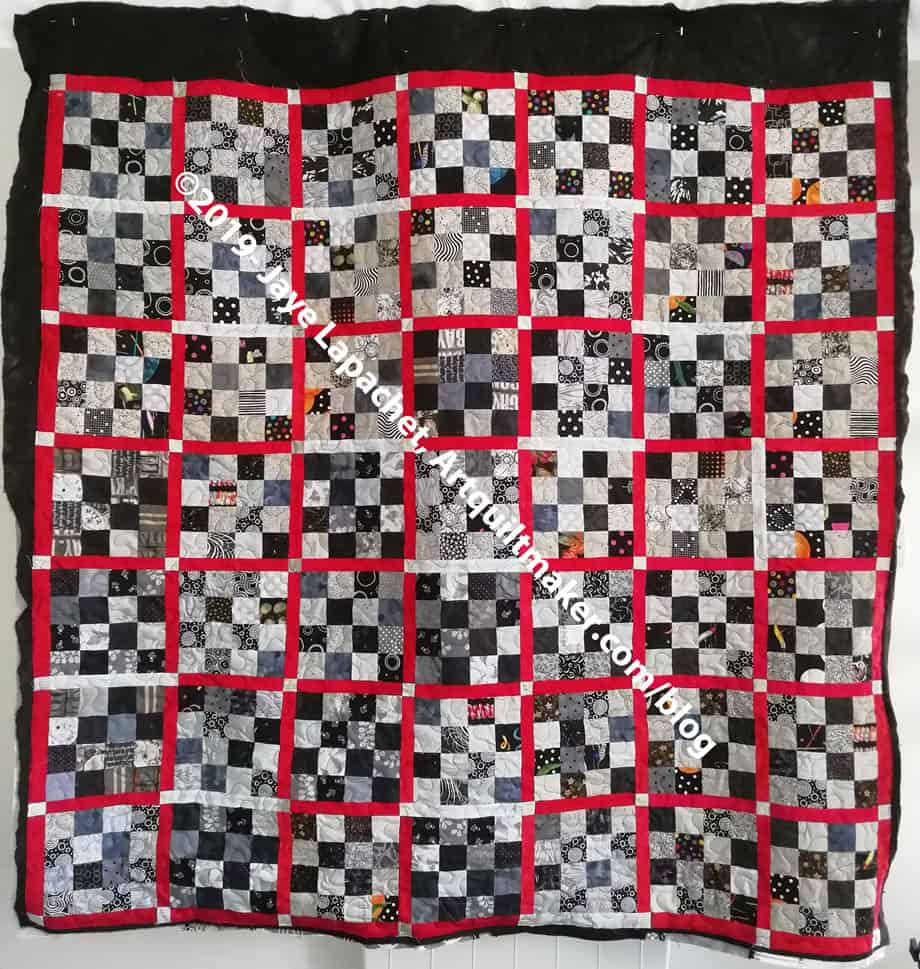
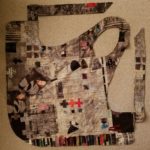
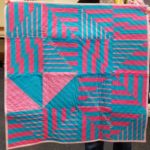
Black & Grey Teenaged Boy Donation Quilt – quilted
I was surprised to get an email from Kelly about one of my quilts. I had no idea she had the quilt or intended to quilt it. I finished this quilt in 2015 and figured it was off keeping someone warm all these years.
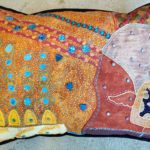
Kelly has quilted the Black & Grey Teenaged Boy Donation quilt.It looks like she did a basic all over meander. I am used to more complicated quilting, working with Tim and Colleen, but I am sure whoever gets the quilt will enjoy with simple or complex quilting.
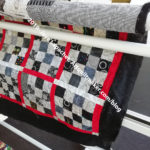
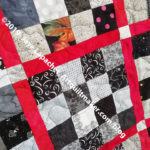
Black & Grey Teenaged Boy Donation Quilt – quilted (detail)
Black & Grey Teenaged Boy Donation Quilt – quilted (detail)
Kelly will bind it, then she will donate it to a UK charity that takes such things.
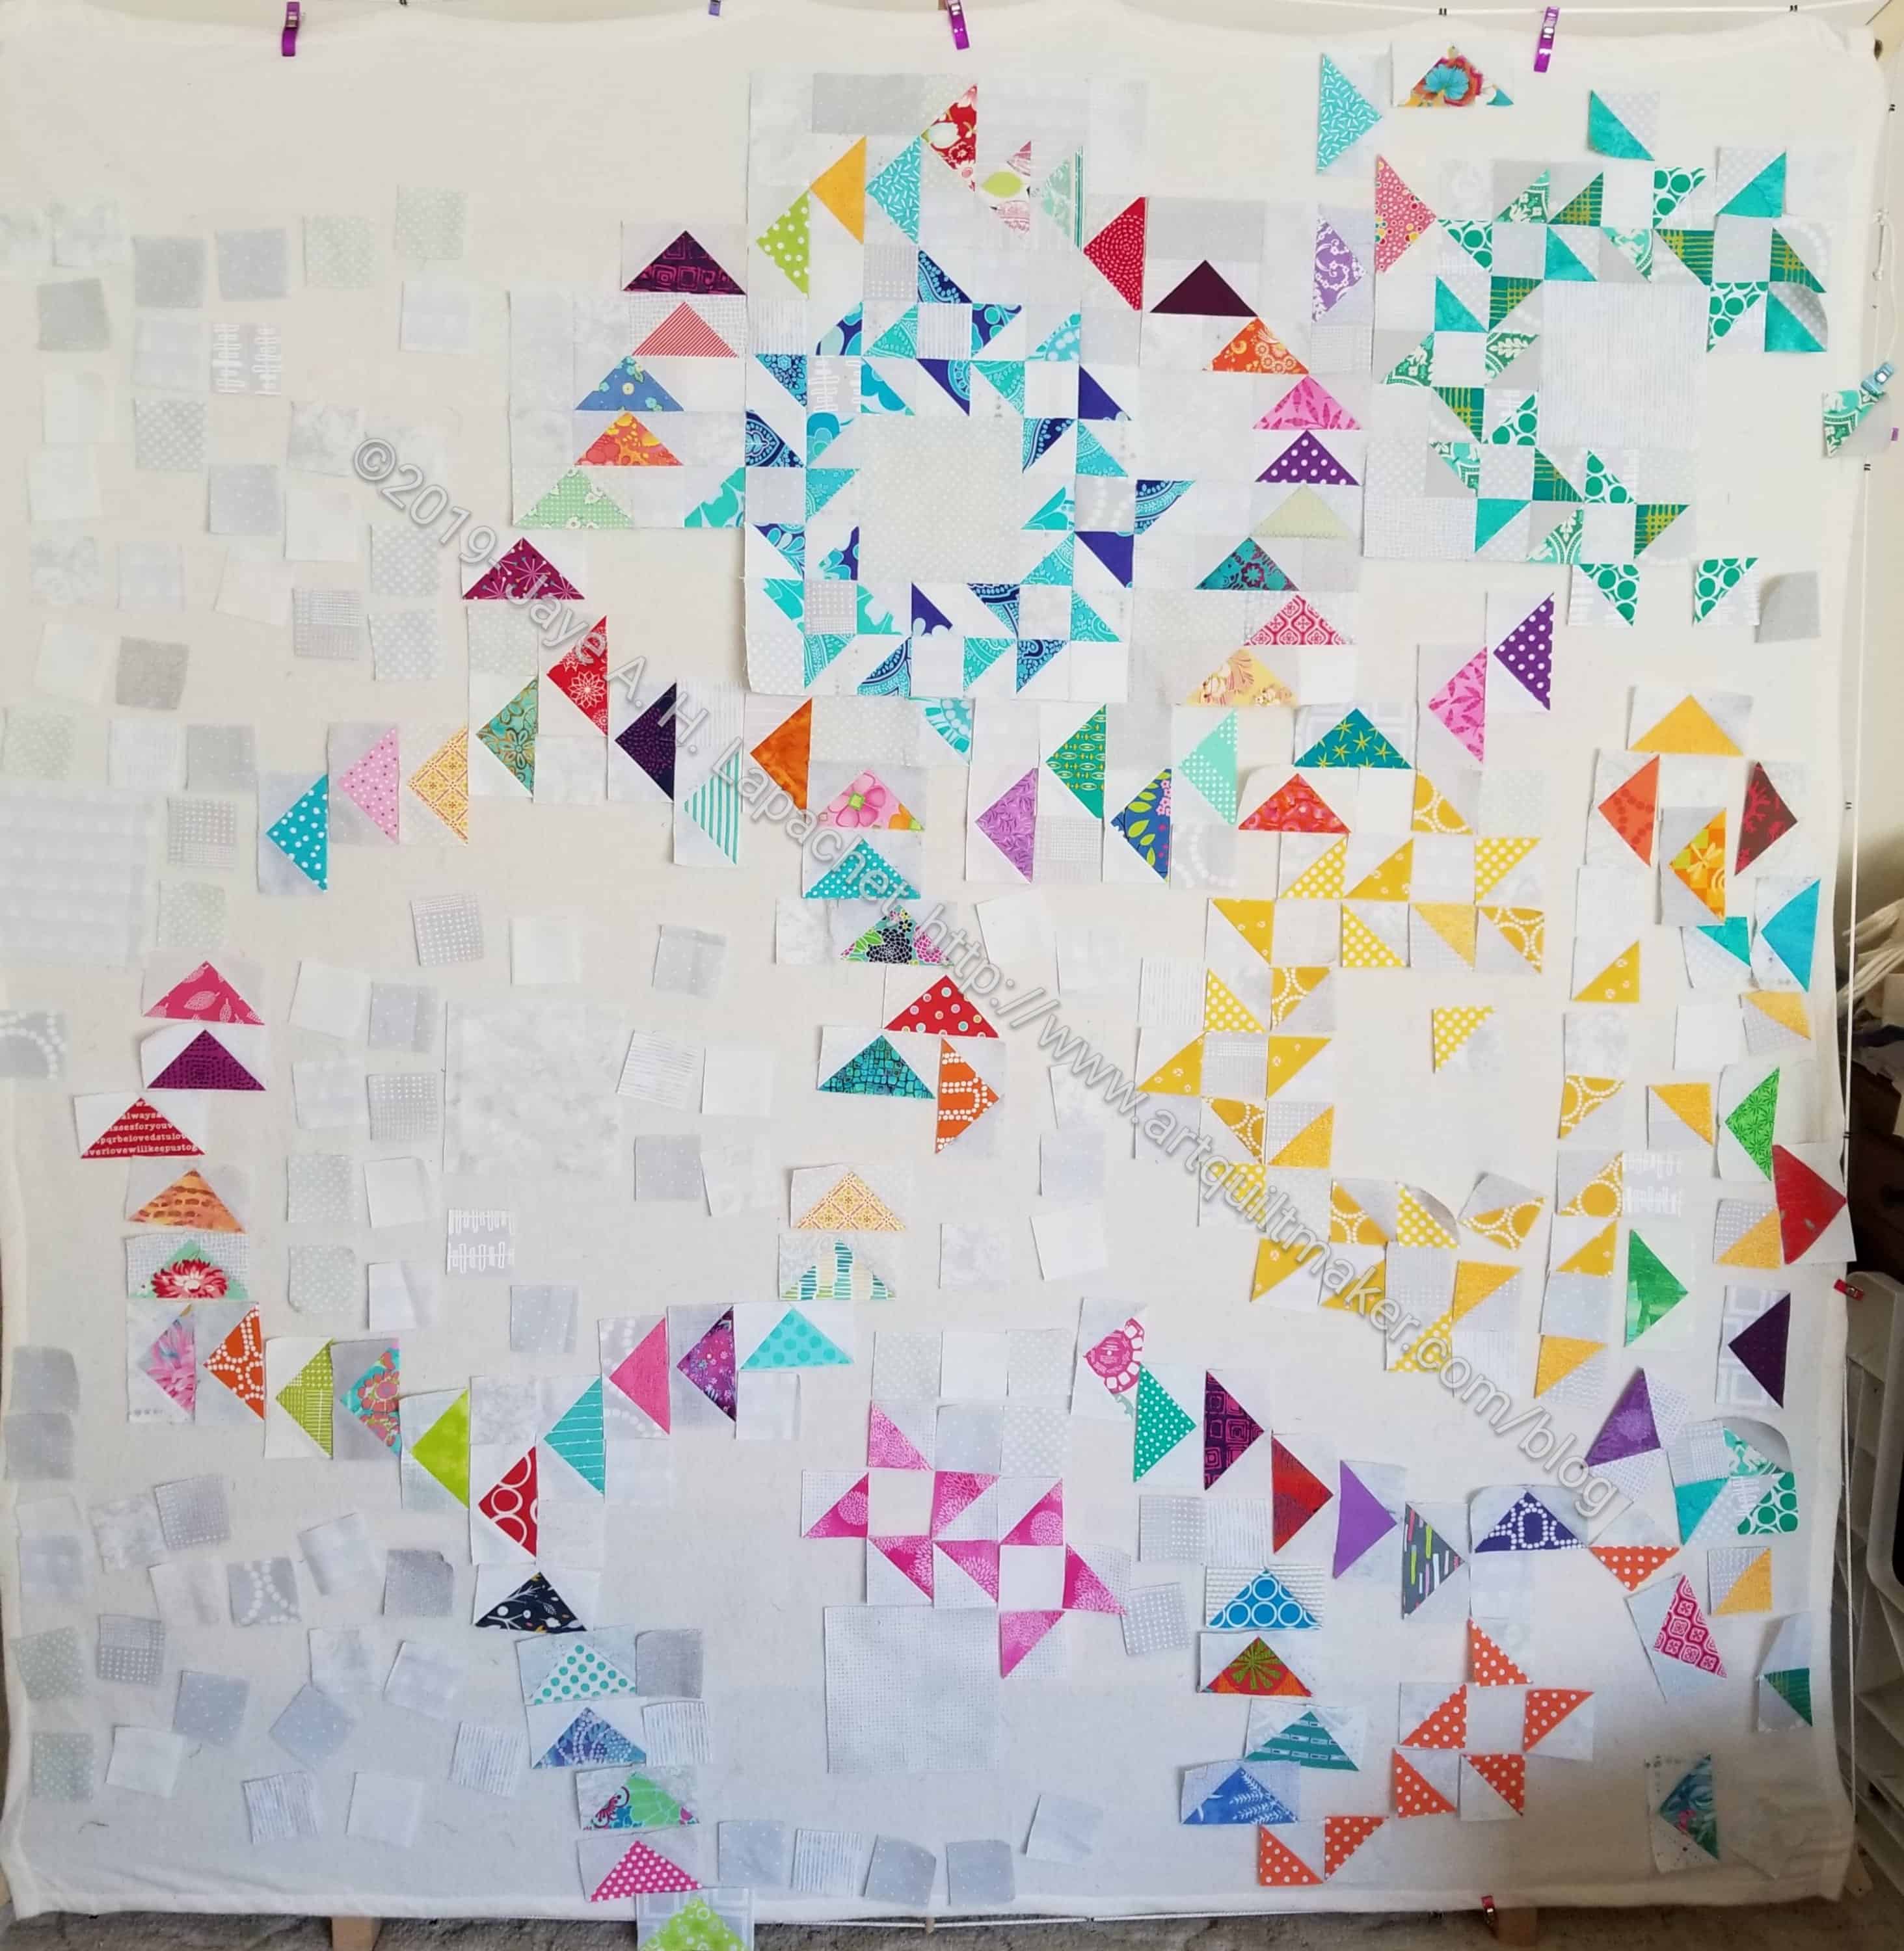
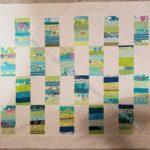
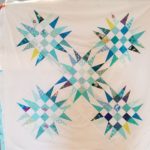
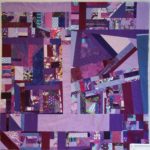
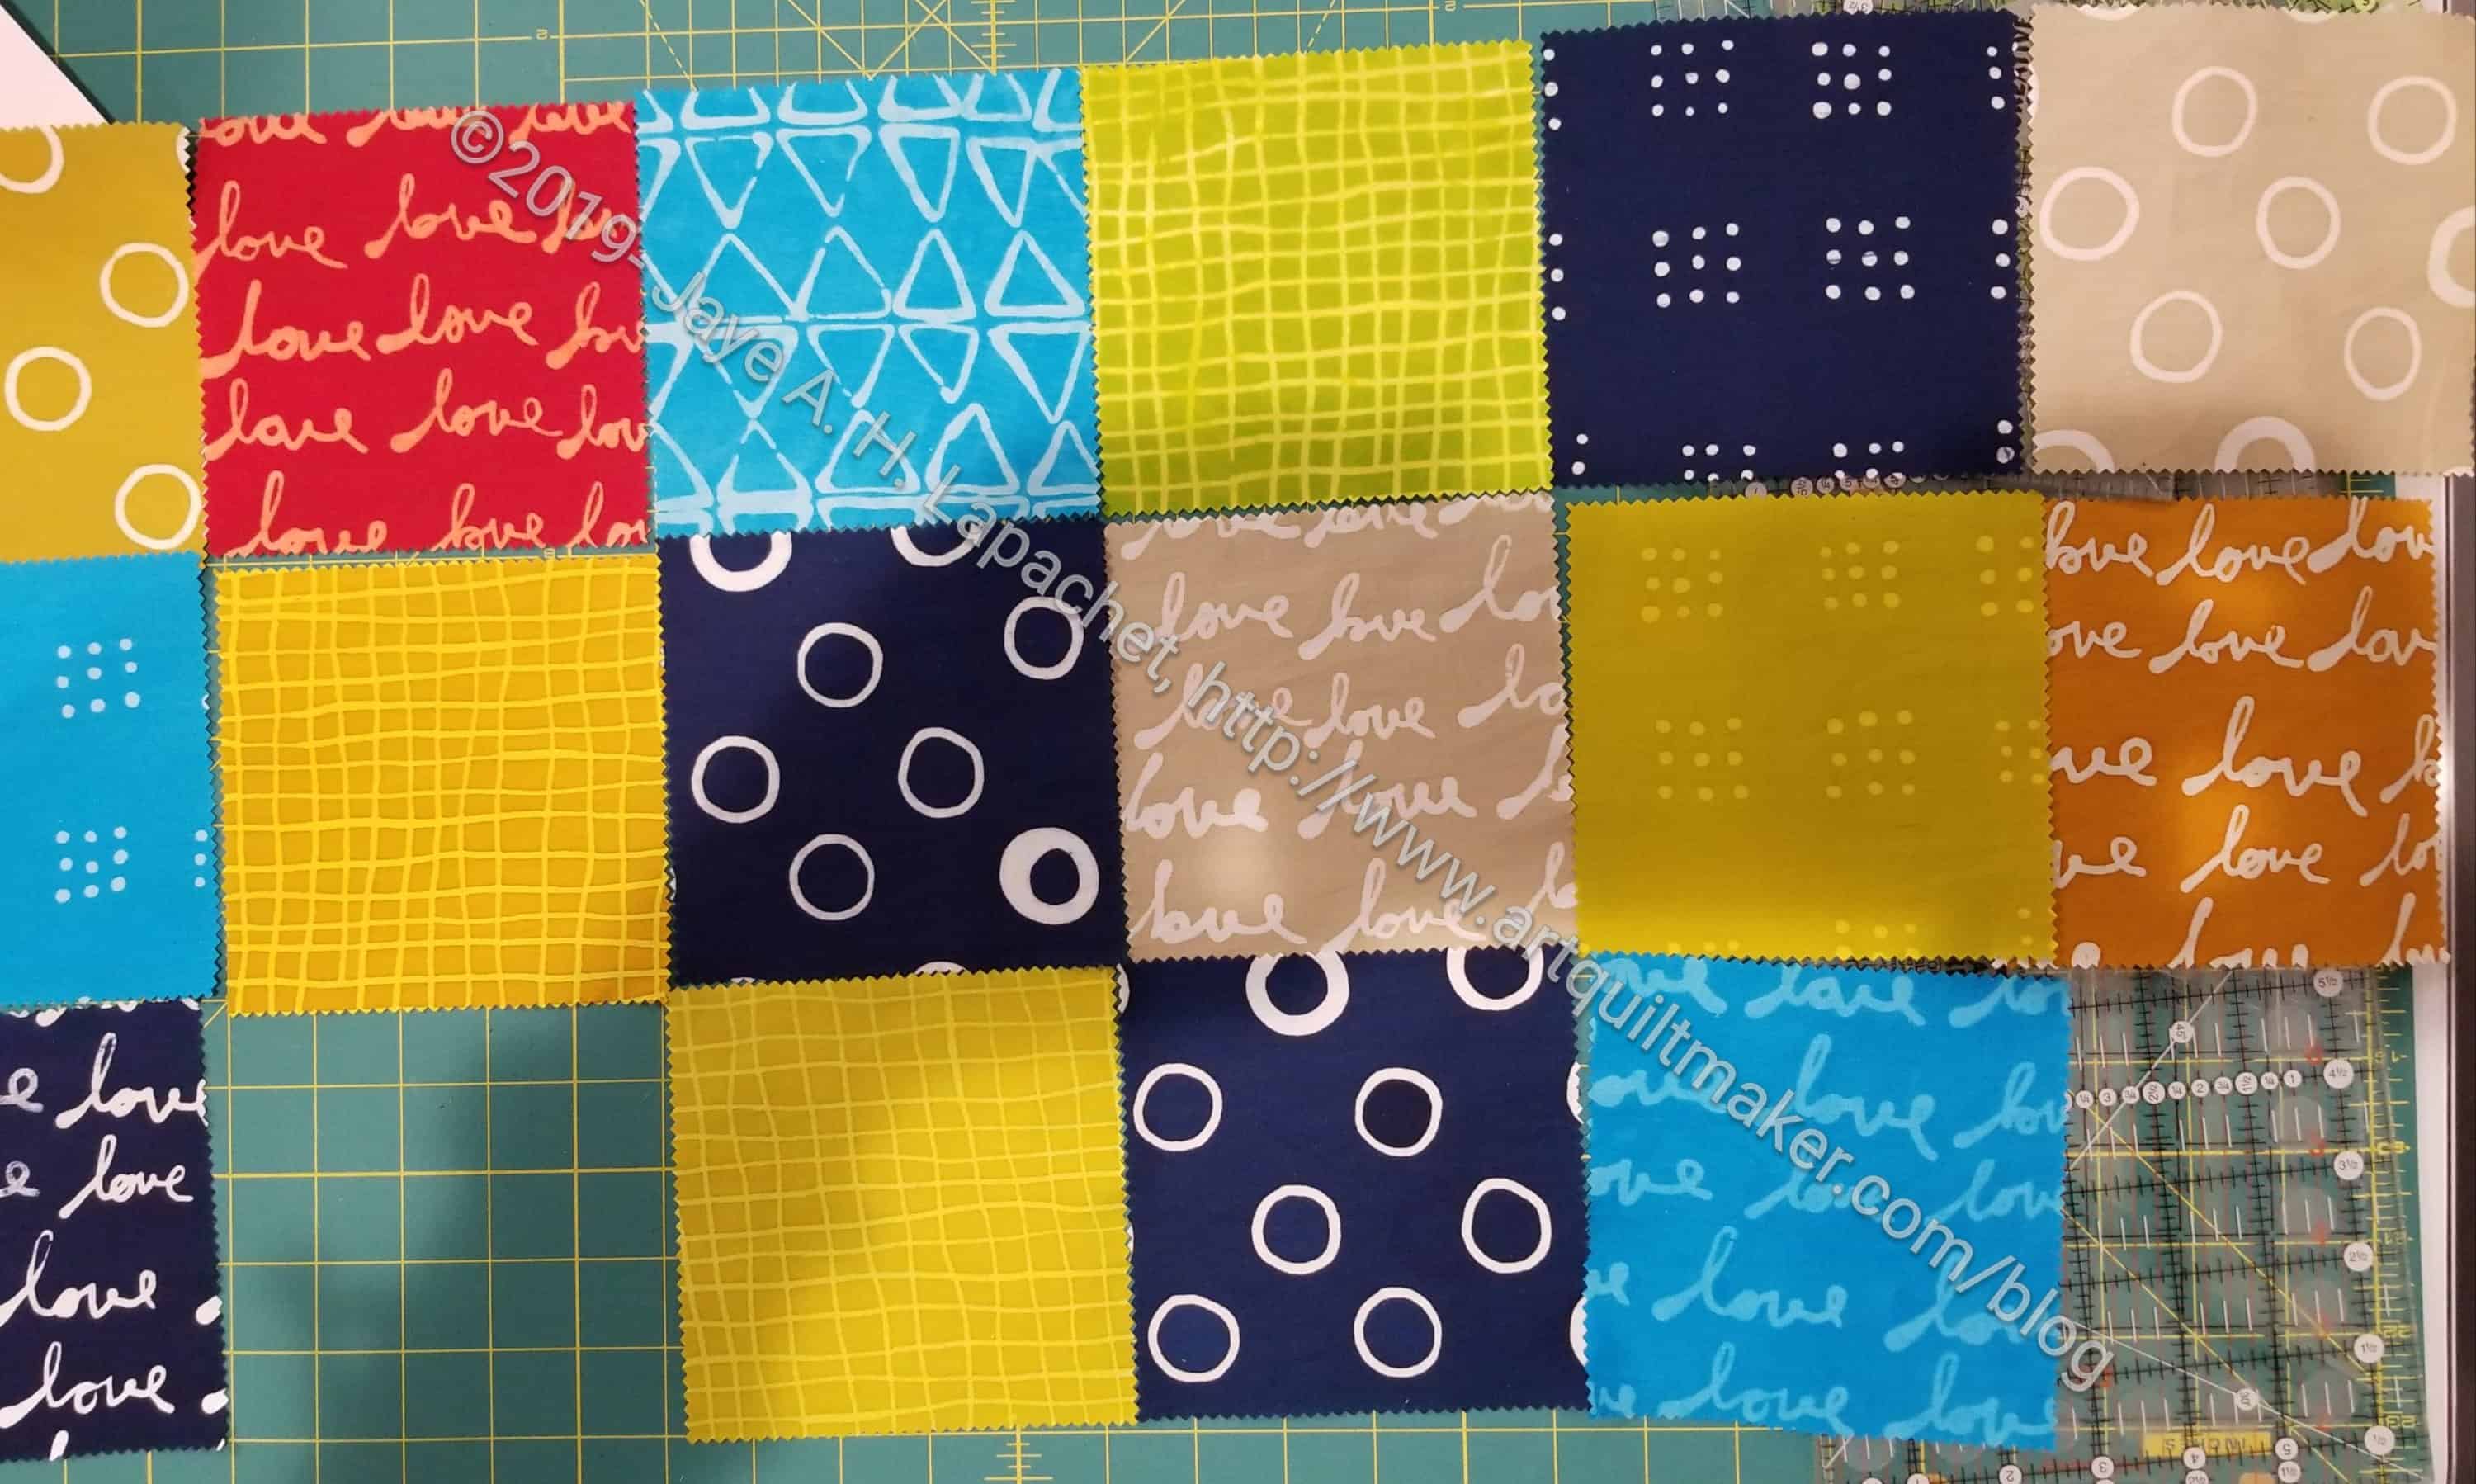
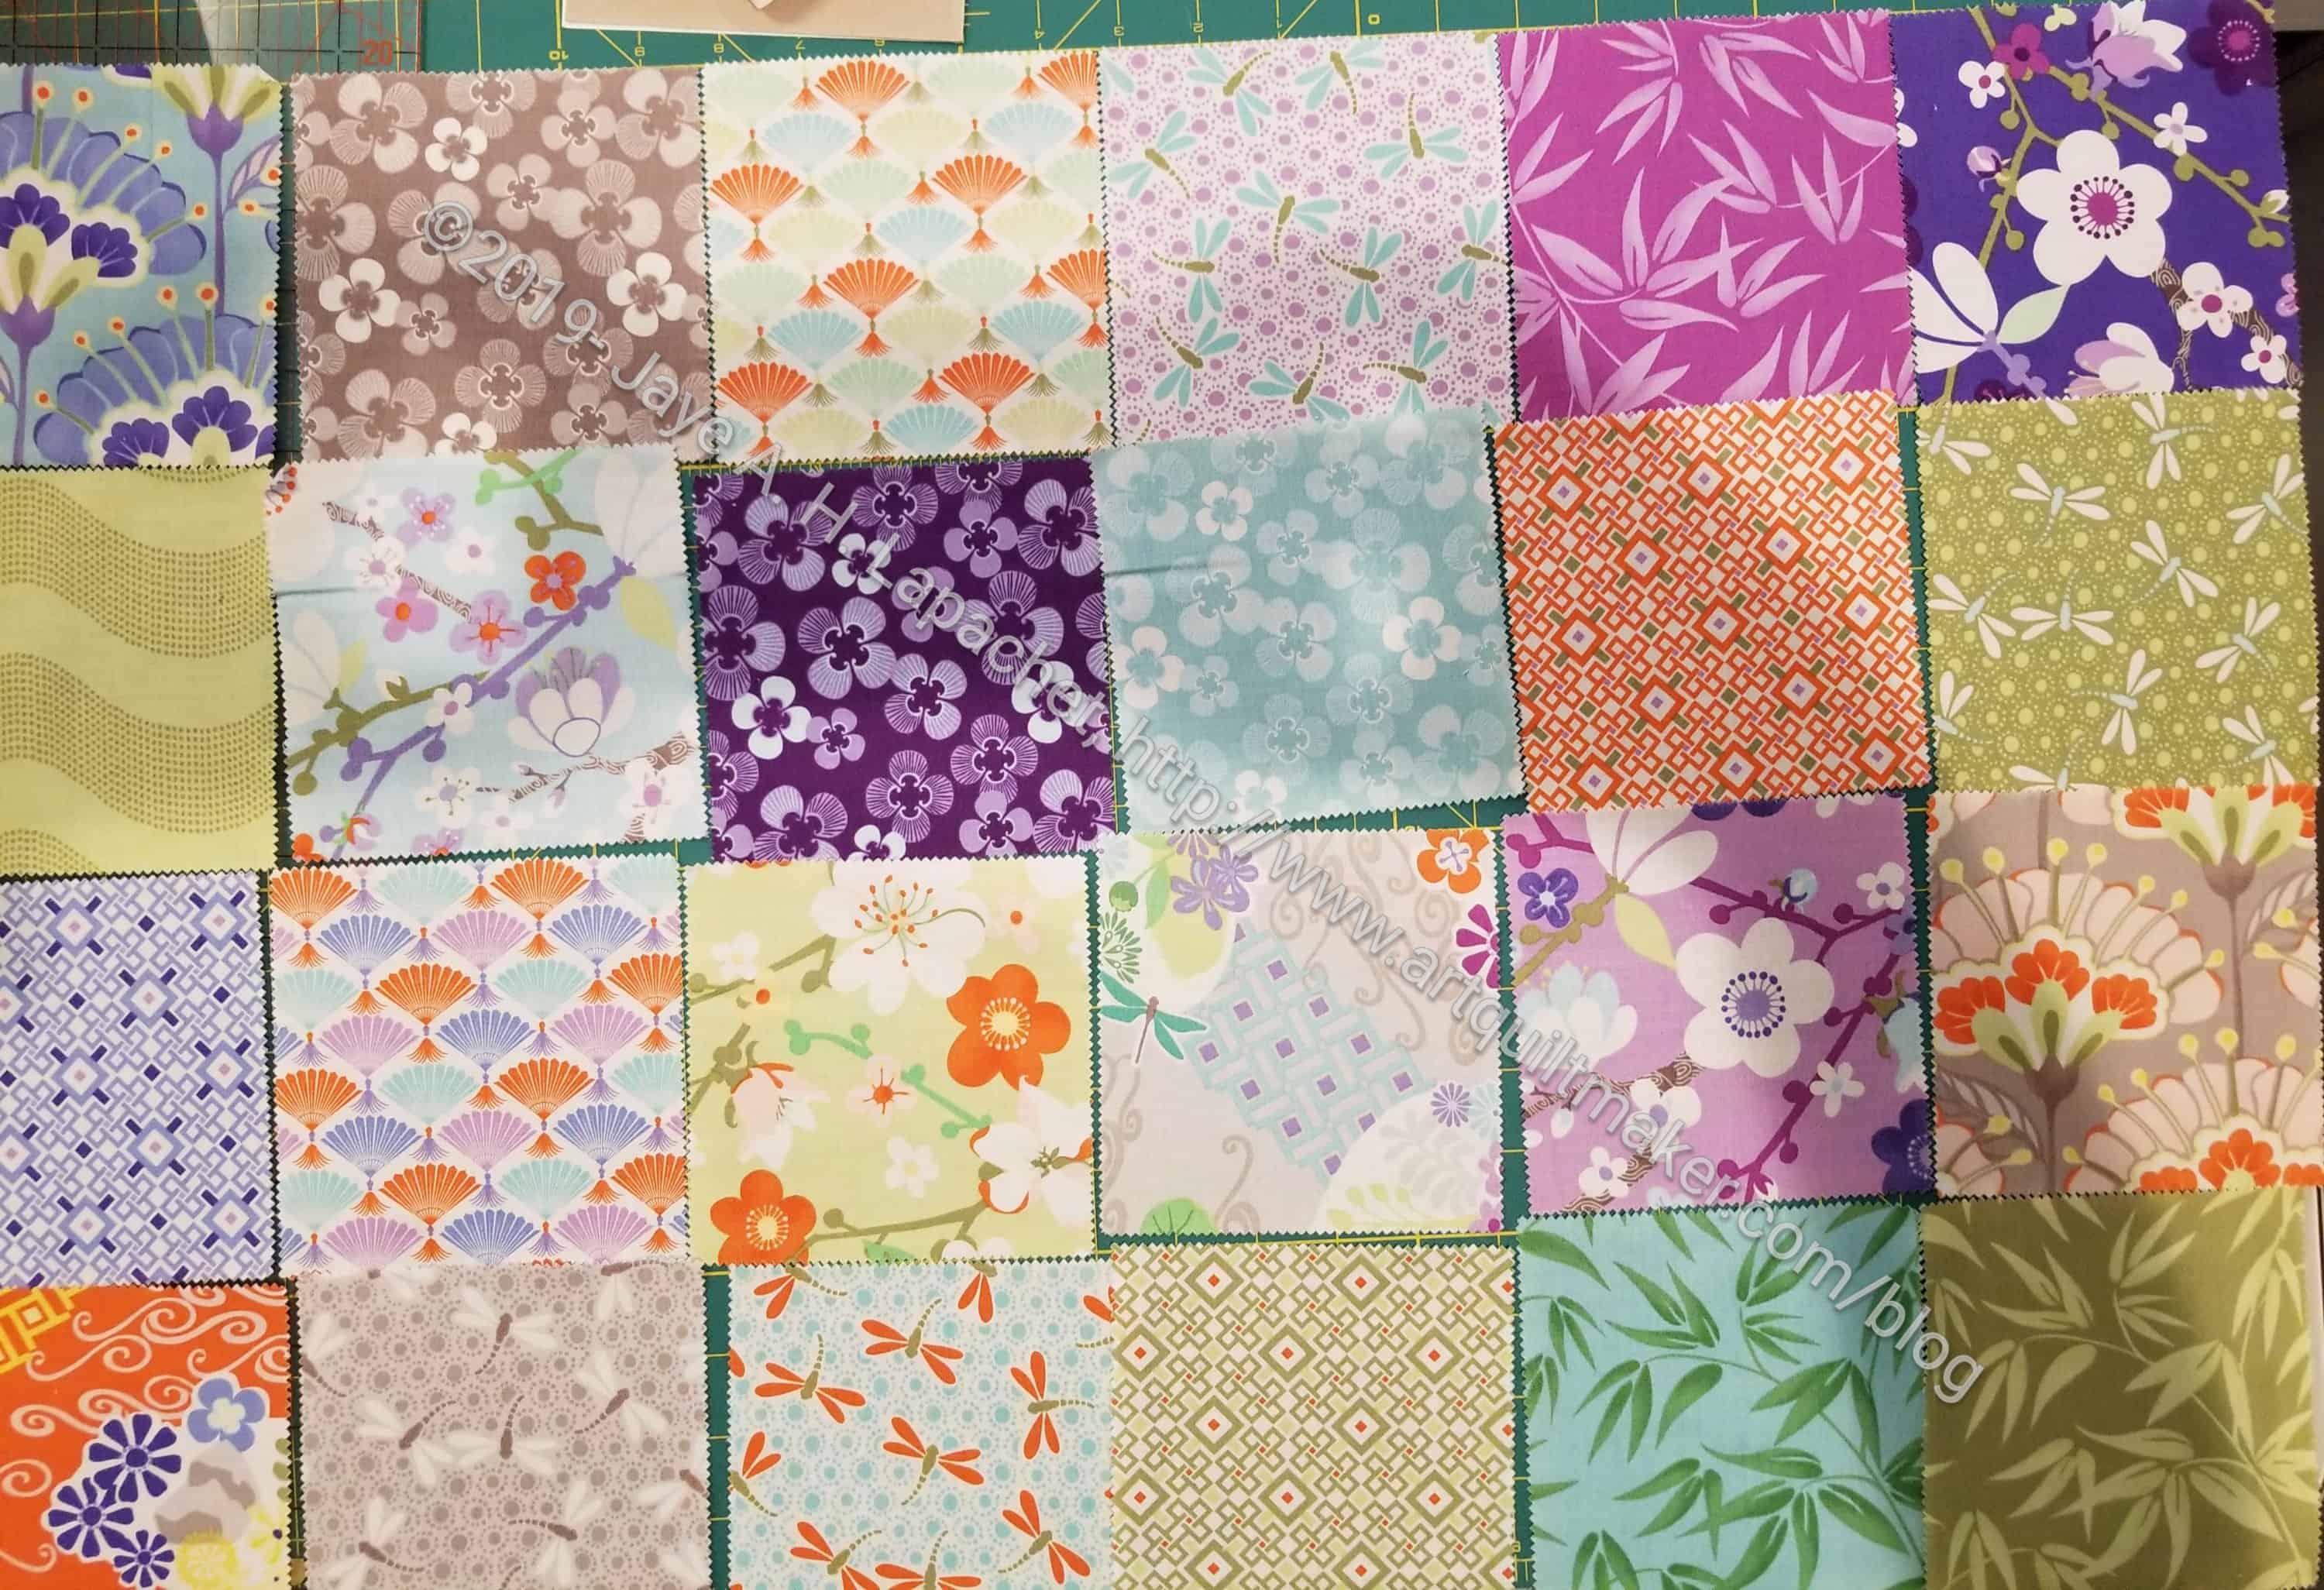
I have been making slow and steady progress on the Flying Geese quilt. I have done a lot of cutting and some sewing.
Flying Geese piece – early May 2019
I am trying make a color wheel effect, though it will be subtle in the finished product. As with FOTY 2017, my design wall isn’t large enough to contain my piece. This means I have had to sew parts together in order to put various parts on the wall. You can see the squished green bits on the right.
I am struggling with keeping pieces in the right place as I sew and the piece shrinks. I experienced the same thing with FOTY 2017 and got through it. I will here, too.
In the course of making this quilt, I had some thoughts about HSTs and update the Triangle Technique tutorial.
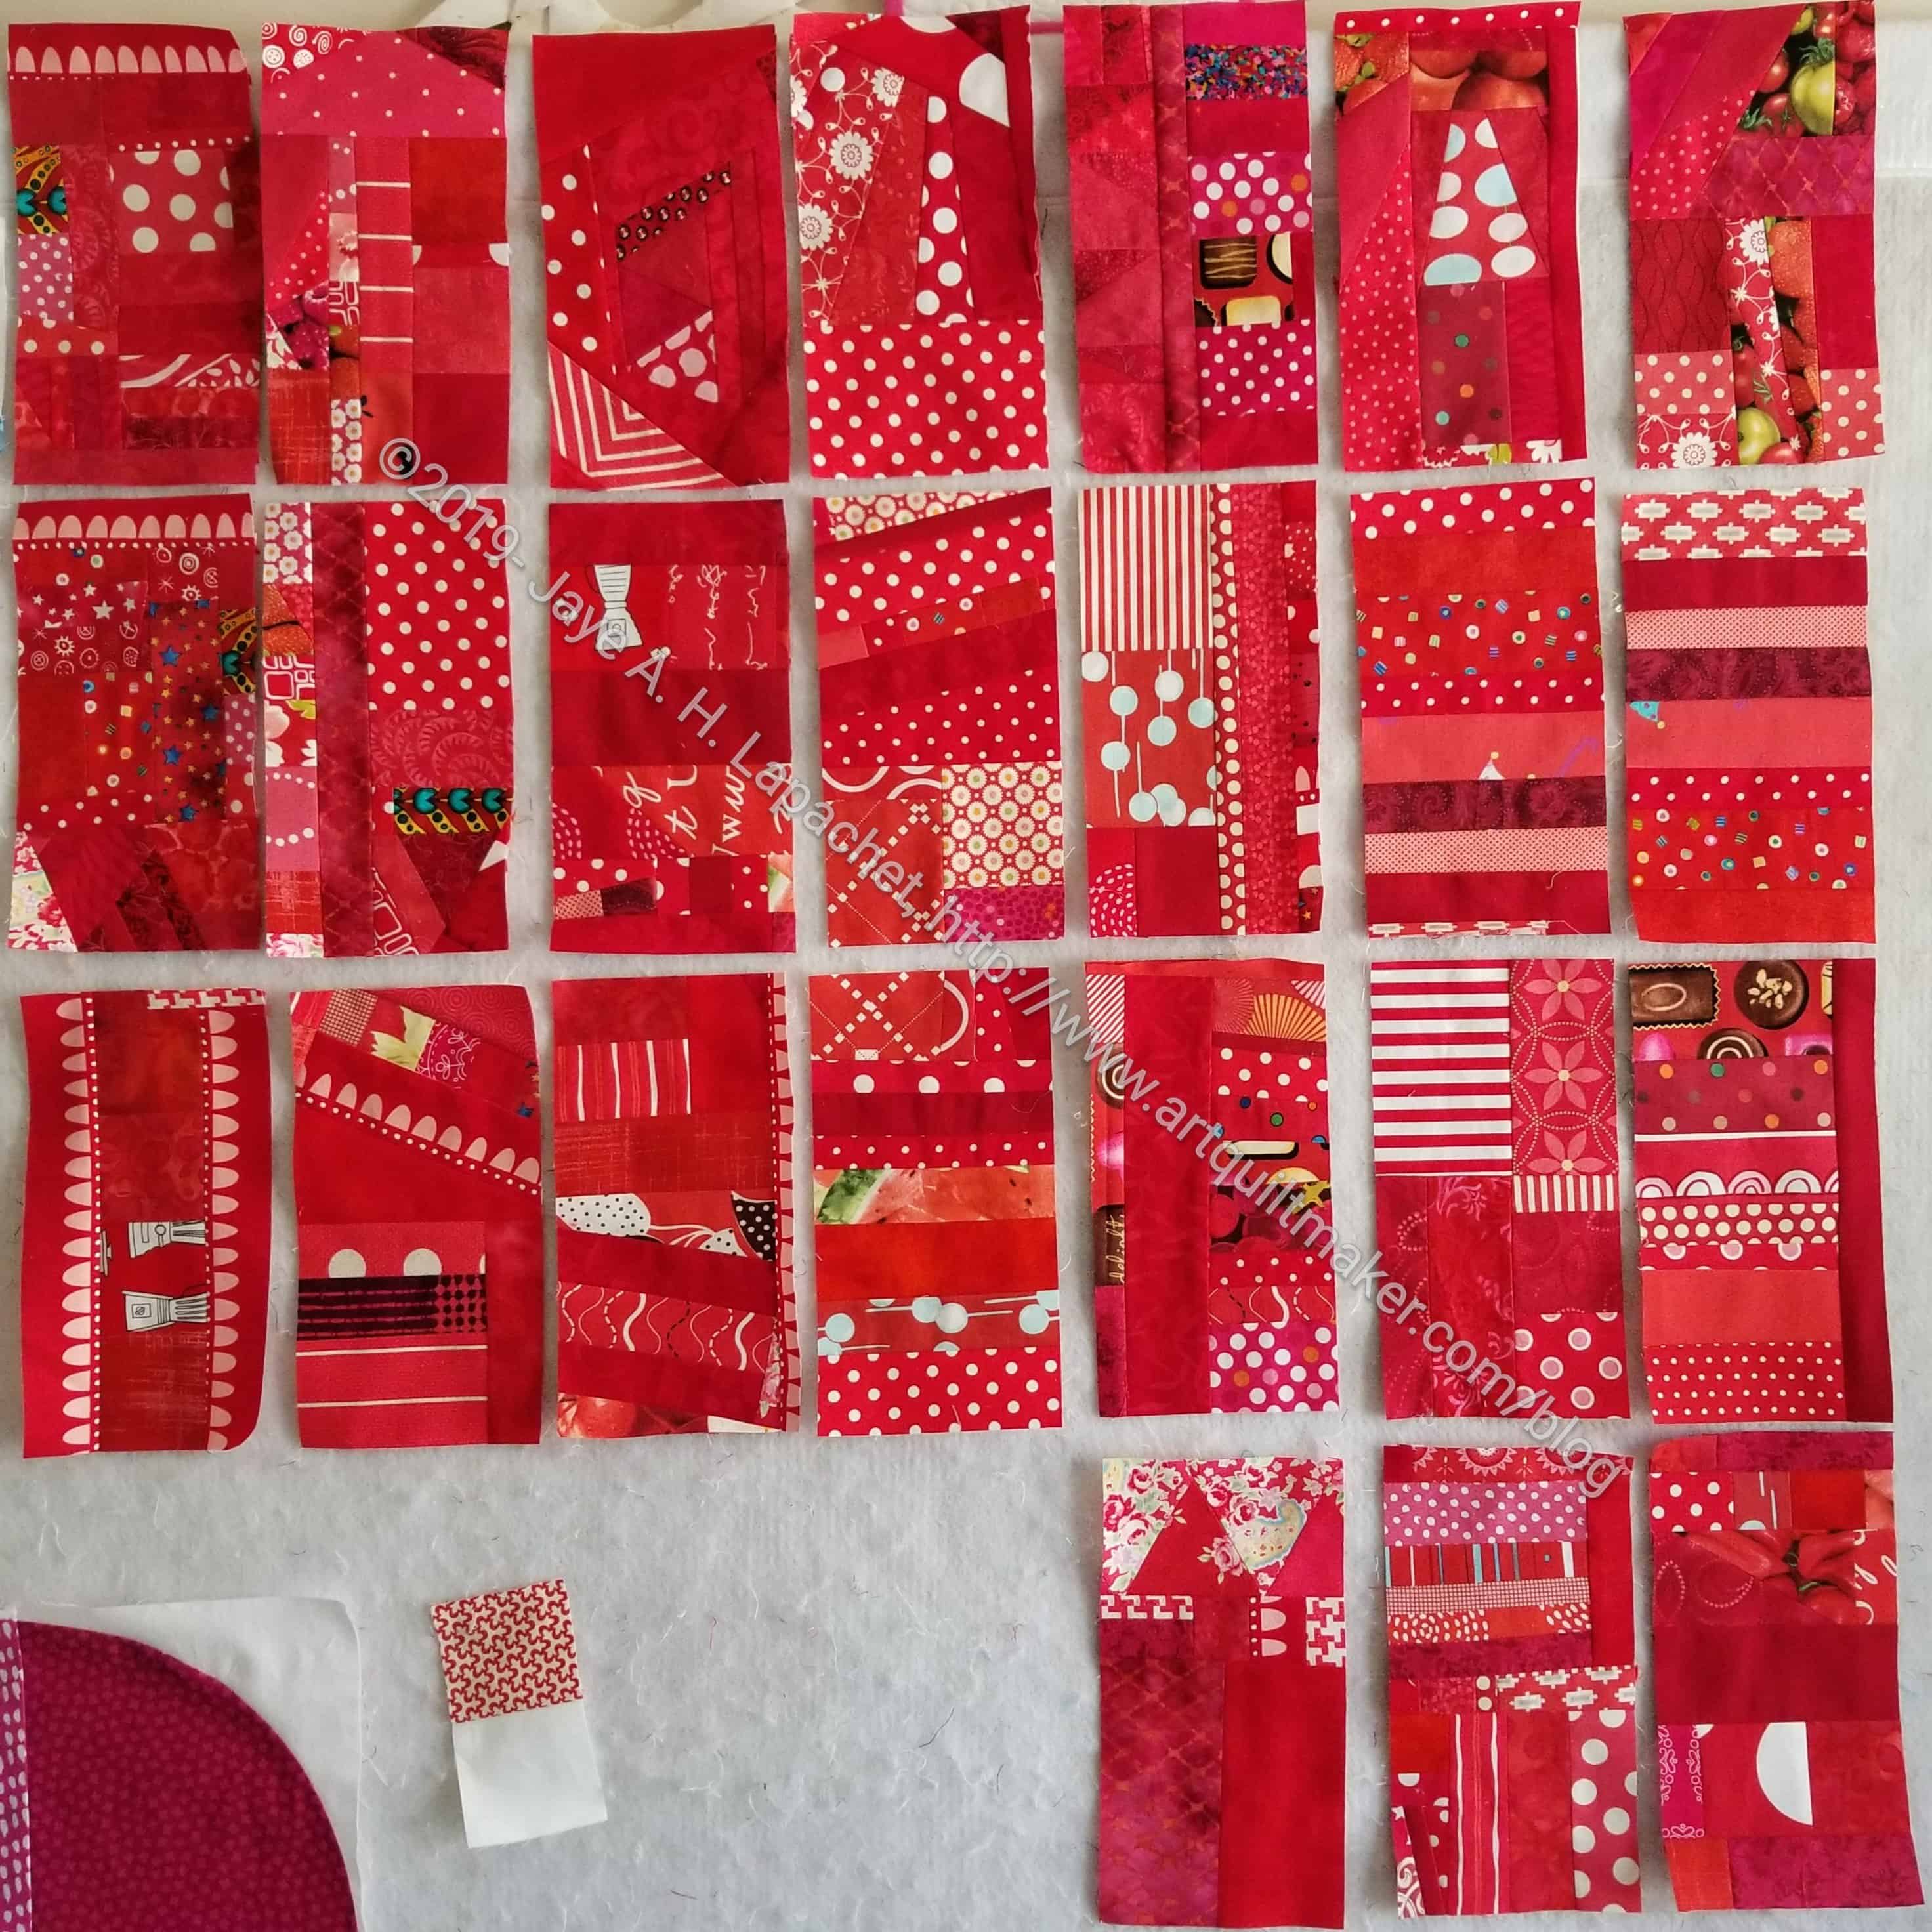
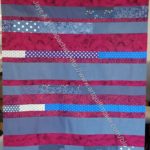
I am heading to the finish line making blocks for the second Red Strip Donation Quilt, but it is painful. The other day I had 7 left to make and I still have 1 left to finish. It is almost done. Maddeningly, it needs a very small strip on the top or bottom to make it the right size. ERGH!
I thought I would be able to finish by the meeting, but I doubt it now. Fortunately, there is no deadline except in my head.
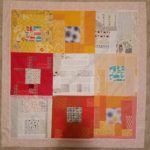
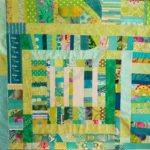
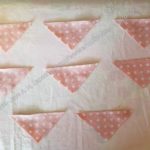
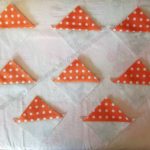
Green Strips quilt top and back – finished 1/16/2019
Green Thing donation top and back – finished 2/2019
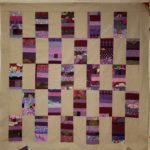
Libs Elliot donation top – finished 2/2019 – Cheryl actually did the quilting and the binding. She made me feel good by saying she really liked the quilt. I should try the technique using stripes instead of making stripes and see if I feel differently. I should do a lot of things.
In Process
The ‘In Process’ is used to denote projects on which I am actively working or are on the design wall waiting for me to stitch. I try not to put away projects, because that will ensure I never work on them
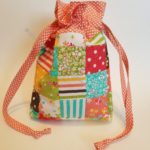
English Paper Piecing Project– half hexies – I have a big stack of stars ready to sew into the quilt. I am still thinking of my friend Faye whenever I work on it. She says that I have to think of this as my slow project.
Still WIPs
I still have WIPs. Who doesn’t, after all? A project in the ‘UFO’ category means I am stalled. A nicer way of saying UFO is a WIP. The list is a lot shorter and the projects are newer, for the most part.
FOTY 2018 – this has to be on the list now as I have cut a ton of squares and need to arrange and sew it together. As I am still working on FOTY 2017, I haven’t made a start on this yet.
Handbag Sampler – this is still the forgotten project. It should be on the UFO list. Too bad I don’t have one. The blocks were teaching samples when I taught a sampler class the time before I started writing the quilt class sampler tutorials. I found one block recently, but otherwise I actually don’t know exactly where the blocks are hiding. I have an idea and still have to crawl up in the far reaches of my fabric closet soon and see if I can find them. I haven’t even found a picture of all the blocks. Sad.
Lobster – I still have more stitching to do and then I need to quilt it. Probably also a UFO, but it nags at me from the small design wall.
Pies and Points from 2016 Victoria Findlay Wolfe class. The last time I worked on it was when Julie and I had a playdate in April 2018. I brought this piece with me so I could cut more elements (Julie has a Sizzix). I lost my excitement about this piece shortly thereafter and still have to get it back. Thus, I had to move this to the WIPs area.
Pointillist Palette #4: Fourth is a series of 6 quilts; needs tiny square patches sewn together. No progress.
Black and Red quilt – This came about because of two other projects. I made a whole bunch of bias tape as part of my failed attempt at doing the Mighty Lucky Club a few years ago. Another part of the inspiration came from my class with Tina of Little Blue Cottage fame. This was going to be for a nephew, but I think it will be for one of my SILs and BILs. I have rectangles cut and some bias tape ready. My next step is to sew the bias tape to the rectangles like pickup sticks. I don’t have any photos of this, so you’ll have to use your imagination.
Who Am I? – This piece is off my design. I have lost momentum, but I think that just has to do with the amount of satin stitching I am facing.
I also made progress on the Batik Malka Dubrowsky Chubby Charmer. I am not as far along as finding suitable fabrics to go with the charm pack is challenging. I have made some progress, especially the quilting since I last spoke to you about this project.
I found another Malka Dubrowsky charm pack and used some of the squares for the missing pieces of fabric I needed to complete the bag. The second charm pack uses similar colors.
I did a few things differently on this bag. First, I remembered to put vinyl on the squares that will be the bottom. This is my small attempt to keep the bottom clean and dry.
As you know from my other sewing with vinyl efforts, I cover the vinyl along the seam line with tissue paper and sew. This time I had some problems, because I didn’t cover the entire area where my foot would touch the vinyl. The bit of the foot that touched the vinyl got caught up and made my stitches look icky. Fortunately, they are on the bottom, so they won’t be seen that much. Pulling them out is not an option, because the holes in the vinyl don’t heal. I would have to rip out the entire last row and remake the vinyl covered squares. I am going to live with a few tiny stitches.
I am making progress on both Chubby Charmers. I have made the most progress on this one.
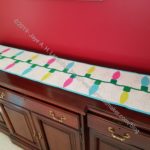
After creating some new pieces of Soft & Stable, I spent most of the day on Sunday quilting. You might remember that I screwed up my shoulder quilting the Lights tablerunner, so I was extra careful about keeping my shoulder down. I tend to quilt with my shoulders up near my ears and that is a bad thing.
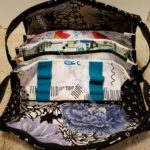
I have the inside pieces with pockets made as well as the handles. Now I just need to starting putting the bag together.
I was contacted earlier this week about the SCVQA Quilt Show. Sadly, I won’t be able to attend, but I hope you will be able to attend and will share photos on social media.
Message re: the show:
SCVQA Quilt Show
I am writing from the Santa Clara Valley Quilt Association, we are one of the largest quilt organizations in the bay area. We are about to host our biennial quilt show featuring hundreds of quilts made by local quilters and artists, Quilts Celebrating Creativity is May 4-5 at the Santa Clara Convention Center. We wanted to invite you especially to attend, since we know you support the quilting arts with an active blog and online presence.
We will be showing over 300 quilts, our guild is very diverse and there will be many different forms of quilts, from traditional to modern, large to small and everything in between. On display will be two special exhibits showcasing nationally renowned local artists Therese May and Randa Mulford. We have a large vendor mall feature a unique shopping opportunity with local vendors selling fabric, tools, patterns and other one of a kind crafts. There will be raffle baskets, demonstrations, art on display from the San Jose Museum of Quilts and Textiles, and a scavenger hunt for children.
Show hours are Saturday May 4th 10 a.m. to 5 p.m. and Sunday May 5th 10 a.m. to 4 p.m. Admission is $12, children 12 and under are free. More information can be found at www.scvqaquiltshow.org.
Santa Clara Valley Quilt Association is dedicated to the preservation and promotion of the art of quilting.
If you would like to know more or have any questions, feel free to reach out to the Quilt Show Committee at quiltshow@scvqa.org.
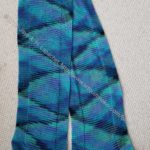
As I catalog my knitting skills, I am kind of surprised at how many I have. I have made a sweater, a vest, and numerous scarves. I am now trying to make the Purl Soho Lightweight Raglan Sweater. I want to learn to read a knitting pattern so I can make other things. This is my test pattern. My local knitting shop sweater expert tried to dissuade me from choosing this pattern as there are a lot of techniques I haven’t done, but I ignored her. I have excellent consultants (2 SILs) and have confidence I can do this. I have no timetable, though this century would be great. I made my first steps last night.
Nascent sleeve
At Craft Night, I cast on the sleeve of the sweater and did the first step, which was to knit in stockinette 8 rounds. I can’t tell you how pleased I am with this accomplishment. I know it doesn’t look like much, but I am completely thrilled.
I thought it would be a good idea to make both sleeves at the same time. Opinions were divided at Craft Night and I still haven’t decided.
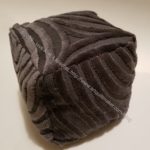
Some time ago, I bought a big bag of Soft & Stable from MassDrop. Recently I checked the bag where I keep it and found only small bits and pieces left. I needed some for the Chubby Charmers I talked about Saturday and Sunday. I thought about zigzagging the pieces together, but wasn’t committed.
Saturday, however, I decided to do a little. It was an oddly satisfying project. I zigzagged smaller pieces together. Not shreds (I’m not as crazy as I seem sometimes), but pieces that would fit together and make a good sized piece. Now I have two pieces I can use for the Chubby Charmers.
Leftover Soft & Stable 2
This is the last of a 3 yard x58″ wide piece and I want more. I bought a smaller package a week or so ago and it was just enough for one of the Chubby Charmers. I like having plenty on hand, though and that package was just too small. The 3 yard x58″ wide Soft & Stable ‘drop’ is not available on MassDrop right now. You can request it using the special link.
Now I have to get back to real work and quilt those Chubby Charmers.
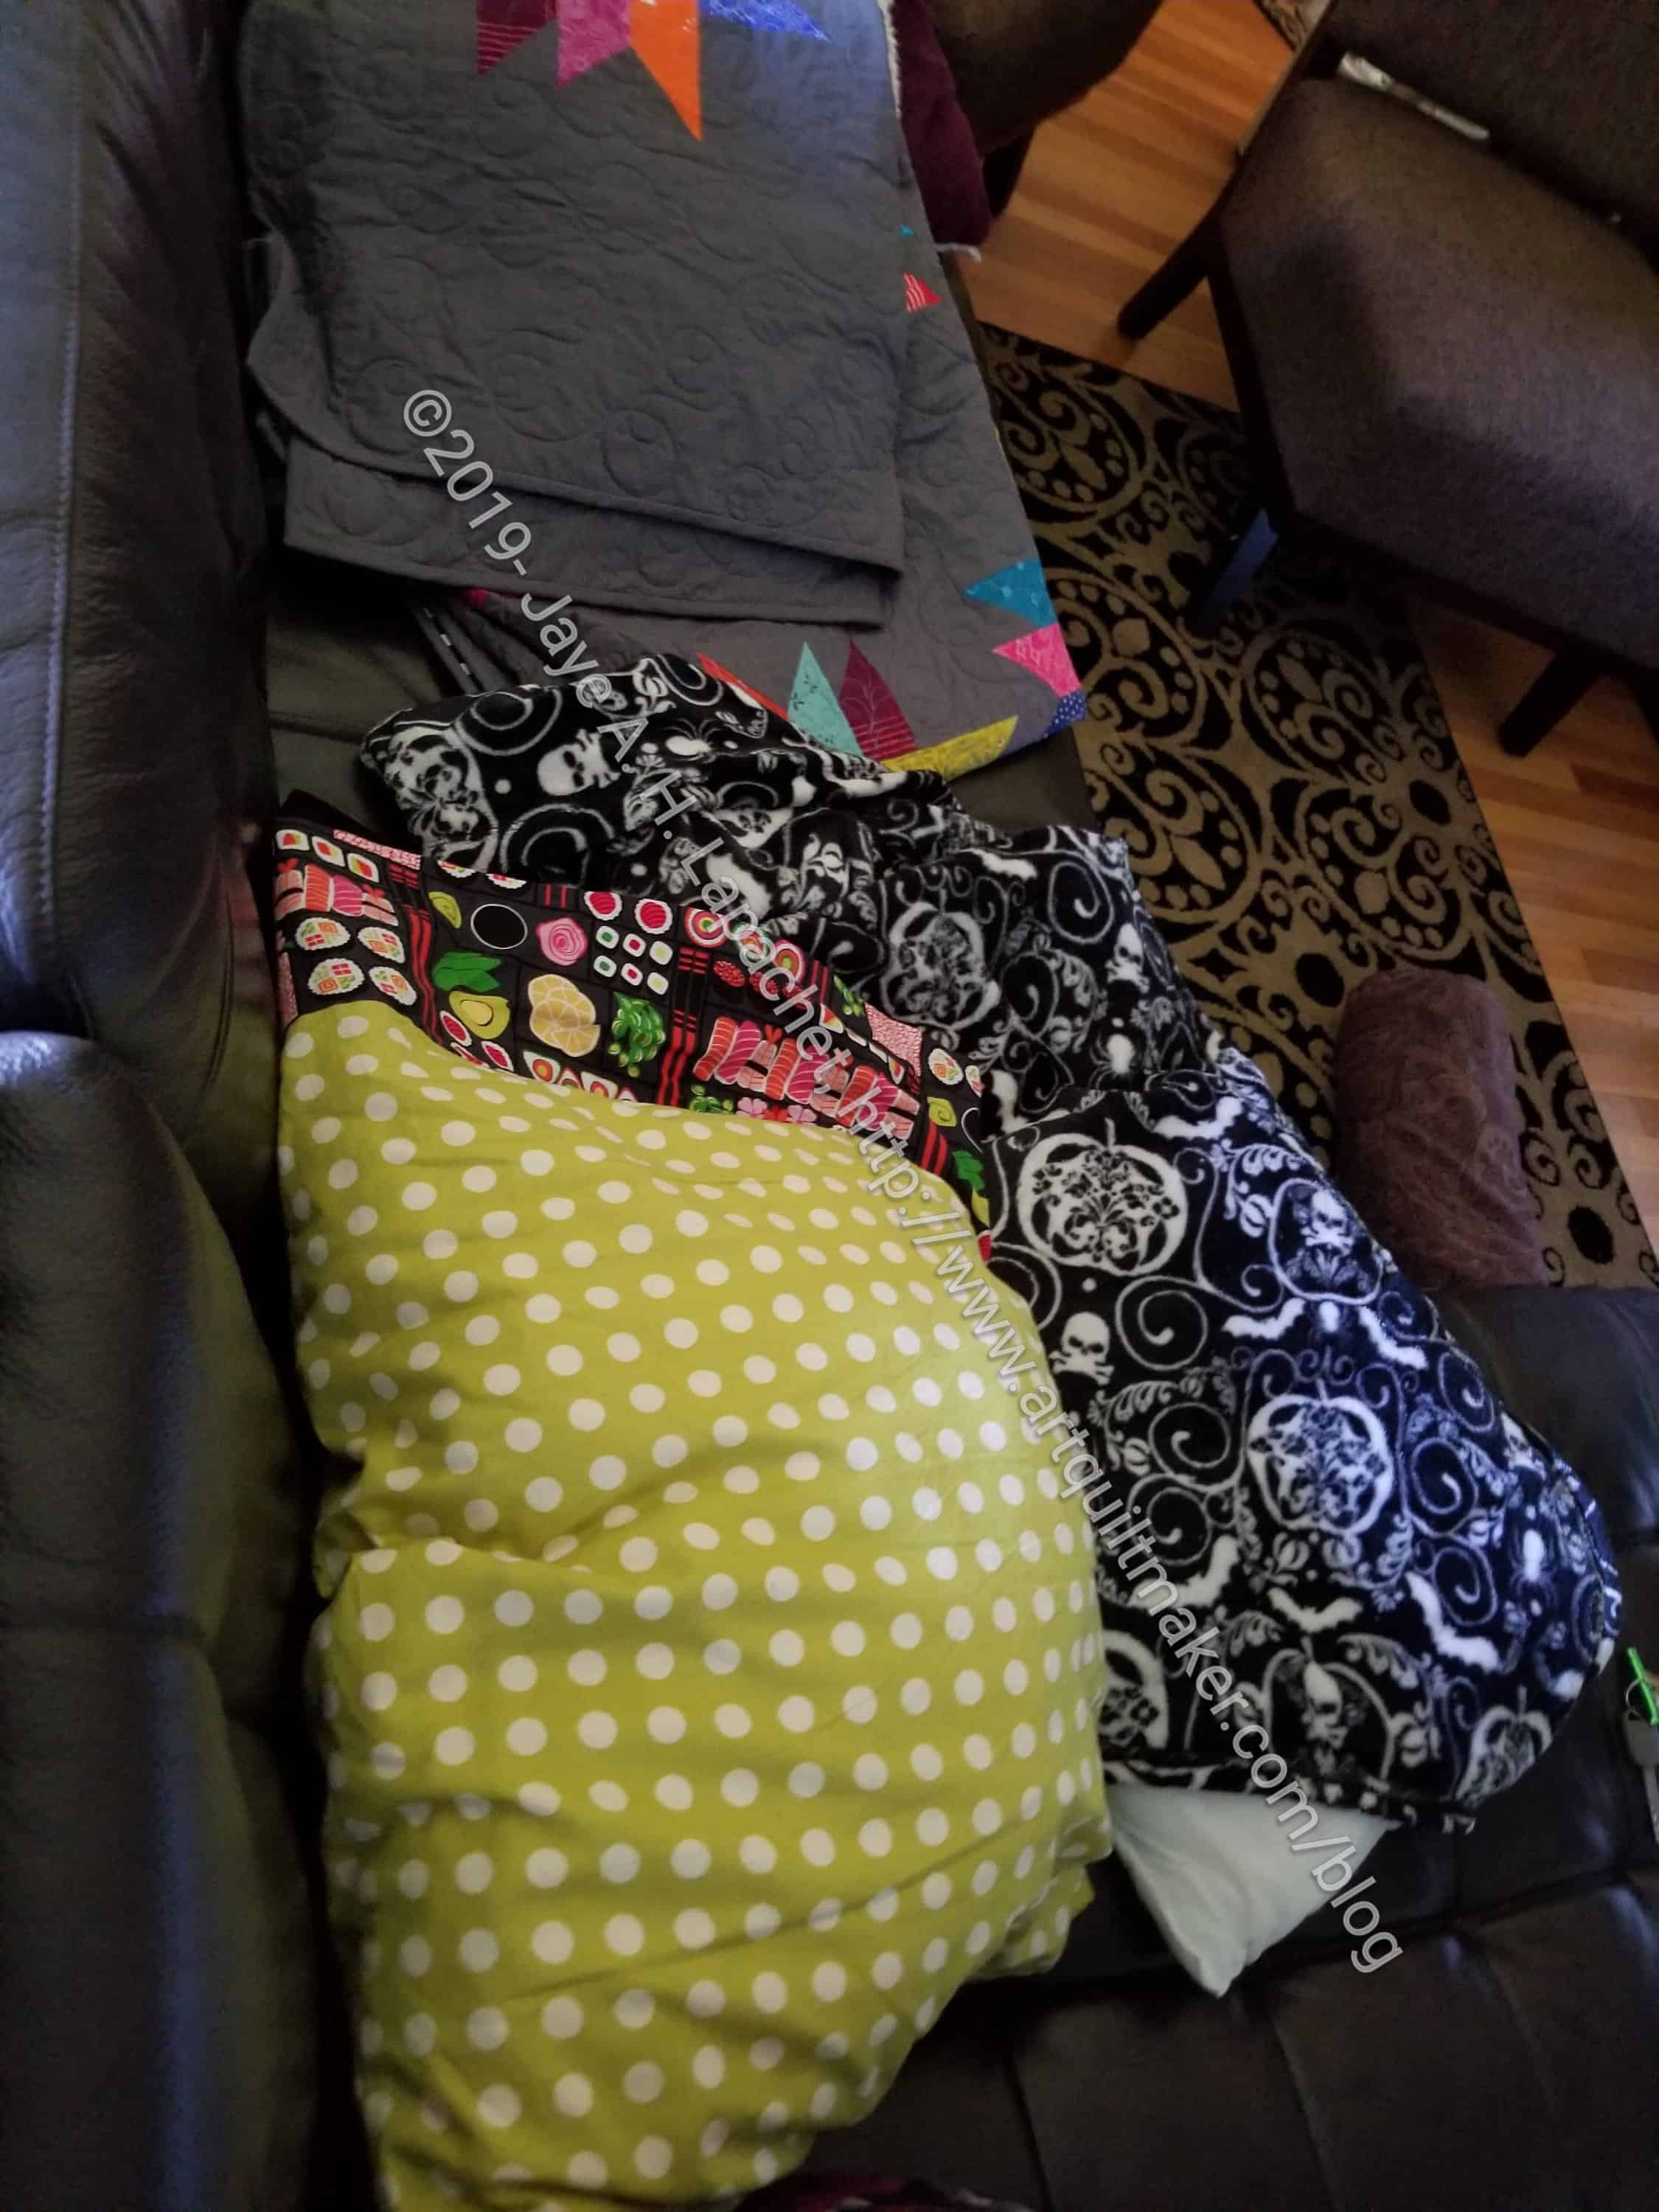
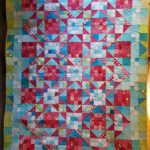
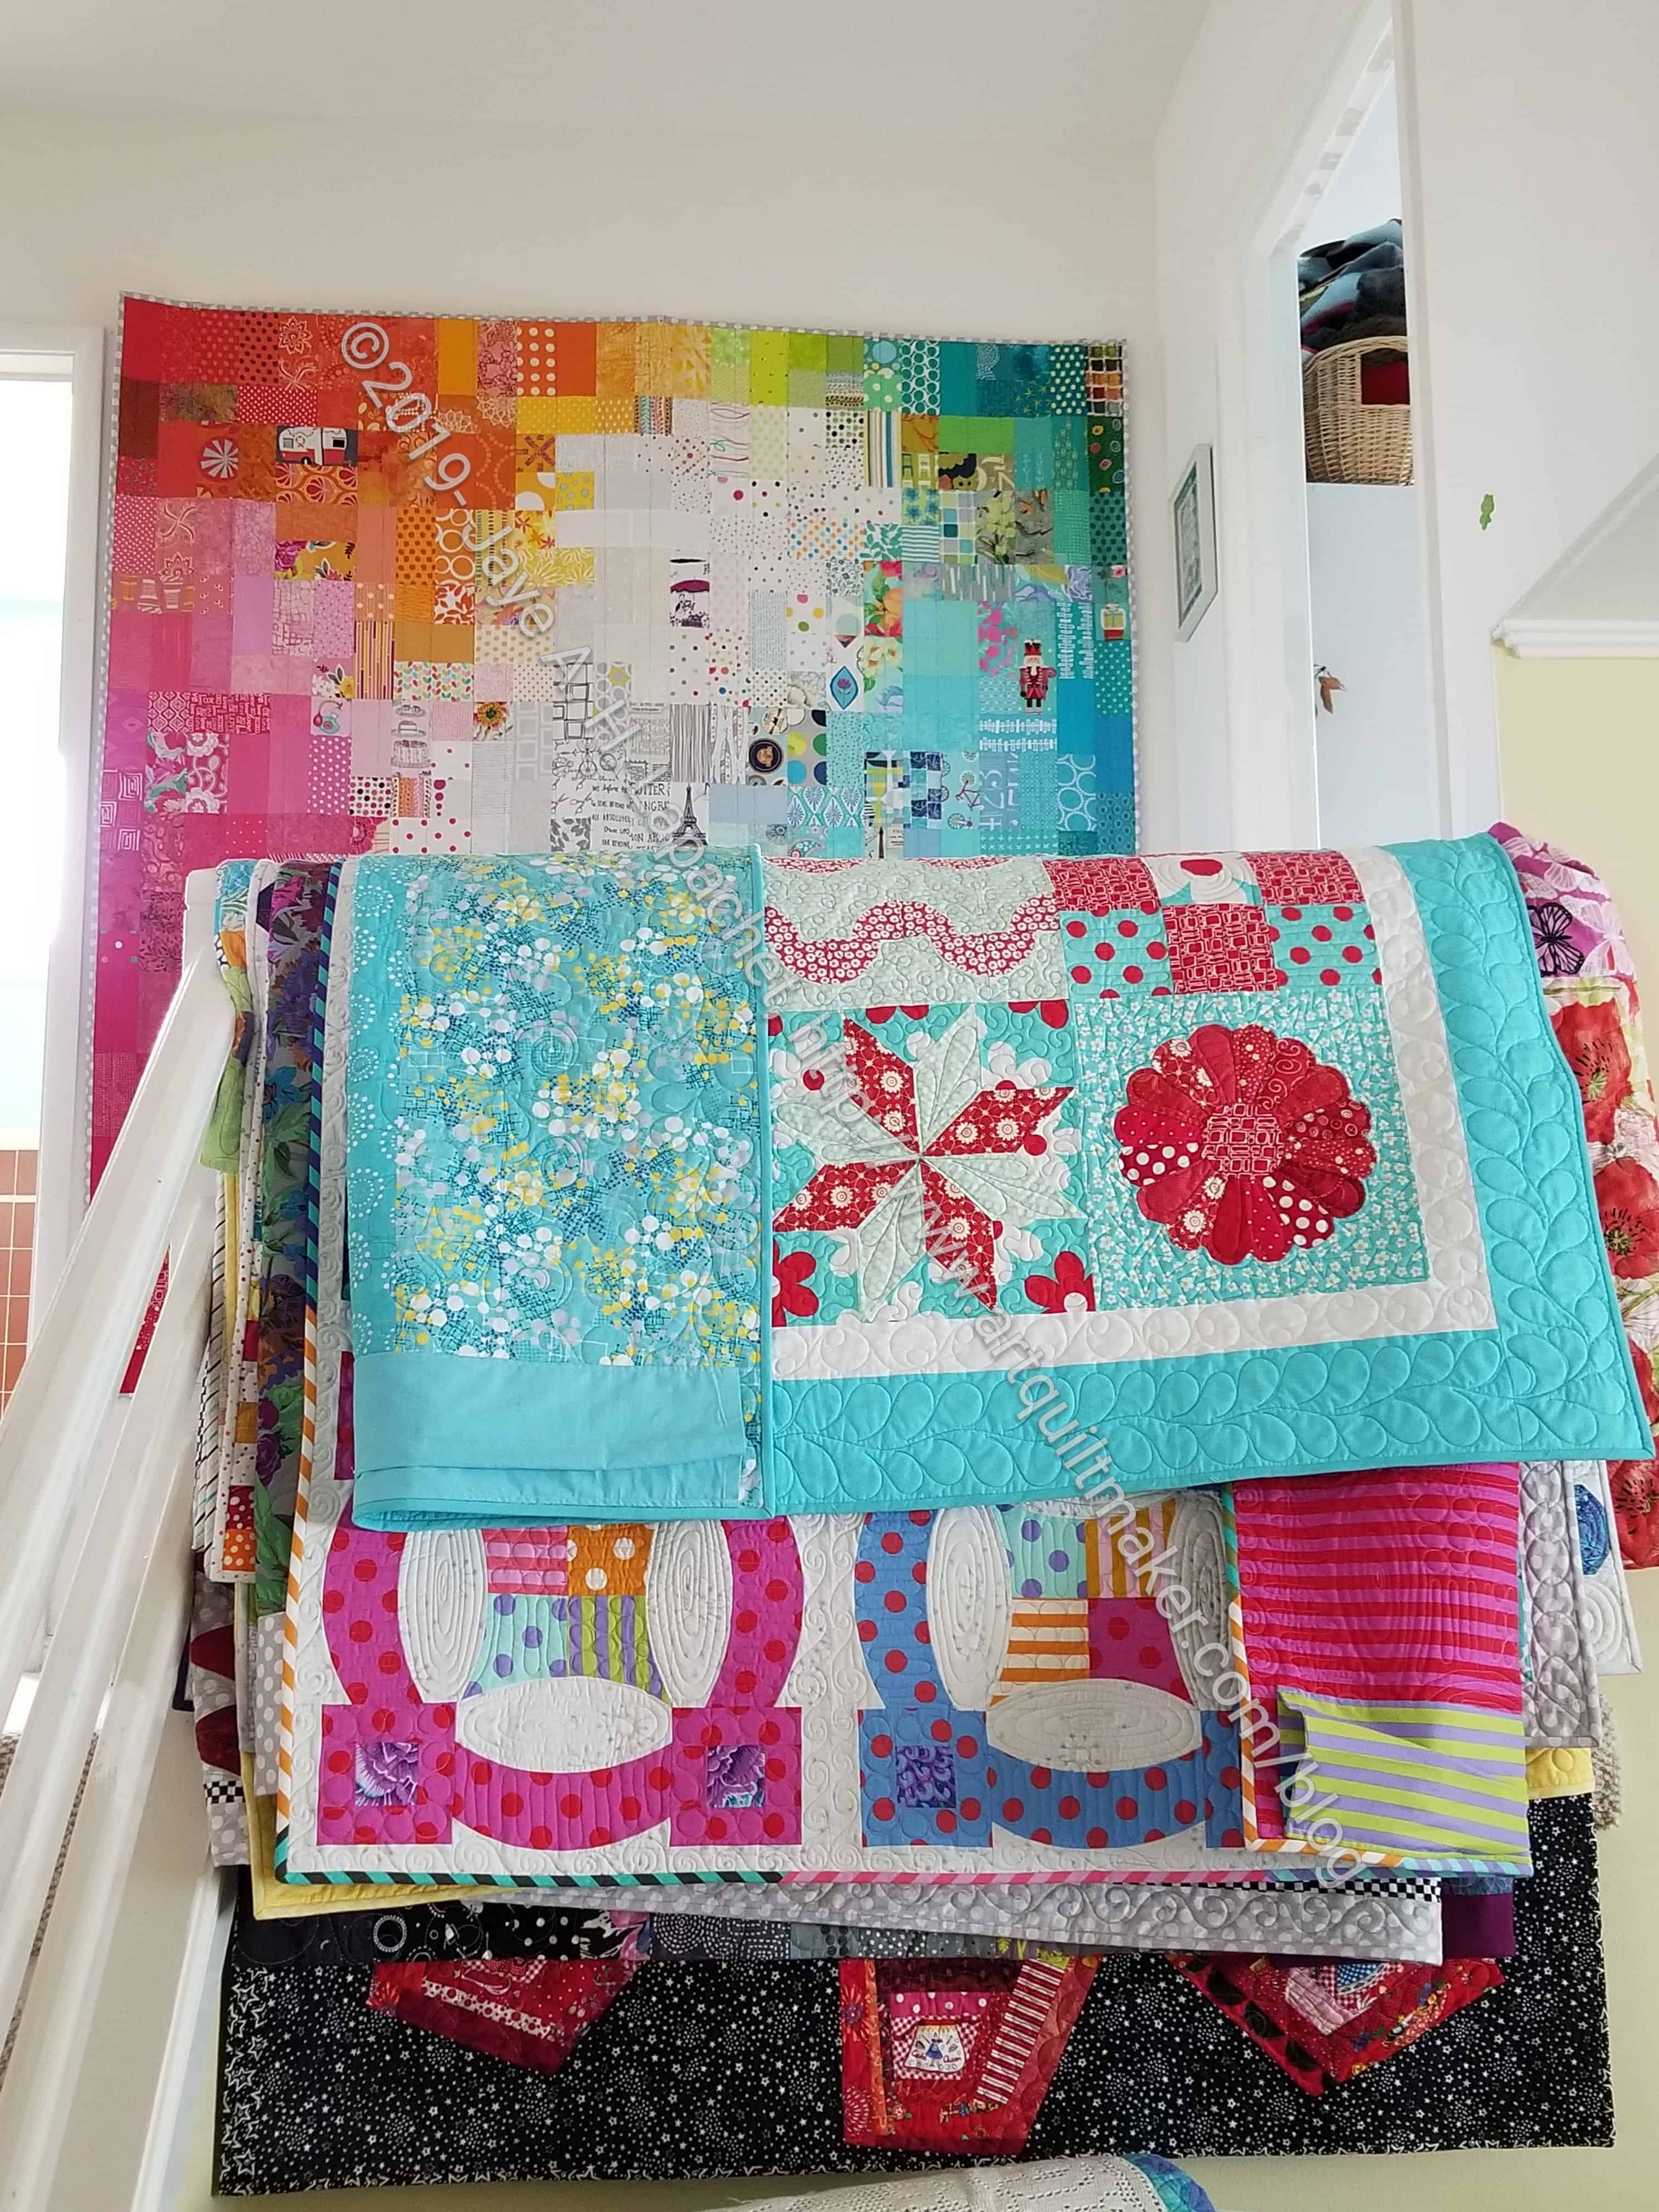
Recently, in a FB group, we were asked how we display our quilts. I thought you might be interested to see how I ‘display’ quilts at my house. Display is a pretty fancy word for storage, I think.
Quilt Display – April 2019
We have an open plan house. The living room and dining room can be clearly seen from the upstairs hallway. There is a stair rail preventing us from toppling into the living room and that provides an excellent place to store my quilts. We are getting quite a pile.
You can also see that one of the FOTY quilts is hanging on the wall behind the stair rail. I like to think I change out that quilt frequently, but the reality is that that one has been there for awhile.
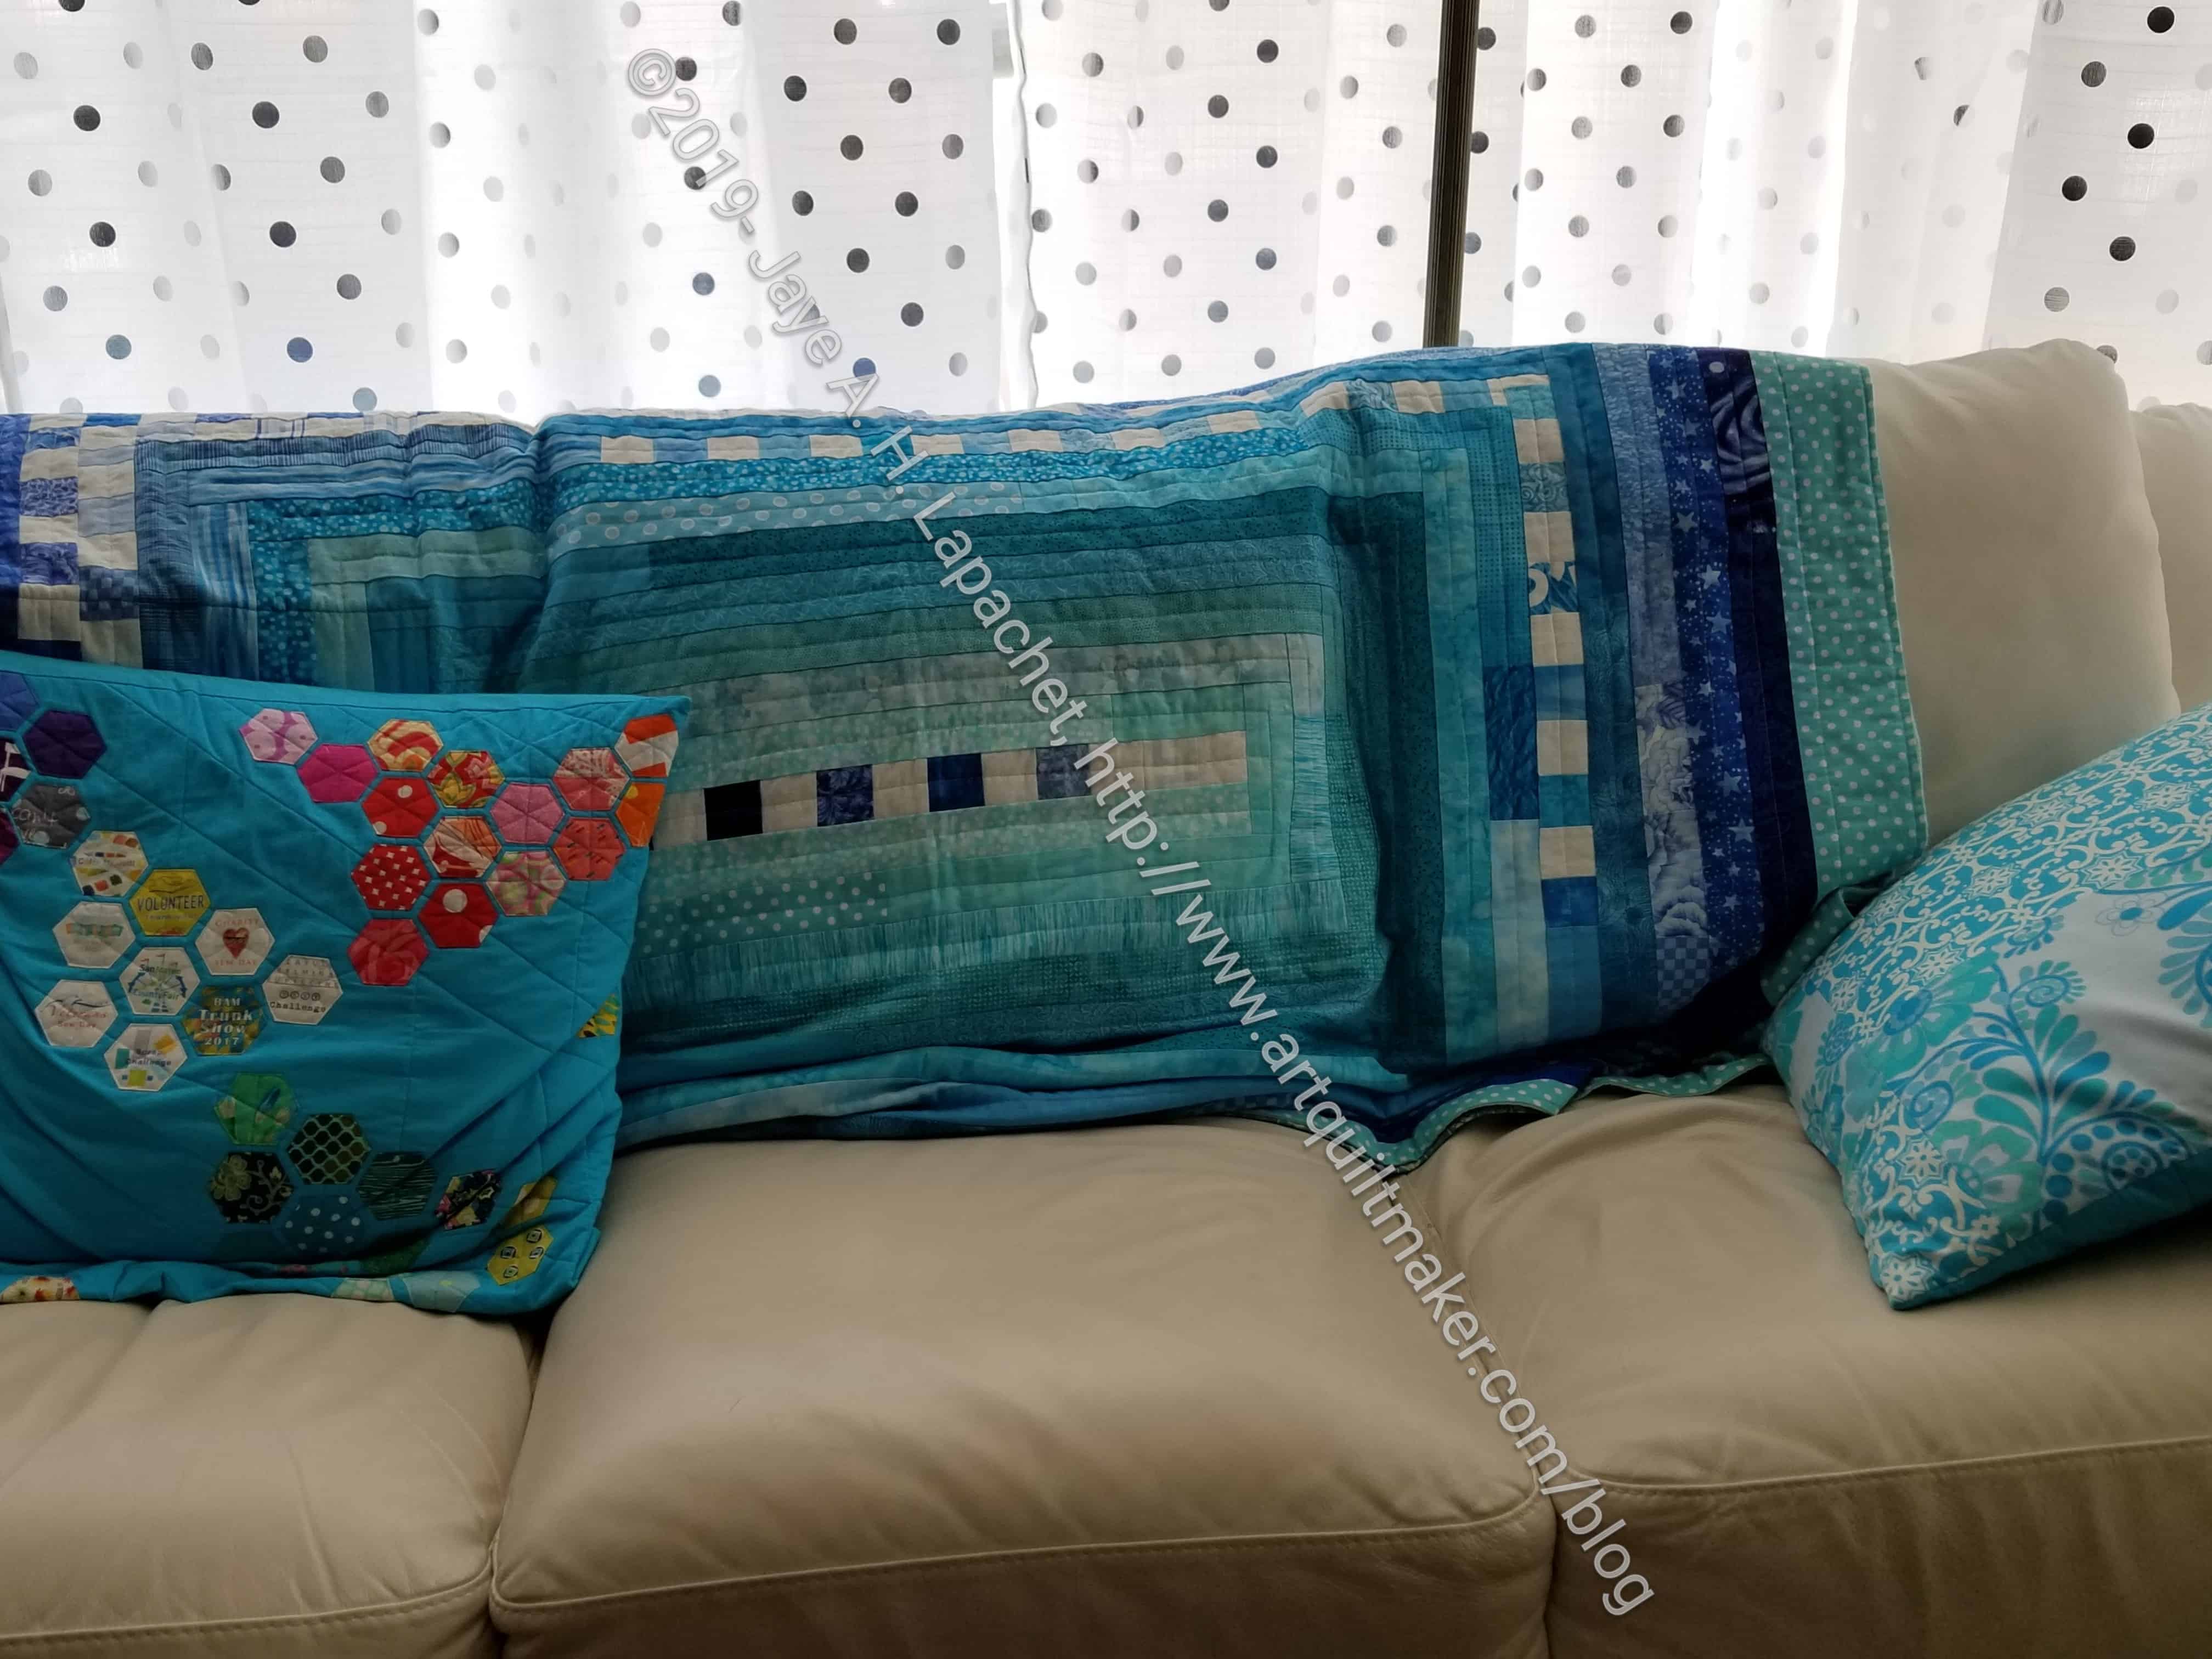
Quilt Display 2 – April 2019
We also have quilts on all the living room chairs and the couch. They get used, especially by DH for naps. The photo, right, is just an example.
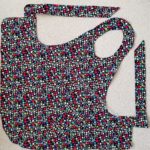
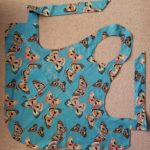
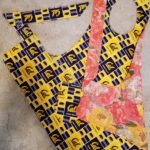
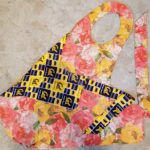
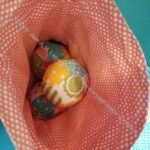
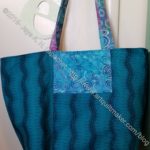
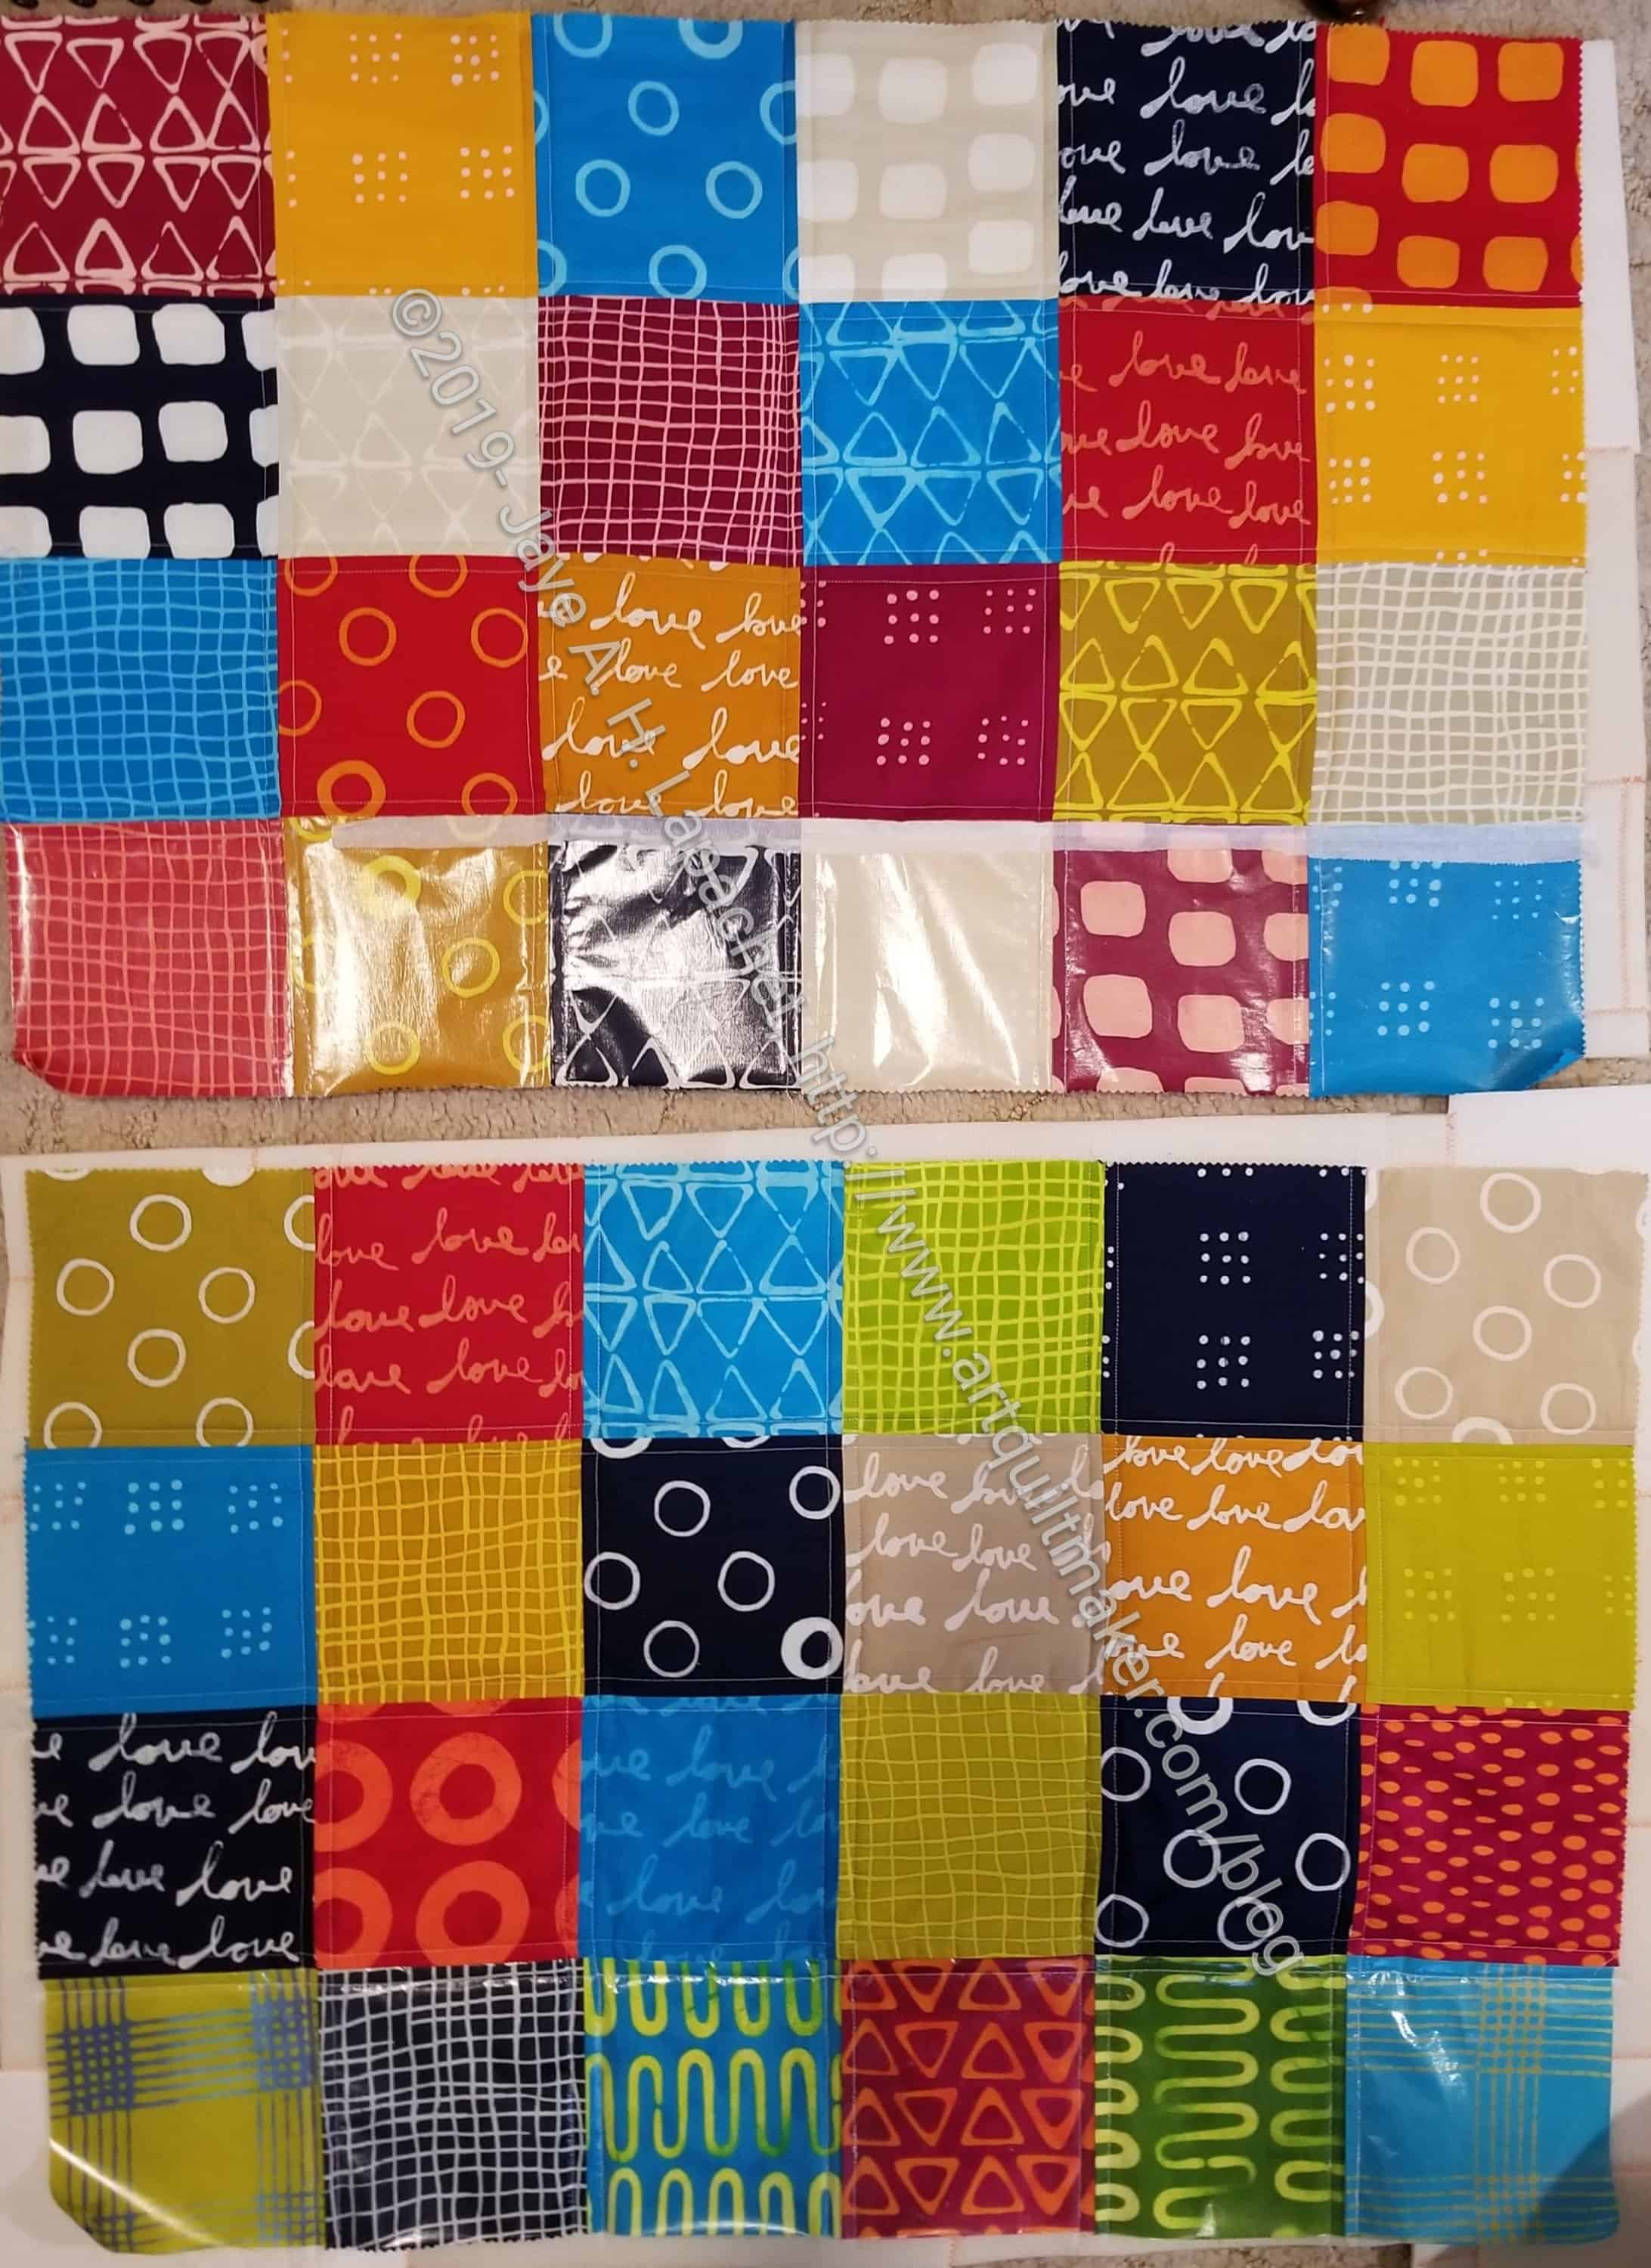
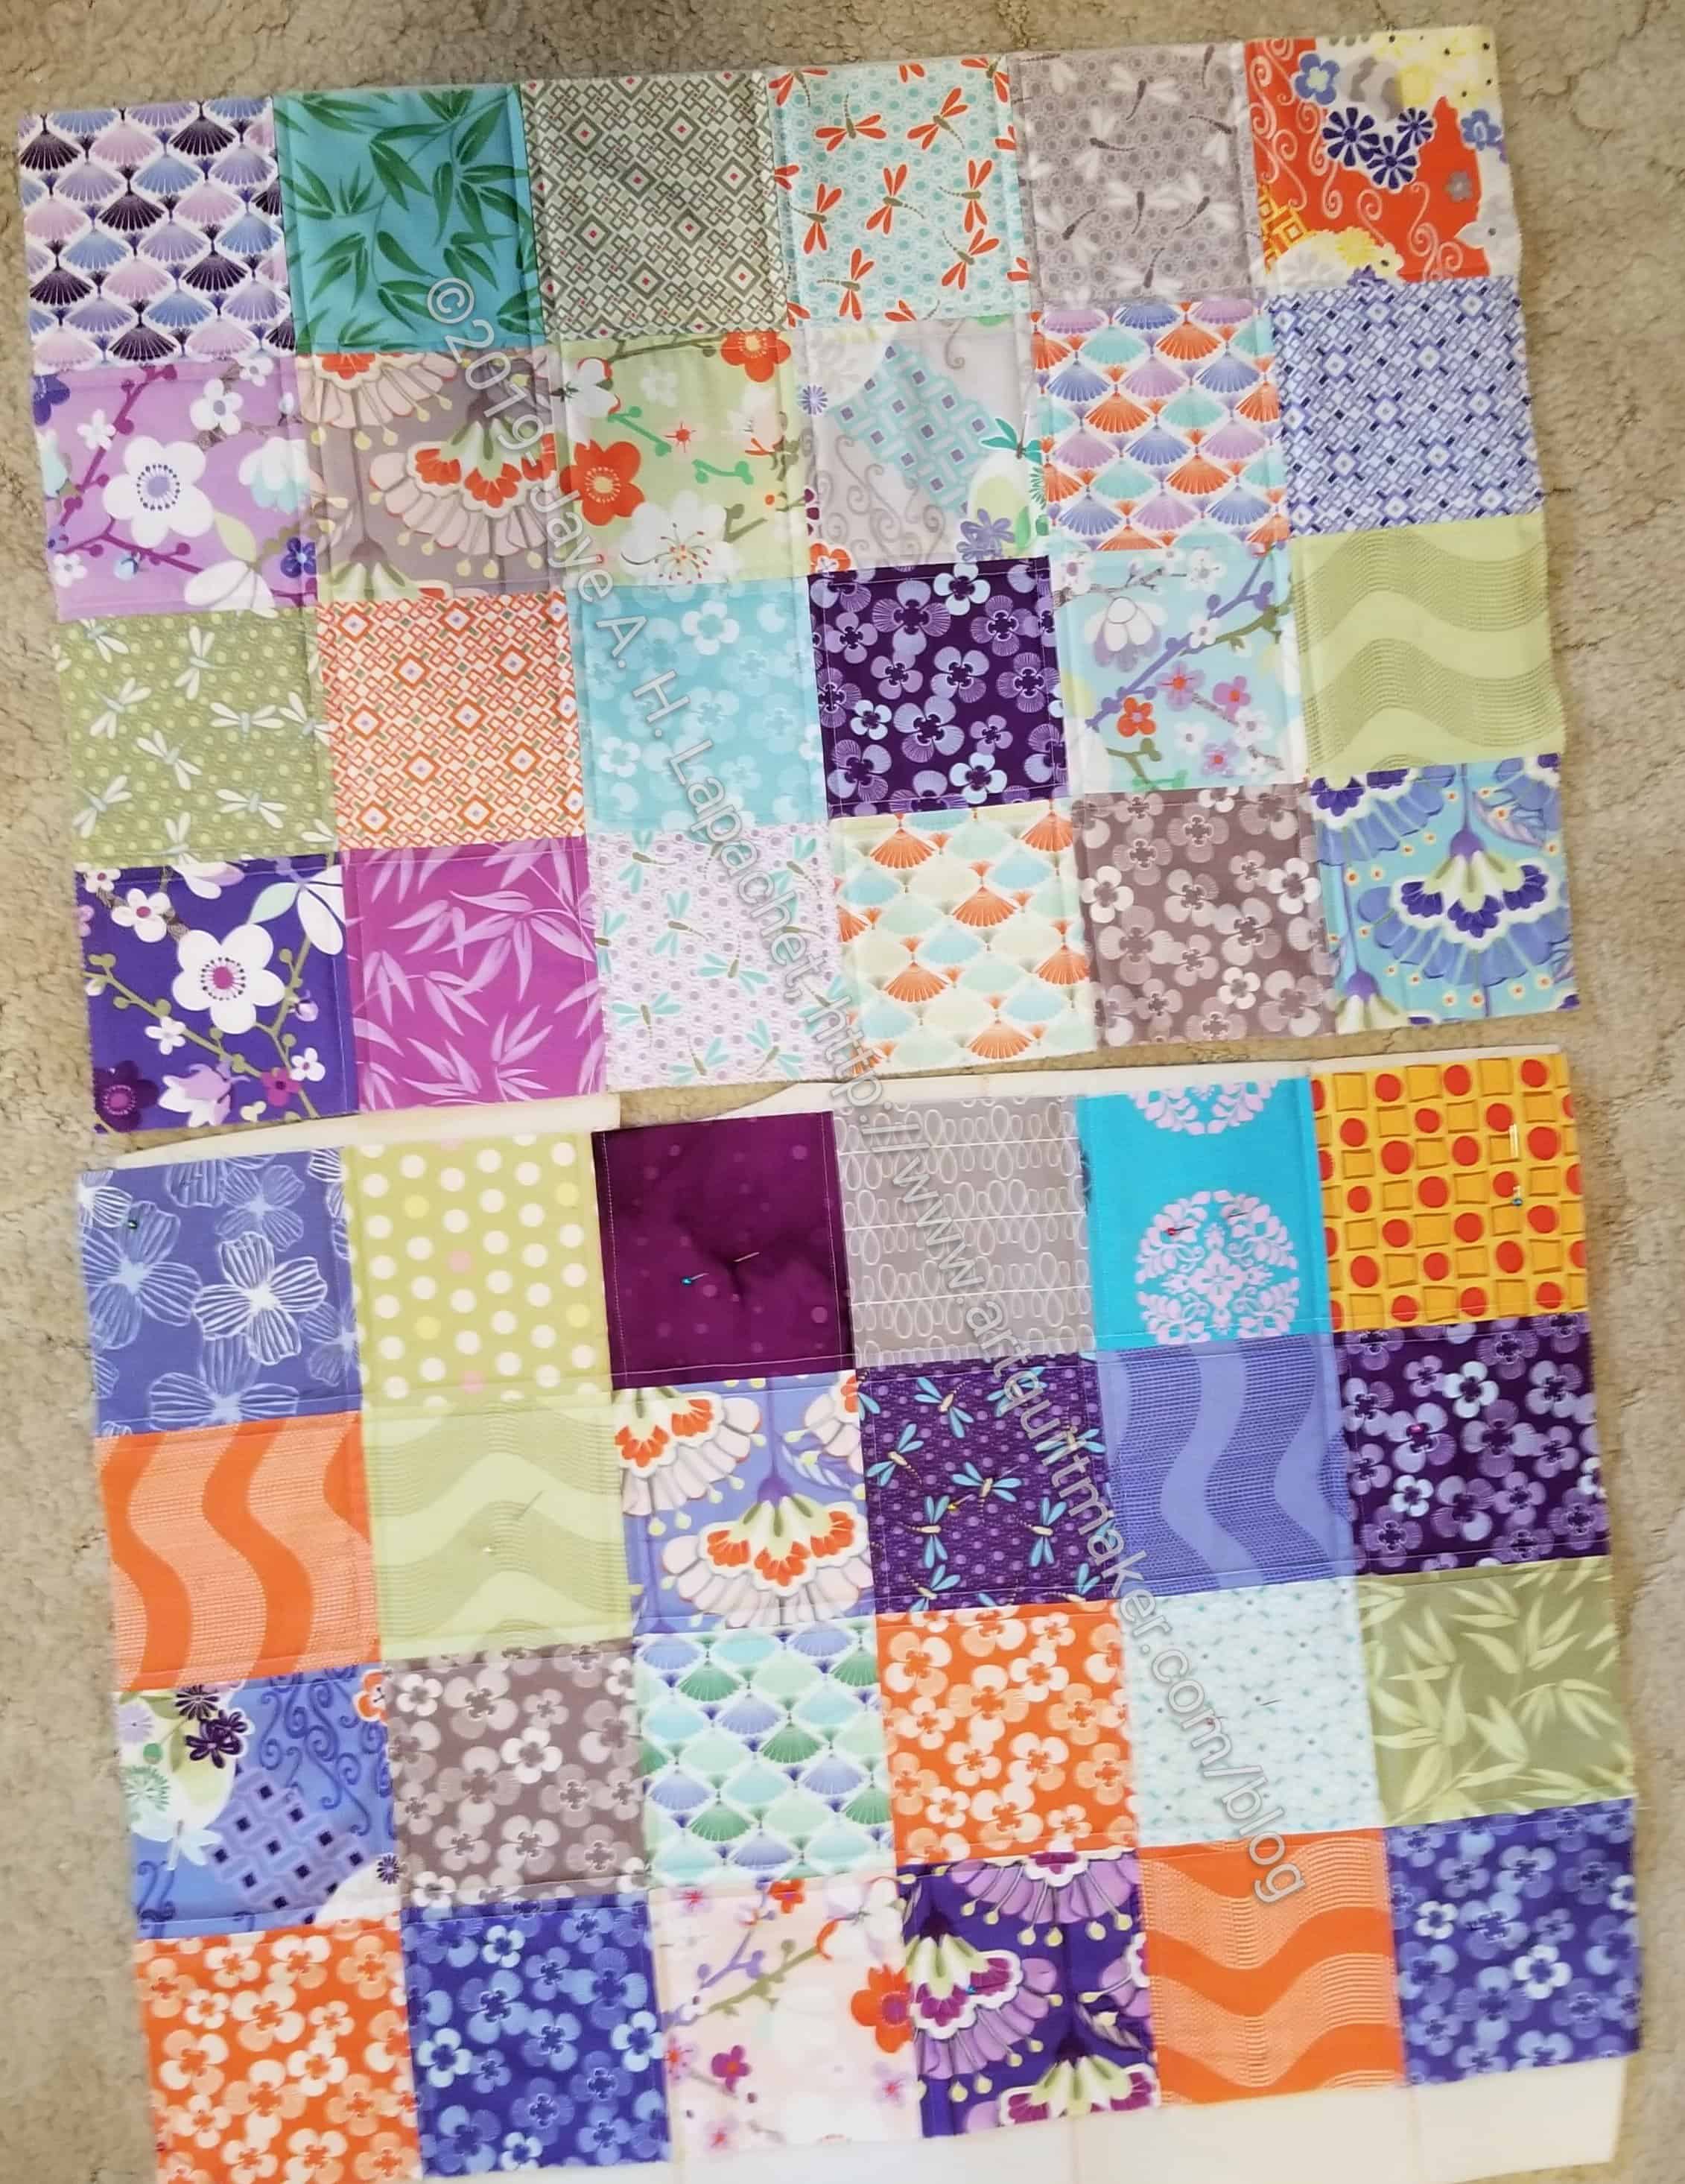
Yesterday, I talked about the Chubby Charmer I started for my SIL. I had some time leftover when I finished as much as I could with the Good Fortune Chubby Charmer. I had another charm pack and have been wanting to make myself another Chubby Charmer. I still love my Half Moon Modern Chubby Charmer. The original ME Chubby Charmer is filled with stuff in my fabric closet, so it doesn’t go anywhere at the moment. The Sugar Pop Chubby Charmer, however, is not a favorite. I tested out the pattern using leftover batting and the bag is really just too floopy. I don’t use it much and will replace it with this new bag. Also, there was really only a couple of fabrics I liked in that bag. I’ll donate it somewhere. Someone will like it. I did a good job when I made it.
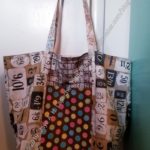
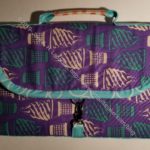
Malka Chubby Charmer
The new in process bag is made from the newest Malka Dubrowsky charm pack. Again, I didn’t bring extra fabric to finish the last row. I did spent some time finding fabric when I got home, so I am well on my way to having the two sides done.
My other issue is Soft & Stable. I bought a new pack a few weeks ago, but I used it for the Good Fortune Chubby Charmer. I have some bits and pieces left from the giant pack I got from MassDrop. I am not sure how much I want to piece together little bits. I’ll lay out the bits and see what I have before I decide. I may have to go out and get more before I can finish this one.
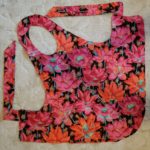
I have wanted to make a Chubby Charmer for my sister-in-law for a long time. I have a Kate Spain Good Fortune charm pack that I have been saving for the purpose. Yesterday was the day to start it.
I went over to Tim’s to drop off a donation quilt he will quilt and enter into the Fair. Before I left he suggested we sew. I had some bag project materials ready to go from last time we sewed, so I threw those in my bag, stopped to get some lunch and off I went.
Chubby Charmers require 48 squares. I neglected to bring the extra fabric needed for the last 6 squares. Still, I was able to cut pockets and handles and ‘baste’ one side to Soft & Stable, so it is ready to quilt. Yes, I have to quilt again. I hope it won’t screw up my shoulder again.
I know this is another project that I am starting, but I am pretty sure I can get through it quickly. SIL’s birthday is in a couple of weeks and I am pretty busy between now and then. I need to get it done before that.
This tutorial started out after I watched an episode of Love of Quilting where Jo Morton was a guest. Based on what I saw Marianne and Jo do on the show, I tried the technique and was pleased with the results.
For the Flying Geese quilt, I needed 2.5″ finished HSTs, so according to the chart I made after DH did a bunch of math for me, I started with 6.25″ squares. All of the sizes on the chart make 8 HSTs.
Cut 2 pieces of fabric[/caption]
Cut 2 pieces of fabric
First, I cut two pieces of fabric,foreground and background, the correct size. Again, you need to download the chart and look at it. I cut my squares a bit larger, because I like to trim my HSTs just to make sure they are exactly the right size. The chart does not take trimming into account. You need to make the starting squares larger if you want to be able to trim.
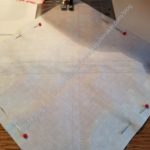
Draw an X corner to corner
Draw an X corner to corner
Next, I drew an X, corner to corner, on the lighter square. Then I put the 2 squares right sides together and pressed them. I securely pinned the two squares together.
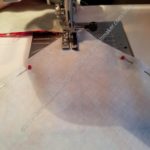
Sew on each side of the line 1/4 inch away from the line
Sew on each side of the line 1/4 inch away from the line
Sew on each side of the line 1/4 inch away from the line
Next, I sewed on both sides of each of the lines of the X, 1/4 inch away from each line.
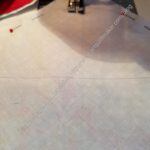
After sewing, I measured to the center of the X from the side of the square. This measurement is the PLUS cut.
Cut horizontal PLUS line
Cut vertical PLUS line
Cut the square in a PLUS configuration.
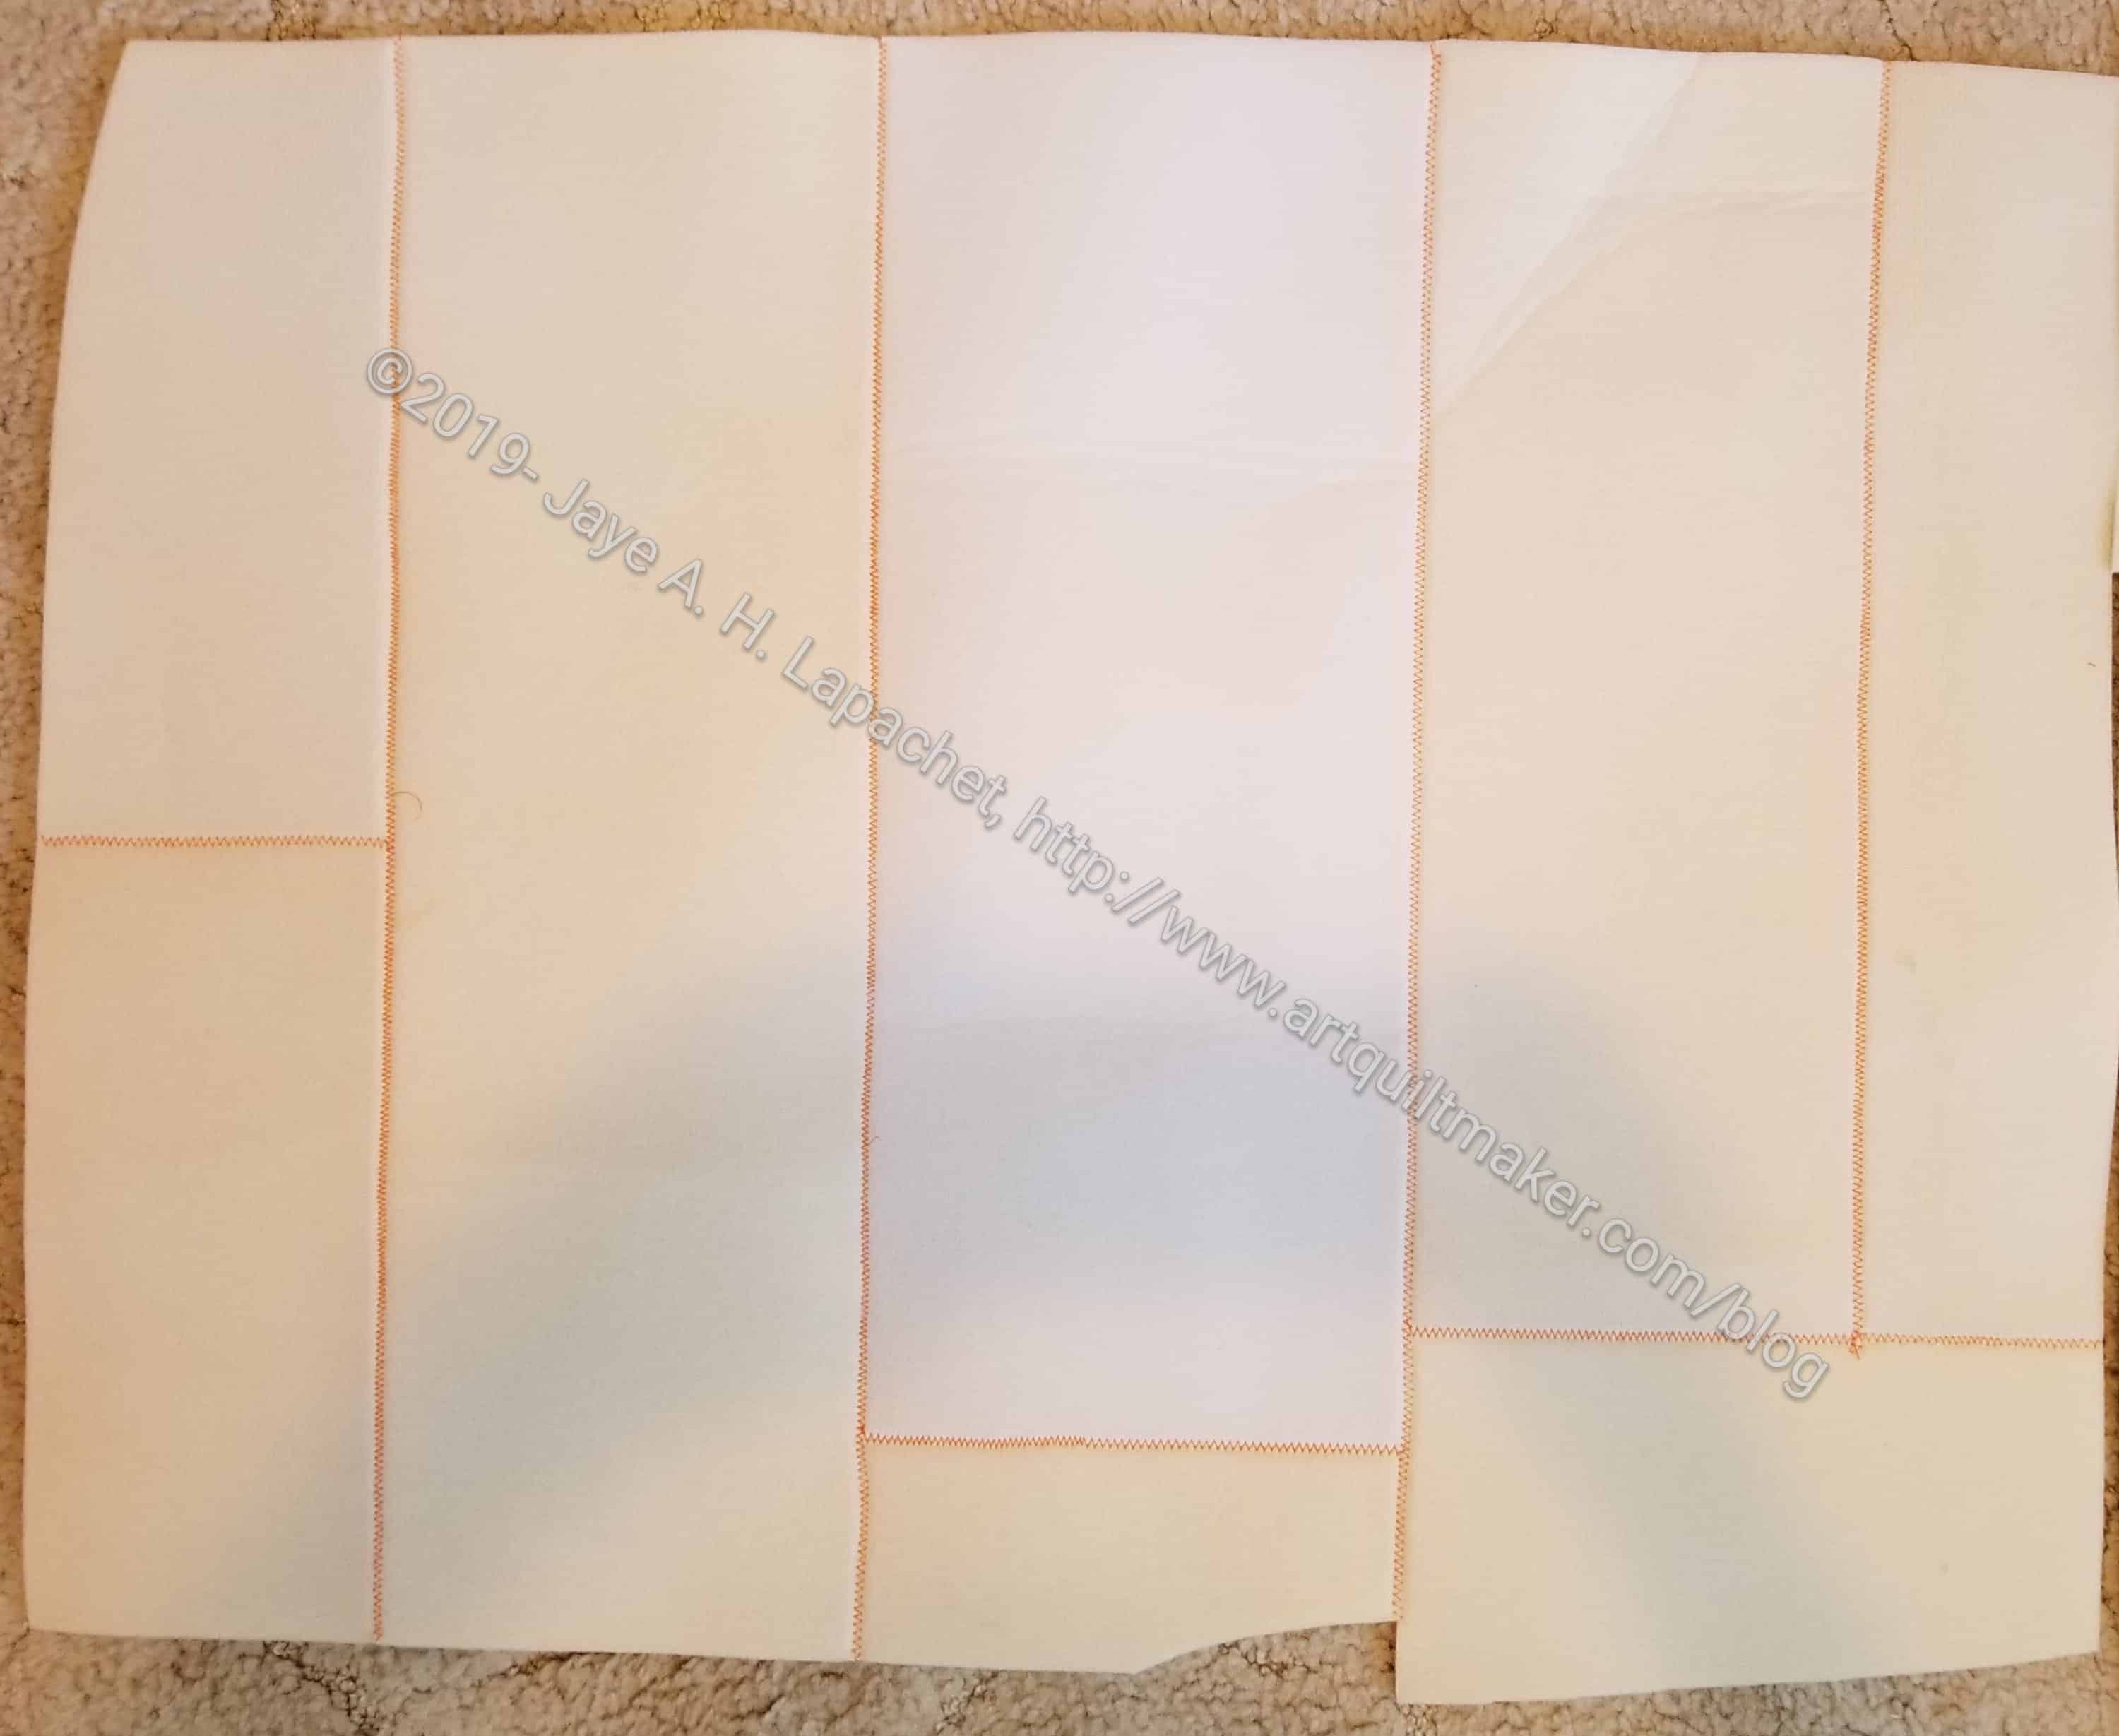
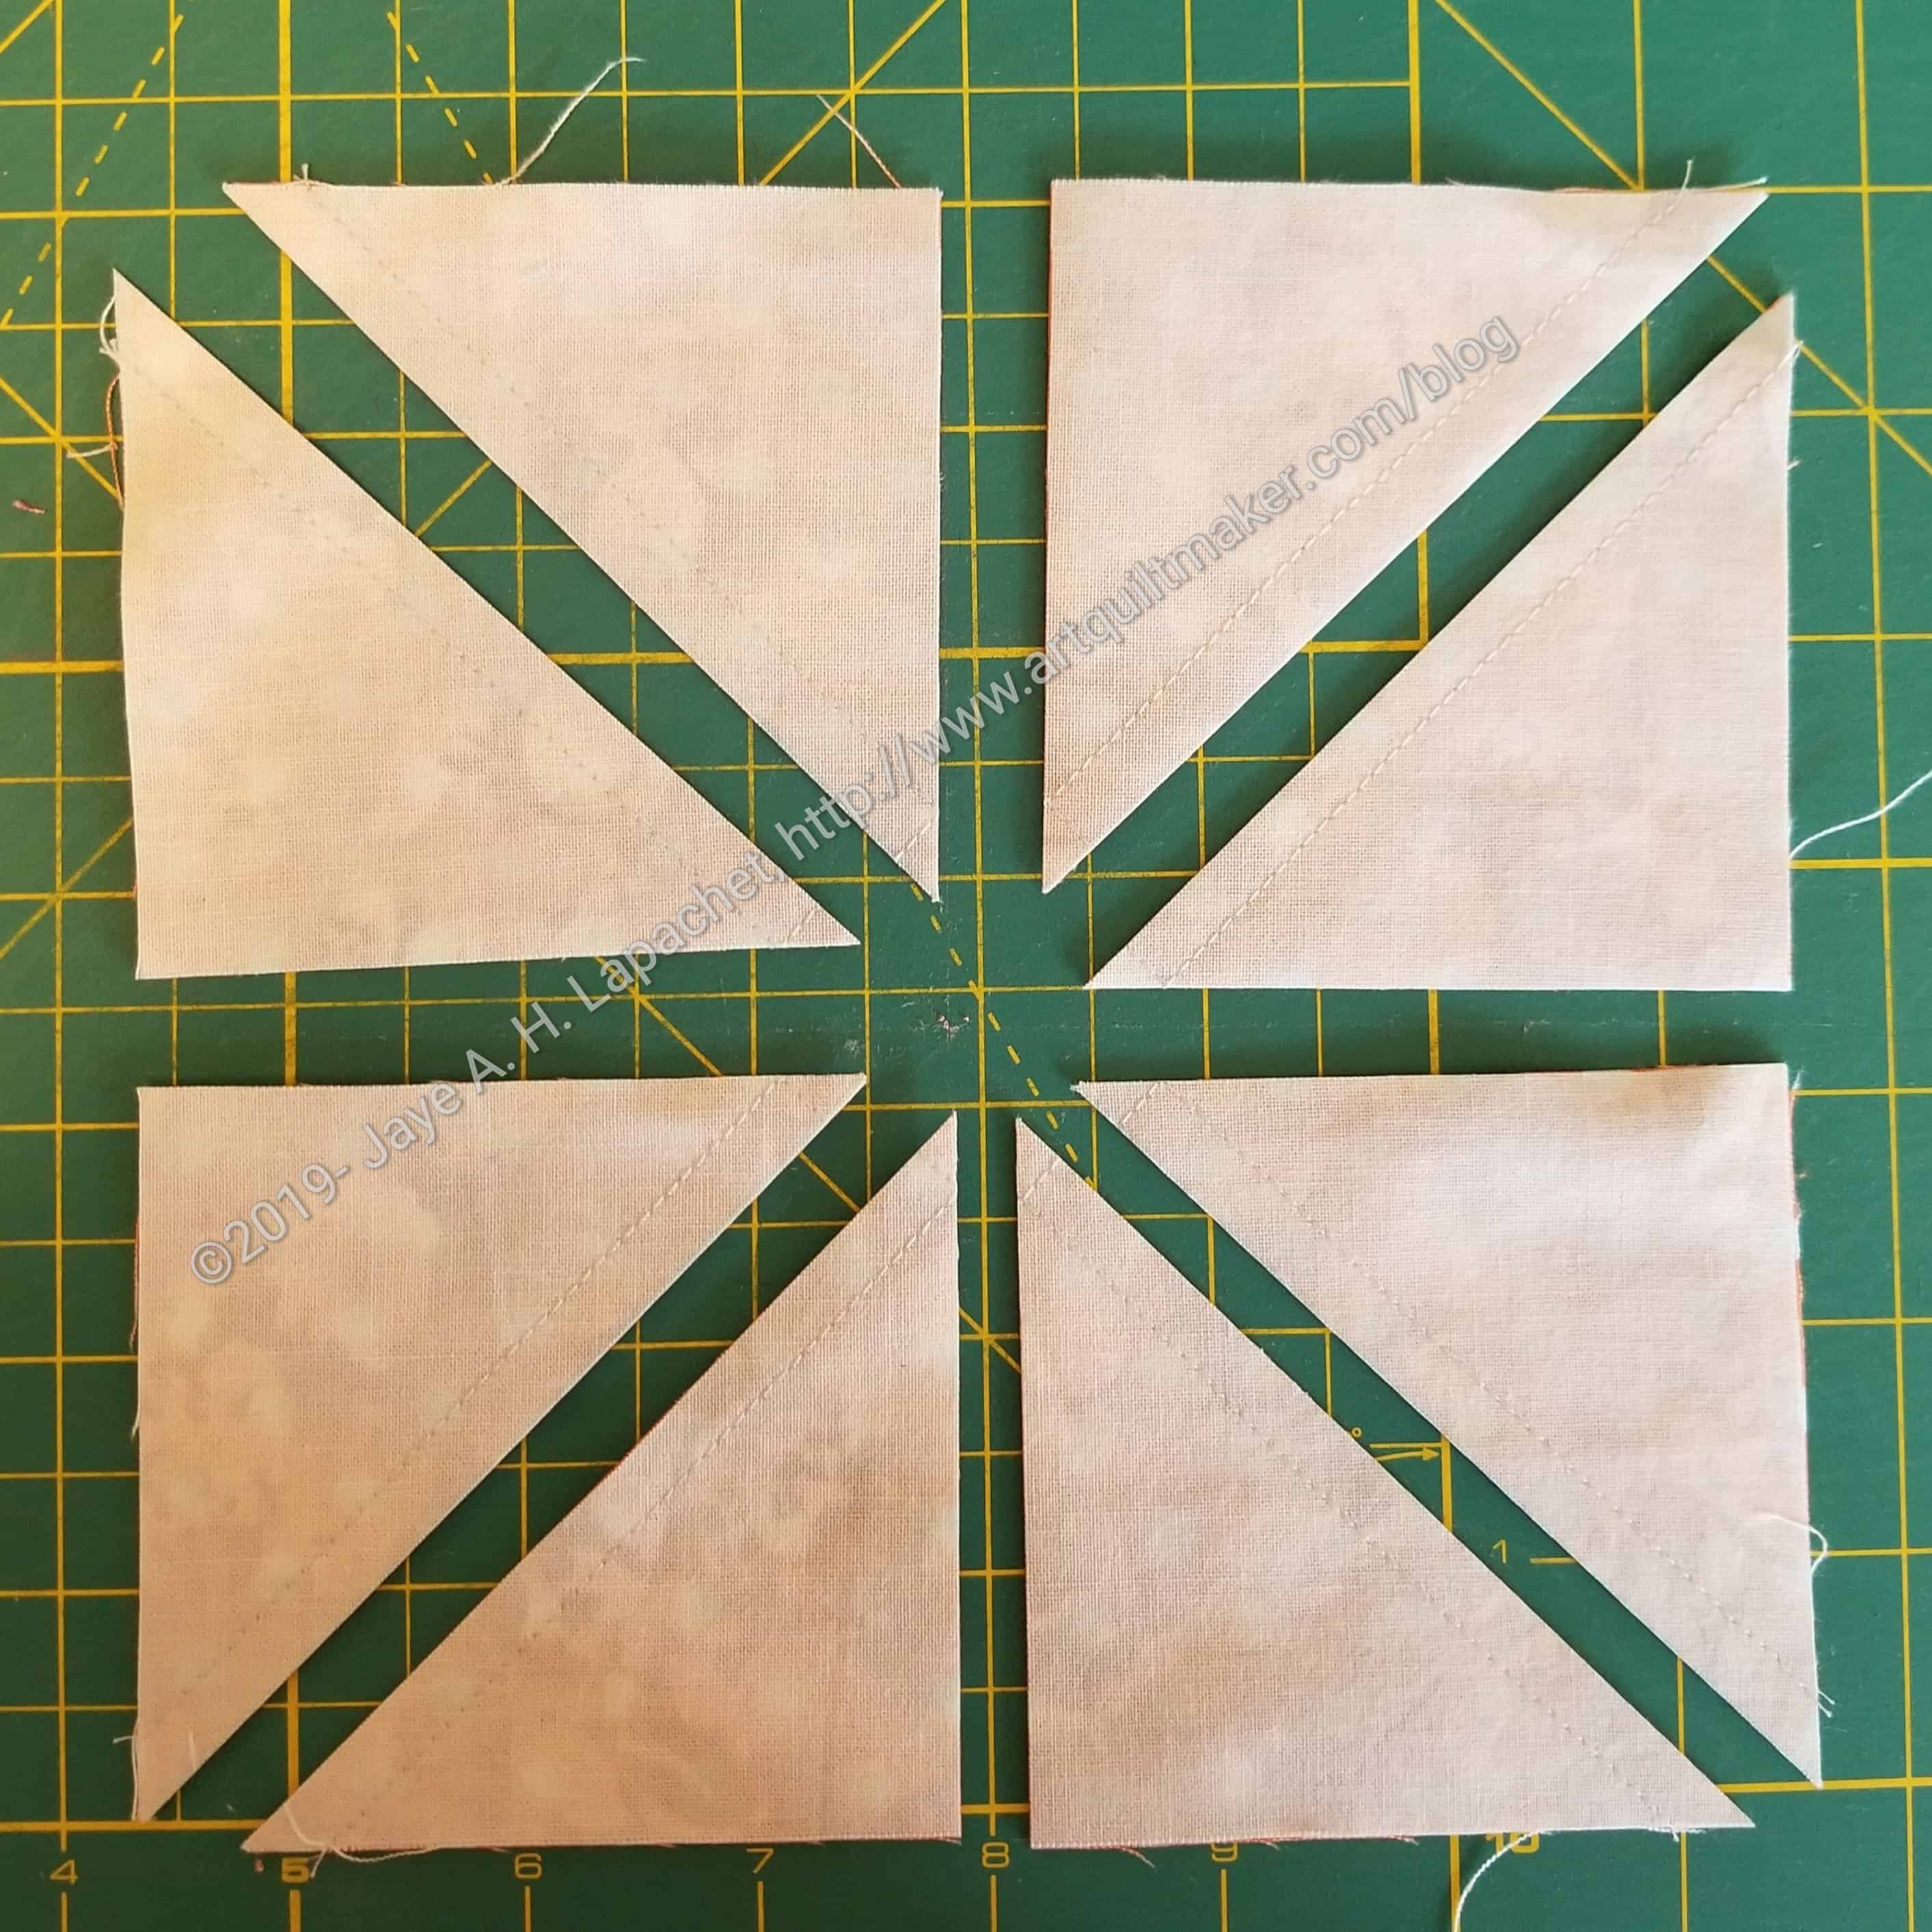
Cut diagonal lines
After you cut the PLUS, you will have four squares, each with a line drawn diagonally across the middle. Cut the squares in half diagonally. You can use the line as a guide. It is more important to line your ruler up corner to corner.
The result is 8 2″ half square triangles. You still need to press them carefully open.
Lay out unpressed HSTs
Press HSTs carefully open
Move the unpressed HSTs to the ironing board and press carefully. Use a stiletto to keep your fingers from getting burned.
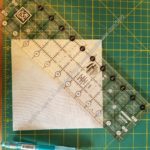
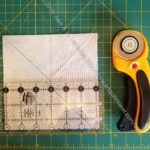
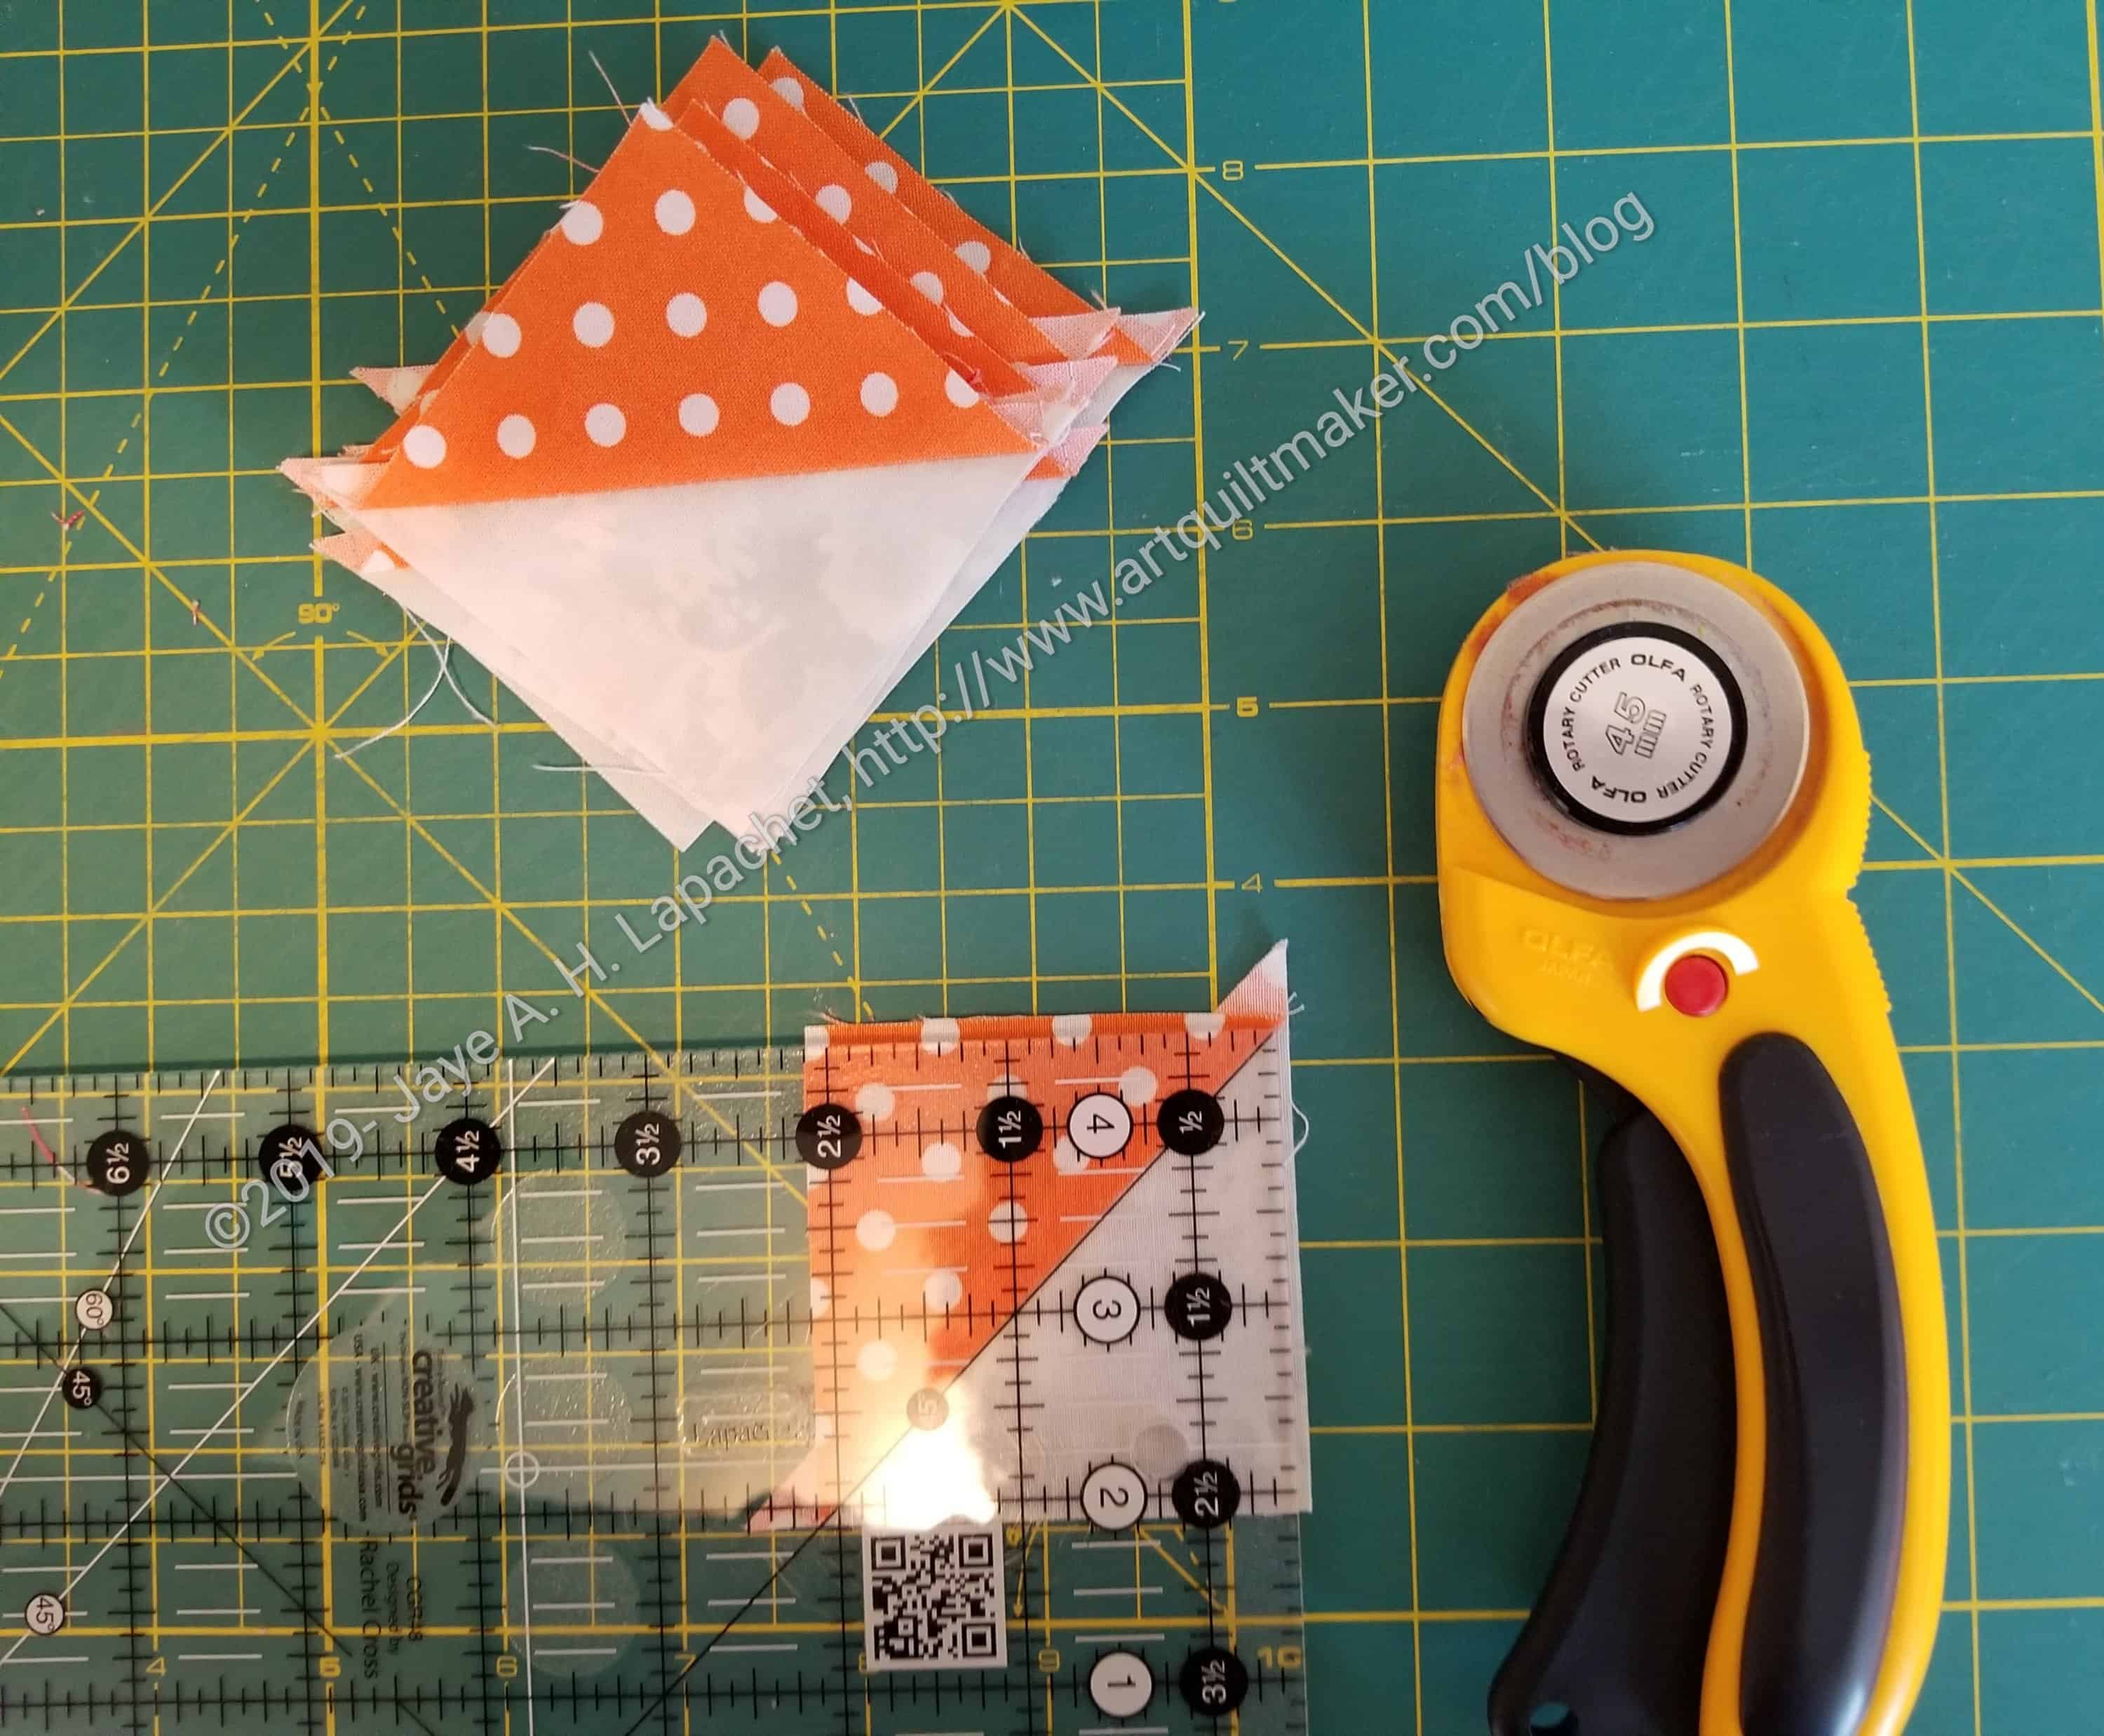
Lay out HSTs to trim
Next, I trim. Layout your pressed and untrimmed HSTs.
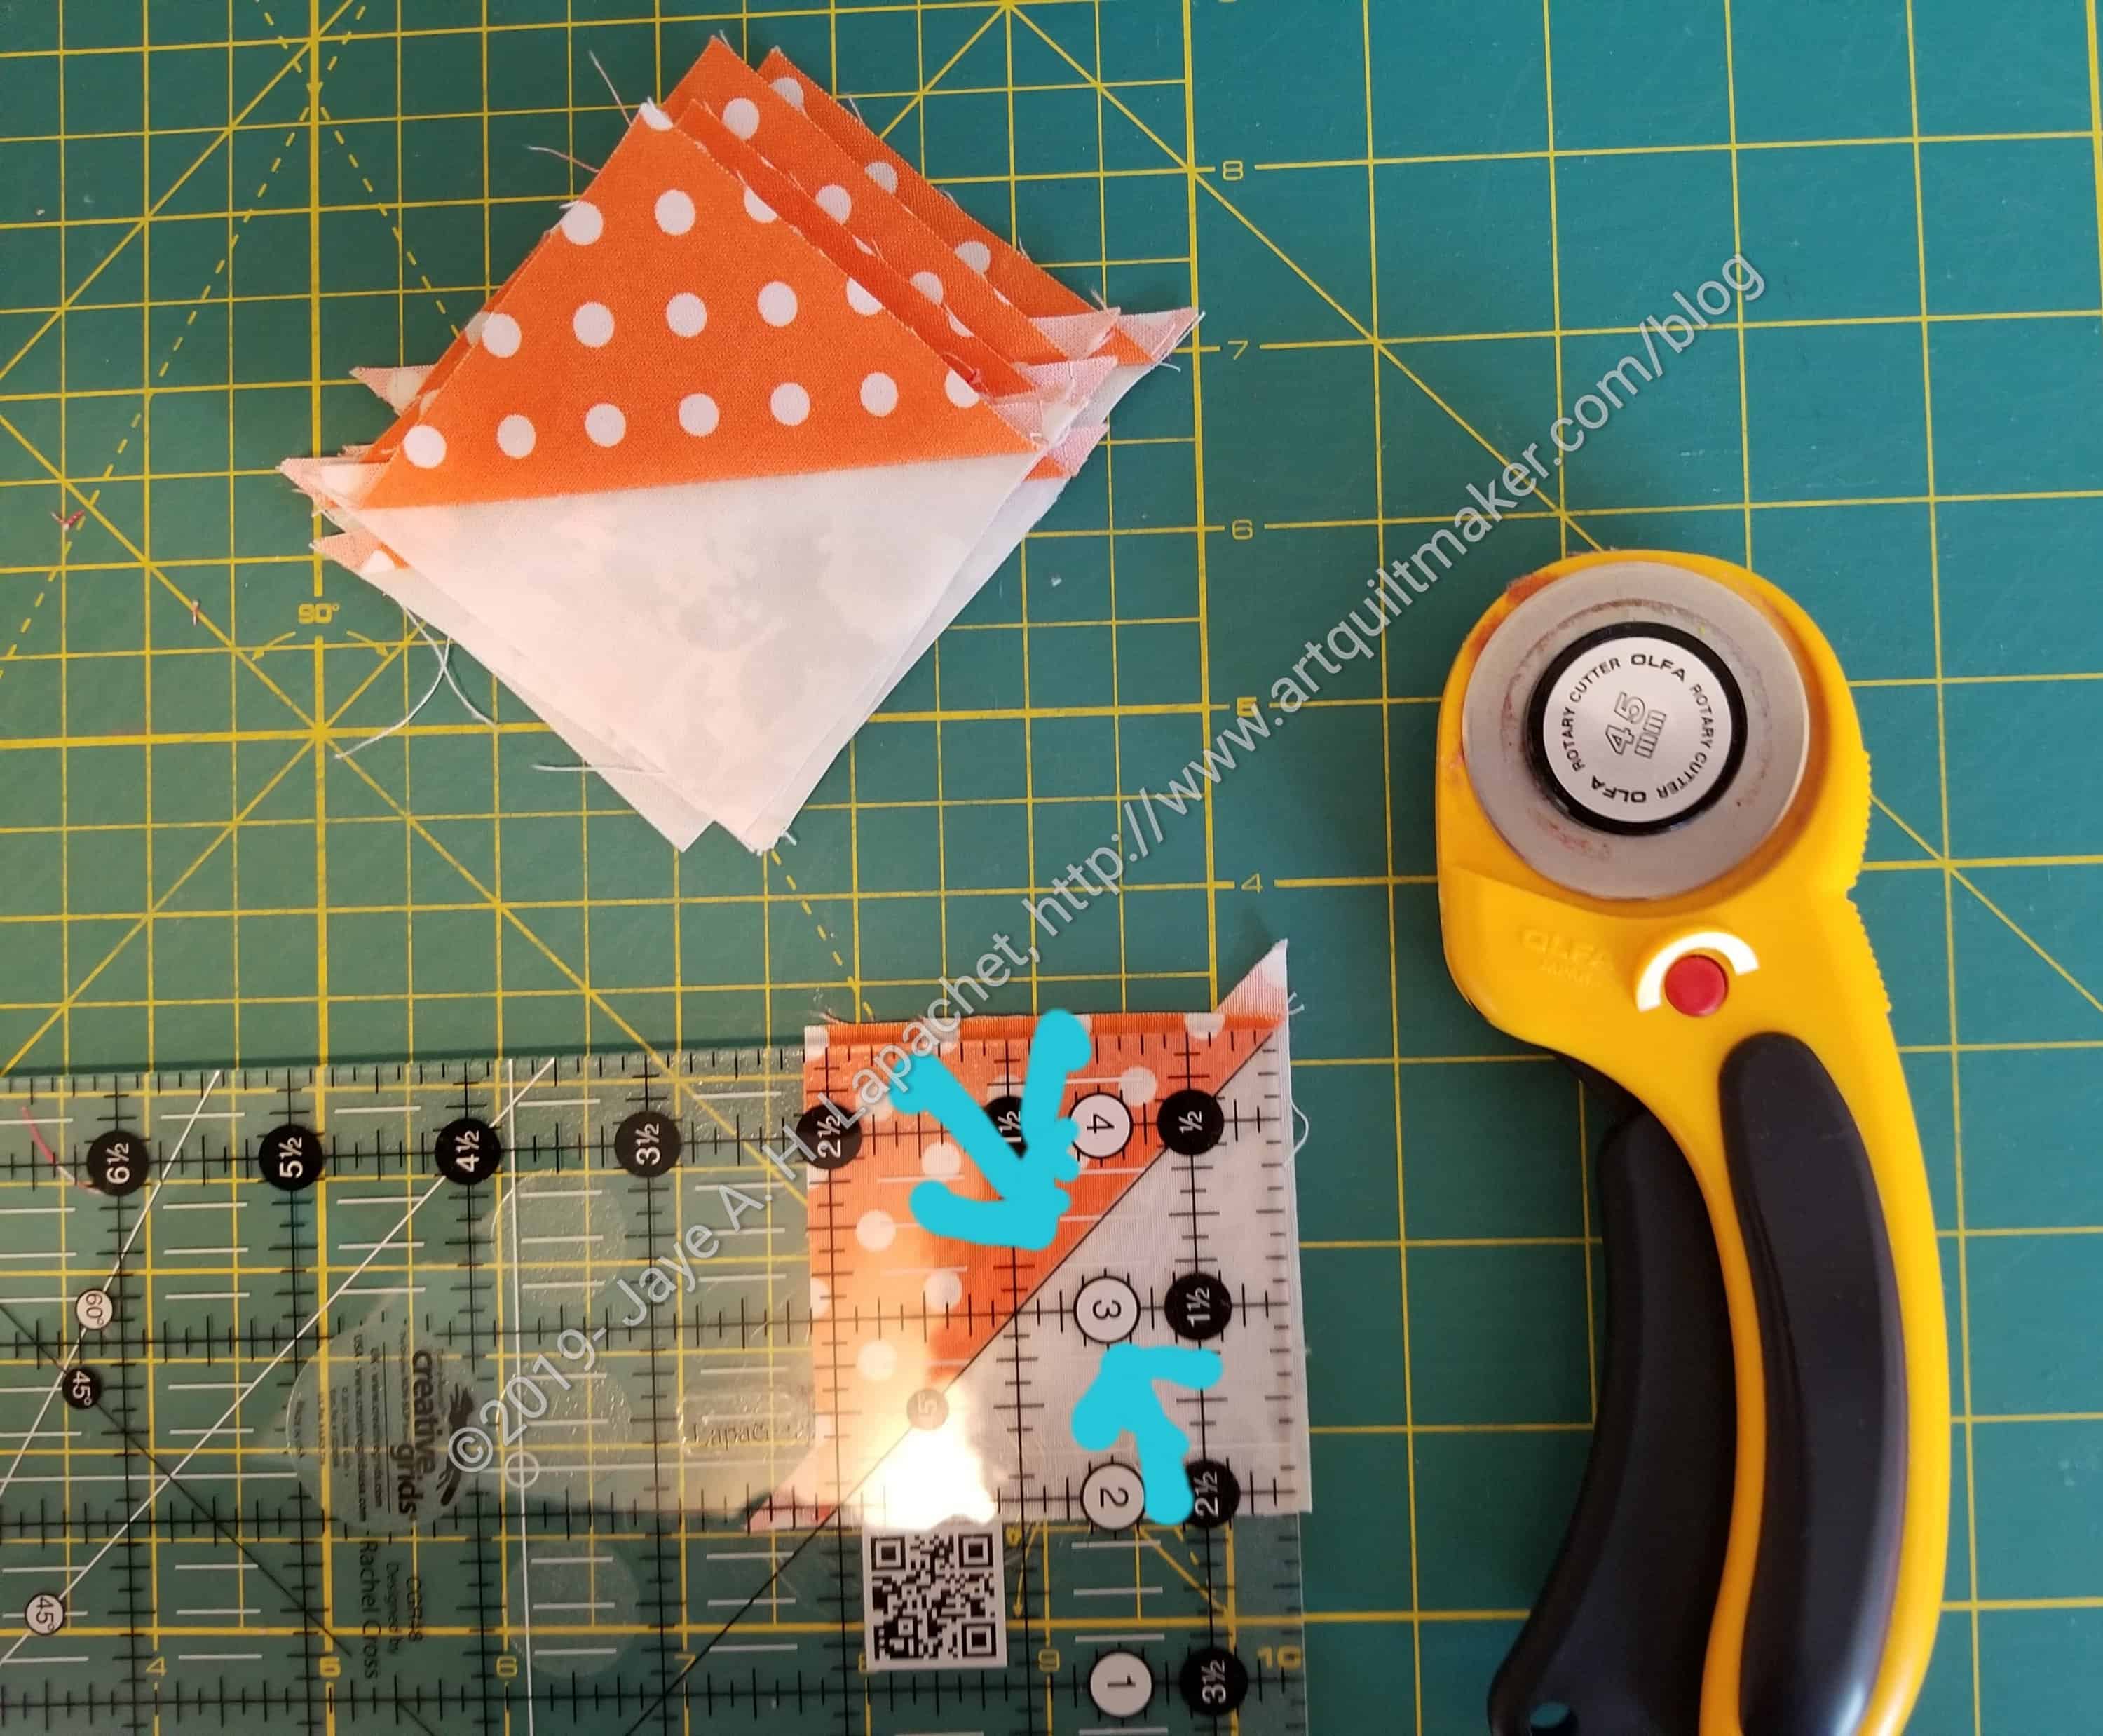
Line up diagonal lines
Line up the center diagonal line with the 45 degree line on your ruler.
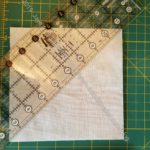
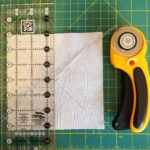
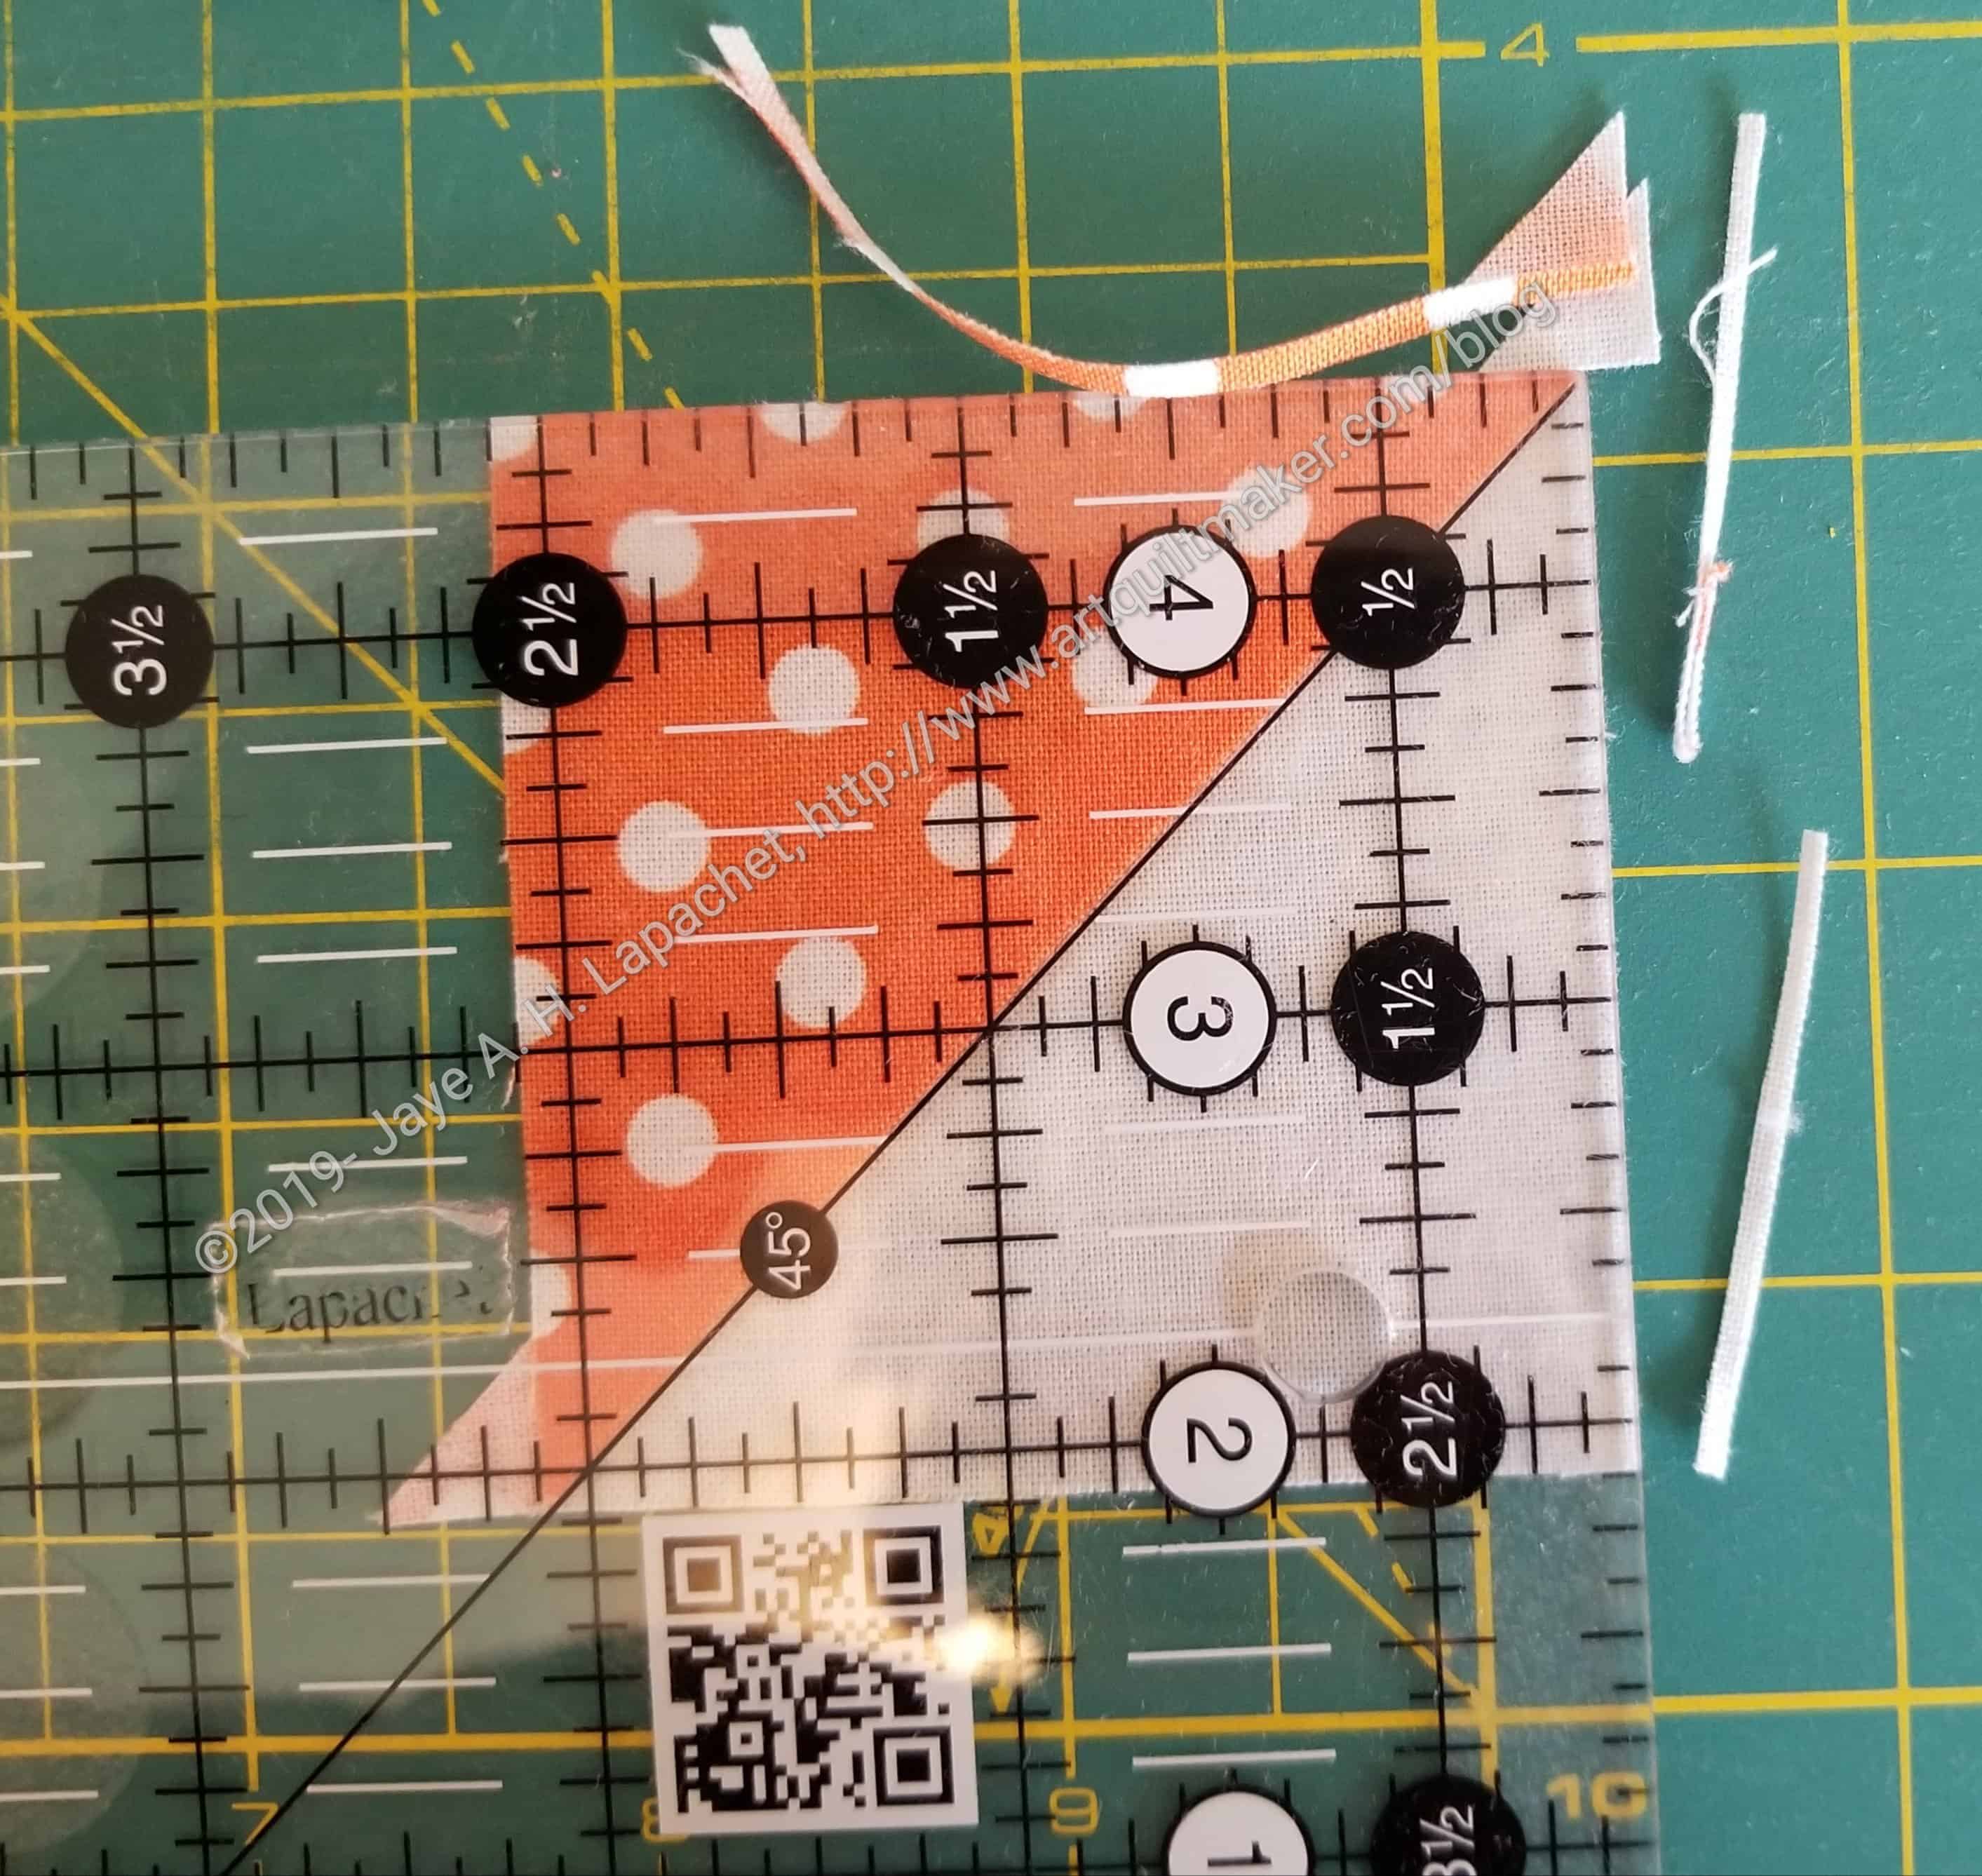
Edges trimmed
Trim the edges.
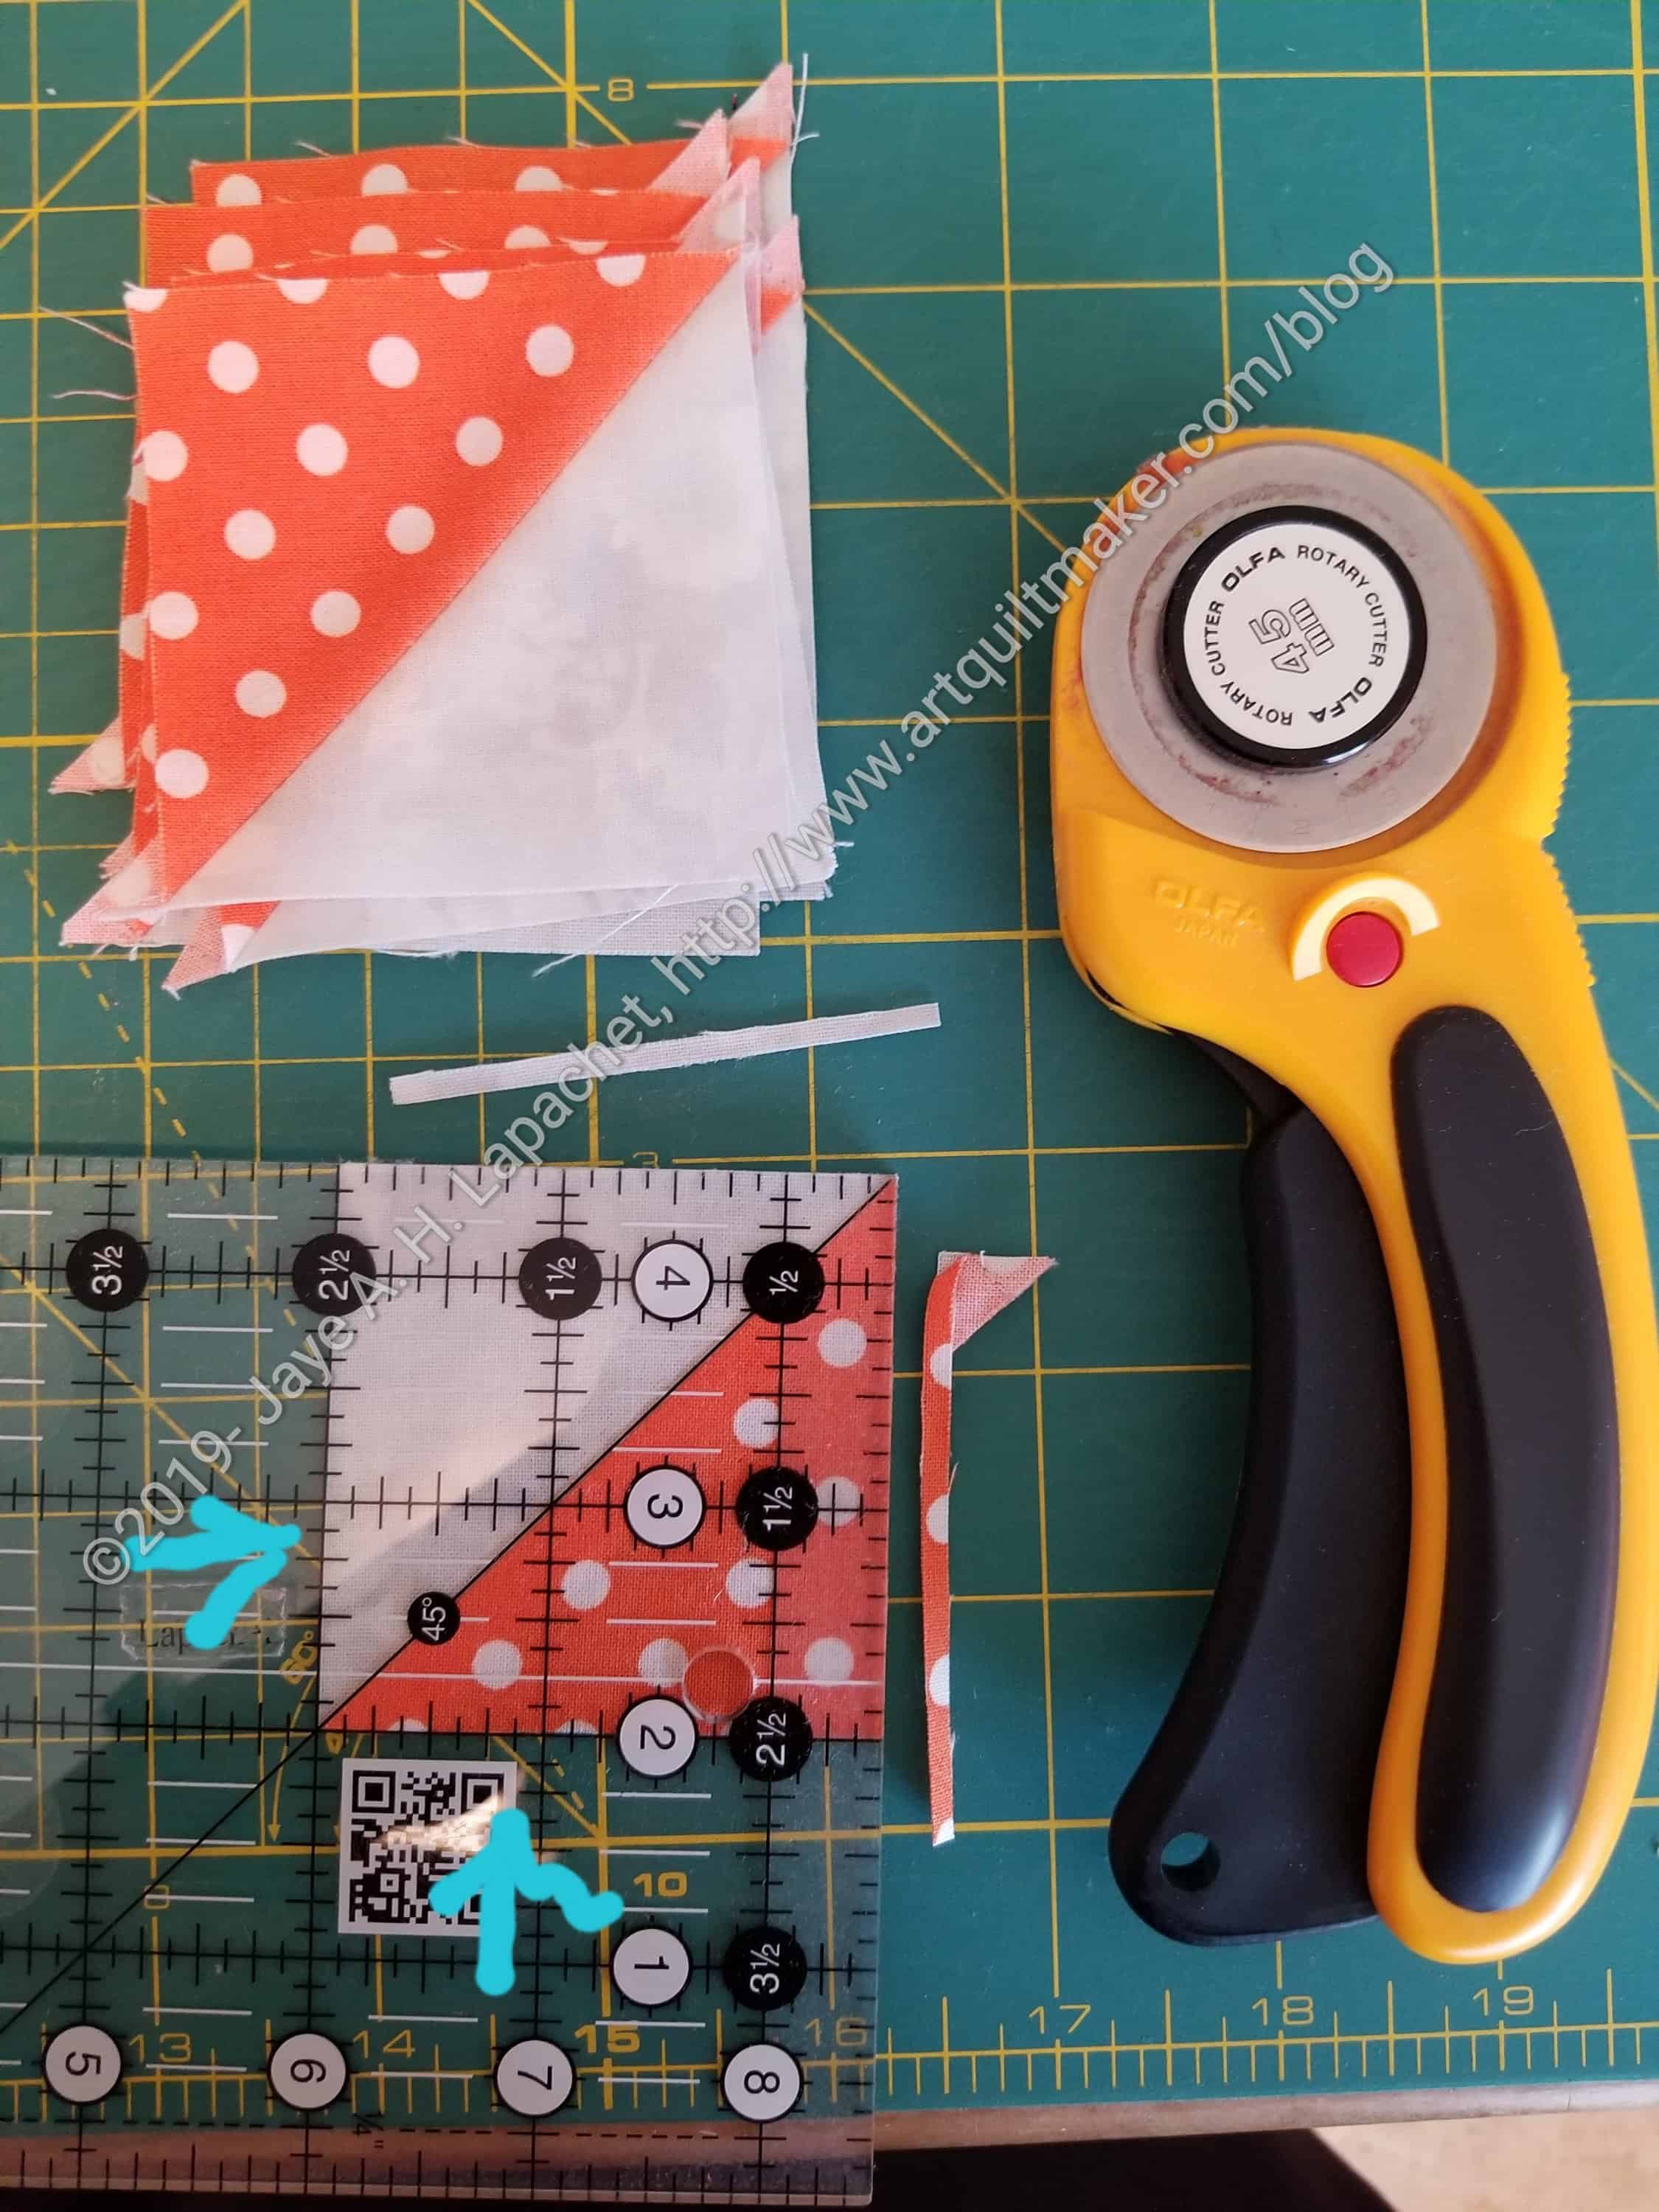
Line up just cut edges
Once you trim the first two sides, line up the 2.5 inch line on your ruler with the just cut edges. Trim the second two sides.
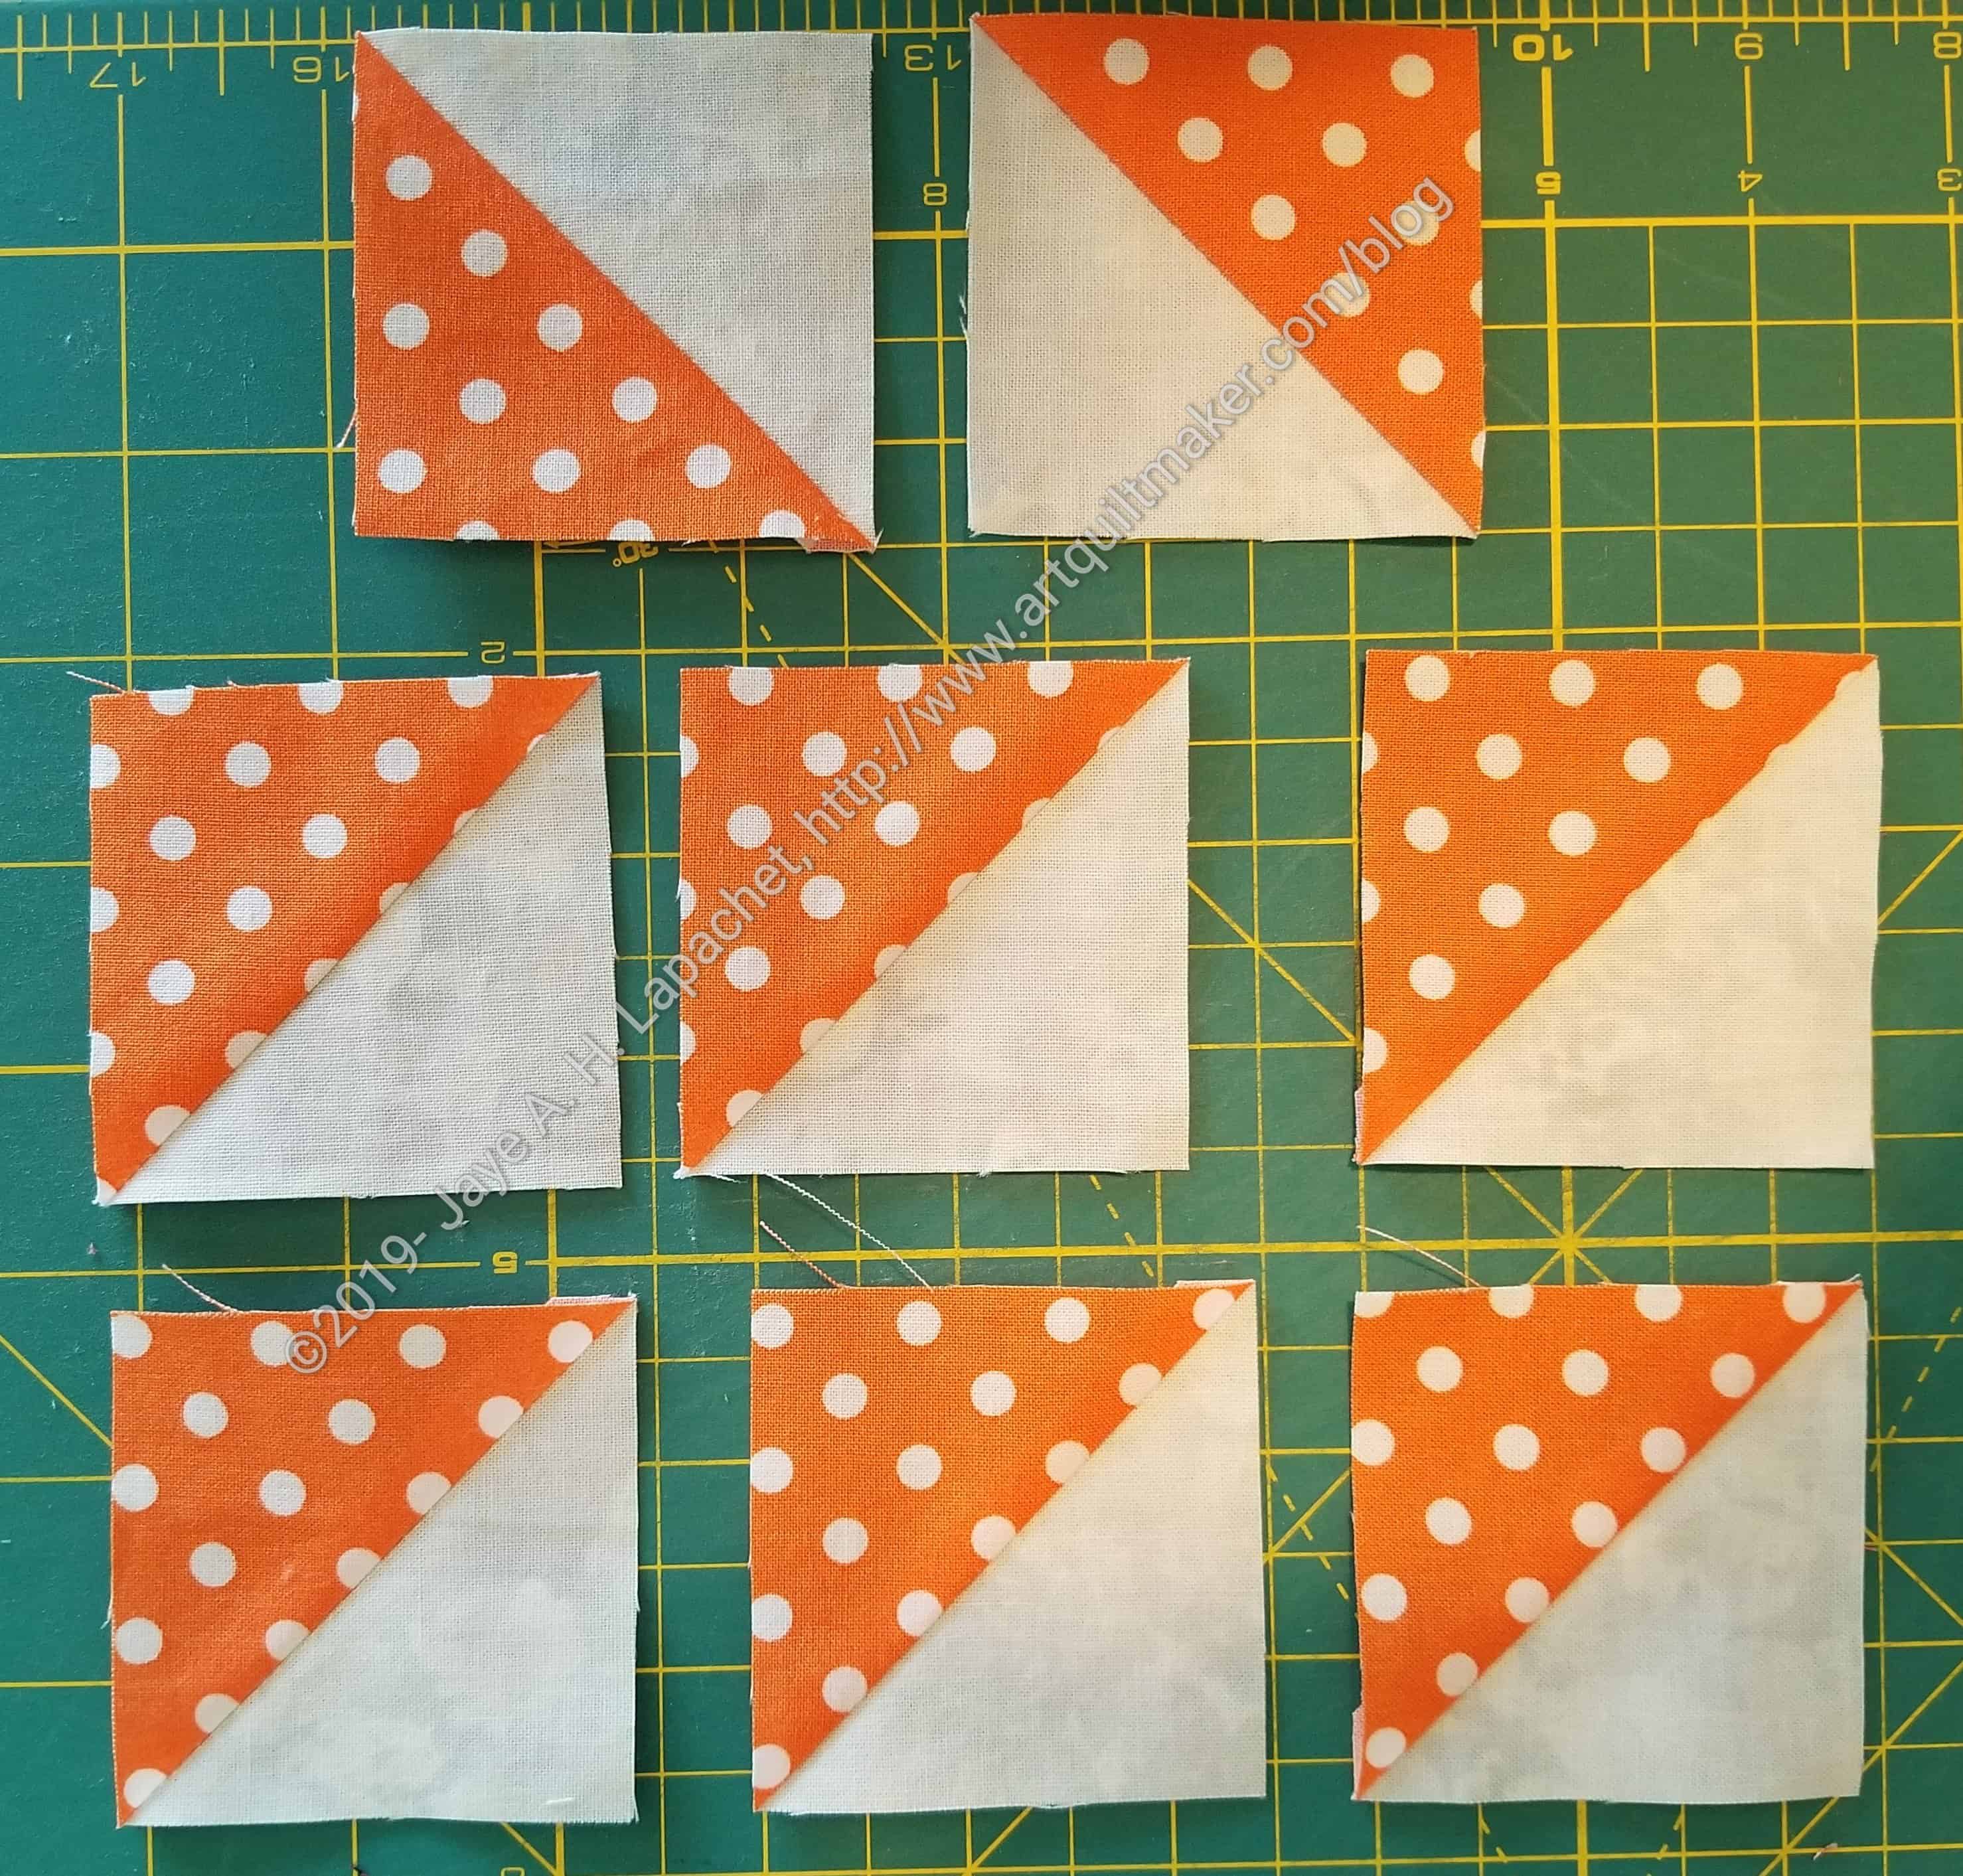
8 beautiful HSTs
Now you have 8 beautiful HSTs.
N.B. : The bias edges shouldn’t be scary for you on the regular method, but this method makes HSTs much easier. I think this would be a fabulous method to make a lot of HSTs in a short amount of time. It is similar to a tutorial that p.s. i quilt posted, but times 4. I am planning to try out different sized beginning squares to see what sized HSTs I come up with.
I talked over the math with my DH and came up with a chart showing the different sizes you can make with this technique. This is the updated version and you need this chart to use this method.
This is a great technique to use as leaders & enders.