I am back to less than my normal number of donation blocks, but I have been working on two donation quilts, at least. I want to make 30 blocks a month, but I’ll have to keep working towards that goal.
I have started making green strip donation blocks, so my hopes for next month’s tally are better.
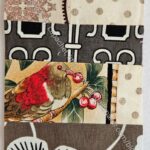
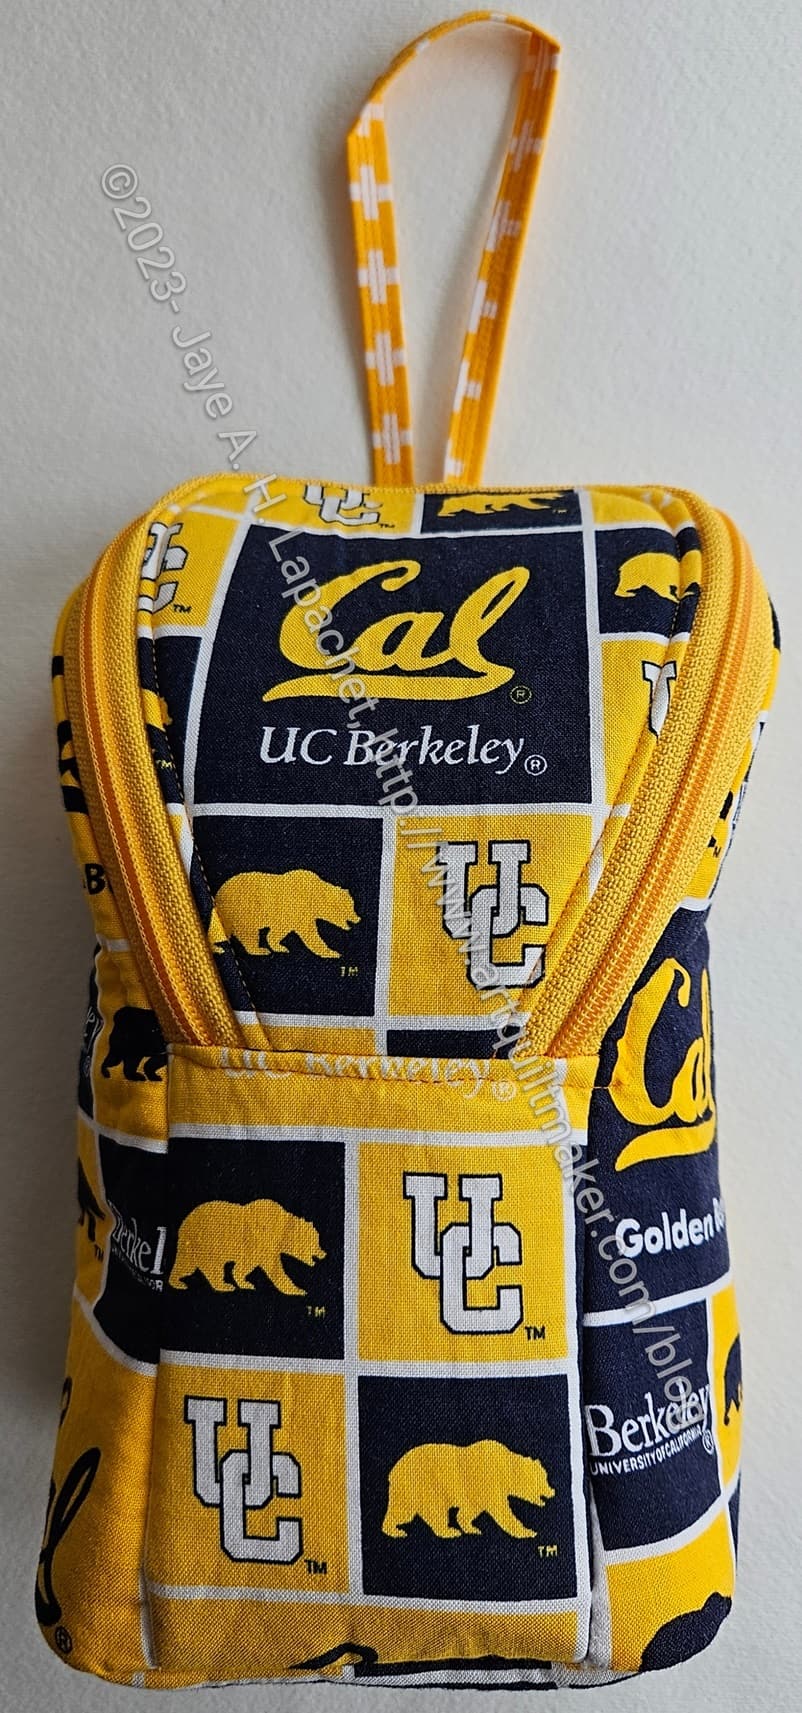
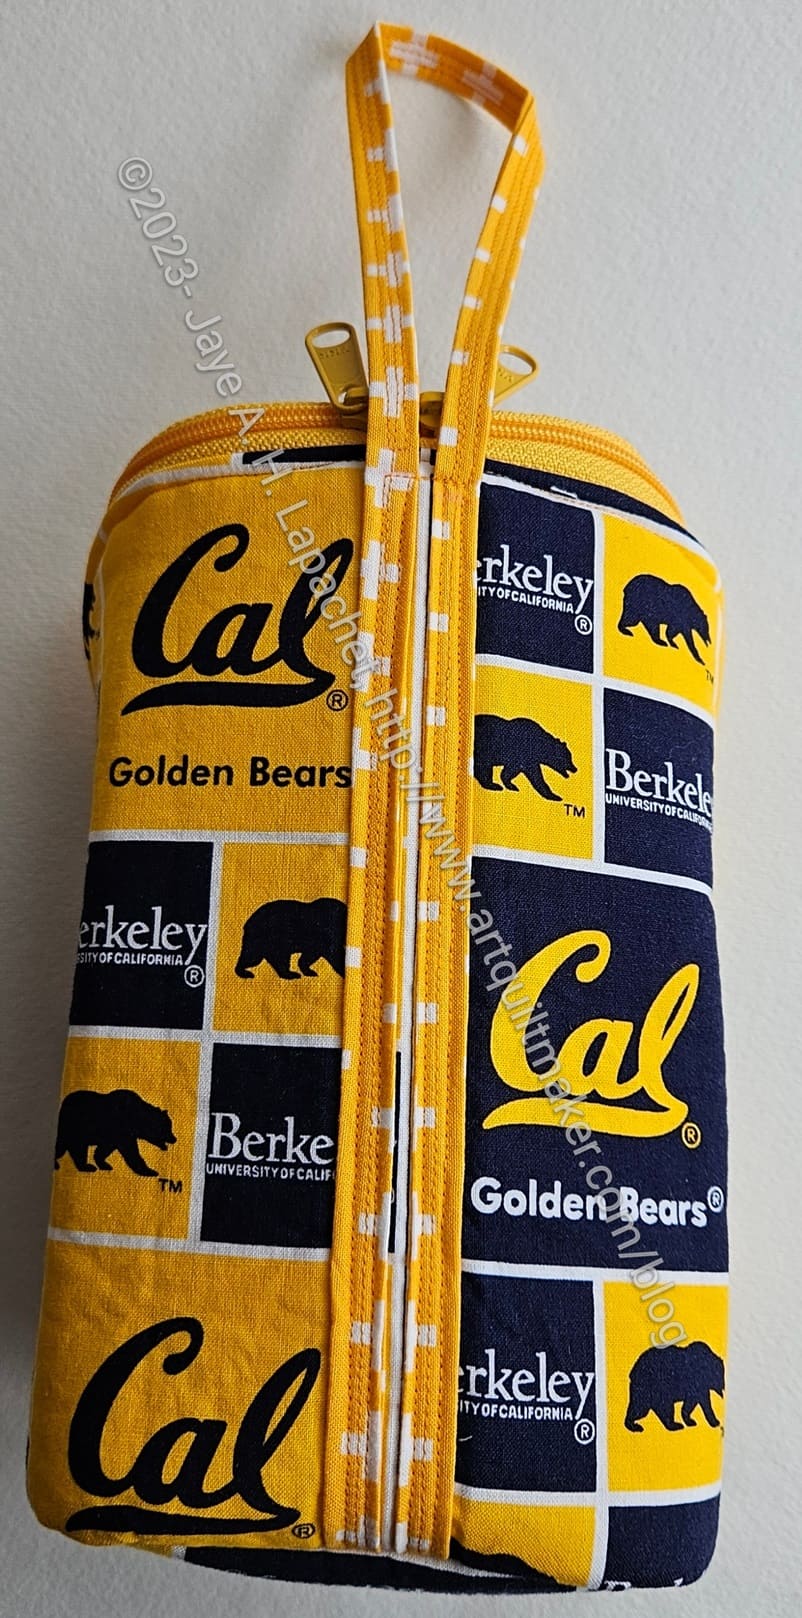
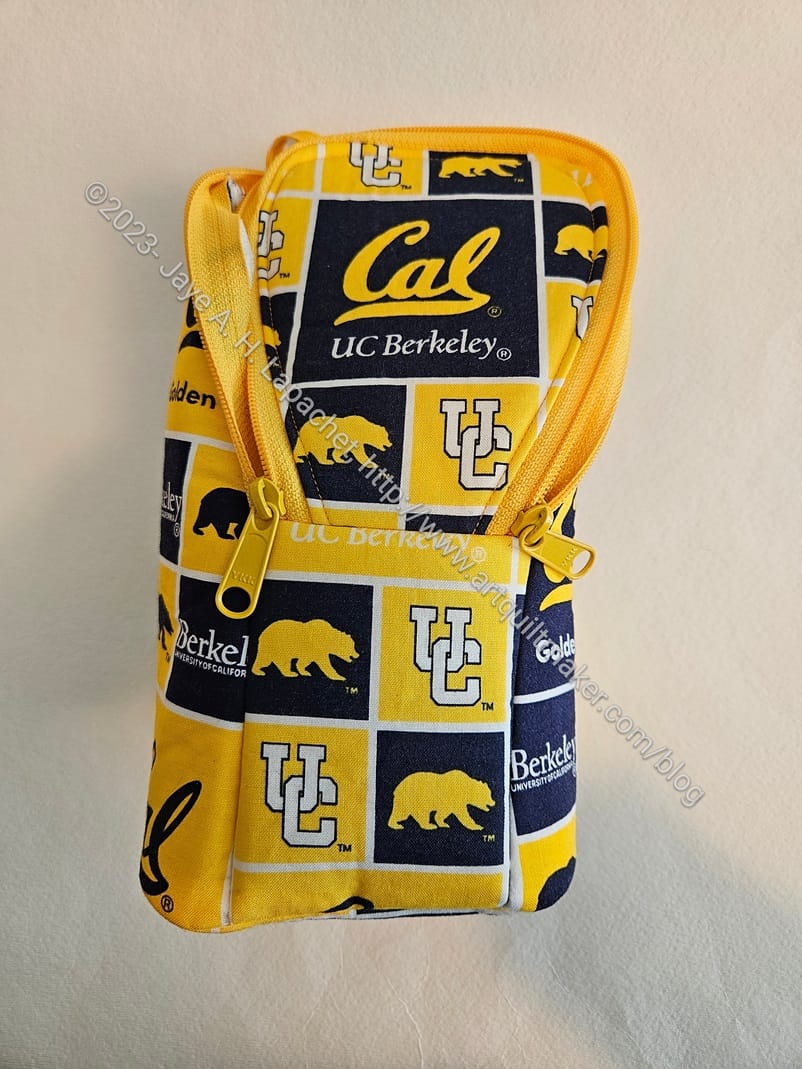
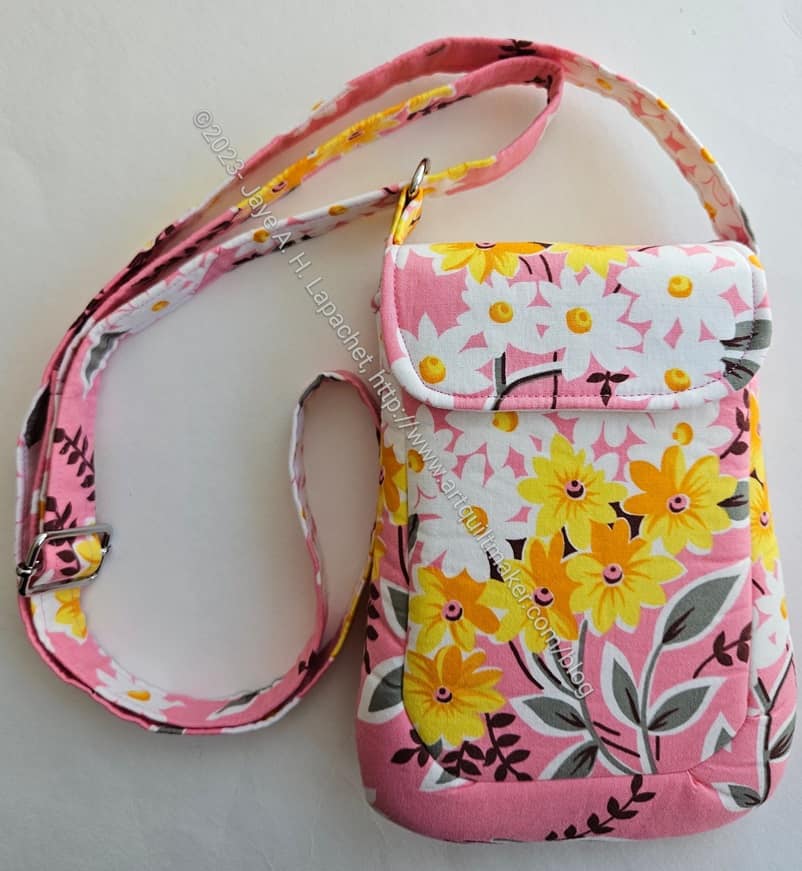
Yes, the Cal Piebald is finished. I think it came out really well. The fussy cutting, as mentioned, looks great!
In this image you can see the long loop I talked about when I started it. I used my own hand to figure out the length and I think it is ok. We’ll see what SIL #4 says.
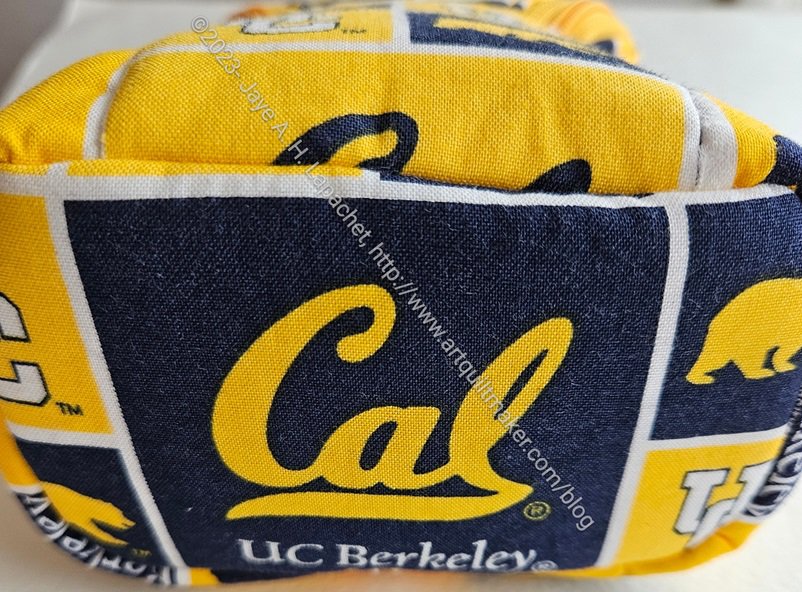
Cal Piebald – bottom
I also fussy cut the bottom even though it won’t be seen very often.
One of these days, I’ll have to try adding Odicoat to a finished bag to see what happens. I am thinking a lot about what happens when people actually use the bags I give them. I want them to use the bags, so I should prepare them better to be used.
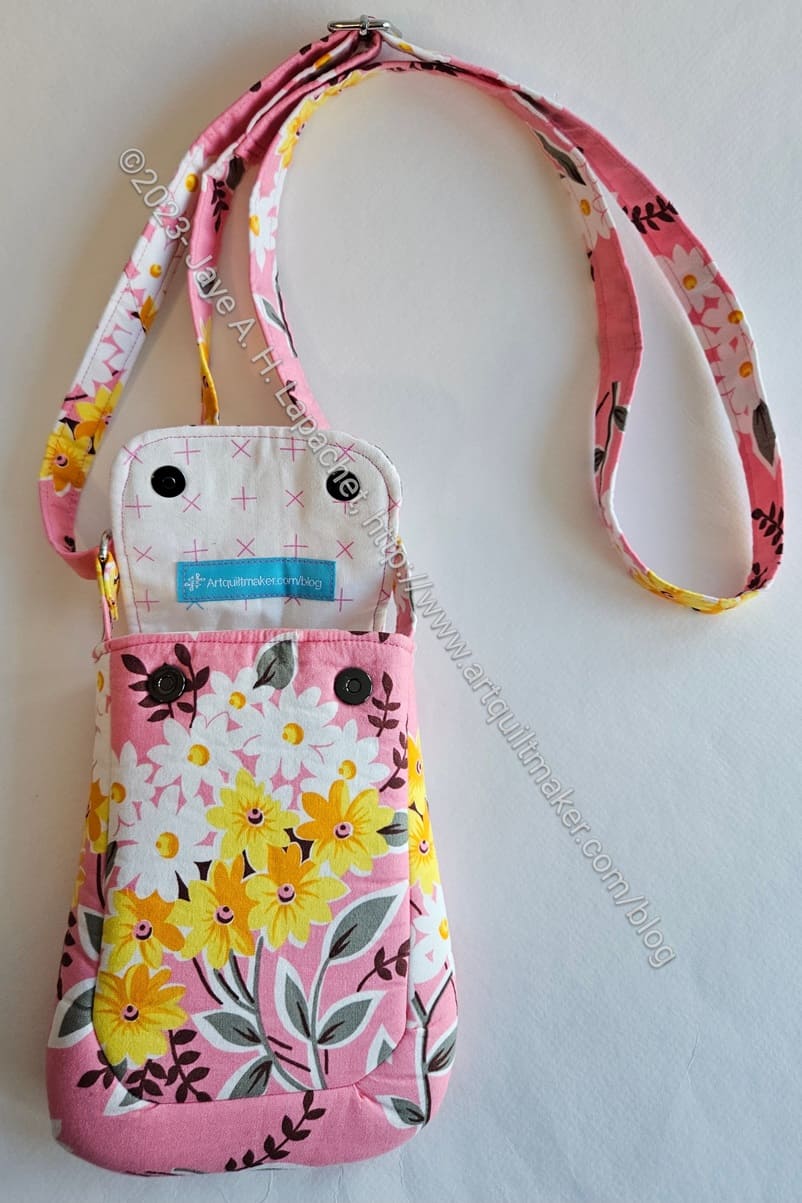
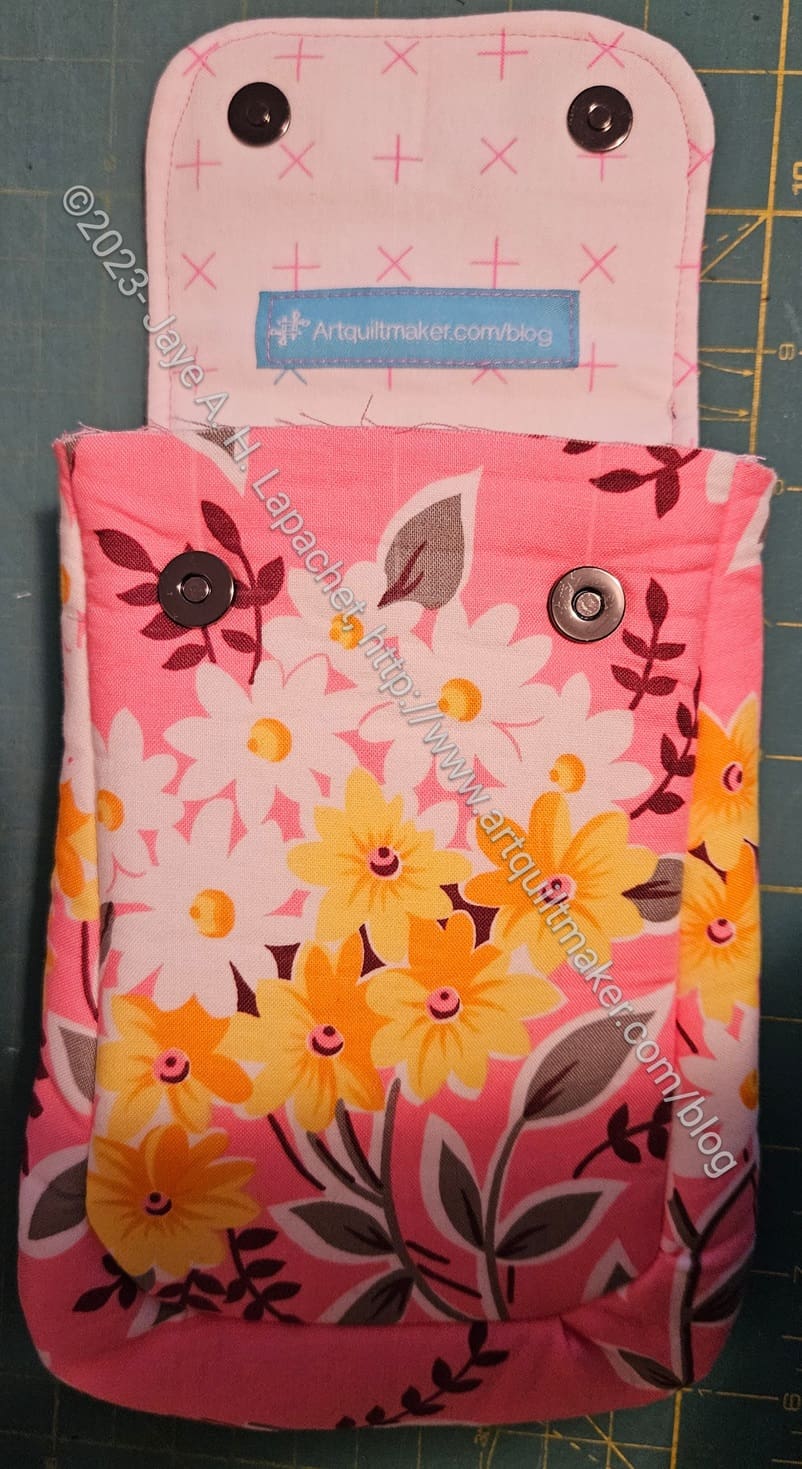
Cal Piebald – back
This pattern has an interesting stitching pattern for the loop/handle. The directions say to stitch the the part of the loop not attached to the bag with 4 lines before attaching it to the bag. This meant that I had to calculate exactly where the loop hit the bag, thus there was a bit of pfaffing around with my hand in the loop and trying to mark where I thought the loop would end.
Note: if you make the loop the size indicated in the pattern, there is no pfaffing around.
The rest of the loop is stitched to the bag using the four lines again. I think it is pretty secure.
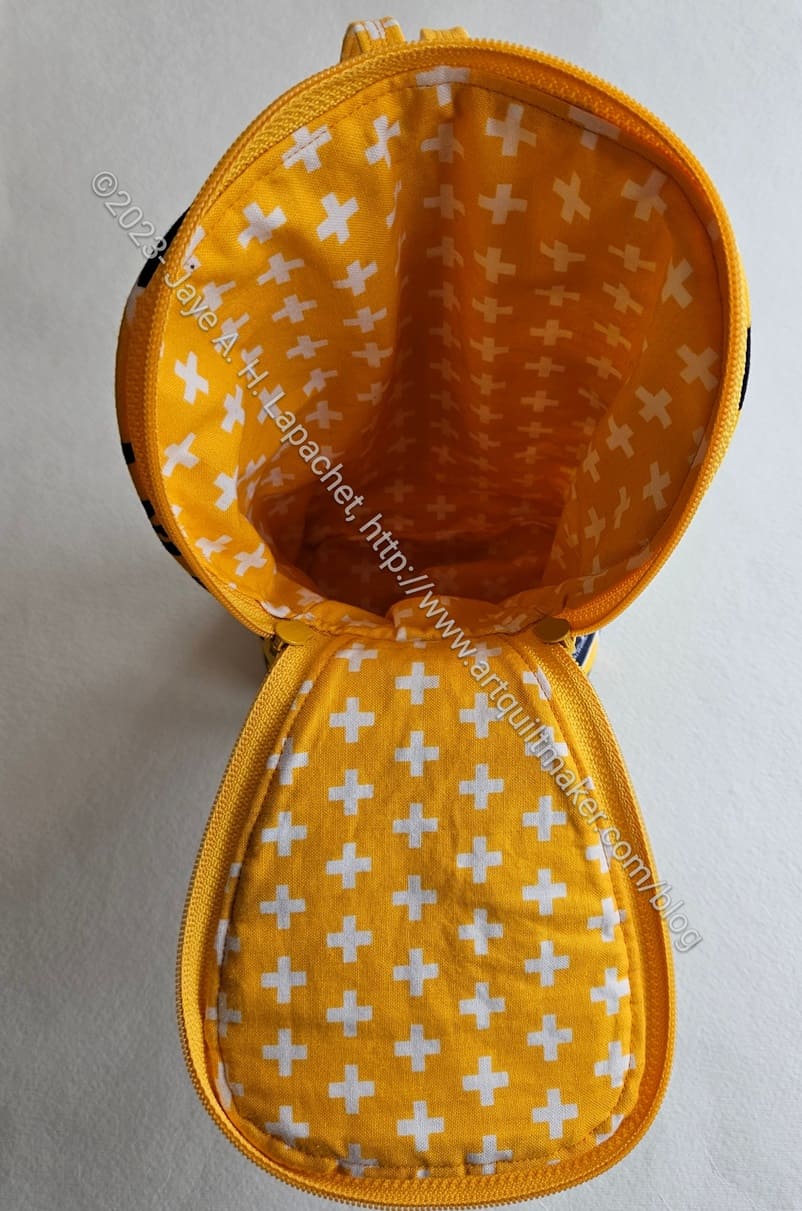
Cal Piebald – interior
I think the lining matches really well. It is a little bit baggy, which is weird, but it isn’t terrible, so I am not going to stress about it. I sewed the lining with a fatter seam allowance, so it shouldn’t be baggy. Who knows? Another mystery to try and solve while I make other bags.
So, this is done. I am pleased. I am not sure when I will give it to SIL #4. I’ll see about giving it to her when I see her on the weekend.
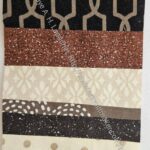
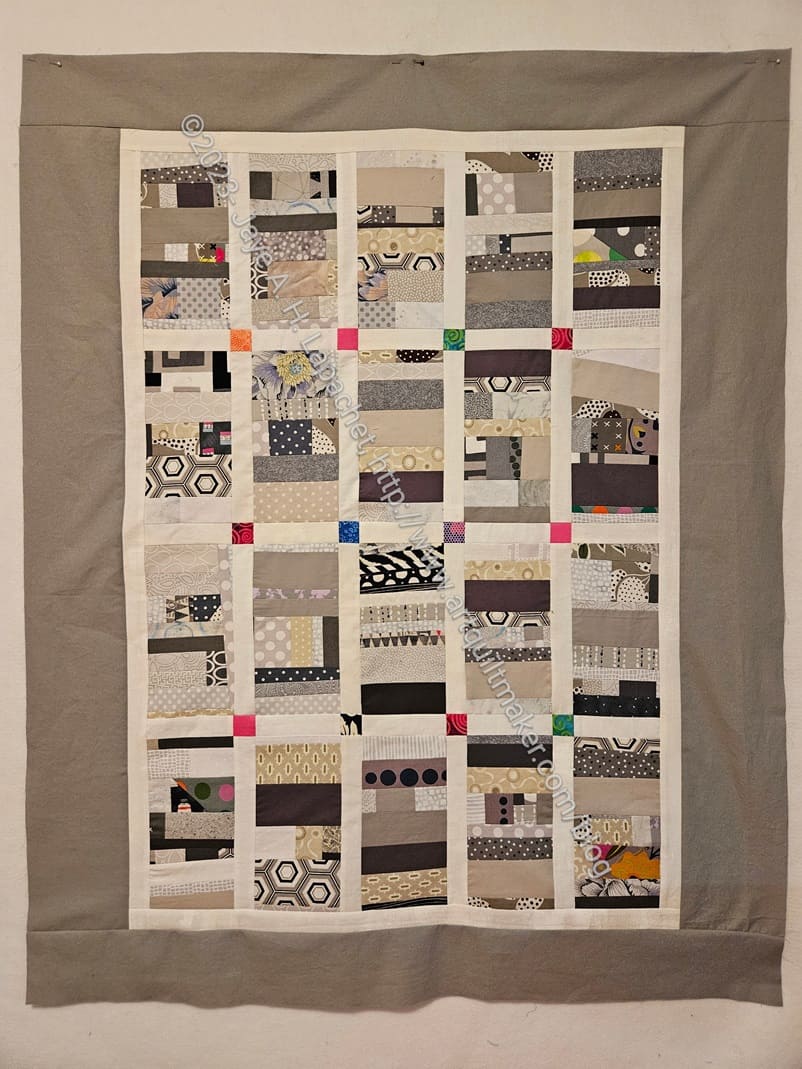
I am really pleased that I was able to finish the Grey Strip #2 donation top the other day.
I got all the blocks together and, again, the quilt was a weird shape – long and thin vertically. I didn’t like it, but I also don’t have enough grey scraps to make 4 more blocks. I know that is good news, but it didn’t help me here. I also really didn’t want to spend the time.
I decided that I would make the side borders larger than the top and bottom. The blocks are 4.5 inches unfinished. I cut the borders 5 inches unfinished and I think the top looks like it will be a useful size.
I found a large piece of grey last time I was rummaging in the fabric closet, so I used that for the back. I didn’t have to do any piecing! Yay. Next up is another QST 16 Patch.
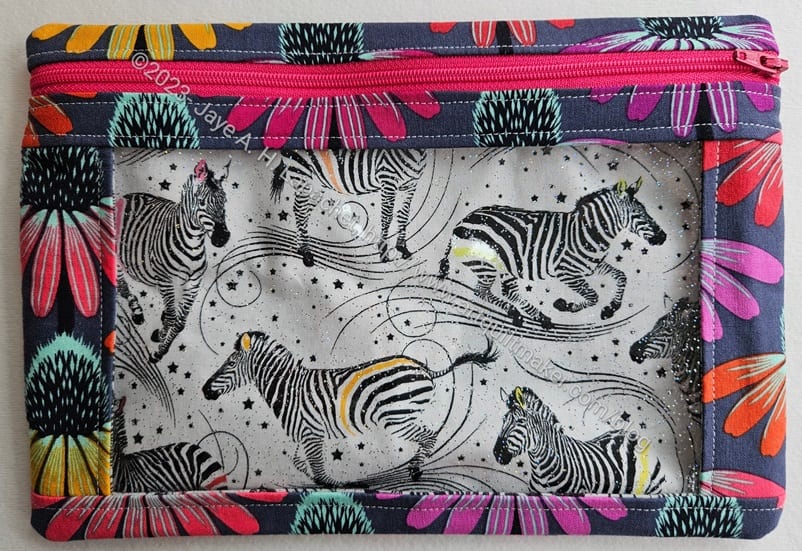
I started and finished another I Spy pouch very quickly last week. I needed another one for the Falabella templates, which I found when I was rummaging for the Piebald templates.
I went out of my way to use the zebra fabric and I had just enough left for the various lining pieces.
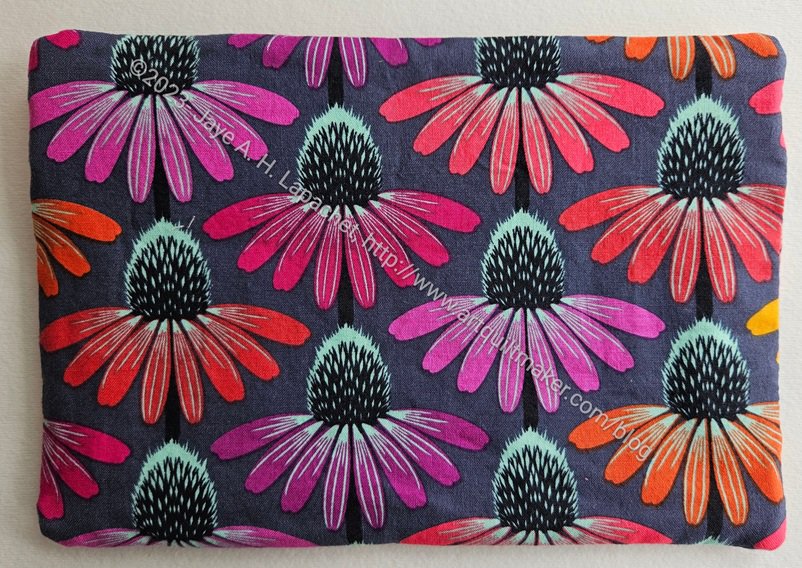
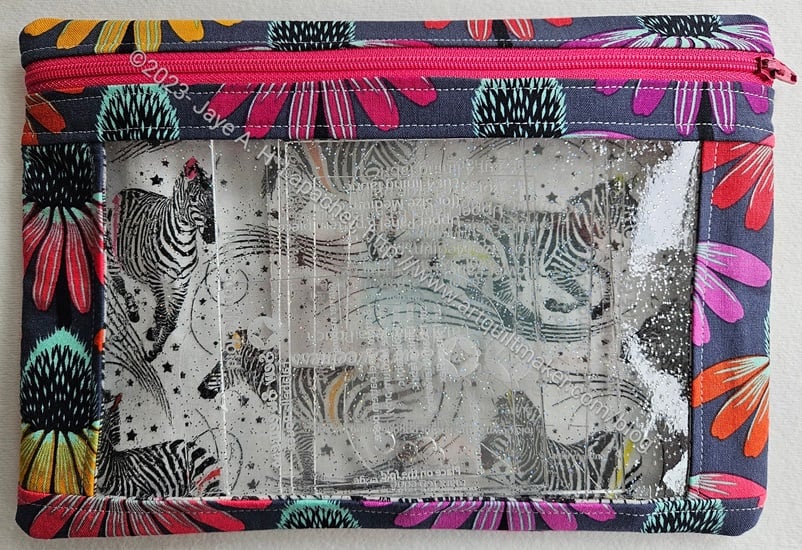
Zebra I Spy – back
As I have with all of the other I Spy pouches, I used the Anna Maria coneflower fabric again. I had some leftover from a previous project and was able to use it up. Some wrong cuts aren’t always useless even if they aren’t useful at the moment. 😉
Zebra I Spy – front, full
The templates fit nicely inside this medium version.
I am making good progress on the Cal Piebald despite not sewing much in the last few weeks. Making a few in a row really helps the subsequent versions.
As you can see the exterior is finished. My next step is to assemble the lining and insert it. Then I have to do that crazy step with the front, which was a challenge, but I shall persevere.
Piebald exterior, in process
I think the outside looks pretty good. I am so pleased with how the fussy cutting came out.
In this photo, you can’t see the loop, which is long enough to slip a slim hand through and carry along. I am starting to wonder if a longer strap, like the one for the Sweetbay Crossbody would turn this into a purse? I suppose it would, but the question is whether it would be a good purse? There are no outside pockets for a phone or anything, so it might be a little awkward to use. Something to think about. If you have any opinions, let me know.
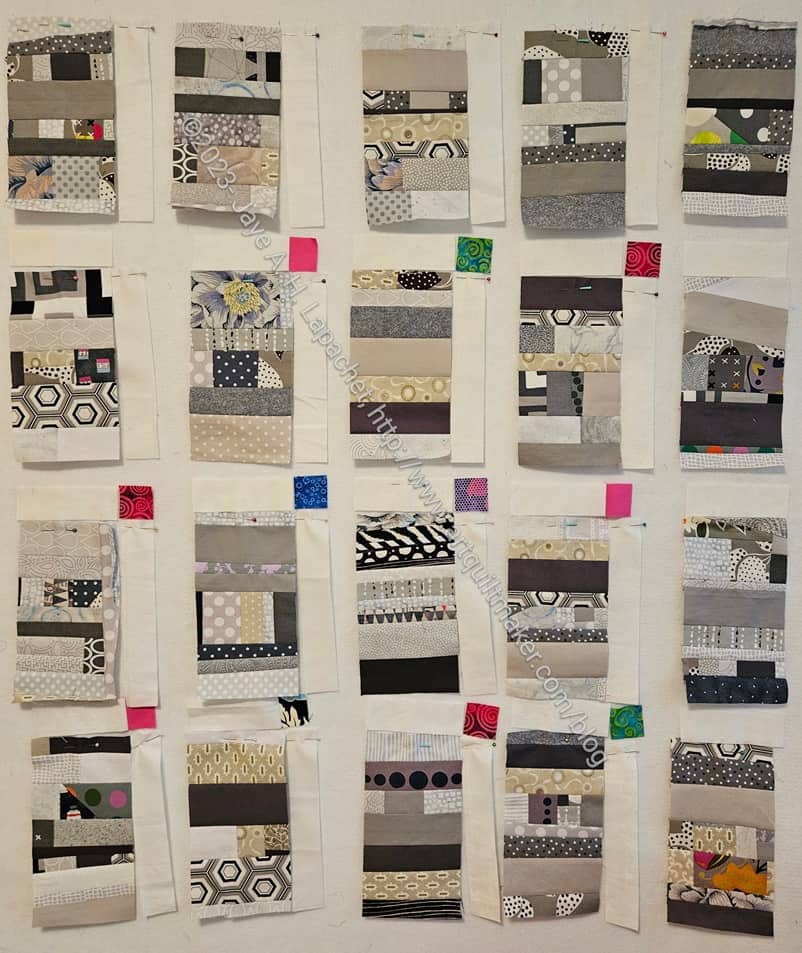
The grey strip #2 donation top is finally in process. I finished the last two blocks and started working on it in earnest last week.
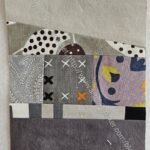
I used some leftover top sashing from the Black Strip #2 Donation top. Since I didn’t have enough I found some other random pieces from which I could cut a 1.5″ square. I think the variety looks very cheerful. I am not sure why I didn’t do that before.
I am now in the process of sashing all the blocks.
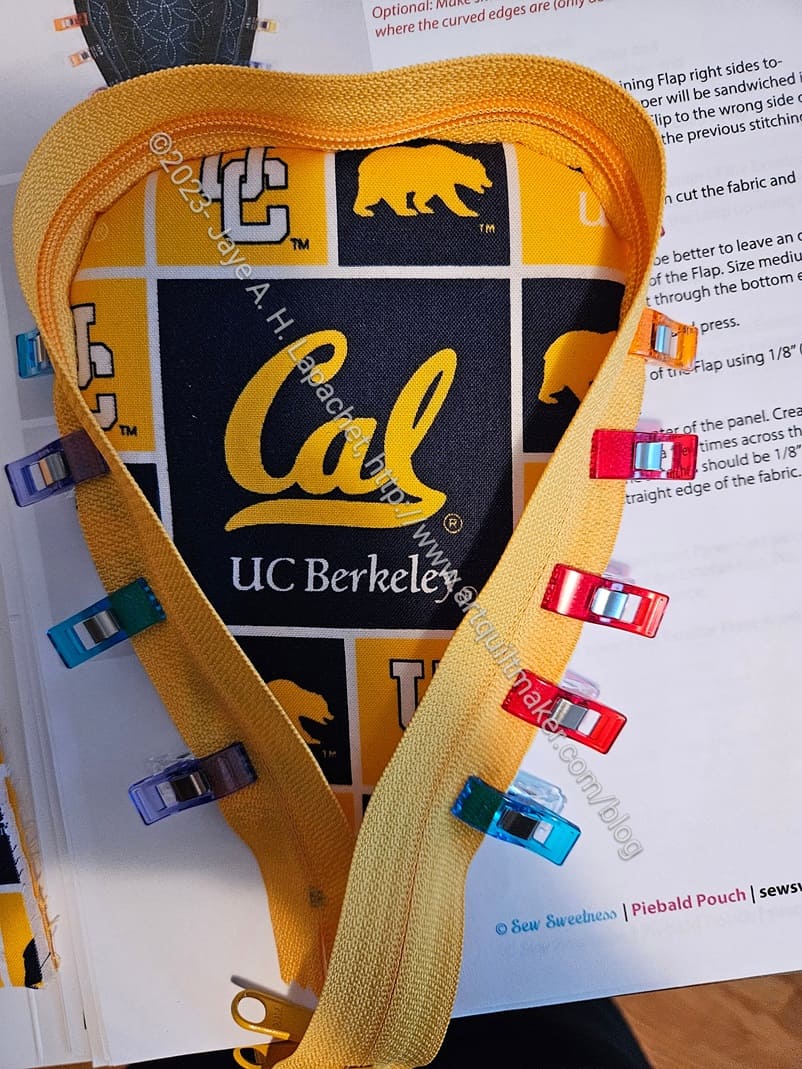
After making the Piebald #2 and Piebald #3, I decided to try a project that had been on my mind for awhile. Some time ago, my SIL#4 asked me to make her a bag she could use to take her knitting along. I designed and made the Knitting Box, but it wasn’t quite right and I wasn’t happy with it. We had made a trade and I wanted to keep up my end of the bargain.
Cal Piebald start
Years go by and I made the two Piebalds, which gave me an idea for the Knitting Box replacement: a Piebald with a double zip. I showed her one of the pink Piebalds and she thought it would work. Her birthday is coming, so I am trying the project again. I have only made a small start, but I have high hopes.
I was so pleased with that zipper even though it was way too long. It is the perfect color to go with the Cal fabric.
How do you like my fussy cutting? I am pretty pleased with it.
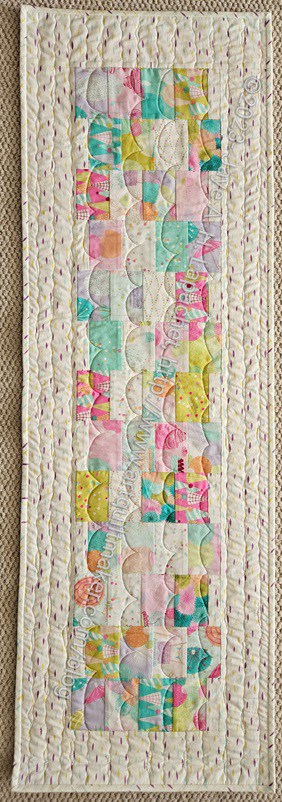
I am zooming right along on finishing my quilted projects.
I finished this one in time to use it on the first really sunny day of the year. I also decided that it was very Easter-ish (Springy) and would be good for the next few weeks.
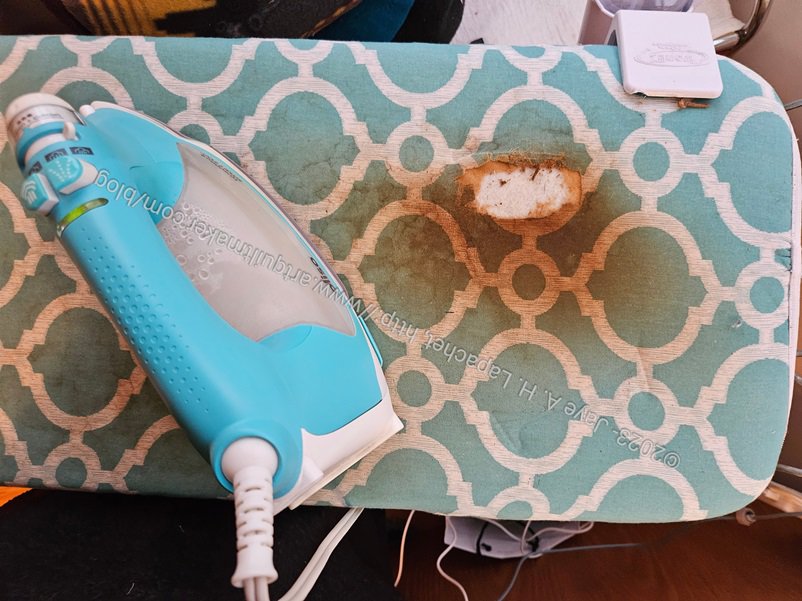
I bought an ironing board cover** in March 2023 from Amazon. Not even a year later and there is a big hole in it. My Oliso works fine, but I do tend to set it in the same place all the time. Still, I put an iron board cover on my ironing board so stuff like this won’t happen.
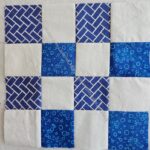
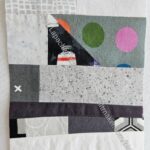
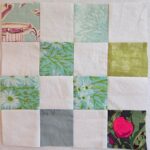
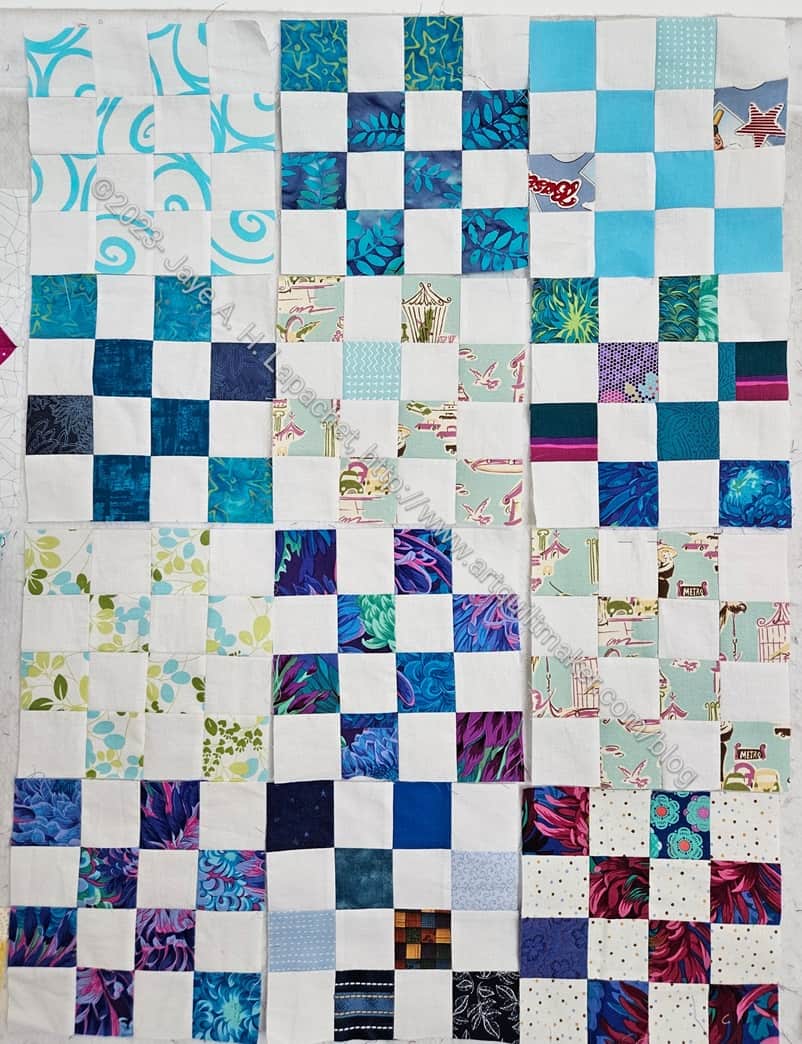
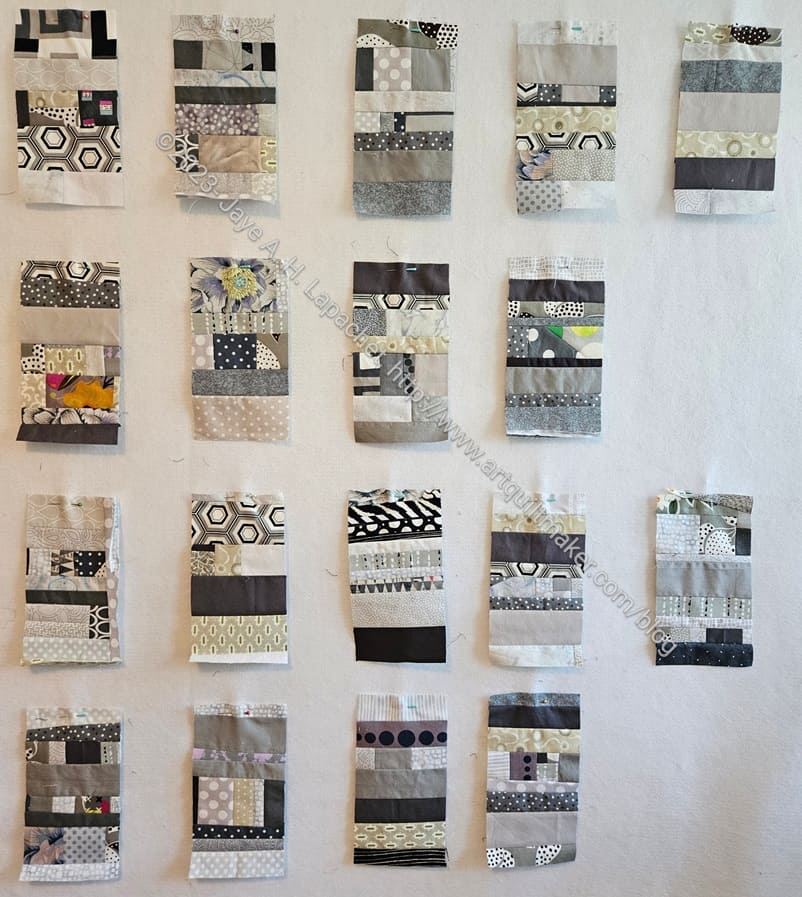
I gathered enough donation blocks – almost – to make another QST donation top. Of course, the grey strip blocks are still on the wall in progress.
I have one block in progress that will be done quickly, if I can every sit down to sew again.
I made all of these blocks, but I scavenged two back from Peggy at Sew Day, so I didn’t have to sew quite so many. I wanted to get to making the quilt.
Now I am wondering how many quilts I need to make before I know I am making a series?
I made good progress since last week and the Sweetbay Crossbody bag is almost done! I just have to press it!
Putting this bag together was a little tricky, mostly because it is so small. The other thing I found interesting was that the gusset isn’t the same on both sides. You can see how it bulges out a little bit. it is very round on the bottom corners. I think that is from the gusset. The directions say to put the front panel on one side of the gusset and the back panel on the other. It was a novel way of putting a bag together.
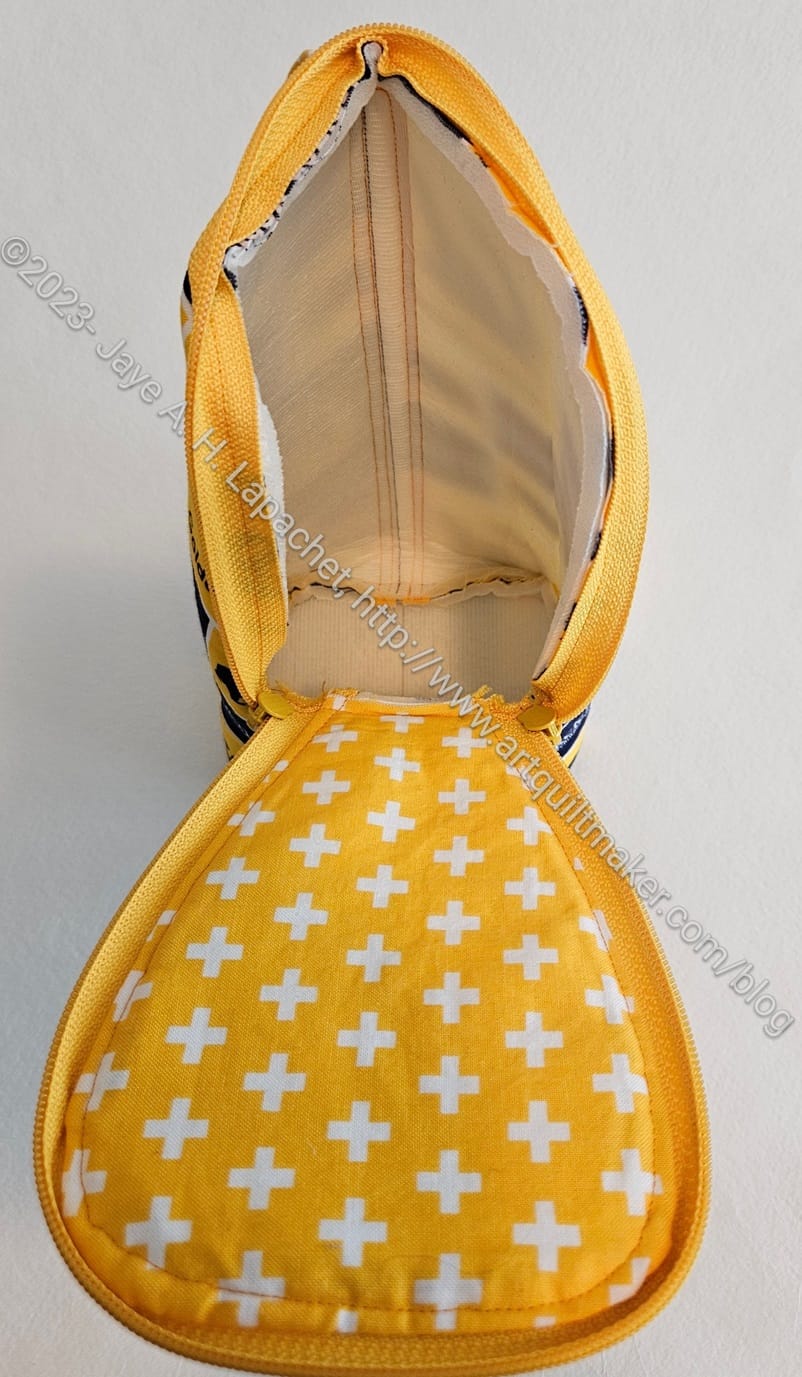
Sweetbay front, open: finished
I remembered to put a label in the bag. It might be a little too prominently placed, but it is what it is.
I have to admit that I thought about the label placement on that flap A LOT. It seems silly, but I wanted it to be right side up when I opened the flap, which required some thought. I did have to move the label once before I put the flap lining together with the flap exterior, because it was too close to the magnetic snaps.
Sweetbay magnetic snaps detail
I am really pleased with those magnetic snaps. Not all of my hardware matches on this bag, but those snaps are awesome. They are small. I didn’t even know I had them until I looked through my hardware bag and found them. The brand is Sally Tomato and I will definitely be buying them again.
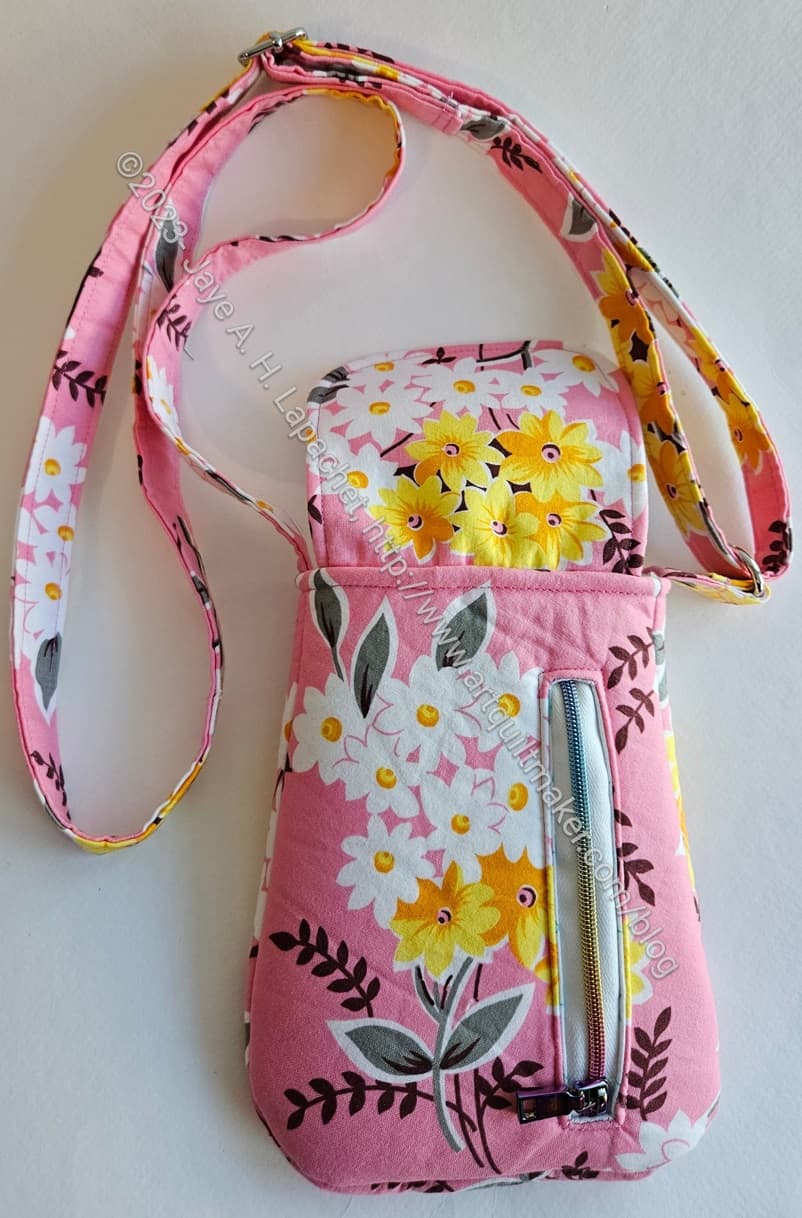
Sweetbay back: finished
I used a leftover piece of zipper by the yard for my exterior pocket. i was glad, because I have few leftover pieces that seem too long to toss. This was the first time I found a use for one of the pieces.
I think I would prefer to install it with the head at the top when it is closed, but I am just happy I was able to install it.
I also sewed the edges of the pocket to the seam allowance so the pocket wouldn’t sag once the user put something in it. I’d like to try perfecting my internal zipper pocket technique. I need to make a few more.
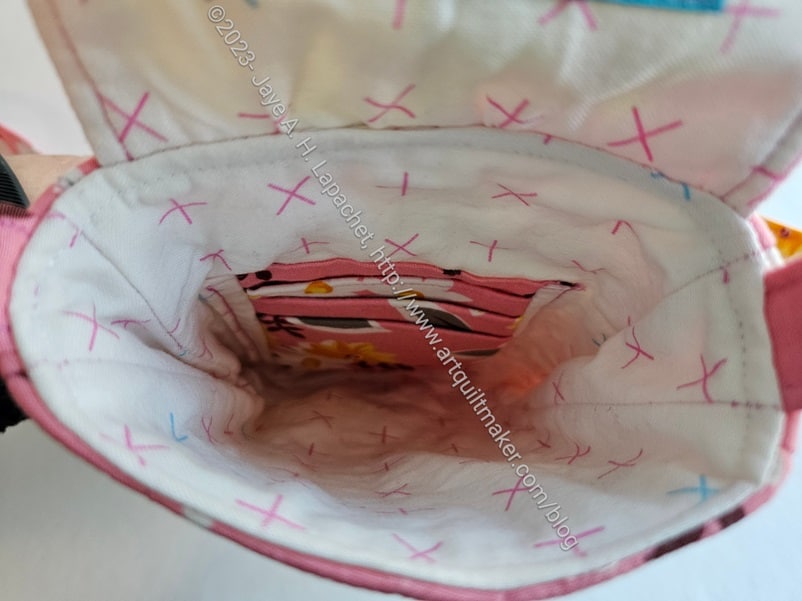
Sweetbay interior: finished
This is really a bag you take along with only a few things. It is really small on the inside.
This will go really well with the other Pink project bags.
Not sure what I will make next. I’d like to make a big tote bag, but I already have one for The Pink Project.
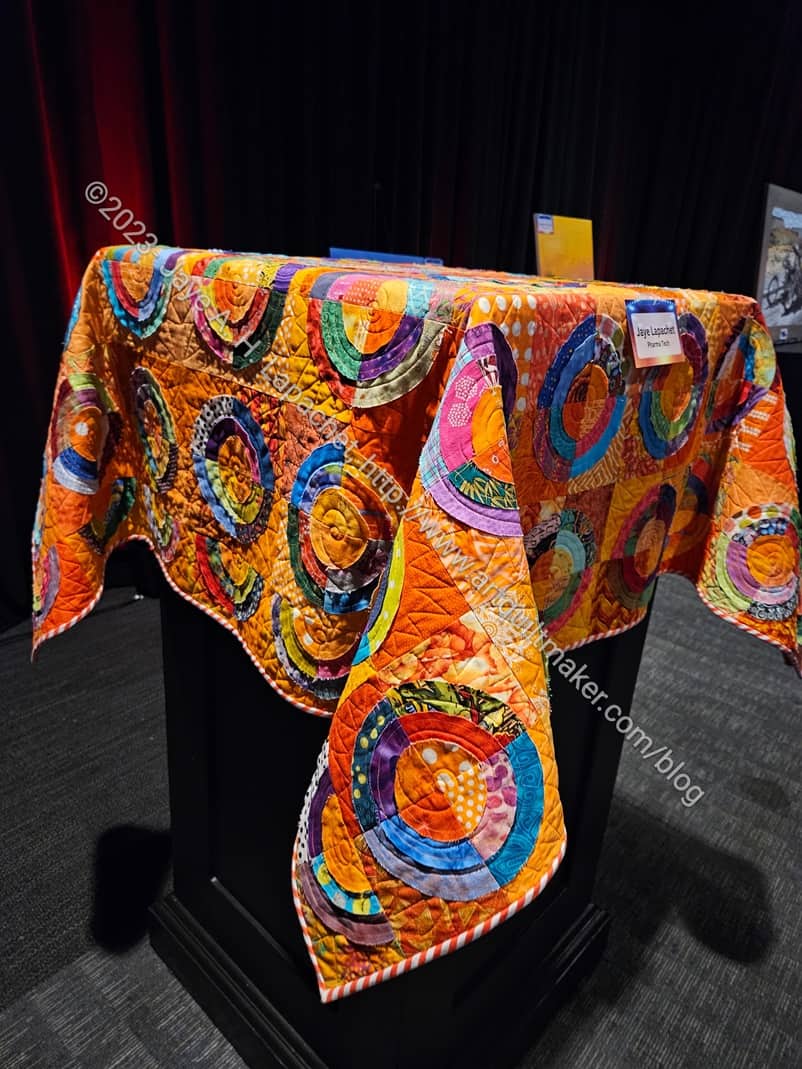
In addition to Women’s Work 1, Orange You Glad was also in an art exhibit.
Yes, an art exhibit not a quilt exhibit.
My work had a “[name of company]’s Got Talent”. It was mostly performances, but there was also an art show on the side and I entered Orange You Glad.
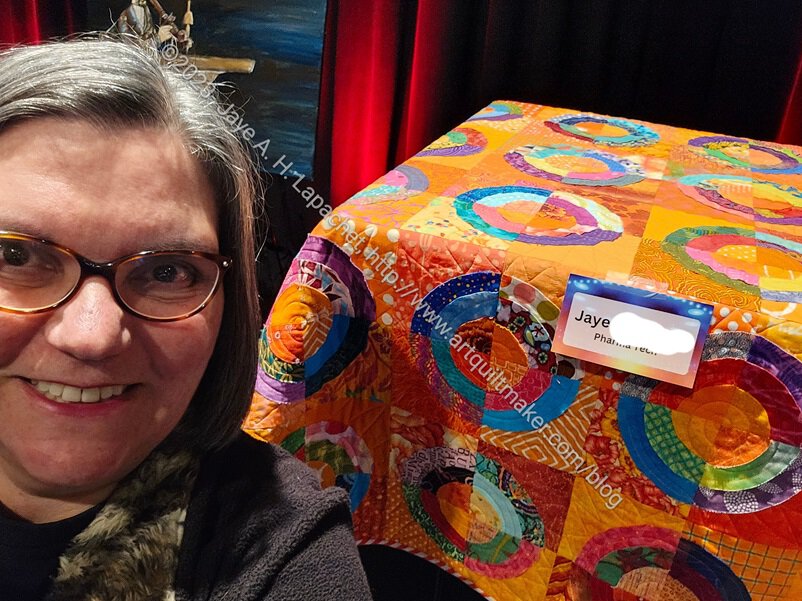
Orange You Glad & me
They didn’t know how to display quilts, so I had to give them a lesson and bring a curtain rod, but the art handlers flung the quilts over plinths and that’s how they were displayed. It worked out ok.
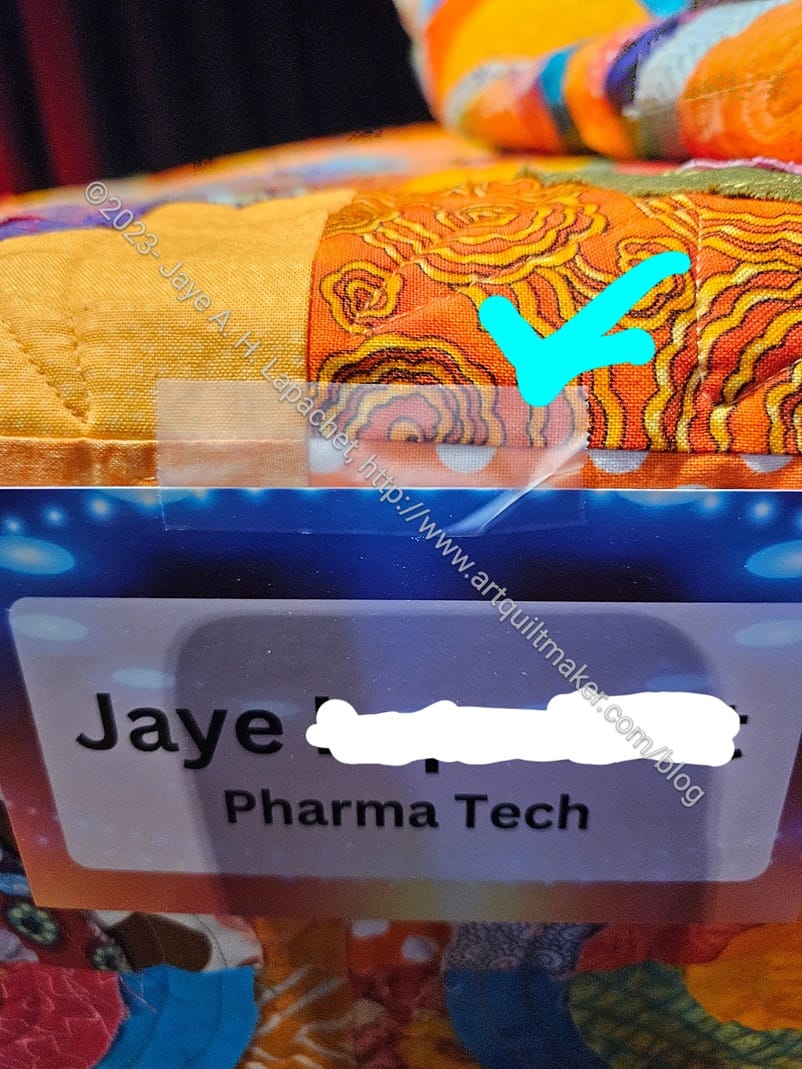
Orange You Glad with tape 🙁
I was kind of shocked when I saw that they had taped – yes Scotch taped! – the label to my quilt!!!
Clearly they were professional curators and it was only a few hours, so I didn’t worry about it too much, but it was still kind of shocking.
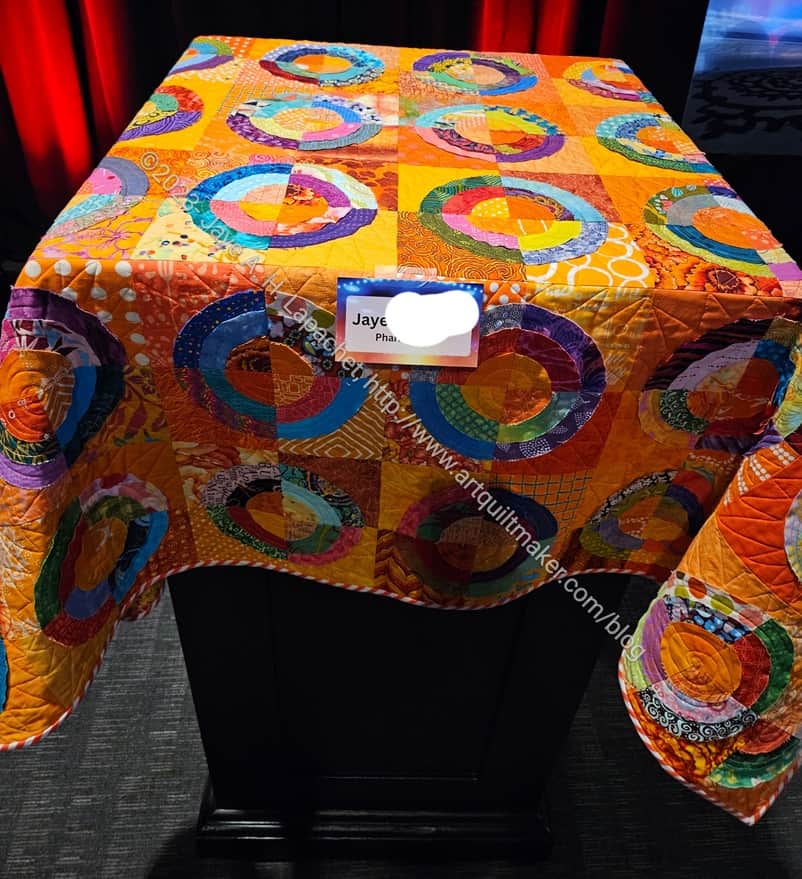
I had never seen a quilt on a plinth (pillar?) before, so that was an interesting experience. I thought it looked ok, though the border I sewed was completely lost.
Orange You Glad at work
I was glad to have the opportunity to have another quilt on display with paintings, wood carvings and other works.