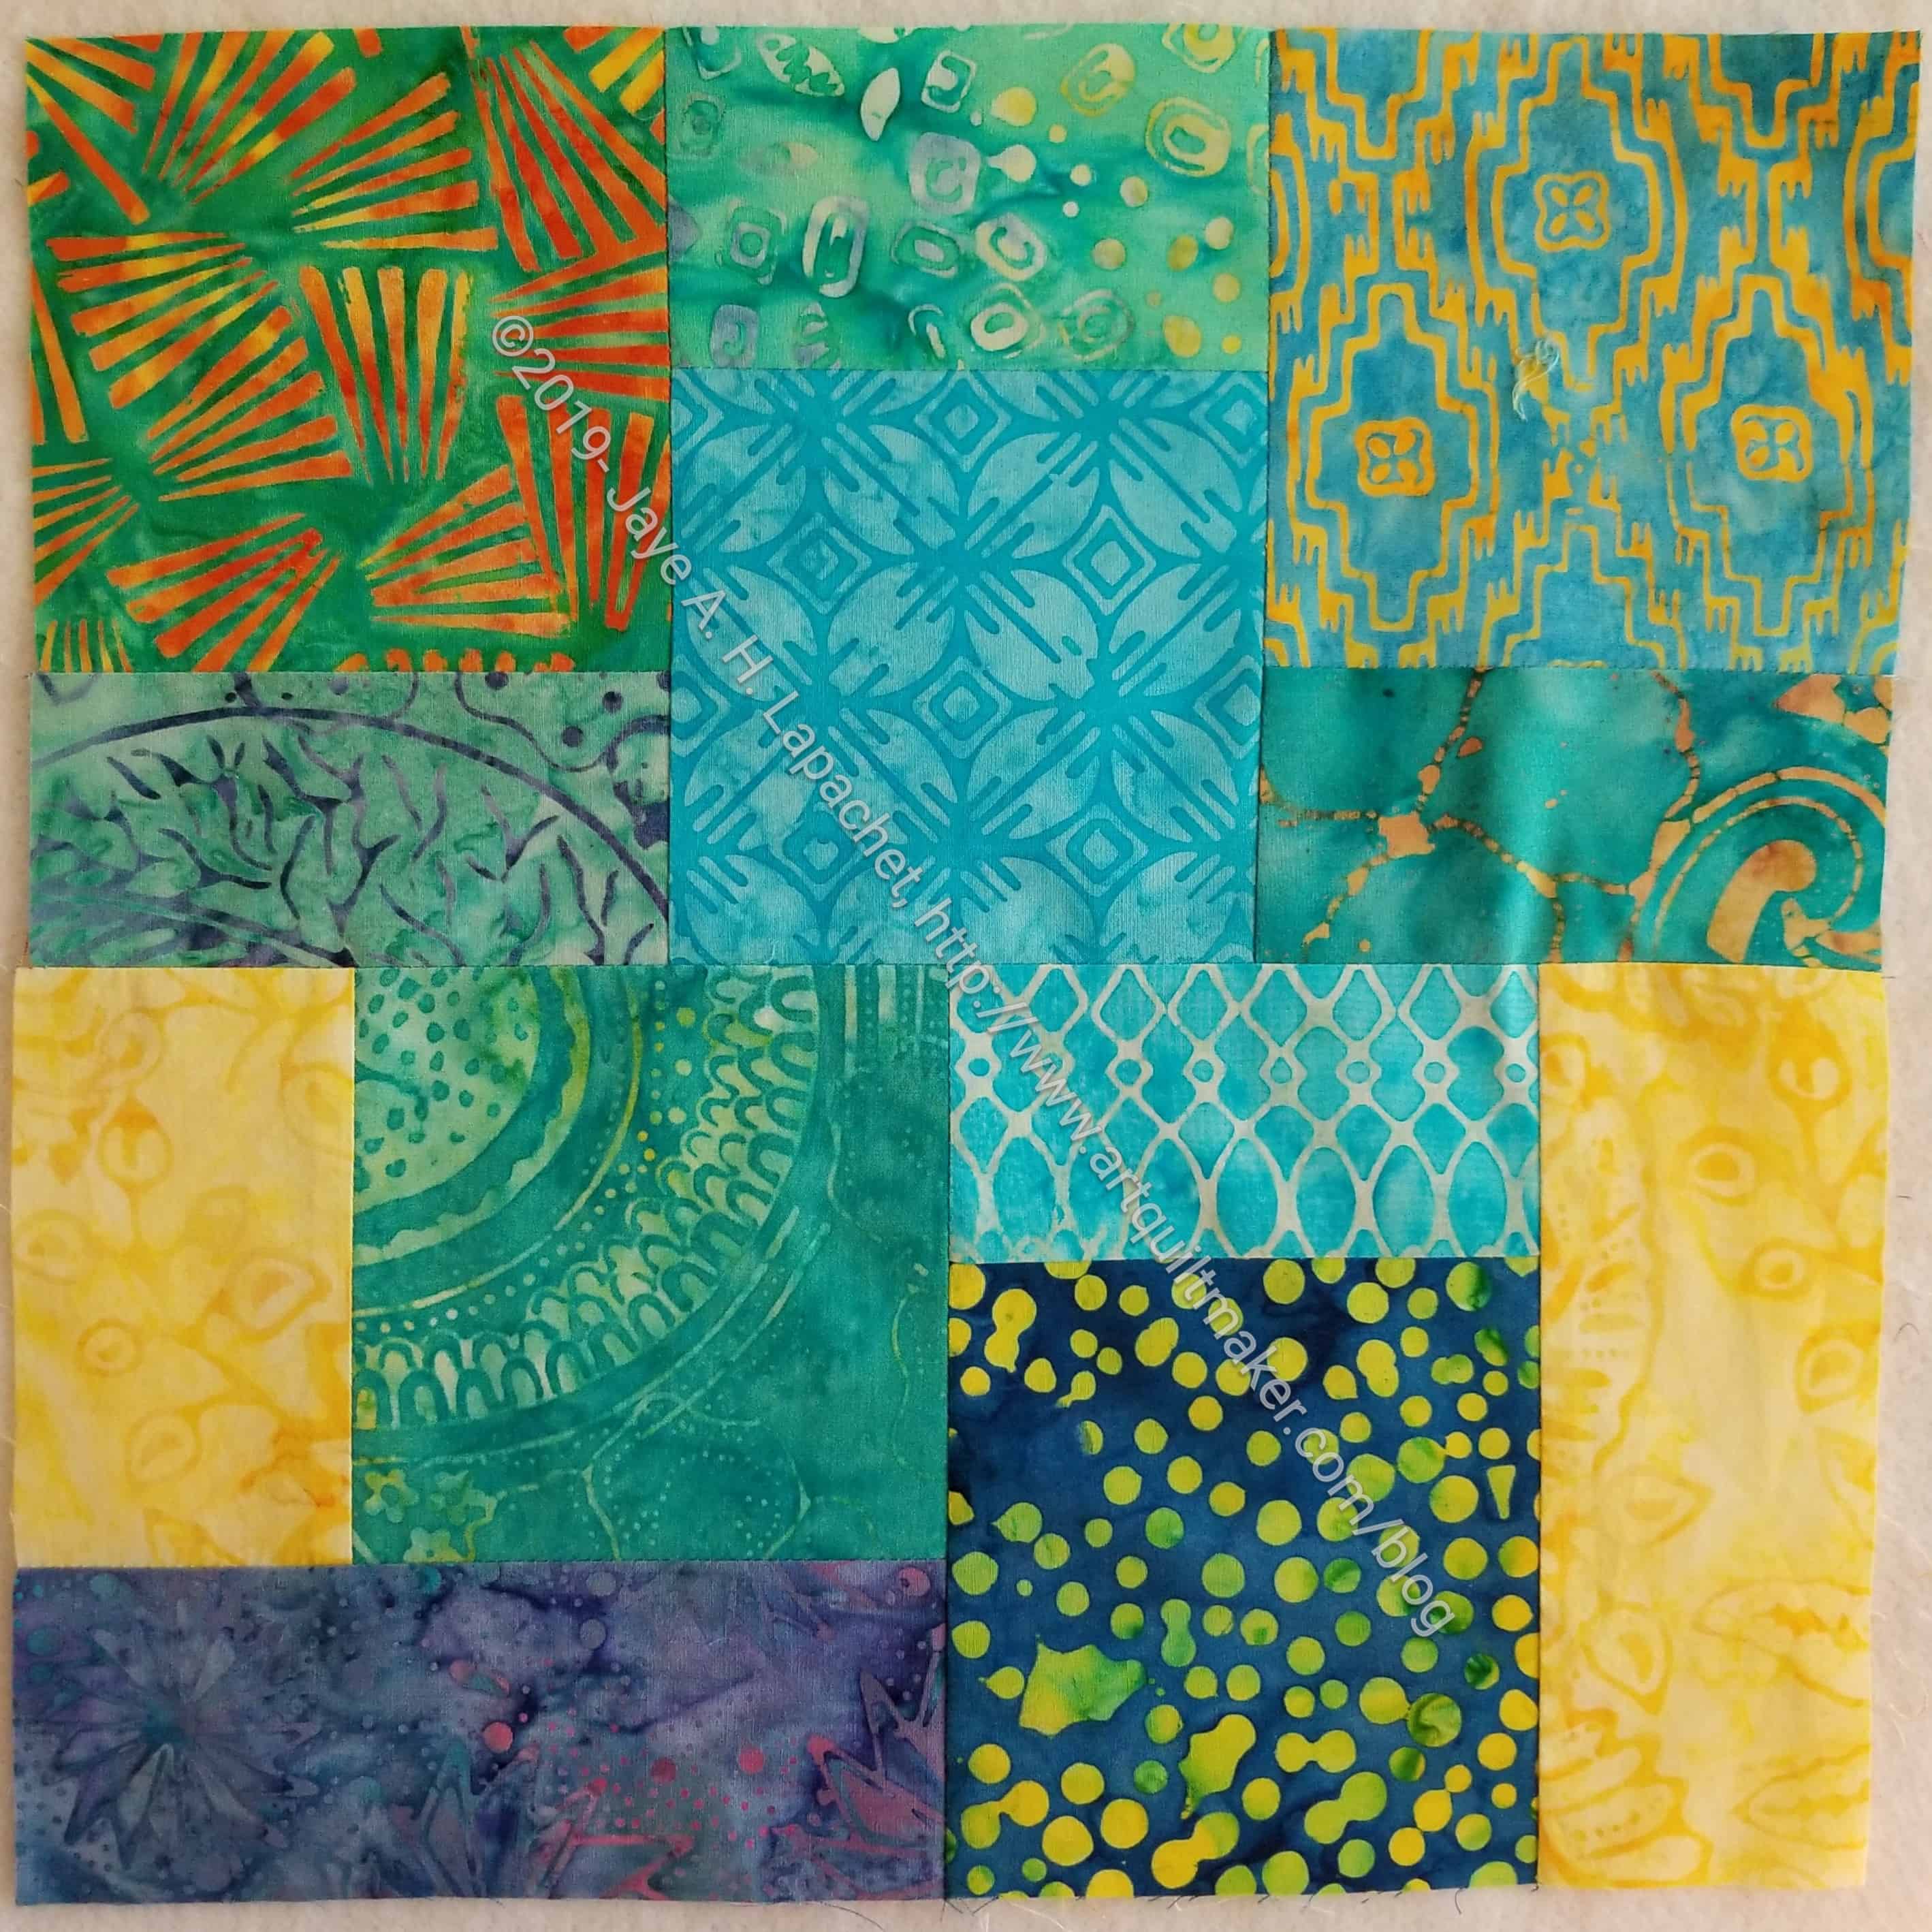
There is an online group to which I have belonged for a long time. Mostly people don’t talk about quiltmaking anymore, but recently one member asked for a block. A swap had been done a long time ago and she didn’t have quite enough blocks to finish her quilt. I said I would make one. I didn’t make any of the original blocks in the swap so this was a good opportunity to try out a block that might use up some scraps.
Julie made one, too. She sewed hers faster than me.
The Pacific International Quilt Festival was held this past weekend (plus Wednesday, Thursday and Friday) at the Santa Clara Convention Center. I really only had Friday to attend. This was a shame, because the quilts were actually more interesting this year than they have been in past years.
Julie and I met up at 11am and walked the show. I didn’t take as many photos as I have in the past. I wasn’t in the mood, I guess. I was in the mood to shop and bought a few nice things, including the Mary Poppins bag I was looking at last year. I also bought the various foam pieces I needed so I don’t have to scrounge around for those. I saw Odicoat for sale, but when I went back to buy it, they had sold out. I can get it easily on Amazon or Sew Sweetness, but I thought picking it up at PIQF would be easier since it was available. Oh well.
I was able to pick up a few things for raffle prizes for BAM next year.
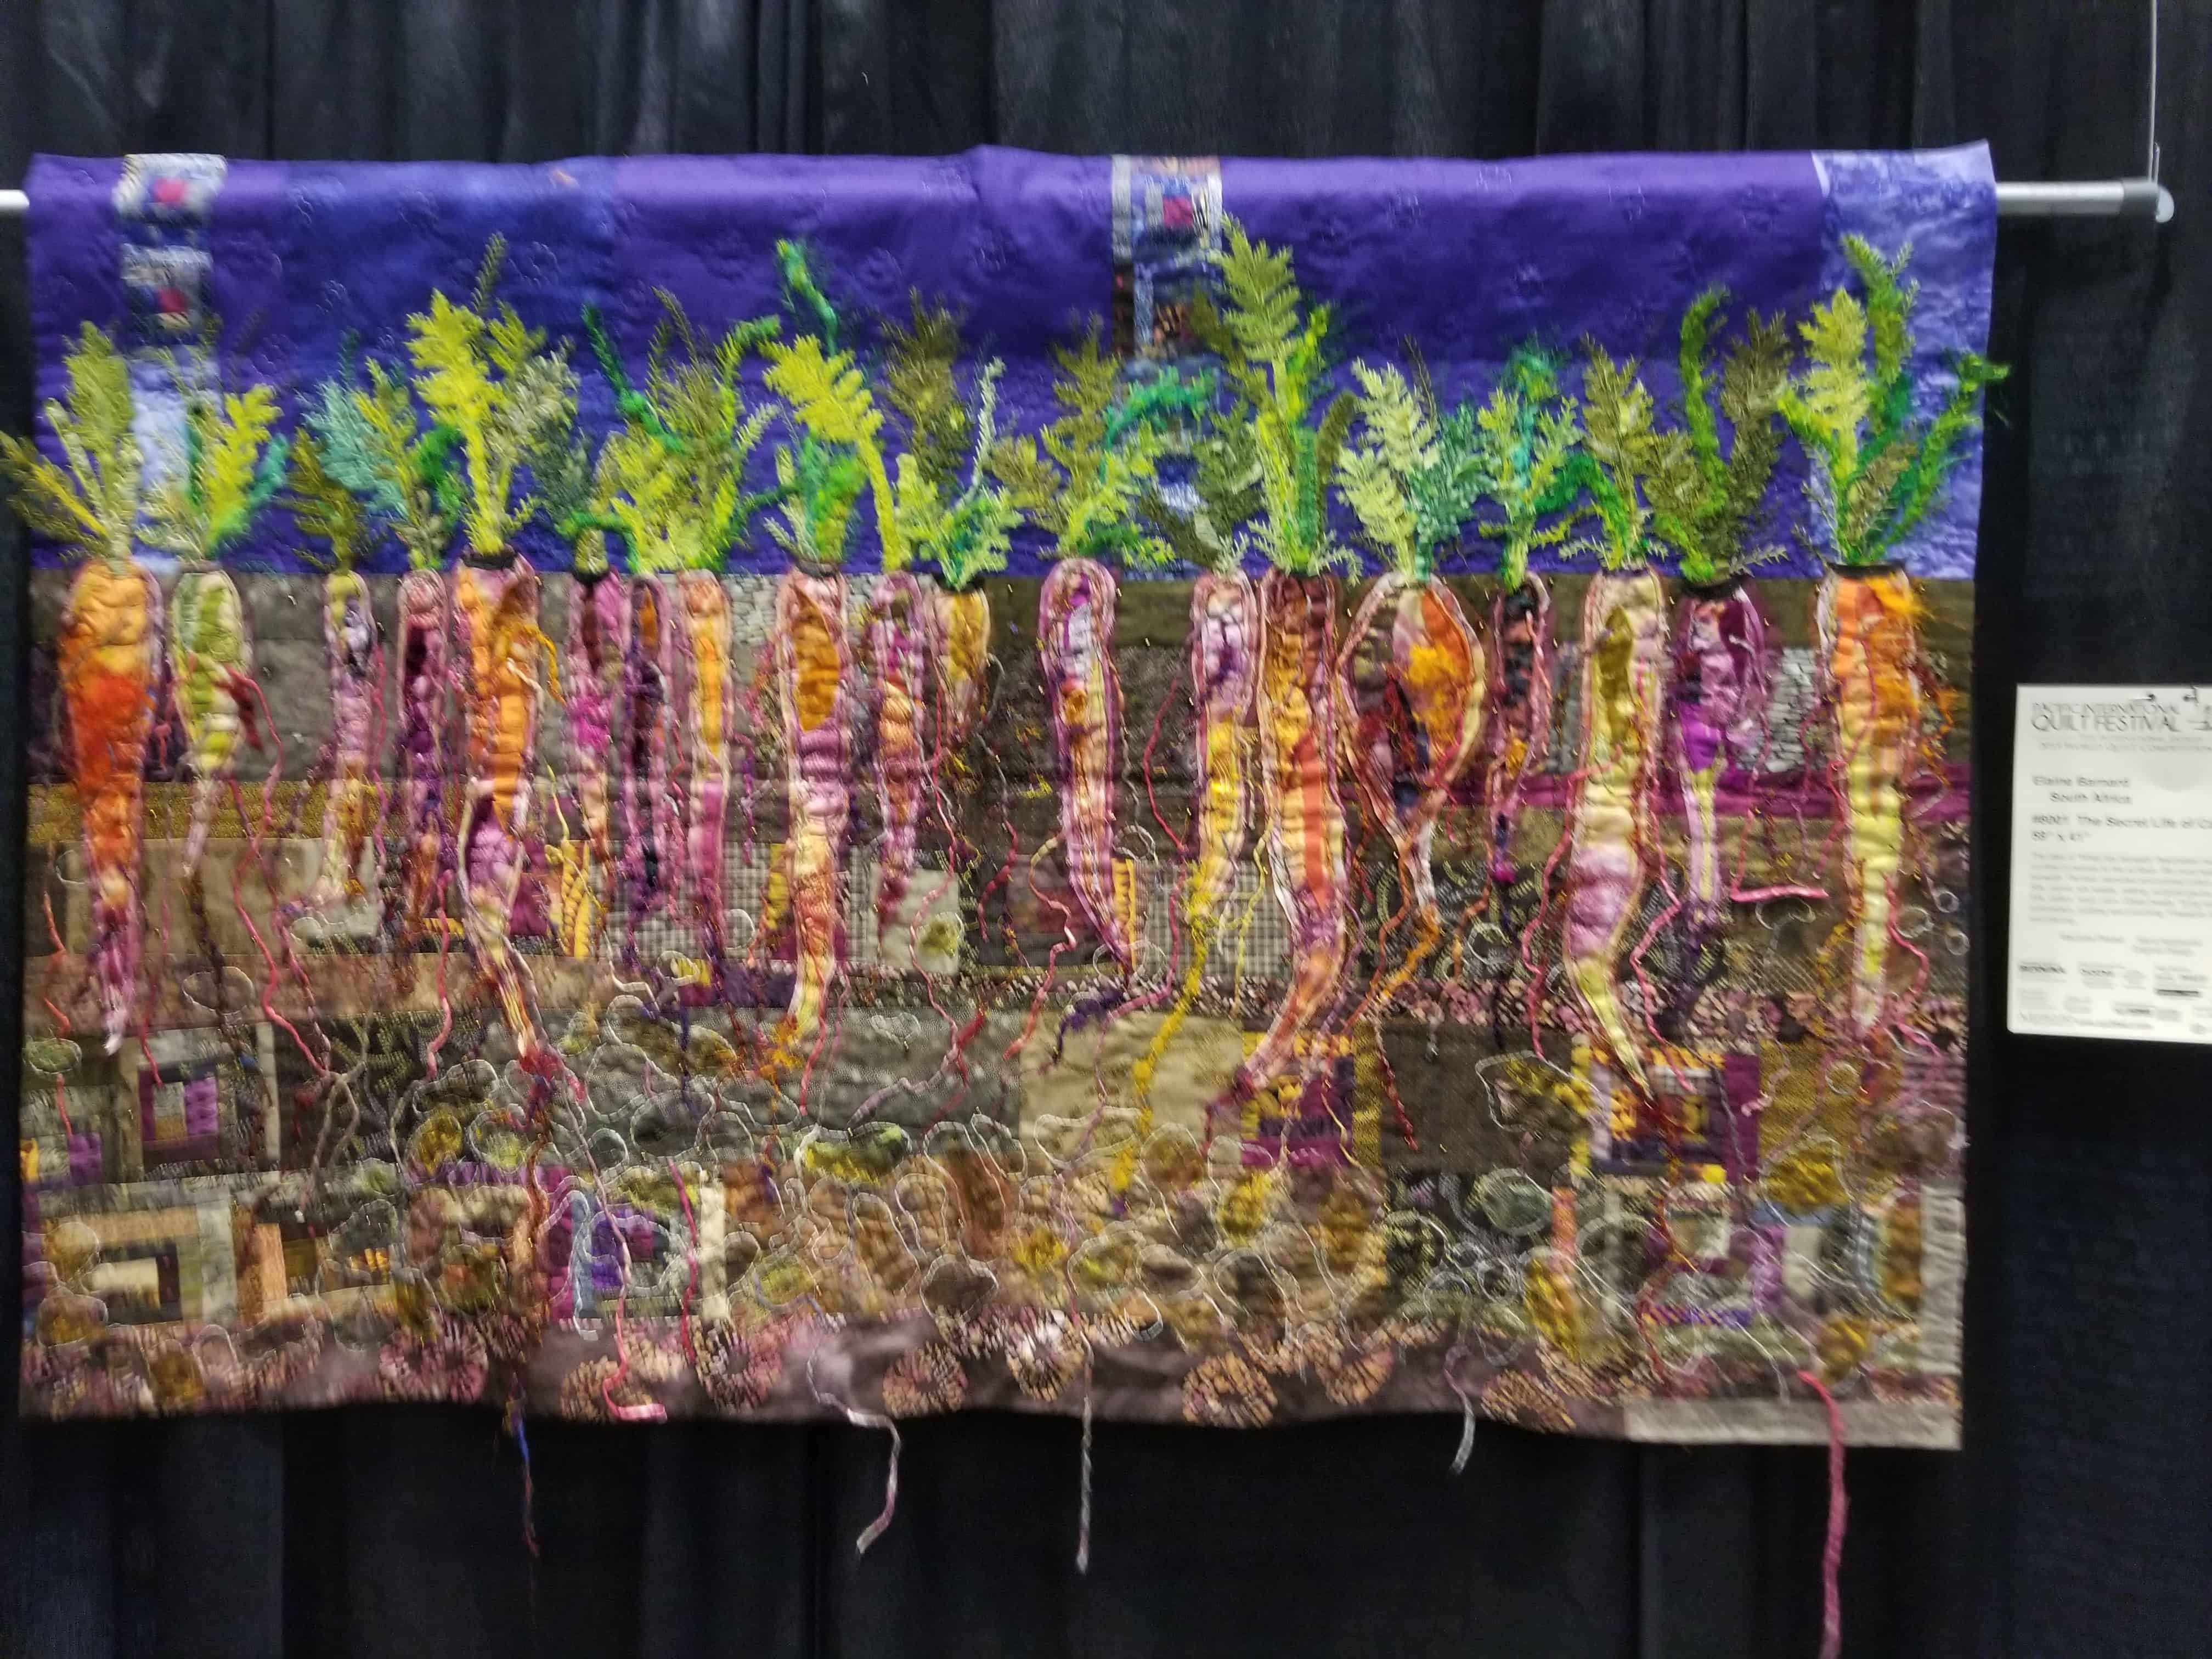
The Secret Life of Carrots by Elaine Barnard
My favorite quilt, I think, was The Secret Life of Carrots. This is a quilt by Elaine Barnard of South Africa, which Friend Julie pointed out to me.
One thing I like about it is the simplicity of the title, which hides the complexity of the design.
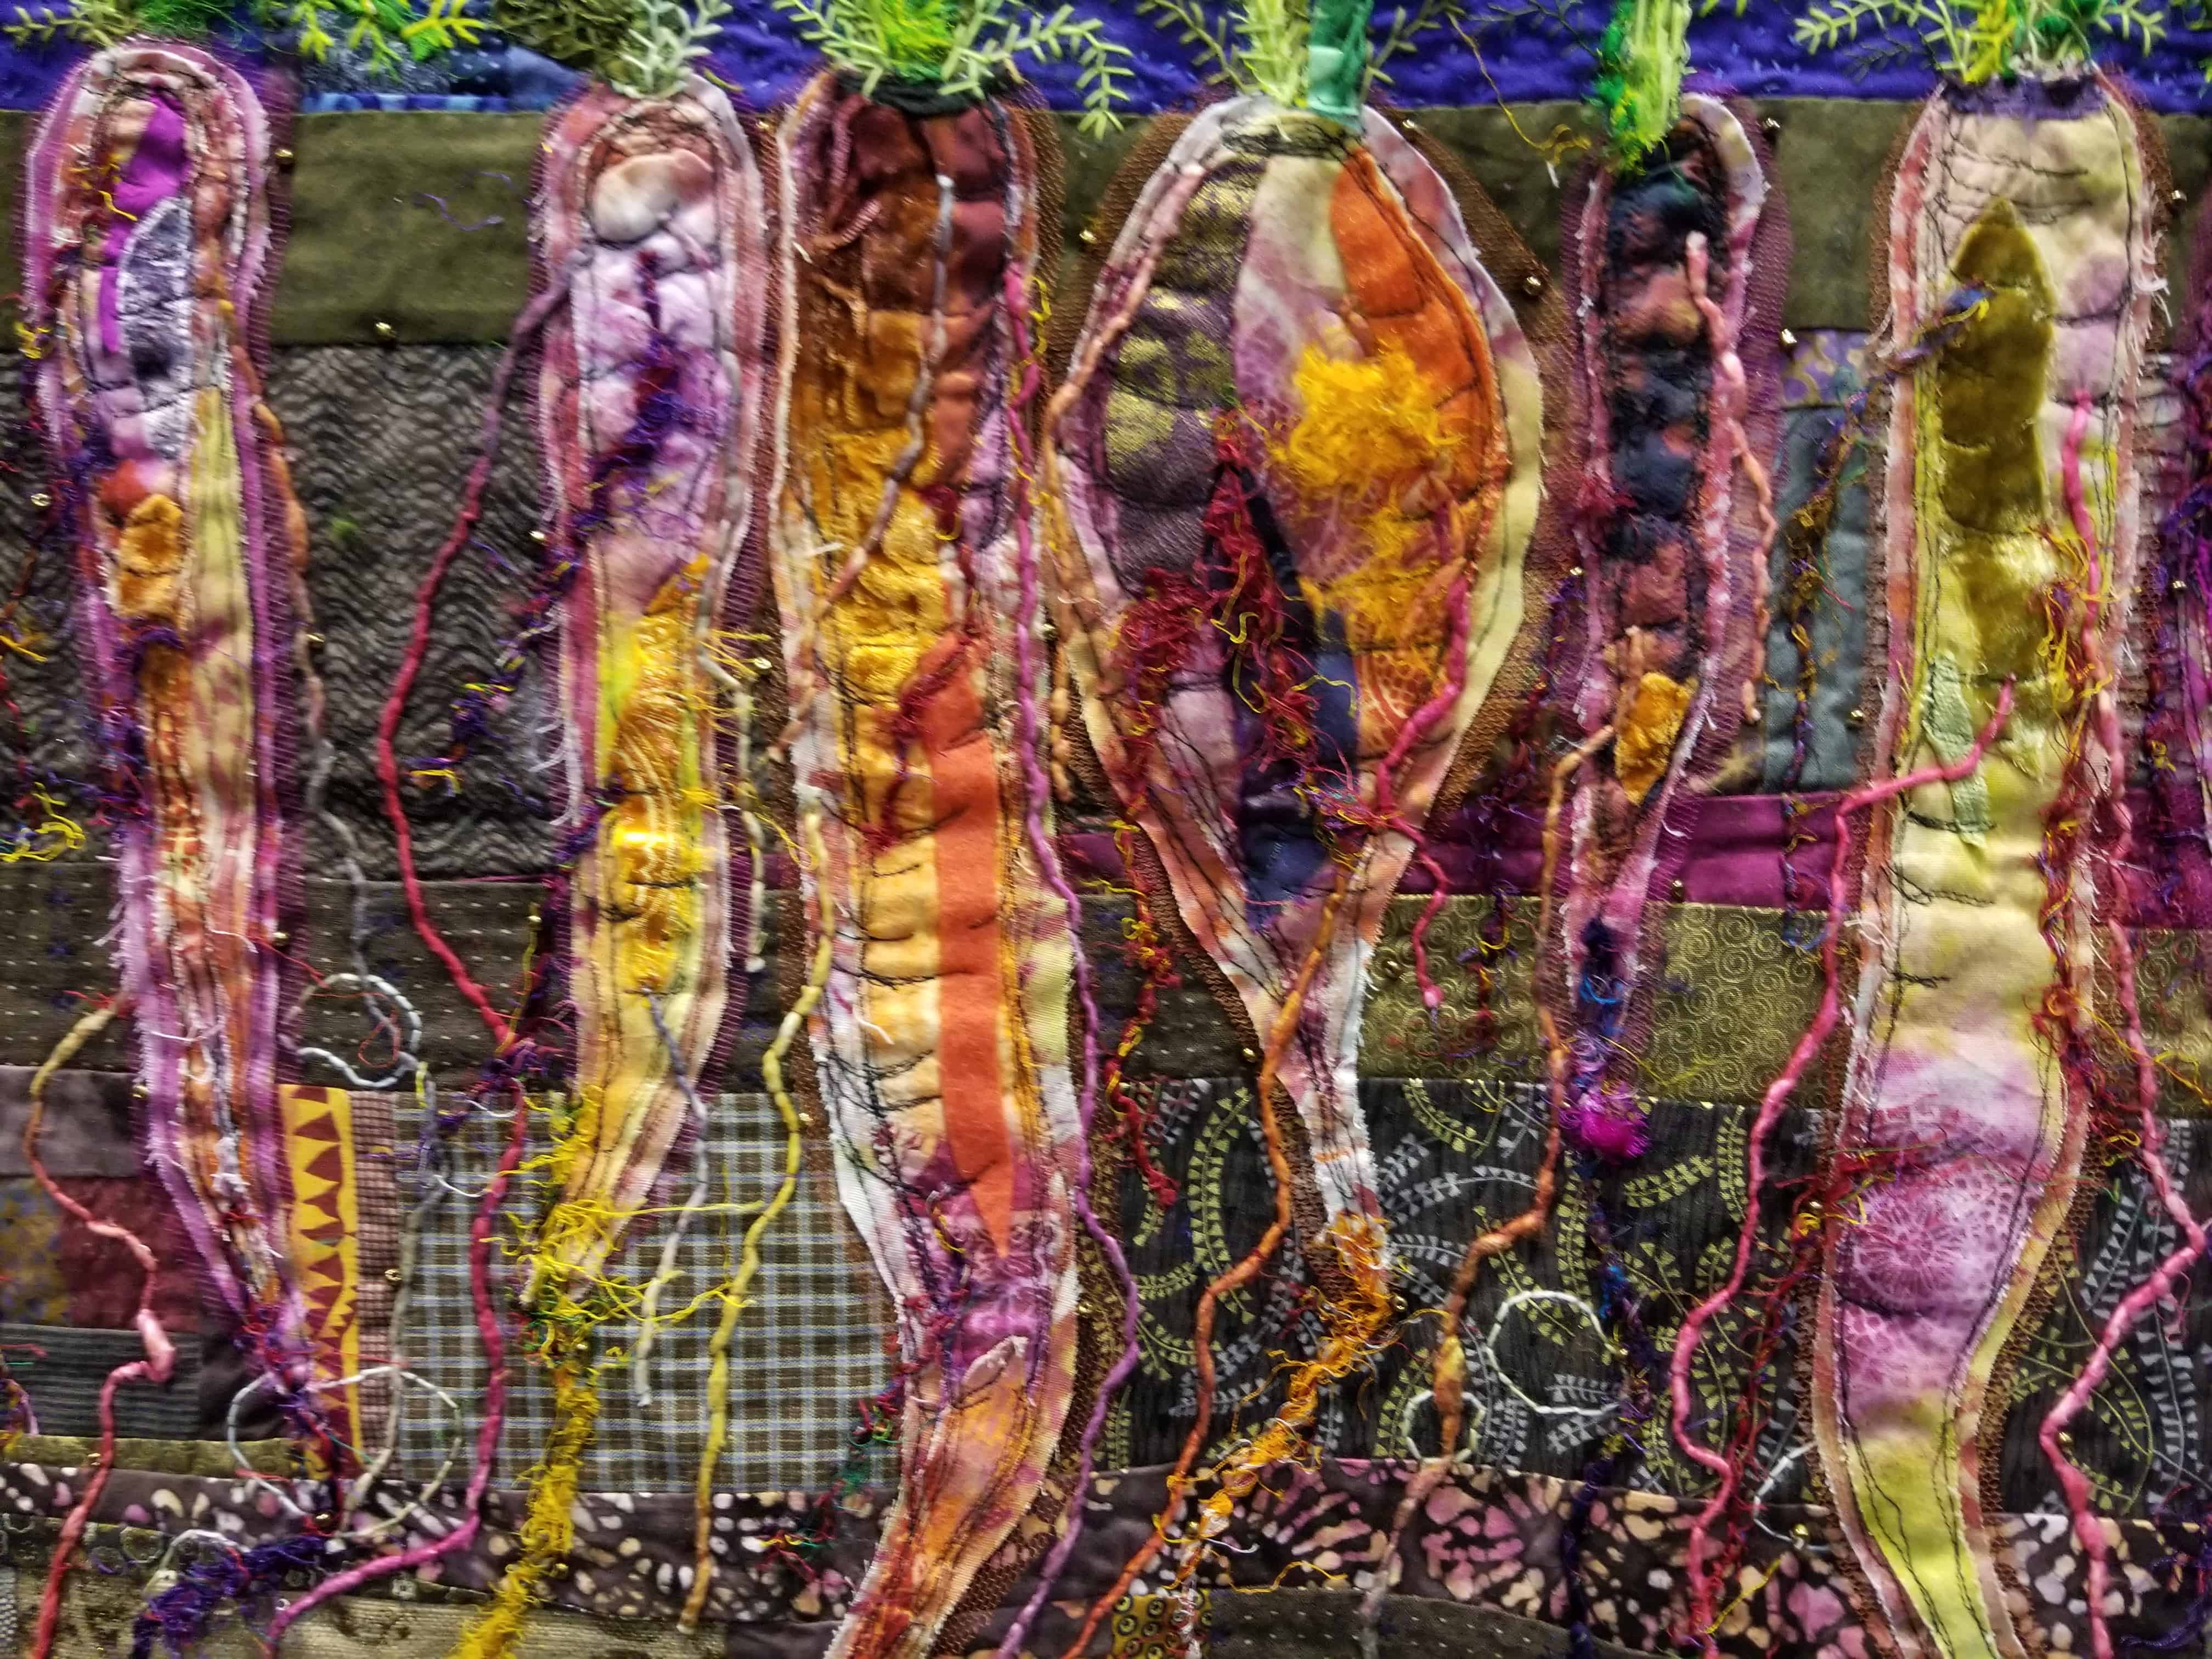
The Secret Life of Carrots by Elaine Barnard detail
I also like the hangy-downy threads. I have often thought that art quilts use threads hanging off the quilt badly. They don’t fit in with the design and make me think the maker was lazy. This quilt uses that concept very well.
One big thought I had while looking at the show was that symmetry was not as much in evidence. I greatly admire the artistry of art quilts, improv quilts and modern quilts. However, one of the things I love about quiltmaking is blocks and, especially the symmetry of blocks and quilts made up of blocks. I didn’t see that people were using fresh, modern and contemporary fabrics to explore symmetry and blocks in a new way. I guess blocks seem old-fashioned and everyone wants to be modern or make contemporary quilts. Even my quilt, FOTY 2017, which was on display, isn’t exactly a block quilt.
I really need two days for this show. It can be viewed in one day, but we spent 8 hours looking at quilts and shopping, I think, and that was really pushing it in terms of being on our feet. I felt rushed. I would have also liked more time at the vendors, but I didn’t NEED that.
Vinyl is often used in bagmaking. I have talked about it in general a number of times, including last week when I talked about marking vinyl for sewing. I thought I would gather some of what I have written before into one post for your convenience.
Supplies to use for sewing with vinyl:
SewTites – both dots and rectangle shapes are available. These act like pins without poking holes in your project
Tissue paper
Blue tape
Scissors: I don’t use my good Ginghers, but I also don’t use paper scissors. I use middle of the road Fiskars
Thread: I used my regular thread. It shows up, though, so make sure you use a color you don’t mind looking at.
Optional: Teflon foot
Optional: Roller foot – see post about using the roller foot
Do:
Use fabric for making handles, if you are making a bag. You can combine fabric and vinyl with no problem and the handles will be much more comfortable make out of fabric.
Use quilting thread, if you want, to sew vinyl bags together. It is a little thicker than regular Aurifil 50 wt. It gave me a little more of a feeling of security when I made the clear vinyl bag.
Use a blowdryer to get folds or wrinkles out. Test on a low heat farther away from the vinyl and gradually increase the heat. Move the blowdryer closer and closer until you find the sweet spot.
Sew in creases. Pressing them (see below) doesn’t work, so sewing an 1/8th of an inch from the edge puts in a nice, permanent crease.
Don’t:
Press. Pressing is not an option. The vinyl will melt all over your iron, your ironing board, everything and make a huge mess. You can use a blowdryer if there are folds.
Don’t use pins. Once you prick vinyl, the hole does not ‘heal’ like it does with cotton quilting fabric
No ripping. Jack-the-Ripper is not your friend with this material. Again, the holes do not heal, so if you need to rip, you will need to re-cut the piece or sew in exactly the same holes.
Add a vinyl pocket to a bag in a location that might be near a heat source, e.g. an integrated pressing mat.
The big thing is to use tissue on top and bottom of the vinyl so that the vinyl is not in contact with your sewing machine bed or presser foot. The vinyl will stick to the bed of the machine and the foot. The tissue paper buffers both from the vinyl and allows you to sew.
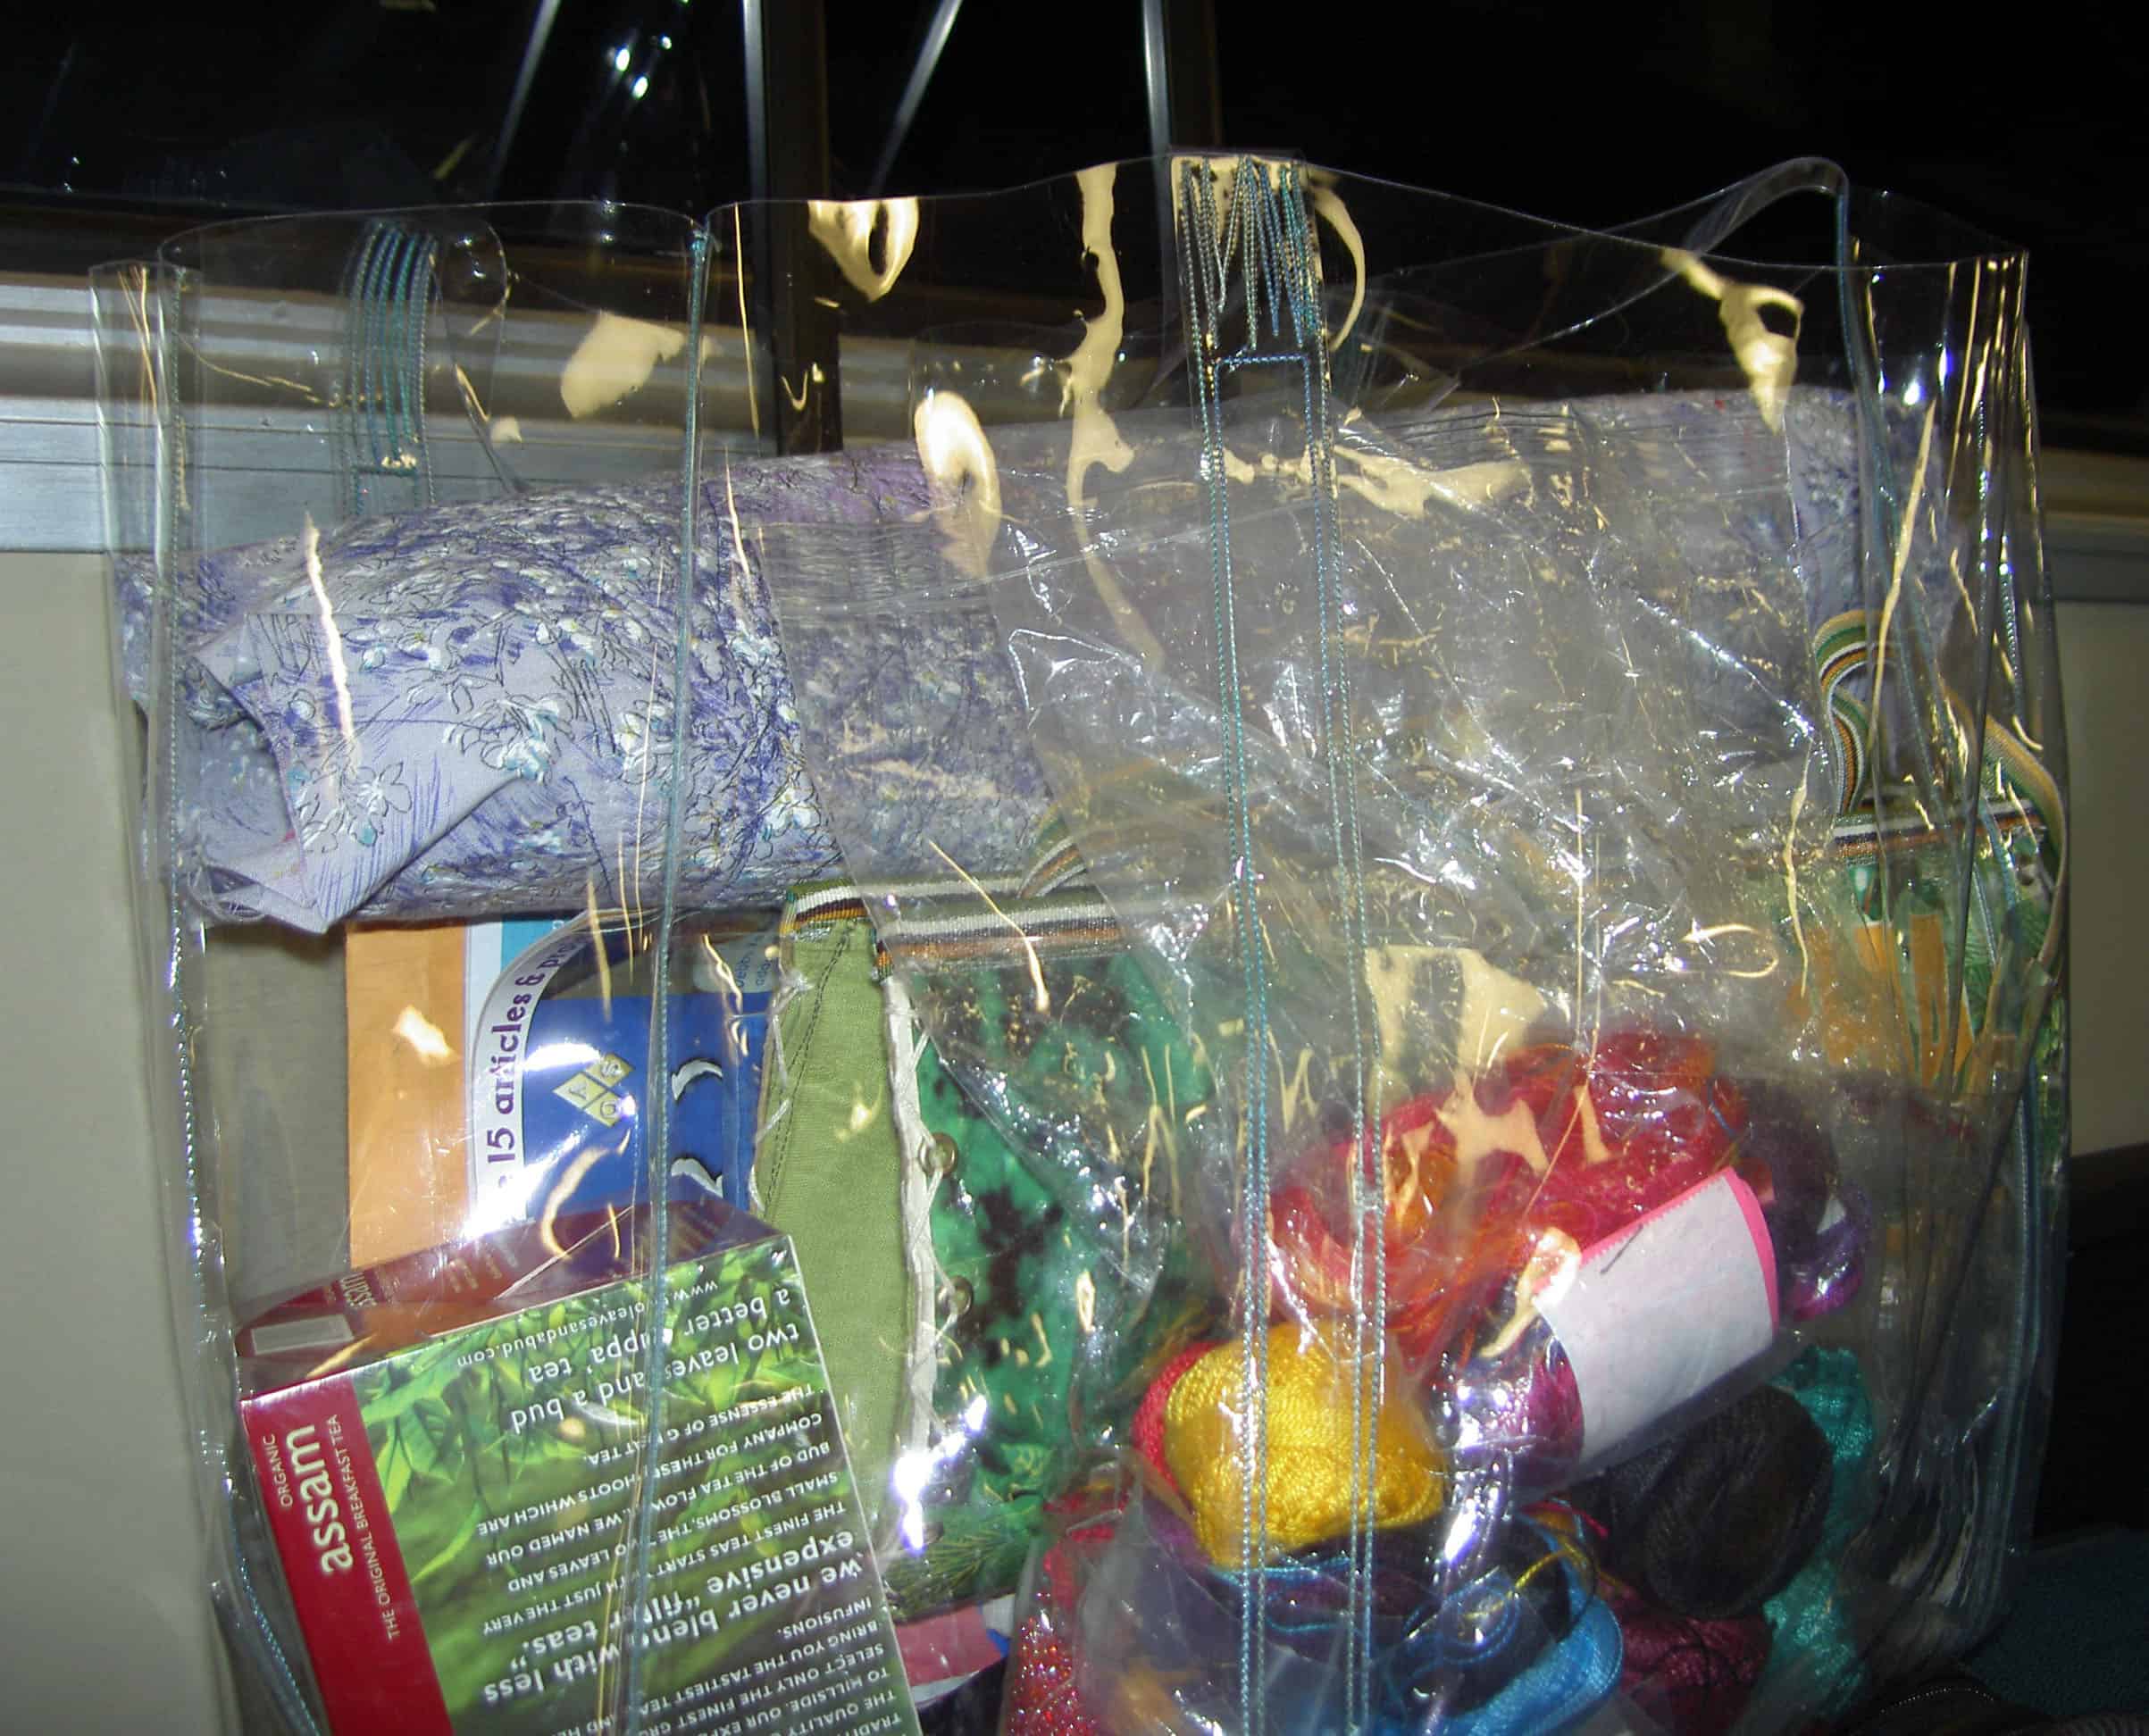
Clear Tote in Transit
Pen leaks, water spills and other messes are easy to clean up with paper towel and some Simply Green or a cleaning wipe. Sometimes, I can’t avoid putting the vinyl bag I made down in something that someone else has spilled simply because I didn’t see the mess. The vinyl also protects my stuff quite well in the rain.
Some of the things that I like about this bag are also disadvantages. It is great for me to be able to see inside the bag, but I don’t want other people to see my phone, tablet or digital camera. I definitely cannot use this bag to hold a table at a cafe’.
Using vinyl as a bag in hot weather is iffy. The vinyl becomes very soft and pliable. I think the handles might stretch if the weather becomes hot enough.
Marking vinyl
While working on my project, I had to develop some tips/tricks of my own.
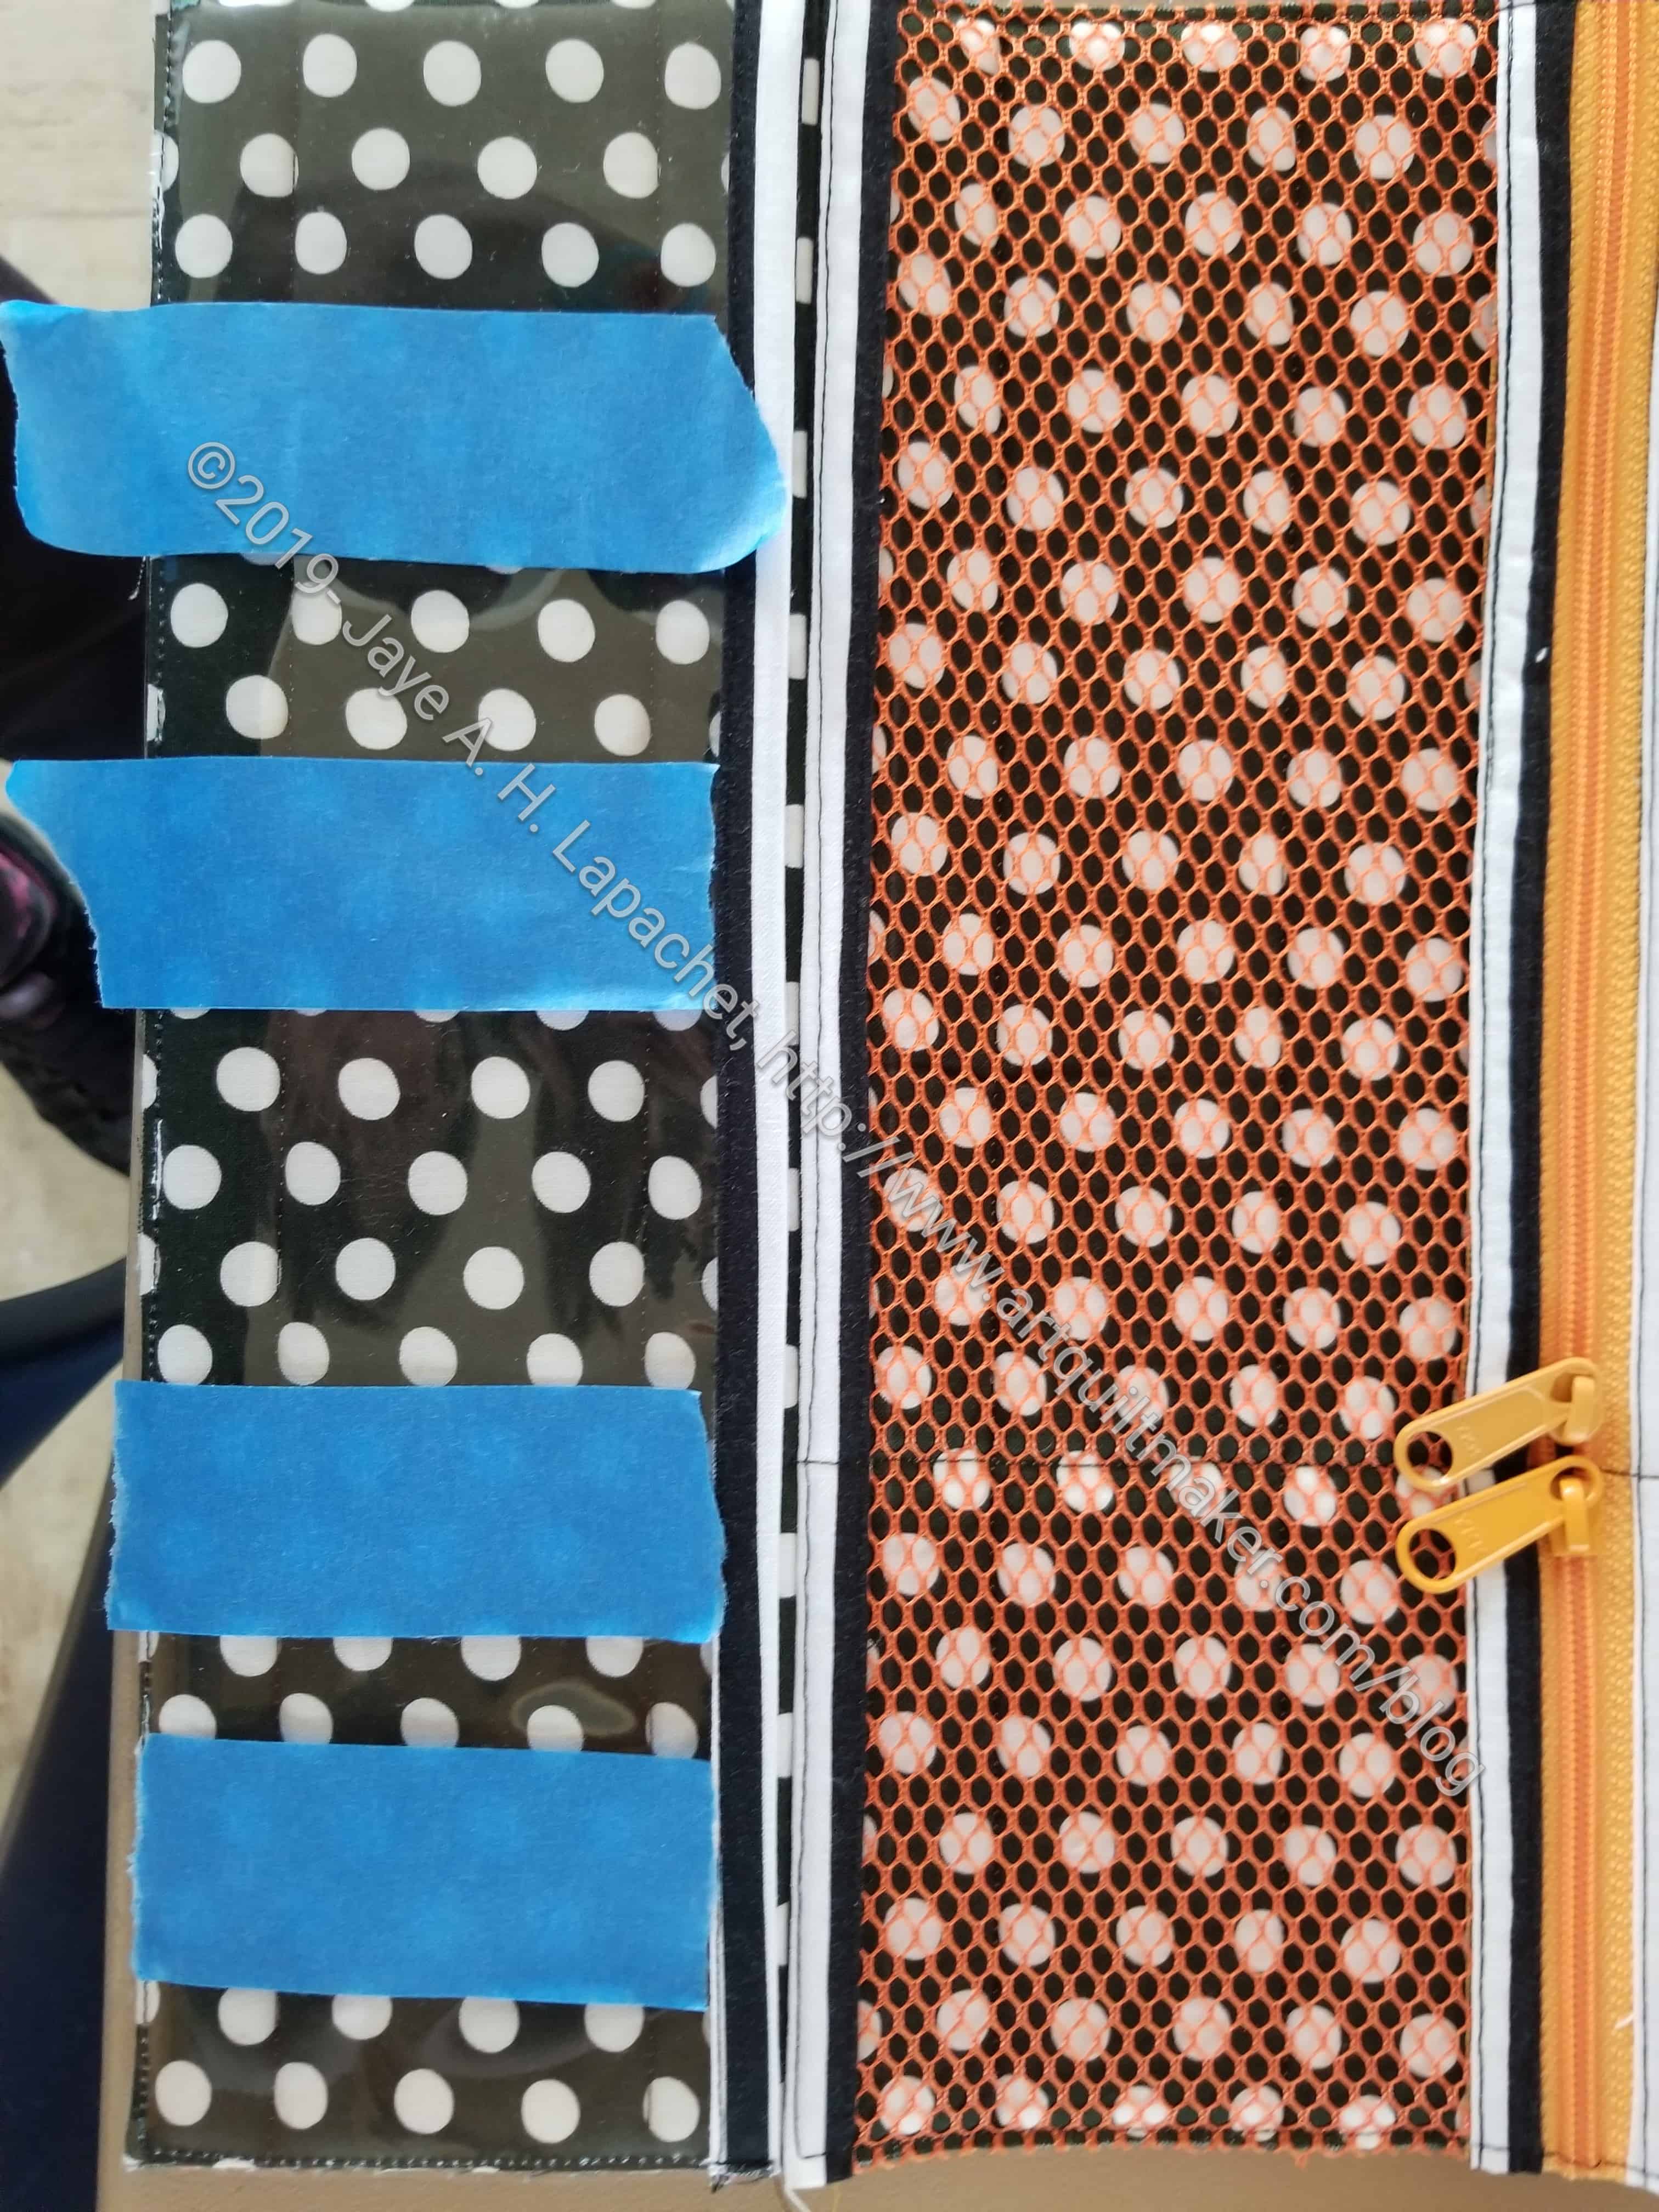
The Running with Scissors pattern, in general, is really good. It says, however, in the vinyl pocket part of the pattern, to mark the vinyl to make smaller pockets. The pattern didn’t say how to mark the vinyl. I didn’t have access to the video at the time, which may have some tips. I didn’t want to use a Micron pen, though I know that ink can be washed off of vinyl pretty easily. I also don’t have one of those wash away pens, so I decided to use blue tape. I used tape to mark the lines I needed to sew along.
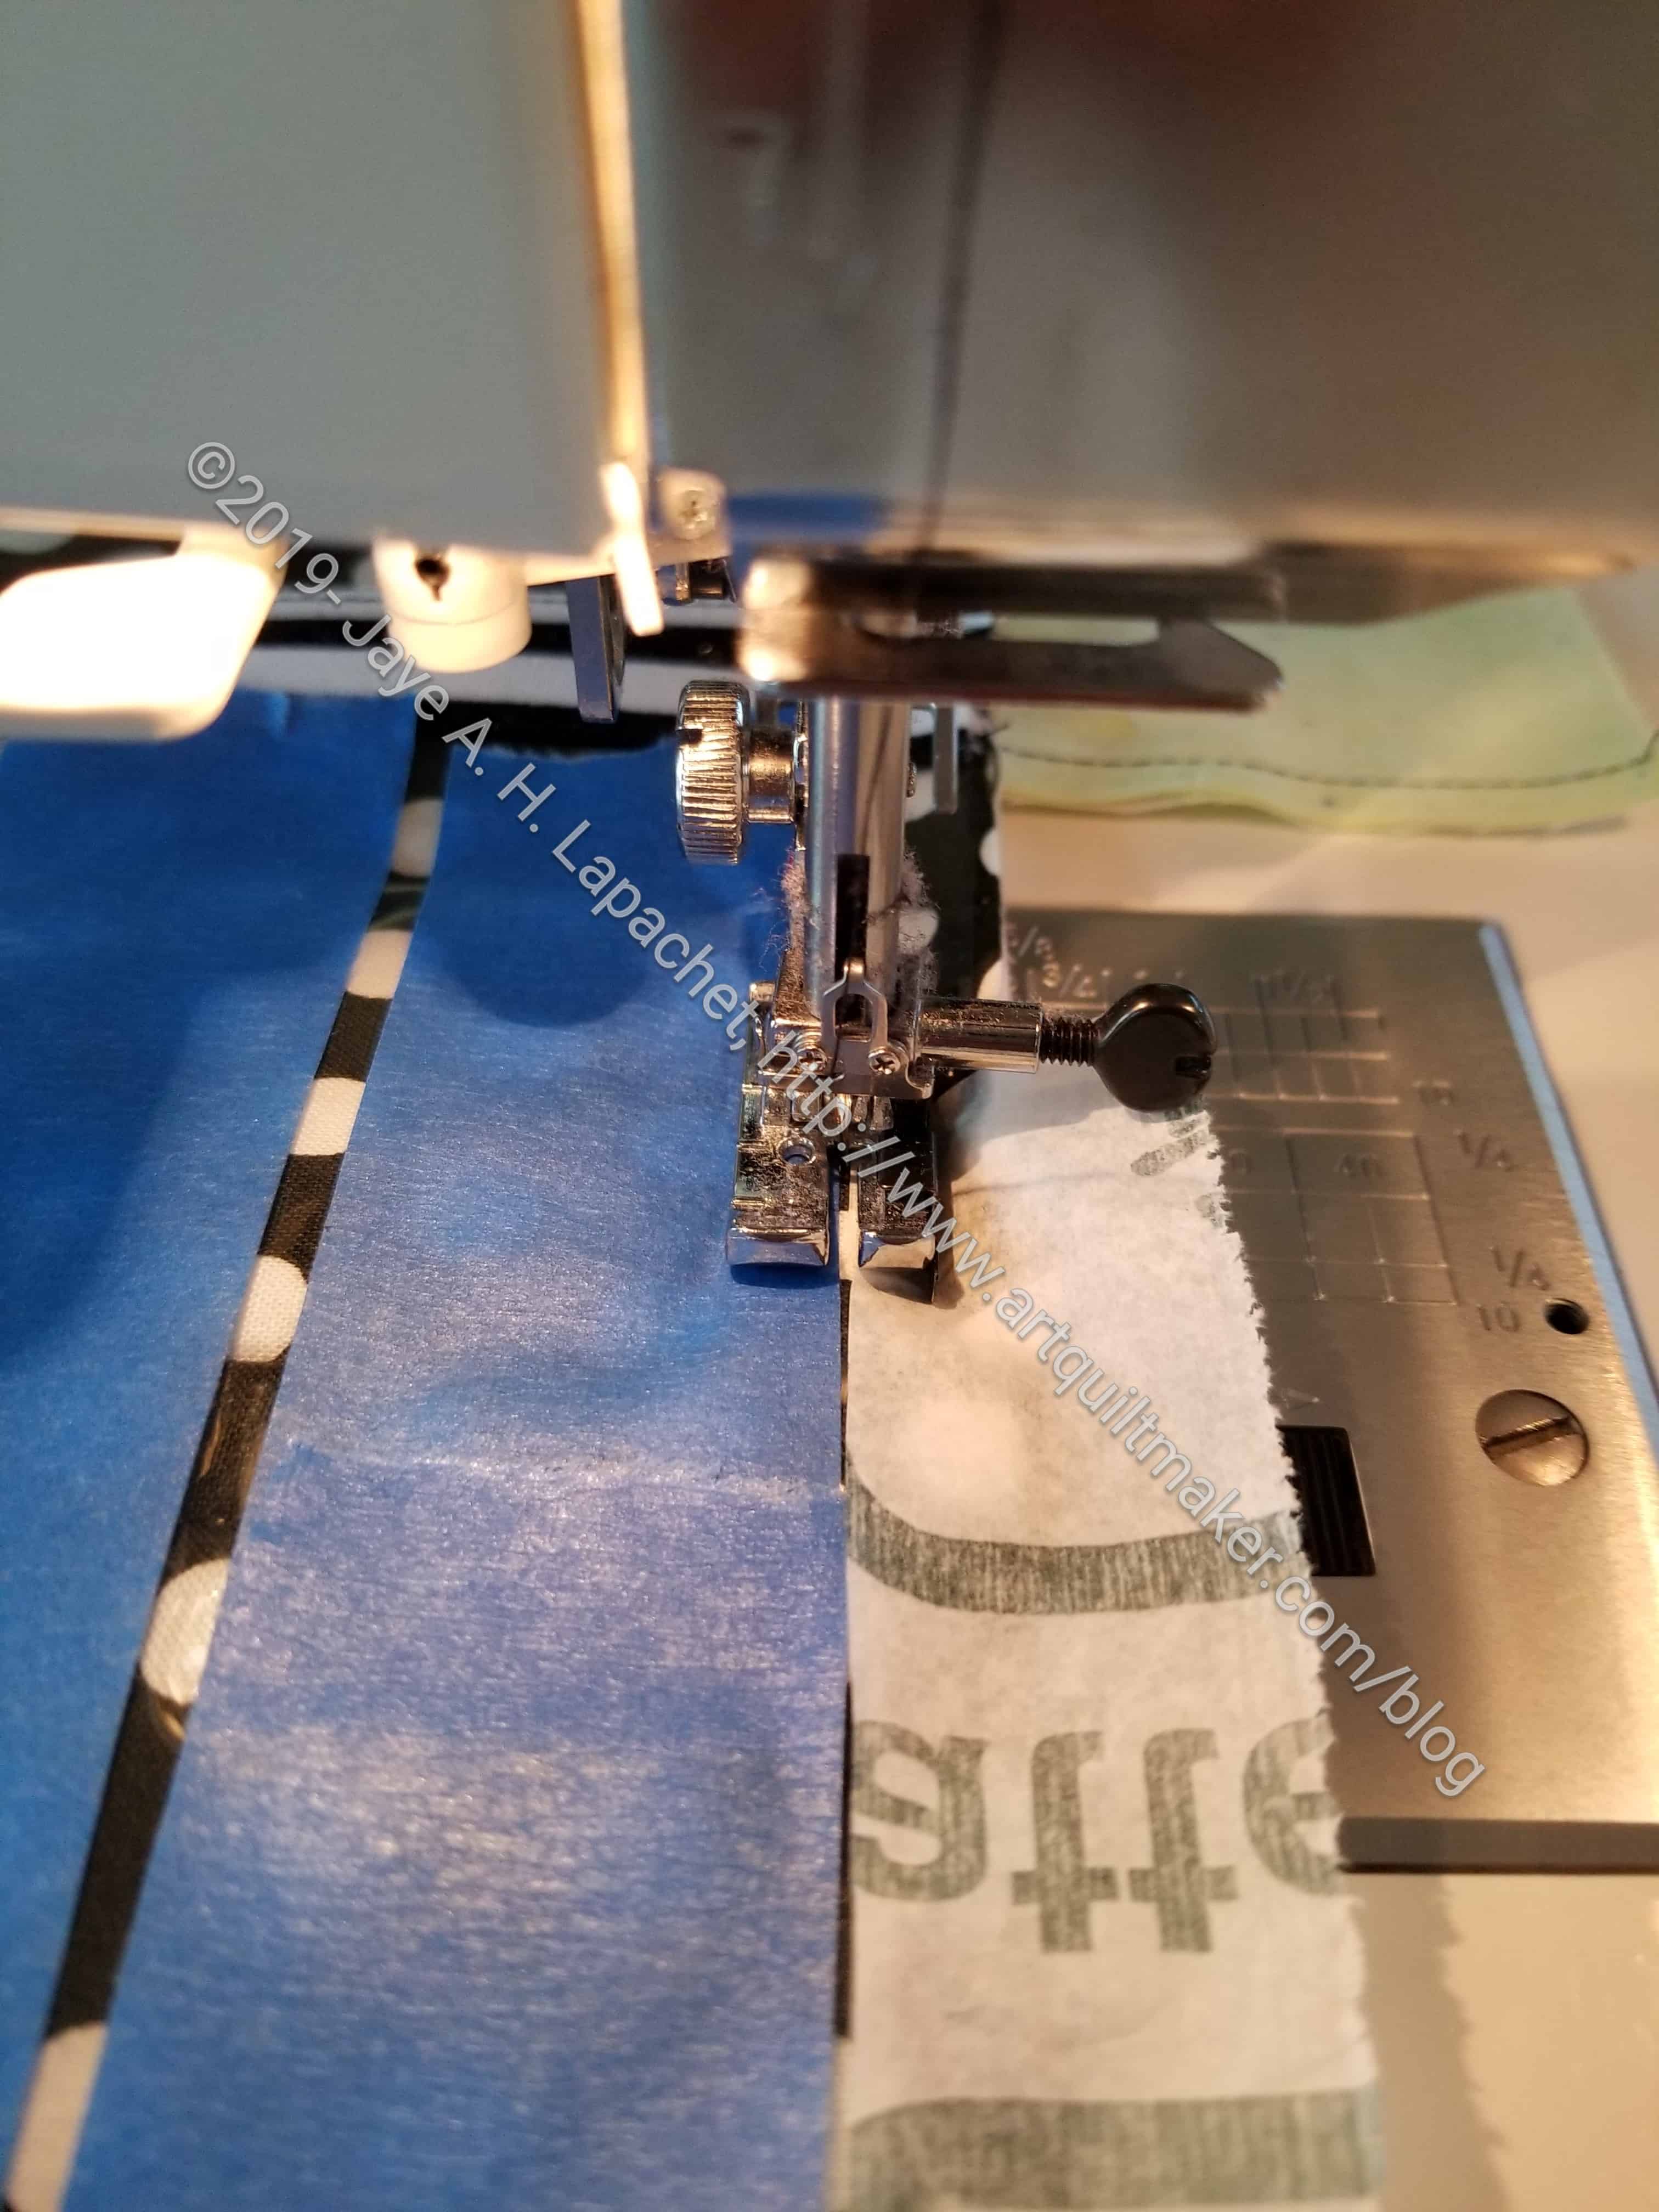
Sew along the tape
I sewed right next to the tape. I didn’t want to sew through it, because that would create a mess. I knew my needle would cake with the adhesive. This was a tricky operation, because I also needed to sew with the vinyl covered by tissue. I didn’t bring specific tissue, so I used the wrapper from the vinyl. You don’t need much, but you do need longish strips. The only issue was that there was a little residue left on the vinyl from the tape. I’ll clean it off later.
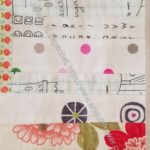
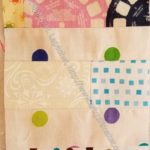
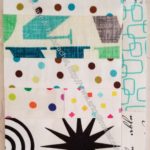
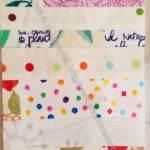
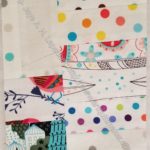
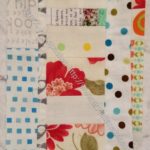
I have been sewing – sewing – sewing and never getting anywhere with these blocks. The other day I finally was able to cut some new blocks out of the piecing I had been working on.
These blocks are less about strips than about chunks. I have some strips in the white drawer, but mostly weird shapes. I have about 24 blocks now and haven’t even made a dent in the scraps in this drawer.
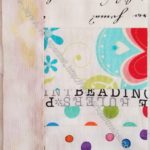
Recently I talked about some fabric I bought and some ideas for a new project. I have pretty much ruled out the idea of the complicated design I drew up. Not forever. Just for this fabric bundle.
While I have been thinking about it, I have thrown in a couple of other bits of fabric.
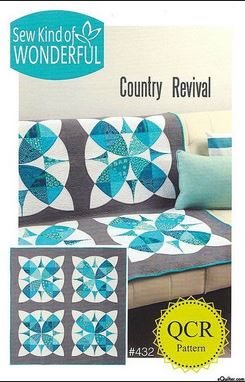
Country Revival by Sew Kind of Wonderful
Recently I bought a pattern called Country Revival by Sew Kind of Wonderful. You know what that means, right? Yep, Quick Curve Ruler.. Ever since I made MetroScape, I have wanted to use that ruler again. This might be the time.
The example quilt has a limited color palette, which I like, though I think it might be interesting to use the fabrics above, carefully, in the different circular designs.
I originally planned to publish this post on September 19. Somehow, the time got away from me. While I did finish the Running with Scissors tote, this post has mostly to do with working with vinyl. I thought it might still be of interest.
Marking vinyl
One thing that happened while I was working on my project was I had to develop some tips/tricks of my own.
The pattern, in general, is really good. It says, however, in the vinyl pocket part of the pattern to mark the vinyl to make smaller pockets. It didn’t say how to mark the vinyl. I didn’t have access to the video at the time, which may have some tips. I didn’t want to use a Micron pen, though I know that the ink can be washed off of vinyl pretty easily. I also don’t have one of those wash away pens, so I decided tape would work. I used tape to mark the lines I needed to sew along.
Sew along the tape
I sewed right next to the tape. I didn’t want to go through it, because that would create a mess. This was tricky, because I also needed to sew with the vinyl covered by tissue. As I have talked about many times, you need to take care when working with vinyl. I didn’t have my teflon foot with me (duh, oversight), so I used the wrapper from the vinyl. You don’t need much, but you do need longish strips. The only issue was that there was a little residue left on the vinyl from the tape. I’ll clean it off later.
Sewing over zippers
The zippers from ByAnnie are gorgeous. You can imagine that I was a little annoyed when I had to sew over the zipper ends.
I had to open the zipper – move the slide to the center, so it wouldn’t end up on the wrong side of the sewing line. That left the end of the zipper tape flooping around. I wanted the zipper teeth that would remain in the bag (not cut off) to be as close together as possible. I held it together with some tape.
This project has a lot of steps, but it does go together very well.
As I mentioned yesterday, I am just back from a trip to SoCal for a Native Sons event. I have mentioned the Charitable Foundation in at least one previous post along with its mission to help children with craniofacial anomalies such as Cleft Palate. If you want to make a donation, use the form.
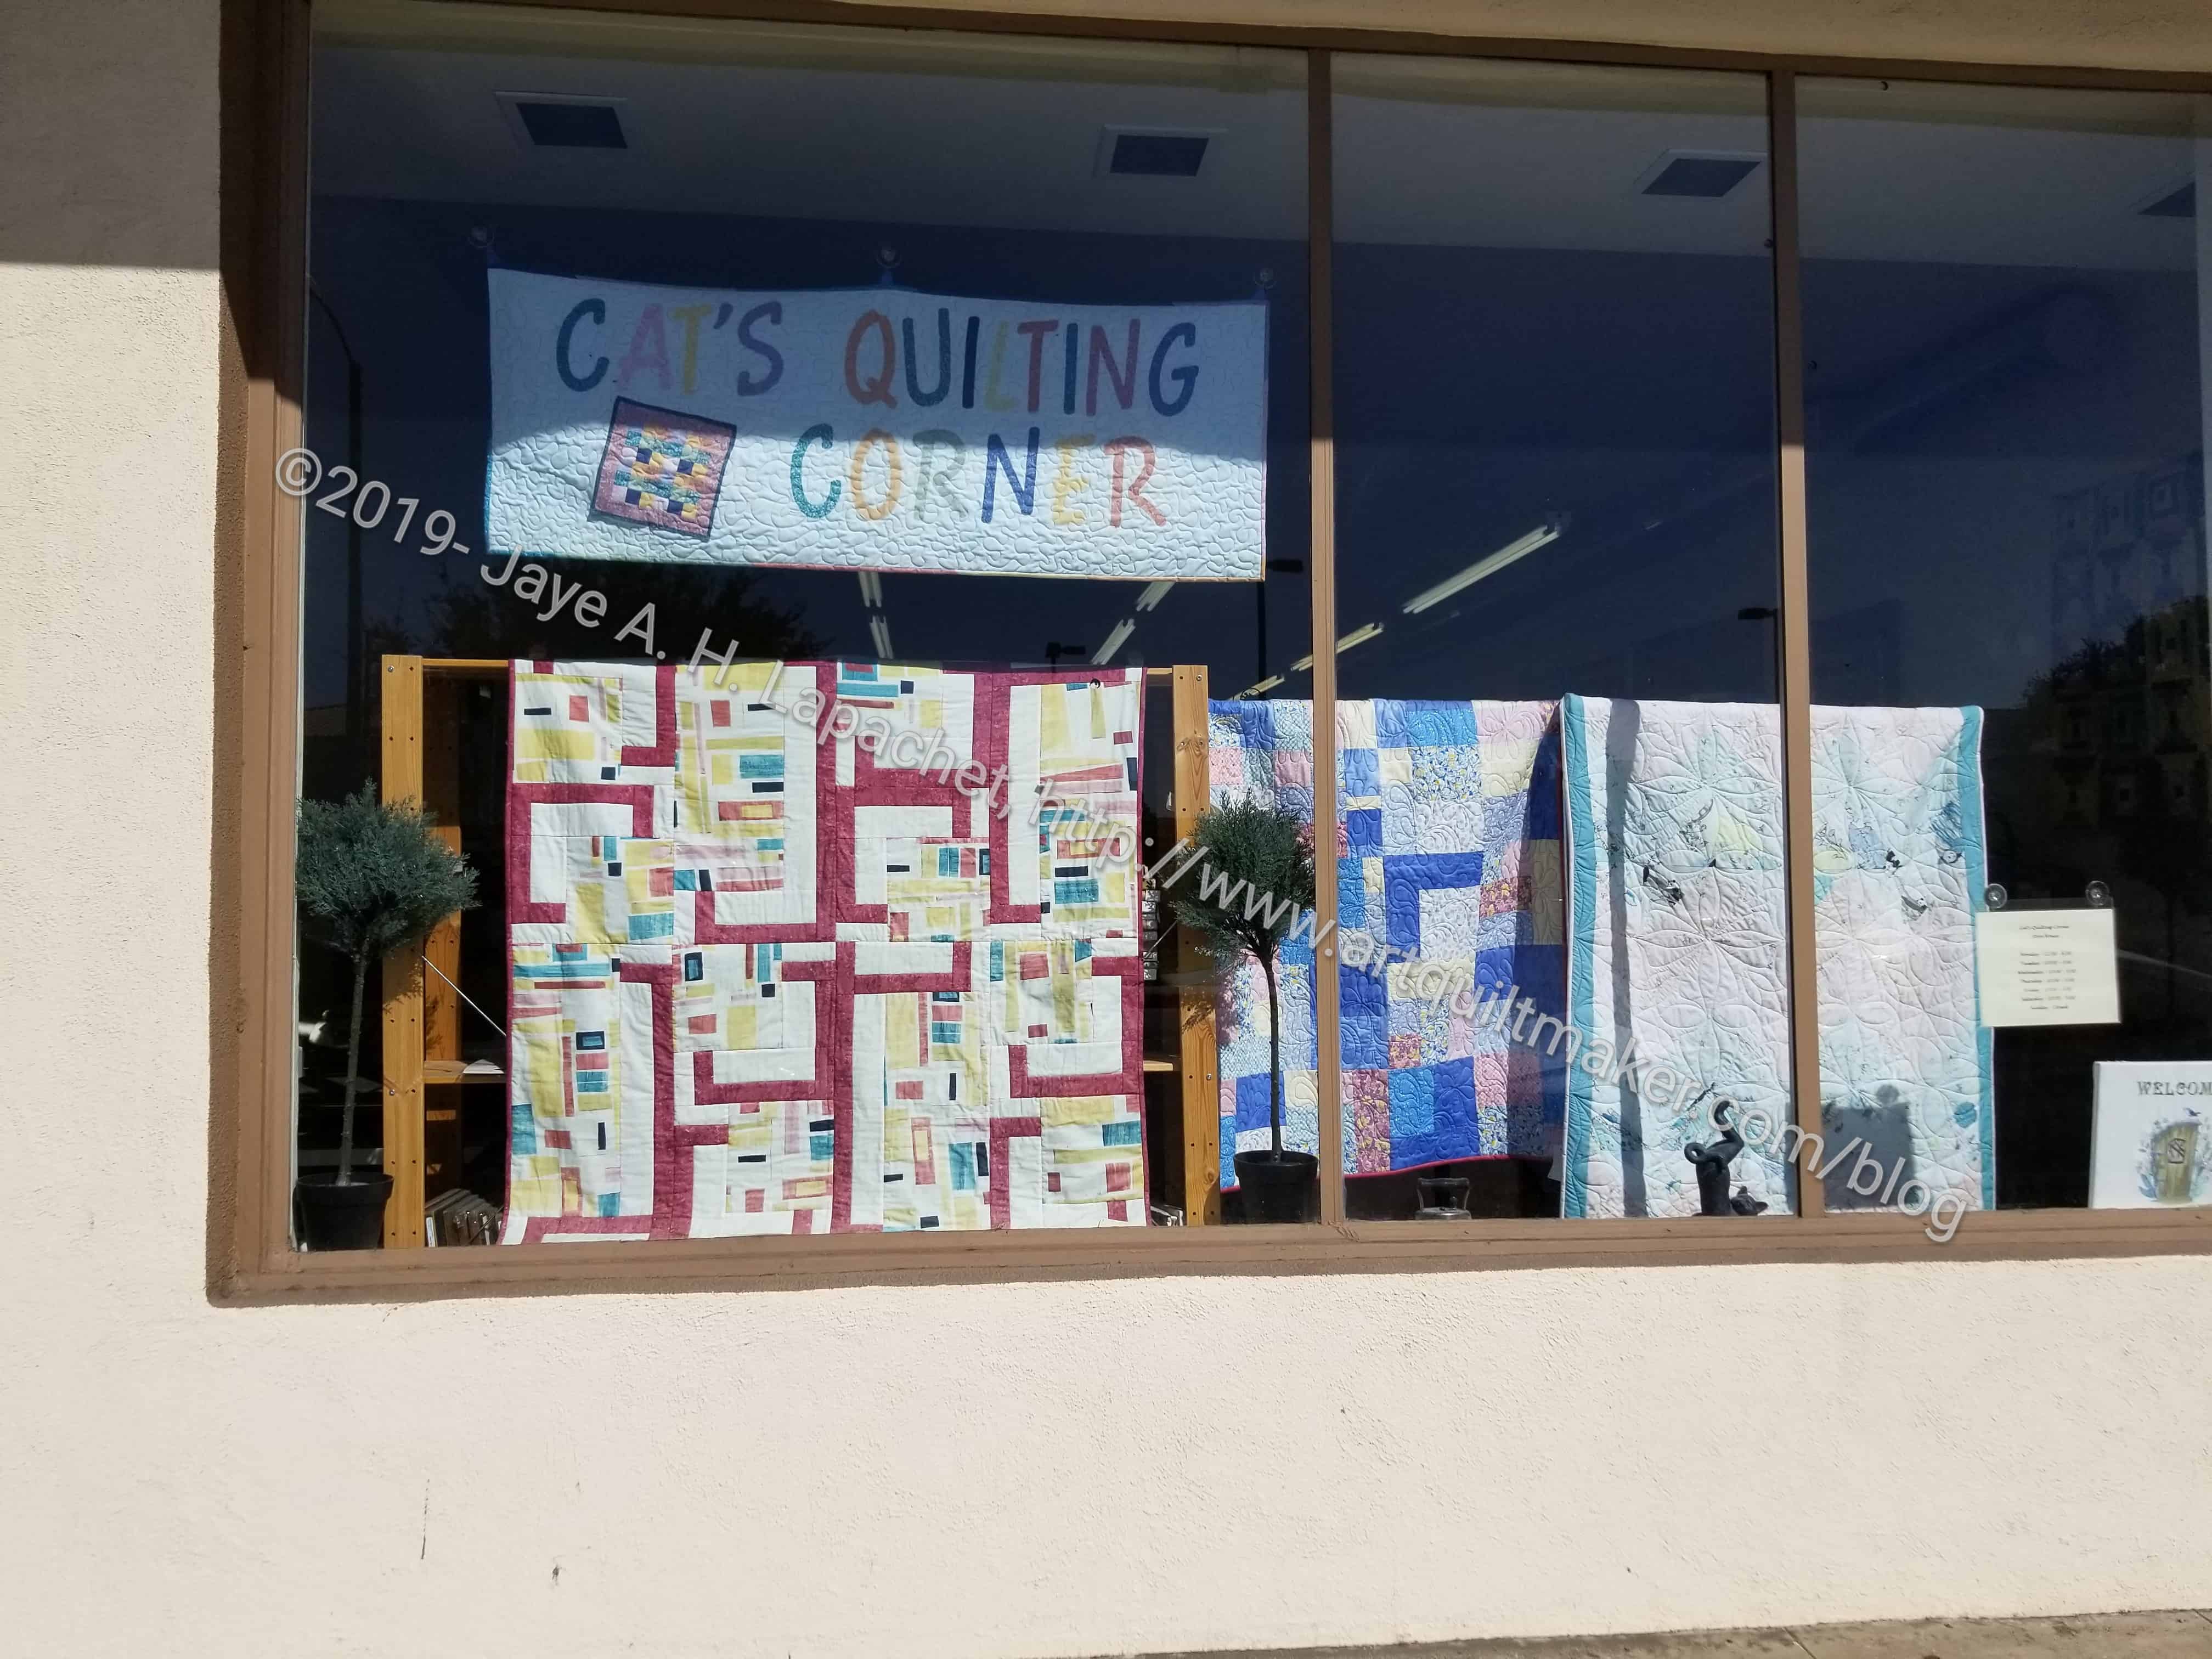
Cat’s Quilting Studio
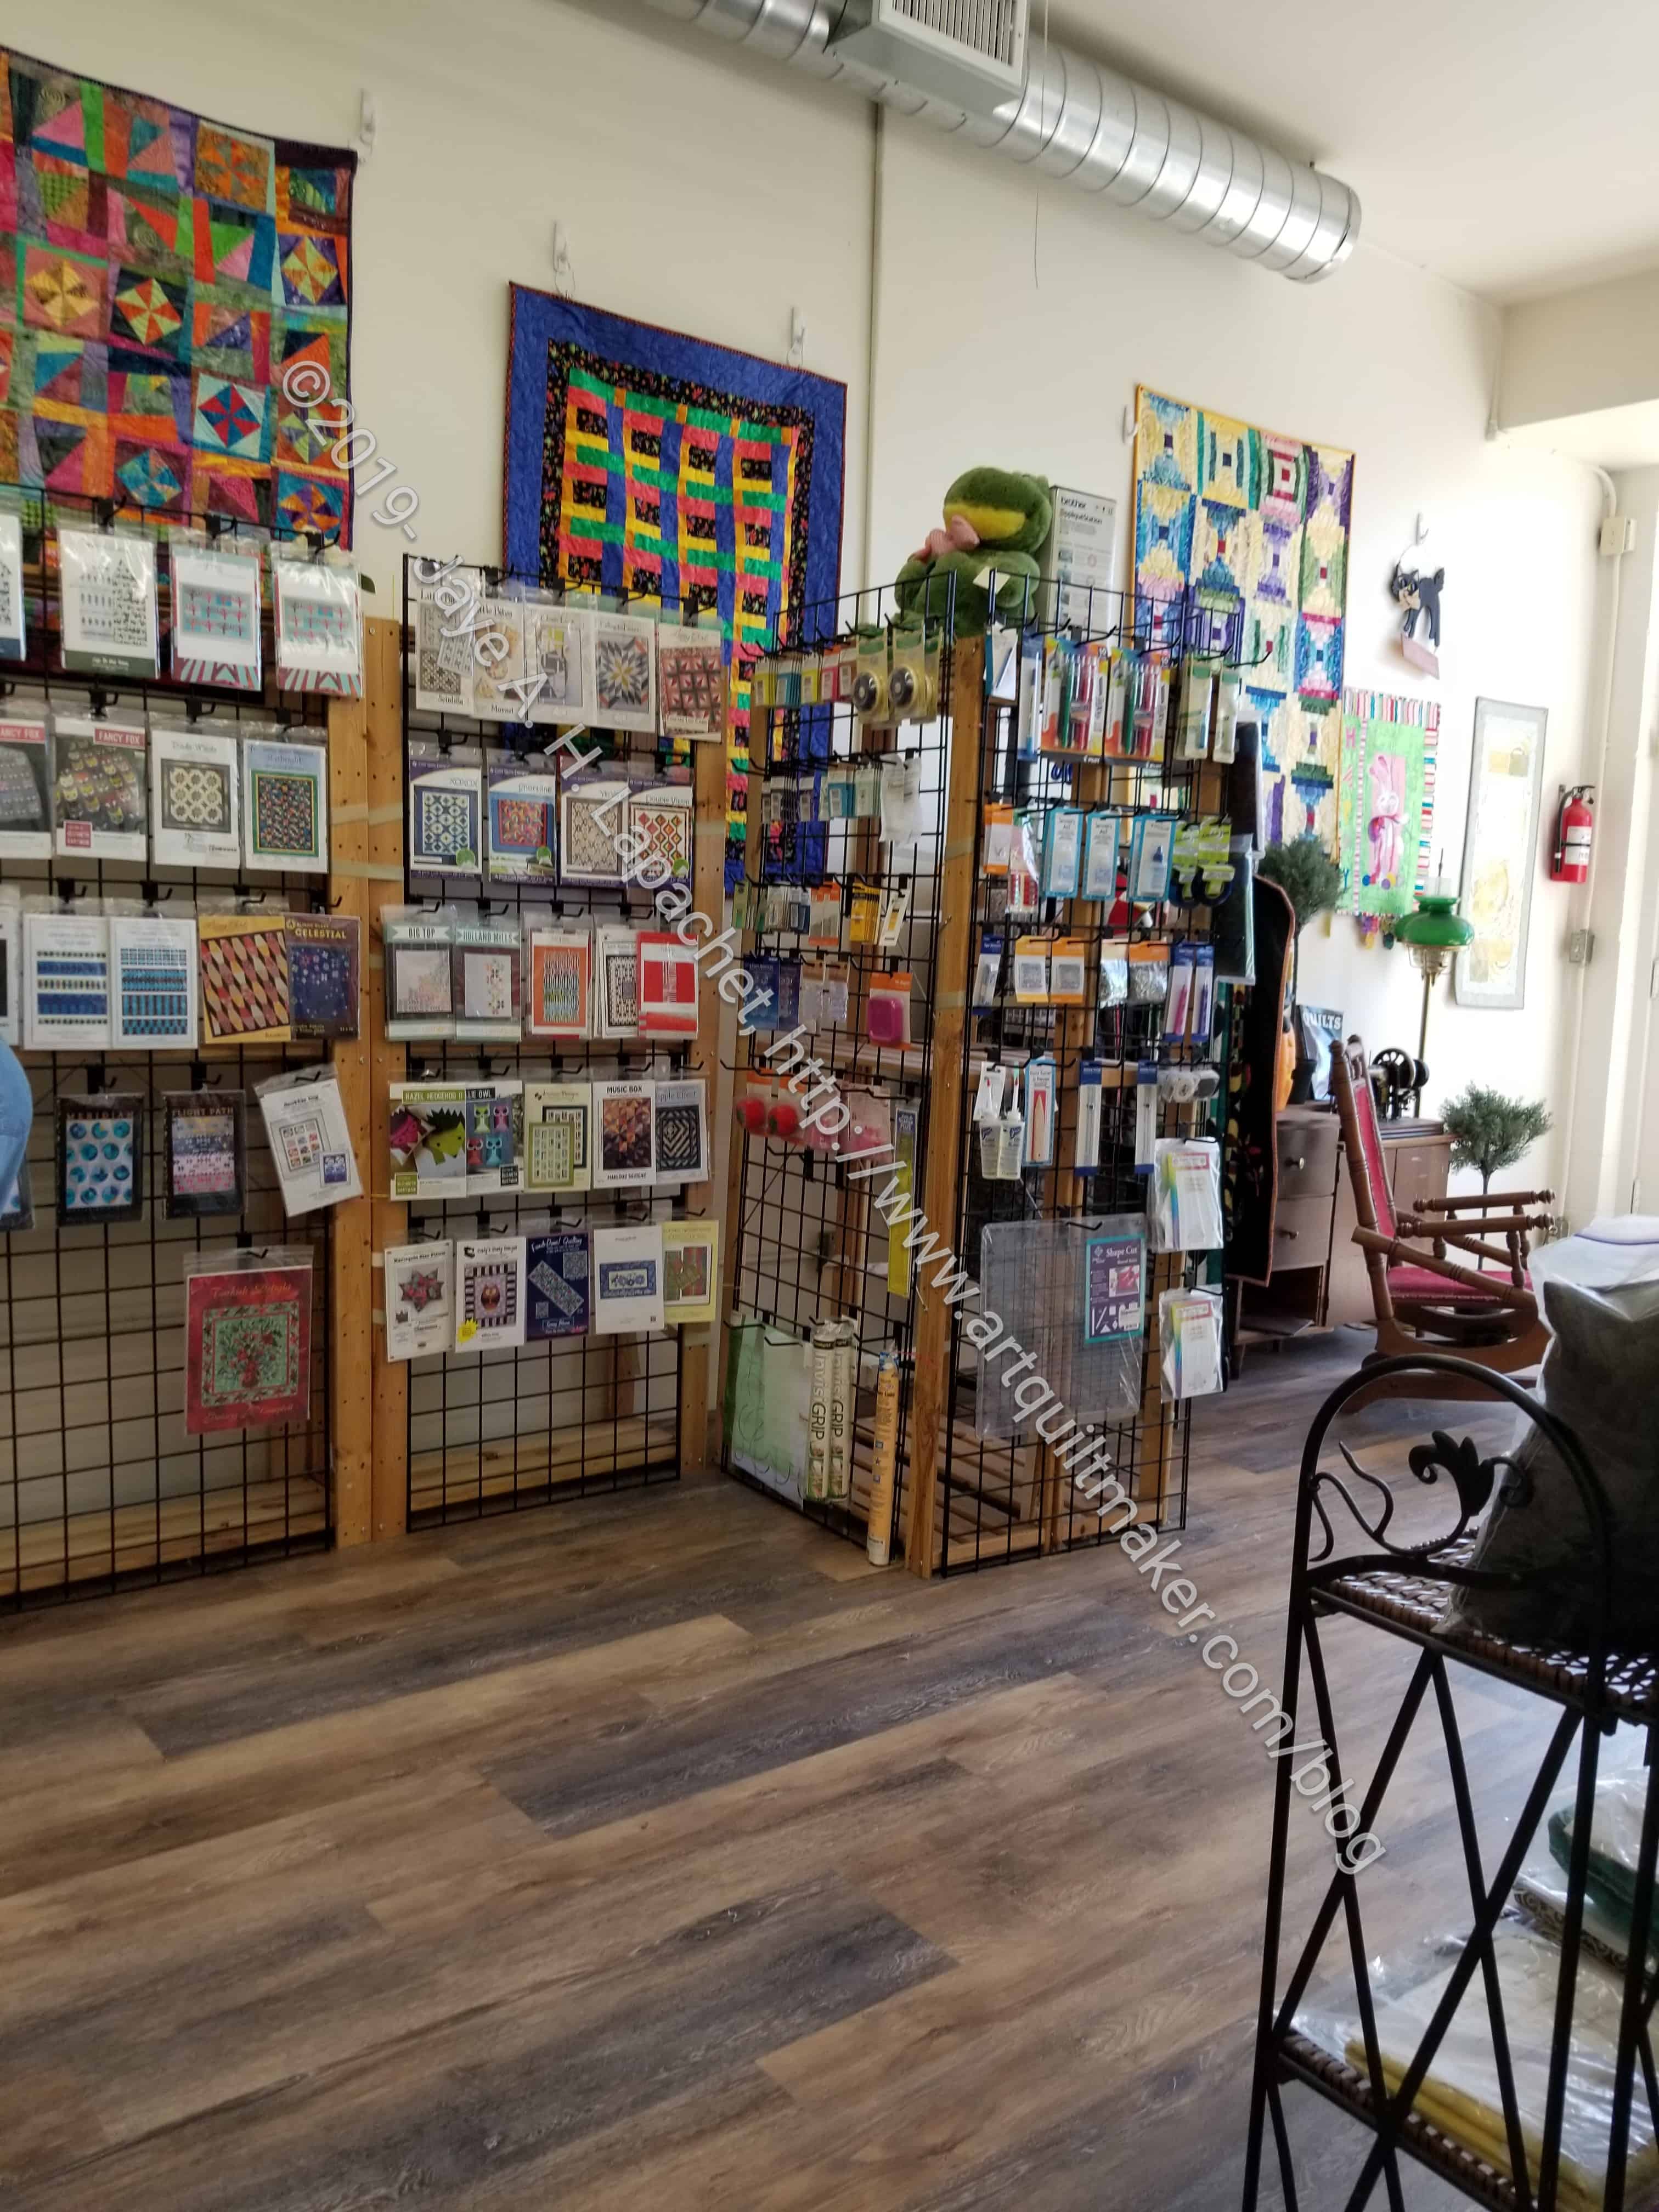
While the boys went on a tour of a local historic playhouse, a friend and I went to a quilt shop. I was initially disappointed because of the small size of the shop, but quickly found that Cat’s Quilting Corner is a great shop.
The front entrance is a little hard to see, but it is right on the street. There is no sign sticking out from the building, so you have to look for the other businesses, park and trust that it is there.
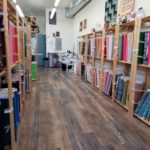
The front of the shop is a little worn looking, but the inside is bright and fresh with, what looks like, a new floor.
Main fabric aisle -solids on the left
Tone-on-tones on the right
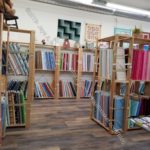
There were a small selection of fabrics, which was my concern. The fabrics, however, were primarily modern and well curated. They had 6 shelves of solids and another two-four of tone-on-tones.
Across from and next to the shelves of solids were prints. They had about 12 shelves of prints. Most of the prints were current. It didn’t look like they were trying to fob old fabric off.
Cat’s Quilting Studio notions an patterns
The shop also had a nice, if small, selection of patterns and notions. I saw some new-ish patterns from Elizabeth Hartman (formerly the Oh Fransson blog) and others as well. I didn’t see any bag patterns, but I did hear the owner/manager say she could order anything. There were the usual types of notions and tools: rulers, mats, pins, rotary cutters, etc.
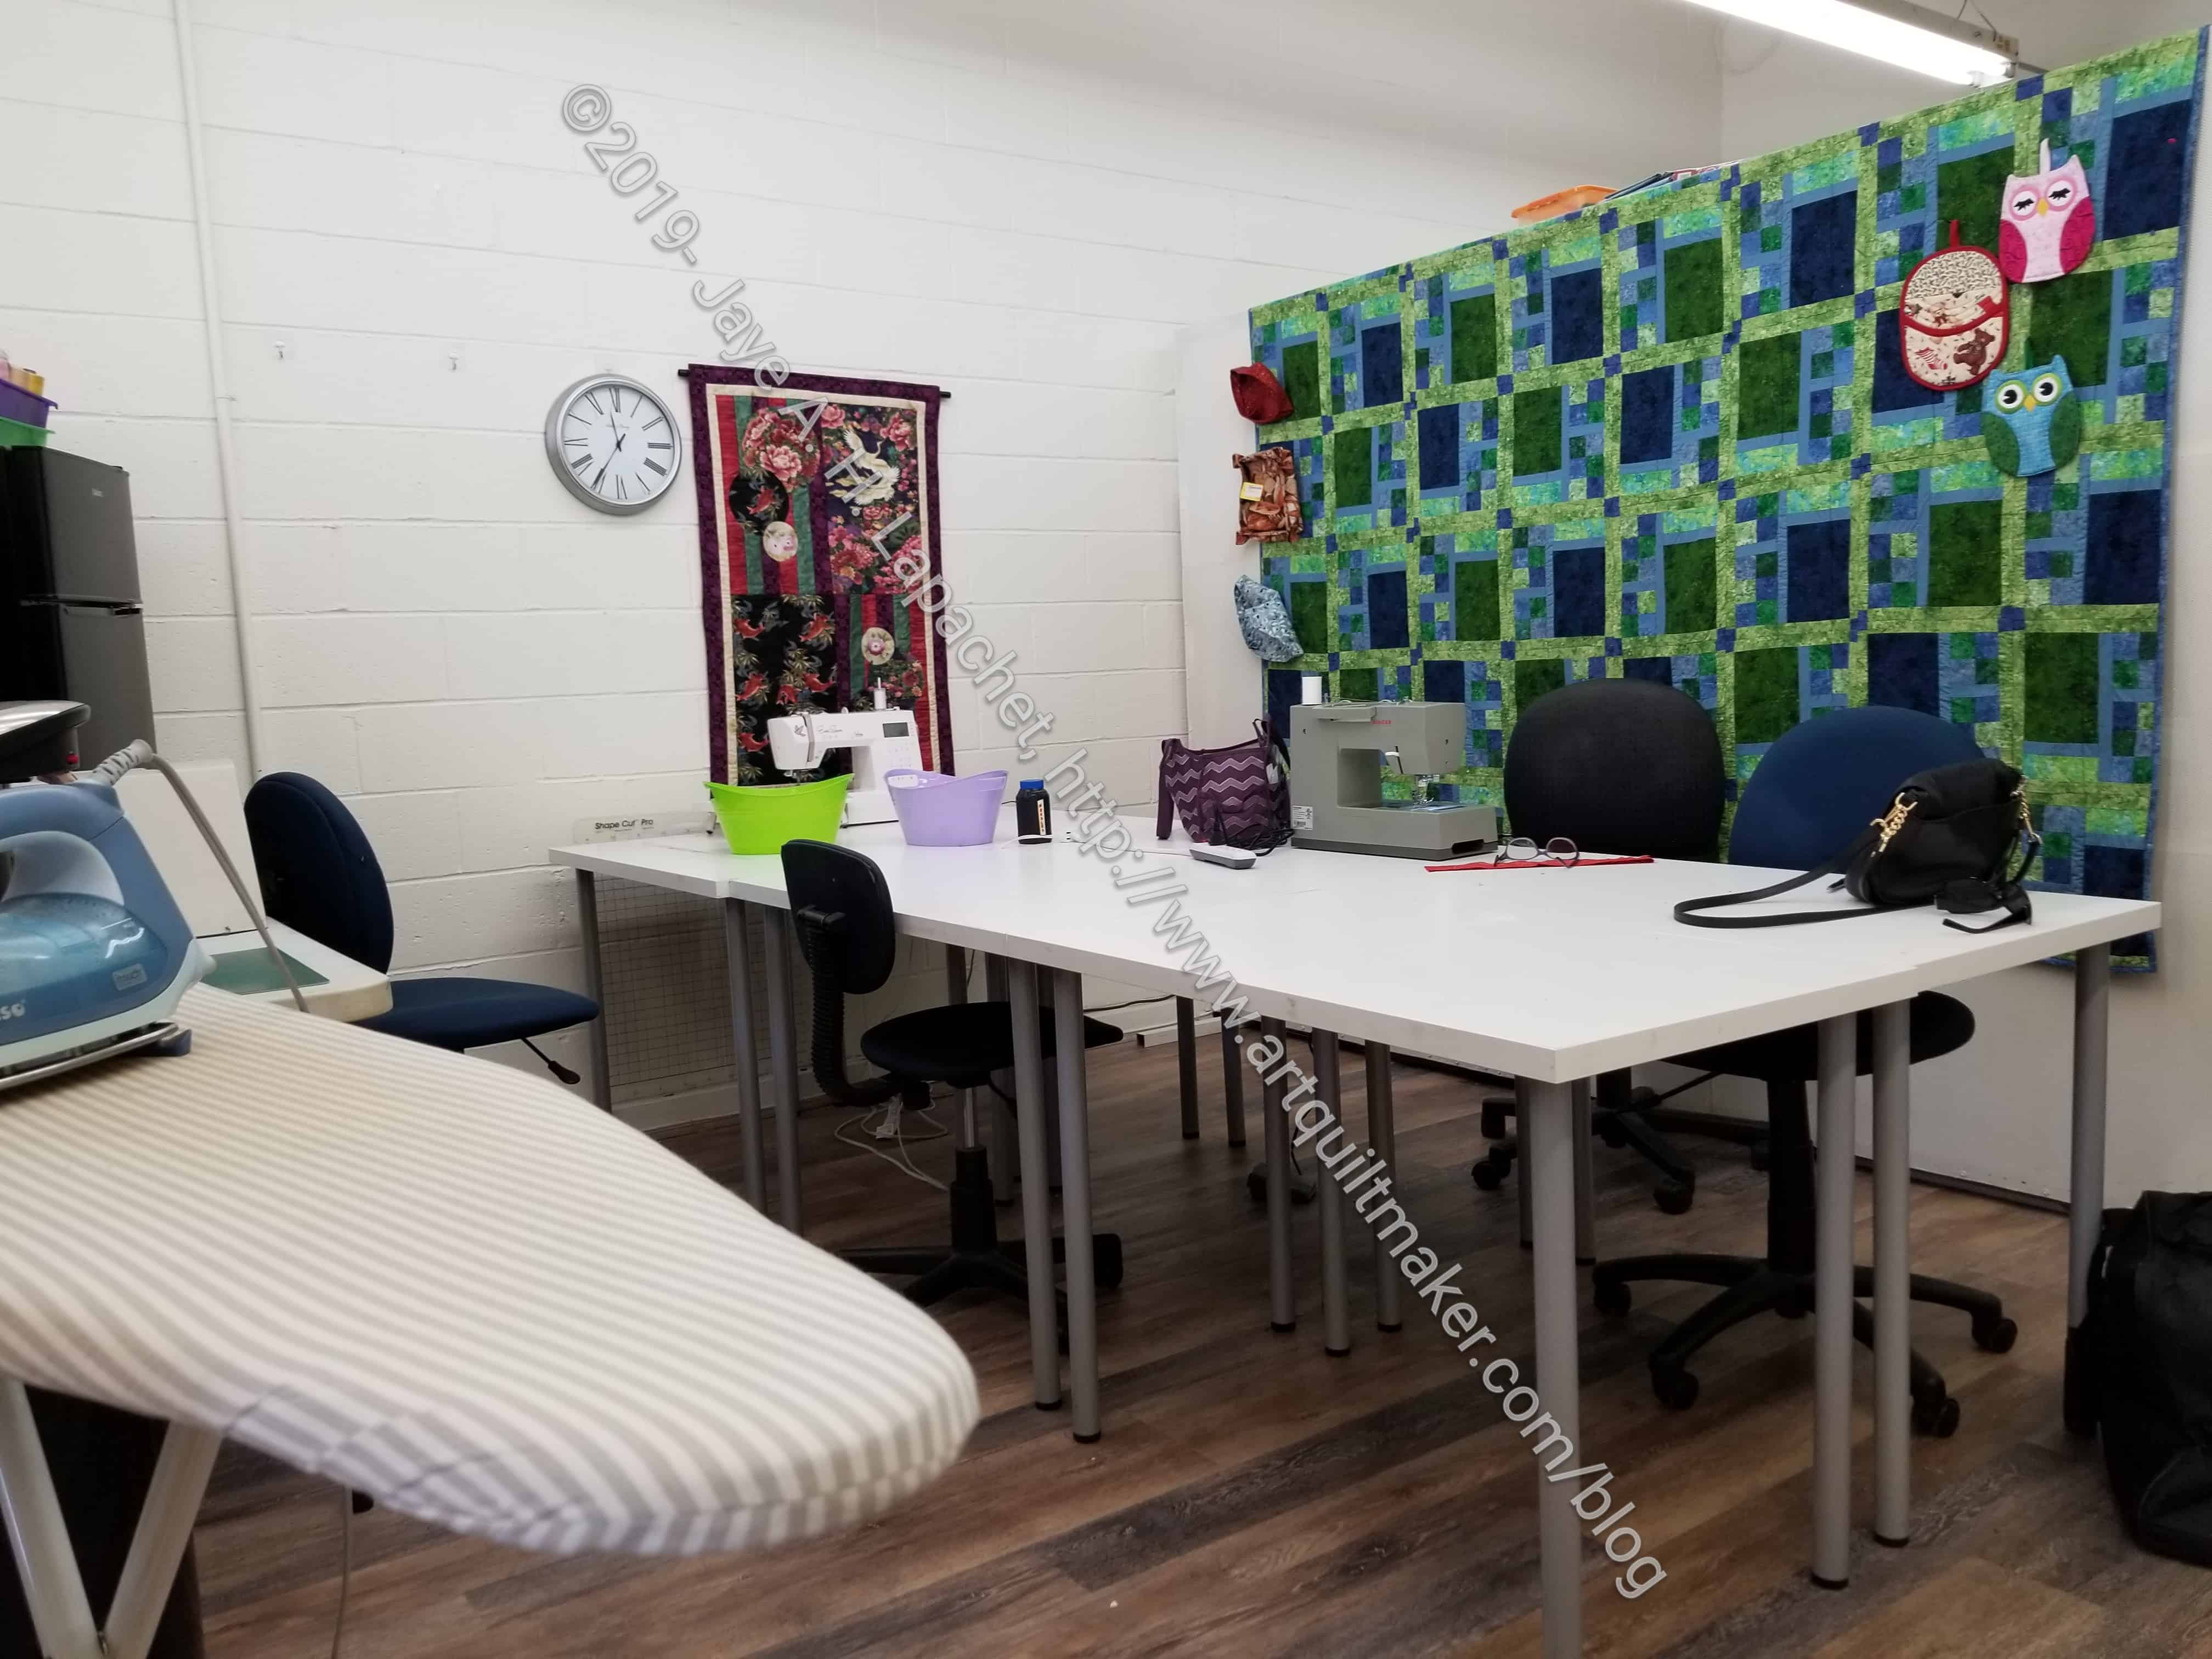
Cat’s Quilting Studio classroom
When we arrived, the owner (or manager) was giving a lesson to a lady who had been frustrated by a class at Joann. The room in which they were working was light filled and fully equipped. I did get the impression that they had another classroom upstairs, though I didn’t see it.
Their online presence is wonderful as well! They will cut out a quilt or some blocks for you! This shop is definitely worth a visit.
I headed down to Southern California with DH on Friday. It is the first time I have been on a trip in awhile. It was strange. We drove down to San Gabriel. As the new chairman of the Native Sons Charitable Foundation, he had to give a big check to one of the hospitals that treats craniofacial anomalies.
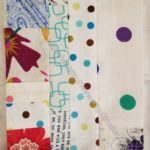
I bought some new fabrics.
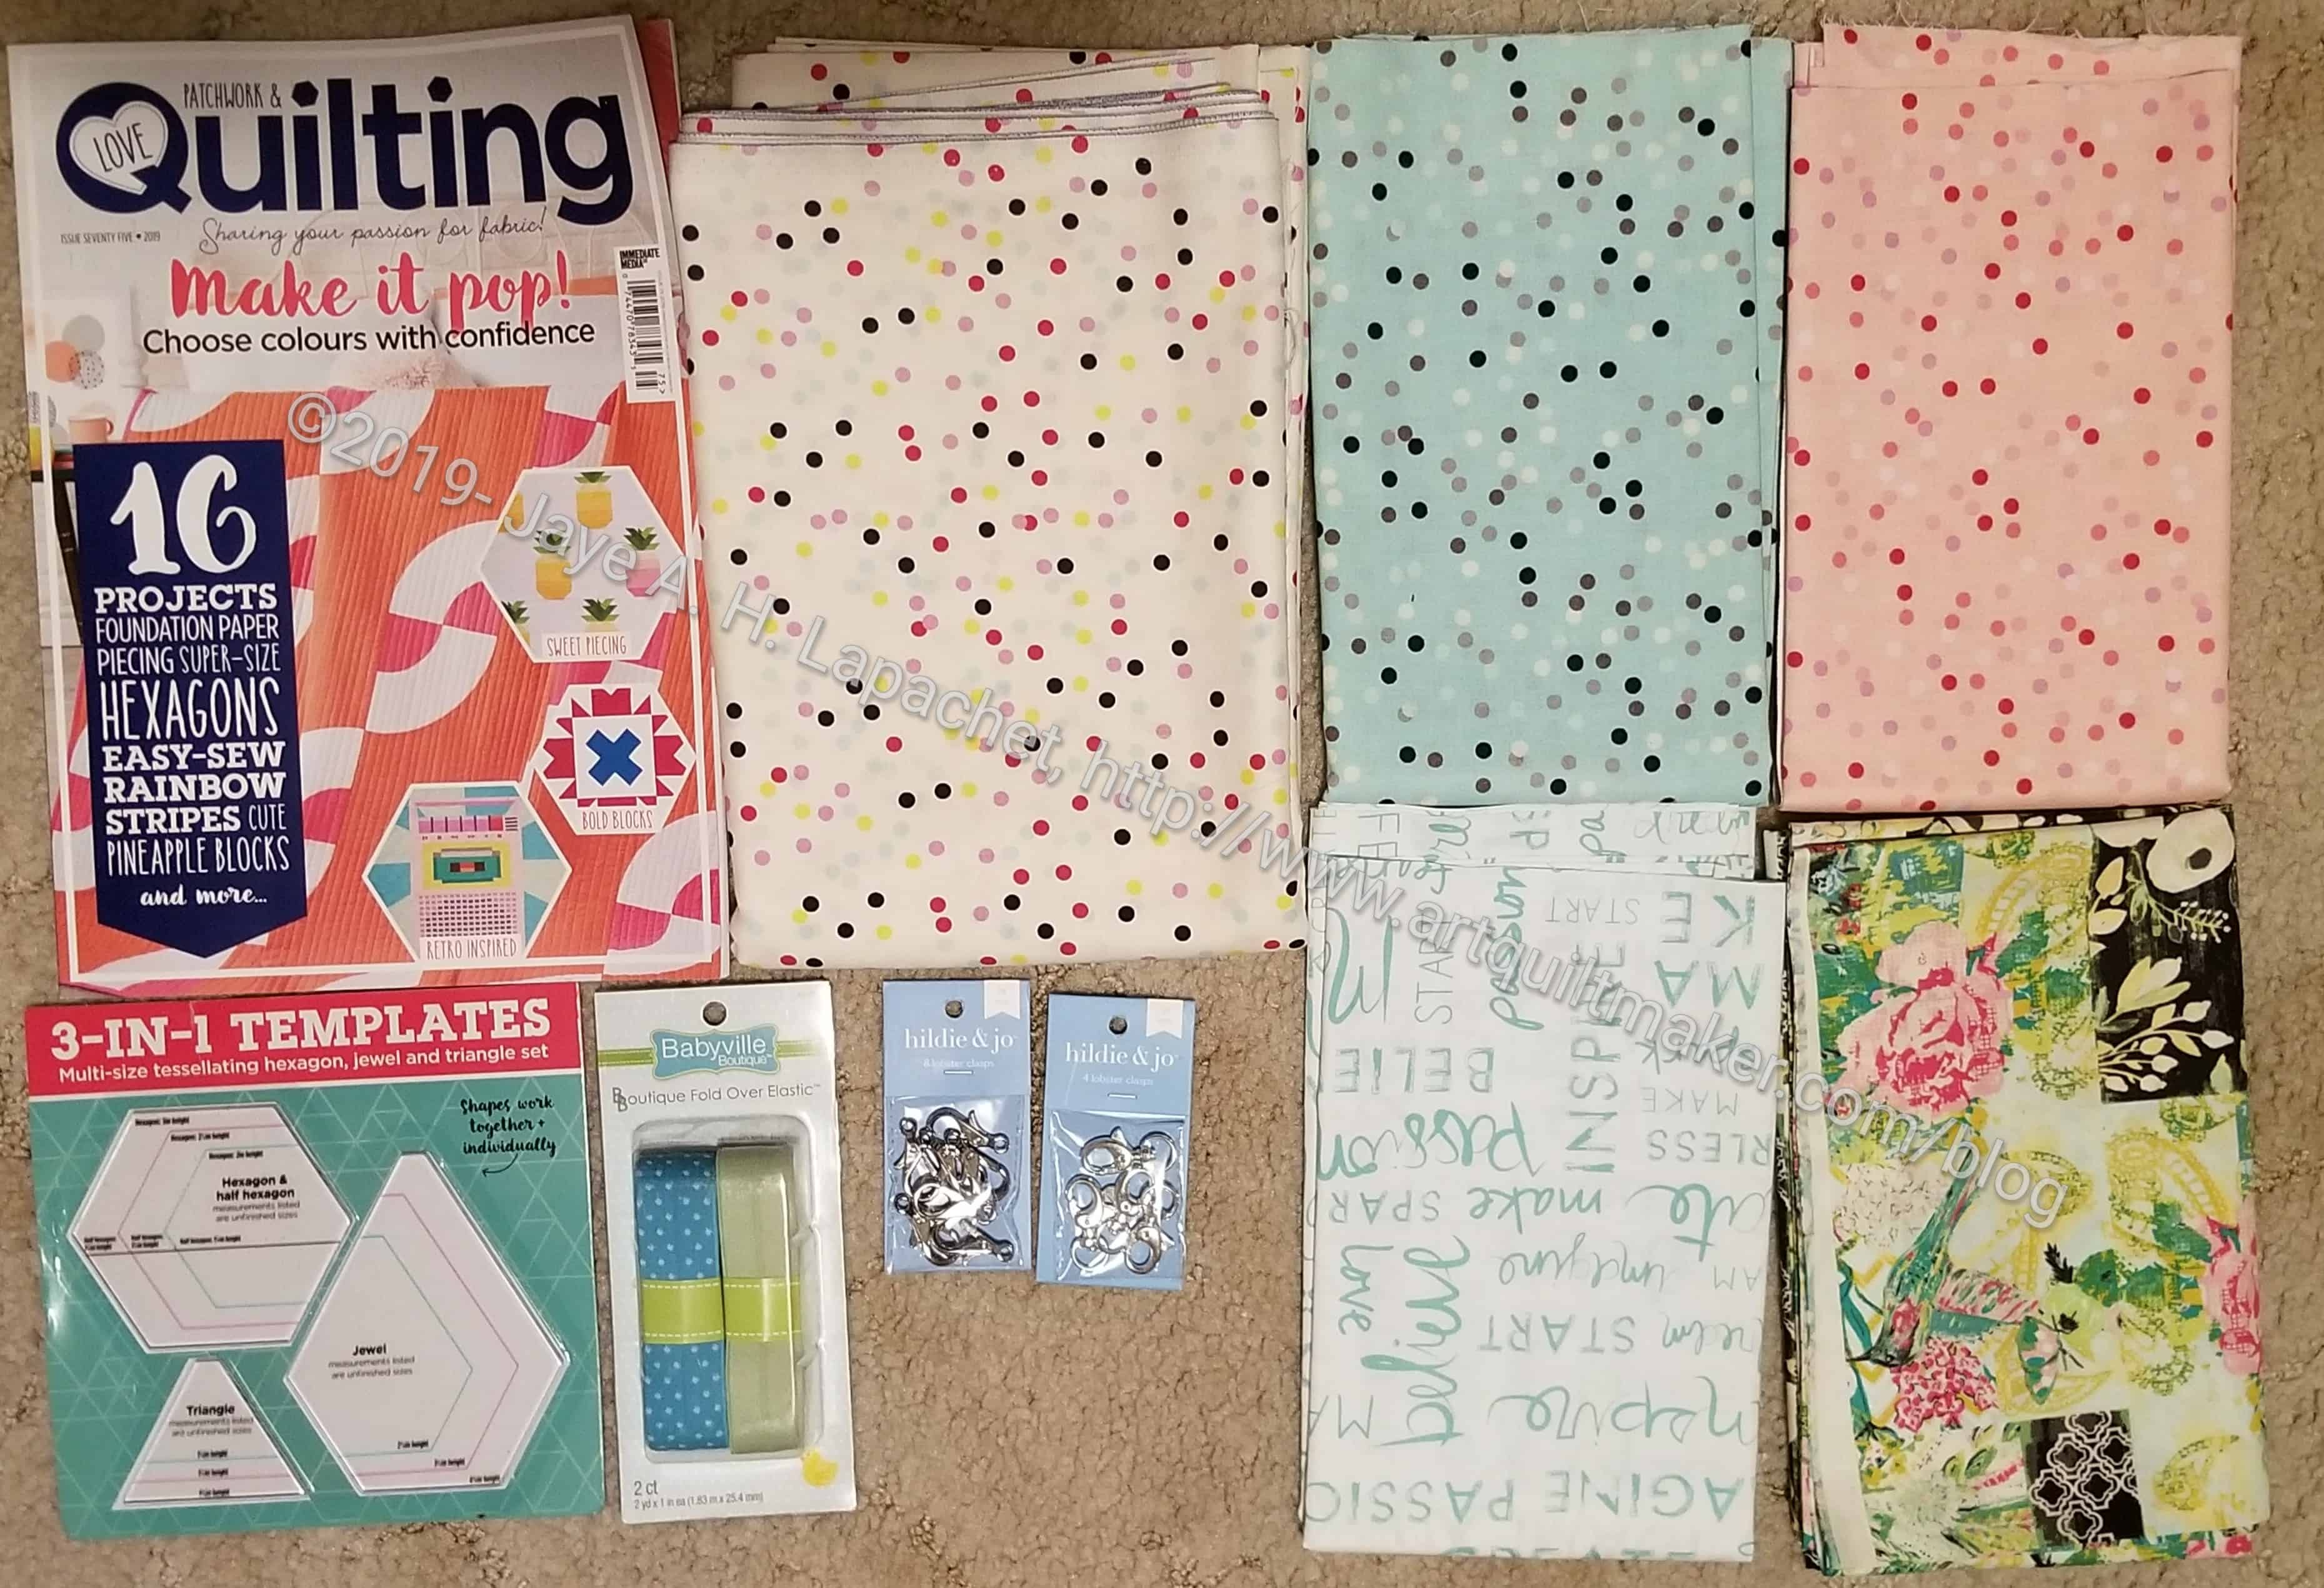
Cat’s Quilting Studio and Joann supplies
First, my friend took me to Cat’s Quilting Corner. Check back for a post about that shop. If you are in Southern California, it is definitely worth a visit.
All the fabrics in the photo, left, are from Cat’s Quilting Corner. there were many more that I wanted, but I have to be mindful of my usage and I couldn’t think of a use for some of them. The magazine (with EPP templates), the double fold elastic and the lobster clips all came from Joann. I know! I know!, but they did have a very nice selection.
I bought the double fold elastic because of the colors. I couldn’t resist the dots. They had red with white dots as well, but I didn’t like the baby blue that went with the red. I think I might use it with the Ultimate Carry All bag. We’ll see.
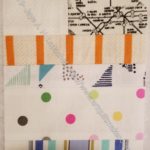
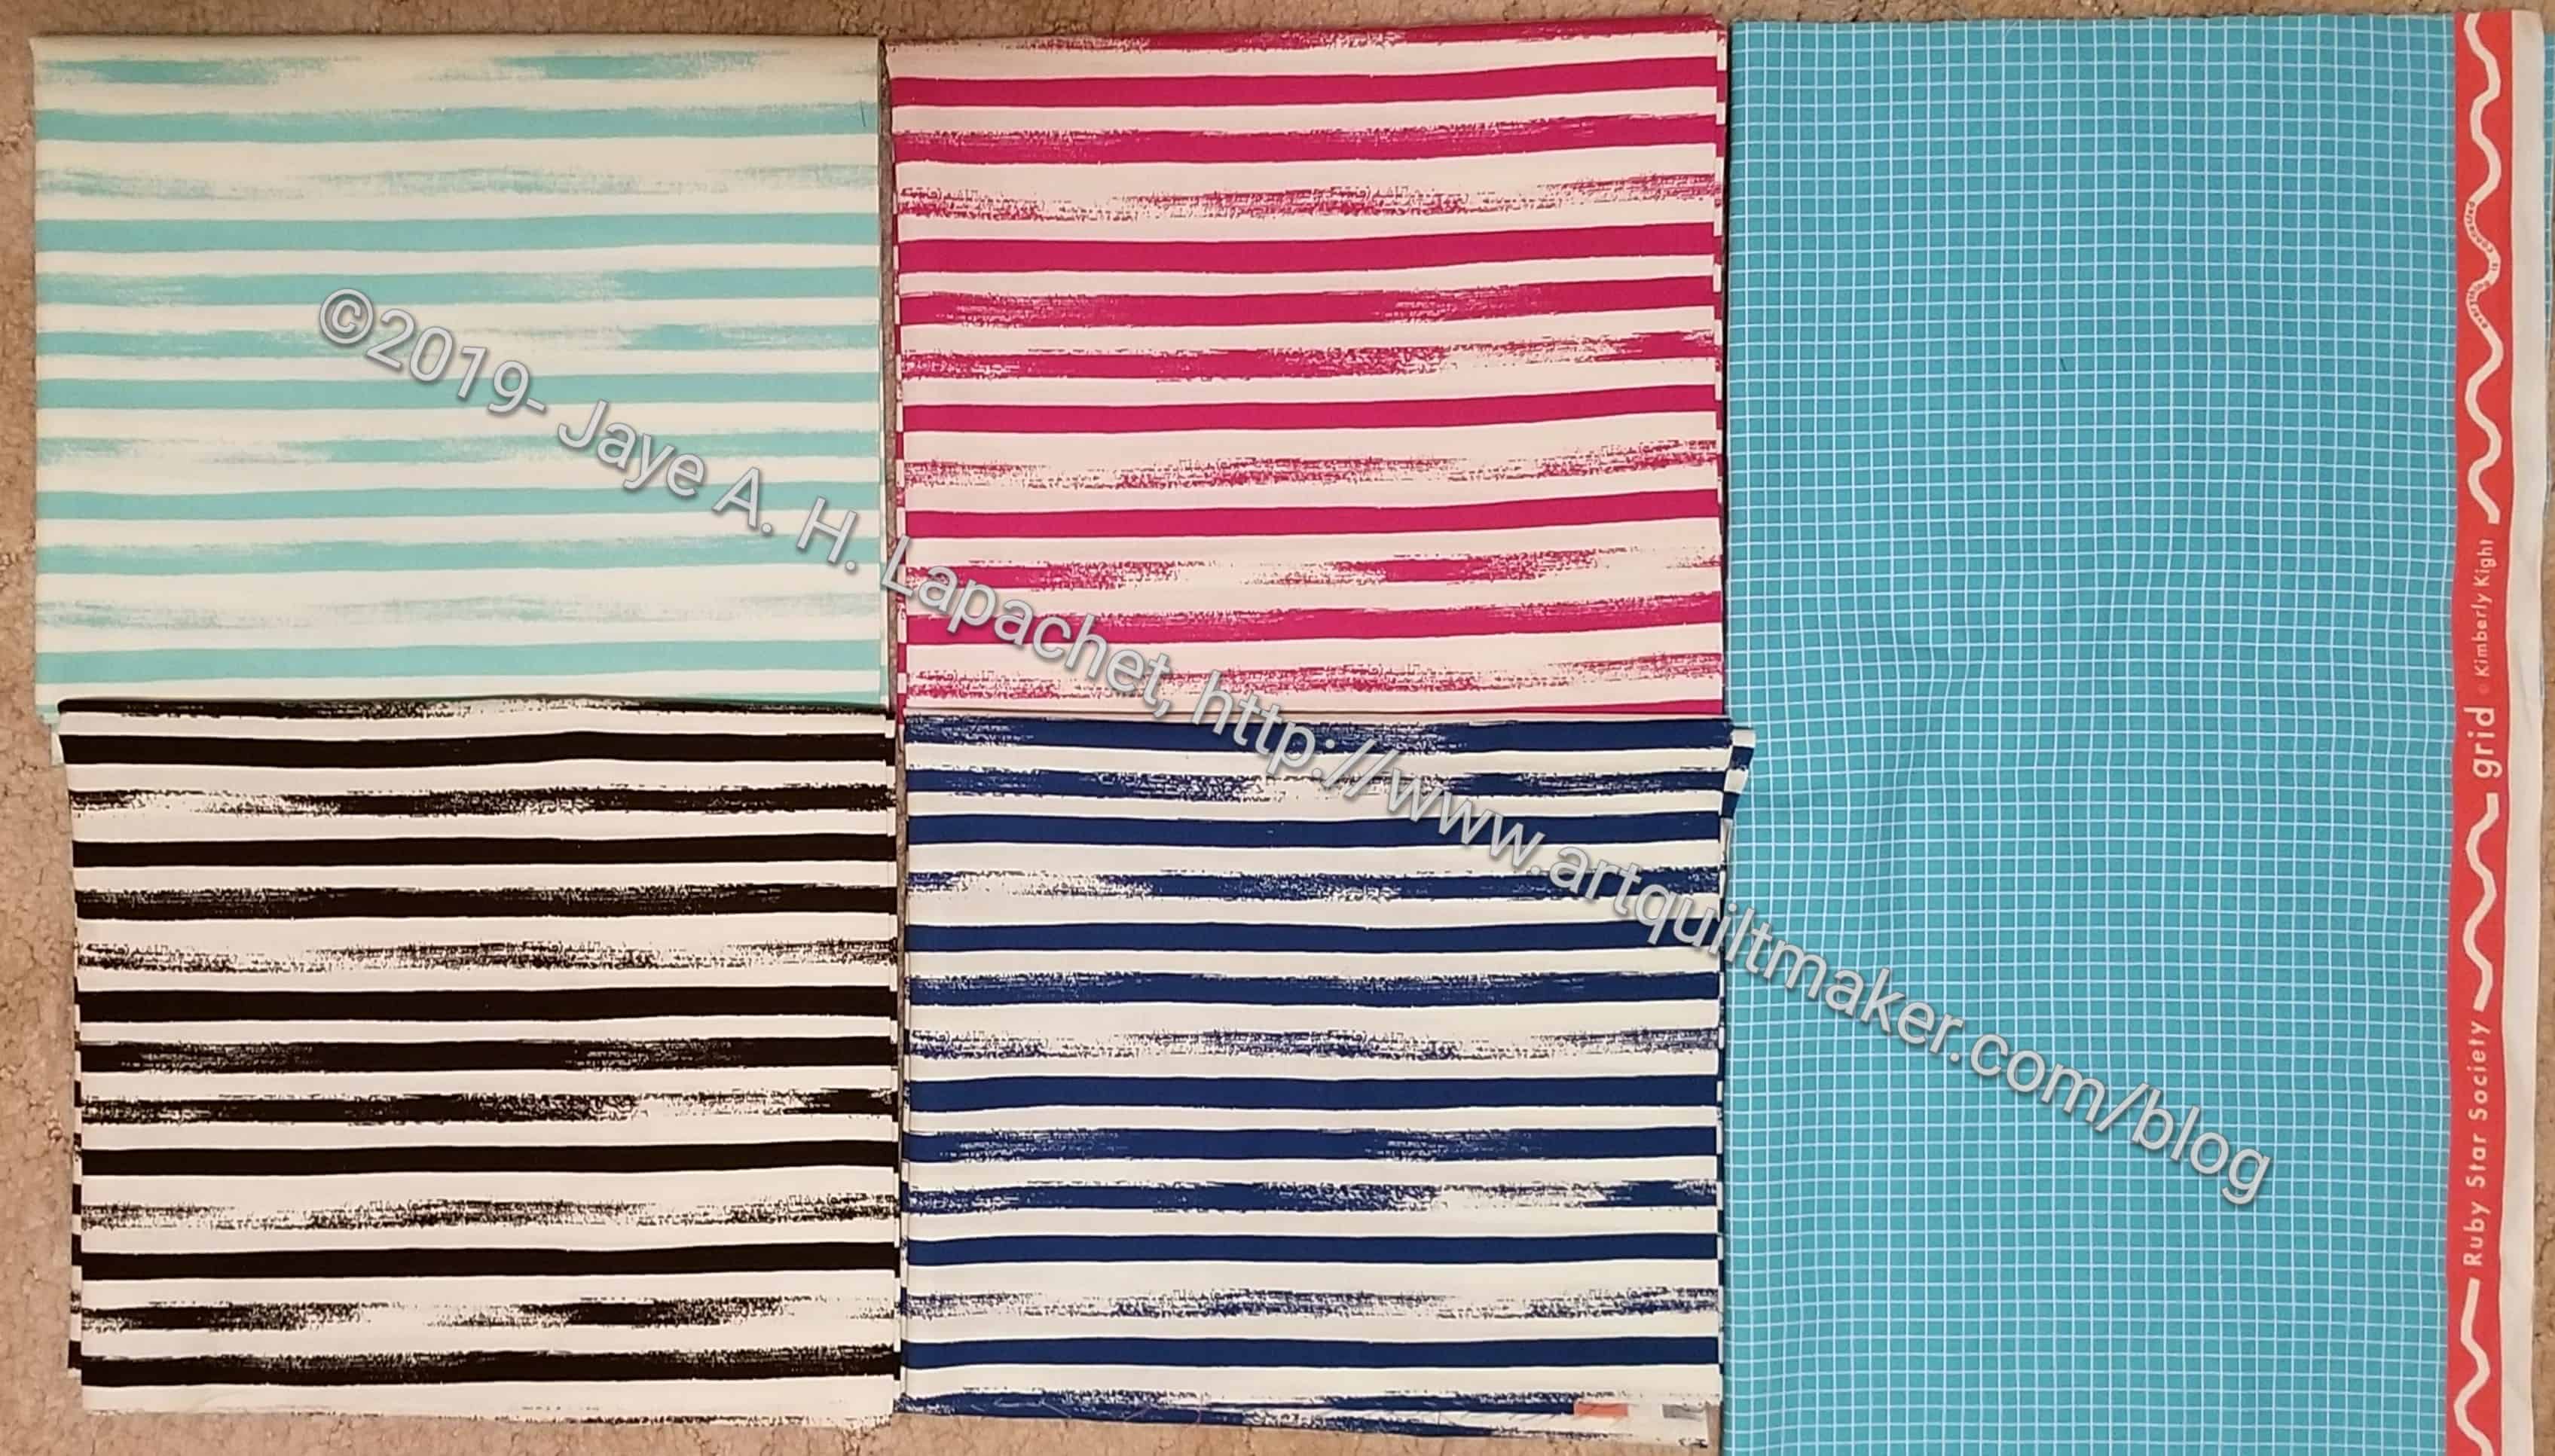
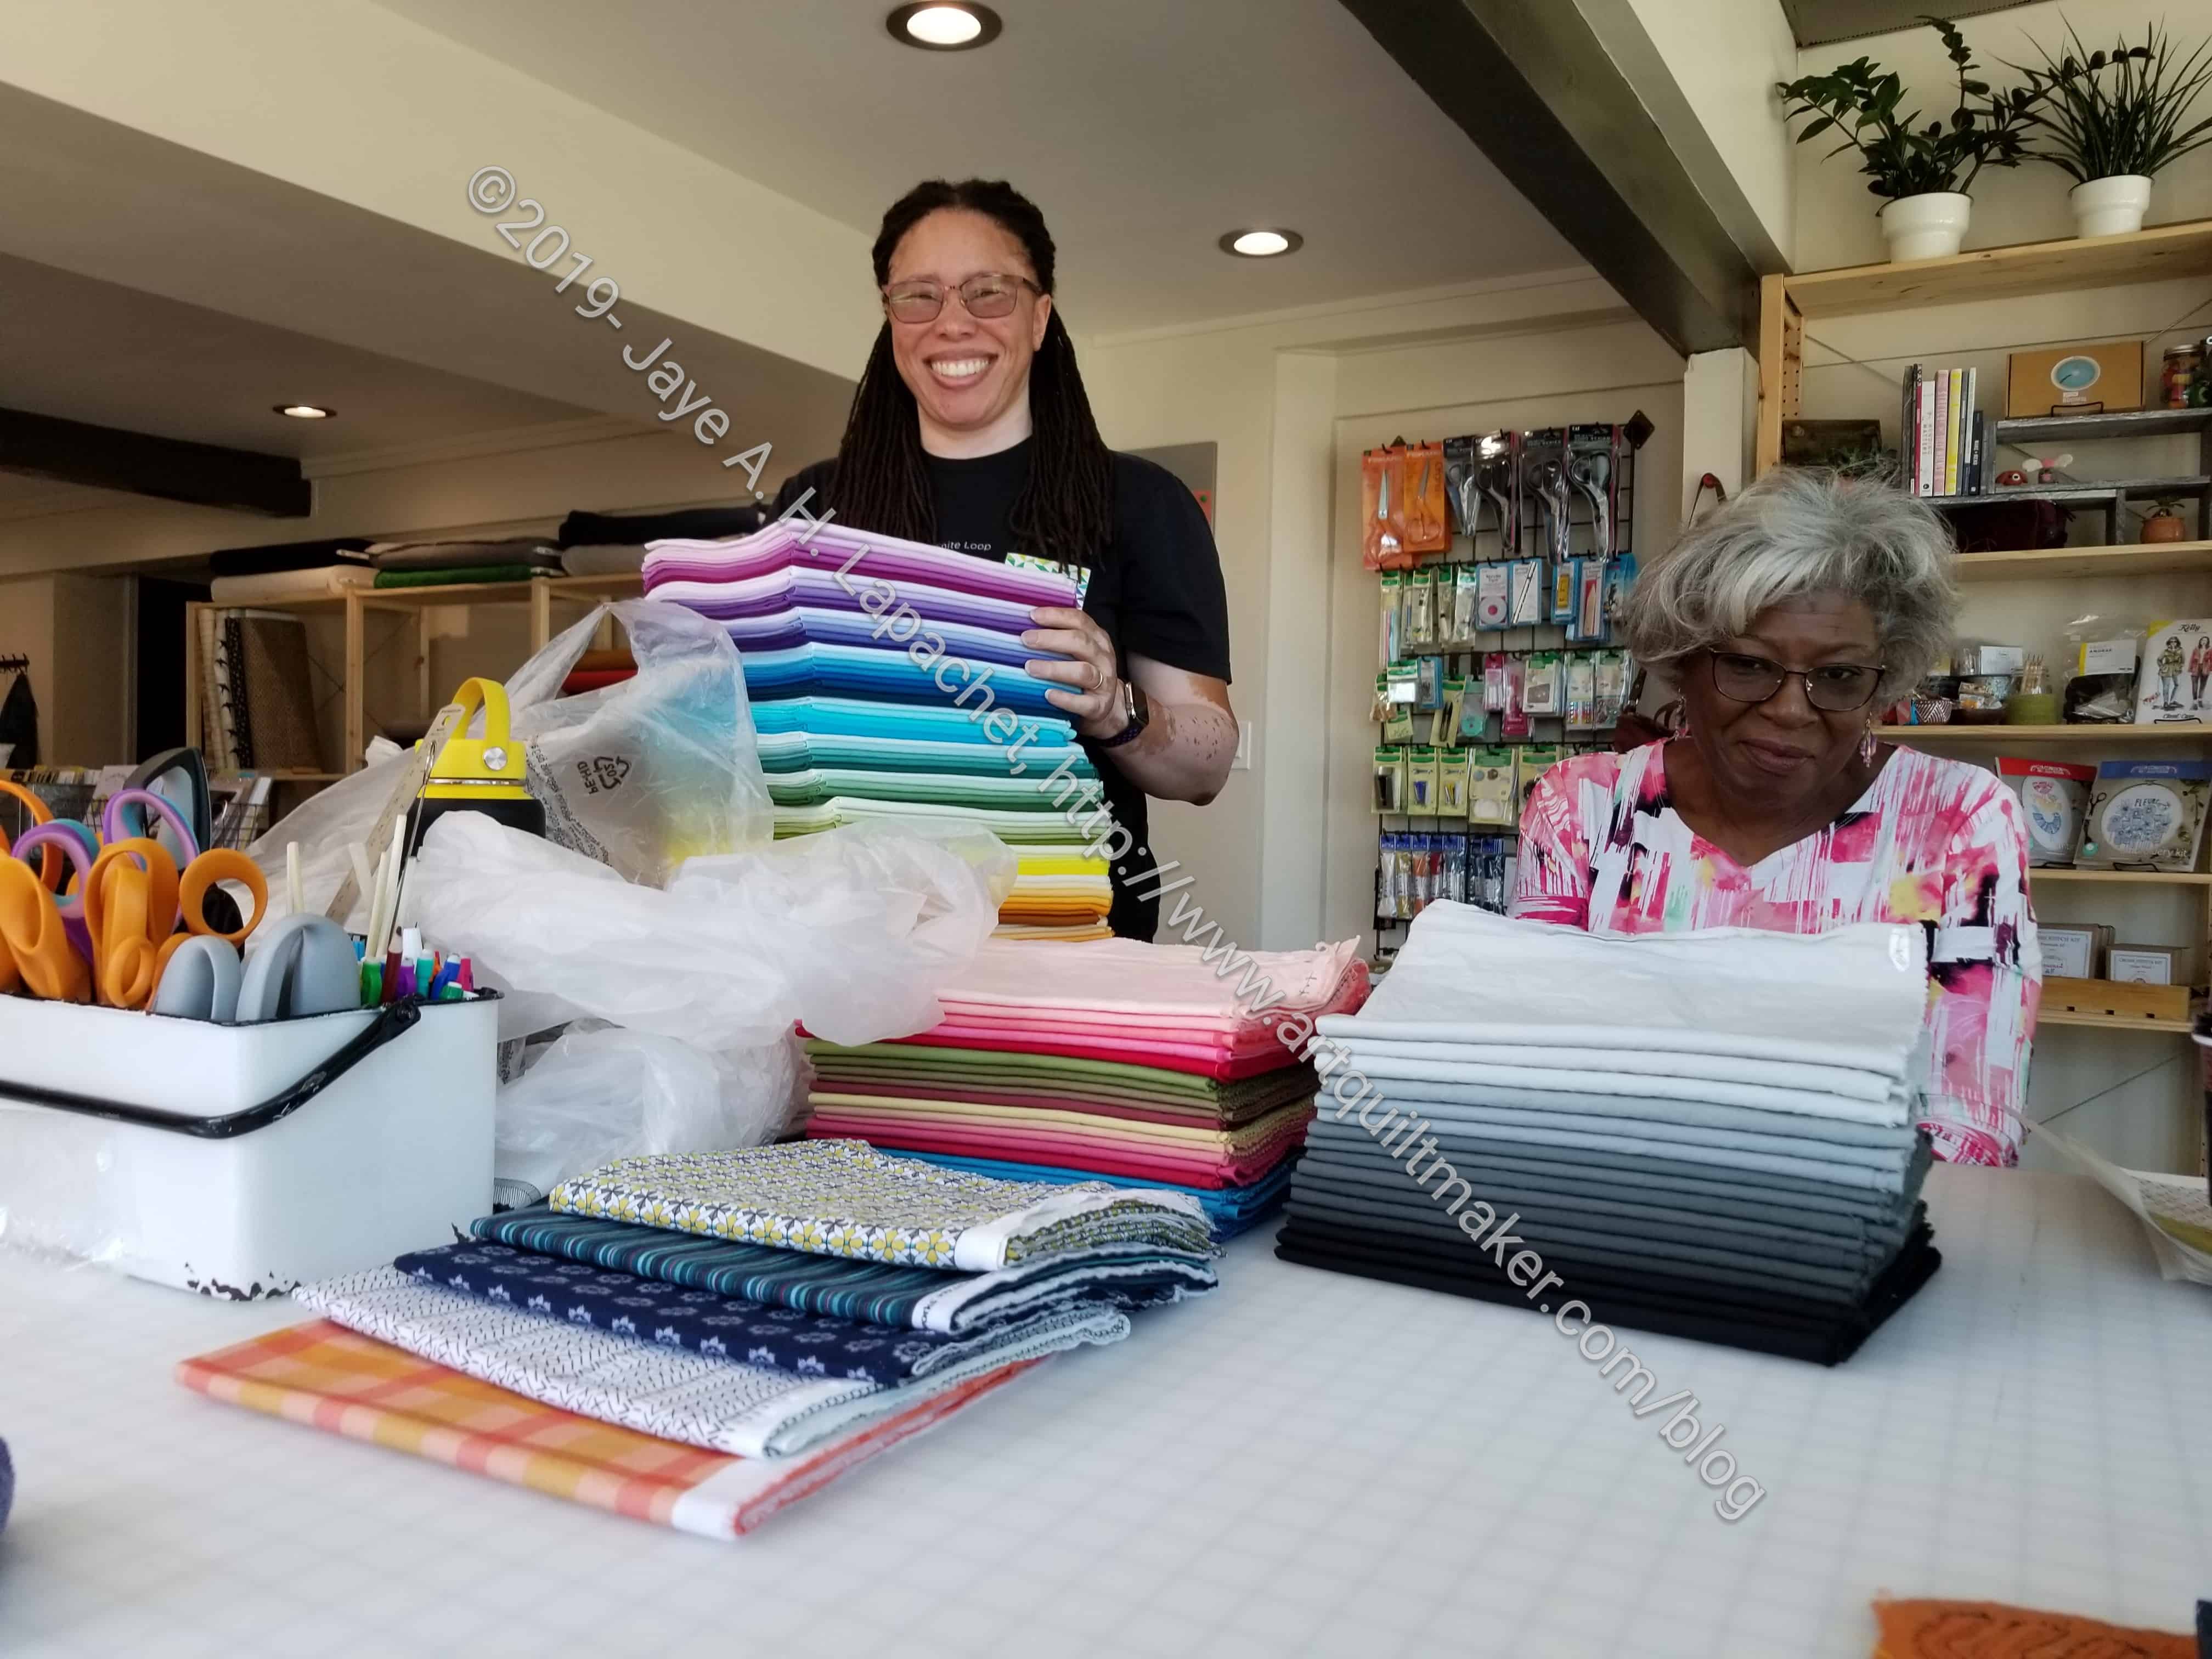
Birch Fabrics
On Sunday night, we stayed overnight in Paso Robles. We planned to do a bit of wine tasting, but visited Solvang instead, so we got to our hotel late. On Monday morning, we stopped at Birch Fabrics/FabricWorm as we left town. That shop has such a nice space. I wrote a review of it some years ago. They were super busy getting ready for PIQF, Houston and some other shows. The woman helping me also said they had 80 online orders waiting to be cut! Birch has a nice selection of fabrics. I was able to see some of the Ruby Star Society fabrics. The stripes shown are from their newest collection.
We had a nice trip and it was fun to see a new quilt shop and visit one I had visited before.
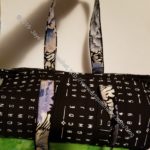
I finished the top of the bat tablerunner. I just sat down and did it, so it would be one thing that was finished. I am going to make the back and the binding for Amy. It is on my short term list, as in next week. I’d like to bring it finished to the meeting.
It seems to be taking me forever to get this quilt top finished. It isn’t done yet, but I am making slow progress. My progress is slow because I am using other bits and pieces for leaders and enders.
I need approximately 9 more blocks to make a quilt top the size I usually make them. I’ll get there.
I am making progress on the bats. I don’t like this kind of piecing, because it doesn’t make sense in the way blocks are put together. In this kind of piecing the maker creates an image not a pattern. In order not to make mistakes, I had to follow the pattern closely. I wasn’t able to do a little of the piecing, get the hang of it and then zoom along.
I have to say, though, that it is interesting the way they actually look like bats once I get more piecing done.
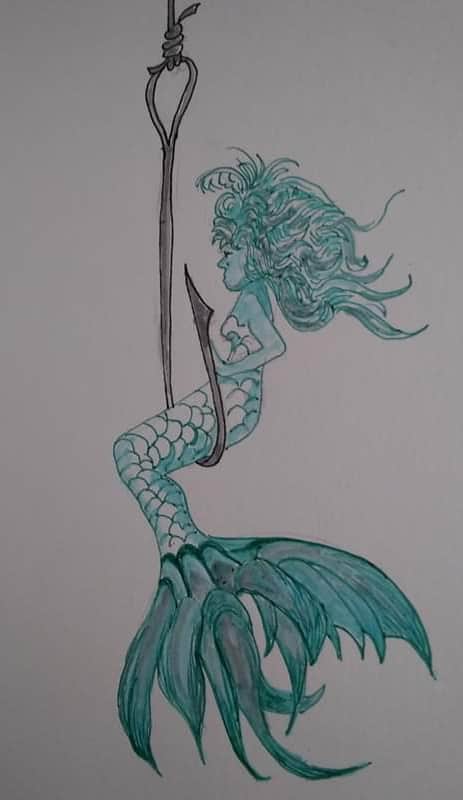
My mom is doing Inktober. Inktober is a project where everyone participating is encouraged to do a drawing following the prompts. Inktober was created in 2009 by Mr. Jake Parker. He created it “as a challenge to improve [his] inking skills and develop positive drawing habits. It has since grown into a worldwide endeavor with thousands of artists taking on the challenge every year.” In order to participate, pick up a pen and start drawing. No special tools are required. However, if you want supplies, Mr. Parker provides a page with his favorites.
Mom’s Mermaid
Mom posts her drawings on to FB. I really like this one. The prompt was ‘bait’.
Also, today is mom’s birthday! Happy birthday to the best mom ever!
After Sew Day, I sewed the panels together. They look really nice! As I said, I am glad I was able to spend so much time arranging them. I sewed some Soft & Stable to the panels, but realized I have to rip it out. The directions were a little difficult to interpret on this point. I need to sew the Soft & Stable (or other lining/batting) to the lining fabric. All of a sudden, I have a lot of projects in play. I need to get at least one finished, so I can think properly.
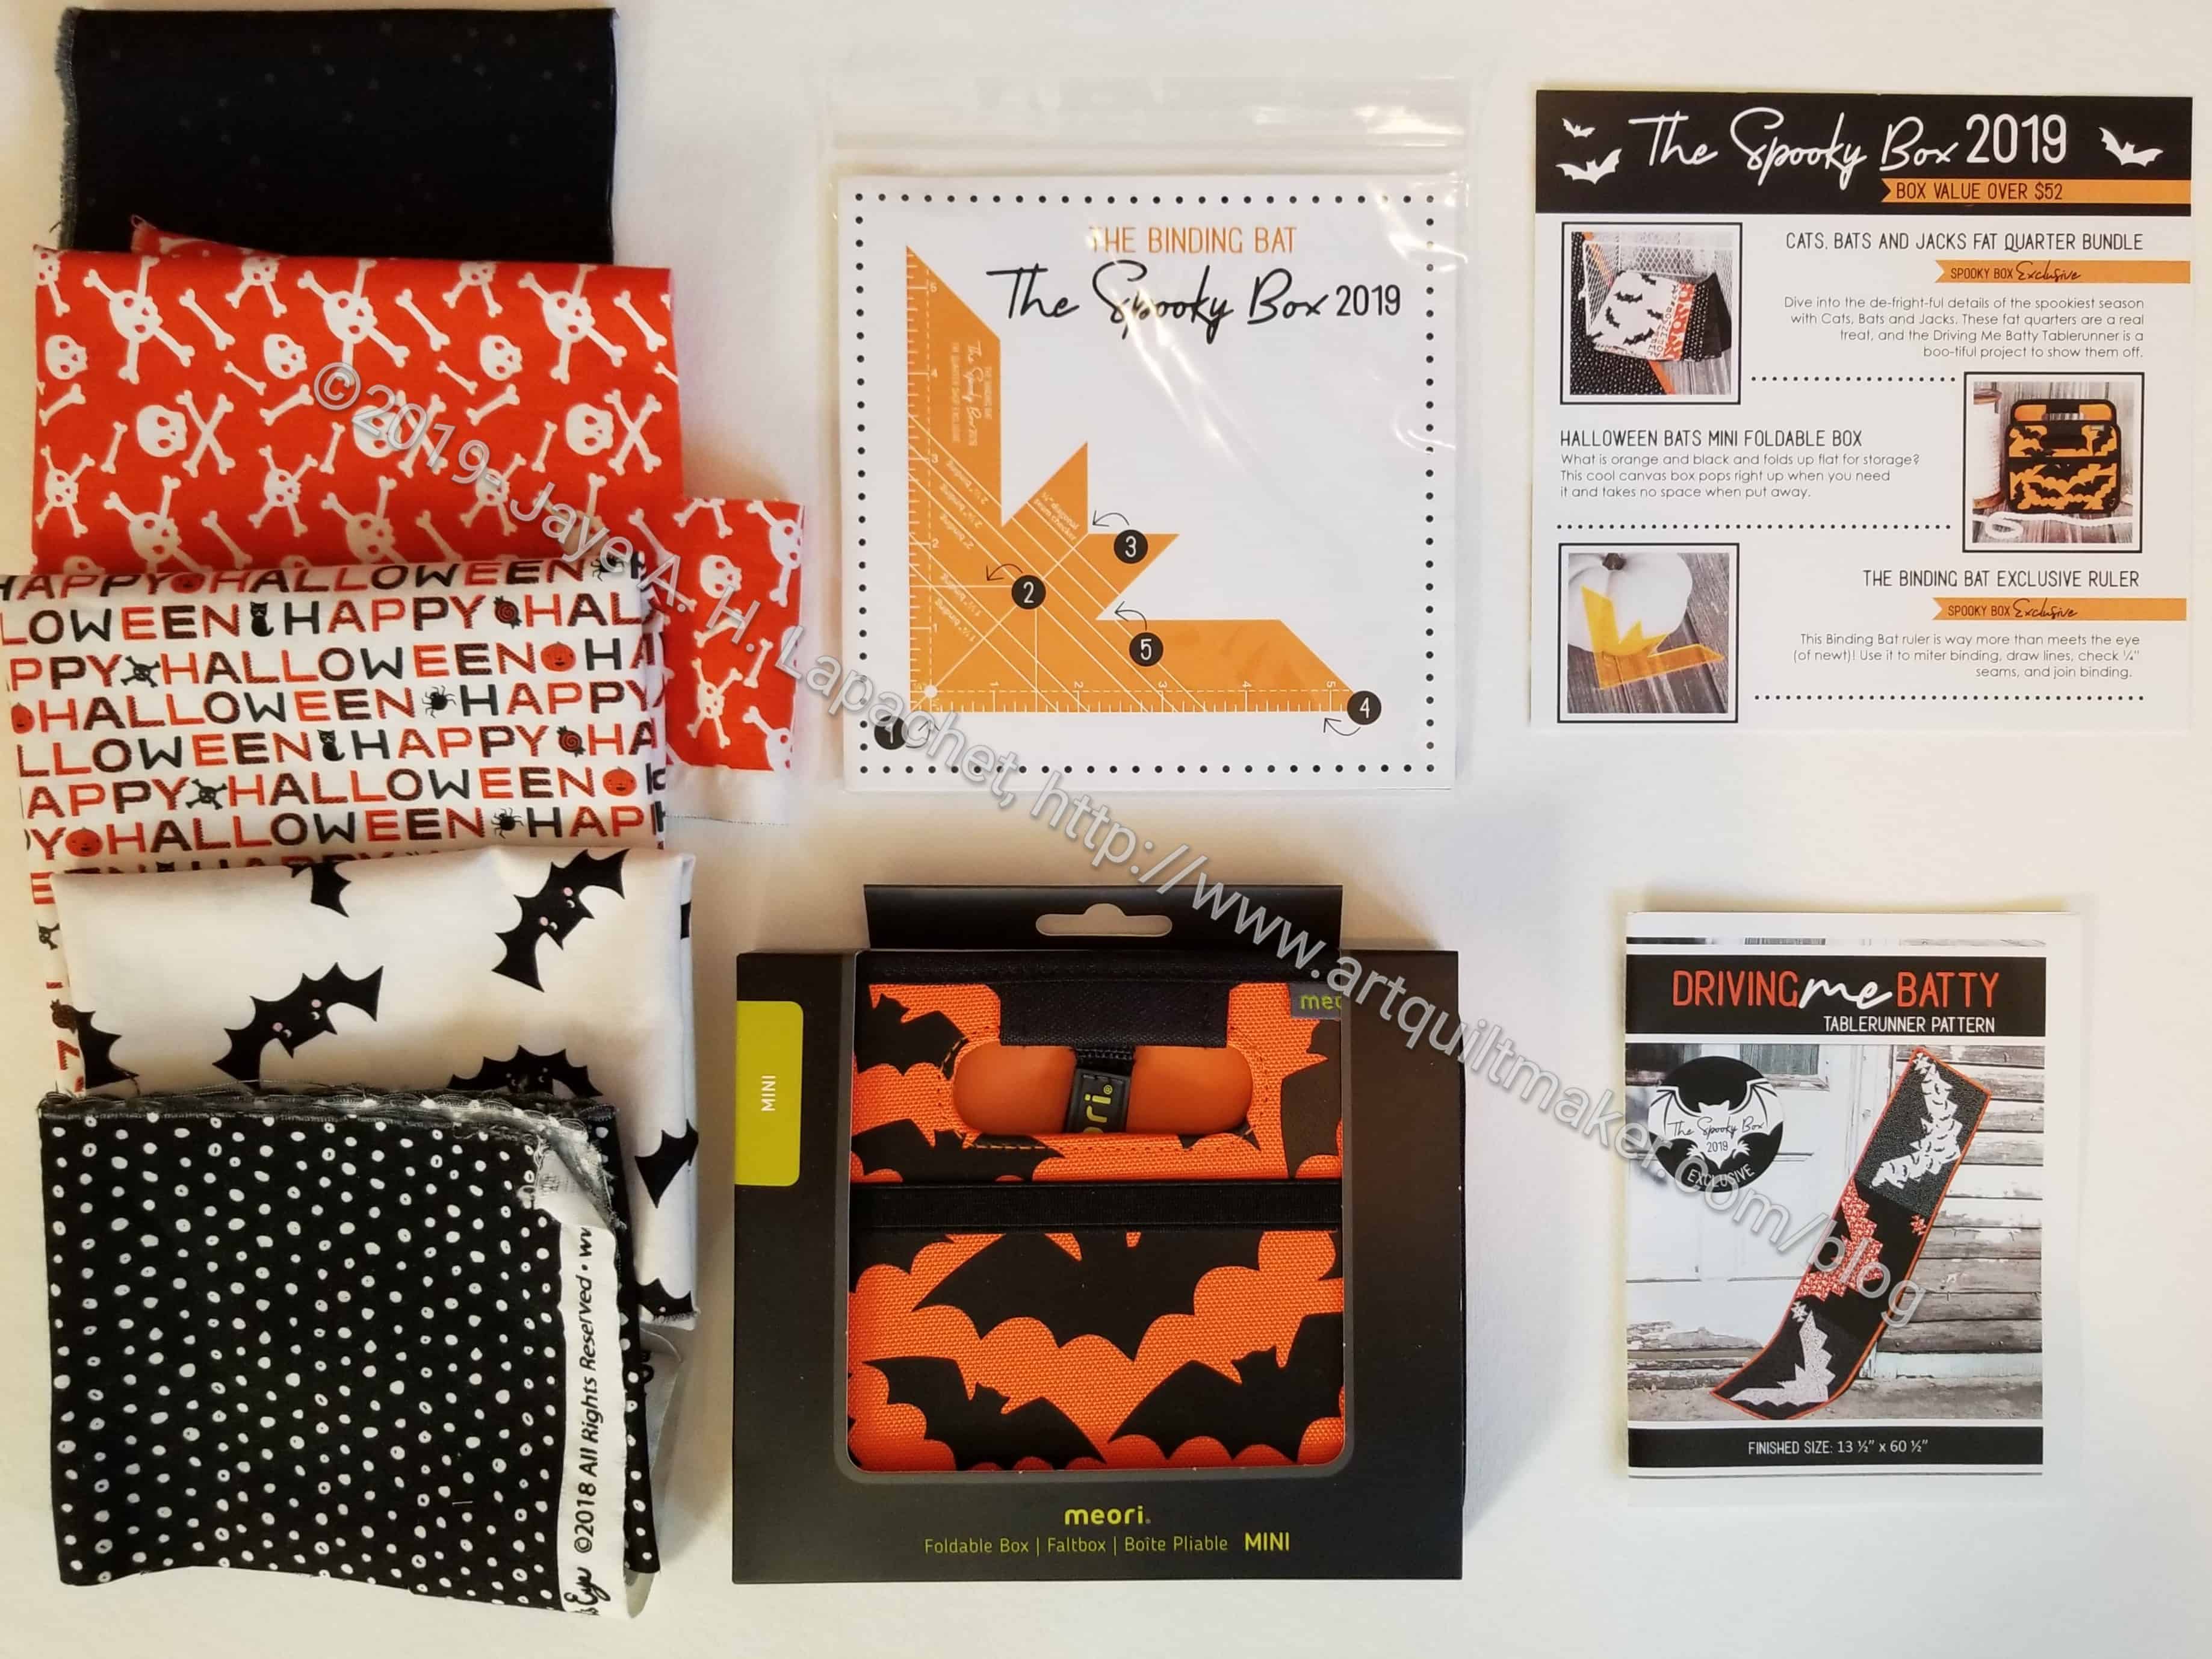
At Sew Day the other day, Amy showed me the most recent Fat Quarter shop box to which she subscribes.
For some crazy reason, I offered to make the table runner for her – just the piecing not the quilting. I know I have plenty of projects, but Amy is such a nice person and I knew she would never get it sewed together. I thought I could do it pretty quickly and she might be able to use it this Hallowe’en.
I am interested in trying that binding bat. I have the Fons & Porter binding ruler and it is a real pain to use, as I have said. The AllPeopleQuilt video is what I have been using recently and it is much easier to understand.
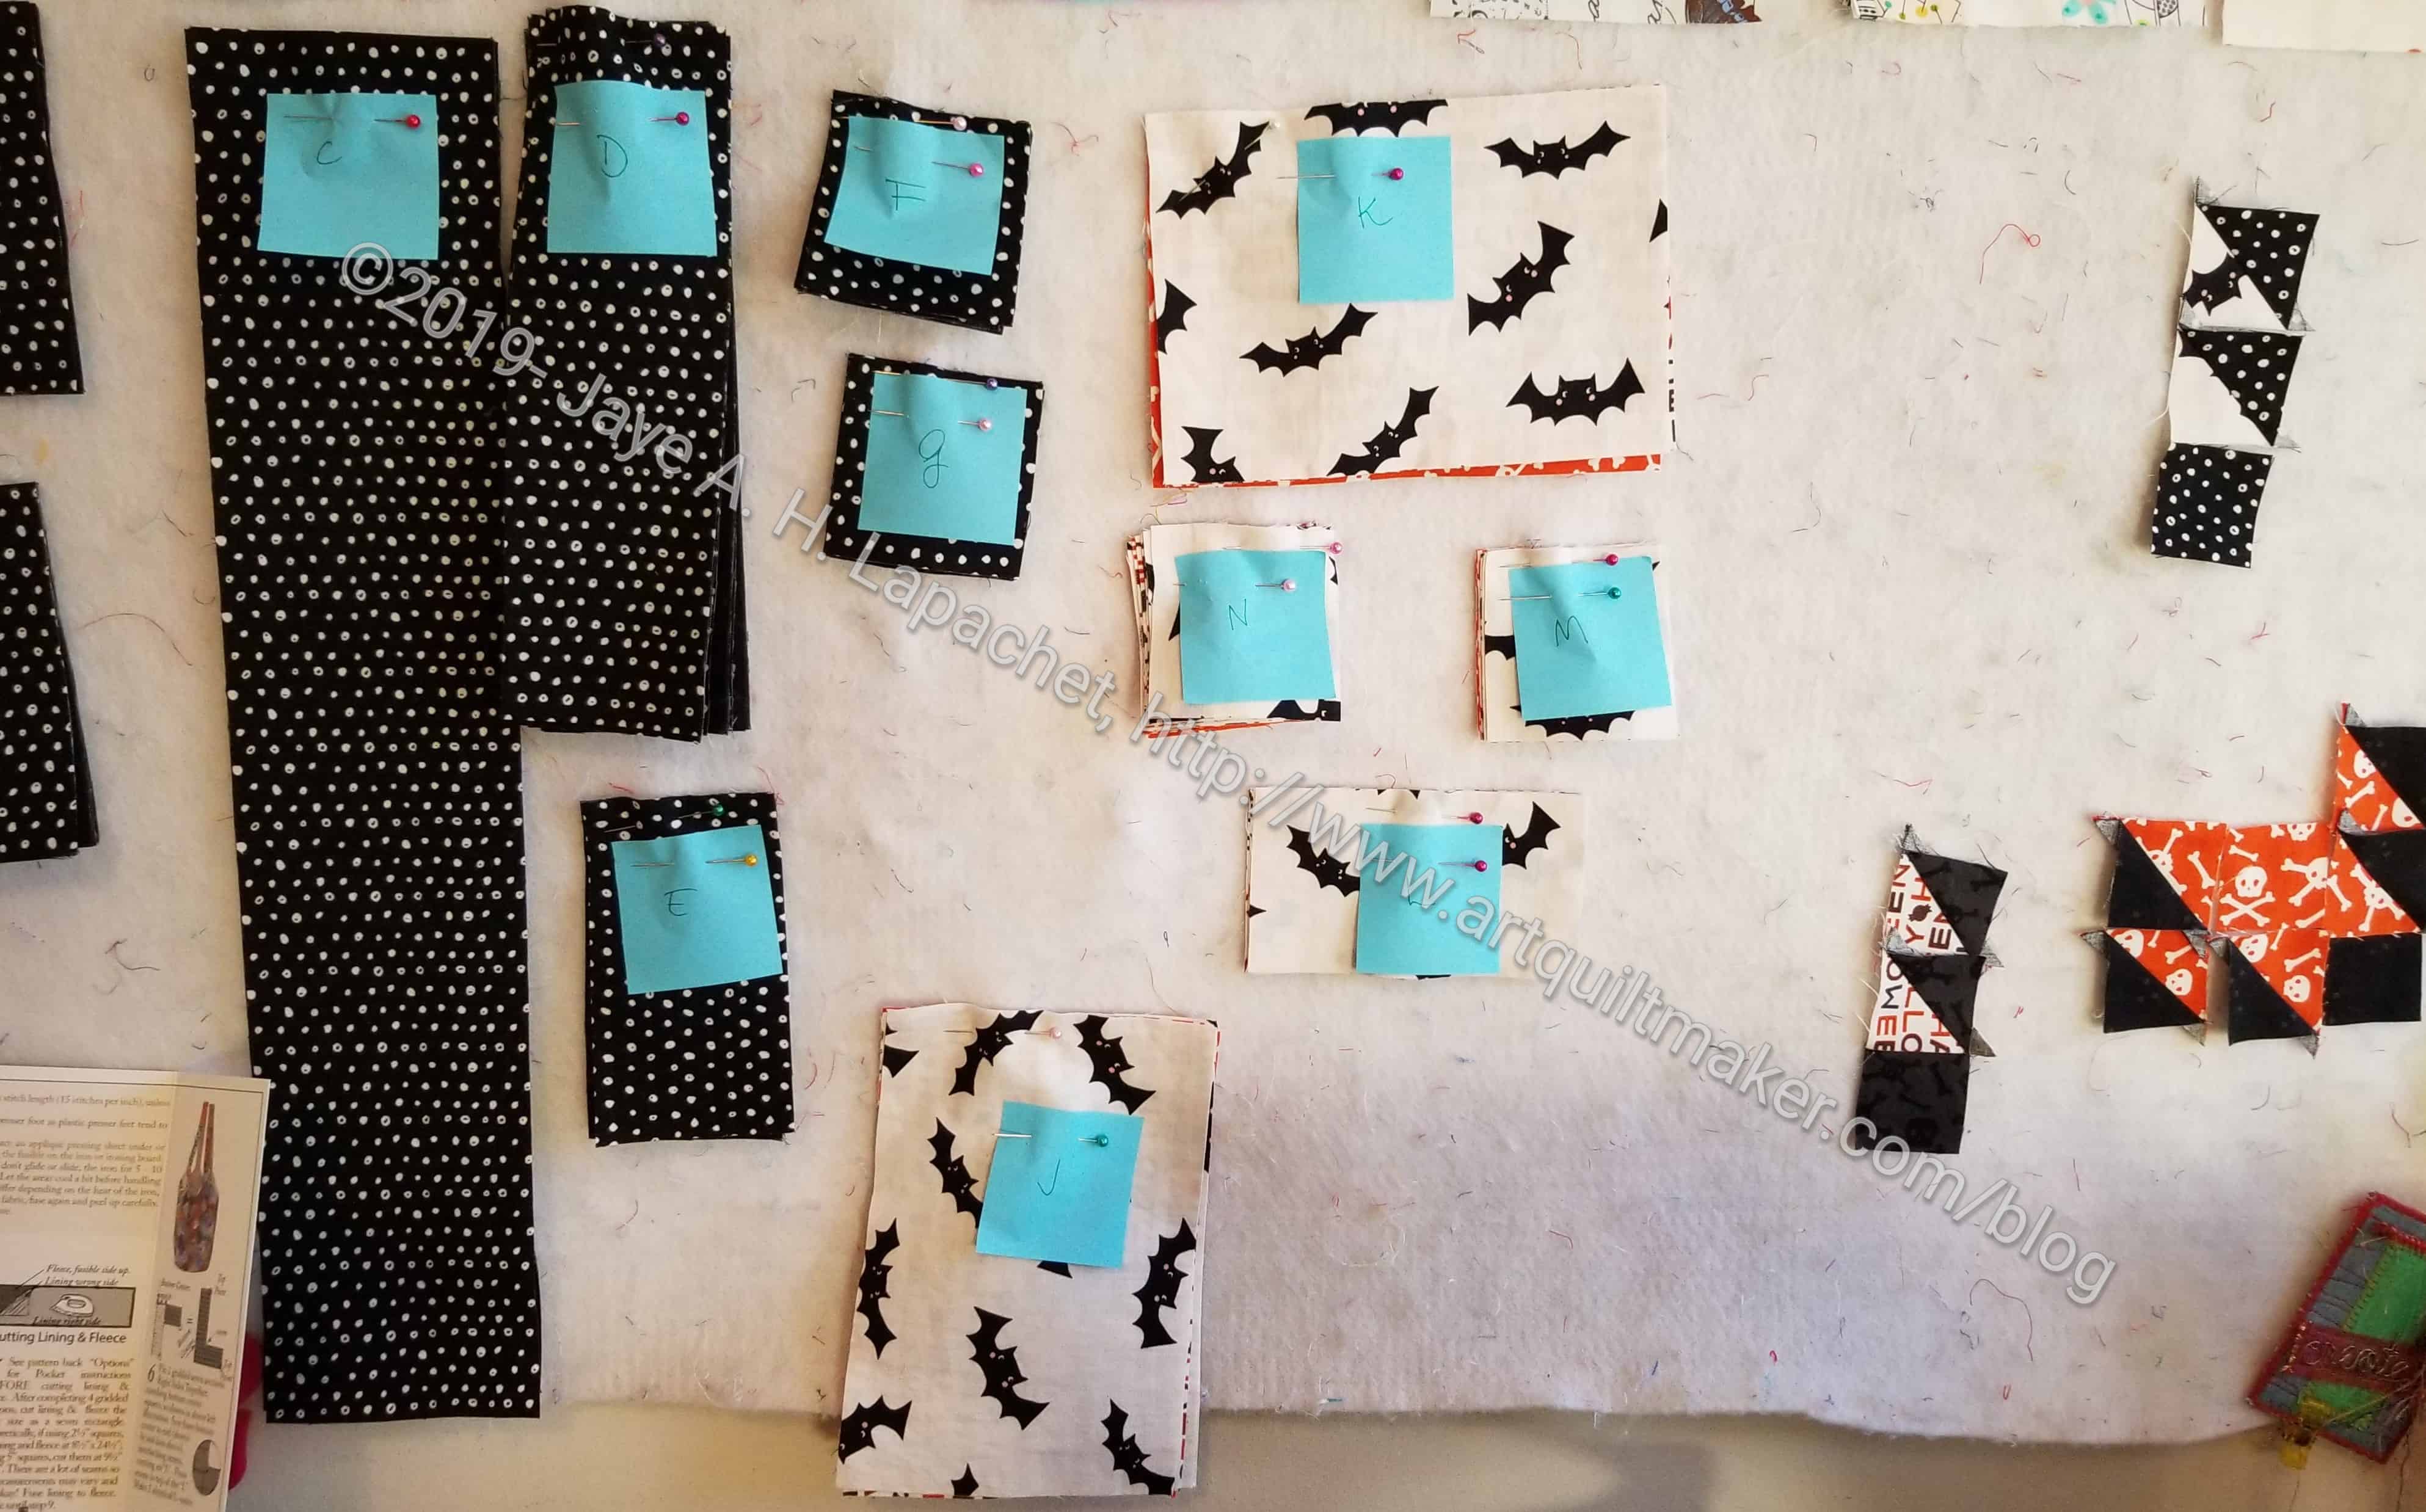
Bat Tablerunner pieces cut
I was able to cut out all the pieces on Sunday. The annoying thing is that some of the fabrics are directional, so I have to be careful how I cut and use them.
I started piecing the little stars and that is taking forever. Once I finish those, I should be able to speed along.
As mentioned yesterday, I went to CQFA on Saturday as well. It was held at a different location, Needles Studio in Palo Alto, because A Work of Heart was not available. One of the reasons I went was the location. I am pretty much done with driving to San Jose on a Saturday morning after getting lost one time too many with an added dose of a Google Maps failure (Google Maps is not infallible, so have a backup plan).
Another reason I went was a number of people at the retreat asked me to go. That was odd and I hoped they weren’t going to give me a gift or something for organizing the retreat. They didn’t and I was relieved. I think, now, that they just wanted to see me.
Finally, Julie said she would come and we were able to go to lunch and catch up afterwards.
The space is great. It is partly a workspace and partly a retail space. The items available for purchase are tightly ‘curated’. There aren’t many, but they are nice.
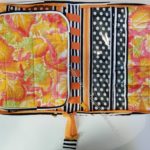
All Rolled Up tote with handles: showing accent fabric
Running with Scissors tote: with protective pad
Show and tell was great. I brought the bags I have been working on lately, the Running with Scissors Tote, the 4 Zip Organizer, and the All Rolled Up Tote. I think they were wowed by my explanations of what I did differently on the two Crafty Gemini projects. That made me feel good until someone said “oh, I could never do that”. That phrase makes me so angry. I wasn’t born knowing how to make bags. I learned. Ergh!!! I didn’t have any quilts or tops to show.
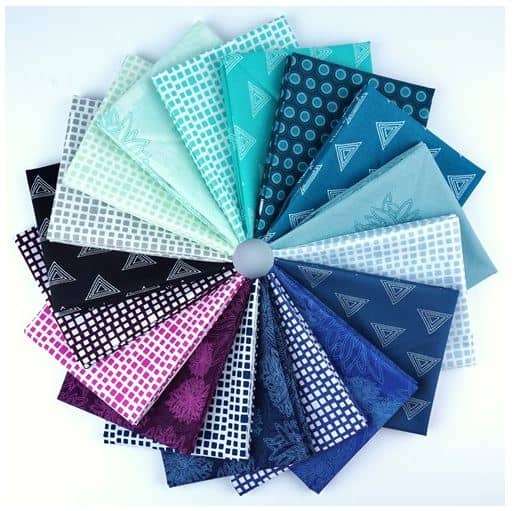
Sonja with her amazing fabric
Sonja brought a suitcase full of fabric she has been working on for the Nancy Crow class she is taking next week. She explained a lot about how she dyed the different tones and hues. There were a number of colors I would have cheerfully taken from her.
I missed taking photos of Friend Julie‘s finishes. She is working with a Finish-a-Long group and finished 6 of her 10 projects!!! I was so happy for her. Some will be in upcoming shows.
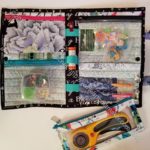
Maureen has been working on her fabric postcards for some upcoming boutiques. She thinks that she won’t do this next year, but her stuff is great. She didn’t bring any work to show, but she passed out postcards of the upcoming boutiques.
Dolores talked about some sales she has had recently. That is pretty exciting. One piece was sold to a man from Qatar who showed up at the Festival of Quilts in Birmingham, UK!
There was a discussion of precious textiles. Bron brought a mola she found in a box of FabMo donations (she sells precious things from FabMo donations on eBay for the the group). Maureen showed Katangas from when she lived in Kenya. They were really interesting to look at and I loved hearing how they are used. Reva brought a Marsailles weave tablecloth her grandmother or great-grandmother was given upon the occasion of her wedding. It was in good shape, if a little stained. There was a note attached telling the provenance. I thought the overall design would have made a great wholecloth quilt.
I enjoyed myself, though I was getting a little antsy as the clocked ticked away as I wanted to get to Sew Day.