The All Rolled Up Tote is finally starting to look like something. It is amazing to me how I can sew and sew on a bag project and it looks like a bunch of disparate parts, then all of a sudden it looks like something. It’s like magic.
All Rolled Up Tote – pockets assembled
Just as I needed the sides, the fabric arrived from HipStitch and I had time to wash it. For once I cut the outside properly and was able to move forward.
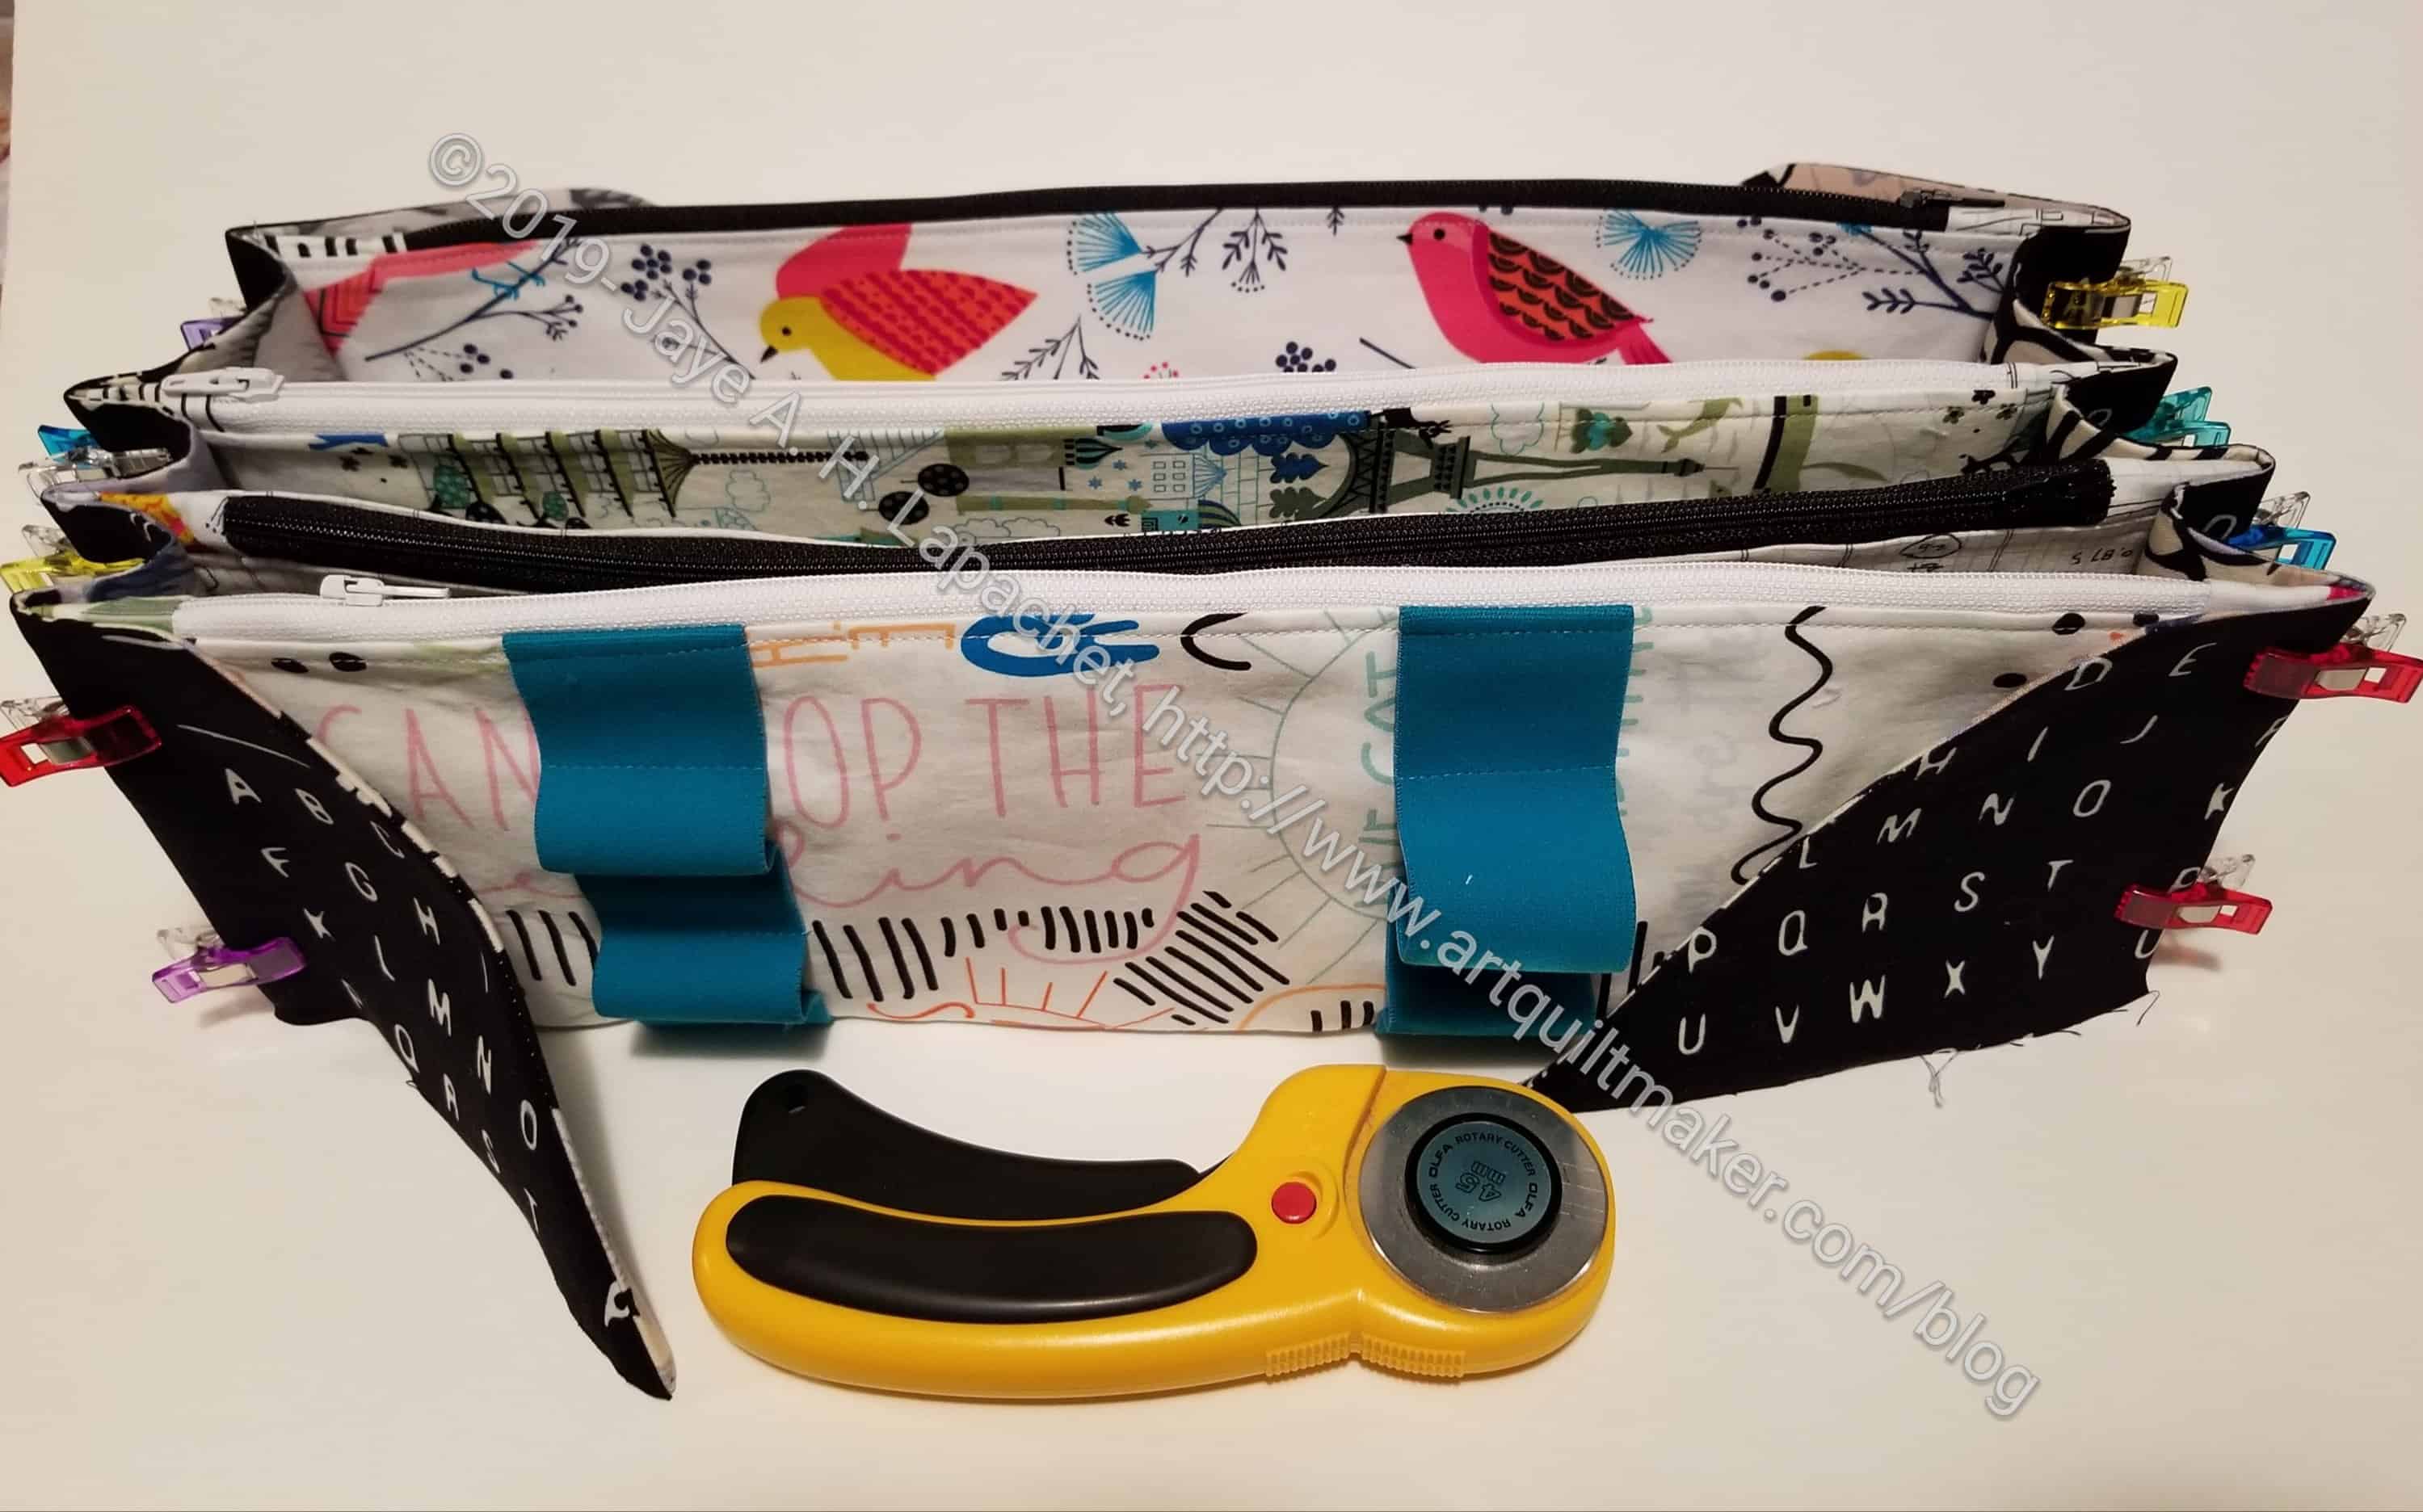
As I said, it is similar in shape and use to the Sew Together Bag, but much larger. The finished size is 15in./L x 9in./W x 6in./H. I placed my rotary cutter in the photo above so you could get some idea of scale. This bag is much larger than the Sew Together Bag.
I am also finding the construction to be a little different. For example, the pockets are assembled separately unlike the Sew Together Bag. I am sure I will find some other differences when I get farther along.
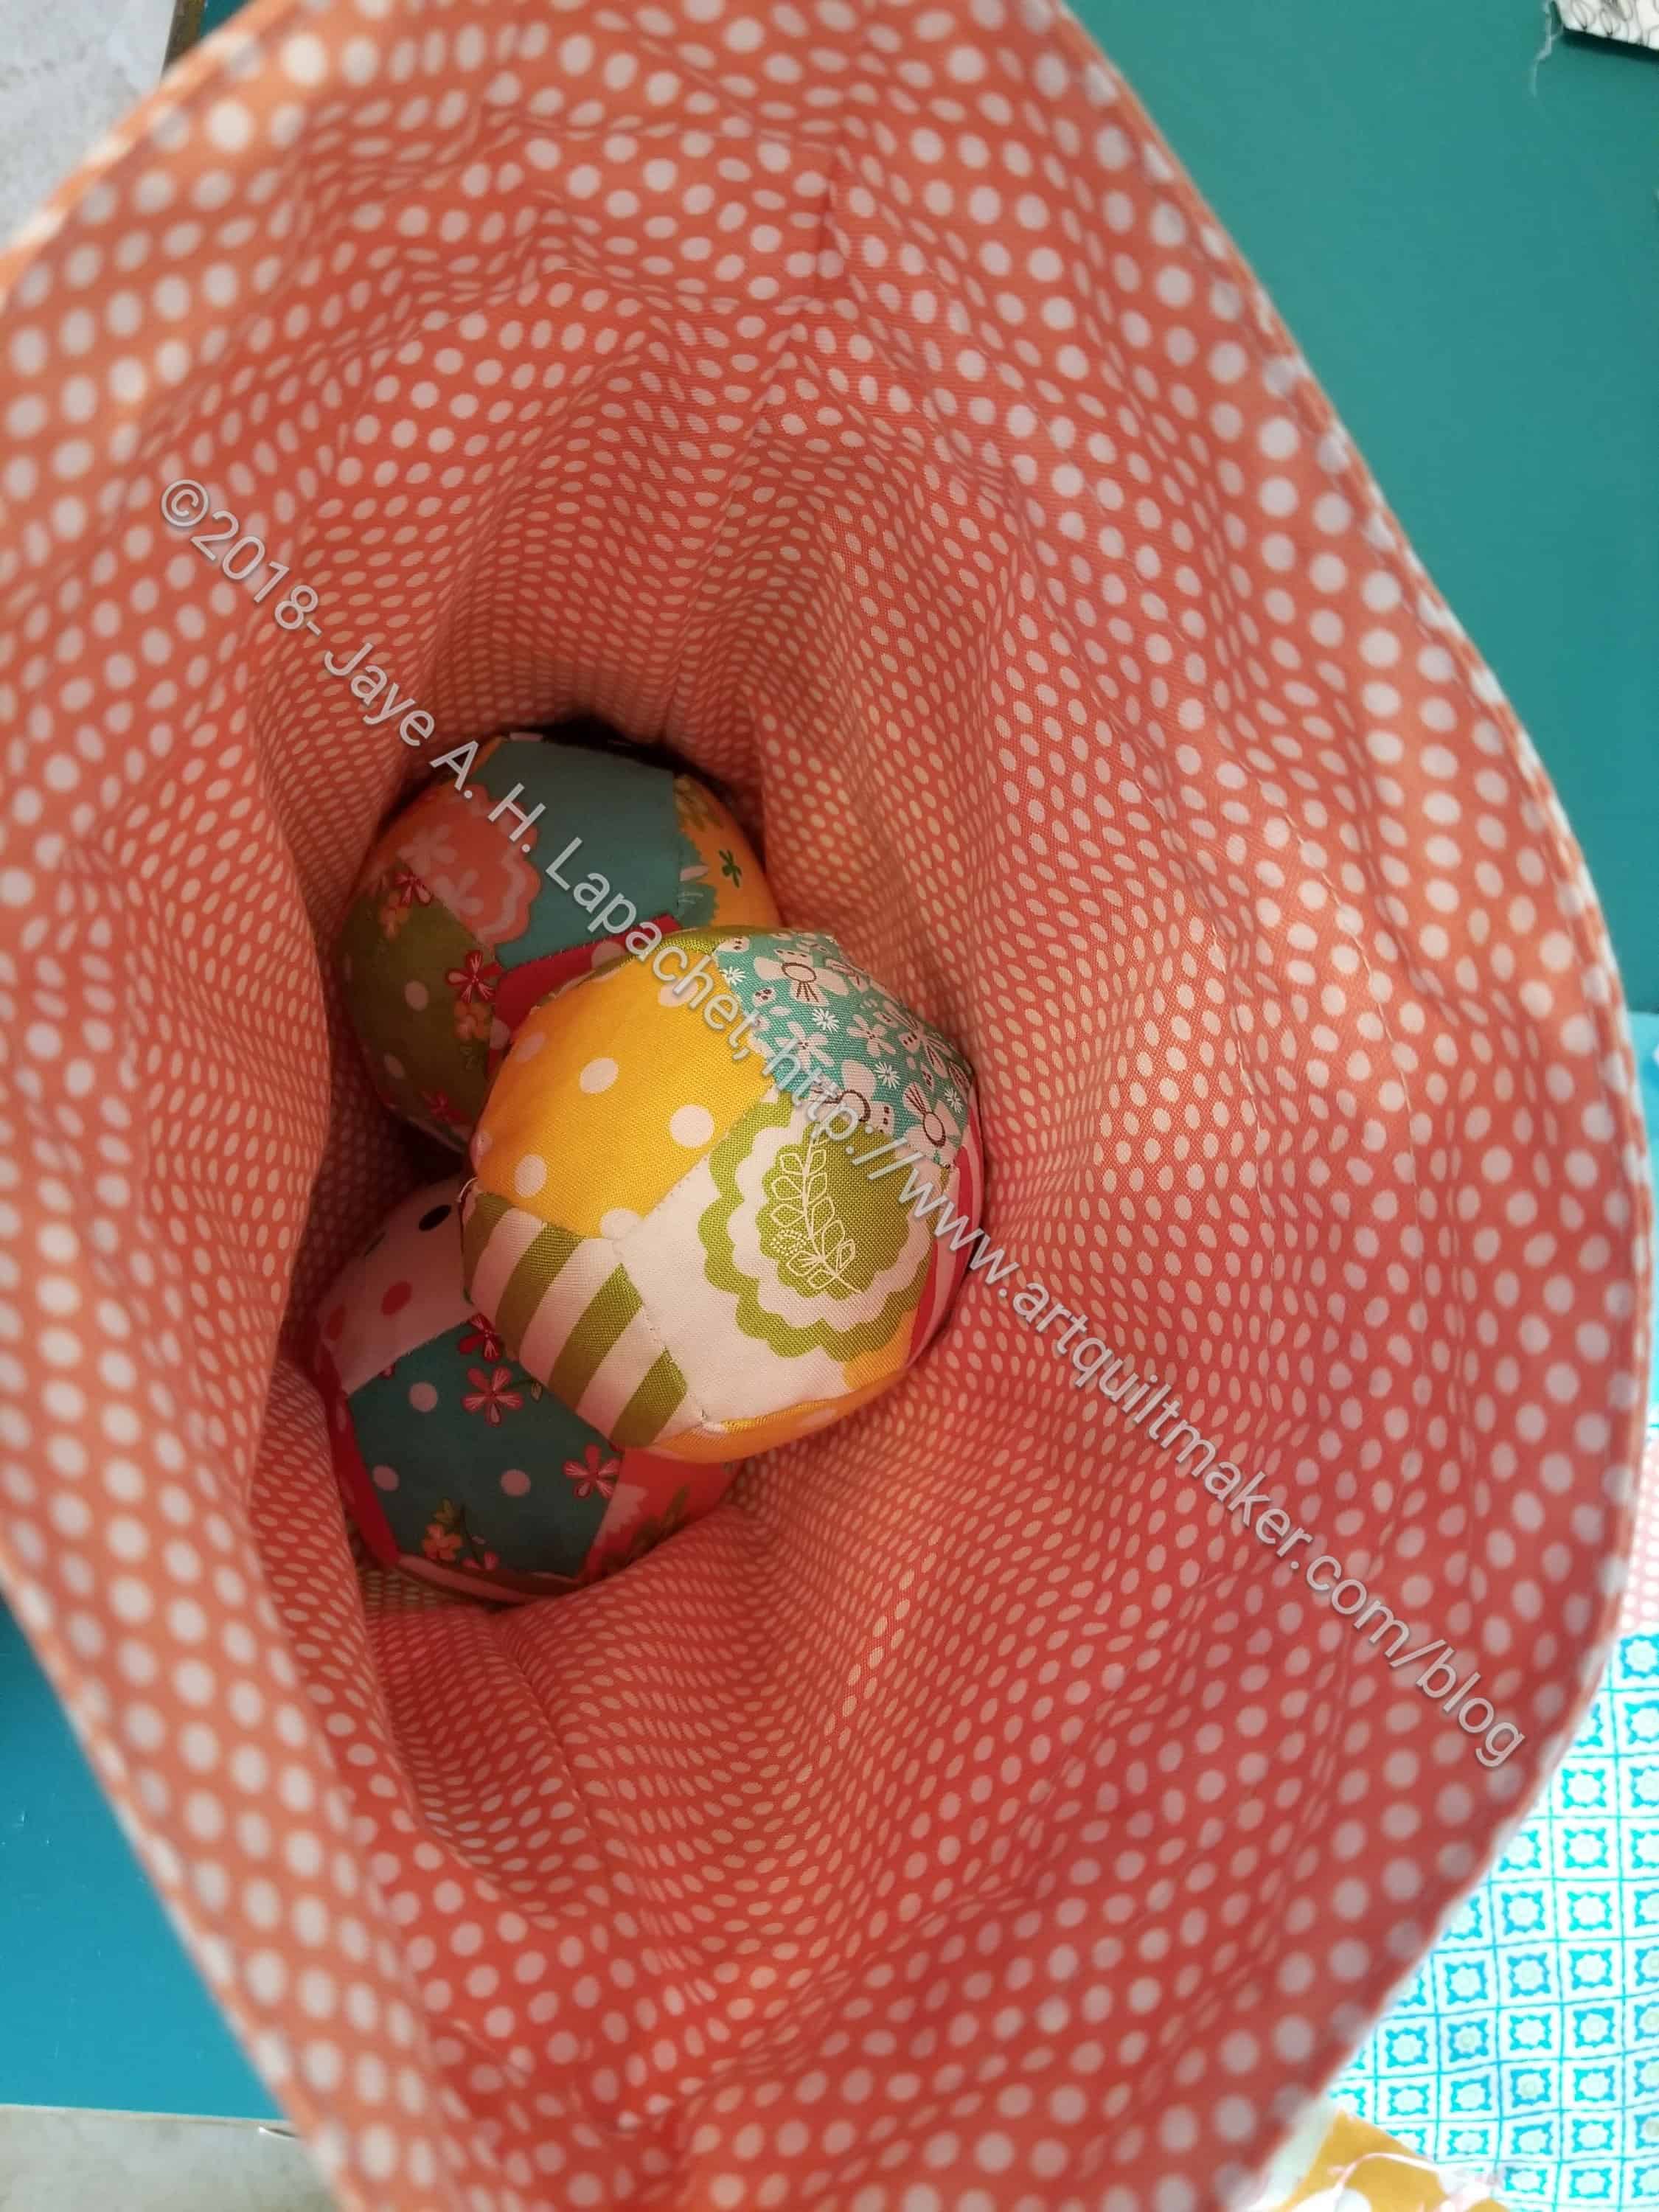
Three juggling ballsJuggling Balls in the drawstring bag
You have seen a few posts about these juggling balls in the past few weeks. Well, I finally finished them. I didn’t get them done in time to give them to my niece for Christmas, but oh well. I am still pretty pleased with the way they came out and I am thinking about making another set.
As previously mentioned, I got the idea for the balls from All Points Patchwork, a comprehensive guide on English paper piecing. I wrote a review about it recently.
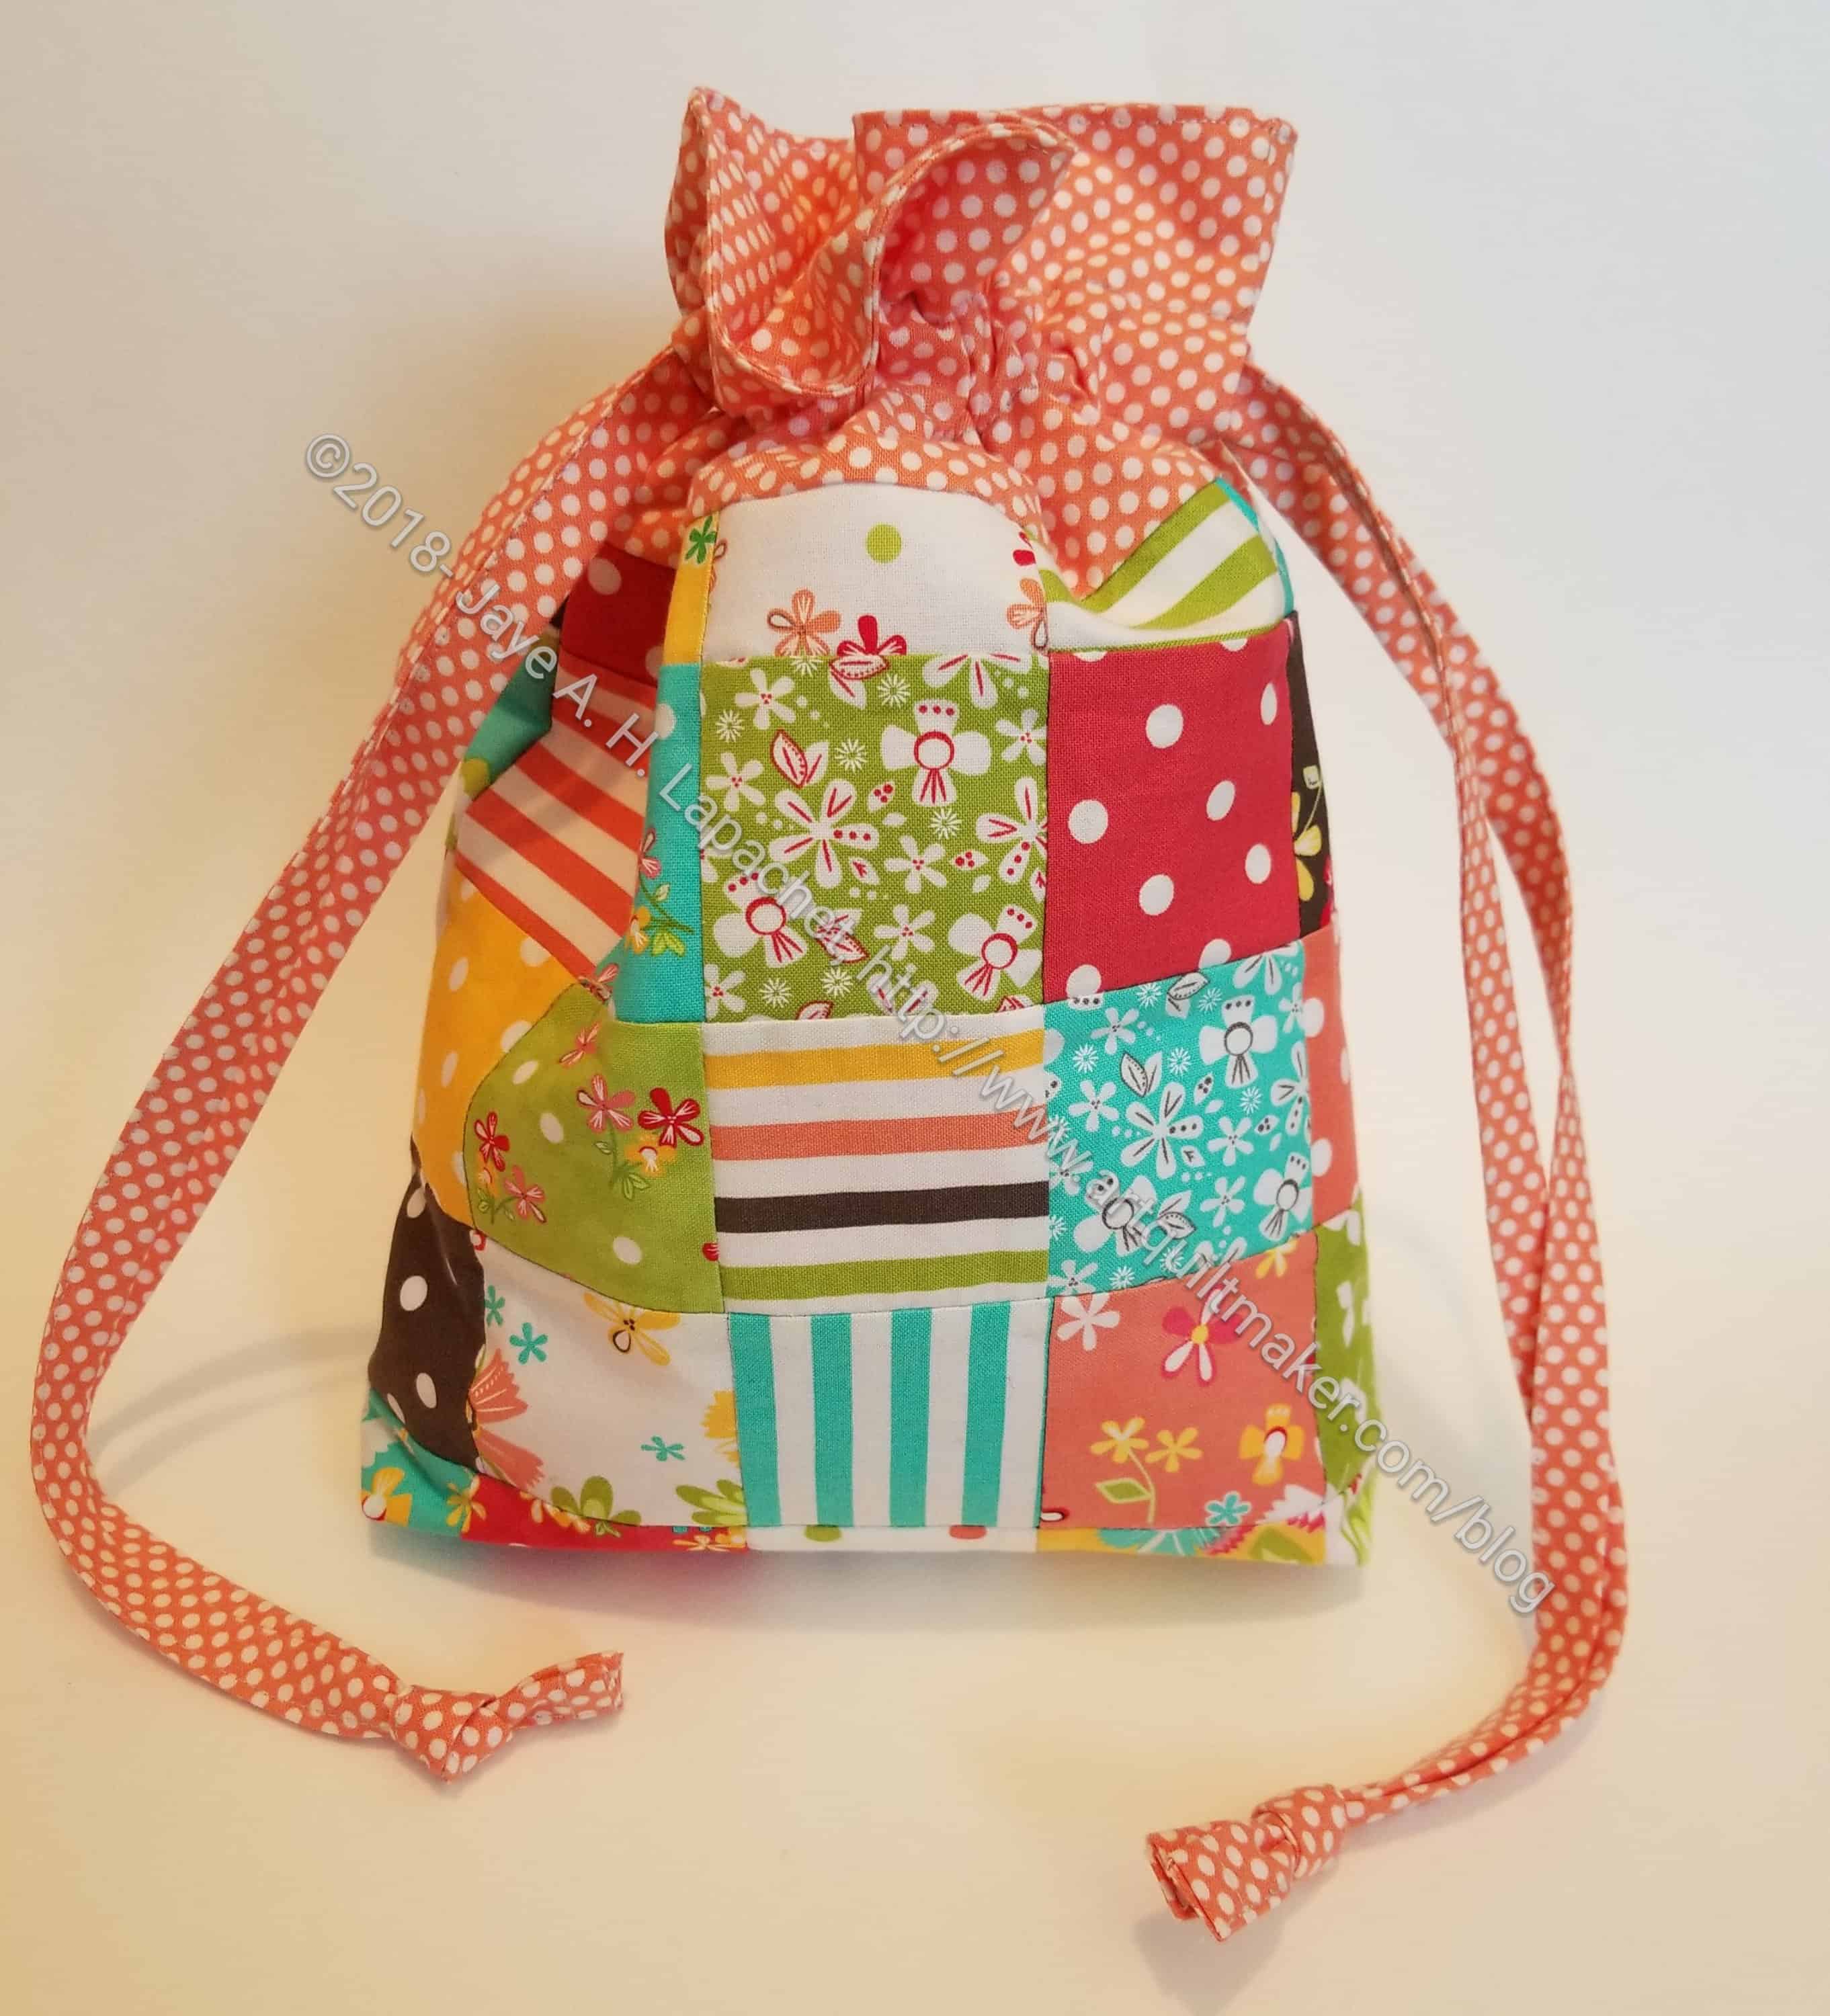
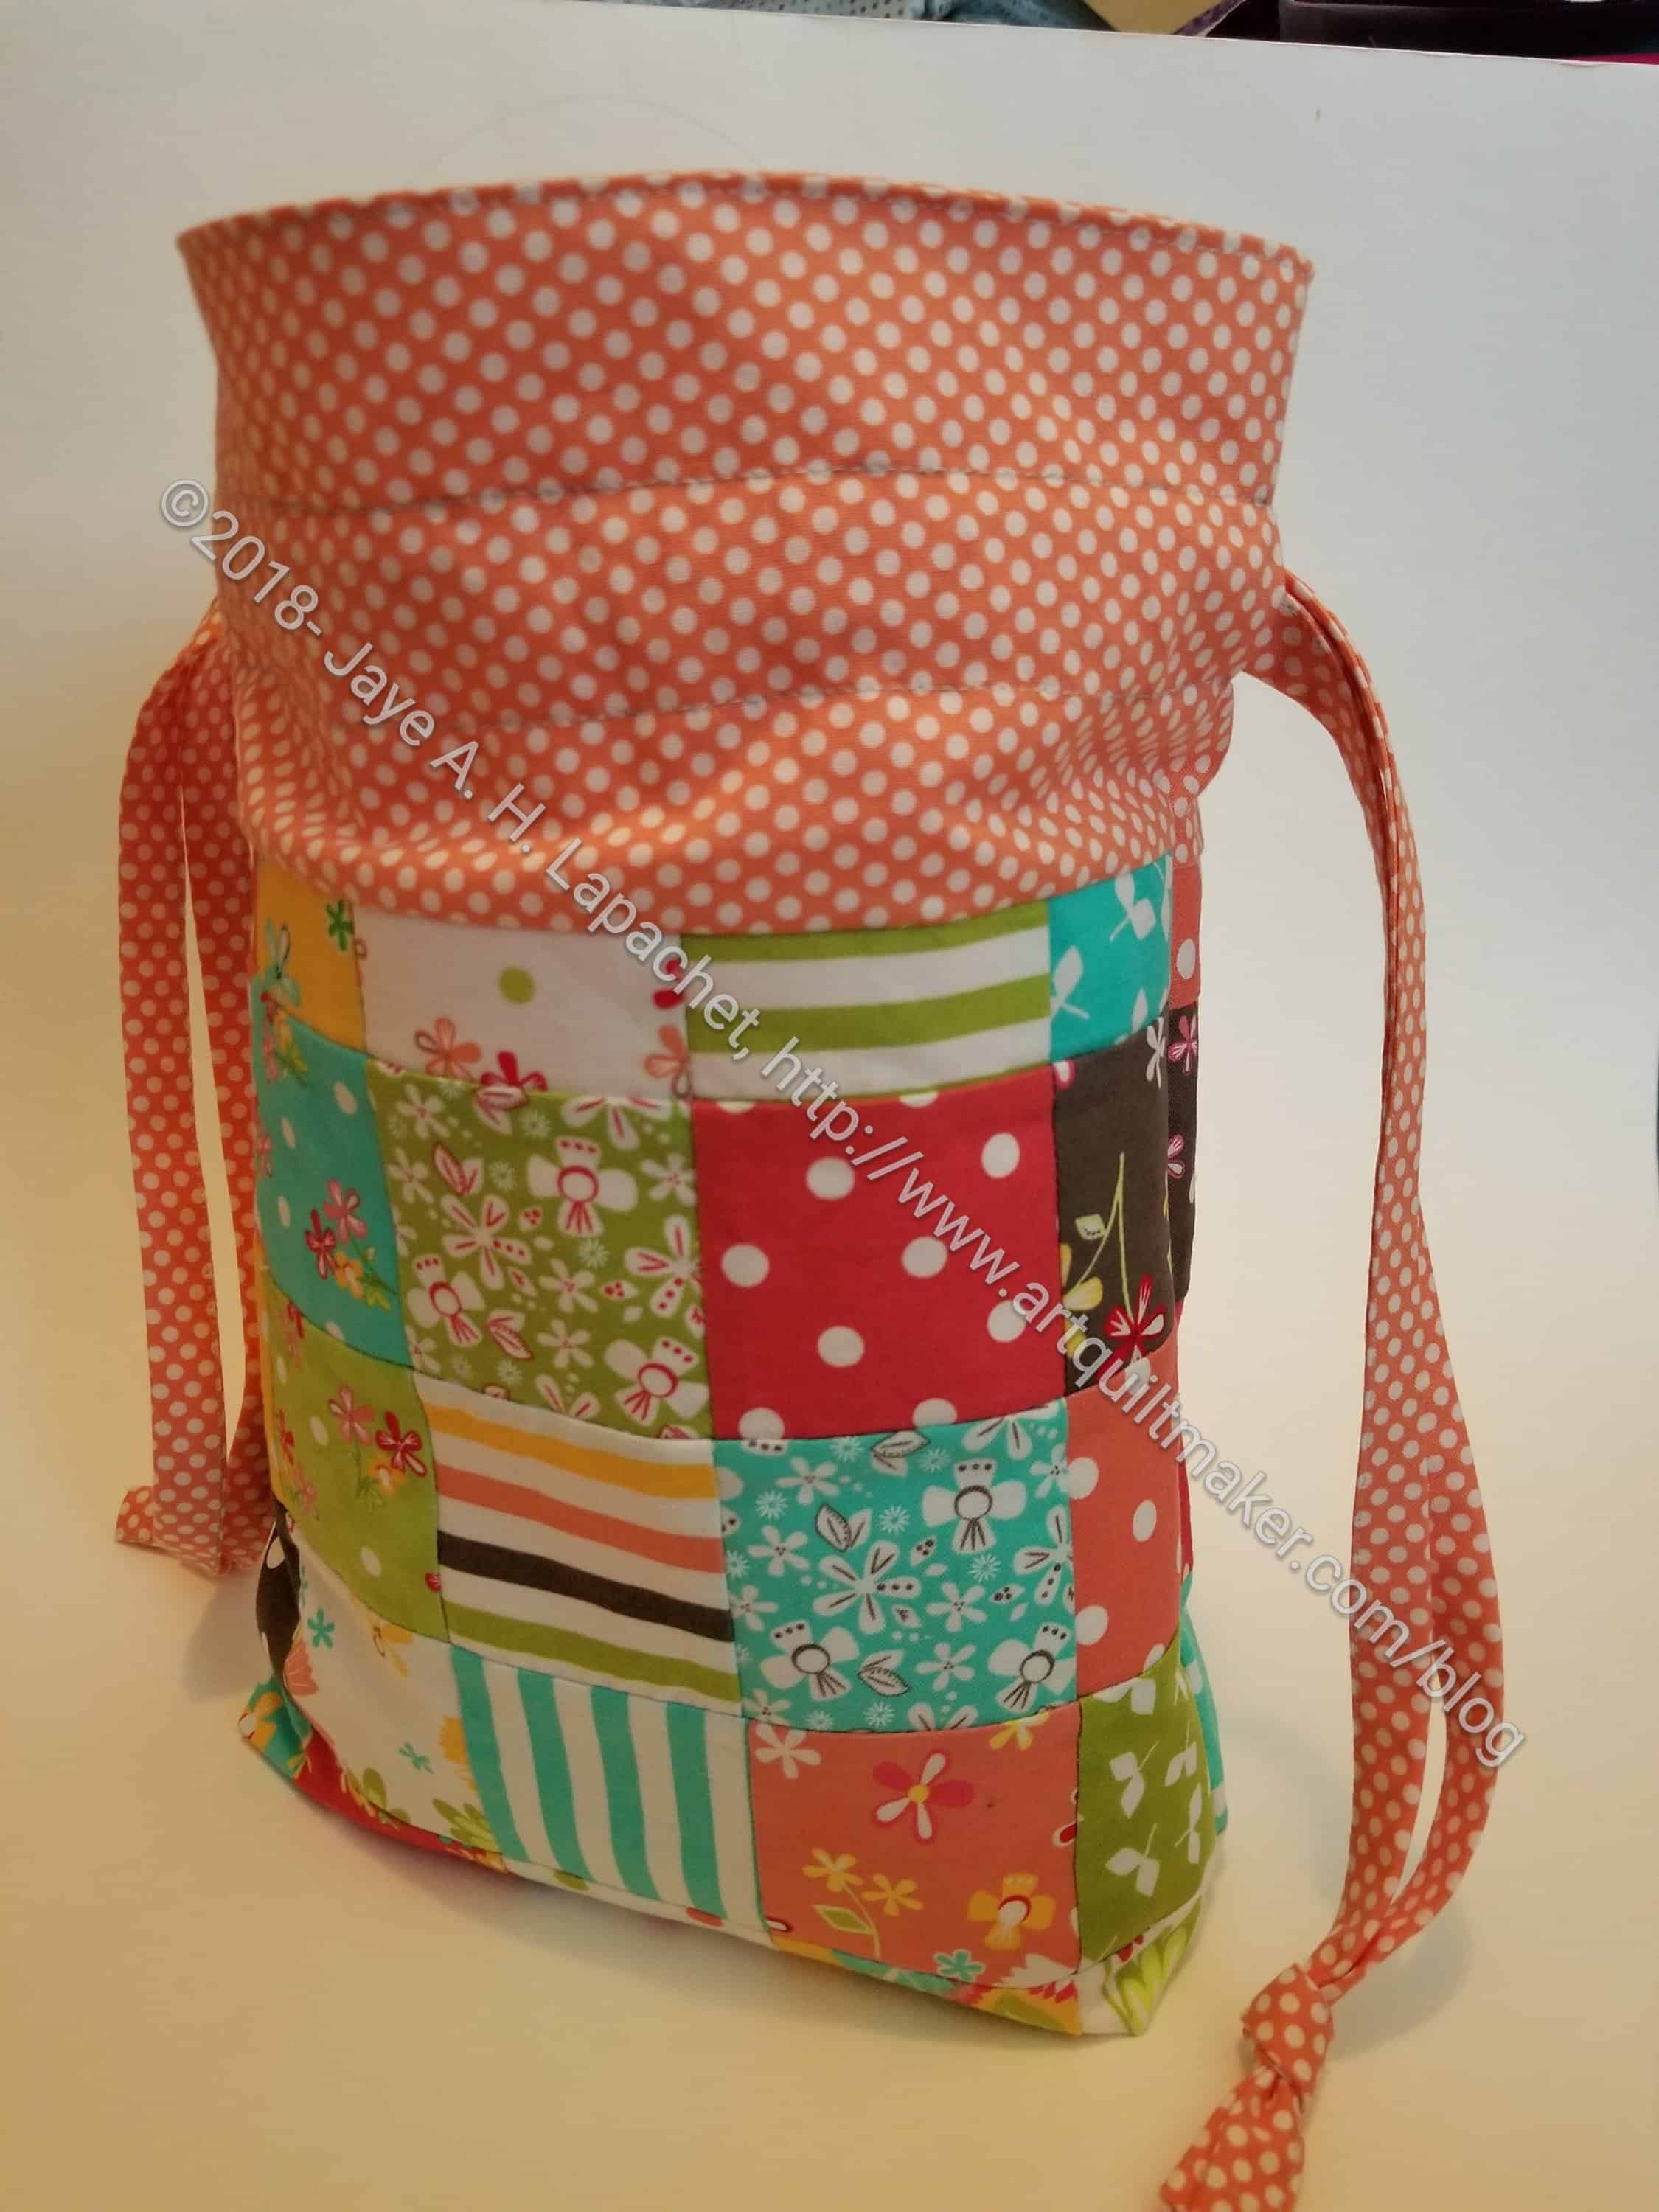
Juggling Balls drawstring bag
I didn’t want to just hand over 3 balls, so I looked for a bag to make in which they could be stored. Quickly, I remembered the drawstring bag by Jeni Baker of In Color Order. I found the tutorial, but after working through it a little I found some missing information. After some investigation I was forwarded to another version of the tutorial. In fairness, Baker sells a pattern for this drawstring bag with several size variations. I believe I bought it at one point, but wasn’t able to put my hands on the pattern quickly. The size (approx 10.5″ x 8.5″) in the tutorial was fine for my purposes. Perhaps a little big, but fine.
Juggling Balls drawstring bag-3/4 view
I had a bunch of the mini-charm packs of Prairie by Moda, which is what I used to make the juggling balls. I used more of them to make the bag with a Barbara Jones peach dot print for the accent and the lining. I am not sure I would make patchwork again for the bag, though if I had some orphan blocks I might use them. It would be quicker and more elegant to use two or three fabrics. Still, what I made is kind of cheerful.
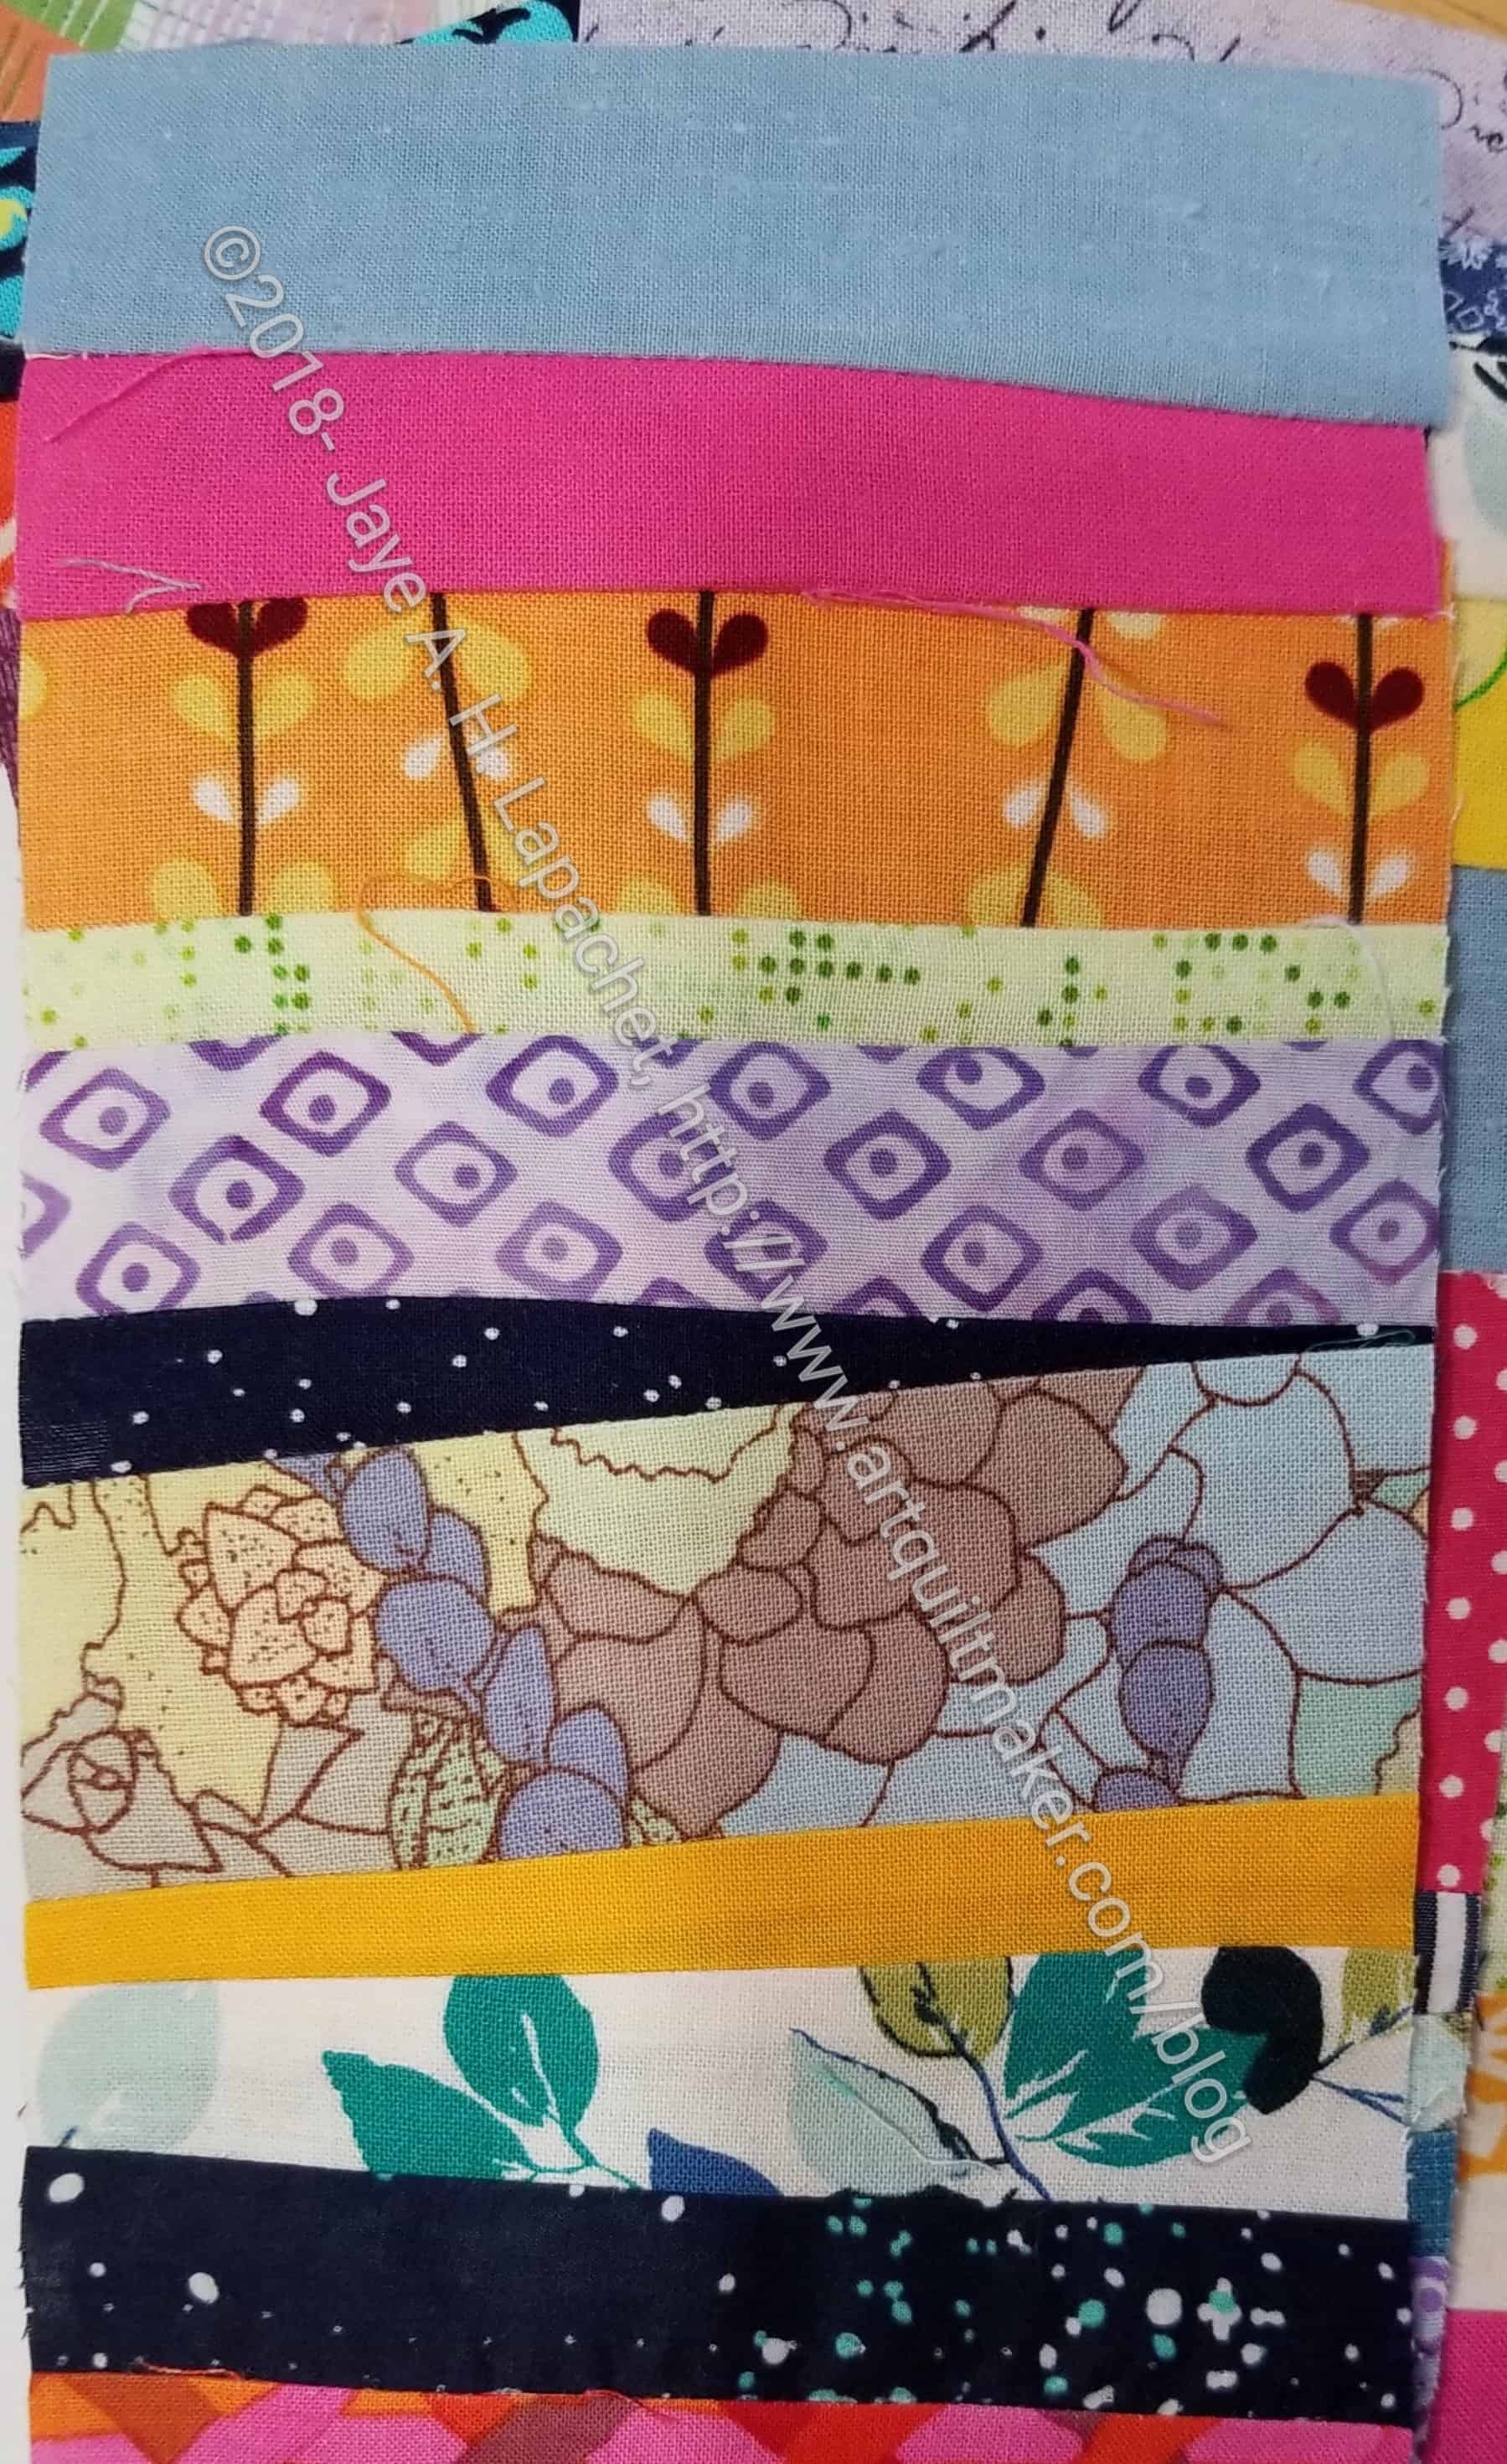
A few days ago, I wrote about some new strip donation blocks I was working on. I have made a few more as I have worked on other projects. I think they are looking good.
Mrs. K was interested and pointed out some challenges with my previous post. I know she didn’t do it intentionally, but I was glad to be reminded that I am not one of those people who hides information so I can sell a kit.
Strip donation blocks
Each block is 4.5″ x 8.5″ unfinished. I sew them with whatever strips I have, trying to keep the bias straight since I am not using a foundation. Once I have a large enough piece, I trim it with my Creative Grids 4.5 x 8.5″ ruler. This is a ruler I use all the time. I keep it on my cutting table for quick cuts, because it fits my hand really well, but is also useful for cutting 2.5″ squares and other sizes I am Hunting and Gathering.
My plan is to alternate them with plain blocks. I will make enough for 5 rows of five blocks, which I think is a total of 20 blocks. I’ll have to actually draw a picture to be sure.
This is an exercise in scrap clearance and workings towards my goal of using 100 yards of fabric (net).
Bonnie Hunter has a pattern using the same technique, but with foundations and set a different way. Having a real plan might be better for some of you than my random way of working.
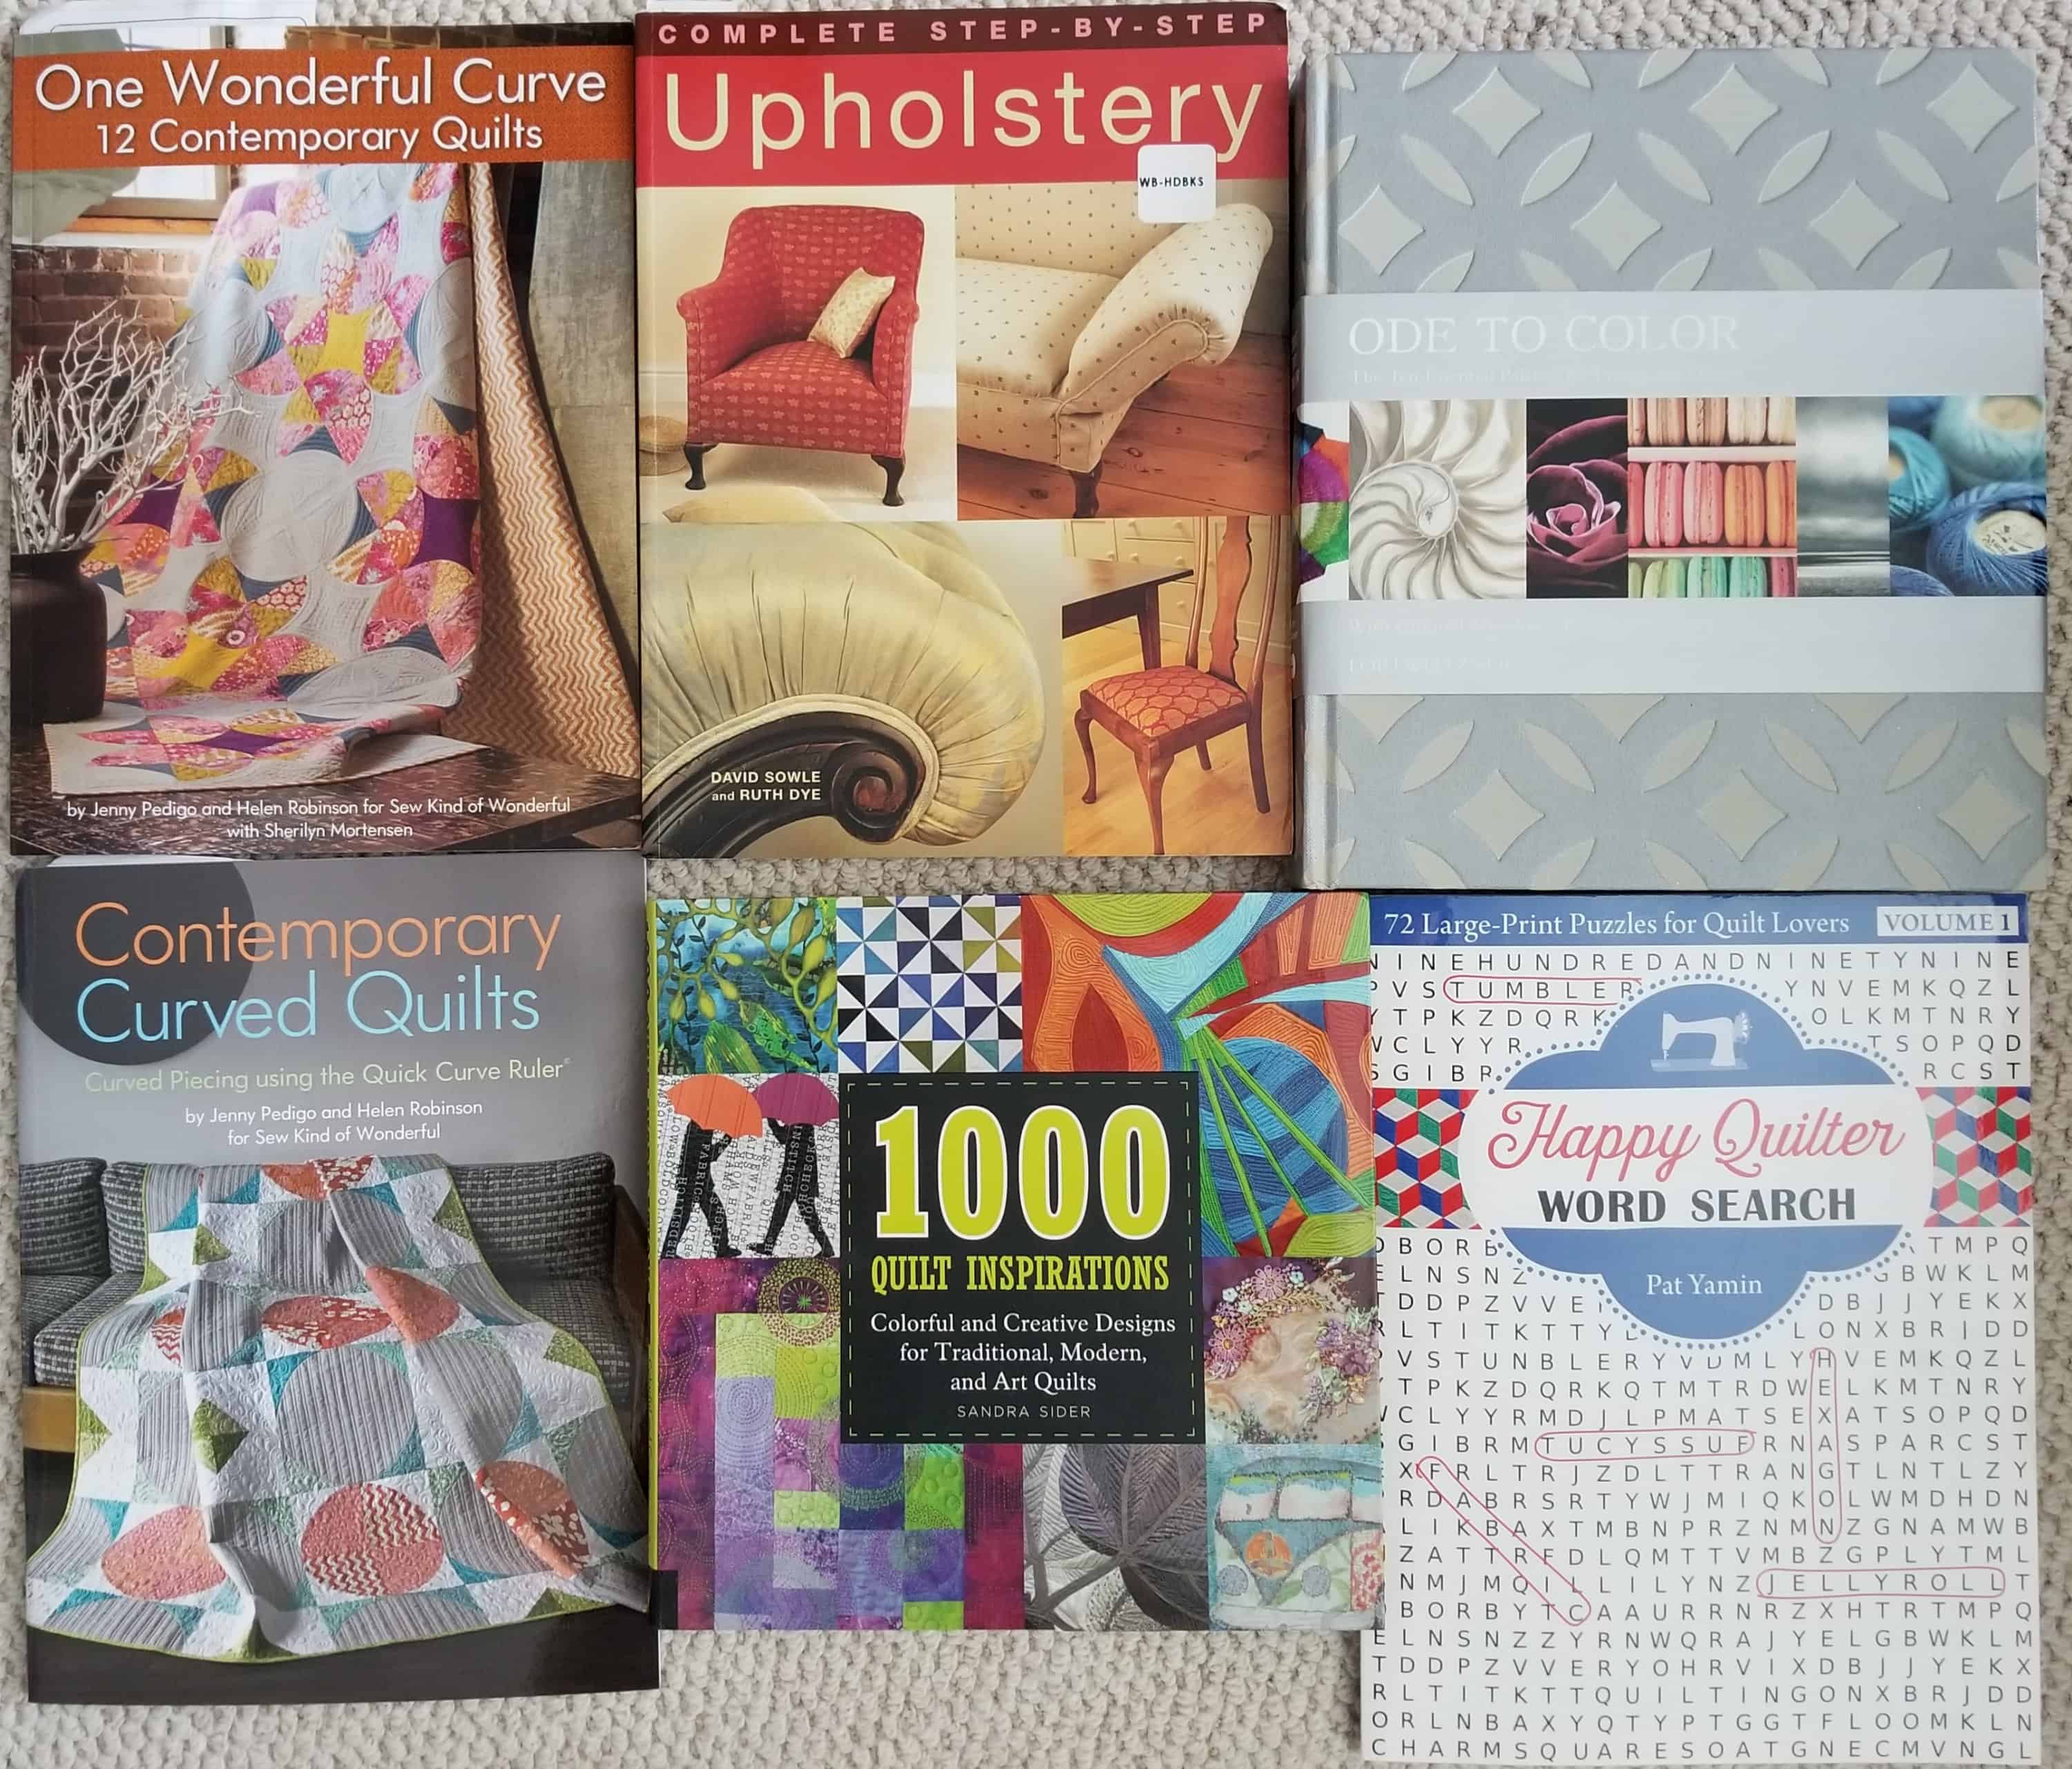
I got a lot of nice quilting gifts for Christmas. I know that seems like a long time ago, but I have been posting like crazy on other topics. I never know what is of the most interest to you. Gifts to me seem trivial compared to what I am making and other quiltmaking thoughts I have. Thus, this is the first chance I have gotten to sit down and show you what great family and friends I have.
Christmas 2018 gifts for me
Mostly the family gave me books. I have some good ideas for using the Quick Curve Ruler from the two books I received.
I really need more bookshelves. I am working on updating my database so it includes all of my books, but things take time.
The book on the upper right hand corner is a book called Ode to Color and I am hoping to use that for creativity posts on Fridays. I haven’t done anything about it yet.
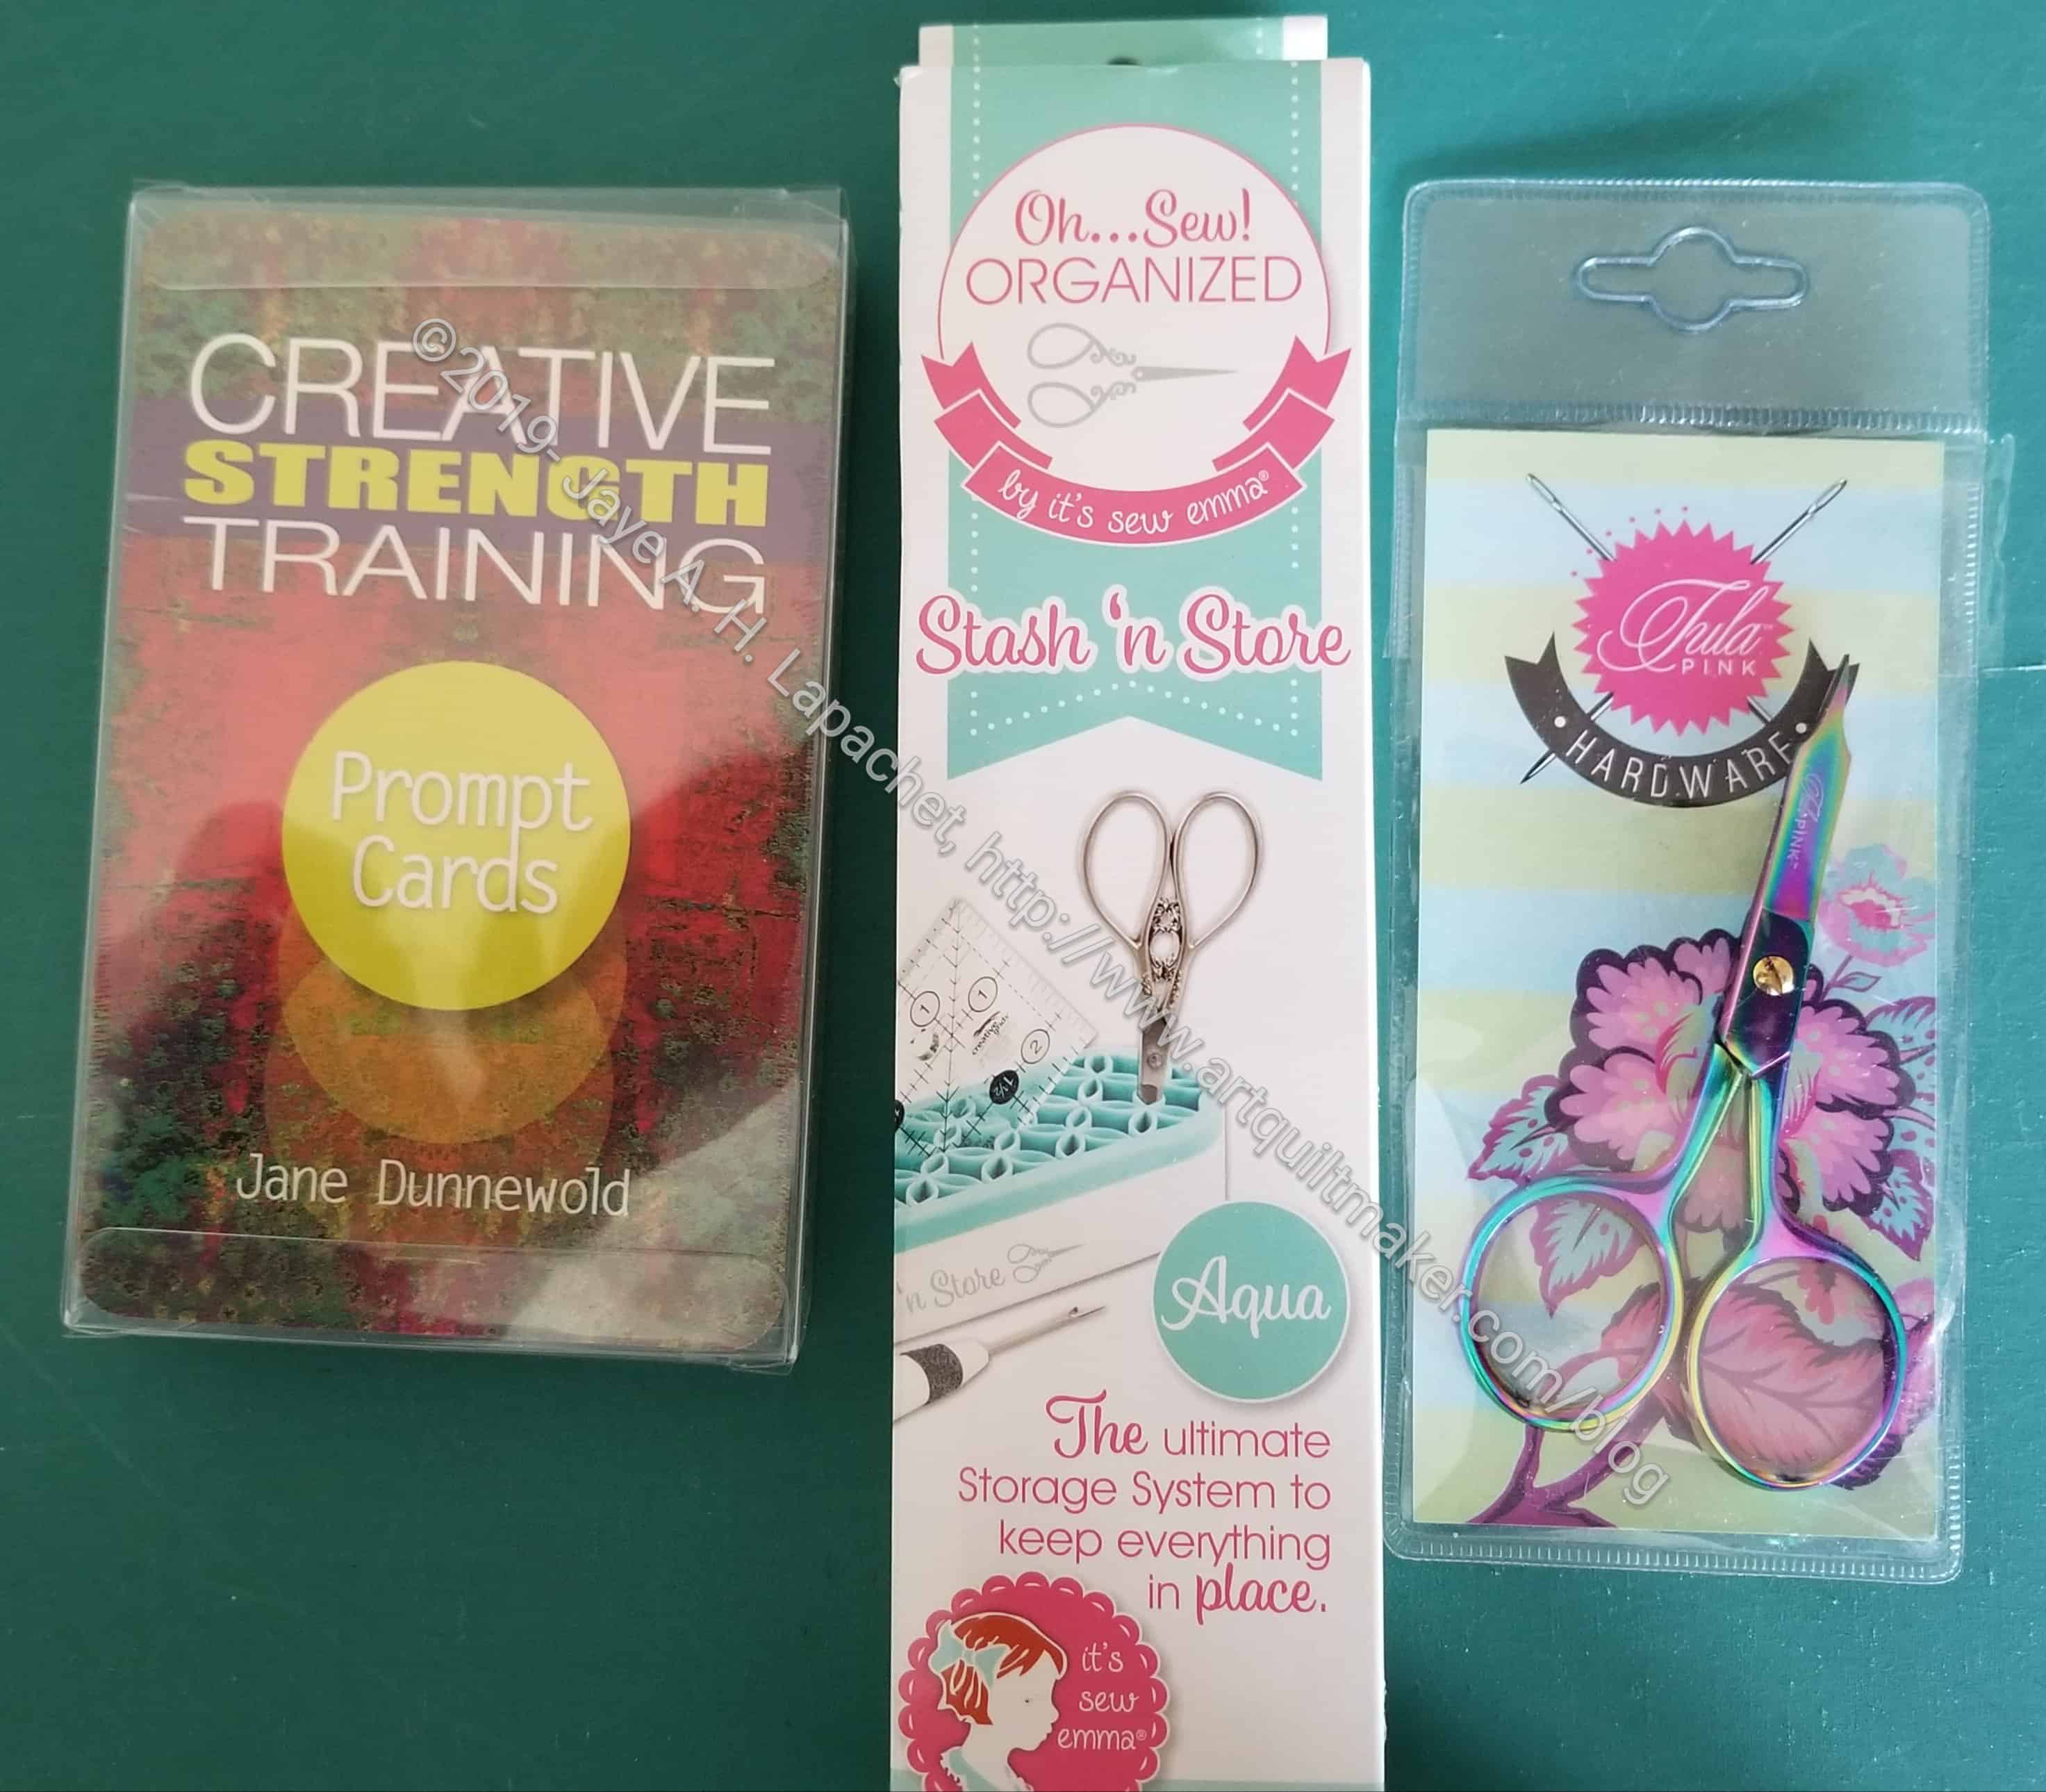
Gifts from Julie-2018
Due to my crazy travel schedule, Friend Julie and I didn’t get together until almost the New Year to exchange gifts. She bought some of these gifts right under my nose!
I am really appreciative that my friends and family respect and support this crazy passion of mine.
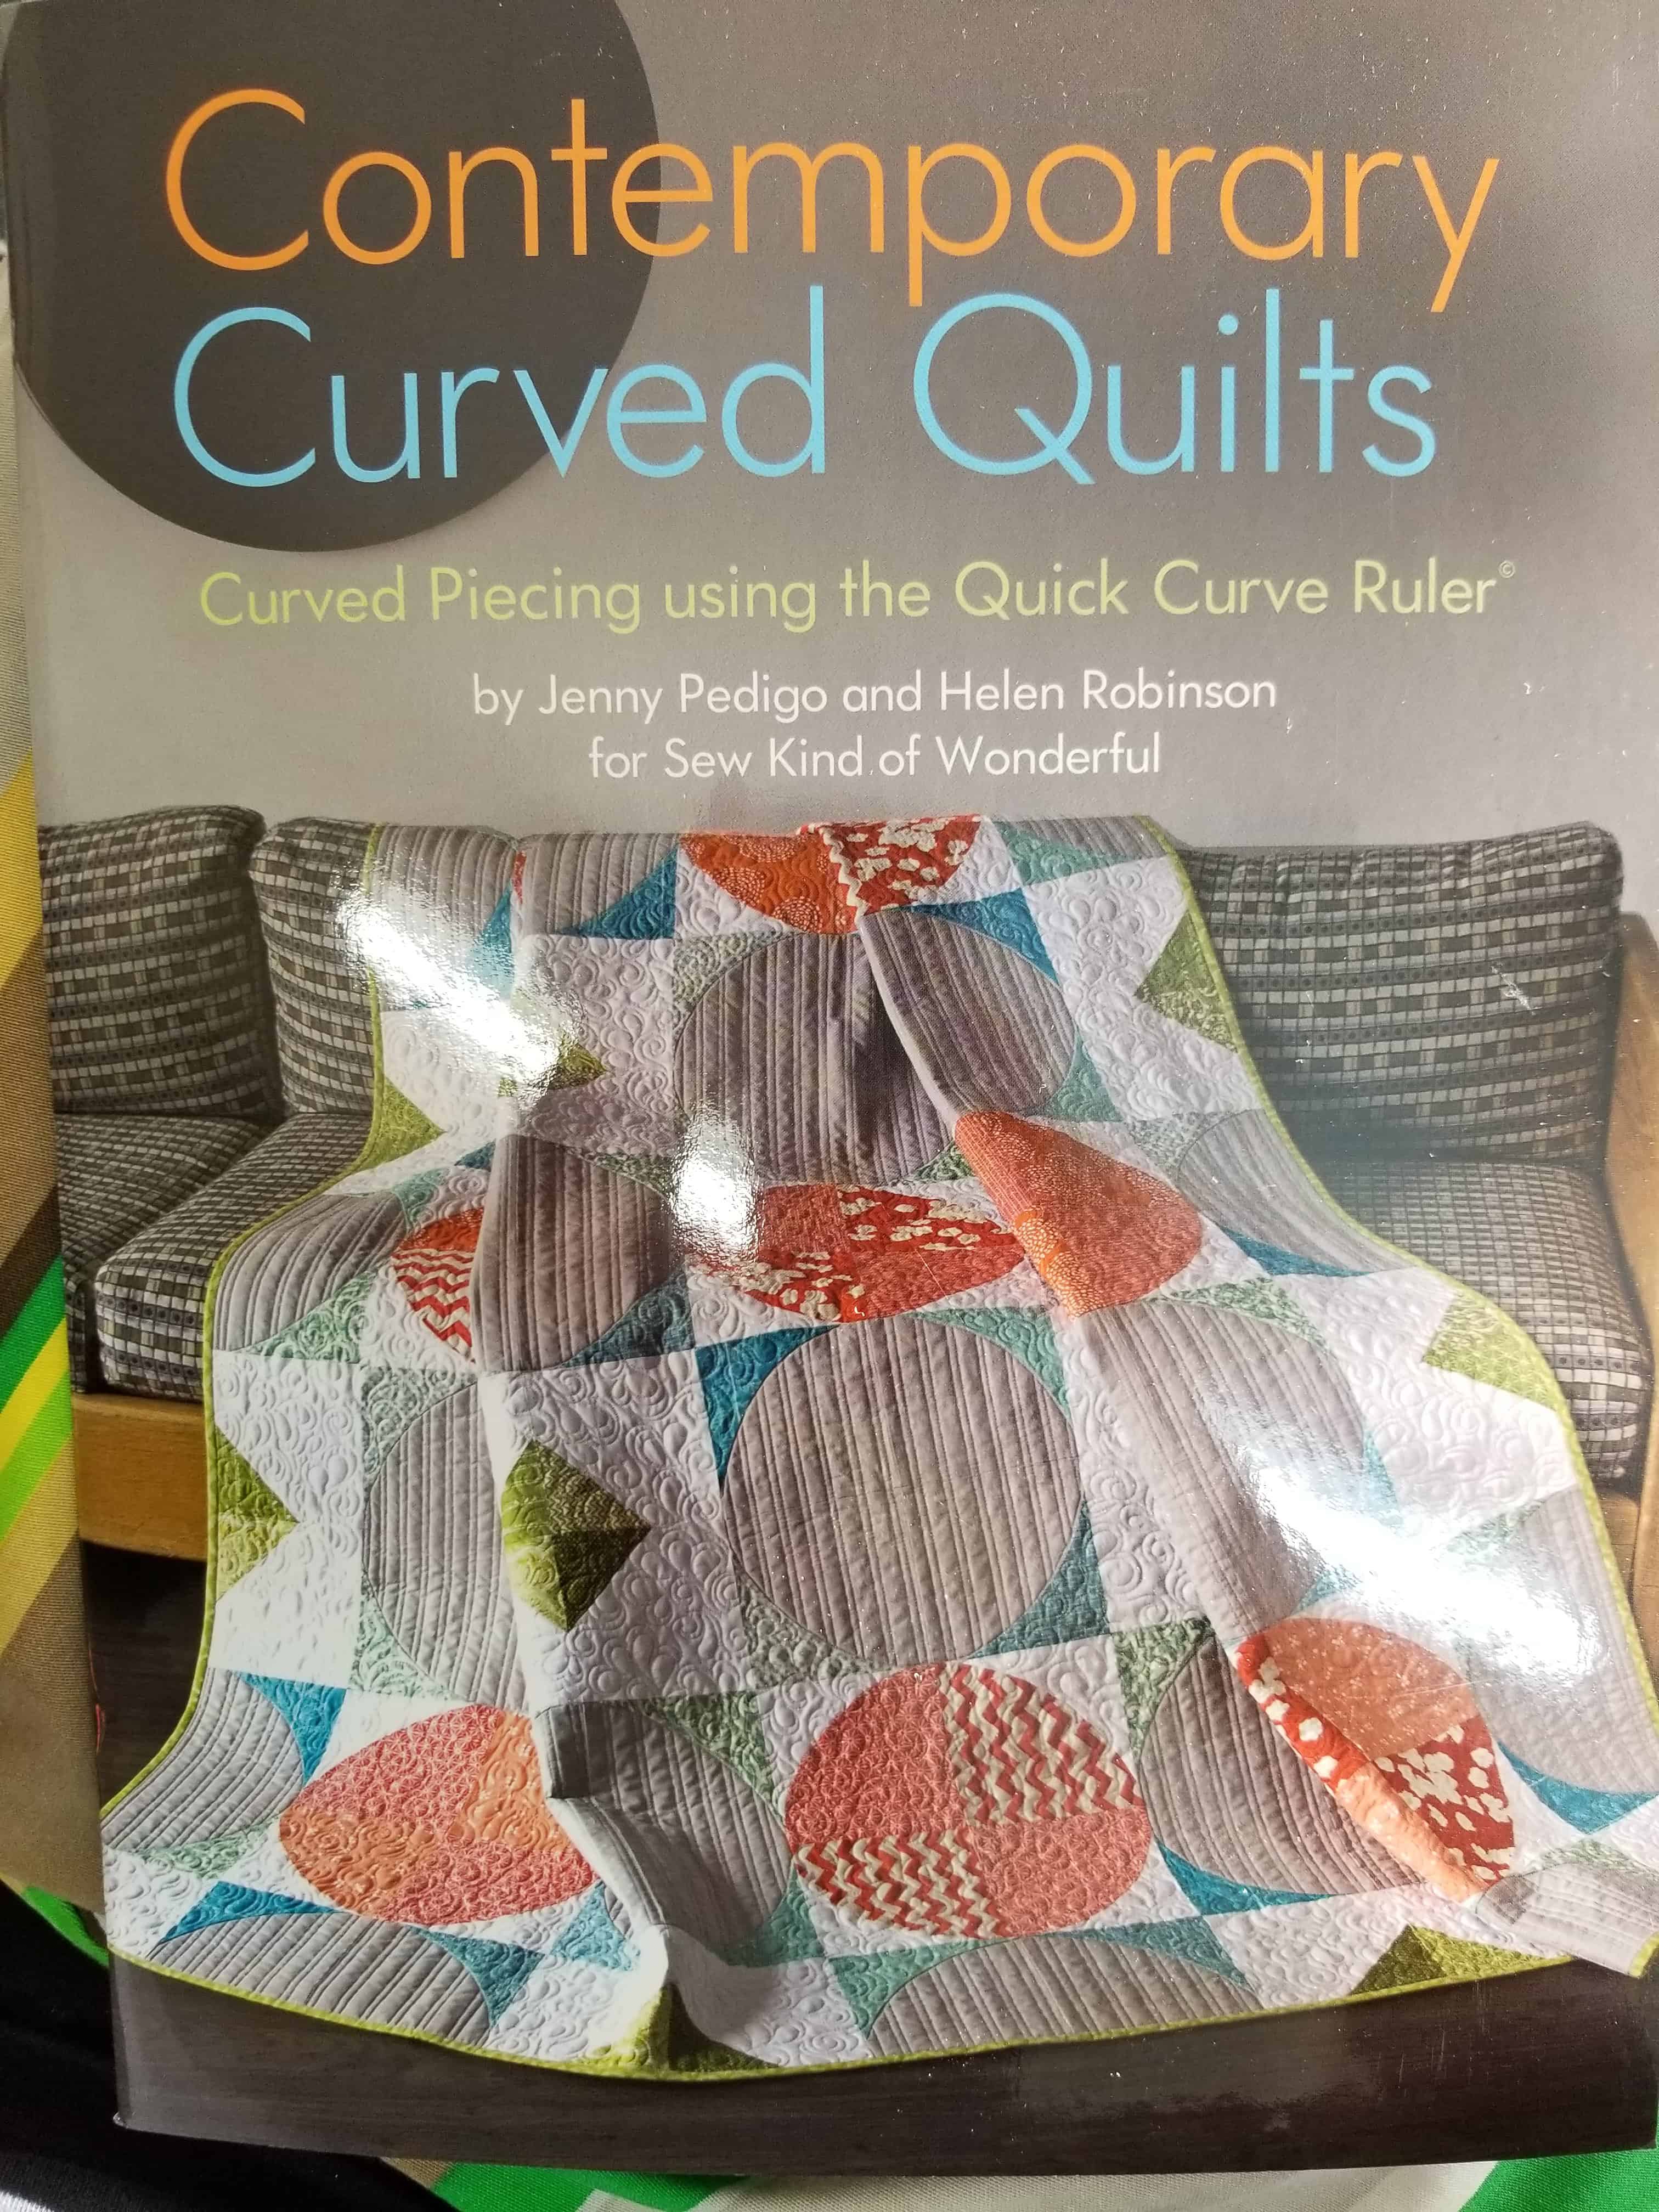
you need the Quick Curve Ruler to make the included projects
this book does NOT include the ruler
This is a short Landauer Publishing book. The text is 47 pages long and the projects start on page 10.
The Introduction (pg.5) gives some minimal information about the inspiration for the book. It mostly discusses the projects with “marketing speak” such as “this book is filled with eight fun quilt projects with a curvy flair…” (pg.5). It isn’t bad; the words just aren’t informational.
The interesting part of this section is the brief paragraph about the authors. It gives some background about them. I didn’t know they were sisters.
I am pretty enamored with the Quick Curve Ruler right at the moment after my success with MetroScape. I discovered that not all the quilts using the ruler look the same. I found this out by looking online and at patterns. Until I received this book, I had never seen a group of the authors’ works all in one place.
The Techniques section (pg.6-9) shows how to make blocks using the ruler. This enables the maker to learn the basics and make his/her own designs. Once the technique is mastered s/he wouldn’t necessarily need a pattern. It gives plenty of information for the maker to make a group of blocks and then set them together in an original layout.
The patterns start right after the Techniques section. No messing around. I really like the first three patterns, Crazy Eights Pillow (pg.10-13), Midnight Mosaic Runner (pg.14-17), and Fresh and Trendy Quilt (pg.18-23). Part of what makes these quilts attractive is the quilting. While stitching tops and backs together is not the focus of this book, the quilting patterns selected and skills used enhance the appeal of these projects. Chic & Checkered (pg.44-47) is another project I would consider making.
The Sassy Stars Quilt (pg.35-37) and Argyle Abby Wallhanging (pg.38-43) are also interesting. There is something slightly off, however, for me about these two projects. It could just be the fabrics or colors or some combination. They both have appealing aspects. I’d love to see them in other colors. A medium-extensive online search brought up no additional colorways.
This is a short book. It doesn’t purport to be anything other than what it is: a project book and it excels at this goal. The projects are interesting and different looking even though they use the same specialty ruler. The authors have really used their creativity in pushing the uses for the ruler far.
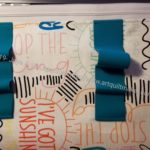
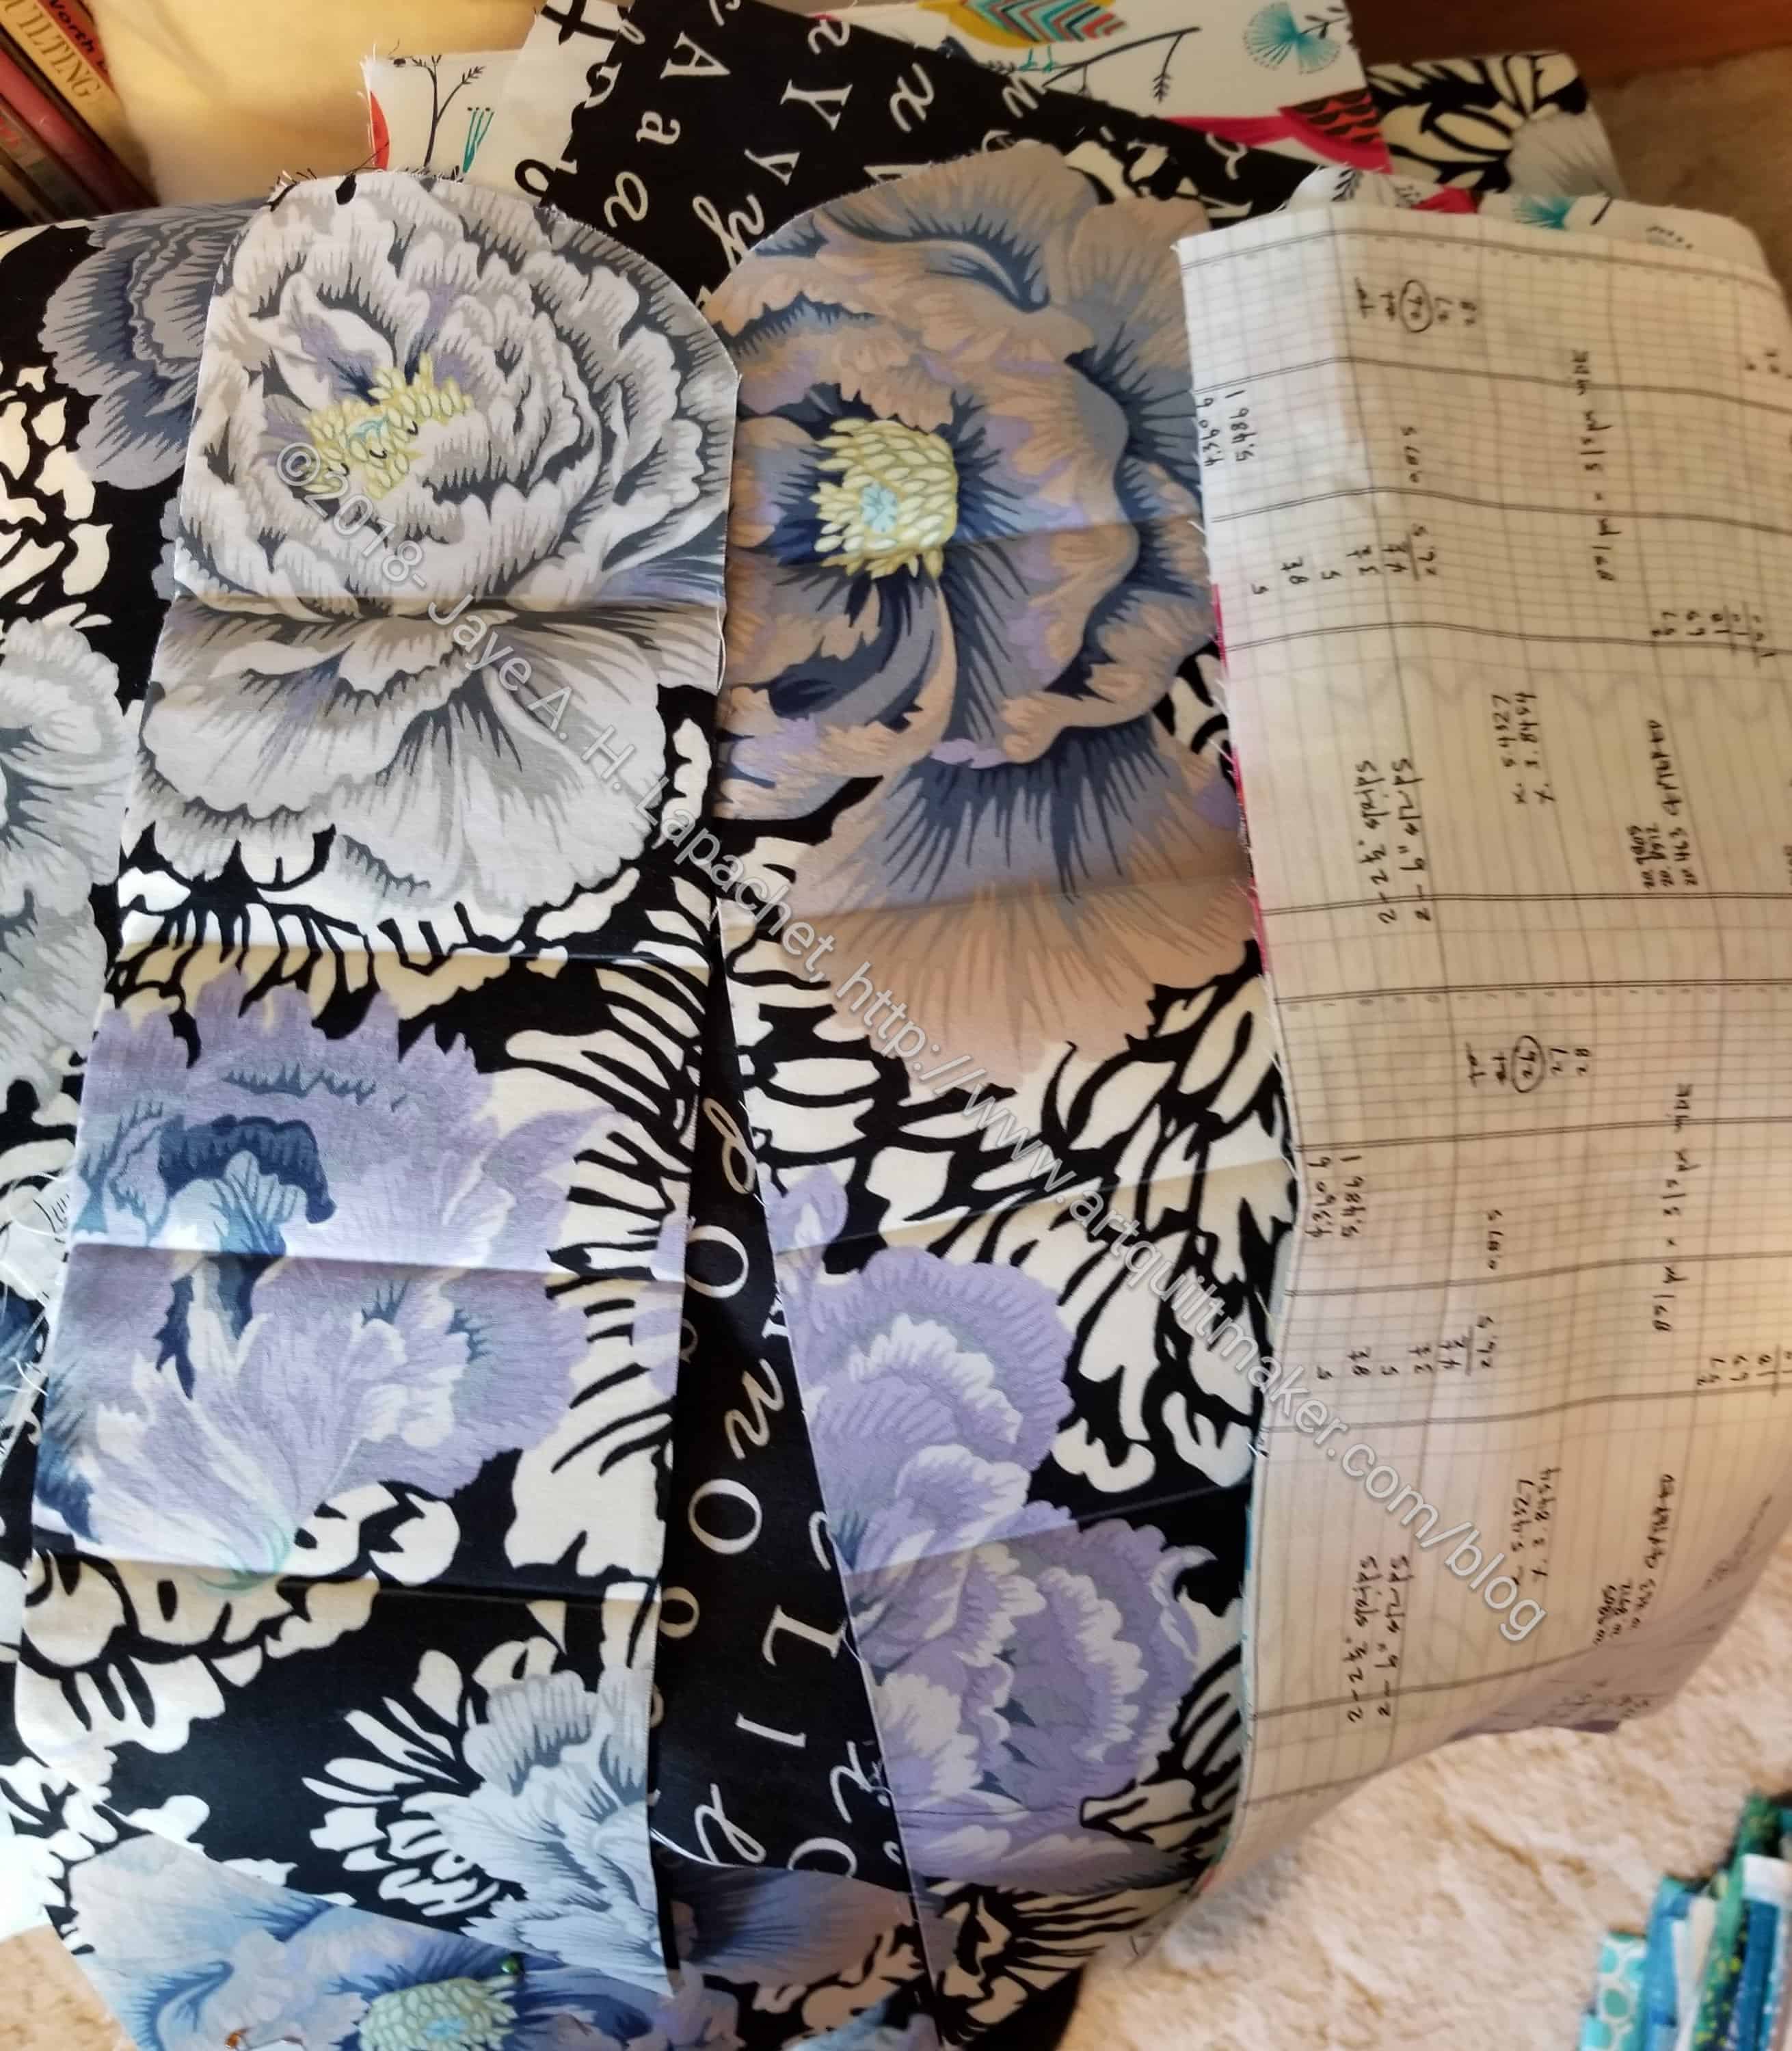
I finished the pockets for the All Rolled Up tote. As mentioned, this is part of the Crafty Gemini 2018 Organizer Club. You can buy the stand-alone pattern on her site. Above three of the pockets are shown. I have decided to alternate where the zippers start to lessen bulk.
All Rolled Up Tote -pocket n.1 stitching detail
All Rolled Up Tote -pocket n.1
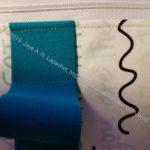
The first pocket, which will go in the front of the bag has elastic on it for writing implements, glue sticks, etc. the pattern calls for a 1/4″ piece of elastic placed horizontally all the way across. I thought a thicker elastic placed vertically would work better for me. I didn’t want tips of pens to be too close to the fabric in case they should open and stain. I am also not a fan of that 1/4in. elastic. I think it looks a little cheap. My fat turquoise elastic (I wish I could remember where I bought it in case I want to make another) looks super fun as well.
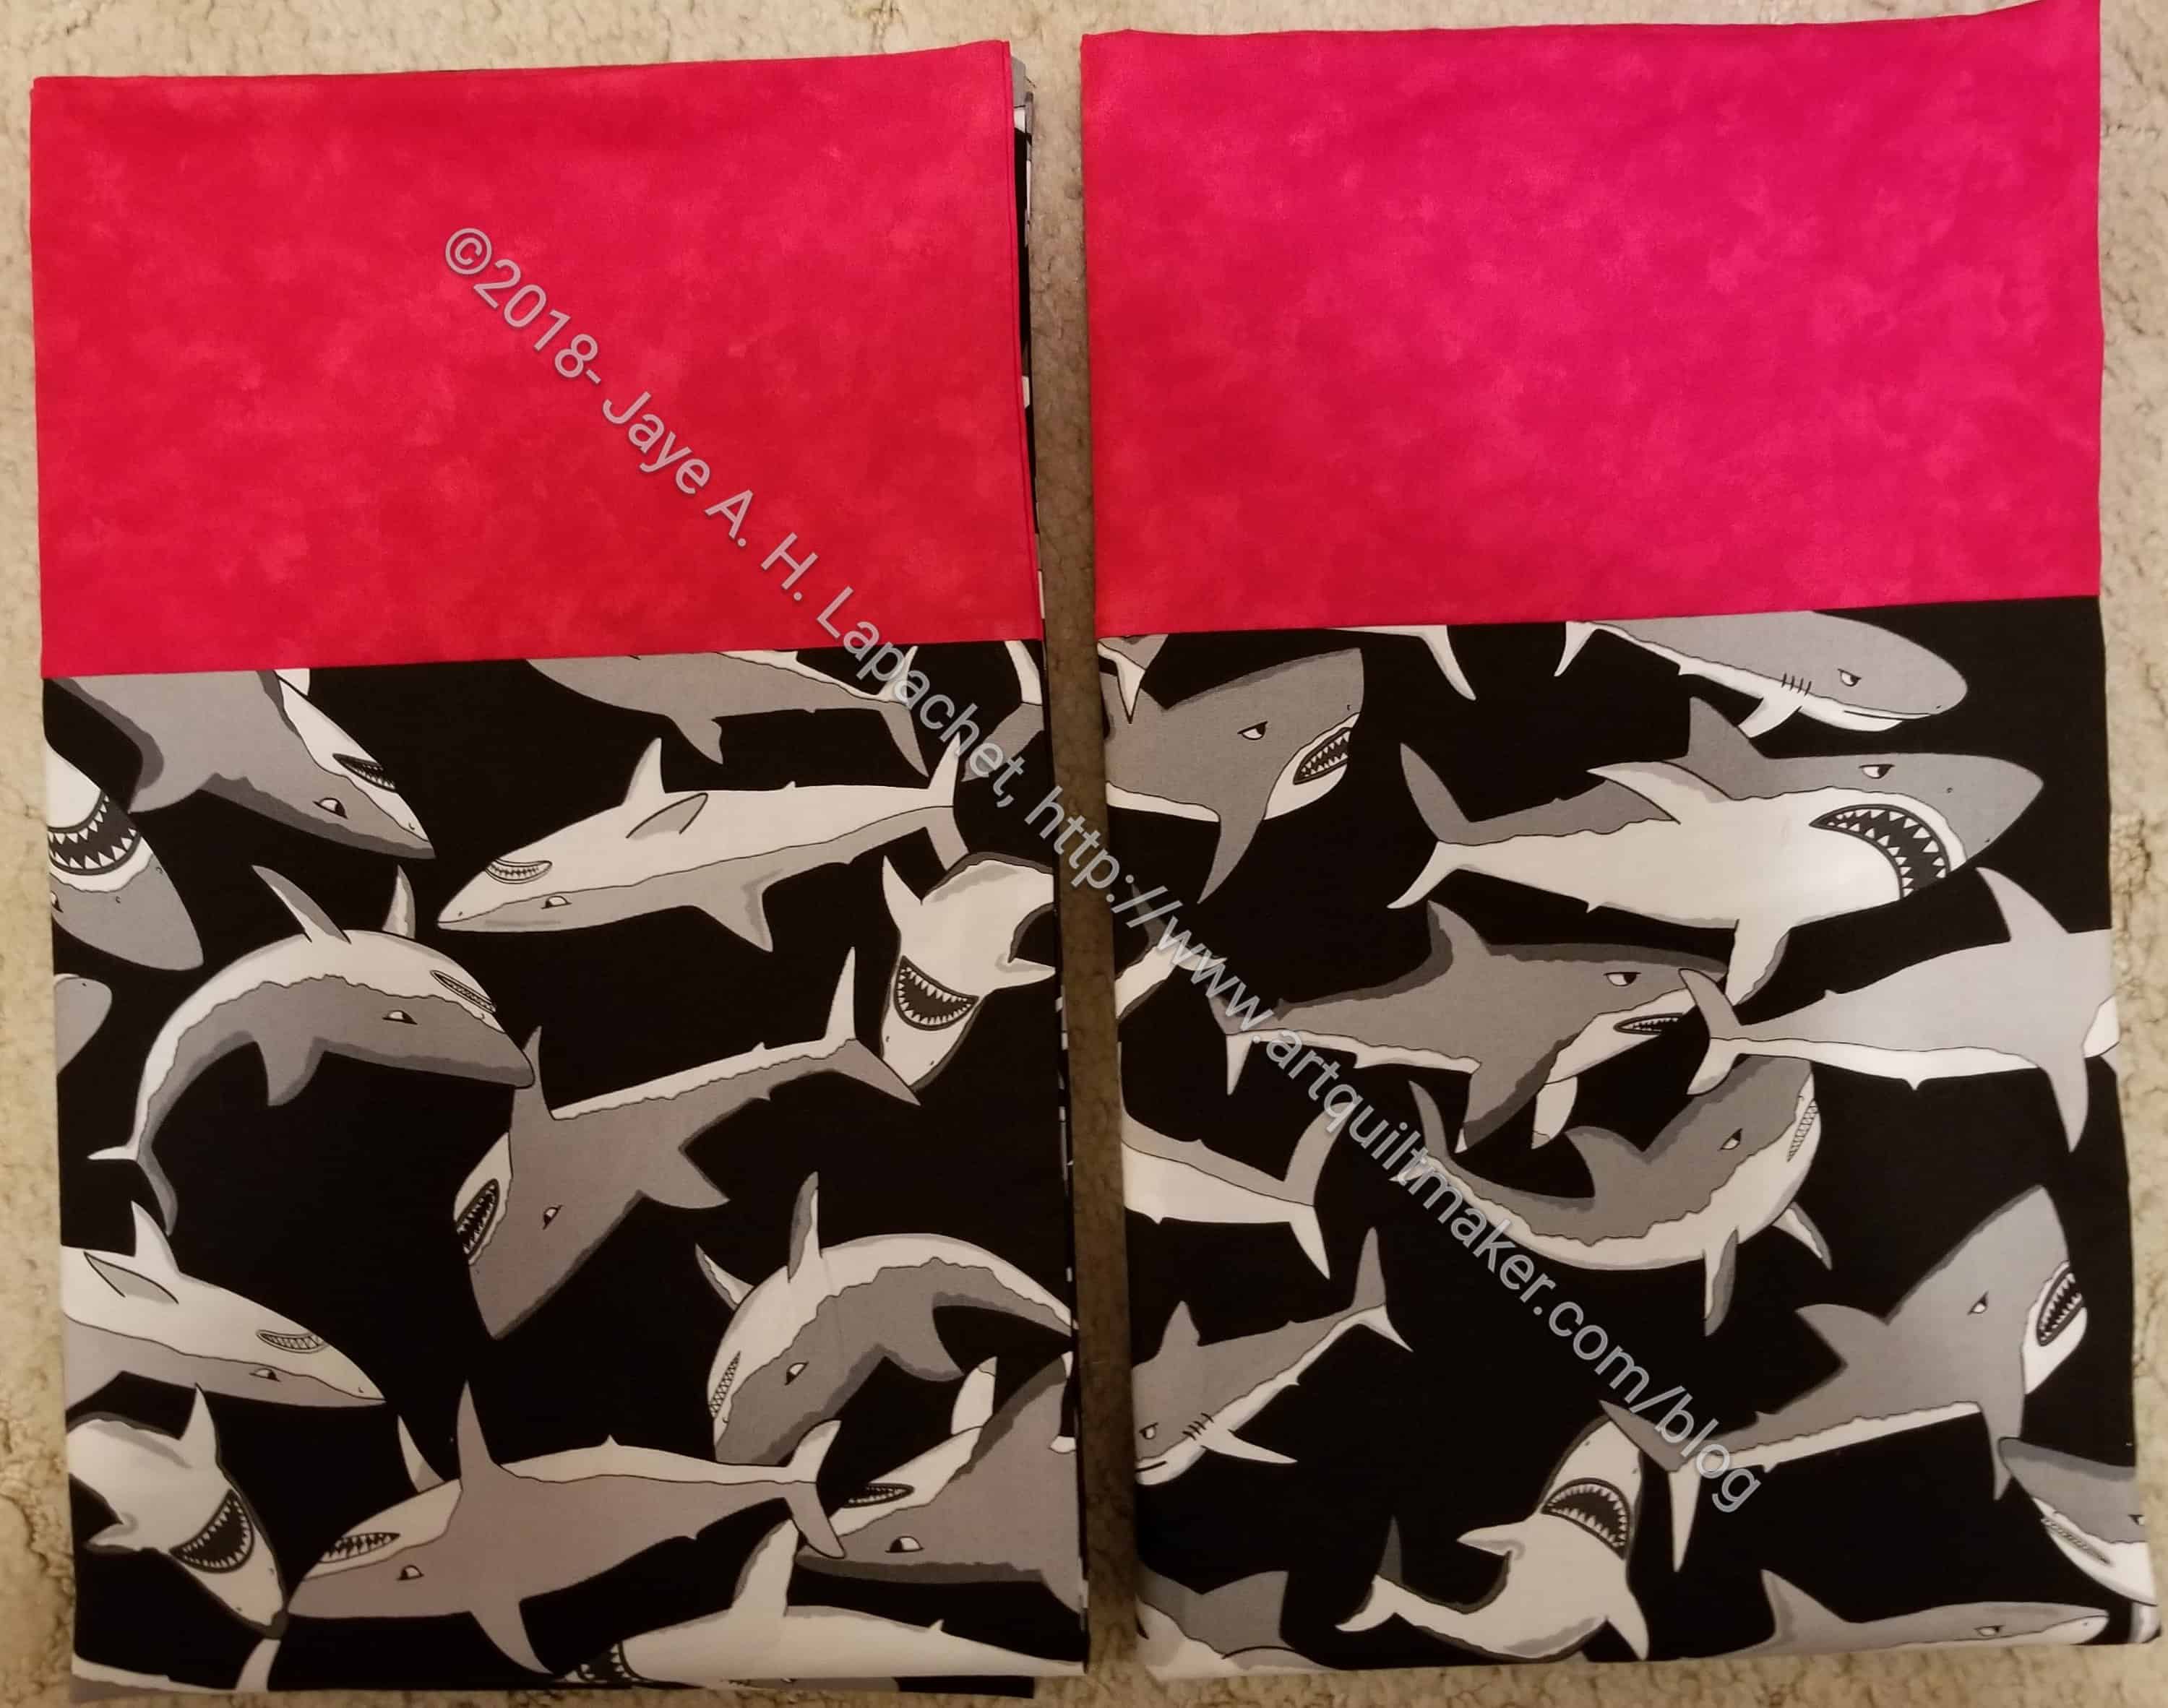
I started out making these for the YM. Then I decided that I would give them to my cousin (he is a few years older than the YM and more like a nephew) instead. I don’t usually get an acknowledgement of gifts I send, so I have no idea whether or not he liked them. *I* like them and that is what is important to me.
I put the cuff on the wrong way on one of the pillowcases. I had no idea there was a right way and a wrong way on that shark fabric, so he probably won’t notice.
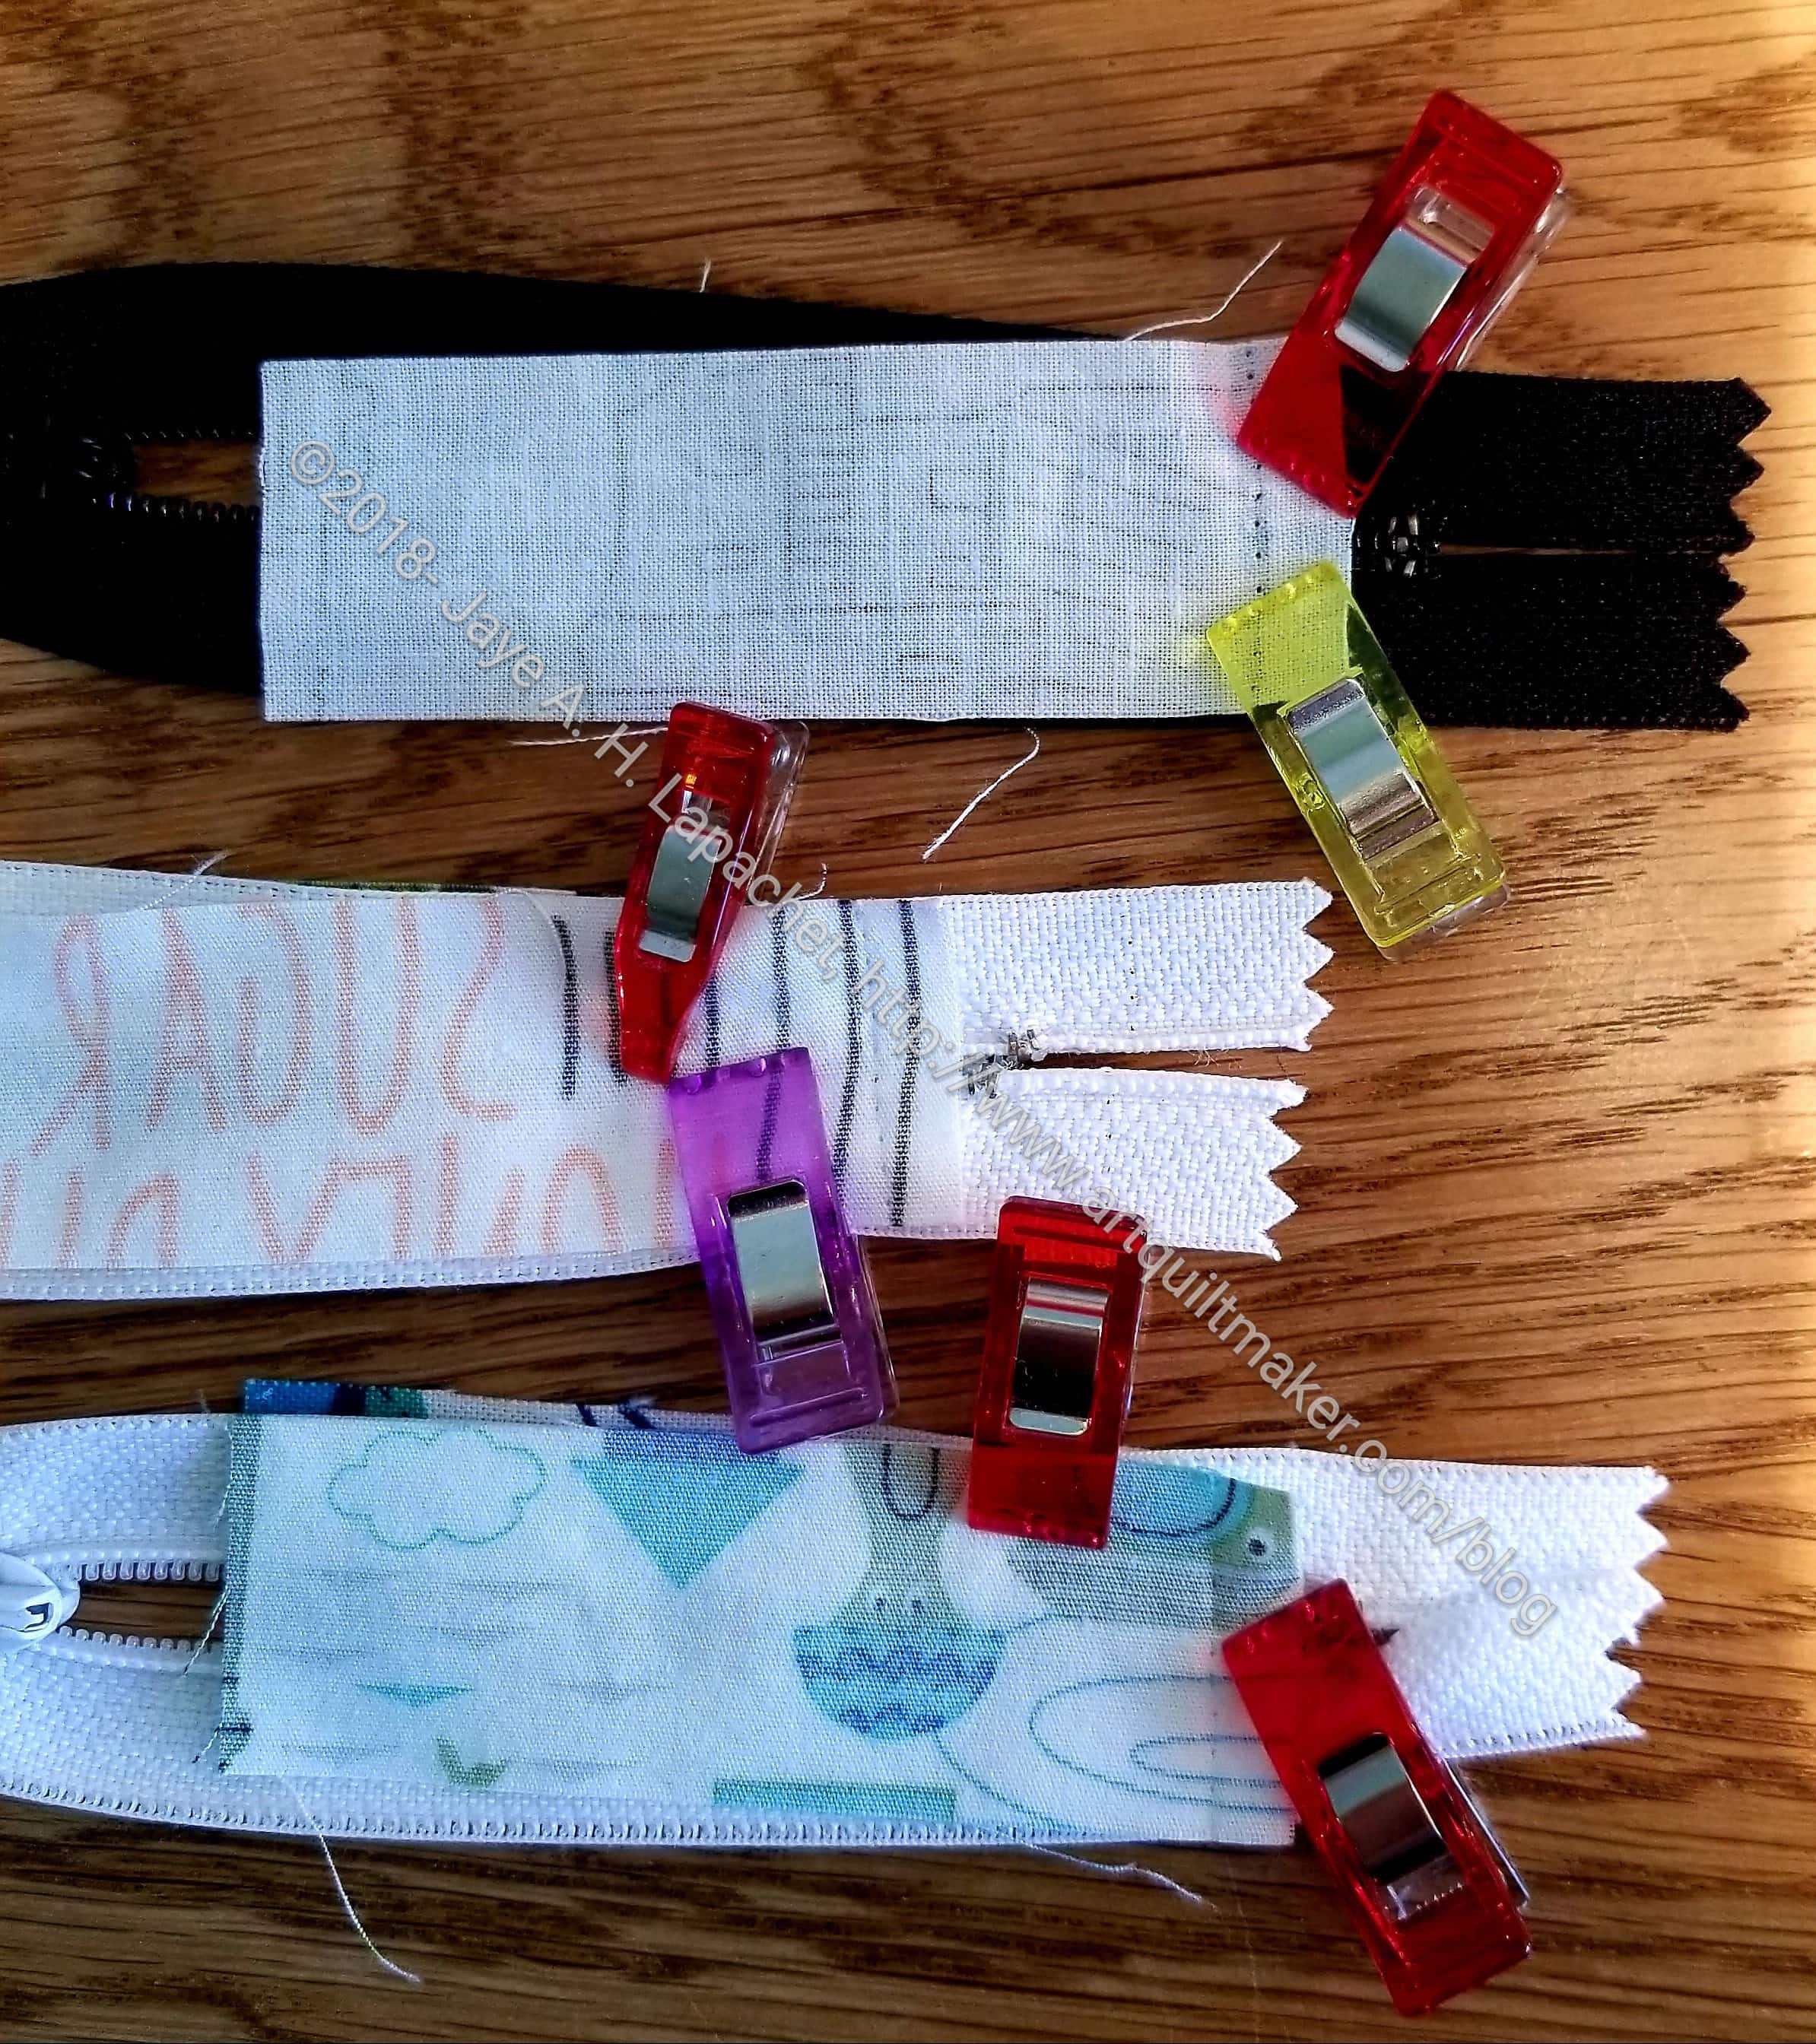
Does anyone have any good tips on keeping the zipper tabs in place before sewing them? I pull the zipper pull down to get it out of the way of the sewing machine foot, which makes the zipper fabric at the top flop around. As you can see, I have used WonderClips to keep the zipper fabric and new zipper tabs in place so I can sew them. I have tried pins, but the clips are better. It is not ideal but I can’t think of anything better.
I posted to the Crafty Gemini Facebook page and some people had some good ideas: tape, staples and sewing the ends together until they won’t come apart. I am thrilled to have some new ideas. I am not sure why I didn’t think of these things.
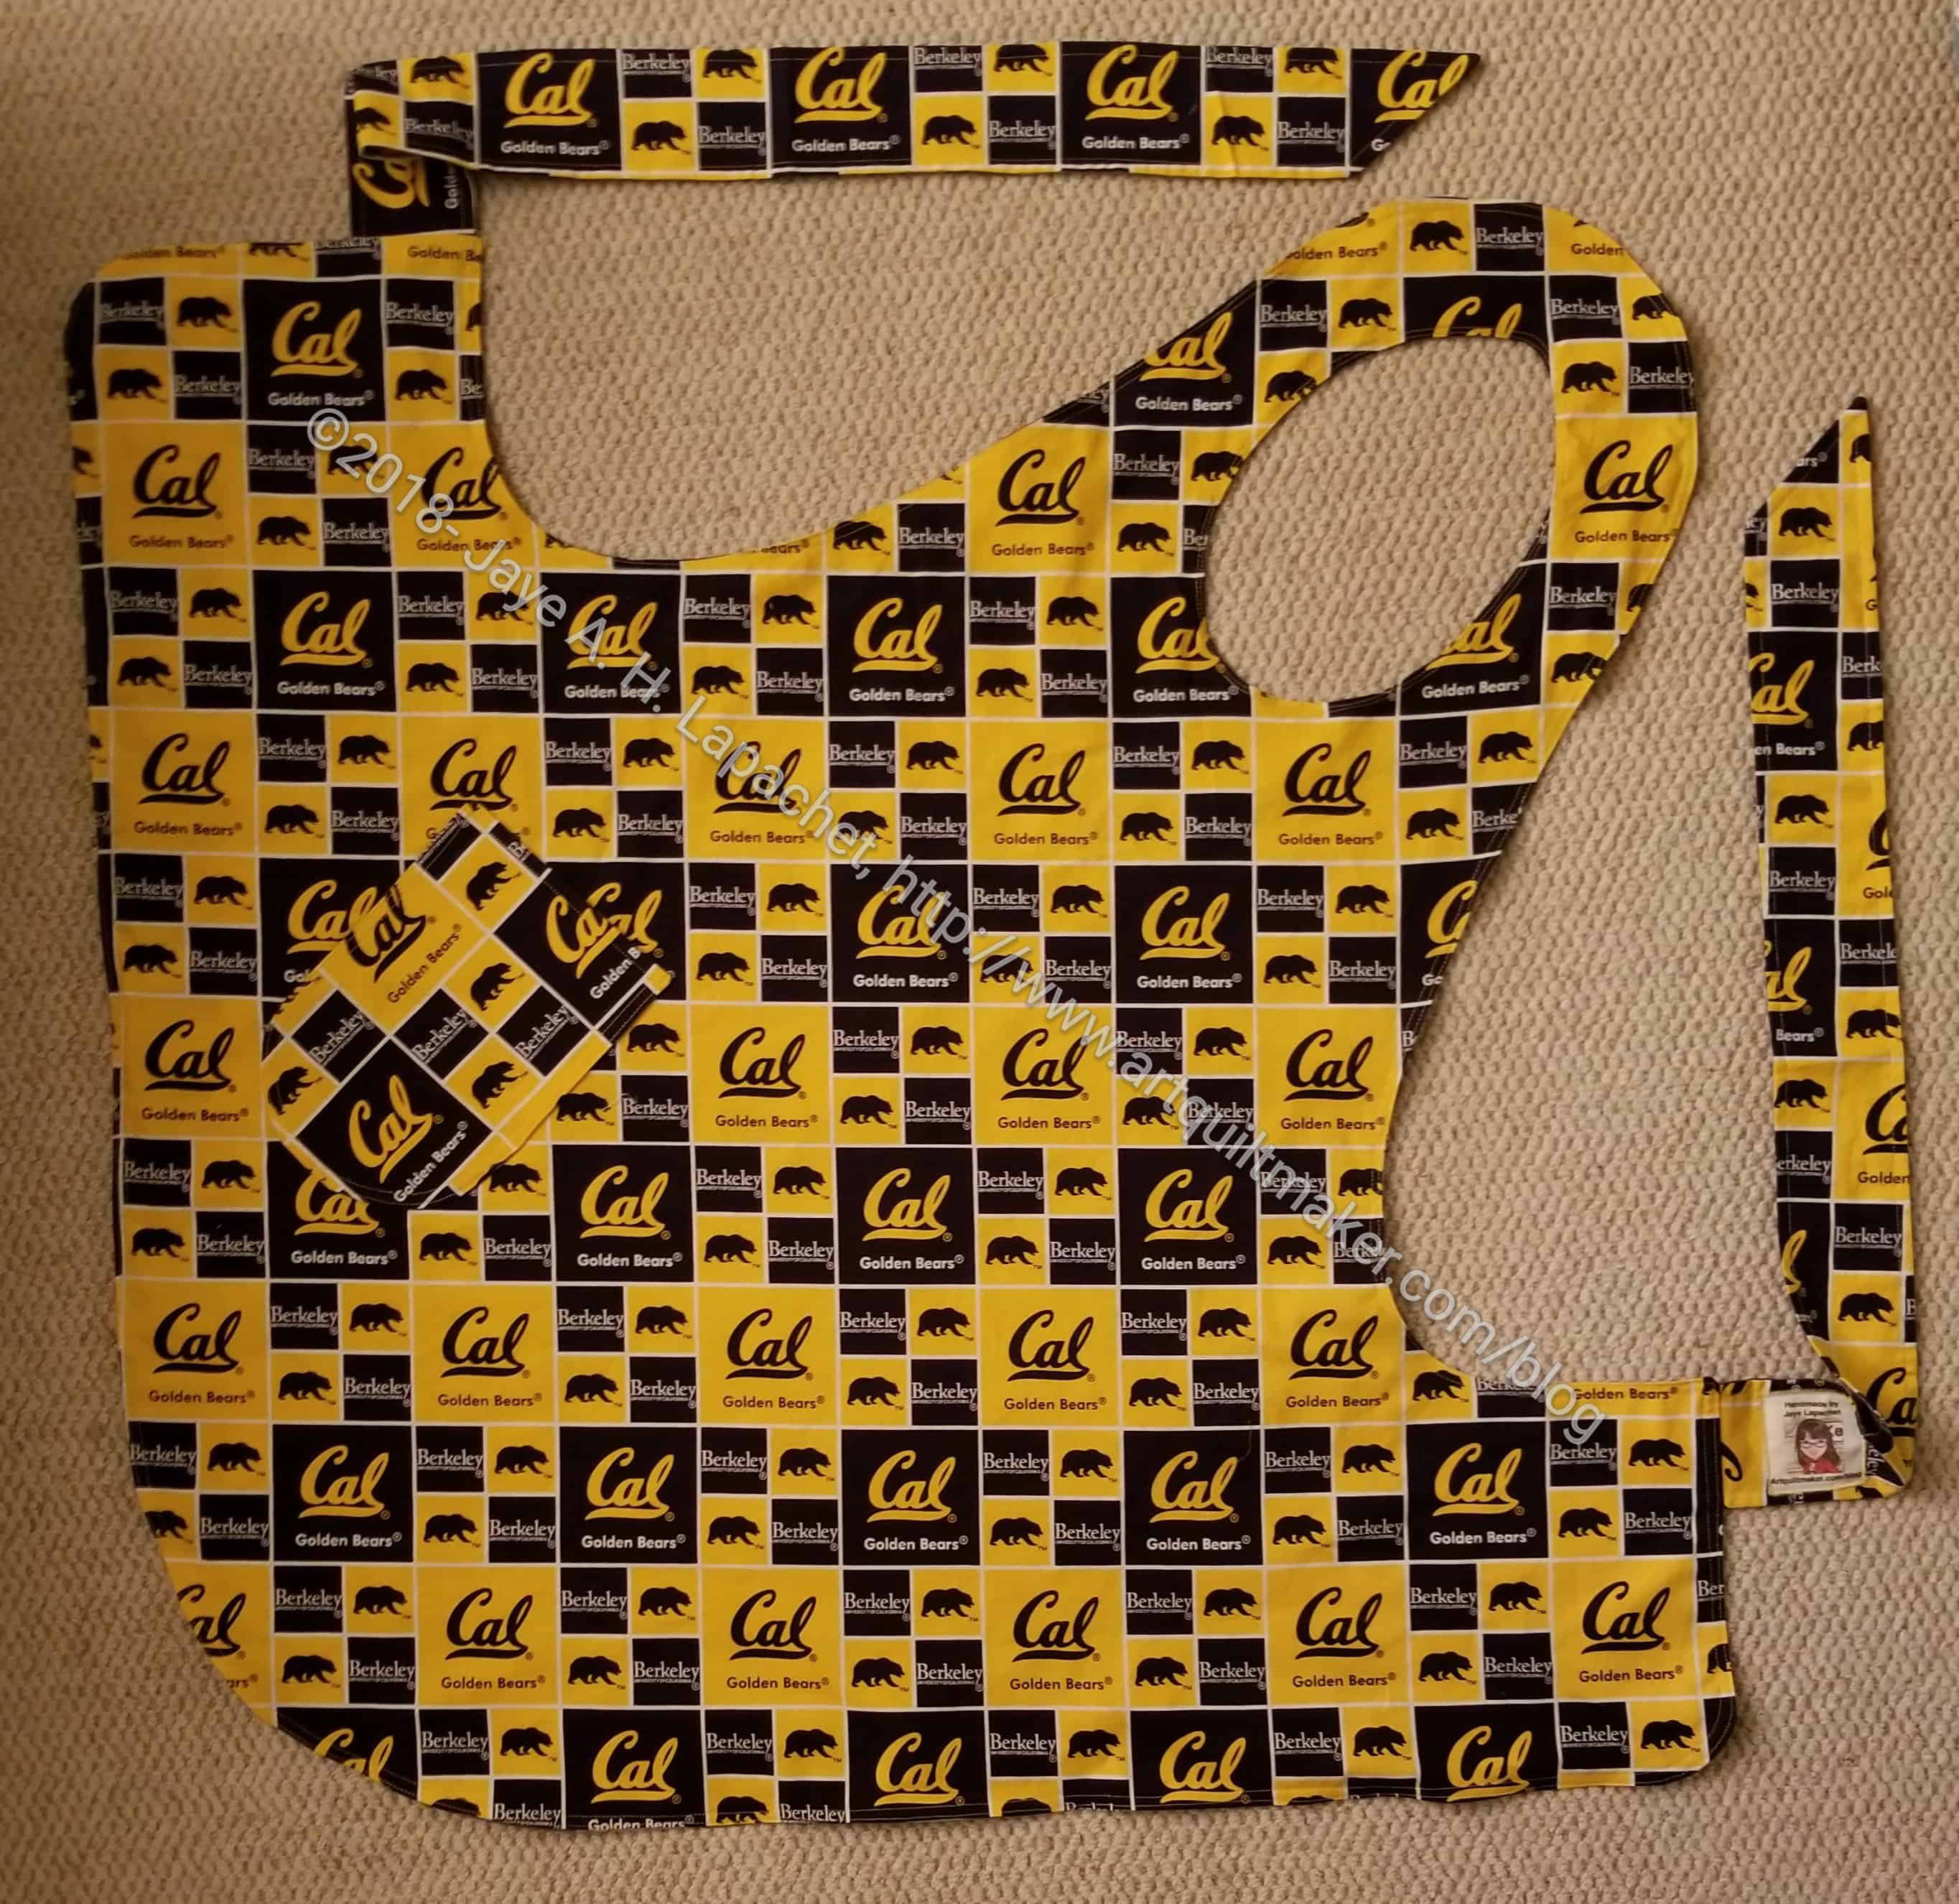
This is the last apron I made from the marathon of cutting I did at Sew Day way back in August.
It took me time to make them all, but repetition is good for projects like this.
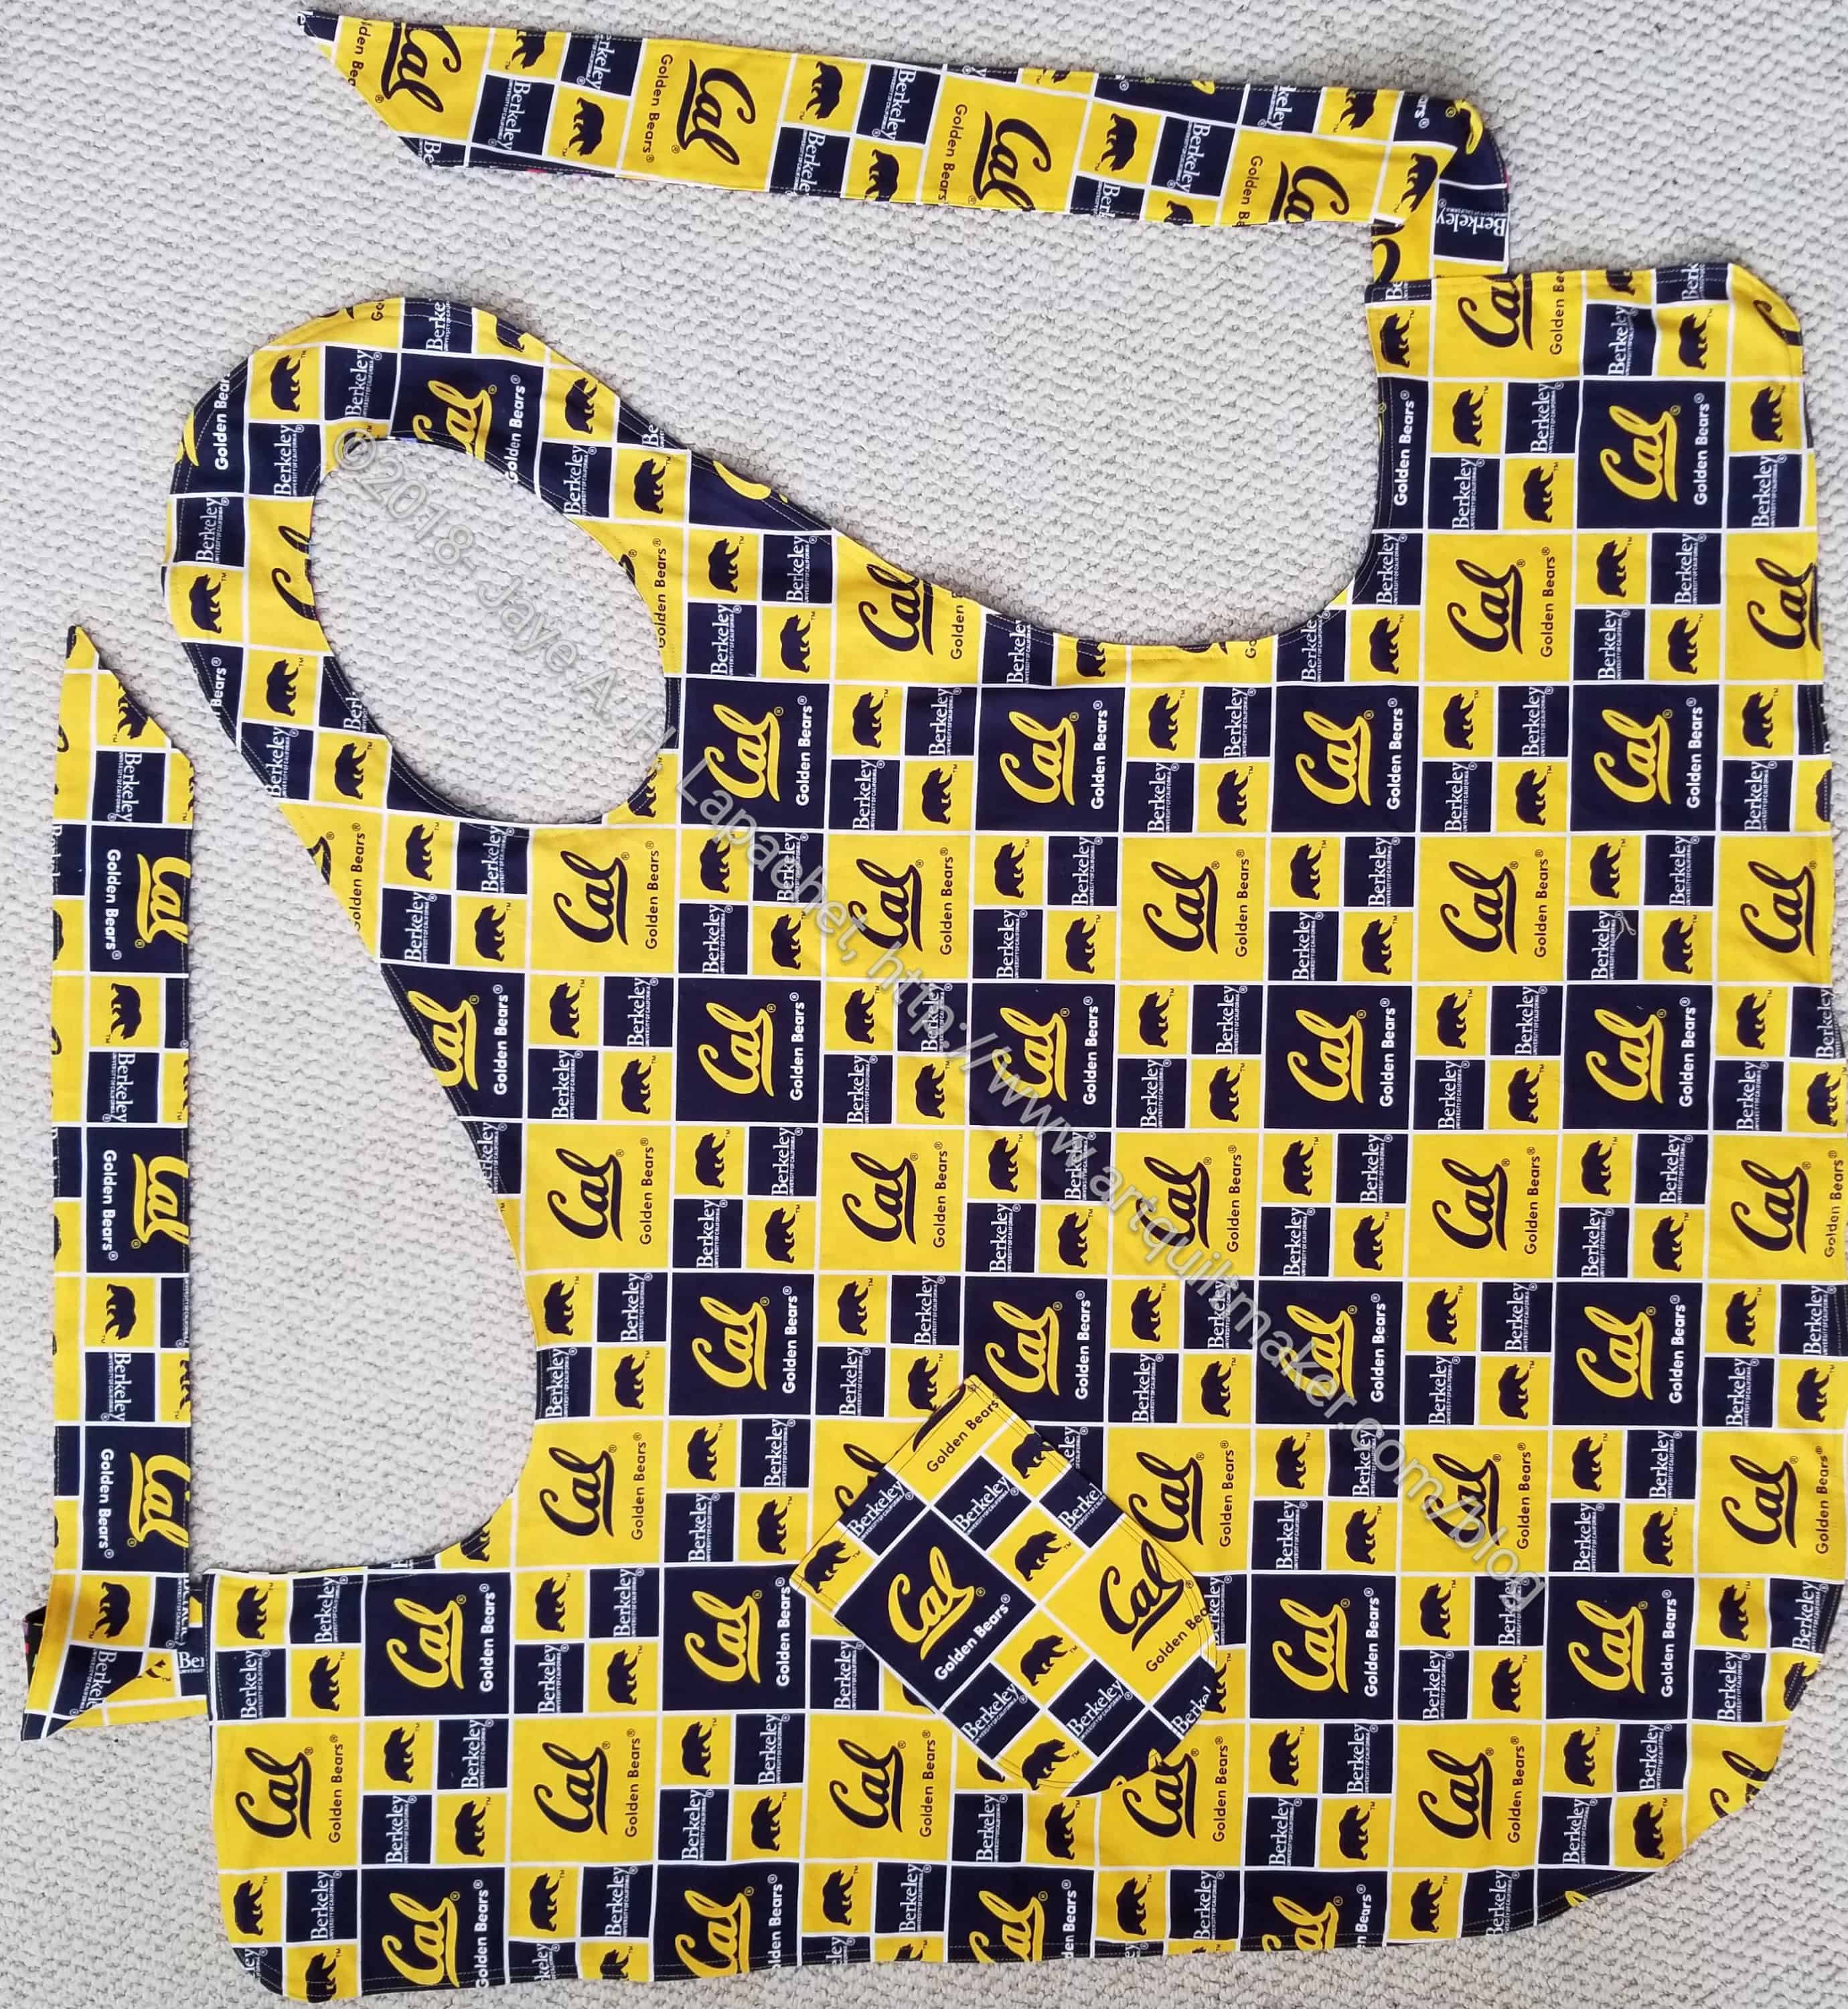
SIL #1 is also a Cal fan and a Cal graduate who attends football games regularly. She got the last of my Cal fabric.
Dee’s Apron, front – Christmas 2018
I learned that the pattern prevents the maker from laying out directional fabric in a certain orientation, but I am ok with the logo being on the diagonal when it is worn.
The front looks good and I hope it won’t show the dirt.
As I work on the strip blocks, I have been pondering scraps. My scraps are small. Often times they are smaller than 2.5″. Not always, because periodically I get sick of sorting scraps and larger pieces end up in the scrap drawers. I am forcing myself to add more pieces to the bag for filling pet beds, because I have a lot of fabric and I probably won’t get through the yardage much less shreds of fabric. Pet Beds are a good cause. A lot of my fabric does not go to the landfill because of Pet Beds.
When my bins get too full, I get out my Accuquilt and cut up scraps into smaller pieces. One problem with Accuquilt cutting is that I only have certain dies and certain projects that need certain pieces. I need 2″ squares of blue,green and purple but not of white. I need 2.5″ squares of all colors, but not all scraps are large enough to cut a 2.5″ square. The whole scrap management thing is really a headache, which is one reason I have been defaulting to pet bed filling lately.
Alison’s Blocks
A lot of what I keep are strips. I keep them, because they can be useful, but not large enough for 2″ or 2.5″ squares. I am using up some strips making the blocks Alison showed me (right).
Larger scraps, like half a FQ, stay with my yardage. I do that partially because my scrap bins are already overflowing and there isn’t space. I also do it because if I can cut more than a 2.5″ square out of the piece, I don’t really consider it a scrap. I occasionally find something I can use for a large-ish scrap requirement in a scrap bin. If I do, as mentioned, I was probably sick of sorting scraps.
I have used a lot of scraps for journal covers, which is a fun exercise in improv piecing and color combinations.
What do you consider to be scraps? How large are scraps in your scrap bins? Fill out the 1 question scrap survey and I will report back on the results in another post later.
I was pleased to finish the last apron well in advance of Christmas. I didn’t work on any of them in a particular order. I picked one up and went to work finishing it and they were all done in time for Christmas.
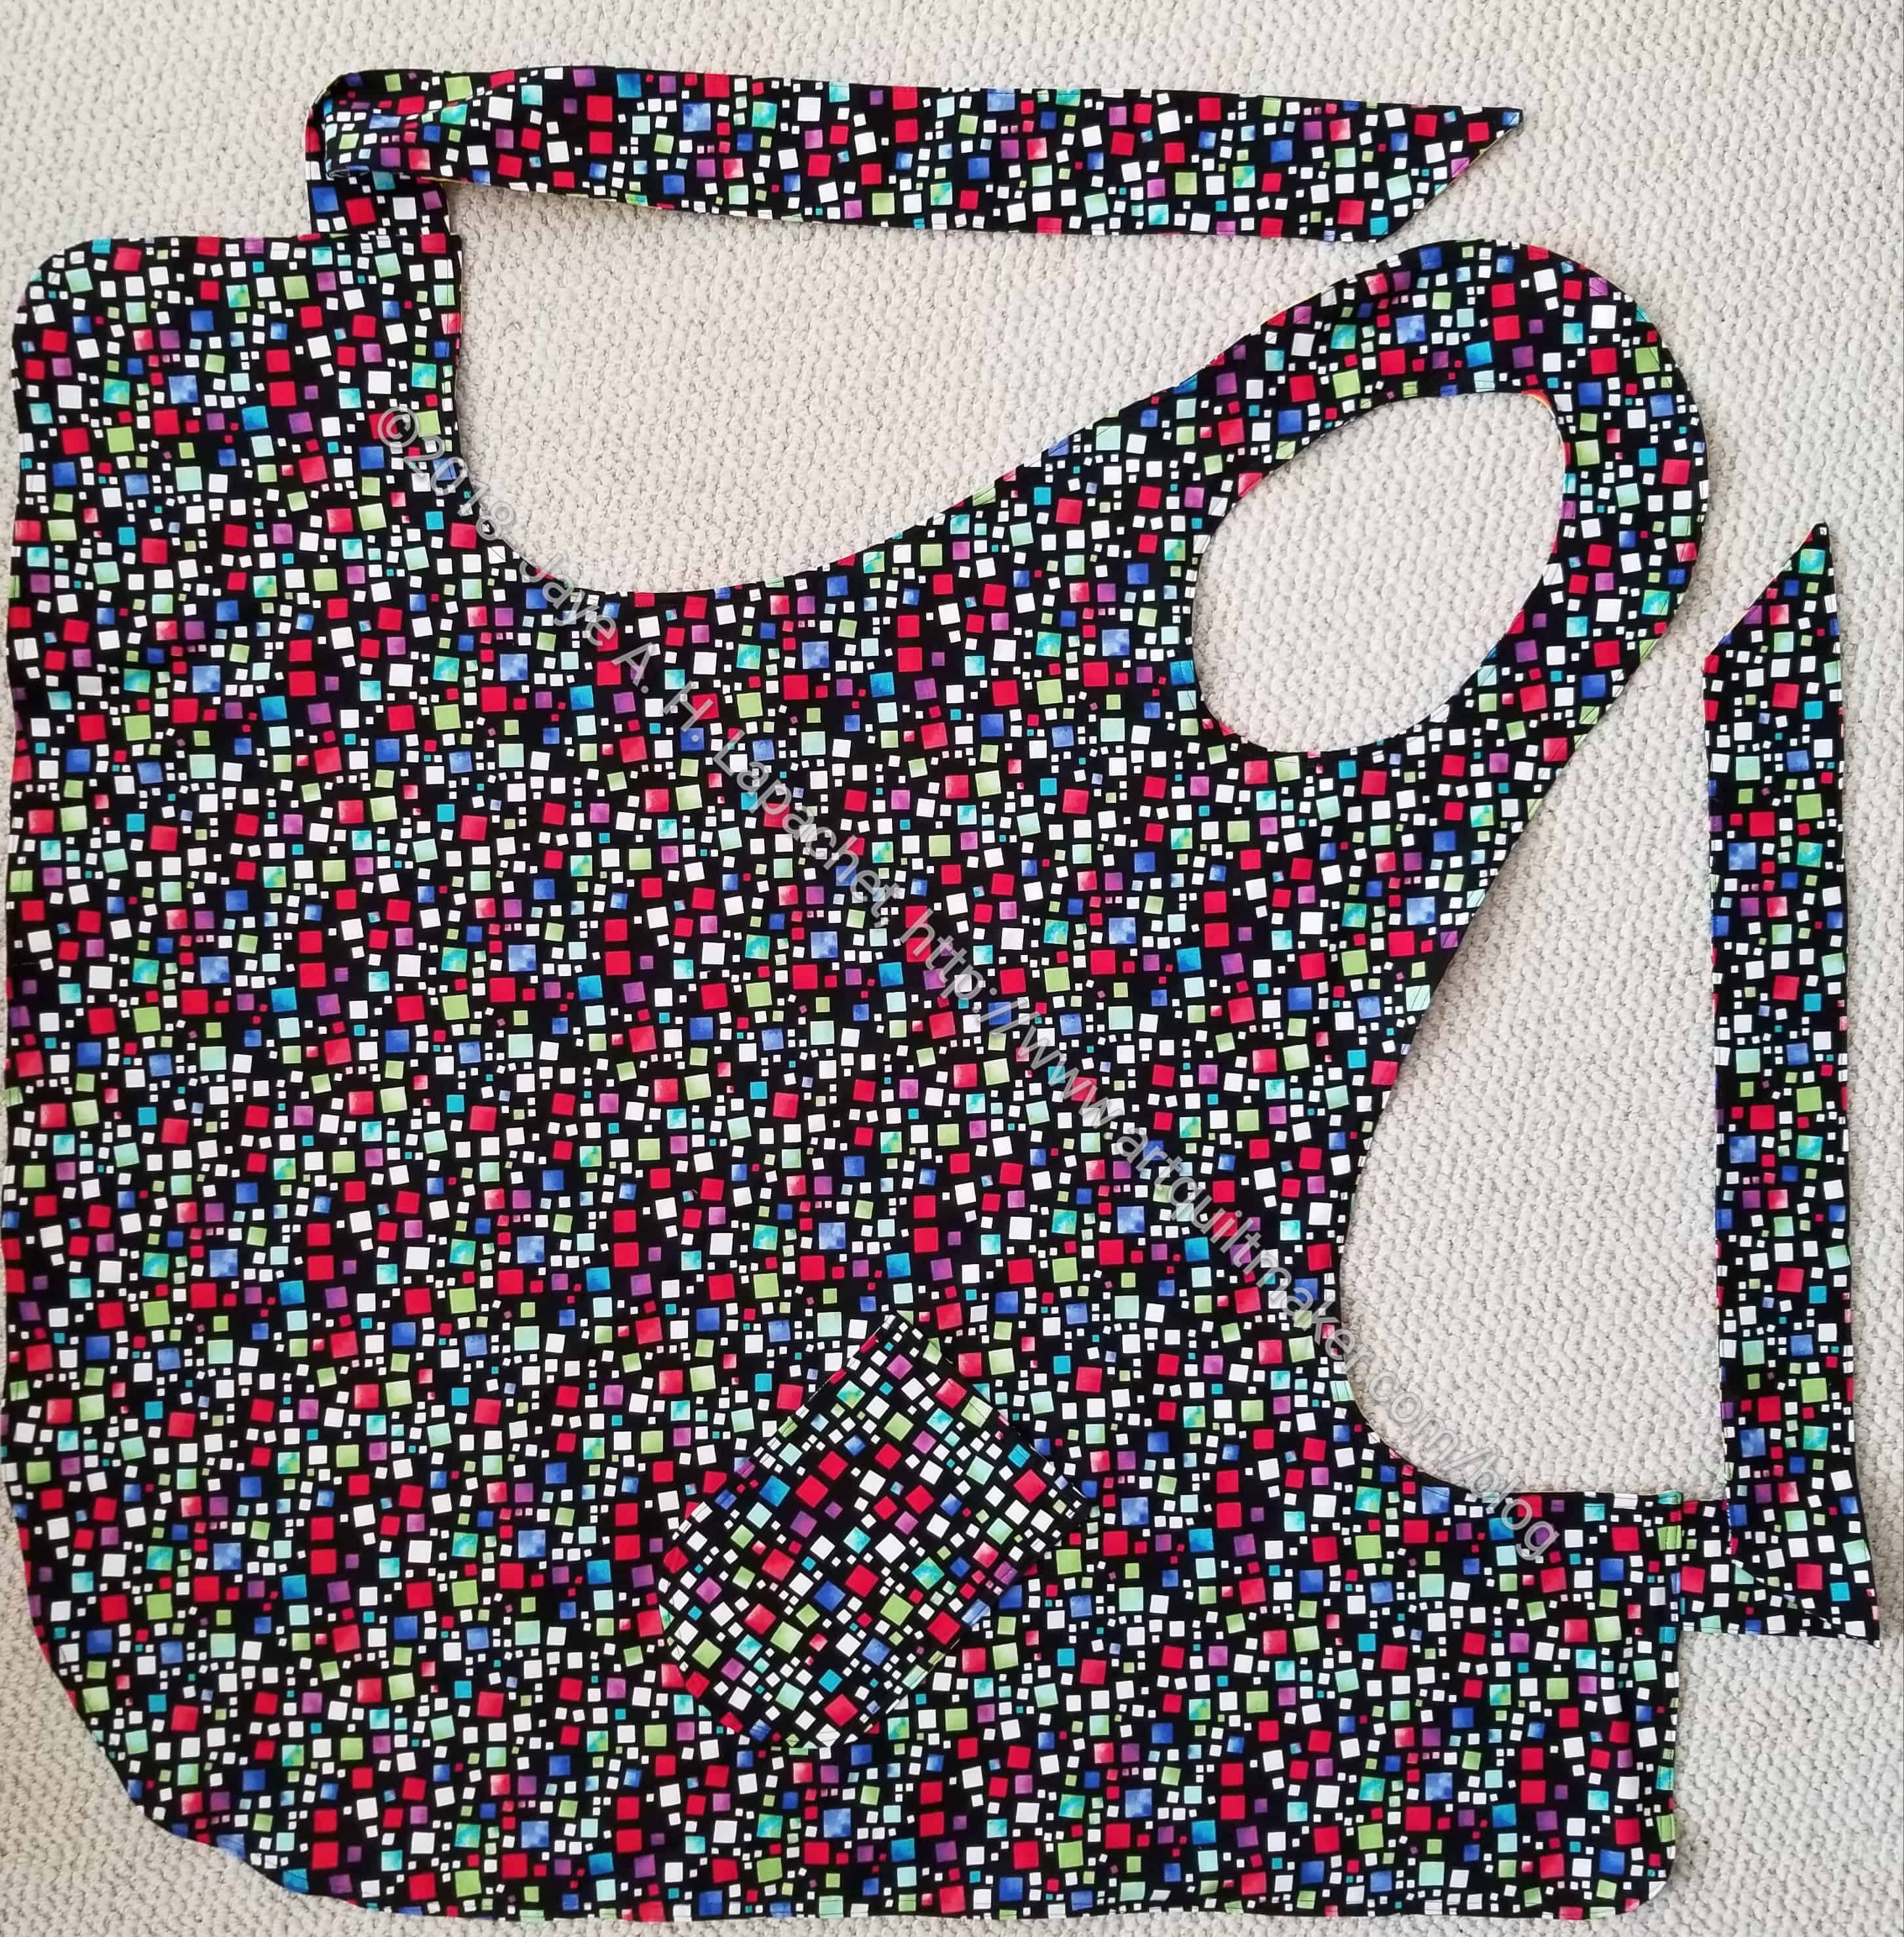
May’s Apron, reverse – Christmas 2018
The flowers on this one are really vibrant and I hope SIL #3 likes it. The reverse side is more her style.
I am working very slowly on this All Rolled Up Tote bag, but I am making some progress.
I started cutting back in September and haven’t really put it on the front burner until now. It is part of the Crafty Gemini Organizer Club that I bought last year. I bought the course and am determined to finish all the bags in it. I have made several and plan to alternate them with quilts in the beginning of the year.
It isn’t difficult, but the bag has a lot of steps. It is similar in shape and use to the Sew Together Bag, but much larger. The finished size is 15″L x 9″W x 6″H. I am also finding the construction to be a little different. I should have watched the videos before I started cutting, but didn’t think I needed to. I know how to cut, but there are some tips and tricks. It would have helped.
The videos are a great way to make a bag. No fumbling with written directions and trying to figure out what they mean. I don’t even really like watching sewing videos, because I can’t listen to an audiobook while I am watching a video. I am, however, getting more into the swing of video courses.
I had to get some more fabric for one outside piece as it was challenging to cut and I cut it wrong. Twice. Bleah. I can continue on and go back to that piece when the fabric arrives.
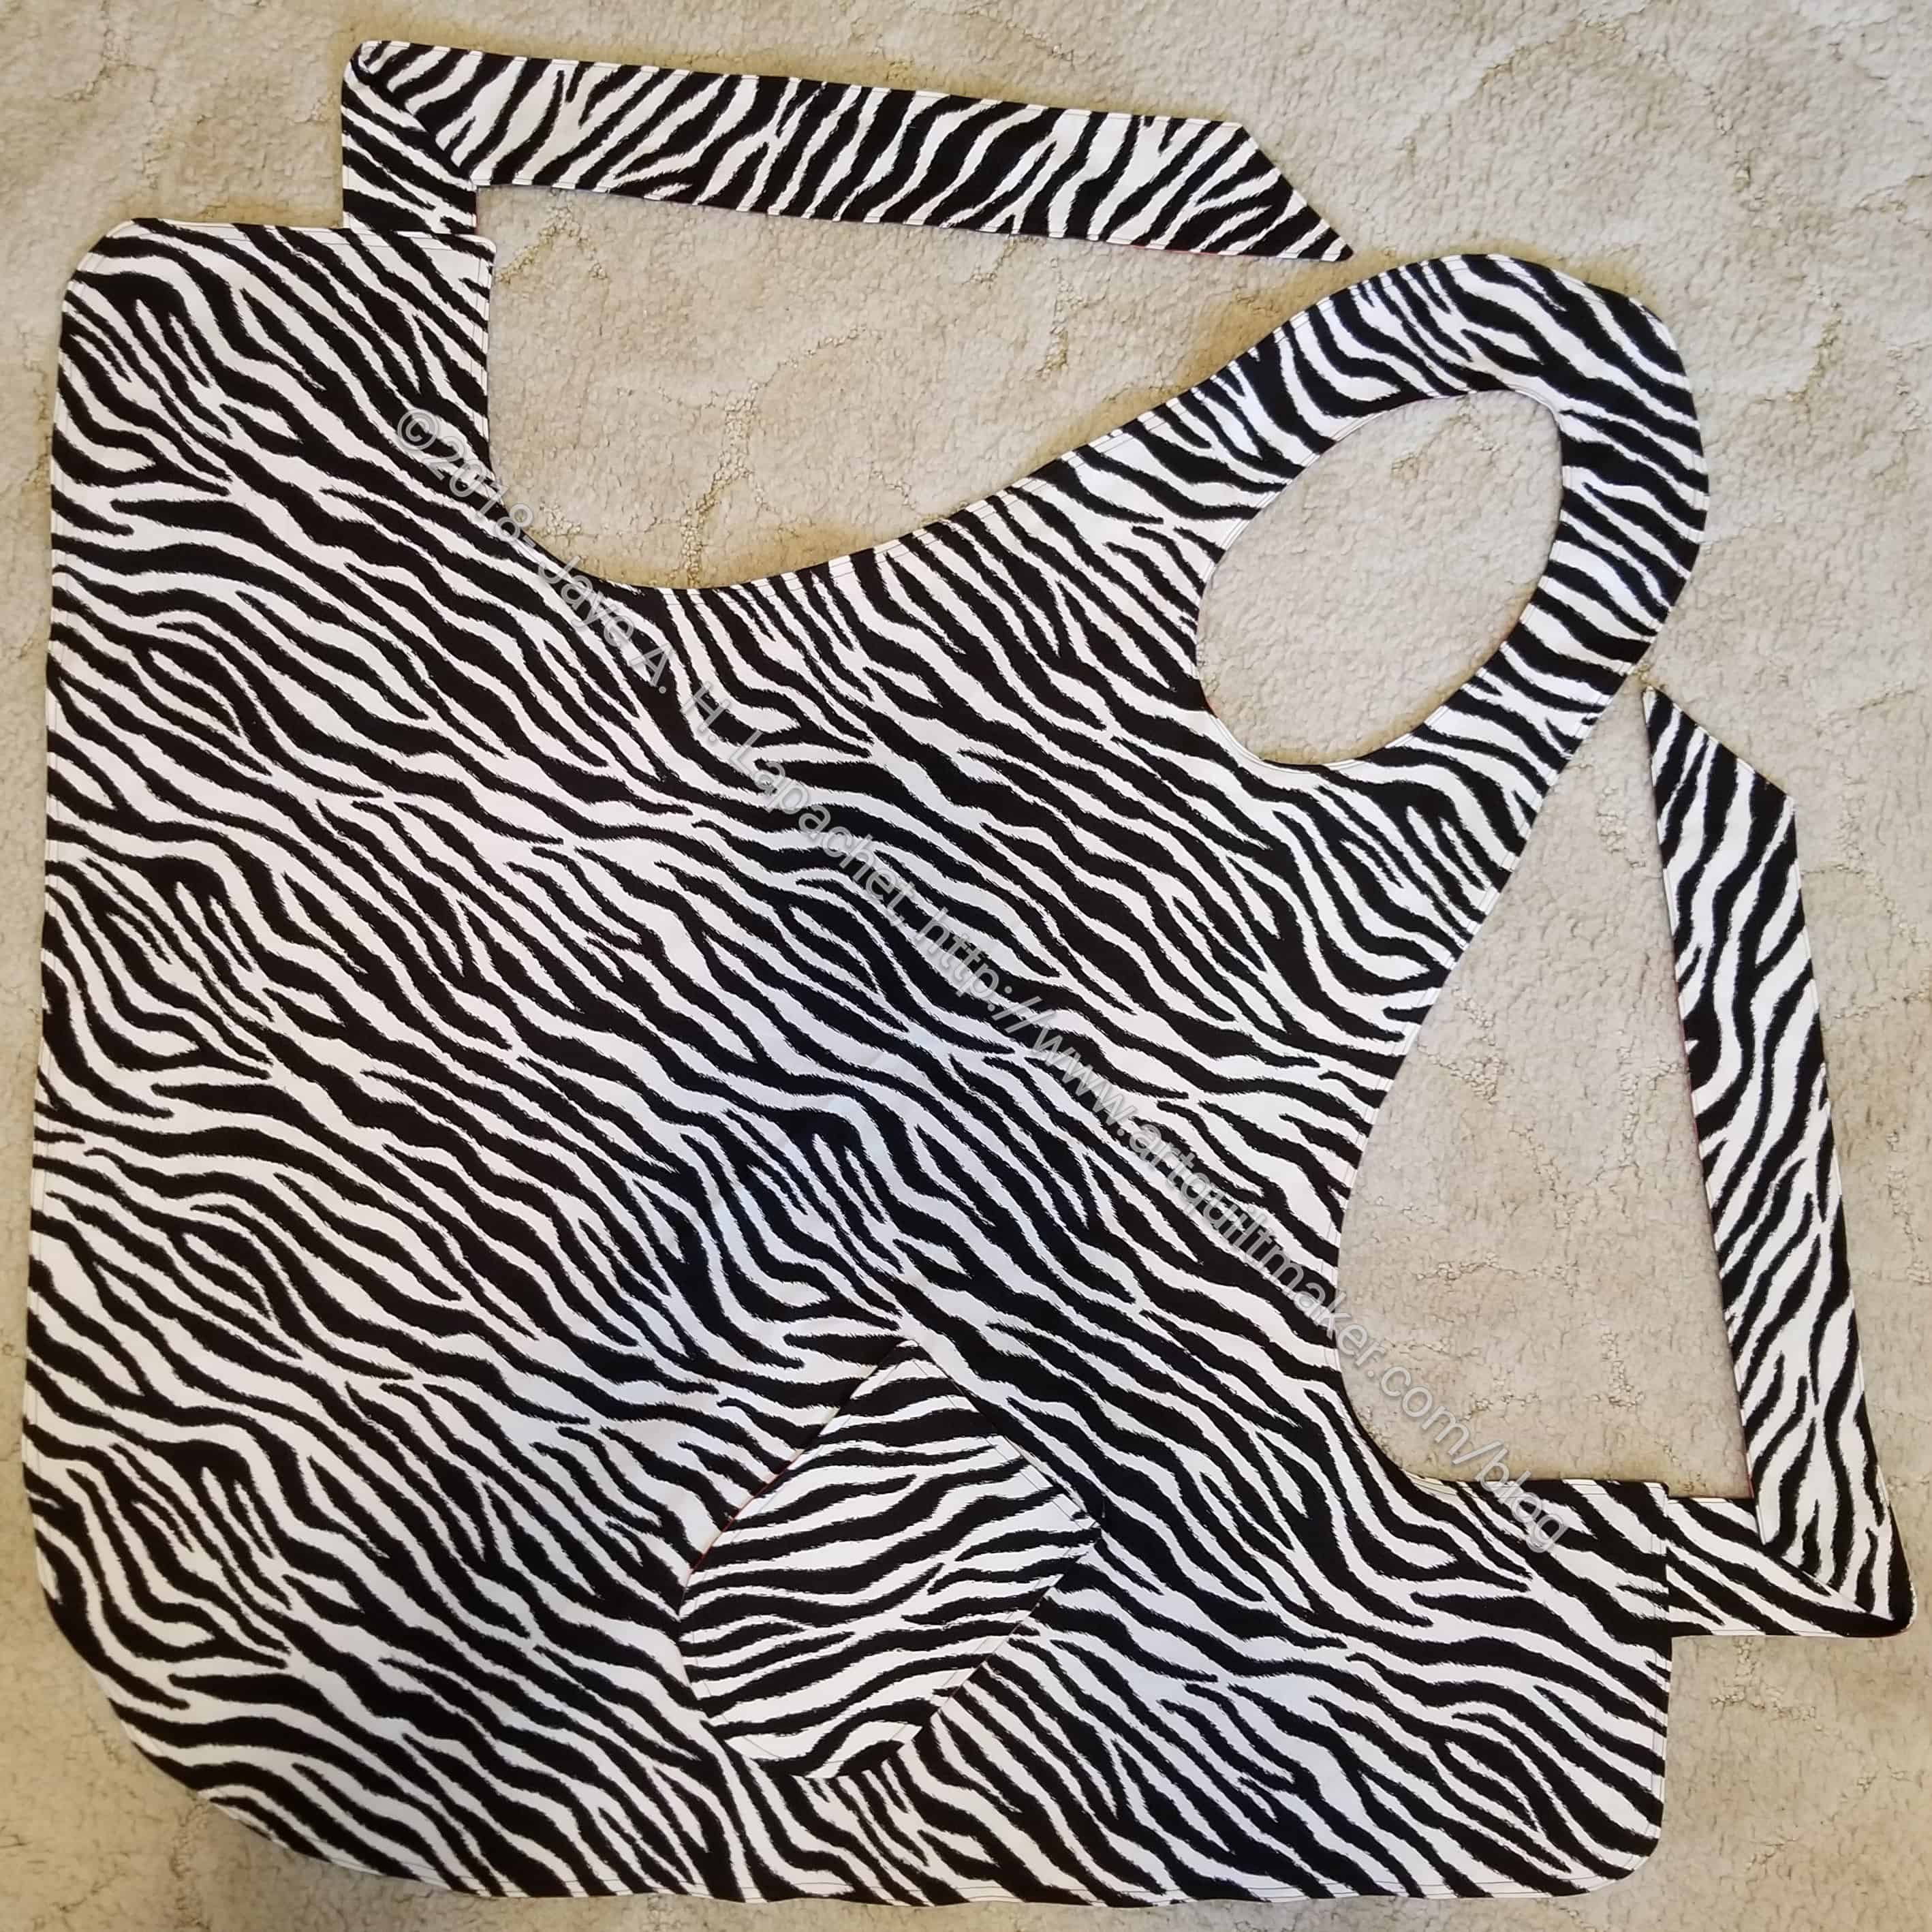
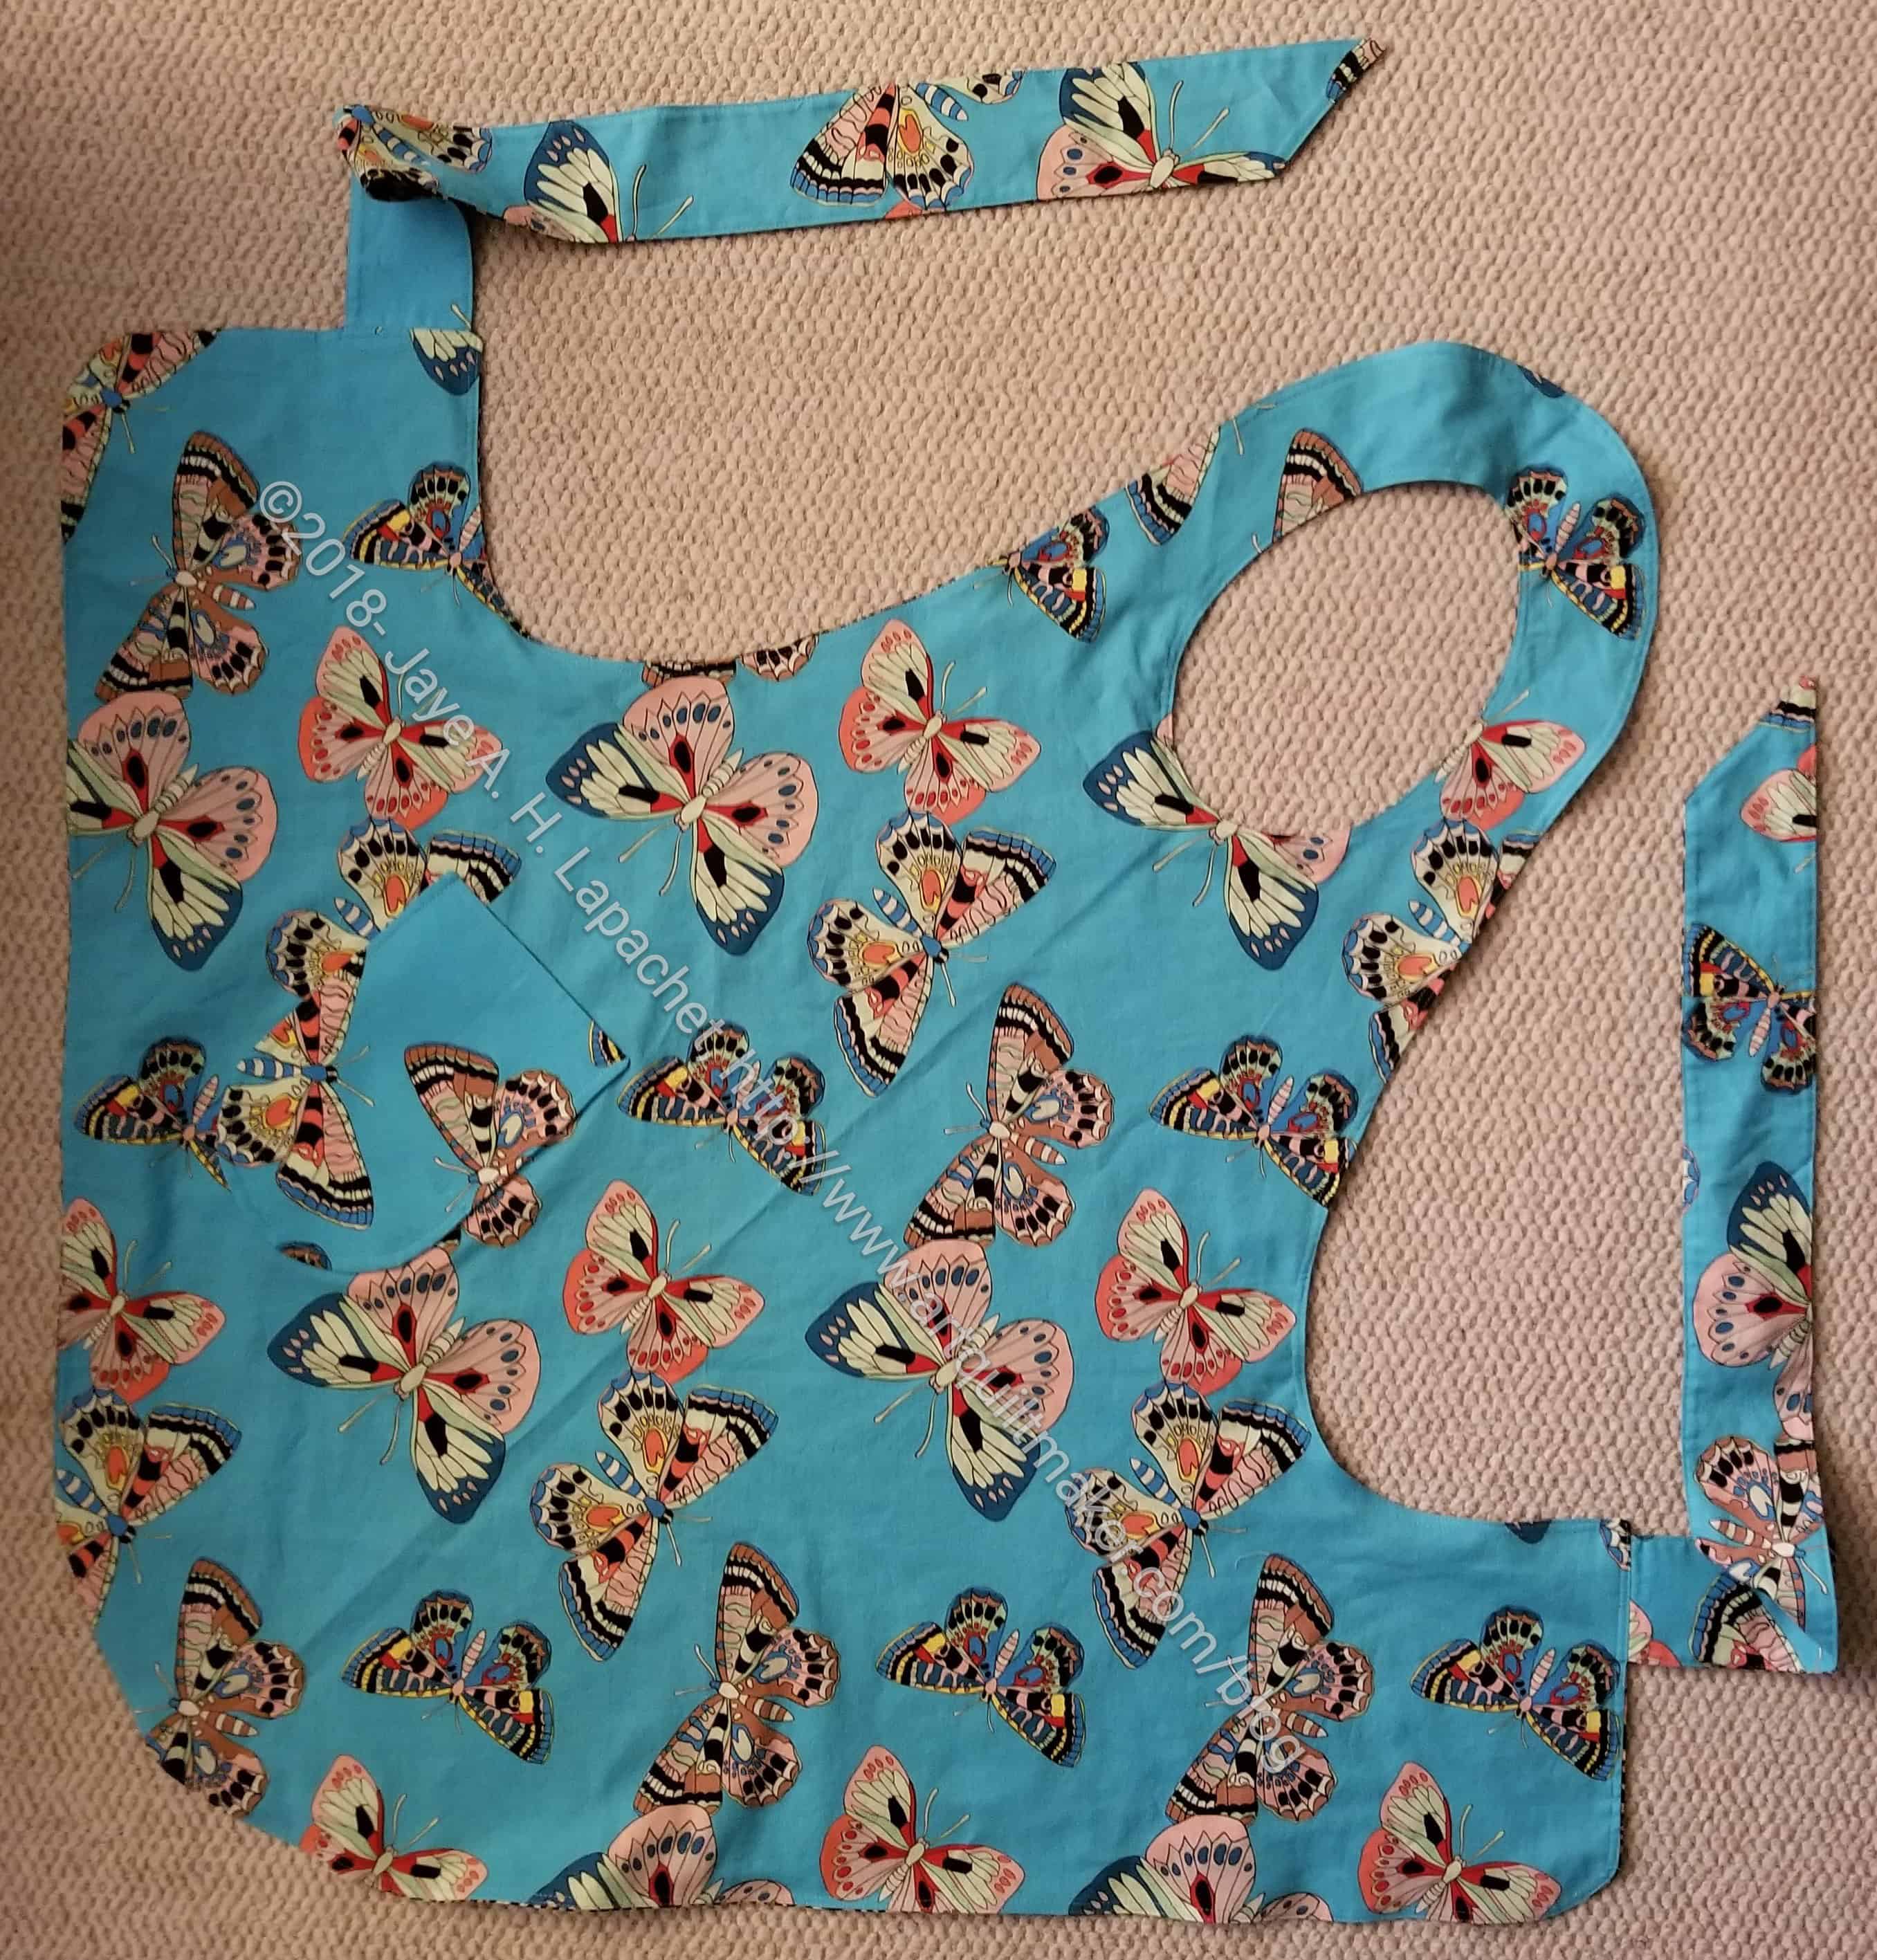
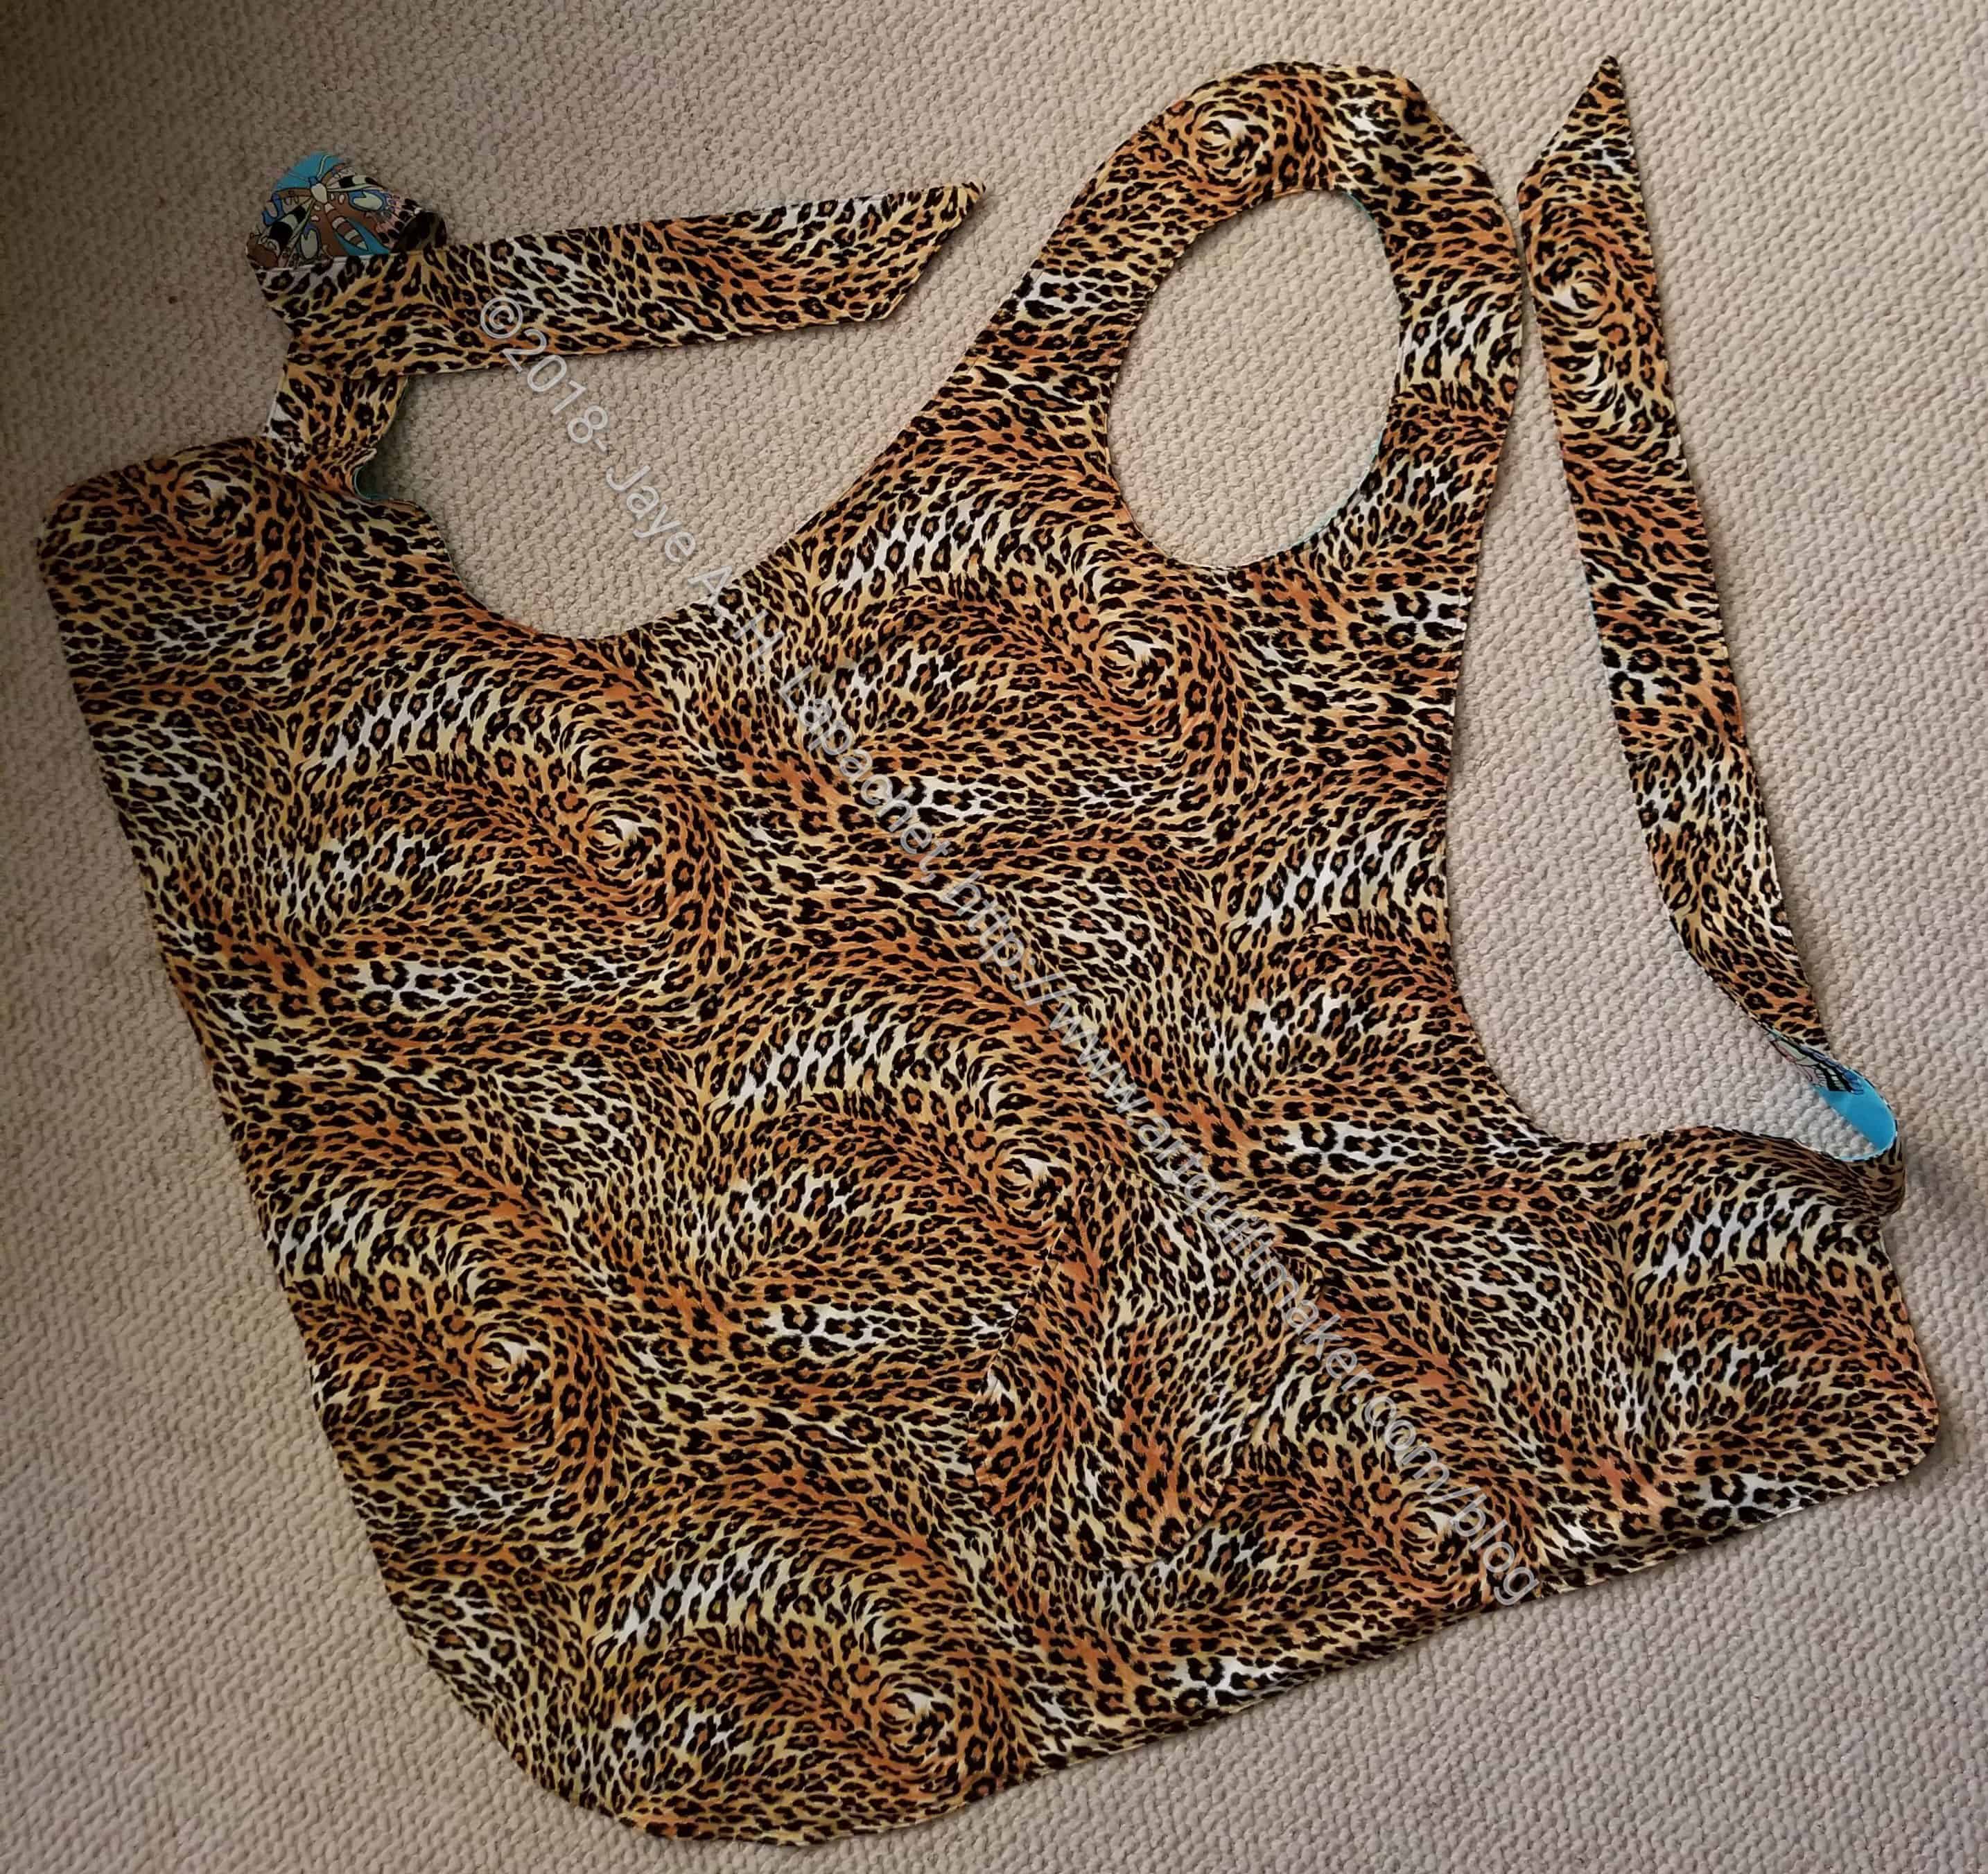
This is the urban chic + Football crazy version of the Flapper Apron. It is for DH’s youngest sister and I know she will love the Cal side. The urban chic side was hard to choose, so I picked something that I liked and thought had a good chance of being on target. I bought the Marsha Derst fabric in Portland at Pioneer Quilts.
I am not sure which side will be the front. I wear an apron often when I am working in the kitchen and I tend to always wear the same side as the outside.
Beth’s apron – Cal side
I have to say that I was annoyed with this pattern when I first started finishing up this project, but as I finished them up, I started thinking of making two more – one for another friend and another for myself.
One thing about this pattern is challenges with directional fabric. I couldn’t make the fabric line up properly to be read horizontally while it was being worn. It can still be read, so I am not too worried, but it would have been nice. Perhaps the slightly off kilter nature of it will look edgy?
I am not sure what exactly made me think of it, but part of it was contemplating my scrap pile. After cutting a bunch of squares with the Accuquilt, I still had a lot of strips. Also, as I have said, a block Alison showed me and our discussion inspired me. Instead of making the regular 16 patches, I have been making these strip blocks. I want to use up scraps and I have a lot of strips left.
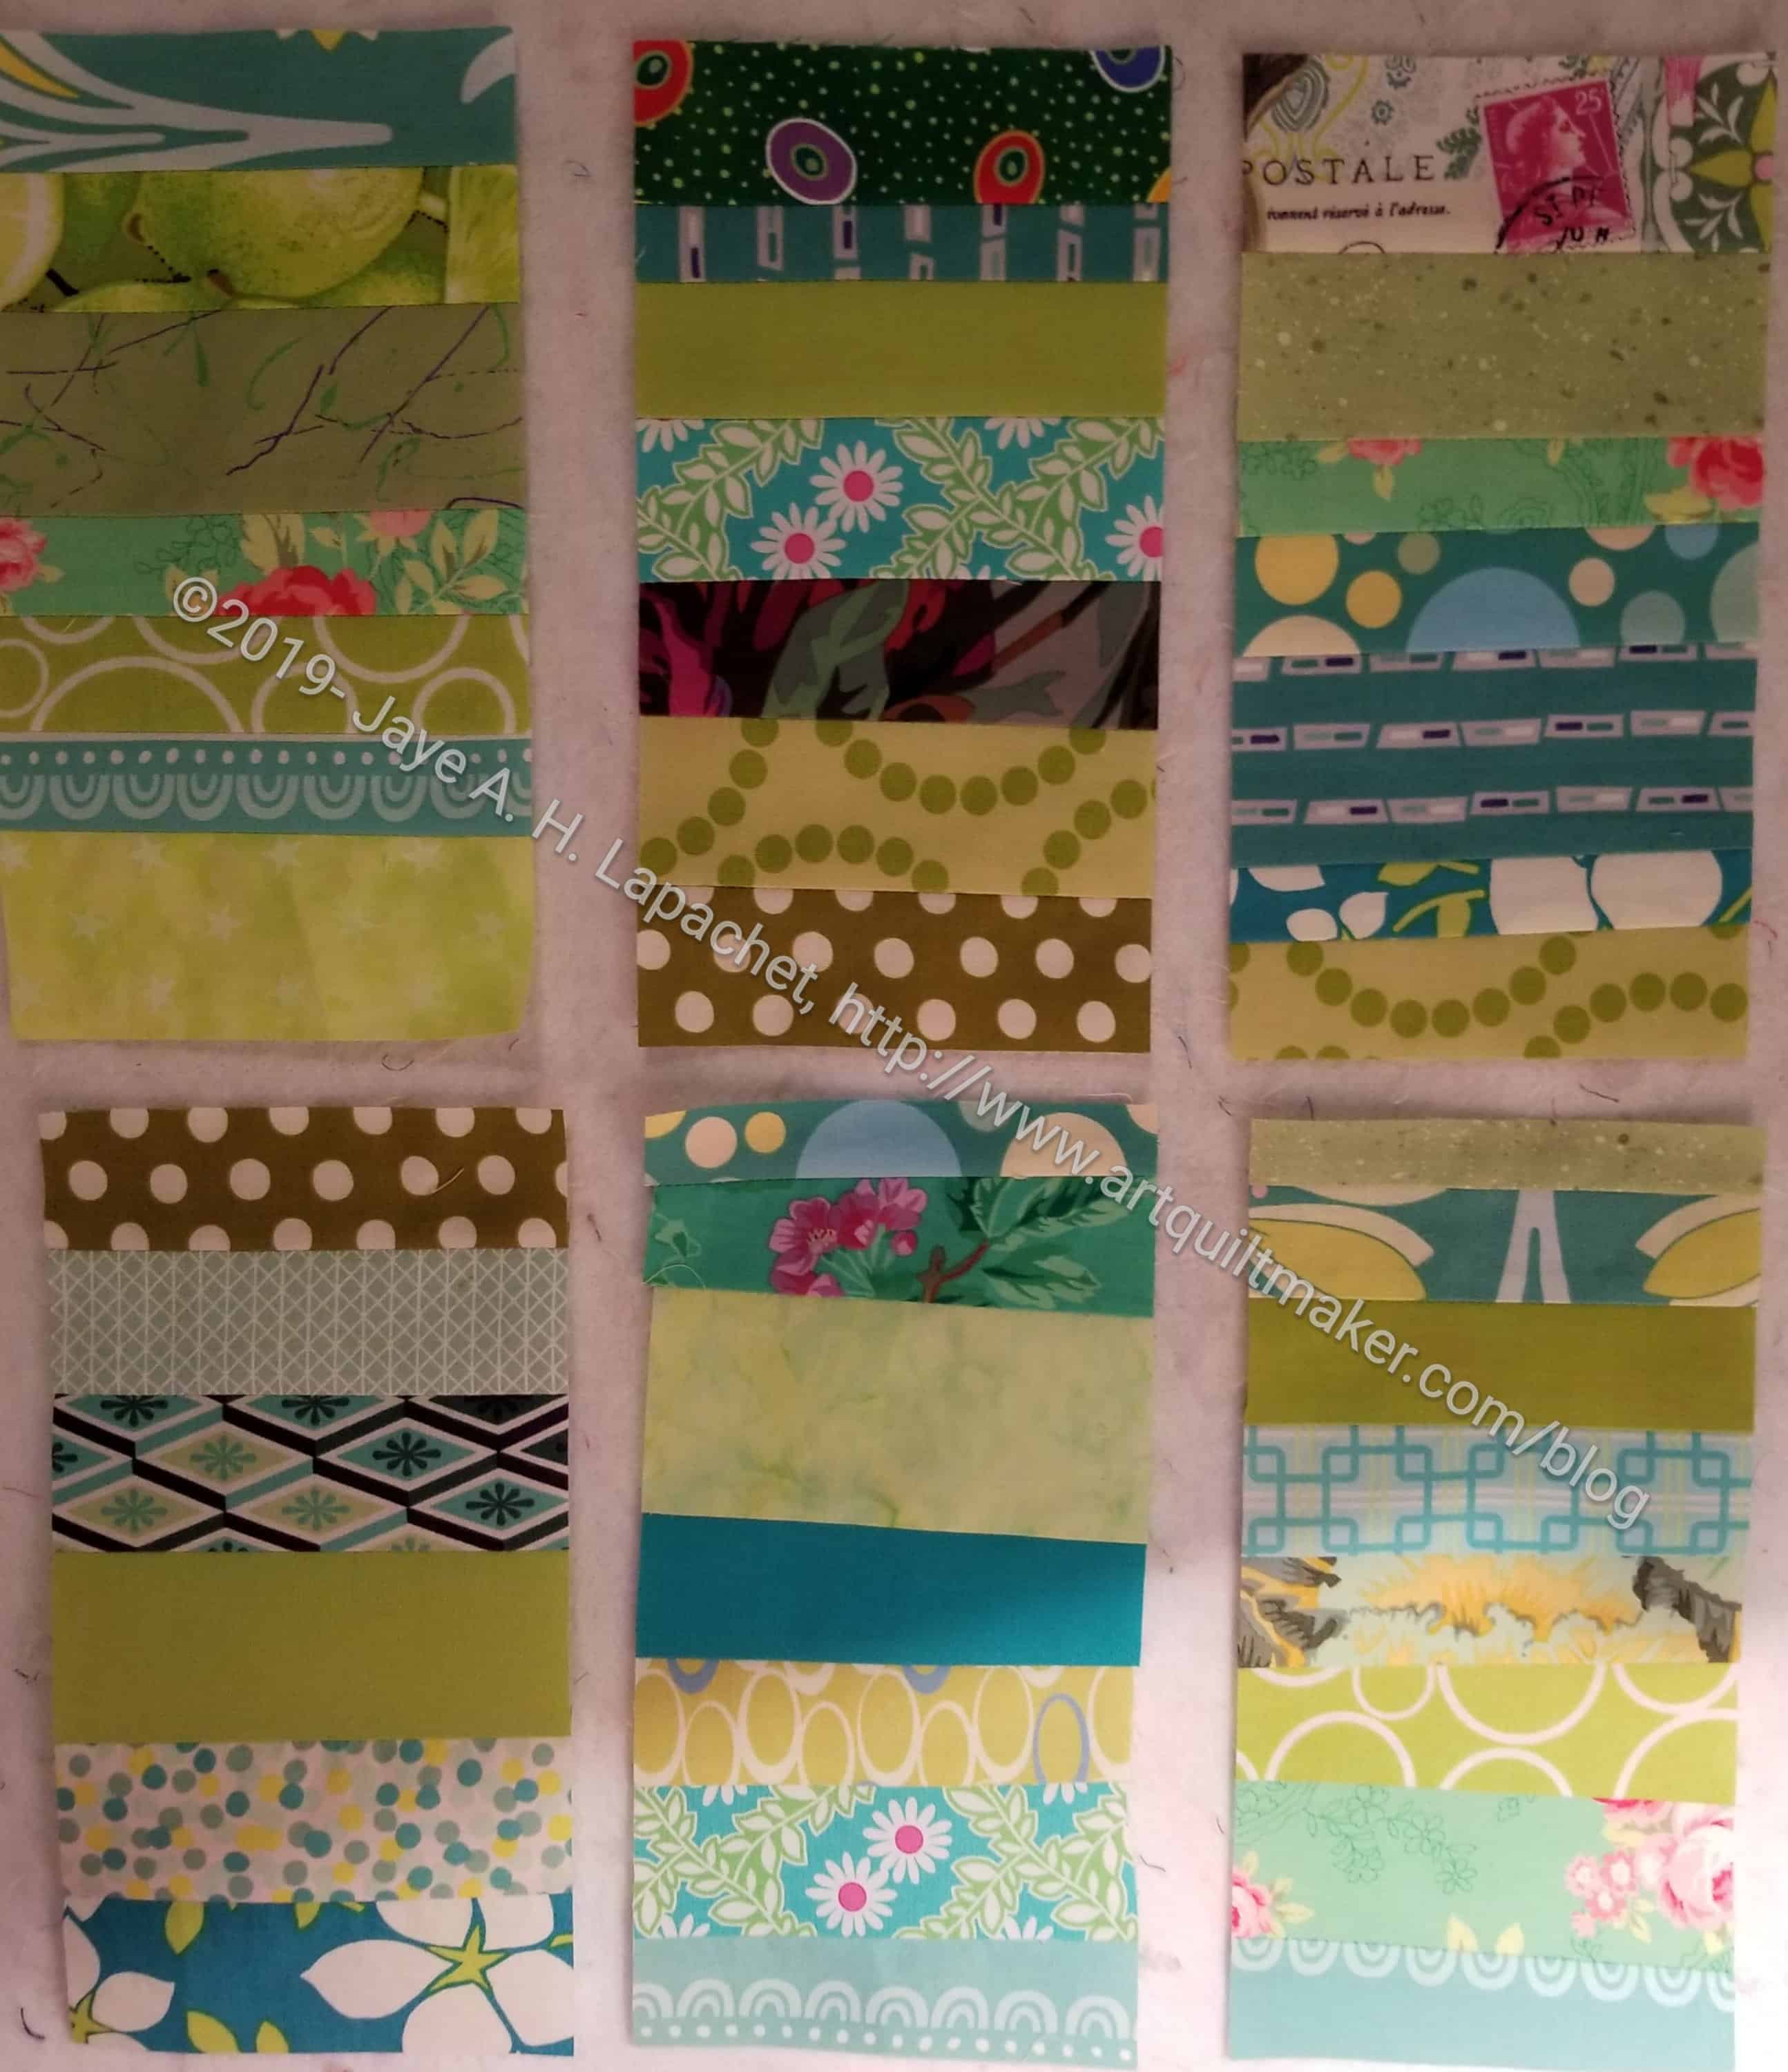
I decided to start with my green scrap drawer. It is closest to my sewing machine.
So far I have three blocks done. I’d like to make the blocks for the entire quilt green, but I don’t know if I will have enough strips/scraps to do that. I’ll see and will be flexible.
After Thanksgiving, I worked on the group of aprons I wanted to give to my SILs as gifts. Since some of my SILs read here, I couldn’t post until after Christmas. I was also working hard to get to a 100 yards used and each of these aprons is 2 yards.
I fumbled around quite a bit on the first one in this group. I had already finished one a few months ago, which I posted about a few days ago. I finally got the hang of the process, put all the small pieces together and was, eventually, able to zoom along.
Steph’s Apron- back
The pattern says “finish the neck as desired,” which is about as useful as ‘quilt as desired’ in quilt patterns. I ended up folding the neck by hand and trying to match both sides so the other side wouldn’t peek through. I decided to double top stitch around the neck and the outside to make sure the raw edges, even inside, were sewed down.
I wasn’t sure what fabrics to choose for this apron as I don’t know very well what motifs this SIL likes. Brown and turquoise go together and who doesn’t like butterflies? This is an apron, not a dress, so I am not going to worry too much. I am pleased with how this one came out.