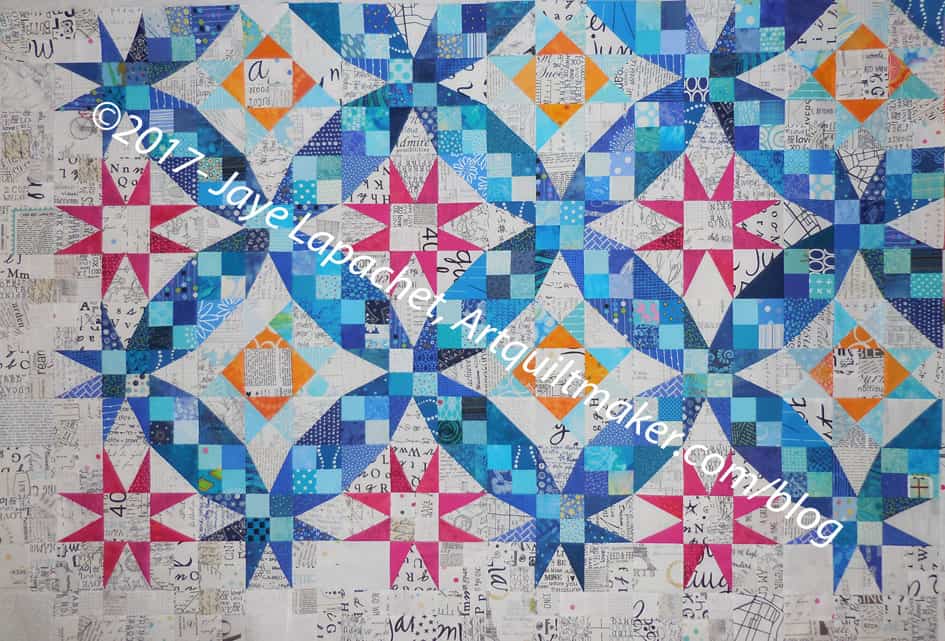
I made a lot of progress on the En Provence quilt and it is nearing the conclusion.

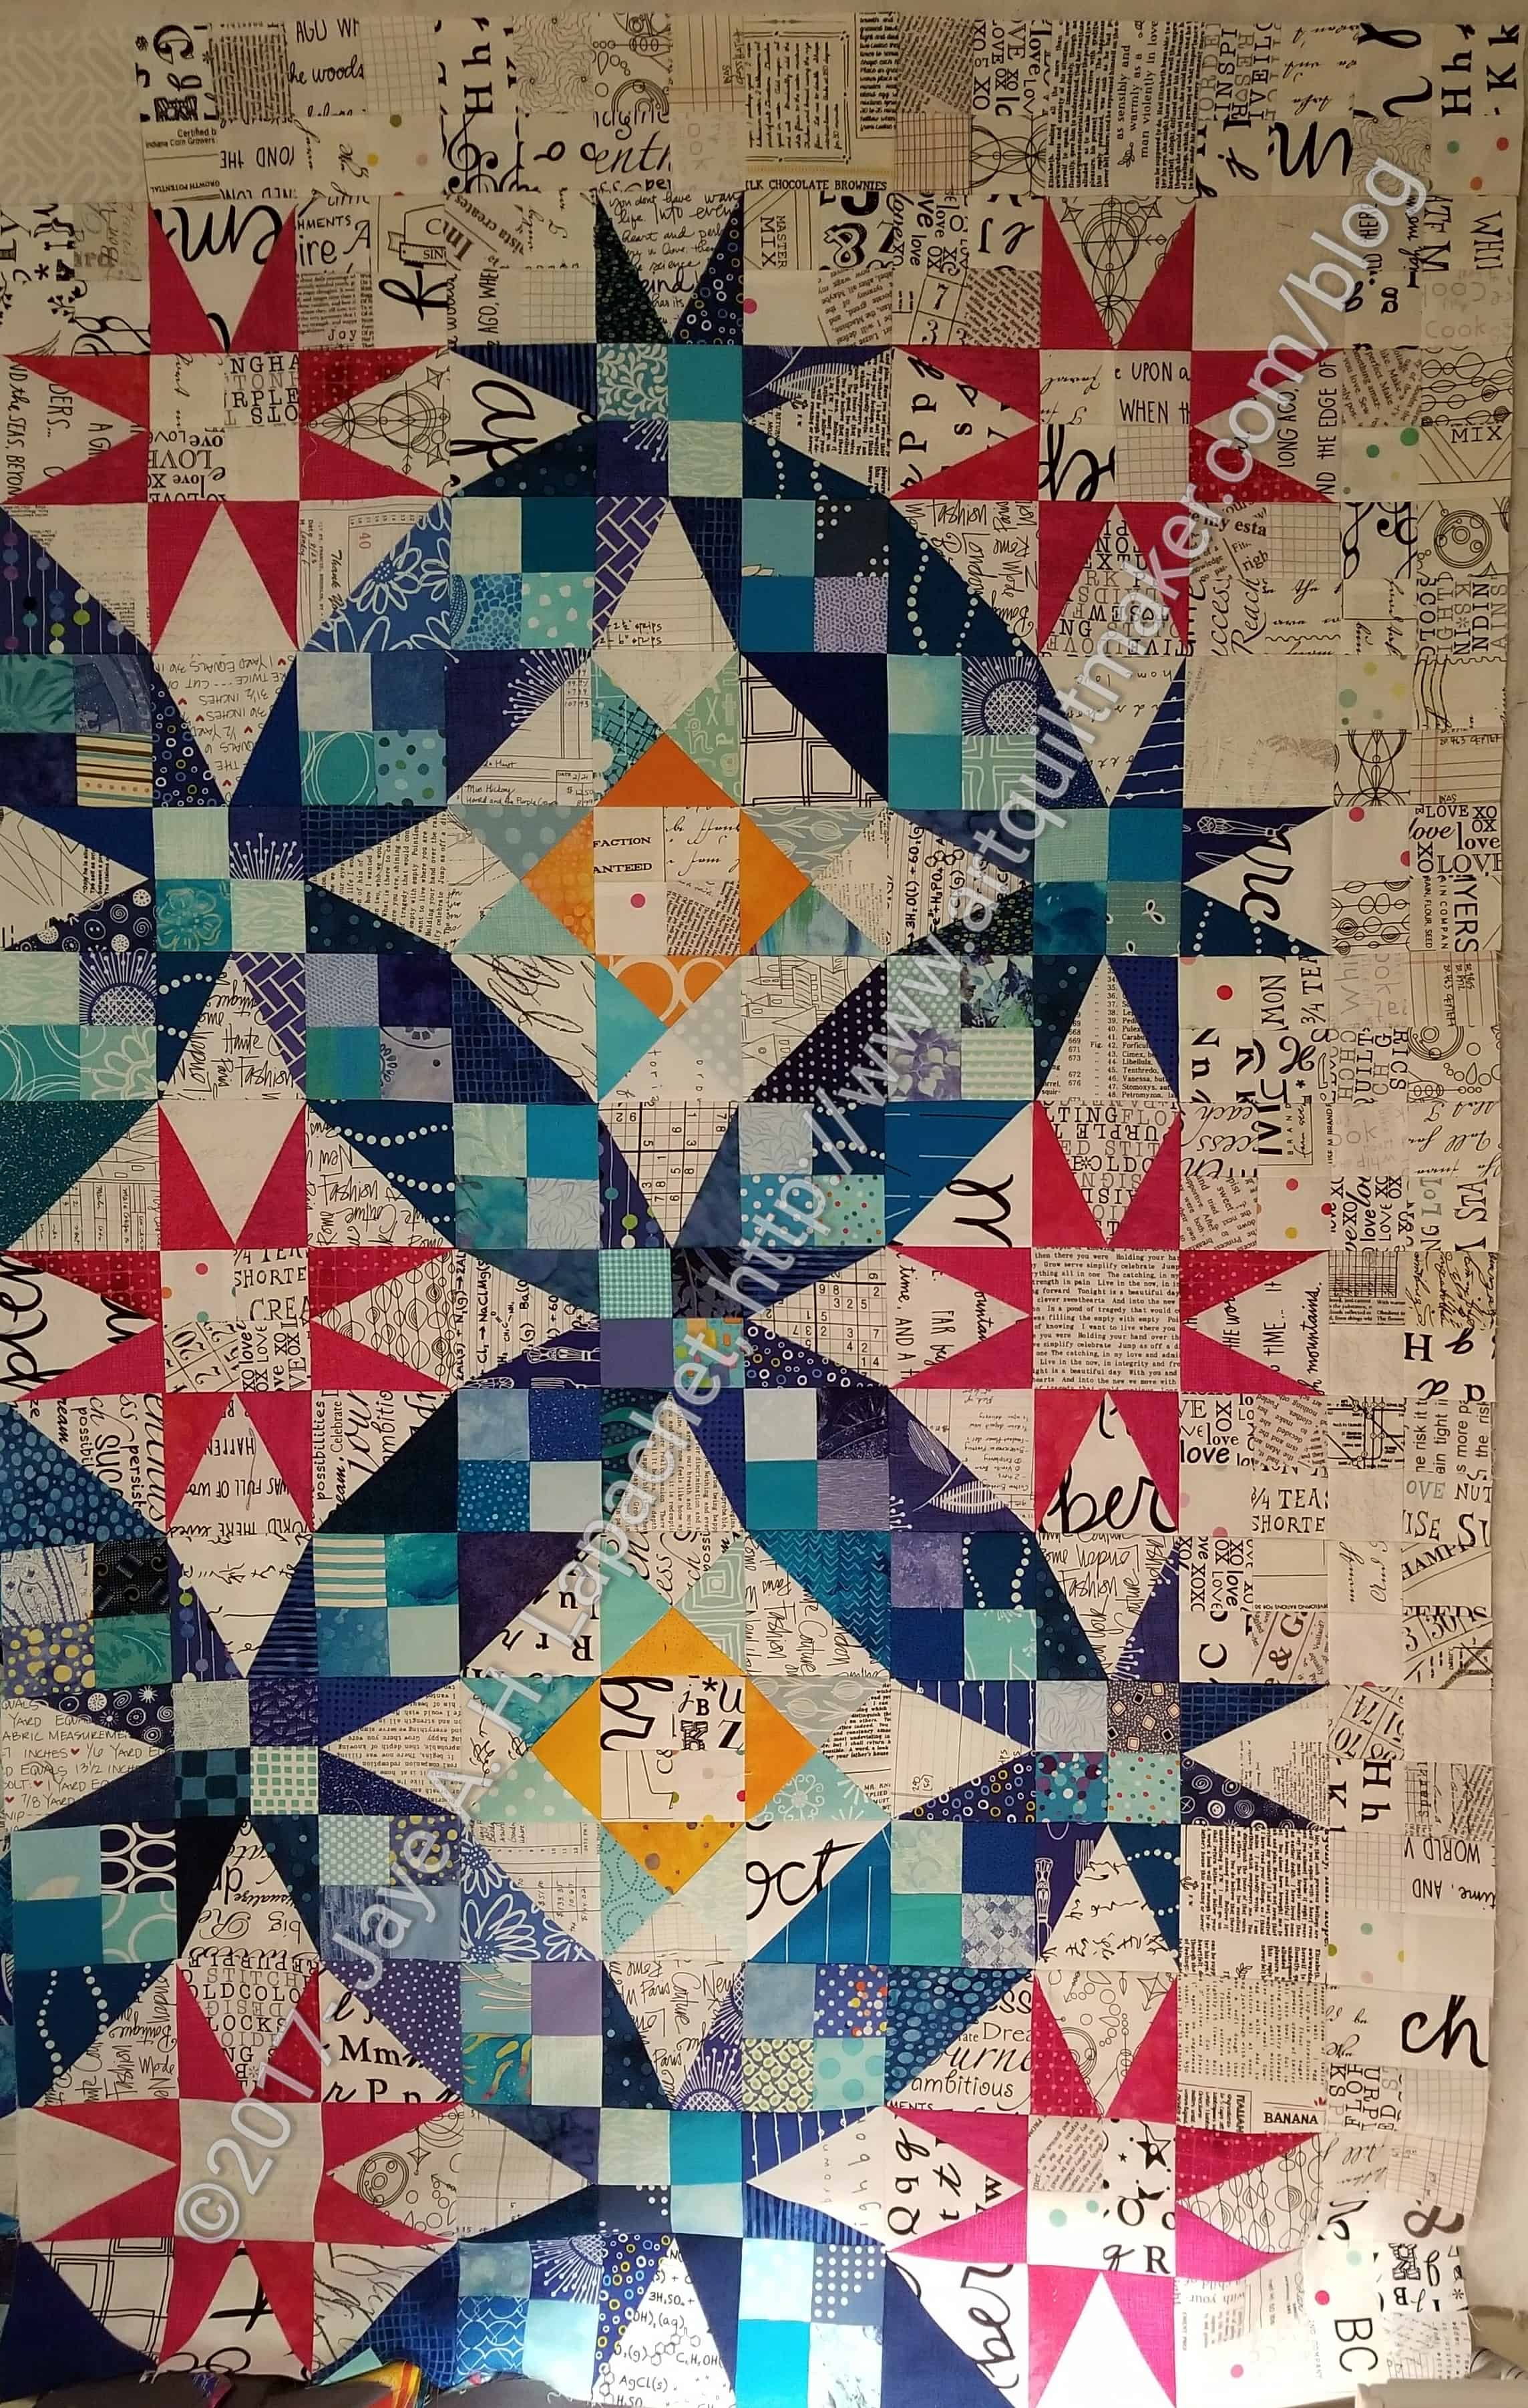
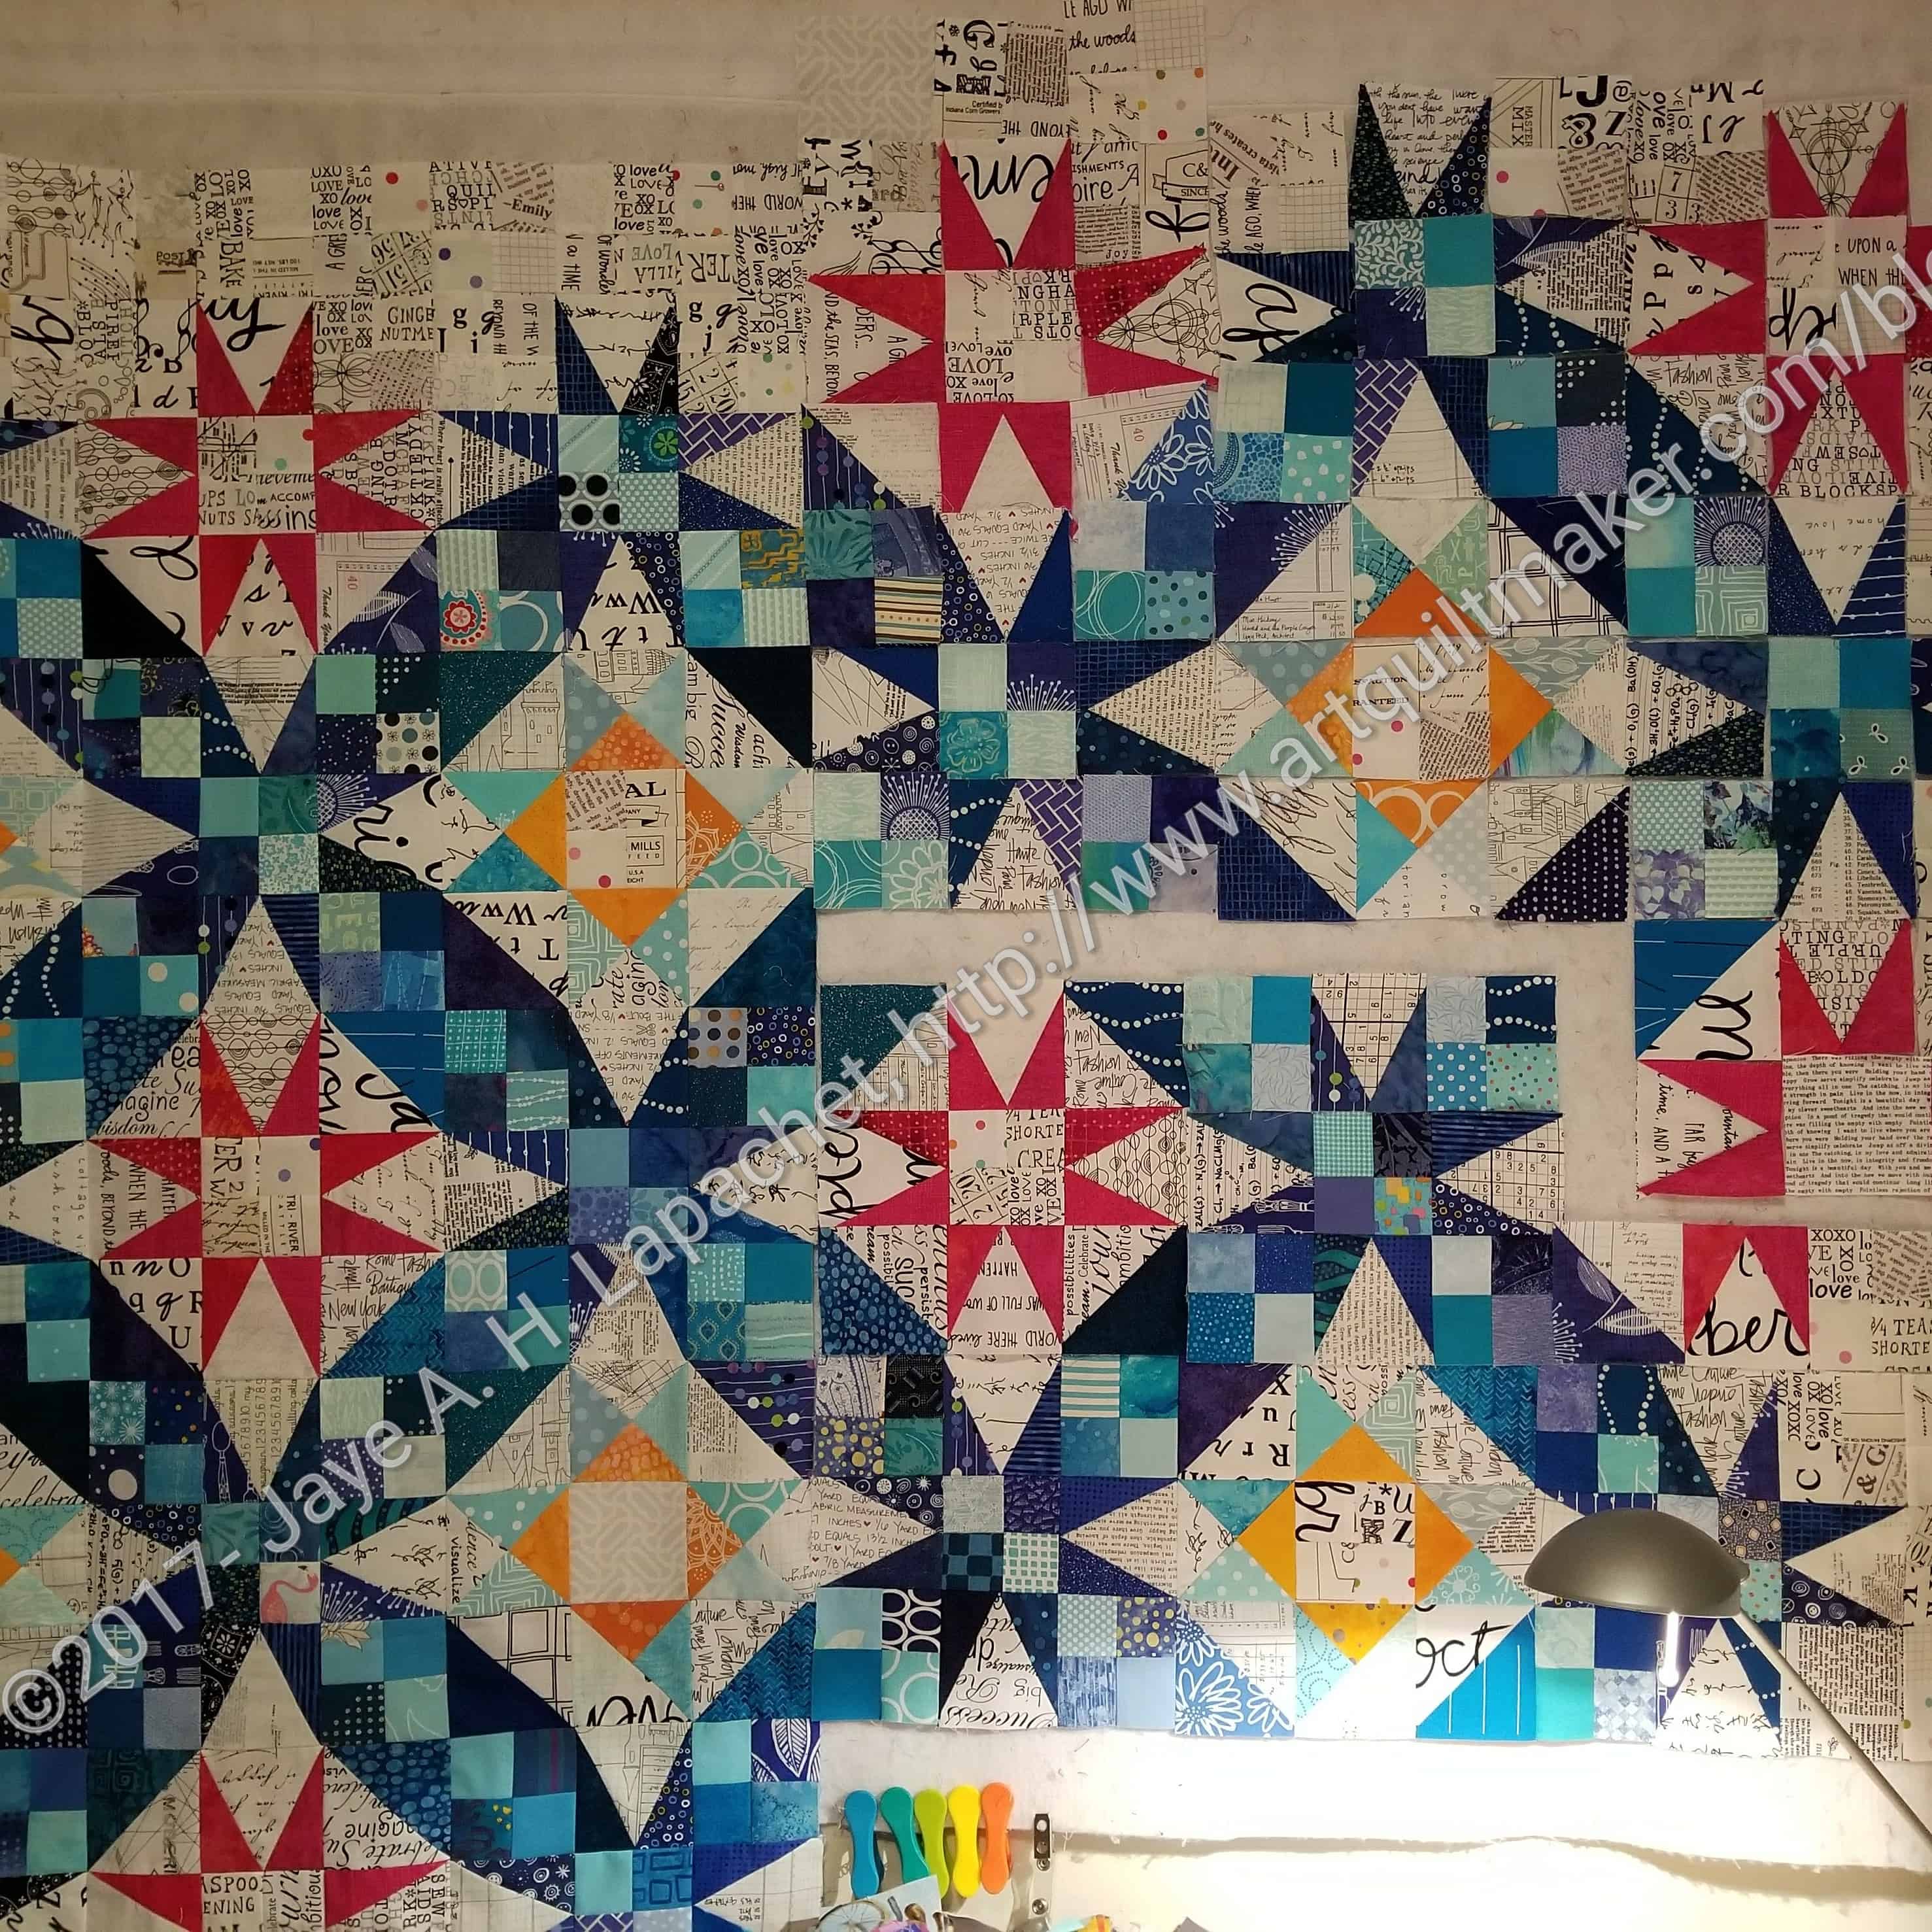
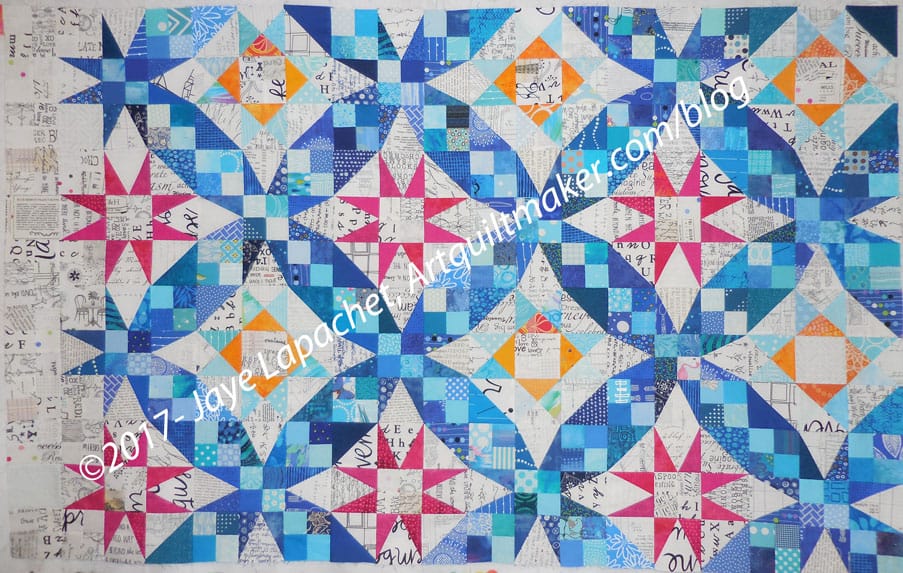
I started out Saturday afternoon sewing the two halves of the top together. Then I laid out the quilt to see where I was. It was really great to see almost the whole quilt laid out. I think it looks really great.
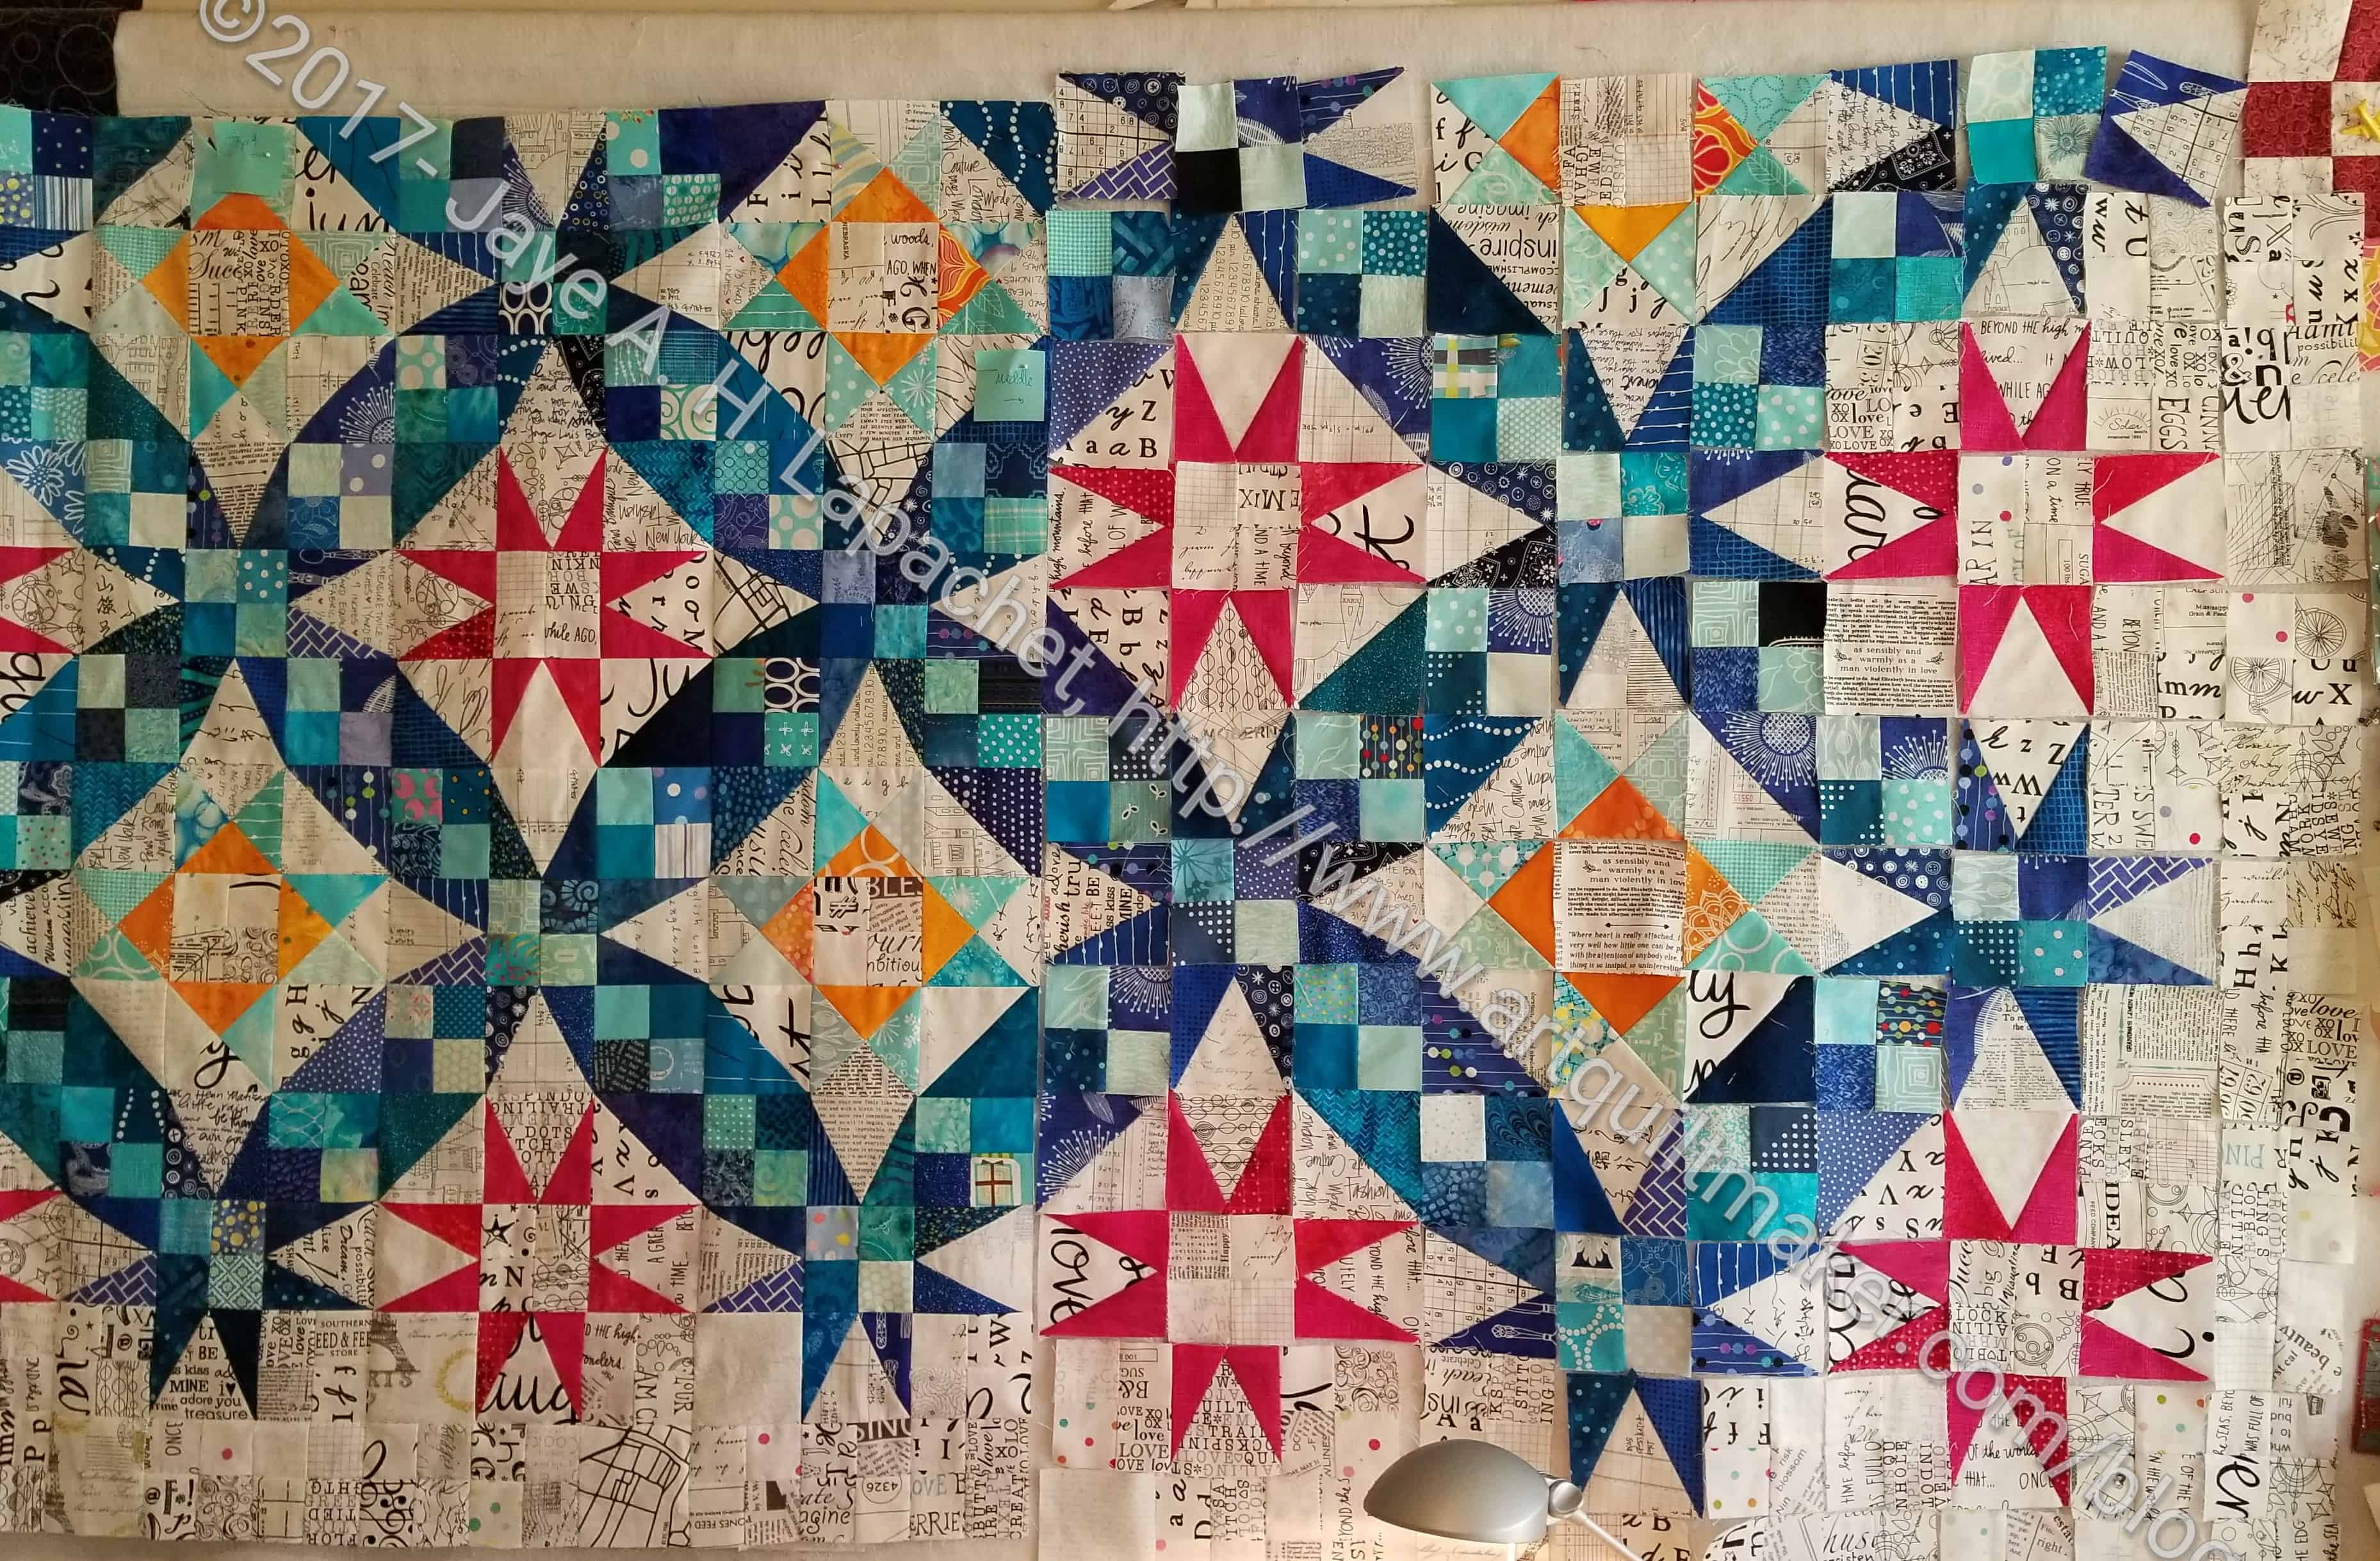
After seeing the quilt so close to completion, I was on fire to sew the last 4 rows. I took everything back upstairs and laid on that bottom corner on my design wall. I didn’t have much more time to do that on Saturday and no time to sew.
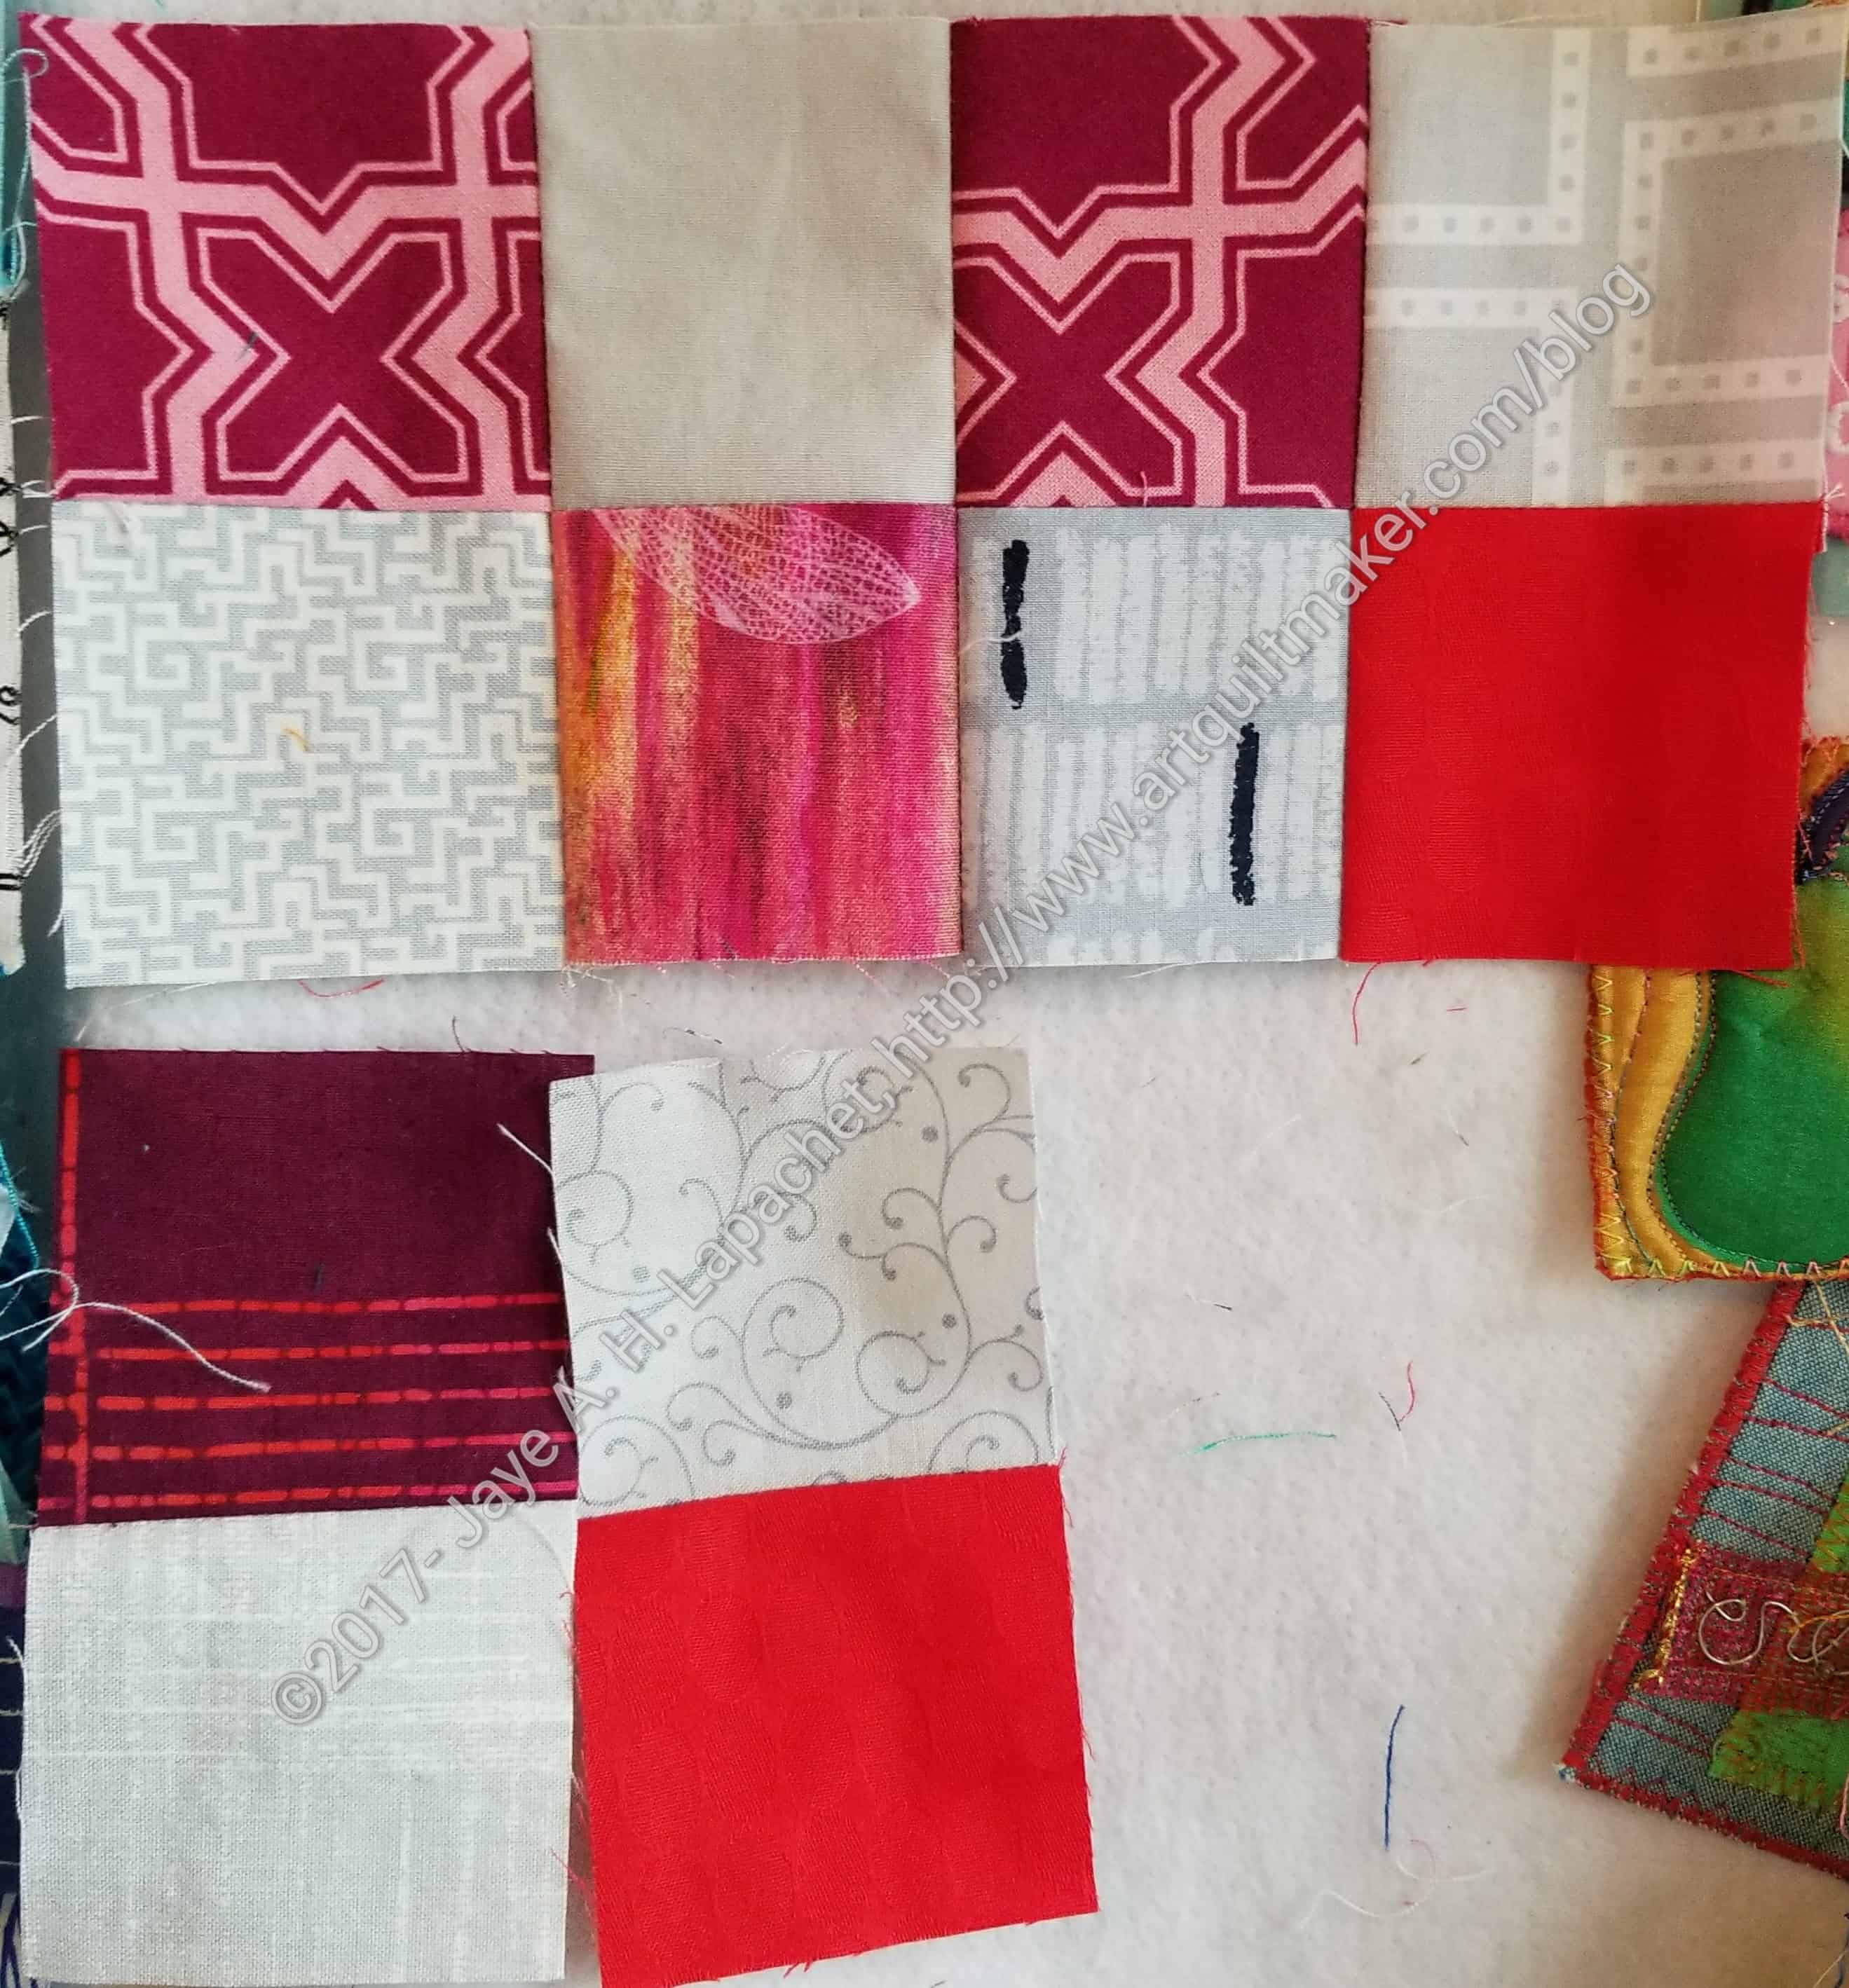
Laying out the last corner was huge, though. I found I was missing a couple of Peaky & Spike blocks, so I had to cut some fabric to finish those. It was good, though, because I could switch out some of the Peaky & Spike blocks that I hadn’t yet sewn.
After we came back from a NSGW event on Sunday afternoon, I put the pedal to the metal on my sewing machine and sewed 3 rows. I know there are only 3 blocks left in each row, but there is still a lot of piecing. I also have to add the border and that makes some of the blocks larger, thus more time consuming to sew.
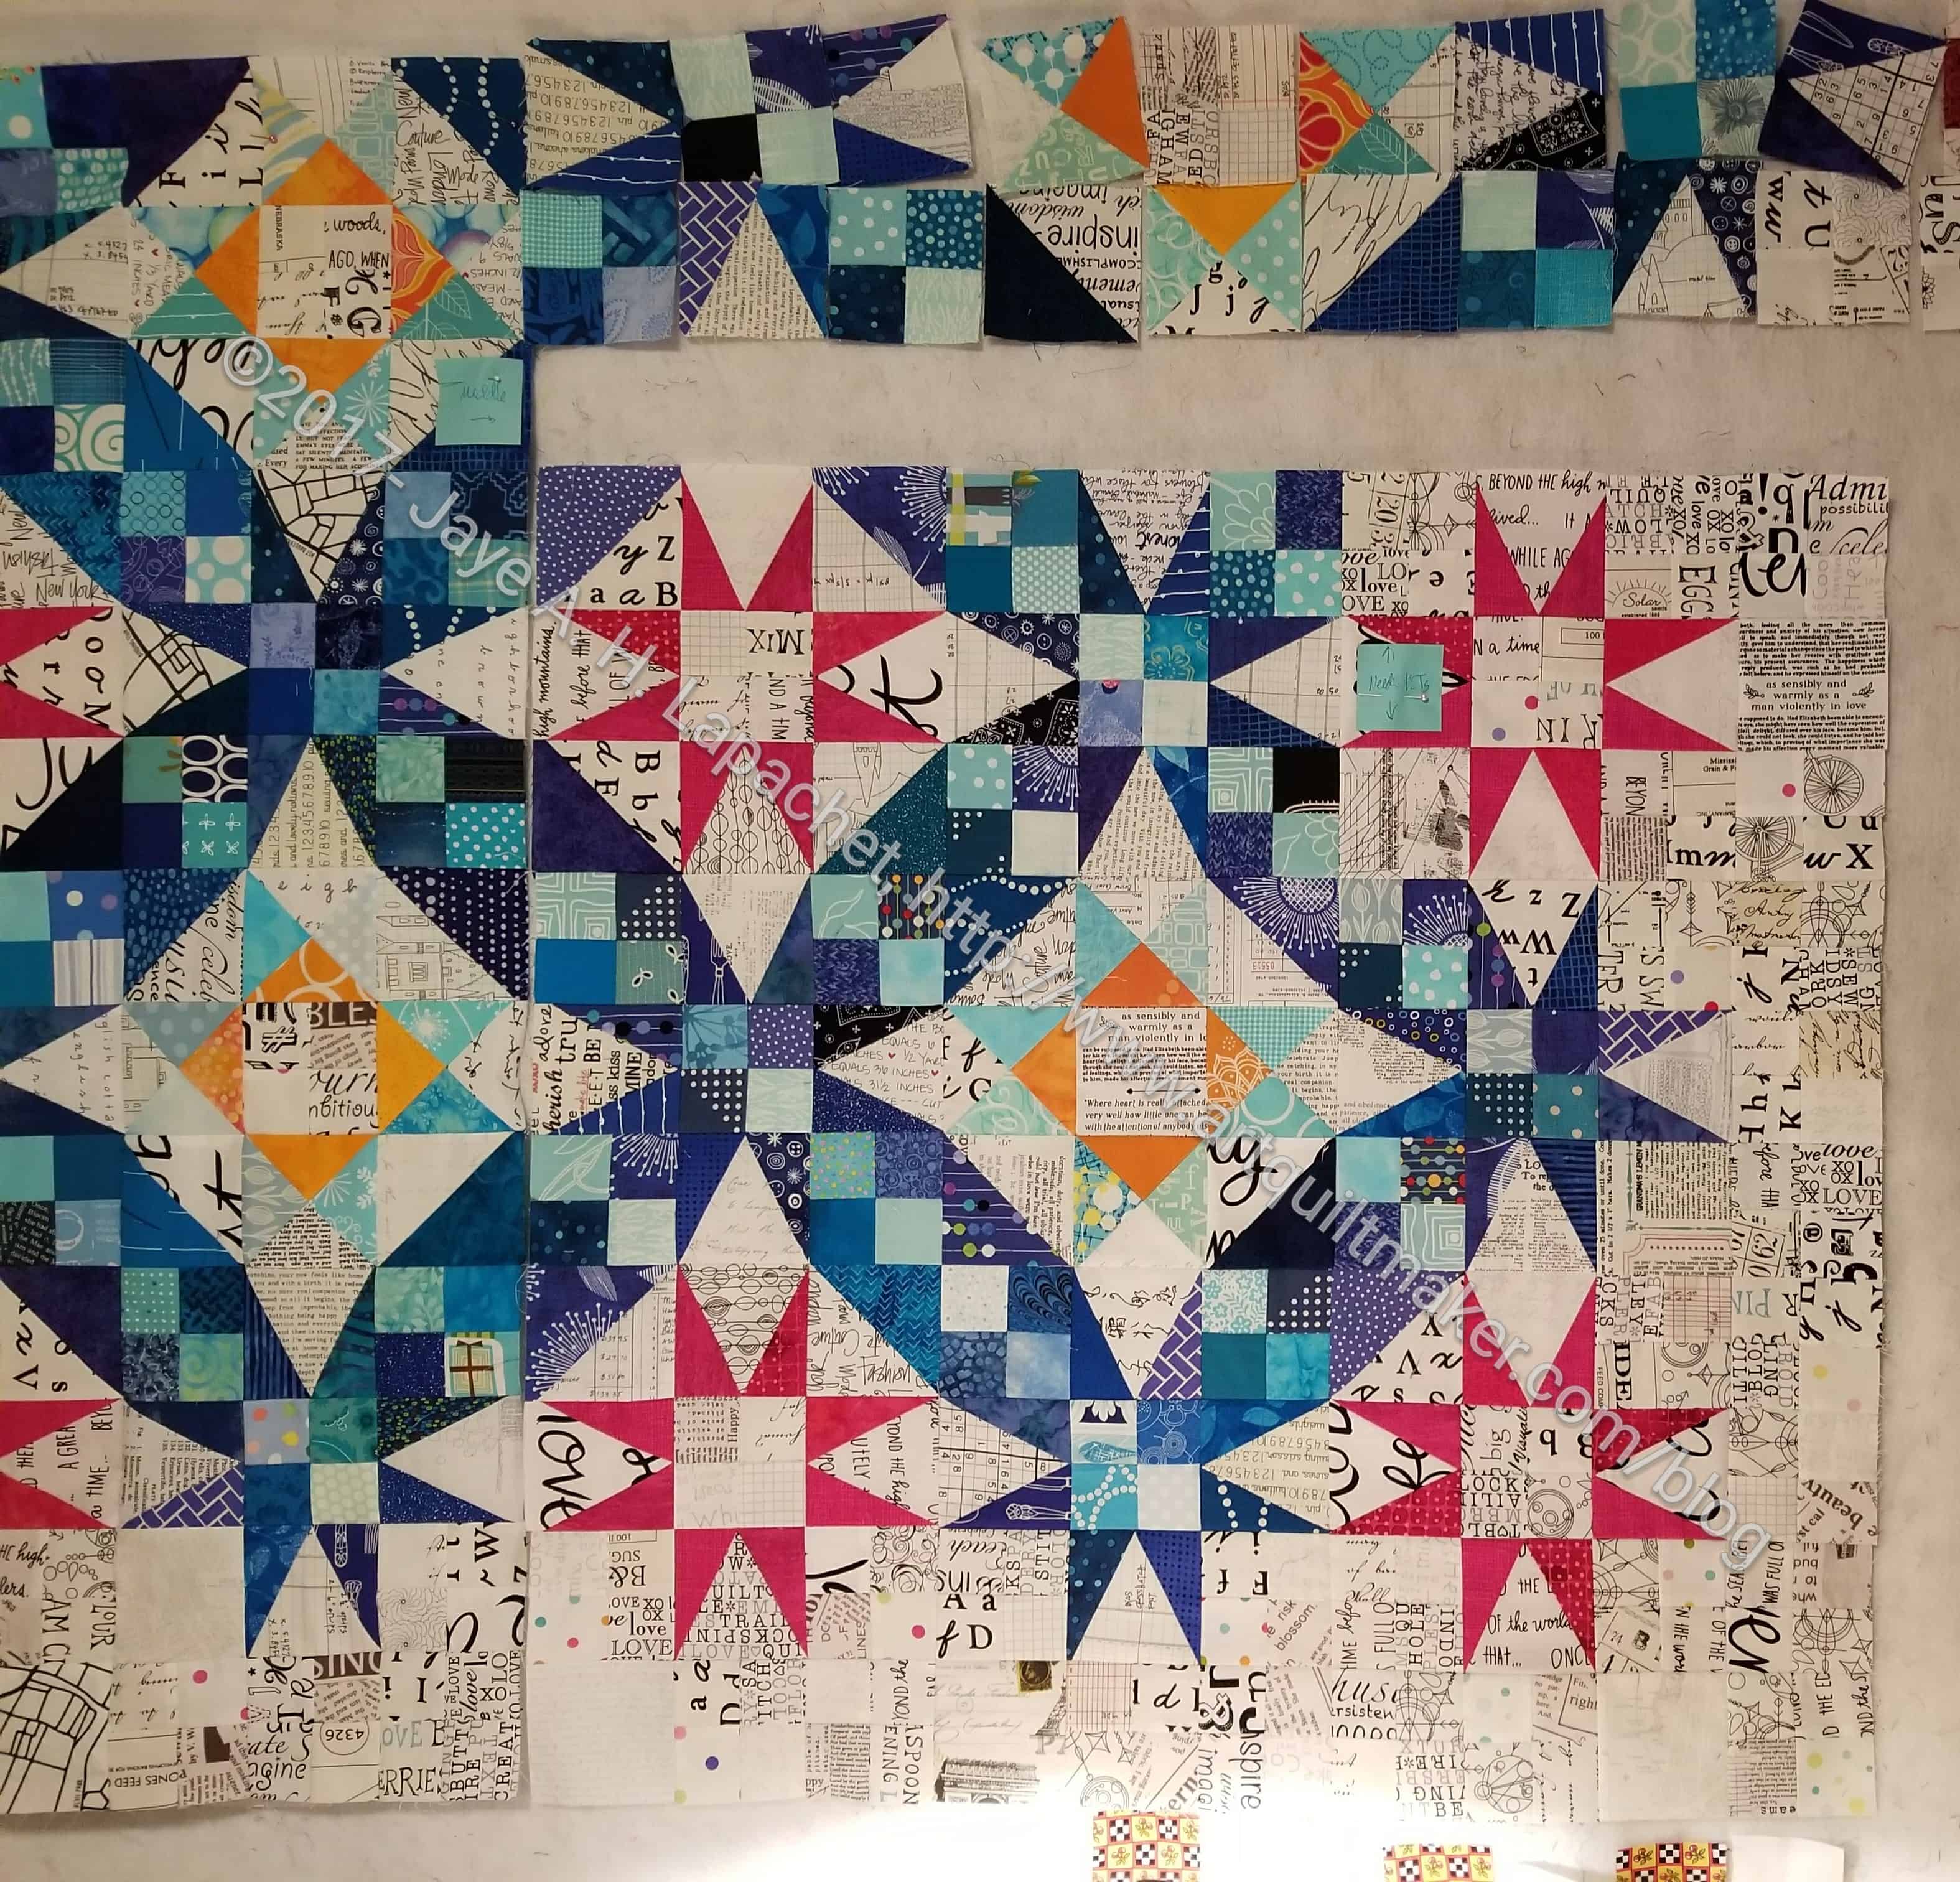
I ended up with what I thought was 3 good rows.
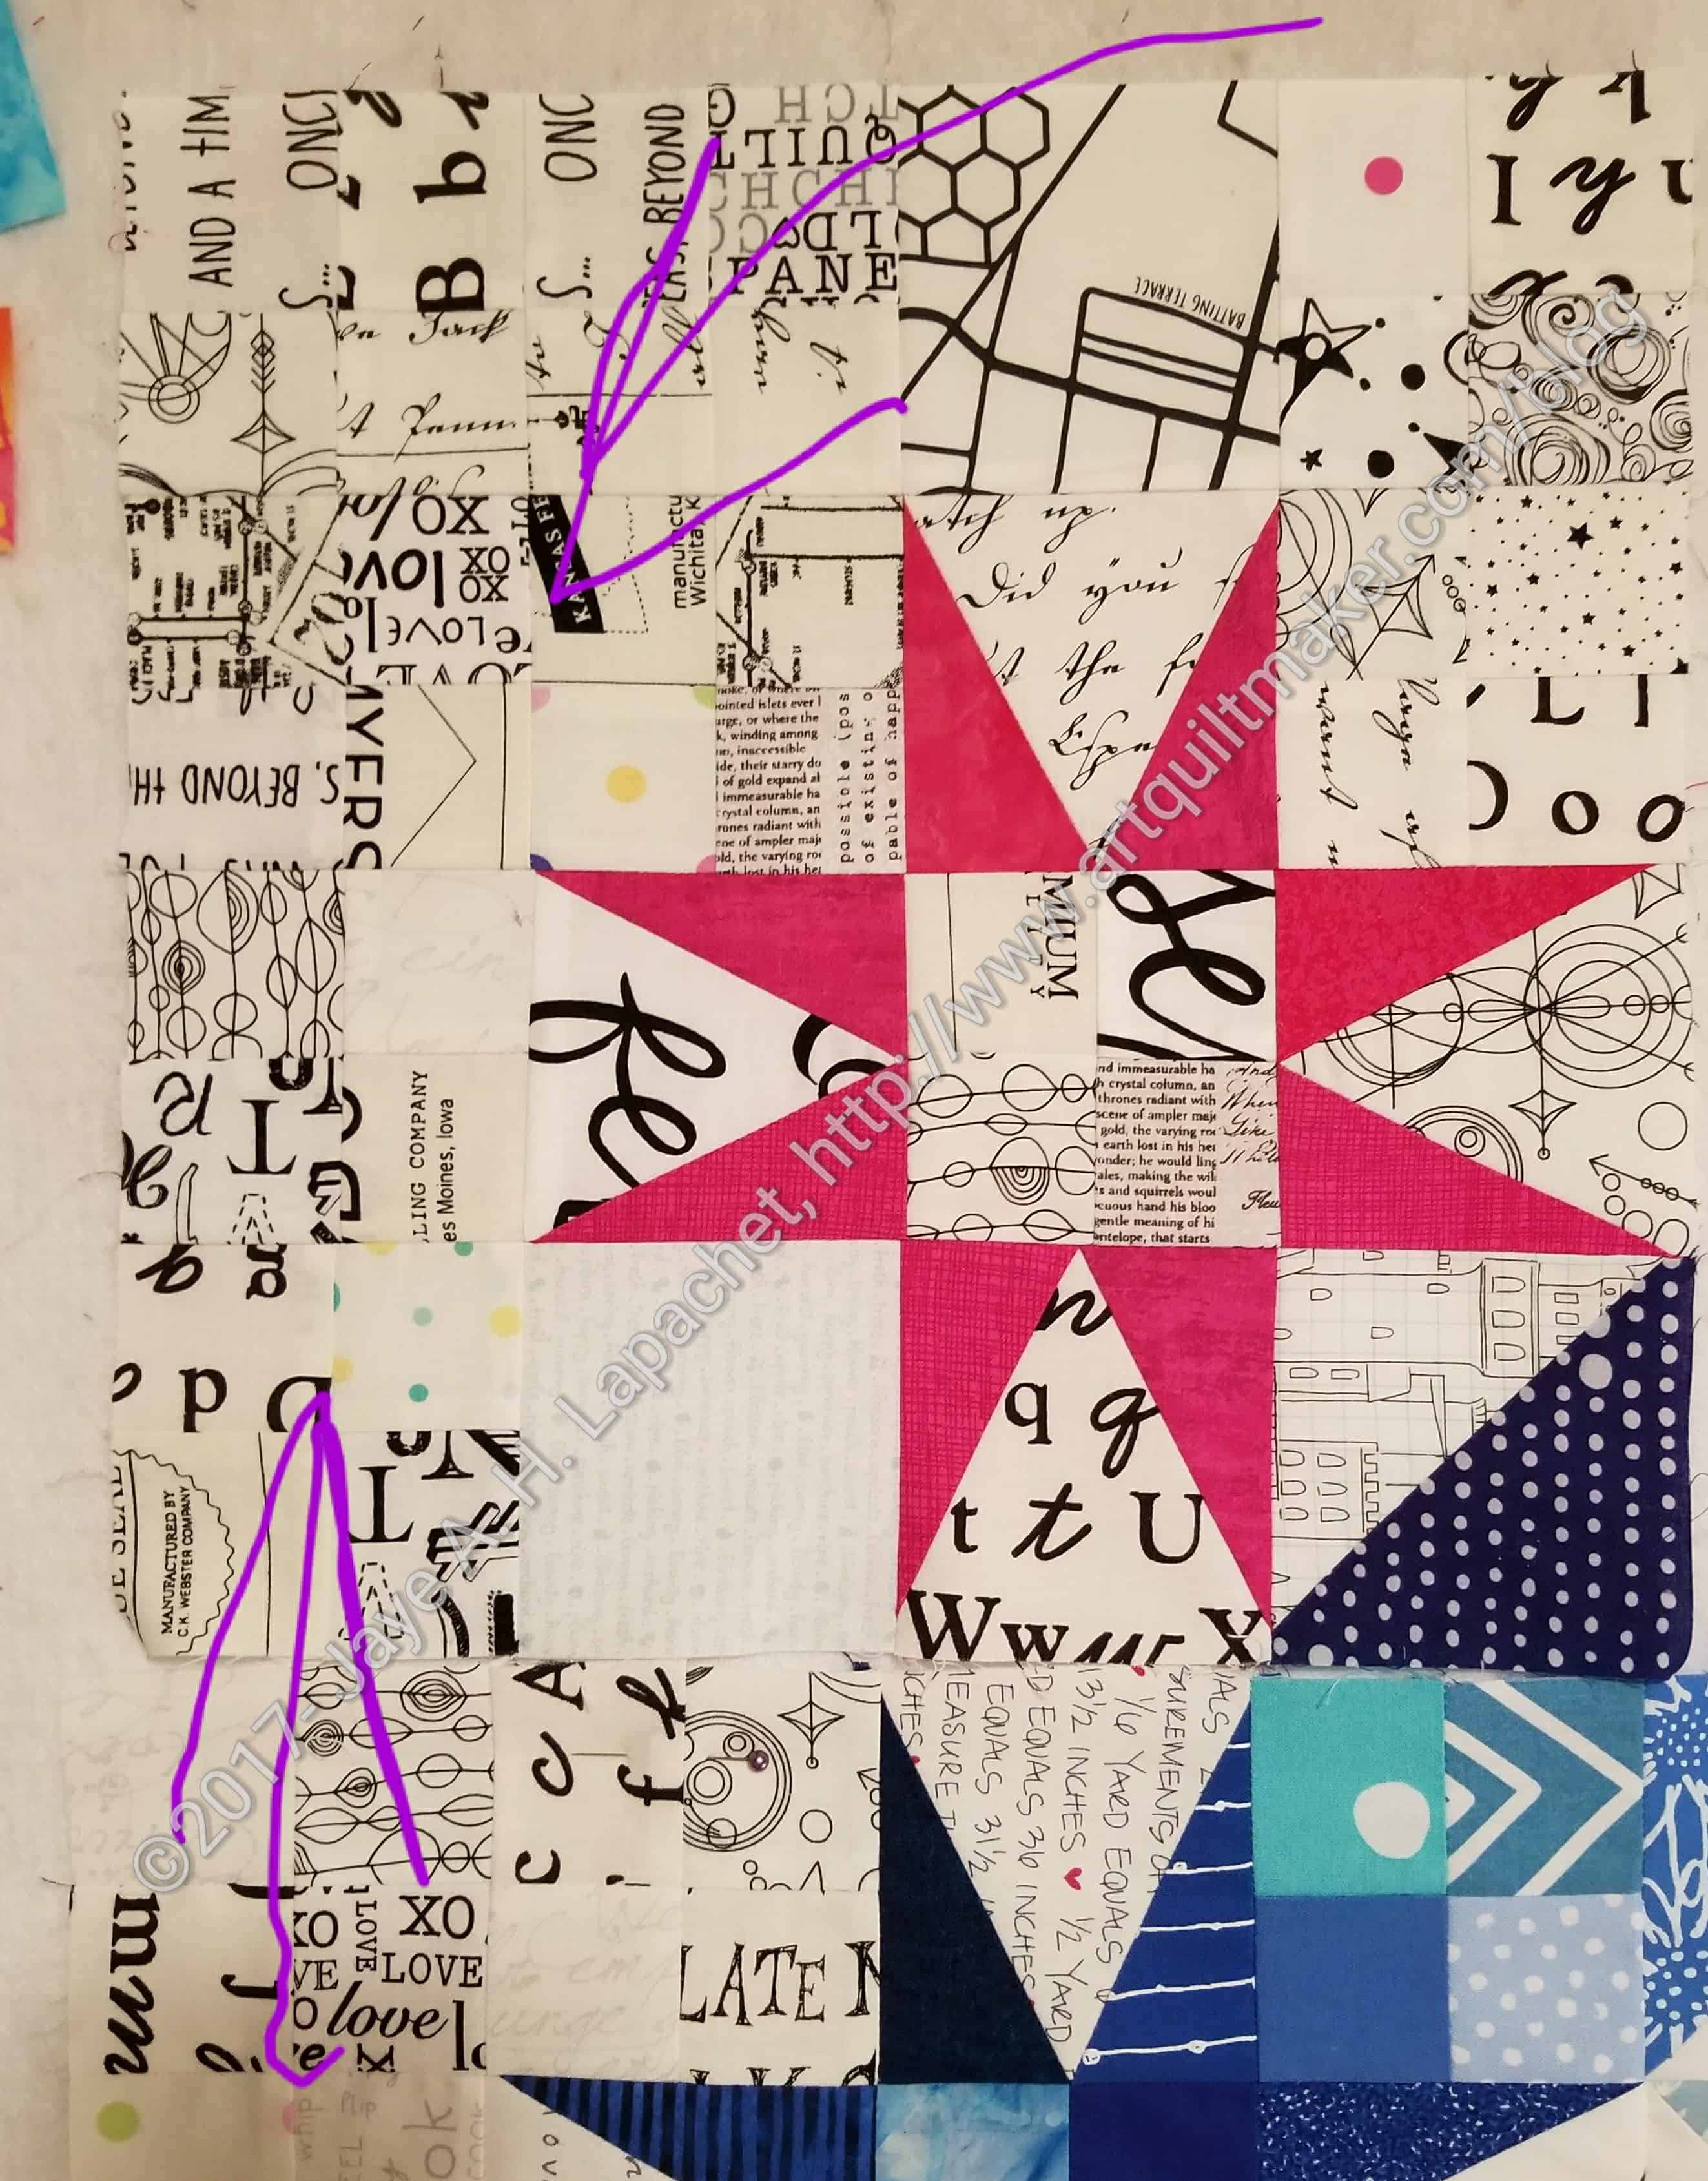
Standing back really helps and I found a mistake. I stopped after the mistake block. It was really too late for me to be sewing anyway and I’d already had to rip out two sections of that block.

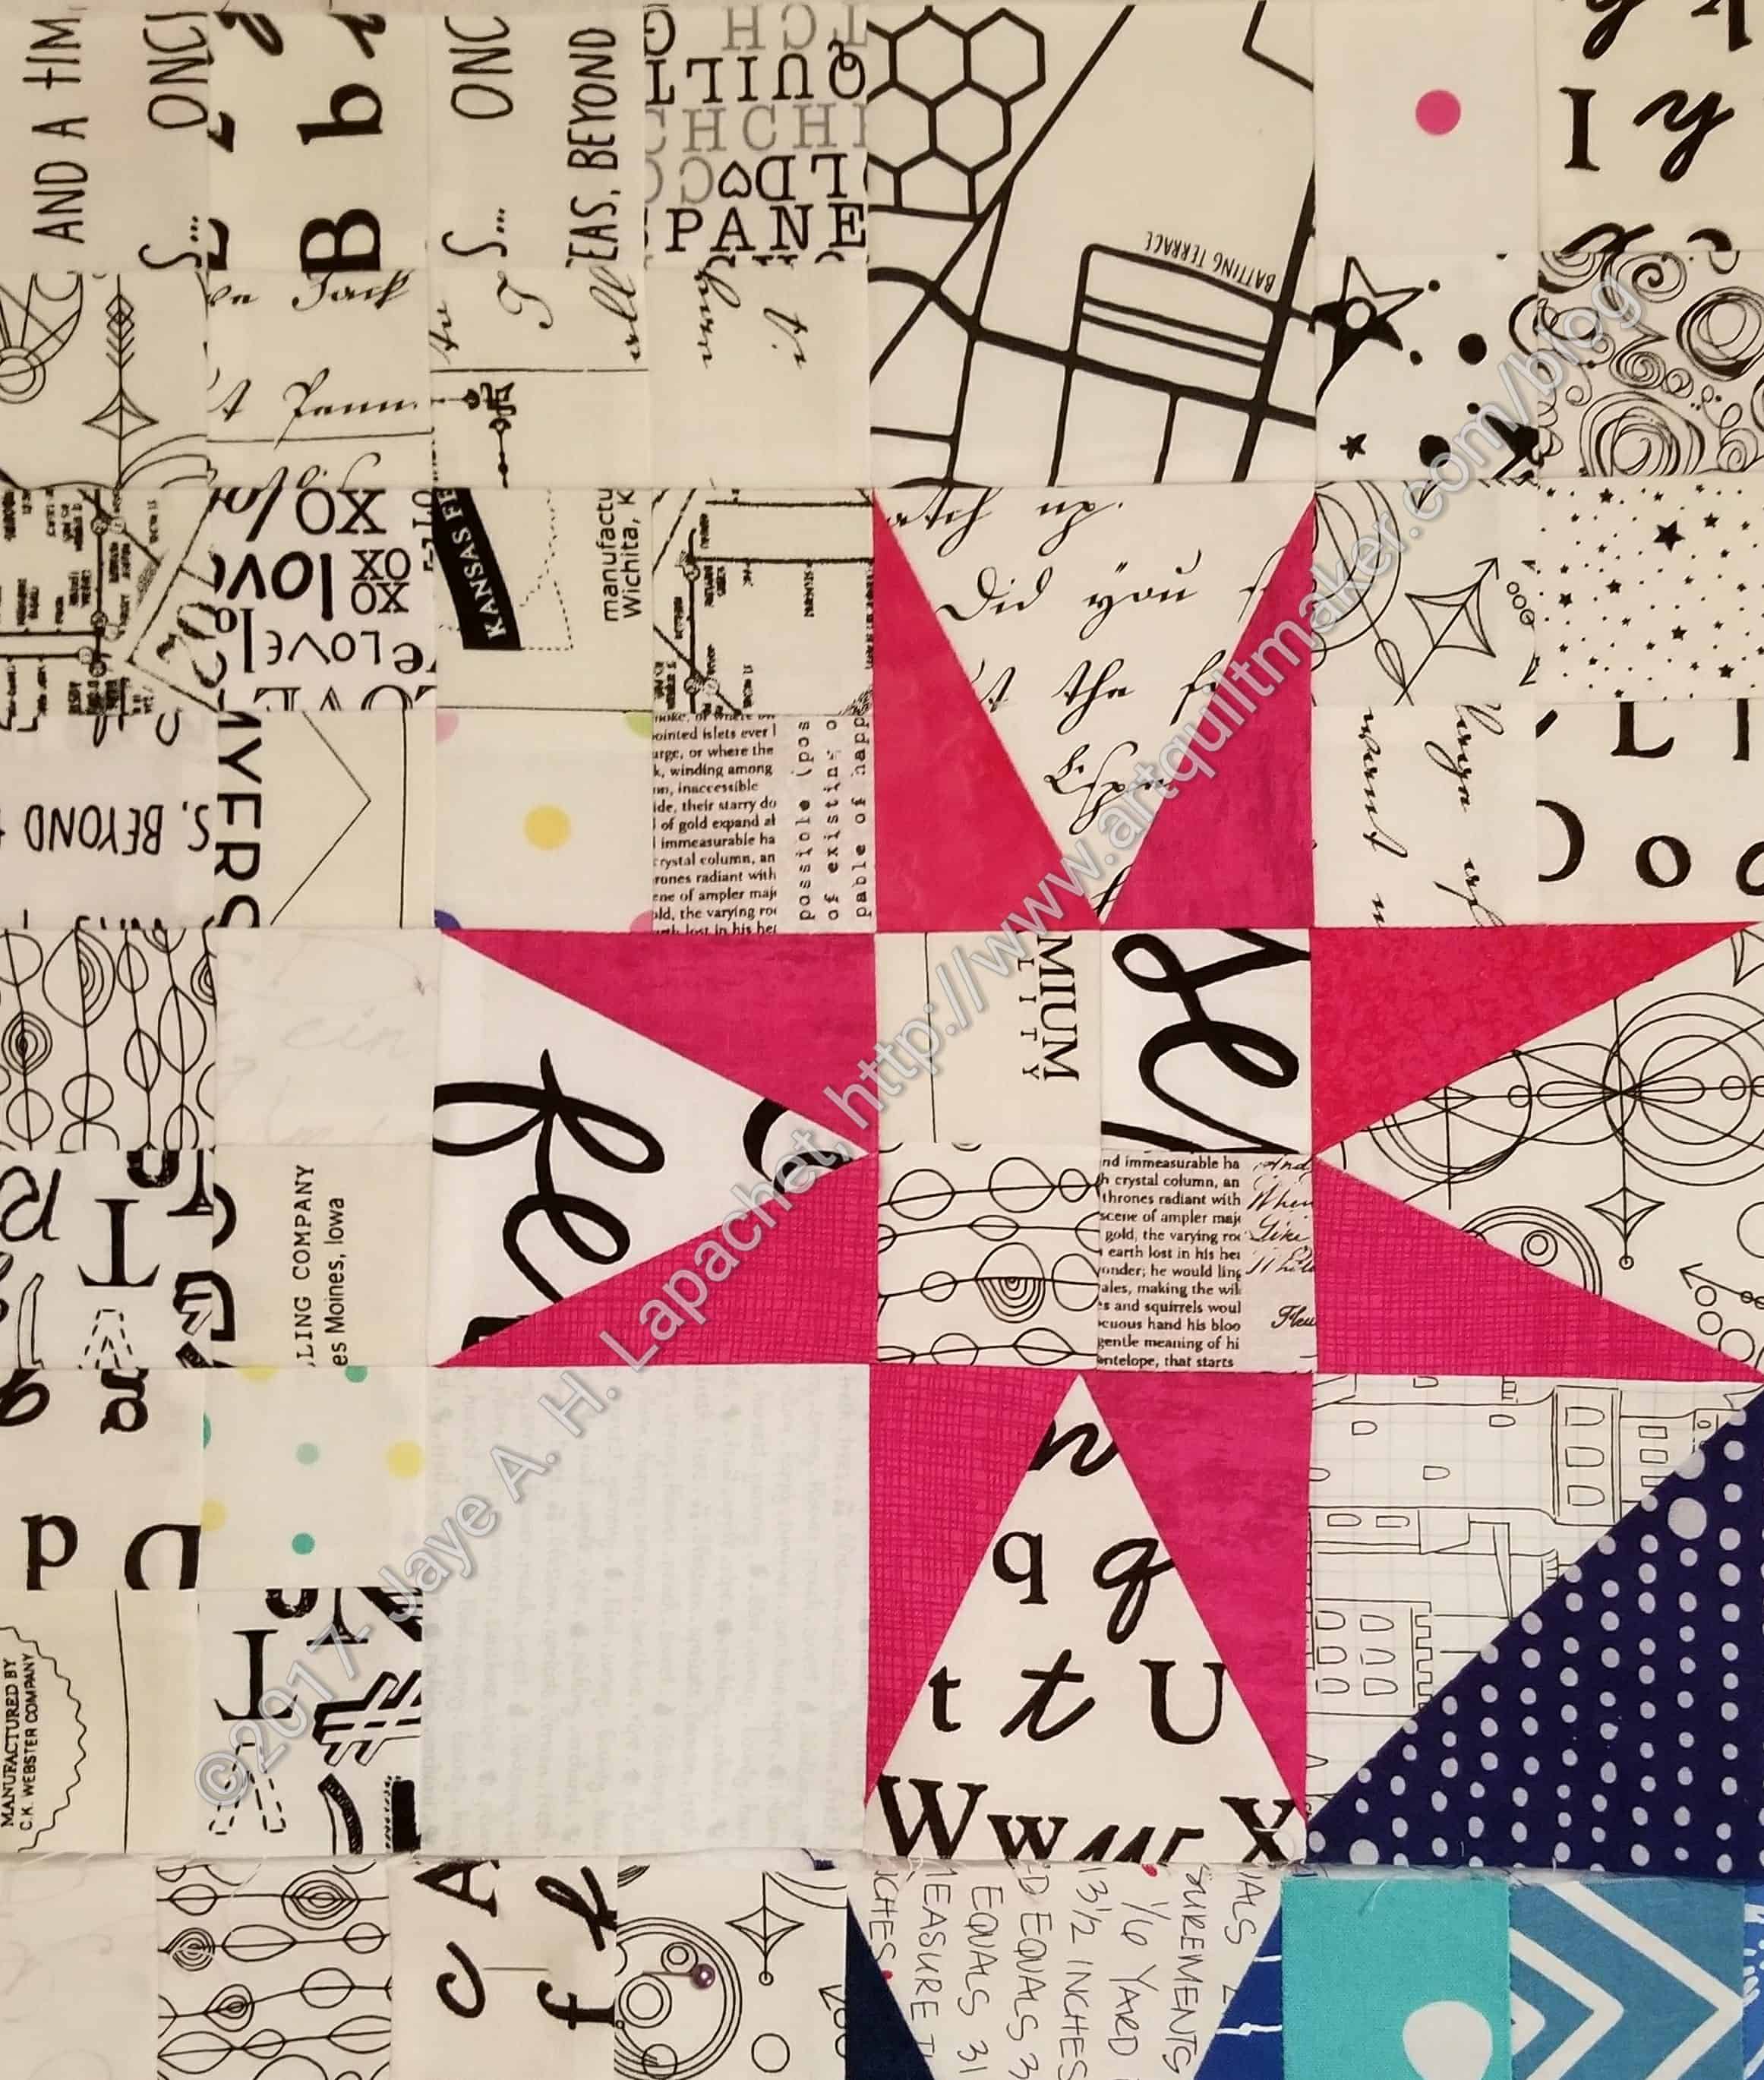
Except for the two pieces, I am pleased with how this quilt came out. It is not insane like Grand Illusion, but it was complex enough to keep me interested and interesting enough to want to continue to look at it.
I’ll fix it next time….whenever that is.