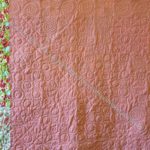
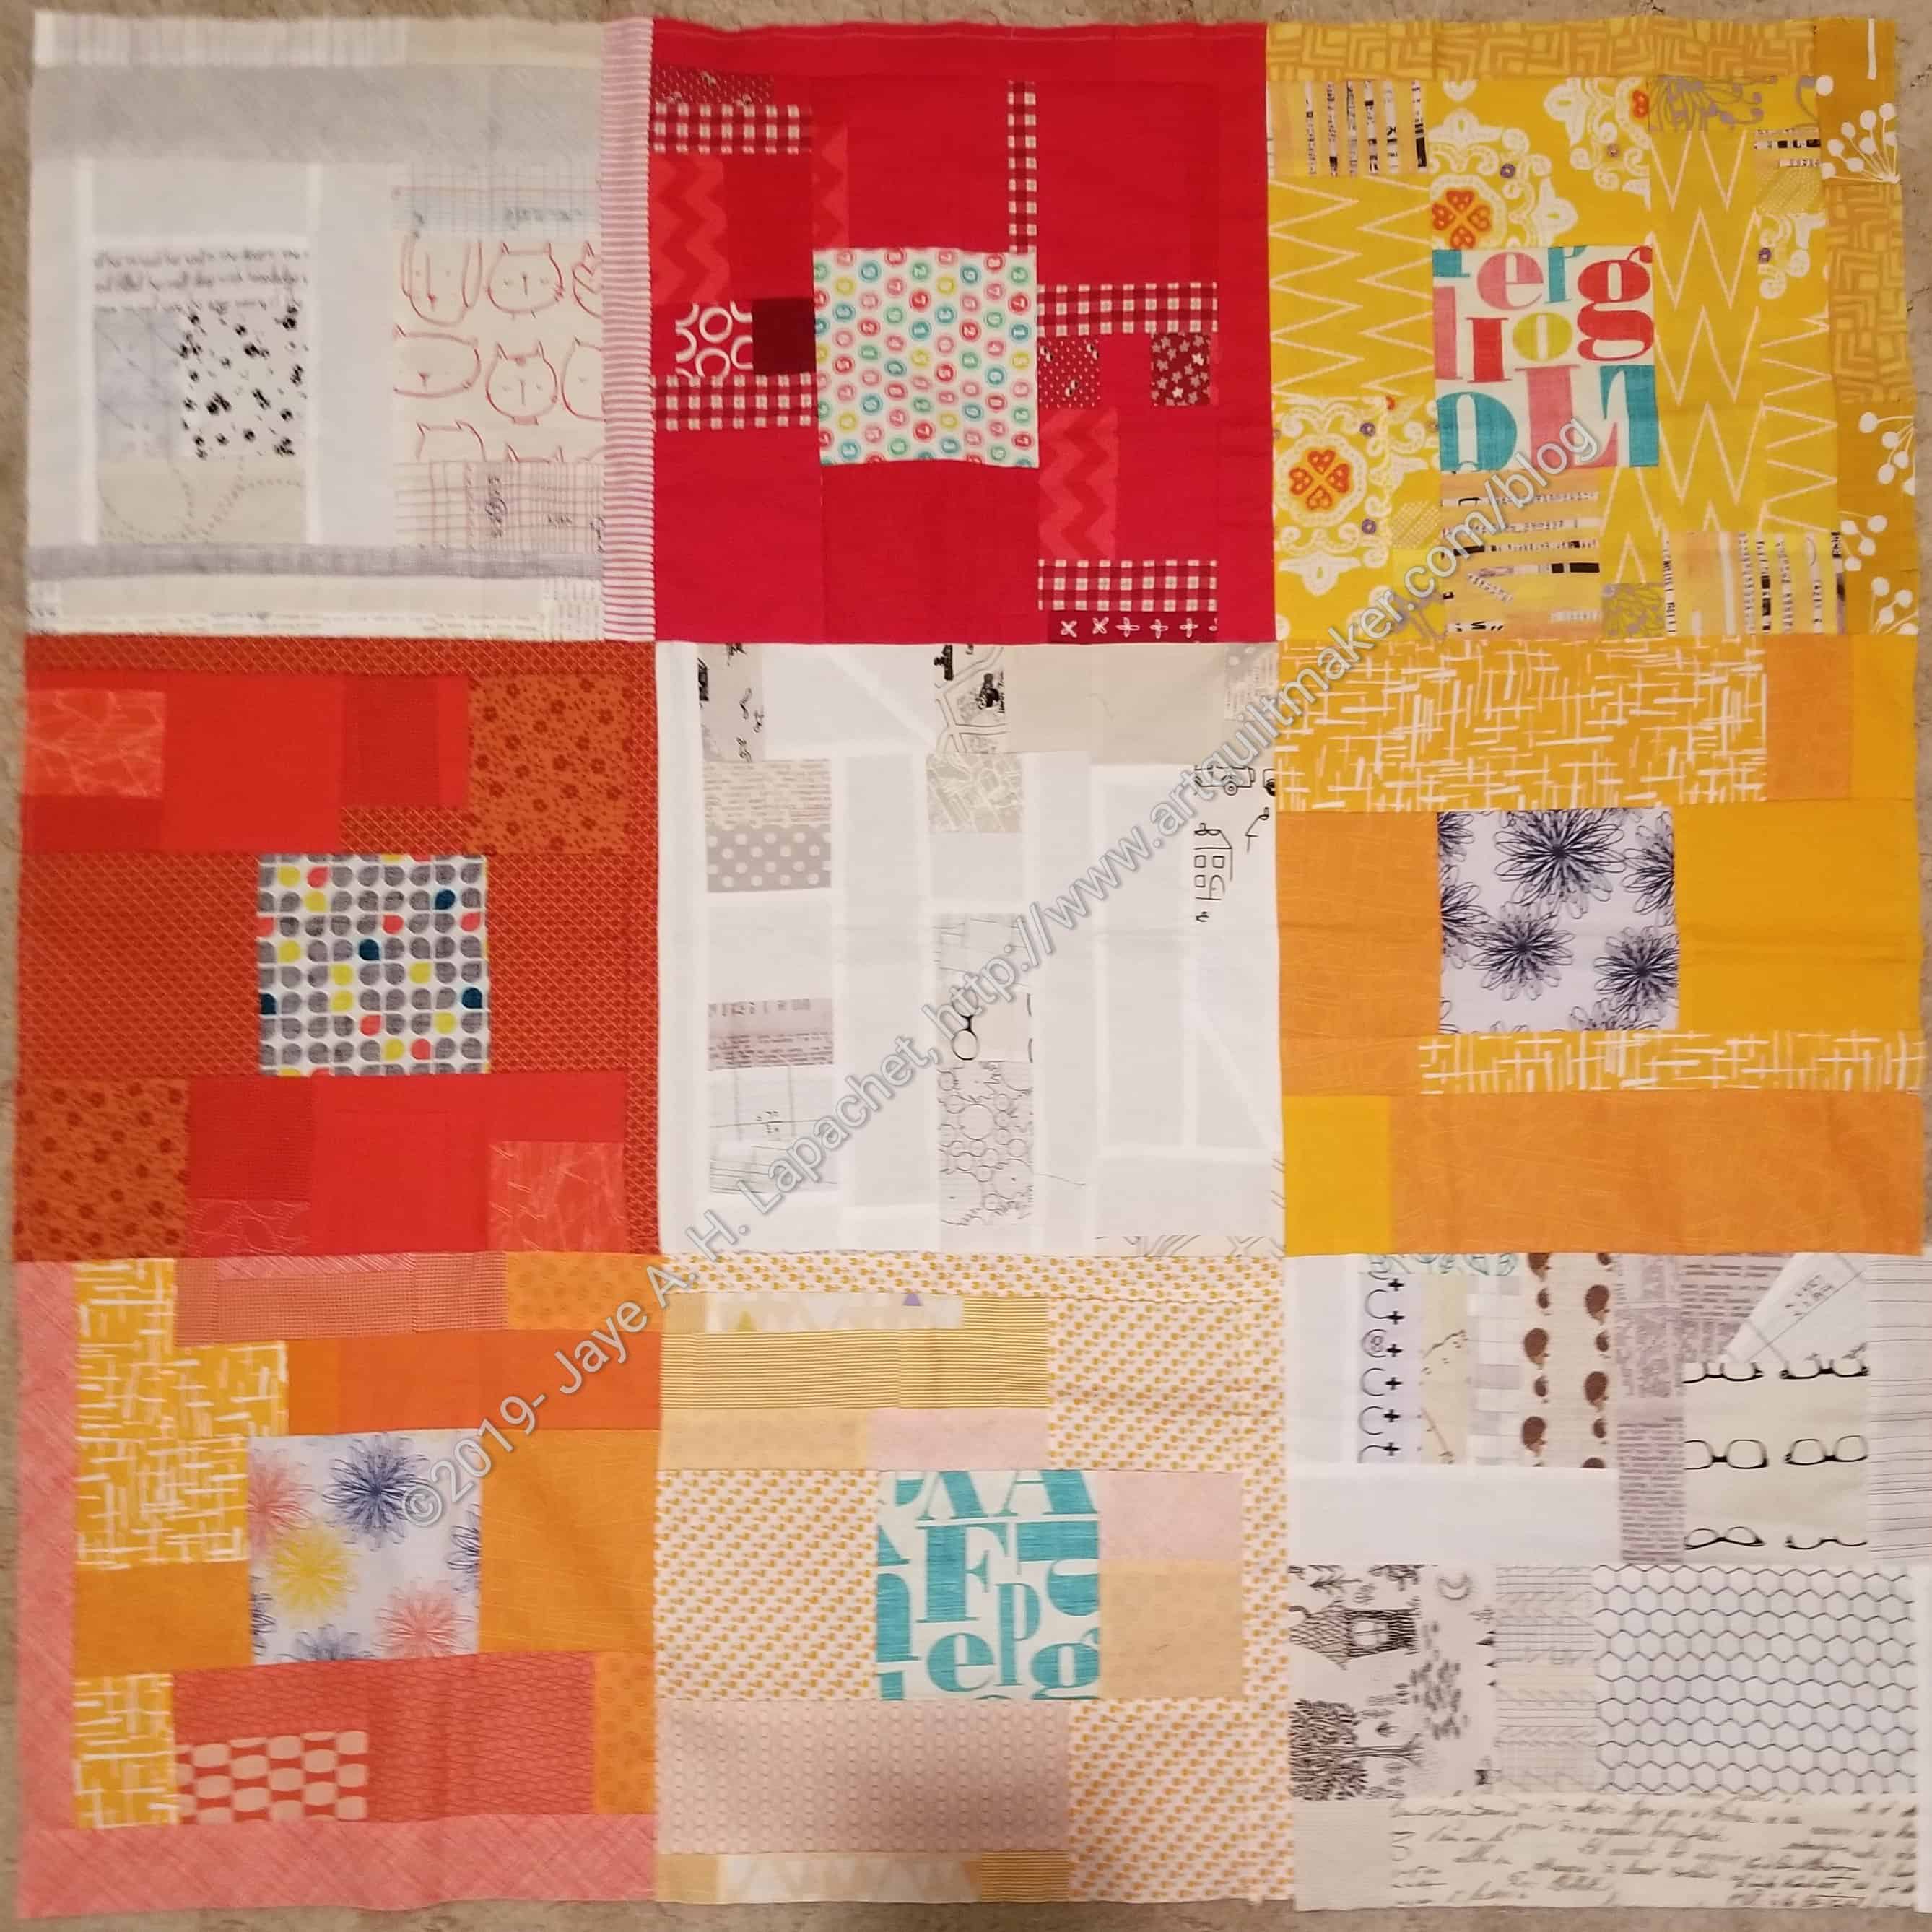
I made a back for the fun and cheerful quilt I took from him. I started with pink fabrics, but then realized I should use orange. The quilt top has other colors, but came across as mostly orange to me, so orange it was.
The color will be great for a boy, but not the flowers unless the boy is open minded and doesn’t mind a few flowers.
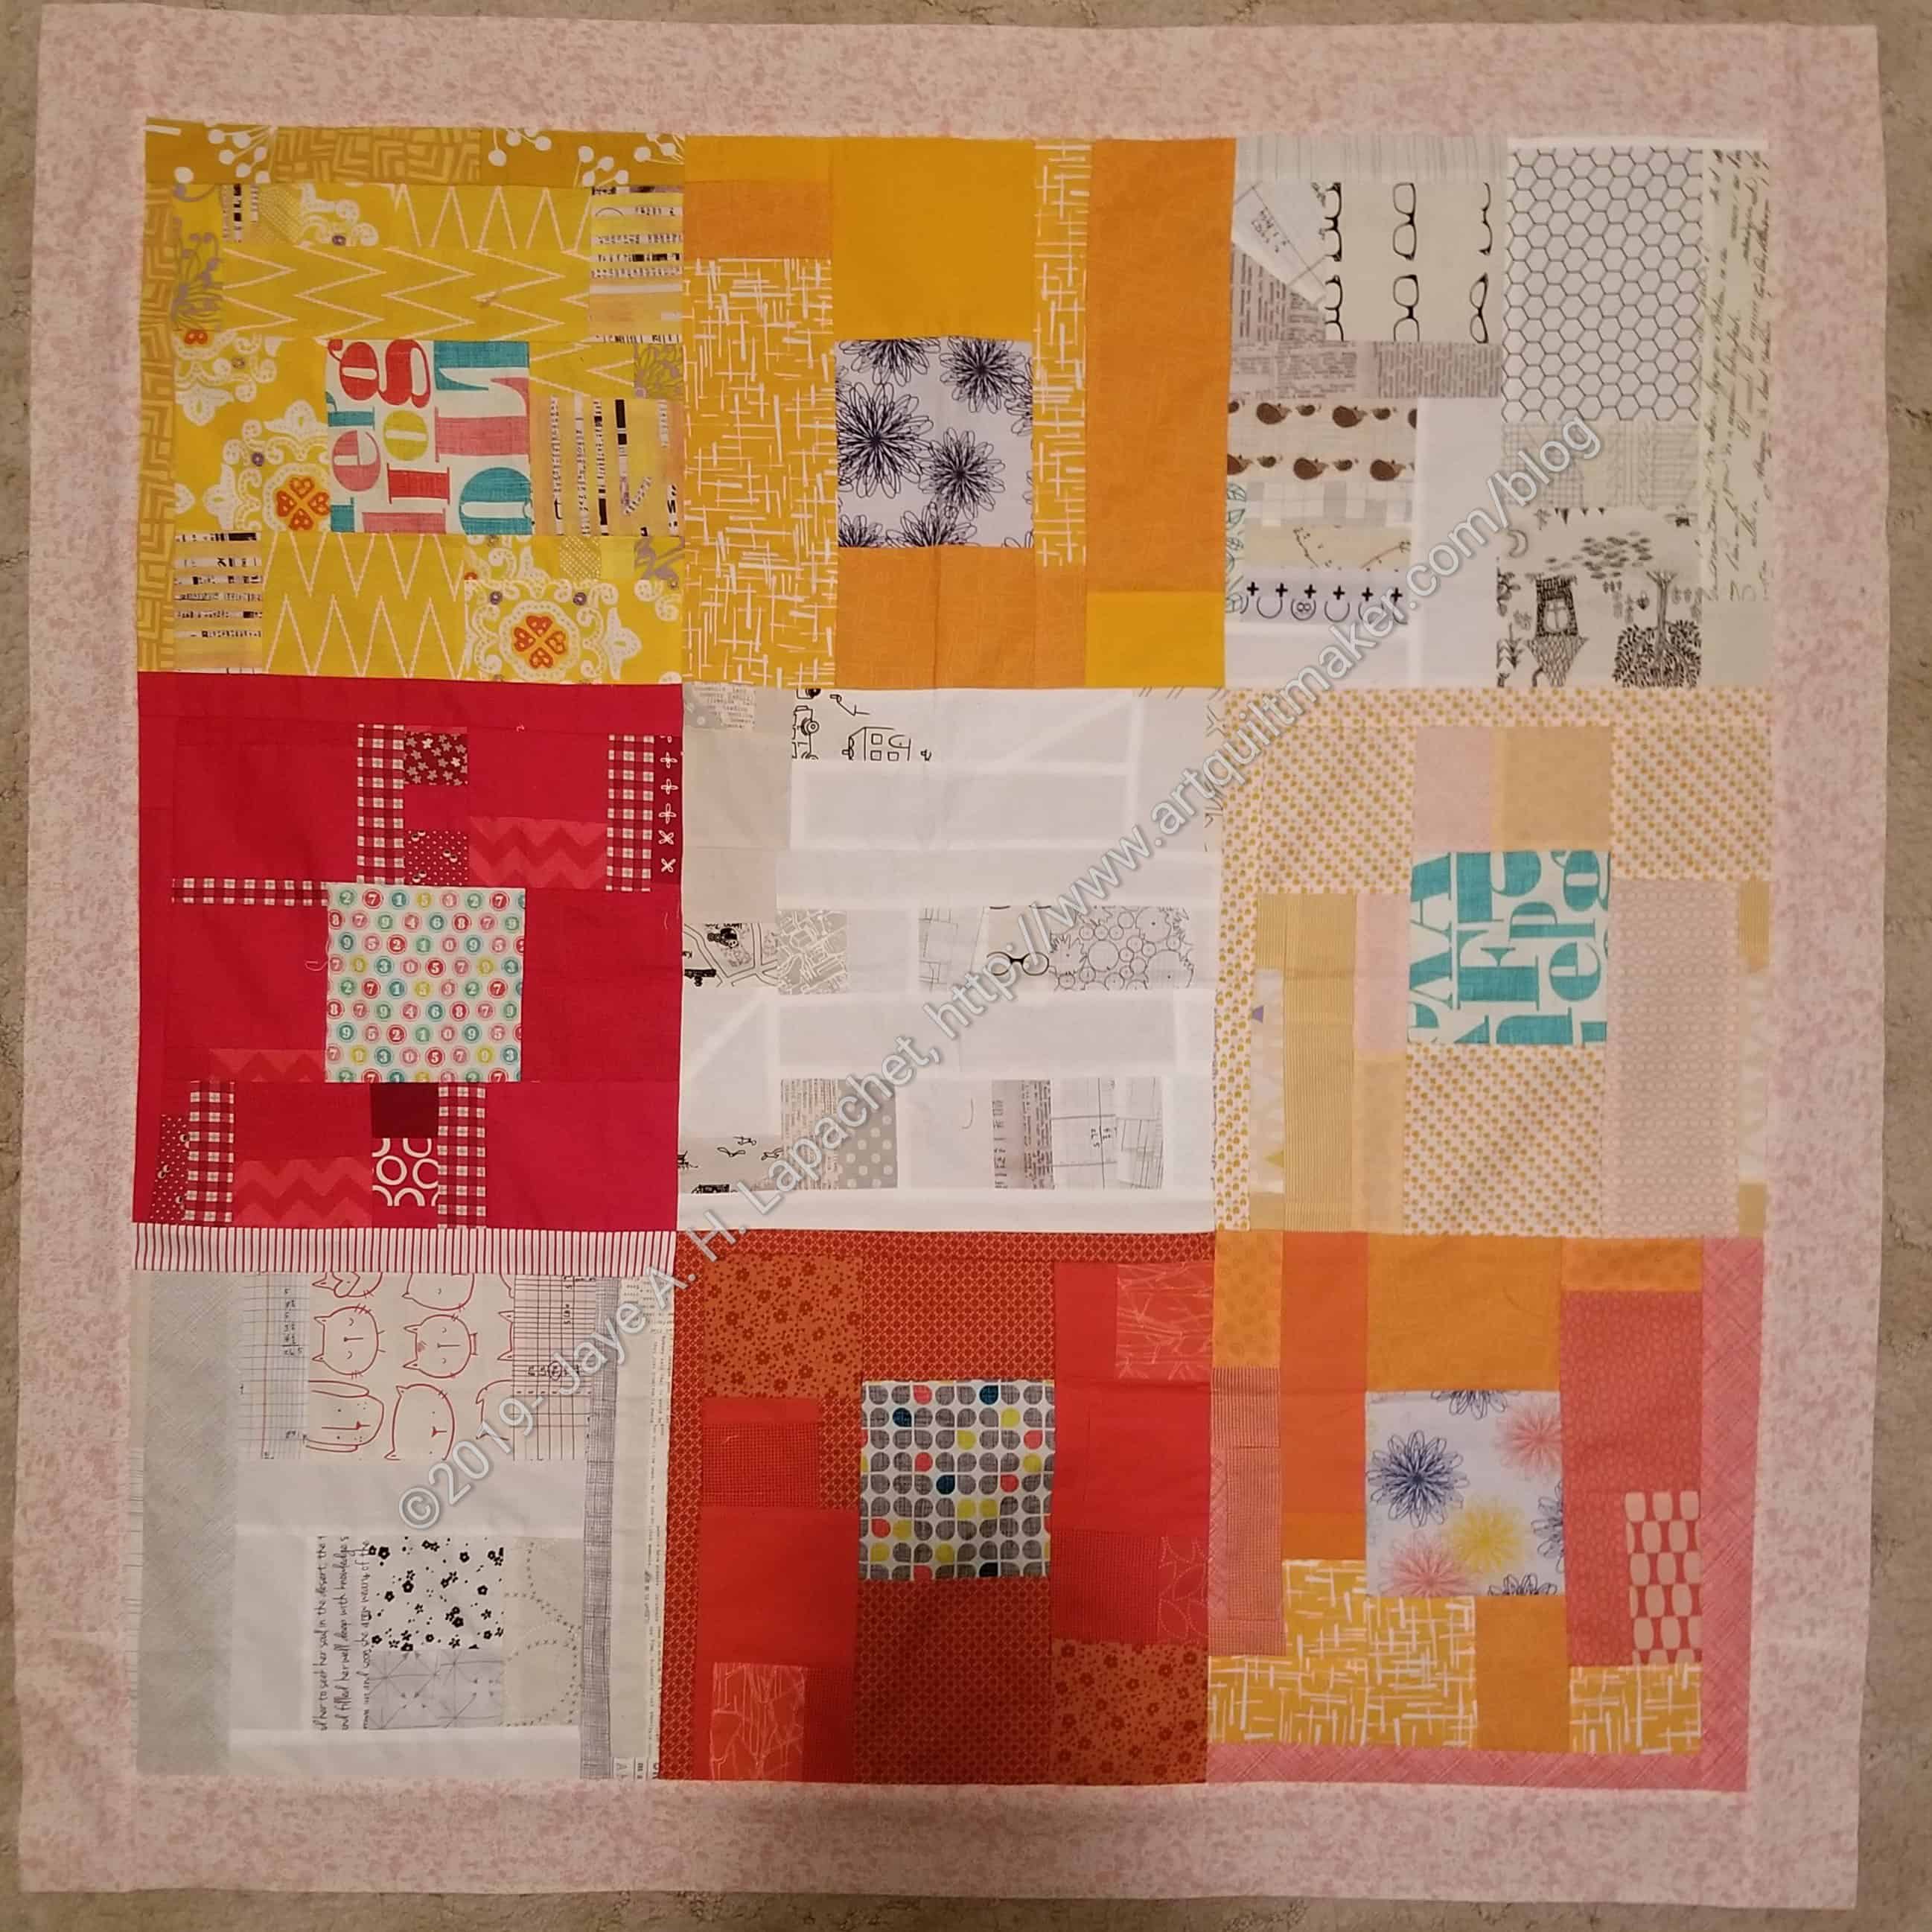
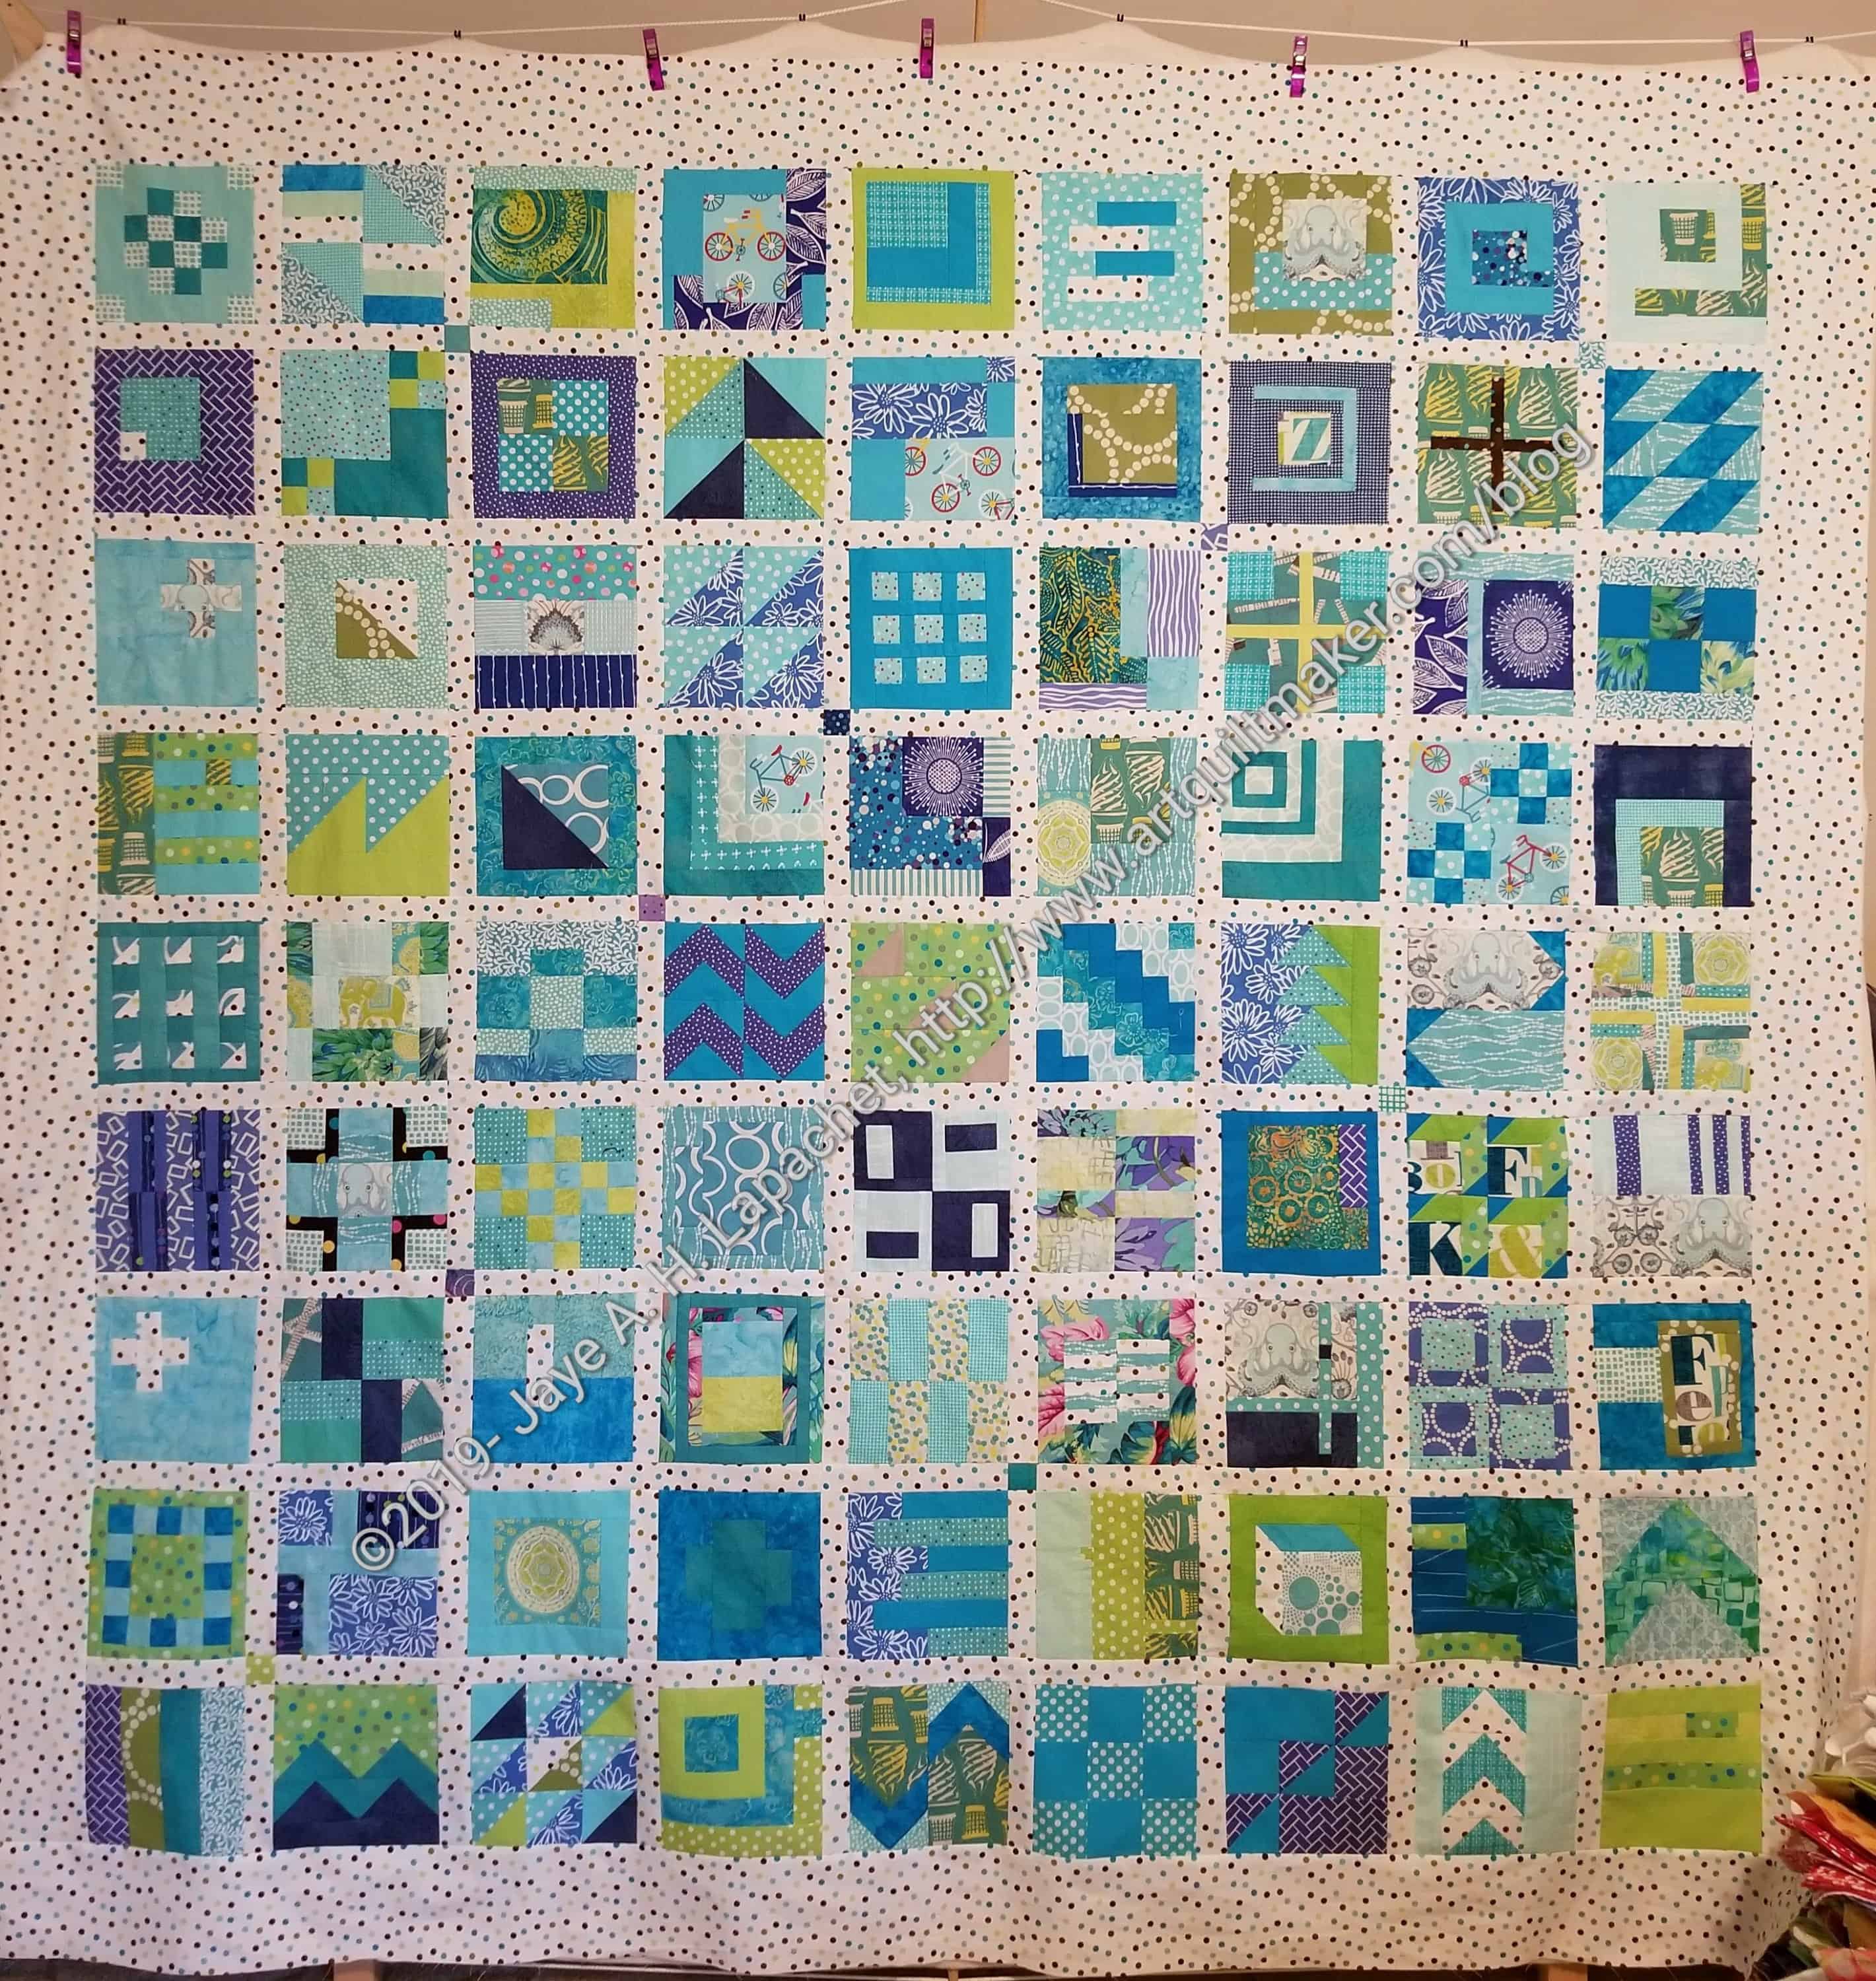
Fun & Cheerful Donation Top with border
I also added a small border to the top. Somehow it didn’t look finished to me, so I added a border. A slightly larger quilt is always better IMO.
The blocks remind me of the Tina Michalik class BAM had at Always Quilting a few years ago. It is a fun quilt and the texture of the piecing is really nice. I think the border frames it. I do wonder if I just made it un-modern by adding the border. C’est la vie.
The Friday color and creativity posts will return soon!
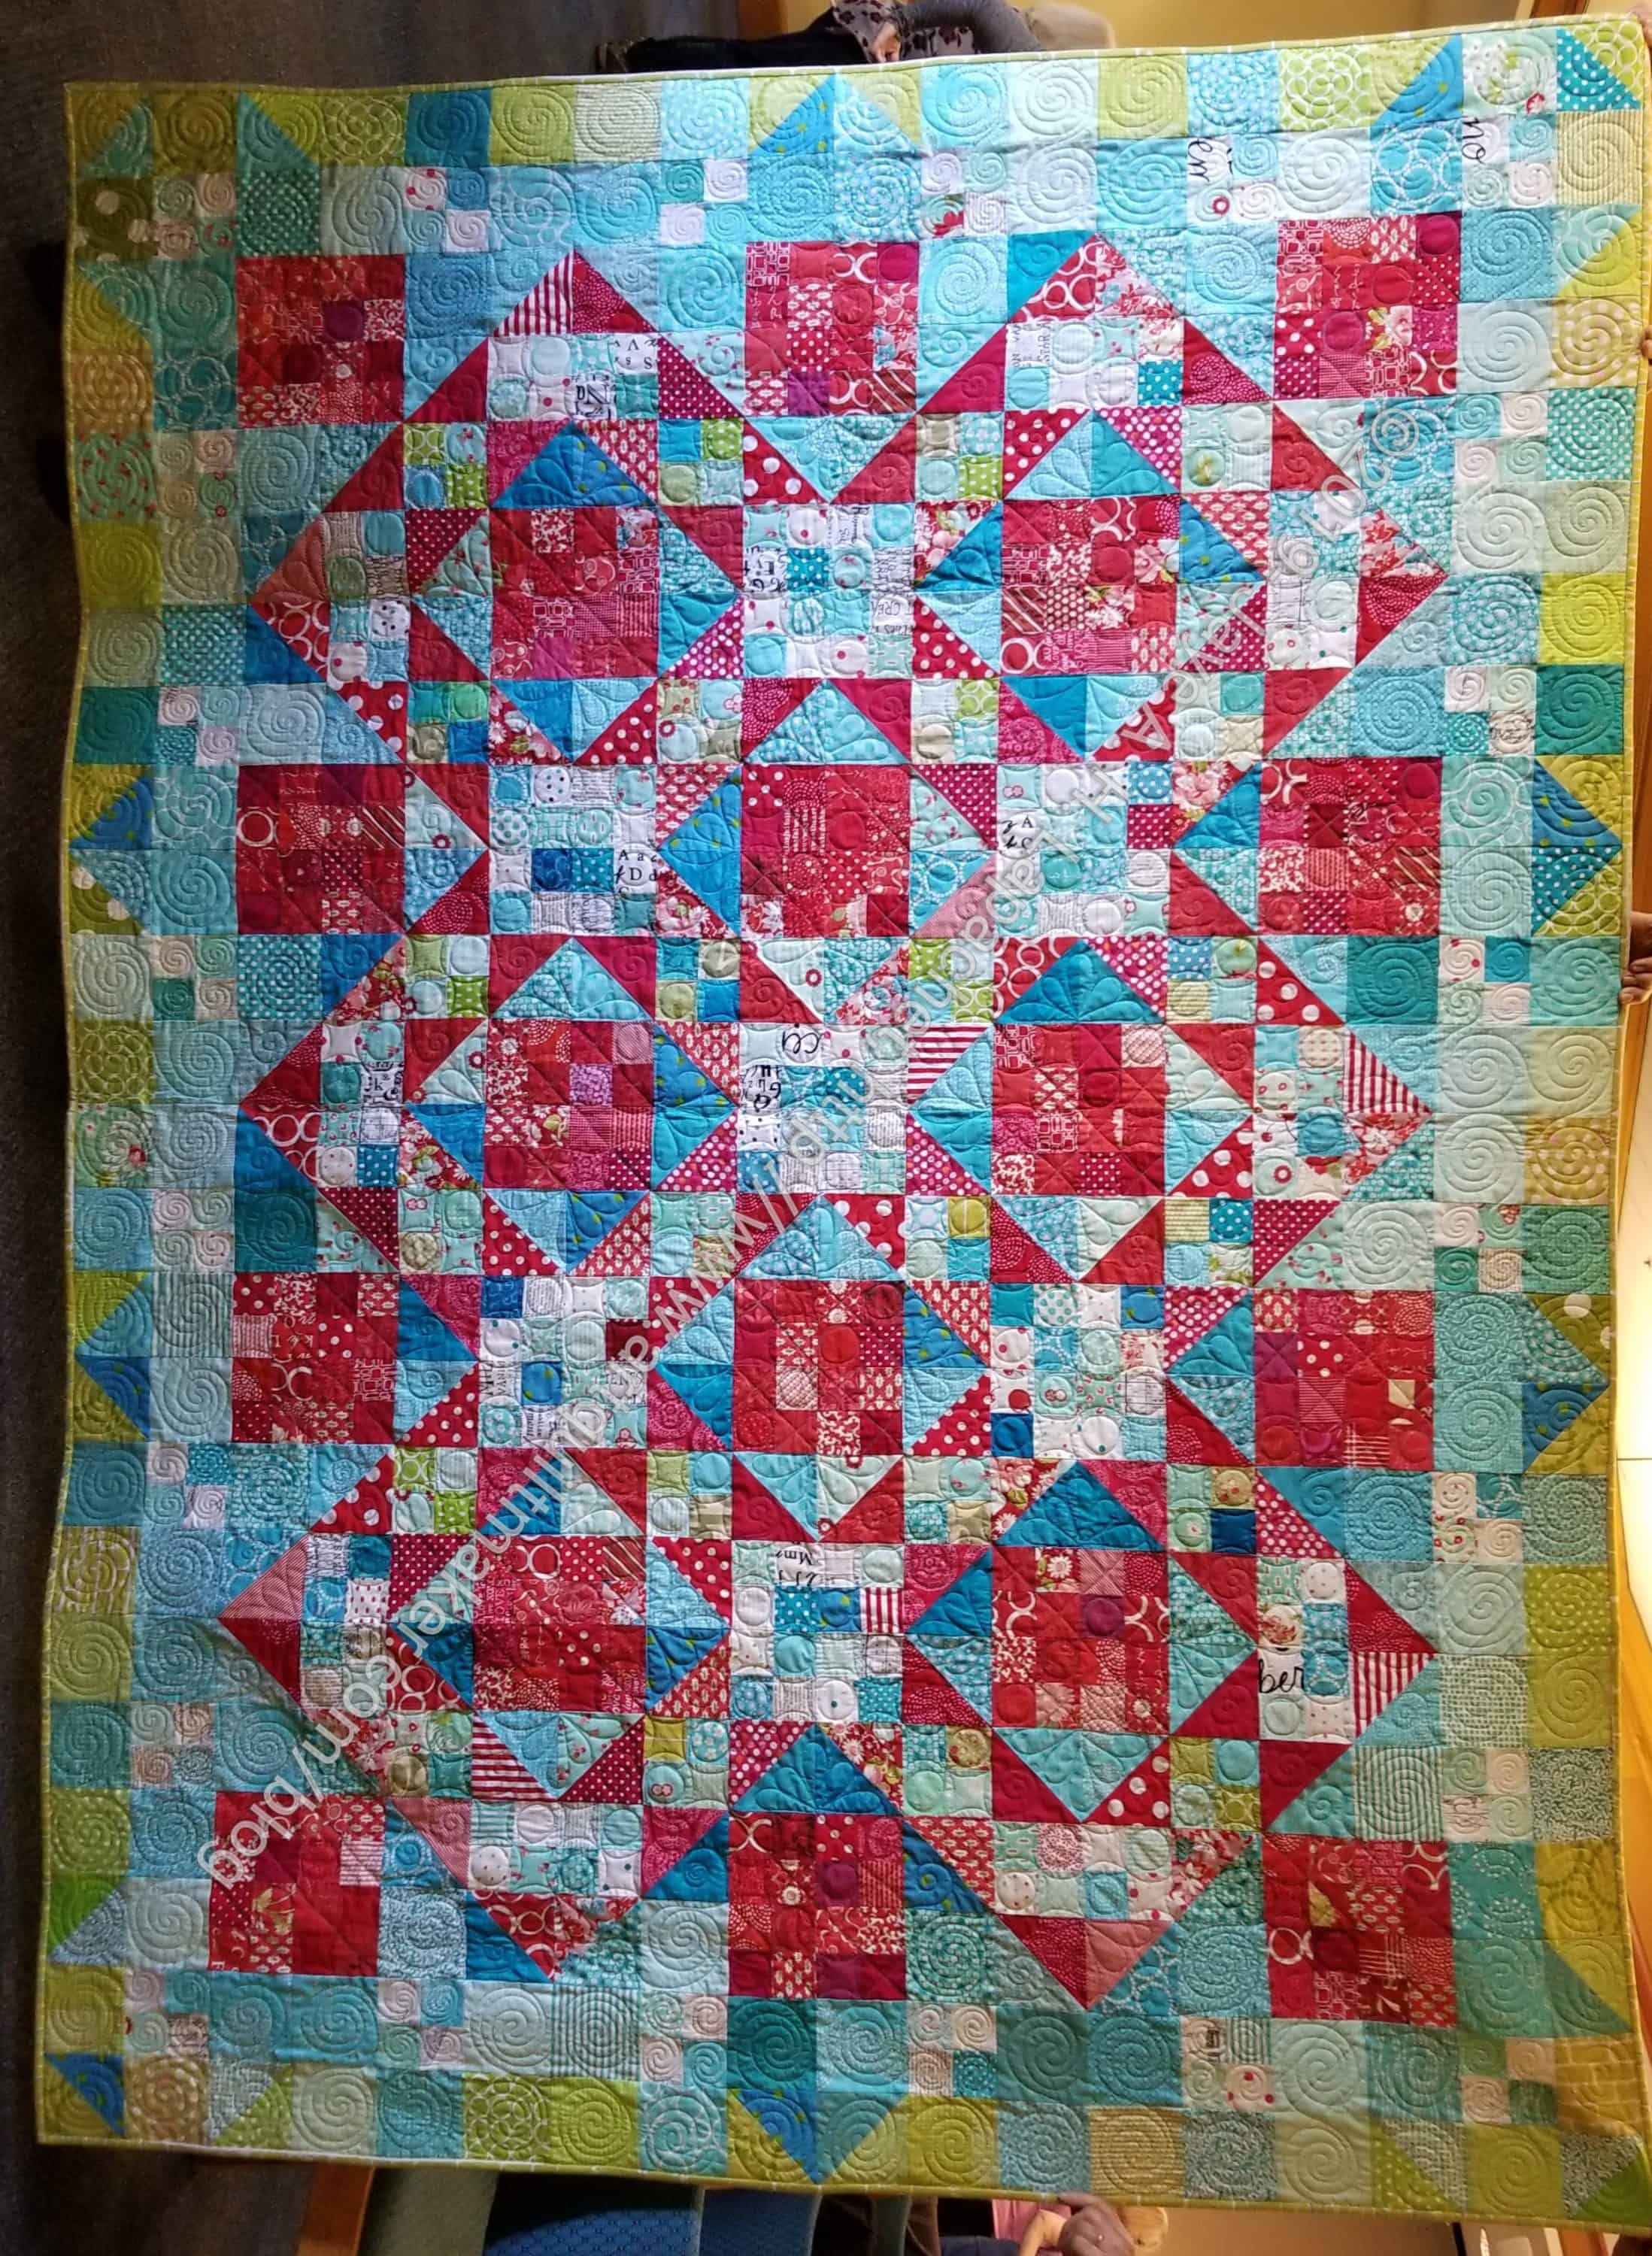
I meant to drum both of my quilt hangers into service for this huge monster, but, sadly, the YM left to go back to school before I could do it. Regardless, the Stepping Stones n.2 is finished.
Some guild pals helped me take the photos by holding it for me.
There are things I don’t like about it, mostly concerning value (or maybe contrast– I haven’t delved into the differences yet), but the overall look is good. I may not be done with this design yet, but we will see. I am not sure what I would do differently aside from changing placement of some of the fabrics or create a different border.
I finally finished the City Sampler top. I have the binding dome as well, but the back is still in progress. No worries except time as I want to have at least two tops finished before I head to Colleen’s.
I didn’t use all of the blocks. I ended up deciding not fix the ones that would be a pain after I realized I couldn’t find all of the fabric. I did fix a number of them. The ones that didn’t make the cut will go on the back.
The design series came up after the CQFA meeting a couple of weeks ago. I went back to look at the posts and found a number of the images broken. They are now all fixed. Go and take a look.
Projects, Patterns & Tutorials
AllPeopleQuilt.com has a list of bag patterns. I am pretty sure some of these are repeats – perhaps new fabrics or names – but it is still useful to have a list of free bag patterns in case you need a quick gift.
FreeSpirit, like many fabric companies, has a page of free projects. Need something to make? Check out the projects from FreeSpirit designers.
I know Easter is still a few months away. I saw these cute little Easter themed zipper pouches on the Edgestitch site. Adorable!
LilyElla, of Undercover Maker Mat fame, has a number of tutorials on her website. There are three that I thought would be of [particular interest. I have not tried these yet, so report back:
Modifying a two way zipper – this is good if you need a zipper with two pulls that opens from the center
Sturdy fabric basket – this tutorial is similar to the One Hour Basket and has directions for making them in any size. For those of you organizing for your New Year’s Resolution, this is a great project. Not only will you use up fabric, but you will also be able to use the basket to organize.
Mini-Maker Station – this would be a great gift for someone who hand sews a lot. I like the little box on the top.
Media
I very seldom join round robins or online swaps. Quality of sewing is something that concerns me. I have also been a member of many, many swaps, bees and round robins and I don’t find that the group project stimulates me the way it once did. That’s me! As a young quiltmaker, I loved them and encourage you to find your people. I found an article on quilting bees that provides a list of things to think about when considering joining.
Friend Julie has started to post on her blog again. She is posting A LOT! She has a different style than me, but is also very grounded and real. Go take a look and leave a comment. I think you will enjoy her work and recent product reviews.
All of the Why Quilts Matterepisodes are available on the KET site. Frances of QuiltFiction and the Off Kilter Quilt has some interesting thoughts about the series.
If you need a creative break from your sewing machine or are recovering from an illness, OpenCulture has a collection of coloring books available developed by their partner institutions. There are a wide variety of institutions and many of them have collections you would not normally see as part of a coloring book. They may be just thing if life has too much pink in it.
Oliver+S posted a link to a new type of sewing machine. It is definitely cool looking. It was, however, clearly designed by someone who doesn’t make quilts. I may have to get one, however, so I can keep sewing when the power goes out. No free motion, however.
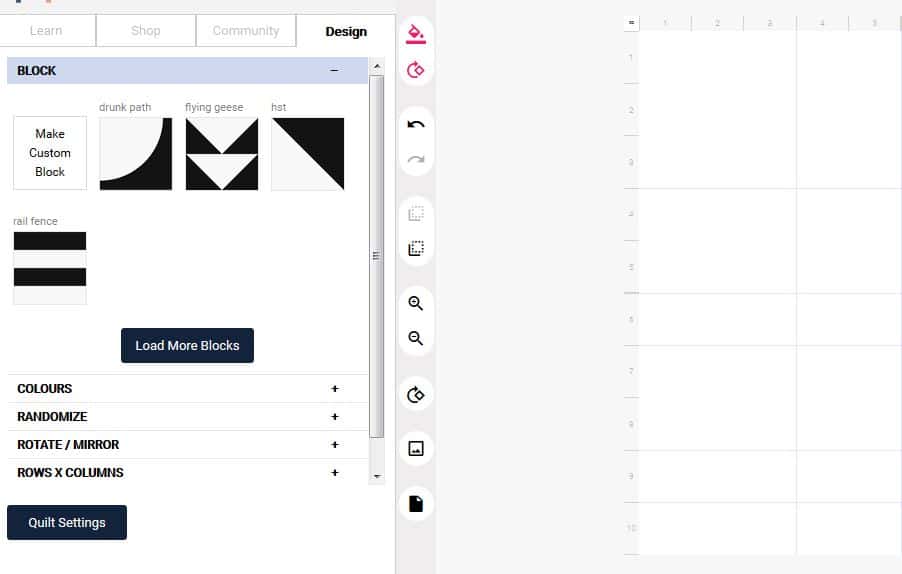
PreQuilt is a new quilt design tool. It is described as “a free design tool for quilters. Include PreQuilt into your design process and you can cut your fabric with confidence that the design you have is the one.” I looked at a it quickly and found that you can create blocks on the design screen. It doesn’t seem to have a library of blocks unless you signup. I didn’t do much more than take a quick look.
The Moda Cutting Table blog has a post on block dictionaries. The author calls them ‘block books’. She uses some of the same and some different ones that I do.
If you haven’t see Summersville, a fabric line by Lucie Summers, you need to take a look. She has some iPhone and Samsung Galaxy cases that are fantastic looking.
There are a lot of places to get zippers. Atkinson Designs is another. Lots of colors.
History
This isn’t a regular category of my Various & Sundry posts, but a few sites came up this time, so I am adding it.
I have been on a mission to find a collection of quilt patterns from Workbasket magazine. Periodically I look at Google and see if anyone has published any or if there are any images of the patterns. Recently, an organization came up called The Antique Pattern Library. It is described as “Antique Pattern Library is a project of New Media Arts Inc, a nonprofit organization, tax exempt under IRC Sec. 501(c)(3), EIN 27-2500171.” I took some time to look through some of the results of a search and found at least one interesting pattern. I see many more hours of interesting research to come.
Frances posted a link to a blog post about baby and doll quilts. This post can be found on the Quilt History Reports blog and was written by Karen B. Alexander. The blog has not been updated since May of 2018, but has many interesting posts to peruse until updating resumes.
Research & Information
If you want to know about yarn dyes, Weeks Ringle has posted an article on Craft Nectar. It is weighted towards the Modern Quilt Studio line of yarn dyed fabrics, but also provides some basic information.
I have been hanging around Julie’s blog quite a bit. She found and wrote about a color picker that is different than the one I used in the ColorPlay posts. Friend Julie wrote quite a bit about it and talked about using it to pick fabrics for the Good Fortune quilt. Check out her blog.
I know we don’t use markers much for our quiltmaking, but I suspect we are all concerned about trash on the streets. Crayola sponsors a marker recycling program and it is open to everyone.
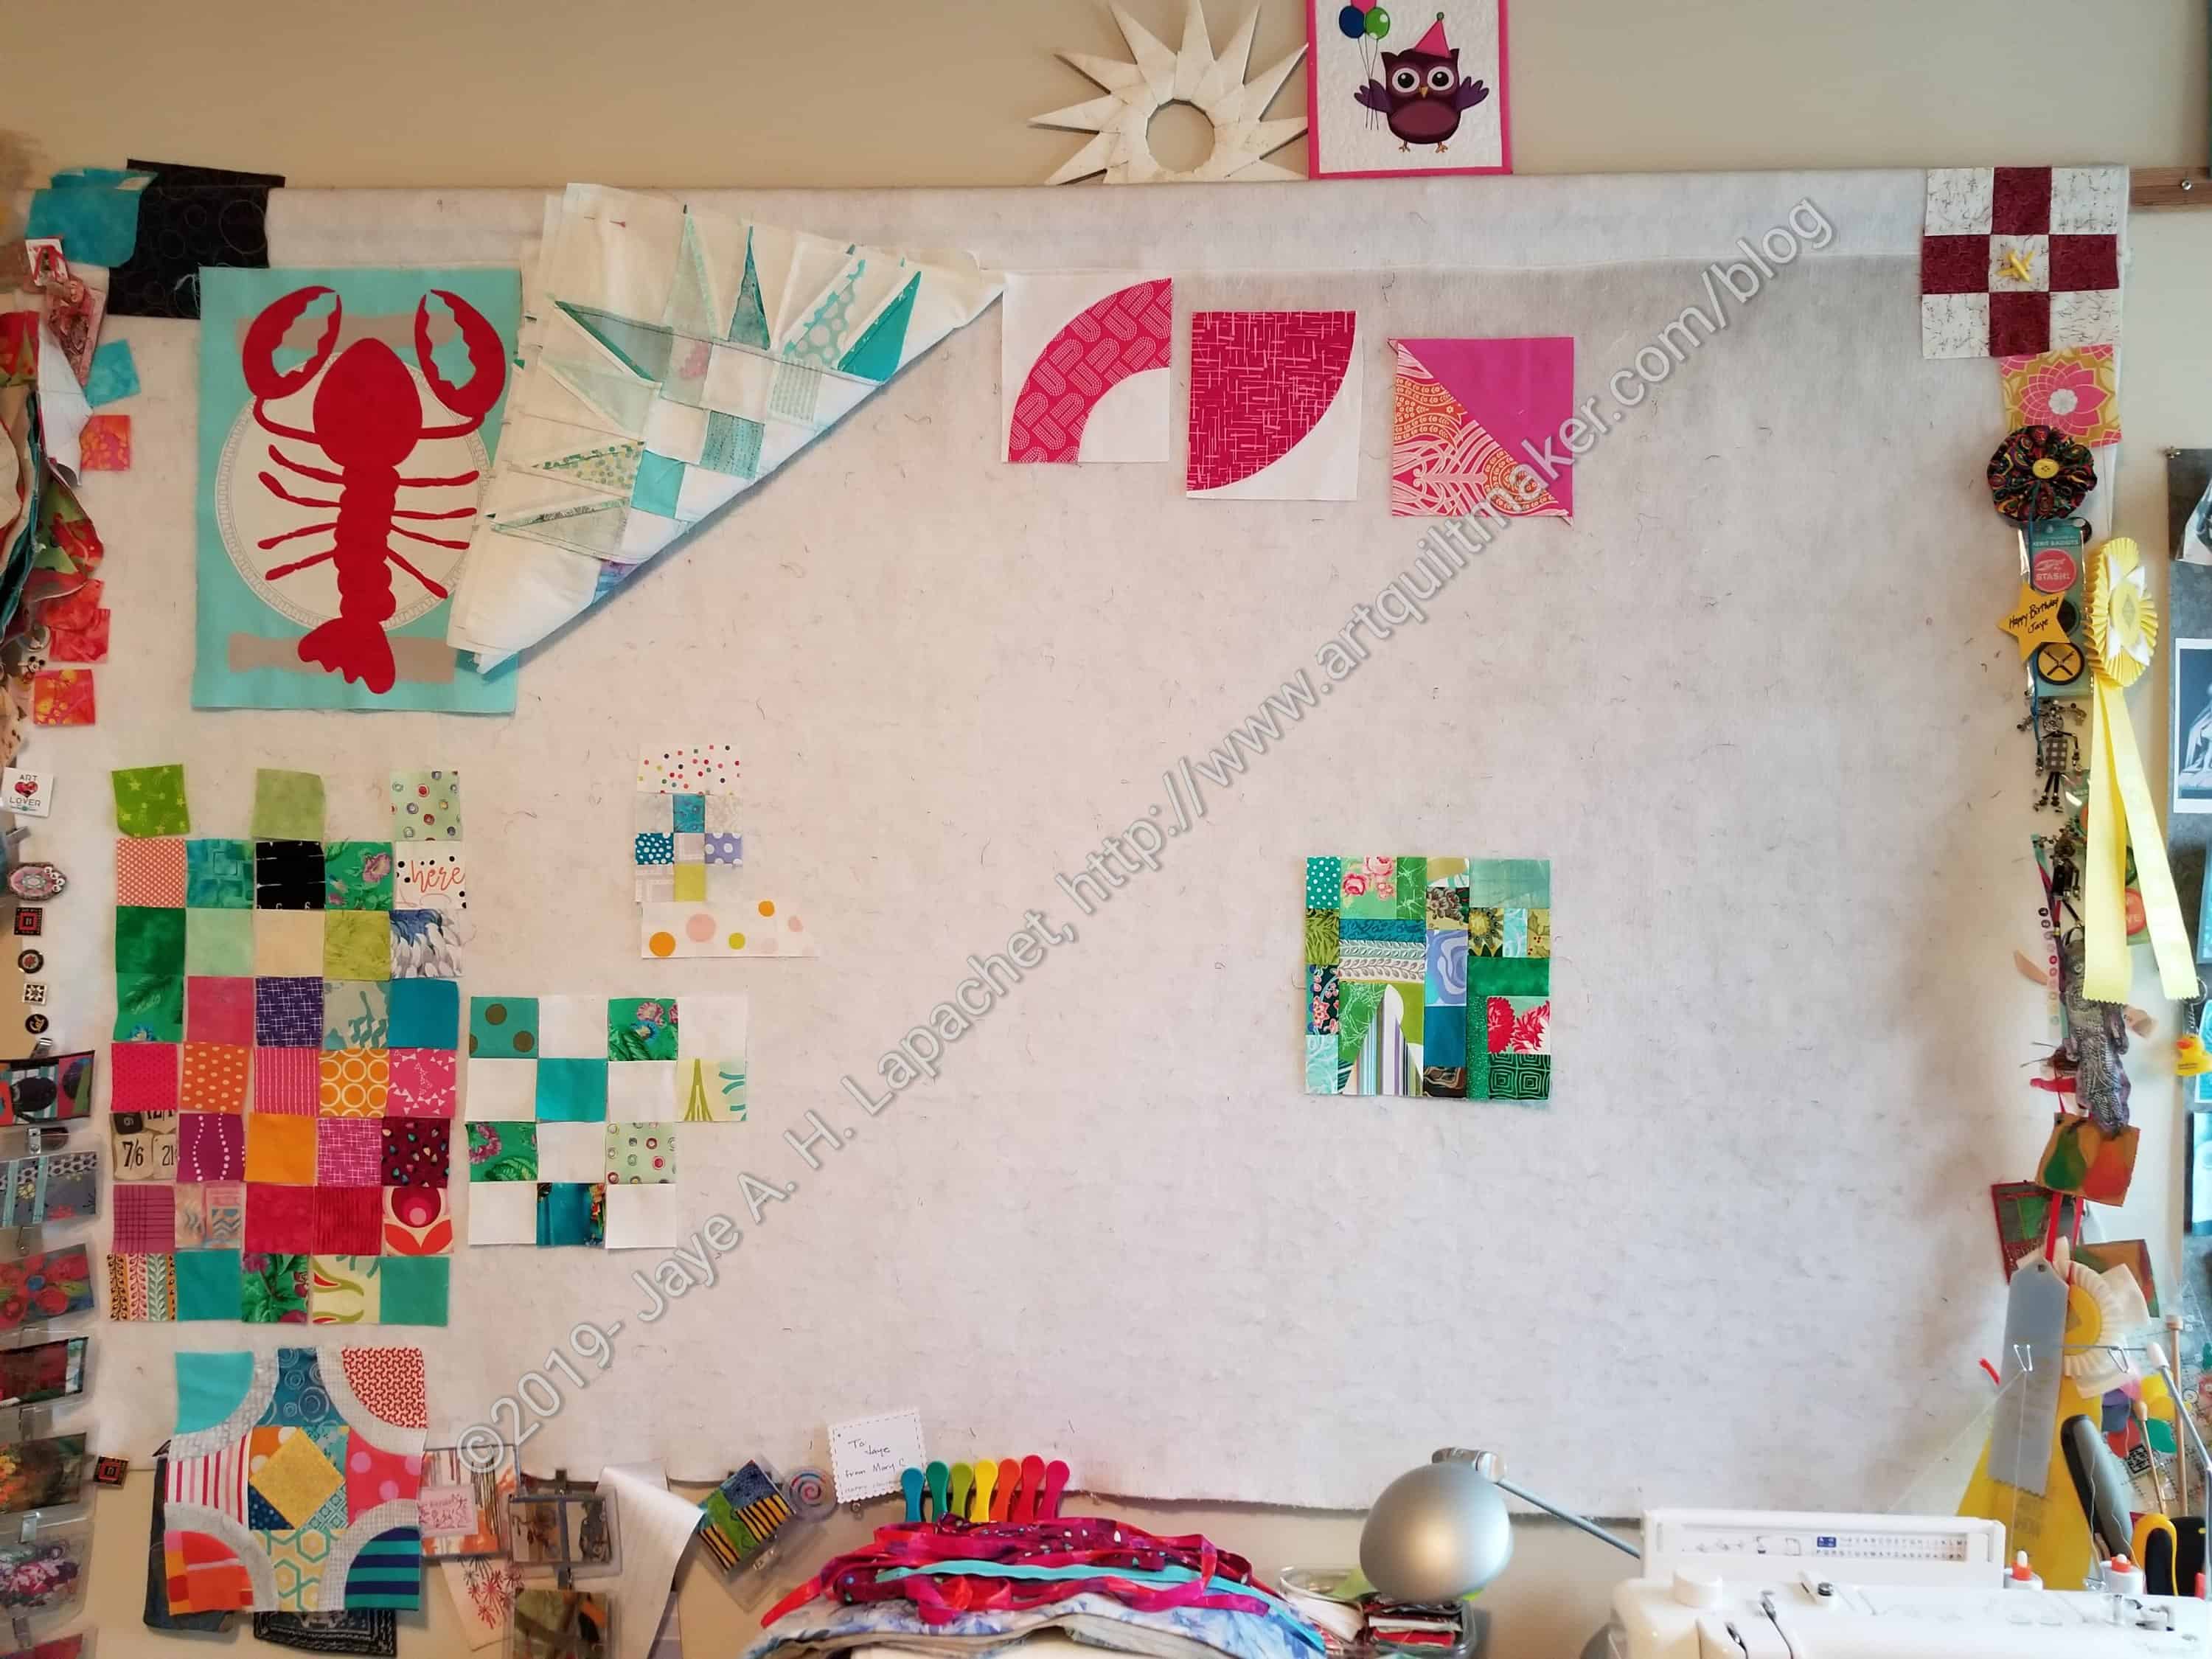
The last time I did this was back in November. I am not sure why I don’t do it more often. I guess I don’t think about it unless I happen to have a photo of my design wall handy. In this case, Vicki, over at My Creative Corner 3, asked for a picture of what was on our design wall. This is a two birds, one stone kind of post.
Design Wall – February 2019
Not much on my design wall this week. Mostly its because I am in between projects -sort of.
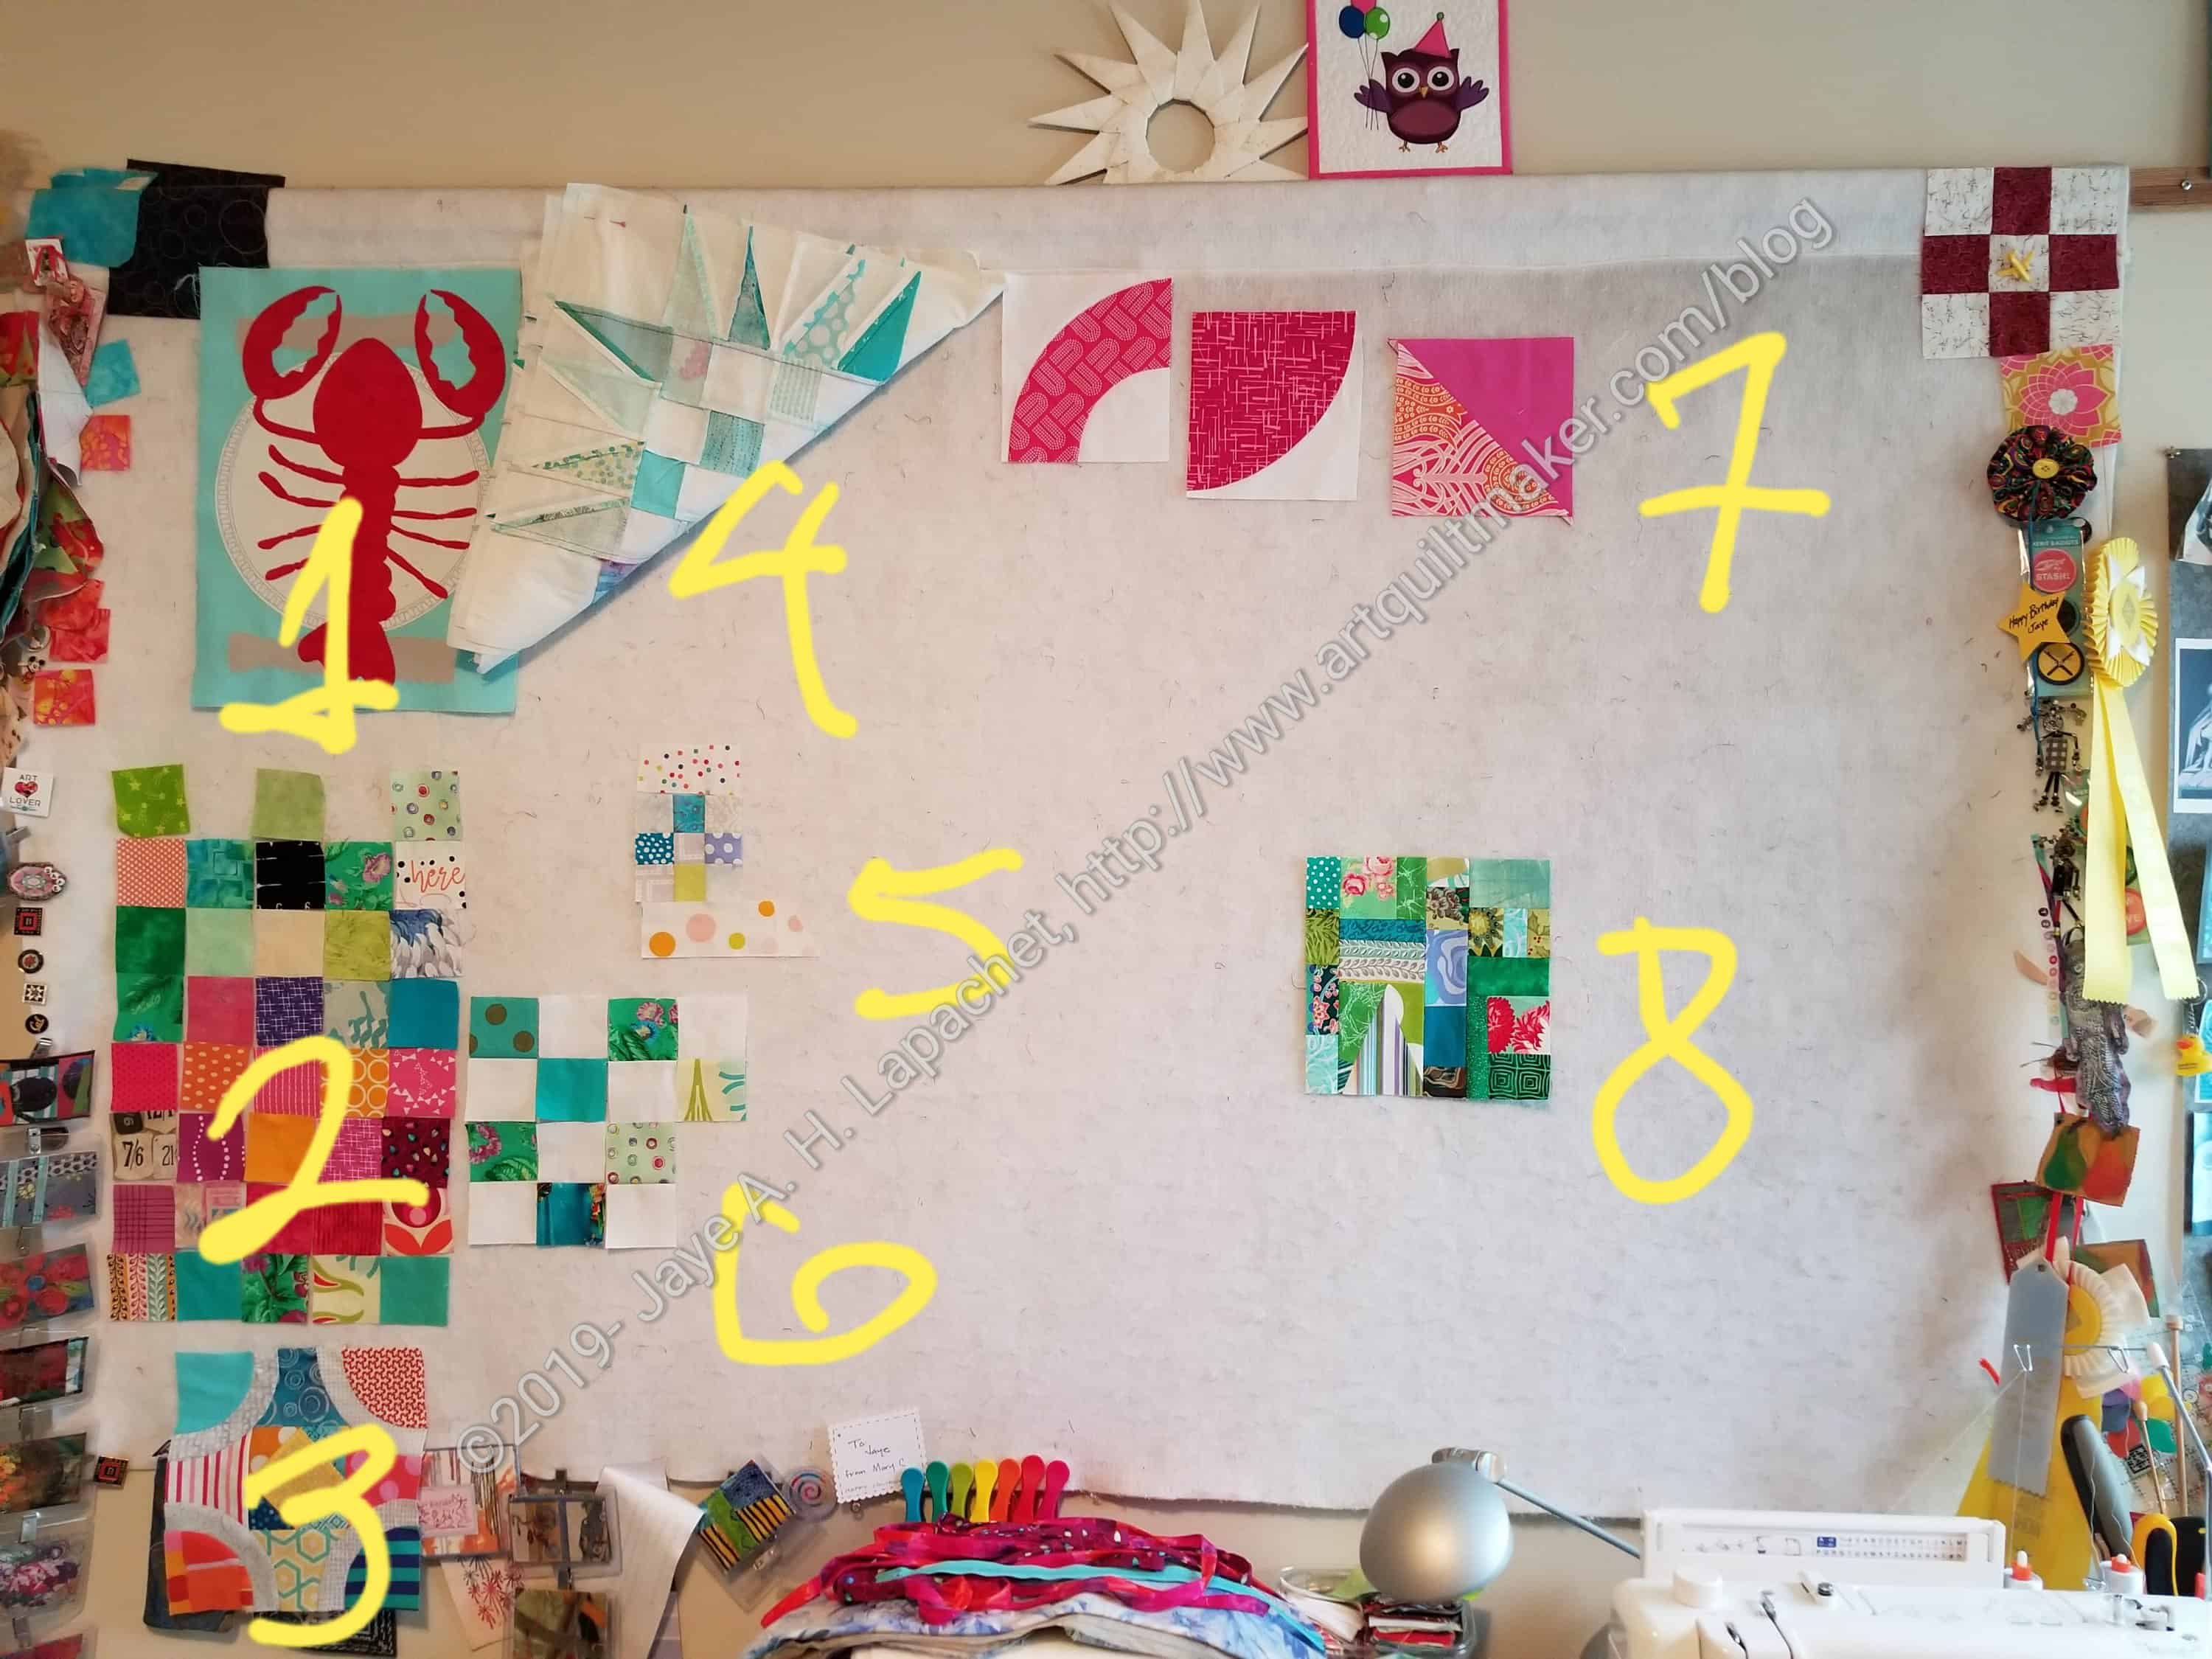
Design Wall Feb 2019 – annotated
[The Damn] Lobster – Yes, it is still there glaring at me. I really need to do finish this piece. I had an inkling of wanting to do it last week, but it passed.
Fabric of the Year 2018 (and maybe 2019) squares – I am now two quilts behind in the series – 2017 and 2018. FOTY 2017 has been on the design wall recently and will be again. I am re-sorting and counting rectangles so I know the dimensions. I still want to do my Ellsworth Kelly idea for FOTY 2018. I haven’t decided even what shape to use for FOTY 2019. I wondered yesterday if I should combine FOTY 2018 and 2019. It doesn’t fit with the series so far, but if I want to explore the same idea I could just do it once, though doing it twice using the same shape would allow me to use different greys or a black on each one.
Jenny One Block Halo quilt block – This is a test block for the Jen Kingwell/ Jenny from One Block quilt I call Ring Toss. I thought about making a quilt using this pattern after I bought the templates at PIQF. I really like the templates and the idea of the quilt, but the pieces are too small. This block requires more space. I designed the block in EQ, surviving a rare polygon error, and have yet to print the templates in the larger size. My goal is to try a block in the larger size and see if I want to commit to that quilt. I won’t have the templates, so it won’t be as convenient. I might just give it up. As you know, I have a lot of projects and don’t need anymore.
Spiky 16 patches – These are the blocks for the third Spiky 16 patch donation quilt. I haven’t put it together yet. It is pinned out of the way so I could fit the Green Thing on the design wall and see what I was doing. I haven’t unpinned them, but now that I have finished the other two donation tops on which I was working I can make these blocks into a top.
Mini pre-anything potential donation block – I had one leftover 9 patch from the Octagon 9 Patch. I want to make a donation block out of it, but haven’t quite gotten to it yet. The pieces surrounding it were potential improv additions.
Green donation block in process – as I finished the Green Thing, I needed some leaders and enders, so I went back to the regular BAM donation blocks and this one is progressing.
Jen Carlton Bailly blocks that I cut wrong – Well, I cut the two circle blocks wrong. The HST is waiting for something to be done to it. I used its sister to try out another technique in the class.
Improv donation block – I did like using up scraps to make the Green Thing. It became unwieldy and heavy and not ideal, so I am not sure I want to do another that large. Yes, I could make it smaller, but I like even baby quilts to be on the larger side. I decided to try making some blocks instead. If I make a bunch of 8.5 inch blocks, they will fit with the 16 patches the guild makes. I can also make enough of them to put together a quilt with just improv blocks. This might be the only one. We’ll see.
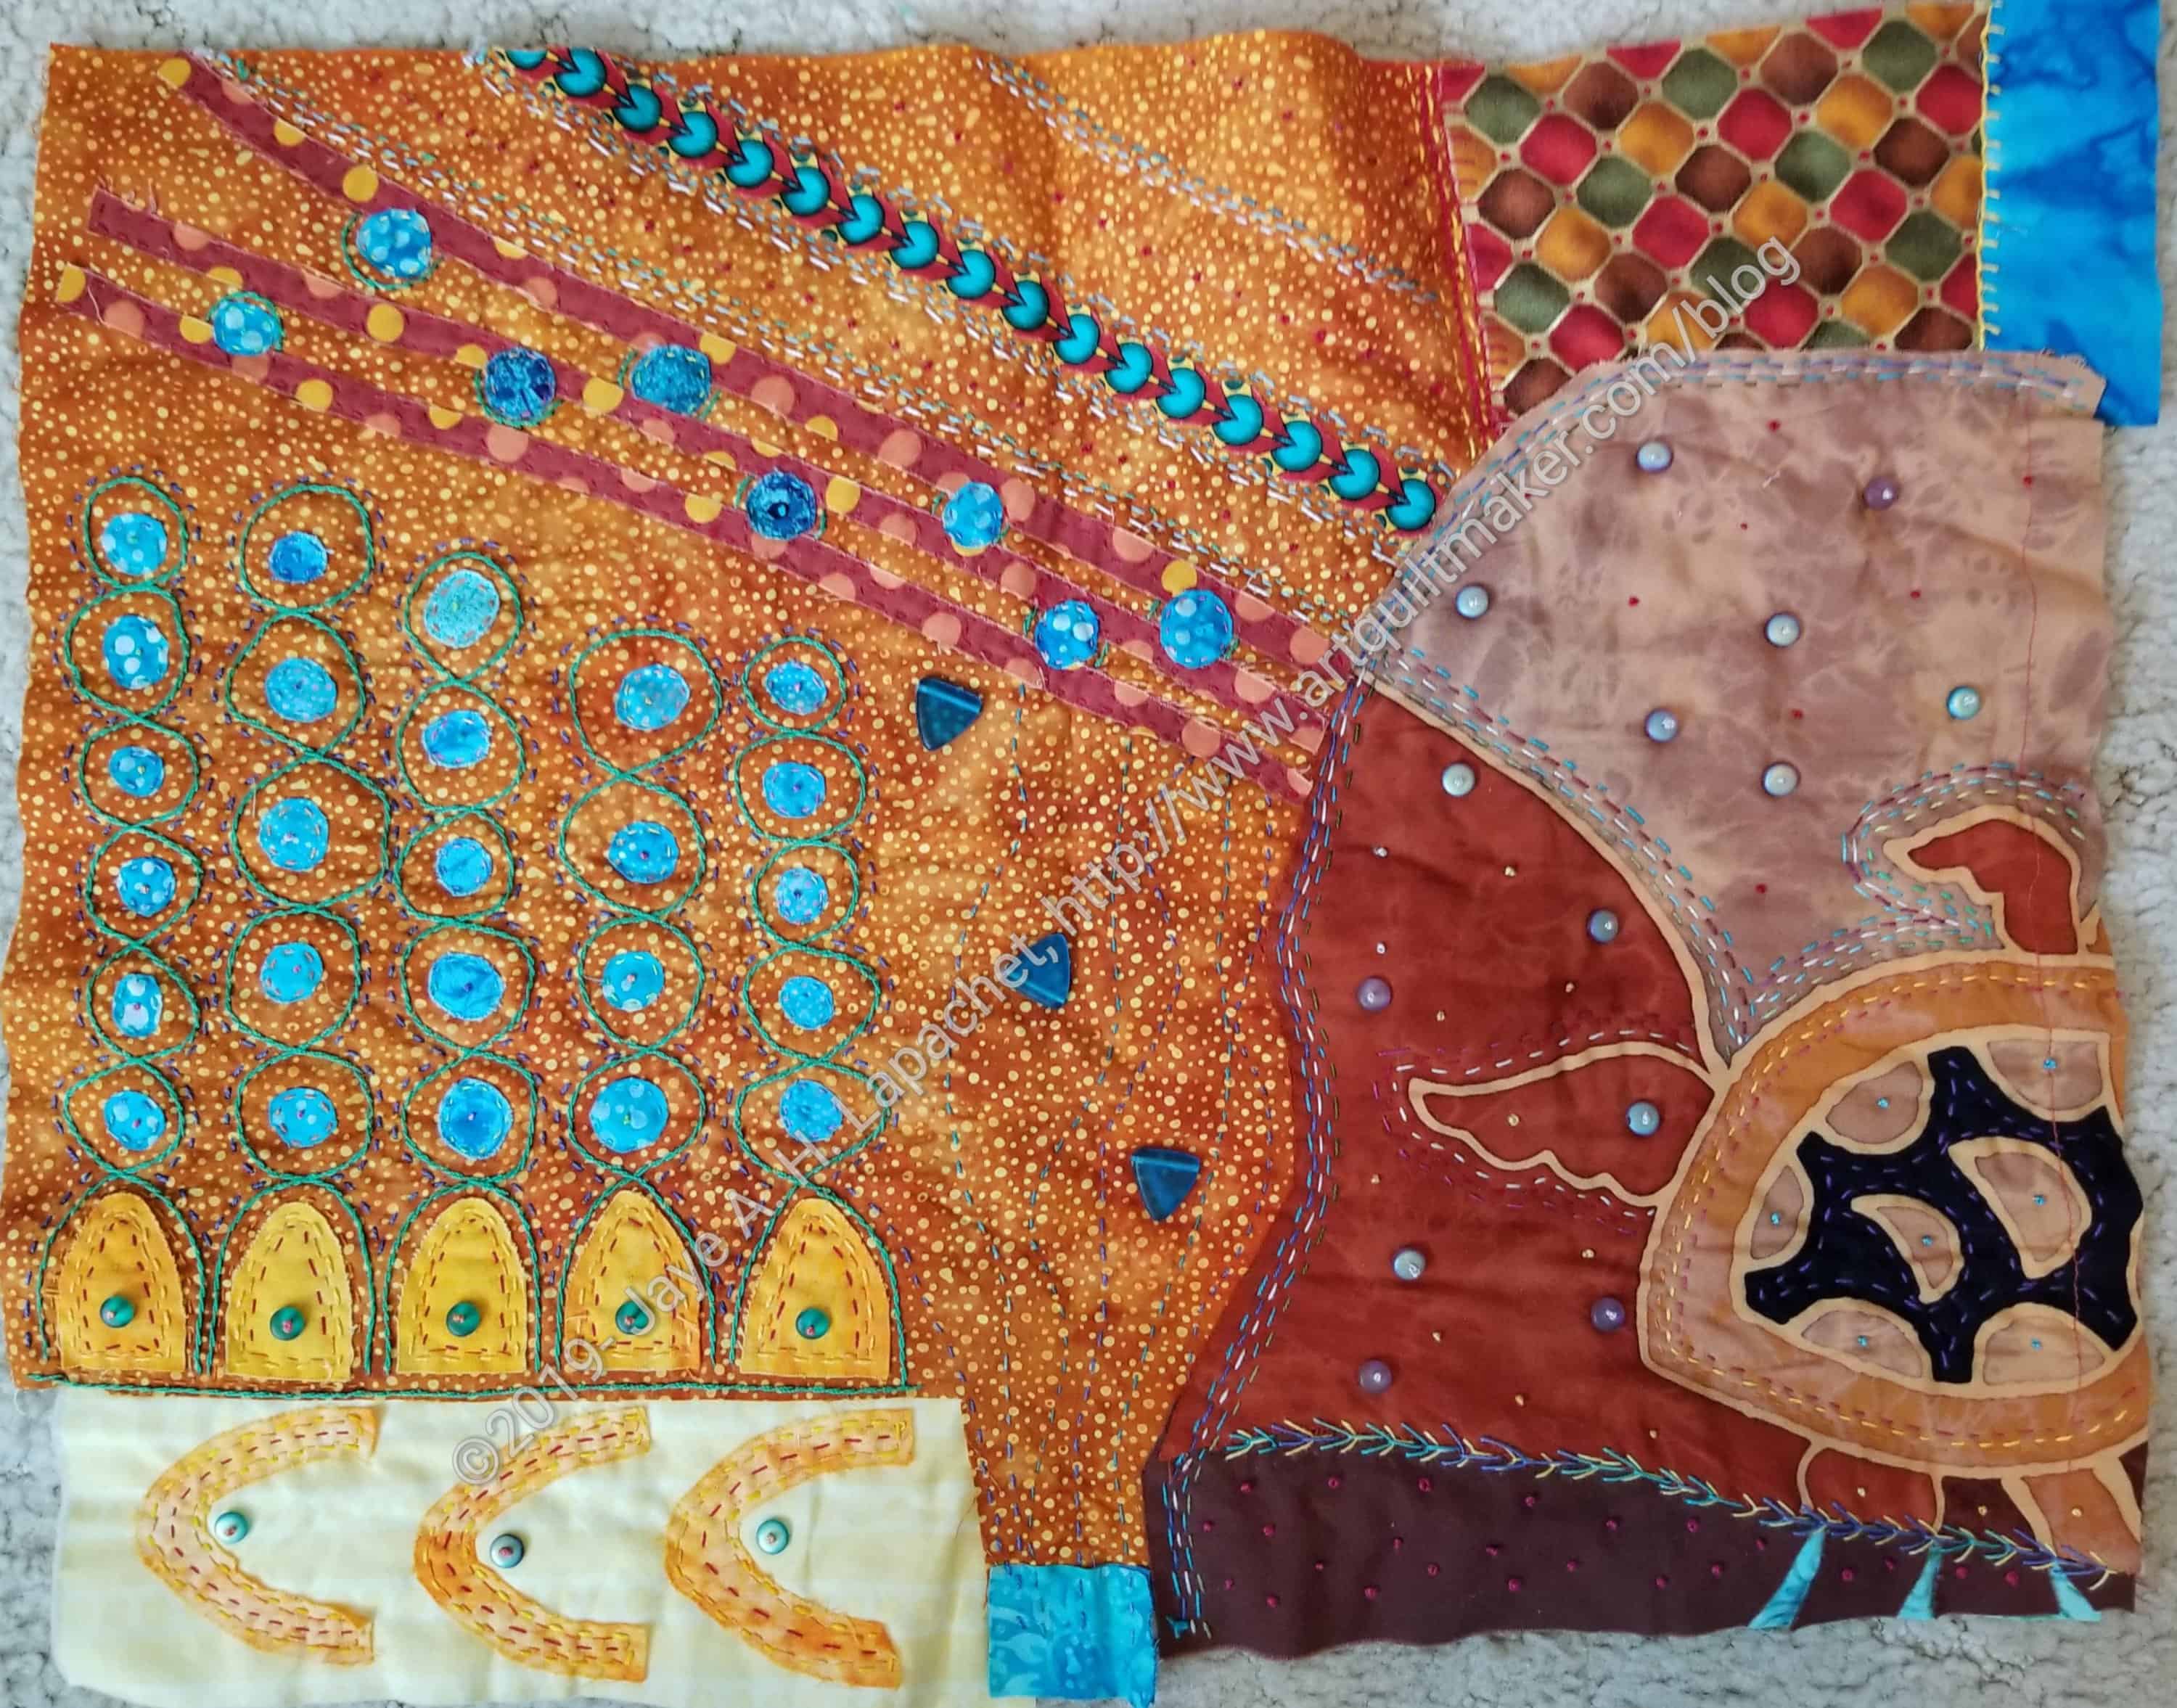
After several false finishes, I am really done with the top of Under the Sea. This is a HUGE, because I started it in April of 2009 and getting it done has been on my list for awhile. One less handwork project to do can’t be bad either.
I want to make it into a small pillow. Some of the embroidery and beading are close to the edge, so I have to worry about that a little bit. There is still work to do on this piece.
Since this was heavily embellished, I will enter it in the fair in the embellishment category and hope for a prize.
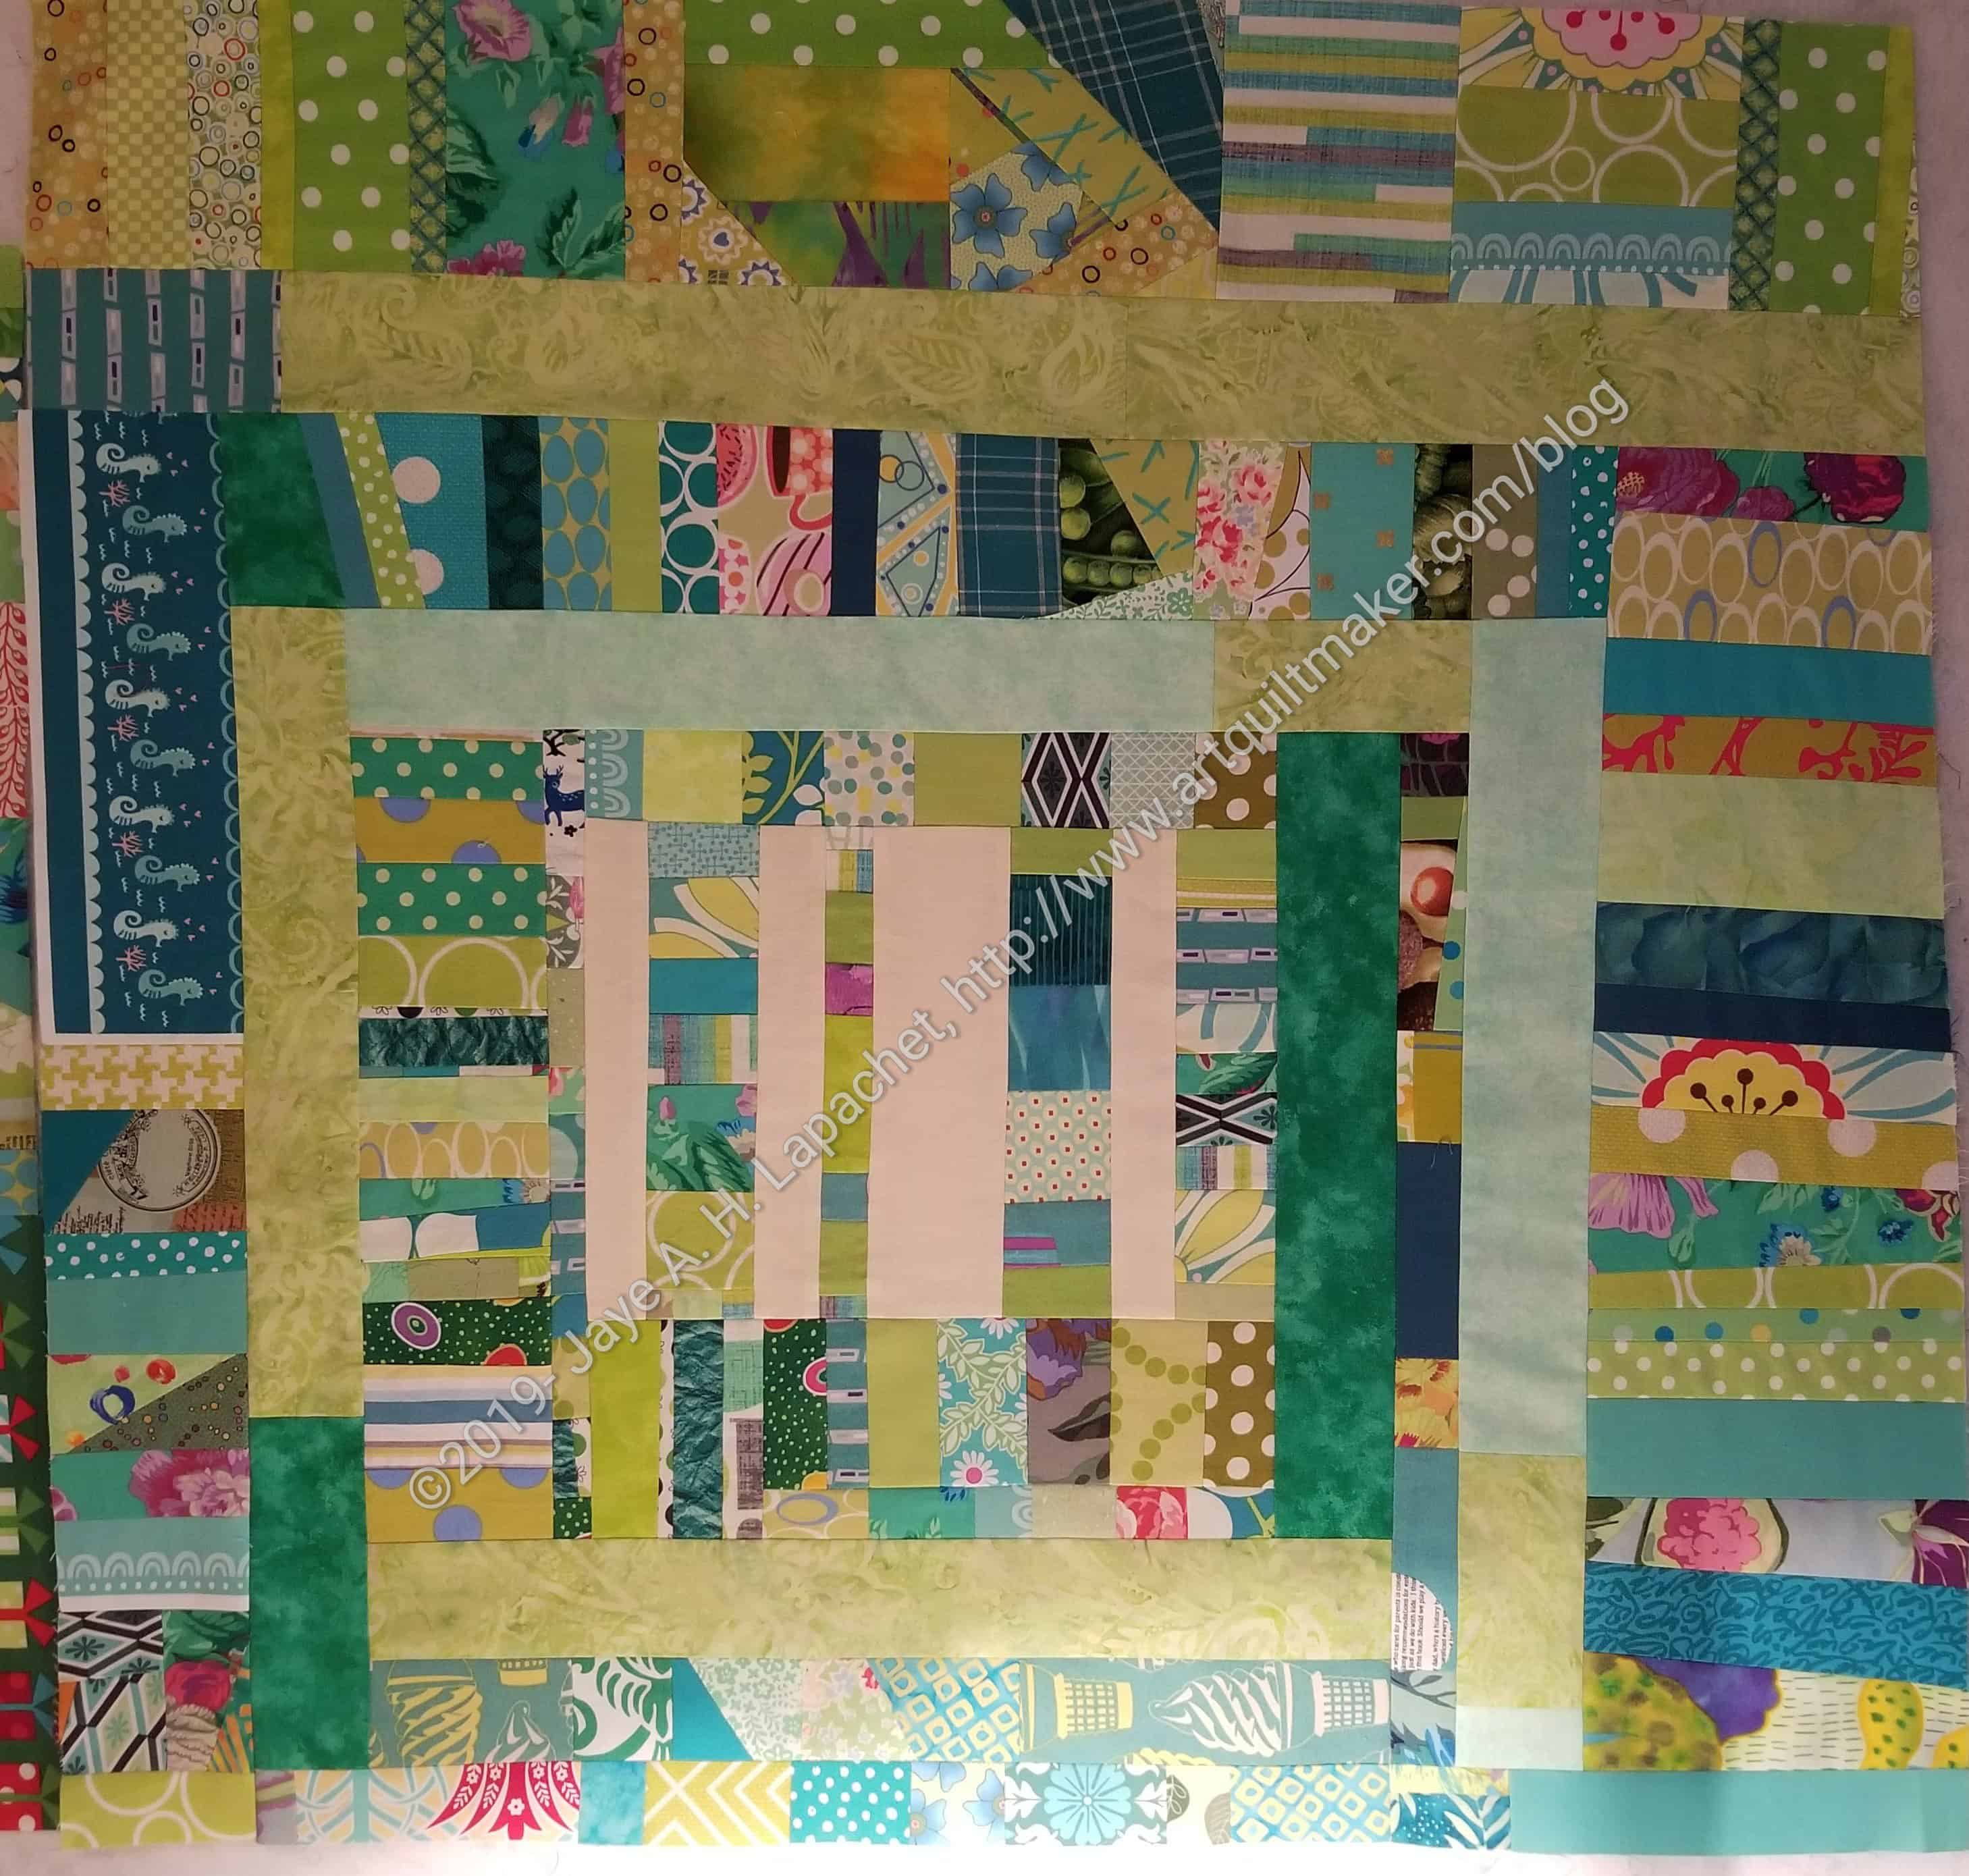
I finished the Green Thing Top and Back in time to take it to BAM today.
I am worried about someone quilting it as there are a lot of small pieces. I tried to press seams open. There was less matching of points, so it made sense.
I don’t know that I’ll do this type of thing again. There are some benefits: I can see part of the bottom of my green scraps drawer and there is no matching of seams. Still, though, the end of the process wasn’t as leaders and enders friendly as I would have liked. I am going to try to make a few 8.5 inch improv blocks and see what someone else will do with them. That should get rid of scraps, too.
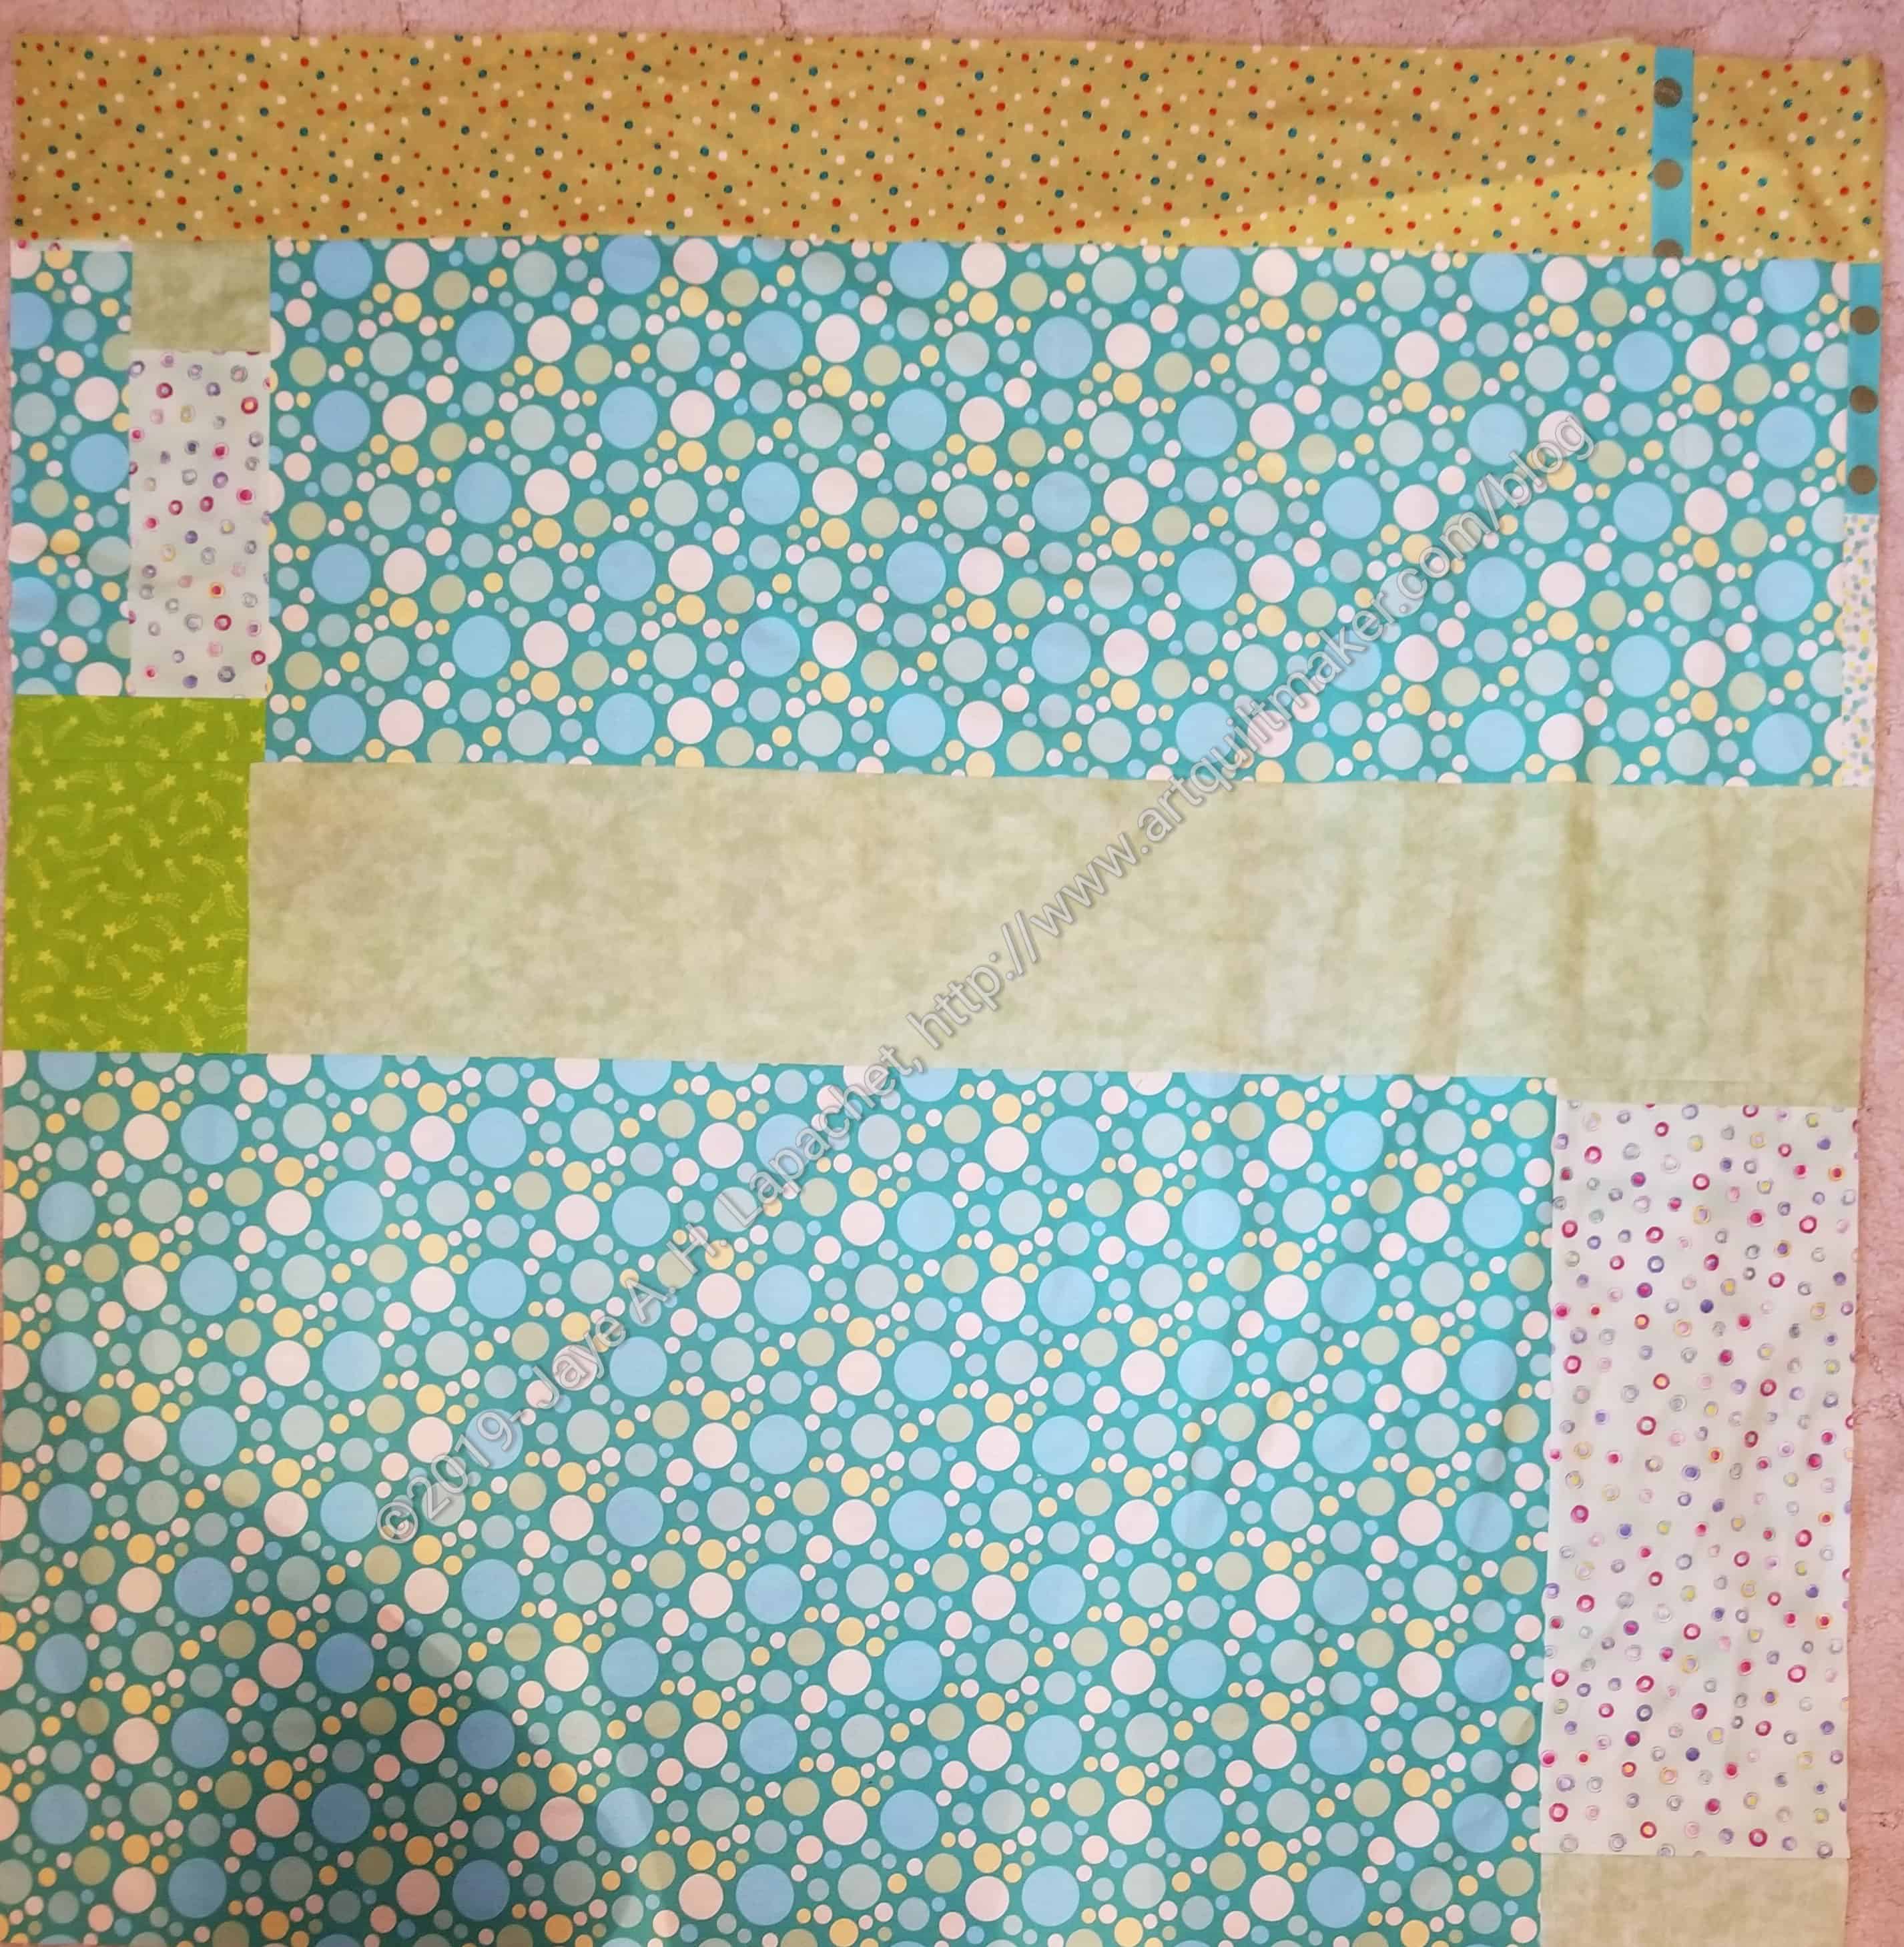
Green Thing donation back
The back went together pretty easily. I used some fabrics that had been hanging around awhile. I always liked that green bubble dot print, but I never found a project in which to use it, so off it goes to make way for newer fabrics.
I am not enamoured of improv. I feel like the design potential of improv is overshadowed by sloppy choices and bad workmanship. I think improv is a valid way of expressing creativity. You have seen me make quilts in the improv style. It is not a way to avoid knowing how to make a technically sound quilt. Of course, I can’t say this very often because people take it the wrong way.
Lucie Summers agrees with me. She says in her introduction to this book “One of the my biggest bugbears about improv is when others assume ‘just because it’s improv’ workmanship doesn’t matter. Of course, it matters! Badly made quilts, whether traditional or not, are just badly made quilts. By badly made, I’m not talking about whether your seams or patchwork points match, I’m talking about fabrics sloppily stitched together so there are holes” (pg.4). I was really pleased to read this, because I think, and have always thought, workmanship matters. You will often see in my posts about project some lines about identifying a mistake and deciding whether I could live with it. Workmanship matters. I like Lucie Summers.
I am just as surprised as you that I picked up this book. I am wary of books on improv, because it is improv. Why do you need a book? You certainly don’t need patterns. Cheryl had it at Sew Day and something about it drew me in. I leafed through the images and was interested in the colors and shapes. I checked it out of the library so I could peruse it a little more.
I like the way Lucie has written the prose. The style is friendly and approachable and, even for me, she has a reasonable way of explaining improv in a true fashion. Also, she isn’t condescending.
The book starts out with an introduction. In this introduction is my favorite quote (above) and a little bit about how she works, what working with scissors means, piles of scraps and the use of measuring in improv (pg.4). The introduction is followed by a section called “How I Work” (pg.6) which details piecing maps, inspiration and another fabulous quote “…as you embark on making a quilt from the gallery to make it yours. Give it your personality. Don’t search high and low for the exact blue dotty fabric I’ve used in the top right-hand corner of quilt number 6 – use a grey floral, or an orange solid, whatever… Make it yours, relax and have a huge amount of fun. At the end of the day we’re not saving lives here, we’re cutting into fabric and stitching it back together” (pg.6). This is so critical to me. I have made a few exact replicas of quilts in magazines and books. There are definitely benefits. I get to sew. I feel the meditative qualities of putting fabric through the machine, but these quilts do not have souls. They don’t come from my heart. Branch out when you work from this book. Use the fabrics you have with confidence. There is always more fabric!
The next few sections have to do with fabrics (pg.6), thread (pg.8) and equipment (pg.9). Lucie brings her calm style to these sections. They don’t feel rote or the same as other books I have reviewed.
“How to Use this Book” (pg.10-11) is really important. It is a guide to how this book is written, how she uses measurements in more detail than in the introduction. A great idea is the section on “Building Blocks” (pg.12-39). It starts with a visual list of the block designs Ms. Summers considers basics. This is your basic guide and it is followed by instructions on how to make each block. The section includes 13 different blocks. The reader could spend years making quilts from these blocks alone. The possibilities are endless.
Because publishers seem to require patterns these days, the blocks section is followed by “The Quilts” (pg.40-113). Lucie’s quilts are really stunning, vibrant and have a lot of movement. They are designed and do not look messy. You can see this on the double page spread introducing the section (pg.40-41).
One of the things I like about this book is that Lucie Summers discusses her inspiration for each quilt. I can always use more of that. She doesn’t take pages to do it, but it is important to the process and valuable to the book. Each quilt ‘pattern’ in this section includes a brief rundown of the inspiration, a summary of techniques, design idea, design plan, “Make Me Key”, finished plan, and the piecing map. The design idea breaks down the design while the design plan is more involved. Lucie uses this section to dig into the design, talk about resting spots for your eyes, how she balances different areas and the differences in her design and the finished piece. The ‘Make Me Key’ is a sidebar that combines some text with visual cues to the elements of the quilt. The piecing map shows how the various sections are put together generally. YMMV. The sections for each quilt are robust.
It’s hard for me to decide which quilts I like best. I definitely like the the Shoe Boxes Quilt (pg.42-47). There is a section of the Seed Tray Quilt (pg.54-59) that is very appealing. The fabric cohesiveness and simple design of the Feathers Quilt (pg.60-65) is exciting, too. Many of the quilts have circles and I like those, such as the Bricks and Fences Quilt (pg.66-71), too. I think the Plates Quilt (pg.90-95) is appealing because it reminds me of the Eye of God quilt I made some years ago, has dots and a fabulous inspiration photo. There are no bad quilts in this book, but my favorite might be the Building Blocks Quilt (pg.108-113). Many of her quilts remind me of views of cities with domes and this one is no exception. I also like the quilting. With the large variety of quilts, readers will find something that appeals.
These quilts are designed not thrown together. The fabrics are chosen carefully and quilts are designed to make the overall piece look cohesive.
The last section is called General Techniques (pg. 115-124). The first subsection is called ‘Piecing’ (pg.115) and has a good discussion of why use a quarter inch seam in improv piecing as well as how chain piecing works. She discusses pressing (pg.116) including which way to press and why to press to the dark. Lucie also has a little bit of ergonomics thrown in. ‘Assembling Quilts’ (pg.116) includes what to do to get your quilt to hang straight. The section on Finishing Off Quilts includes the envelope method or ‘bagging out’ (pg.119) as Lucie calls it. There is a short section on quilting (pg.120) with some interesting quilt designs and a bit about marking quilt designs. The Binding section (pg.122-123) includes both facing* (called invisible binding here) and a mitered binding. The book wraps up with how to make a hanging sleeve and labeling your quilts (pg.124).
I might buy Quilt Improv. I like the fact that the author isn’t lazy and discusses the attributes of design within the improv context. The photographs are wonderful. The fabric choices are VERY appealing. Well worth taking a look at.
Sonja gave a short presentation on Composition at the CQFA meeting on Feb. 2. Sonja is a really good artist and works very hard to get better. In 15-20 minutes, I learned so much about composition that my head was reeling. I talked about it with a number of people that I know. I was really excited.
First she talked about 8 Common Armatures. I had no idea what this means, but she showed us examples of the different armatures, which are arrangements of art on a page. The 8 are:
S curve
L
Diagonal
Triangle
Radial
Fulcrum
O-Frame focal point
O-Path around
Horizontals and verticals
Cruciform
Each of the above armatures can have subcategories. I talked a little bit about this in my Design Series post on Balance.
She also told us to work with intention. I took that to mean don’t just slap anything up on the quilt. She said to identify a center of interest and emphasize it, then she told us how.
Most of the class was taken up with Value. This started out to be a problem for me. For some time I have been irritated when people have said “Value does all the work and color gets all the glory.” Mostly, this saying has irritated me because nobody who said it could tell me why. I have ignored that saying since the first time I heard it.
Actually, I haven’t, but I was doing it intuitively and just using contrast. Contrast has a lot more to it than only value. You can review it in the design series episode on contrast.
First, we have to define value and contrast:
Definition of Value: Graduations of light and dark. All colors have an inherent value.
Definition of Contrast: Difference in light and dark. Or light vs dark. (See The Sharpened Artist).
The difference is a mind bender, but there is a difference.
Now we can get on to my epiphany.
In this presentation she talked about value patterns. She showed a diagram of 14 different examples of values in a composition. Each diagram shows 3 rectangles on a larger rectangular surface (presumably the paper or canvas or quilt). Each rectangle is either black, medium gray, light gray or white. In show different arrangements of these rectangles. Sonja showed us a page in Strengthen Your Paintings with Dynamic Composition. You can see what I am talking about a little bit in the arrangement of rectangles in the example on Jacob Bromeo’s site. You can see how the darker rectangles come forward.
There is a lot more I could say about this class. I have some books from the Library. I have some articles to read. I have some blogs posts to update.
Sonja recommended the following books. I got some of them from the library and am powering my way through them.
Sonja does watercolors as well as make quilts. The above list is from her watercolor class, so there are things you have to ignore. The material on composition and value cross over from watercolor to quilts and are relevant.
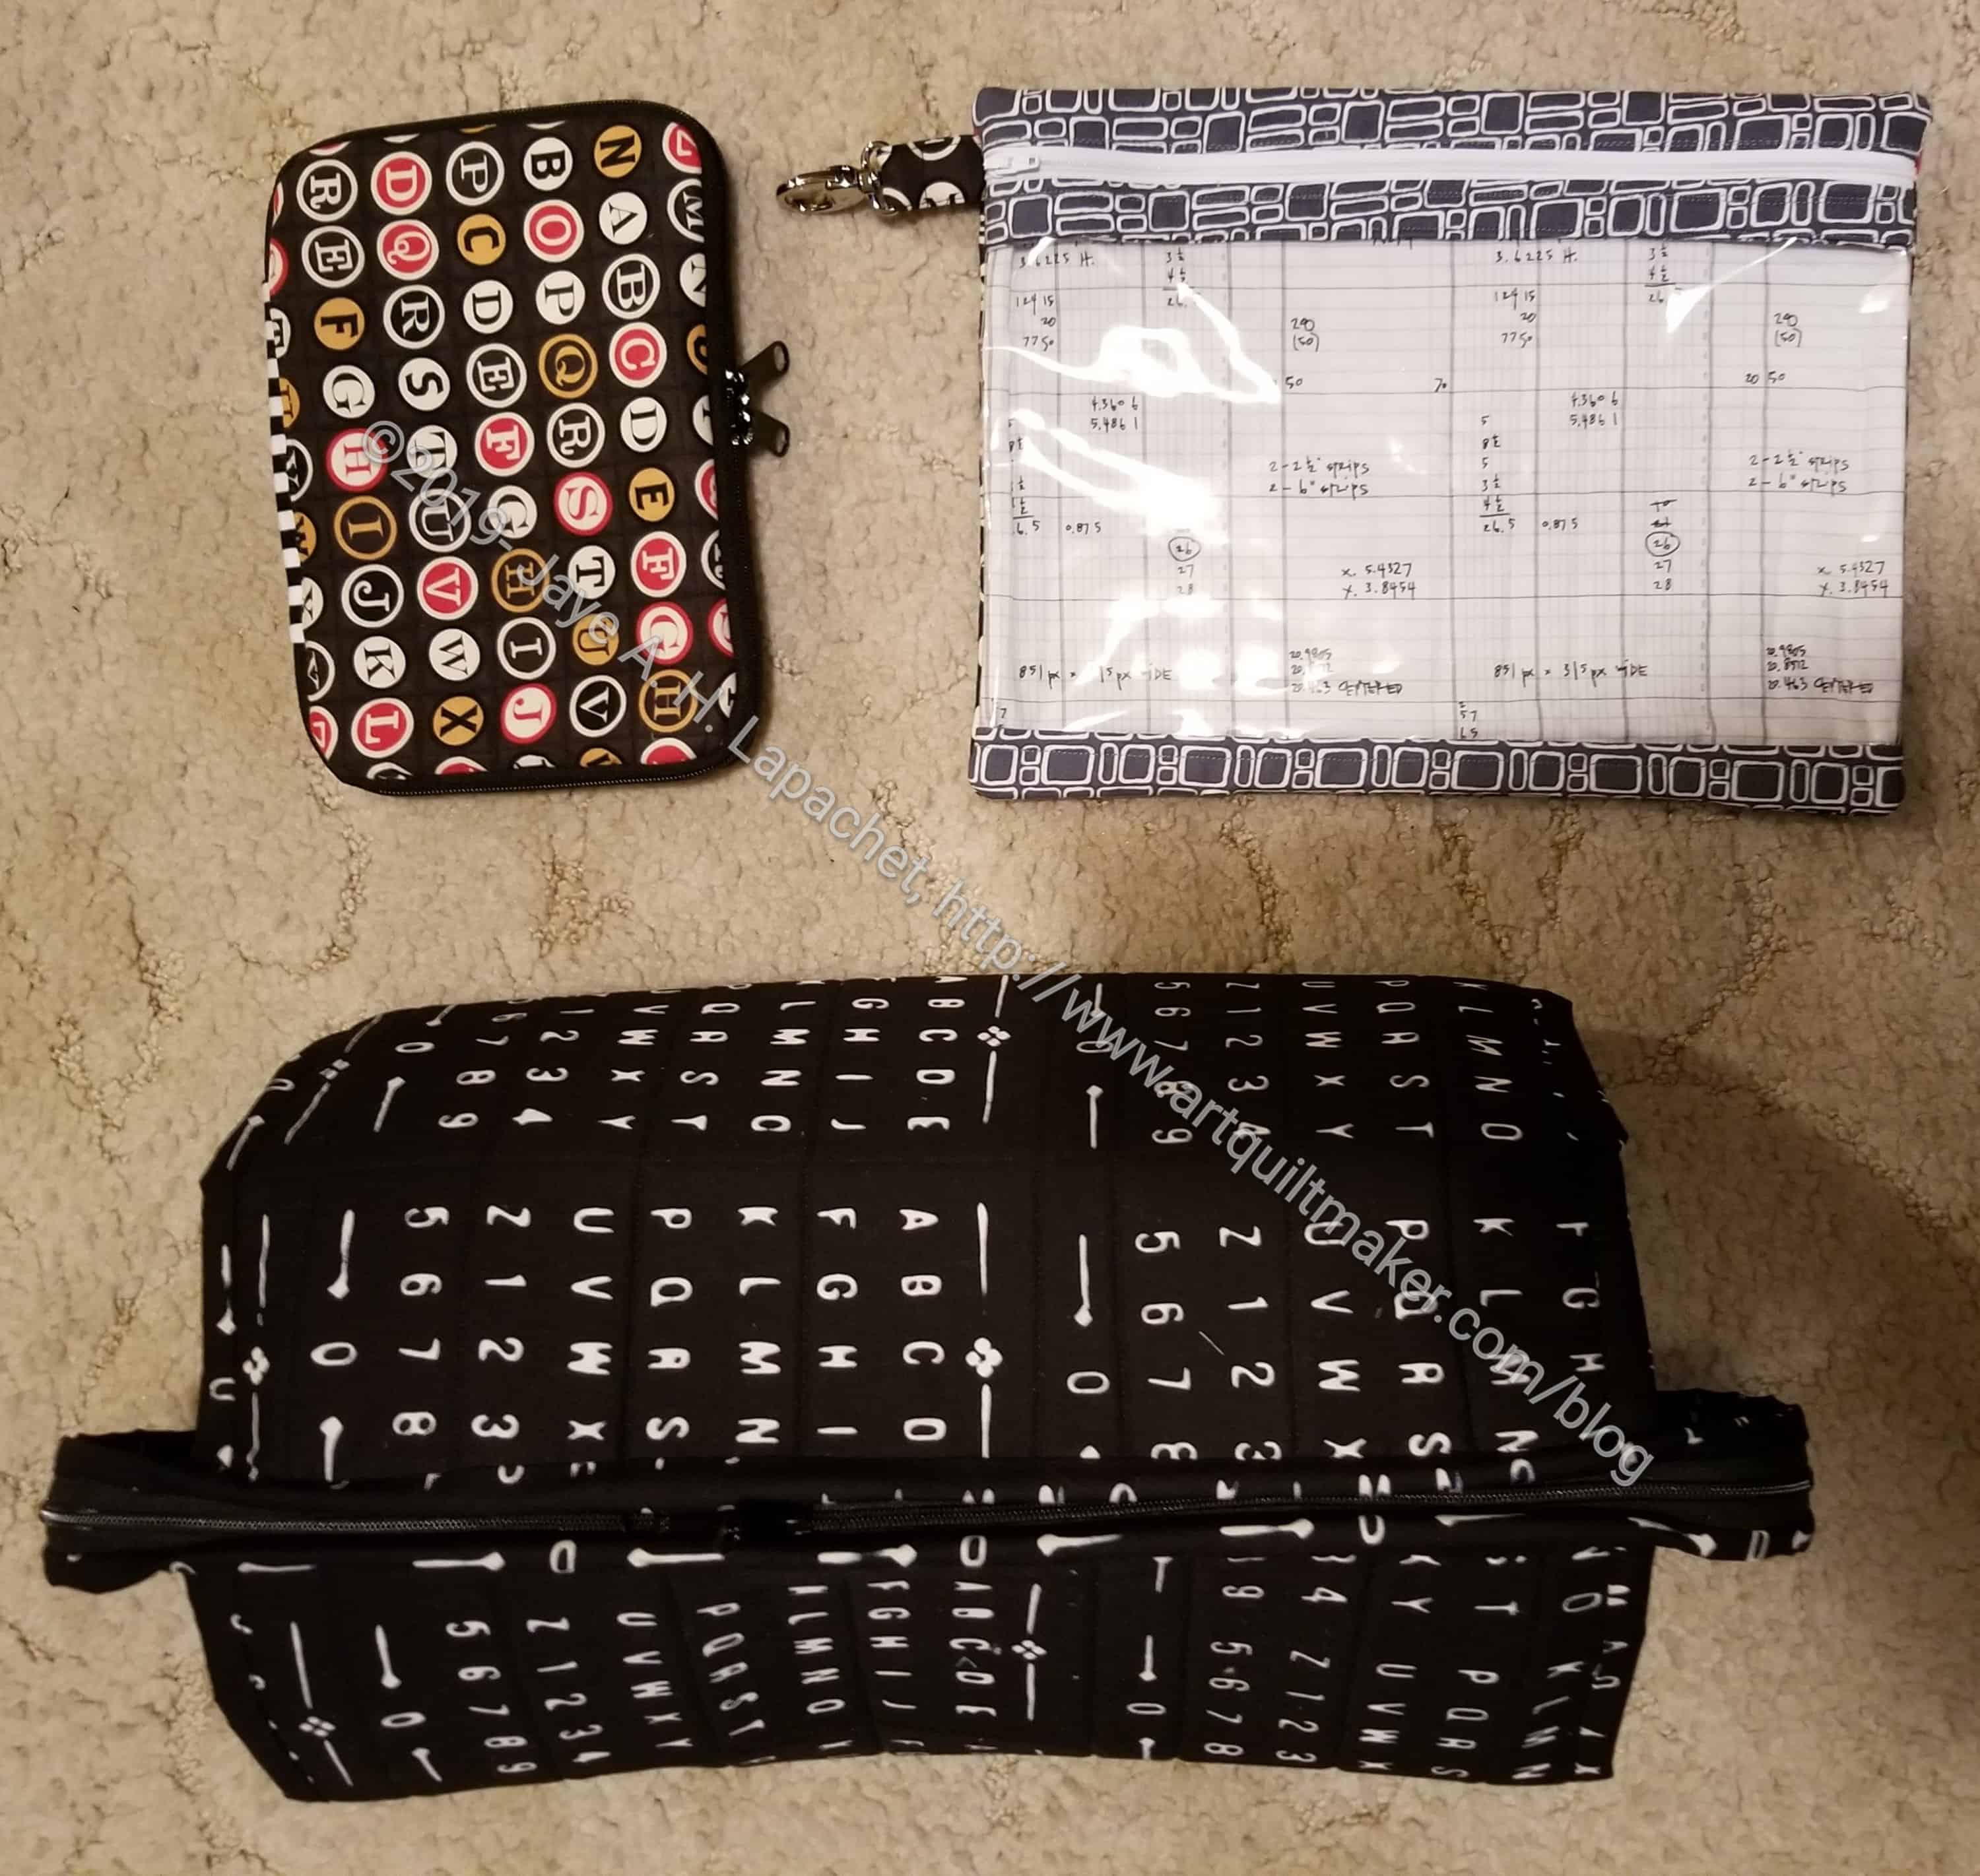
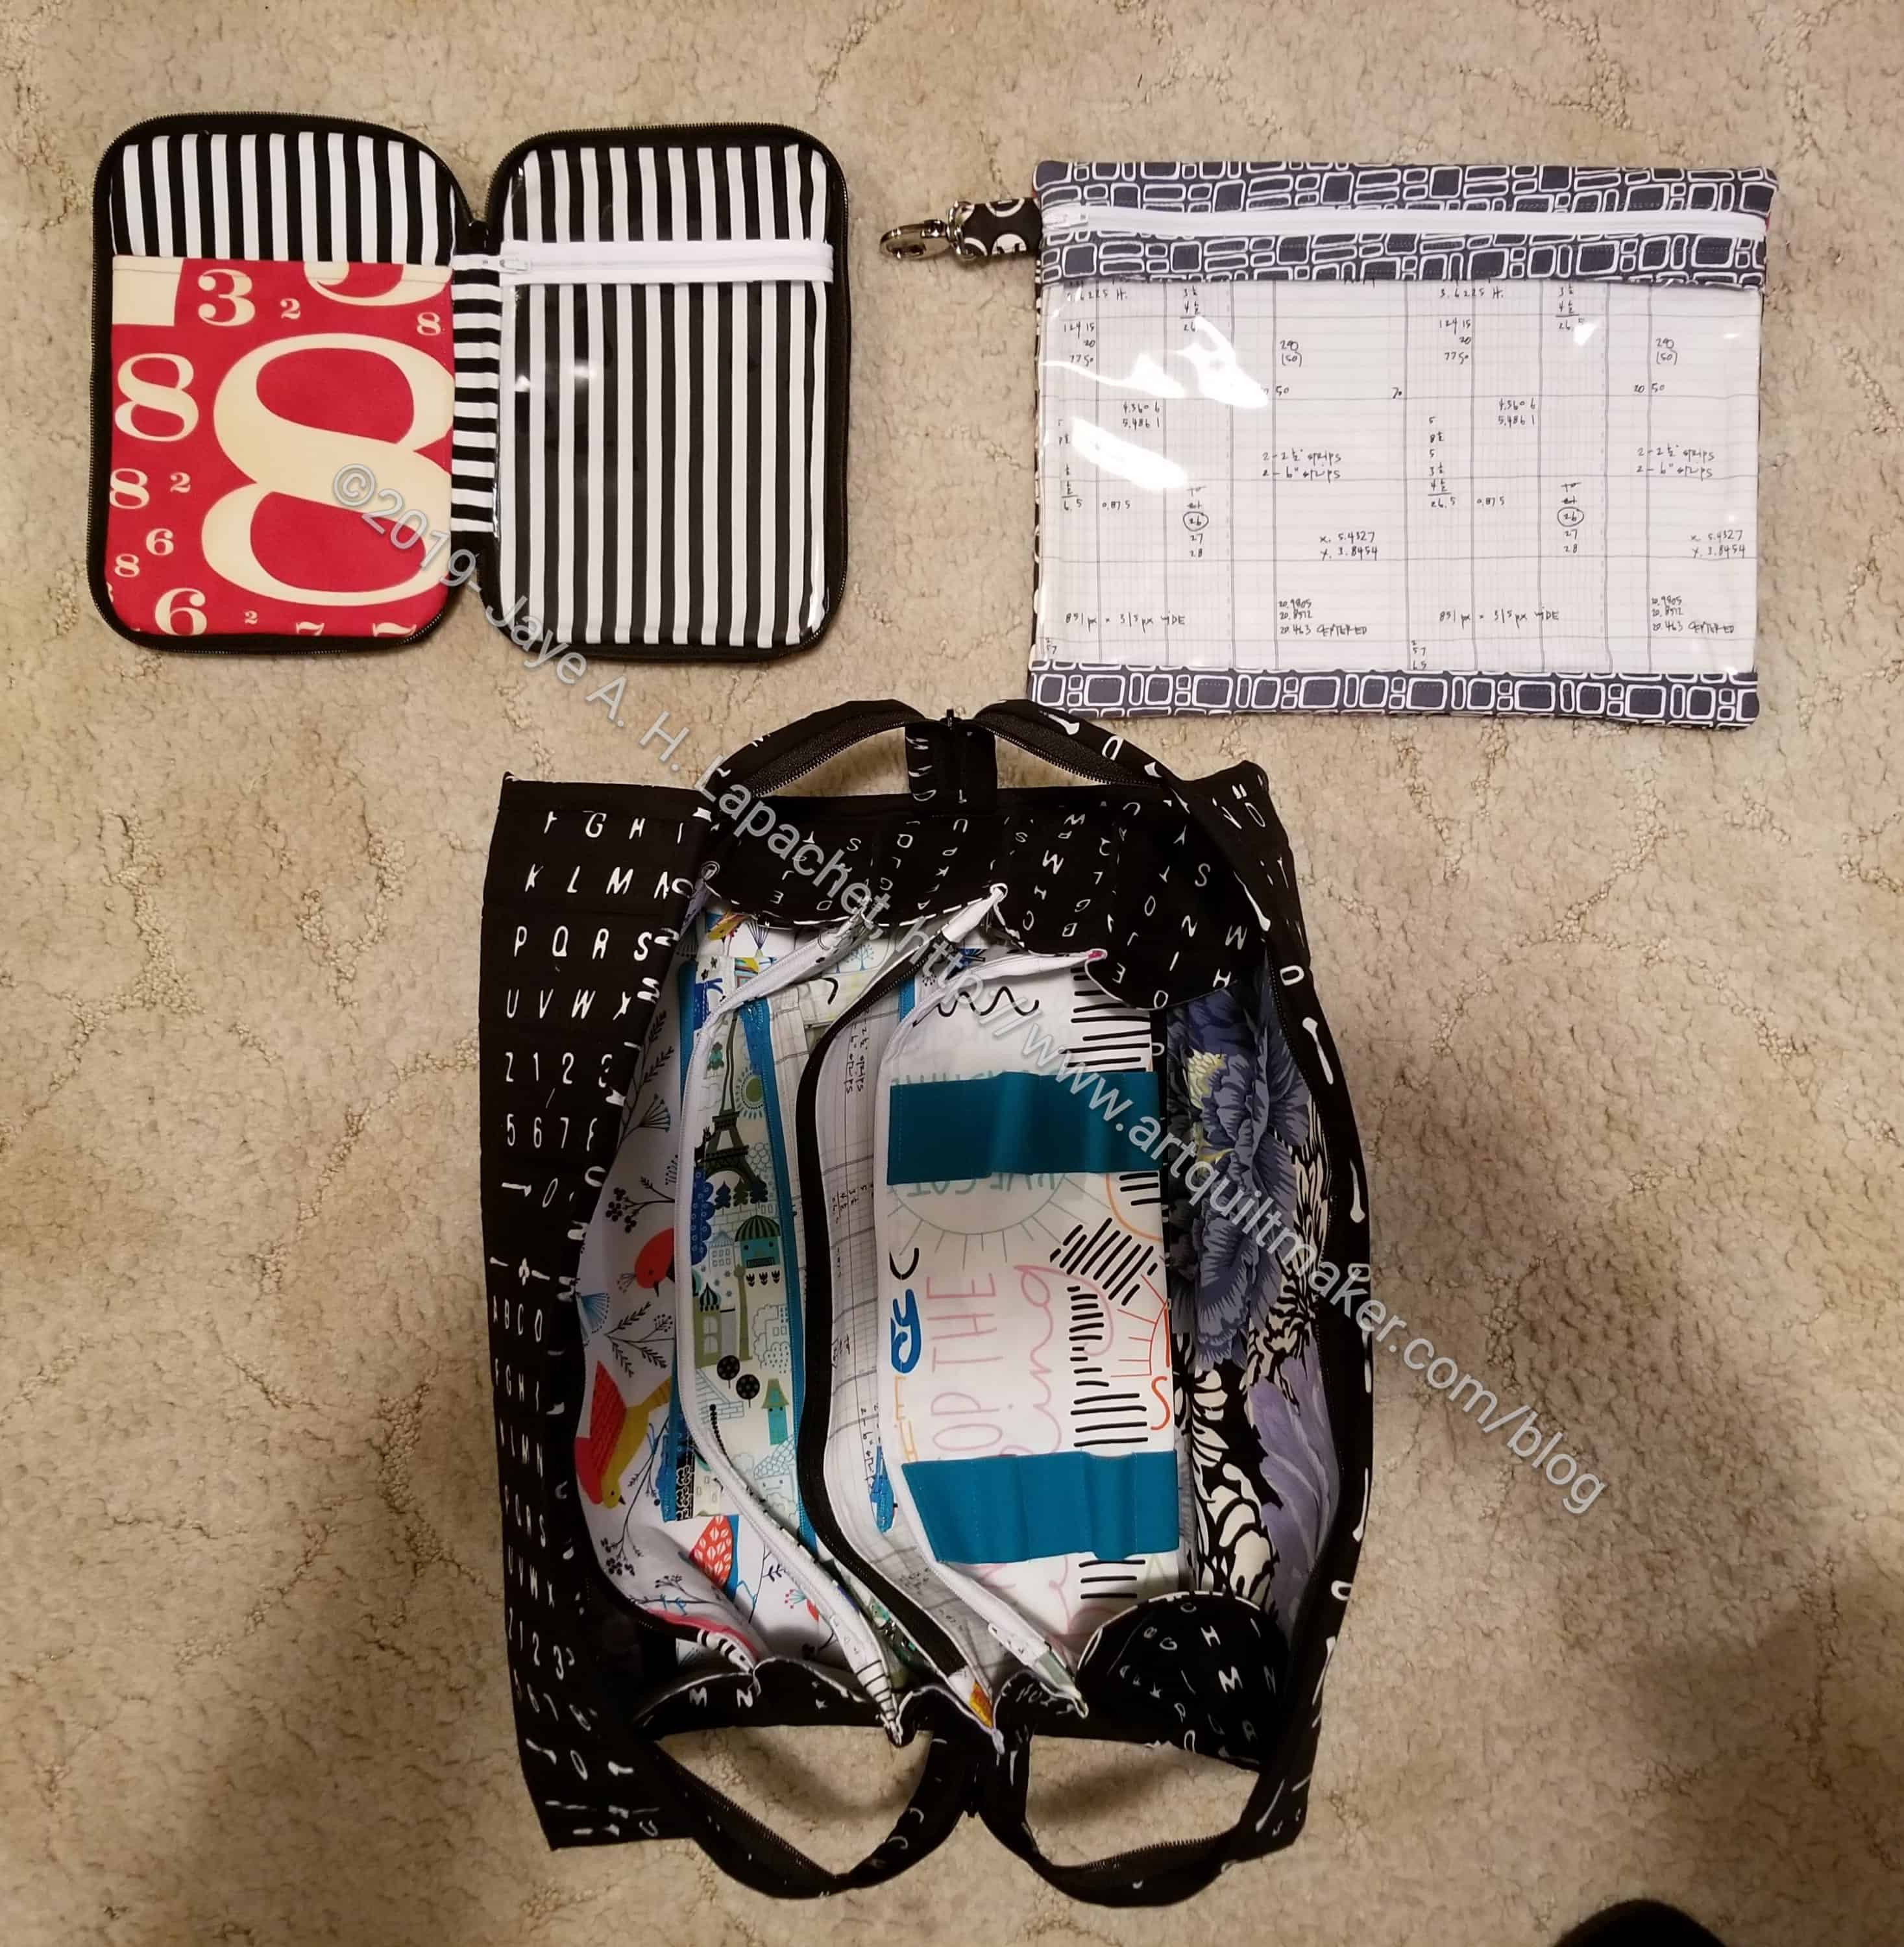
After completing the All Rolled Up Tote, I thought I would layout the massive number of projects in the Crafty Gemini Organizer Club that I have completed.
Crafty Gemini Organizer Club completions, February 2019Sewing Machine Mat from front
Four.
Yes, I have completed 4 projects. I still have 3 more projects to go to complete the club. I do want to make all of the projects since I did sign up and pay for them. I did not sign up for the subsequent clubs since I have not yet finished the three projects left in the club. Also, I have a lot of other bags and organizer type projects I want to make.
I also want to make another Roadtrip Bag that has a vinyl window rather than using vinyl all the way across the front. I realize that is not the design, but I want to try my design change in order to not have to turn the vinyl. I am not sure how I will use the Roadtrip bag, but I like the design.
Crafty Gemini Organizer Club completions, February 2019-open
You can still buy the club (no affiliation). Check out the video showing all the projects.
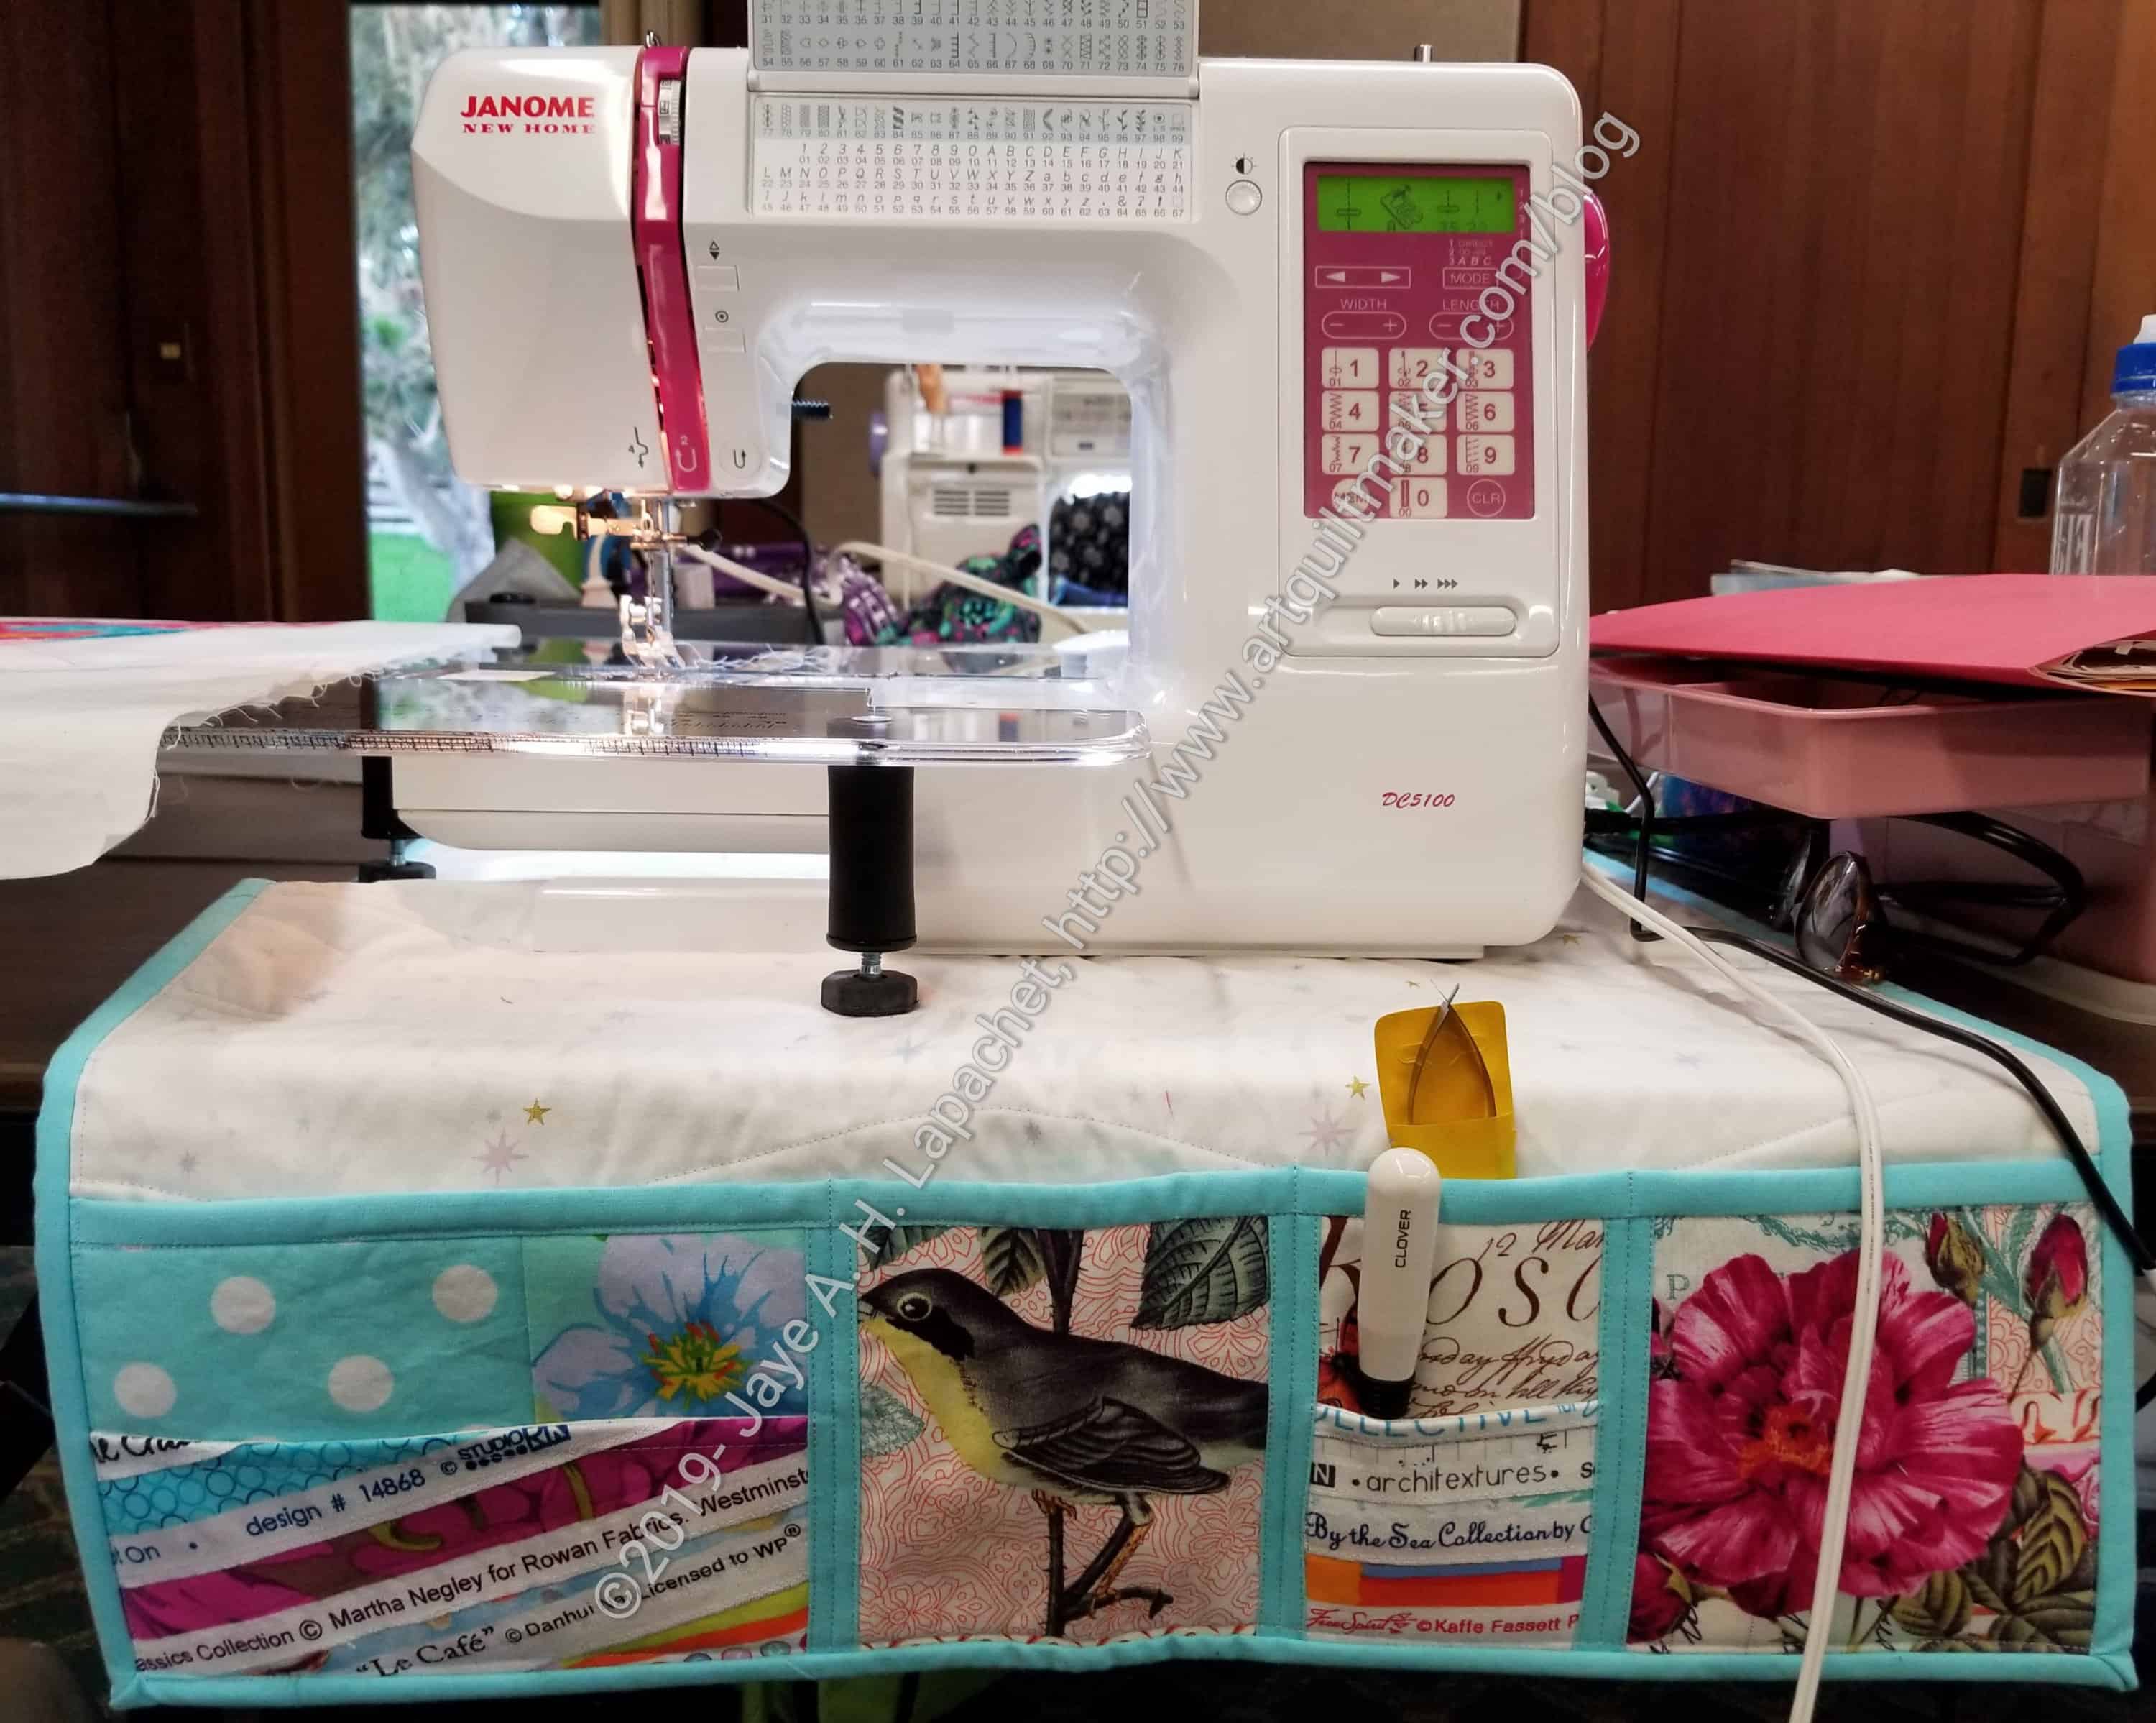
I took the Undercover Maker Mat on the CQFA Retreat. I got to try it out. That was why I made it.
I thought the front pockets worked pretty well. I can see where a pincushion might be handy, but I don’t plan to transfer my pins from pincushion to pincushion every time I use the mat.
I think the pockets would be more in use depending on the different projects I might be working on. I might use the larger selvage pocket on the left for a 6.5 inch ruler as needed. For what I did at the retreat having my snips and seam ripper handy was fine.
I had a couple of issues. First, you can see that the snips sleeve is in the pocket. Without the snips sleeve, my snips kept getting caught on the inside of the pocket. I added the snip sleeve because I didn’t want to cut the mat. Perhaps I should have used oilcloth for the inside of the pockets?
I didn’t notice it at the retreat, but I did notice it at the Jen Carlton Bailly class. I couldn’t get the legs of my Sew Steady table level when using the mat. I may want to make another mat that is larger so the Sew Steady doesn’t have to try and deal with different heights (mat/table).
None of this is fatal or a problem with the pattern.
I took Ends n.7 and the Green Strips Donation quilts over to Tim’s house the other day so he could quilt them. He has a bunch of quilts to quilt and said that a number of them need backs and batting.
This irritates me because I know that Tim does a lot of quilting for the guild. The least that people can do is get the quilt ready for quilting. Still, the top is done and who knows what happened? Someone could have just managed to get the top done before s/he had to deal with some tragedy. Also, it gives me the opportunity to participate in a group project.
This is a fun and cheerful quilt. I brought it home in order to make a back so that Tim can quilt it. I kind of think it needs a border. The texture of the blocks, however, makes me want to do some piecing rather than just sew a plain border on to it. I have a number of other donation projects in process, so I have to decide if I want to add to the list with more piecing or just get this one done.
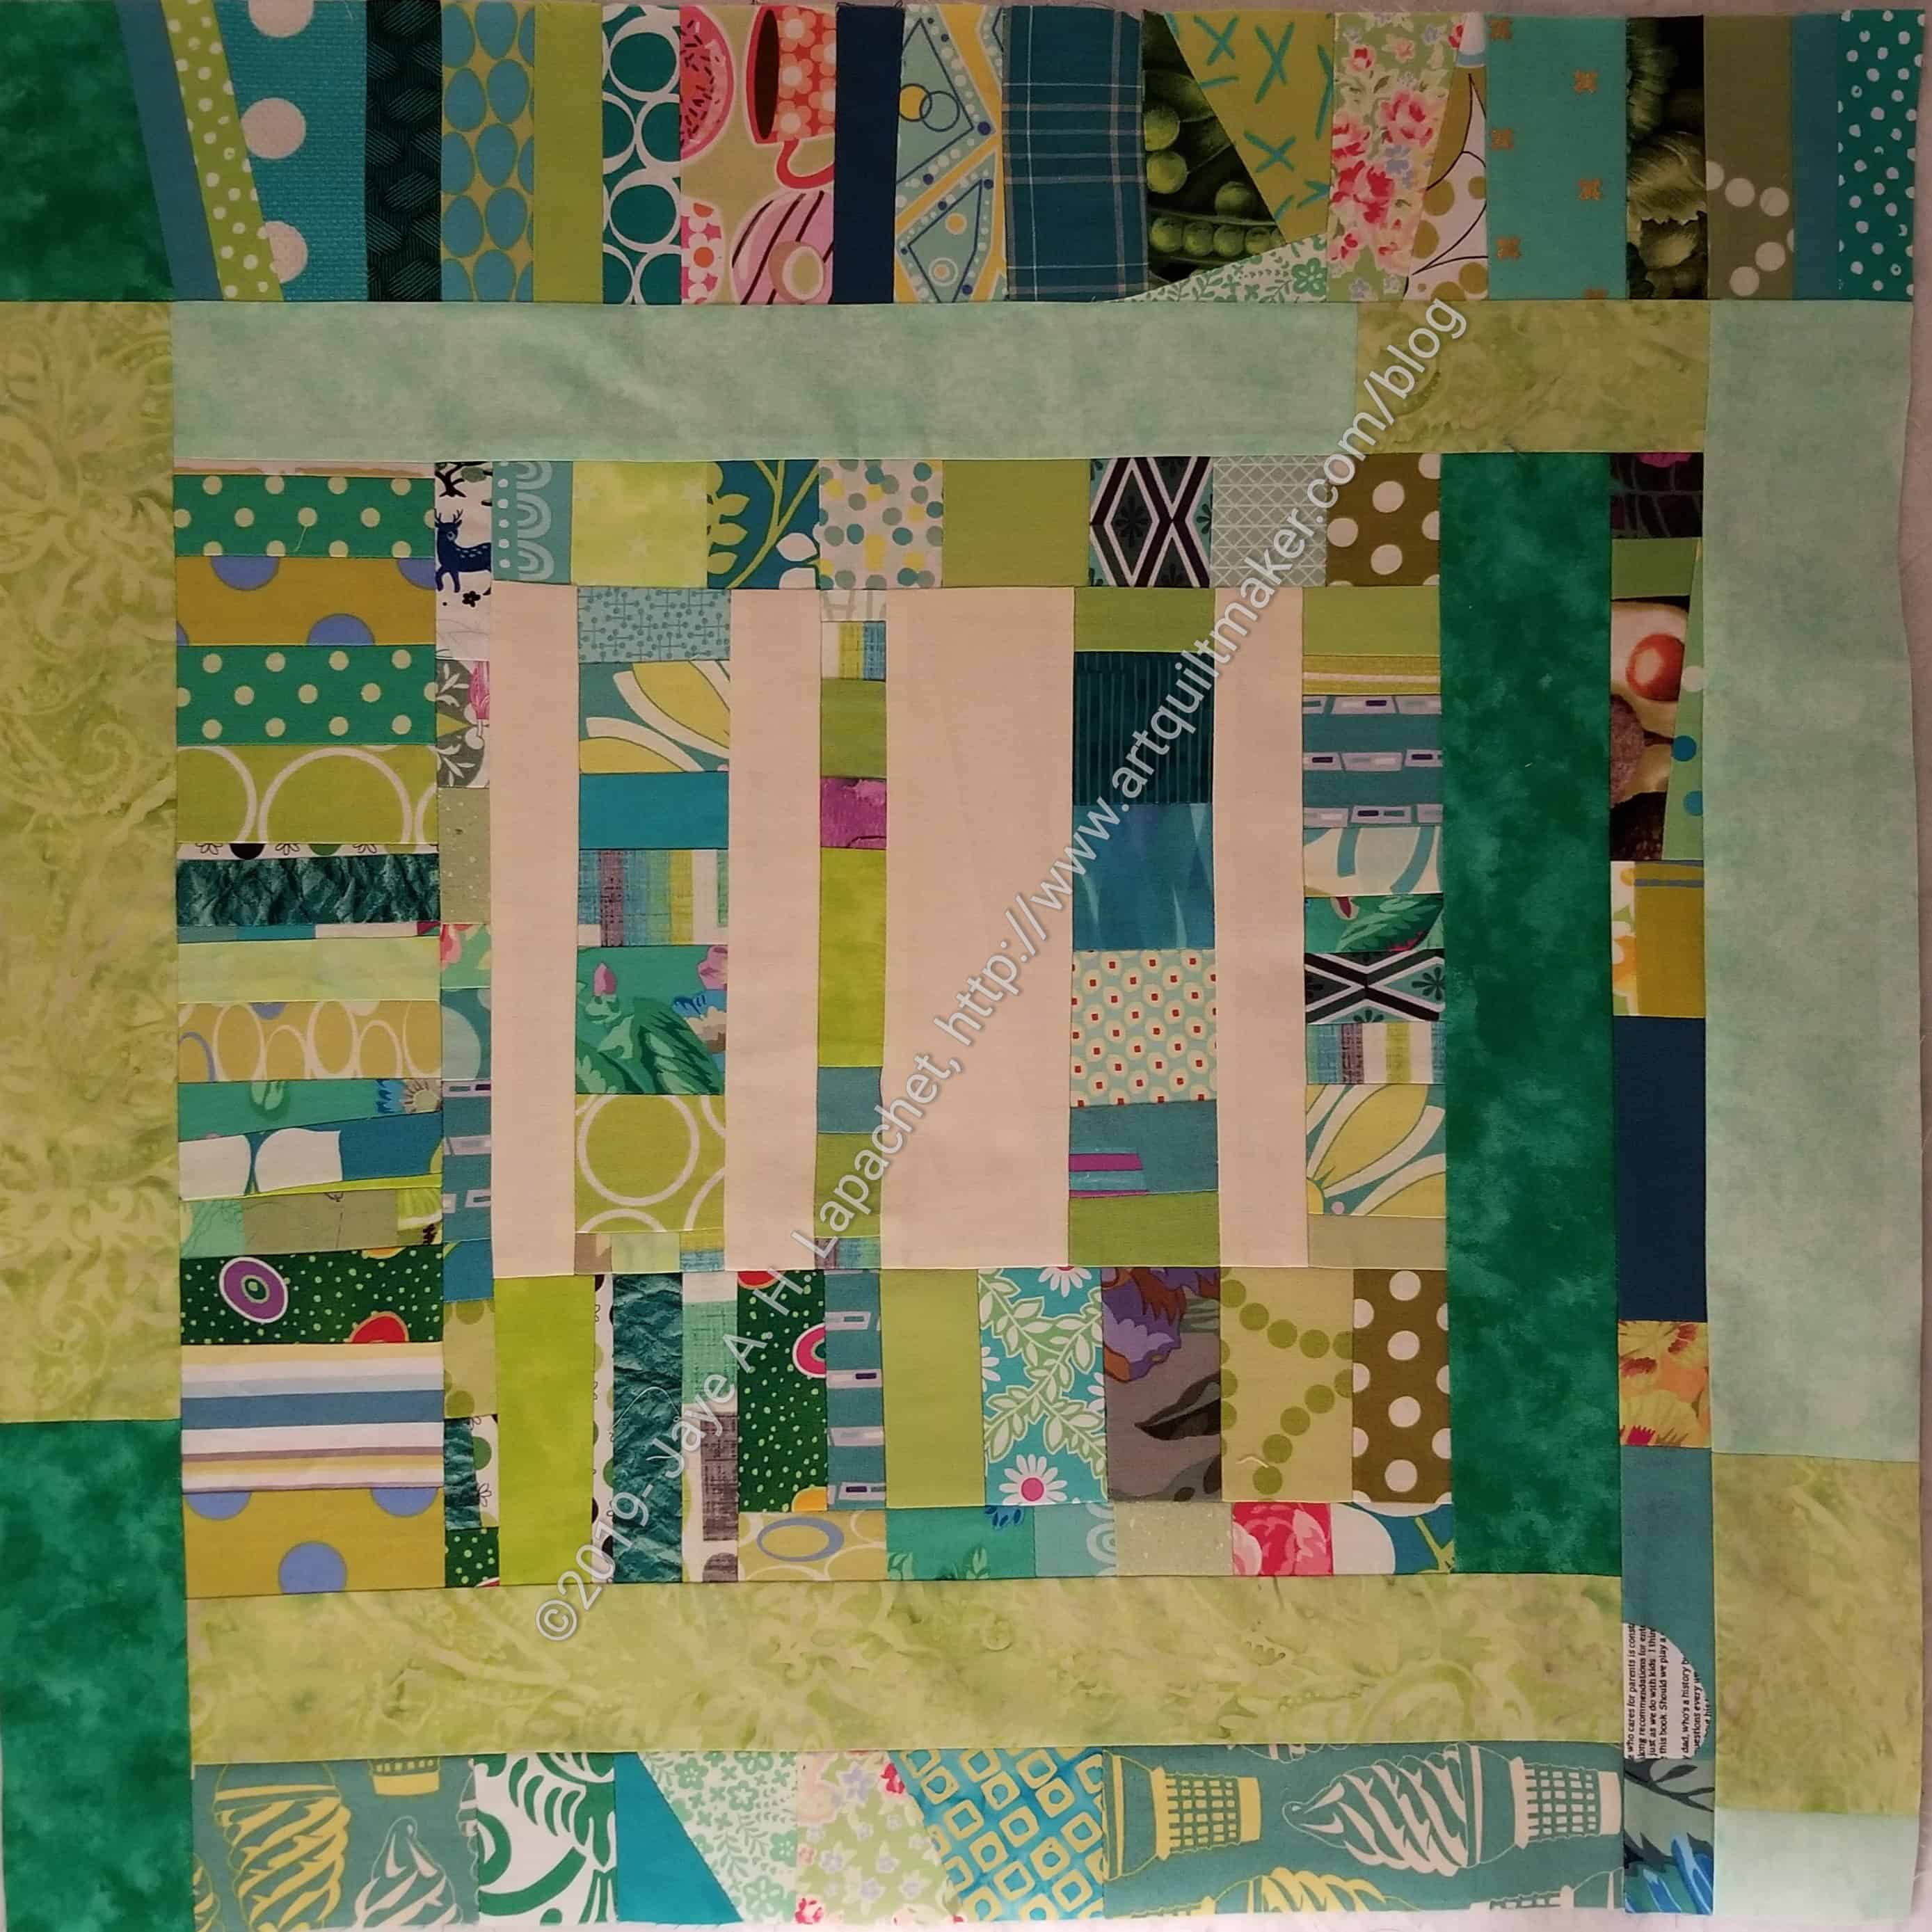
I don’t know what this will be – block or quilt. I started it because I had some leftovers from the Green Strip donation quilt.
I thought I would just make a block, hand it over to Peggy and see what she could do with it. Somehow, it is has grown into this. It is about 22 x 22 inches now and I might as well just keep on using those green scraps to make it into a top. Another 10 inches on each side will not be difficult. I might even have enough scraps.
I am almost done with another row of small strips for the right side, which will add about 4 inches to it. I grab strips or pieces out of the green bin, sew them together into some kind of strip and attach it when it is long enough. I had some plainer strips leftover from the back of the Green Strip donation quilt and have been adding those as well.
There are a lot of small pieces so I am worried about the quilting (which I won’t be doing!) I am trying to reduce bulk by pressing all the seams open, which is a big pain.
If nothing else, this is a great way to get rid of scraps. It isn’t doing anything for my collection of donation blocks, however. Tim saw the photo I posted and said that it was much more interesting than the regular postage stamp blocks the guild normally makes. Perhaps I am just branching out and using some different inspiration to create beauty for others in need? I haven’t examined my inspiration much beyond wanting to use up scraps.
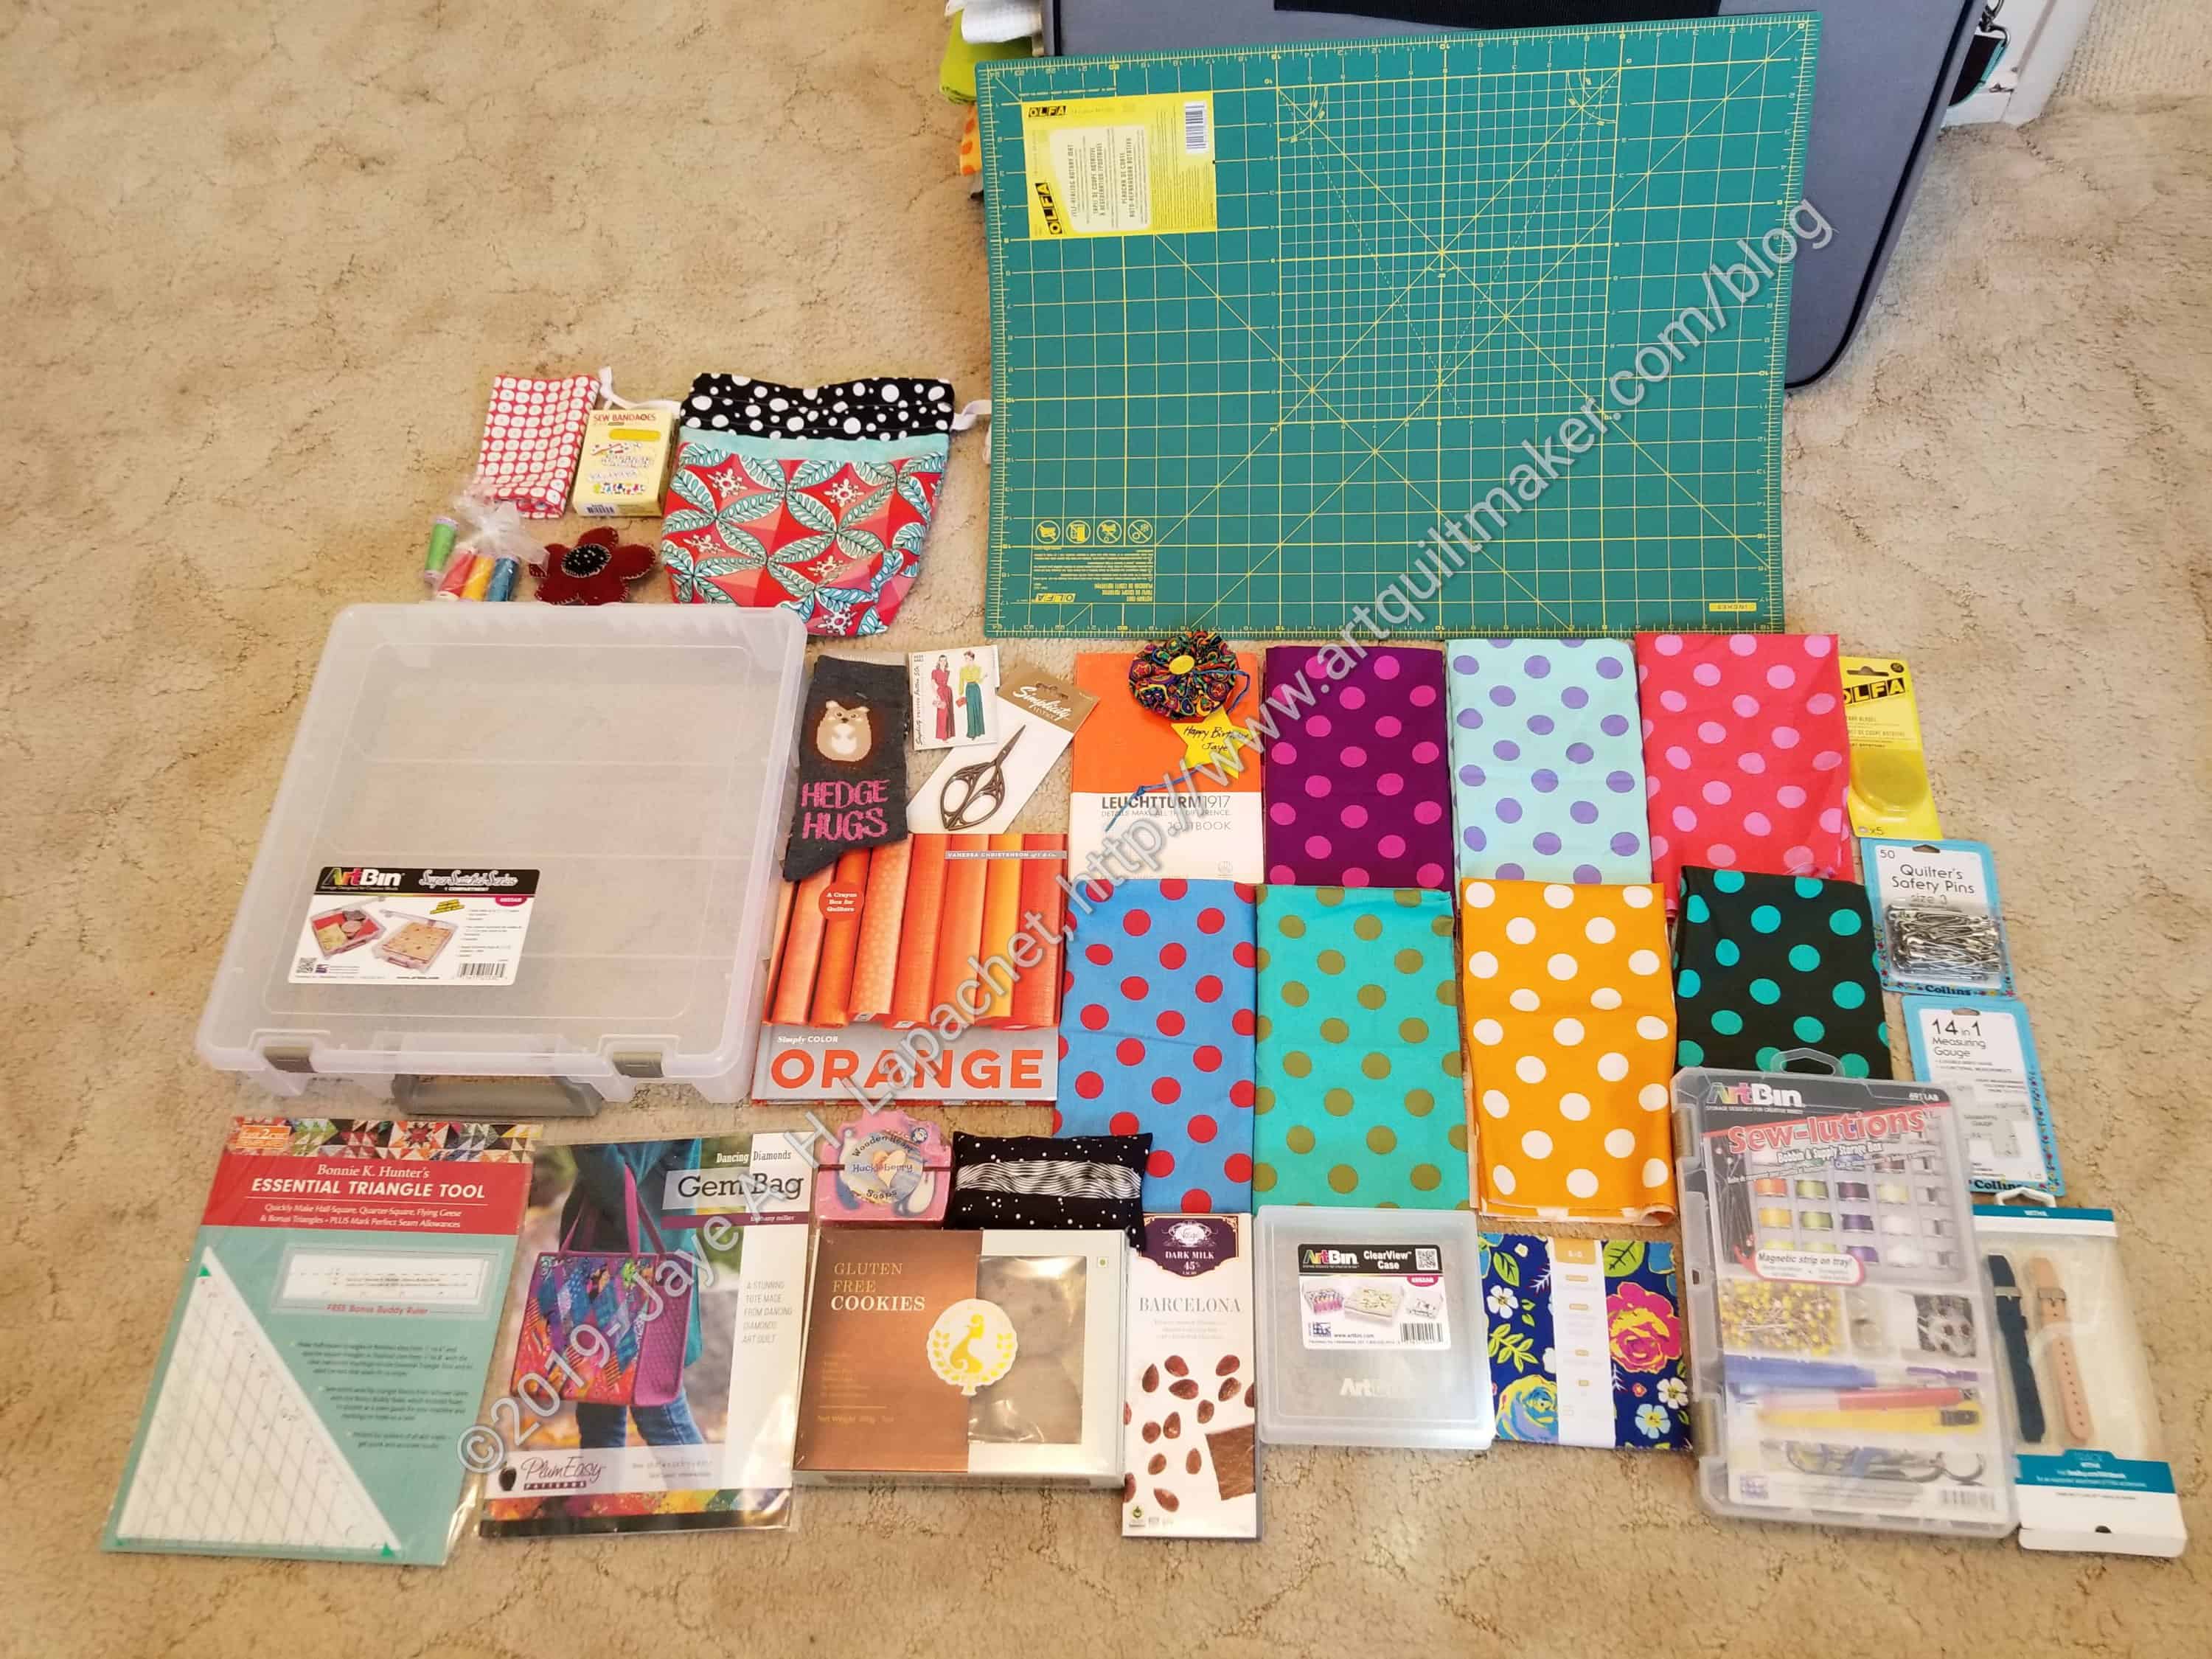
No, my birthday is not in February, but I didn’t have a chance to show off my gifts until now. I am not trying to make anyone jealous.
It was a pretty big quilty birthday, which is not always the case. I got a new cutting mat. I have smaller cutting mats that go with me when I travel or participate in Sew Day. The mat I use in my workroom, however, is the one I got when I started making quilts more than 30 years ago! It was time for an upgrade and I am using and loving the new one. It does make a difference.
I received some new Tula dots. I’ll have to figure out something fabulous to make with them.
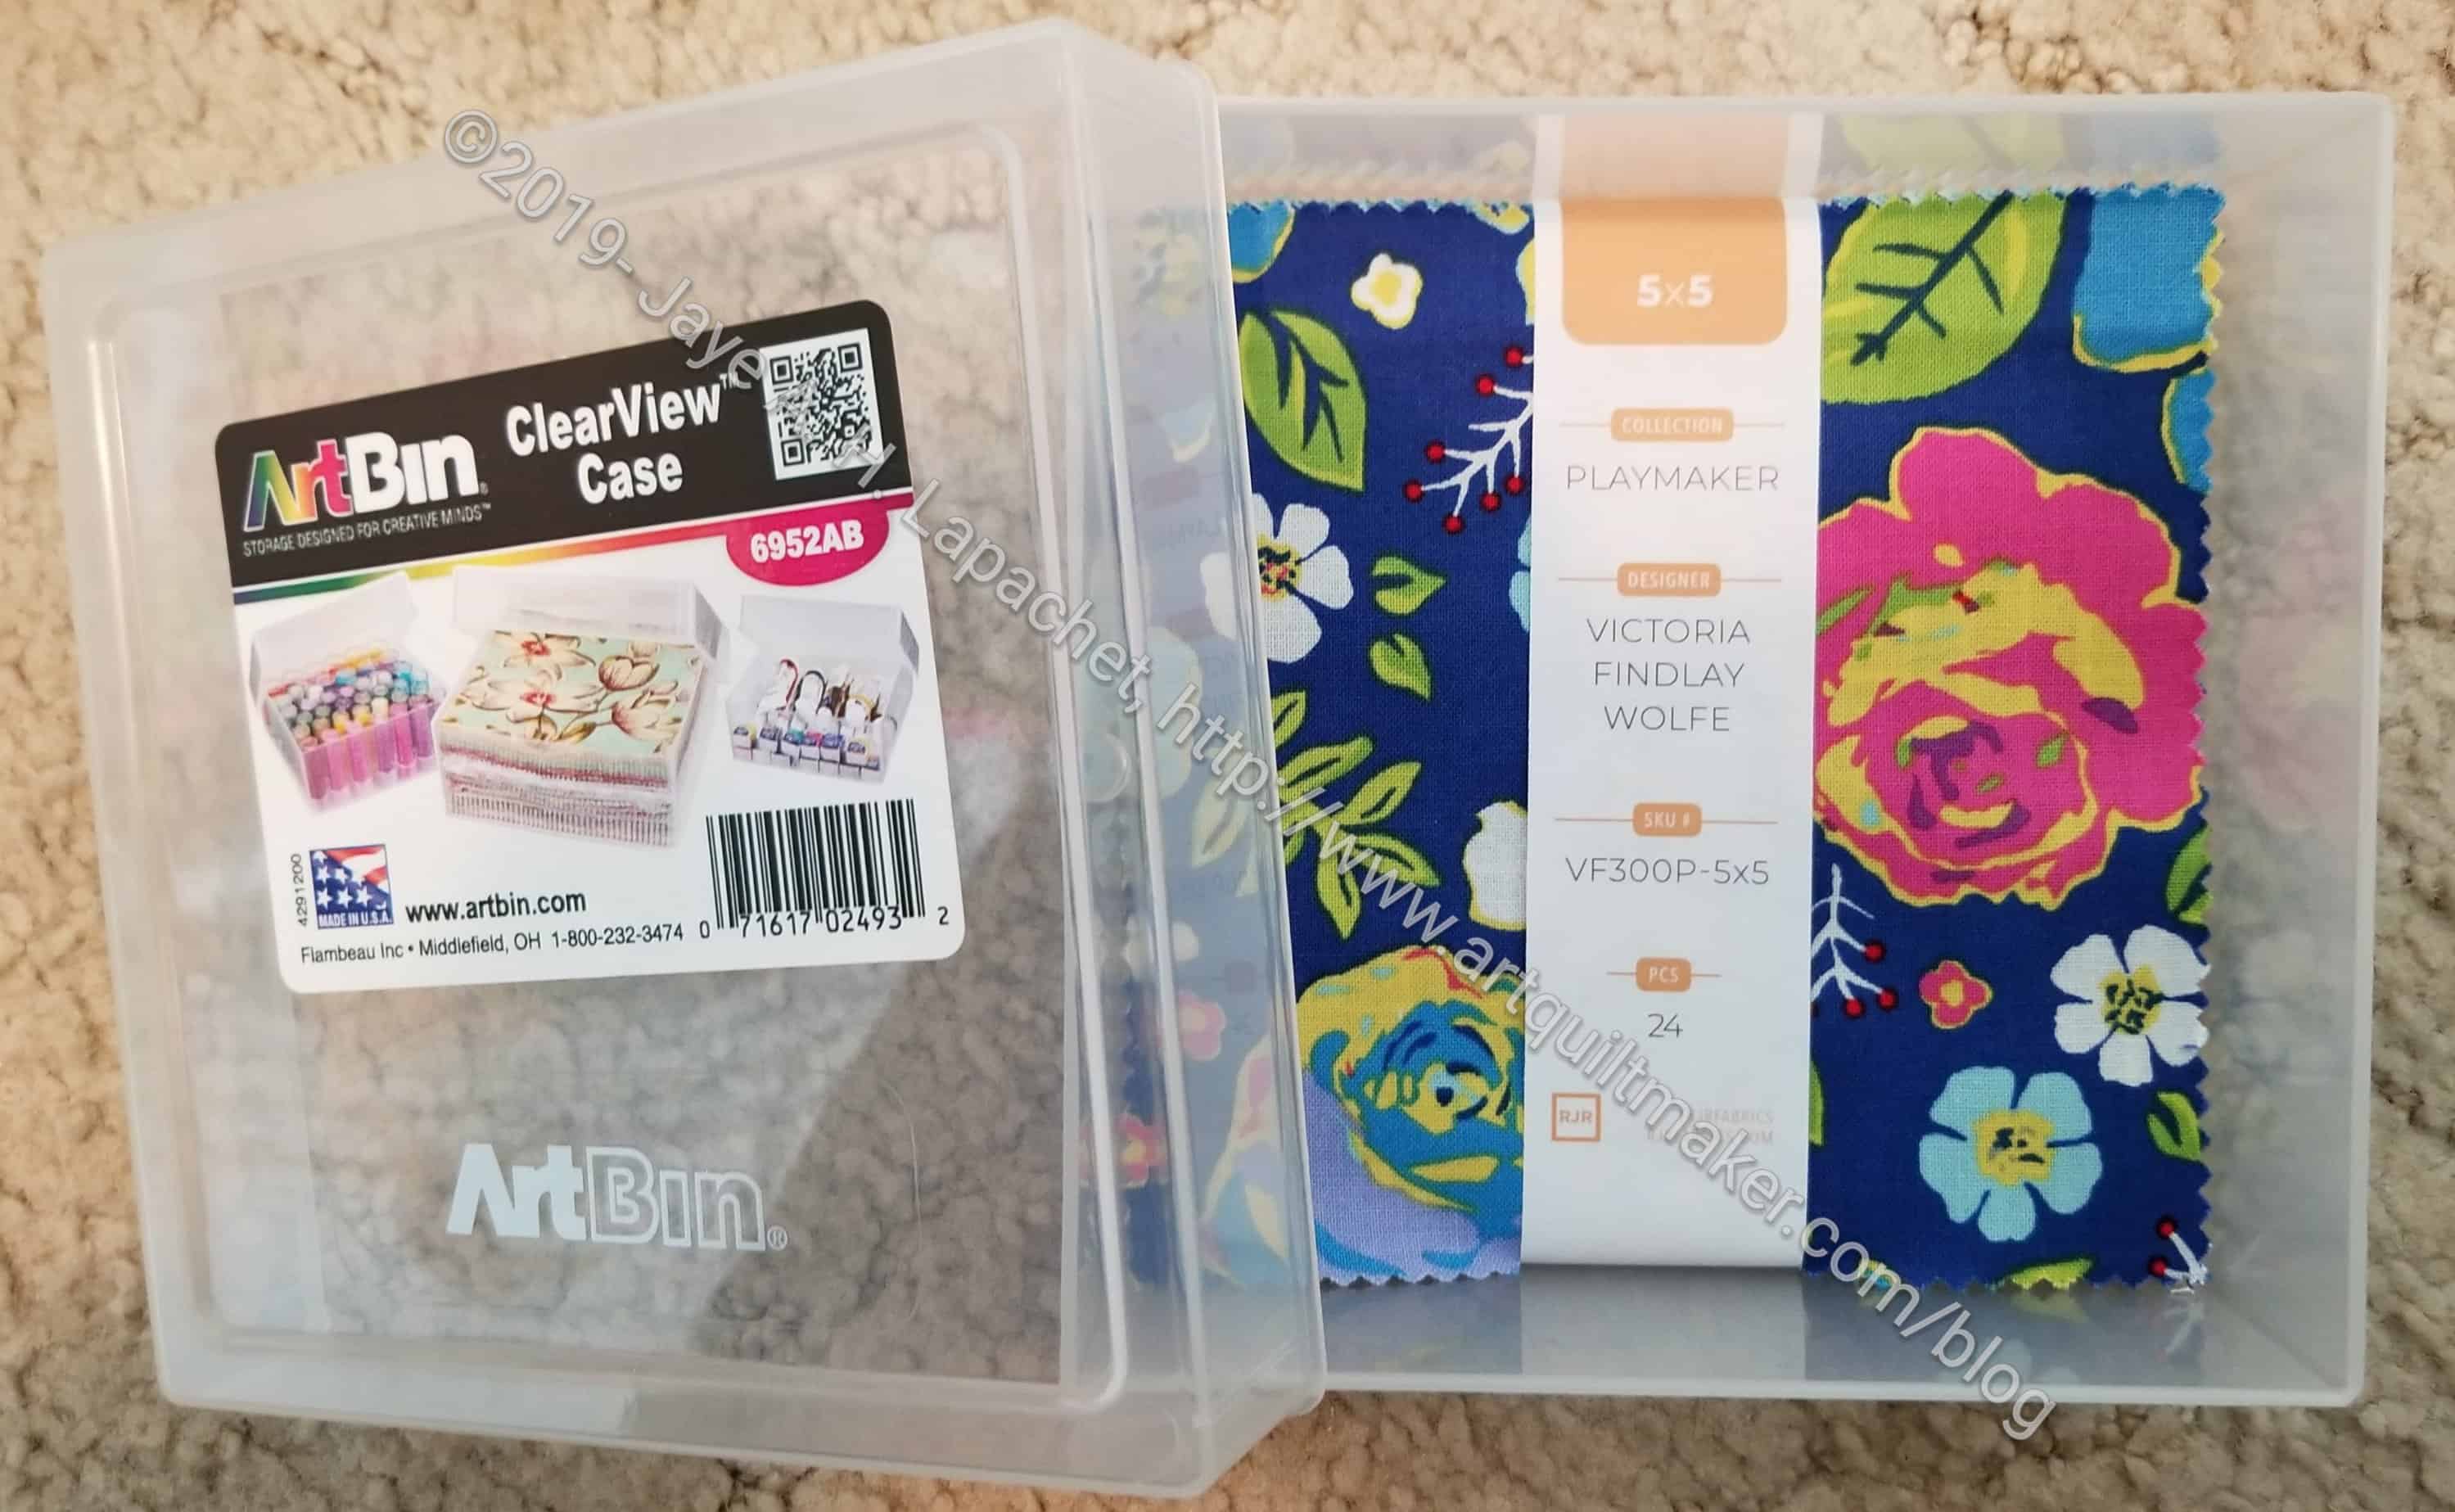
Charm square project tote
I also got a number of new project totes, which is great! I really like putting my projects in totes and keeping everything together. This little tote (right) fits charm squares. Not sure how I will use it, but will figure something out.
I haven’t tried everything out, but am slowly working my way through all the new stuff. I am so fortunate to have such great friends. It was so nice get things related to my passion.
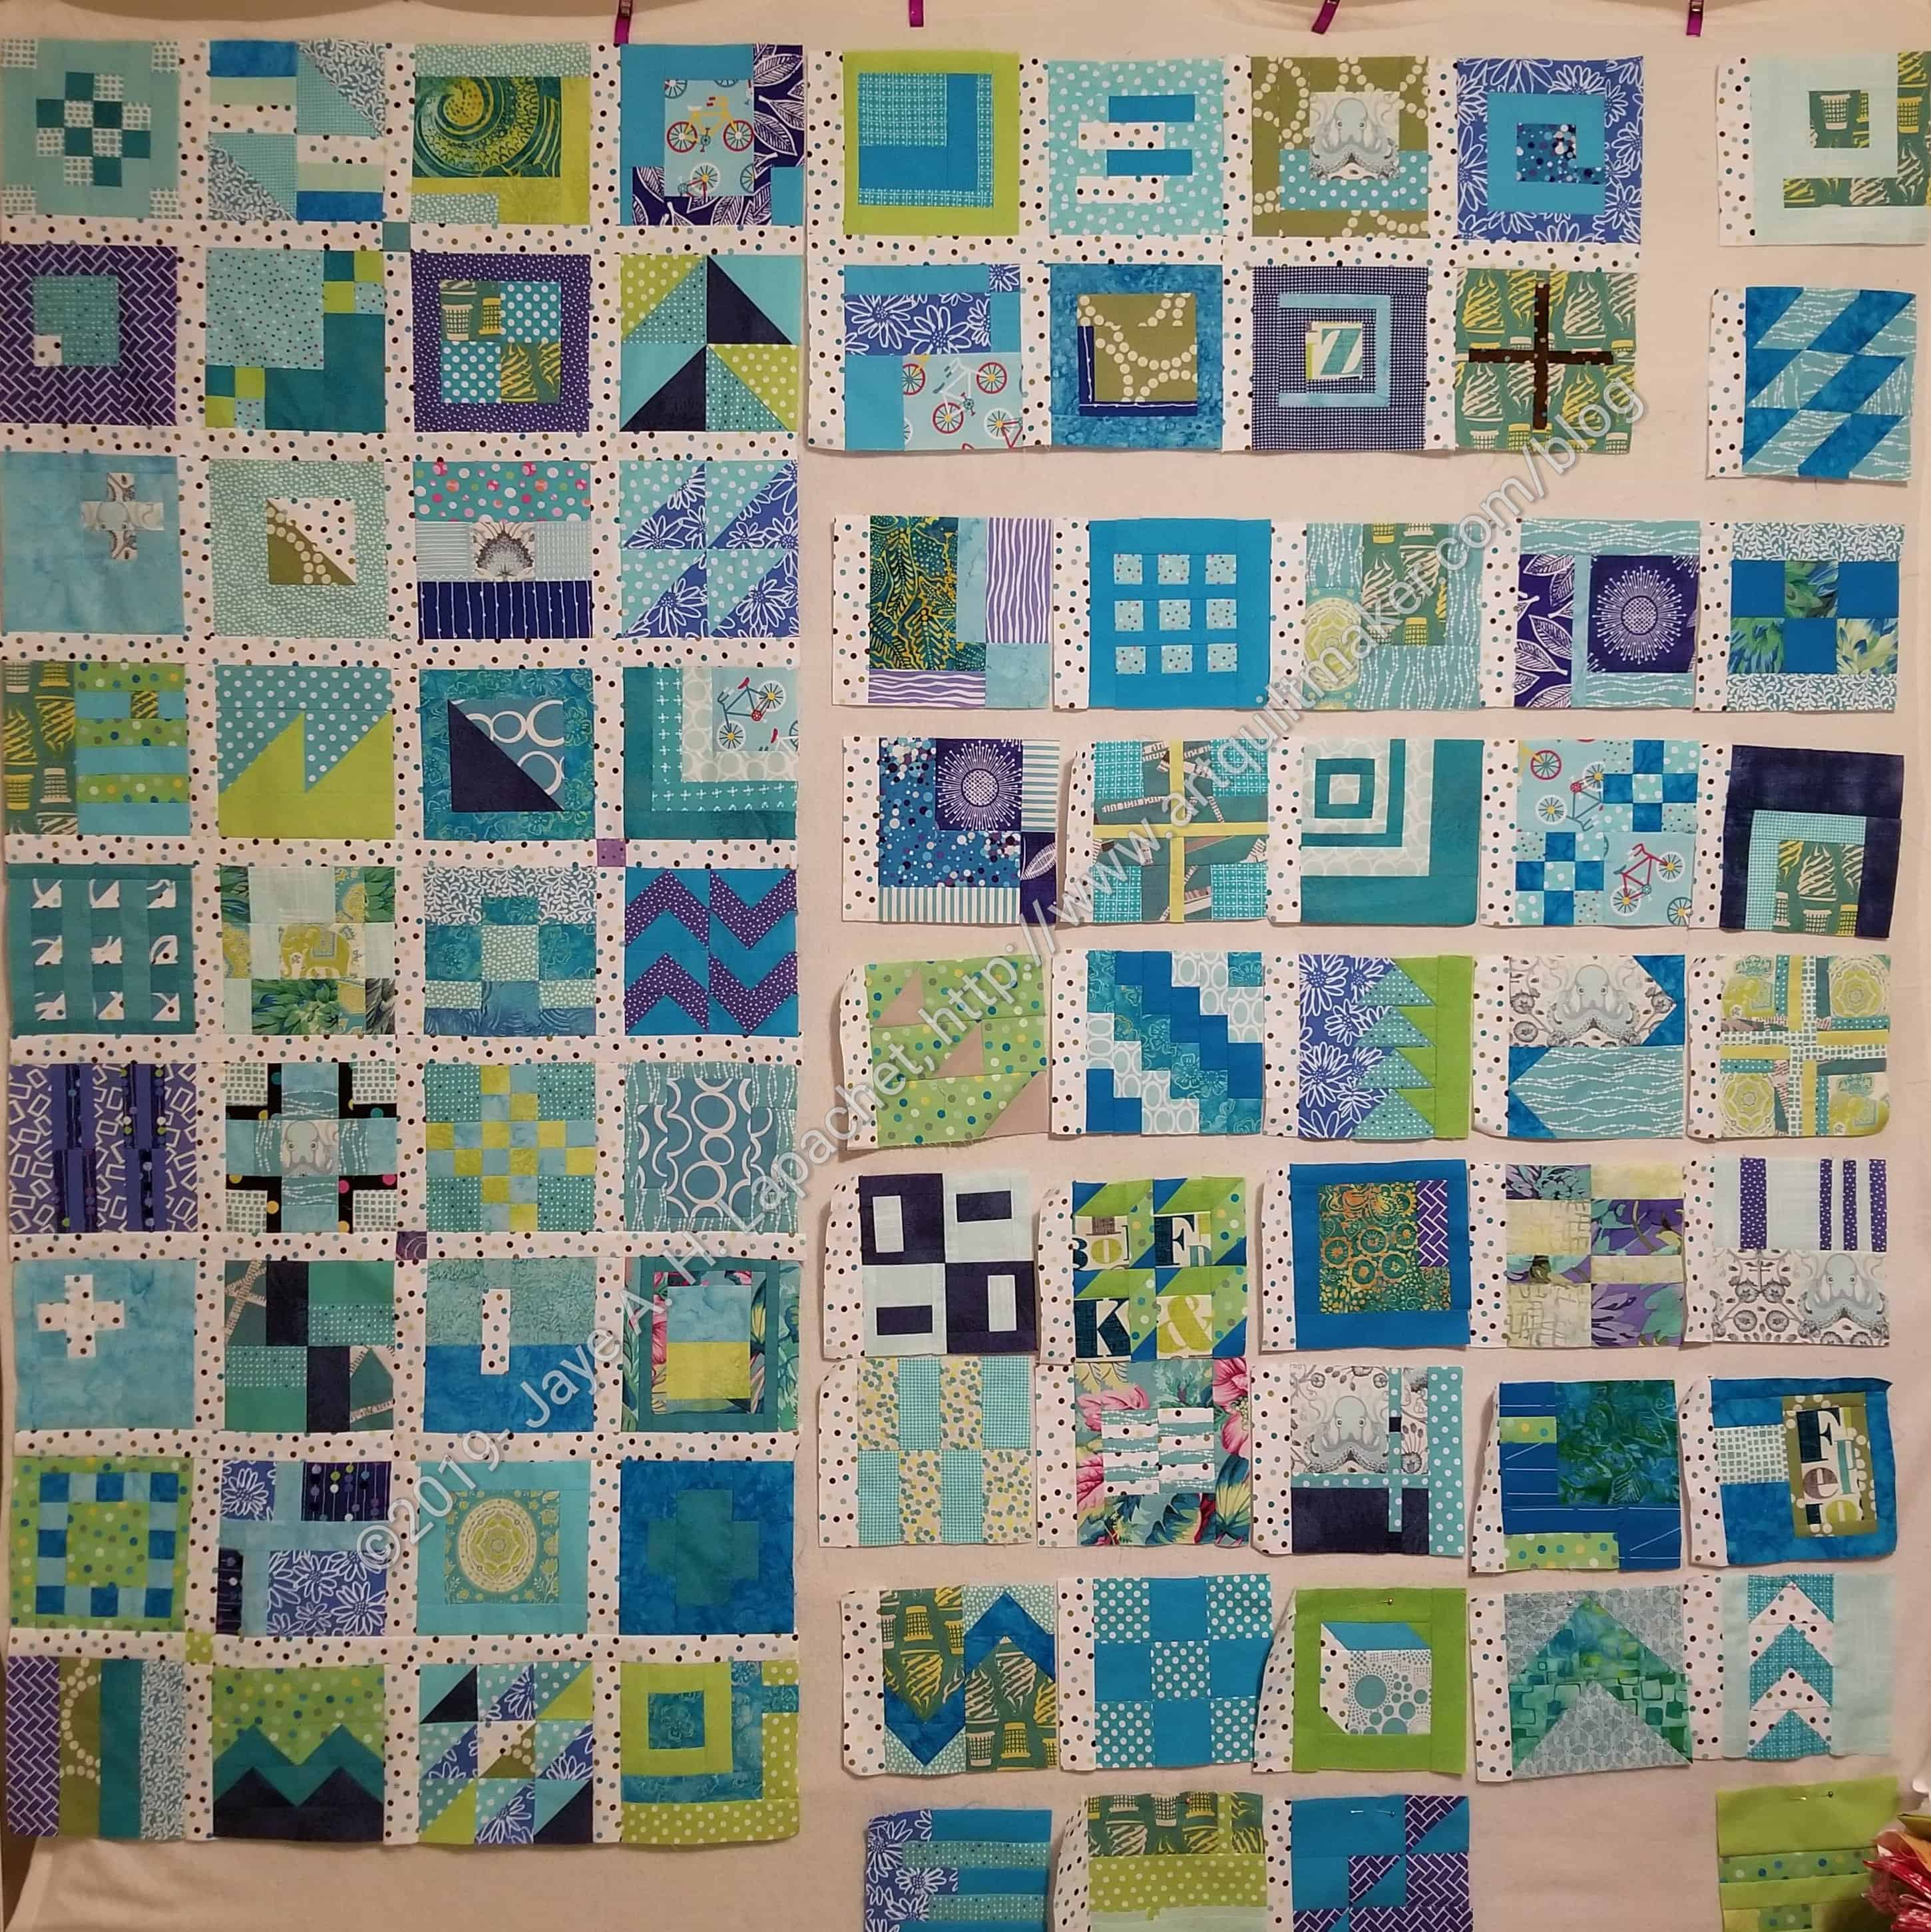
I was feeling a little discouraged by my City Sampler Progress. I felt like I spent last weekend sewing and sewing and sewing and not getting anywhere. Then, all of a sudden, the whole left side is together!
That side has 36 blocks, so I am not yet halfway through, but I do feel like it is significant progress. I also don’t feel as discouraged. I have hope that I will be able to get this top together.
I am thinking of putting the border on that side before sewing the side to anything else. I think it will be easier than wrestling the quilt when it is finished.