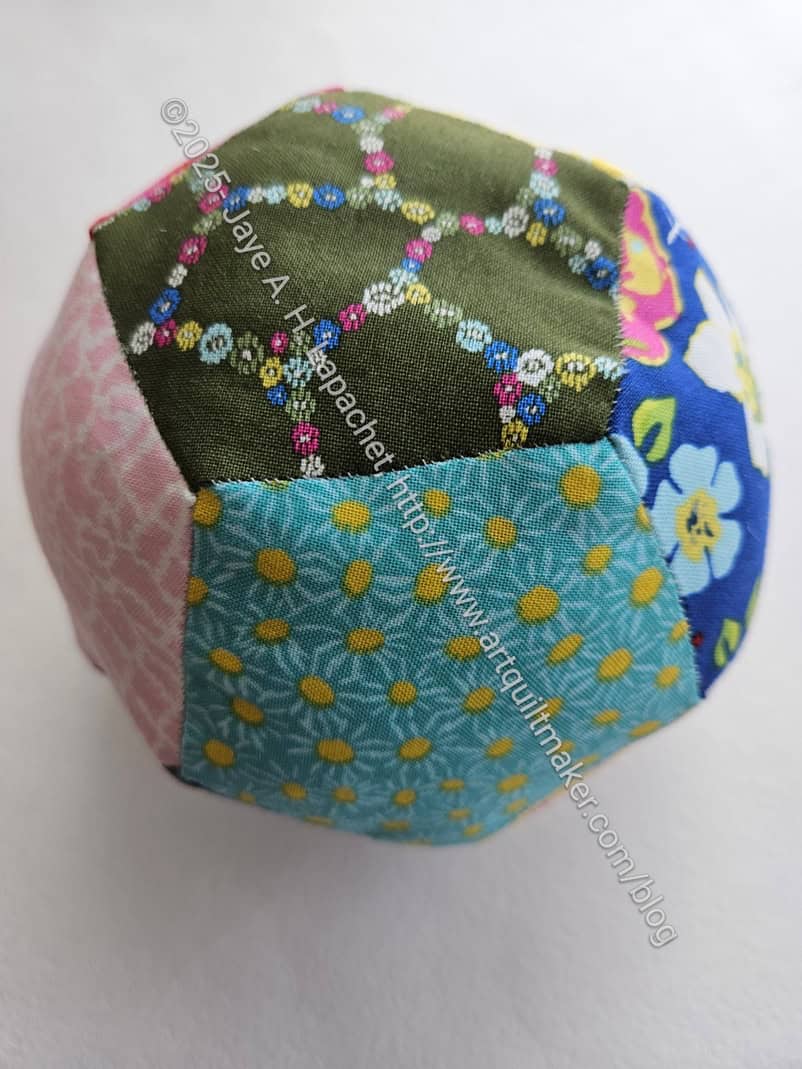
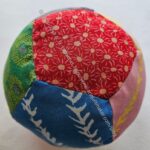
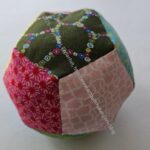
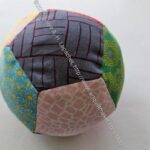
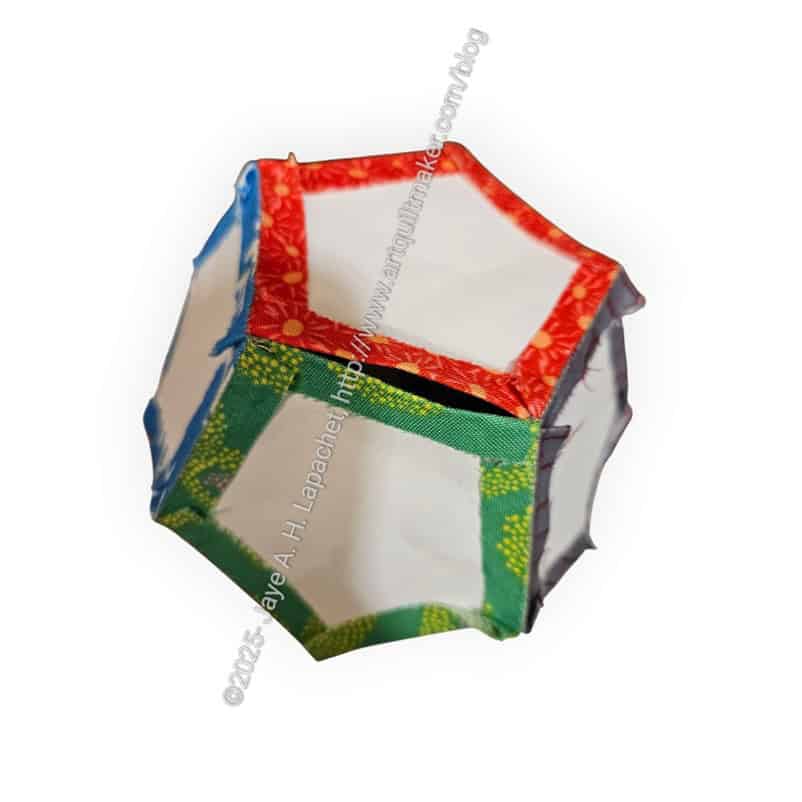
I finished the eighth EPP ball and will send it off to the owner next week.
I had hoped that this would get me back to La Pass, but so far it hasn’t.
The Beanie Baby pellets kind of gathered on one side, so it doesn’t roll very well. I have been trying to move them, but they are proving stubborn. I have to rethink how I fill these in future. I like the Beanie Baby pellets to provide some weight, but be evenly distributed. I am not sure what happened this time.
I do like these little balls and can make them very quickly for friends’ babies.
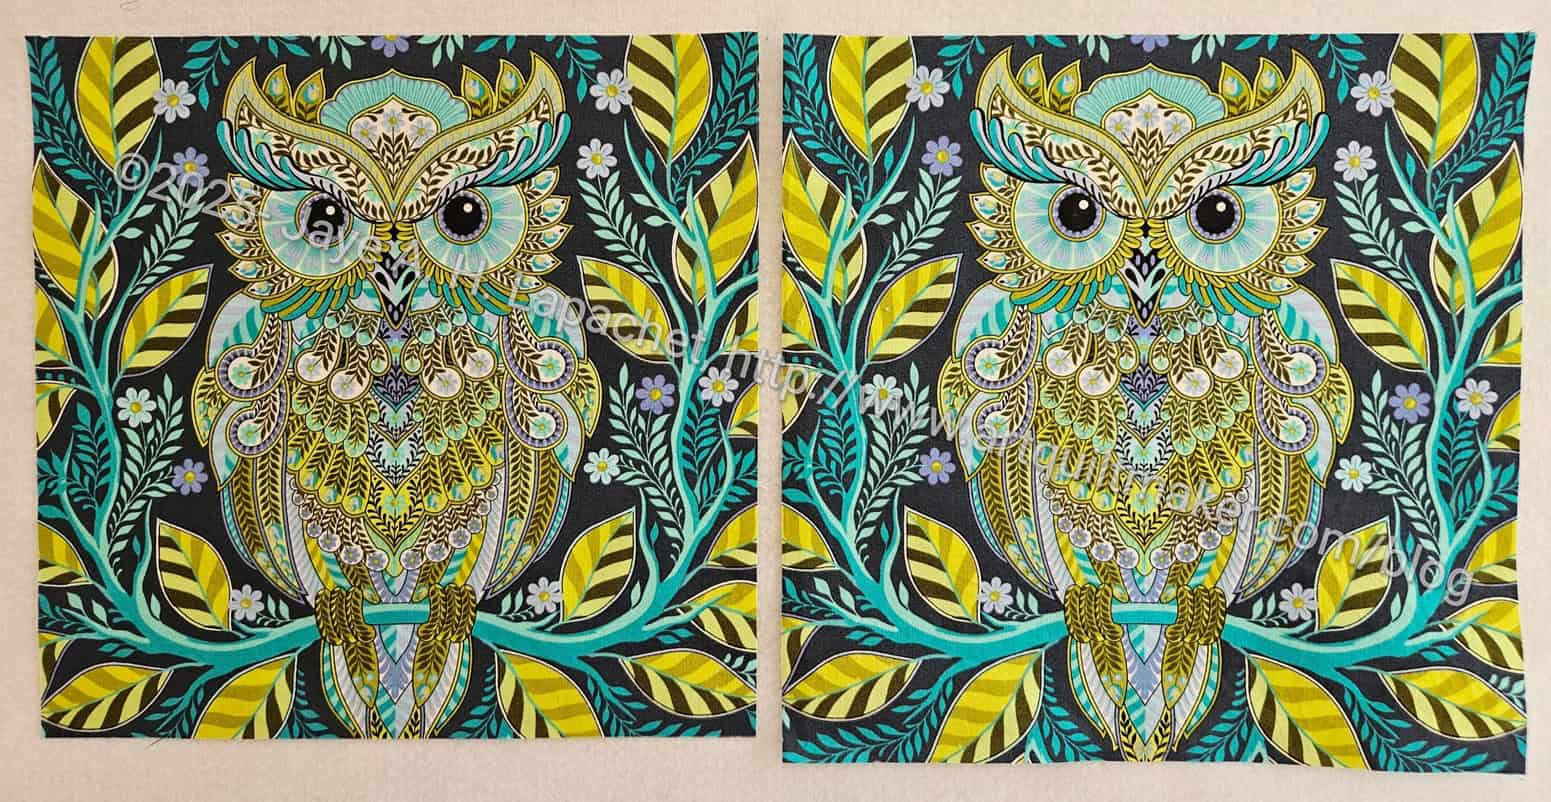
It’s been a good while since I cut out the EPPic Bag. I decided to go through my project bags over this weekend and this was the first one on the list. I decided to use the owl fabric from Tula Pink for the exterior. I wanted to cut it out and cross that off the cutting list.
I know I was in an agony of indecision when I first started choosing fabric about whether to make this for myself or not. I decided it doesn’t matter and I am just going to make it the way I want. We’ll go from there. It might be a bag I can enter in the Fair.
EPPic: fussy cut owls
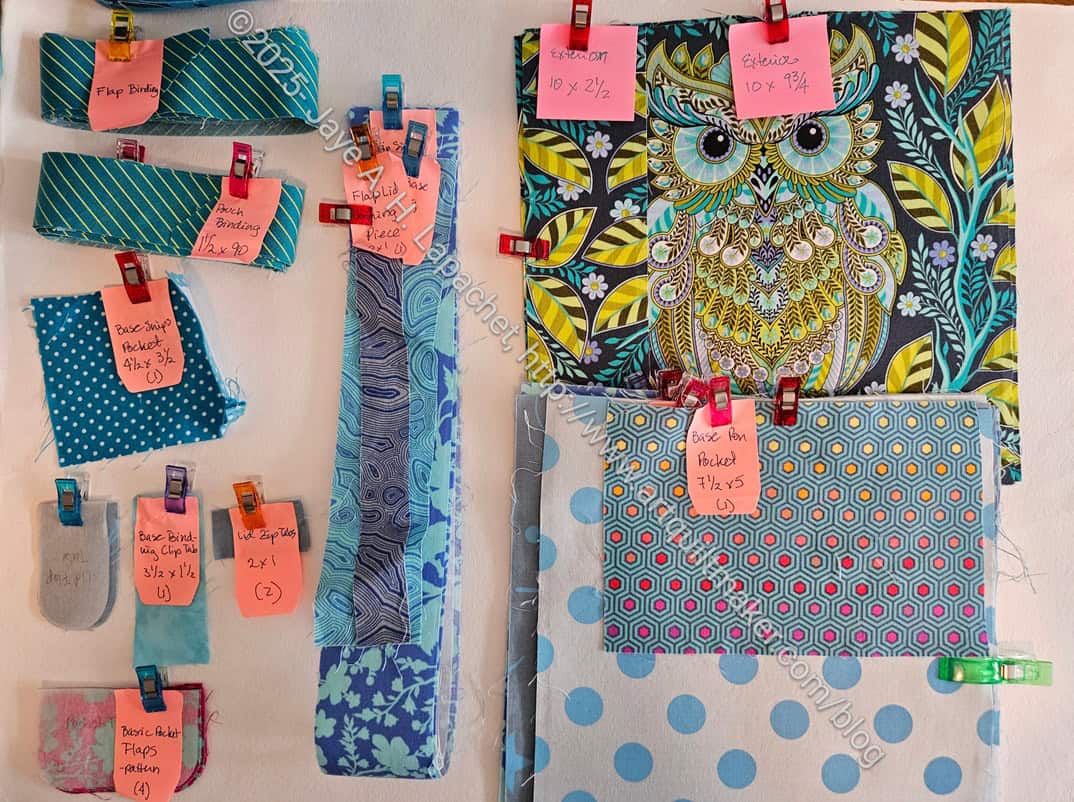
Proceeding from there, I fussy cut the owls in the right size and did some interfacing of pieces. I used a lot of Decovil Heavy and hope that will be heavy enough for the ‘heavy’ interfacing indicated in the pattern. I tried to be very careful about lining up the center with the center of the owl. The owls are drawn in such a way that I was able to line up the ruler on the center line pretty easily.
EPPic all cut out
I haven’t actually done any sewing yet, but we’ll see if I get to it.
I am juggling a lot right now and every time I go near my sewing machine, I just don’t feel like turning it on. Some of this has to do with finishing the Handbag Sampler and getting it ready to be quilted. That was a momentous (for quiltmaking) occasion. Part of me feels like everything is done, even though my to do list is still filled.
I know it doesn’t look like that to you as I keep posting.
I am wandering around near my projects and have plenty on which to work; I just don’t seem to do it. Nothing is super pressing, I guess.
Four Patch Fun blocks
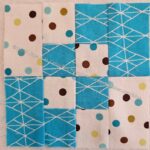
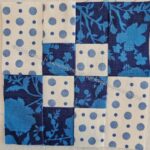
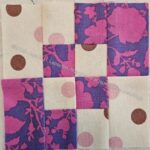
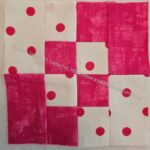
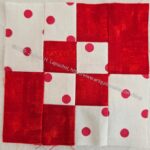
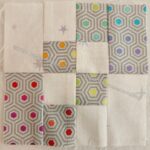
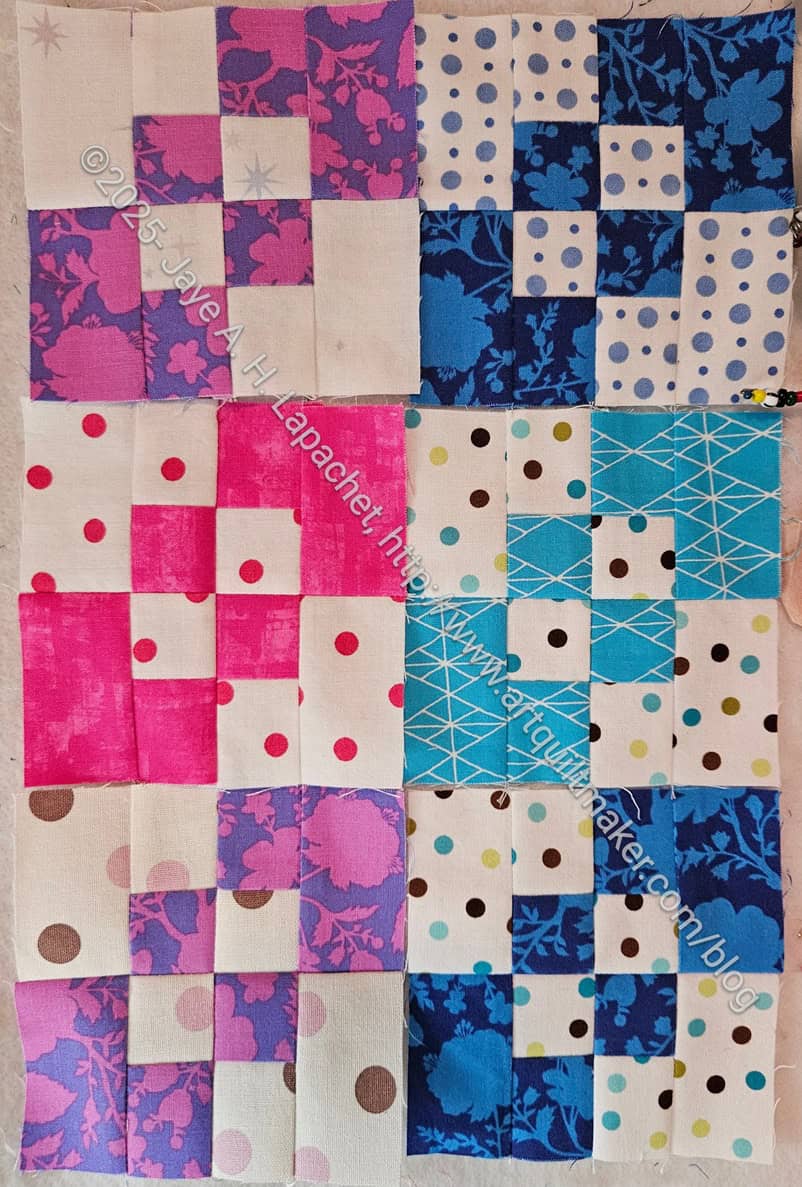
Finally, I got out the directions for Bonnie Hunter’s leaders and enders challenge, Four Patch Fun, which I mentioned recently. I made some size adjustments so I could use up the leftover strips from the Half Hexie Star project and just started sewing these small blocks together.
They are very fast to sew and look great together. I don’t know how the different sizes will look together, but we will find out at some point.
From each Half Hexie Star I get enough pieces for half of the pieces I need for two blocks. As you can see above, the blue Tula True Colors print and the pink/purple Tula True Colors print both show up twice. I am trying to make them different by shuffling the backgrounds. I want each block to look different, if I can easily manage it.
There is something very satisfying about seeing these stack up.
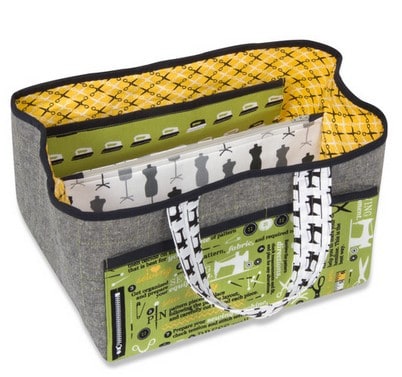
I found the Sewing Date Traveler pattern a few months ago. It is a free pattern on the Robert Kaufman site. It was designed by Cynthia Frenette. I looked her up on IG, but didn’t see any other bag patterns. I wasn’t sure whether I would make it or not, but saved the pattern anyway.
Recently, I found out that my mom has to have another surgery. After looking at various examples on IG, I decided to make this to corral all the little things (phone, glasses, book, etc) that lay around a hospital room. She had a nice big ICU room before, but we hope she doesn’t get sent there and I don’t know how big the normal rooms are.
RK Sewing Date Traveler
The bag doesn’t have a closure, so it will be used more as an organizer than security. I keep thinking of it as a tray. The picture on the RK site is a little confusing until you read the directions (which I actually did for once). I thought this bag was more like the Sew Together Bag. I thought the green pocket on the inside back was another zipper pocket. In truth, that is a slip pocket on the back lining. The construction is a bit like the Sew Together Bag. If you have made one of those, you should be able to make this without much trouble.
Famous last words. LOL. The construction, for me, hasn’t been the problem. It is very straightforward, if different from the other bag designers whose patterns I normally use. The problem is the interfacing. Since this will be used for who knows how much stuff, I wanted it to stand up to some heavy use. I thought foam might be ok, but wanted something stiffer if I could find it. The pattern calls for Pellon 65. It is described as “… Extra Heavyweight is a sew-in interfacing for extra firm body and stiffening. It is great for printing, visor brims, backpacks, and drapery headers.” I have a chart for interfacing equivalents, but I couldn’t find an equivalent for Pellon 65 on any of them. The description told me a little about how stiff it was and I thought I wanted it stiffer. I used Pellon Peltex 71F, which I knew was thicker than how Pellon 65 was described. It is thick! I don’t use it that often, but once I started, I couldn’t backtrack.
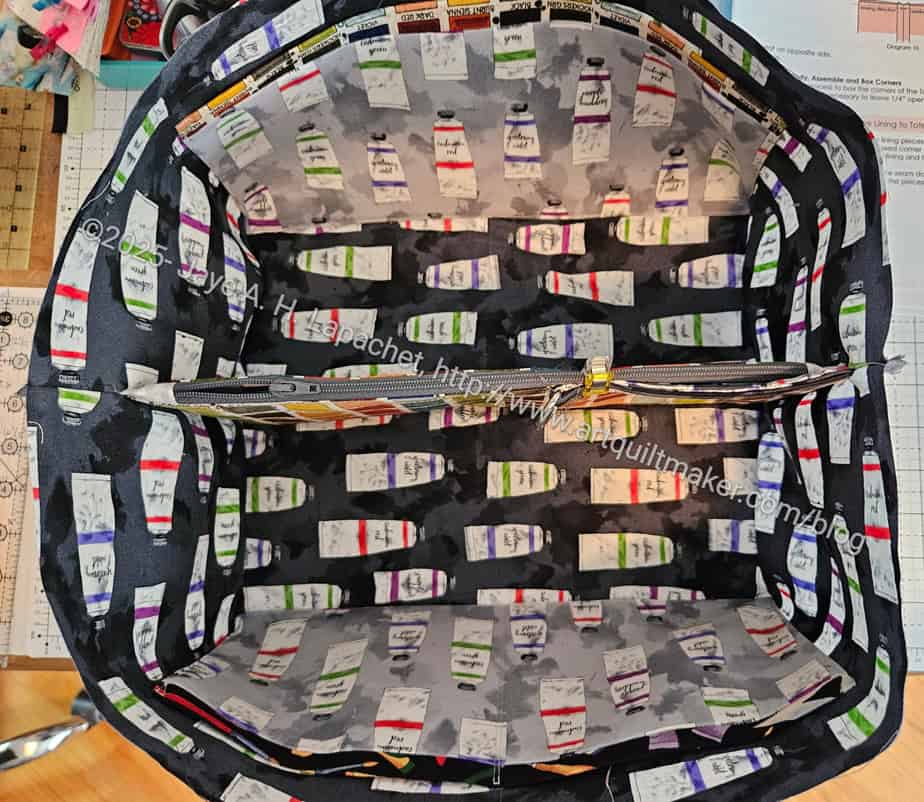
Sewing Date Traveler lining assembled
At the moment, the exterior, which has the Peltex attached, is flat on my ironing board, but the lining is assembled. I thought the bag would be larger, but I think it is a good size. Also, it isn’t exactly small.
I thought I would get the whole thing finished over the weekend, but, as you can see, that didn’t happen.
It is good to have a small hand project to work on in the evenings. It is keeping me from playing too many games on my phone, which I think was making my hand hurt. I have a few more seams before I can pull out the paper and stuff it.
At a recent guild meeting, we talked about themes for the Fair challenge. One idea was an ugly fabric challenge. Been there done that. I am not a fan.
Diamond Test Piece
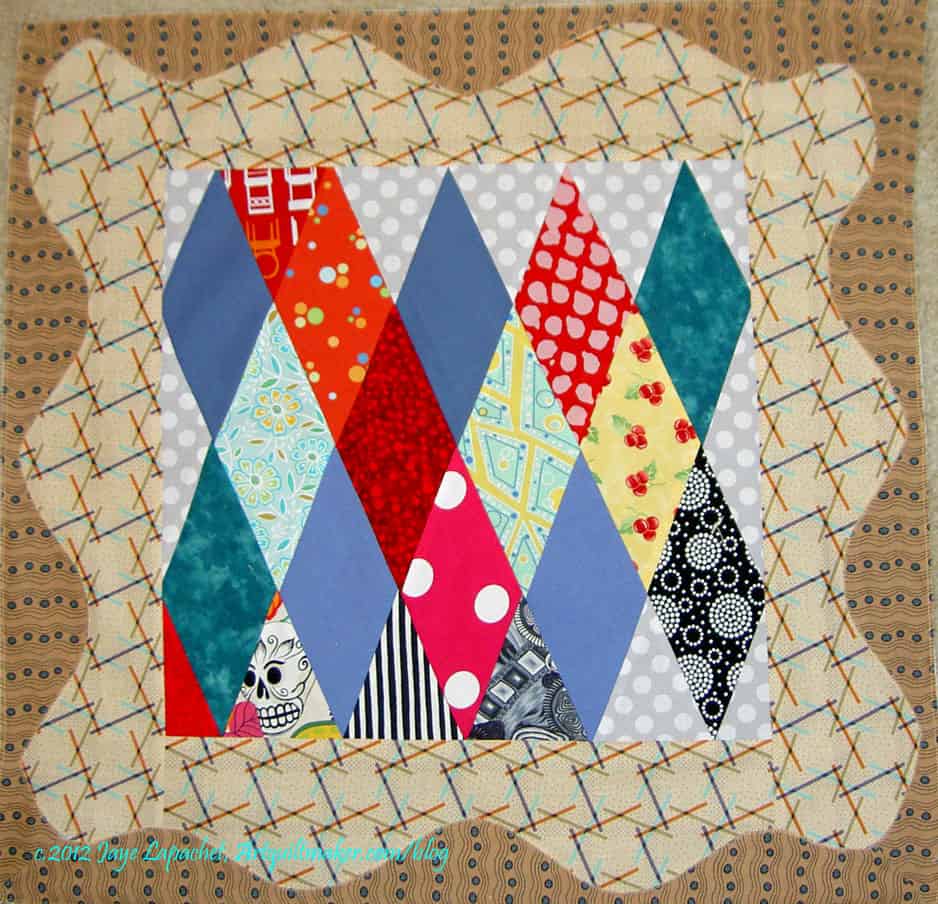
When I was rummaging for the Handbag Sampler a few weeks ago, I found a few small pieces and some blocks about which I had forgotten. One of the pieces was a diamond test I worked one before I made the Fabric of the Year 2010 quilt and to test a border idea for one of the Bullseye quilts. I also found a post about it. I thought it was older, but I guess 15 years is old enough. This test was made with ugly fabrics. I think the outer brown might be a Civil War print. Yuck.
I didn’t remember making this when I saw it and knew I wasn’t going to make it the center of a quilt. I decided to make it into a donation quilt. My mantra is “someone will like it” whether I like it or not.
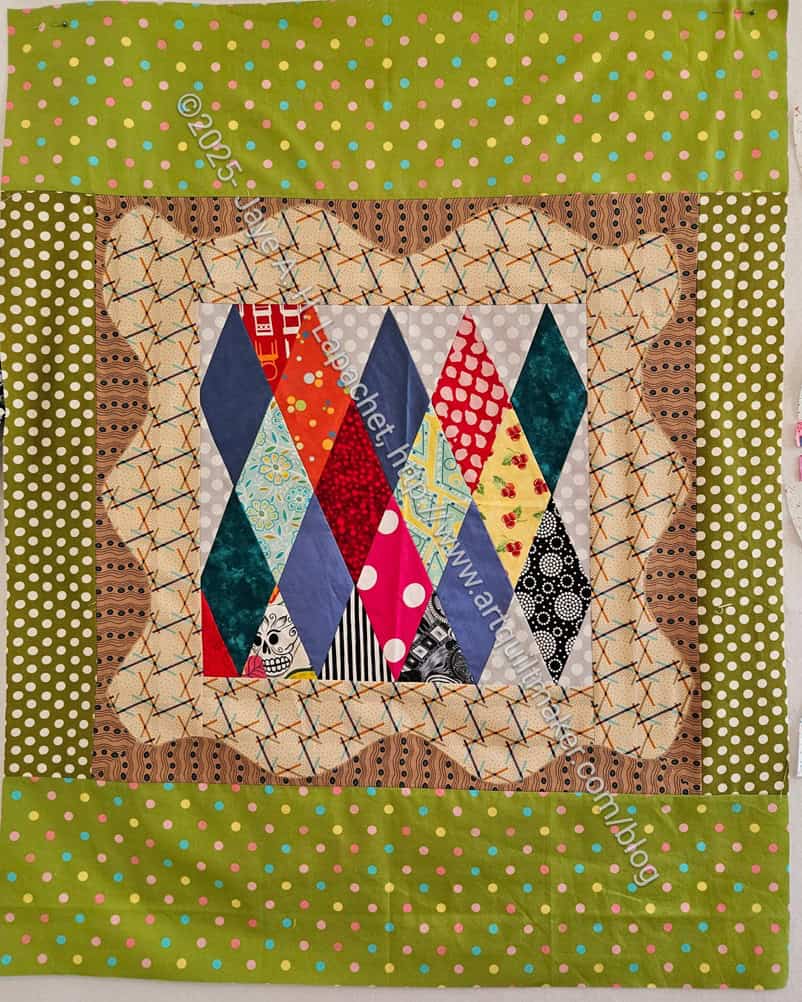
Diamond test with borders
The color scheme was a bit depressing to me. That is one reason why I am not excited about an ‘ugly fabric’ challenge. I decided to pull out the greens. The more subtle greens in the background of the border print are hard to see, but the odd greens I found worked very well. I used a lot of green not only to make the quilt a decent size, but also to overwhelm the brown.
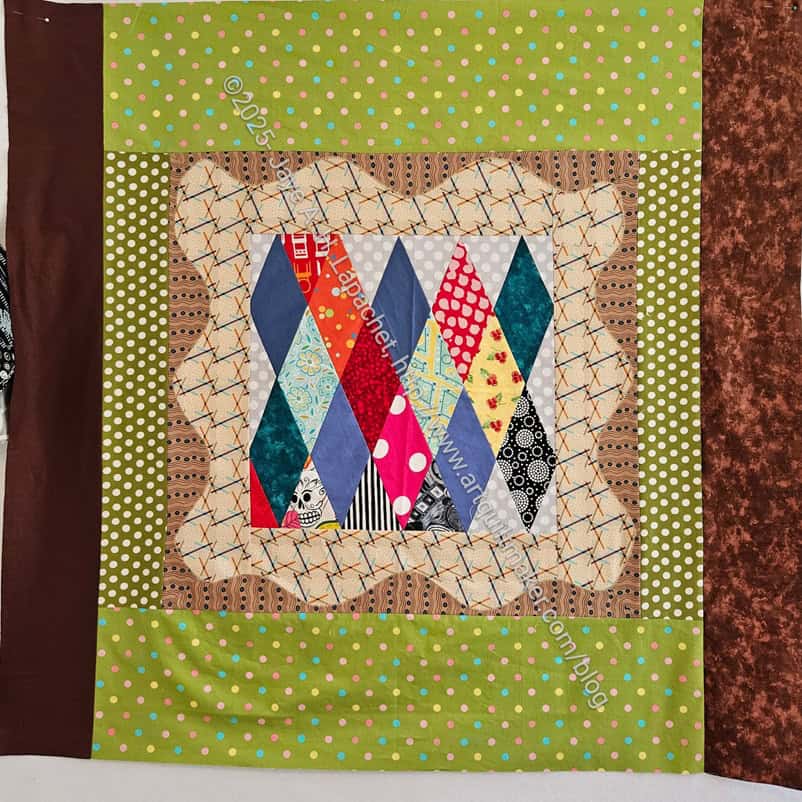
Diamond test with outer borders
The piece wasn’t quite big enough, so I found some browns that weren’t hideous and added some additional strips. I didn’t have enough to put on both sides. I used two different prints that are similar colors.
The brown borders are ok. And I’ll be able to say I used some brown. 😉
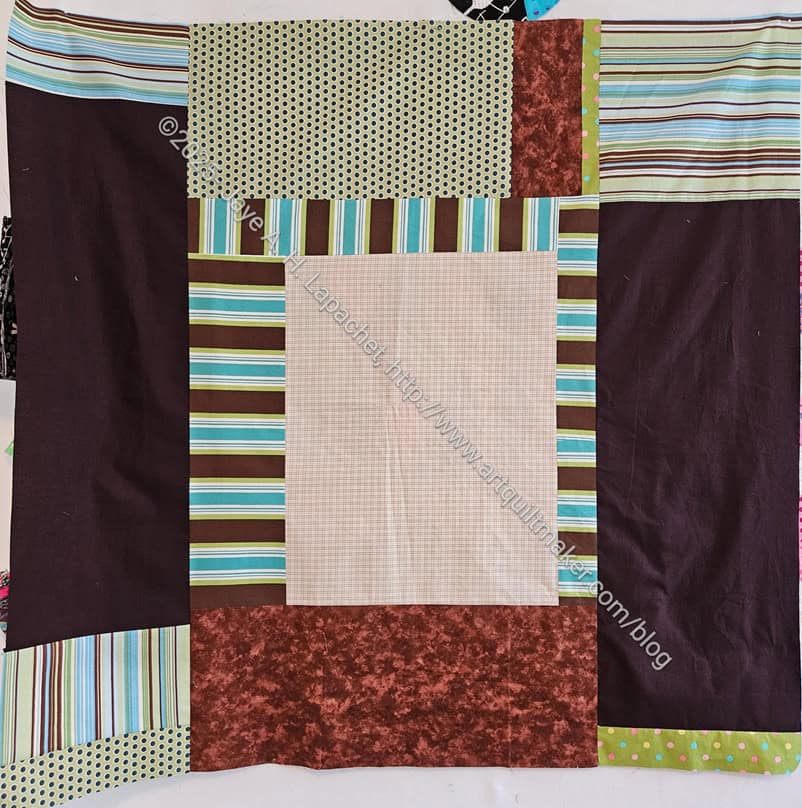
Diamond test back
The back was with the test piece. it started as that beige with the stripes around three sides. It was small, so I made it larger as well.
We talked about Hera markers at the guild meeting in July. I have a couple of Hera markers, but had never tried it for marking quilting lines.
Using the Hera
I had the opportunity to try it out on my most recent pencil roll. WOW! It worked really well and prevented me from erasing lines for hours (well, 15 minutes, maybe. 😉
One of the Hera markers I have is on one end of the bagmaking tool (in my mind) that I got from Modern American Vintage. I found out it was a Hera “marker” when I went looking for it on the Modern American Vintage site. It is actually called the Point Turner / Hera Marker Combo Tool.
Hera marker lines
I didn’t know, exactly, that the rounded end was a Hera marker. I might have if I had thought about it. I used that round end to smooth out the seams of bags after I turn a bag right side out. It works really well for that, especially in corners that are slightly rounded.
As it happens, it works really well as a Hera marker, too!
You don’t have to buy this particular tool to get the same/similar results. Modern American Vintage has beautiful dedicated Hera markers (no point turning). They are also wood, so you don’t have to worry about adding more plastic to the environment. You can get a Clover Hera marker**. They also offer a slim version**. I don’t know why you would need a slim version, but if you do they have it. Maybe for travel because it takes up less space? I like Clover as they provide quality products.
**N. B. : Obviously, you should shop at local quilt shops and small businesses. However, if you are too busy or can’t find what you need there, I use Amazon affiliate links and may be paid for your purchase of an item when you click on an item’s link in my post. There is no additional cost to you for clicking or purchasing items I recommend. I appreciate your clicks and purchases as it helps support this website.
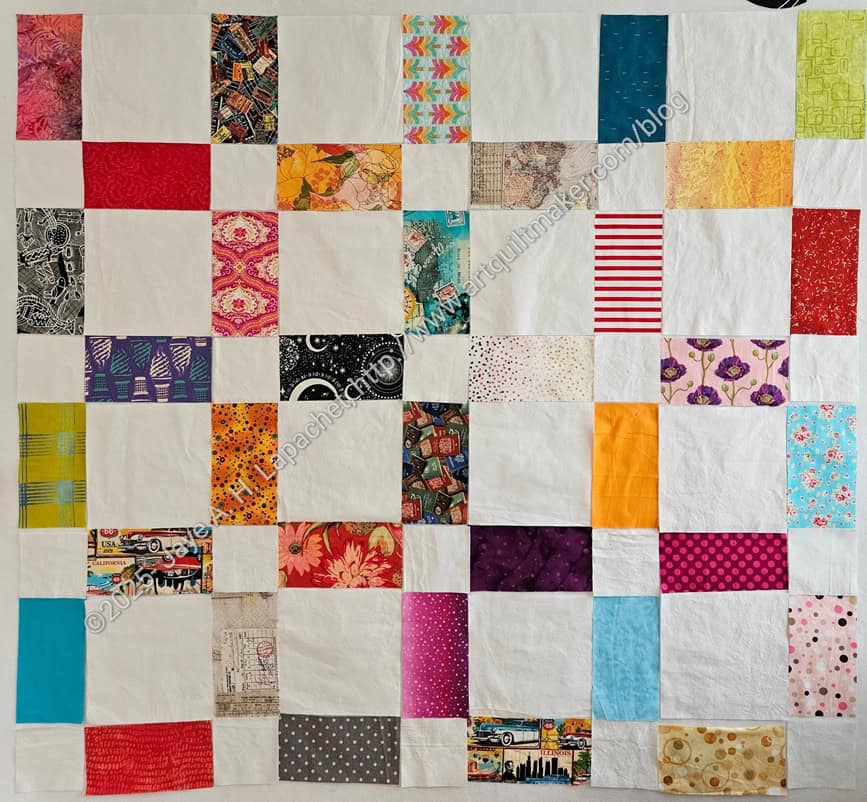
This is a different kind of Sidewalk design. I thought of this design after cutting some 4.5 x 8.5 rectangles for another another Rectangle donation quilt. Remember the first one I made last year?
I had cut enough rectangles to make another of those rectangle quilts. However, I saw that the size would work with this design as well. While I was on the sidewalk roll, I decided to try it. It will be super easy to sew together.
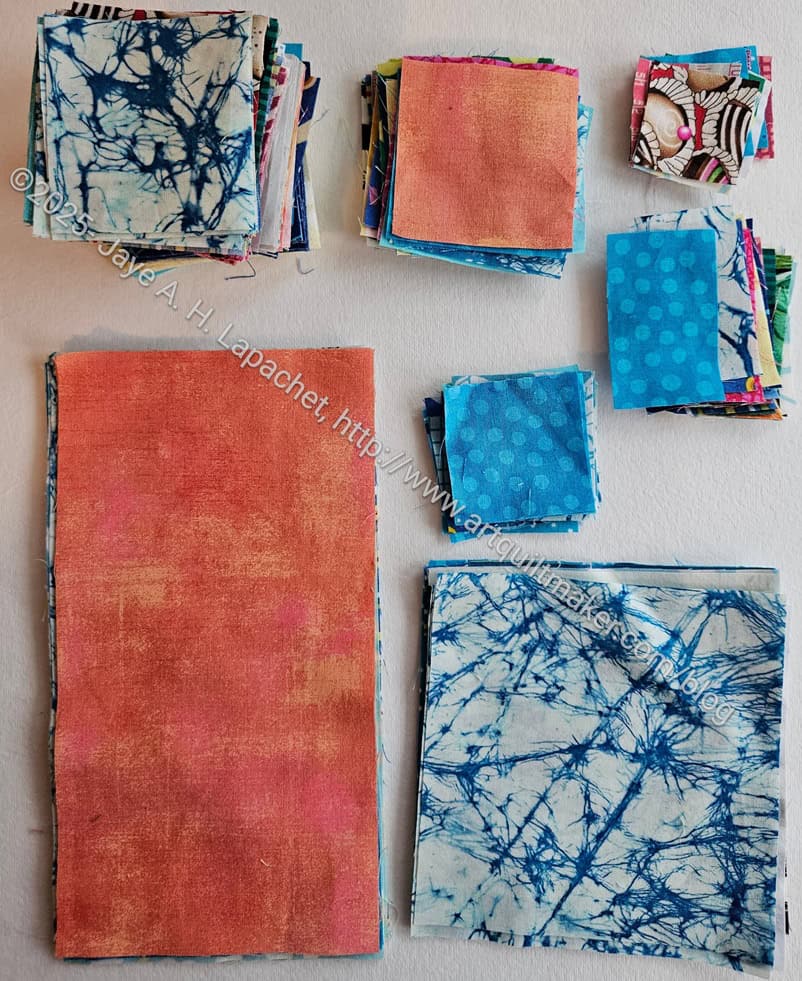
I knew that I wouldn’t be able to focus on cutting out a project or anything more complicated with the Community Sew Day project going on, so I brought scraps to cut. My scrap bin is more than overflowing and it was a good opportunity to fit in some scrap ‘processing’ time between working on the community quilt.
In general, I feel like I didn’t make much progress, at least from the amount of scraps in my scrap bin. What I cut doesn’t look like much, but the stack of 2.5 inch squares in the upper left is about 50 pieces and that isn’t nothing.
Sew Day leaders and enders
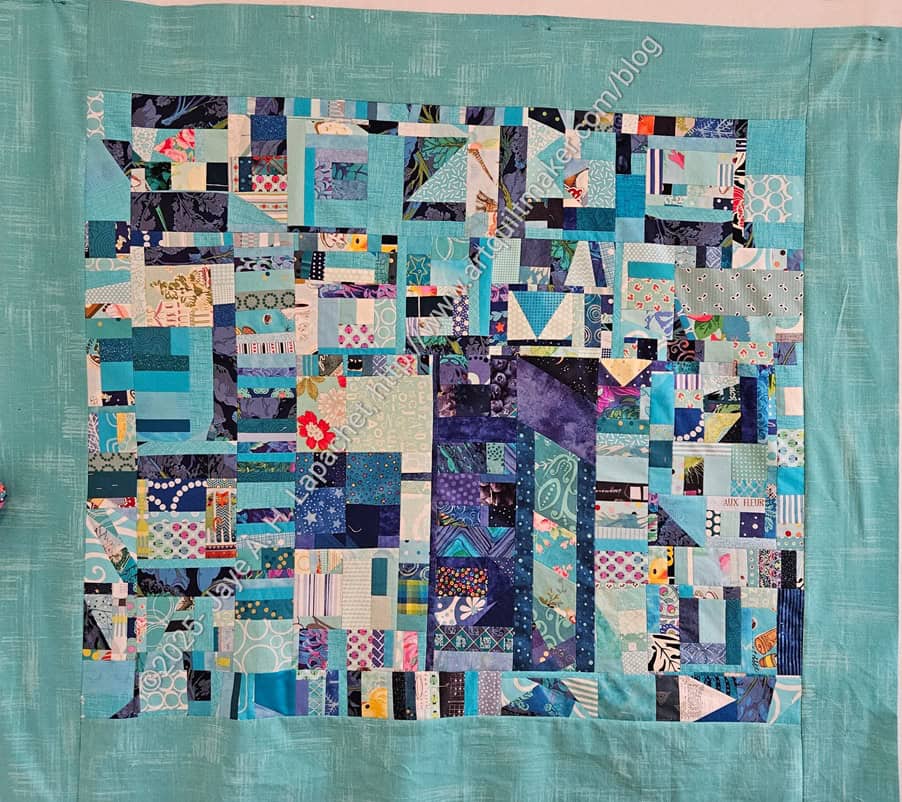
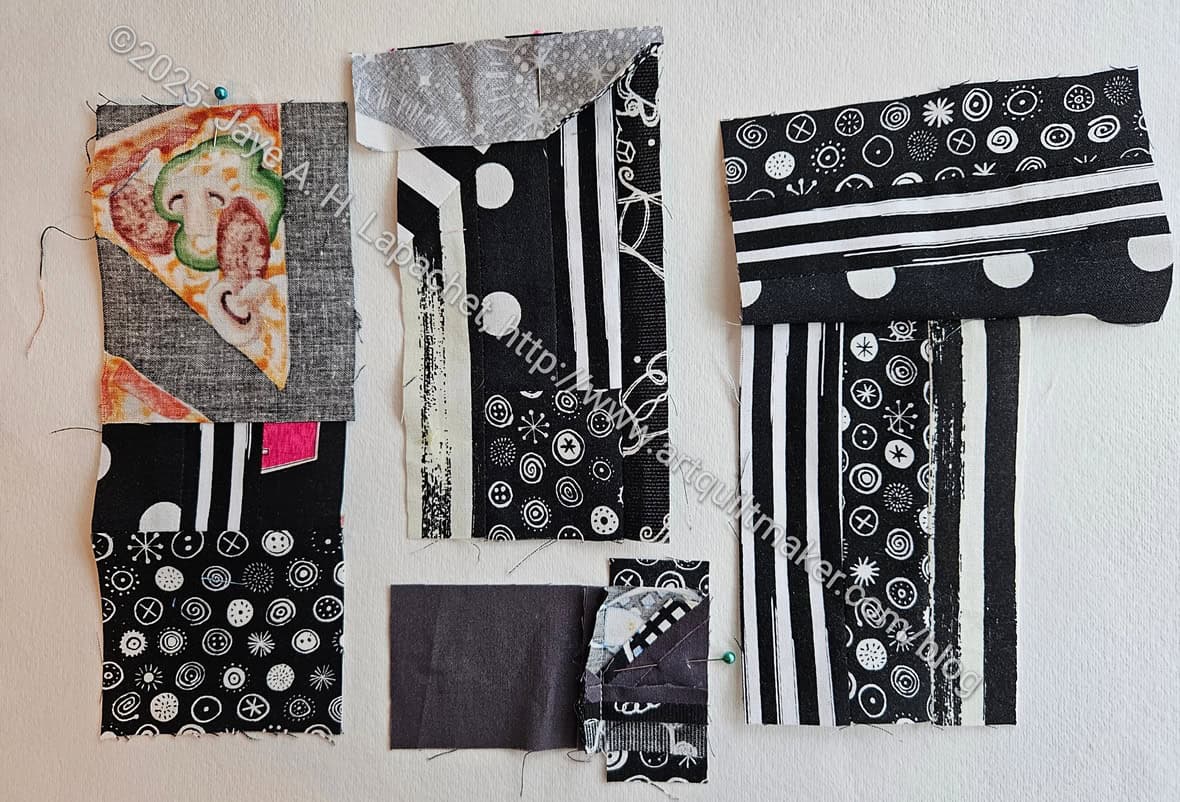
I focused on getting the blacks out of the bin so I can use them to enlarge the Black Improv top. I’ll use that as leaders and enders for a bit so that I can get it off the wall at some point in the not too distant future. I was able to make a few pieces while working on the blocks, so I am on my way.
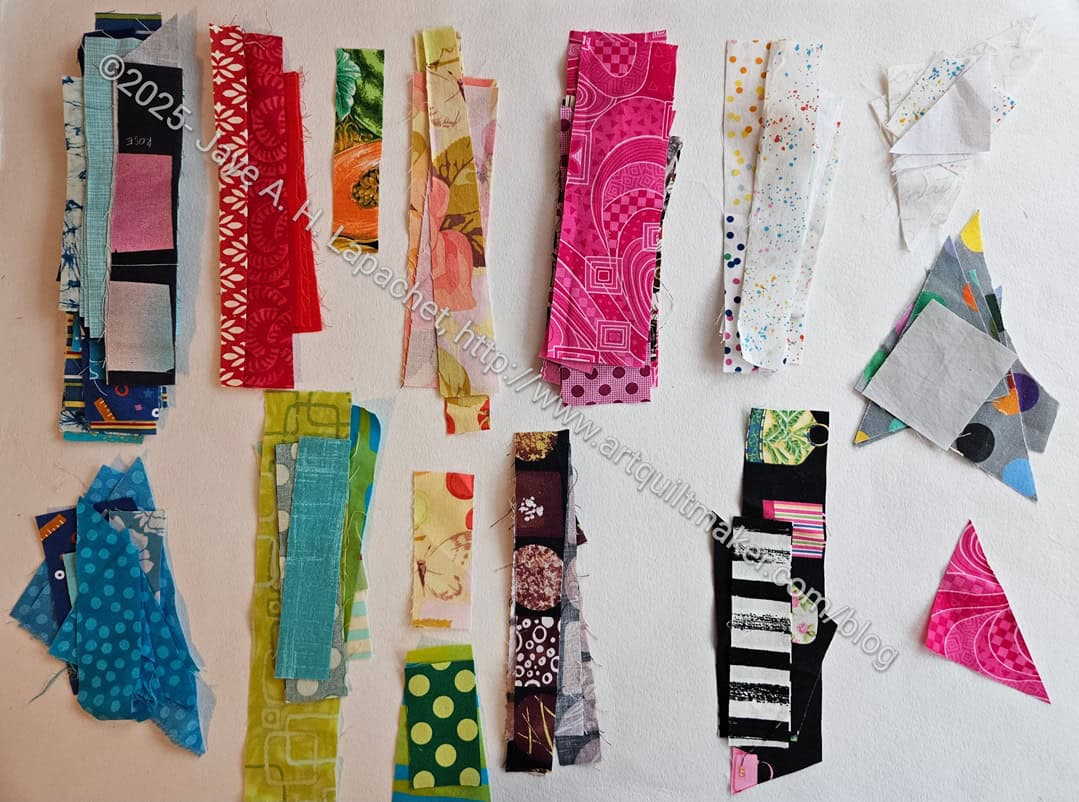
Strips ready for Color Strip tops
As I cut, I also create strips that I will use for the Color Strip donation quilts at some point. The white bin in filling up again, even after I made White Strips #2 recently that I am going to have to delve into that bin again soon. The red and pink bins are not far behind.
You can see some of the random scraps as well, which will eventually become Color Improv tops. A white one might be next since I didn’t make one after making White Strips #2.
I always have a lot of questions when I do scrap processing. People lament their many bins of scraps. I had that, too, but had to get them all organized. It has taken me since 2011 to get into a routine where scraps go from leftovers from a project to quilts. It takes time and dedication. The joy comes from seeing how the Color Strip and Color Improv quilts come out. To date I have made 21 Color Strip and Chunk tops and 9 Improv tops. FROM SCRAPS!! That is not nothing. It’s a commitment.
I have been playing too many games on my phone at night. La Passacaglia is languishing. My needlepoint project is languishing and my hands are hurting.
It has been awhile since I made an EPP ball. I have two babies that would enjoy them, so I started two new ones. I thought it would be a good way to ease back into EPP and, possibly, La Passacaglia.
I found a few more charm packs while I was searching for the Handbag Sampler last week and decided to use one, Victoria Findlay Wolf’s Play fabric for the two balls. One of the reasons I chose that charm pack is that it included 24 squares, which is how many I need for two of the EPP balls. I didn’t want any leftover charm squares.
I was able to baste all of the pentagons I need for the two projects last night. I can start sewing tonight.
I saw a different binding technique, again, on Instagram. I tried it on a recent project and it works really well.I need to try it on a quilt or smaller project so I can get a better idea.
New binding technique – sewed
It is basically just matching up the edges of the binding, turning both pieces at an angle and pressing, then sewing them.
I found that I needed to have additional unsewn length in the binding for this technique. I was making a Hold Tite Folio which is already very small. I didn’t leave enough spare length as I was going to use a different joining method. I remembered this one and changed my plan at the last minute. I think it will be easier on a quilt.
I have to say that some of the recent binding tutorials I have seen on IG are brilliant. Mostly they have to do with joining the ends, which I have always found to be a challenge. That was not something I learned when I learned to make quilts. I don’t remember if it wasn’t taught or if I missed the class. I always teach joining in my classes.
We had a Sew Day on Saturday dedicated to making a group quilt that will be donated. Peggy has a pattern that uses different sizes of squares to make a quilt. I don’t know the name and I am not sure Peggy made it up. She probably found it somewhere. The directions were a bit confusing to start with, but easy once we got a few explanations and I drew some pictures.
Community Center block
We all brought a few squares that were the right size, so the quilt would be very scrappy. I made one center block and a couple of border blocks.
My center block didn’t look very nice by itself. The fabrics were scraps from various projects that were the right size. I wasn’t hopeful that my block would fit in.
The border block looked a bit better. While the motifs were quite different, I think having similar colors was better for a block.
Community border block
In general, though, the quilt went together well and the variety of fabrics worked out.
Community quilt top
The quilt looks like an HST quilt, but it didn’t go together that way at all. Unlike some methods of making HSTs, the bias was completely enclosed, so not a problem.
Peggy did a great job and the participants really stepped up.
The other day I mentioned finding some piecing. I thought I would let it languish for awhile, but I need the space on my design wall for other projects, so I quickly sewed it together.
April Cornell Poetry Collection donation top
I am pretty happy with the way it turned out. I had very low expectations and was rewarded with a better than expected outcome.
I was able to use all the pieces I found and only had to add a little bit of some peach Grunge I had laying around. I didn’t have much of it left and it was about the only color that went with these soft muted colors. At Julie’s suggestion I added a small strip of Tilde pink to get a little more length. I didn’t think it went with the April Cornell fabrics, but Julie said it picked up some of the darker pinks in some of the flowers. It is a little big strange looking for a top, but hopefully someone will like it.
April Cornell Poetry Collection donation back
The back was much harder. I really don’t have fabrics in those soft colors. I picked some that I thought sort of went with the quilt top. I would have preferred a sage or muted blue.
A long time ago, the Angel Family Mom mentioned an apron she used to wear at school (she’s a teacher), but lost. What she described sounded a lot like the Cafe Apron I made for my sister some time ago.
After looking up that project, I realized I bought the same pattern again. 🙁 I thought it was a different pattern and should have looked it up. Oh well. At least it wasn’t an expensive pattern.
Amanda Jane school apron
I bought the fabric and the pattern at Moonlight Quilters. I think I was inspired by the fabric, which doesn’t scream school teacher, but is school oriented. The motifs are subtle.
The apron didn’t take me very long to make. I estimate it took about 4 hours total. This time I used all the same fabric instead of different fabrics for the pockets, etc.
I got a call from the Angel Mama and she LOVES the apron. She said that she was wearing it around the house and it was just like the apron she lost. I was thrilled that she liked it. I threatened to make her one for home, but she said she had some Starbuck’s versions she used for around the house.
I am pleased that I was able to finish this in time for the new school year.