I am always interested in books about creativity and the creative process. If you want to read about process, this book is for you, regardless of whether or not you are a bead artist or not. The shapes and colors, alone, are enough to inspire ideas for a few years. The author makes a point of saying that she wanted to go beyond jewelry in showing what could be created with beads.
The artists are from many different countries and backgrounds. The first artist, Ulli Kaiser is dear to my heart simply because she comes from Austria. Her silver and aqua/turquoise (color not bead type) are beautiful.
Each section includes photos of the artists’ work, but also some biographical information. Many of the artists make jewelry, but Marina Dempster’s section includes several pairs of amazing beaded shoes. I particularly like the pair called Horny. I am not enamoured of the name, but can appreciate the play of words. I like the shape and color of the shoes. Another section, from South Africa, shows vessels. Other artist show tableau, consumer goods, sculpture, dolls and statues (Betsy Youngquist’s works are amazing, if a little creepy), wreaths, clothing, animals and much, much more.
Helena Markonsalo’s work reminds me of Susan Shie’s airbrushed quilts.
There are also a wide variety of designs rendered in beads. Markonsalo’s work could be described as “shabby chic” while Jan Huling’s work has a definite Native American feel. There are many other aesthetics to delight all readers.
If you ever wanted to know what, besides jewelry, could be created with beads, this book will provide hours of inspiration. There is so much included that I could not help, but go and visit websites of the artists and I have many more to view.
We are nearing the last part of the foundation piecing class. I know this is a long tutorial, but there are a lot of steps and it is difficult to explain when I am not in the same room with you. I also don’t have a crew, so photographing every single step with only two hands can be a challenge.
Mostly this segment discusses getting ready to sew the major parts of your block together. Yes, there is more prep before you can sew your blocks together. I will give some template tips as well. In order to get to this point, you should have completed parts 1, 2 and part 3. All of the supplies are listed in part 1.
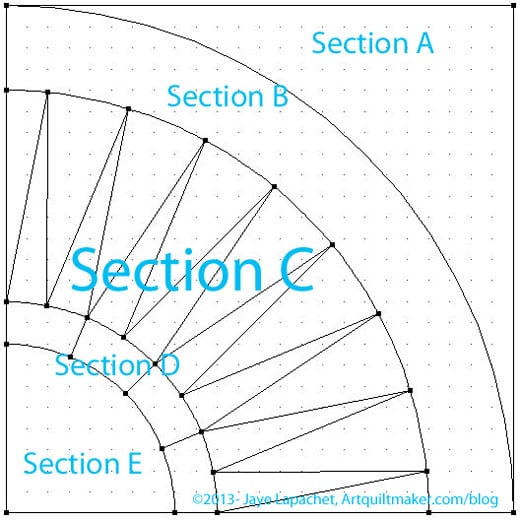
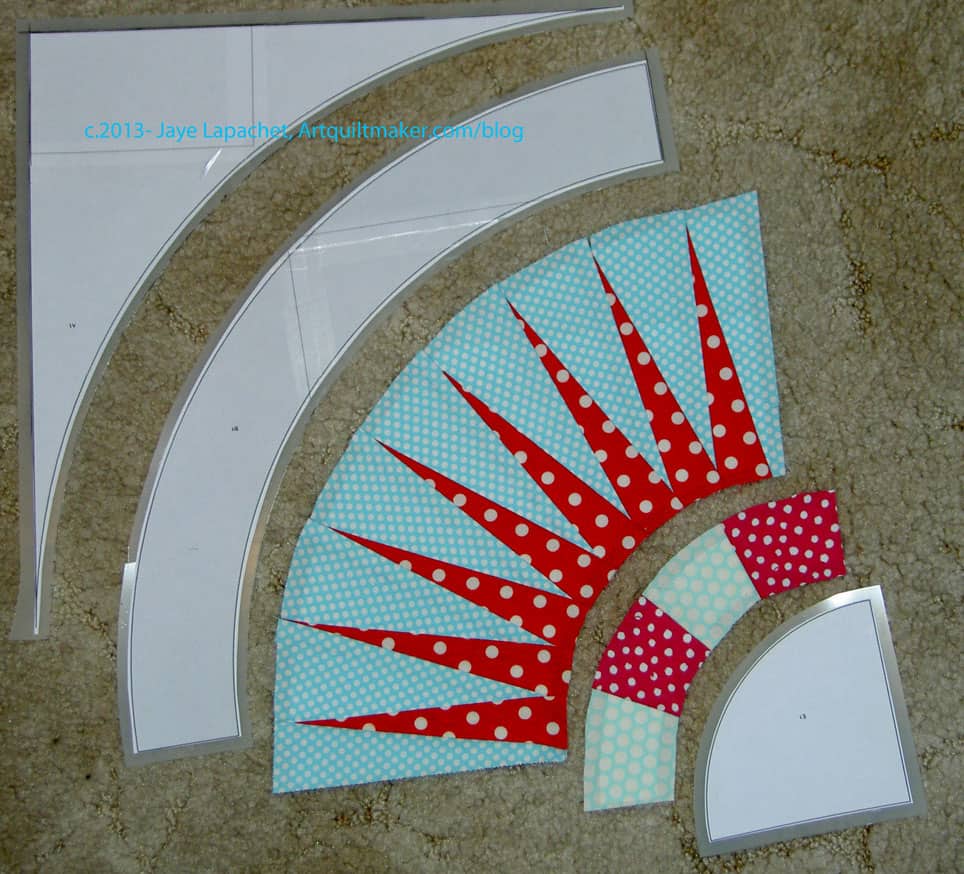
Like all other parts of piecing, your goal is to sew smaller pieces together to make larger pieces. First, inventory your templates and make sure you have a fabric patch for each template.
NY Compass Outline
For any templates that do not have matching fabric patches, cut your fabric.
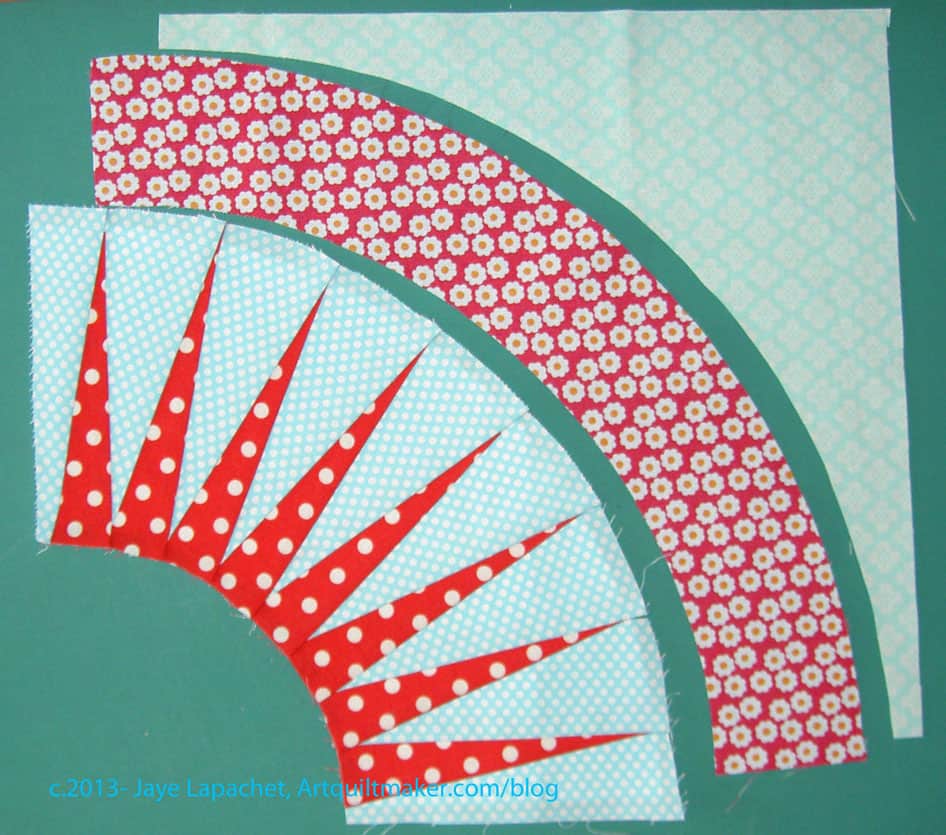
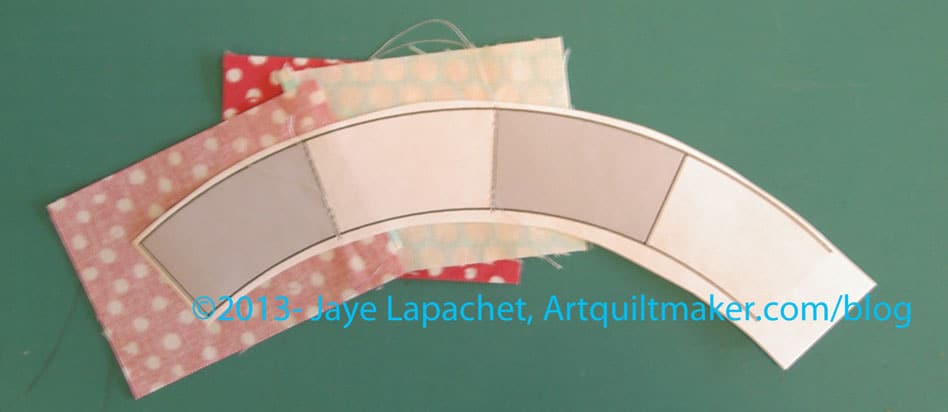
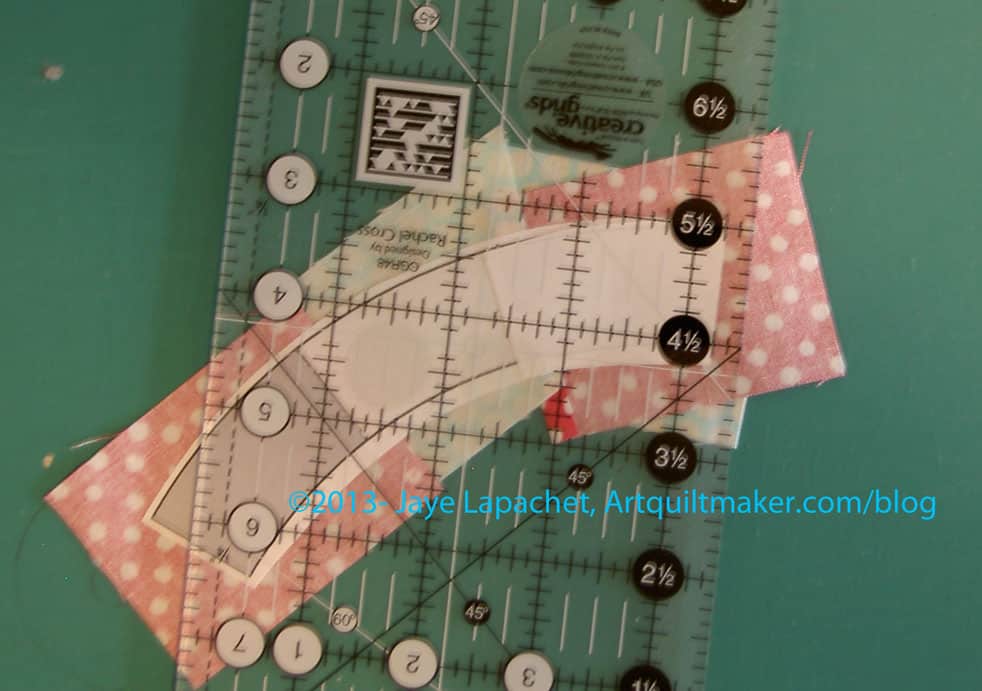
Based on the photo above, I need to cut 3 pieces. In some New York Beauty related patterns, these are pieced, but in ours we are using one fabric. You can certainly modify any of these pieces to do more foundation piecing.
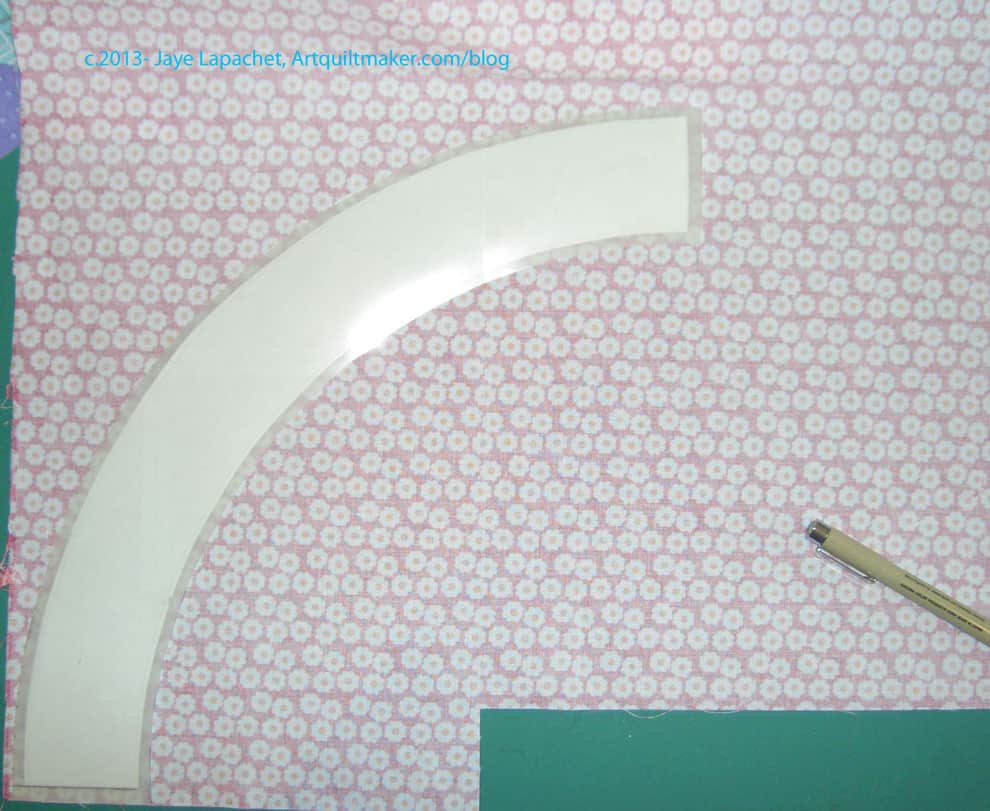
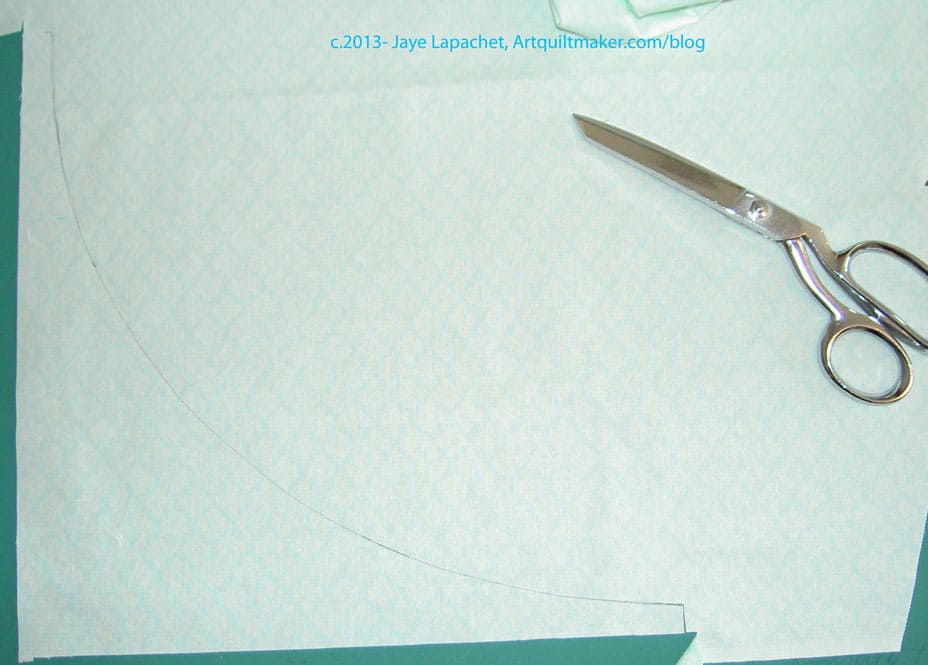
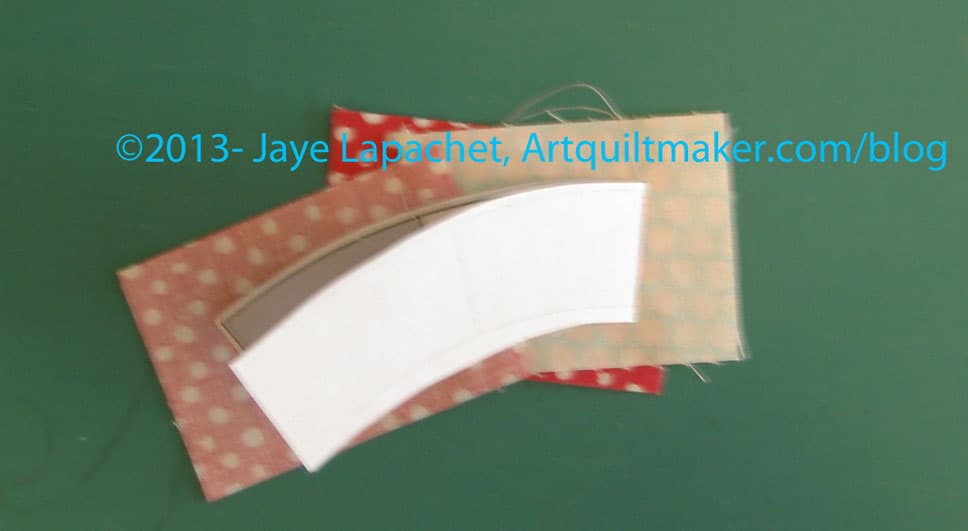
To cut out these templates, I place my fabric right side down and the template right side down and draw on the back of the fabric. This is the same for all three of the templates.
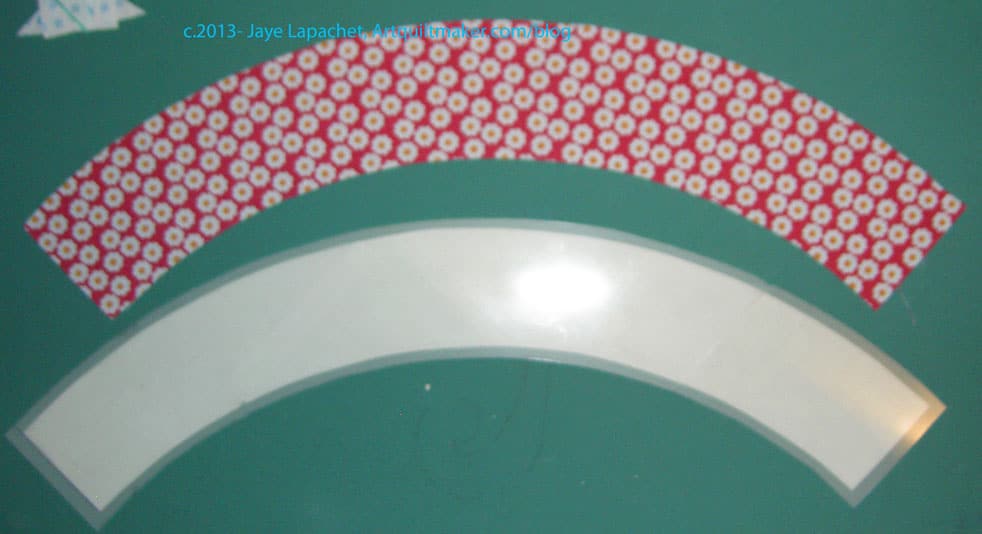
Your patches should look similar to your template once cut out. All of these templates have an element of bias, so handle them carefully.
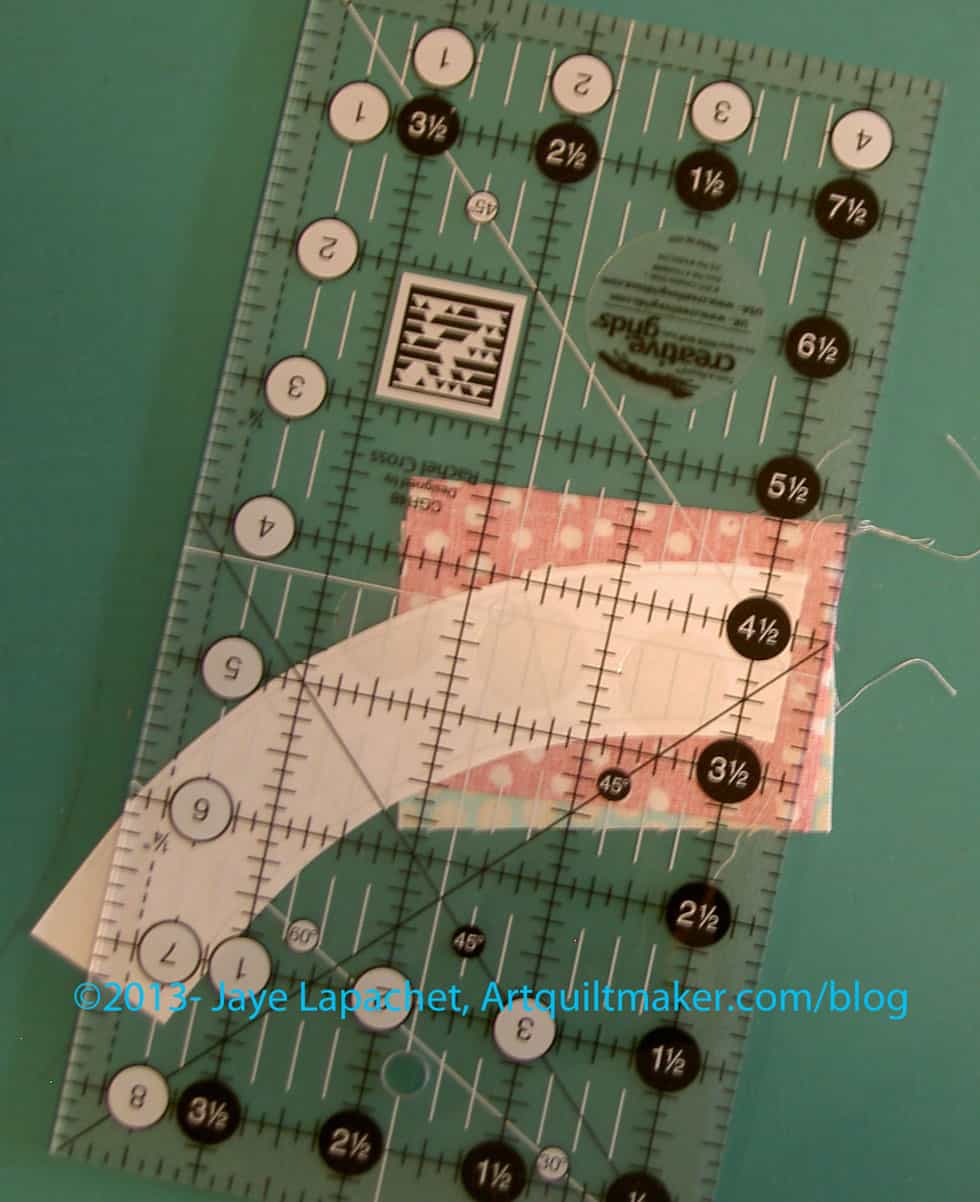
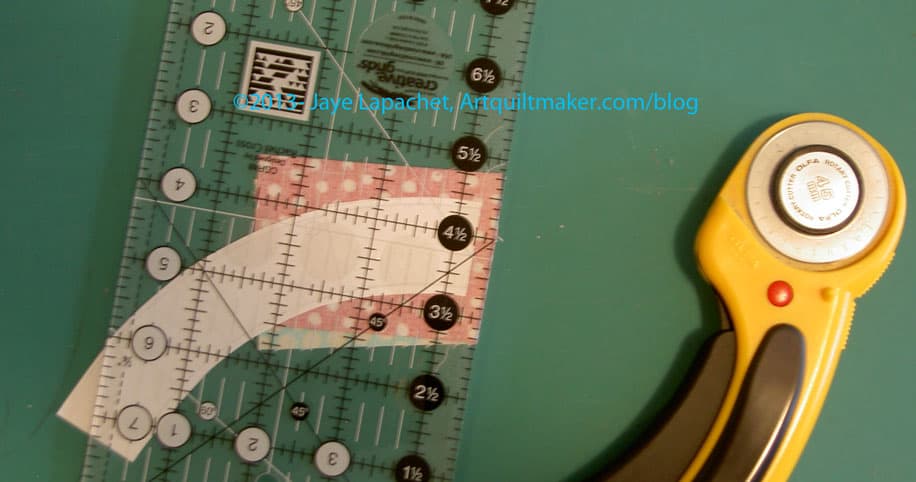
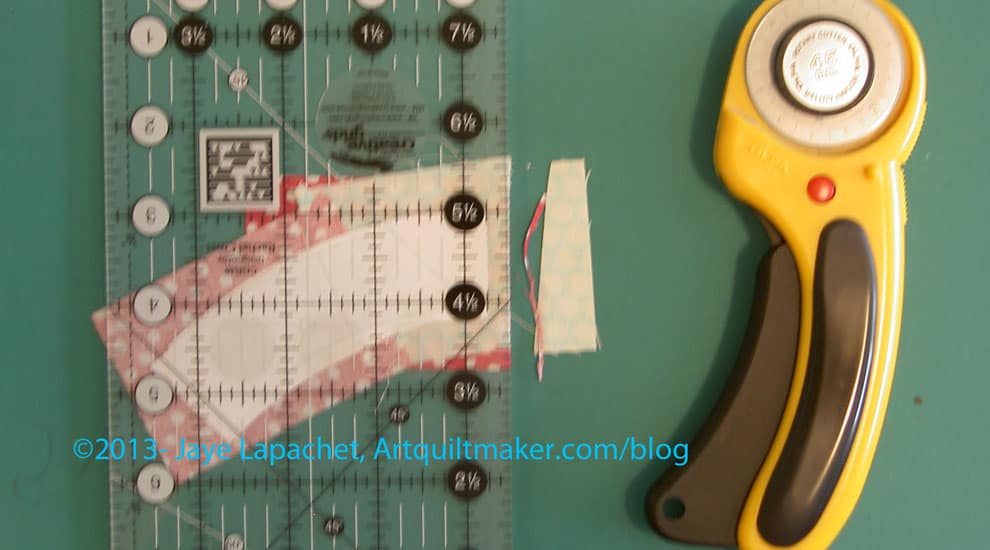
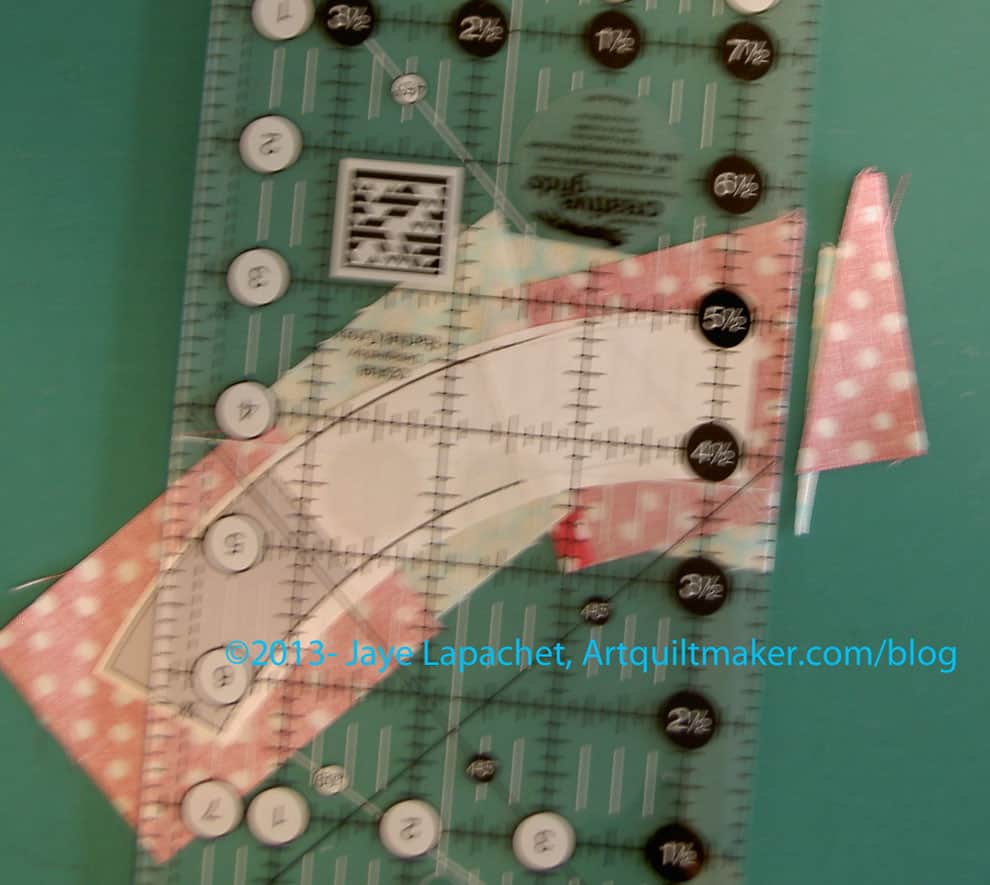
Once you have drawn your template shape on the fabric, you can cut it out. Where possible, I use a rotary cutter and ruler. If I cannot use those tools, e.g. for the curves in the pieces of this block, I use very sharp scissors and cut slowly and carefully. Above you can see that I have cut as many parts of the patch as possible with my rotary kit and am ready to cut the curve with scissors.
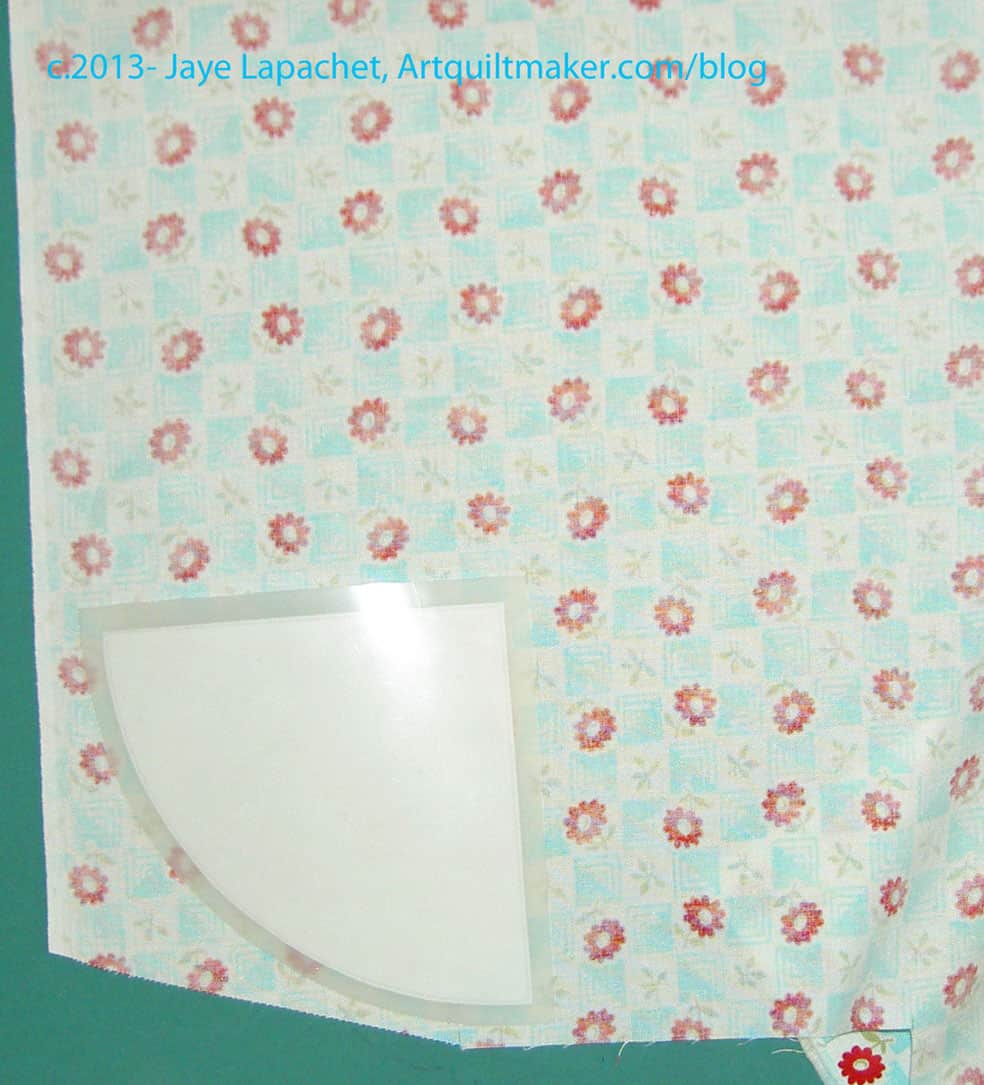
Corner template on fabric
Lay your fabric right side down and place the corner template on top, also face down. Draw around it with a Pigma Micron, or similar, pen.
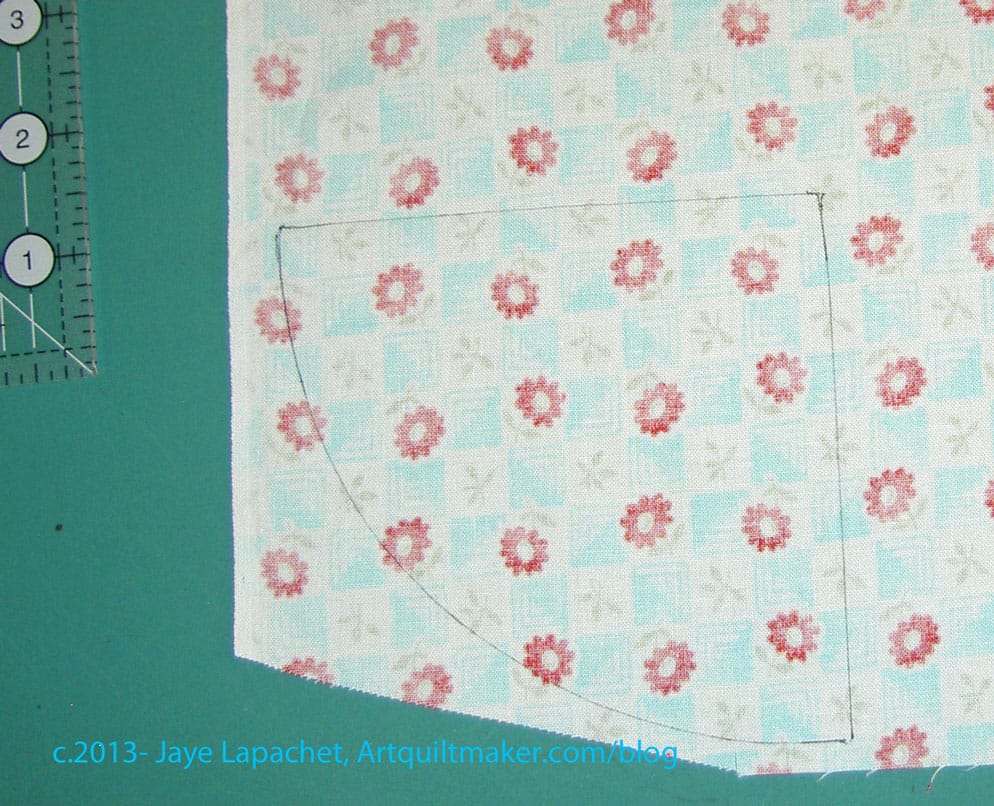
Line drawn on fabric
Once you have drawn carefully around the template, remove it and make sure your line is continuous. If it is not continuous, carefully replace the template and fix the missing segments.
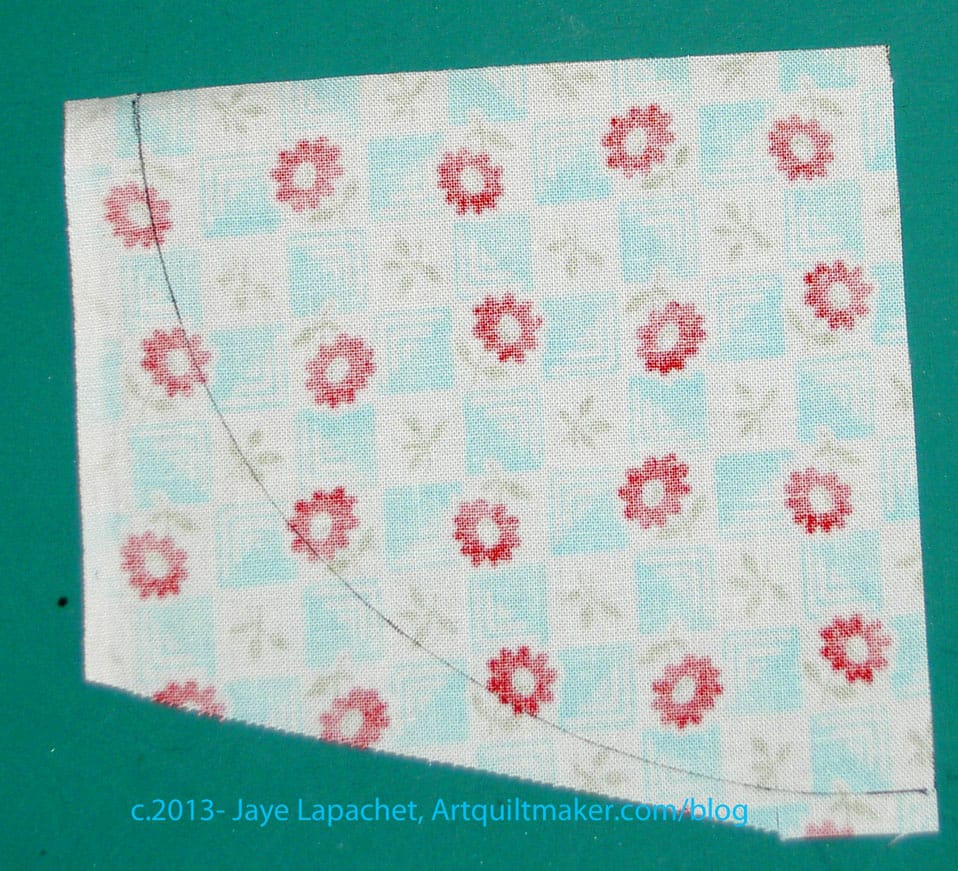
Line up ruler along 90 degree angle
Line up your ruler with the corner of the fabric patch. You may need to rough cut your fabric first, if there is too much yardage skewing the fabric as you try and cut.
The corner quarter circle template has a quarter inch seam allowance, so you don’t have to do anything, but cut the line you drew (and all the fabric on the other side) off. You will want to cut so that the line is cut off, but you need to cut ONLY the line off.
Also, these pieces are large, so make sure you can hold your ruler down tight as you are cutting. You want to avoid ruining a whole large piece of fabric because your ruler shifted.
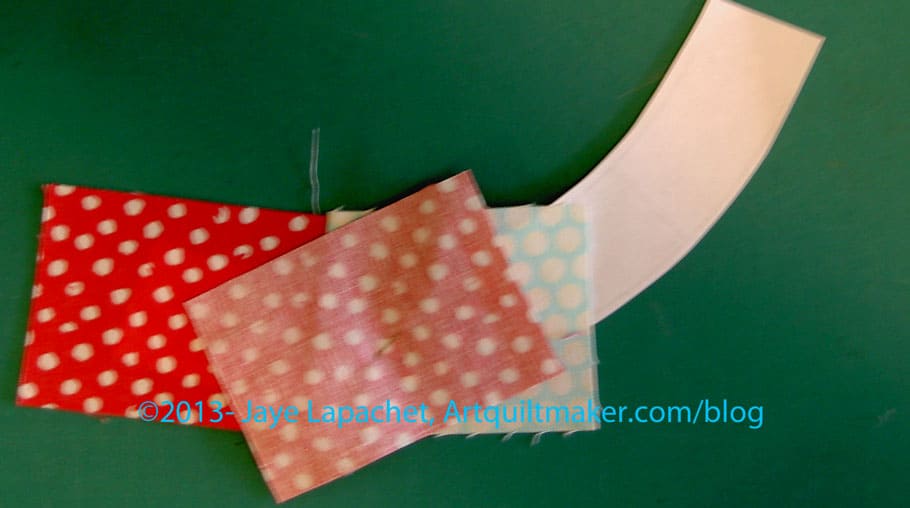
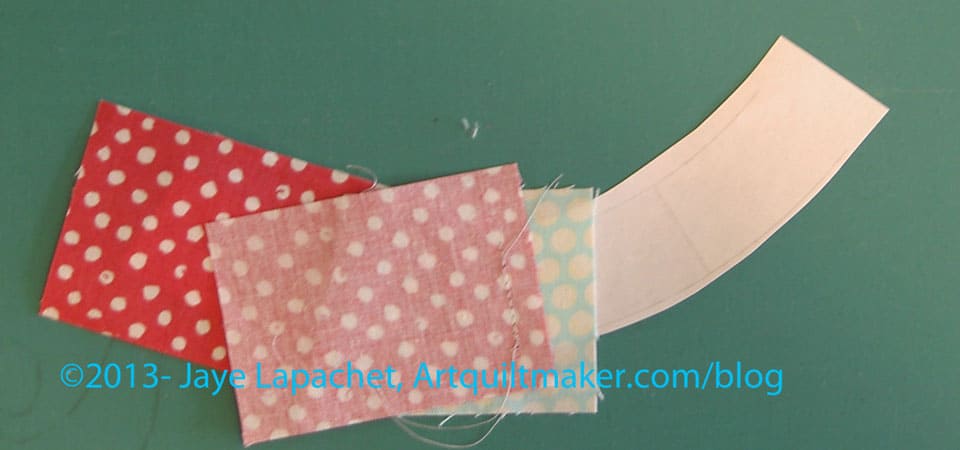
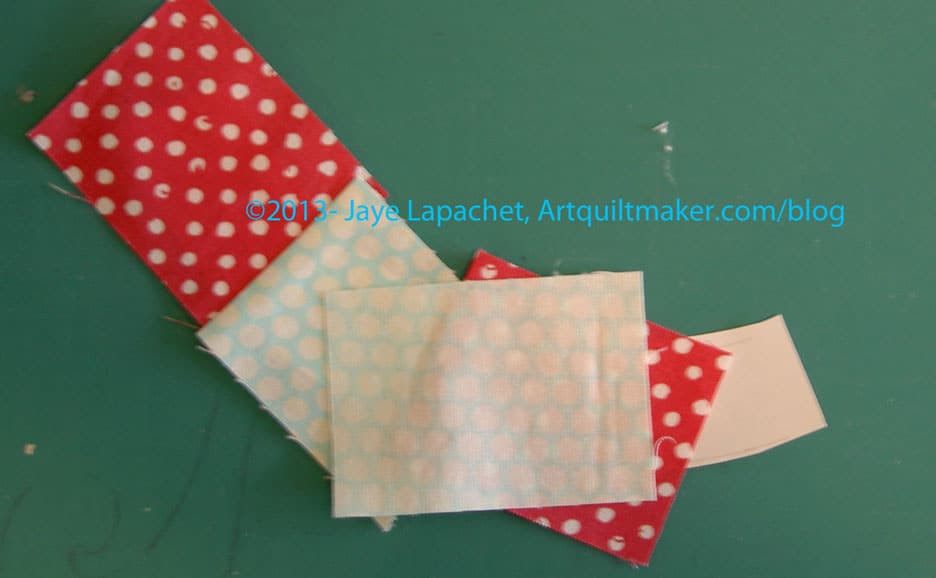
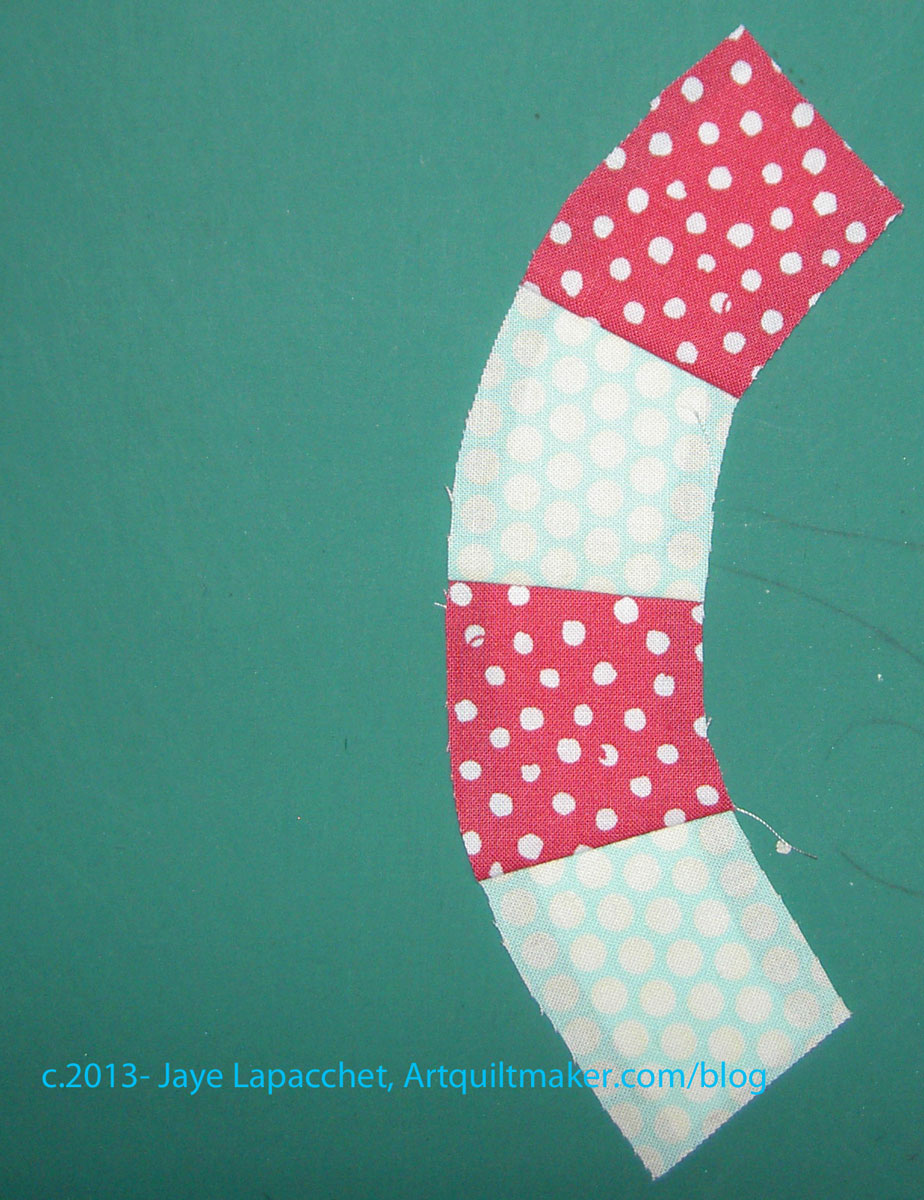
Once you have cut out your fabric patches, you will have pieces that look like those in the above photo.
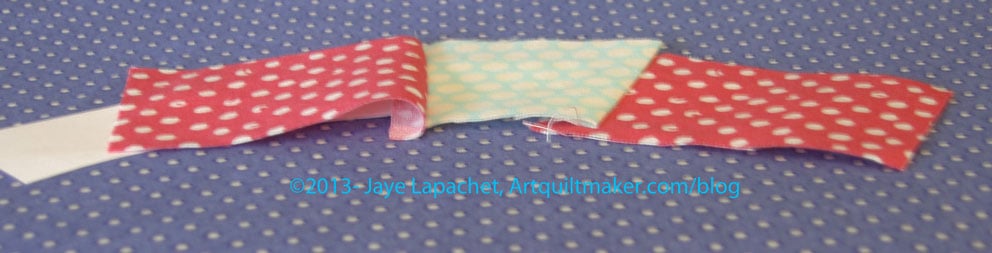
After seeing the above patches laid out, I decided to sew the two outer pieces together first. Again I want to join smaller pieces into larger sections. Also, the very outer piece has very skinny ends. I want to stabilize them a bit by sewing them to another piece before sewing them to the foundation pieced Section C.
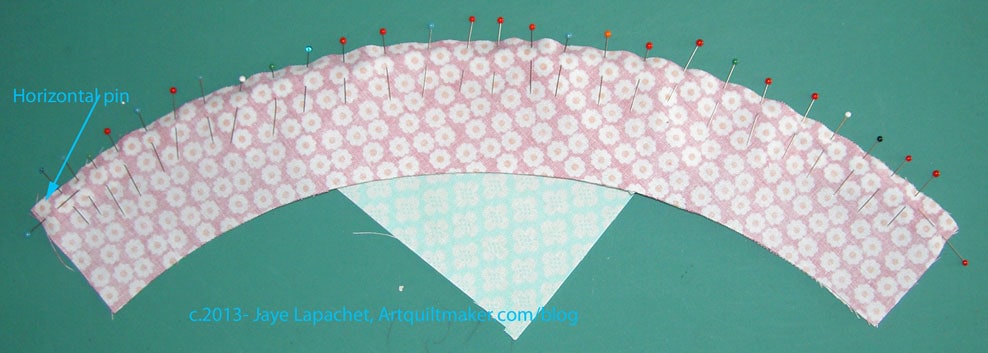
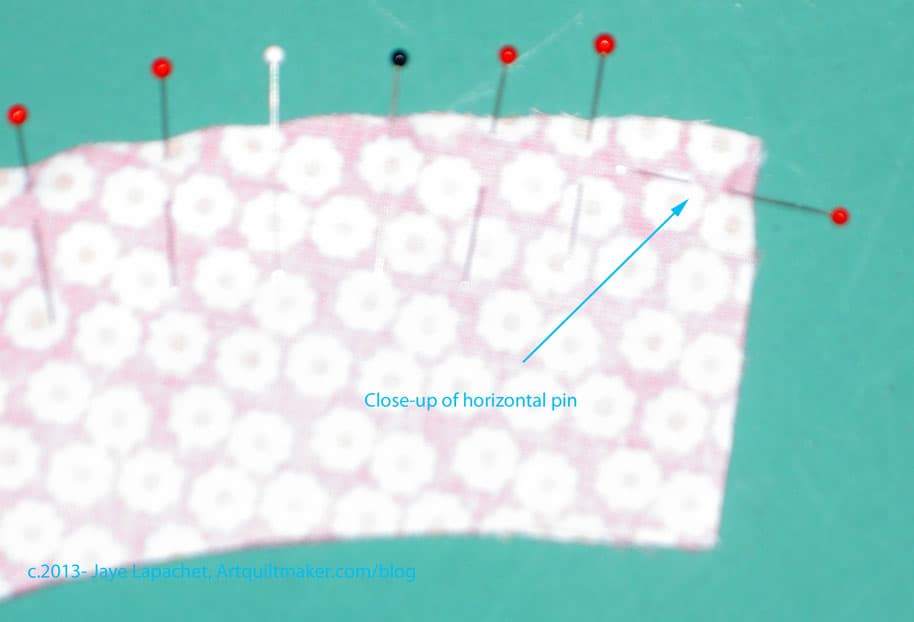
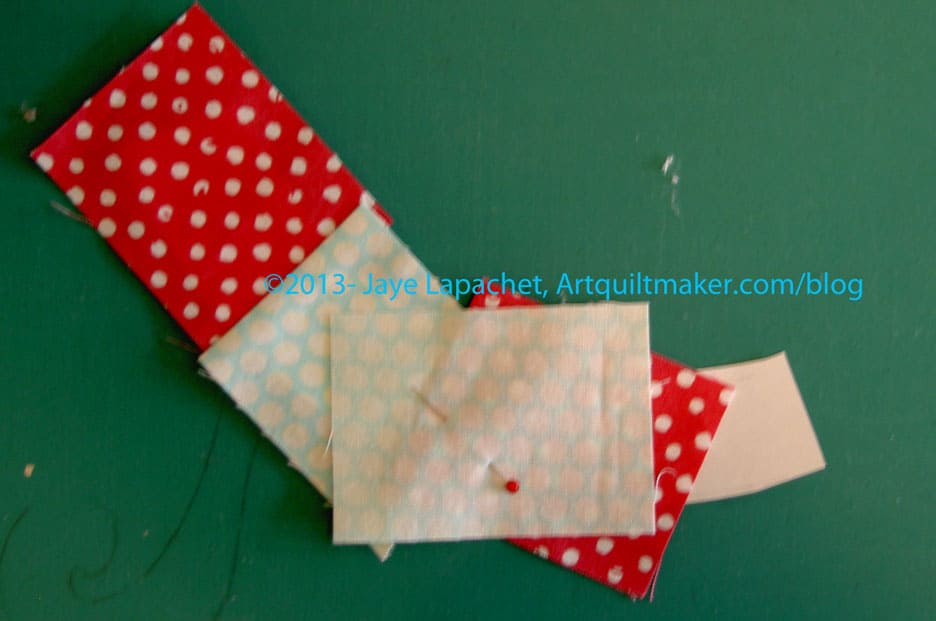
The first order of business is to pin them together. I apply horizontal pins on the ends and a lot of pins in the middle. My goal is to make the seam smooth. You are working on the bias, so don’t yank too much.
For my advanced students: if you put the horizontal pin in the two fabrics as shown above, the horizontal pins on each side should be out of the way of your 1/4″ foot.
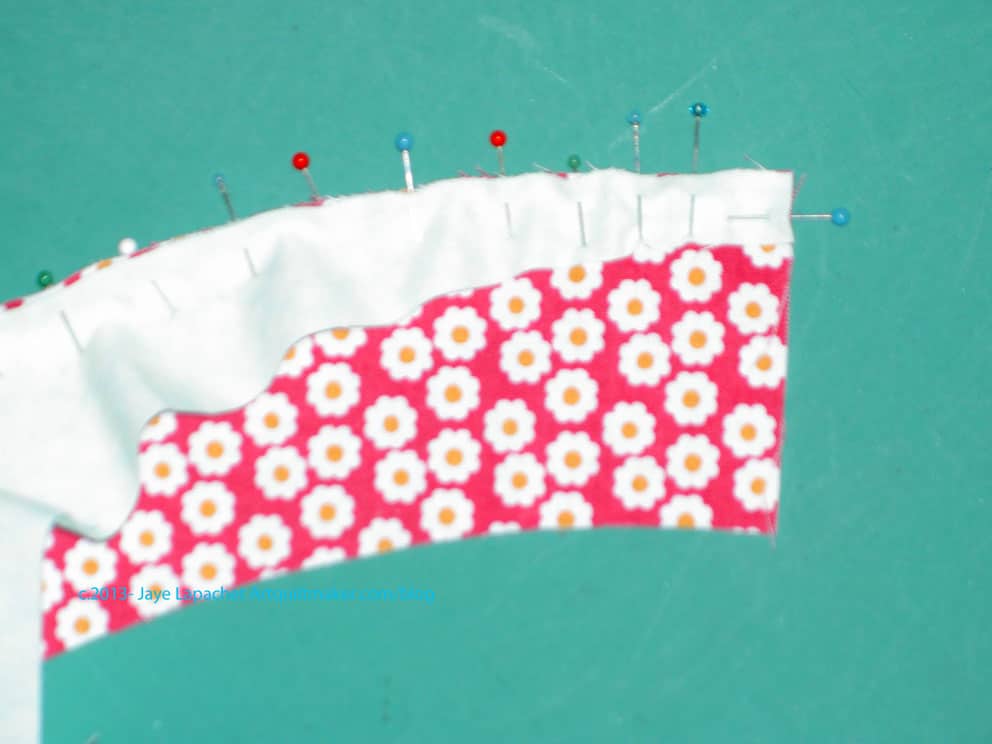
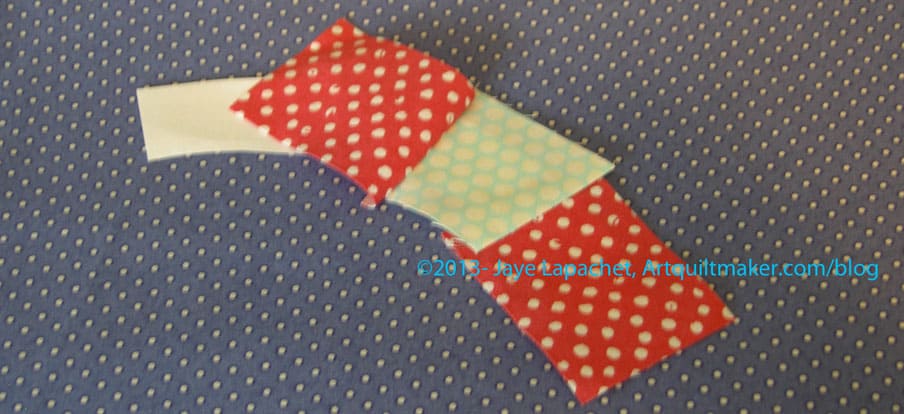
Pinned Endblue side up
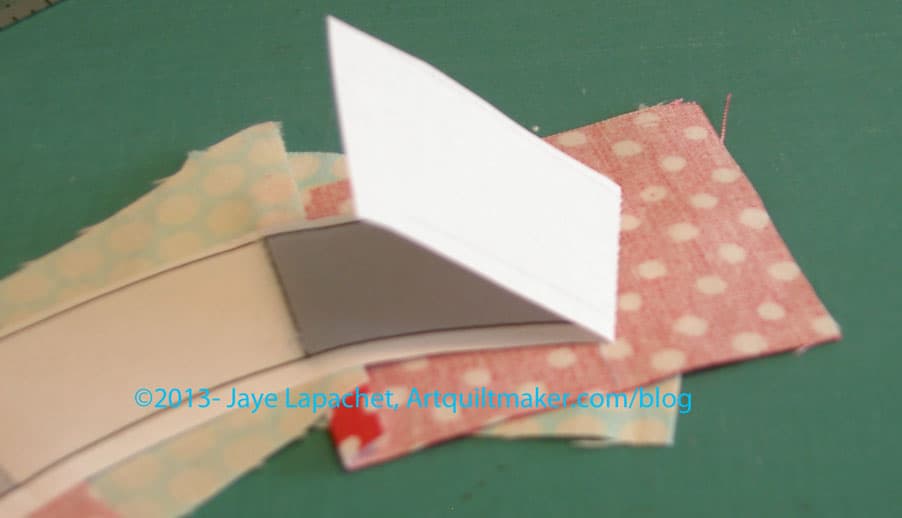
It is not quite as smooth on the other side, but that is ok. Set this piece aside for now, but remember that when you are ready to sew, sew slowly and carefully. Next, we will sew the corner section (quarter circle, Section D) to the small pieced strip.
If you don’t know how to sew curves together, check out the curves tutorial.
Nota bene: if you did not foundation piece the small strip, follow the directions in part 3 or above to do so. If you haven’t done any foundation piecing before you might want to start with this piece as it is smaller and less complex than the pointy triangles section (Section C).
I use a lot of pins and I know there are other tutorials that are pinless or use minimal pins. Put these two pieces together the way it works for you.
Now you are ready for part 5, which is the last part, I promise. 😉
Tips:
If you have to rip out stitches, rip them out from the fabric side, not the paper side.
Pay attention to putting the next fabric piece on the foundation.
While this certainly won’t be a comprehensive post on everything there is to know about color and fabric choices, I thought I could pass along a little information while it was fresh in my mind.
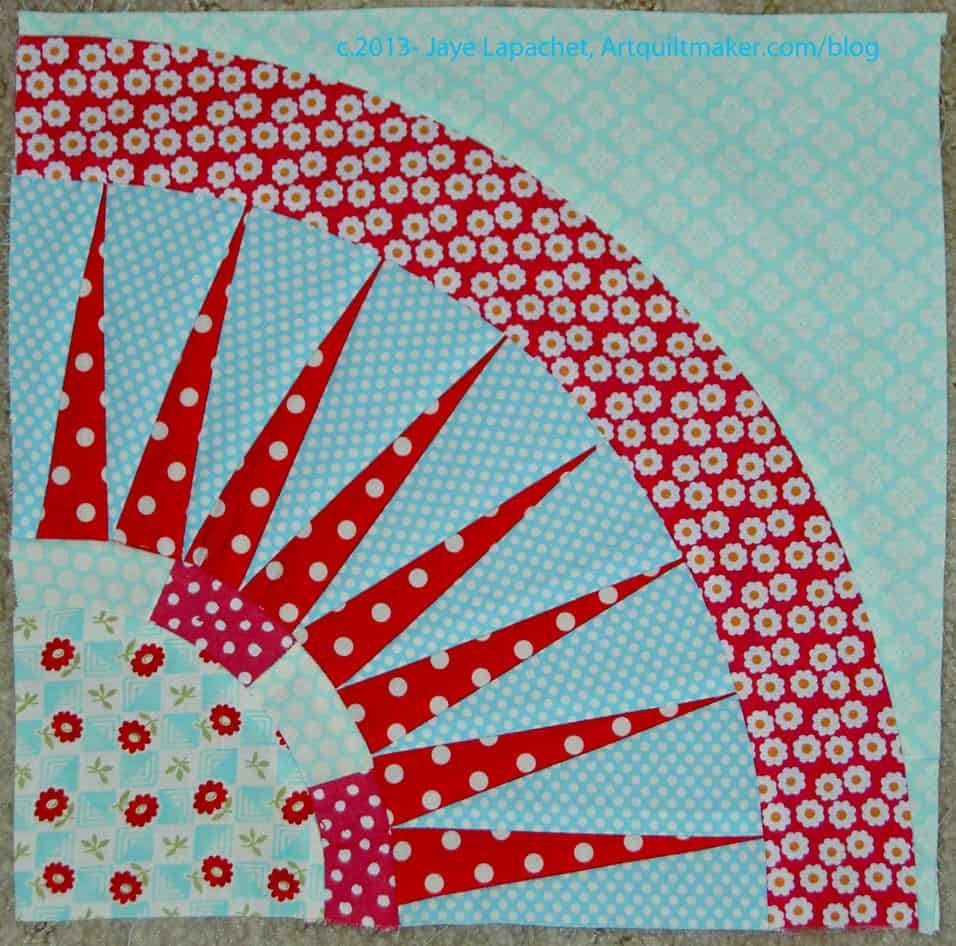
Finished: Foundation Pieced Block
Above is my completed foundation pieced New York Compass. If I were doing this block over again, I would not choose that specific aqua or that red for the small second foundation pieced strip (next to the corner quarter circle). In the grand scheme of the quilt, it will be fine, but this close up it really takes away from the fine piecing of those spiky triangles. The reds, especially run into each other.
That second foundation pieced part is tricky for my particular version, because my quilt is a two color quilt. I can’t introduce additional colors into the blocks at this late stage and maintain the integrity of my plan. I could have paid more attention to the particular reds and aquas I was choosing and chose fabrics for that small foundation pieced strip that stood out more against the red dot of the spiky triangles.
My mistake?
I grabbed fabrics and started cutting. I did not look at all the fabrics together before cutting. I didn’t try different fabrics to see what the change in look would be. I didn’t make my visual decisions visually. This lesson is a good reminder.
I thought I was off the jewelry book reviewers list, but I received two books last week. Lark was so great about supporting the Boxing Day Sew-in that I just can’t say no to reviewing this book. Like the other books in this series, they have a section on tools and supplies as well as a section on techniques. Both are well illustrated. I particularly like the font and layout chosen in this book. There are a couple of things that are really great in these sections. One is the ‘designer’s tip’, which points out, for example, what wire to chose. I also like the Wire Hardness Scale image (pg.10). It is a good illustration that probably would have taken about a 1,000 words and some hard science like physics to explain. 😉
Some of the illustrations are photographs and others are drawings. The mix is a nice change from other books I have seen. These sections are pretty short and then the author gets right into the projects.
I am not a big fan of wire jewelry for myself because of metal allergies, but I have to admit being tempted by some of the lovely shapes. the very first project, the Red Bone Necklace (pg.18), has a great clasp and I like the beads. The Silver & Moonstone Drops (earrings, pg.20) are beautiful and delicate. They would be great with a creamy summer dress. The Asymmetrical Amethyst Necklace (pg.74) reminds me of my aunt. I think she would like it very much. I also like the Star Swirl Earrings (pg.80). They are cheerful and happy. Who can’t like purple wire?
There are a wide variety of designs, shapes and different jewelry in the book. Some have a lot of wirework. Other projects have wire only to hold the piece together. The author also uses different colors of beads and wire, which adds to the variety of projects.
There is an index (YAY!), a list of designers and more about them as well as a wire gauge chart.
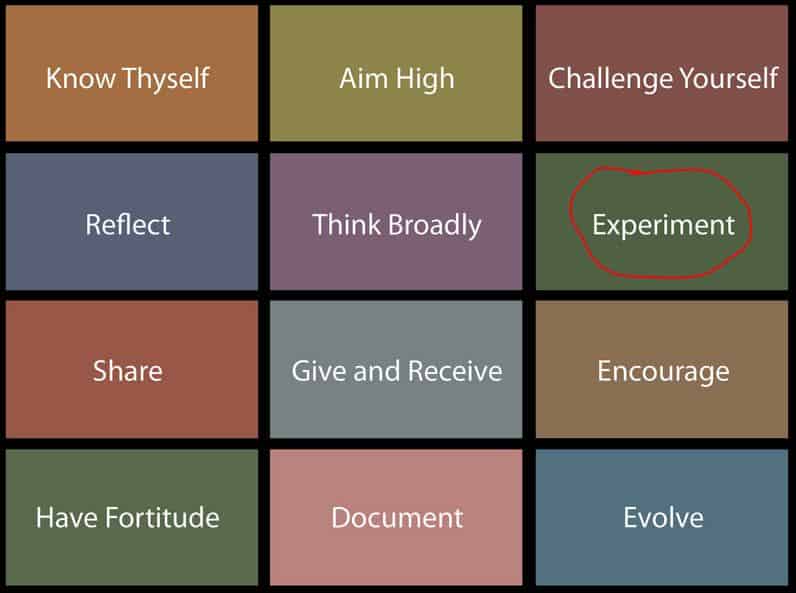
Weeks Ringle wrote “Experiment. Work with small prototypes that are a minimal investment of time and money – don’t get overwhelmed the thought of a big project. Experiment with different types of stitching, mix genres of fabric, play with unlikely color combinations, make sample pieces that are entirely unlike anything you’ve ever made before[.]”
My mantra is “there is always more fabric”. And there is. Really. Trust me on this one.
I like to say that there is always more fabric, because I want to remember it myself and also to remind my students that if they screw something up that it isn’t the end of the world. There is more fabric.
Why not try embroidery?
Why not try thread painting?
Why not try fusing? Or curved piecing? or taking a Craftsy class? Why not?
While I don’t always want to do something, because the technique is messy and I don’t know it well enough to contain the messiness, I have found ways around that ‘phobia.’ I take classes. I have to say that I have been most inspired when I have taken a random class. Sometimes I’ll take classes, because a friend wants someone to go with; sometimes I’ll take a class, because the time is convenient. I have found so much inspiration in these happy accidents.
As Weeks says, work small. Remember the journal quilts? You can embroider a whole quilt in a couple of evenings, if the quilt is 8.5″x 11″. I also like to try new materials and techniques on ATCs (2.5″x3.5″) works of art.
You don’t have to leave your family or pets and quit your job to experiment. Experimentation can be as simple as adding a new color to your palette, trying a new shape in a block, follow a tutorial for putting in a zipper or a new technique for making Flying Geese for Triangle Squares. A lot of experimentation doesn’t come out exactly as planned. These experiments can become bags or donation quilts or pet beds or the most amazing start to something wonderful. There is usually no waste, but the learning process is very important. Failure is part of the learning process.
Just try.
Just experiment.
*No copyright claimed on Modern Quilt Studio image. thanks to Bill Kerr and Weeks Ringle for allowing me to use it. See the original blog post on the Craft Nectar blog.
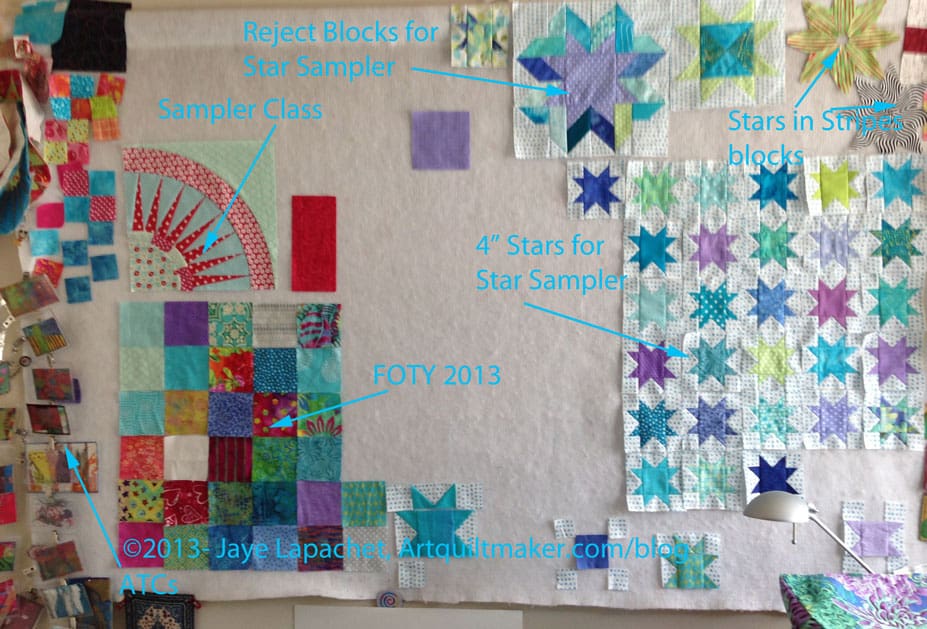
Kathleen asked in a recent post what was on everyone’s design wall. Here is what is on mine:
Design Wall #1Design Wall #2
What is on yours? Post a link to your blog, (Flickr stream, FB page, Picasa, Shutterfly), etc in the comments or in the comments in Kathleen’s post. Let’s see your creativity in action.
Design Wall #1 annotated
Here is the explanation of what is going on on my ‘working’ design wall. It is working, because it is right in front of my sewing machine and I can grab things off of it.
We are midway through the foundation piecing class. This is a long tutorial, but there are a lot of steps and I want all of the parts to be clear. This would be a great tutorial for a video, but A) I don’t have a crew and B) I don’t do video.
This segment discusses more foundation piecing. In order to get to this point, you should have completed parts 1 and 2. All of the supplies are listed in Part 1
Remember our goal:
NY Compass Outline
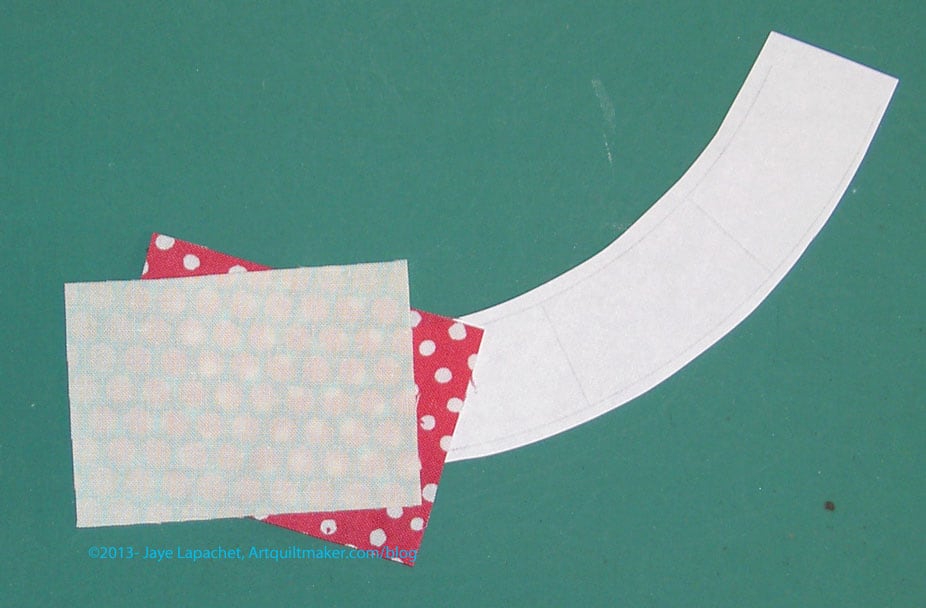
Next, we need to foundation piece the small strip called Section D.
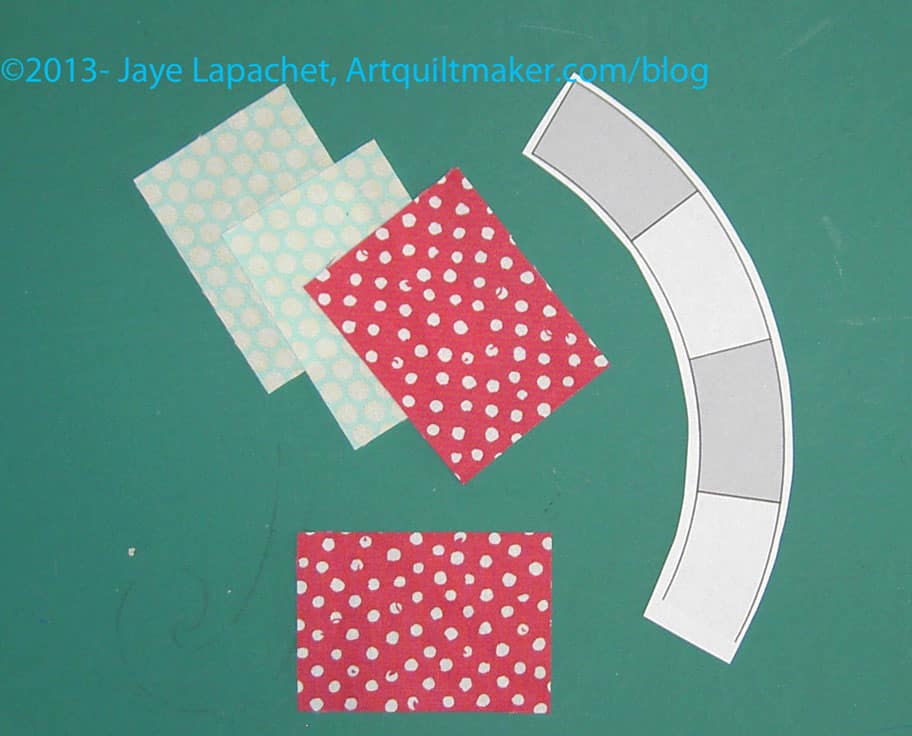
Cut fabric4 Pieces of fabric
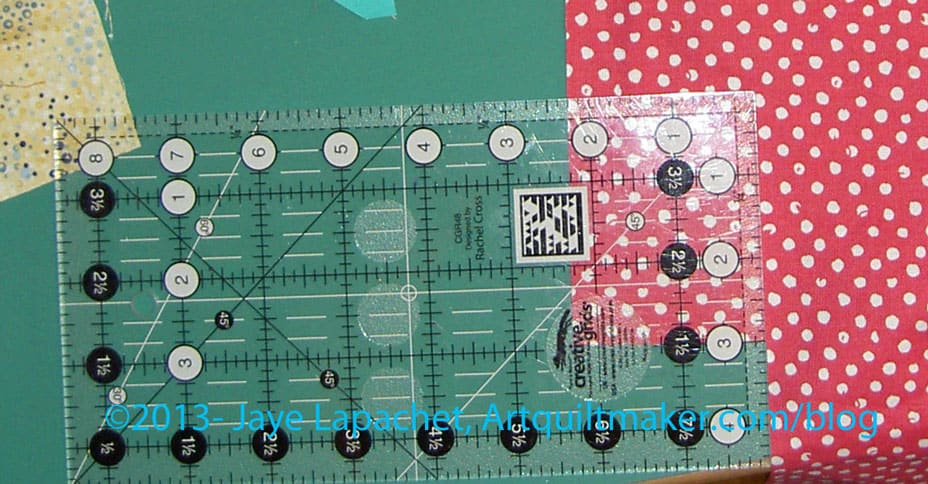
Cut 4 pieces of fabric that coordinate with the fabrics of your block. The pieces should be about 2.5″x 1.75″, which is generous. You may be able to use scraps for these pieces. (Please ignore the messy cutting table)
Place fabric on pattern
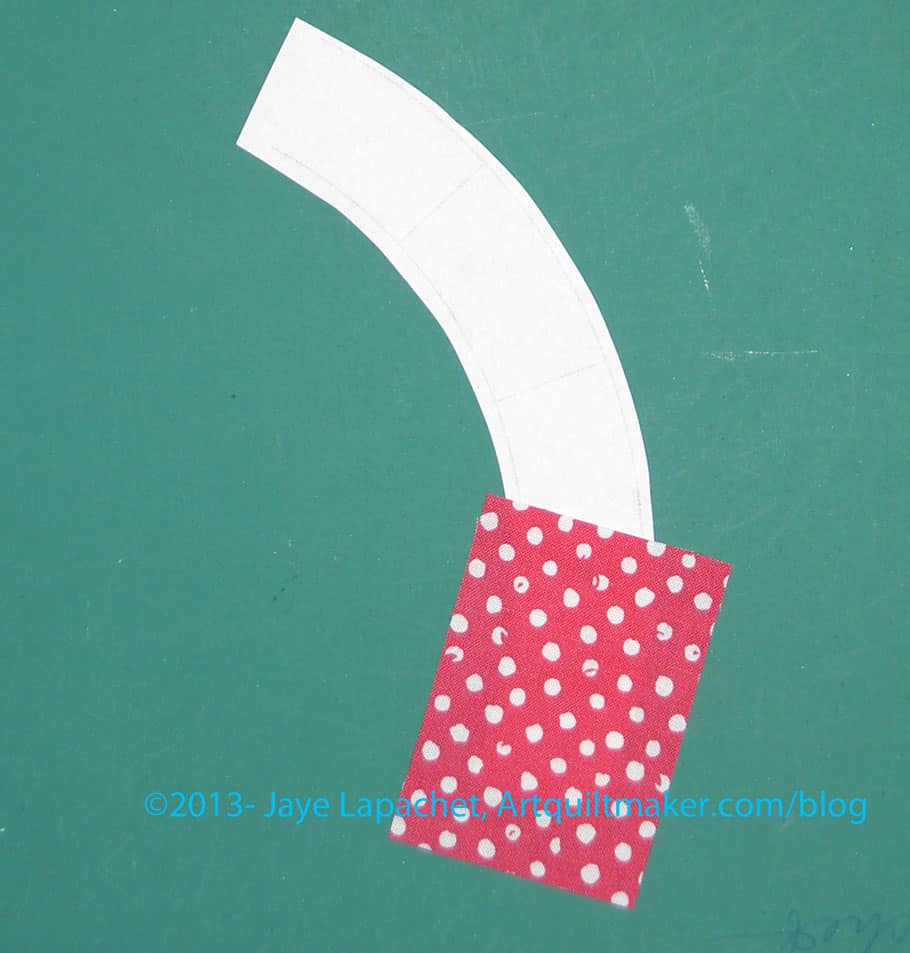
As you did in Part 2, you will work on placing 2 fabrics on the line between D1 & D2 with about a quarter inch hanging over into D2 as a seam allowance. Note the printed part of the pattern (the lines on which you sew) are face down for this step.
Pin fabric
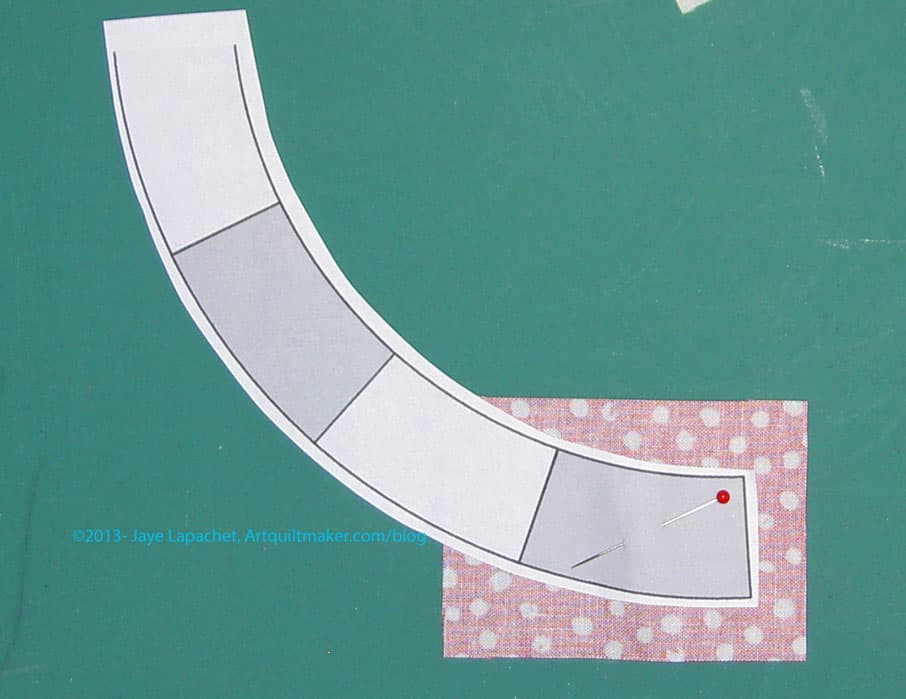
I like to pin the first piece of fabric to my pattern. It helps keep the fabric from shifting as I work on the second piece of fabric. Note the printed part of the pattern (the lines on which you sew) are face up for this step.
Position 2d piece of fabric
Flip Section D back over and position the second piece of fabric over the first.
Ready to Sew
When you have both of your pieces placed like you like them, pin in place. I like to use thin pins. Your piece should now look like the above photo.
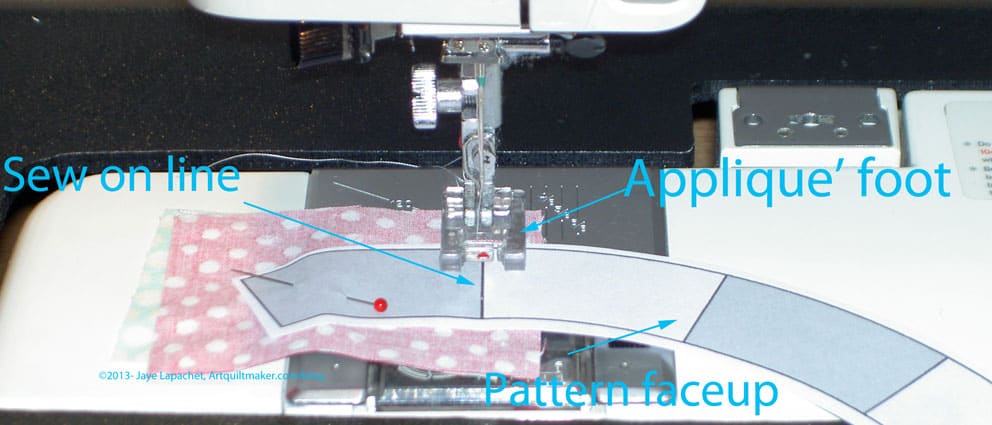
Sew on lineSew on the line (#2)
With the applique’ foot on your machine. Sew on the line between D1 & D2. Do not cross the perpendicular line at the top or bottom. Back stitch one stitch at the beginning and the end.
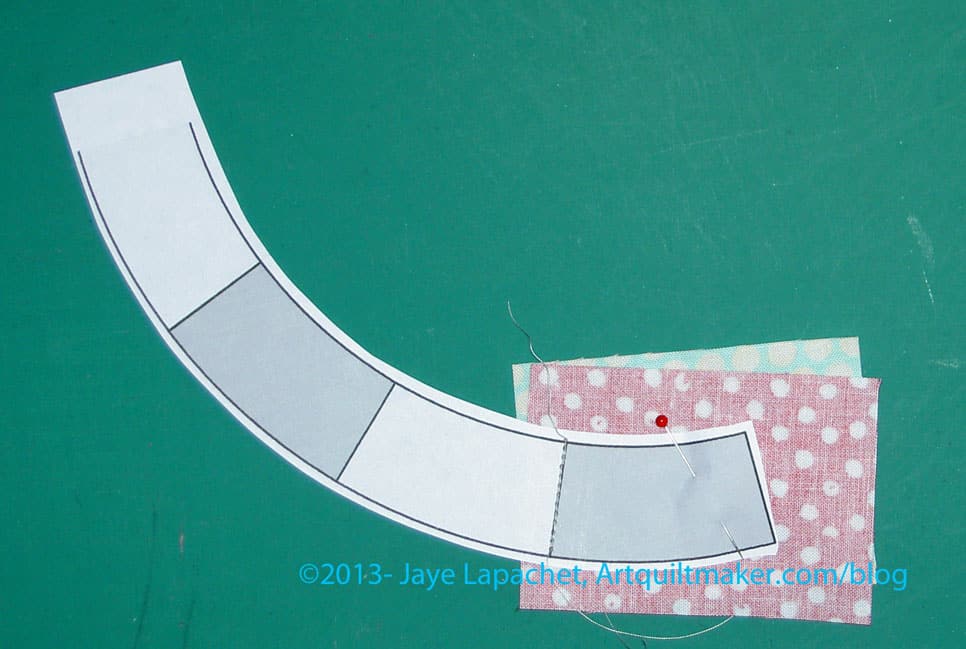
Section D sewn
Once you have sewn on the line, your piece should look like the above photo.
Press first sewn pieces
Open up both pieces and make sure they cover D1 & D2. Once you are convinced that you have covered both D1 & D2 with your fabric and there is a 1/4″ seam allowance, press your piece. Press with the pattern on top. Note the pattern is face up and you can see the sewing lines. (Nota bene: if you have taped your pattern, use a press cloth so that you do not get melted tape on your iron)
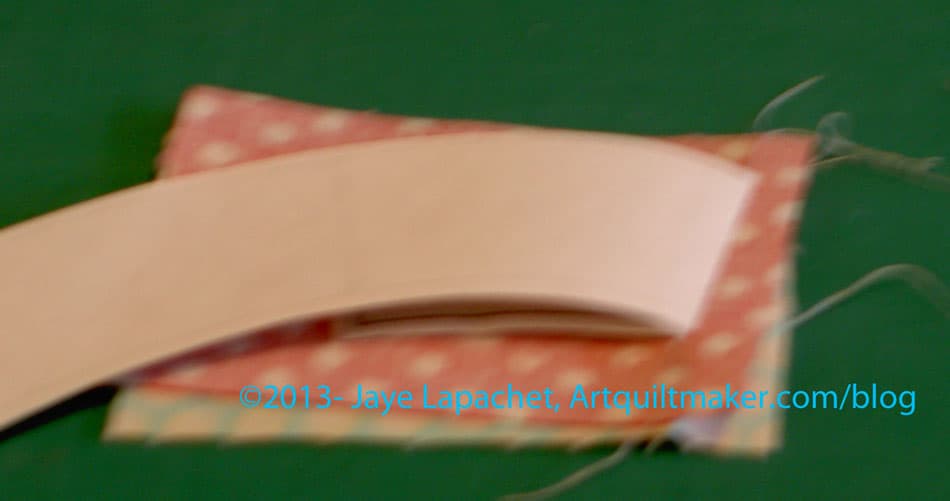
Sewn, pressed Section D back
Flip your Section D over again, so you are ready to trim.
Ready to trim
Lay your pattern, with sewn fabric, pattern side up (fabric down) on your cutting mat. The inside part of the curve will be facing your body. You may want to flip Section D around if you are left handed.
Fold the longer piece of the pattern over to the left using the seam line as the fold line. This will expose the fabric that will be your seam allowance.
Place ruler on sewn line
Line up your ruler’s 1/4″ mark on the seam/fold line and trim your seam allowance to 1/4″.
TrimTrimmed
Trim seam allowance to 1/4″.
Ready to press pieces into place
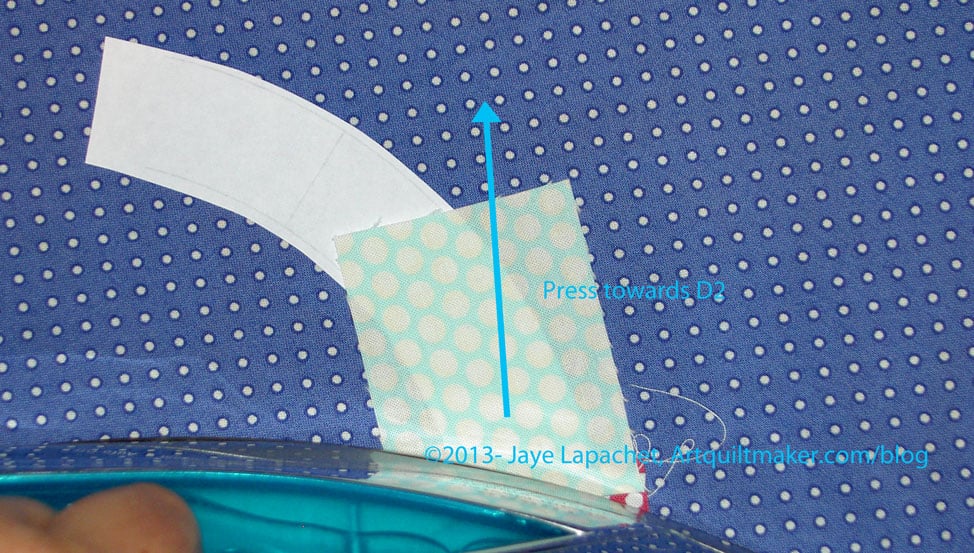
Go back to the ironing board and position your piece so the fabric is up, pattern side down and smooth the fabric towards D2, lightly finger pressing.
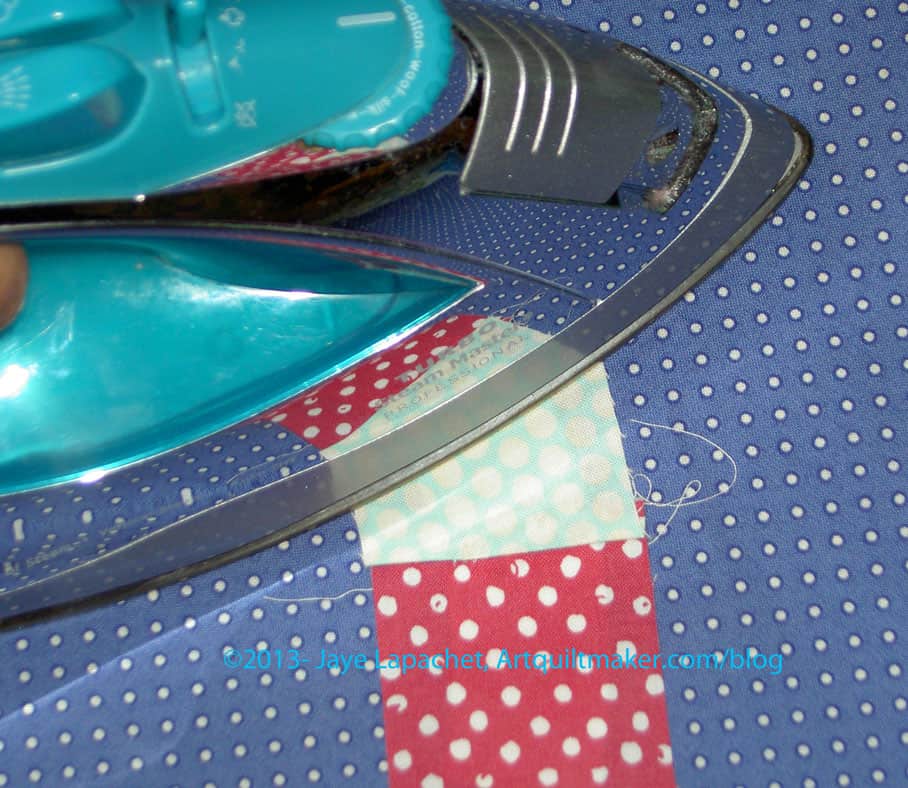
Press towards D2Press towards D2
Take the piece to the iron and press carefully towards D2.
Place D3 fabric
Place your next fabric with the longer part towards D2 and the future seam allowance closer to D3. Hold the whole piece up to the light to make sure your placement is correct.
Place D3 fabric in place
Pin in place.
Get ready to sew on the line between D2 & D3.
Sewn D3
Once sewn, your piece should look like the photo above.
Check to make sure fabric covers D3
Check to make sure your fabric covers pattern section D3. You do this by folding the fabric over and looking to see that you have about 1/4″ on all sides.
Pattern side up
Now, get ready to trim. Put your piece on the cutting mat pattern side up.
Folder pattern back
Fold your pattern to the left again, like you did before.
Ready to trimTrimmed
Line up your ruler’s 1/4″ mark on the seam/fold line and trim your seam allowance to 1/4″.
Avoid the bump
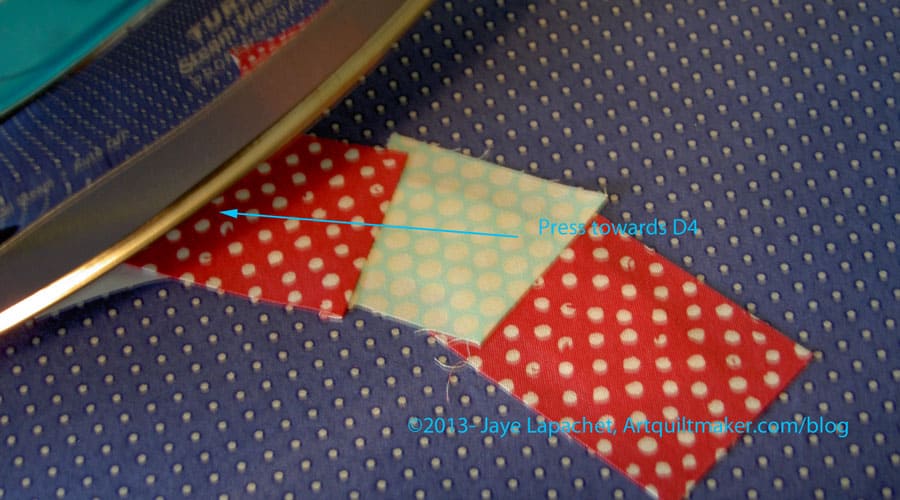
See that bump in the photo above? You do not want that bump to show once you have pieced D4 on to the parts of Section D you have already pieced. Press again, this time towards D4. Avoid the bump by pressing!
Press towards D4
Press towards D4. No ironing!
We are heading to the home stretch!
Position D5
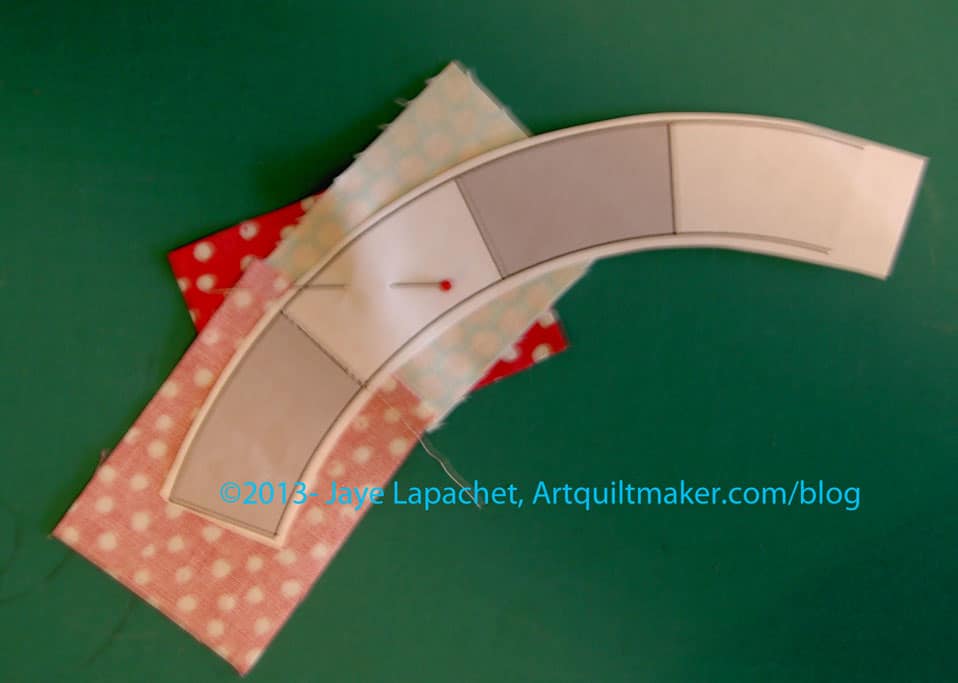
Position your last piece as you have done before. It is going to look at little weird and out of alignment, because you are working with a curve. Remember to position the fabric so it covers D5 plus 1/4″ seam allowance. Pay no attention to the edges of the other pieces, such as D4, that you have already sewn.
Check placement
It is easier for me to see whether or not piece D5 was in the right position by pinning it. Note, I would pin it on the pattern side to sew, because then I can see where the pin is in relation to where my sewing machine foot and needle are. the pin in the photo is temporary.
Sewn D5
Once you have the placement finalized, go ahead and sew.
Fold back pattern and prepare to trim seam allowanceAlign ruler for 1/4″ seam allowance
Now you have to fold back the pattern one last time and prepare to trim the seam allowance.
D5 trimmed!
Trim!
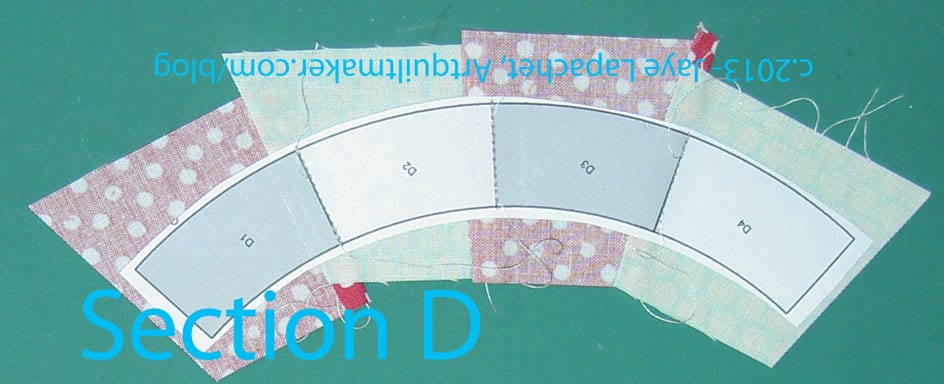
Section D Complete!
Now your piece is done. Fold back the D5 fabric and press. Place your ruler on the lines at the end of the pattern and trim a 1/4″ seam allowance. I know you can do this without photos.
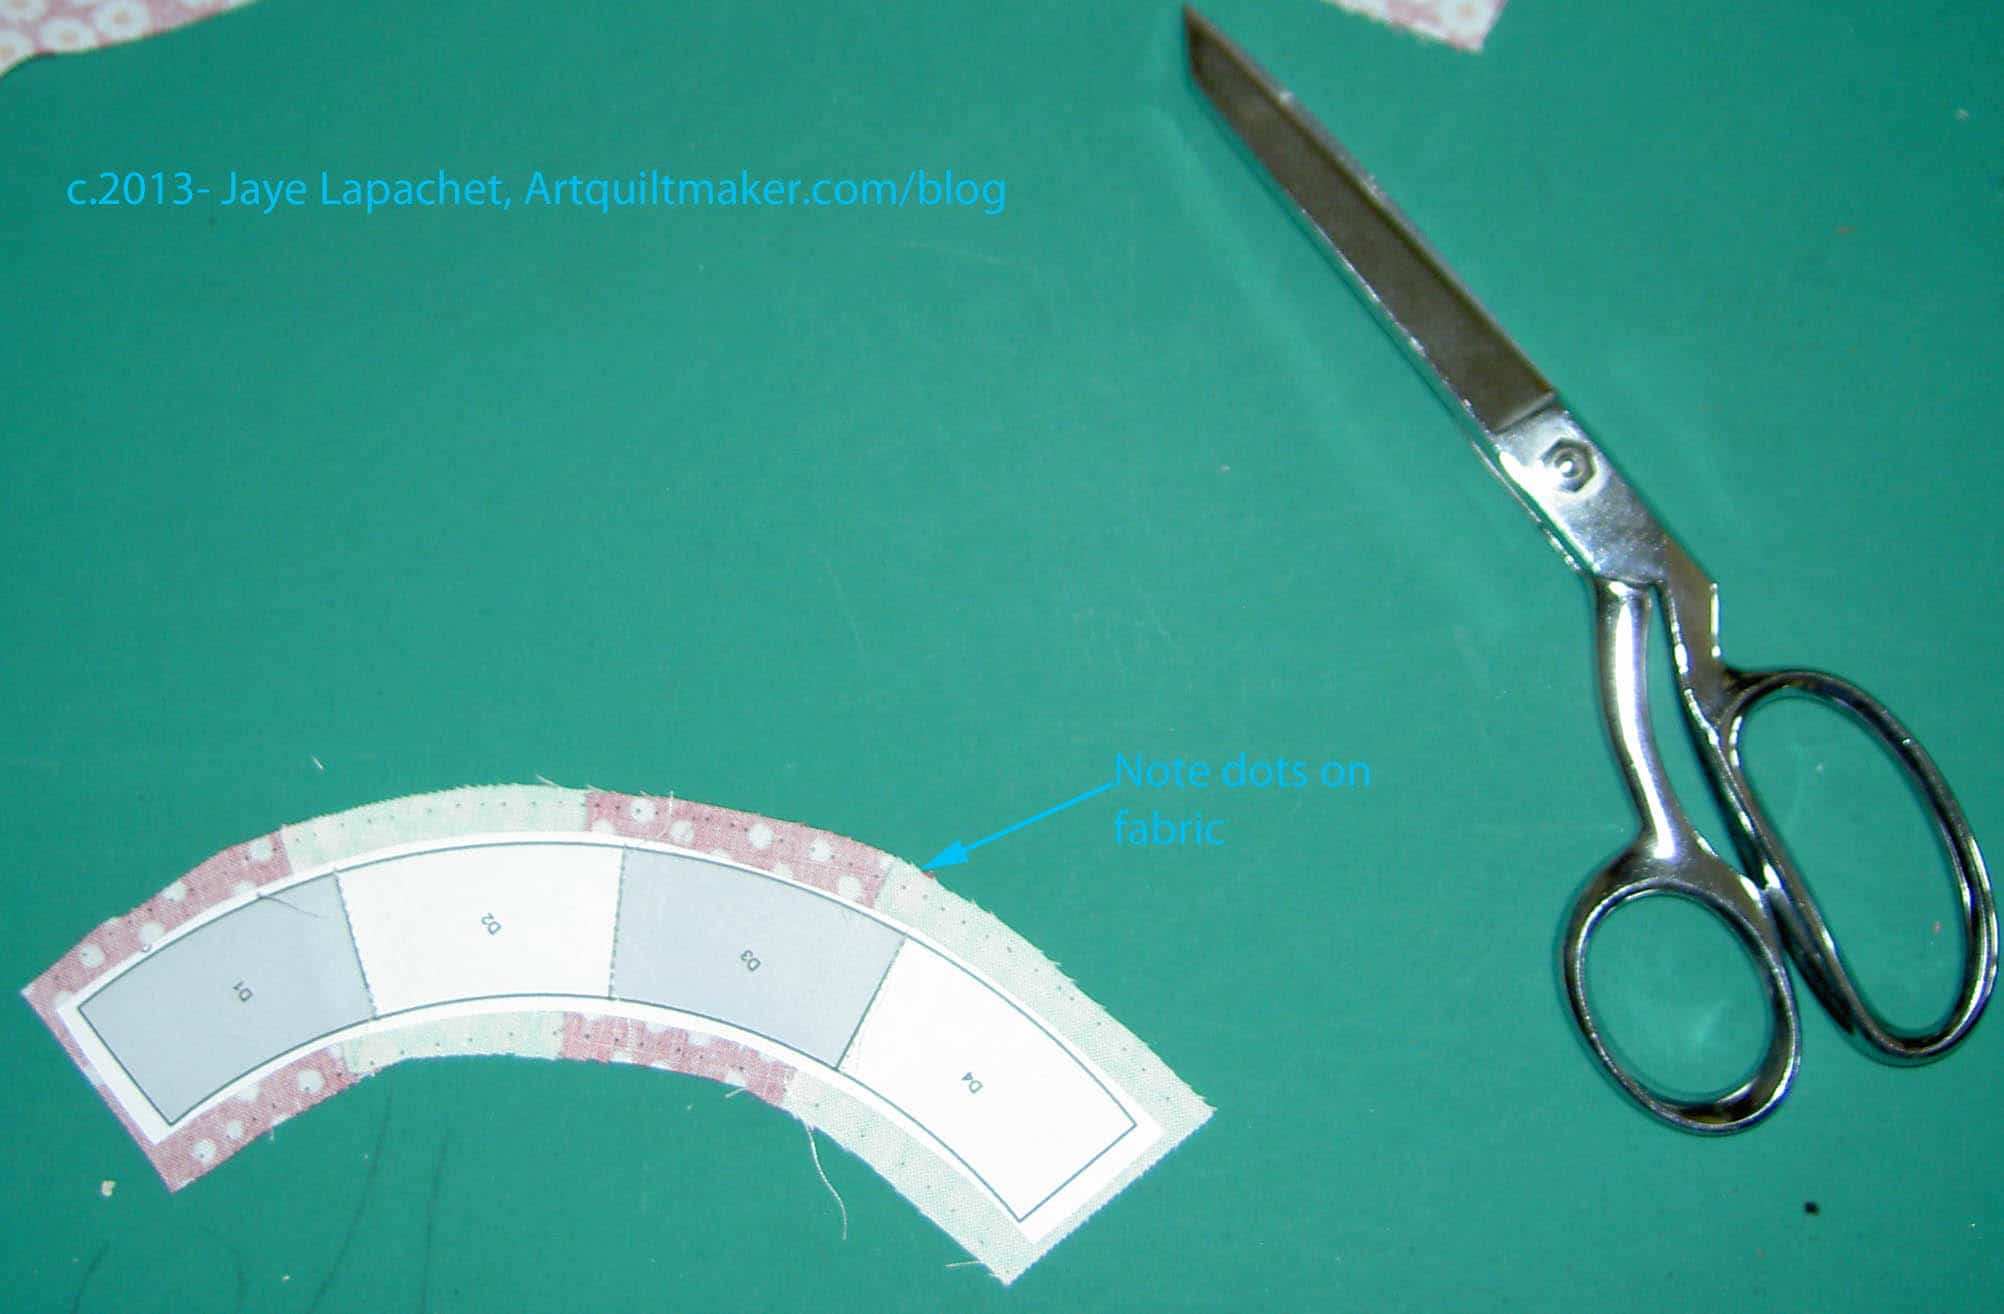
Now you have to trim the curved parts of Section D
Untrimmed Section D
It is too difficult to sew the untrimmed Section D, so you will have to trim.
Dots mark 1/4″
To trim, mark 1/4″ away from the dark line. The dots in the photo above mark 1/4″. I have trimmed the straight ends with a rotary cutter and I am ready to play “dot to dot” with my scissors. I am going to cut from dot to dot to create a 1/4″ seam allowance.
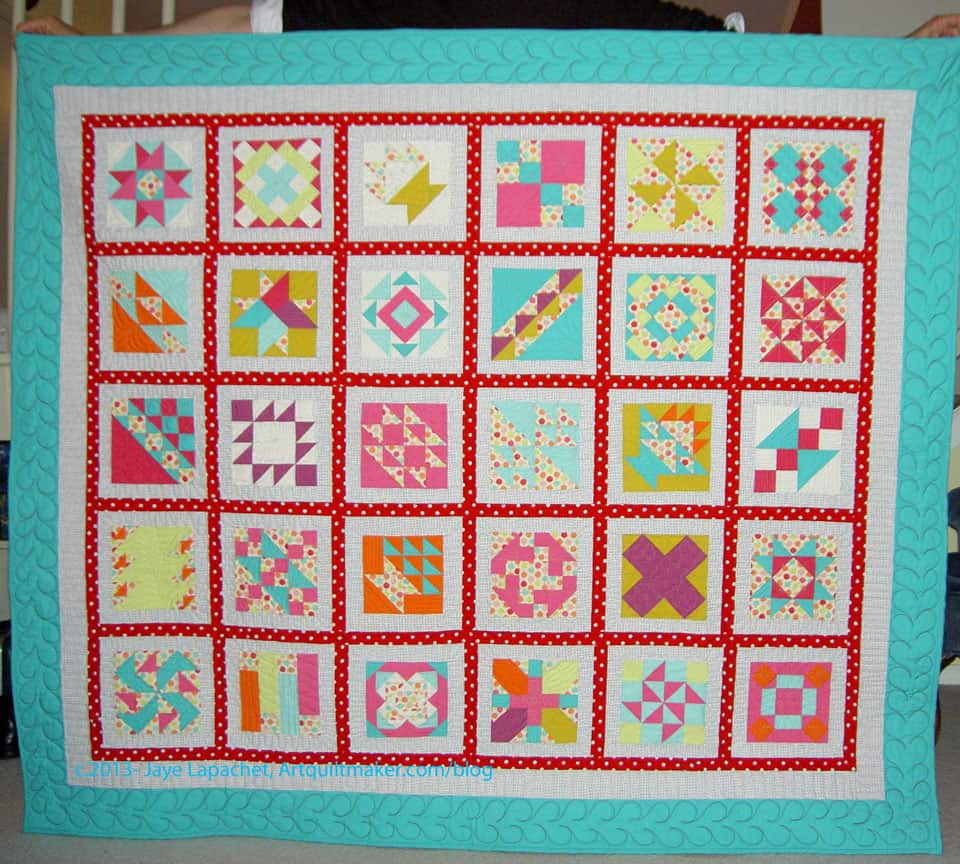
The A-B-C Challenge is finished. I hope the others in the group will finish theirs so we can enter the County Fair as a group. It was fun to do that last year.
The quilting is magnificent, though I have to say using the Art Gallery Fabric as binding was not magnificent. It is very fine fabric, which I think is why there was a lot of pulling as I stitched the binding down to the back. I found it was very hard to hide the stitches. I love Art Gallery Fabrics, because they are so soft and fine, but will have to remember not to use it for binding.
A-B-C Challenge: Rambler block
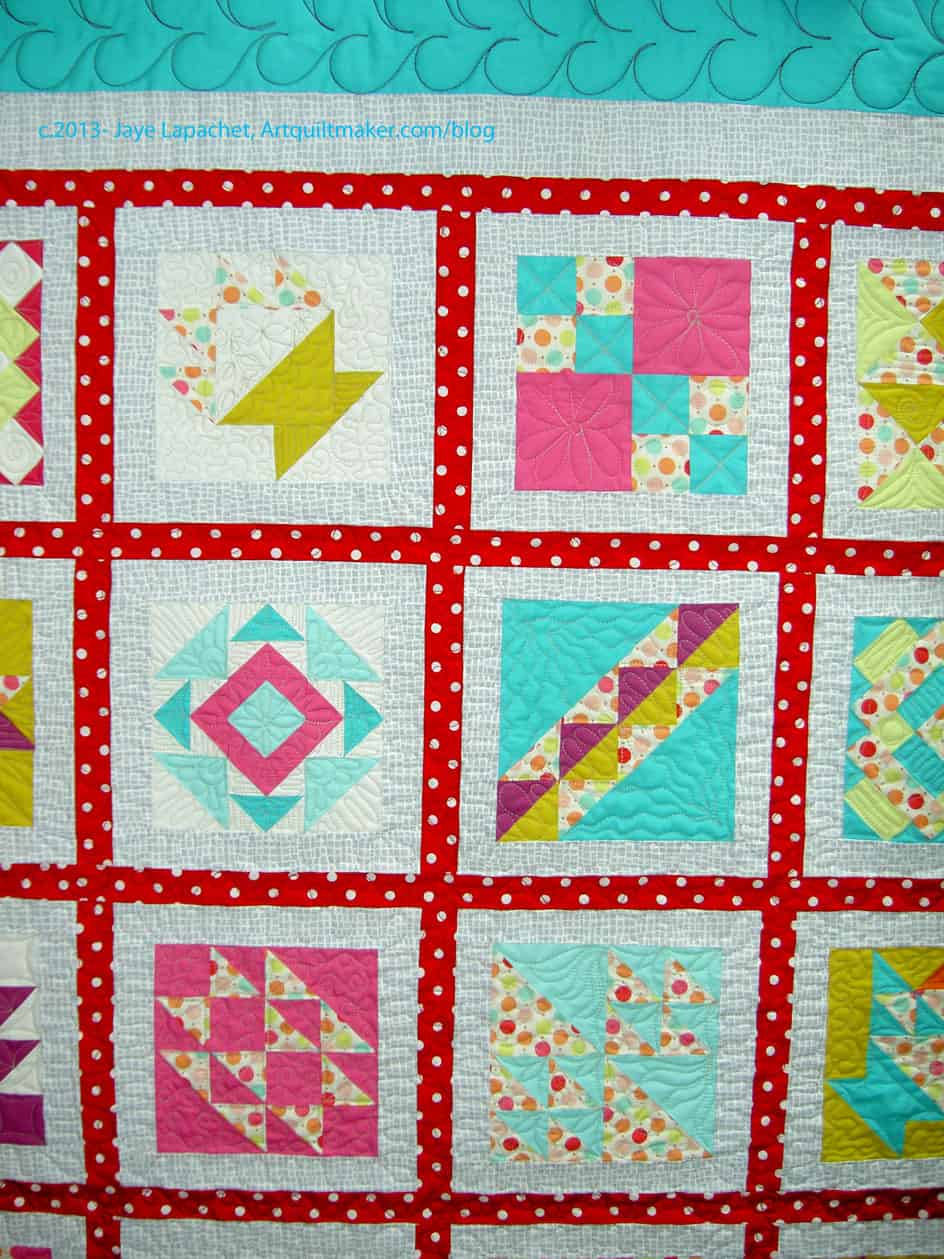
The quilting is extremely magnificent. I was thrilled when I got the quilt back from my quilter. She has had a tough time in the past year or so and when I saw this quilt, I realized that she was back. I have to show you a few details of quilt’s fabulosity.
I wasn’t sure about the thread when I saw the quilted quilt. I don’t like beige, remember?After looking at this quilt for awhile, I think it works. It doesn’t take away anything yet the viewer can see the quilting if s/he walks up and looks closely.
You have to click on the blocks to see the awesomeness.
A-B-C challenge: Lincoln
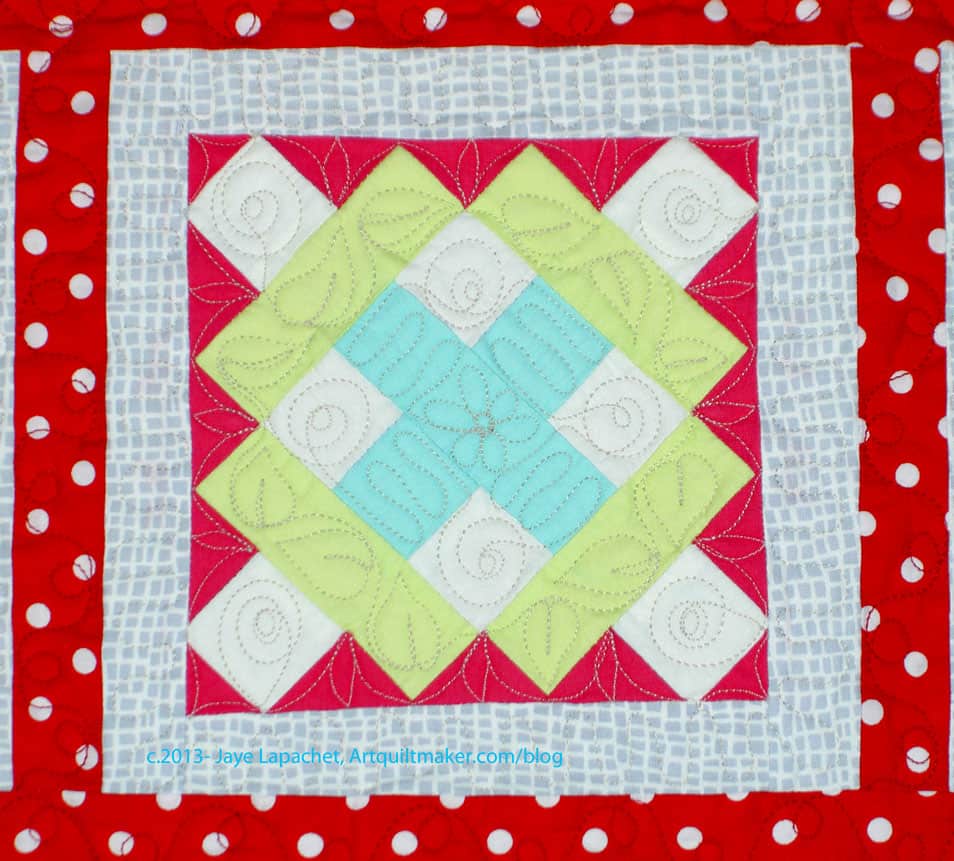
Lincoln turned from kind of pale, restful, background block into a ‘reward block’. That isn’t a real term; I just made it up. Remember how I talked about quilts that reward you if you look closer? Well, this block is completely like that. It is a nice block with which you could do some great things if you pieced a lot of them. In this quilt, it is the reward block. If you look at it closely you see the really great quilting that my quilter did.
See those great leaves?
The spirals? Sigh. I am over the moon with the quilting of this quilt. As you can see, this is much more than a drive by “Hey, I’m done! See you later post”
A-B-C Challenge
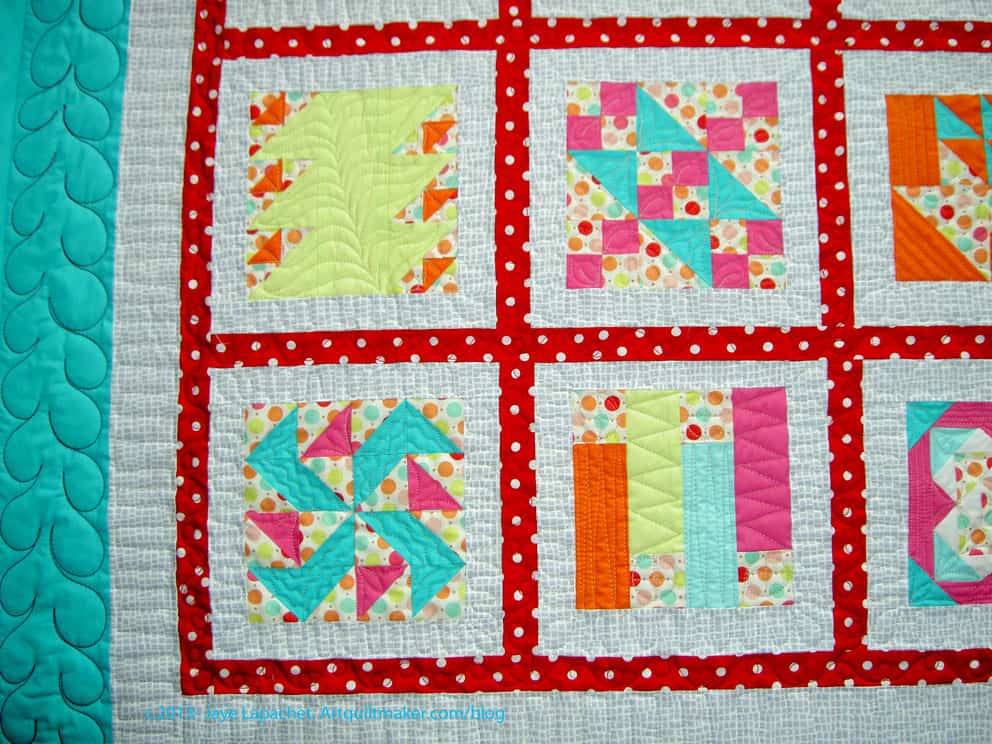
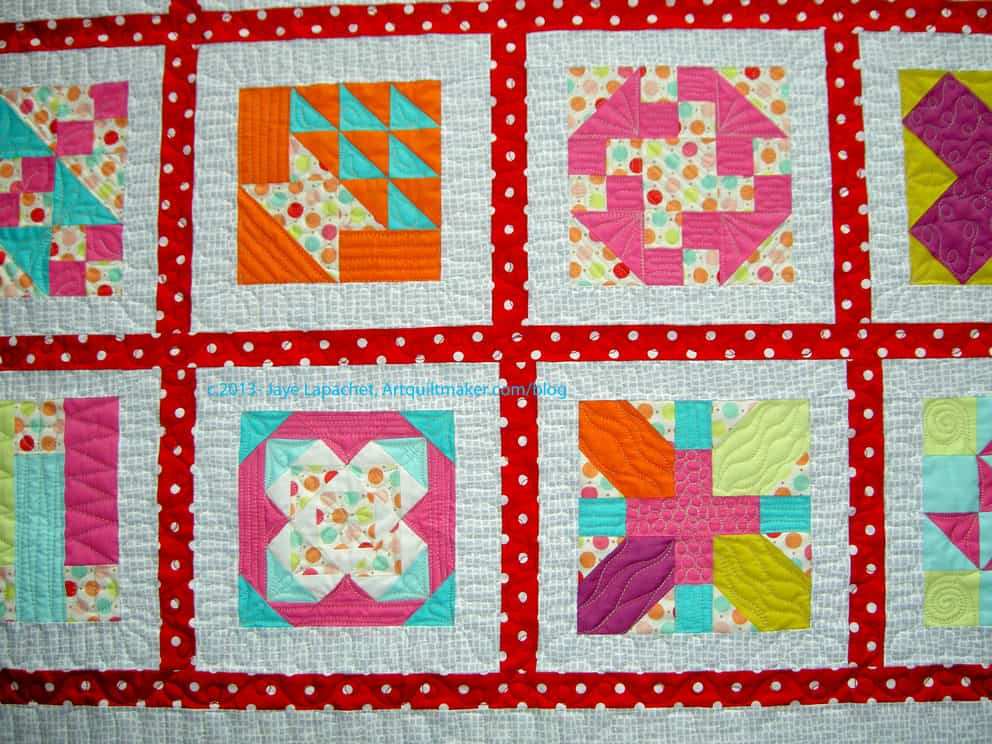
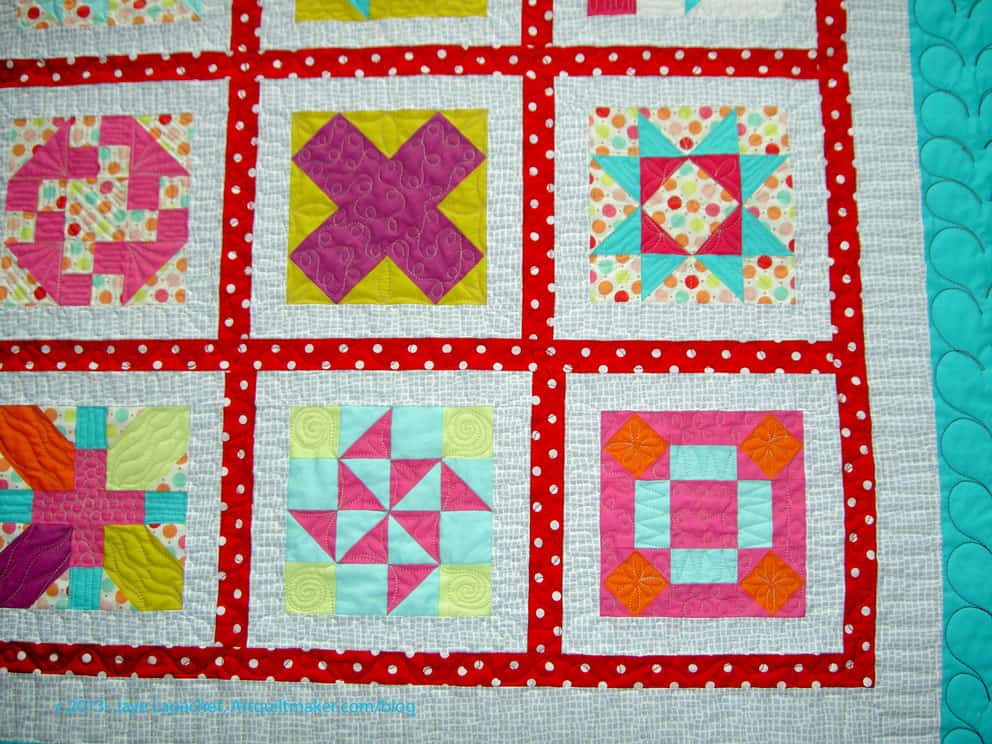
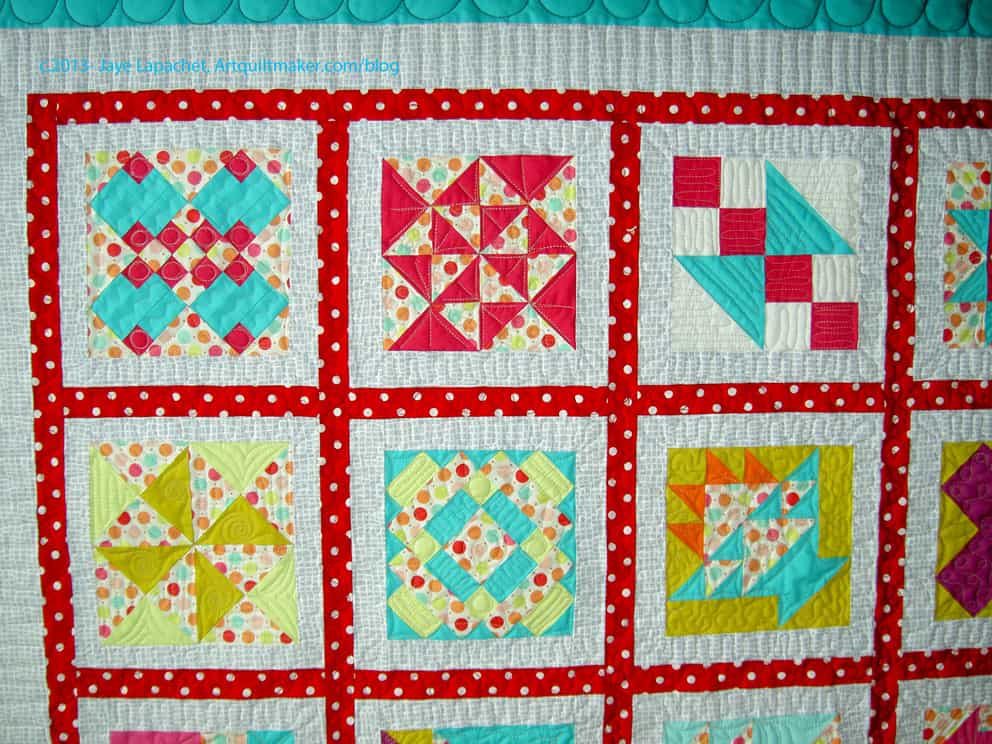
I decided to take photos of the various corners and sections of the quilt so you see, more closely, how nicely these blocks play together. I am really glad I used a limited palette.
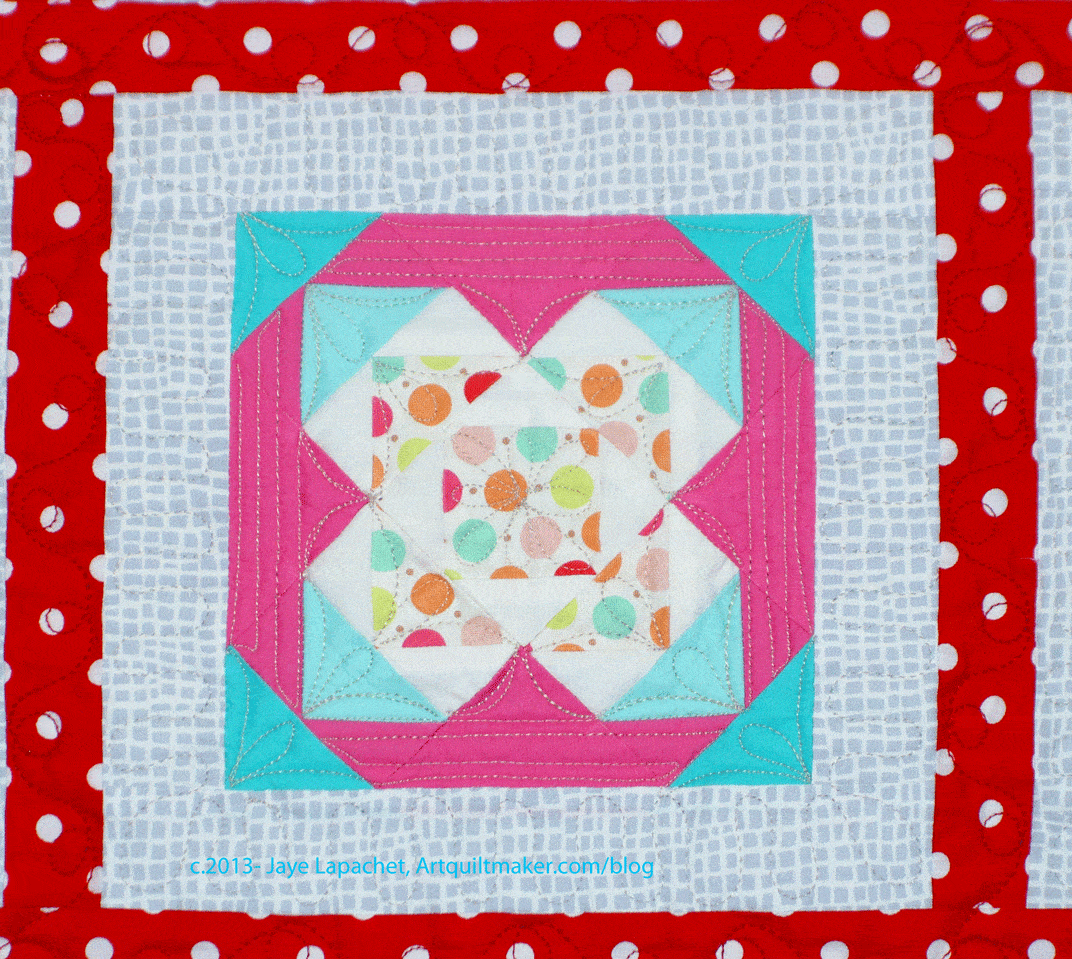
A-B-C ChallengeA-B-C ChallengeA-B-C ChallengeA-B-C ChallengeA-B-C challenge: Japanese X block
And I have included a few more blocks for their detail
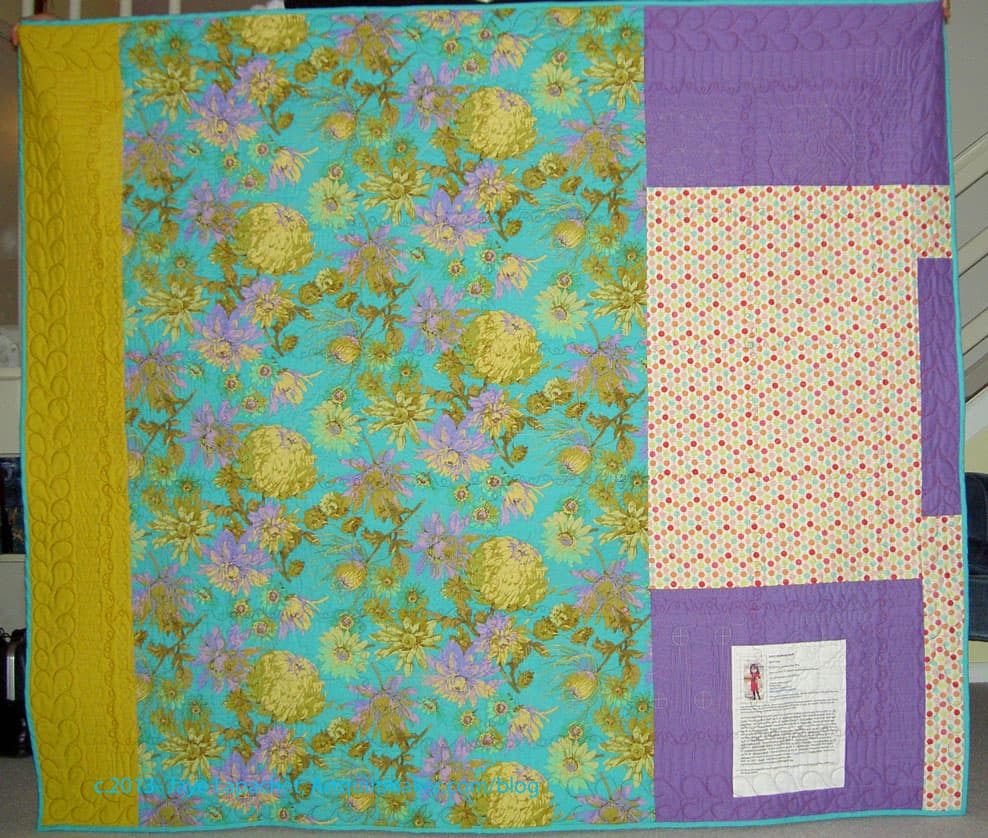
A-B-C challenge: Eva’s DelightA-B-C Challenge Back
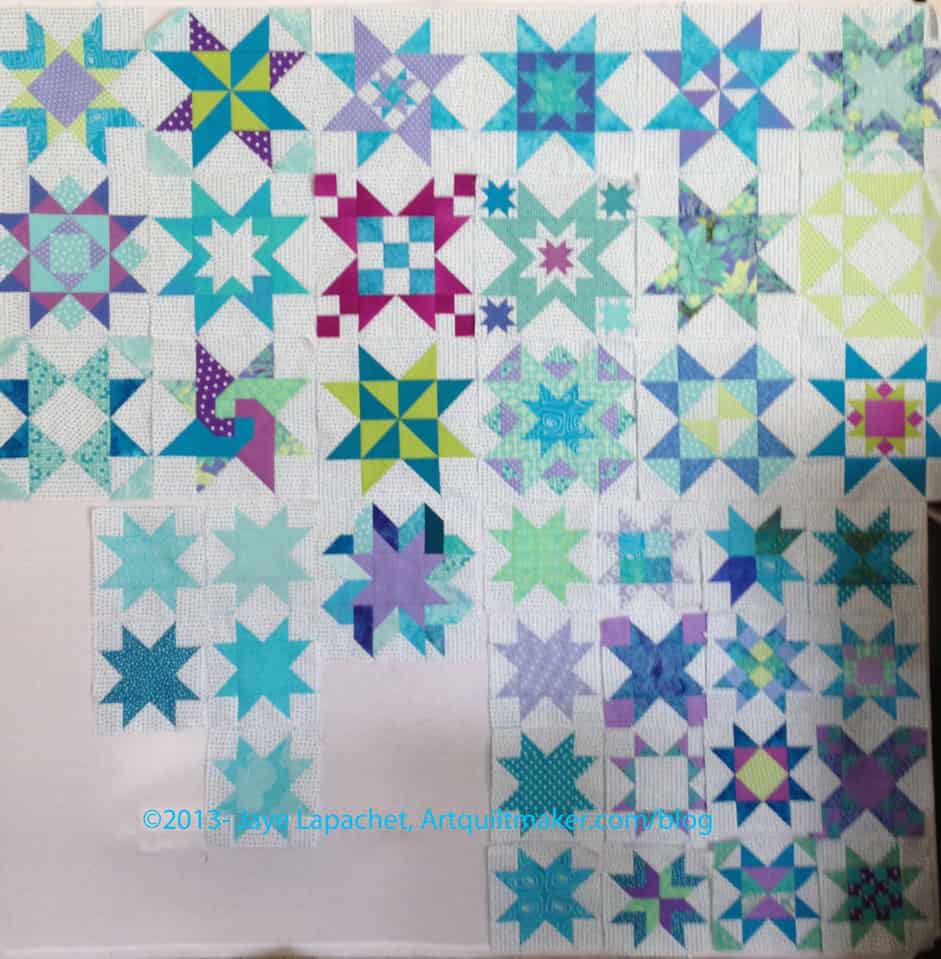
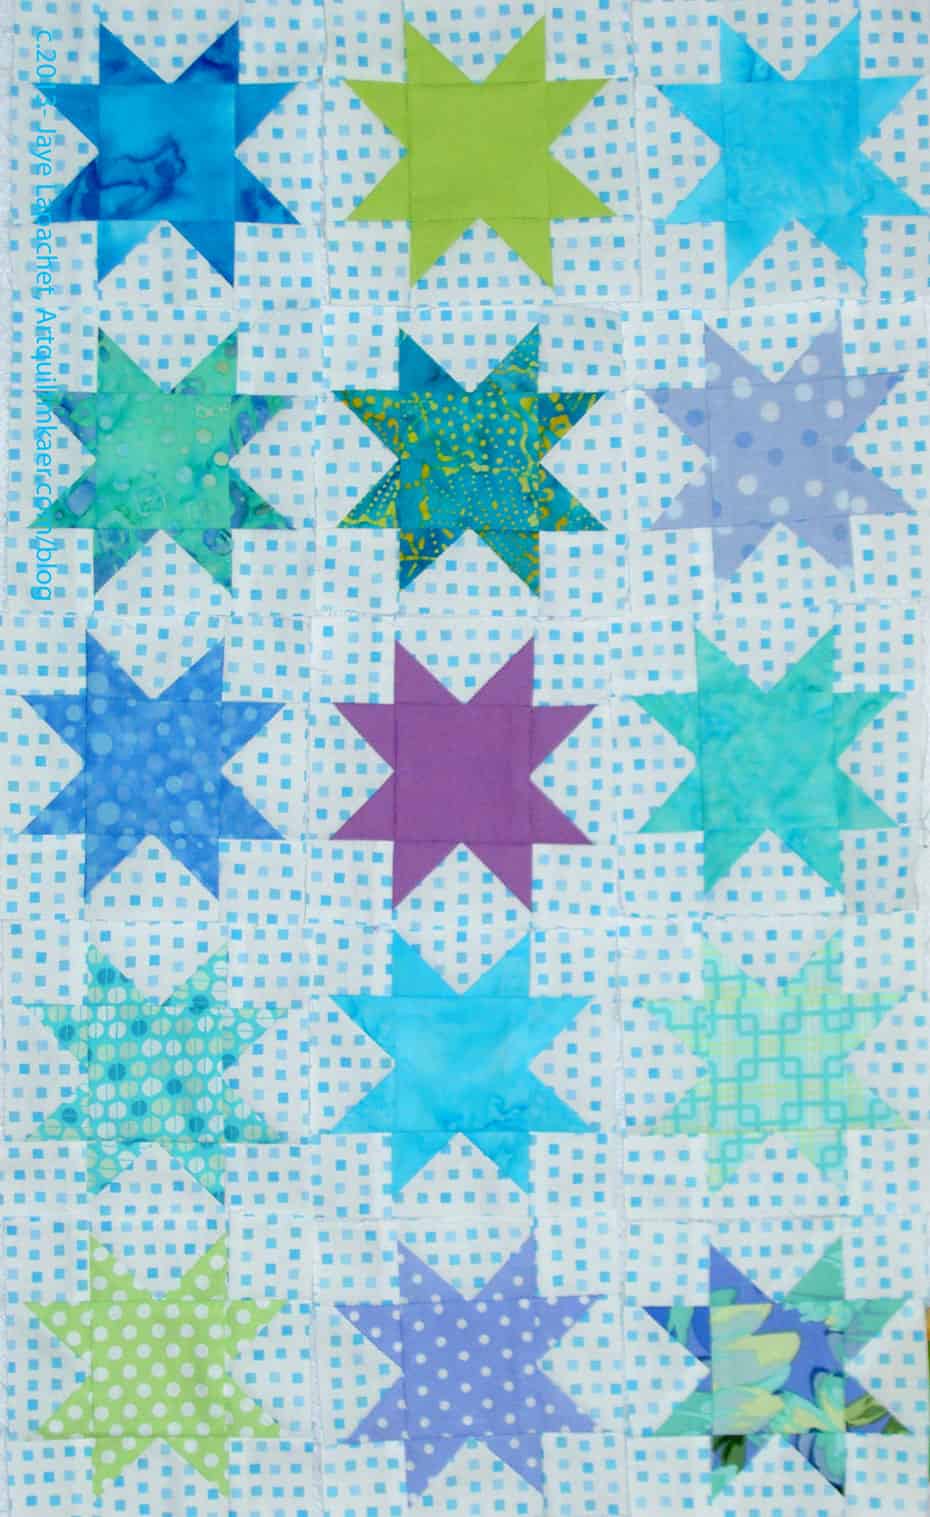
Here are my little group of 4″ stars. This group is not growing as fast as I would like it to grow, but they all look great. I am very pleased with the way they look together. Even the ones that are running towards red-violet add a spark to the group.
There are two things annoying about these stars:
There are not enough of them and they are not reproducing fast enough. Have I told you I need 89 of them? No? I need 89. I am not even a quarter of the way there.
I have a nice little violet star on my design wall half sewed. Why half sewed? I lost 2 of the Flying Geese I need to finish this one star. They HAVE to be around here somewhere. I even cleaned up my cutting table. No luck. I can make more. I probably have enough fabric, but really. To where could 2 Flying Geese have flown?
The blood orange is a variety of orange (Citrus × sinensis) with crimson, almost-blood-colored flesh. The fruit is smaller than an average orange; its skin is usually pitted, but can be smooth. The distinctive dark flesh color is due to the presence of anthocyanins, a family of antioxidantpigments common to many flowers and fruit, but uncommon in citrus fruits.[1] The flesh develops its characteristic maroon color when the fruit develops with low temperatures during the night.[2] Sometimes there is dark coloring on the exterior of the rind as well, depending on the variety of blood orange. The skin can be tougher and harder to peel than that of other oranges.
Post the direct URL (link) where your drawing, doodle, artwork is posted (e.g. your blog, Flickr) in the comments area of this post. I would really like to keep all the artwork together and provide a way for others to see your work and/or your blog.
We are also talking about this on Twitter. Use the hashtag #CPP
The Creative Prompt Project, also, has a Flickr group, which you can join to post your responses. I created this spot so those of you without blogs and websites would have a place to post your responses.
Weeks wrote “Think broadly. Don’t get hung up on labels; you needn’t adhere to making one type of quilt—even though we consider ourselves modern quilters, there’s something to be learned from every genre of quilting. Which types of quilting could you learn from?”
You might like bright fabrics like me, but it won’t kill me to look at a quilt made with Civil War fabrics or a quilt splashed with house paint. I like to keep an open mind when looking at quilts. I have come across quilts that I thought were hideous. Nonetheless, I looked at them and found something I could use. It might have been a spark of a color or a little block or piecing trick or some clever embellishment. By taking the time to look, I saw.
I think I can learn from all types of quilting, even those types that I wouldn’t want to do myself.
*No copyright claimed on Modern Quilt Studio image. thanks to Bill Kerr and Weeks Ringle for allowing me to use it. See the original blog post on the Craft Nectar blog.
I did something a little different for this week’s blocks. I didn’t have a lot of time last weekend, so I cut the pieces for each block out in advance and had all the pieces on the design wall ready to sew. I did this, because I thought I might have a few minutes here and there to see, but really I only had various bits of time to cut. I didn’t have any sewing time until late in the day on Friday. I am not sure if cutting in advance made any difference.
I added in the Michael Miller teal dot fabric, which I also used on the sewing machine cover I made a couple of years ago. I needed some more dots and I really wanted to use this fabric in a quilt I could admire regularly.
At least I thought I cut all the pieces! Part way through I realized that I still needed to cut out the last star.
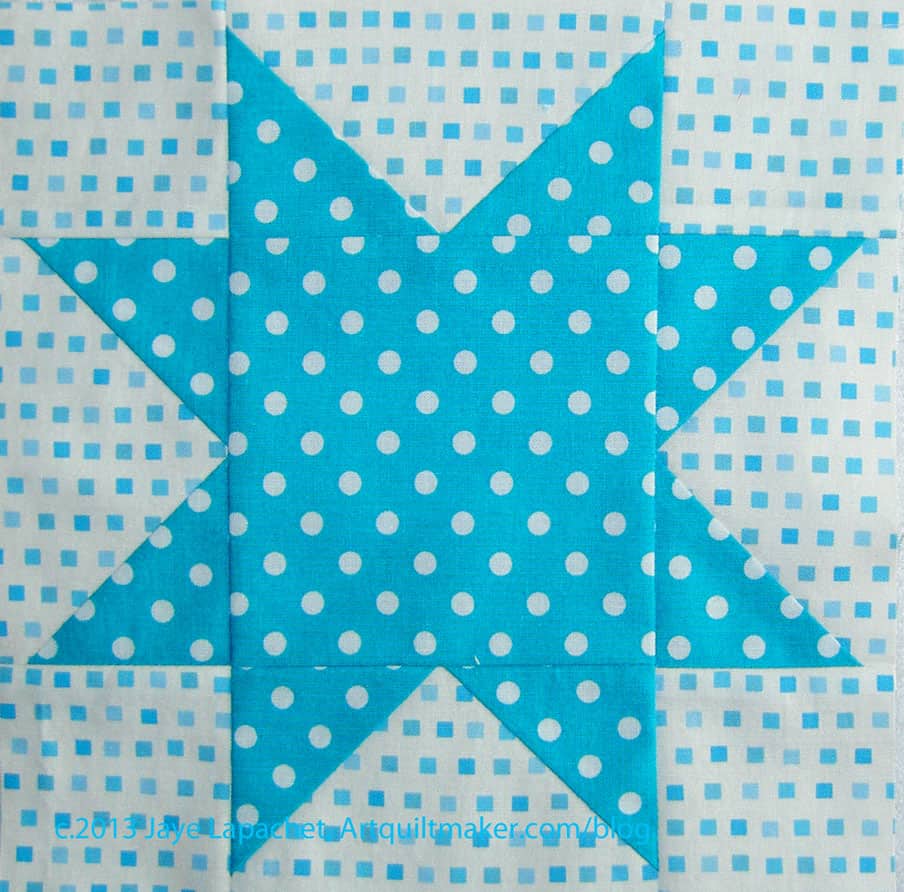
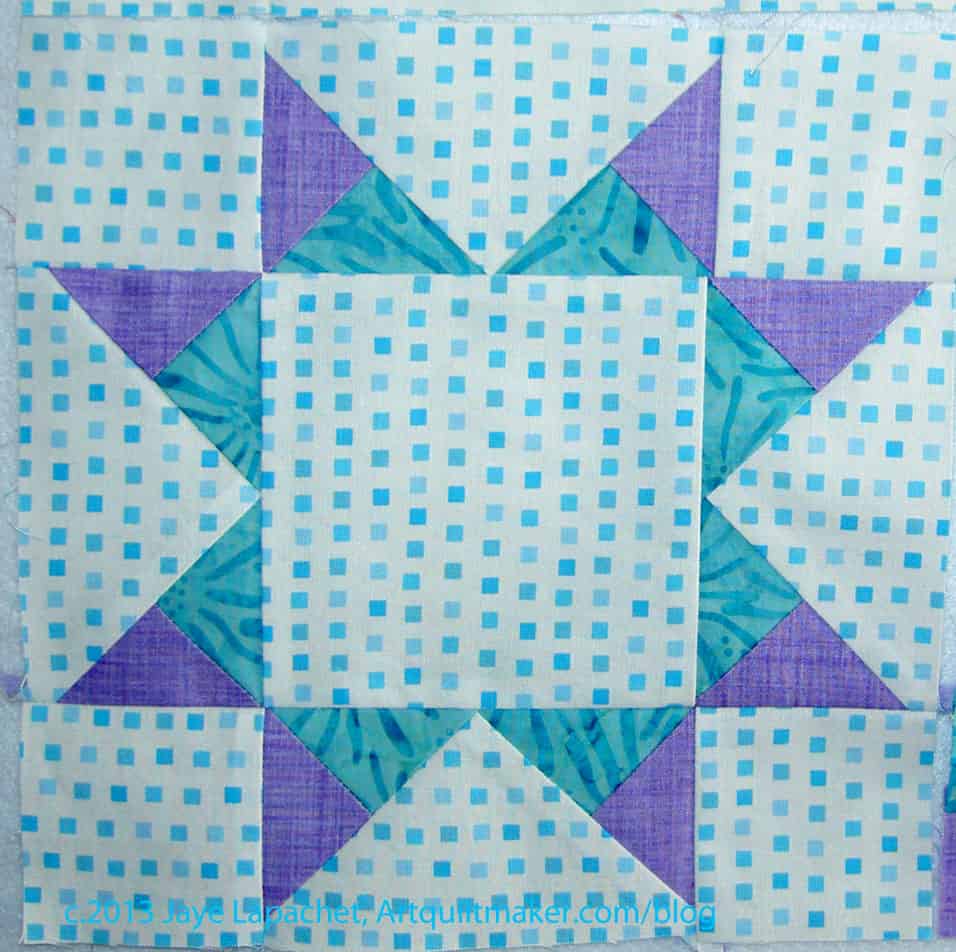
Aunt Addie’s Star
Aunt Addie’s Star looks a little backgroundy to me, but I think it will be ok. What does “Backgroundy” mean? I think it means that that big square in the center gives a look of a lot of background and not too much star. I think it is fine, but I will have to look at it in context and see if I need to make others with more background or that see through look. One of the Rising Stars has background in the center.
I do have all the stars on my design wall and think they are looking fine together.
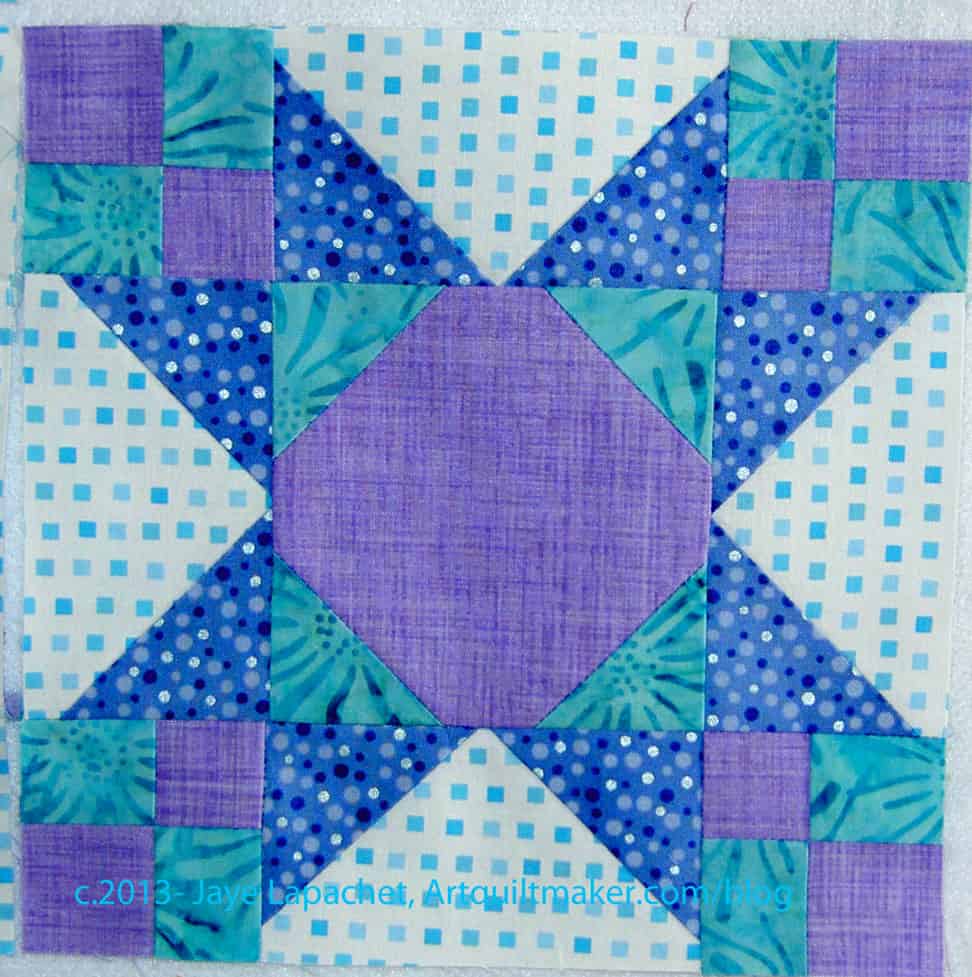
Taj Mahal Star
The Taj Mahal Star will go really well with the Austin Star from last week. It has, as you can see, the same kind of corner treatment. I need to find one more block or make another one of these two so the quilt looks on balance. I like, as I have said before, to use threes – three of the same blocks, three pieces of the same fabric, three design elements, etc to make the quilt look right. You can use 5 or some other odd number, but I use three as my starting point. I am pretty sure I talk about this concept in more depth in the Design Series. Perhaps the episode on Balance?
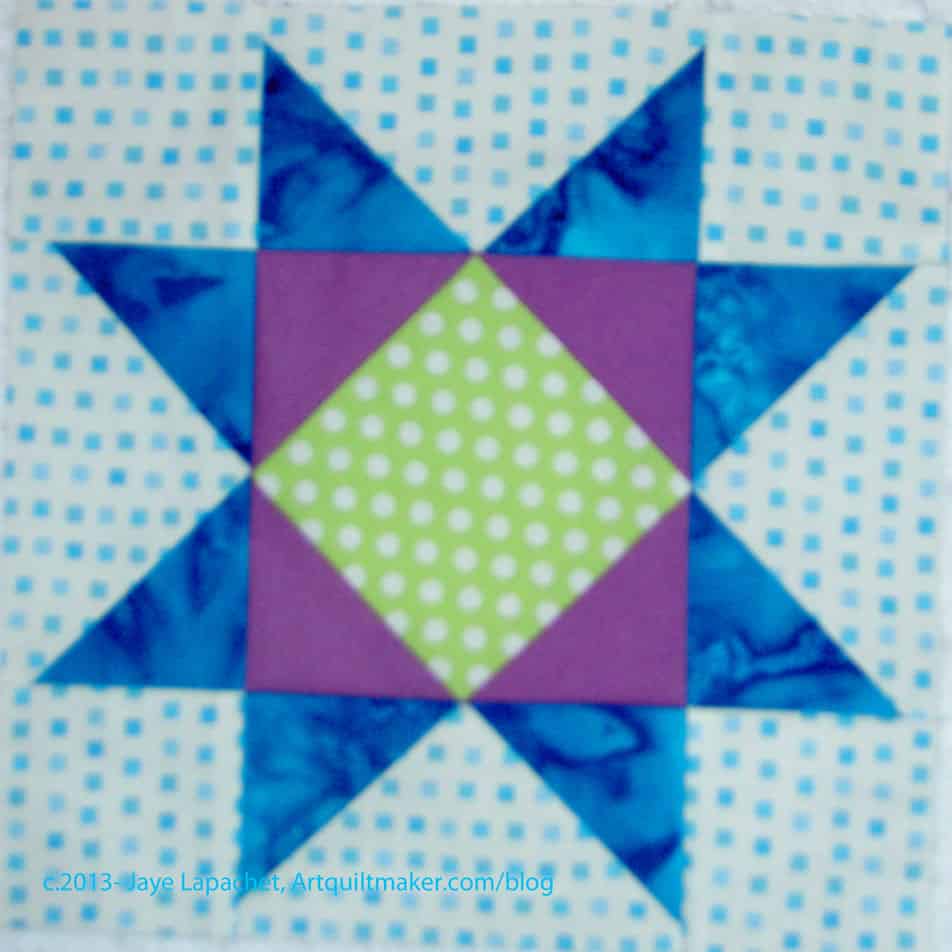
Square in a Square Star
Finally, I made the Square in a Square Star. While I was cutting for it, I was thinking of the green dot I talked about in the last post about the Star Sampler. I decided to use it in the center of this star. I wanted to make sure that there was enough of it in the quilt so one or two pieces didn’t look weird. It works GREAT, because it is enclosed and not touching the background.
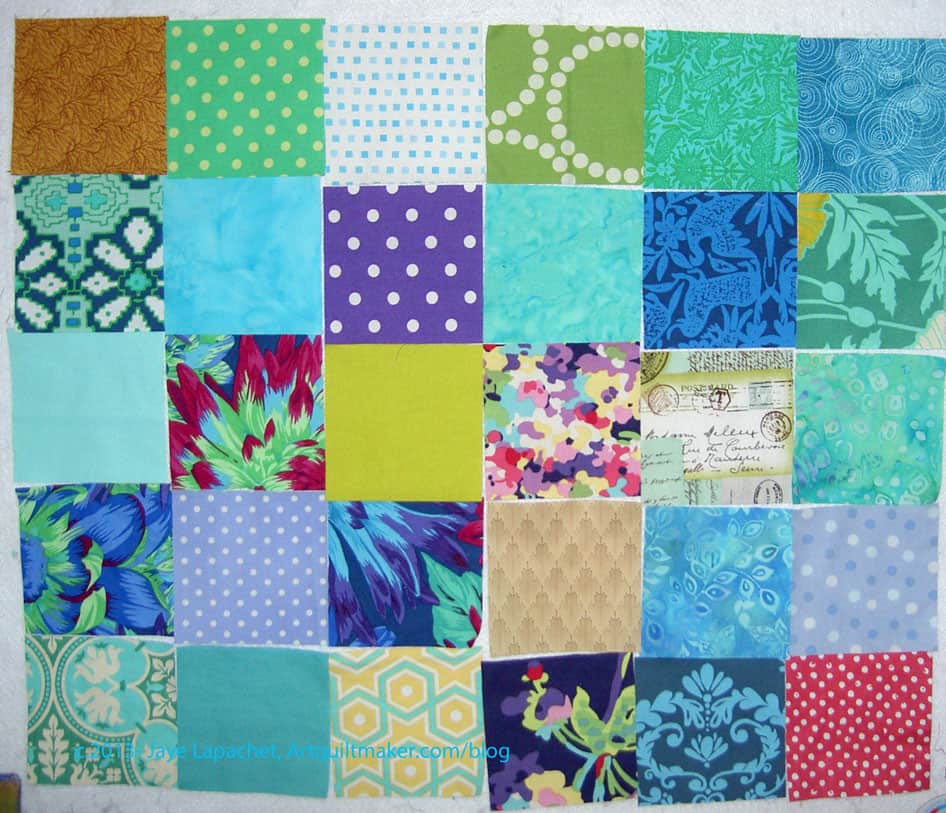
This year’s shape is a 3.5″ square and I have an idea to do a kind of waterfall effect. Stay tuned to see what actually happens!
I had two fabri-lanches in the past few days, so I finally started pressing fabrics and cutting the squares for Fabric of the Year 2013.
There are fabrics for projects in process and also fabrics that just came up on the ‘to press’ pile. I might need to take a day off work that I dedicate to pressing fabric.
I just realized it has been about two weeks since I posted about the Star Sampler. The last post was March 10. It is not an abandoned project and I have been working on the blocks. I know the week of March 11 was really busy for me. I had two meetings in the evenings that week and must have gotten off track with writing about the blocks.
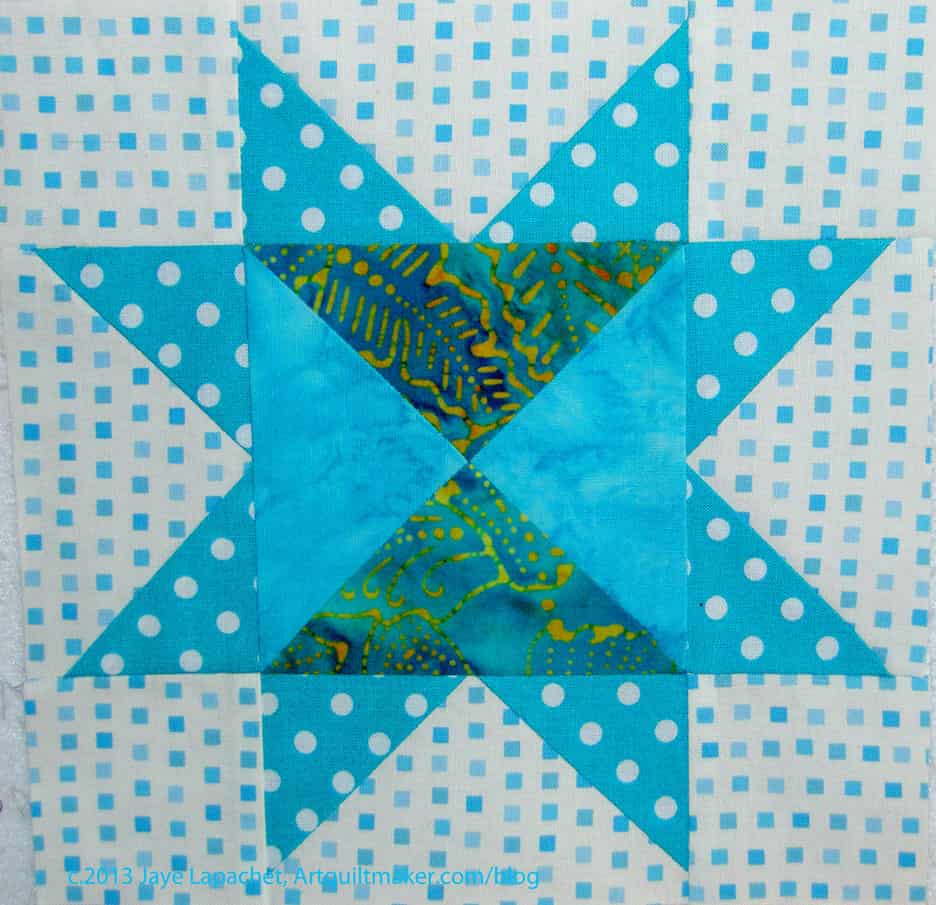
Hourglass Star v.2
The first thing I did last week was redo the Hourglass Star block. The previous version didn’t work. I used that great yellow-green dot for the arms and it was too light. I had two of the centers, so I used the same center and just put a Michael Miller Dumb Dot as the arms.
I think that yellow-green has to be contained on the inside of a block. I think it is too close to the background to work effectively next to it.
If I keep screwing up blocks. I’ll have a second quilt on the back!
Checkerboard Star
I included some of the yellow-green in the Checkerboard Star and you can see how well it does enclosed by other fabrics. I have to keep that in mind as I move forward on the rest of the blocks.
I saw TFQ’s version of this star on Flickr and noticed that she lined up the fabrics she used for the arms so they were the same.
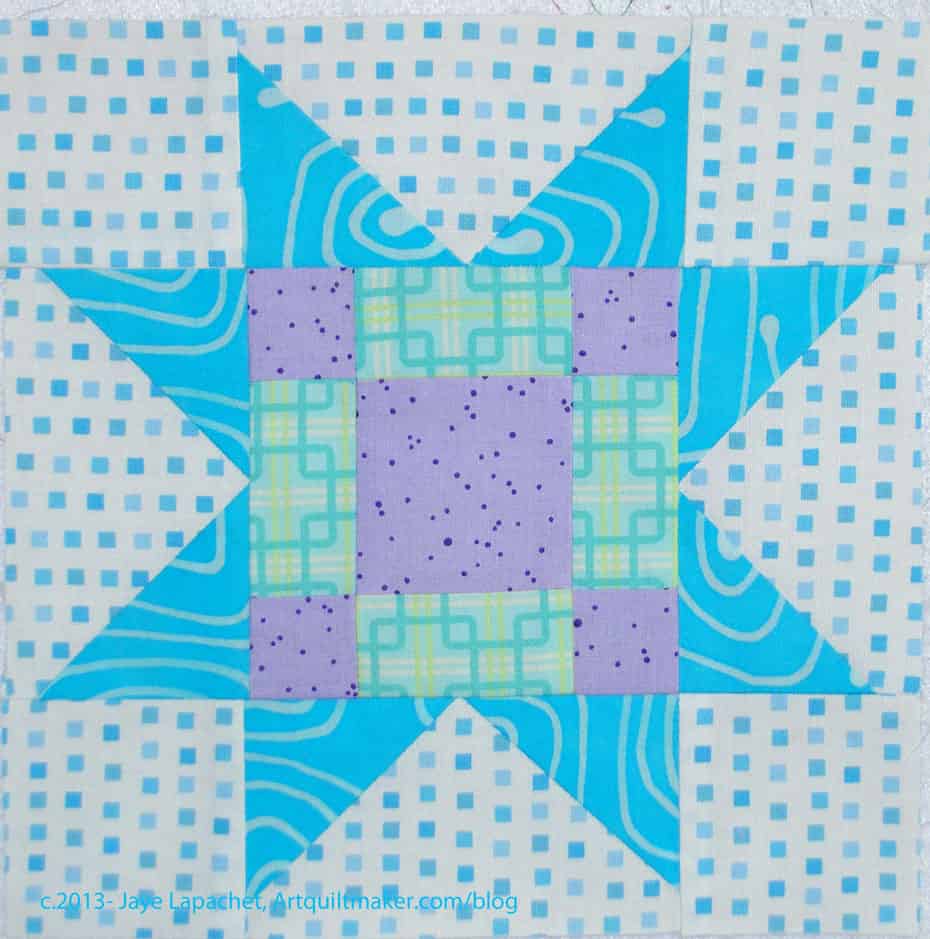
Plaid Star
I like the Plaid star. I like the look of the piecing. I am not 100% on board with the fabrics I chose, but I don’t dislike them enough to re do the block right at this moment. Also, I chose the colors to go with the Bard of Avon block. I didn’t want the Bard of Avon to be sitting out there with these fabrics alone.
I do love that turquoise I used for the arms, though. It is hand-dyed or some kind of special surface design by Stitch ‘n Dye fabrics. It is a very special fabric, but I thought I might as well use it. I am pleased with how it looks with the other fabrics.
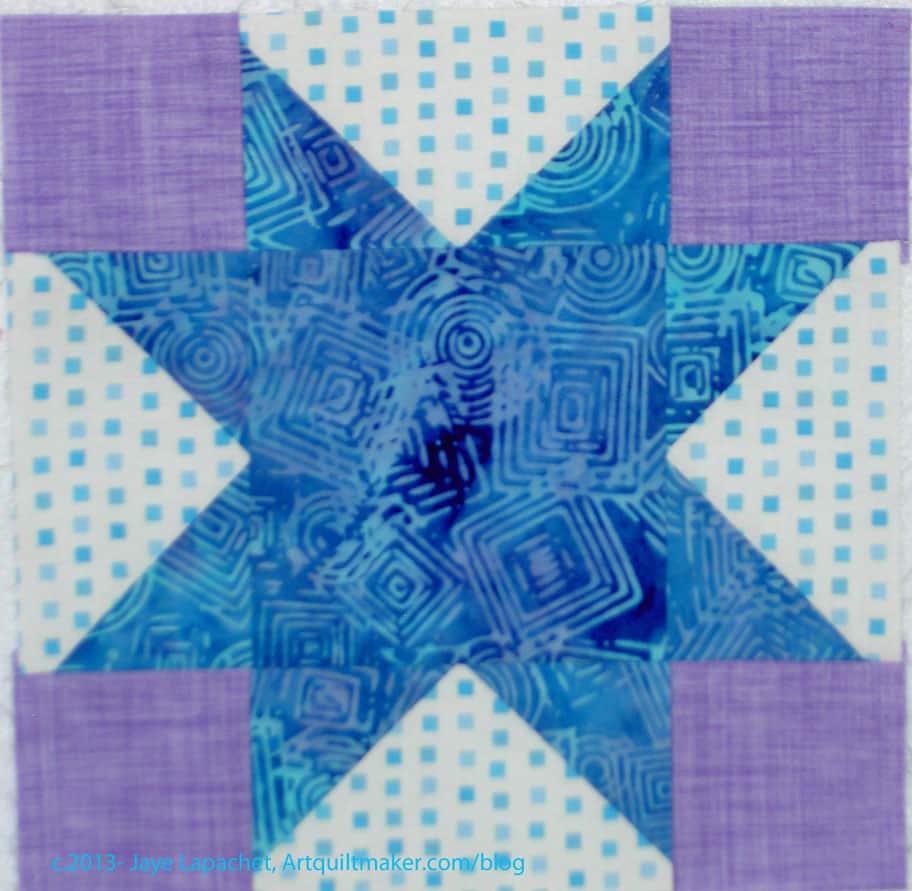
Austin Star
Someone pointed out on Twitter that the Austin Star block looks really different from the others. The squares in the corner are quite prominent. They enhance the X effect of the block. I haven’t decided if this rendition of this block will make the cut for the final quilt. It is a little on the dark side. I know there is another block similar in layout that might make this work.
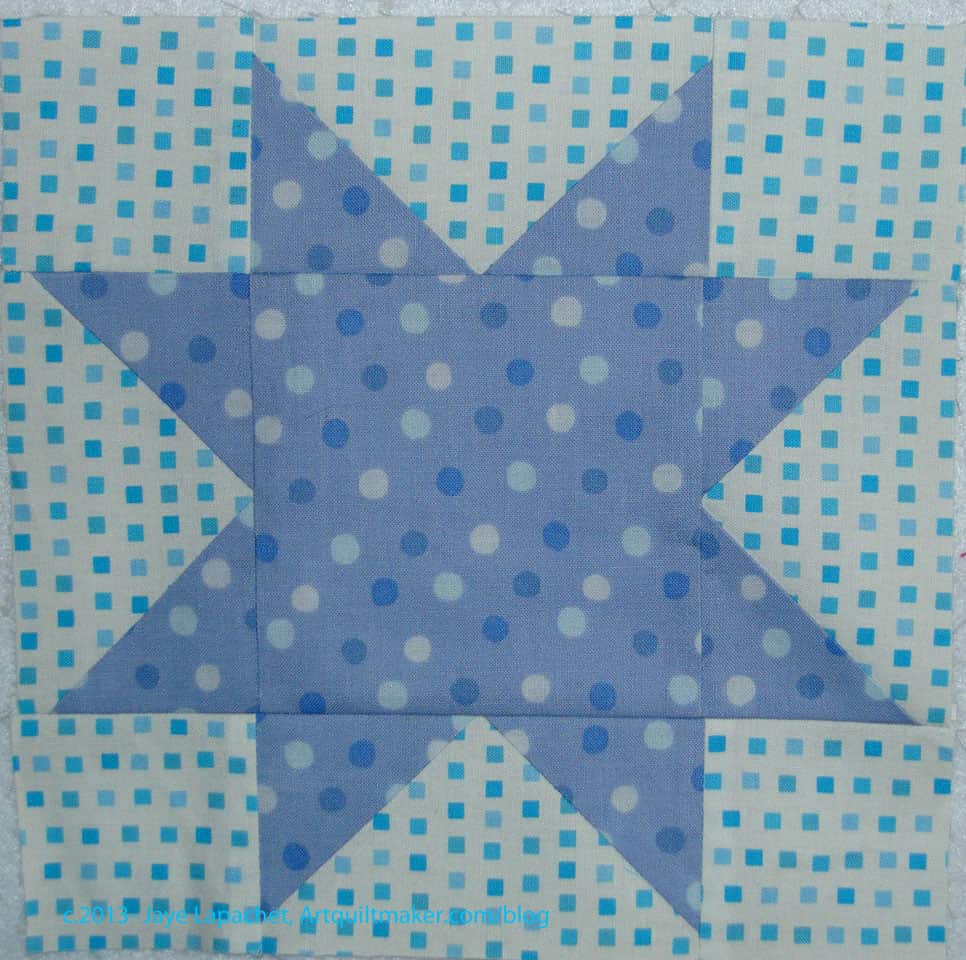
Basic Star
I am playing with lavender/purples since I ran out of that perfect lavender with white dots by Lakehouse. This one is pretty good since there are a number of different dots made up of different colors.
I am really enjoying working on this project with someone else. Seeing the placement of fabric and fabric choices some one else makes is so interesting. It also inspires me to think a little differently.
I finally crawled back on the donation bandwagon. This isn’t an organized donation project, just my own personal desire to be of service. Part of my problem was missing too many BAMQG meetings, but also I had too many other projects and keep forgetting to sew the Patchwork Wheel blocks together. I still haven’t sewn them together, but I have a goal of getting them together before the next BAMQG meeting. The illness in February didn’t help things either.
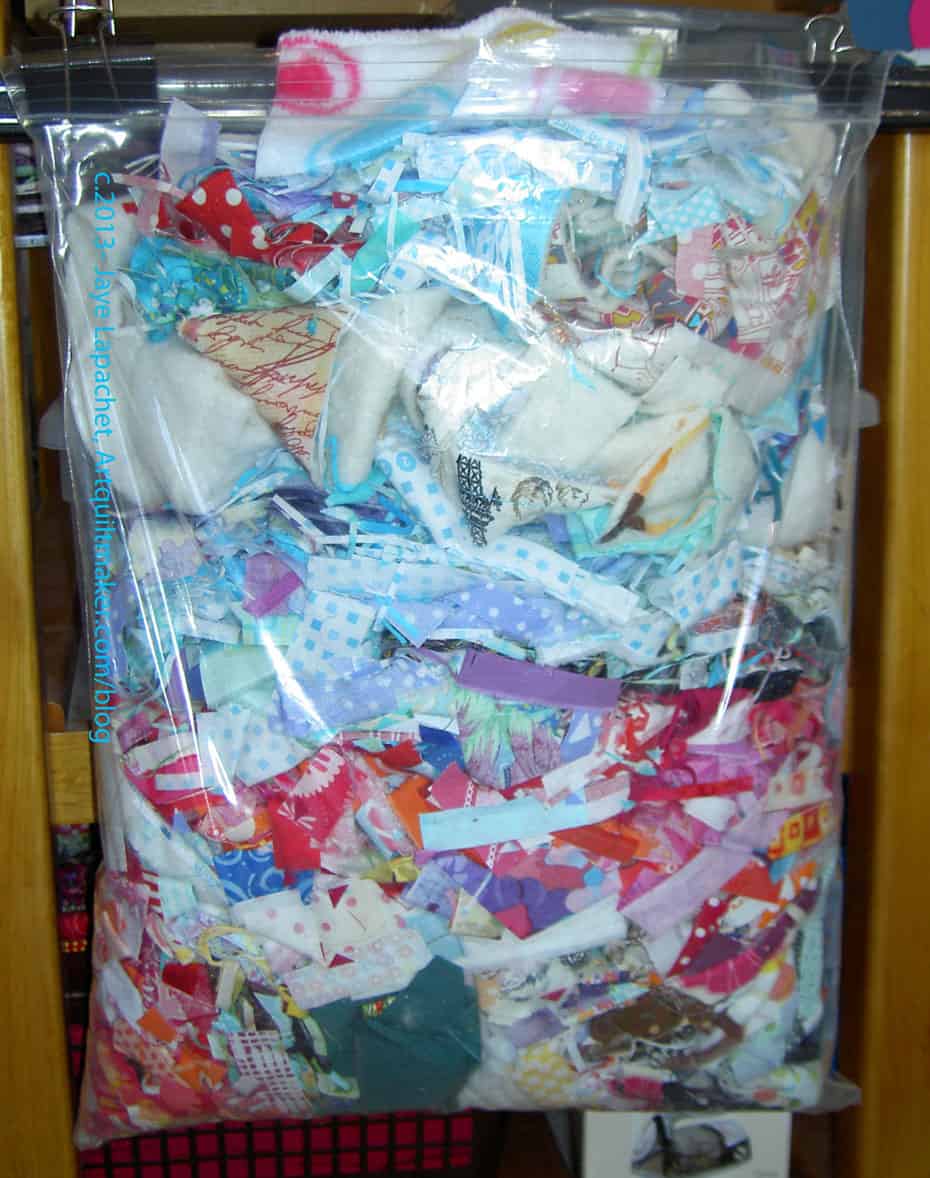
My scrapbag runneth over
I had to do something, though, because my scrap bag had reached critical mass and was overflowing. I even got a larger one to accommodate all the scraps I had accumulated since December. I still couldn’t cram any more scraps into the new, larger bag. I use the scraps, as you know, to fill the Cat Beds Amanda collects for the Homeless Cat Network. Often, because I had been sewing one to two cat beds per month, I didn’t have enough to fill an entire cat bed. I would just put in as many as I had and Amanda would fill up the rest of the cat bed to ultimate comfy-ness.
This time I had tons of scraps. I created a lot of scraps in December, January, February and part of March with all the projects I worked on. Remember? I was off over the holidays. I was almost able to fill up an entire cat bed. I’ll give it to Amanda and let her decide whether the scraps I put in are enough. She has tons of scraps and can fill up the bed to capacity, if needed.
Sewing this cat bed together was exciting, because she used some very soft and slippery fabric for the sides. It is like Minkee, I think, but I don’t know if it is actually Minkee. It was a little fuzzy, too and got everywhere. That was no problem, because now I keep a masking tape roller in my workroom and that tool cleaned me and all the other Minkee-ified surfaces right up.
Cat Bed March 2013
I sewed it almost as soon as I got home from the meeting, because the magnet holding my scrap bag to my cutting table was not designed for the weight of fabric and it kept falling off.
See how fat and comfy it looks? I am sure it will make some cat very happy.
You can see the pattern for the cat beds in a previous post.
 Suzanne Golden Presents!: Interviews with 36 Artists Who Innovate with Beads by Suzanne Golden