Various & Sundry 2024 #3

Admin

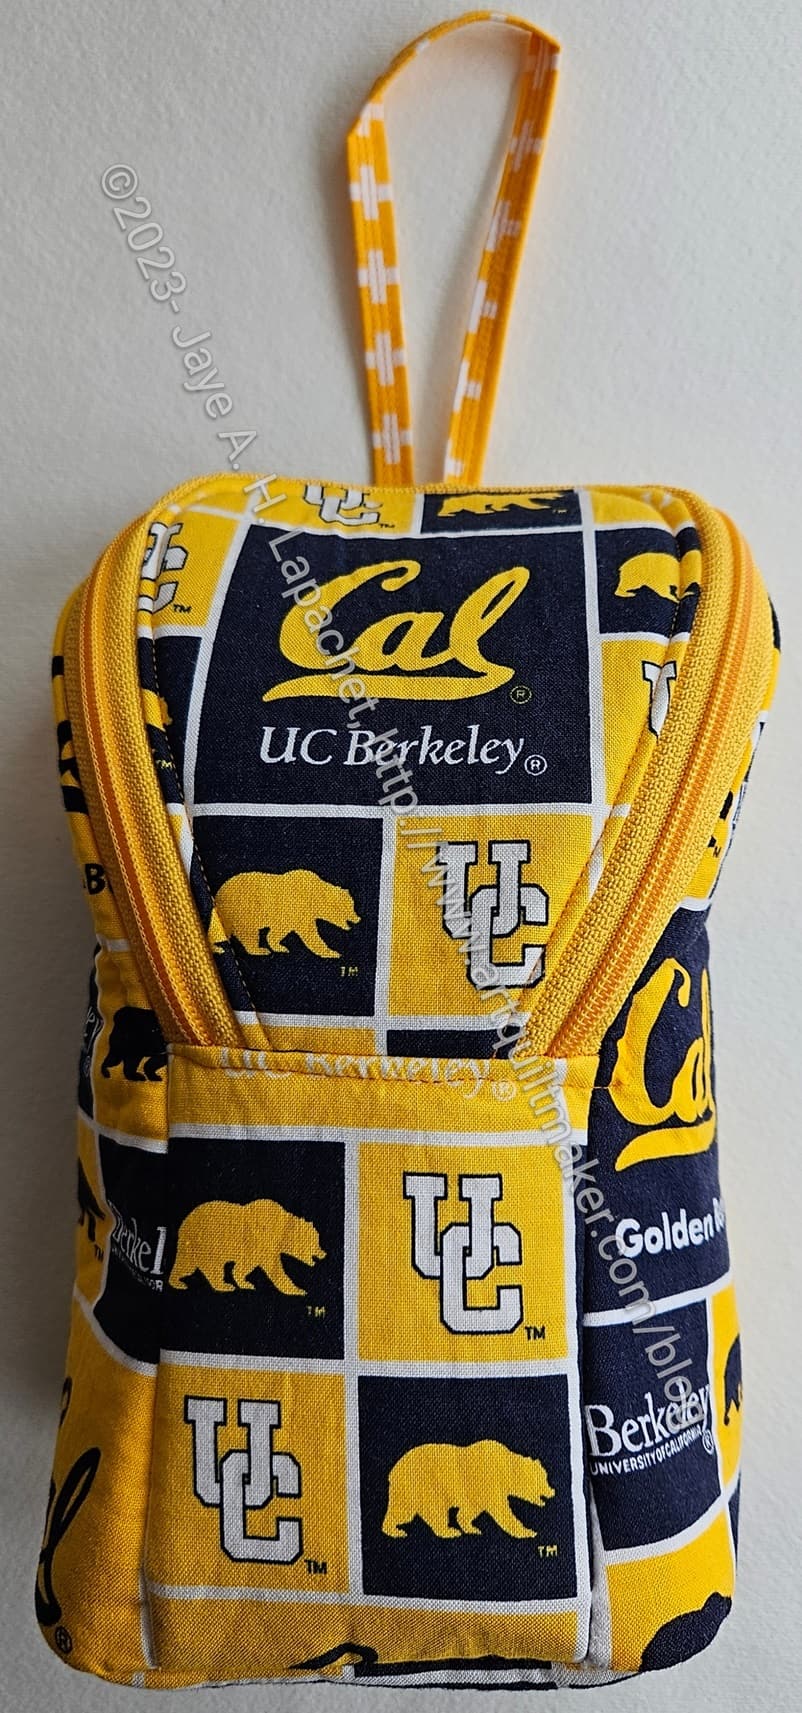
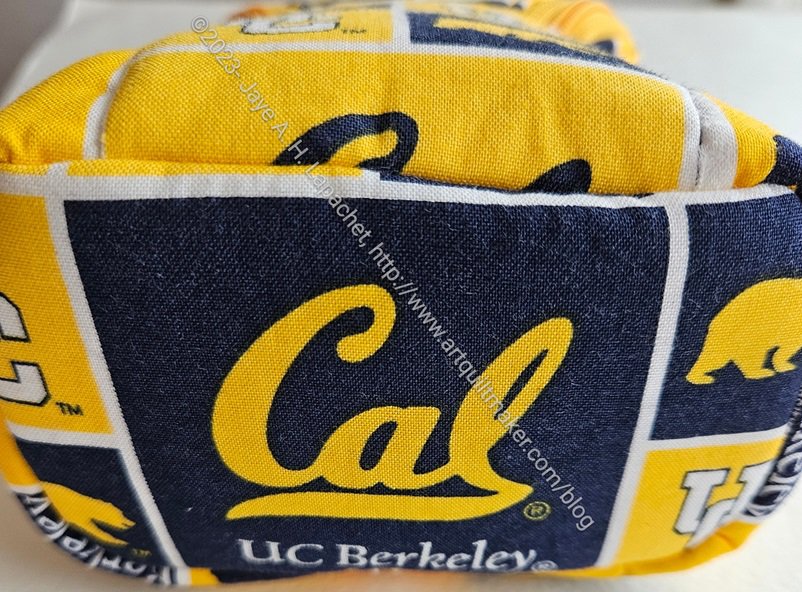
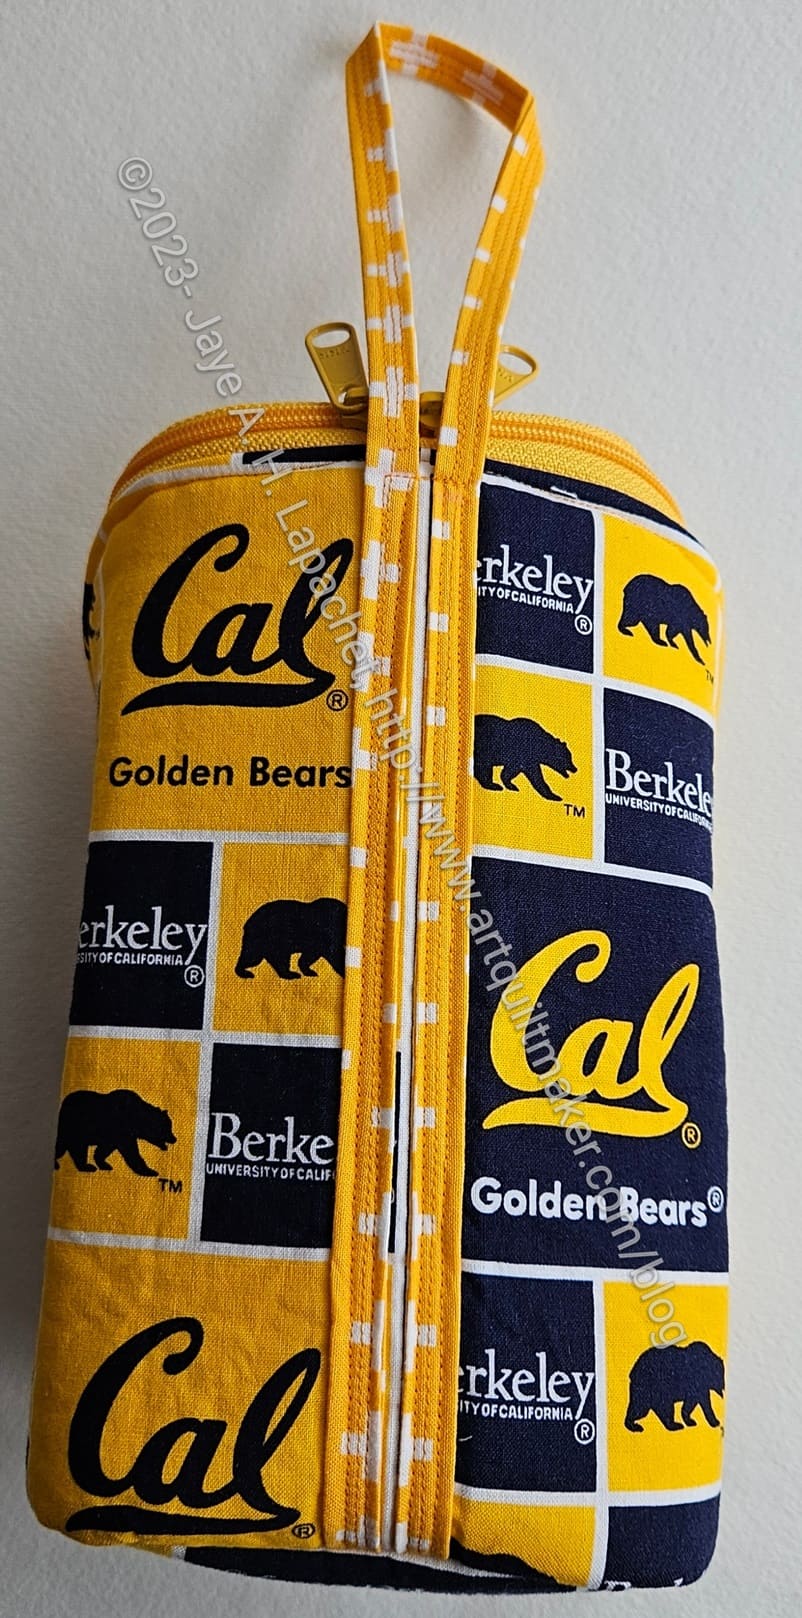
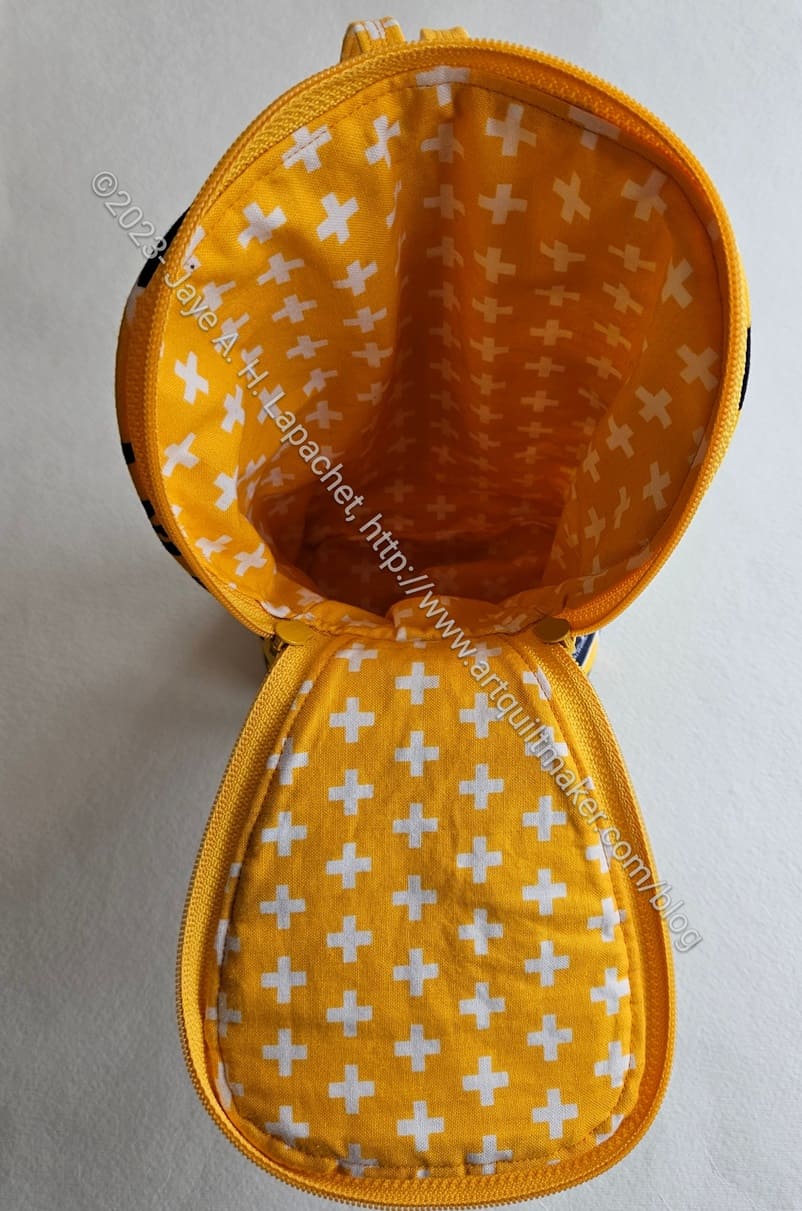
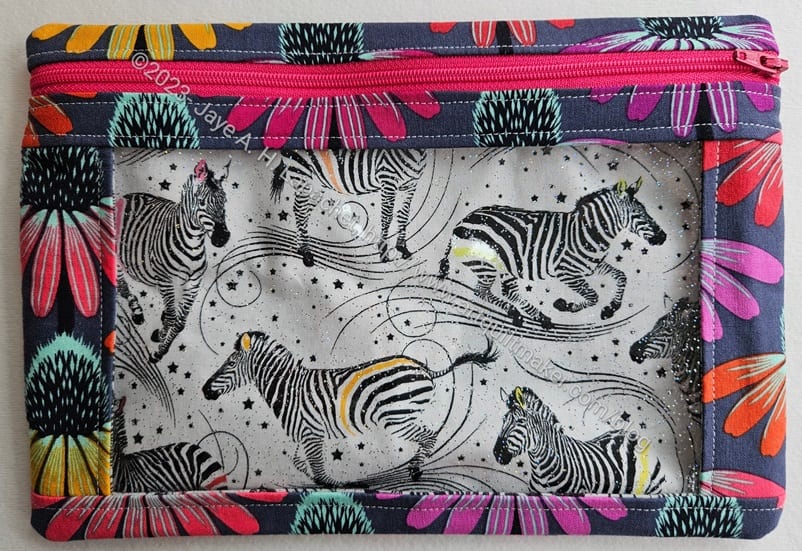
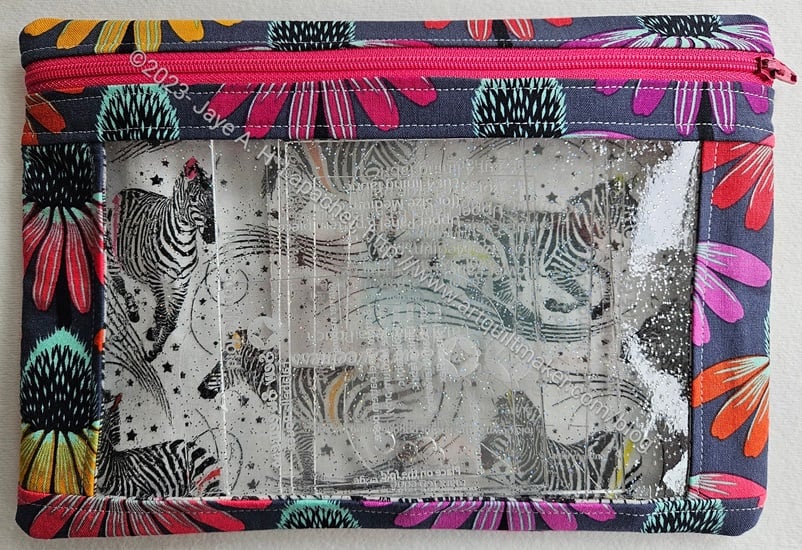
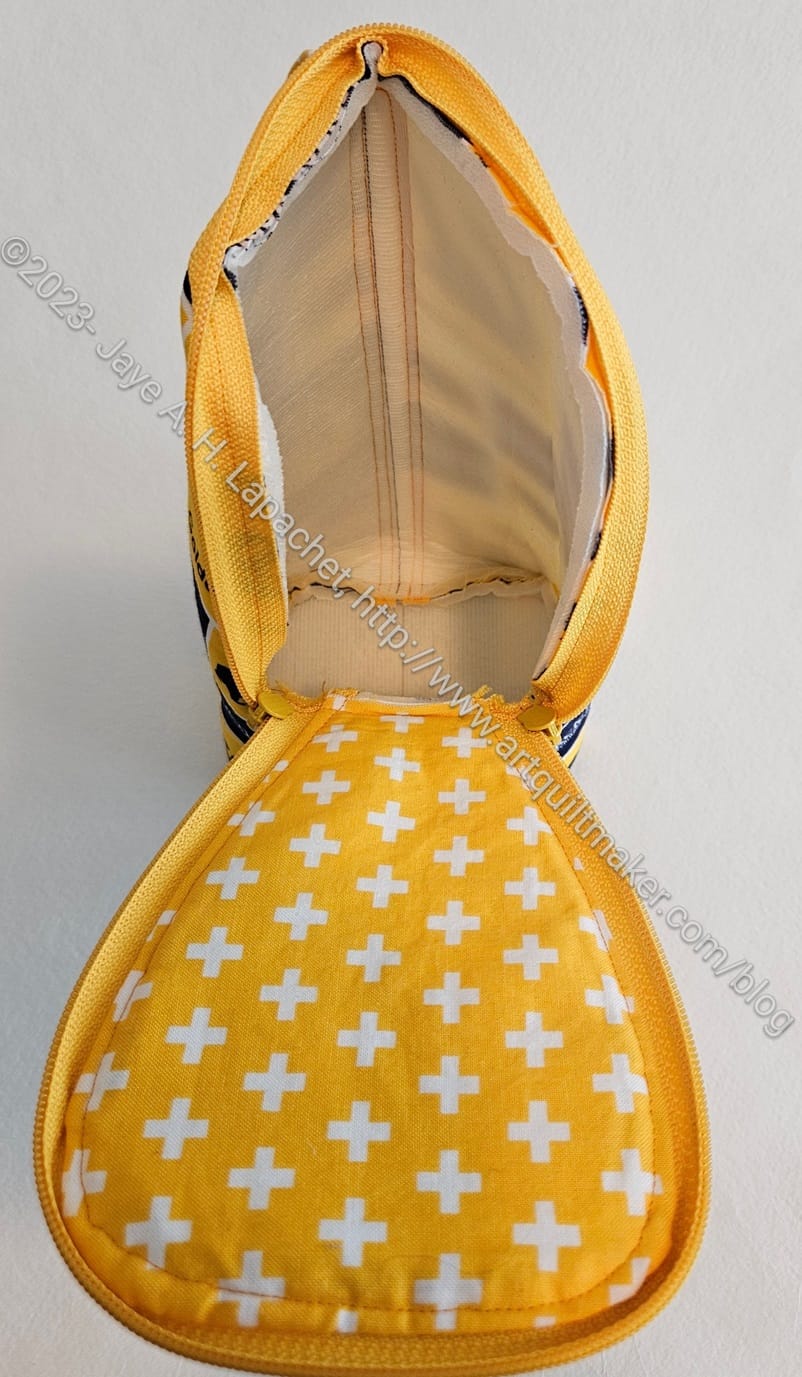
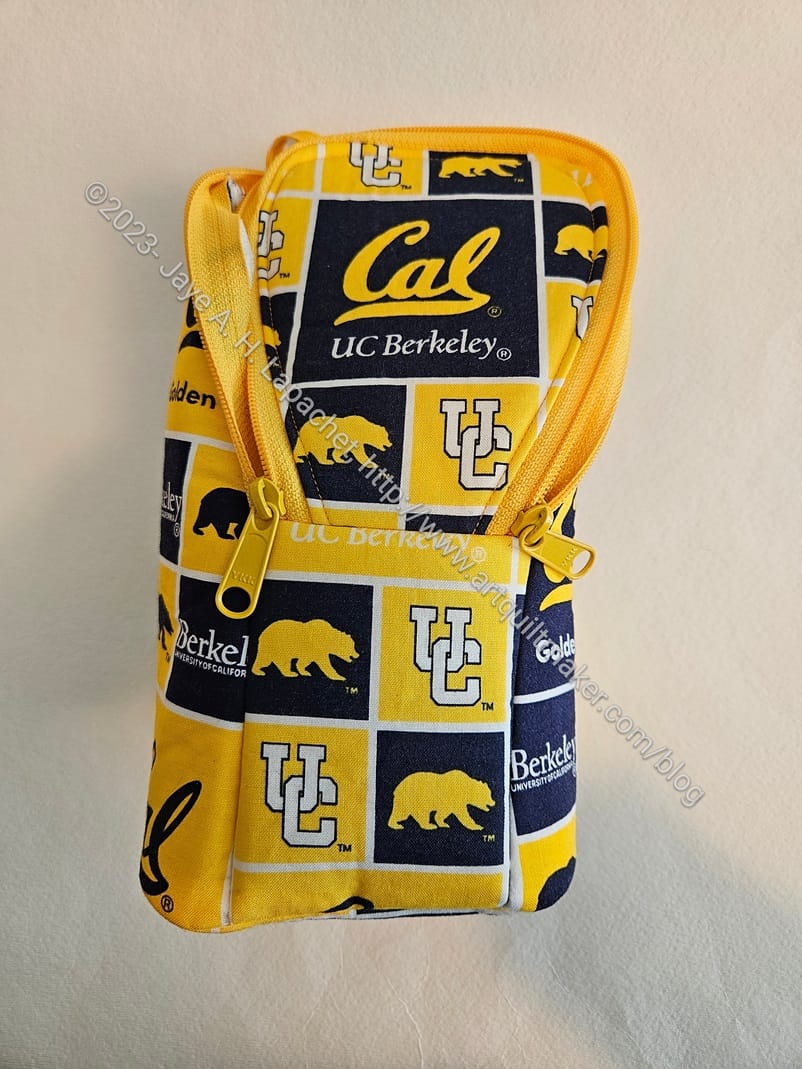
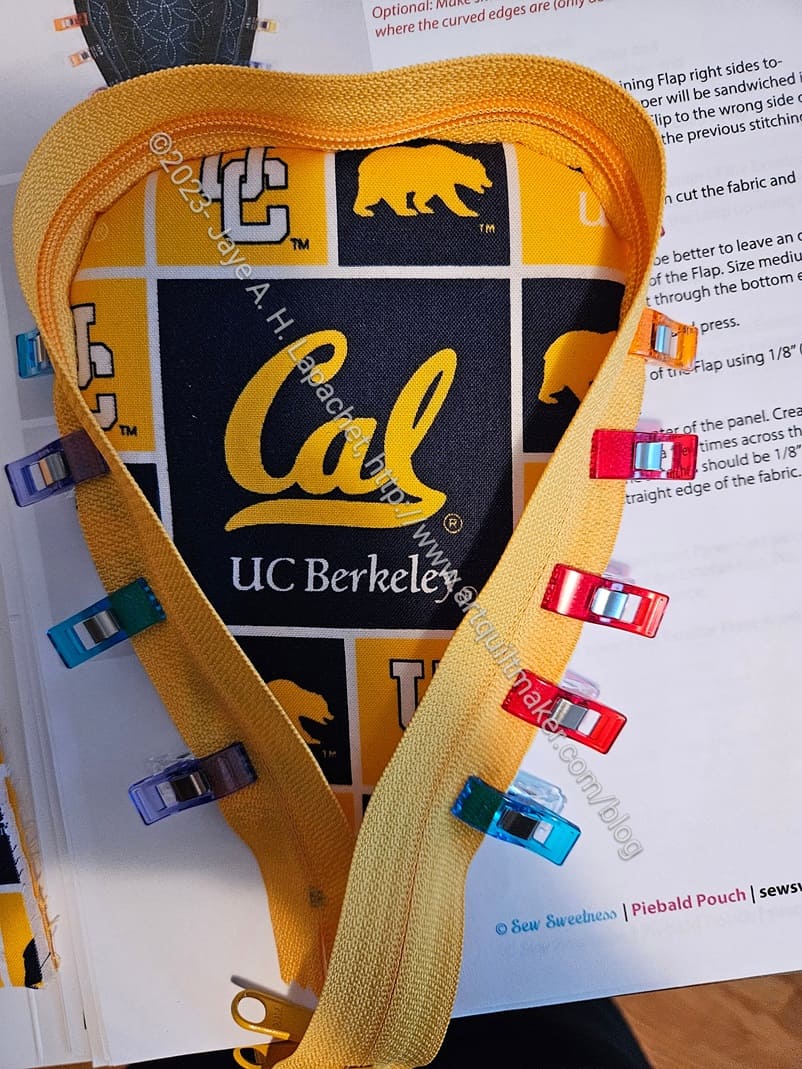
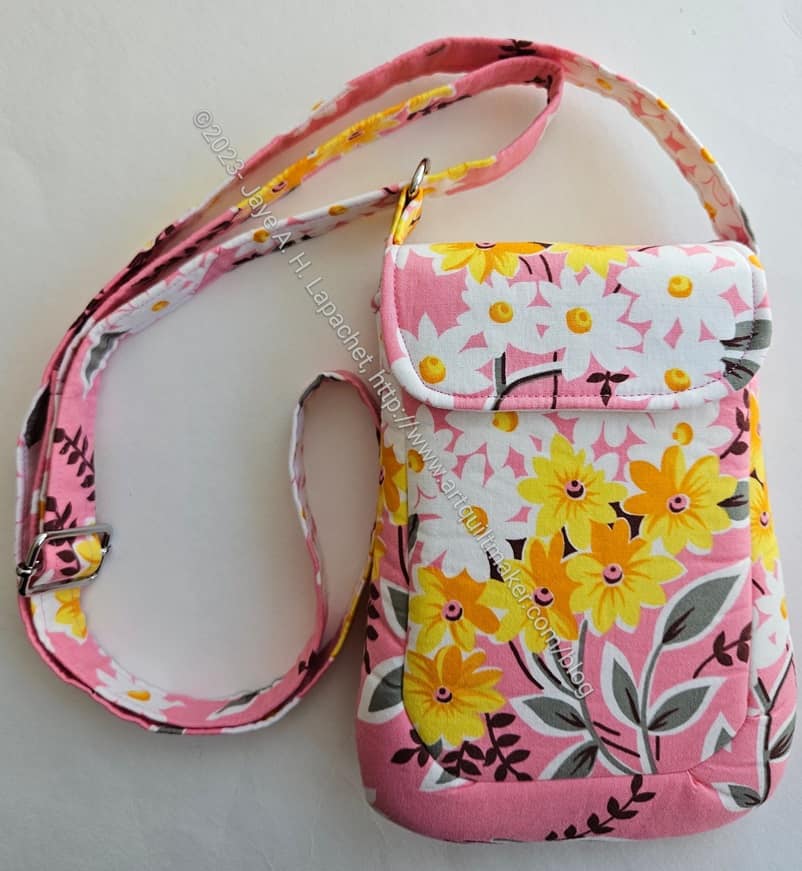
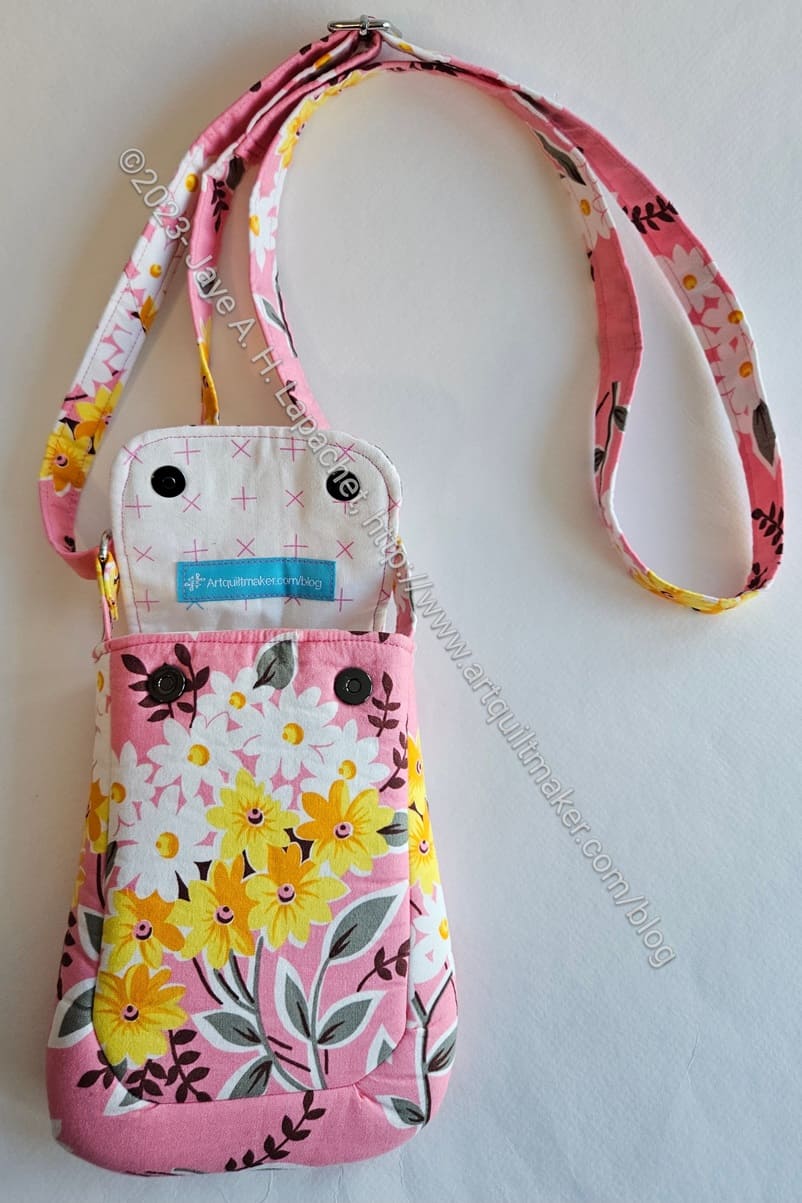
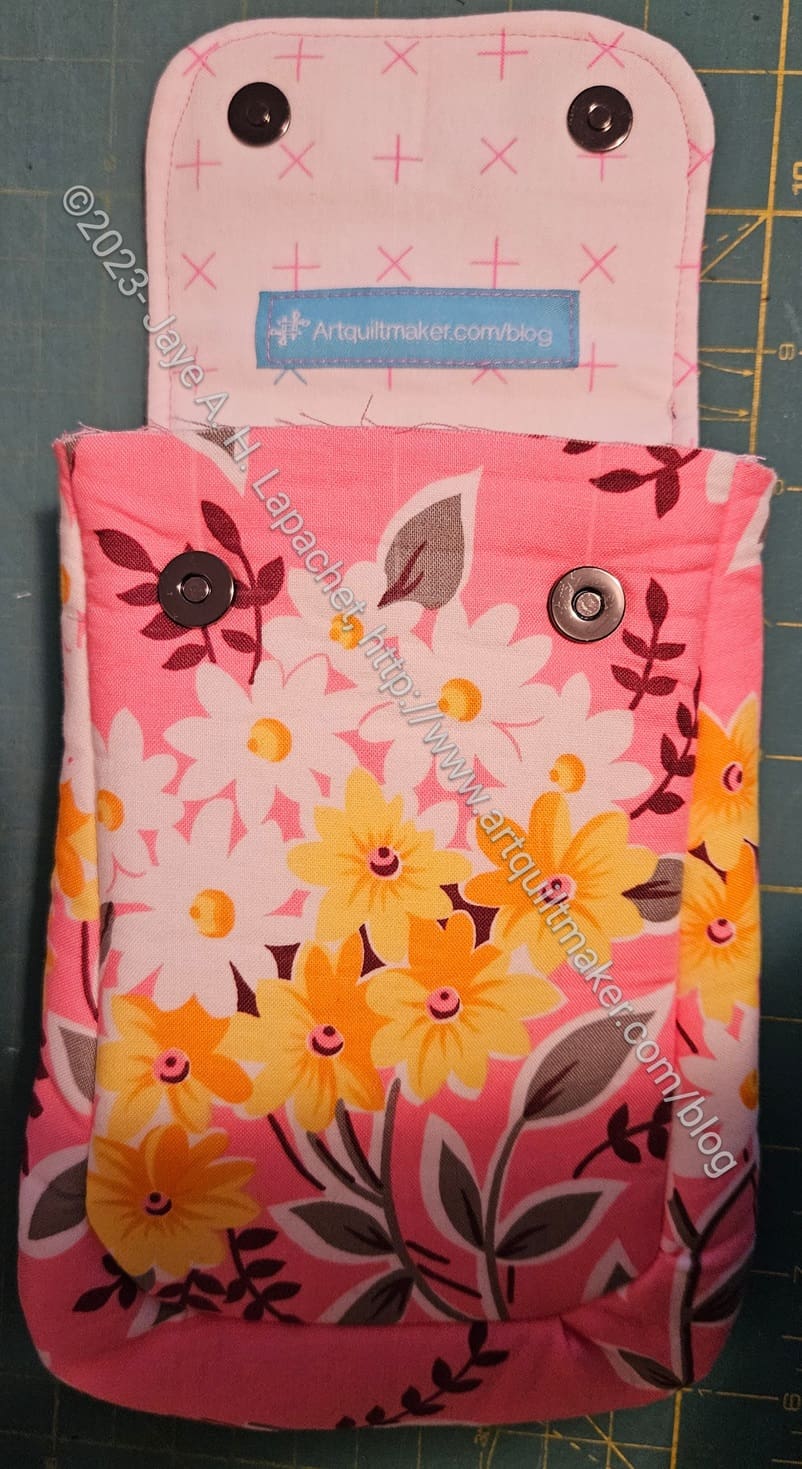
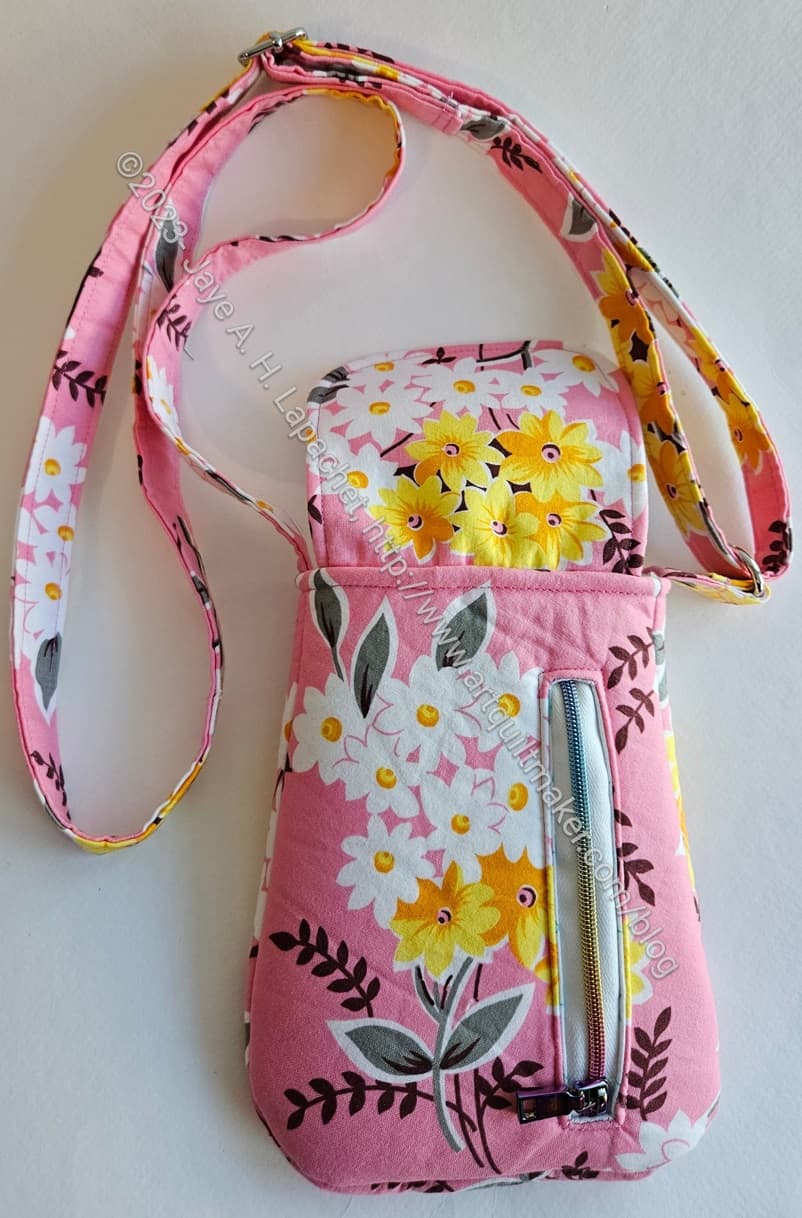
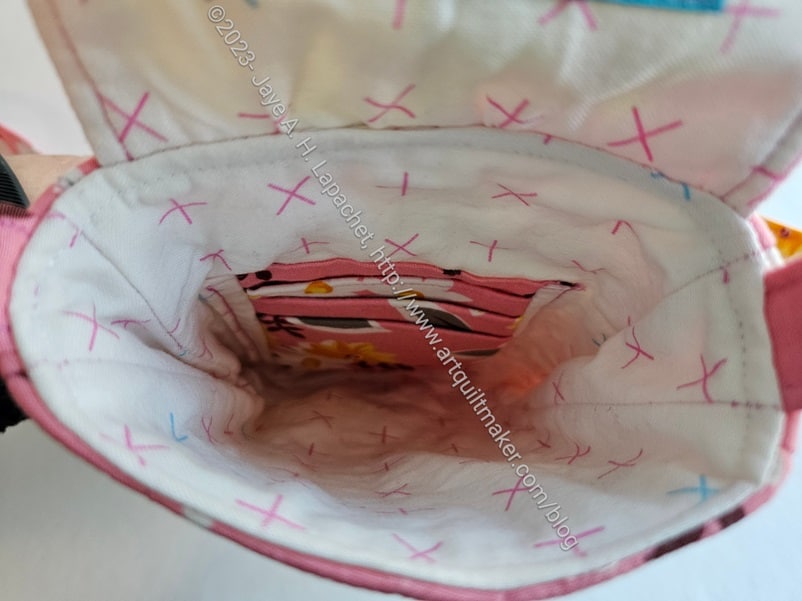
The Minikins page is updated with my recent Piebald pouches and some other links I needed to add.

The Quilt Class and Teaching page has also been updated. Do you want to be ready for anything in quiltmaking? Get in touch if you want to learn a wide variety of techniques. I am hoping to start a class at the end of July.

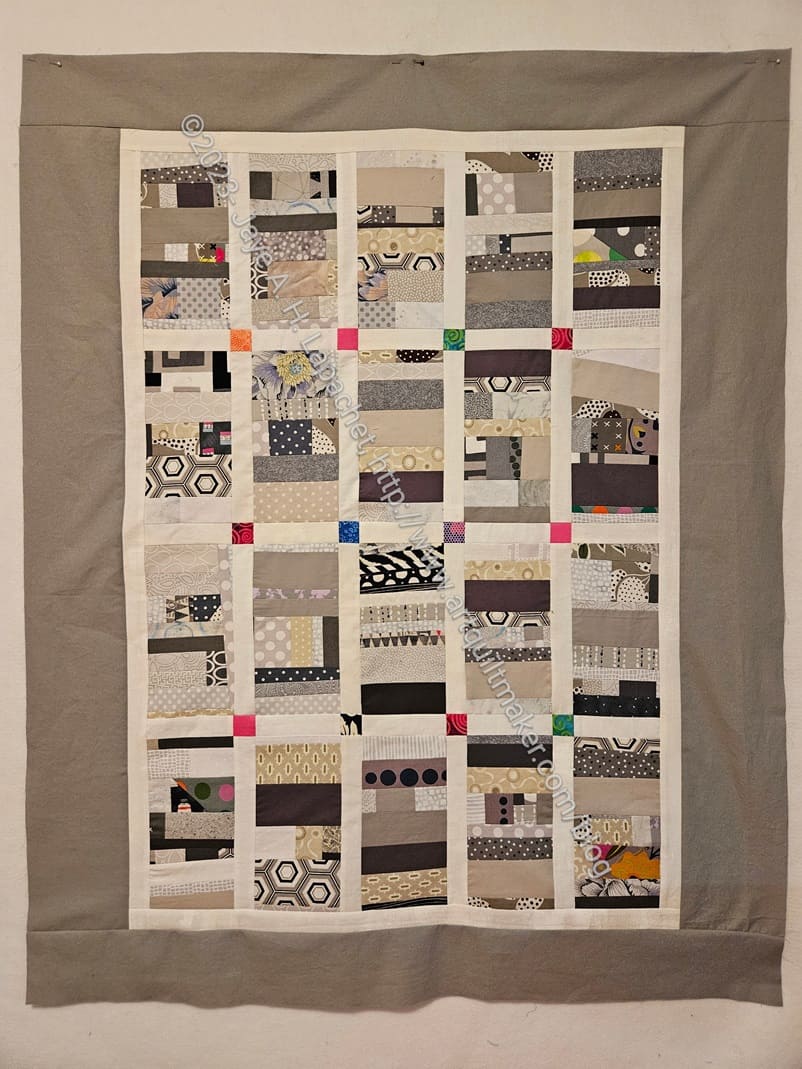
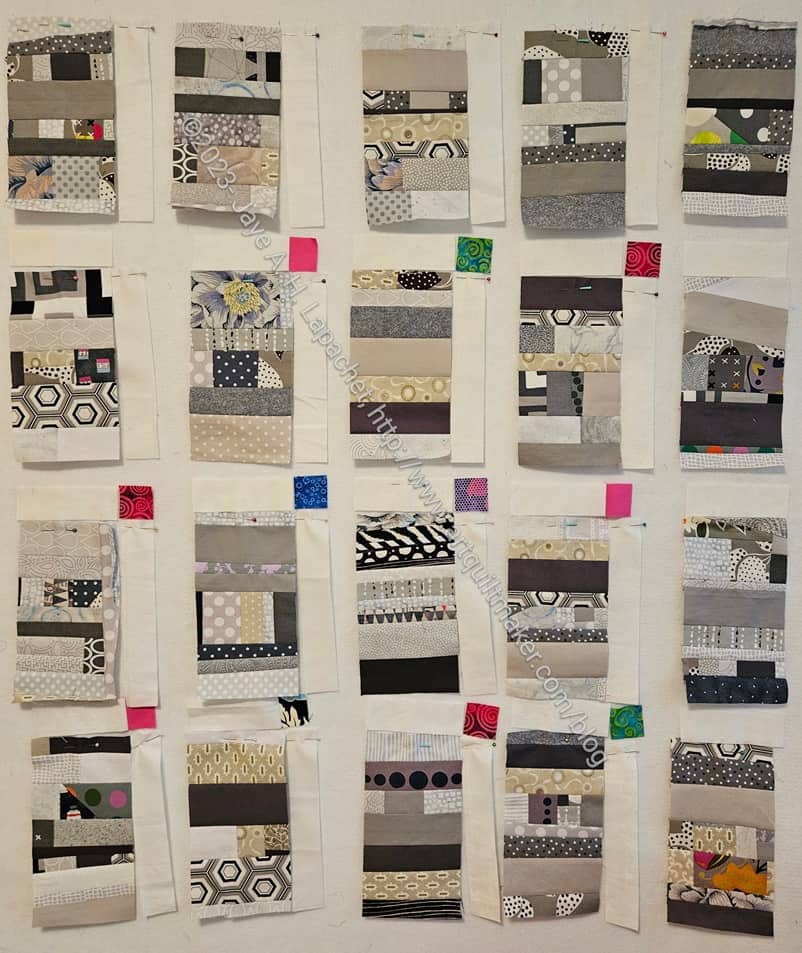
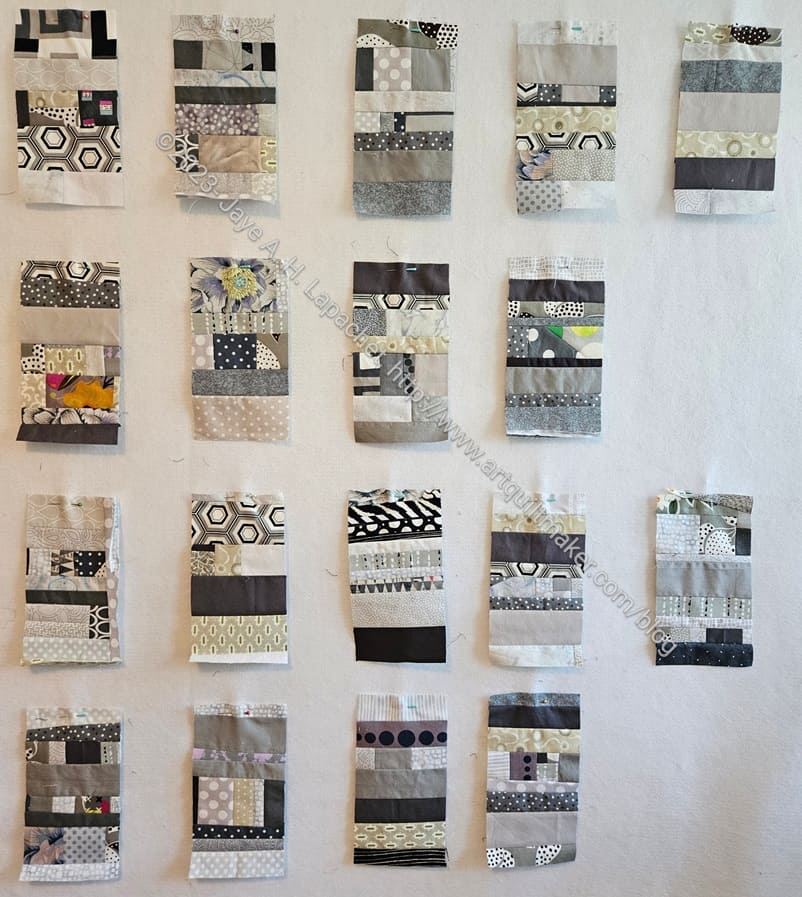
I updated the Color Improv donation top page with some new information.

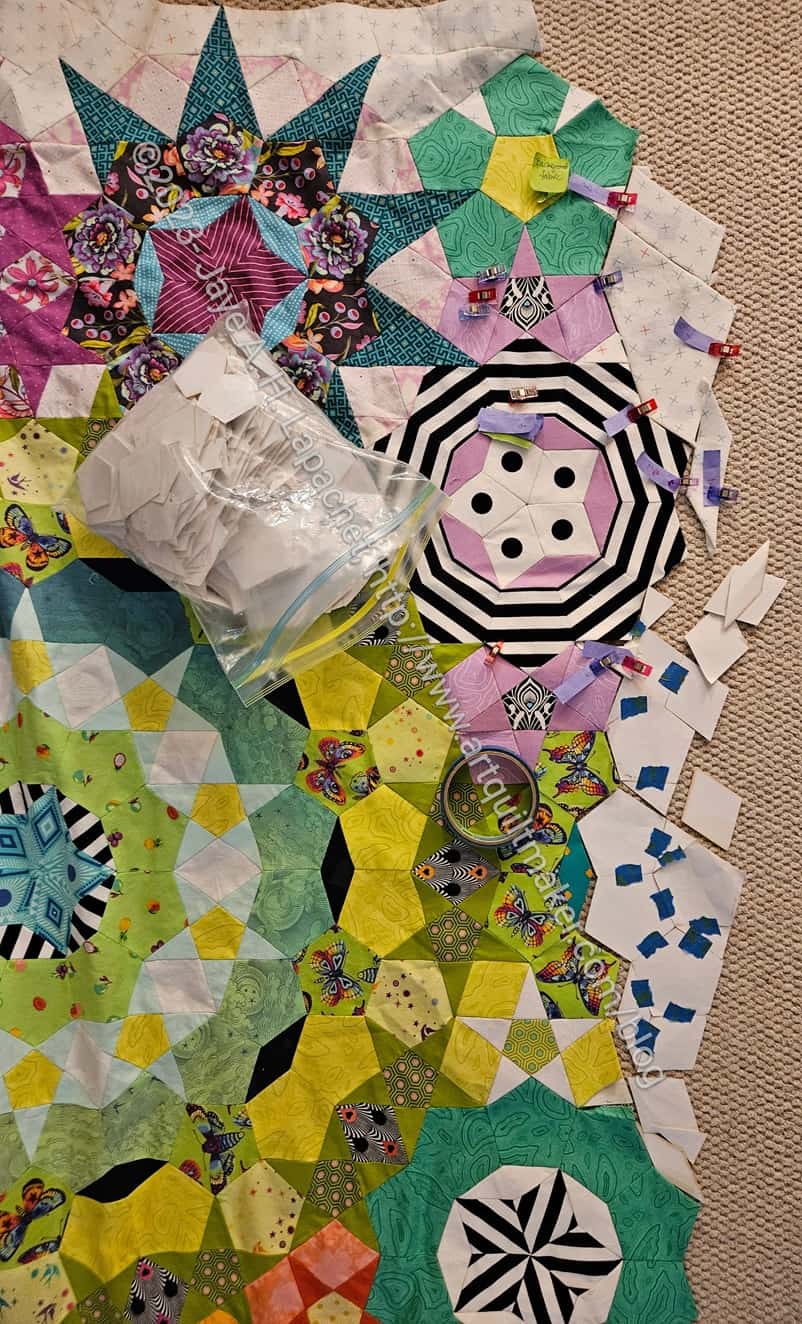
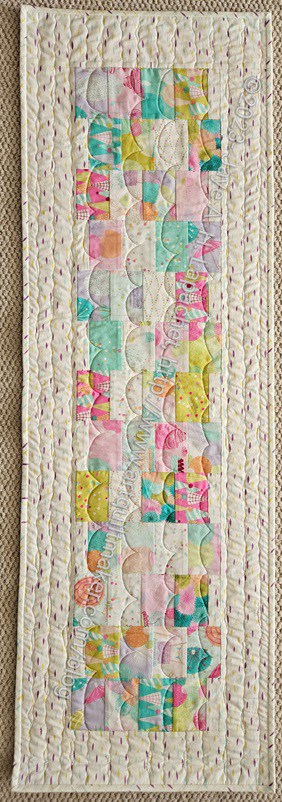
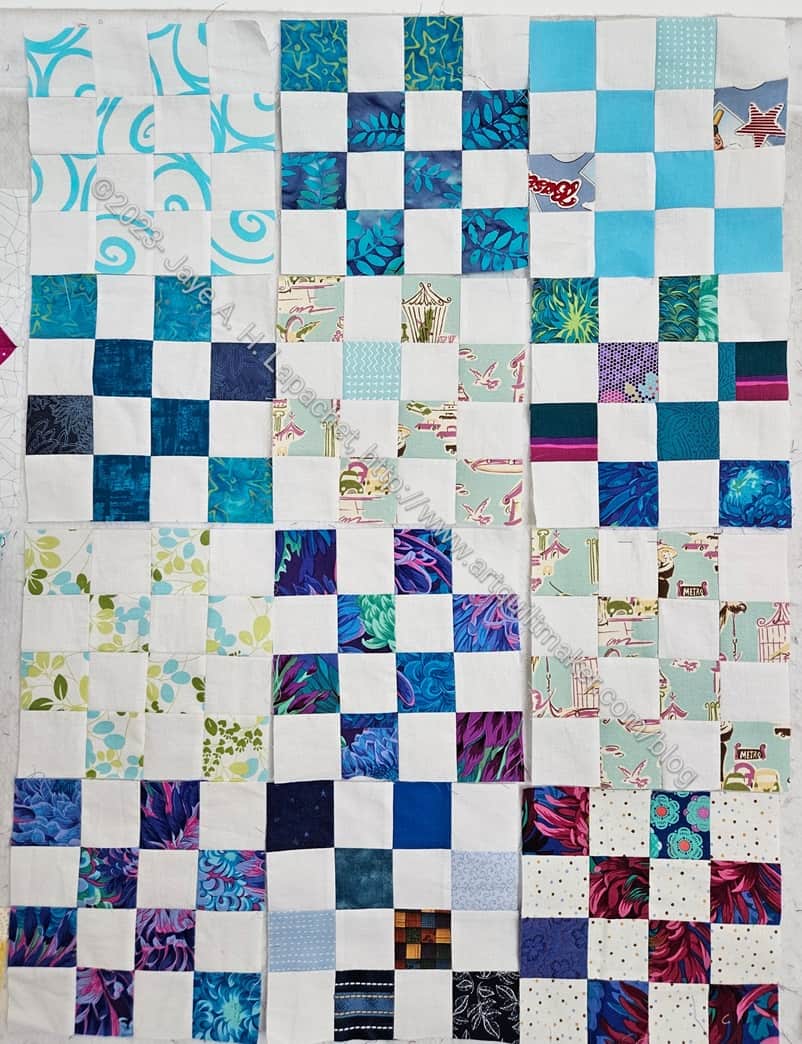
I finally was able to take some good photos of my Pointillist Palette quilts. I will show each one in its own post down the road. In the meantime, I have updated the Pointillist Palette page.

Projects, Classes, Patterns, Techniques & Tutorials

Flycasting potluck cupcakes

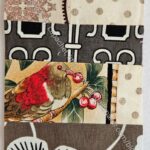
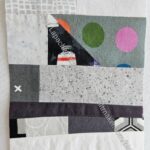
DH thought up these fun decorations for his flycasting club potluck. Aren’t they clever?

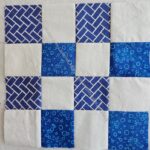
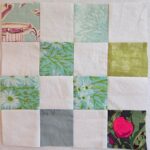
Carrie shared a cute bird block pattern with me.

At Bag Club, we talked about Noodlehead patterns in preparation for our group project, the Oxbow Tote. In the course of the conversation, Lynette mentioned the Noodlehead Open Wide pouch, which is a free pattern. Be sure to look at the updated size chart as well. Perhaps I’ll make one to reacquaint myself with her patterns.

Judy Martin wrote in her most recent newsletter “…one common practice makes absolutely no sense to me: cutting strips on the crosswise grain. The lengthwise grain is parallel to the selvage; the crosswise grain is perpendicular to it. Why does this matter? Primarily because the crosswise grain is so much stretchier compared to lengthwise. There is simply no reason to start your sewing off on the wrong foot when lengthwise or crosswise strips take the exact same effort and skill. You can see a vivid demonstration of how stretchy fabric is on the crosswise grain compared to lengthwise…

Another advantage of lengthwise strips is how well the strips follow the print. I cut my strips 18″ long and call them short strips. That length works perfectly for the fat quarters and half-yard cuts of fabric that I use so often. Since I usually make scrap quilts, the shorter-than-your-usual crosswise strips offer much greater scrap variety. Best of all, you don’t have to throw out everything you’ve learned about rotary cutting to start using short lengthwise strips today. Everything is the same except the length of your strips and the direction that you turn the fabric when you cut it.

See what she means  by watching her video. I have known this technique for years and I should do this, but I don’t like cutting off strips parallel to the selvedge. That seems really dumb, so I may have to change my ways.

Tools, Books, Fabric, Notions & Supplies

PWPJ020.PINK
PWPJ020.PINK

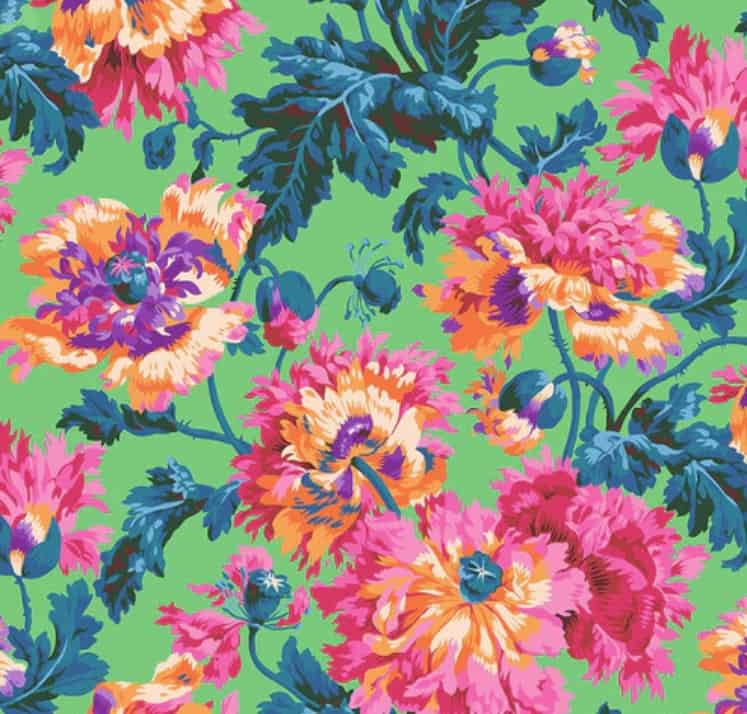
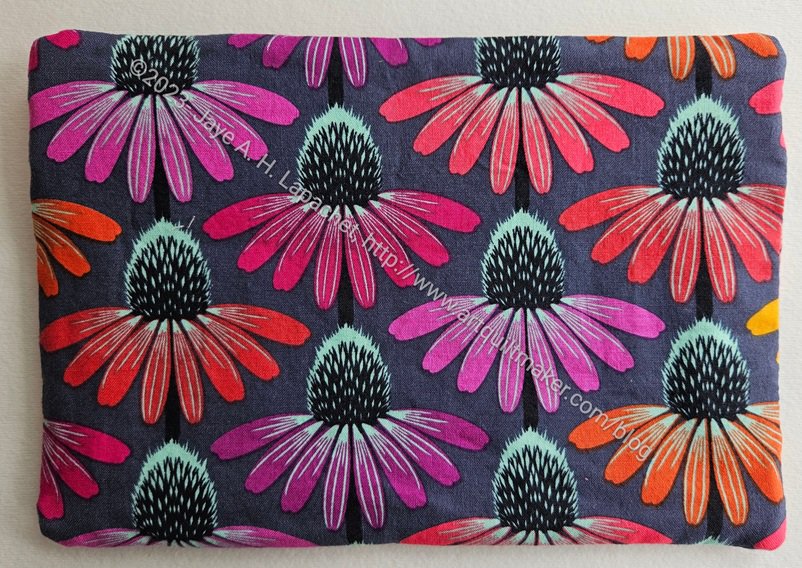
Have you seen the new line of Philip Jacobs fabrics? I saw them at Sew Hungry Hippie. I am totally in love with this print. I am usually not much of green girl, but this is just so fabulous.

He has quite a few flower prints in his new collection. I am not surprised, but very pleased. The Dorothy designs are interesting.

I haven’t been a huge fan of his feathers, but I really like the yellow colorway. The floating Hibiscus from last year is still available and very tempting. He has a new flower print (coming in August) called Papaver in a grey that is different from some of his other prints.

Martha Negley has a new vegetable print that is similar to some she has had in the past. No idea when it is coming out. I really need to sew faster!

These socks mean that you will always have a color wheel with you.

Media, Books and Articles

A follow-up article to the Women’s View exhibit was posted. You can still see the show. It is open until April 26.

In a recent New York Times article from the Well section, they talk about working with your hands. In the article, Dr. Lambert has another hypothesis. “With depression, people experience something called learned helplessness, where they feel like it doesn’t matter what they do, nothing ever works,” she said. She believes that working with one’s hands is stimulating to the brain, and that it could even help counteract this learned helplessness. “When you put in effort and can see the product of that, like a scarf you knitted, I think that builds up a sense of accomplishment and control over your world.” The article is well worth reading and distributing to others.

Events, Shops, Exhibits and Shows

I visited the East Bay Heritage Quilter’s Guild show last weekend. It was held in Oakland, once again, after many years in Richmond. It was clear that the show was very well organized and had a lot of interesting stalls outside of the quilt show. There were a number of interesting quilts. I was attracted to the geometric quilts in bright colors. I was disappointed that most of the vendors were clothing, housewares, jewelry and skincare vendors. I was in the mood to buy quilt things and there was not much available.  New Pieces was there with a few fat quarter packs. They didn’t bring any yardage to cut.

Other Artists

Want to see some one-of-a-kind tapestries by Kaffe? Take a look at his gallery. They are amazing.

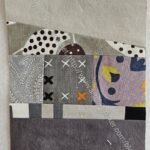
One of the quilts at the EBHQ Show was by someone who did the Julia McLeod “Lone Robin” prompt project. I found some of the prompts on the SFQG website. The prompts are from 2021, so it would have been a pandemic project. I don’t know when EBHQ hosted the project or whether the artist engaged in the project at another show. I thought it was a good idea and I really liked how the quilt came out.

March 2024 Donation Blocks

I am back to less than my normal number of donation blocks, but I have been working on two donation quilts, at least. I want to make 30 blocks a month, but I’ll have to keep working towards that goal.

I have started making green strip donation blocks, so my hopes for next month’s tally are better.

Finished: Cal Piebald

Cal Piebald - finished
Cal Piebald – finished

Yes, the Cal Piebald is finished. I think it came out really well. The fussy cutting, as mentioned, looks great!

In this image you can see the long loop I talked about when I started it. I used my own hand to figure out the length and I think it is ok. We’ll see what SIL #4 says.

Cal Piebald - bottom
Cal Piebald – bottom

I also fussy cut the bottom even though it won’t be seen very often.

One of these days, I’ll have to try adding Odicoat to a finished bag to see what happens. I am thinking a lot about what happens when people actually use the bags I give them. I want them to use the bags, so I should prepare them better to be used.

Cal Piebald - back
Cal Piebald – back

This pattern has an interesting stitching pattern for the loop/handle. The directions say to stitch the the part of the loop not attached to the bag with 4 lines before attaching it to the bag. This meant that I had to calculate exactly where the loop hit the bag, thus there was a bit of pfaffing around with my hand in the loop and trying to mark where I thought the loop would end.

Note: if you make the loop the size indicated in the pattern, there is no pfaffing around.

The rest of the loop is stitched to the bag using the four lines again. I think it is pretty secure.

Cal Piebald - interior
Cal Piebald – interior

I think the lining matches really well. It is a little bit baggy, which is weird, but it isn’t terrible, so I am not going to stress about it. I sewed the lining with a fatter seam allowance, so it shouldn’t be baggy. Who knows? Another mystery to try and solve while I make other bags.

So, this is done. I am pleased. I am not sure when I will give it to SIL #4. I’ll see about giving it to her when I see her on the weekend.

Finished: Grey Strip #2 Donation Top

Grey strip #2 donation top

I am really pleased that I was able to finish the Grey Strip #2 donation top the other day.

I got all the blocks together and, again, the quilt was a weird shape – long and thin vertically. I didn’t like it, but I also don’t have enough grey scraps to make 4 more blocks. I know that is good news, but it didn’t help me here.  I also really didn’t want to spend the time.

I decided that I would make the side borders larger than the top and bottom. The blocks are 4.5 inches unfinished. I cut the borders 5 inches unfinished and I think the top looks like it will be a useful size.

I found a large piece of grey last time I was rummaging in the fabric closet, so I used that for the back. I didn’t have to do any piecing! Yay. Next up is another QST 16 Patch.

La Passacaglia Border Tiny Progress

La Pass border March 2024

I laid out the La Pass quilt in order to work more on the border. I am struggling this this section, which is getting on my nerves.

I don’t know if I want to keep those butterfly pentagons in that place or replace them with background fabrics.

I consulted with my friend Lindsay the other day and she has some good ideas, which I am contemplating.

Zebra I Spy Started and Finished

Zebra I Spy - front, empty
Zebra I Spy – front, empty

I started and finished another I Spy pouch very quickly last week. I needed another one for the Falabella templates, which I found when I was rummaging for the Piebald templates. 

I went out of my way to use the zebra fabric and I had just enough left for the various lining pieces.

Zebra I Spy - back
Zebra I Spy – back

As I have with all of the other I Spy pouches, I used the Anna Maria coneflower fabric again. I had some leftover from a previous project and was able to use it up. Some wrong cuts aren’t always useless even if they aren’t useful at the moment. 😉

Zebra I Spy - front, full
Zebra I Spy – front, full

The templates fit nicely inside this medium version.

Cal Piebald Progress

Piebald exterior, interior flap view

I am making good progress on the Cal Piebald despite not sewing much in the last few weeks. Making a few in a row really helps the subsequent versions.

As you can see the exterior is finished. My next step is to assemble the lining and insert it. Then I have to do that crazy step with the front, which was a challenge, but I shall persevere.

Piebald exterior, in process

I think the outside looks pretty good. I am so pleased with how the fussy cutting came out.

In this photo, you can’t see the loop, which is long enough to slip a slim hand through and carry along. I am starting to wonder if a longer strap, like the one for the Sweetbay Crossbody would turn this into a purse? I suppose it would, but the question is whether it would be a good purse? There are no outside pockets for a phone or anything, so it might be a little awkward to use. Something to think about. If you have any opinions, let me know.

Grey Strip #2 Progress

Grey Strip #2 donation blocks

The grey strip #2 donation top is finally in process. I finished the last two blocks and started working on it in earnest last week.

I used some leftover top sashing from the Black Strip #2 Donation top. Since I didn’t have enough I found some other random pieces from which I could cut a 1.5″ square. I think the variety looks very cheerful. I am not sure why I didn’t do that before.

I am now in the process of sashing all the blocks.

Cal Piebald Started

After making the Piebald #2 and Piebald #3, I decided to try a project that had been on my mind for awhile. Some time ago, my SIL#4 asked me to make her a bag she could use to take her knitting along. I designed and made the Knitting Box, but it wasn’t quite right and I wasn’t happy with it. We had made a trade and I wanted to keep up my end of the bargain.

Cal Piebald start
Cal Piebald start

Years go by and I made the two Piebalds, which gave me an idea for the Knitting Box replacement: a Piebald with a double zip. I showed her one of the pink Piebalds and she thought it would work. Her birthday is coming, so I am trying the project again. I have only made a small start, but I have high hopes.

I was so pleased with that zipper even though it was way too long. It is the perfect color to go with the Cal fabric.

How do you like my fussy cutting? I am pretty pleased with it.

QST #4 To Be

Donation blocks for QST #4

I gathered enough donation blocks – almost – to make another QST donation top. Of course, the grey strip blocks are still on the wall in progress.

I have one block in progress that will be done quickly, if I can every sit down to sew again.

I made all of these blocks, but I scavenged two back from Peggy at Sew Day, so I didn’t have to sew quite so many. I wanted to get to making the quilt.

Now I am wondering how many quilts I need to make before I know I am making a series?

Sweetbay Sew-a-Long Week 3

Sweetbay front: finished

I made good progress since last week and the Sweetbay Crossbody bag is almost done! I just have to press it!

Putting this bag together was a little tricky, mostly because it is so small. The other thing I found interesting was that the gusset isn’t the same on both sides. You can see how it bulges out a little bit. it is very round on the bottom corners. I think that is from the gusset. The directions say to put the front panel on one side of the gusset and the back panel on the other. It was a novel way of putting a bag together.

Sweetbay front, open: finished

I remembered to put a label in the bag. It might be a little too prominently placed, but it is what it is.

I have to admit that I thought about the label placement on that flap A LOT. It seems silly, but I wanted it to be right side up when I opened the flap, which required some thought. I did have to move the label once before I put the flap lining together with the flap exterior, because it was too close to the magnetic snaps.

Sweetbay magnetic snaps detail

I am really pleased with those magnetic snaps. Not all of my hardware matches on this bag, but those snaps are awesome. They are small. I didn’t even know I had them until I looked through my hardware bag and found them. The brand is Sally Tomato and I will definitely be buying them again.

Sweetbay back: finished

I used a leftover piece of zipper by the yard for my exterior pocket. i was glad, because I have few leftover pieces that seem too long to toss. This was the first time I found a use for one of the pieces.

I think I would prefer to install it with the head at the top when it is closed, but I am just happy I was able to install it.

I also sewed the edges of the pocket to the seam allowance so the pocket wouldn’t sag once the user put something in it. I’d like to try perfecting my internal zipper pocket technique. I need to make a few more.

Sweetbay interior: finished

This is really a bag you take along with only a few things. It is really small on the inside.

This will go really well with the other Pink project bags.

Not sure what I will make next. I’d like to make a big tote bag, but I already have one for The Pink Project.

Grey Strip Blocks

Grey Strip Donation blocks

I put some of the last grey strip blocks up on the wall to make into a quilt. They have been there for about a week and I have made no progress.

I need at least two more blocks to make this square or rectangular and I have made a desultory effort to make them.

I really just haven’t had a lot of time to sew. The items I have finished recently have been done in small snatches of time. I’ll get there!