I was finally able to make some donation blocks!
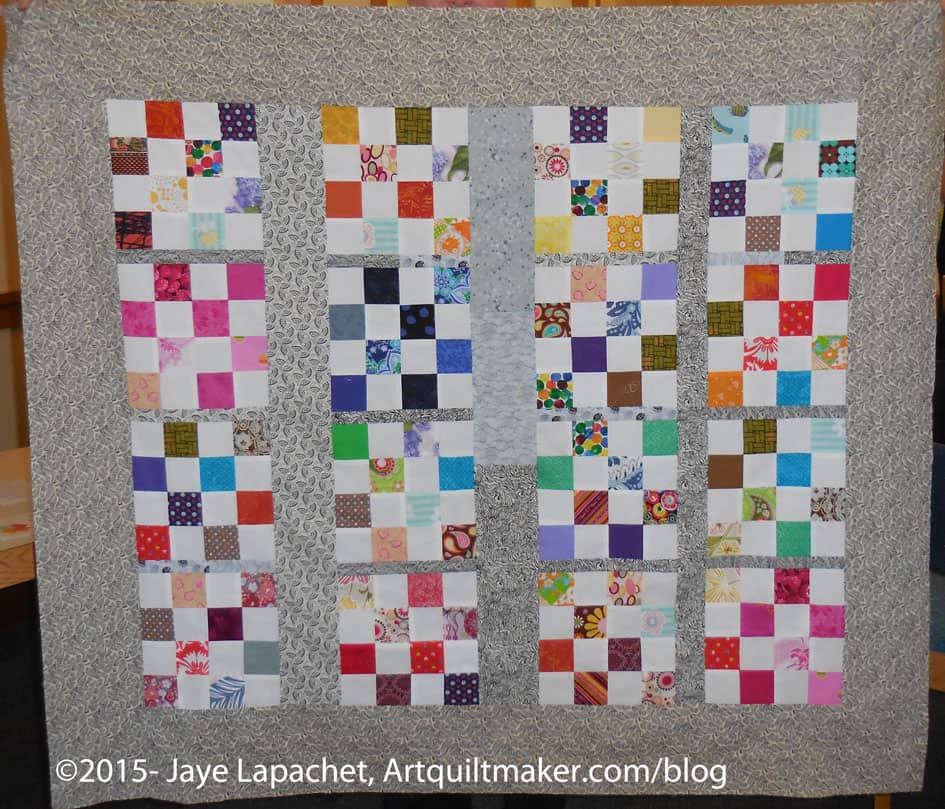
Unlike Pam, I do not have piles of 2.5″ squares laying around, though I am starting to think I should. I cut the foreground squares from a FQ I found that I won’t use in a quilt. I decided to make the blocks, because I had some leftovers from a One Hour Basket I made. That fabric became the background. There isn’t a ton of contrast, but they are pleasant blocks. The best part is they will go to a good cause. I haven’t done as much charity work this year and it makes me feel good to add to the BAMQG charity pile.
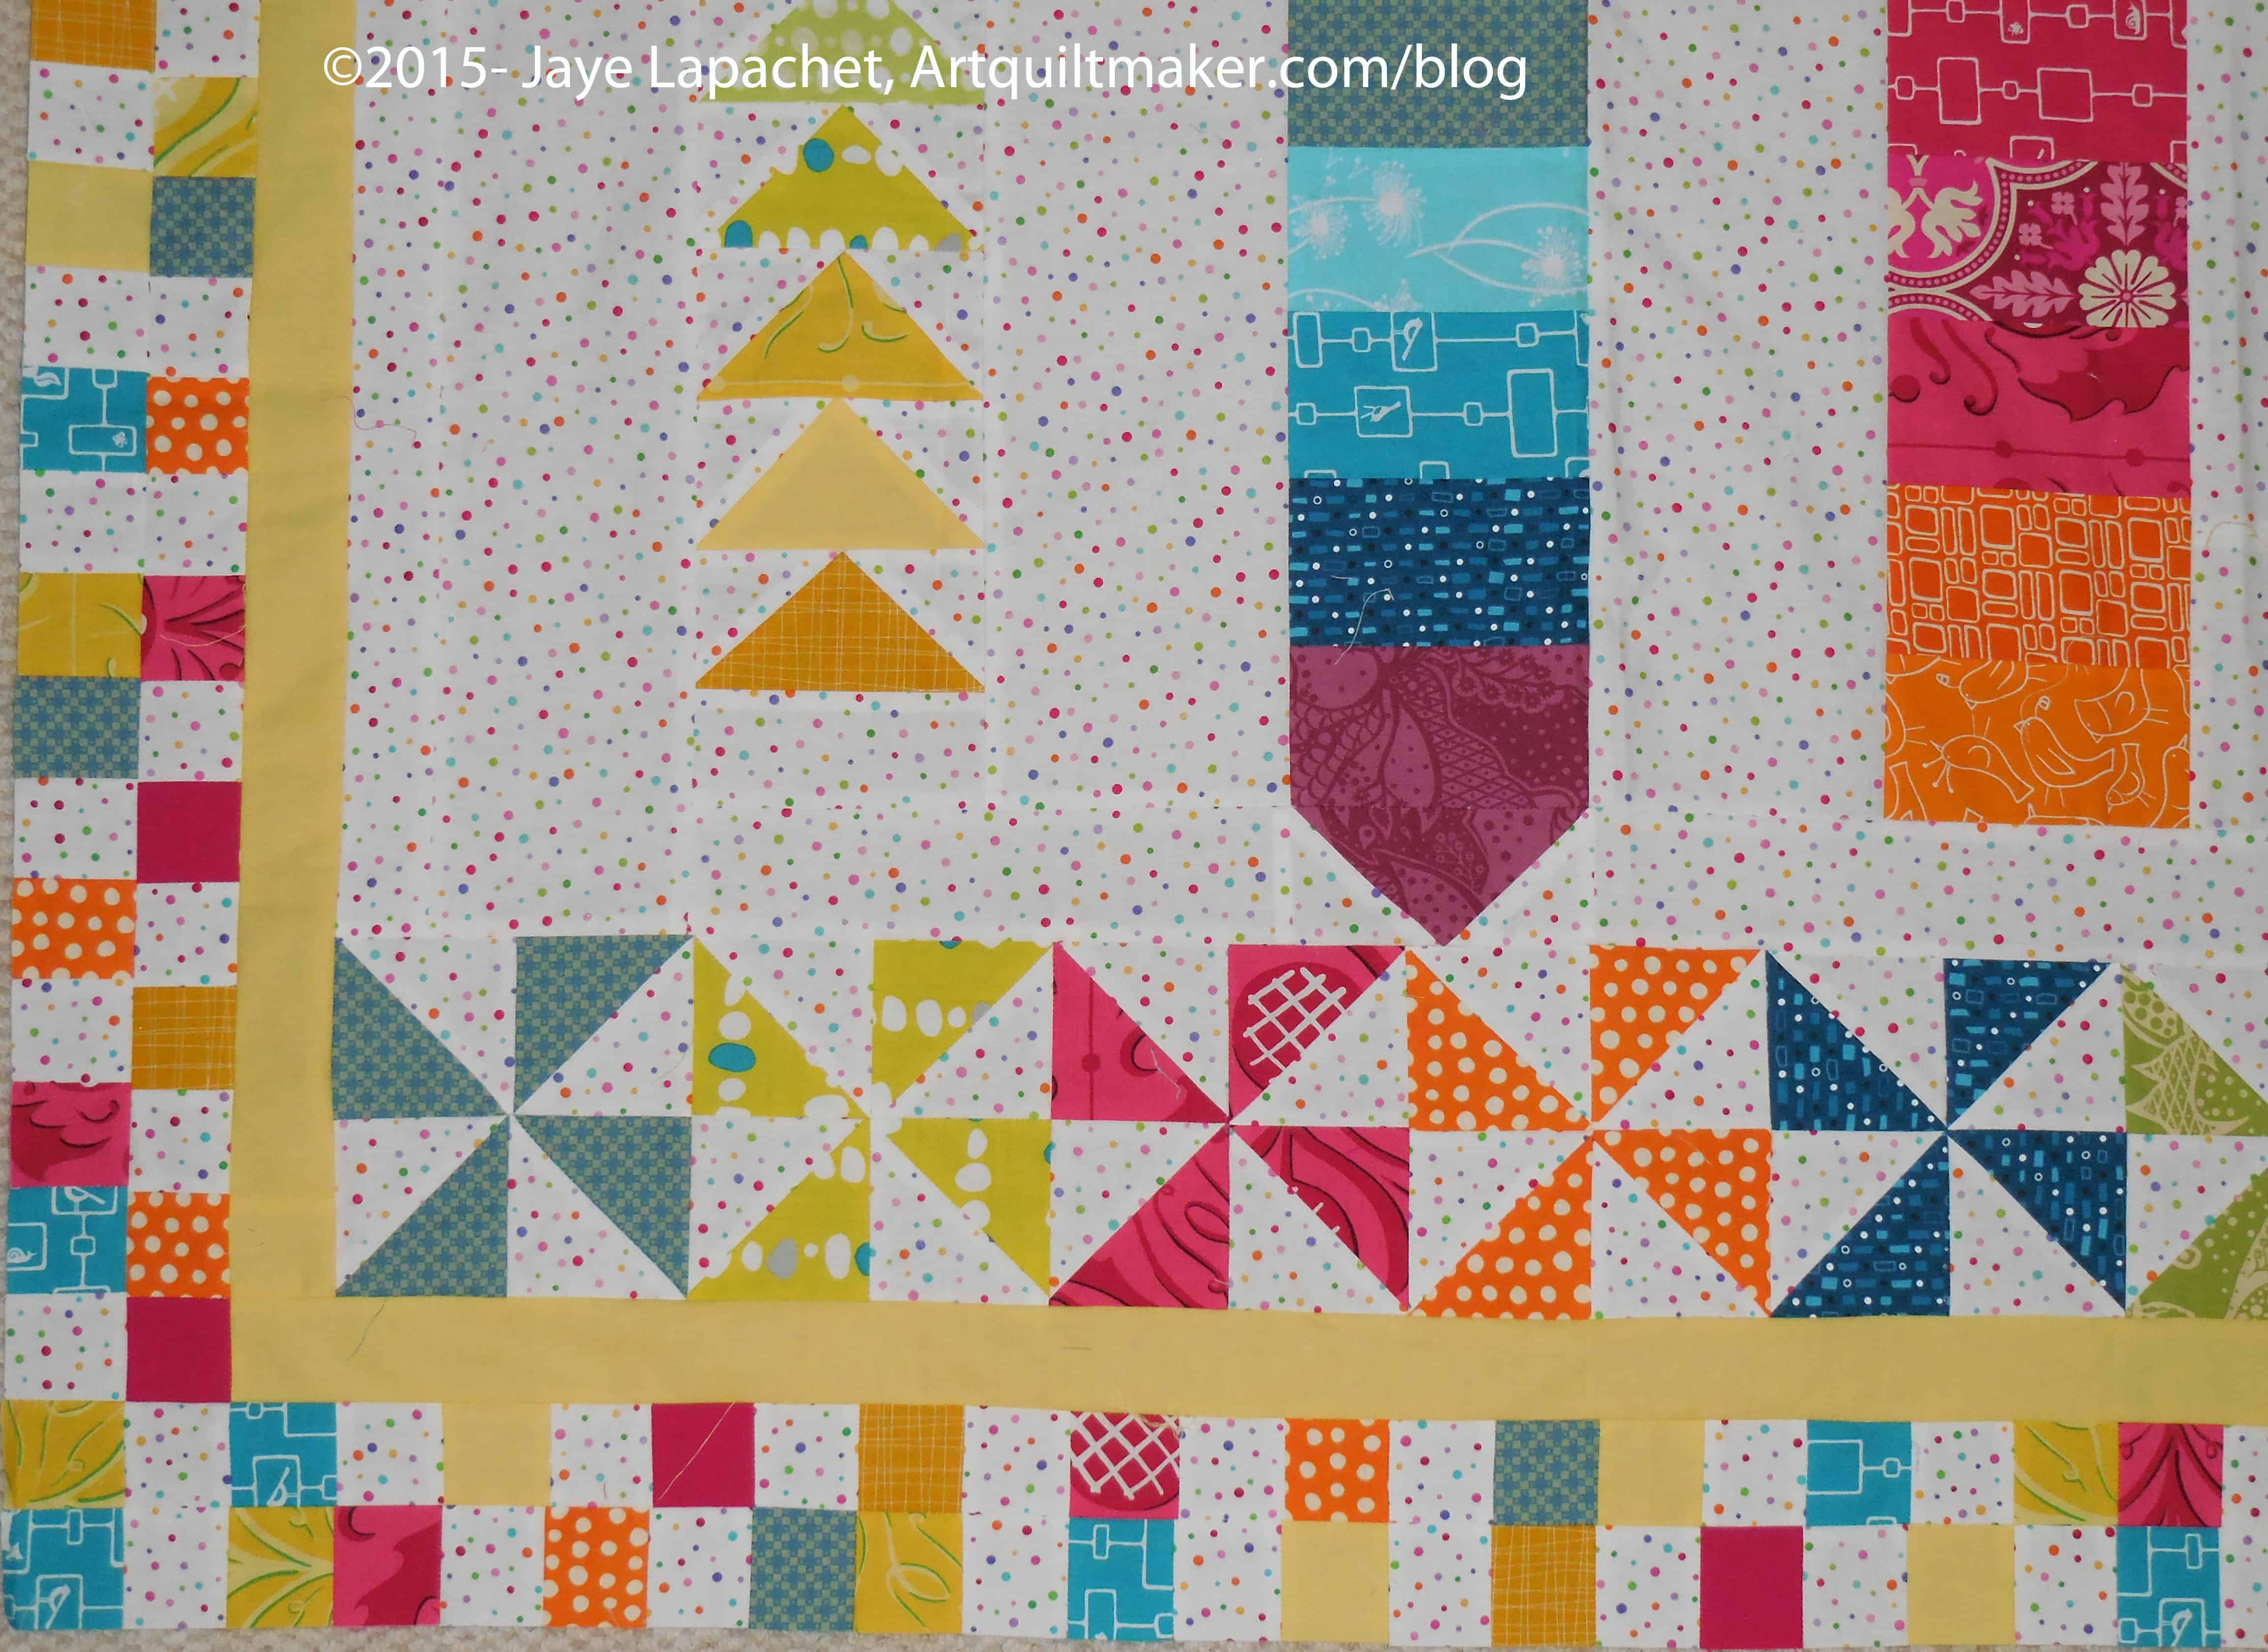
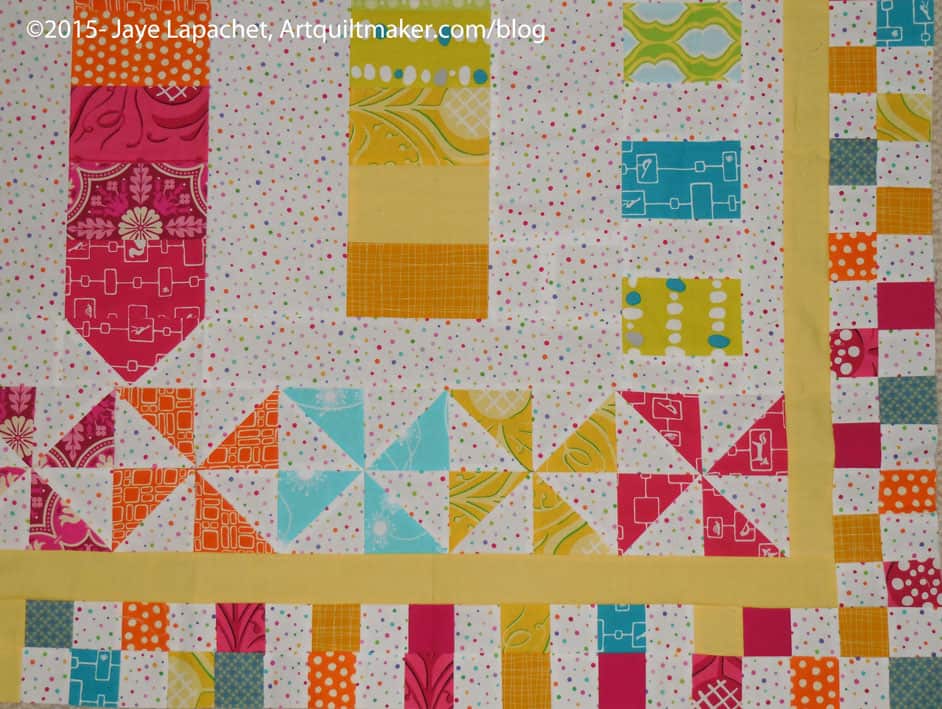
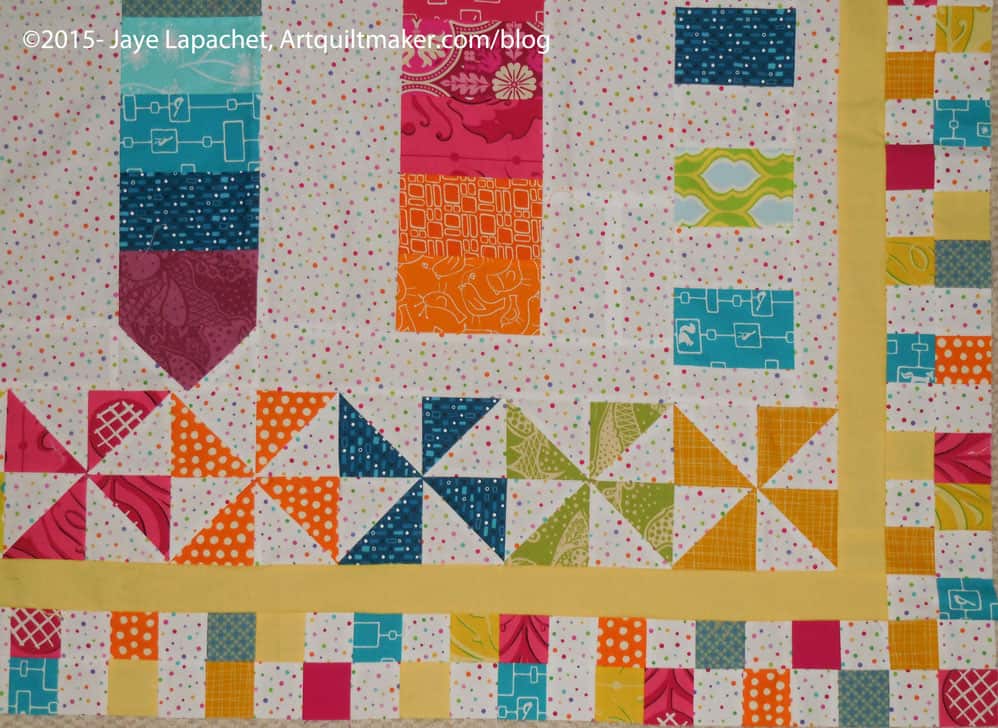
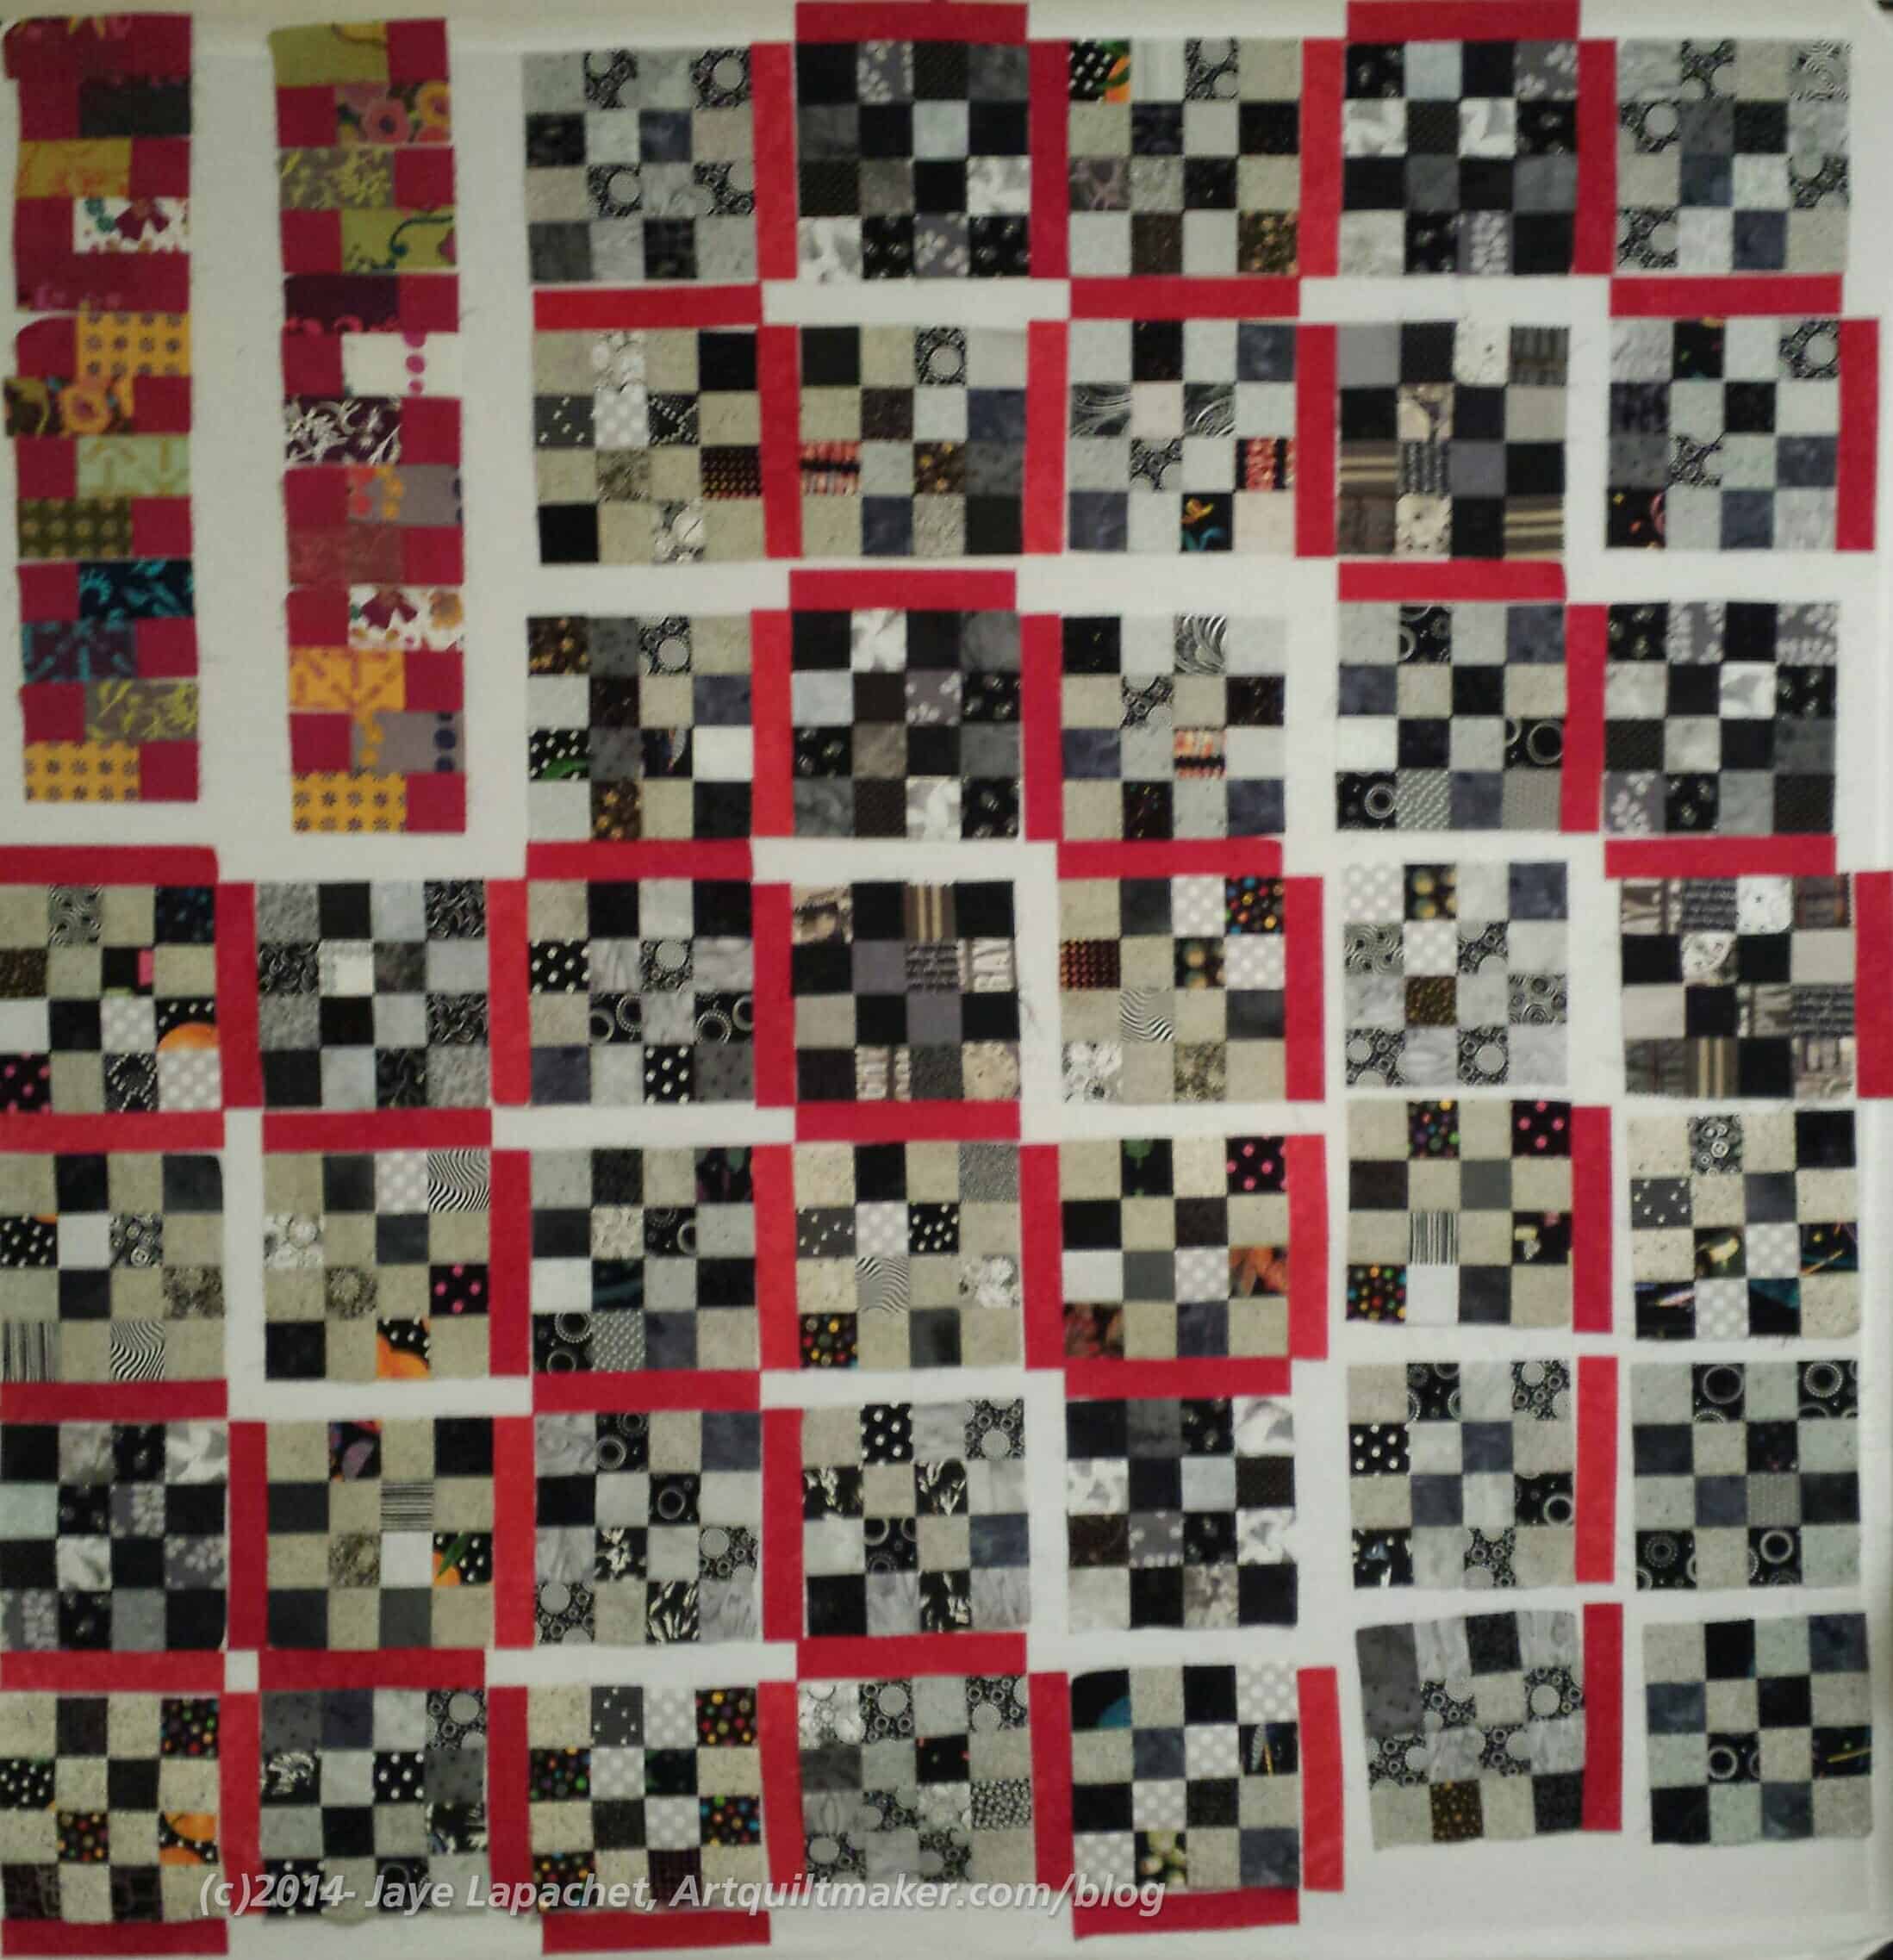
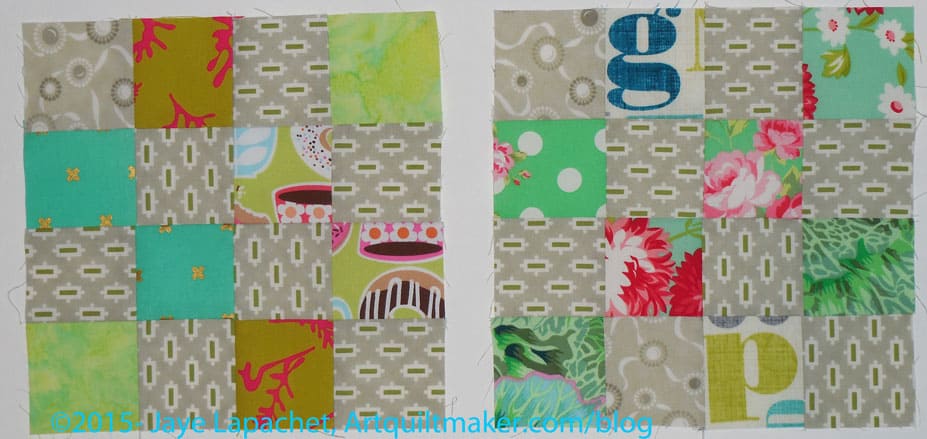
As I started to sew the FOTY 2014 together on Friday (started last week, but got really serious on Friday), I realized that I needed leaders and enders. After I sew each FOTY pair, I need to sew something in between so that I can keep the FOTY patches in order. I have been using the Octagon 9 Patch as leaders and enders pretty regularly, but I am at a weird place with that project, so for the moment it won’t work. I gave away a bunch of my neutrals, but dug around and found some suitable greys for more donation blocks. I used leftovers of some Bonnie and Camille greys. They are a little too taupe for me, so I have been using them for projects I don’t plan to keep. Since I also have a lot of green scraps, which I don’t use much, I cut some random 2.5″ squares from those and made a couple of blocks.
Now I have a random thought to make 12 more and have enough for a quilt. I suppose it is possible since FOTY has a lot of pairs needing sewing, but the cutting of the 2.5″ squares – enough to make a quilt before next week is a little daunting.
I think it will be better if I get over my Octagon Nine Patch hump so I can make progress on that project, not that donation blocks are a bad thing.