We are embroiled in college business/drama/selection. Of course, I have other stuff going on as well, but the college stuff seems to be dominating at the moment. This means that my quilt work is suffering and, particularly, my donation and charity projects.
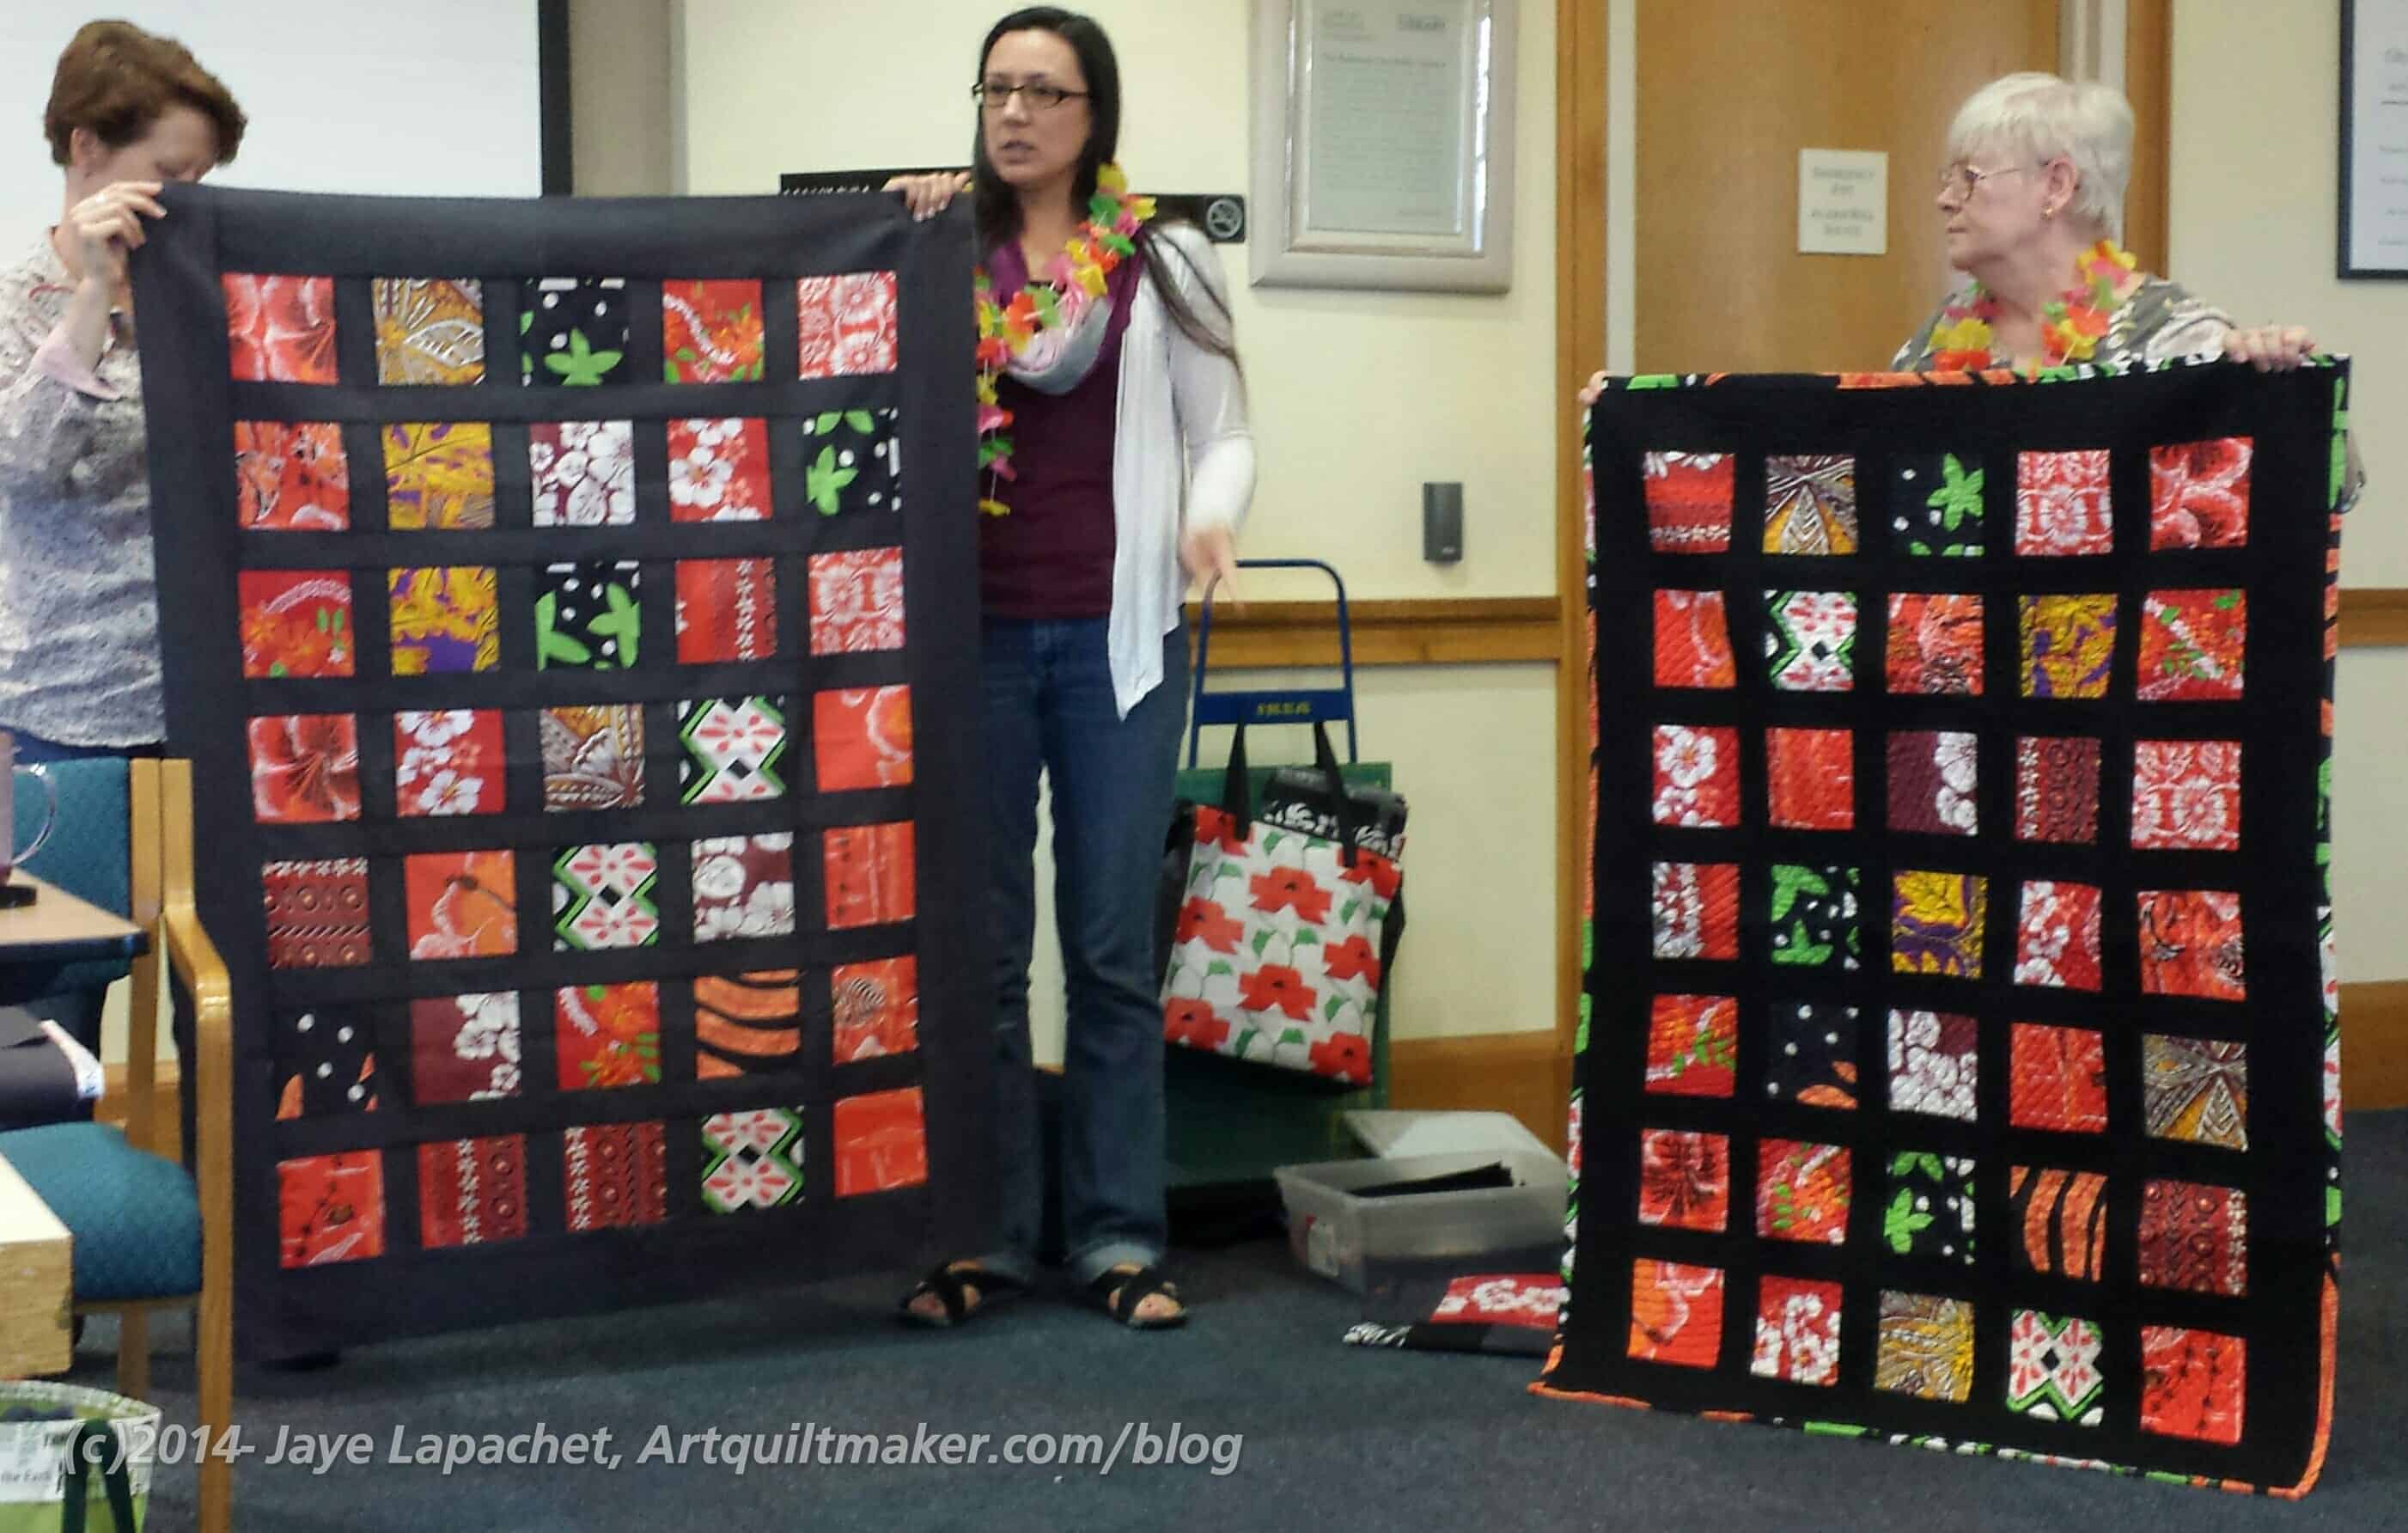
I finally did spend some time a week or so ago finishing this Hawaiian quilt for BAMQG. You might remember that Gerre and I worked on it at a Sew Day recently.
I blather on about testing new techniques and practicing skills on donation quilts then I never do it. I tried something new on this quilt. I tested out applying a binding by machine on both sides. My first effort resulting in me ripping out 3-4′, but I persevered and the quilt is bound by machine.
I made sure that Gerre and Angela were both ok with me doing the machine binding. It requires some more experimentation on my part, but I am pleased with my first effort.
BAMQG Hawaiian Quilt by Gerre & Jaye
None of the fabrics were my choices, but I like the brightness against the black and especially think the back came out well.
As usual, I am really happy to help the guild. As usual, the Young Man worked hard as my quilt hanger.
The vendors were setting up as well and I saw Colleen (Sew Little Time Quilting) there. She has ALL of the American Made Brands solids and I have to say it took incredible willpower not to order half yards of all of them from her. She also has two of her Labyrinth quilts with her at the show. The patterns are finished and available.
This show is held in the same location as PIQF, but in a different hall (I think). I went late, but got there in time to help finish hanging the BAMQG quilts. Amanda, Kelly and Michelle had it well in hand. I added an extra pair of hands and driving skills.
Putting up with Poles
There was some putting up and taking down, redoing and moving, but it went very smoothly. Kelly was well organized and Amanda has great project management skills. The quilt show has interesting tools for doing the hanging and some balance is required, especially for the larger quilts.
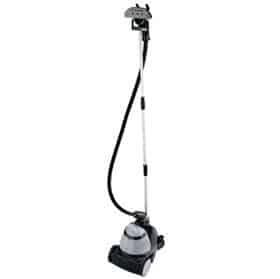
The biggest problem we ran into was the creases in the quilts. I know there isn’t much we can do about it in general, but Kelly decided we needed a steamer, but we needed a break and some of us were melting down from lack of food. We hopped in my car and went to lunch to decide on our next move. At lunch we decided that yes, we needed a steamer or a super duper steam iron. On the way back to finish our work, we stopped at Fry’s to see what they had.
Steamer
We ended up buying a Conair Steamer and by ‘we’ I mean Kelly. There were 3 choices. We eliminated the travel version right away, because they didn’t have any (the hovering salesman who didn’t really add to our conversation, but wouldn’t leave told us) and after about 10 more seconds of deliberation Kelly decided on the Conair. We also got water, Snickers and an extension cord.
I have to say that steamers are the way to go. They don’t, however, absolve all sins, but it did a great job with the folds, etc, from storage. Kelly was really happy that she got it. The quilts looked better.
Funnily enough, everyone else at the quilt show came running over when they saw the steam, thinking there was a fire. When they saw what we were doing and that there wasn’t a fire, they thought we were brilliant. A few others, including the featured artist asked to borrow it. Every quilt show management should have one.
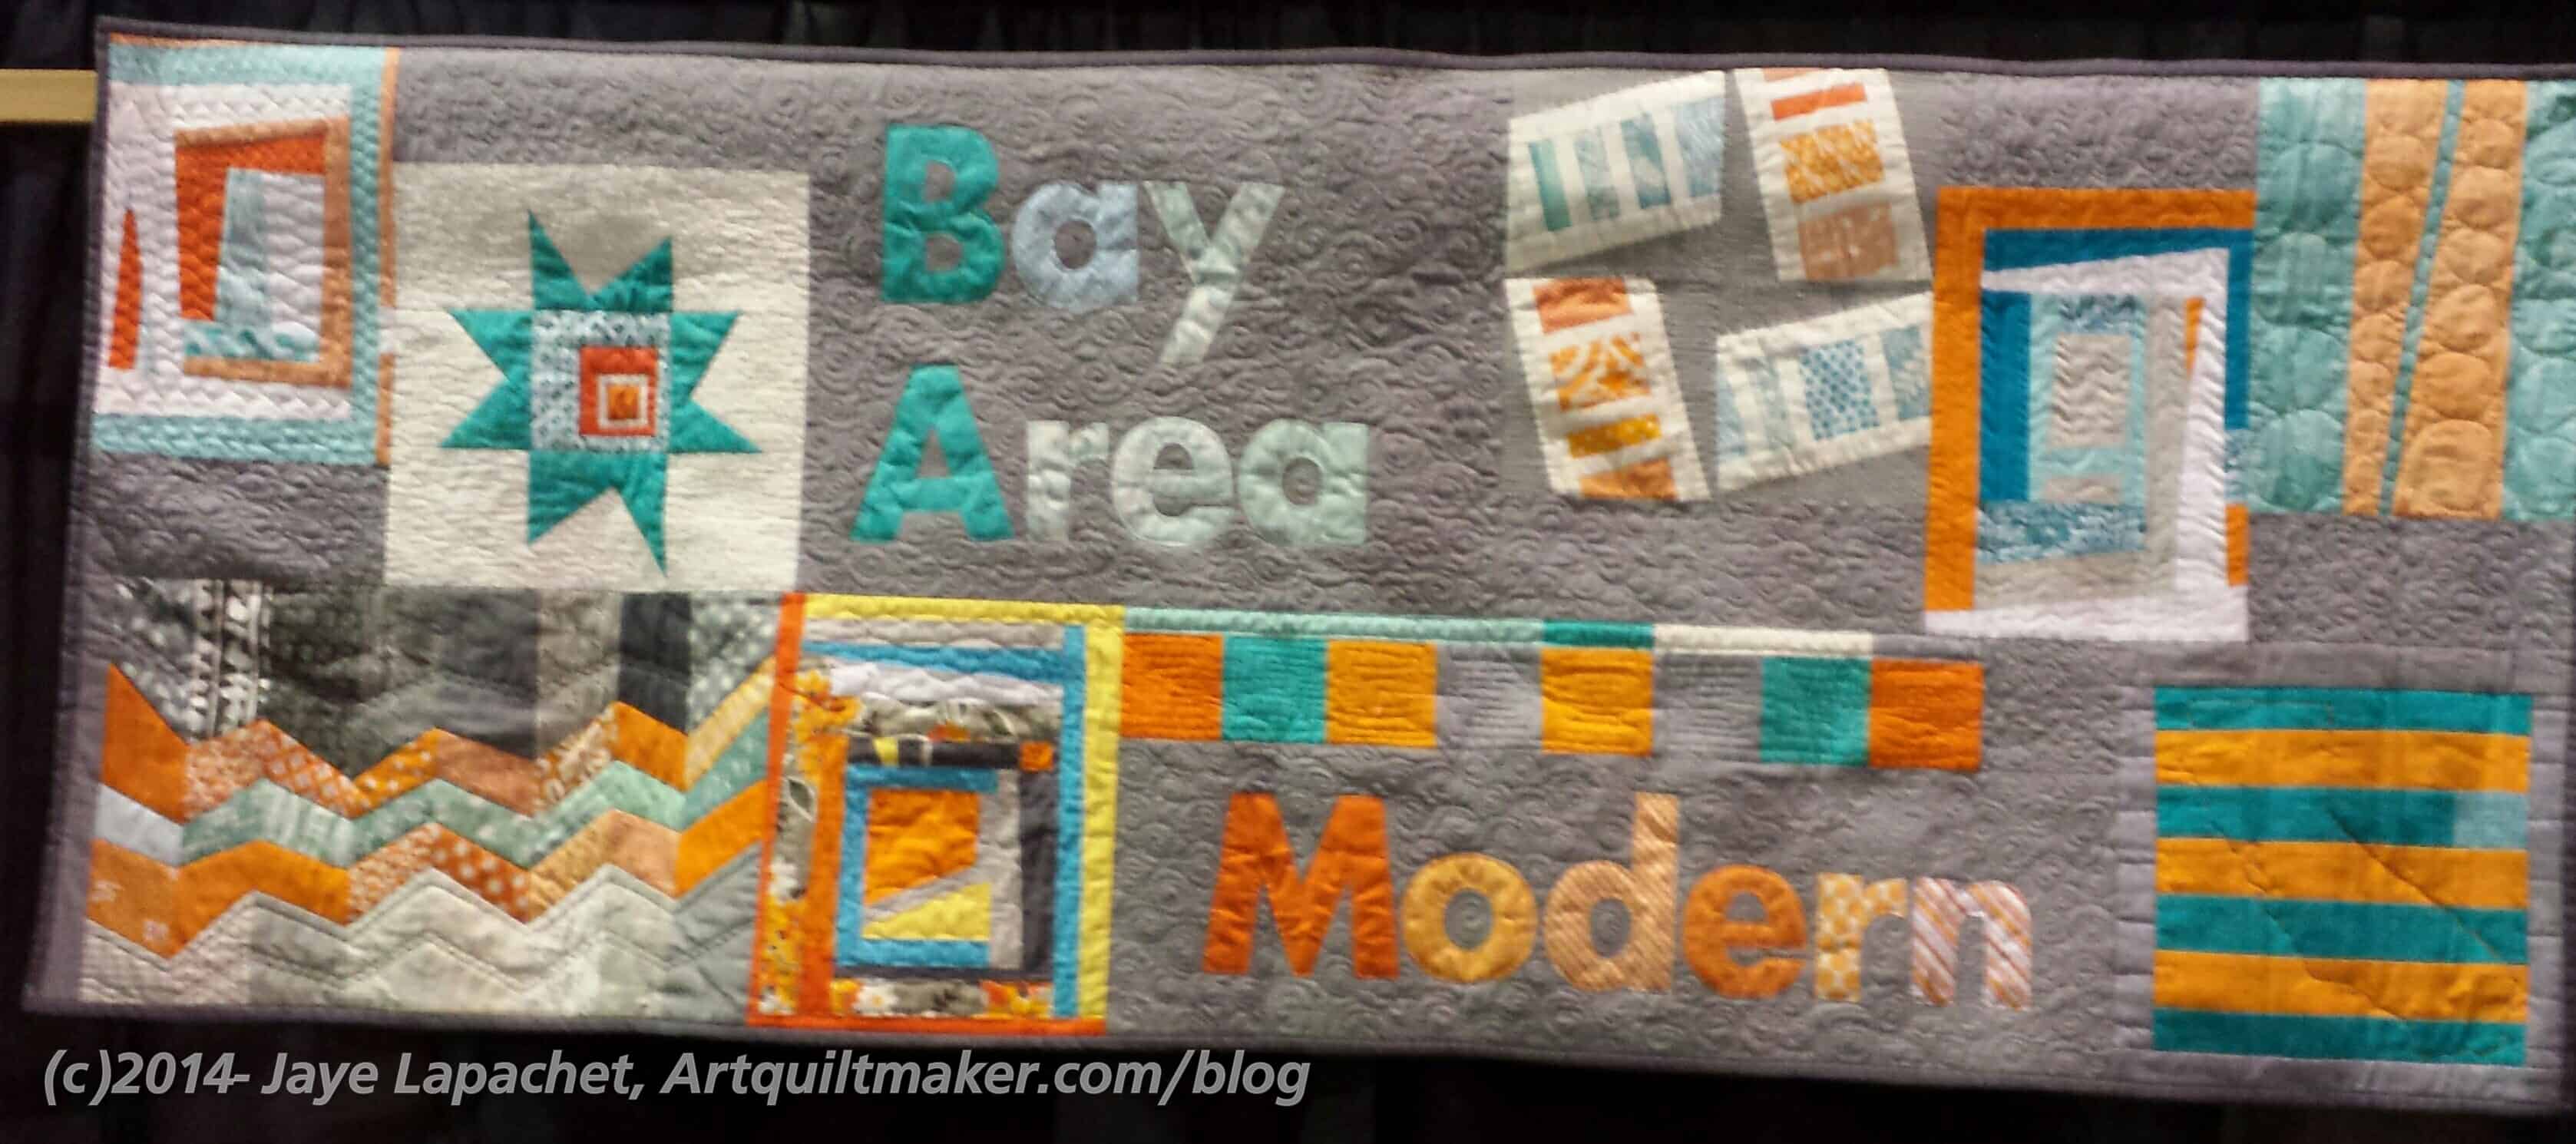
Bay Area Modern Banner Pre-Steamed
Pre-Steamed
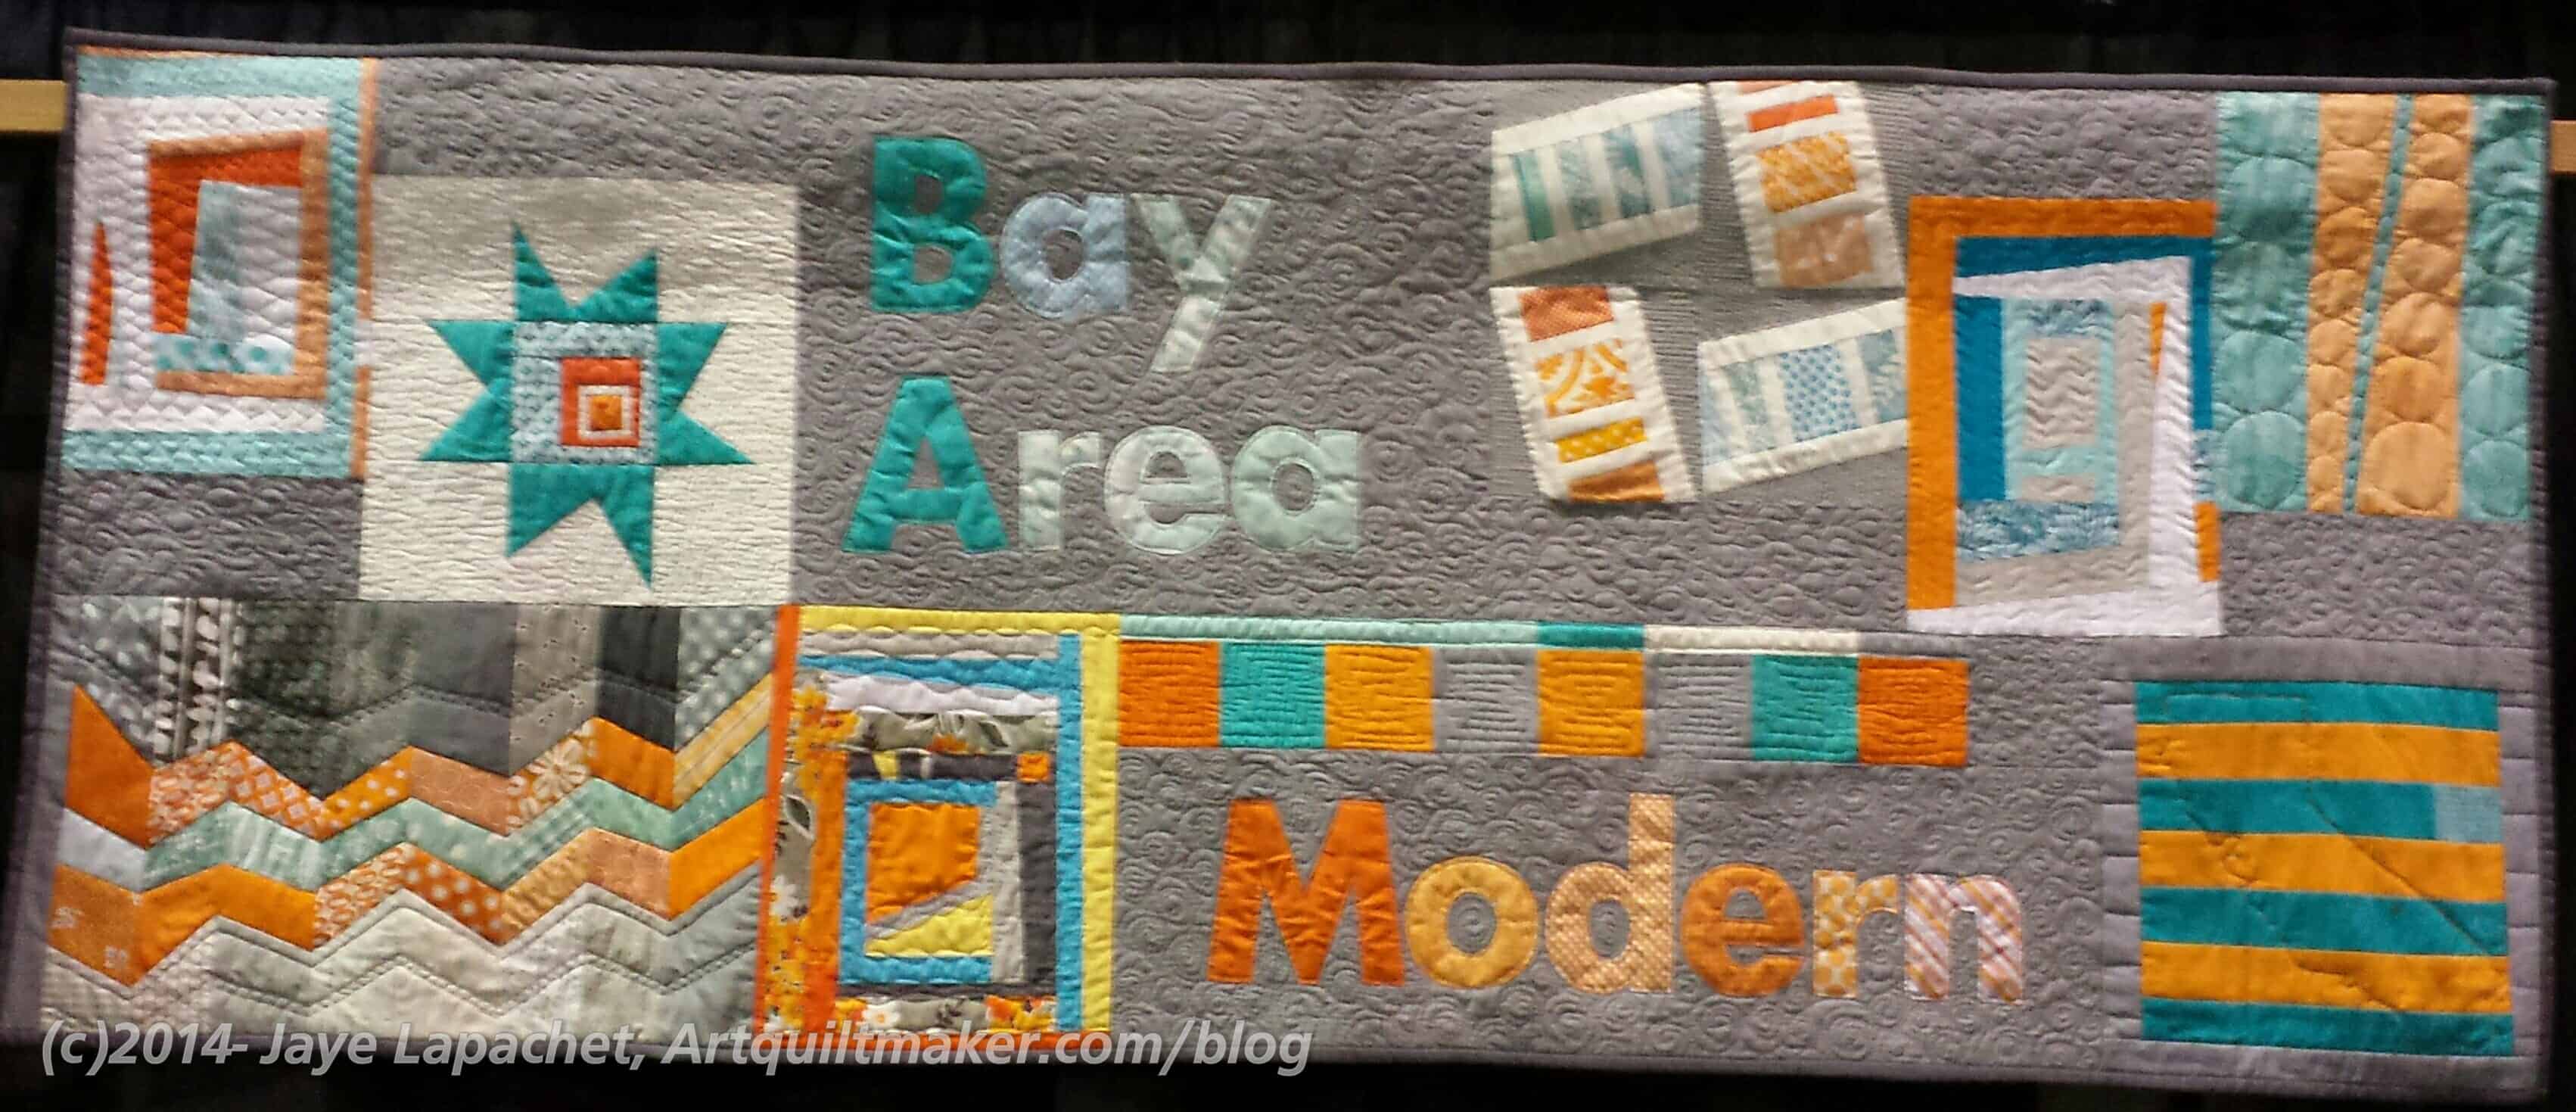
Bay Area Modern Banner Post-Steaming
Post Steaming
We thought the quilting stood out a lot of more, though I think my phone photos don’t really do the work and expense justice.
Amanda as quilt hanger
Michelle hard at work
Steaming the quilts
All in all it was a good and fun day. I was glad I went despite the drive. I always enjoy hanging out with the BAMQGers!
It was a good meeting last Saturday. Friend Julie and I had signed up for a design class with Joe Cunningham, but it was cancelled at the last minute. I didn’t really see any advertising for it and I wish they had let me know sooner so I could have rounded up people. The effect of that cancellation was that I got to attend the BAMQG meeting. I was really sad that I was going to miss it and was really wanting to be in 2 places at once.
Mike gave us a tour of one section of the MQG. The goal is to get us more familiar with the benefits of that site since our BAMQG membership includes an MQG membership.
Karen, the 2015 Challenge Coordinator, gave us a small lecture on “What is Modern?”. Stop with the eye rolling! It was interesting and a little off the beaten track. She took some principles of ‘modern quilting’ and showed us these elements in modern quilts as well as ‘non-modern’ quilts, including quilts from the 1980s and 1990s as well as vintage quilts. It was a cool presentation! Some of the elements she included were:
Improv
Pictorial
Graphic
Negative Space
Bright Colors
Alternative Grid (drop an element to mess up symmetry, space elements oddly, irregular spacing between element, etc)
I added in Text during the discussion.
The result of this fabulous presentation is a challenge quilt due in July (??) using an alternative grid.
Some of the Hawaiian quilts are finished. Angela handed out binding and talked about the quilts. I think she got some other people who couldn’t attend the Sew Day to take some pieces and parts and finish them.
I got a colorful binding, though Gerre tells me the quilting is still in process. No problem. I am still working on the binding for the Pink T quilt, though I am nearly done.
Joy-Lily is the Swaps Coordinator and the first swap will be in April. We are each to bring a quilt book with which we have finished and trade with someone else for one. In the future, there will be a ‘Sew As You Go” bag swap.
Upcoming events:
Amish Exhibit at the San Jose Museum of Quilts & Textiles ends 2/28/2015
Manteca Quilt Show, March 7-8, 2015
SCVQA Show-March 14-15, 2015
Playcrafts has a challenge going using the Pantone Color of the Year, Marsala
Binding Bee
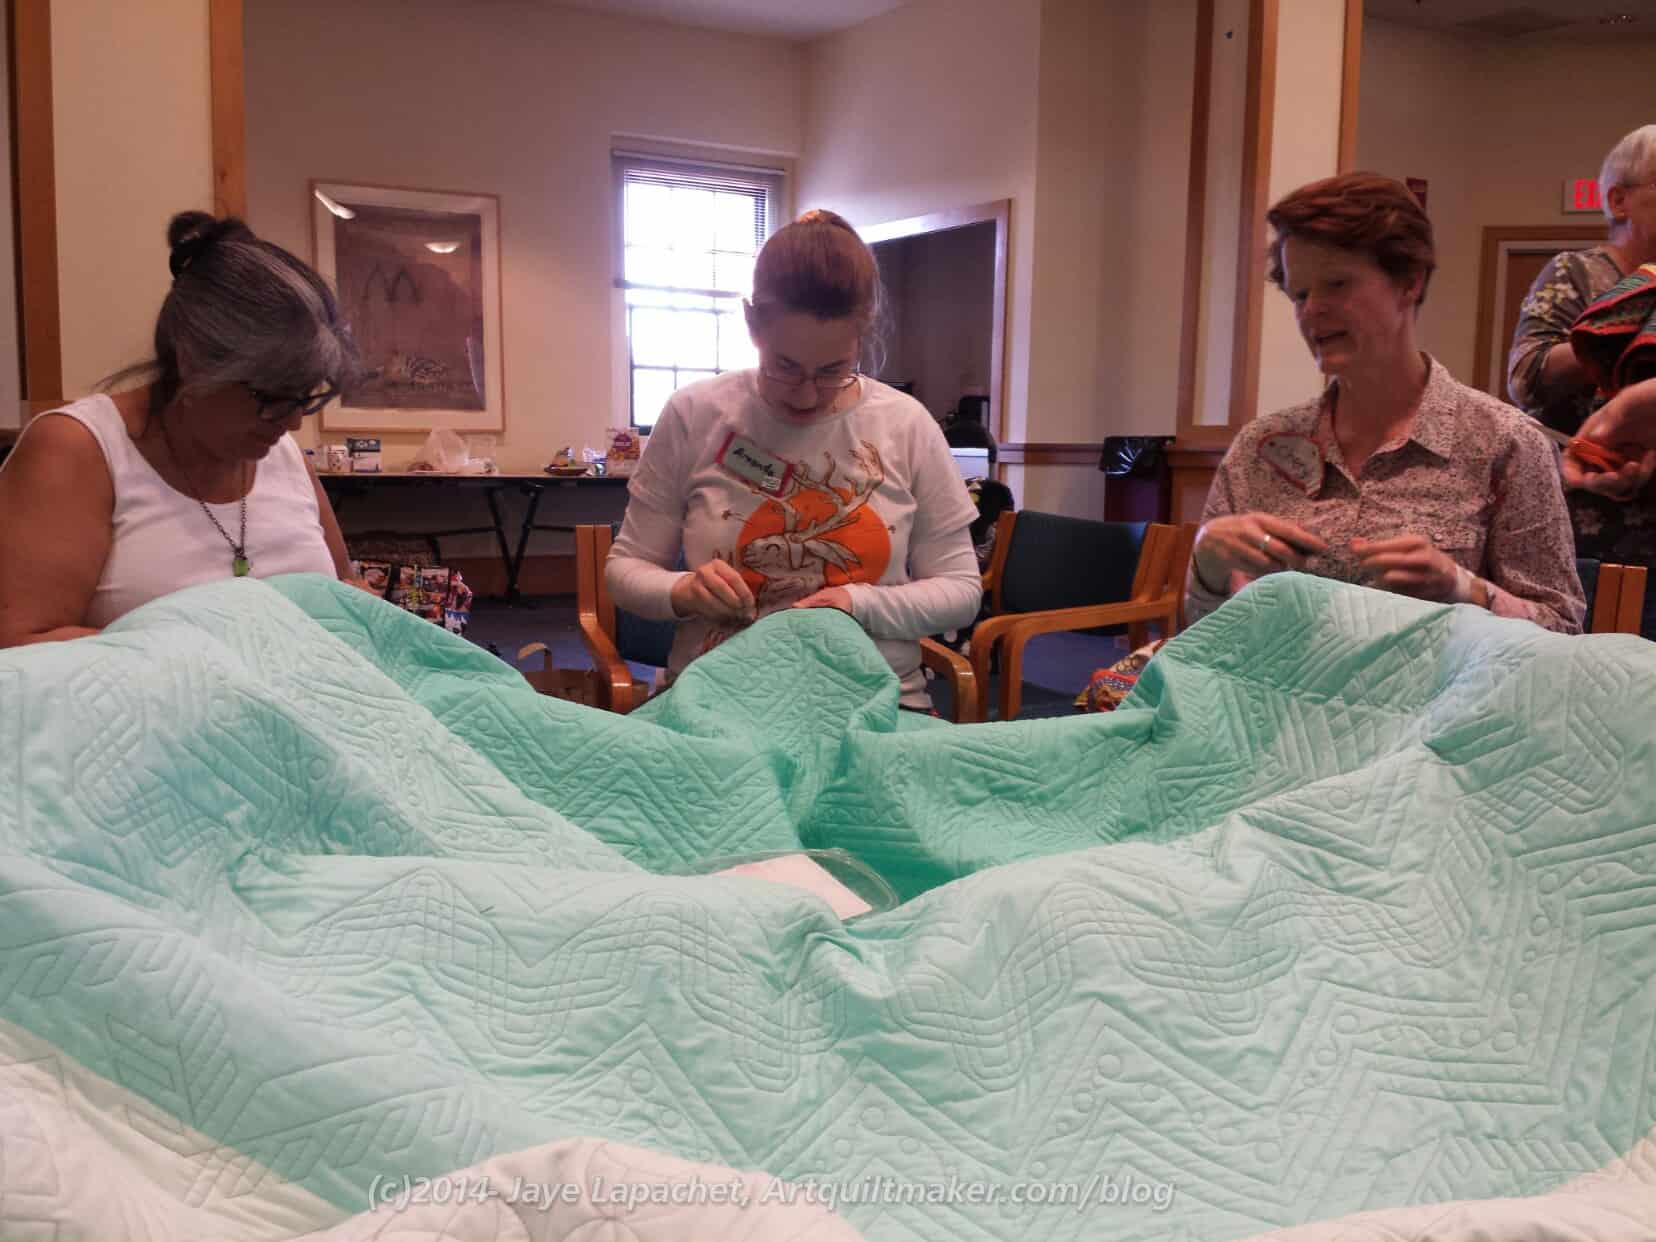
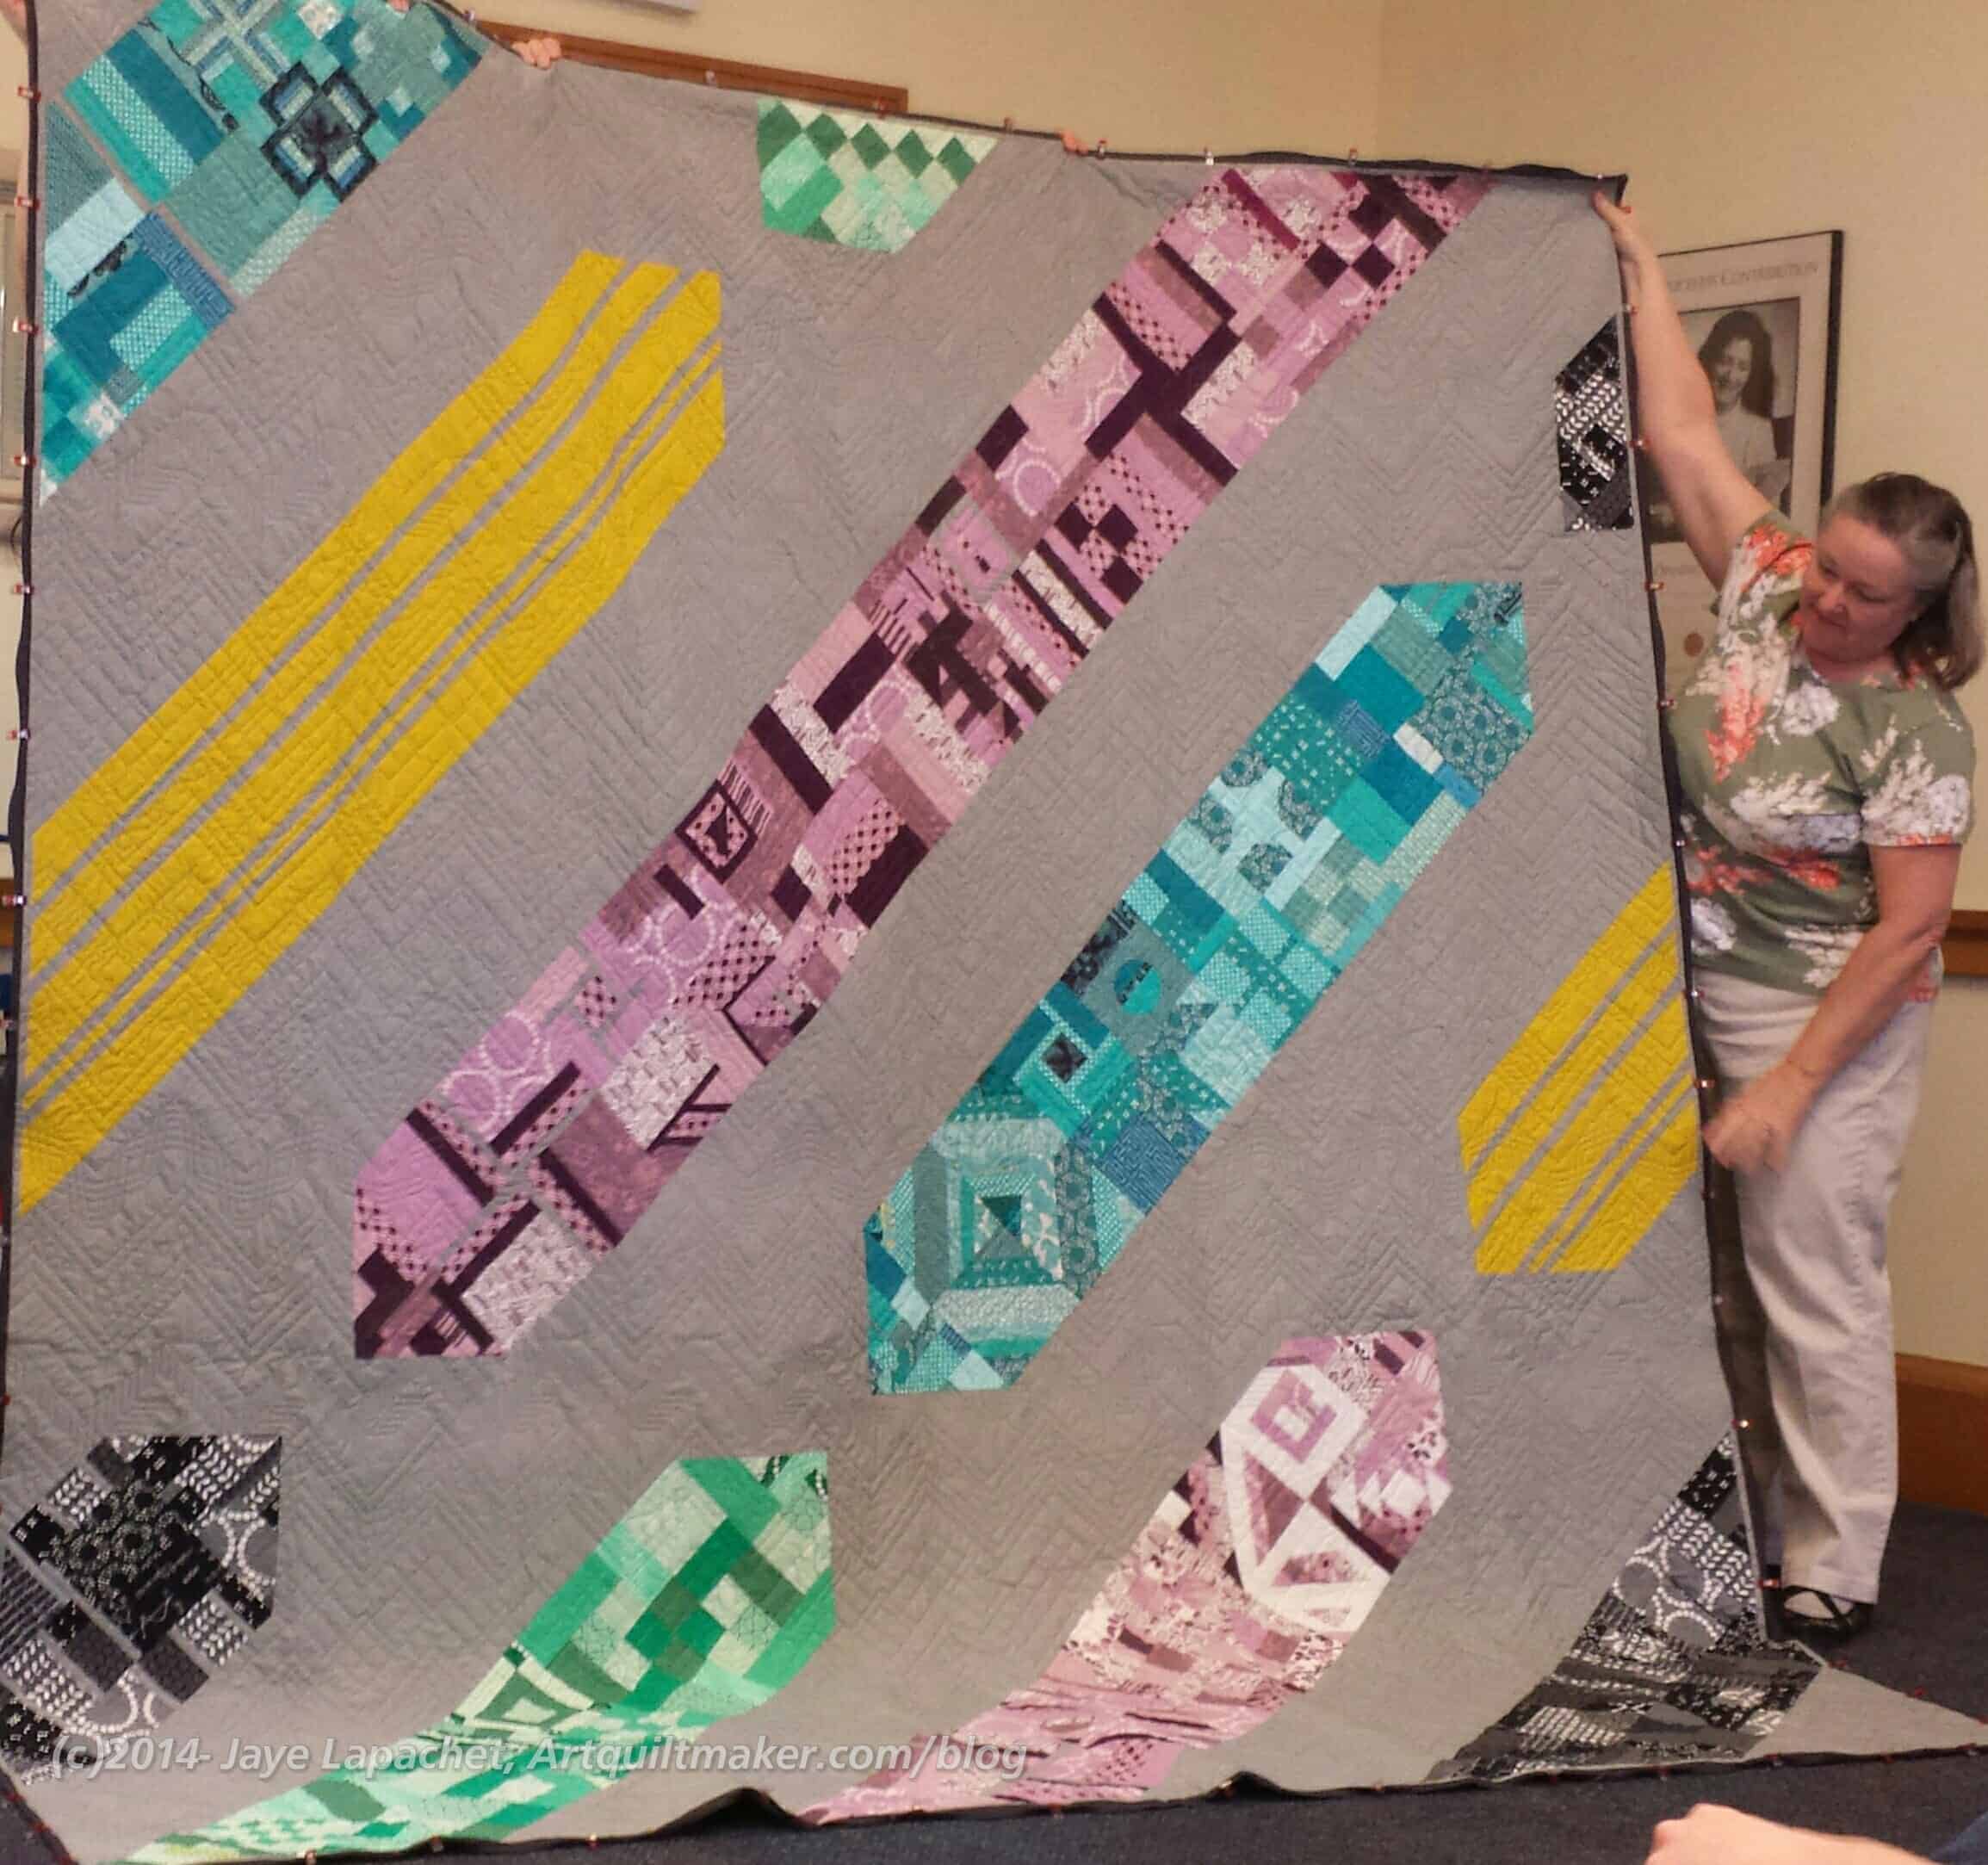
After the meeting ended, a bunch of us sat around finishing up the binding of the guild’s opportunity quilt. The quilt is a monster, but it is also an amazing monster.
Ruth designed it and it is a very unique design that will be appealing to modern quilters, at the very least. Marci Gore designed the quilting and stitched it out on her computerized longarm.
There was some discussion about what the guild would do if we were asked for a pattern. There is a lot of creativity in the guild so I suggested created a pattern and posting it on Craftsy. There are a lot of steps before we can do that, not the least of which is get our nonprofit status finalized, but it is in the idea hopper.
2014 BAMQG Opportunity Quilt
The first opportunity to buy raffle tickets will be at the Santa Clara Valley Quilt Association Show. It was fun. People would walk up and comment that it was just like an old fashioned quilting bee.
The next Sew Day will be at The Intrepid Thread, which will be dangerous. 😉
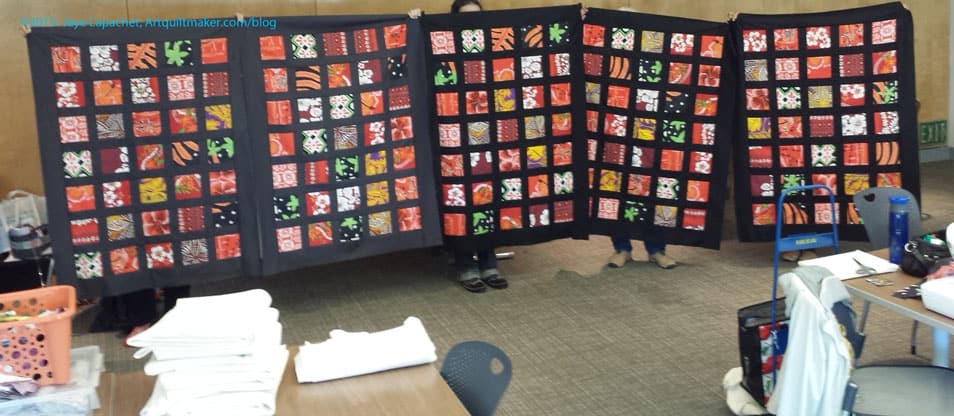
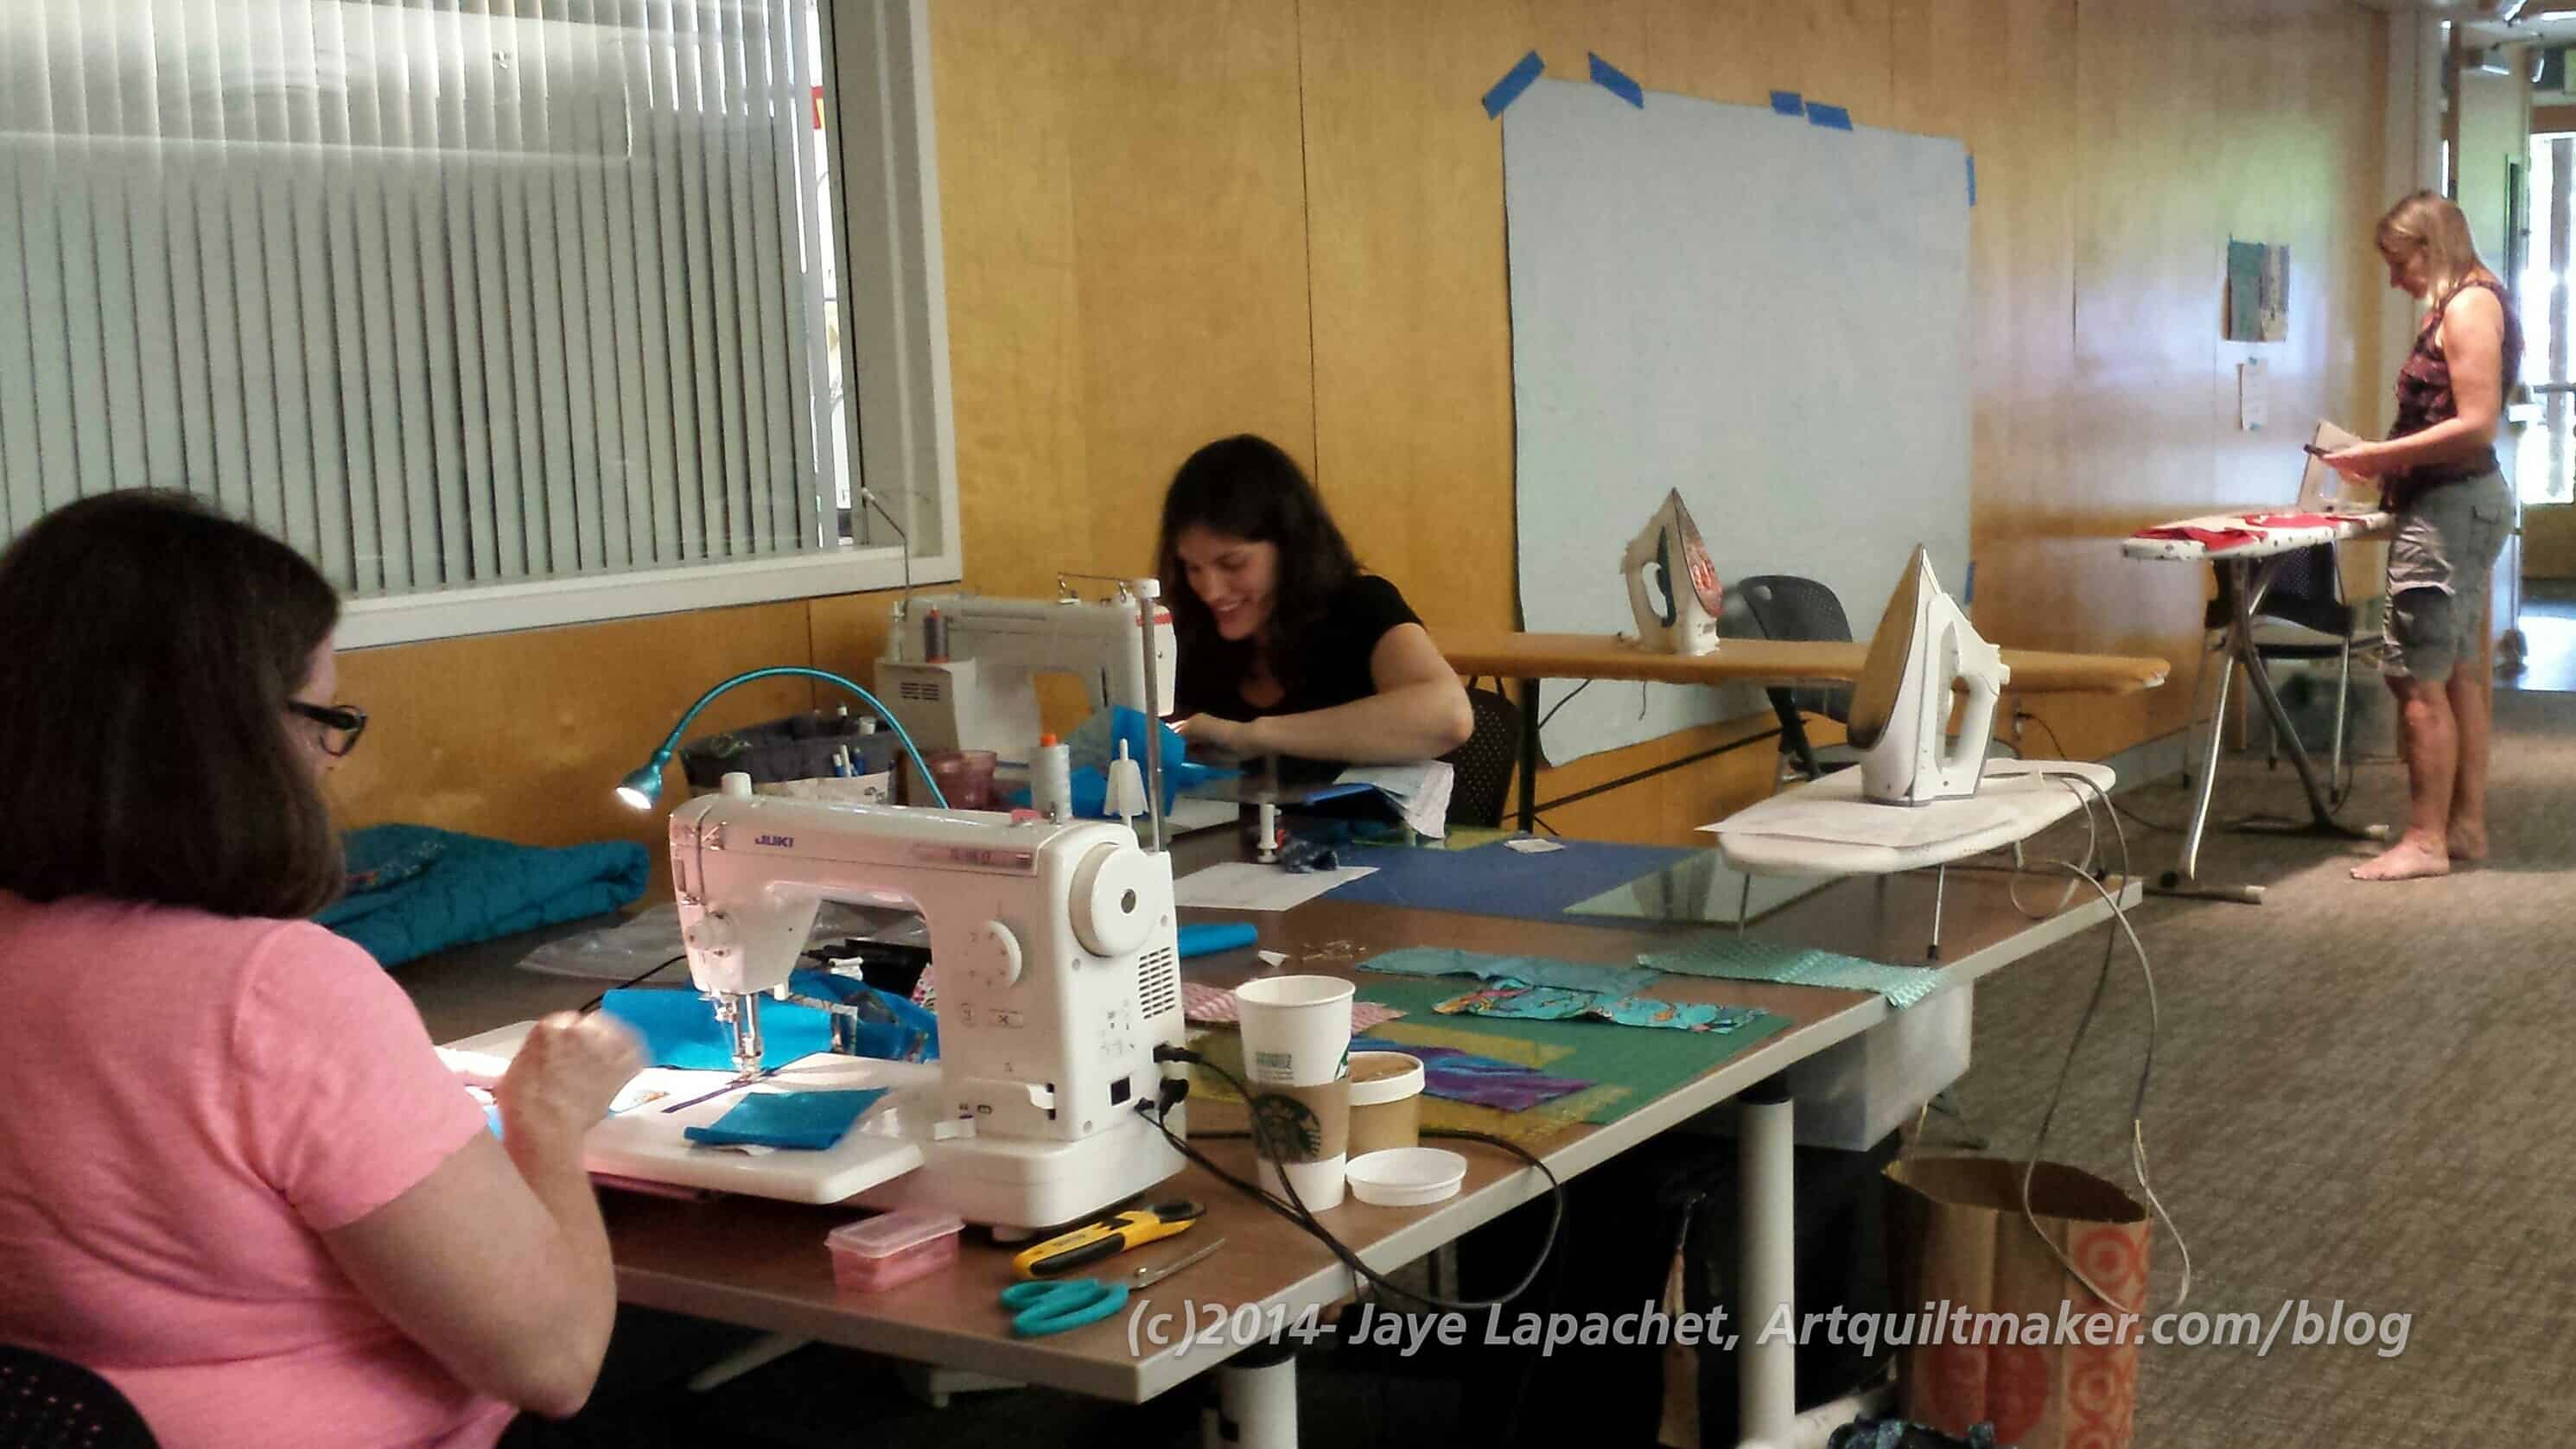
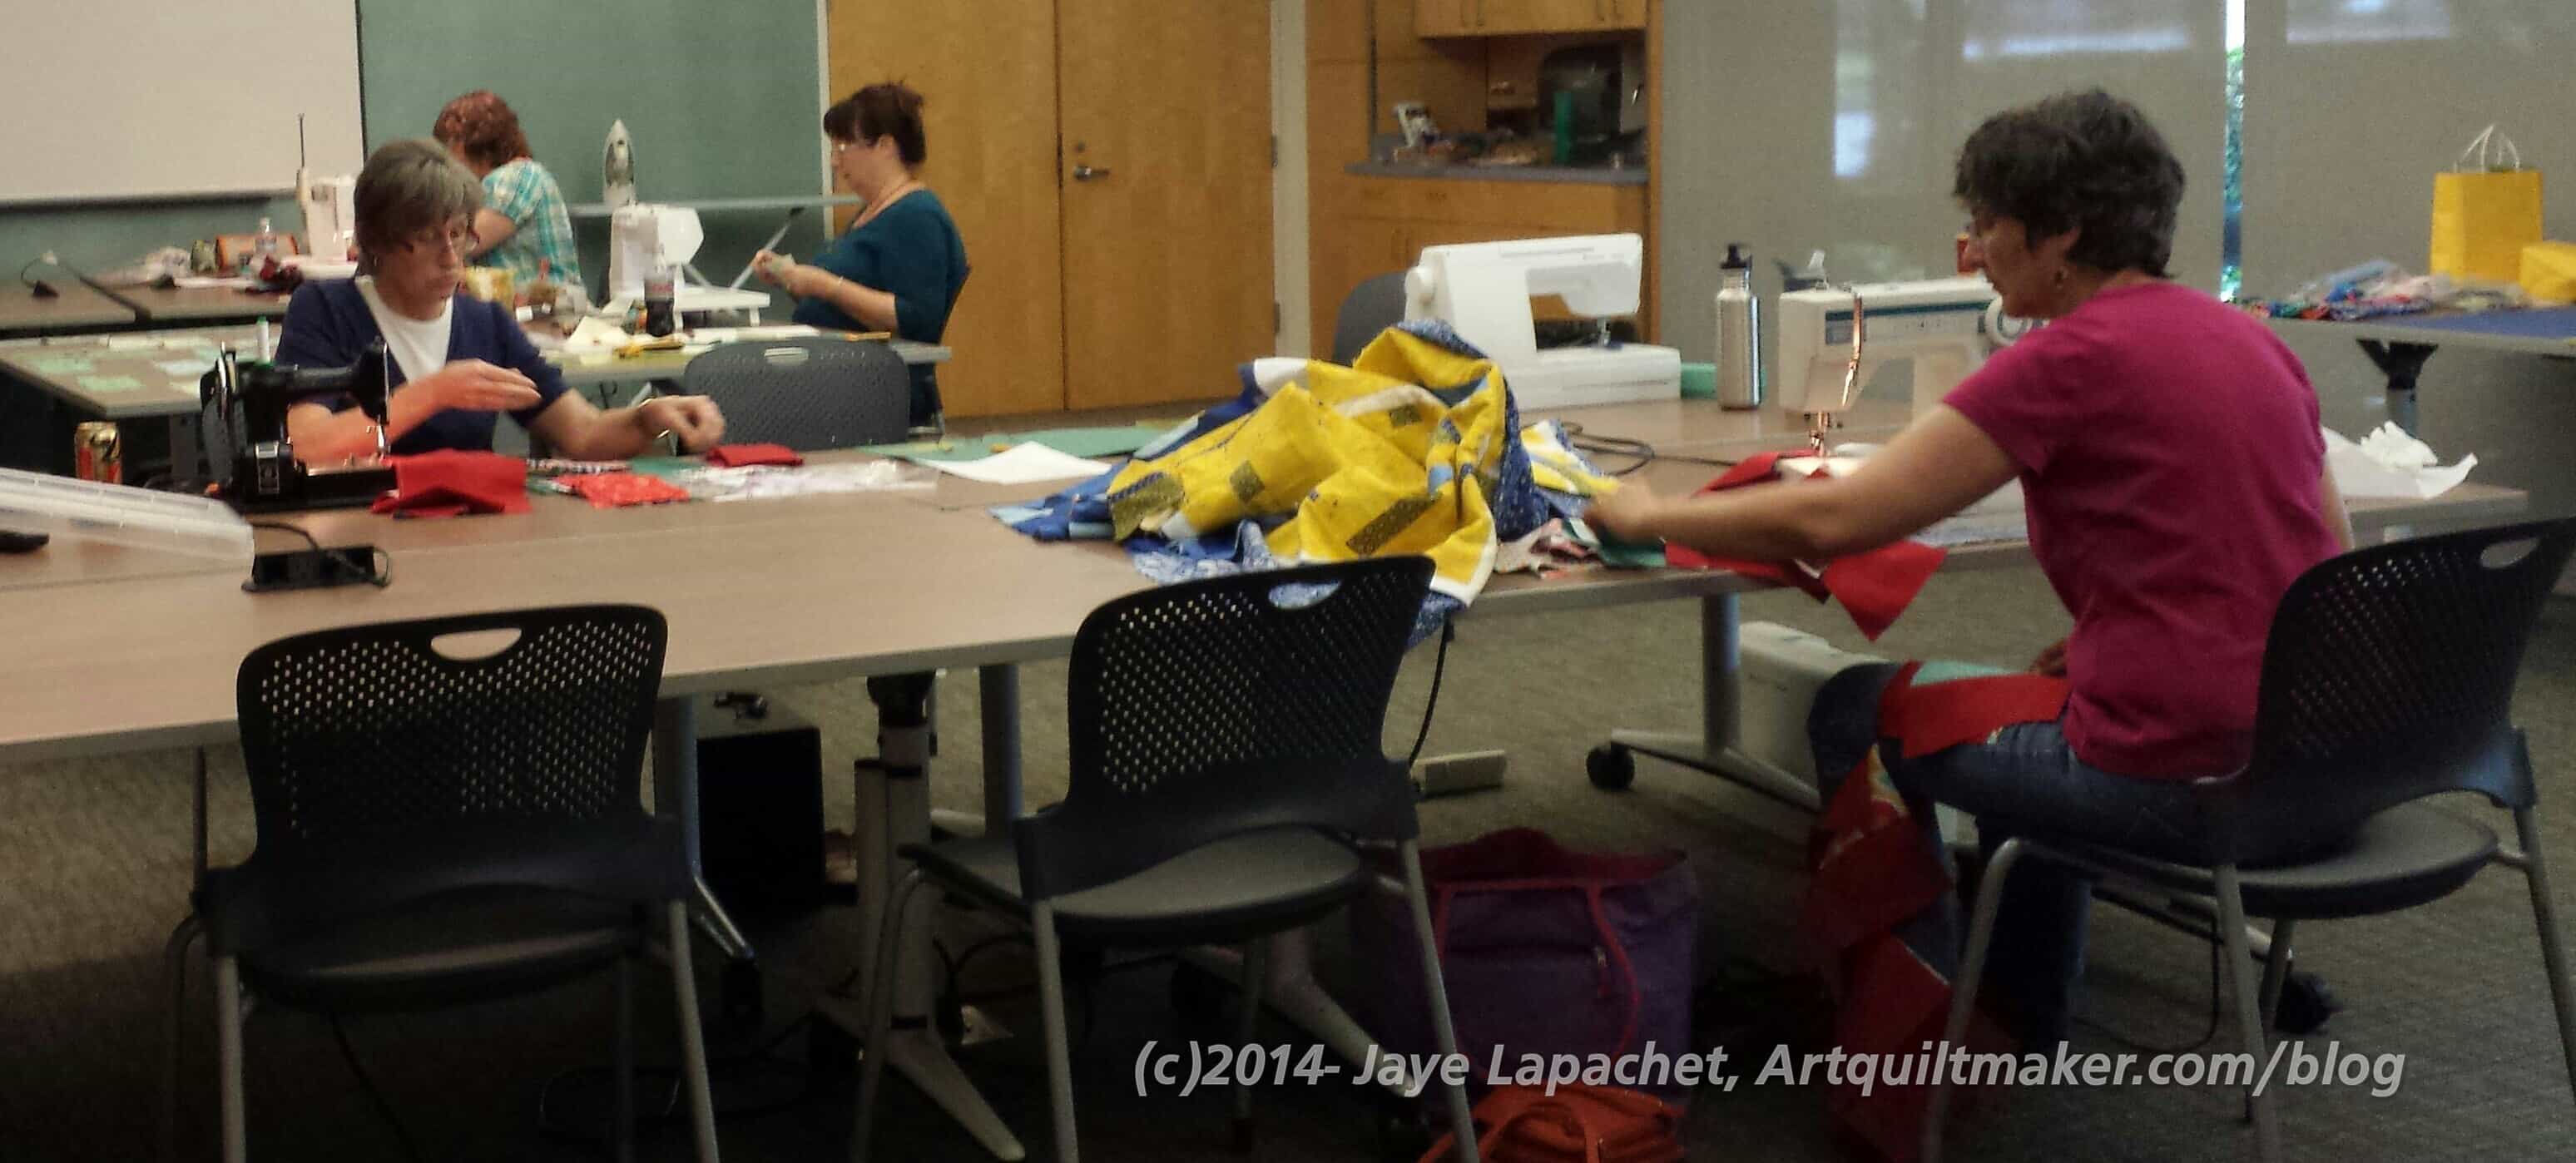
I went to the BAMQG Sew Day last Saturday. We had a great time making Hawaiian themed quilts. We made 10 tops and 5 backs. Kelly was on back detail, so she did most of them while others of us did the tops.
5 Hawaiian Quilts
These quilts are for a family who lost their beloved mother/grandmother recently. The fabrics are from her stash and some from curtains and her mumus. All are Hawaiian prints.
Our Work
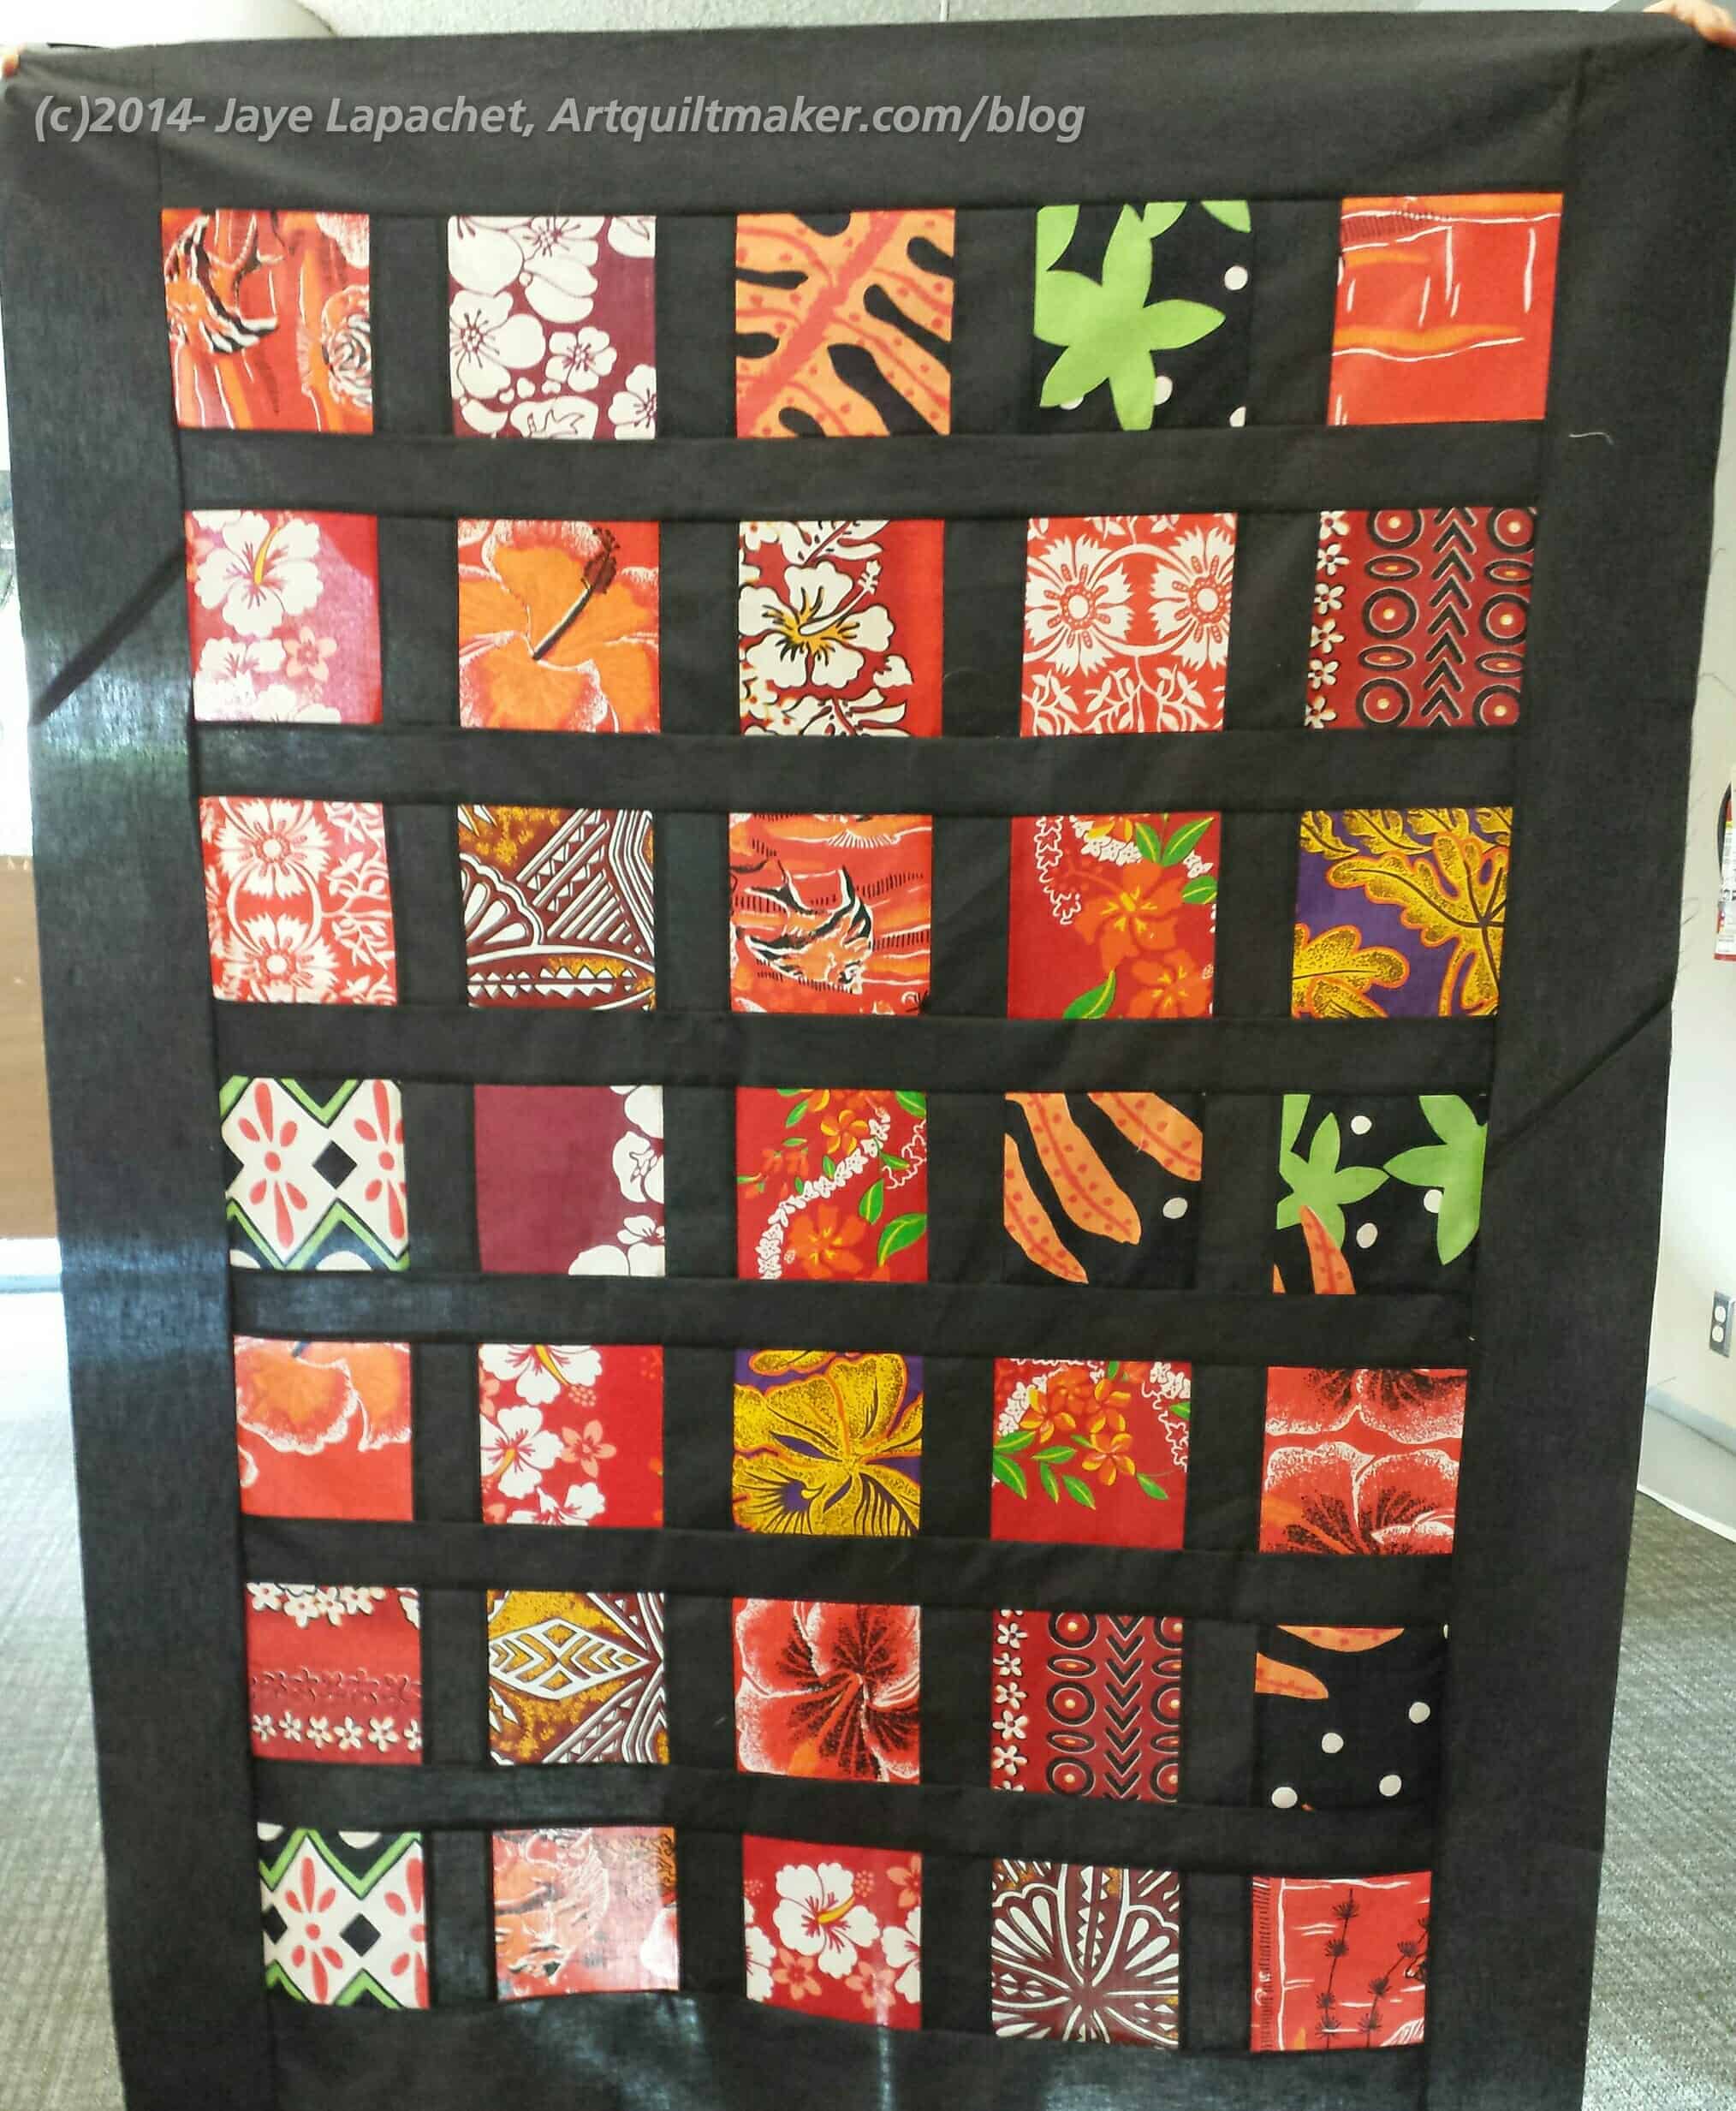
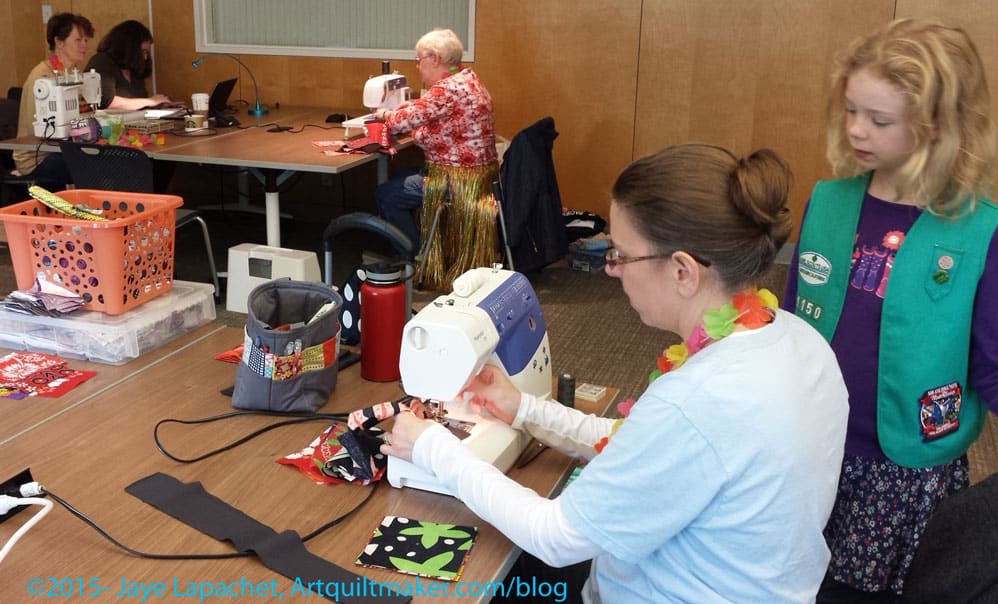
Gerre and I worked together. Gerre was already sewing away when I got there. I stepped in and began ironing and pinning and we ended up making the top (left).
Angela arranged the whole project and picked the pattern. I was grateful that it was pretty easy. She is great that way and figured out fast that if we wanted to get these done this century they should be easy. Also, as Frances says, the Muggles don’t know.
I don’t think this is a terrible pattern at all and I don’t mean to imply that it is. Simplicity is wonderful. The black/dark grey really sets off the bright Hawaiian fabric. I think that people who are unfamiliar with the process can appreciate simpler patterns much better. Not that they aren’t capable, but if you don’t sew, it is hard to appreciate the work that goes into something complicated.
Gerre & Jaye in contemplation
Gerre and I did have to contemplate our piece. We wanted some variety in the fabric despite all the orange we had to work with. The picture above shows the piece laid out on our design floor right before we were were going to sew the sashing.
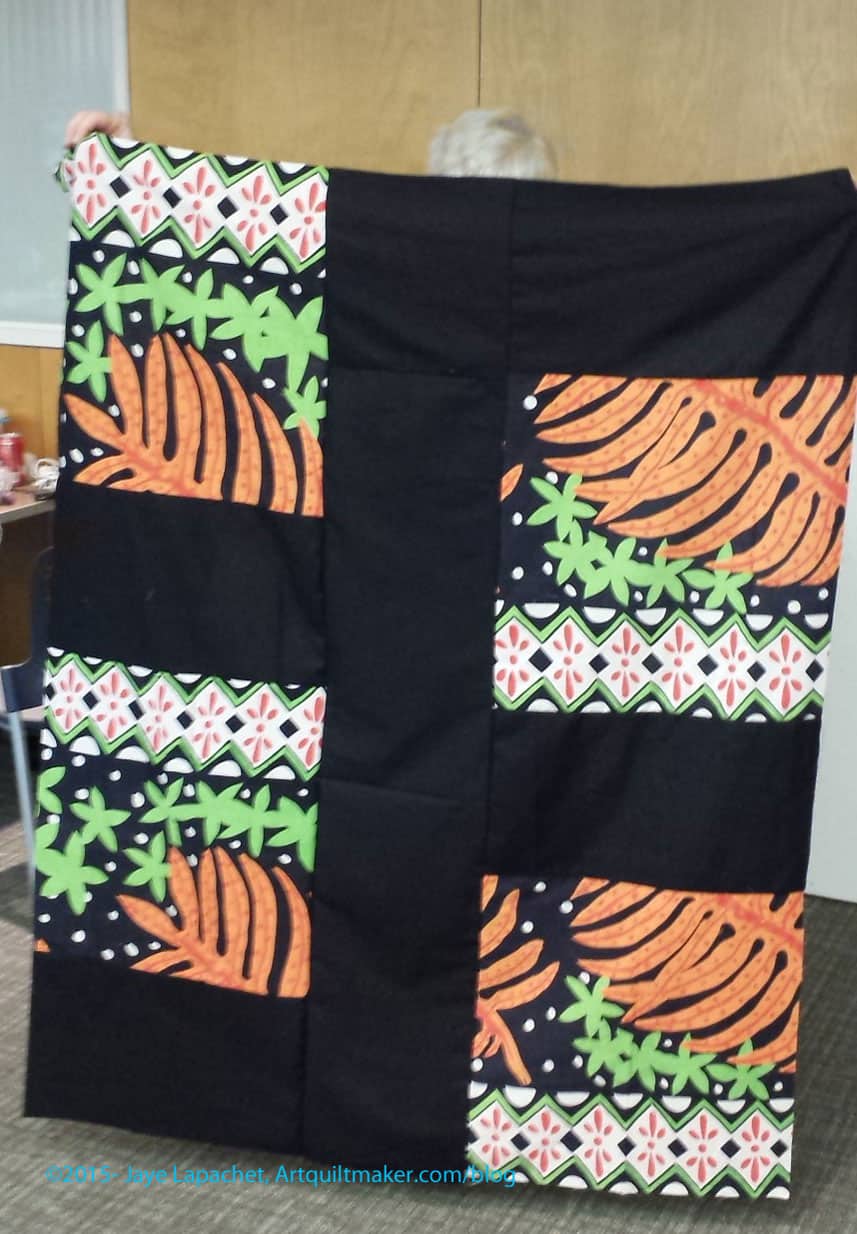
Hawaiian Back
The backs were pieced with big pieces and they came out fun, because of the motifs on the large Hawaiian prints.
Once the backs were made, Angela distributed batting and Gerre and I moved on to Postage Stamp blocks. We made 16 and I will piece them into another donation top.
This back was made by Peggy and I like the combination of the diamond pattern and the large leaves.
Some people will take the quilts home to finish then bring them back for others to quilt.
Gerre is going to quilt ours while I bind the Pink T quilt, then she will give me the Hawaiian quilt and I will bind that one. She has a goal of quilting a certain number of charity quilts this year and I intend to help her! We work very well together and it is great to have a sewing buddy at Sew Day.
Our own personal Girl Scout
We also had our own personal girl Scout present. She came to keep us supplied with cookies. I think she also took an interest in our sewing. We have to tempt the young ones and Amanda is doing a good job on that account.
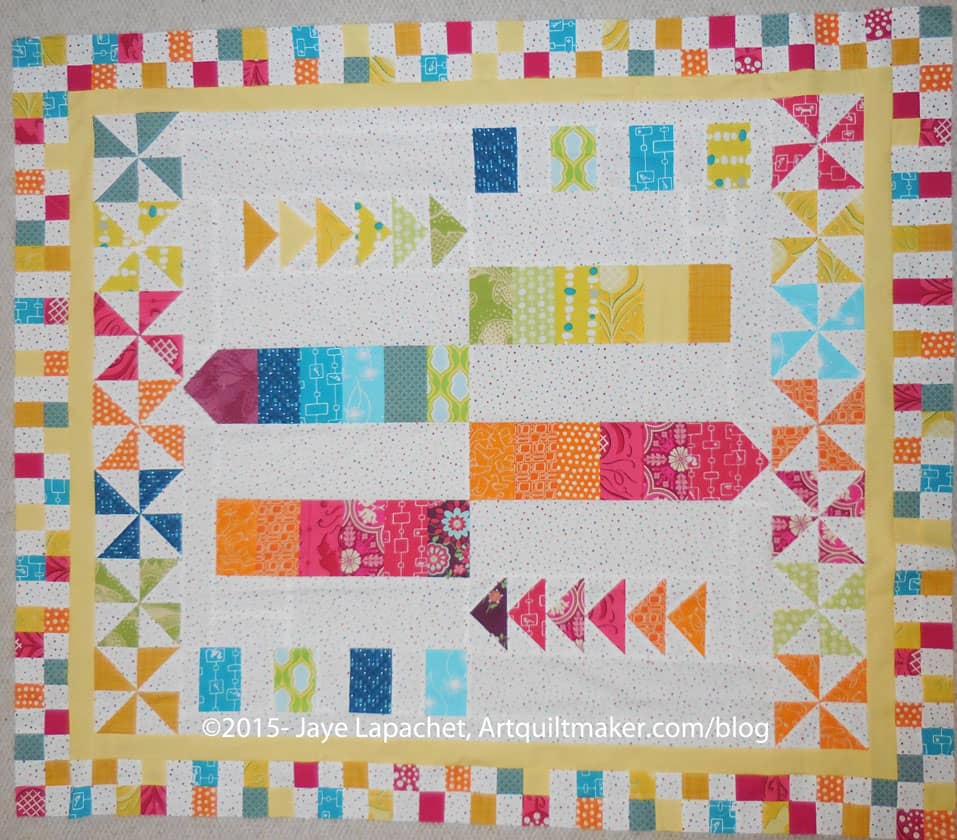
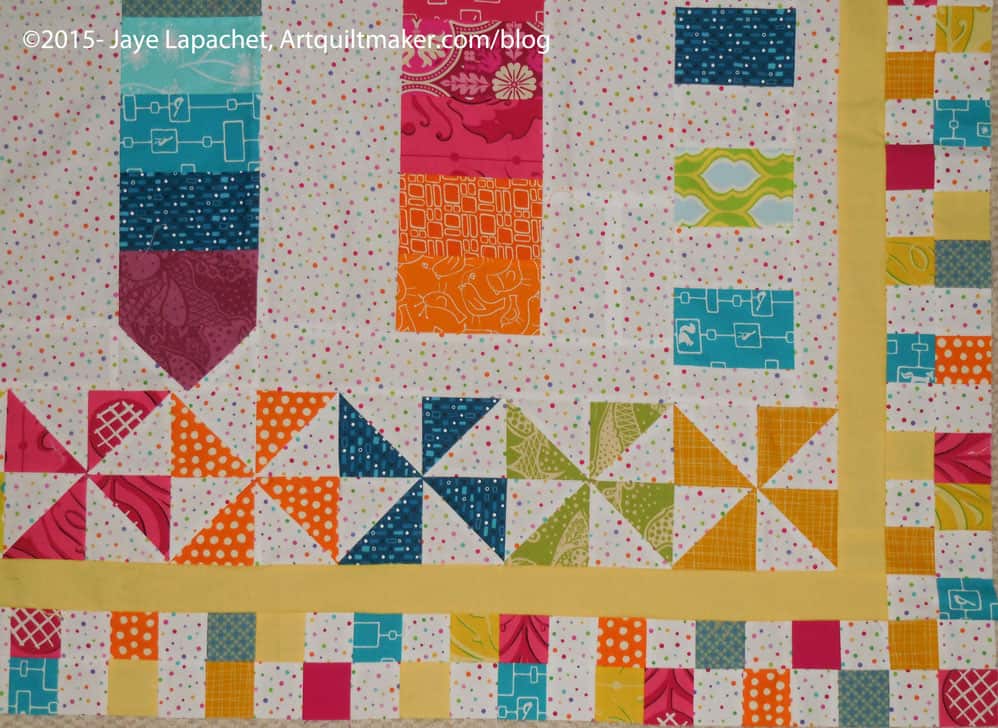
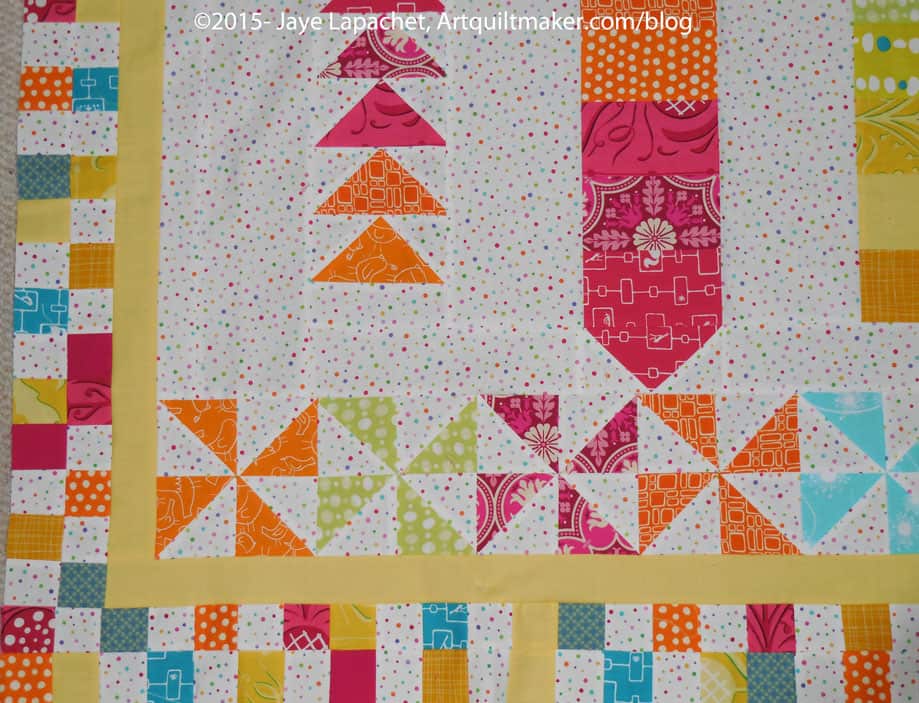
My round robin came back after a long vacation! It went through two moves of my various round robin-mates. Kathleen was able to work on it during the past few weeks and I just got it back yesterday!
It is so bright and cheerful! It is also completely unexpected. I guess the point of a round robin is to work with other people and see how they would work on your project.
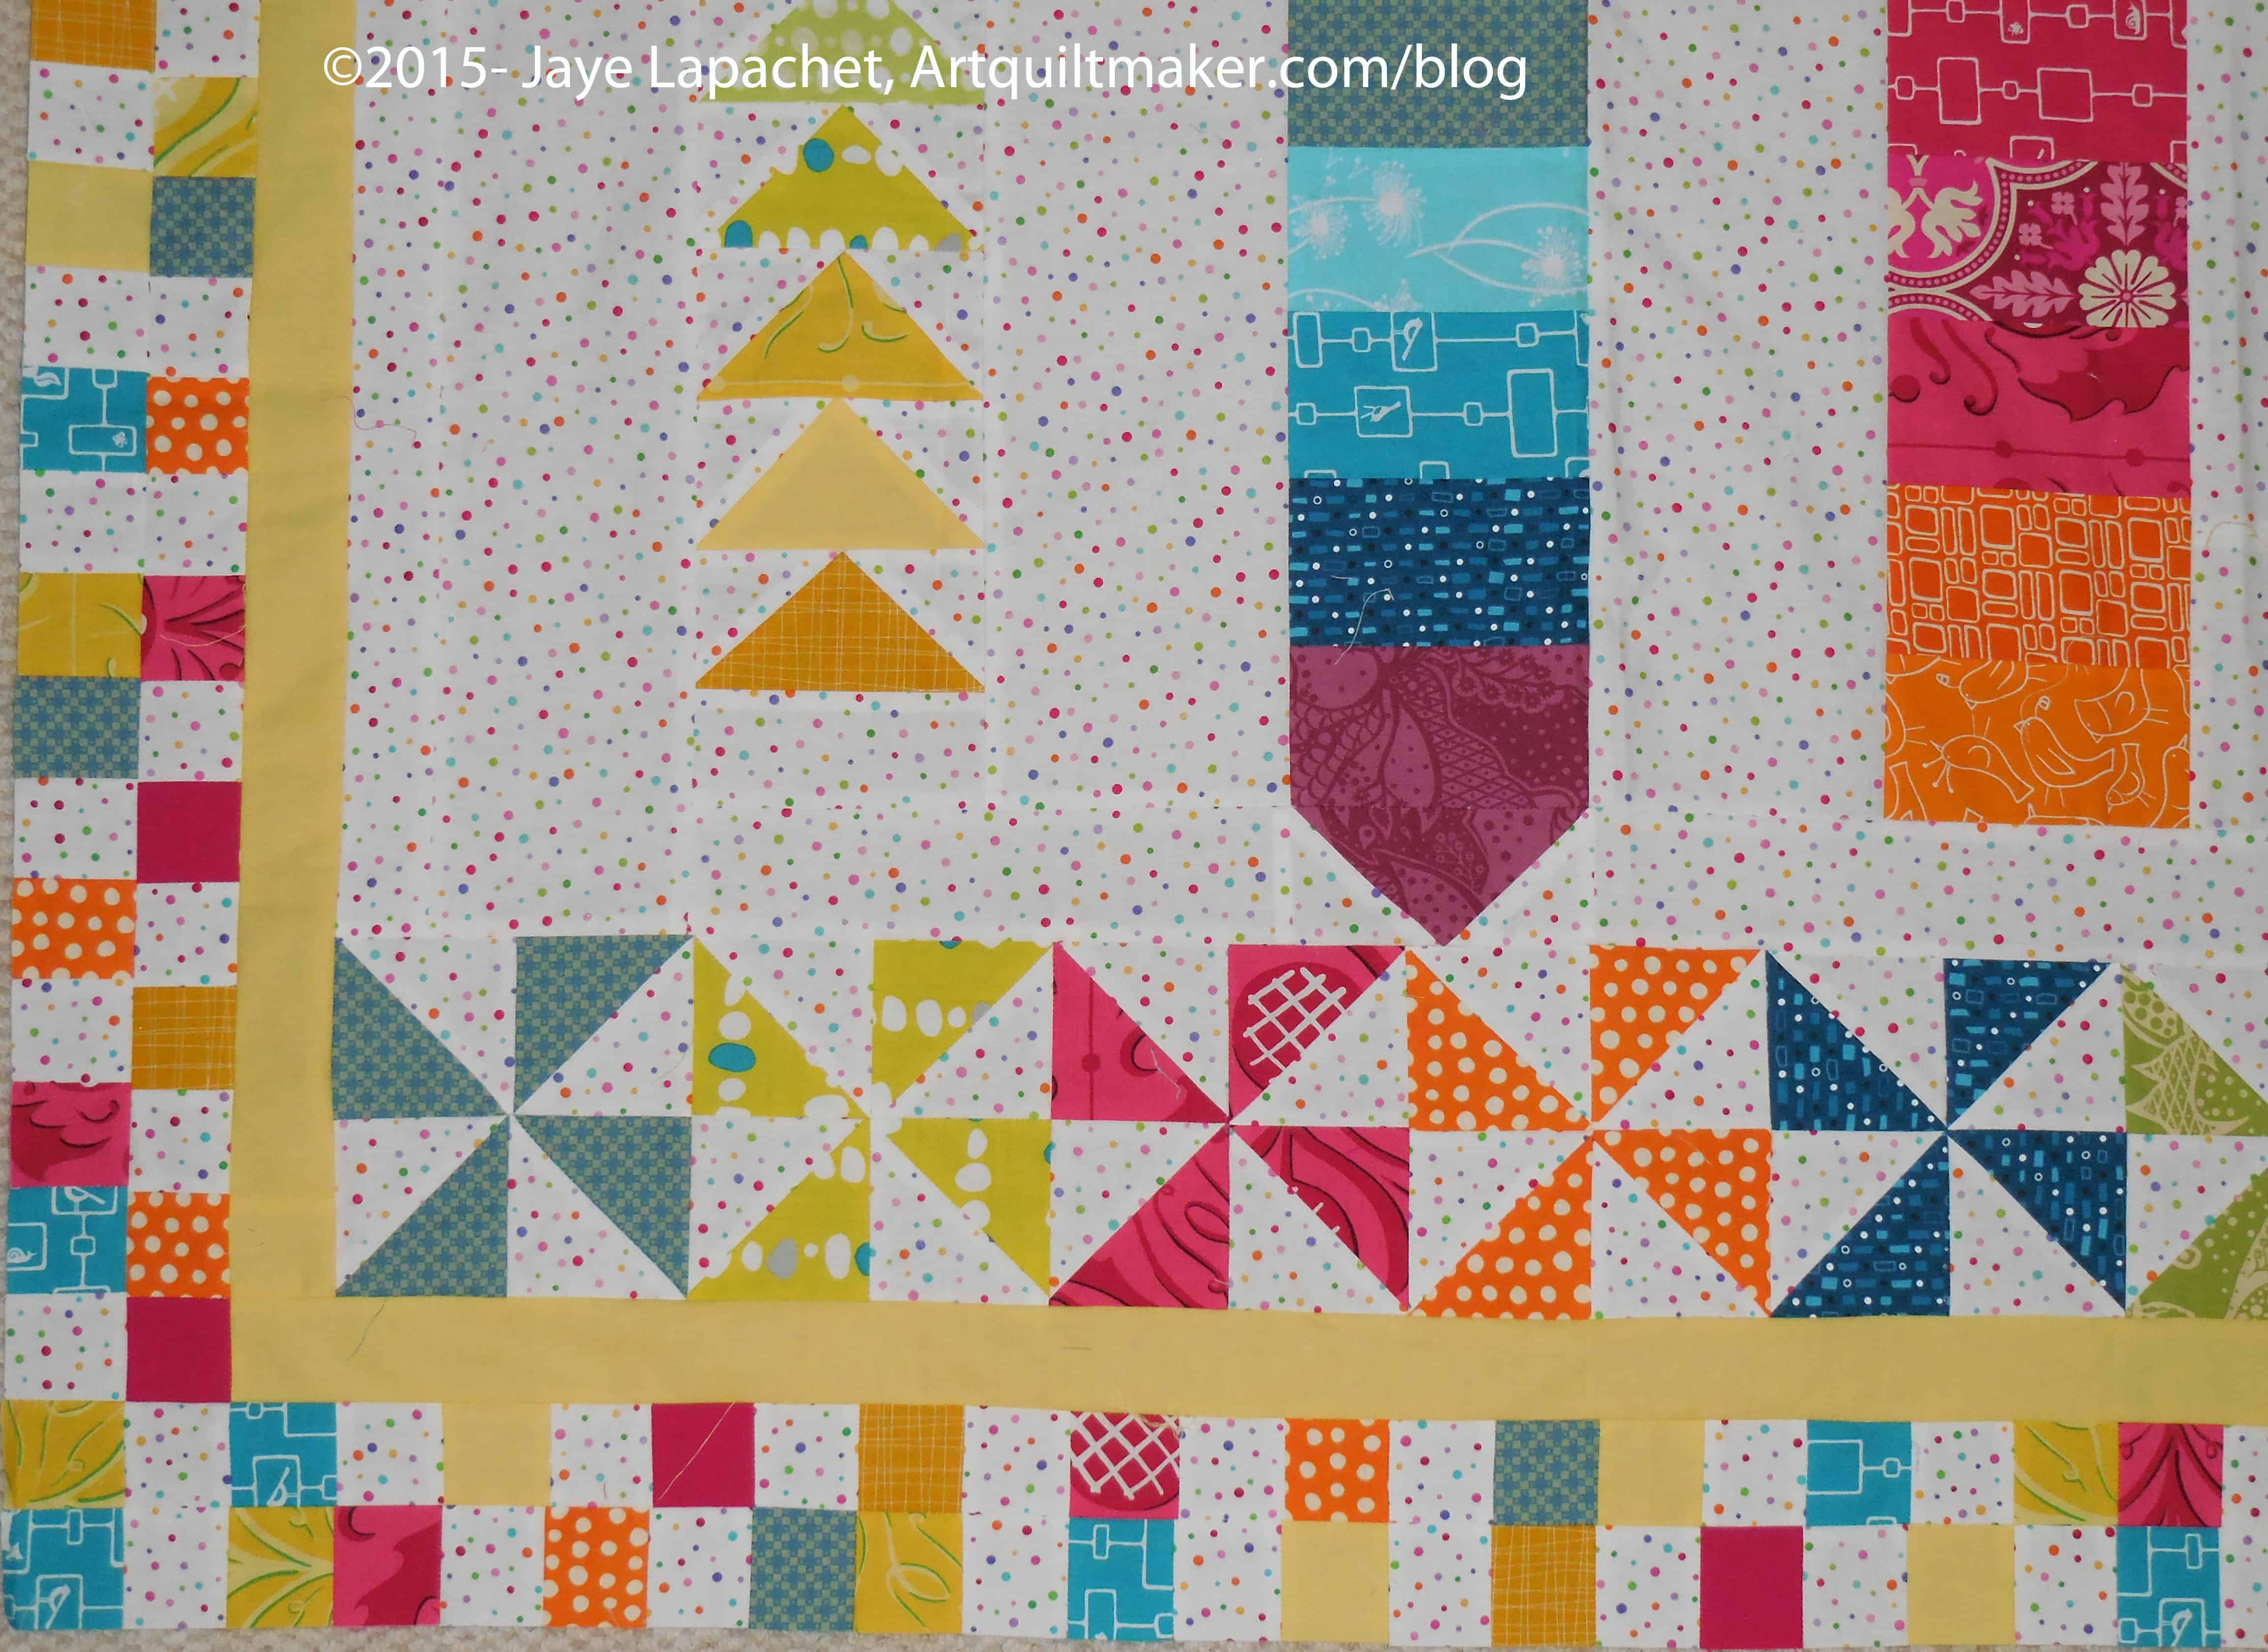
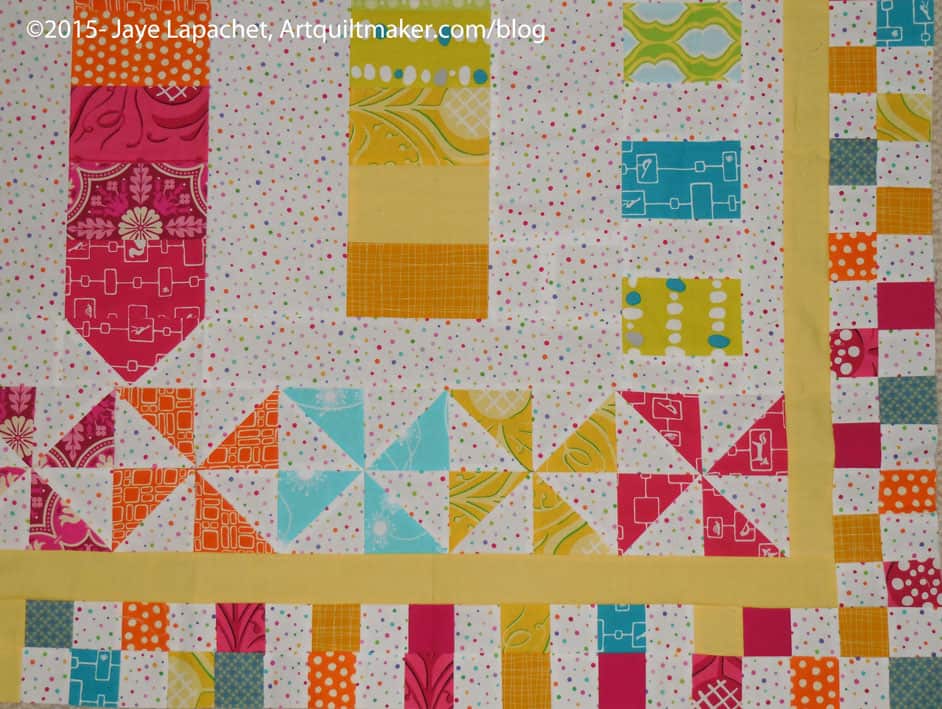
I was expecting the rows I created to be continued out into the border, but instead Kathleen added these very cheerful pinwheels and the checkerboard border.
When I saw the pictures of the piece I thought it was very small, but the piece turns out to be quite large – well on its way to being a twin or larger quilt.
I think it needs more and Kelly has agreed to work on it. I think I have to look at the design thus far some more. I also need to see what else the design needs in case it comes back to me and I want to make it bigger. I think I would like others to work on it, in addition to Kelly, though, if I have the opportunity. We’ll see who I can round up.
BAMQG Round Robin detailBAMQG Round Robin detailBAMQG Round Robin detail
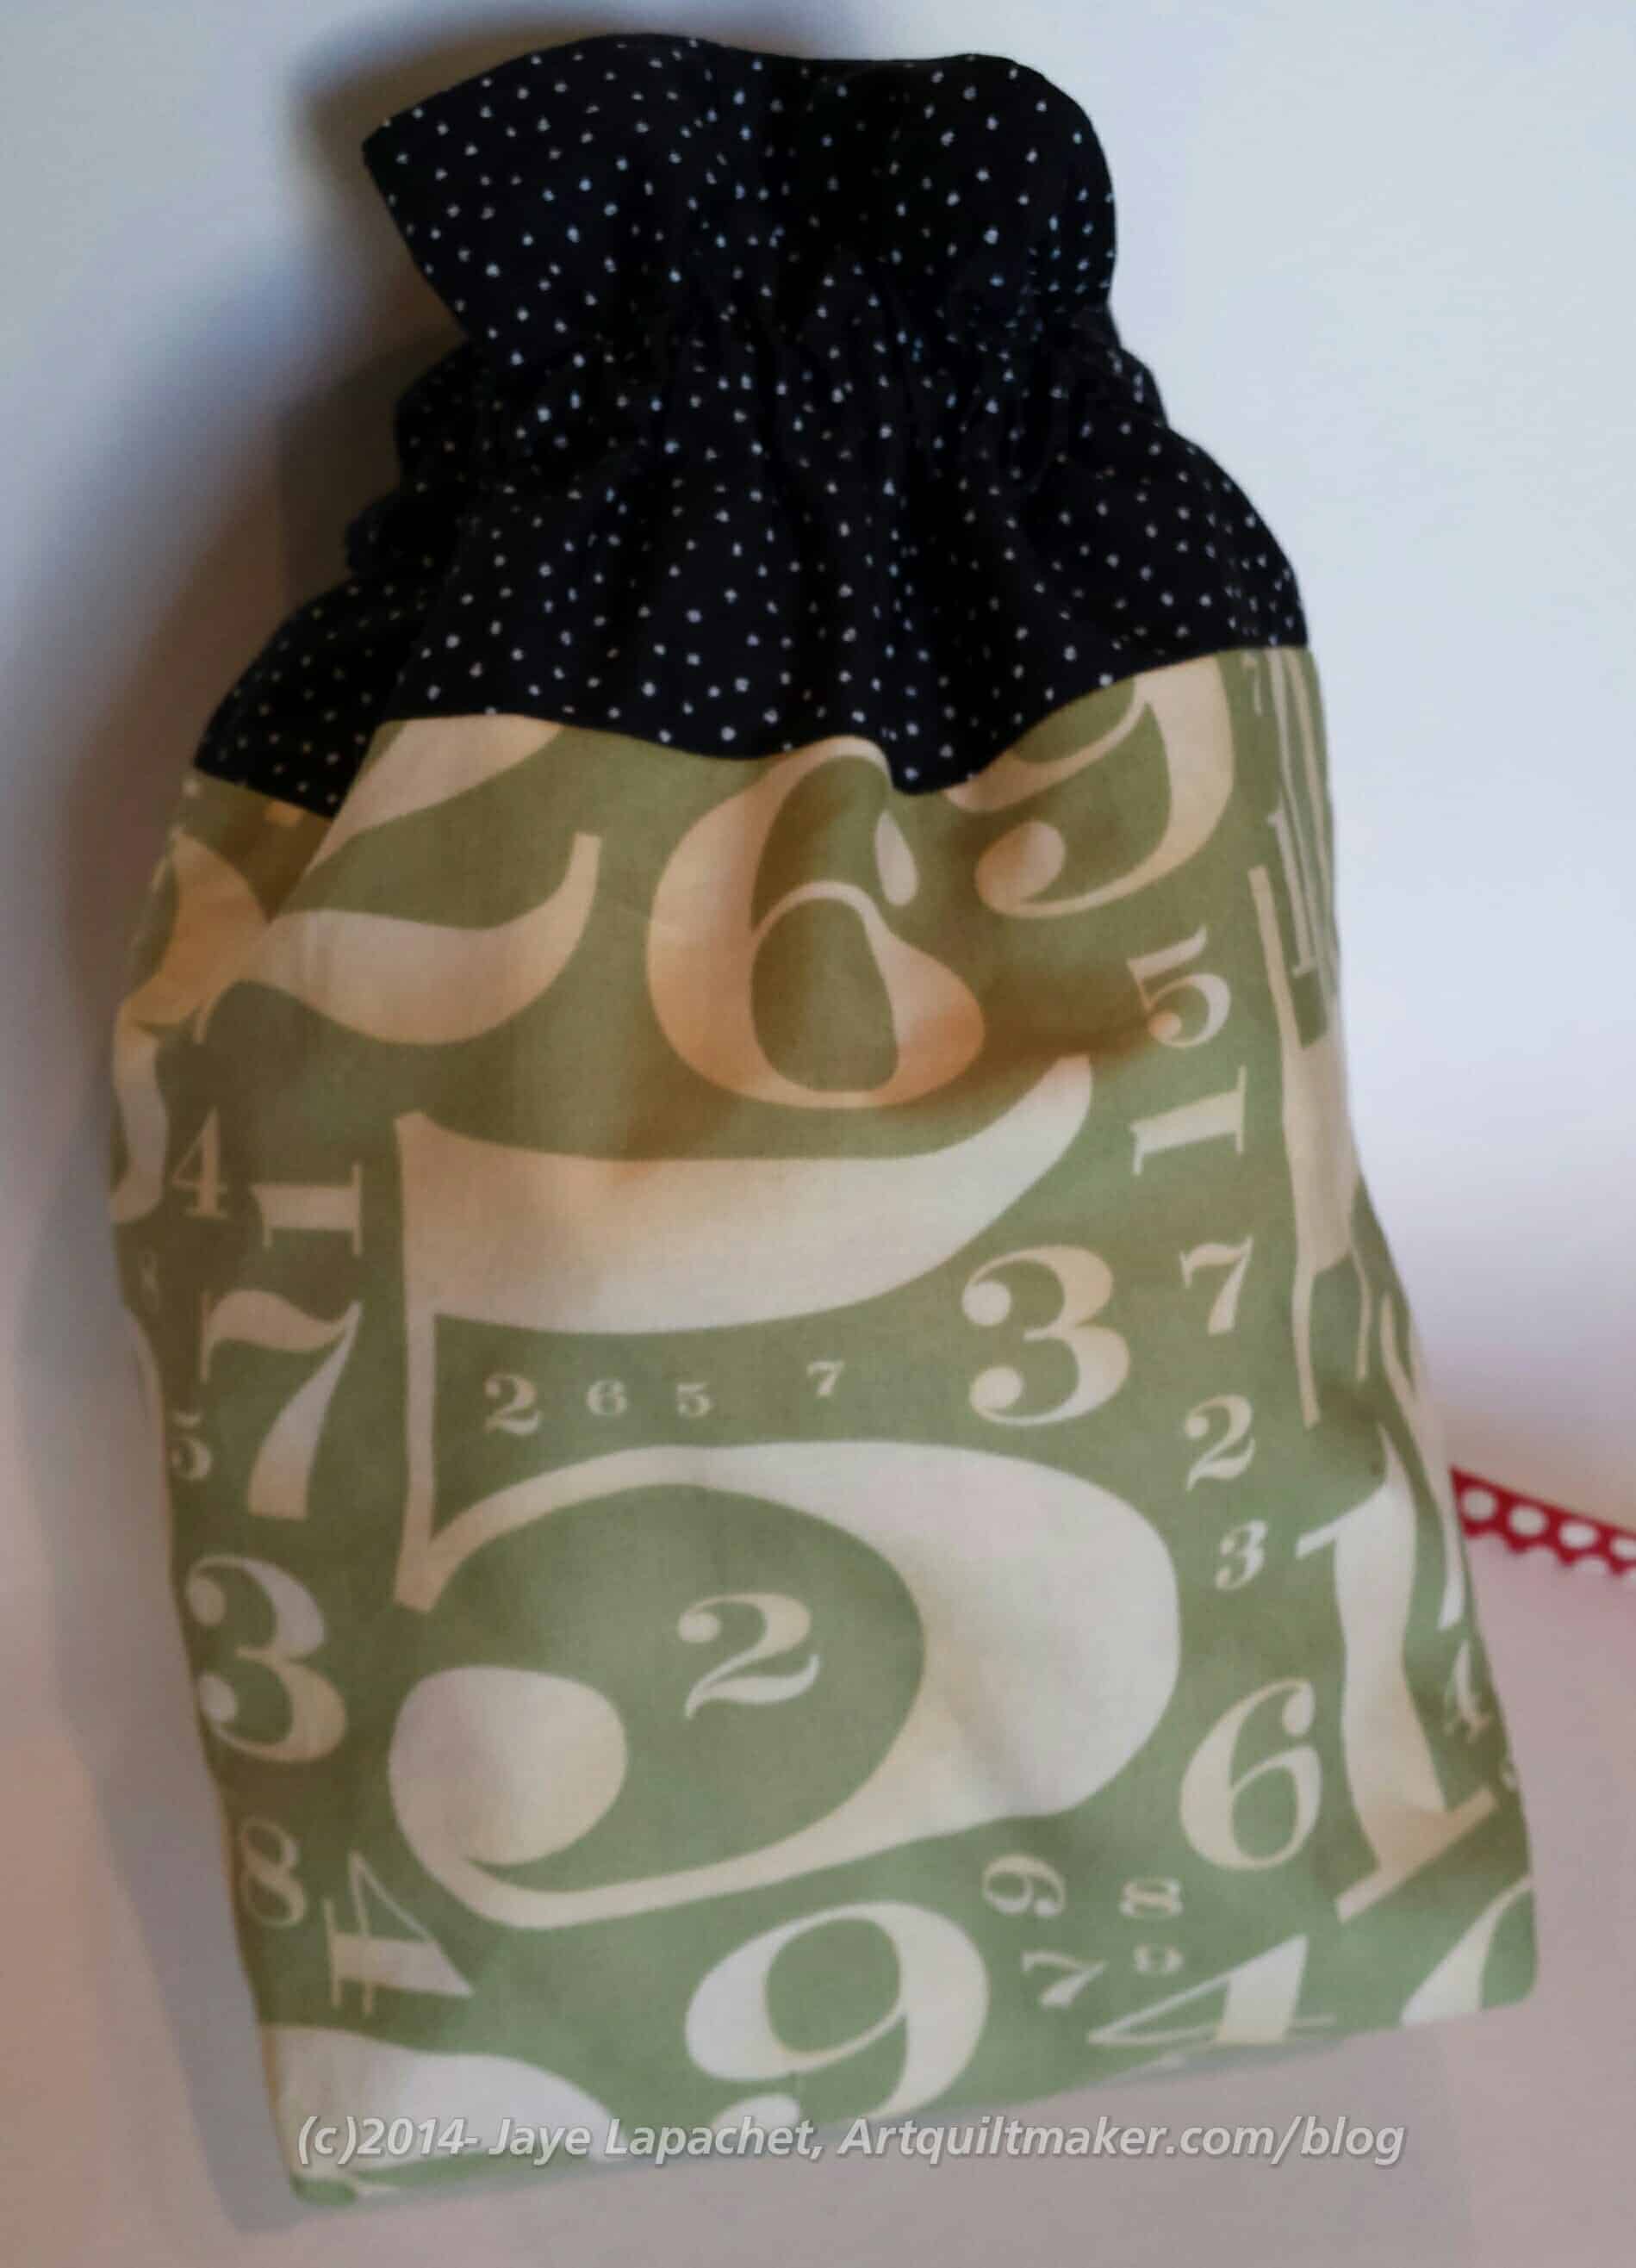
As you may remember, it is the practice of the BAMQG members to make bags for the officers. This year I made two bags for two of the officers and two for the Charity Girls. The Charity Girls are not on the list, but Michelle and Peggy did such a fantastic job this year that I couldn’t resist.
“Fantastic Job” does not even begin to describe how inspired I have been to make donation quilts. I have been contemplating how I felt in 2014 about making donation quilts, which you can read all about if you want to go back through the year, but I can’t really wrap my head around it. Yes, it was an opportunity to sew. Yes, it was an opportunity to work with others either like Gerre and I did or by handing in a quilt top and having someone else quilt it. Those descriptions sound so selfish. Clearly making these quilts was not about me. It was about making something for someone who needed a bit of comfort. Sadly, I think, if I am honest, the why goes back to me. I enjoy making the donation quilts. I enjoy working with others. I enjoy handing off tops for someone else to quilt. I I I.
2015 Bag for Michelle
Regardless of my selfishness in doing good, I thought the Charity Girls did an awesome job and I wanted them to feel the love, thus the bags.
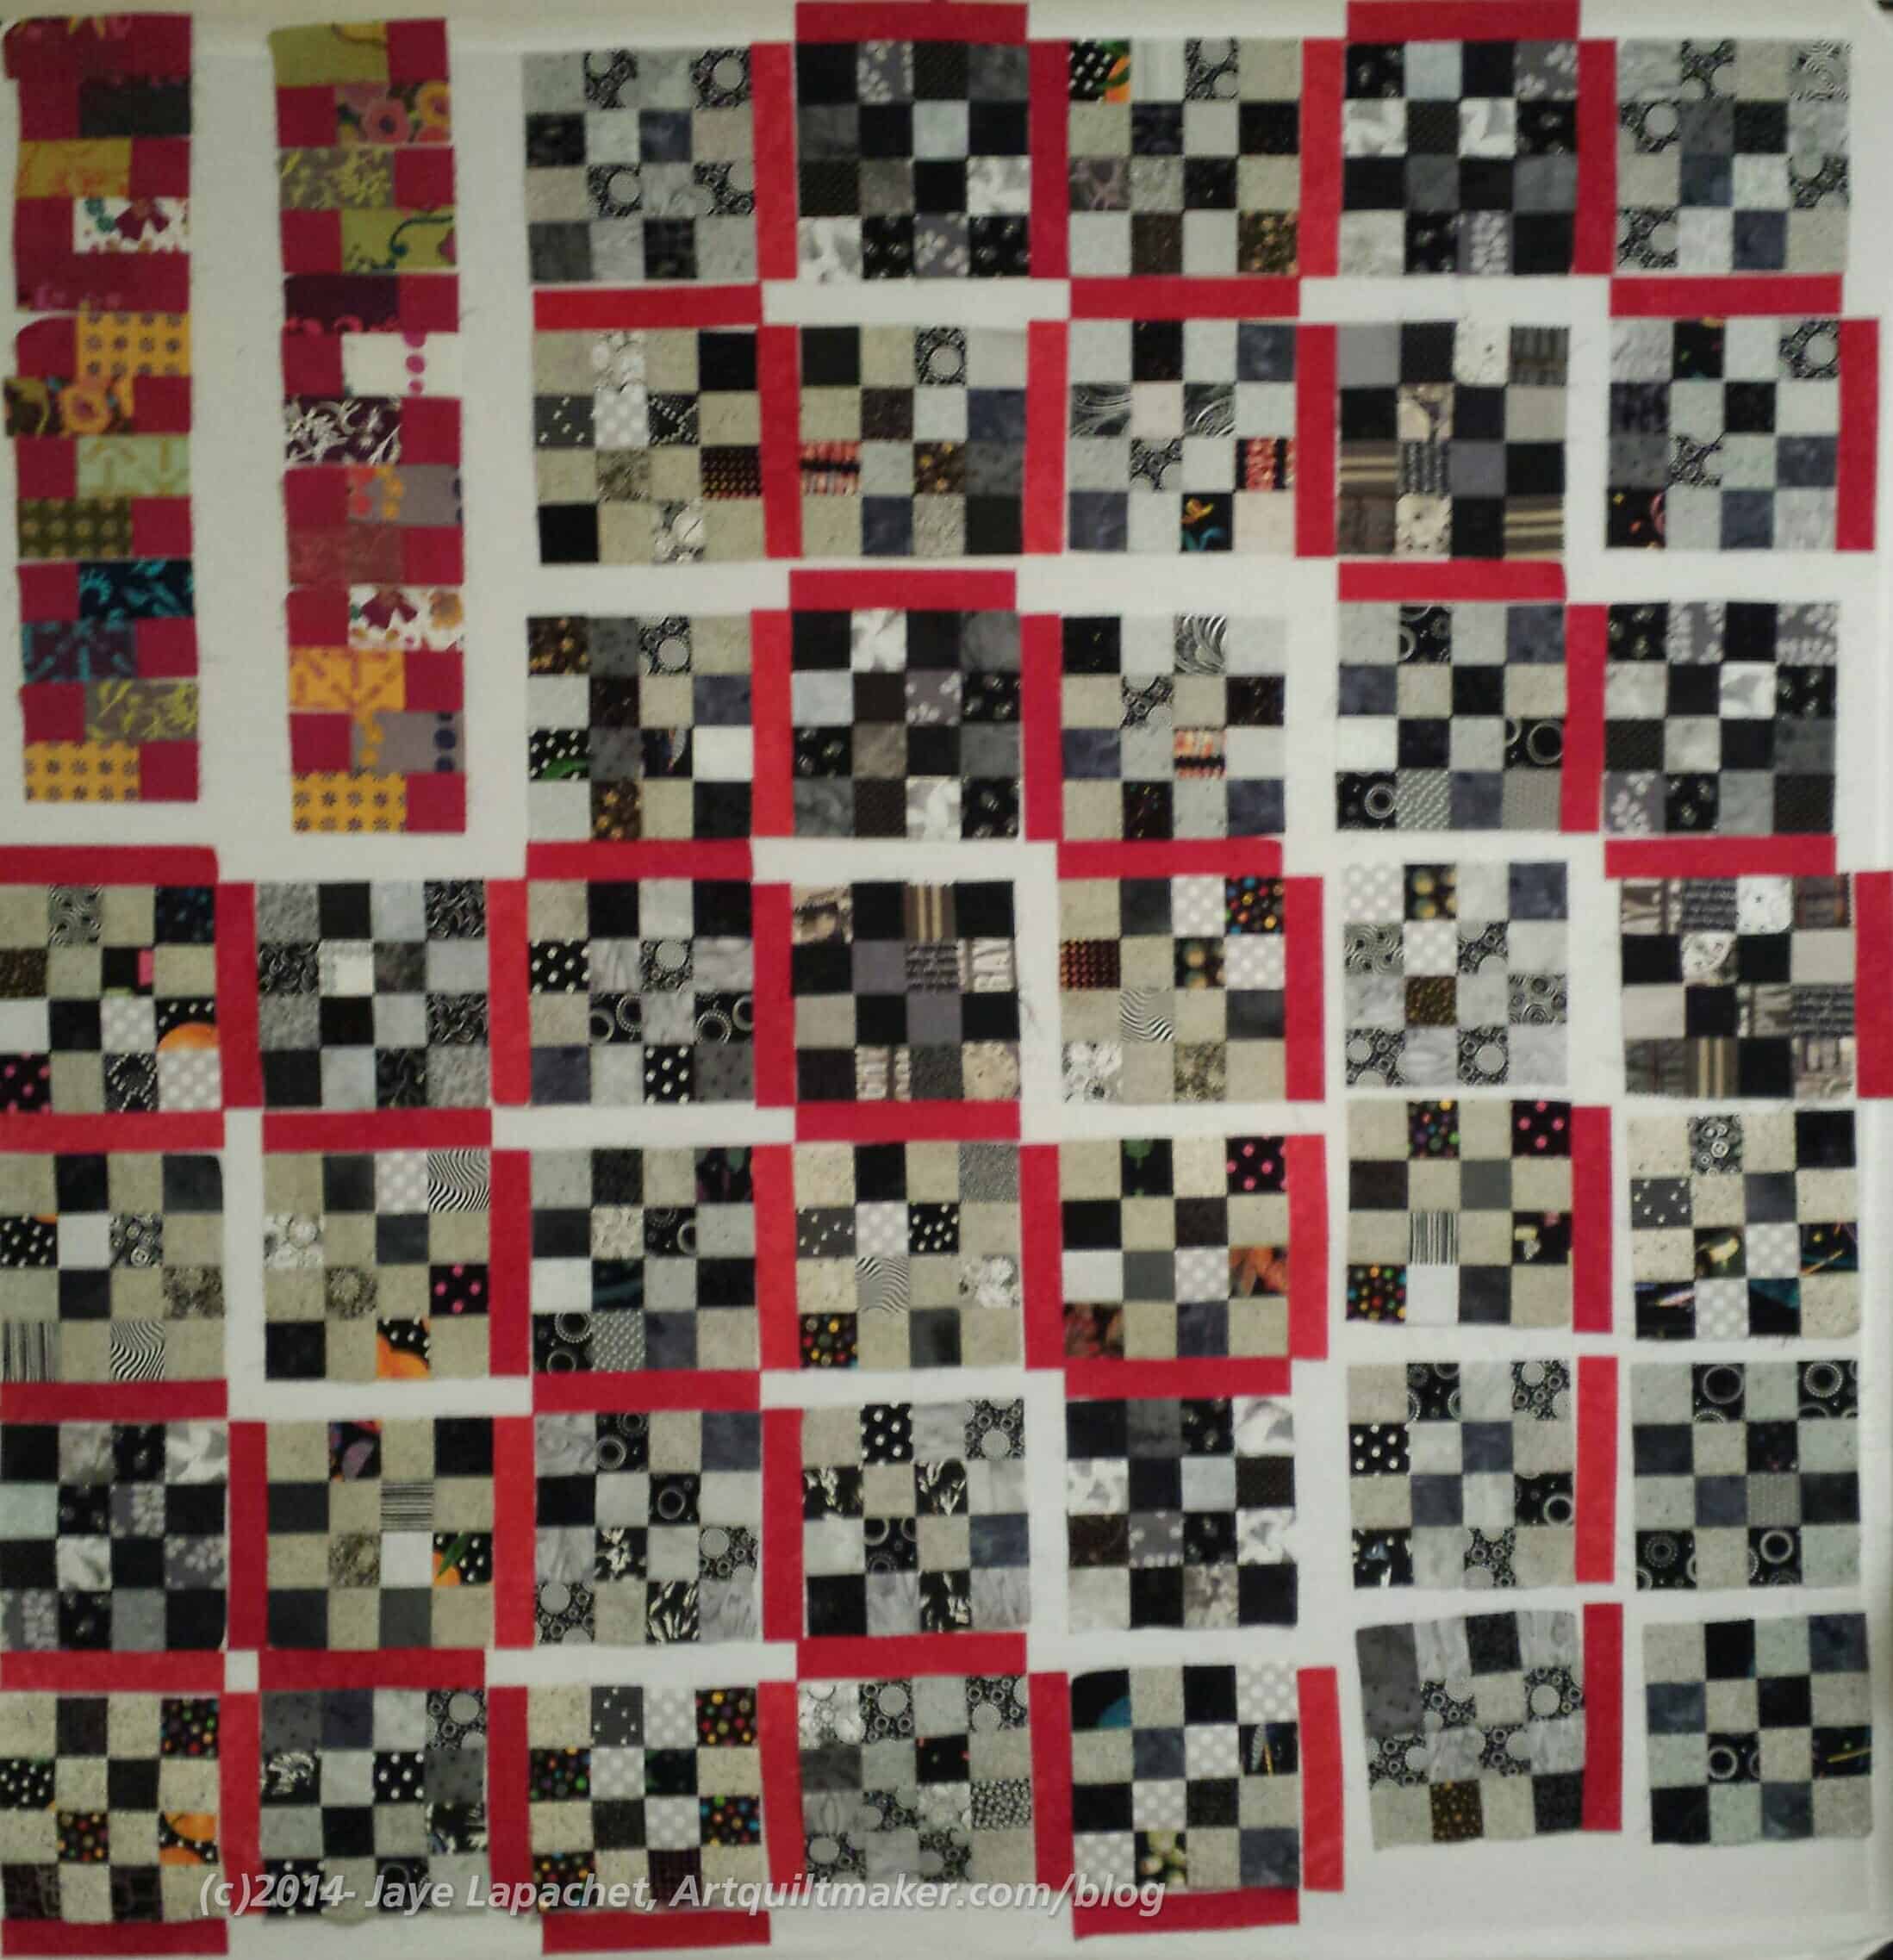
I am slowly working on this piece. I have had a lot of other things to do so, in this case, slow means snail’s pace.
I have been pulling suitable reds out of the fabric closet, cutting and putting them in place. At the moment I have 3 different fabrics, but two of them are batiks and are very similar. I was trying to alternate the first two, but when I added the third (the one that looked similar), it became a little challenging. The next step is to find another red that is the same color,b ut has a slightly different pattern and add that into the mix.
I realized, as I added the third red, is that I was only putting fabrics on the vertical, so I started to move some of the three fabrics around so some of them were in horizontal positions as well. I, of course, will move them around some more when I add in the last (with any luck) fabric, but I’ll have to see.
Yes, the Field Day Zipper piece is still there. I haven’t made any progress on it, nor have I finished with the pieces from this quilt, so the FDZ piece is still in place. I did find a few more pieces, which is why it looks longer.
I don’t really know if I should count this as a finished project as:
It is a ‘doing good’ quilt
I pieced some and bound it. Gerre did the quilting and Peggy did the choosing of fabrics and the cutting
I suppose that #2 is kind of irrelevant since I don’t quilt my own quilts anyway.
I don’t know. Somehow I just don’t feel like I did much on this quilt.
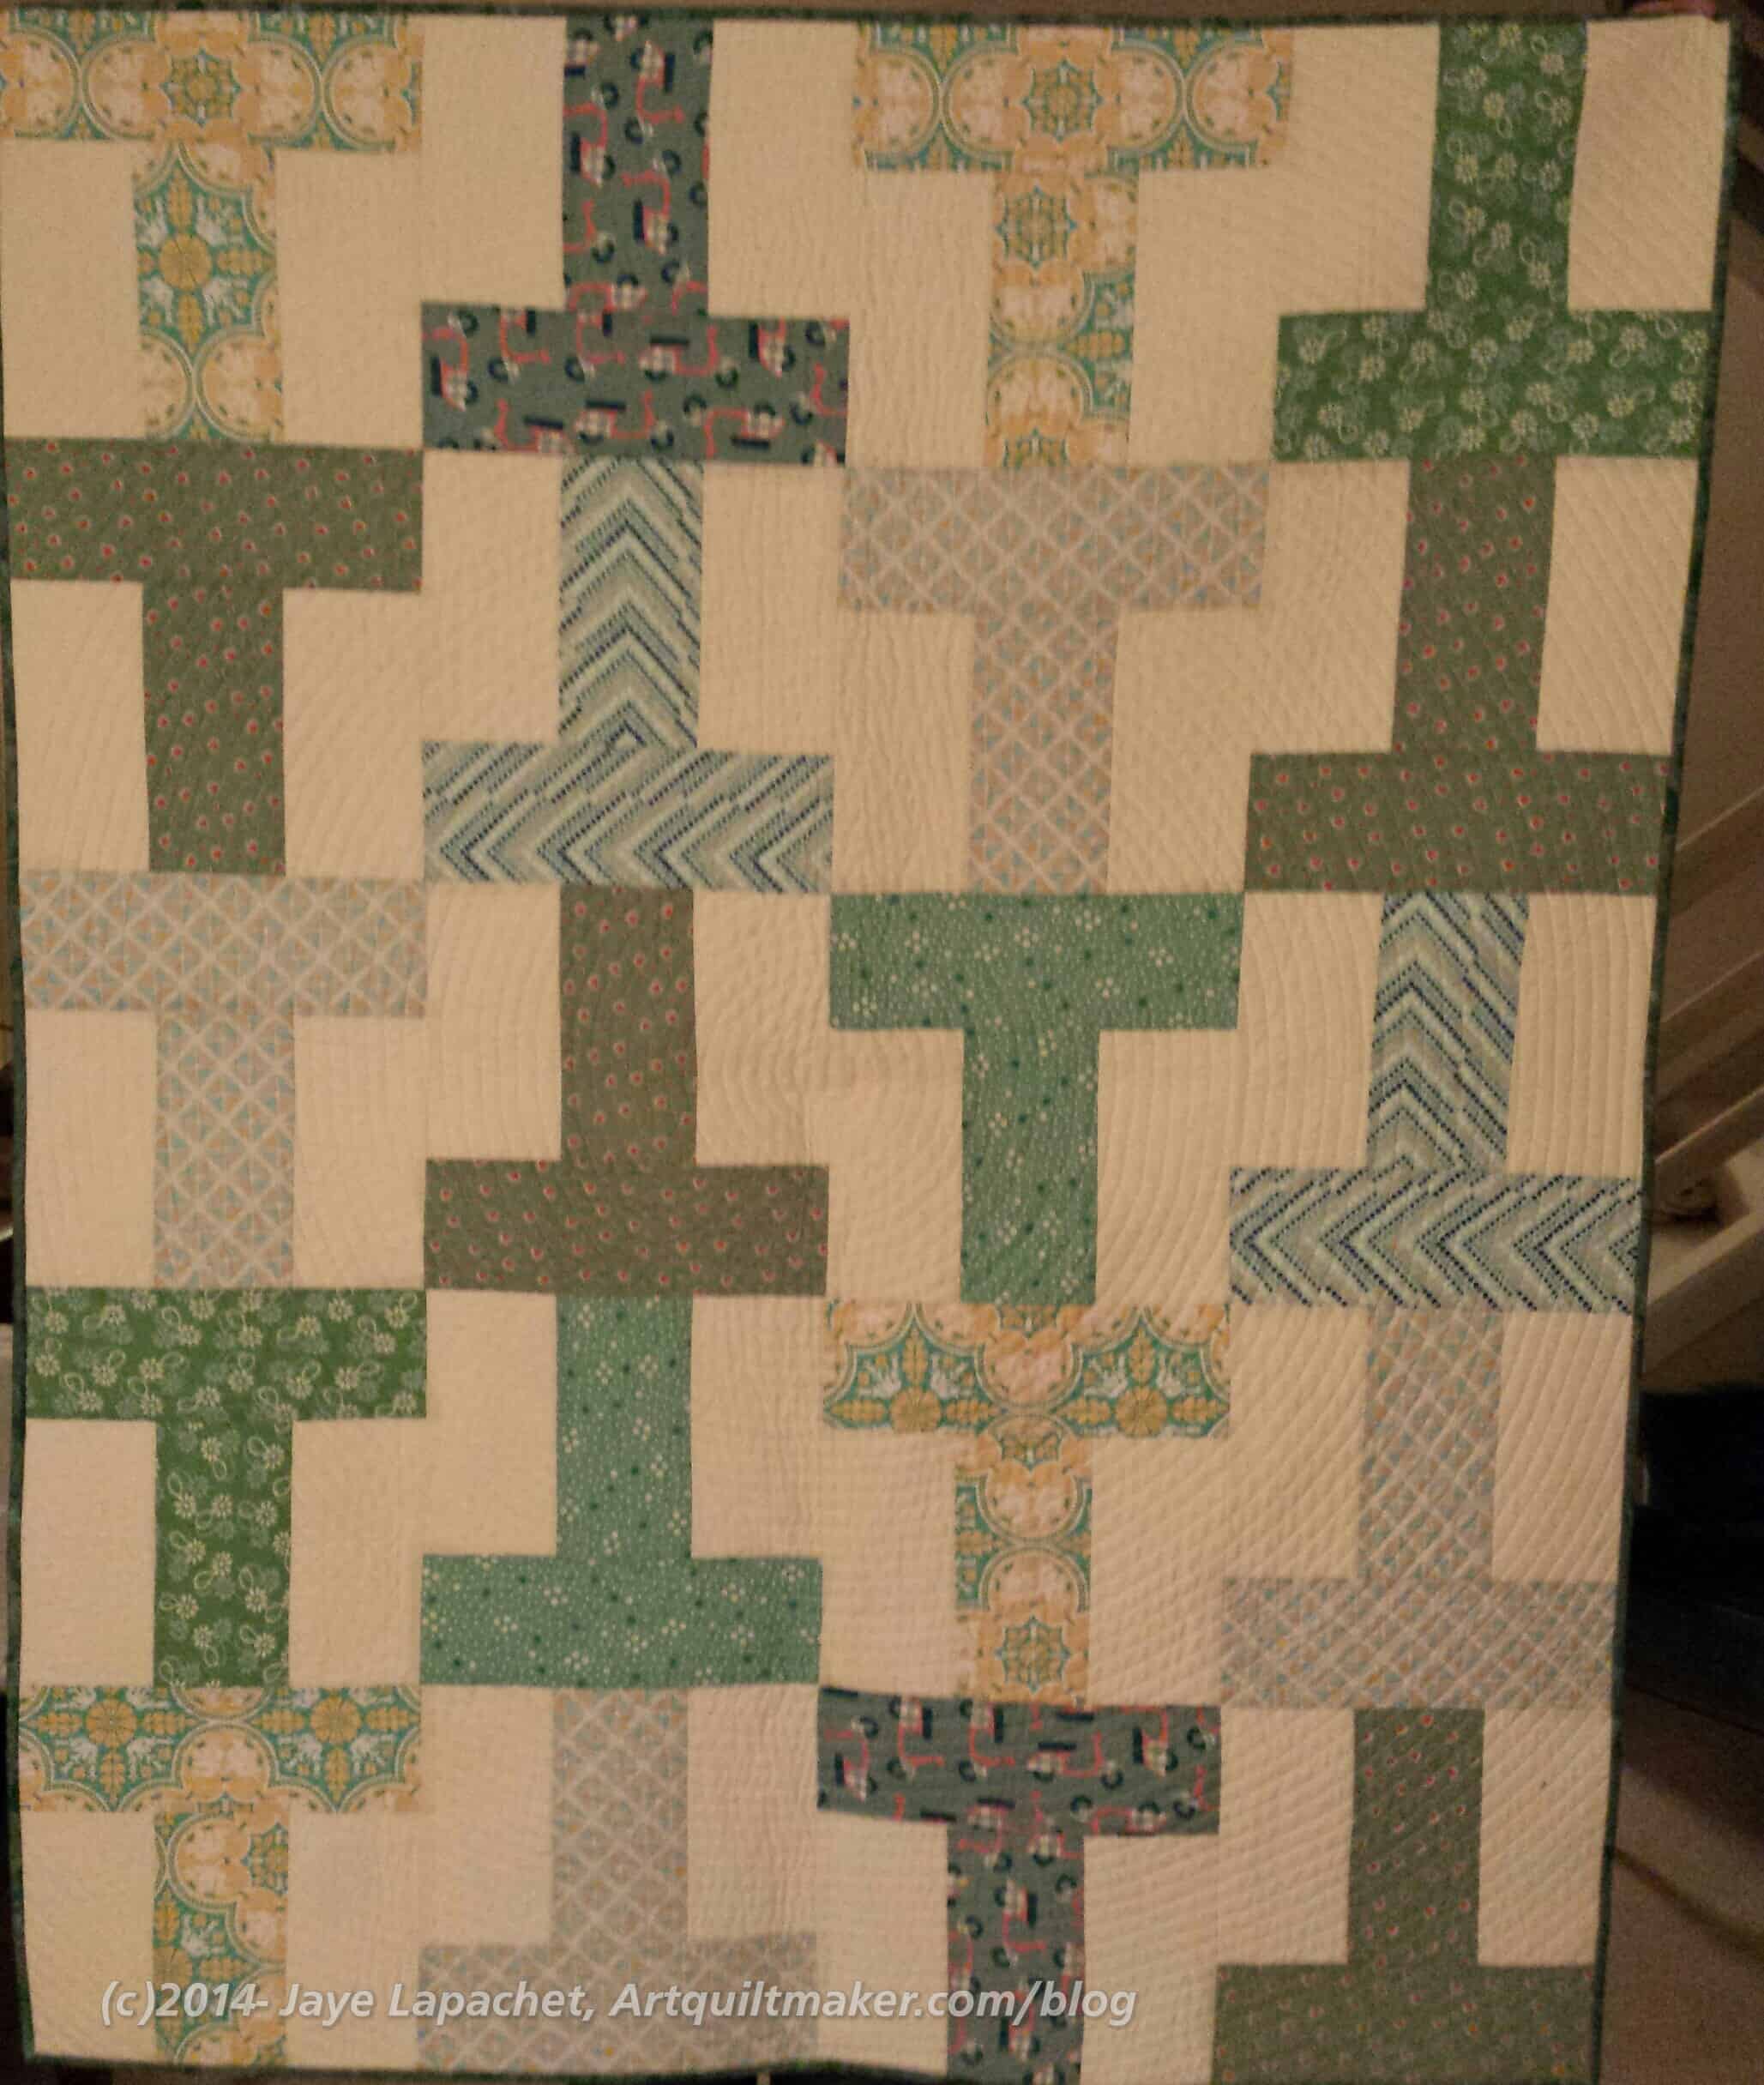
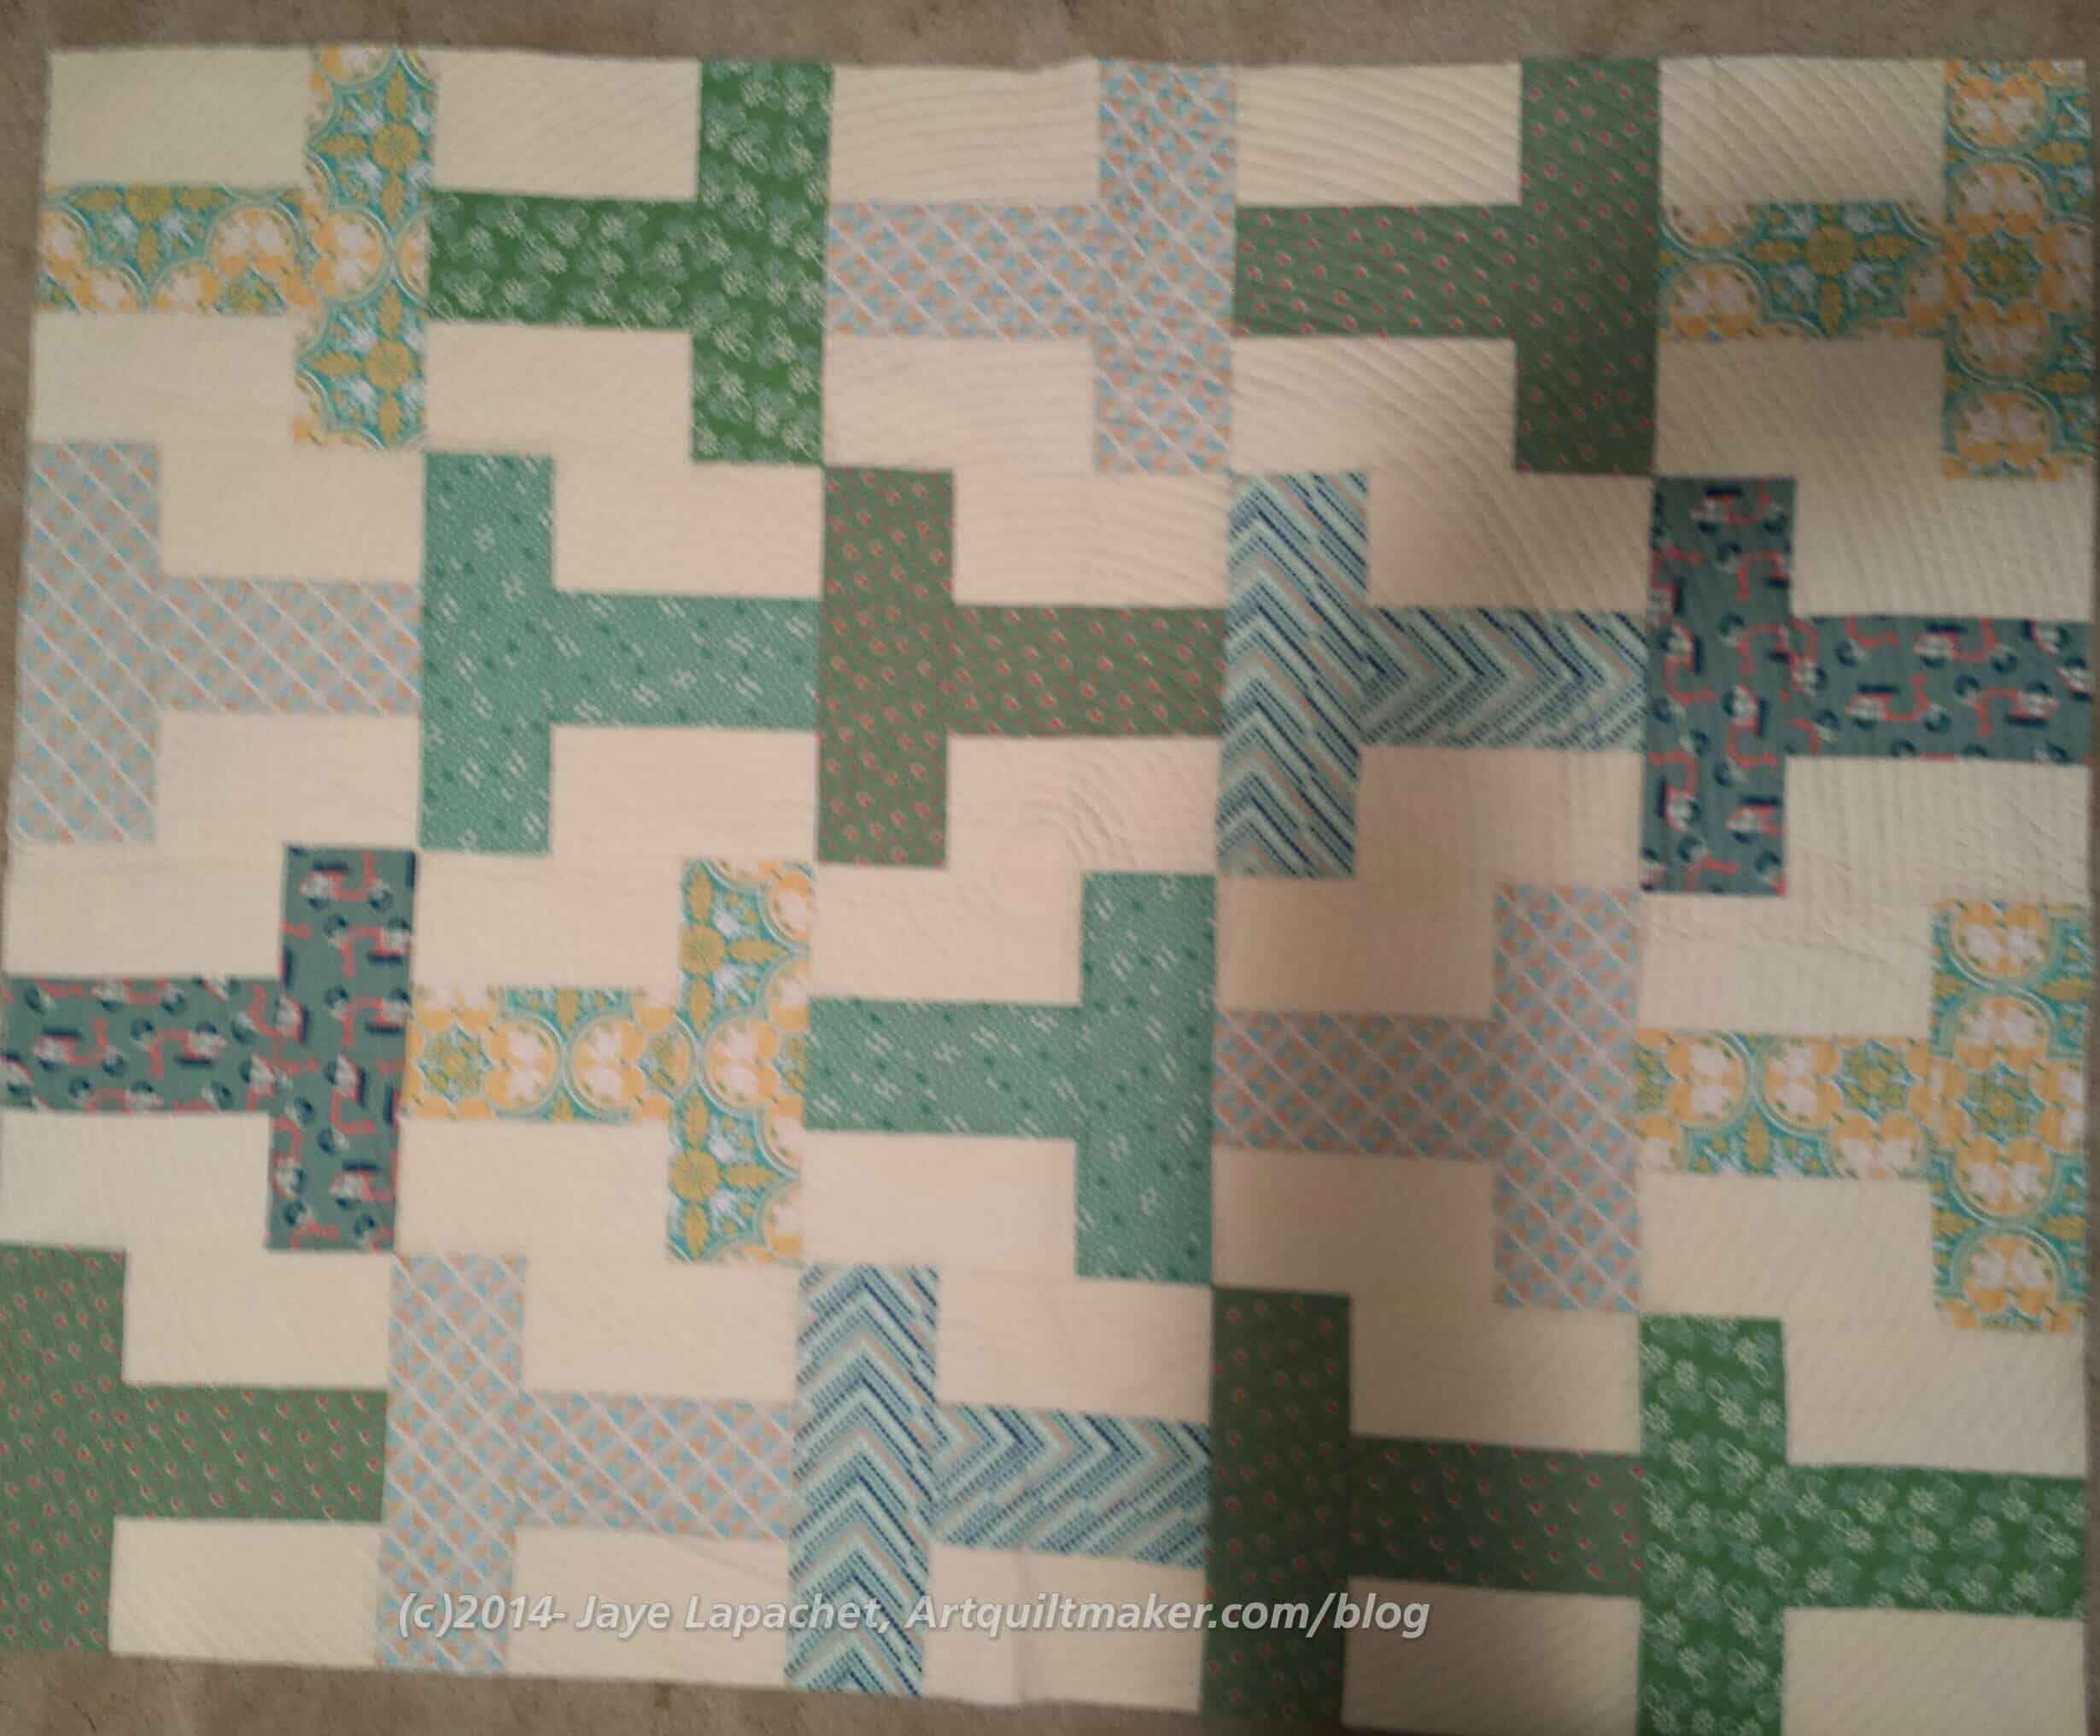
I really want to work with Gerre again. I think we made a good team. I am tempted to cut up some fabrics to make another T quilt, but I need to finish the Teenaged Boy Black & Grey Donation Quilt. I do think I would like this quilt better if the greens weren’t so dull. Still someone will love it.
Still, it is done and someone will enjoy it. I hope.
Pam, over at Hip to be a Square, was saying on a recent podcast, that we aren’t supposed to call donation quilts or charity programs ‘charity’ anymore. It is too offensive to those who are financially challenged. I suppose I can understand that, but I hope the quilts the guild makes are still appreciated.
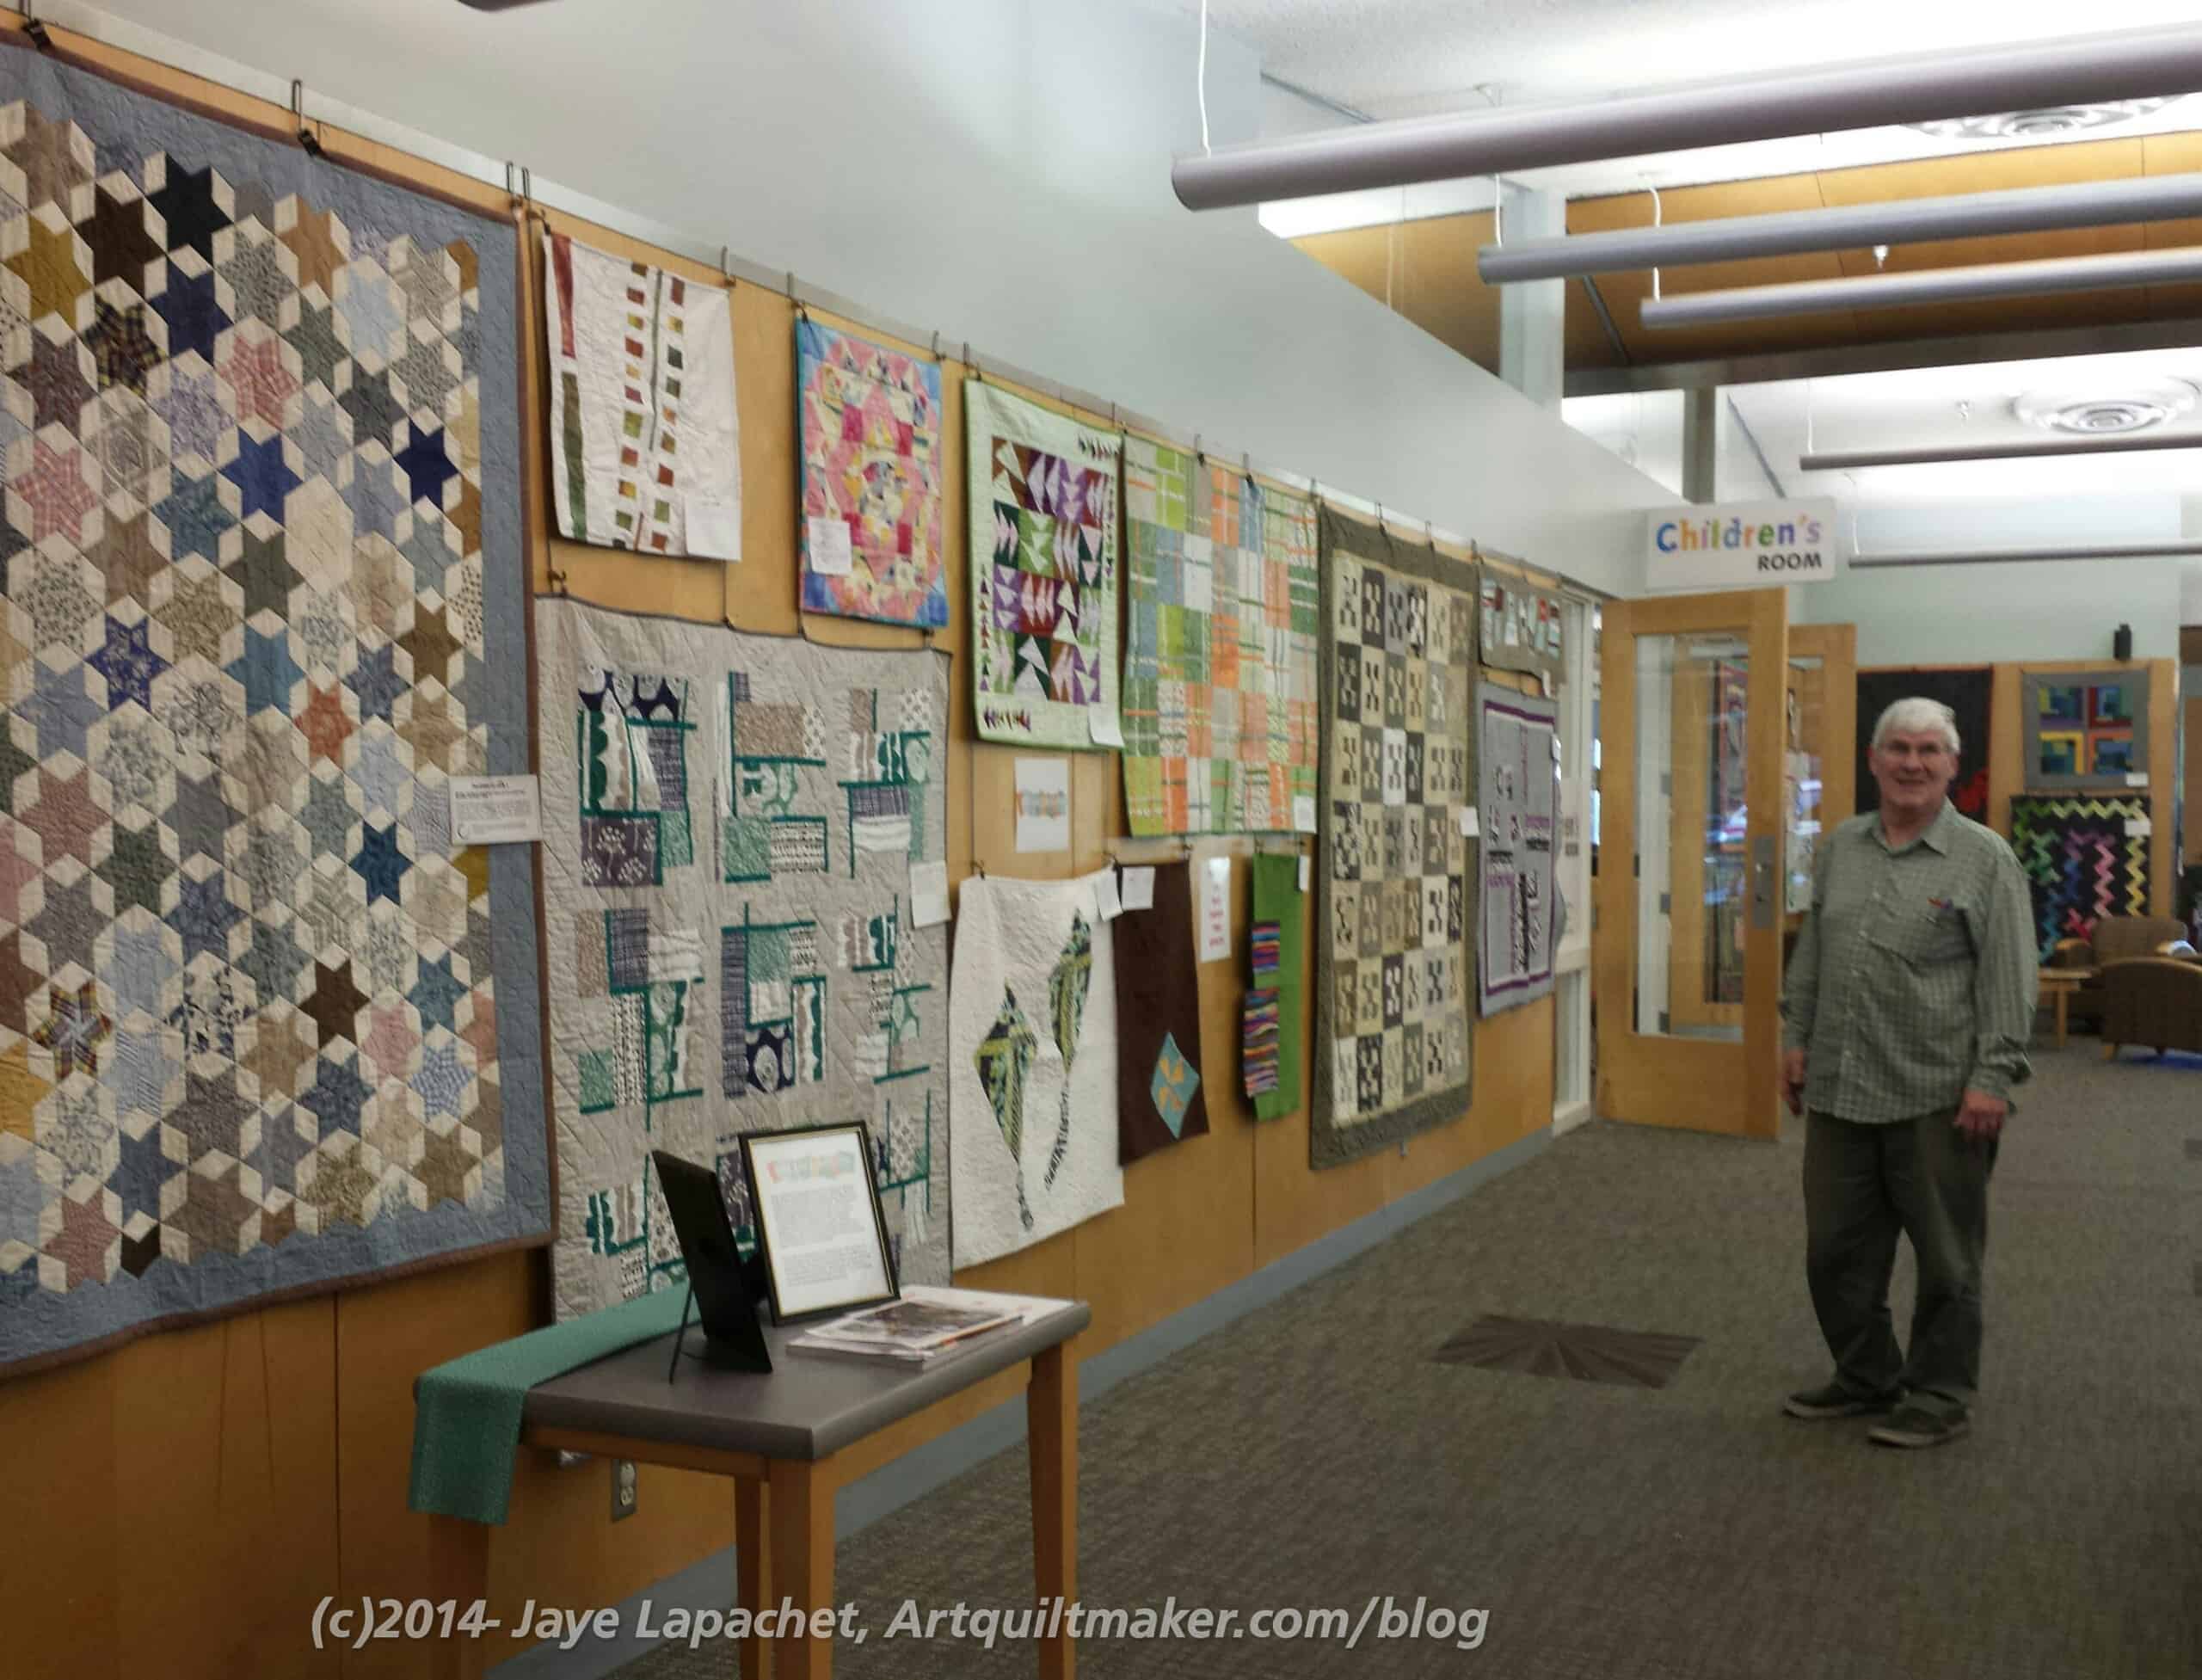
Peggy the Fantastic Energizer (TM) Bunny and pals hung the BAMQG quilt show on Monday and we were all able to view it at the meeting/Holiday Extravaganza on Saturday. Jim, one of our members, was kind enough to stand in as an interested viewer for me. 😉
BAMQG Library Quilt Show 2014
The show is not your regular quilt show, which was nice as it really gets quilts out to the public.
No, I did not enter one. I think the patrons seem good about touching, but I wasn’t sure at the time and didn’t make the time. Maybe next year.
I thought it was a little strange that some of the quilts were hung so low, but then I realized what a great view I would get of them if I sat in the chairs. And I would get a sore neck. Win-win!
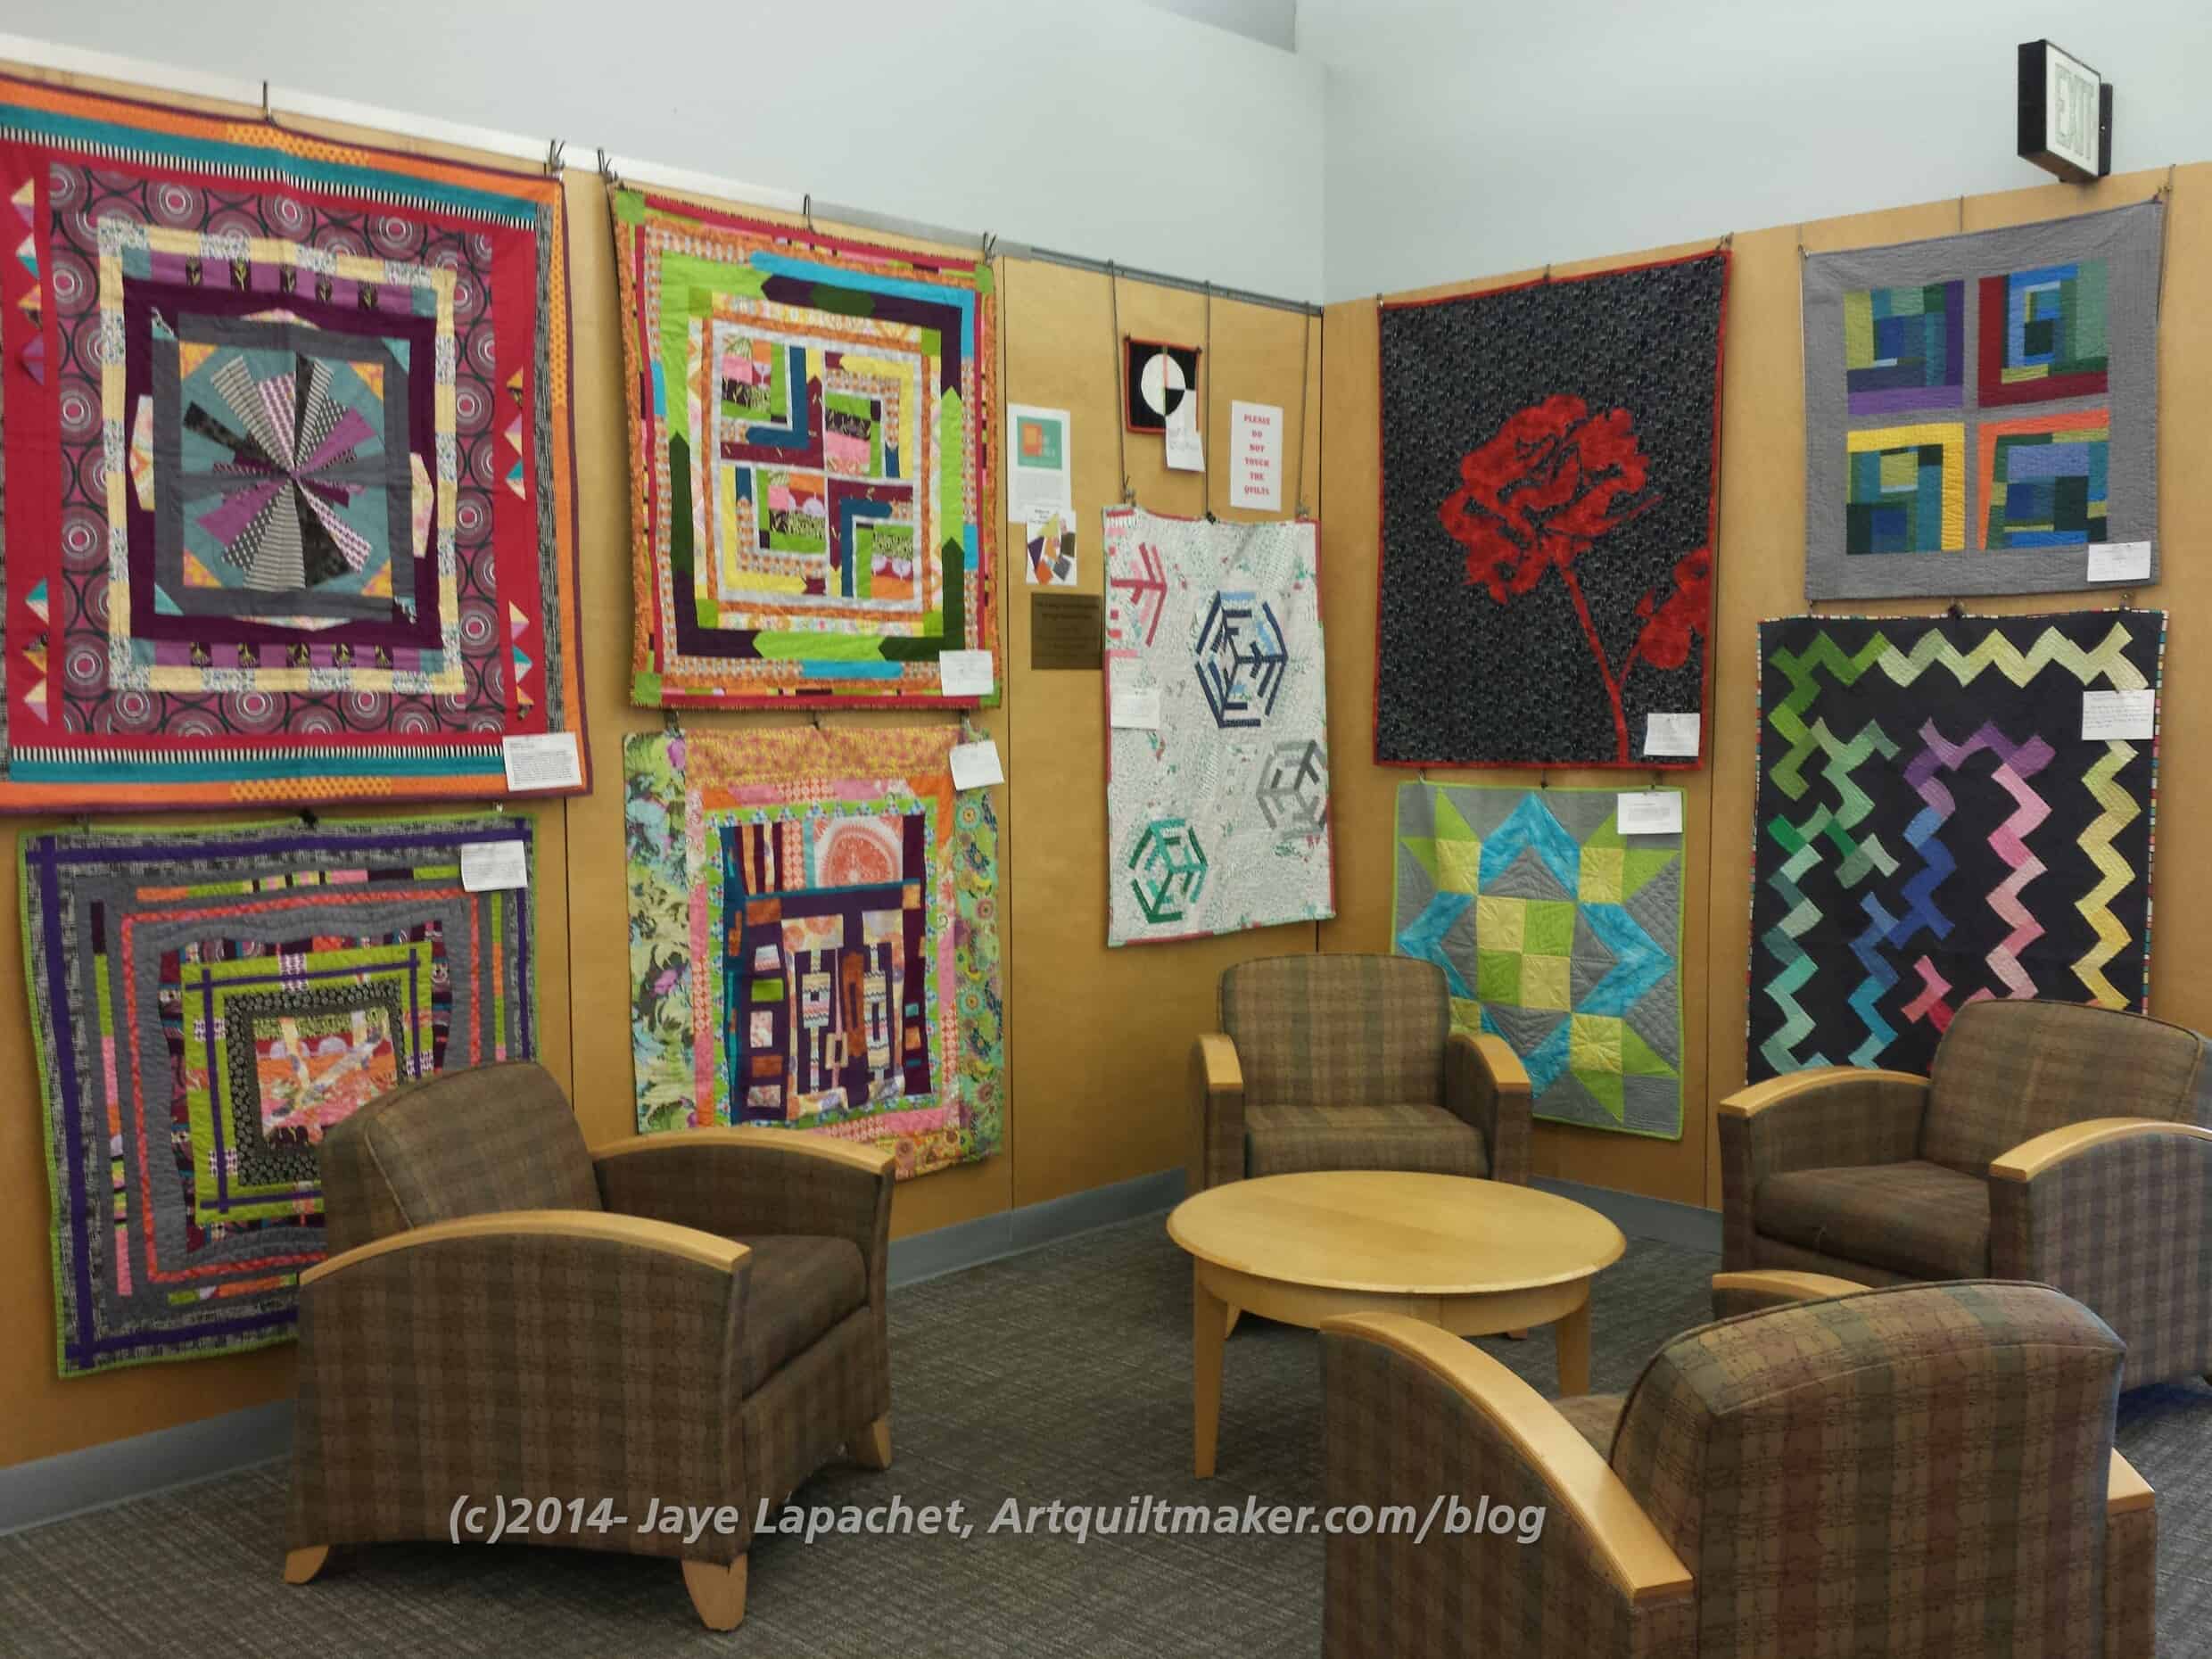
BAMQG Library Quilt Show 2014
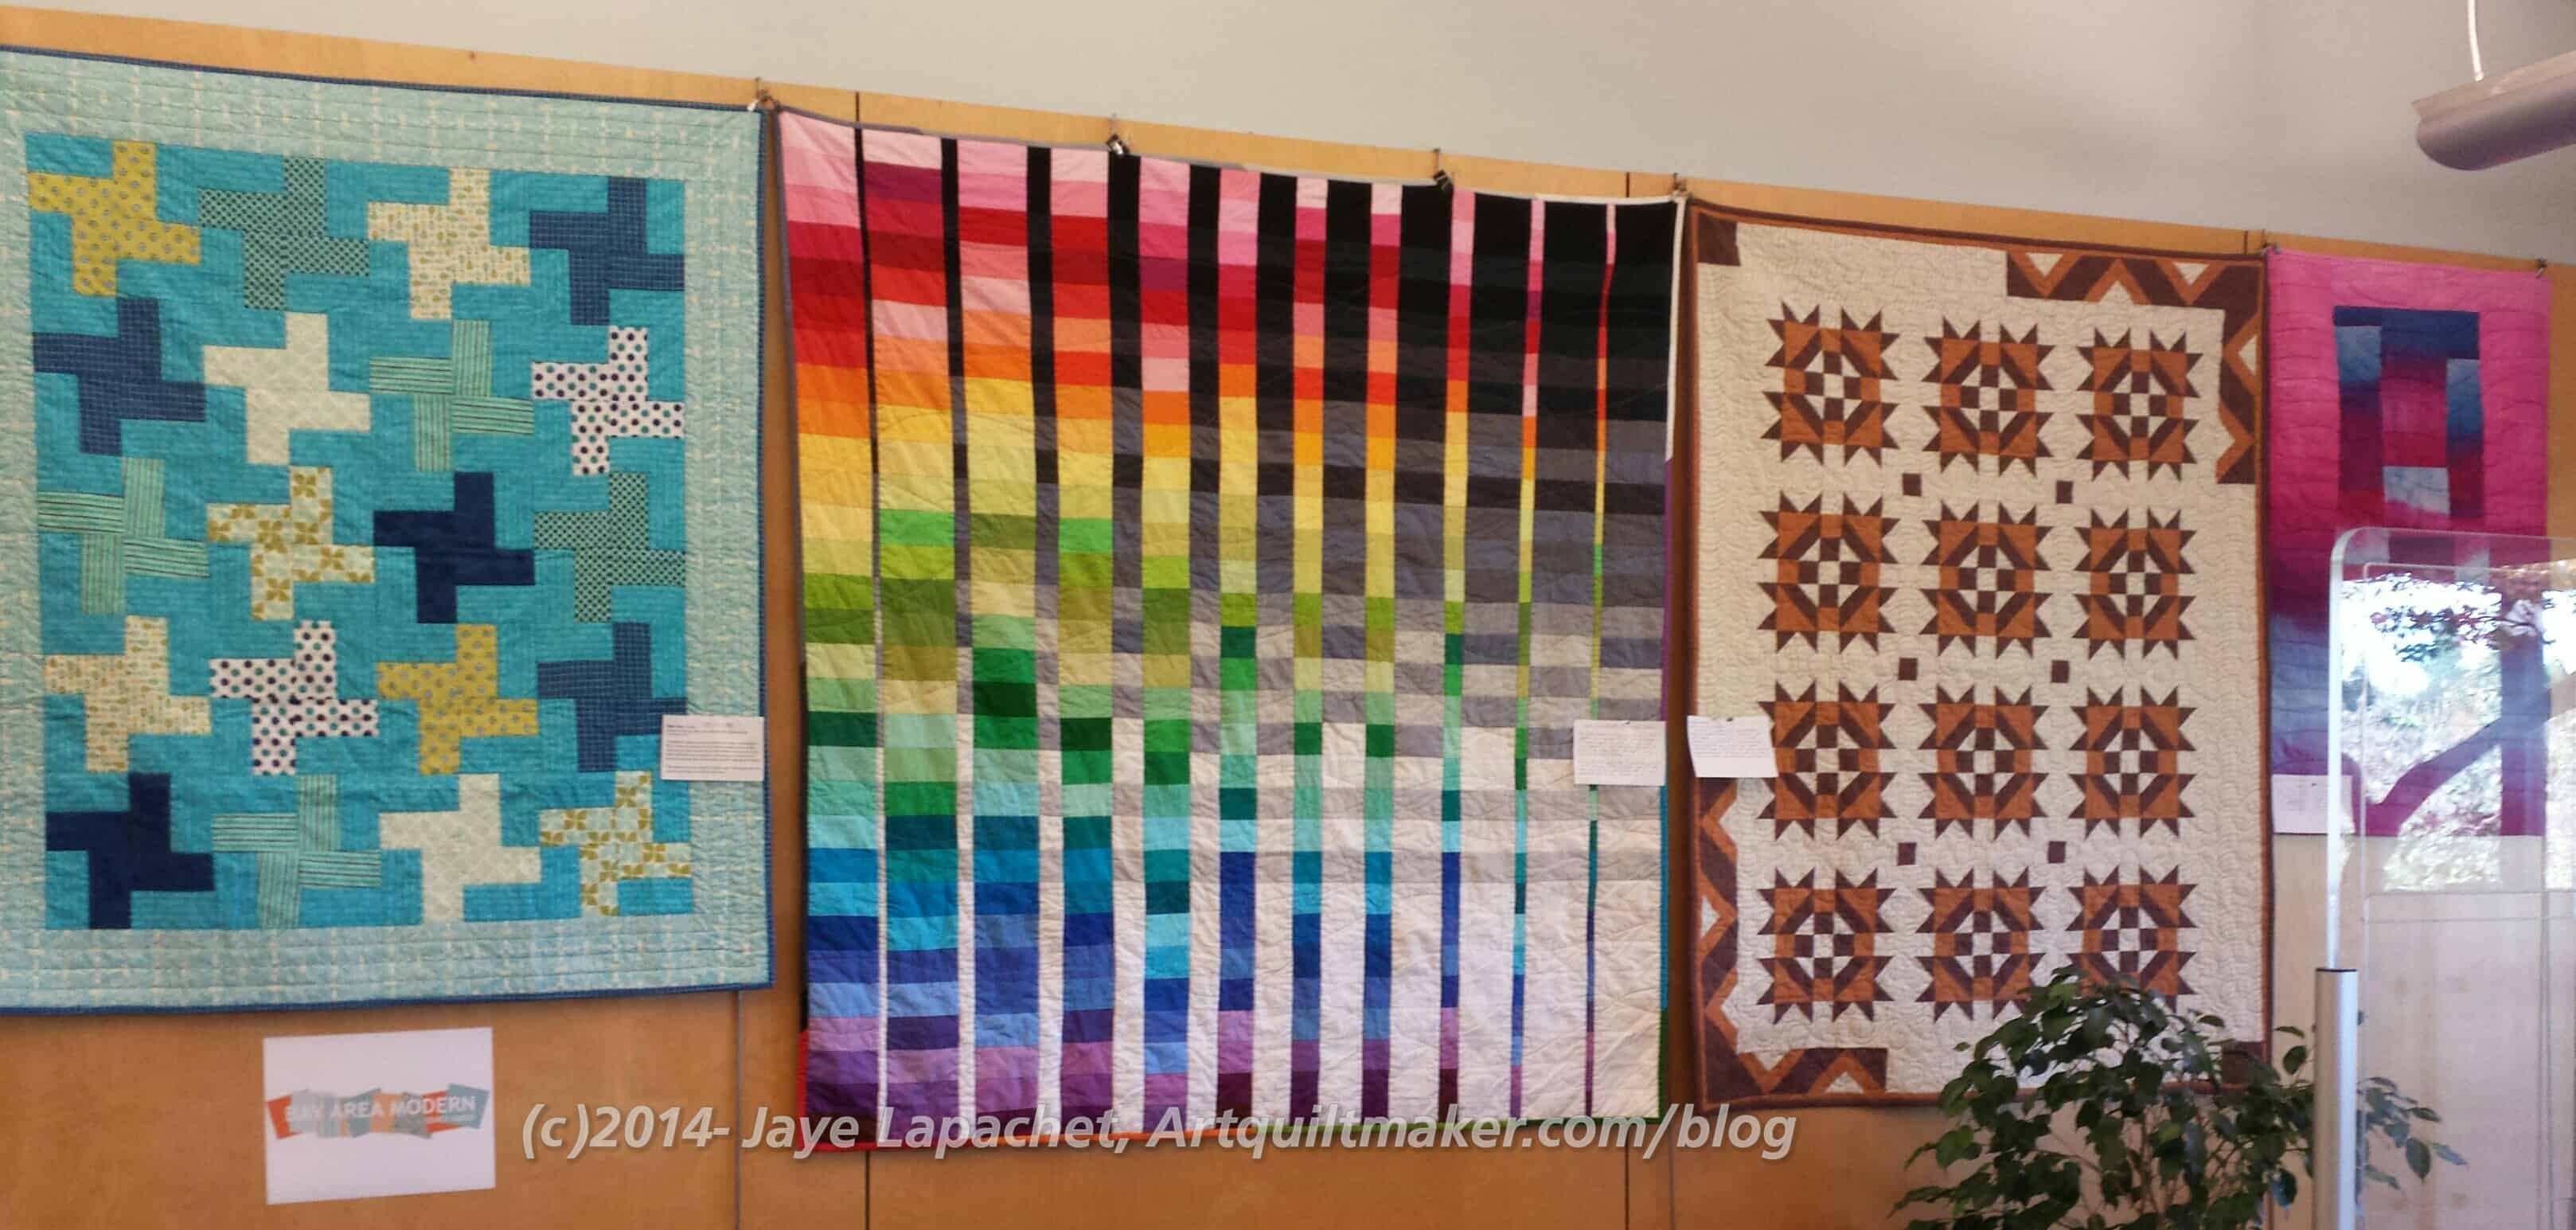
There certainly is a wide variety of quilts. I don’t know if they are all modern, but I guess they are now!
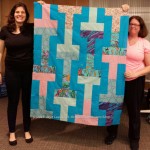
I really like Nicki’s quilt, which is the turquoise quilt on the left. Are you surprised? 😉
I am really scraping the bottom of the barrel for posts and I don’t know why. Too many demands on my time, perhaps? I suspect not enough sewing, but this means you get the BAMQG report ASAP! Aren’t you excited?
Claire told us that the 501(c)(3) paperwork has been put in. That is a ton of work and GREAT news.
Quilty Happenings
Amish Exhibit at San Jose Museum Quilts & Textiles. Reception is on 12/7/2014 from 2-4, though SJMQT members and the artists are welcome to a walk through starting at 1pm.
BAMQG members have a show up at the Los Altos Public Library through December 31, 2014. It is open during library hours
CQFA Members have a show at the Main Branch of the San Francisco Public Library in the Wallace Stegner Environmental Center. I have 3 quilts there! Through April.
Santa Clara Valley Quilt Association show will be in March or April and the BAMQG will have a big presence, both in quilts and helping out.
Meetings
The meetings in 2015 are all scheduled to be at the Redwood City Public Library Community Room. The one that might change is the December Holiday Extravaganza because of the Redwood City parade that usually coincides with our meeting. Stay tuned on the BAMQG blog for updates.
Sew Day: January 3, 2015 at Los Altos Public Library
Charity Sew Day: February 2015 at Los Altos Public Library. Probably the first Saturday. Stay tuned on the BAMQG blog for updates.
Events
There will be three speakers next year, Stacy Lynn Wood, the lady from Peppermint Pinwheel and another, as yet to be named, national speaker. Buy or renew your membership to join that fun.
There was a prize drawing for the UFO Challenge and I won a spool of Aurifil thread! Yay! I can totally use that. There is a super prize in January and I can’t wait to see what that is. I hope I don’t have to be present to win as I can’t make that meeting.
BAMQG 2014 Swap Items
The Holiday Swap was awesome. I didn’t participate beyond admiring all the gifties.
I didn’t take a picture of the food, but the committee did an awesome job. There are now five of us who eat a GF diet, so there were plenty of GF goodies of which to partake. I had some yummy chocolate thing that Claire made. Yay for chocolate!
After that I just chatted with people. I found out that Michelle S has a blog. I had never spent time talking with her, but we were sitting next to each other and just got to talking. She does a lot of handquilting and doesn’t have many UFOs, which is quite envious, I have to say. She is also using the Hoffman Challenge fabric to make her City Sampler/Tula Pink blocks. I have to say that Michelle’s blocks made mine look terrible. 🙁
I also had the chance to discuss bindings with Annemarie. She has a large hexie made from Kaffe Fassett (and friends) fabric. She was thinking of cutting off the outer hexies and I encouraged her to either fill in the edges with triangles to make them square a la the Eye Spy or to bind them around the outer hexies, leaving them in tact like I did, sort of, with Flower Sugar. I really wish these designers would stop telling people to cut off their hexies.
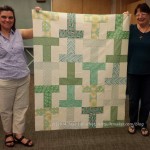
I have the Green T quilt in my possession and I am applying the binding. This is the quilt that Gerre and I worked on together at the last Charity Day. Gerre quilted it and did a fantastic job!!
She quilted in a big circle and it really looks fantastic. I used the Reflections fabric (RJR, I think, from the Dark Ages) in a kind of olive green color. It is a little mottled, but I think it fits well with the variety of greens in the quilt.
Gerre and I make a good team and I told her so. I told her I want to work with her again. She is working on quilting the postage stamp/16 patch, which I will bind as well.
I really liked working with Gerre. I am thrilled that we have made this quilt together and I am proud of how it has come out. Yes, I know it is not finished, but I am thrilled with the way it has come together.
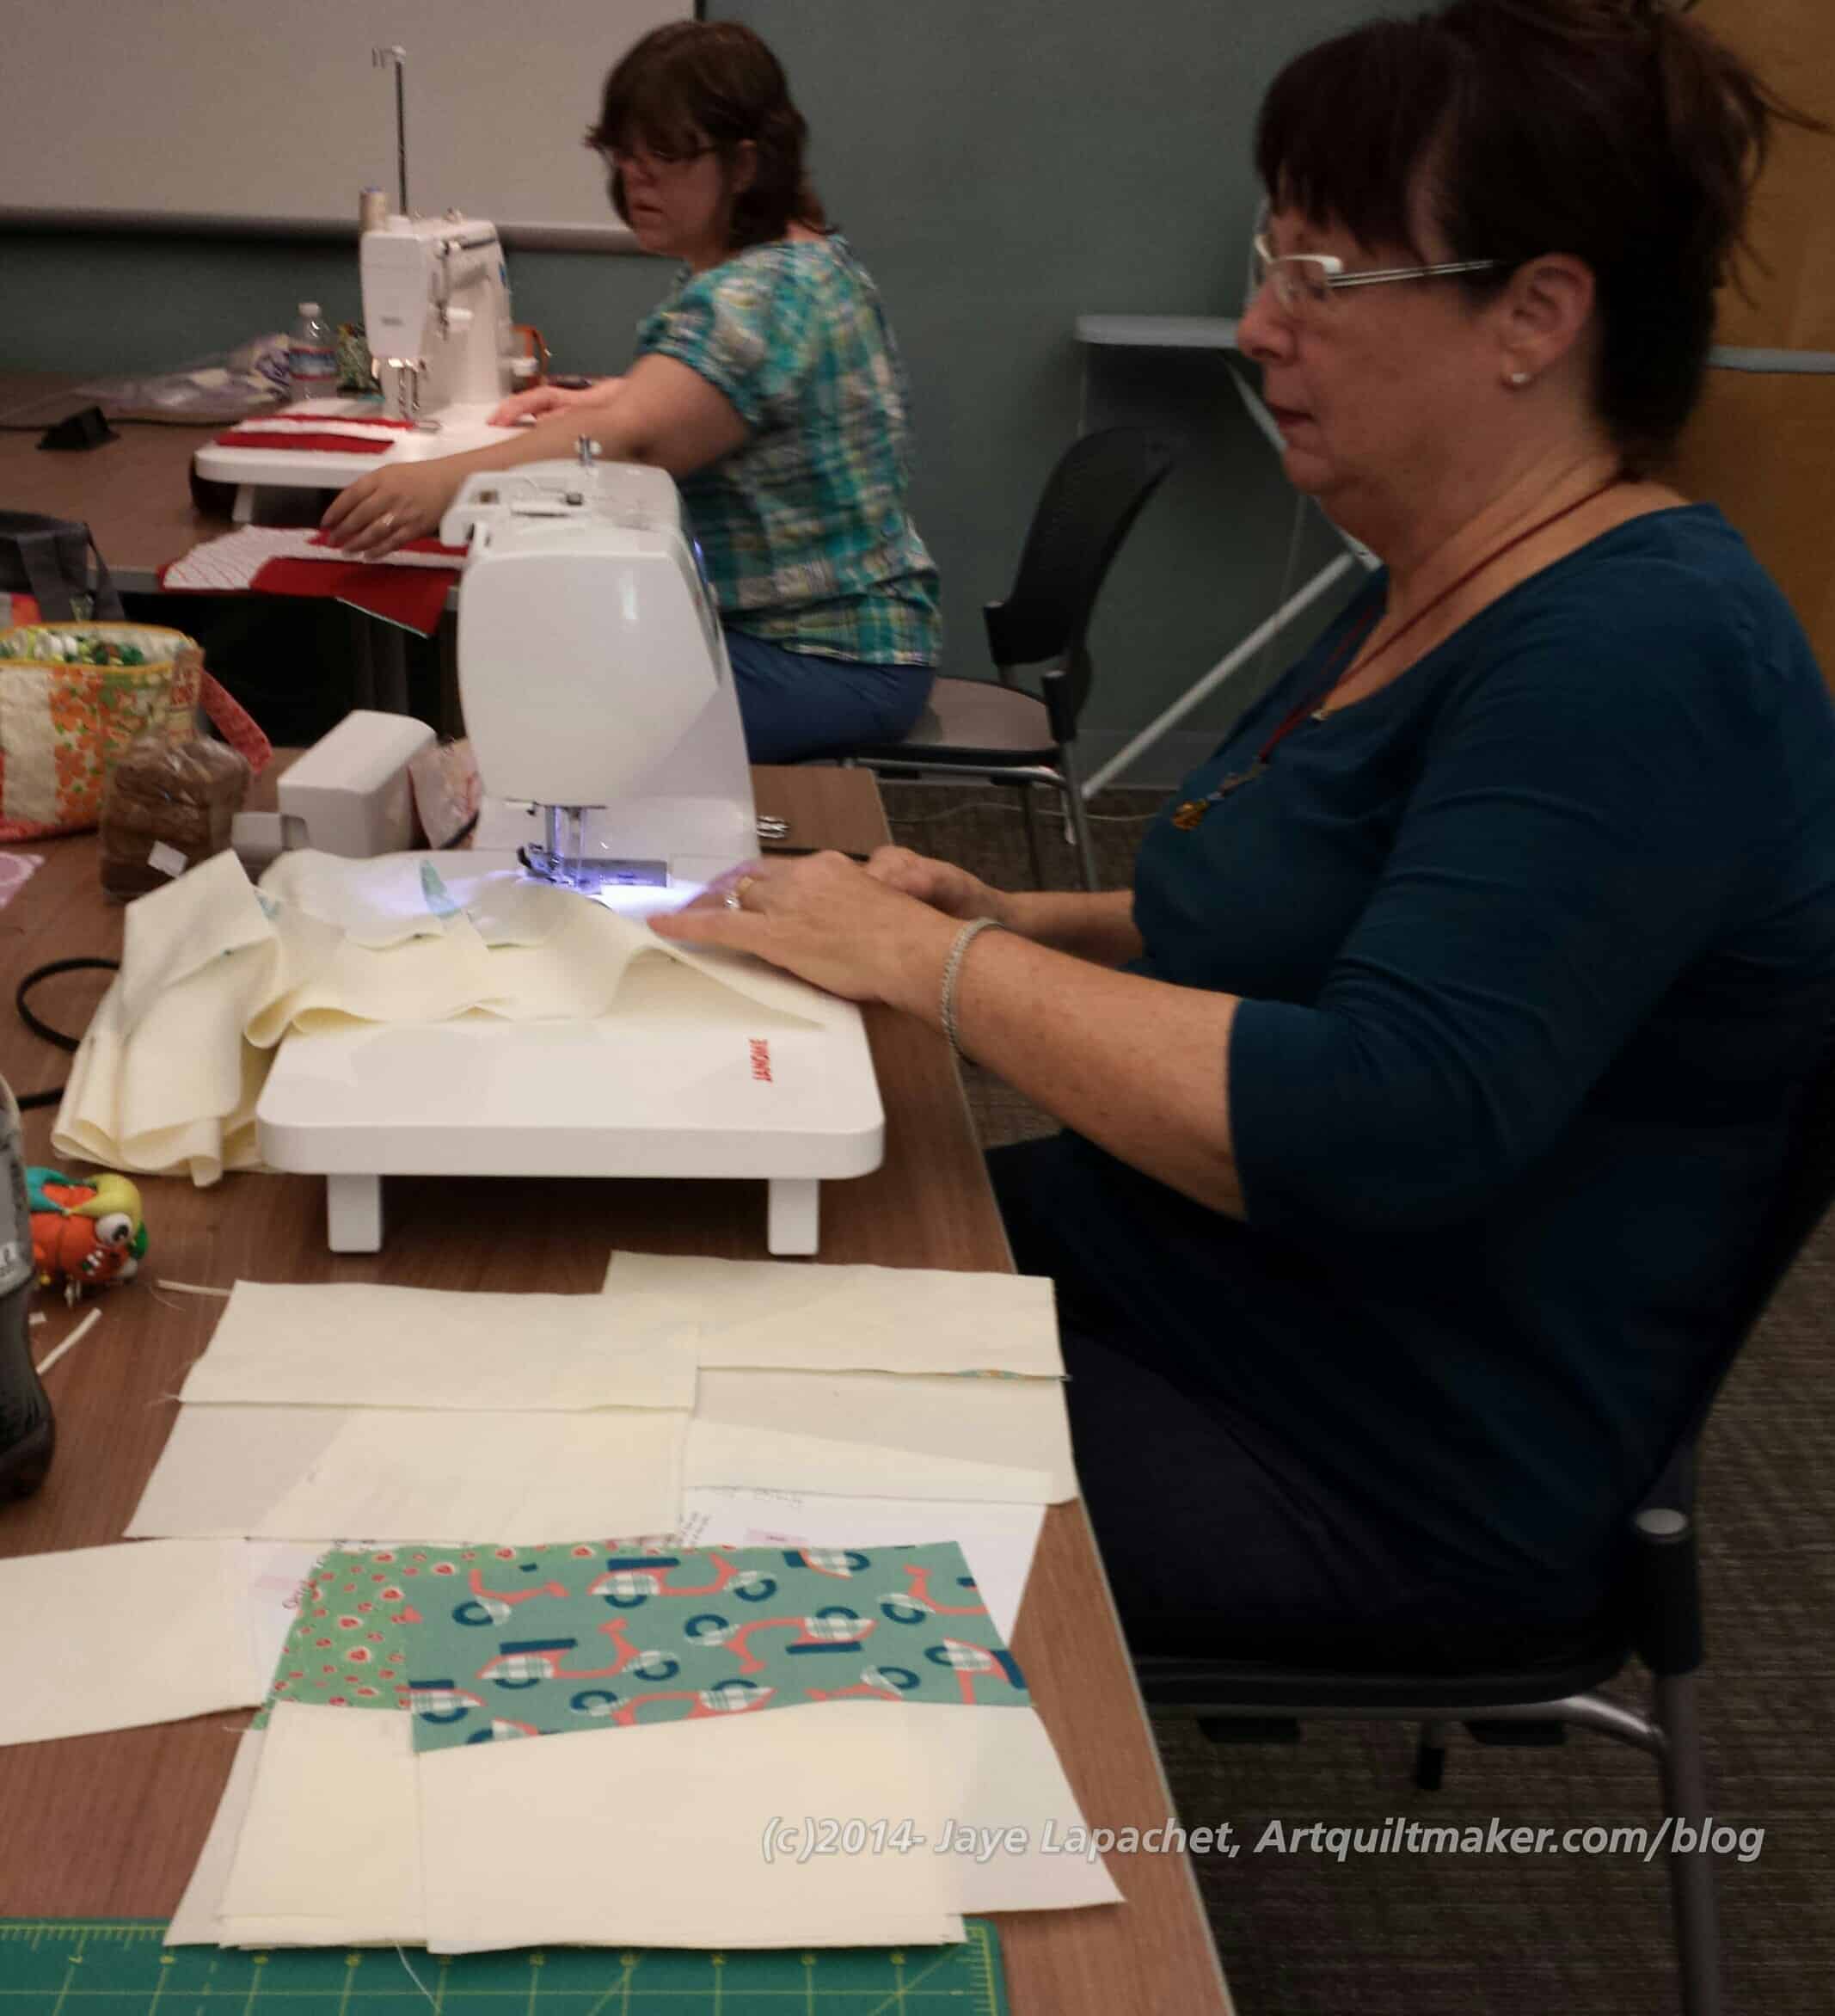
As I mentioned yesterday, Gerre and I teamed up for the Charity Race Sew Day. we were 4th in line to pick fabric and ended up with a variety of green colors. Gerre and I looked at each other in disappointment, but knew that the recipient would like it and got to work.
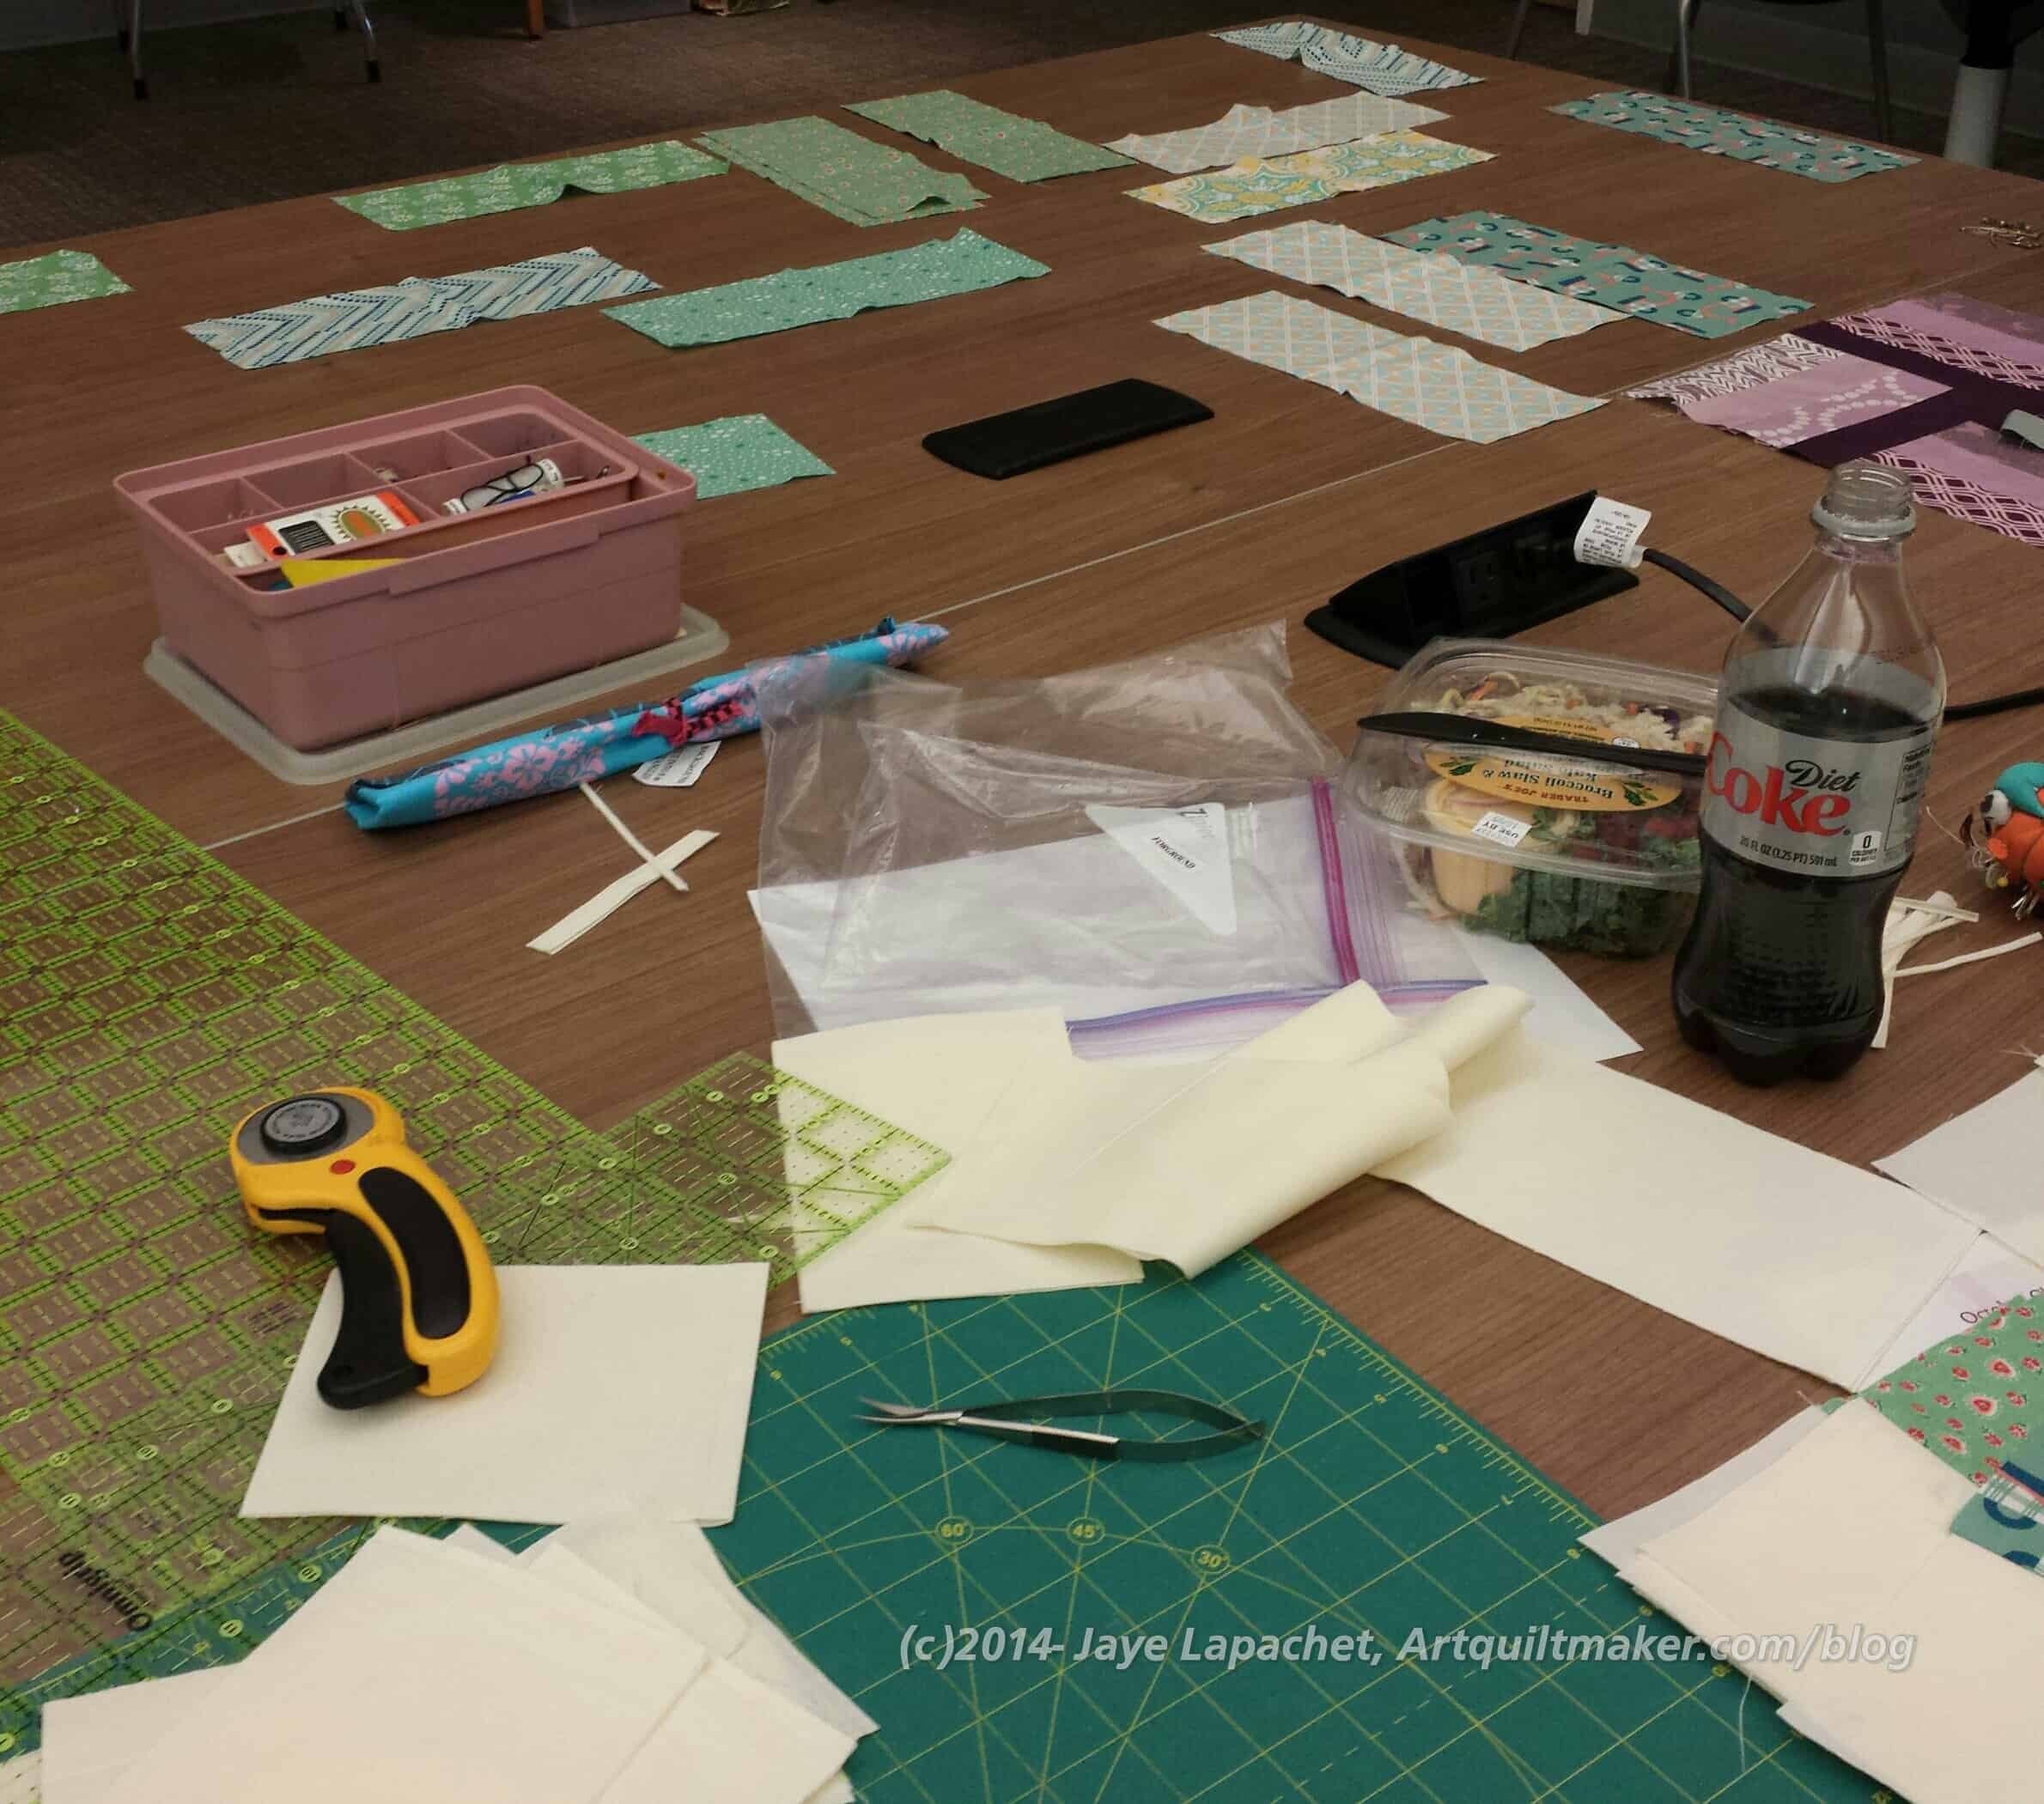
We pushed two tables together and used that as our workspace. We laid out most (the table wasn’t THAT big) of the pieces, cut the background and Gerre started sewing.
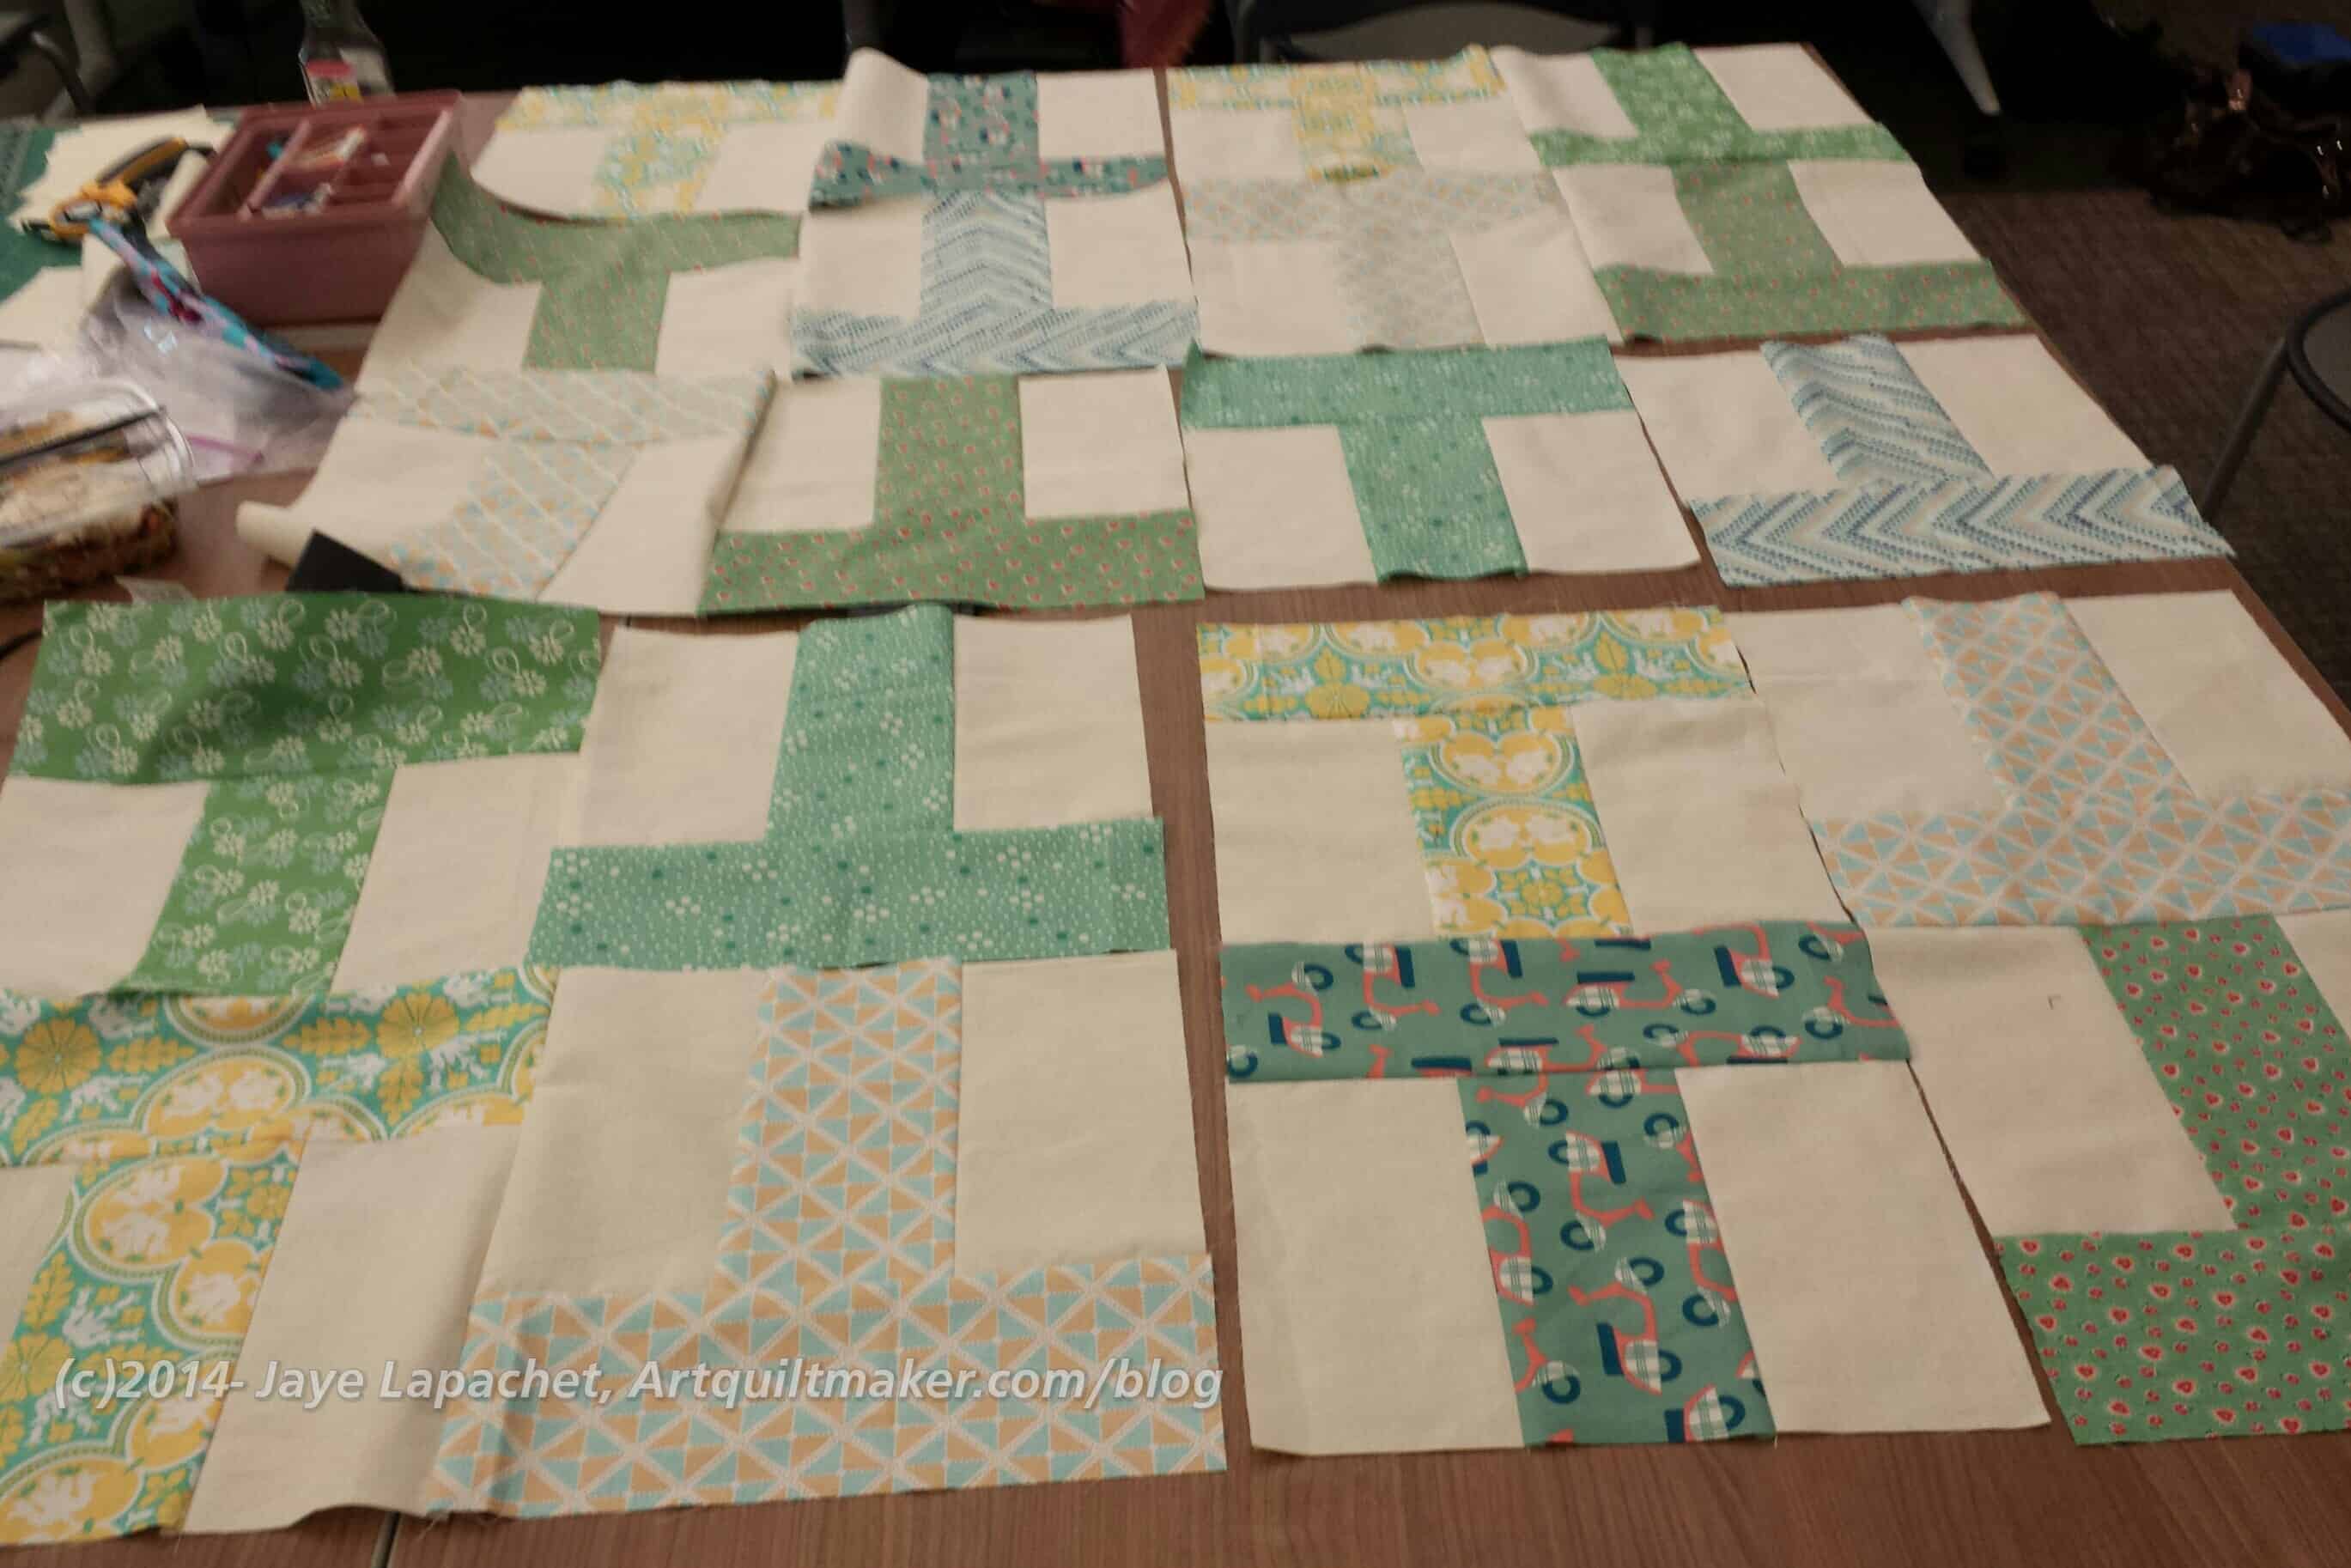
Gerre & Jaye Blocks
After cutting the background, I paired up pieces and parts and handed them to Gerre. She put them through the machine. I cut them off, pressed them, then paired them off again with other pieces and handed them back to Gerre to sew.
I thought we did very well and sewed pretty quickly. Still, we weren’t first with a finished top. I don’t sew very quickly in general, and, though I wasn’t sewing, I was pleased that we were able to finish as quickly as we did with little or no drama. I was organized and got Gerre the pieces she needed efficiently. She was a sewing rock star. Our system worked.
After we finished the piecing, we found a vintage sheet that was large enough for the back and layered and basted the top. I thought we were being nice for some other guild member, but Gerre said that she will quilt it. I offered to bind it so the piece will be done when we hand it in.
Gerre & Jaye Blocks: Chunking in Process
I showed Gerre how to “chunk a top.” It is harder if you don’t have a design wall and lots of leaders and enders. That plug lump in the middle of the table didn’t help, though it was useful for making the machine work. We started making postage stamp blocks in between to try and keep the T blocks in order.
I really think this is a great pattern for charity quilts. It is interesting. There are lots of ways to put it together and it comes out well. I want to work with Gerre again.
Peggy and Michelle did a great job organizing the Charity Day Race Game and 8 of the quilts we made were from the kits Michelle and Peggy put together before the event. They are awesome, dedicated and well organized.
Worker Bees
We all got kits and set to work. Peggy had done a lot of the cutting already, so we all only had to cut backgrounds and sew.
Michelle and Jennifer worked on a red version of the T quilt with a lot of Joel Dewberry Notting Hill fabric.
I was on a team with Gerre and she took the first sewing shift. I wasn’t really paying attention to how other teams organized their sewing and cutting and pressing and pinning, but our organization worked very well.
Rhonda and Ruth worked on a turquoise version with some Pearl Bracelets and a lot of fish fabric.
Diana worked on a pastel version with some Aneela Hoey fabrics and Jennifer finished a second green top that really looked like light in a forest.
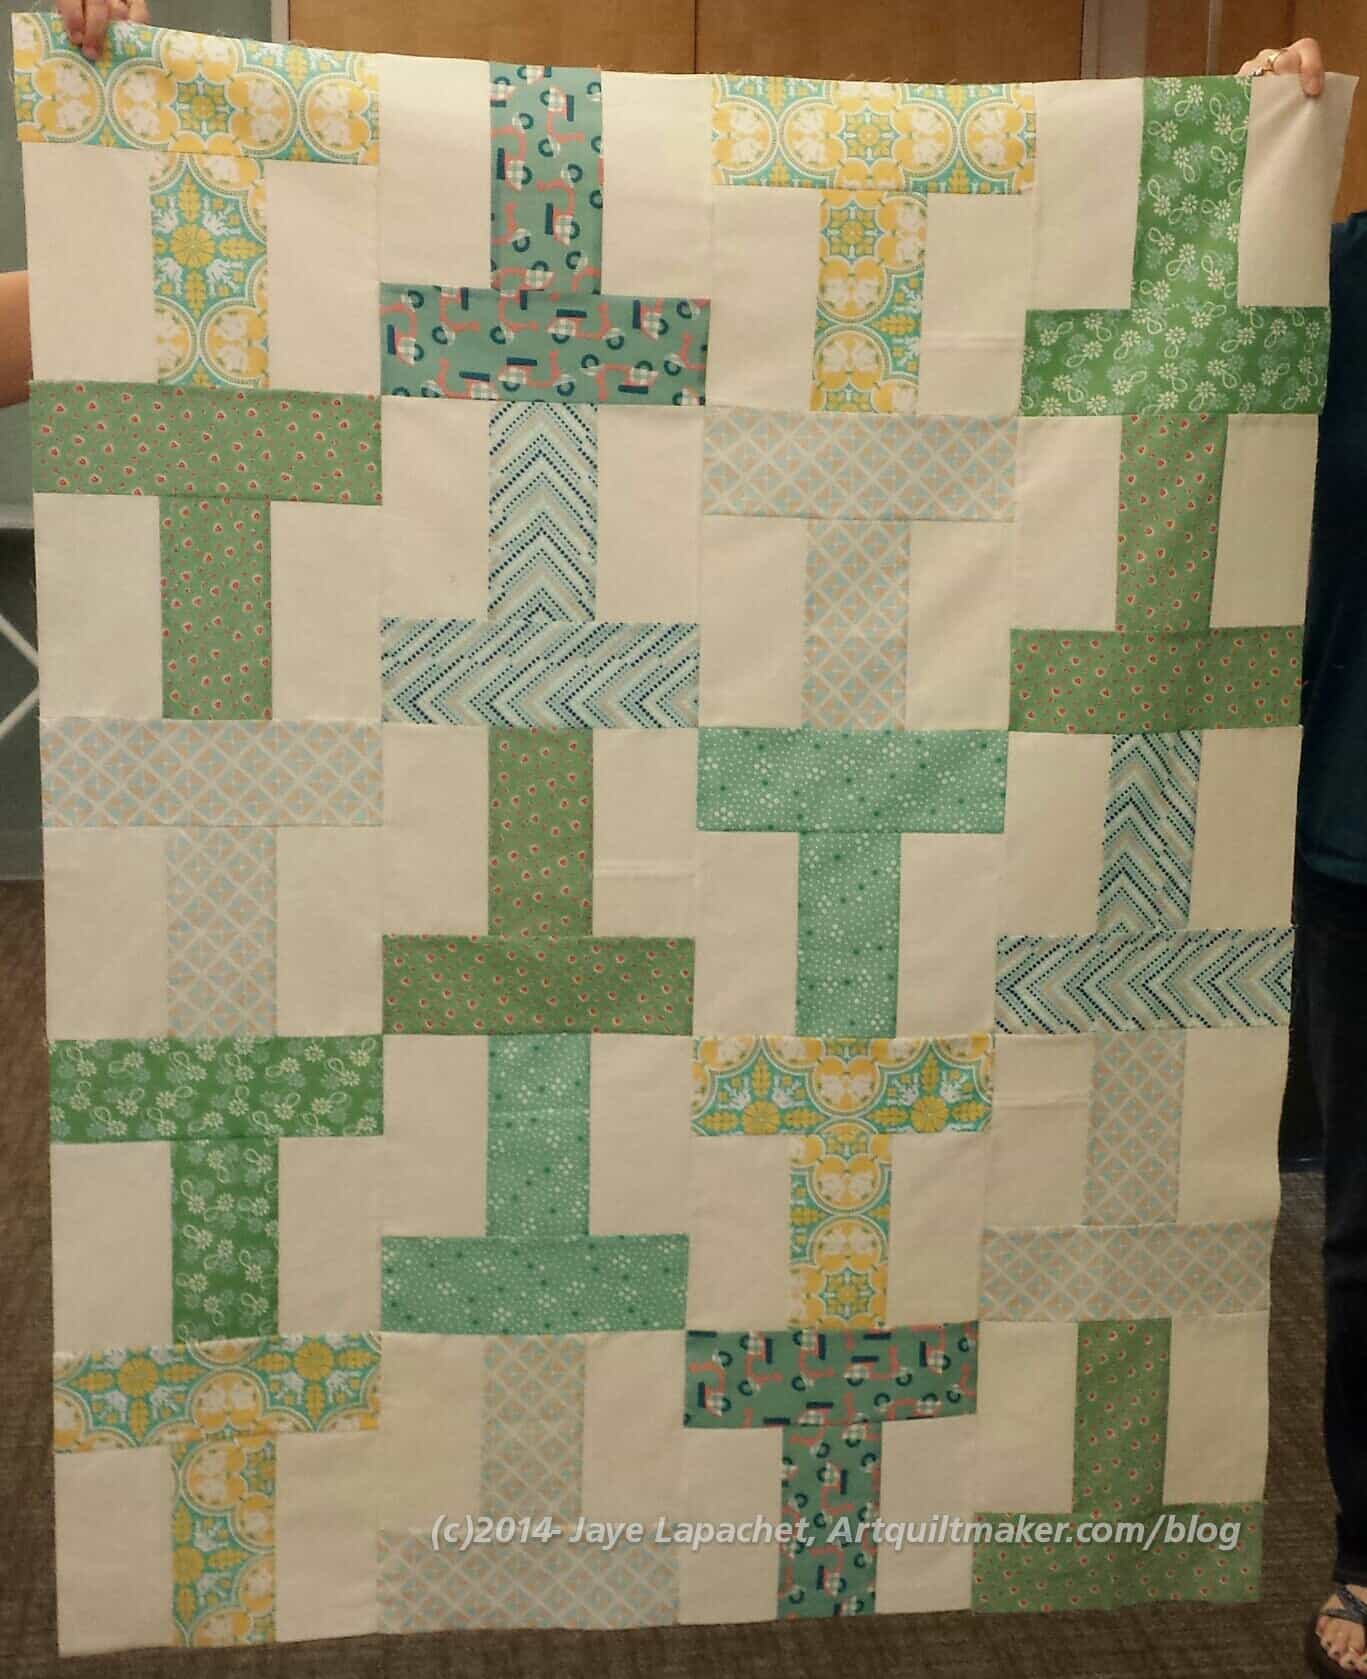
Karen and Joelle finished another red top with a lot of card game fabric that they joked they would give to Kenny Rogers. Peggy made a brown version that looked like candy and Michelle finished a second top with a blue solid background. Gerre and I finished a top with green Ts and a light background. the quilts all used the same pattern, but were so different and fun.
Jennifer & Michelle
Ruth & Rhonda
Joelle & Karen
Jaye and Gerre
Peggy
Michelle 2
Diana
Gerre & Jaye’s Bonus Quilt
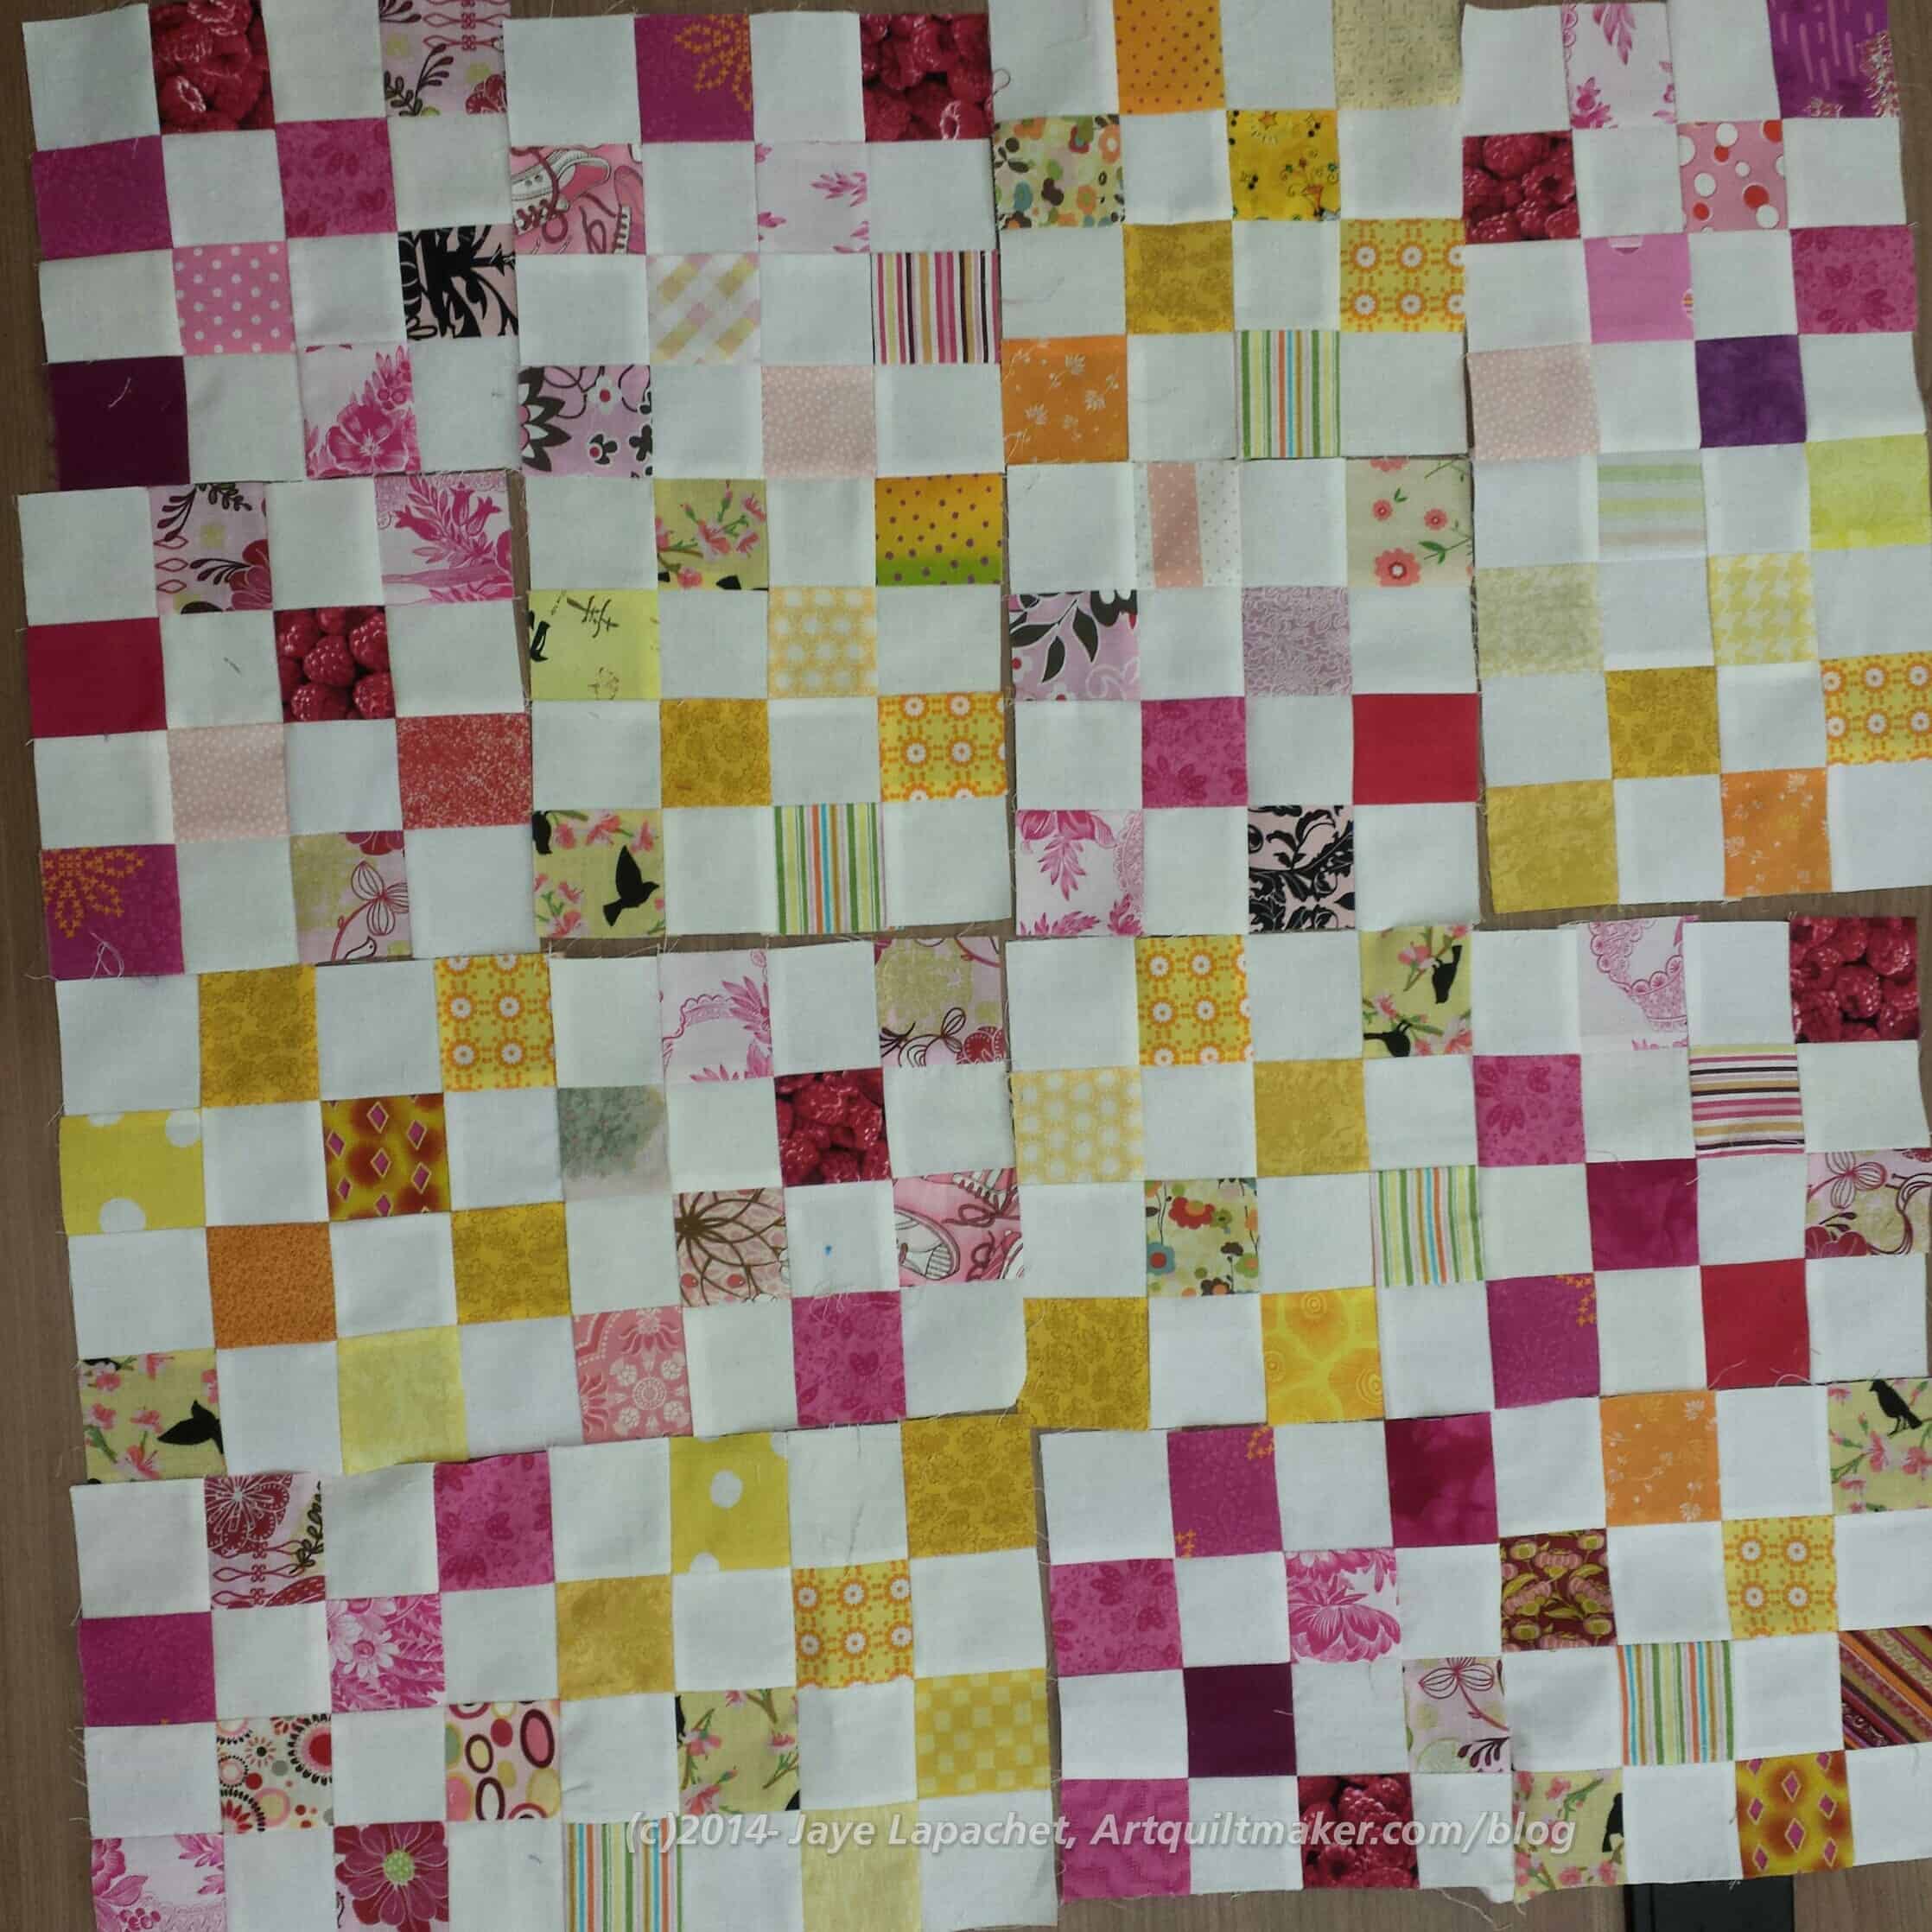
After the T quilts were done many people worked on making postage stamp blocks, including Gerre and I. We made as many pink and white postage stamp blocks as we could, then we added in some yellow and white blocks in to bring the quilt up to size. We didn’t finish it. Gerre put me in the sewing driver’s seat and I kept screwing up when sewing the blocks together, so we pinned the blocks together and Gerre will finish the top at home.
You have seen a number of donation blocks and quilts I have made for BAMQG using the postage stamp pattern. I wouldn’t have called it a postage stamp pattern; I would have called it a 16 patch, but postage stamp was what the Charity Girls called it, so we’ll move on and fight about names later.
The most recent quilt (still in process!) is the Black and Grey Teenaged Boy Donation Quilt. You know it; you have seen it 100 times. I make those blocks as meditation and to do something good for others. There is something about making those blocks that feels infinite. Infinite possibilities. I think simple blocks have that quality.
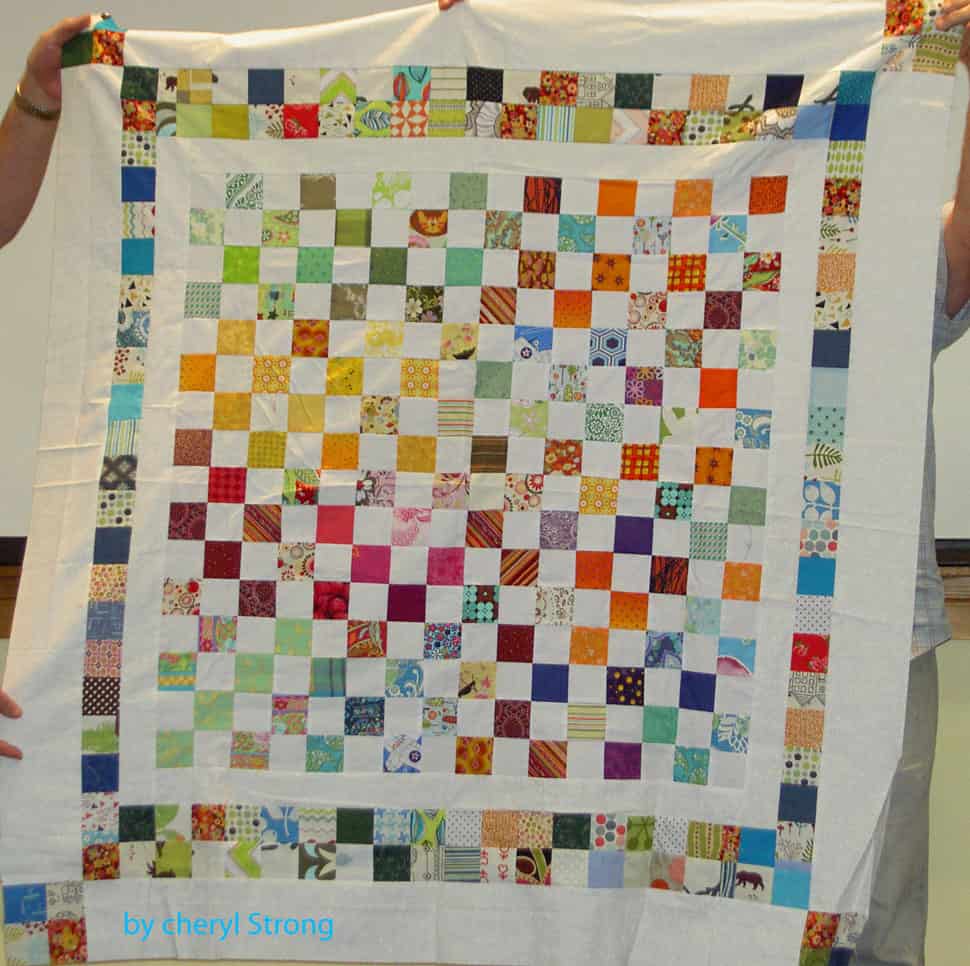
Cheryl’s Postage Stamp Quilt
Cheryl’s quilt is a perfect example. She took a number of different blocks, put them together and added an awesome border to make this donation quilt.
One thing is that I could use a lot of different scraps. I could use a similar border idea to finish the Black & Grey Teenaged Boy Donation Quilt. Perhaps I will use this idea when I make the next donation quilt.
A little while ago I participated in Kelly’s monthly BAMQG Challenge, which was to quilt a half yard fabric sandwich. The goal ended up being to make a bag from this piece. I wasn’t entirely happy with the quilting, but I didn’t sincerely dislike it either. The quilted piece laid around for awhile, but it was on my mind. It is only recently that I made time to start the bagmaking part. Part of the delay was because I couldn’t understand and extrapolate out from Kelly’s excellent directions. You know me. Sometimes I can read and read and the words look like gibberish. She was very patient with me and agreed to give me one step at a time. Broken down I could do it.
Supplies:
1 yard of fabric (2 different half yard pieces will add interest)
1/2 yard of fabric for straps and other fiddley bits
12″ x 42″ (or WOF) ShapeFlex
12″ square of coordinating fabric for binding
batting slightly larger than 18″ wide to accommodate the half yards above
Sewing machine and supplies to machine quilt/free motion quilt
Layer and sandwich 2 half yards of fabric with batting
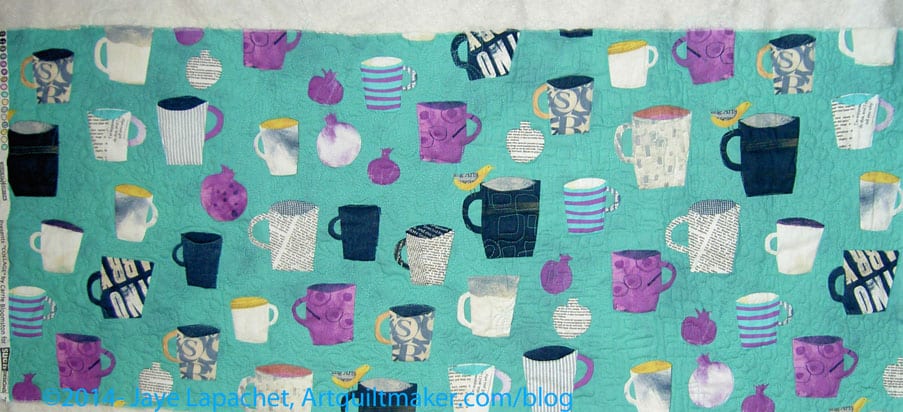
Full Piece Quilted
Free motion quilt piece as desired. Shown is the piece that I did back in April. I know pieces of fabric don’t magically quilt themselves and I am not saying they do. It took me some time, but it is good practice and this is a good use for those practice pieces. Go back to the previous post and look at the different quilting designs I used.
Kelly didn’t have me make the straps until after the bag was put together. I like to make all the fiddley bits first, so they are ready to go when I am on a roll making the bag and ready for them. That means: make the straps whenever you want. You should make them your favorite way. Here are the directions for making the straps that I used for this bag:
Cut 2 strips 6″ wide by WOF. You could make them 5.5″ and they would be a touch skinnier.
Cut 2 strips 5 3/4″ x WOF from ShapeFlex (If you make the straps skinnier, you need to adjust the size of the ShapeFlex. I cut it smaller to reduce bulk in the seams, which can get quite hefty without trying.
Press ShapeFlex to wrong side of fabric, following the manufacturer’s directions.
Fold each 6″ fabric backed piece in half and press well.
Open the pieces you just pressed and fold raw edges to the center.
Press folded edges.
Fold entire strap on original center fold again. Raw edges should be inside and strap should measure about 1.5″.
Optional: Depending on what you want to use the bag for, you can further line the straps with something like Timtex or Soft & Stable.
Topstitch along both edges very close to the edge. You can use a decorative stitch or two lines of straight stitching to add interest
Squared up Quilted Piece
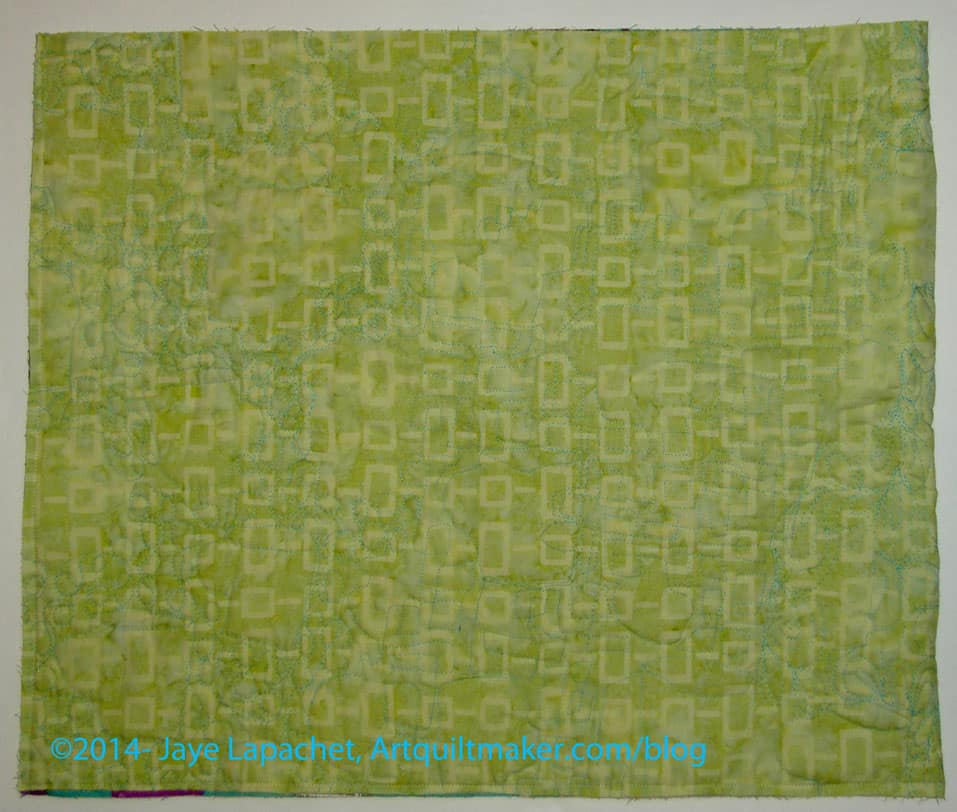
Square up your quilted piece by trimming the excess batting and raw edges.
Fold trimmed piece in half RST* and sew along side and bottom edges ONLY. Only the top will be open. You will have a flat piece that looks like an oversized iPad cover.
Measure to Box the Corners
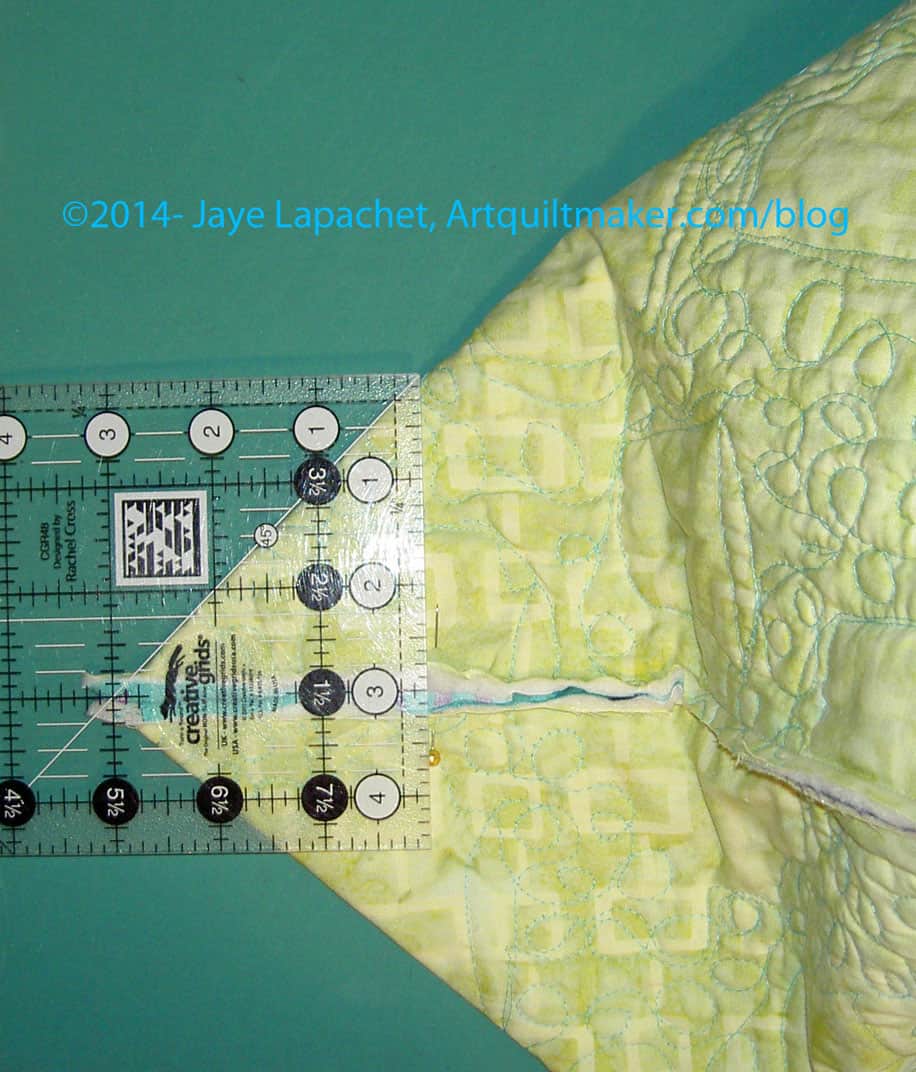
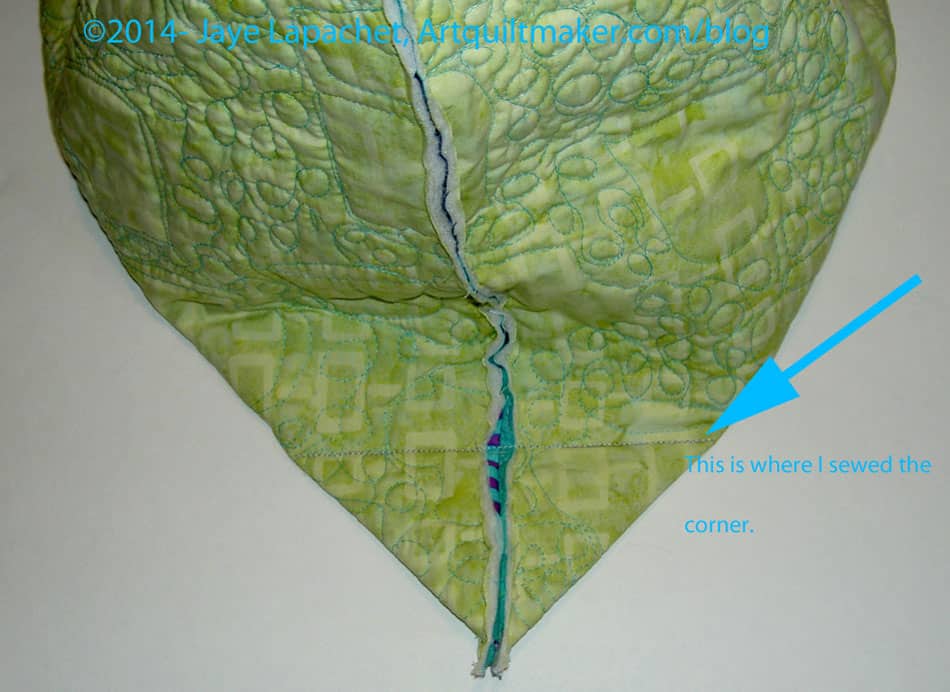
Box the corners. Kelly does a minimum of 2″ from the side seam. FYI: there is no seam on one side, so I pressed the fold and treated the folded part as a seam. I used my Creative Grids 4.5″x8.5″ ruler to try out different corner sizes. I ended up doing a 3″ box, using pins to try out the size and see what I liked. You can see in the photo that I was able to use the side and bottom measurements to help decide. I had to see how big the bag would be and how it work as a bag I actually used. Once I decided on the size of the boxed corner, I drew a pencil line across the corner to know where to sew. I placed a couple of pins across the drawn line to hold the bottom in place. Then I sewed on that line to make the box. in the picture, I sewed along the short end of the ruler from diagonal line to diagonal line using the center seam as the straight line.
Corners Boxed
Optional: Trim off the excess corners to reduce bulk. I like to do this because I don’t like the excess to interfere with my stuff once I start using the bag. Also, small stuff that migrates to the bottom of the bag gets tangled up with them. Since this bag doesn’t have pockets, small stuff will migrate.
Press raw seams open. You’ll have to stick the iron inside the bag.
This is the point where, when I make the next version, I will sew binding over the raw seams. If I knew someone with a serger, I would serge them, but I don’t, so binding it is. I could just leave the raw edges, but that just seems wrong. On this version of the bag, I did this step later, but it makes sense to do it after the corners, so there is not a lot of other stuff to worry about and you won’t have to fold the ends of the inside binding over, because you can cover the raw edges of the inside binding when the top binding is sewn.
Make a bias binding like you would for a quilt. You will need about 50″. I cut my square (see list of supplies) into 2.25″ wide strips on the diagonal. The Judy Martin Point Trimmer ruler makes it really easy to sew the strips together. I suppose you could use straight of the grain binding, but I think a bias binding works well.
Add binding
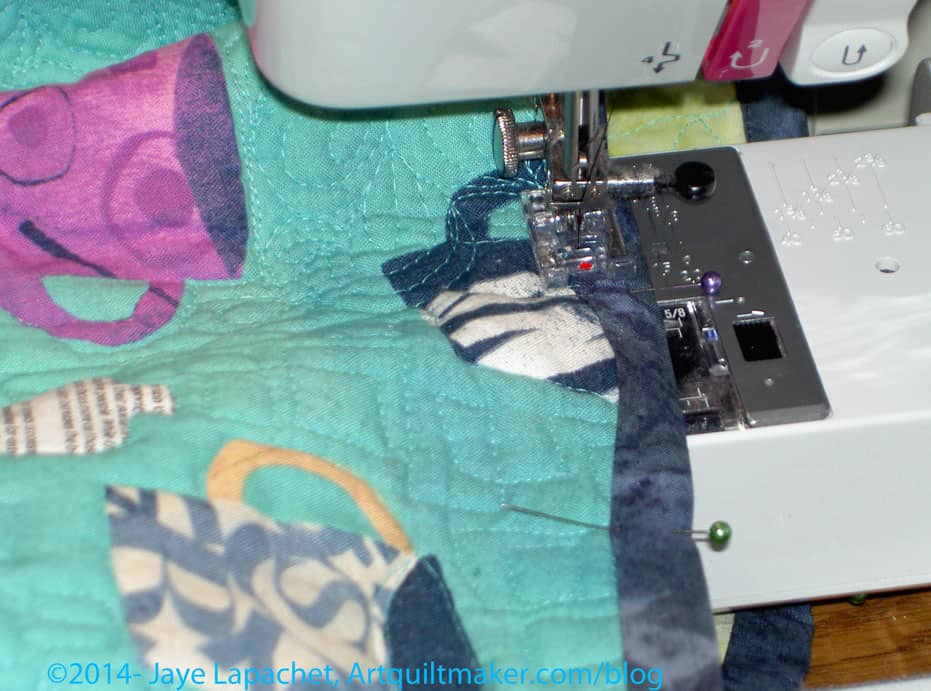
Bind the top, covering the edges of the binding that covers the inside raw edges (step above). I sewed along the bottom first, making sure I caught the underside as well as the top. When I finished I sewed along the top of the binding as well. I thought it made the bag look more finished and added some interest (must be my favorite term today). I used an extra piece of binding leftover from the Spiderweb quilt and I am glad I used something that mostly matched. On another version, I would plan ahead better and use a coordinating fabric or the strap fabric.
If you haven’t made your straps, make them now.
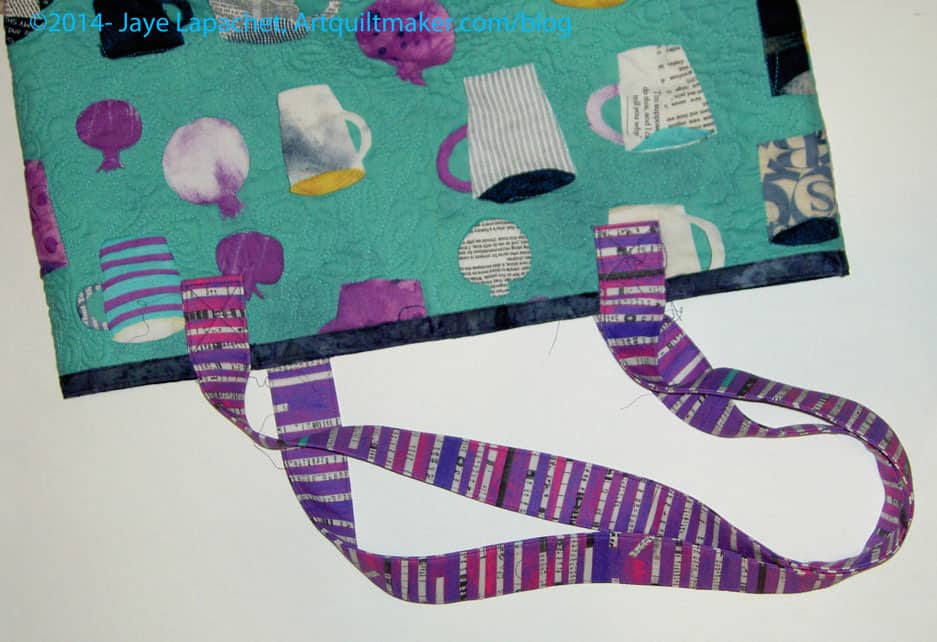
Test the length of the straps until they are right for your height. I used WonderClips at different lengths to find the right length, then I trimmed the original length to my custom length, which was about 36″.
Flatten the bag carefully so the edge of the side is folded. This means that the edge of the side measures an equal amount from the side seam to the edge of the side as is the top. Measure two inches from this fold.
Place a pin at 2″ that you just measured.
Measure 2″ down from the top and place a pin parallel to the top of the bag. This makes a half square where you will place your strap.
Fold the end of the strap 2″ up and place the folded edge right beneath the bottom of the binding.
Sew the straps to the bag, making a box with an X in the middle. Go around the edges and the X a few times.
Optional: After you sew on the straps, sew along the fake edge of the side (see step 14) from the top to about 4″ from the bottom. Do this on all sides to make the bag into a box.
You are finished! You have made the bag. Hooray!!!
A Variety of Notes:
Crazy as it sounds, I am now thinking of fabrics I can quilt that would look awesome in bag form. I know. I think I have lost mind.
I like my bags to have pockets, but I also don’t like the stitching to show through, so I didn’t put any in this bag. You could make a lining and add it before you sew on the binding, then you wouldn’t have to cover the raw edges with a binding. You could sew the pockets to the lining. You’ll have to figure the measurements out yourself. Of course, your beautiful quilting would be covered.