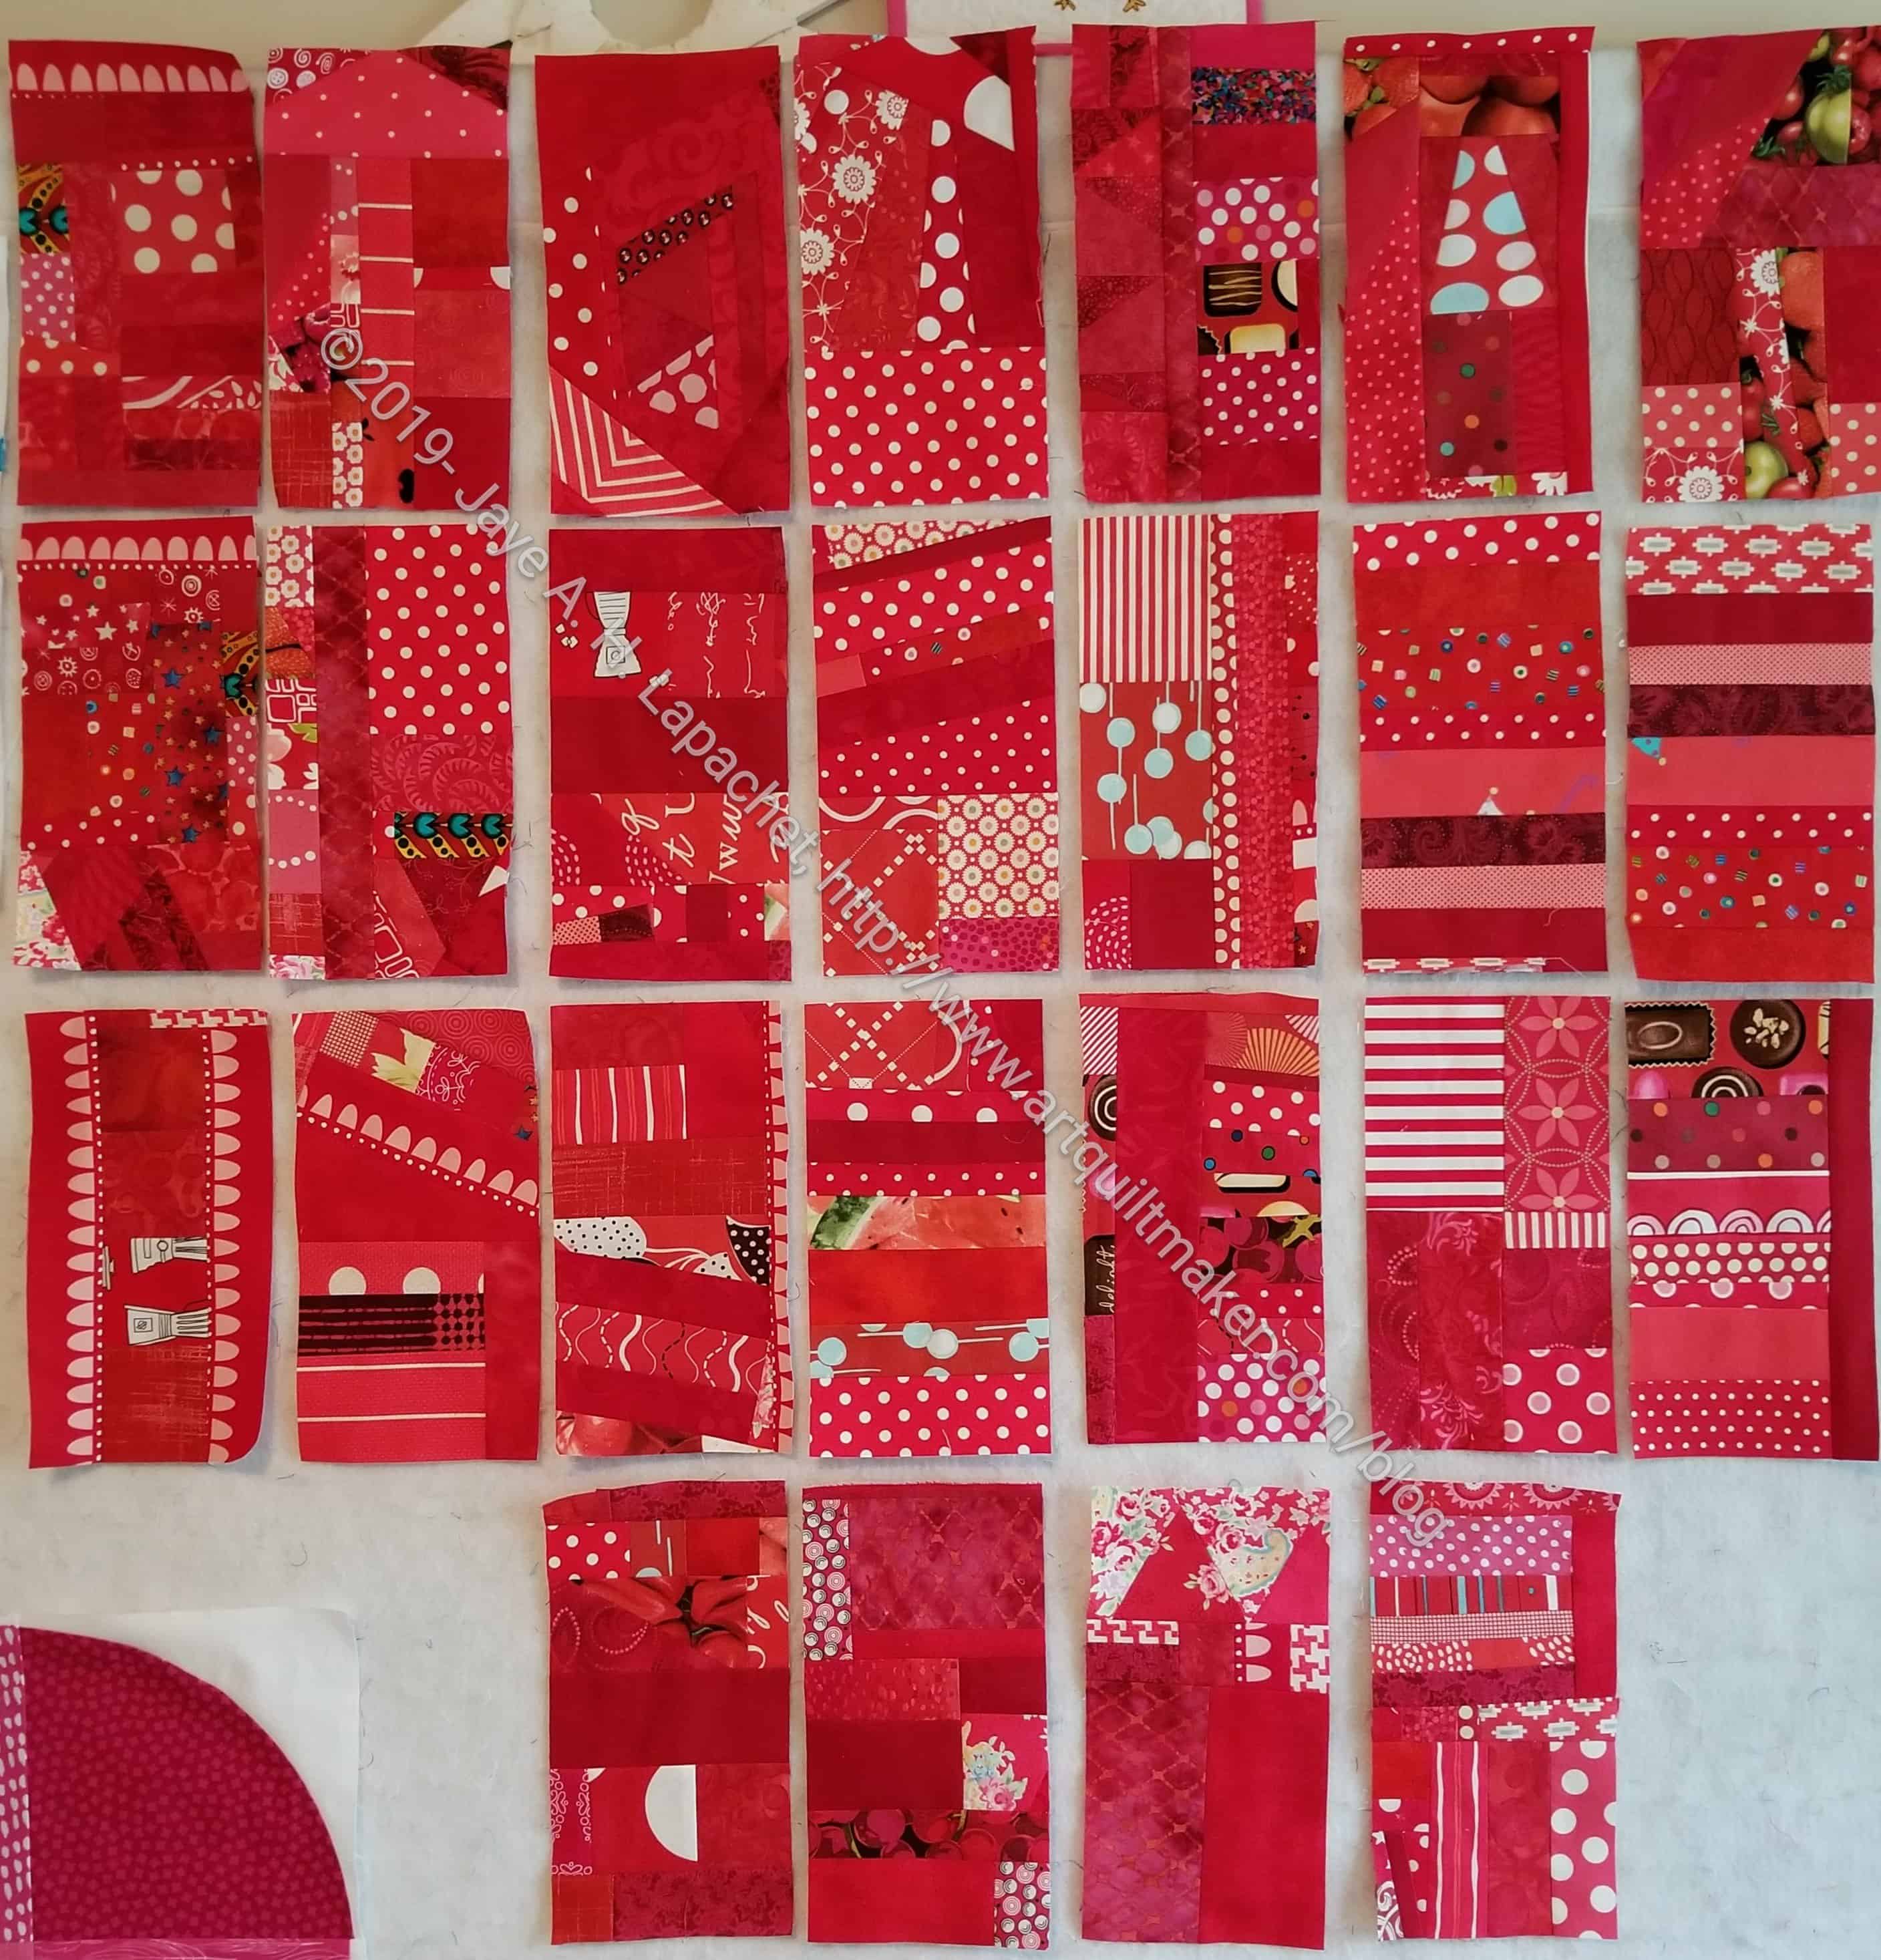
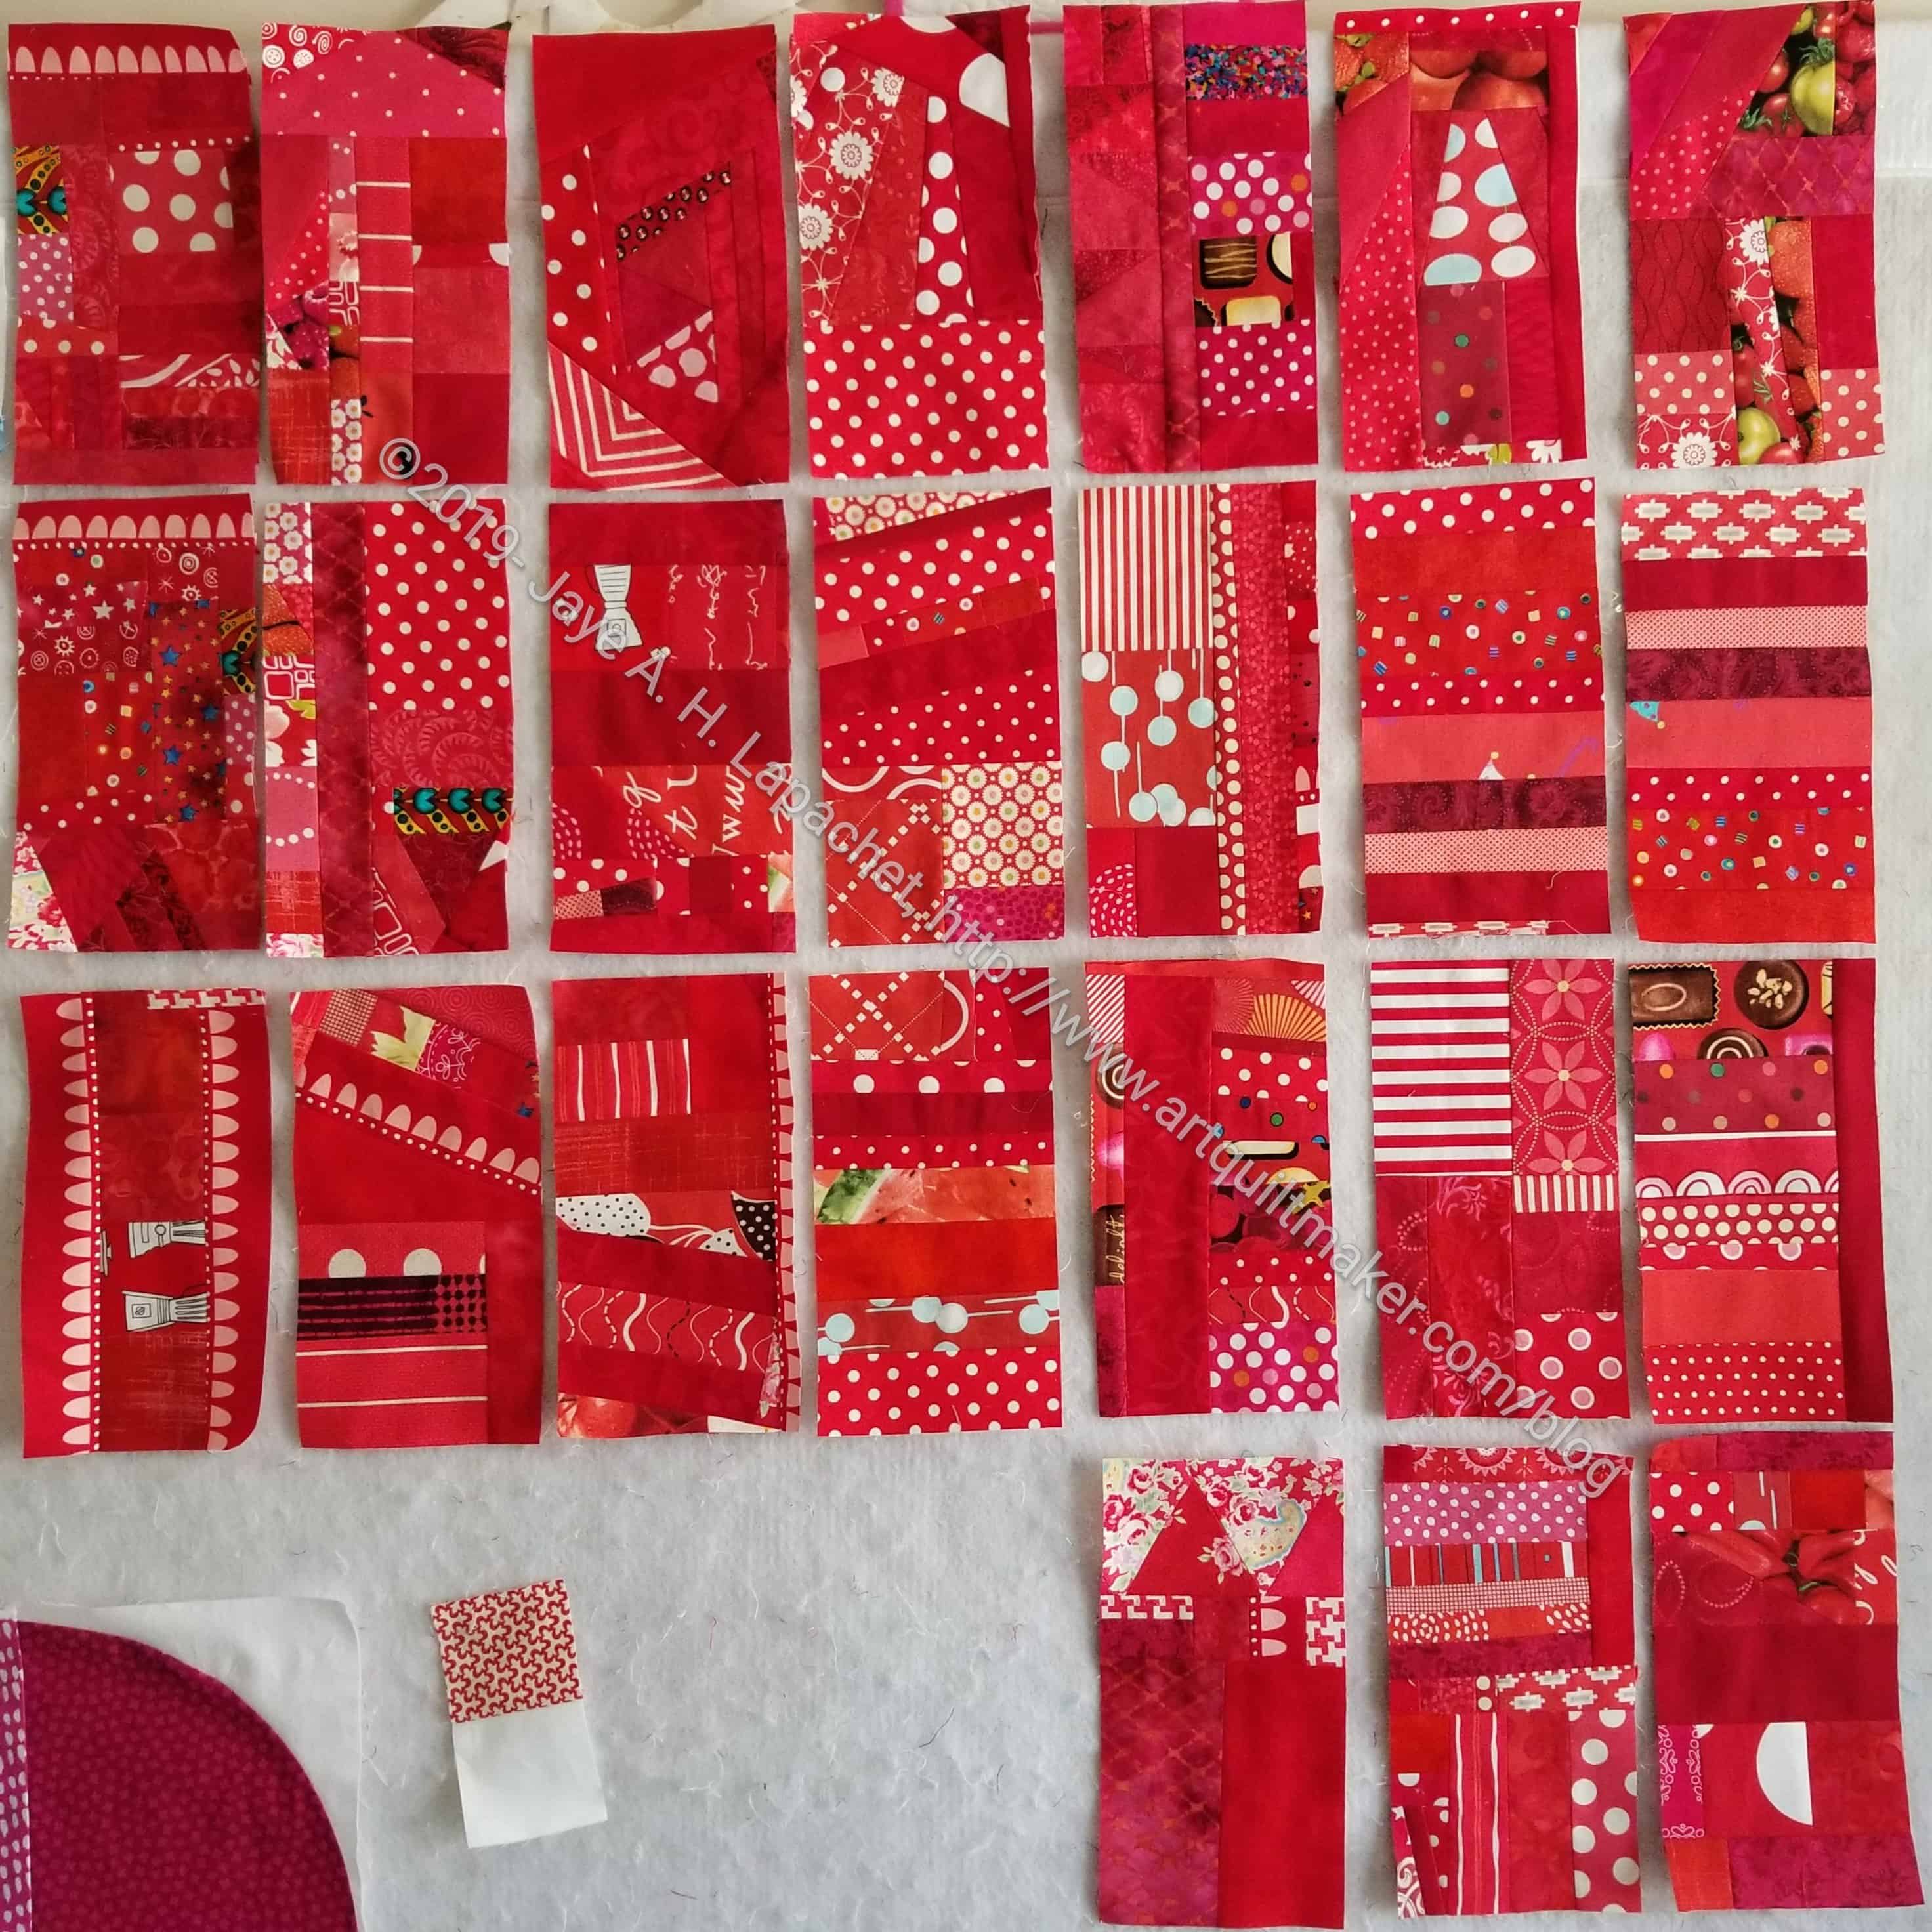
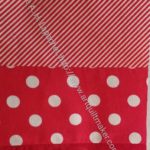
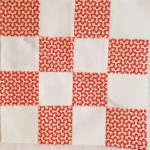
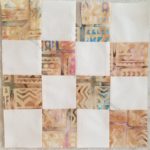
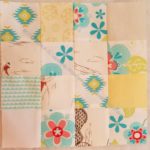
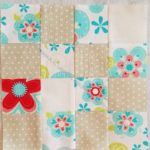
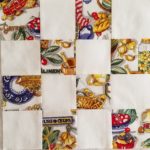
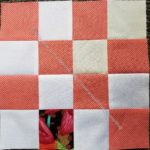
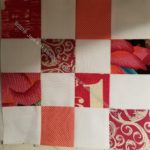
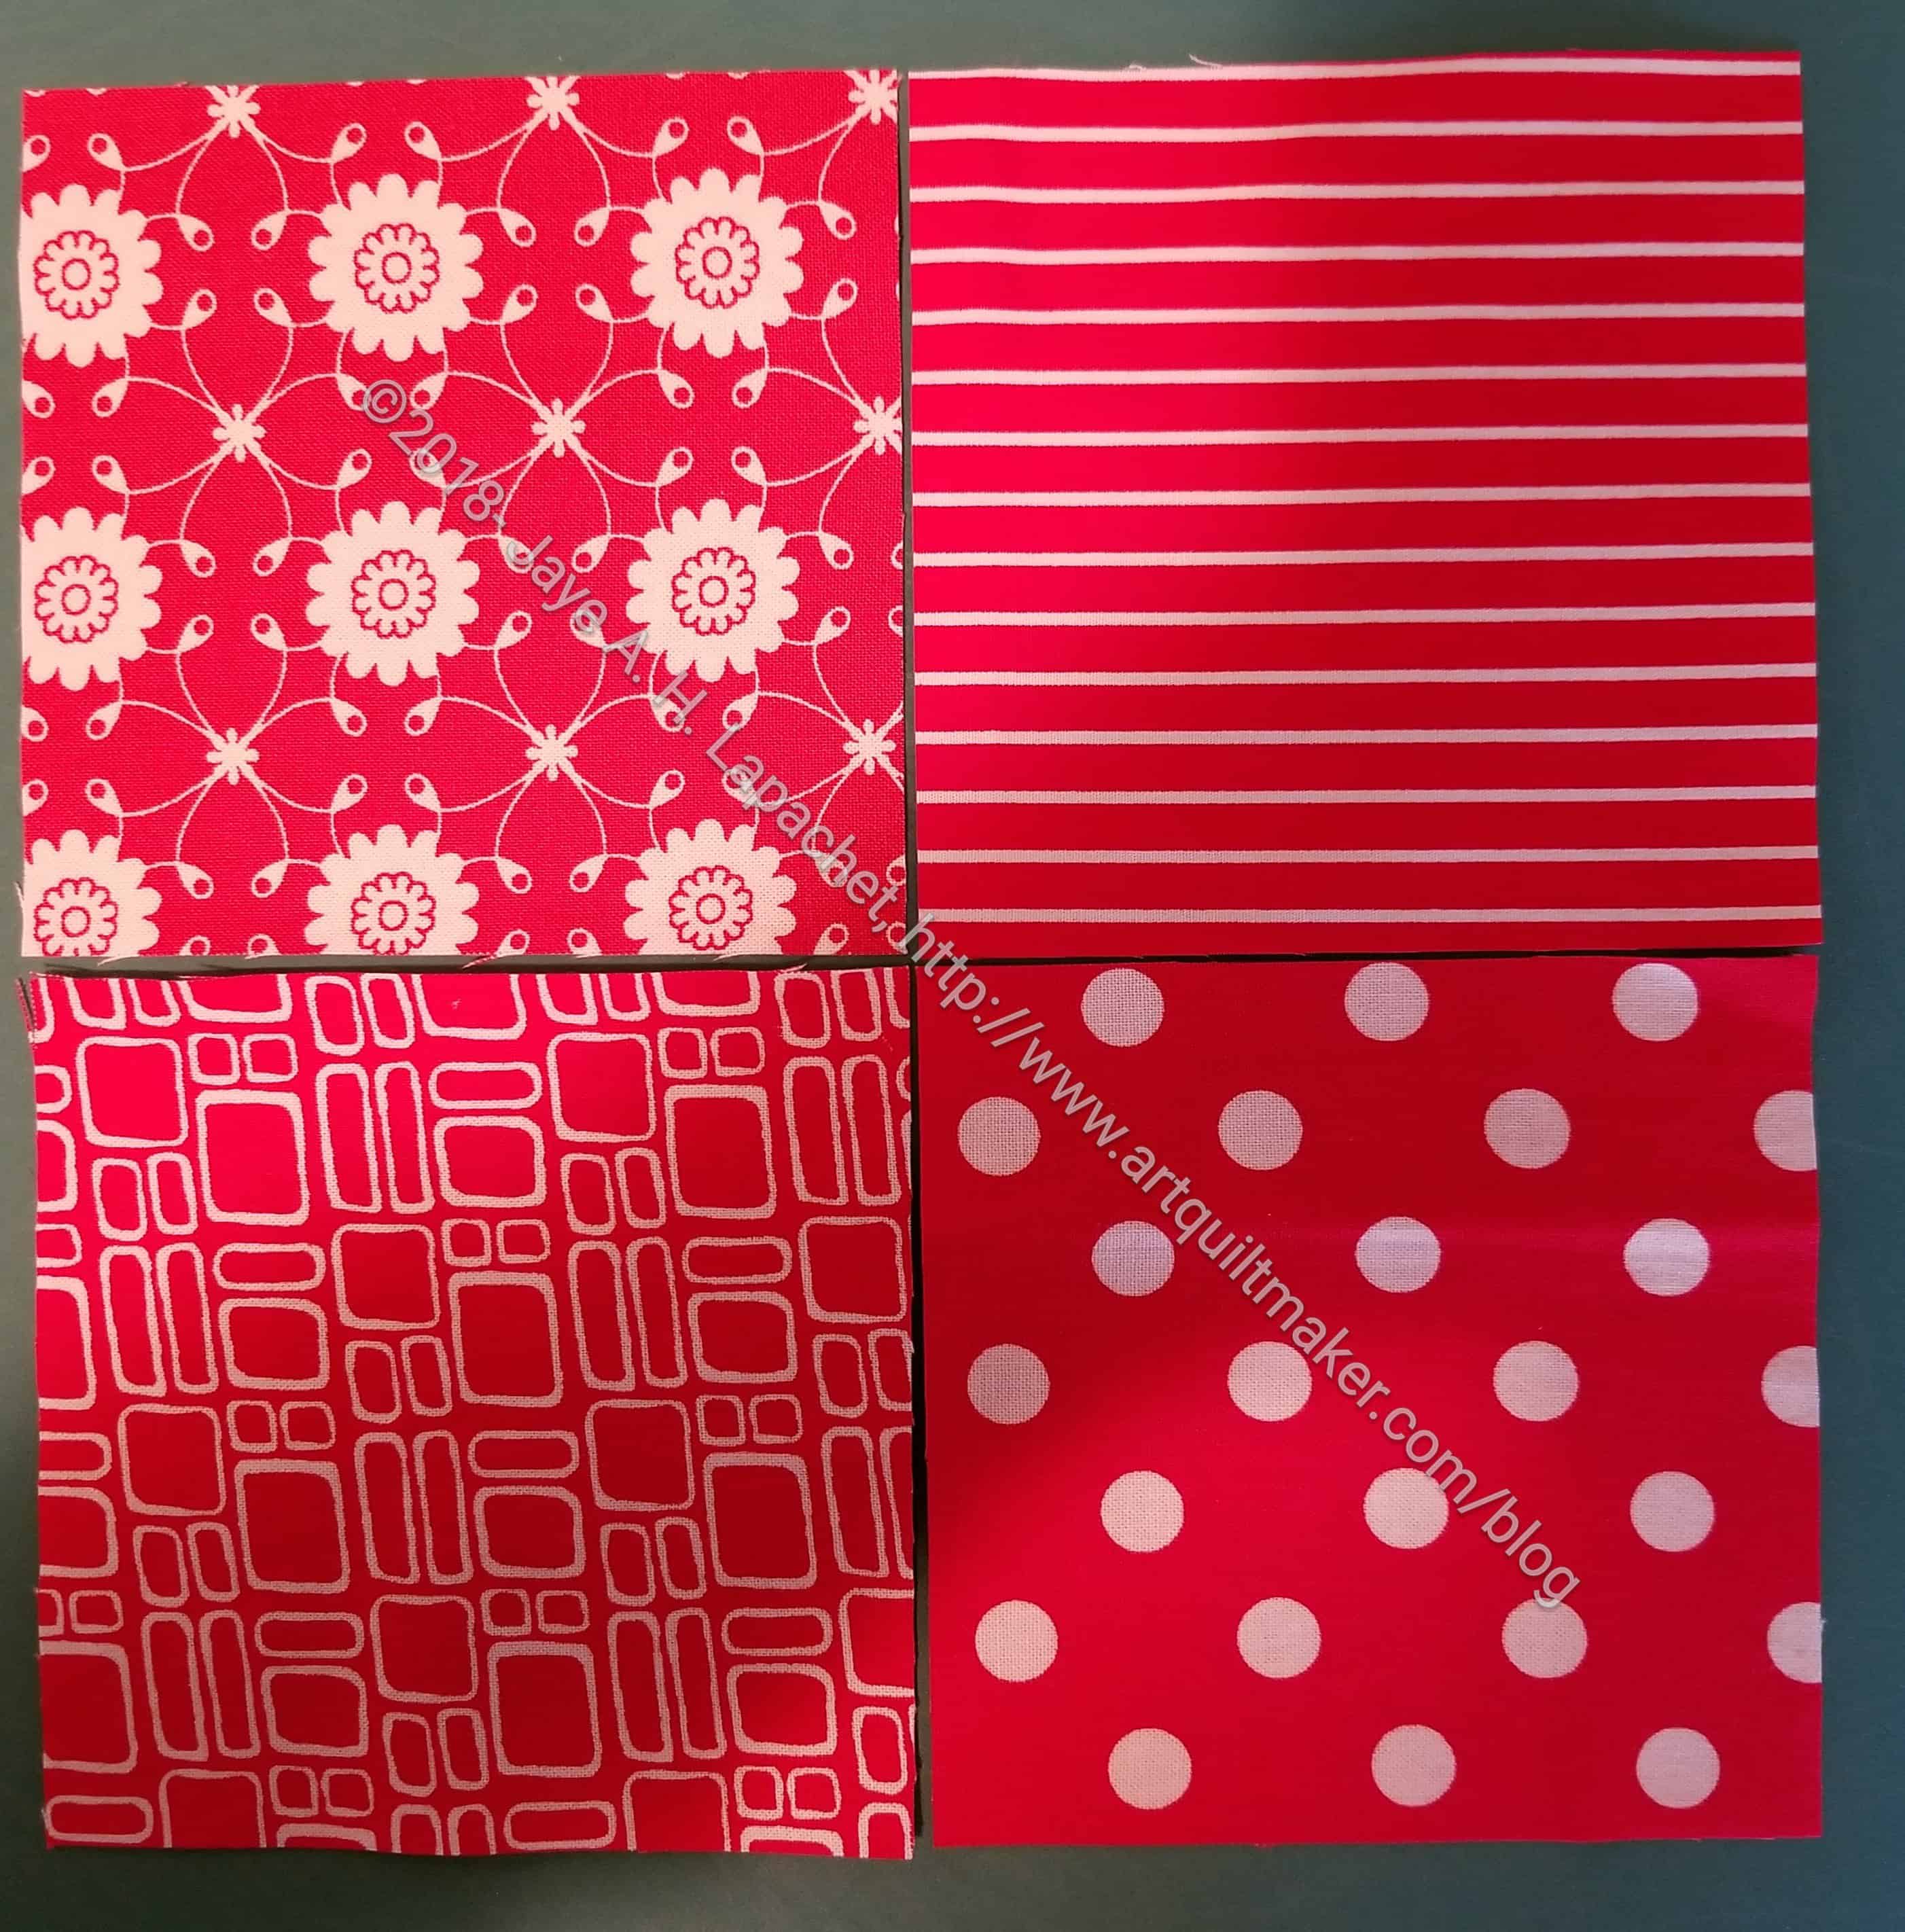
I finally finished all of the blocks for the second Red Strip Donation Top. As mentioned before, not all of these scraps were strips, like in the Green Strip Donation Top. There are a lot of chunks. Perhaps I should call it the Red Chunk Donation top? That would differentiate it from the first one.
One of the things I like about working on a design wall is that I see different things after I put the blocks (or pieces) up. In this case, I saw that the quilt looked pretty good with thin white strips in between the blocks. I may cut strips and try that as a layout. I’d use cornerstones as well. More scraps to use up.
The quilt won’t end up as large as the Green Strip, the Purple Strip or the first Red Strip Donation quilts, but it will still be big enough for something. The layout will be a little different than the first red version.
I am heading to the finish line making blocks for the second Red Strip Donation Quilt, but it is painful. The other day I had 7 left to make and I still have 1 left to finish. It is almost done. Maddeningly, it needs a very small strip on the top or bottom to make it the right size. ERGH!
I thought I would be able to finish by the meeting, but I doubt it now. Fortunately, there is no deadline except in my head.
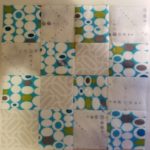
The Purple Improv donation top wasn’t even off the design wall before I started in on red scrap strip blocks, the next color in this unexpected series.
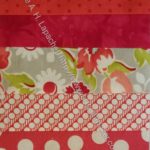
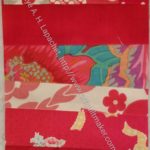
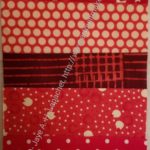
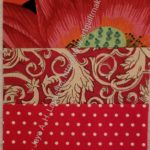
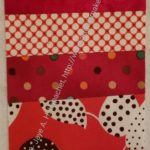
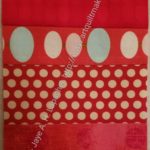
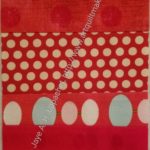
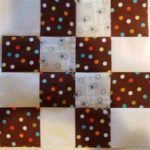
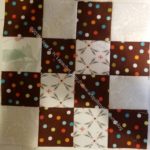
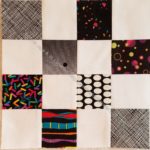
Red strip donation block n.10
Red strip donation block n.9
Red strip donation block n.8
Red strip donation block n.7
Red strip donation block n.6
Red strip donation block n.5
Red strip donation block n.4
Red strip donation block n.3
Red strip donation block n.2
Red strip donation block n.1
I have 15 more blocks to make, but they go fast and I have 3 in process at the moment.
There is something very satisfying about sitting at my sewing machine, grabbing strips and shards from a drawer right next to the machine and ending up with a quilt top. When I started the Green Thing, it was kind of a lark, an experiment to try the blocks that were inspired by Alison. Now this seems to be a whole project. It’s unexpected, but oddly satisfying.
I worked the other night while DH was out on clearing out my purple scrap bin. This resulted in a new set of blocks for BAM’s community quilting project.
There are a couple of duplicates as I had some long strips that resulted in two blocks.
There are also a lot of light scraps – lavender and very light purple. I was surprised at the variation in color. I don’t think I am a strictly dark purple lover.
I also made 6 more blocks than I did for the Green Strip quilt. I was on a roll and had the blocks in process before I realized how far along I was. It will be a slightly larger quilt. I haven’t decided what color to put with it for the plain blocks (I am using the same design as the Green Strip quilt). Chartreuse is across from purple on the color wheel I use.
I don’t feel like I used up enough of the purple scraps. The bin is definitely more empty, but still not empty enough. I even sorted out some super small pieces that would be much better as pet bed filling. Still I need to make more headway on purple scraps. Another similar quilt? Should I make this one larger?
It is a little early to post a complete list of donation blocks for February. I am dong it anyway. I have been doing quilt a bit of gift sewing, which I can’t show for a few weeks, so here we are.
Scrappy Green Donation block
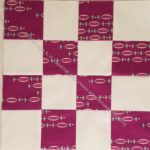
Swirly Red donation block – yes, another
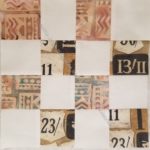
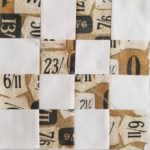
Numbers & Batik donation block
Numbers donation block
Beige batik donation block
Green donation block
It was easier while I was working on my secret project to make donation blocks rather than work on the back of the City Sampler, thus I used the 2.5 inch squares as my leaders and enders. I’ll finish up the city Sampler back today.
Not a ton, but some progress. I have more ends to use up, so I may work on that next.
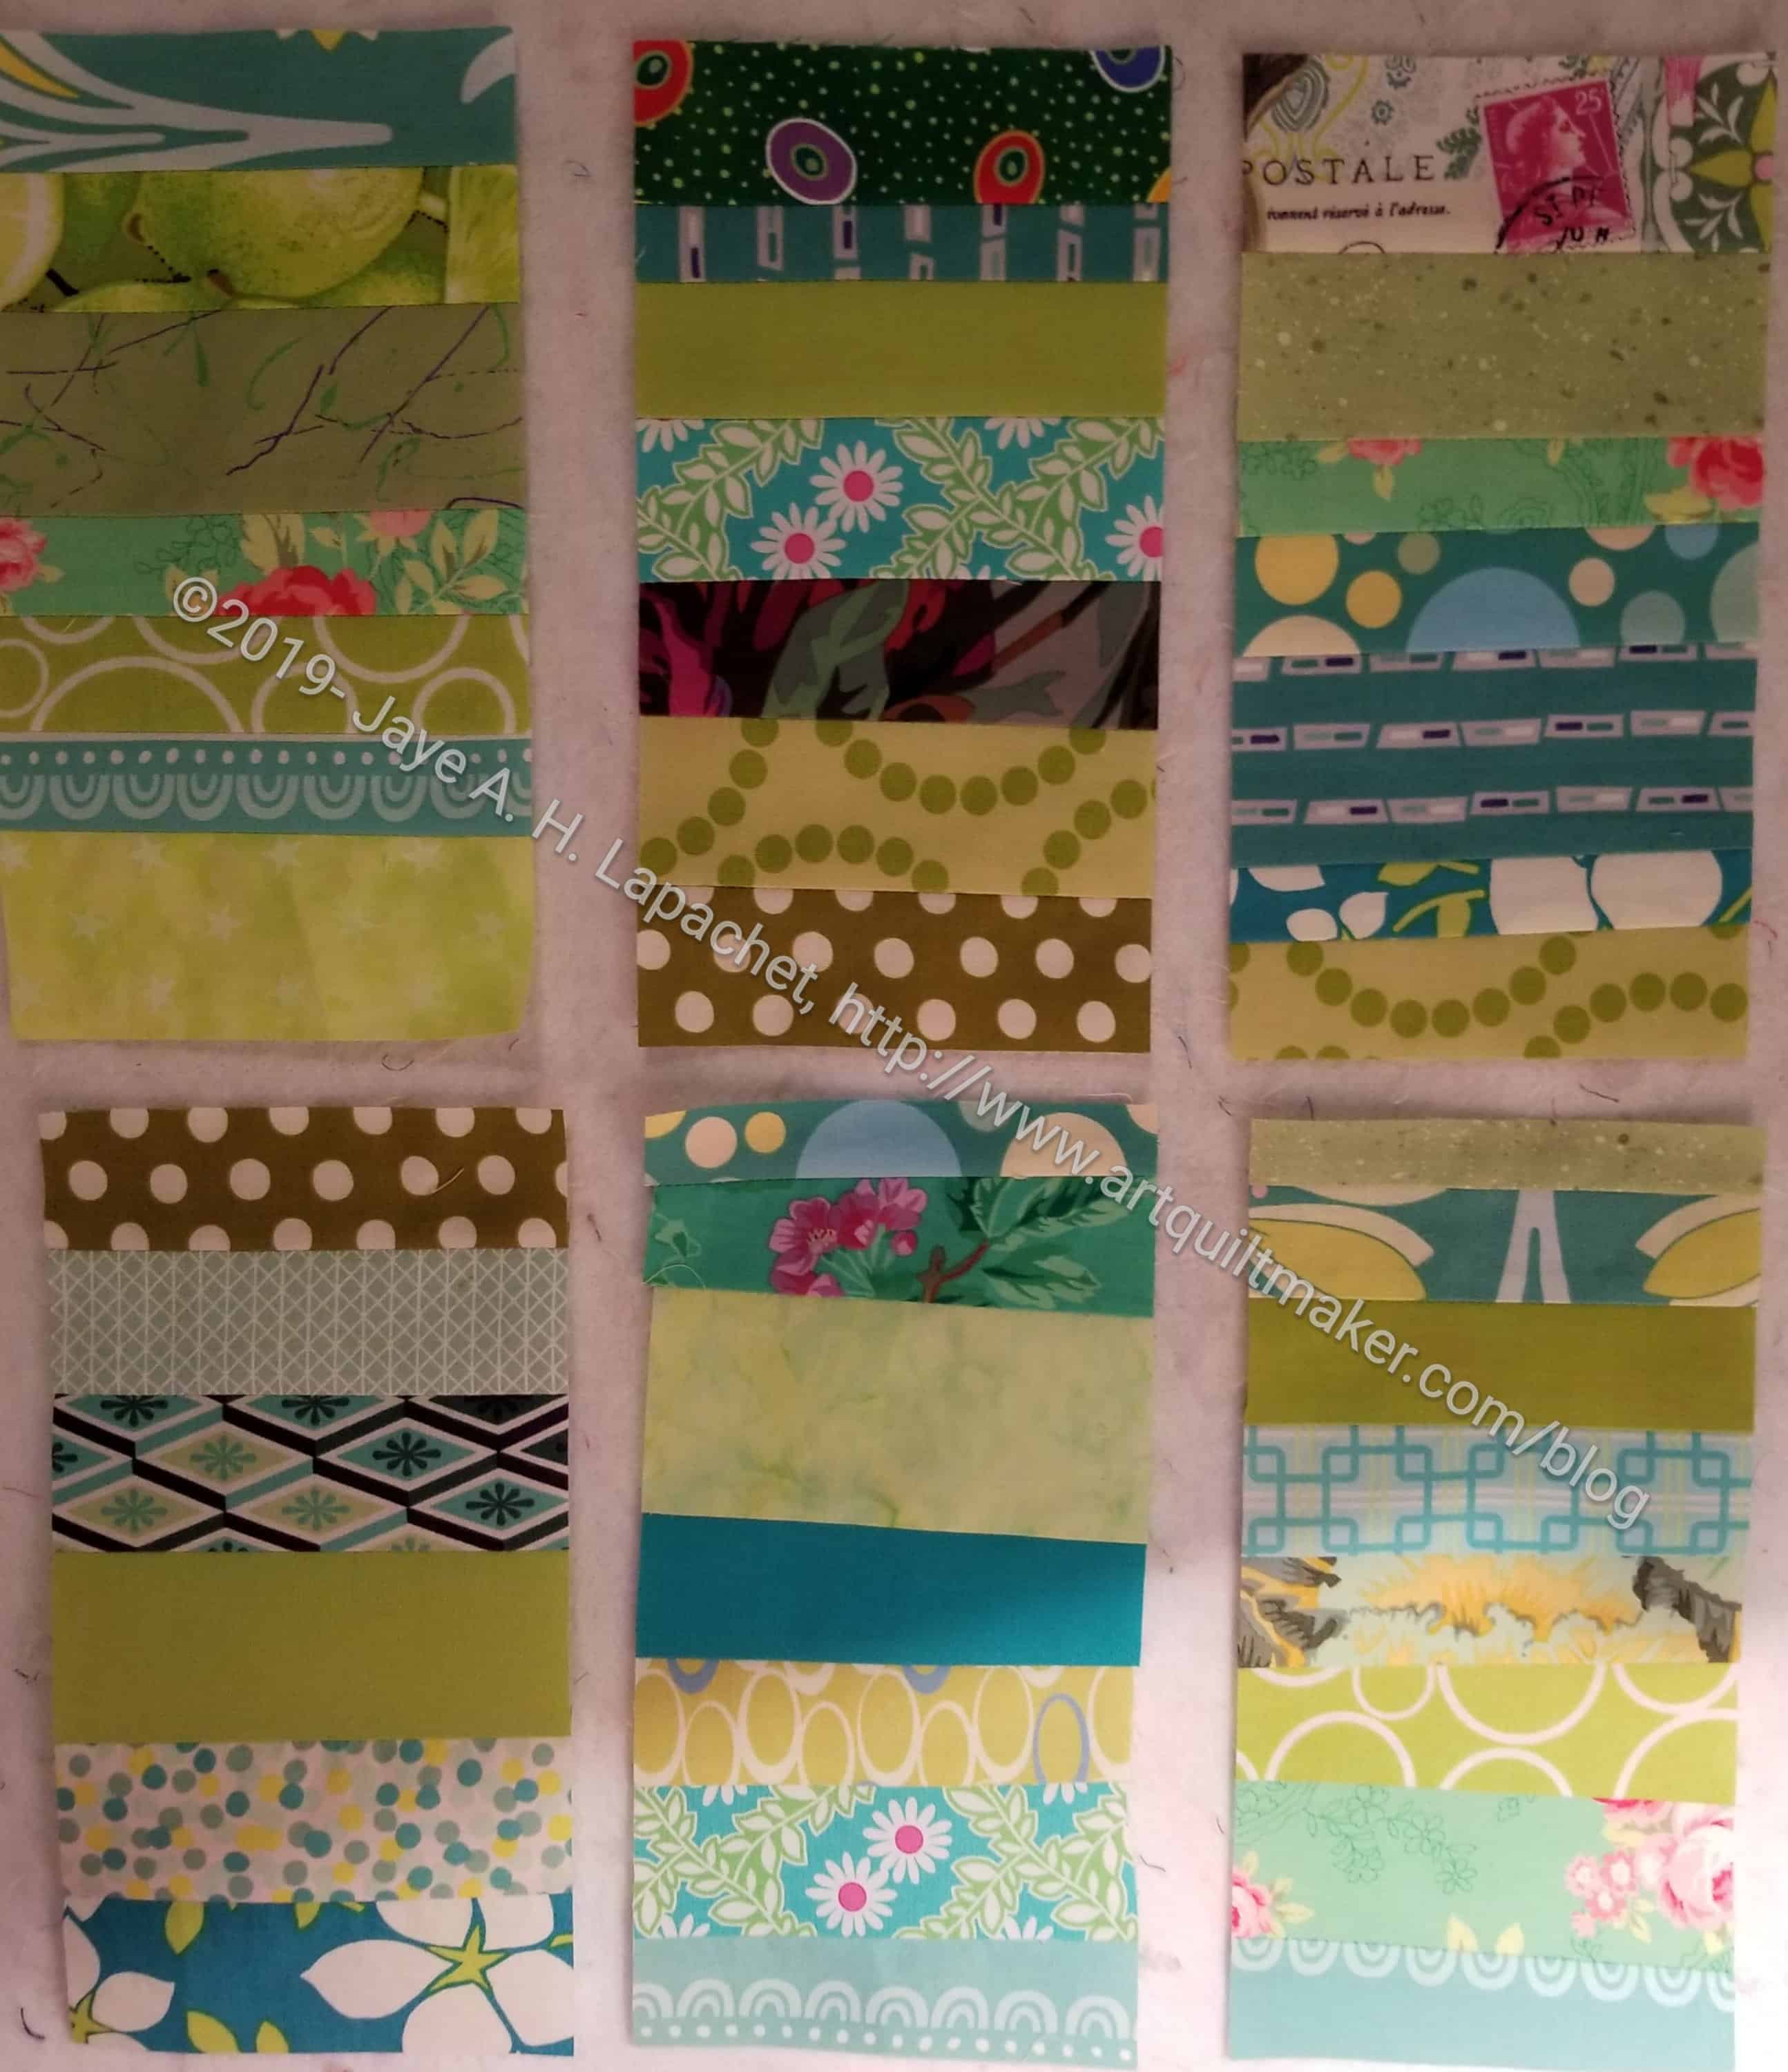
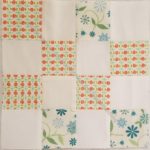
A few days ago, I wrote about some new strip donation blocks I was working on. I have made a few more as I have worked on other projects. I think they are looking good.
Mrs. K was interested and pointed out some challenges with my previous post. I know she didn’t do it intentionally, but I was glad to be reminded that I am not one of those people who hides information so I can sell a kit.
Strip donation blocks
Each block is 4.5″ x 8.5″ unfinished. I sew them with whatever strips I have, trying to keep the bias straight since I am not using a foundation. Once I have a large enough piece, I trim it with my Creative Grids 4.5 x 8.5″ ruler. This is a ruler I use all the time. I keep it on my cutting table for quick cuts, because it fits my hand really well, but is also useful for cutting 2.5″ squares and other sizes I am Hunting and Gathering.
My plan is to alternate them with plain blocks. I will make enough for 5 rows of five blocks, which I think is a total of 20 blocks. I’ll have to actually draw a picture to be sure.
This is an exercise in scrap clearance and workings towards my goal of using 100 yards of fabric (net).
Bonnie Hunter has a pattern using the same technique, but with foundations and set a different way. Having a real plan might be better for some of you than my random way of working.
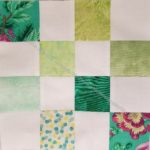
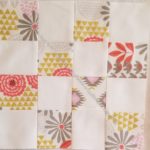
I am not sure what exactly made me think of it, but part of it was contemplating my scrap pile. After cutting a bunch of squares with the Accuquilt, I still had a lot of strips. Also, as I have said, a block Alison showed me and our discussion inspired me. Instead of making the regular 16 patches, I have been making these strip blocks. I want to use up scraps and I have a lot of strips left.
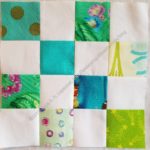
I decided to start with my green scrap drawer. It is closest to my sewing machine.
So far I have three blocks done. I’d like to make the blocks for the entire quilt green, but I don’t know if I will have enough strips/scraps to do that. I’ll see and will be flexible.
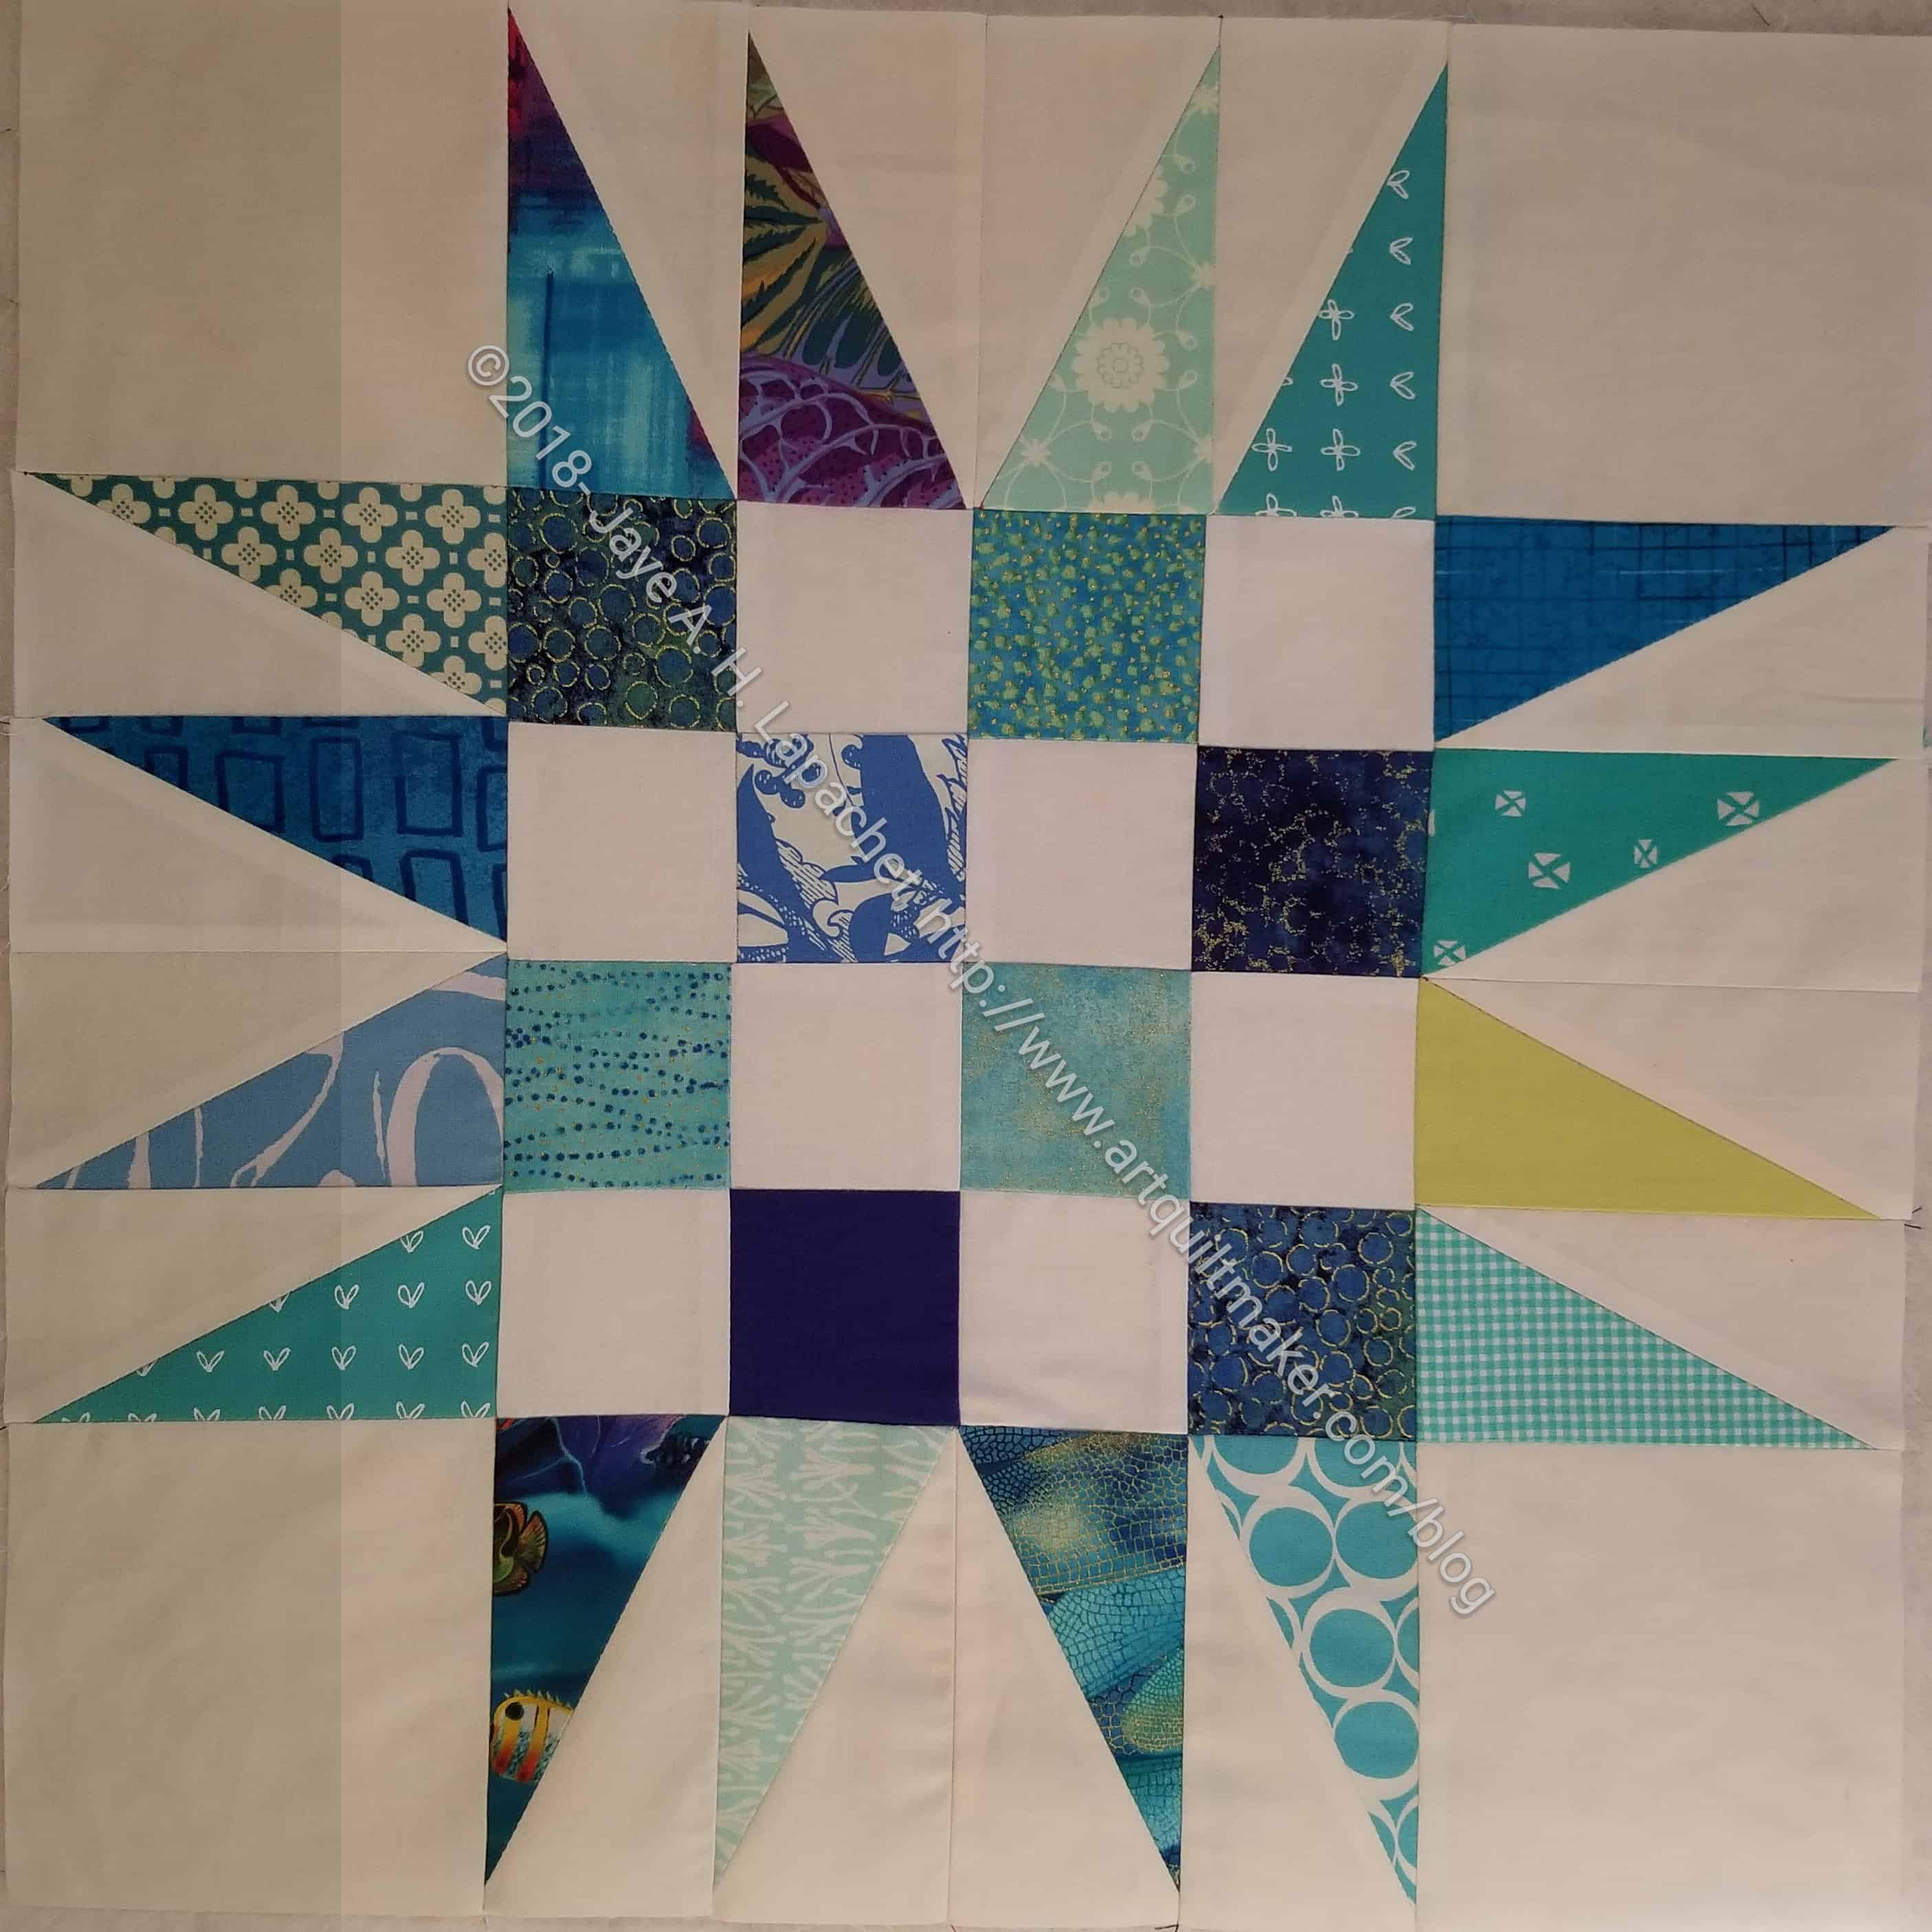
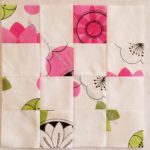
I finished another Spiky 16 patch over the weekend, so my collection is growing. I need to start thinking about how I will set these blocks. I could do another quilt like either n.1 or n.2. I am trying to think of something different. Something different might be a small addition like Mrs. K added to her corners.
On point settings are kind of a hassle, but so effective. I have two more blocks to make before I have to decide.
I have been working a little at a time on these blocks. Thanksgiving took up a lot of time last week and I didn’t get much time to sew until Friday.
As mentioned the other day, I had to make some right facing HRTs. I made a few so I could finish this block.
I want these blocks to, at least, have the appearance of being scrappy, so I can’t make many of the individual units without getting too much duplication. I am pleased with this one.
I am getting started again on a third Spiky 16 Patch donation quilt.
It is easy just to keep making 16 patches. They are pretty rote, but I have a lot of the prep done for more spiky 16 patches and the units don’t help anyone laying around the workroom. I made the first block with no problems. The first block is always the hurdle. Now I feel like I can zoom through the process.
The stack of the 16 patches and the half rectangle triangles made a good start.
As you can see the rectangles point in different directions I am a bit short of the ones that point to the right (on the bottom row). I had to make a few to finish this block. I will need to make more to finish the rest of the quilt as well. It is a little confusing to know which way to cut the fabric to get the triangles to point in the right direction. I think it is with the print fabric on top. I want to dig out the Split Recs ruler directions to see if that particular piece of information is clearly noted. If it is clear, then I won’t have to try and remember. Small details like that disappear when there is space between projects.
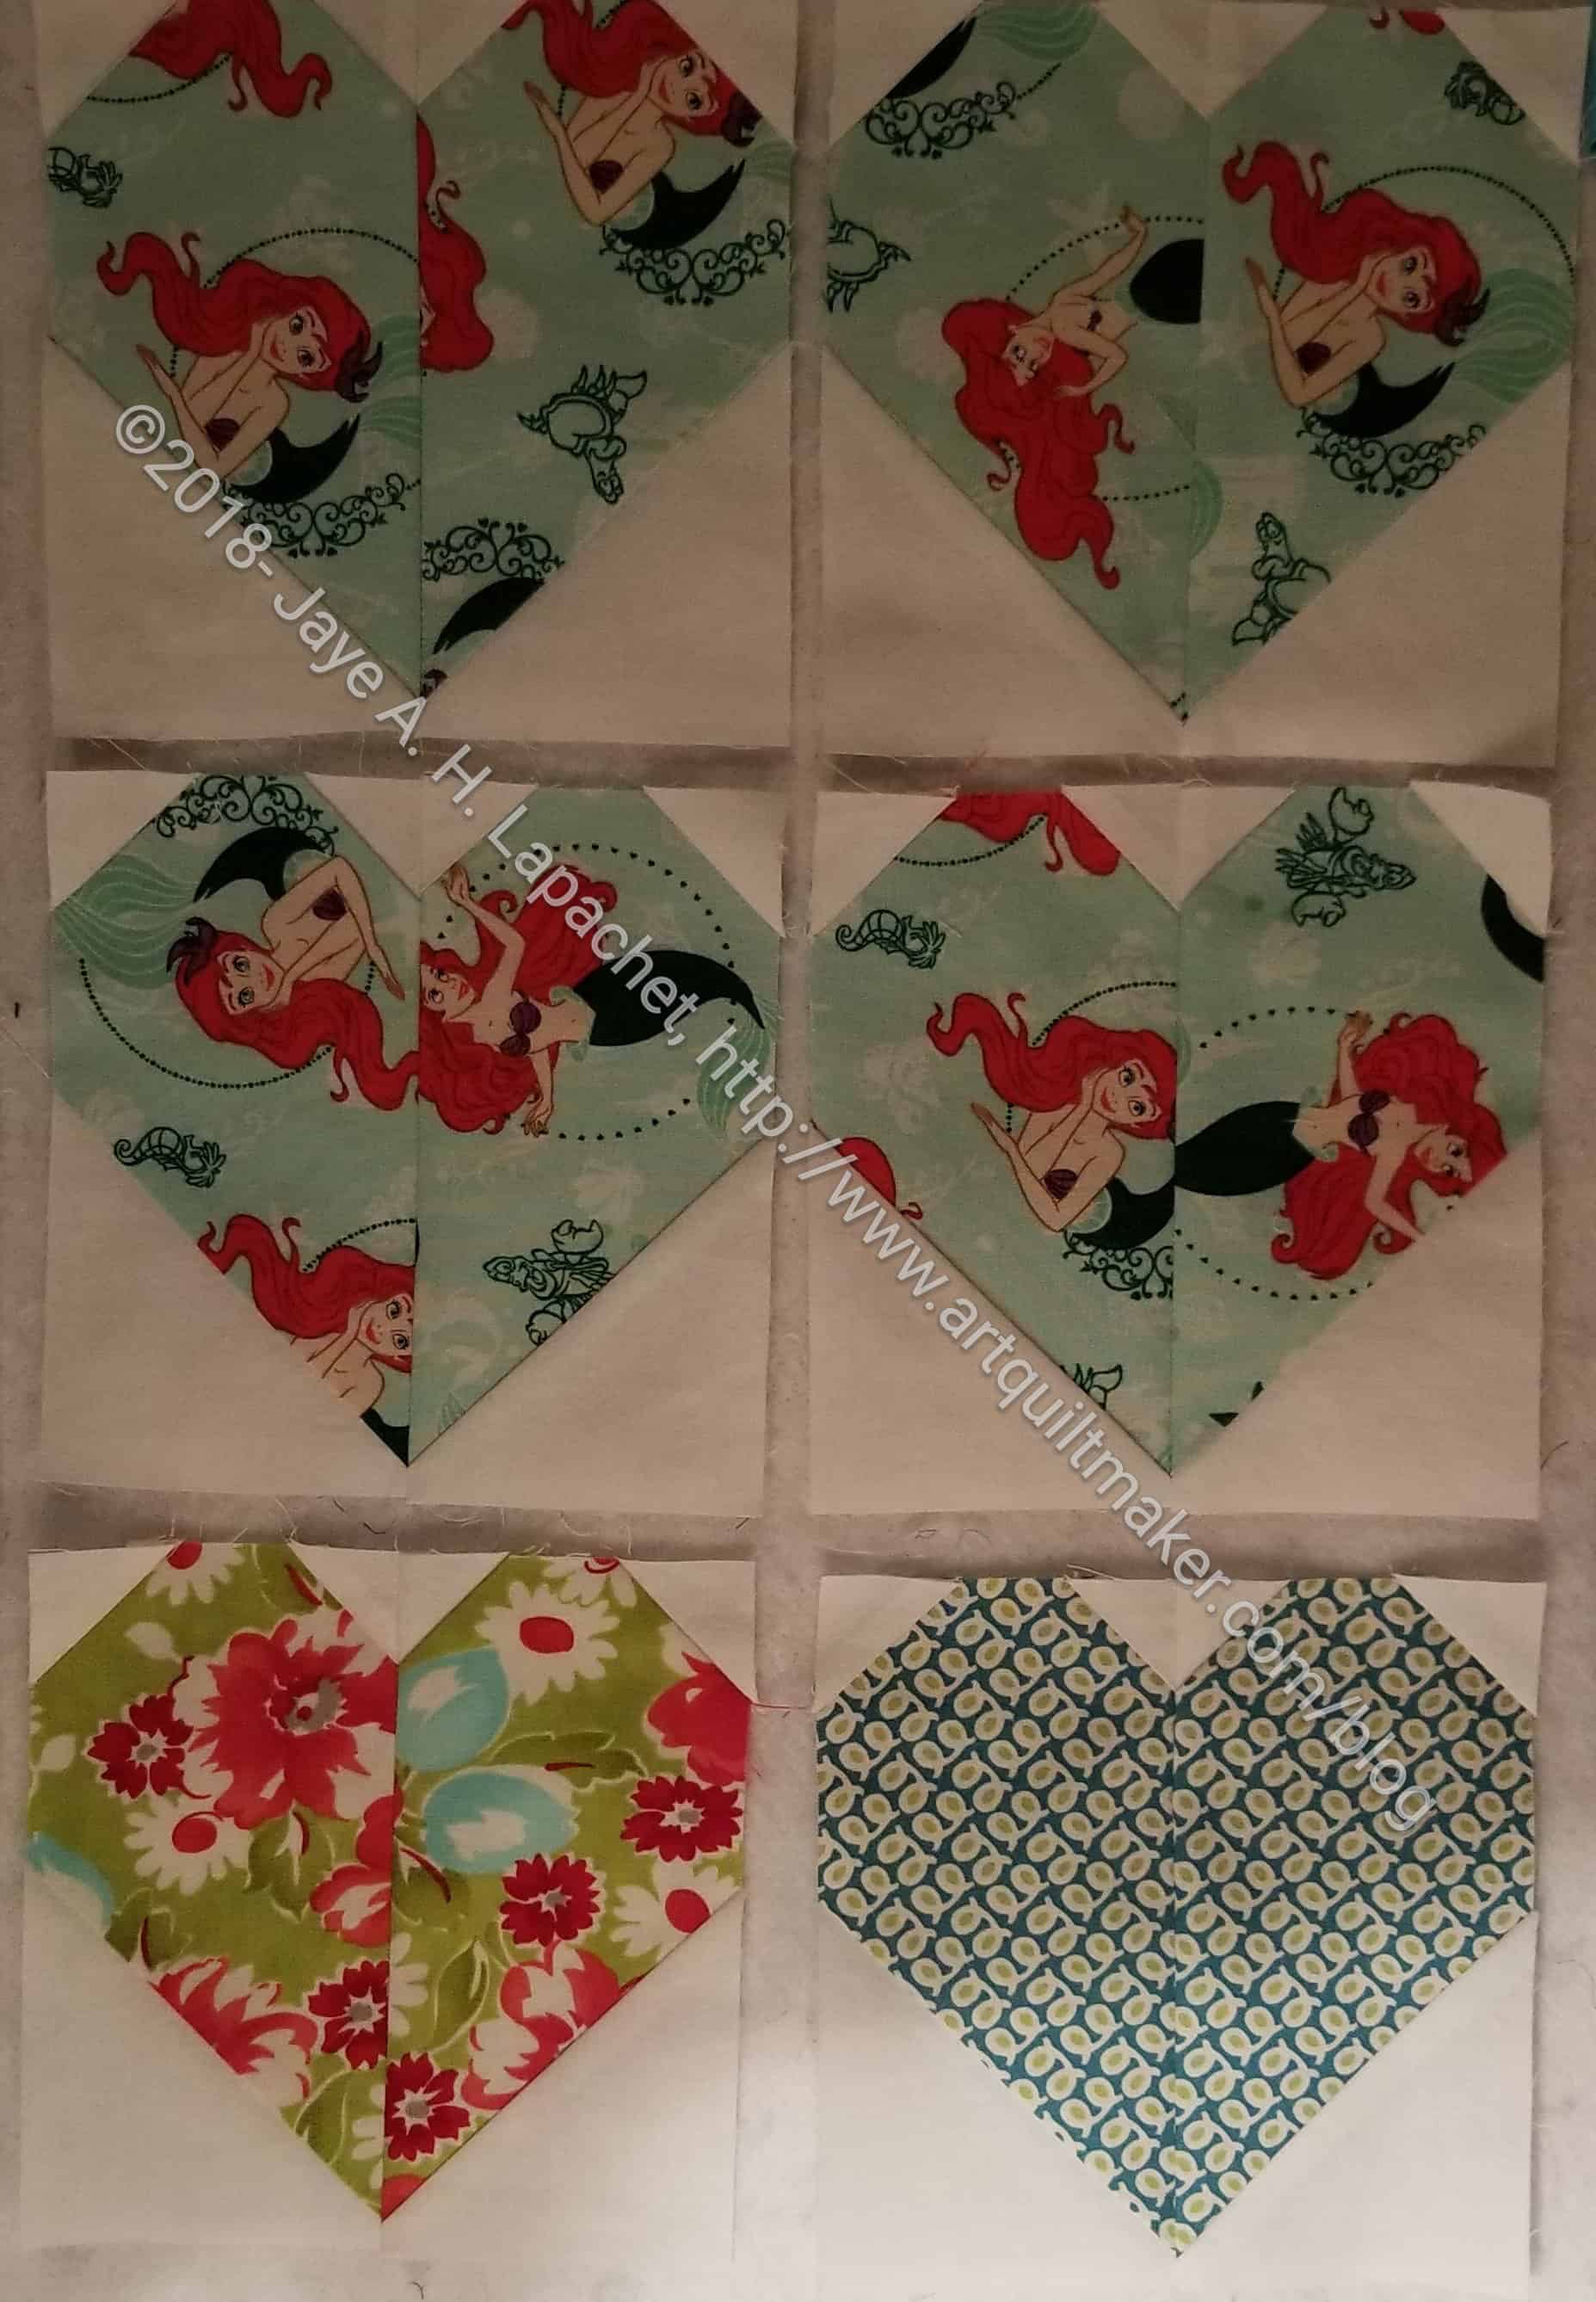
I sent off my #girlscouthearts on Tuesday. I made six of the small size on Monday afternoon. I just returned from my 4th of 4 trips in a 4 week period and was pretending it was Sunday.
I find the Cluck Cluck Sew heart block good for these types of projects. It is easy to make and the symbolism is appropriate. I had been wondering what to do with the leftovers from the Ariel pillowcase I made for my little niece. This was the perfect solution, except for the color. The request was for bright greens and kelly greens, so I was worried that my blocks would not be included. I took a look at the #girlscouthearts hashtag and found that some of the blocks are similar in color to mine. Also, I can only do what I can do.
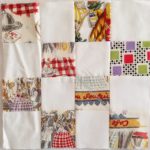
I was able to up my donation block production in October a little bit, which makes me really happy. I did forget to bring the blocks for the past couple of months to the meeting, however, so I will, with any luck, have a huge pile to bring in November.
Quilted Fish Donation block
Bold Flowers Donation block
Quilted Fish n.2 donation block
Quilted Fish n.3 donation block
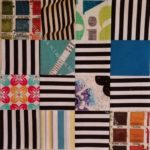
Black Stripe donation block
Serendipity Flower donation block
Restaurant donation block
Restaurant donation block n.2
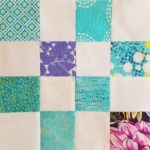
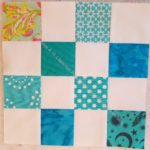
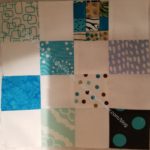
Low volume donation block
Gold triangle donation block
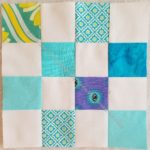
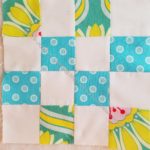
Turquoise print donation block
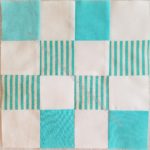
Turquoise donation block
I am working through some of the 2.5 inch squares I cut with the Accuquilt at Craft Night a few weeks ago. Going through one color scrap pile limits my options, though. Design challenge, right?
As usual I added to the stash of donation blocks that the guild needs to keep our charities well supplied.
Mermaid donation block
Dots and a stripe donation block
Purple & Turquoise donation block
The Purple Eye donation block
Flowers & Dots donation block
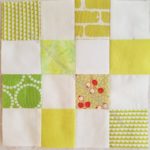
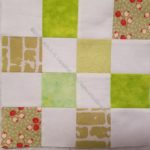
Lime donation quilt
Blue stripe donation block
Lime n.2 donation block
Green bricks donation block
Turquoise #3 donation block
One flower donation block
Chocolate + grey donation block
Pink & Green donation block
Chocolate dot donation block
Flannel and grey donation block
Little flowers donation block
As mentioned, I spent some time with the Accuquilt cutting 2.5 inch squares. I have to cut more scraps as my scrap drawers are overflowing. Aside from cutting with the Accuquilt, that is something I can do it bits and pieces of time I find while dinner is cooking or when I am waiting for DH to be ready to leave.
A number of the blocks were made at the BAM Retreat.
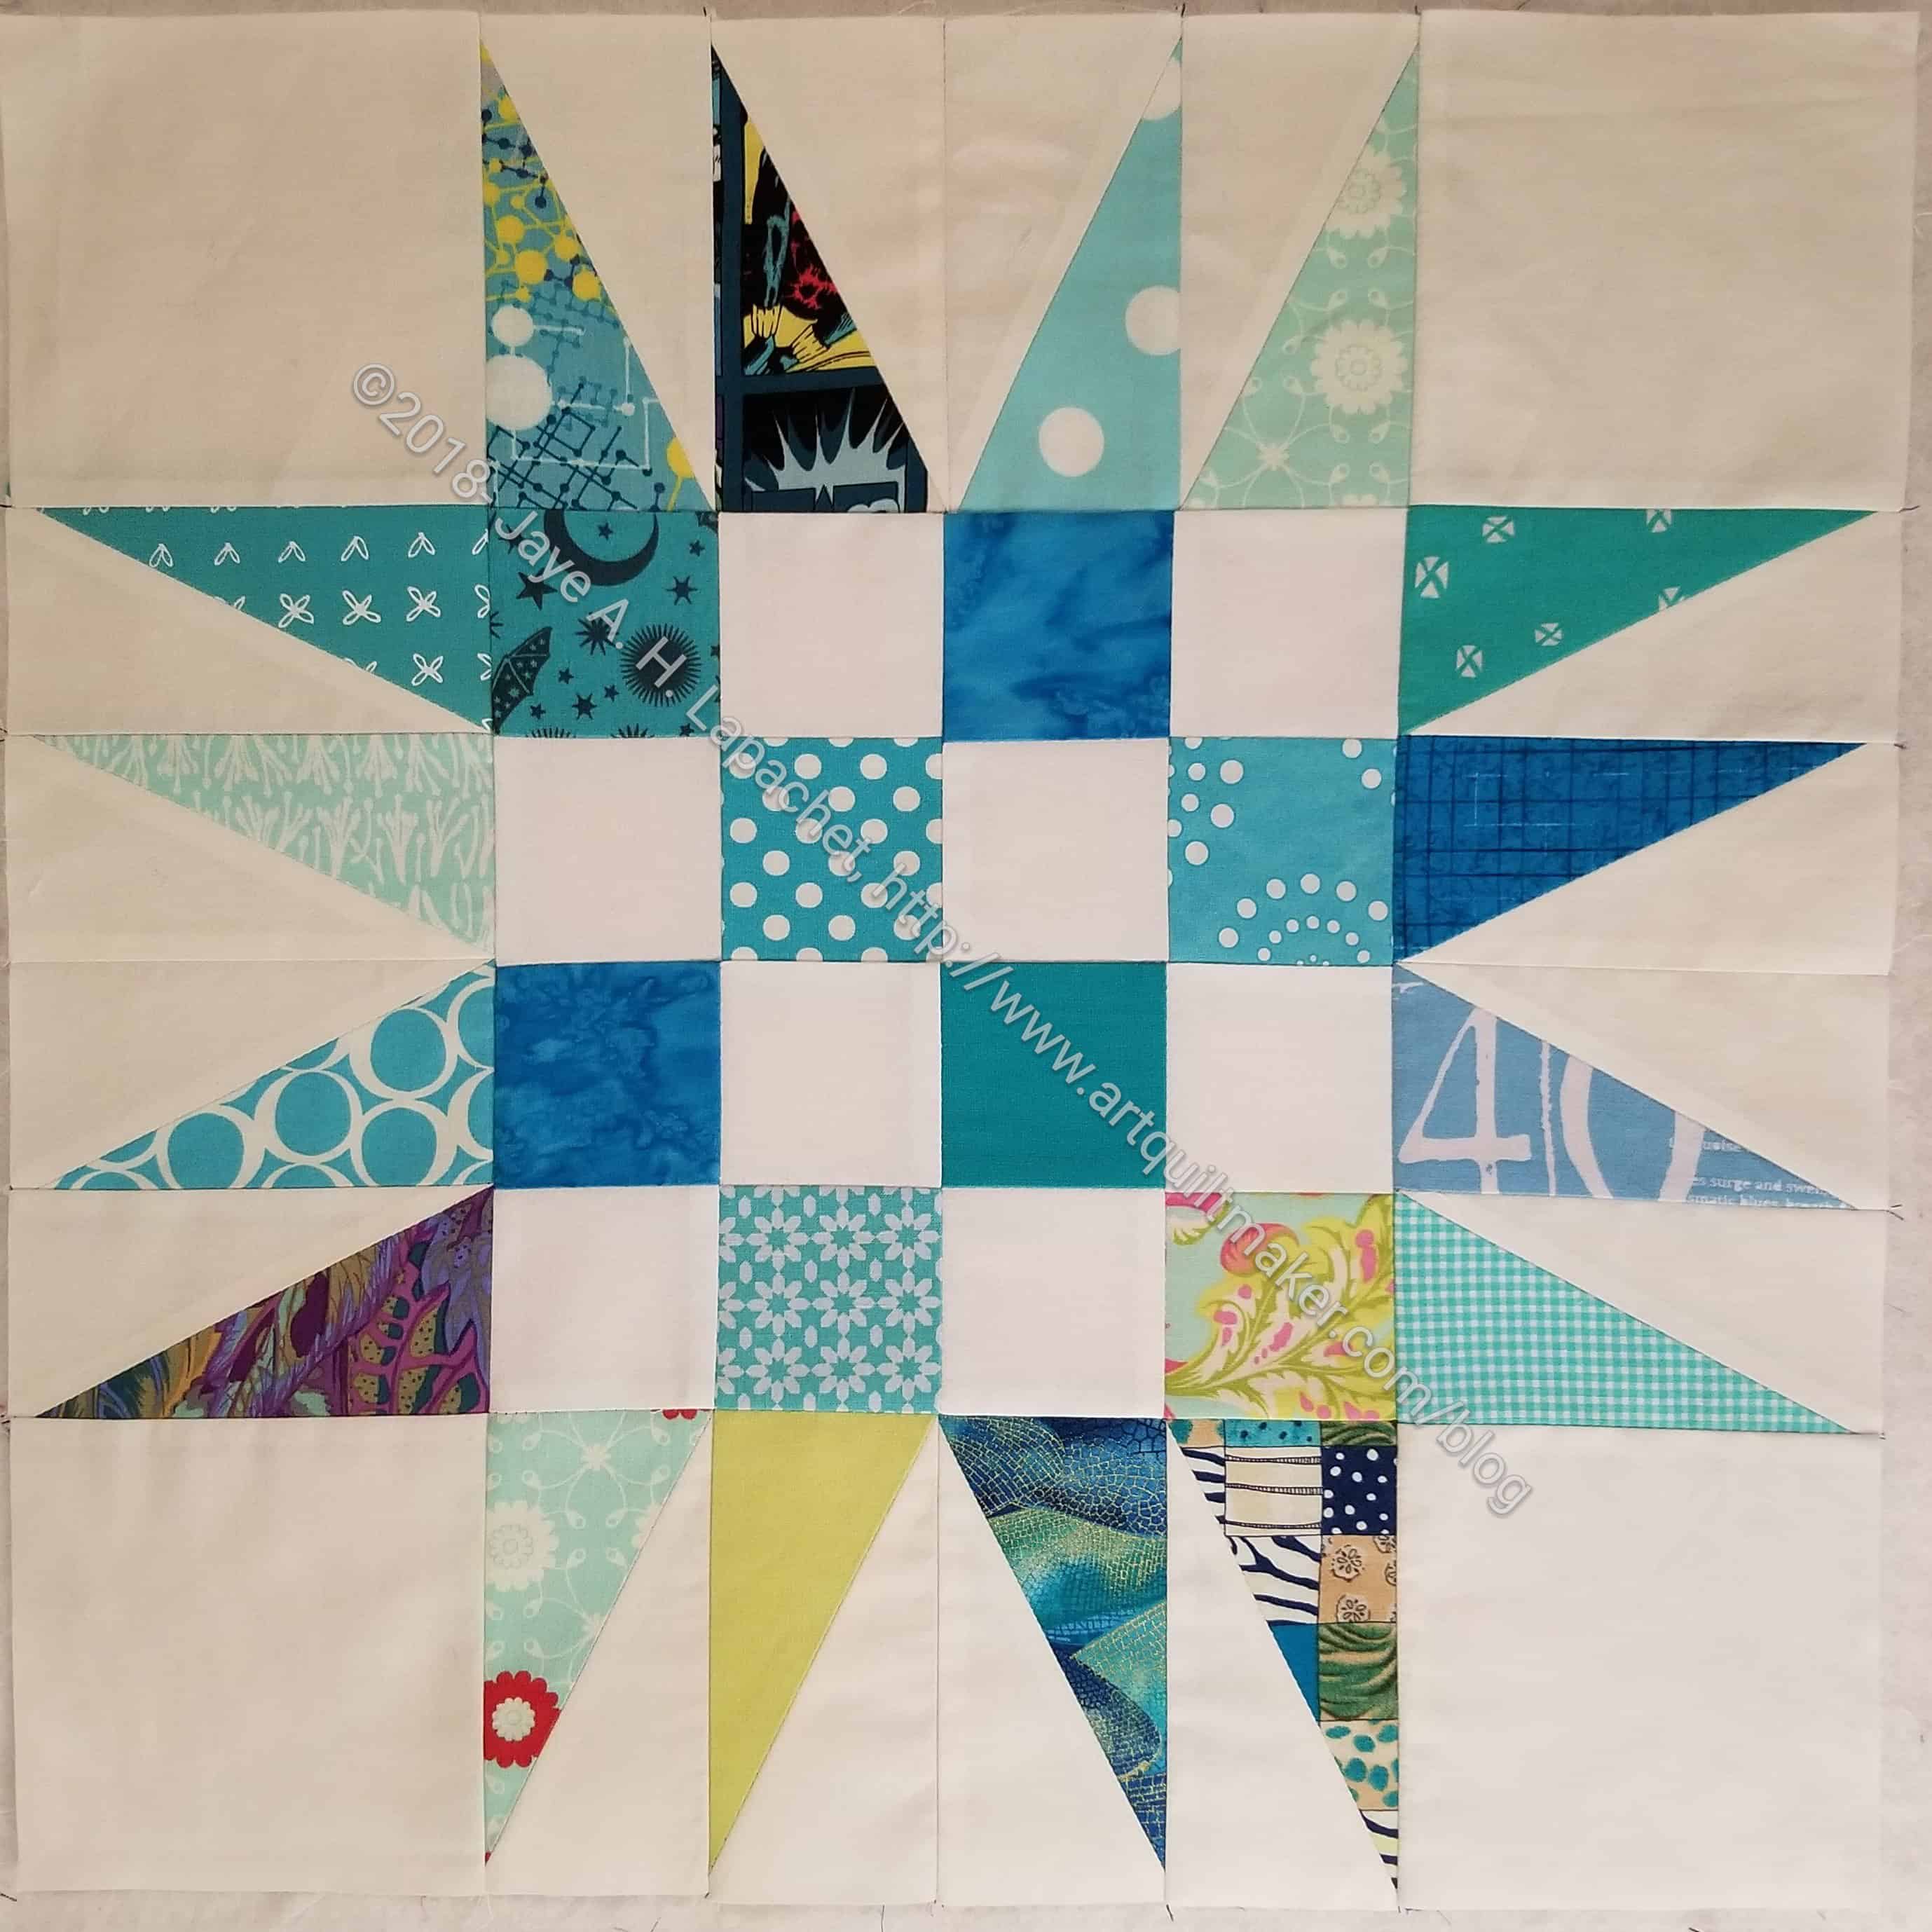
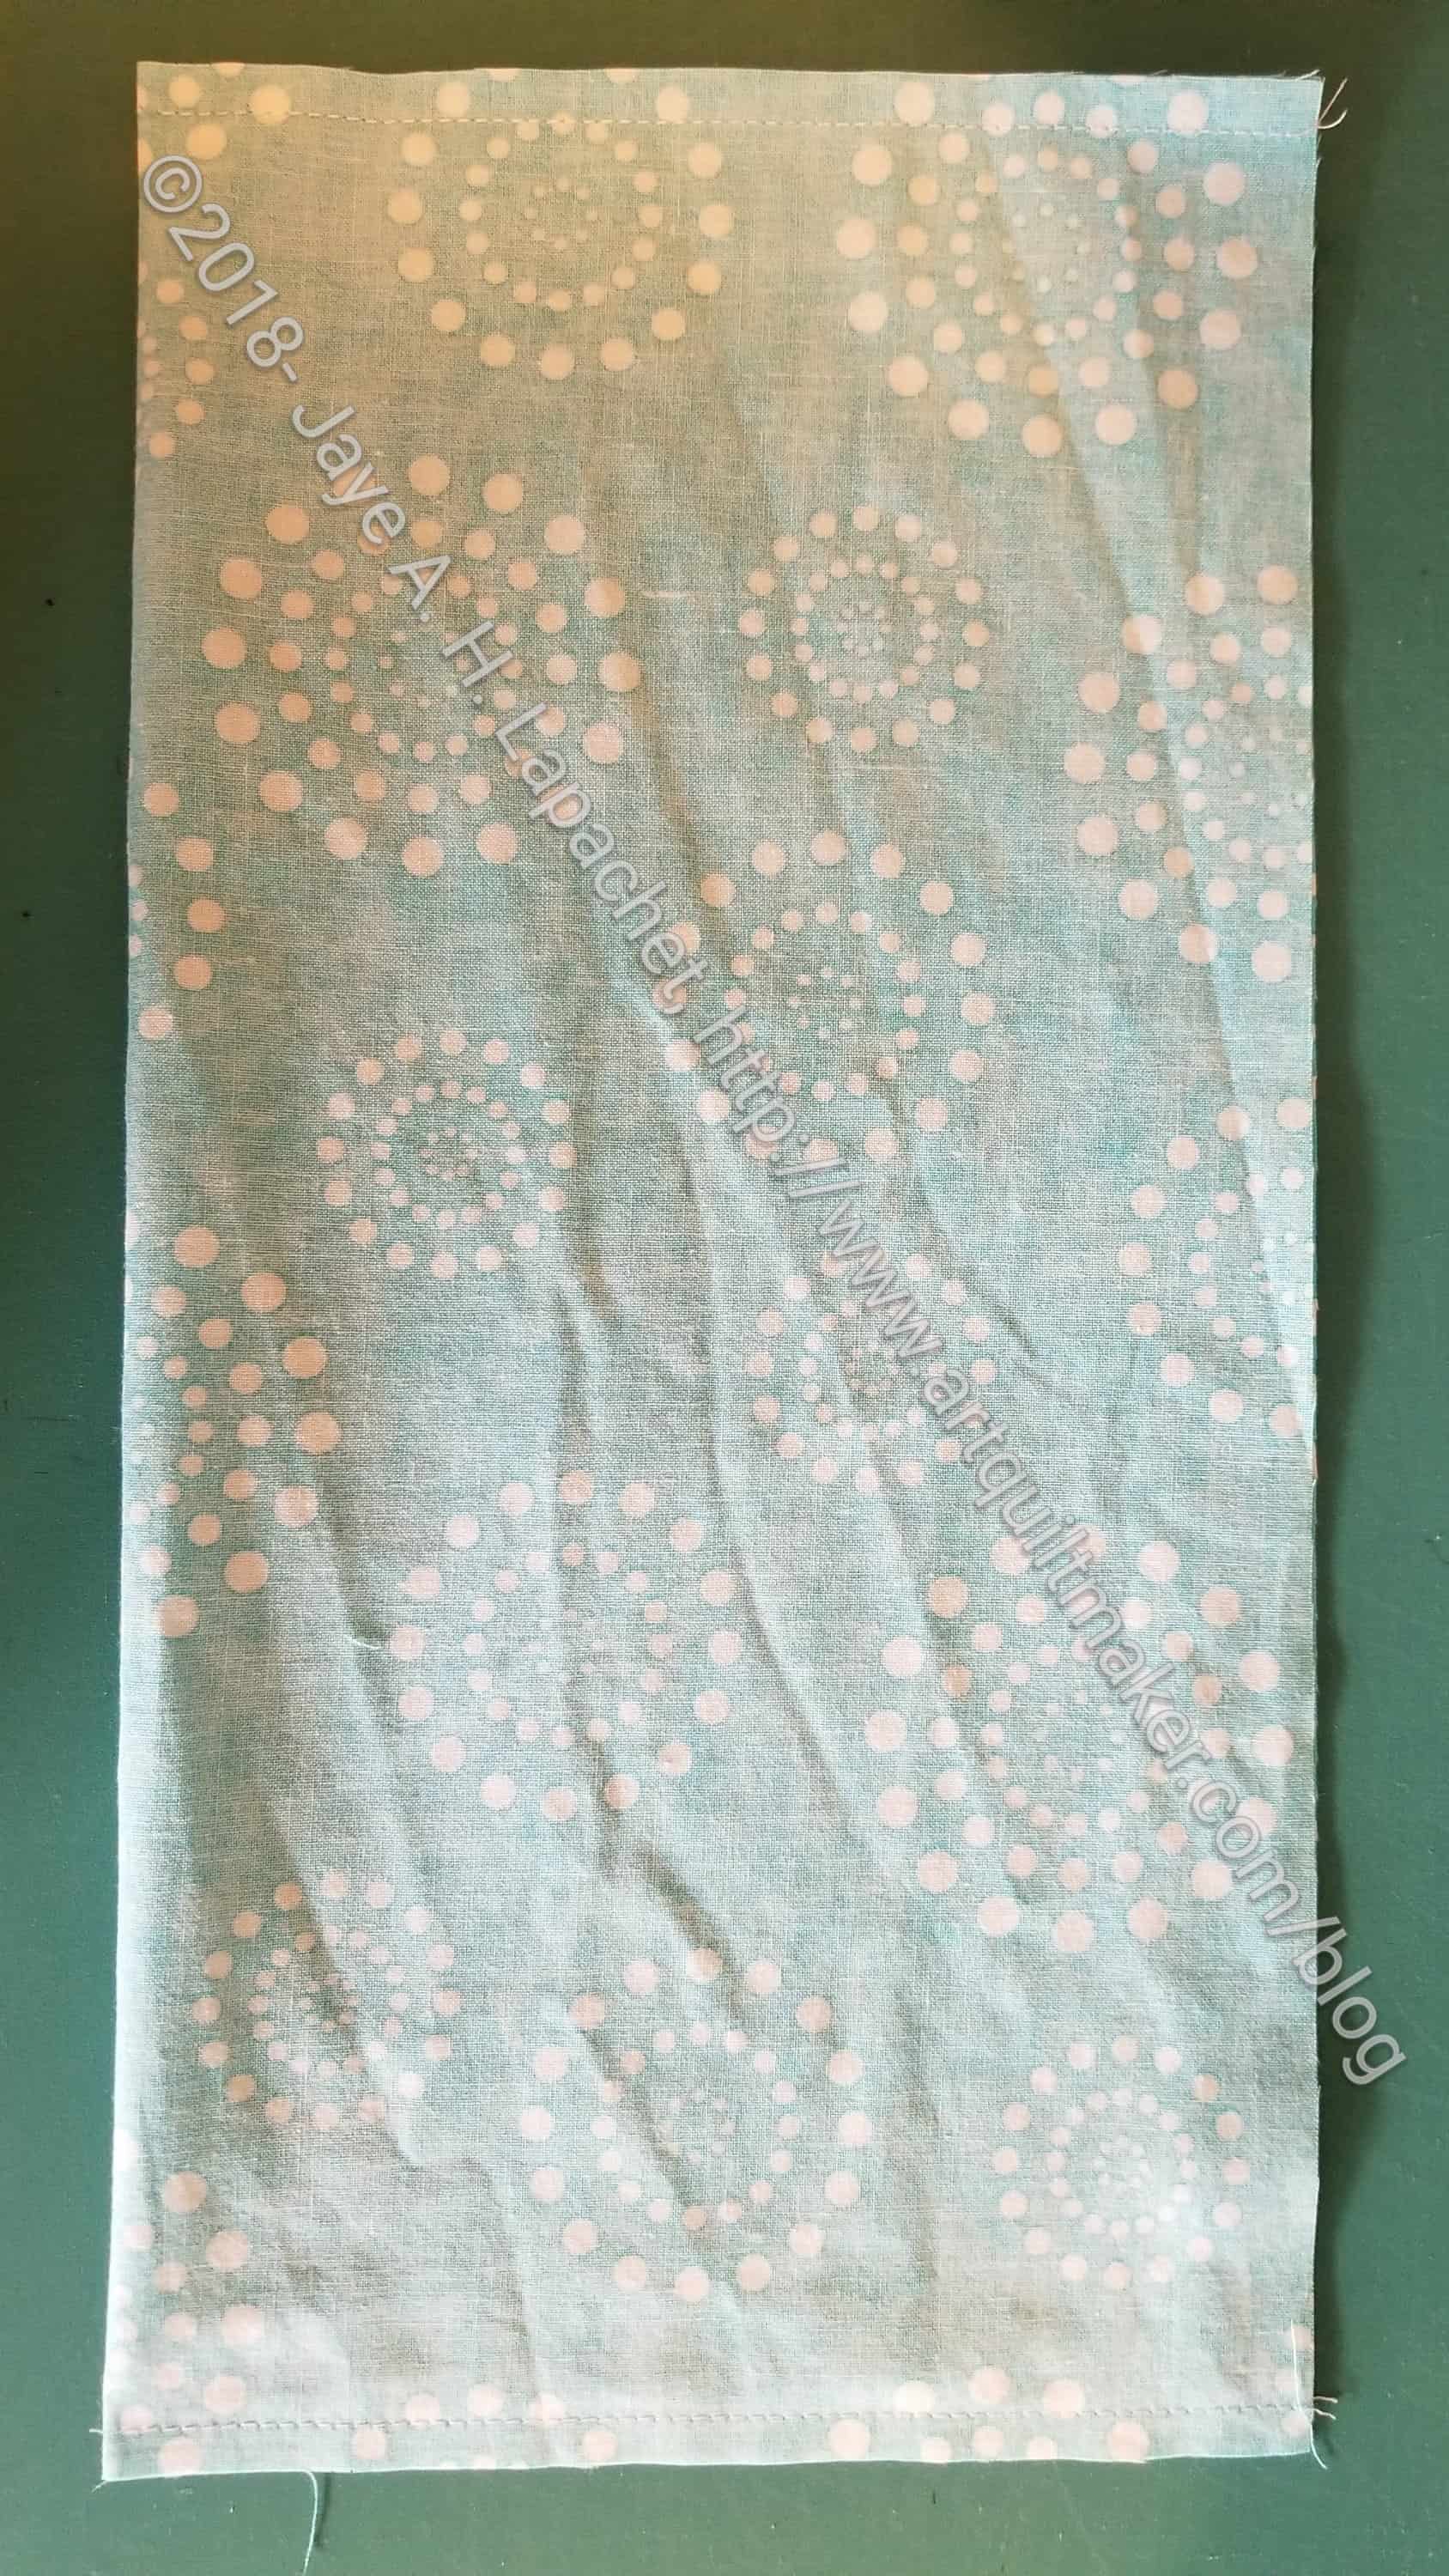
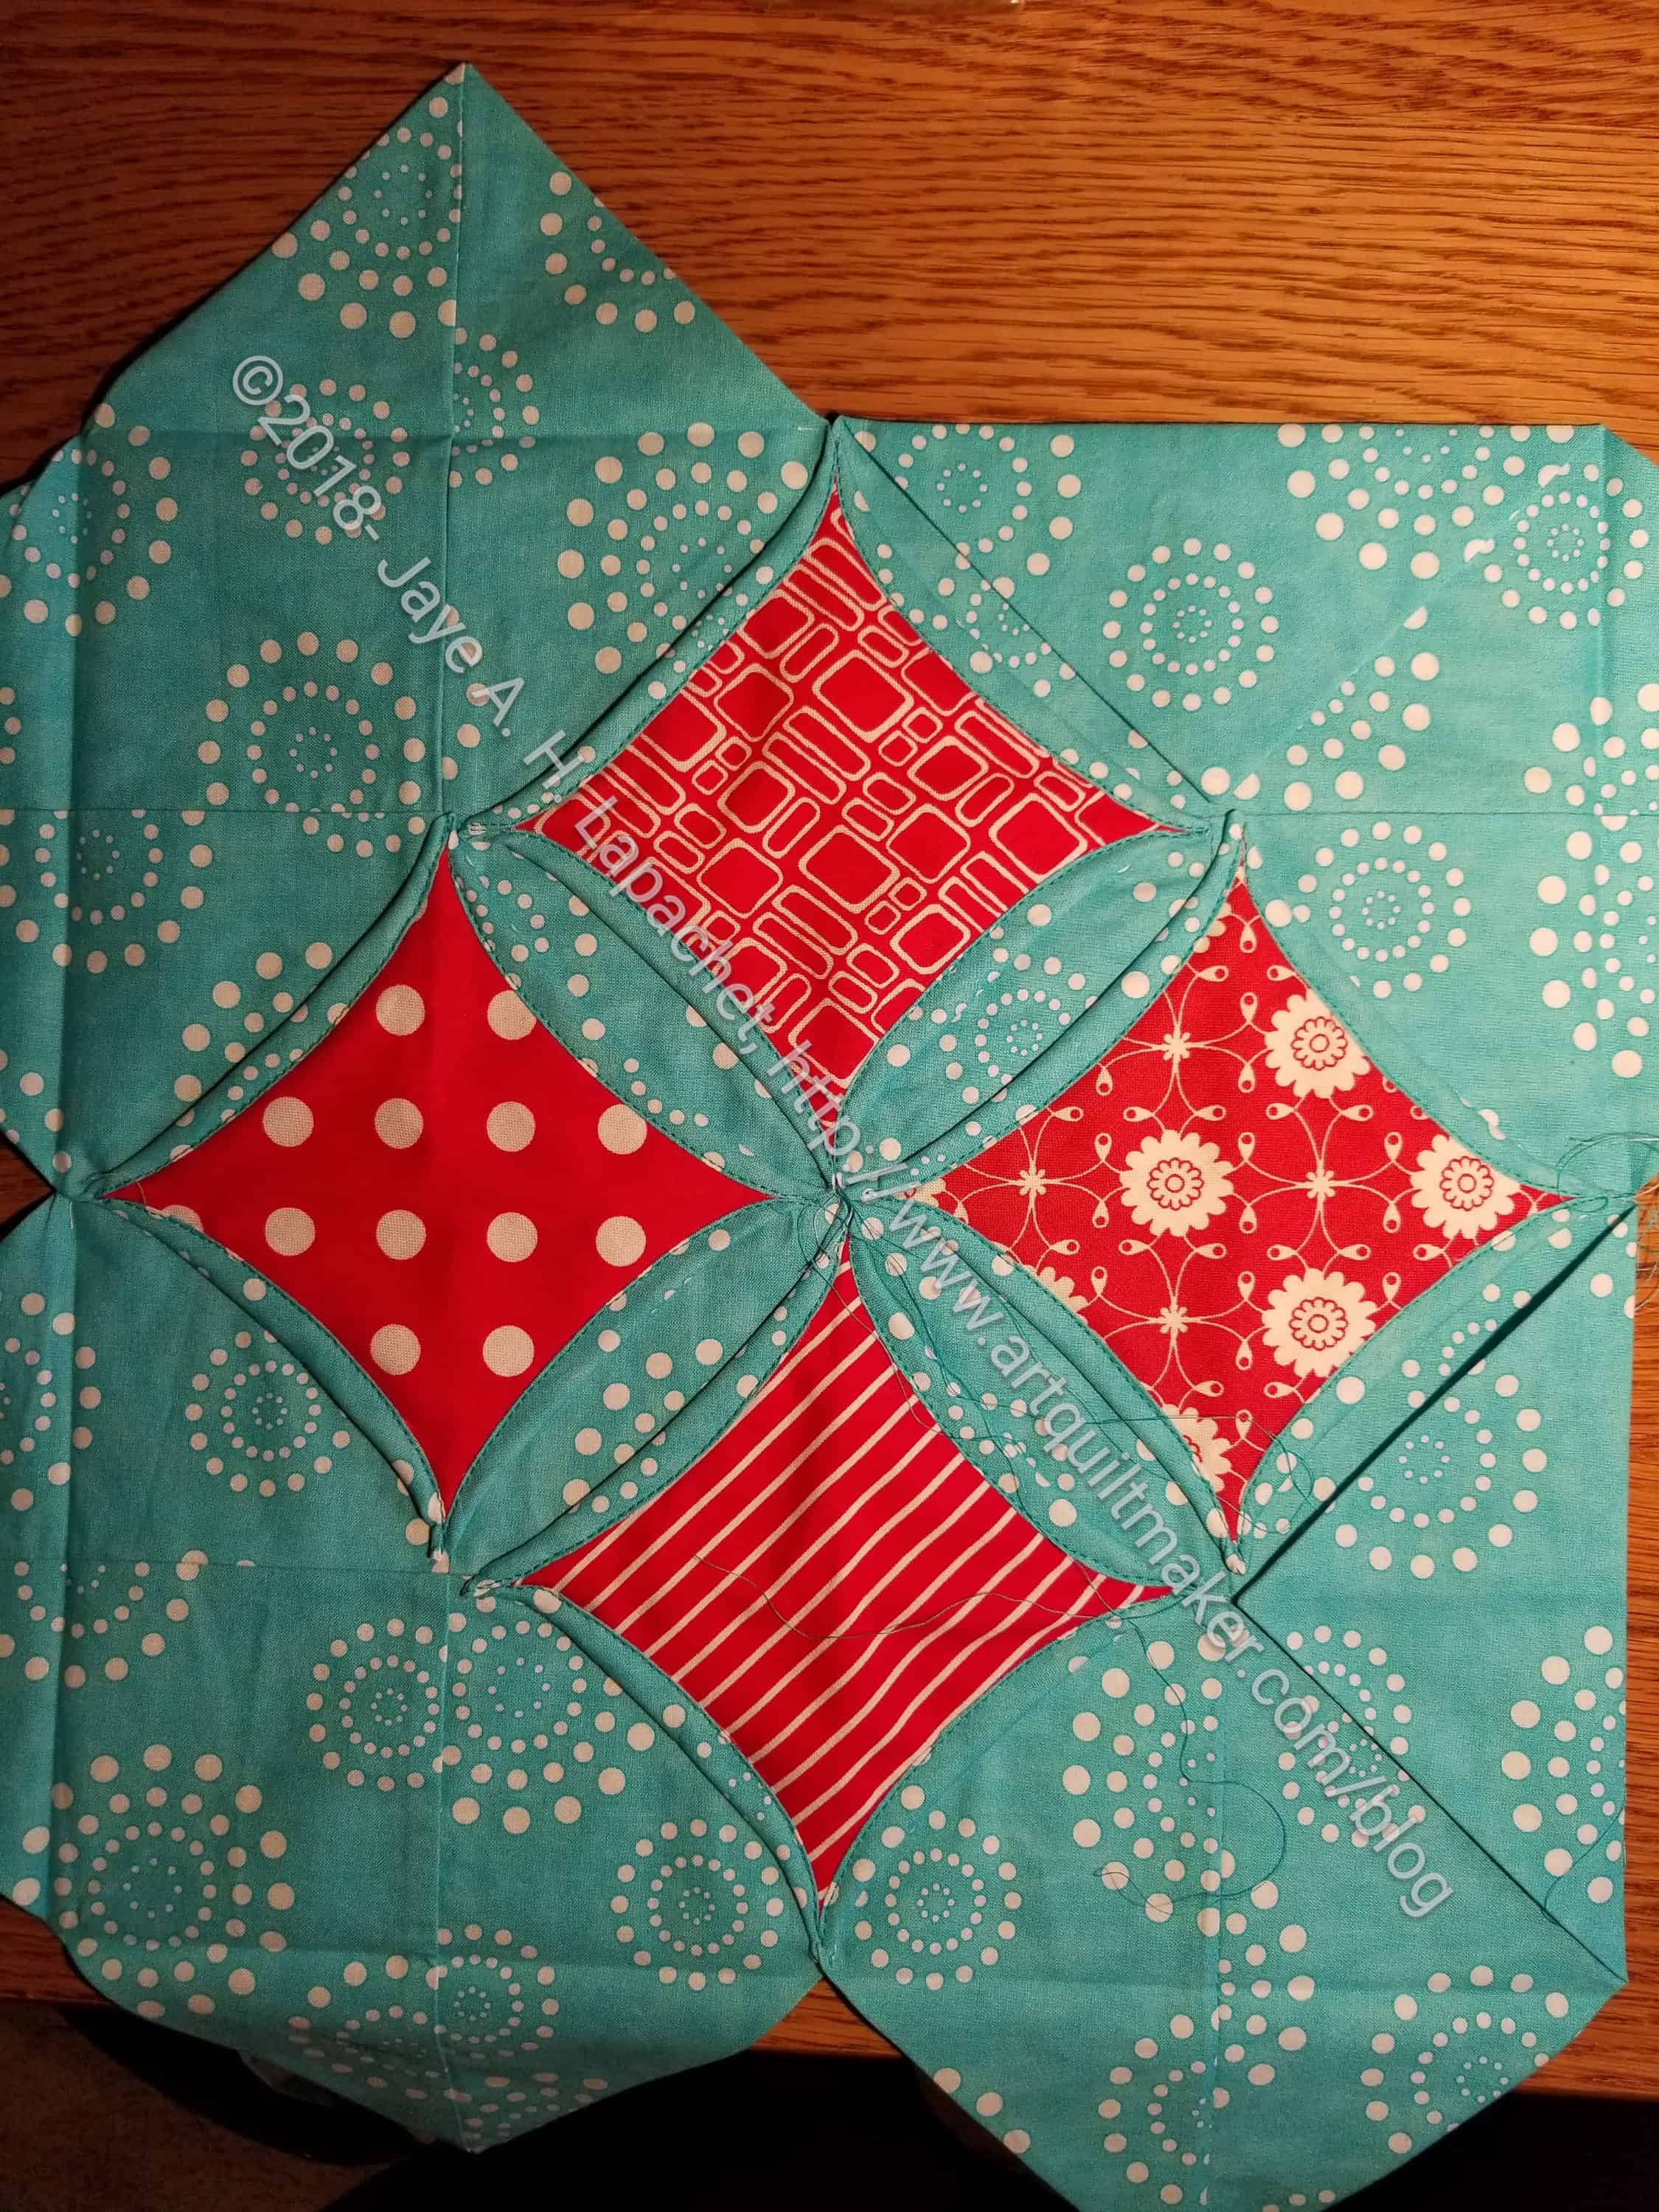
I decided to make this block after finding I needed one more block to complete my Aqua-Red Sampler. I have never made one of these, so I thought “what the heck?”. I had seen some directions for it and it caught my attention. As mentioned, I had to cobble together instructions from at least three different tutorials to be able to make the block. Below is my version. The tutorials I referenced are noted below.
Finished Block Size: 12 inches (12.5 unfinished)
Supplies
Fabric
In this tutorial, the background is turquoise and the foreground is red.
Thread – you might want to use your regular piecing thread for the first part of the directions, then switch to a thread that matches the background fabric for sewing the curves shut
A pen or pencil you can use to draw on fabric (I like Sewline pencils)
Stiletto or dental pick type instrument (something thin and pointy)
hand sewing needle
Instructions for making a 12″ (finished) Cathedral Windows block
1. Cut 4 squares of background fabric 12.5 inches by 12.5 inches
4- 4 x 4 inch foreground squares
2. Cut 4 squares for inset pieces 4 inches by 4 inches.
Fold 12.5×12.5 inch squares in half
3. Fold each of the 4 background squares in half. This will make your 12.5 x 12.5 inch squares into rectangles (e.g. do not fold NOT along the diagonal).
Hint: I sew all four one after another, but you can sew one at a time, if you prefer.
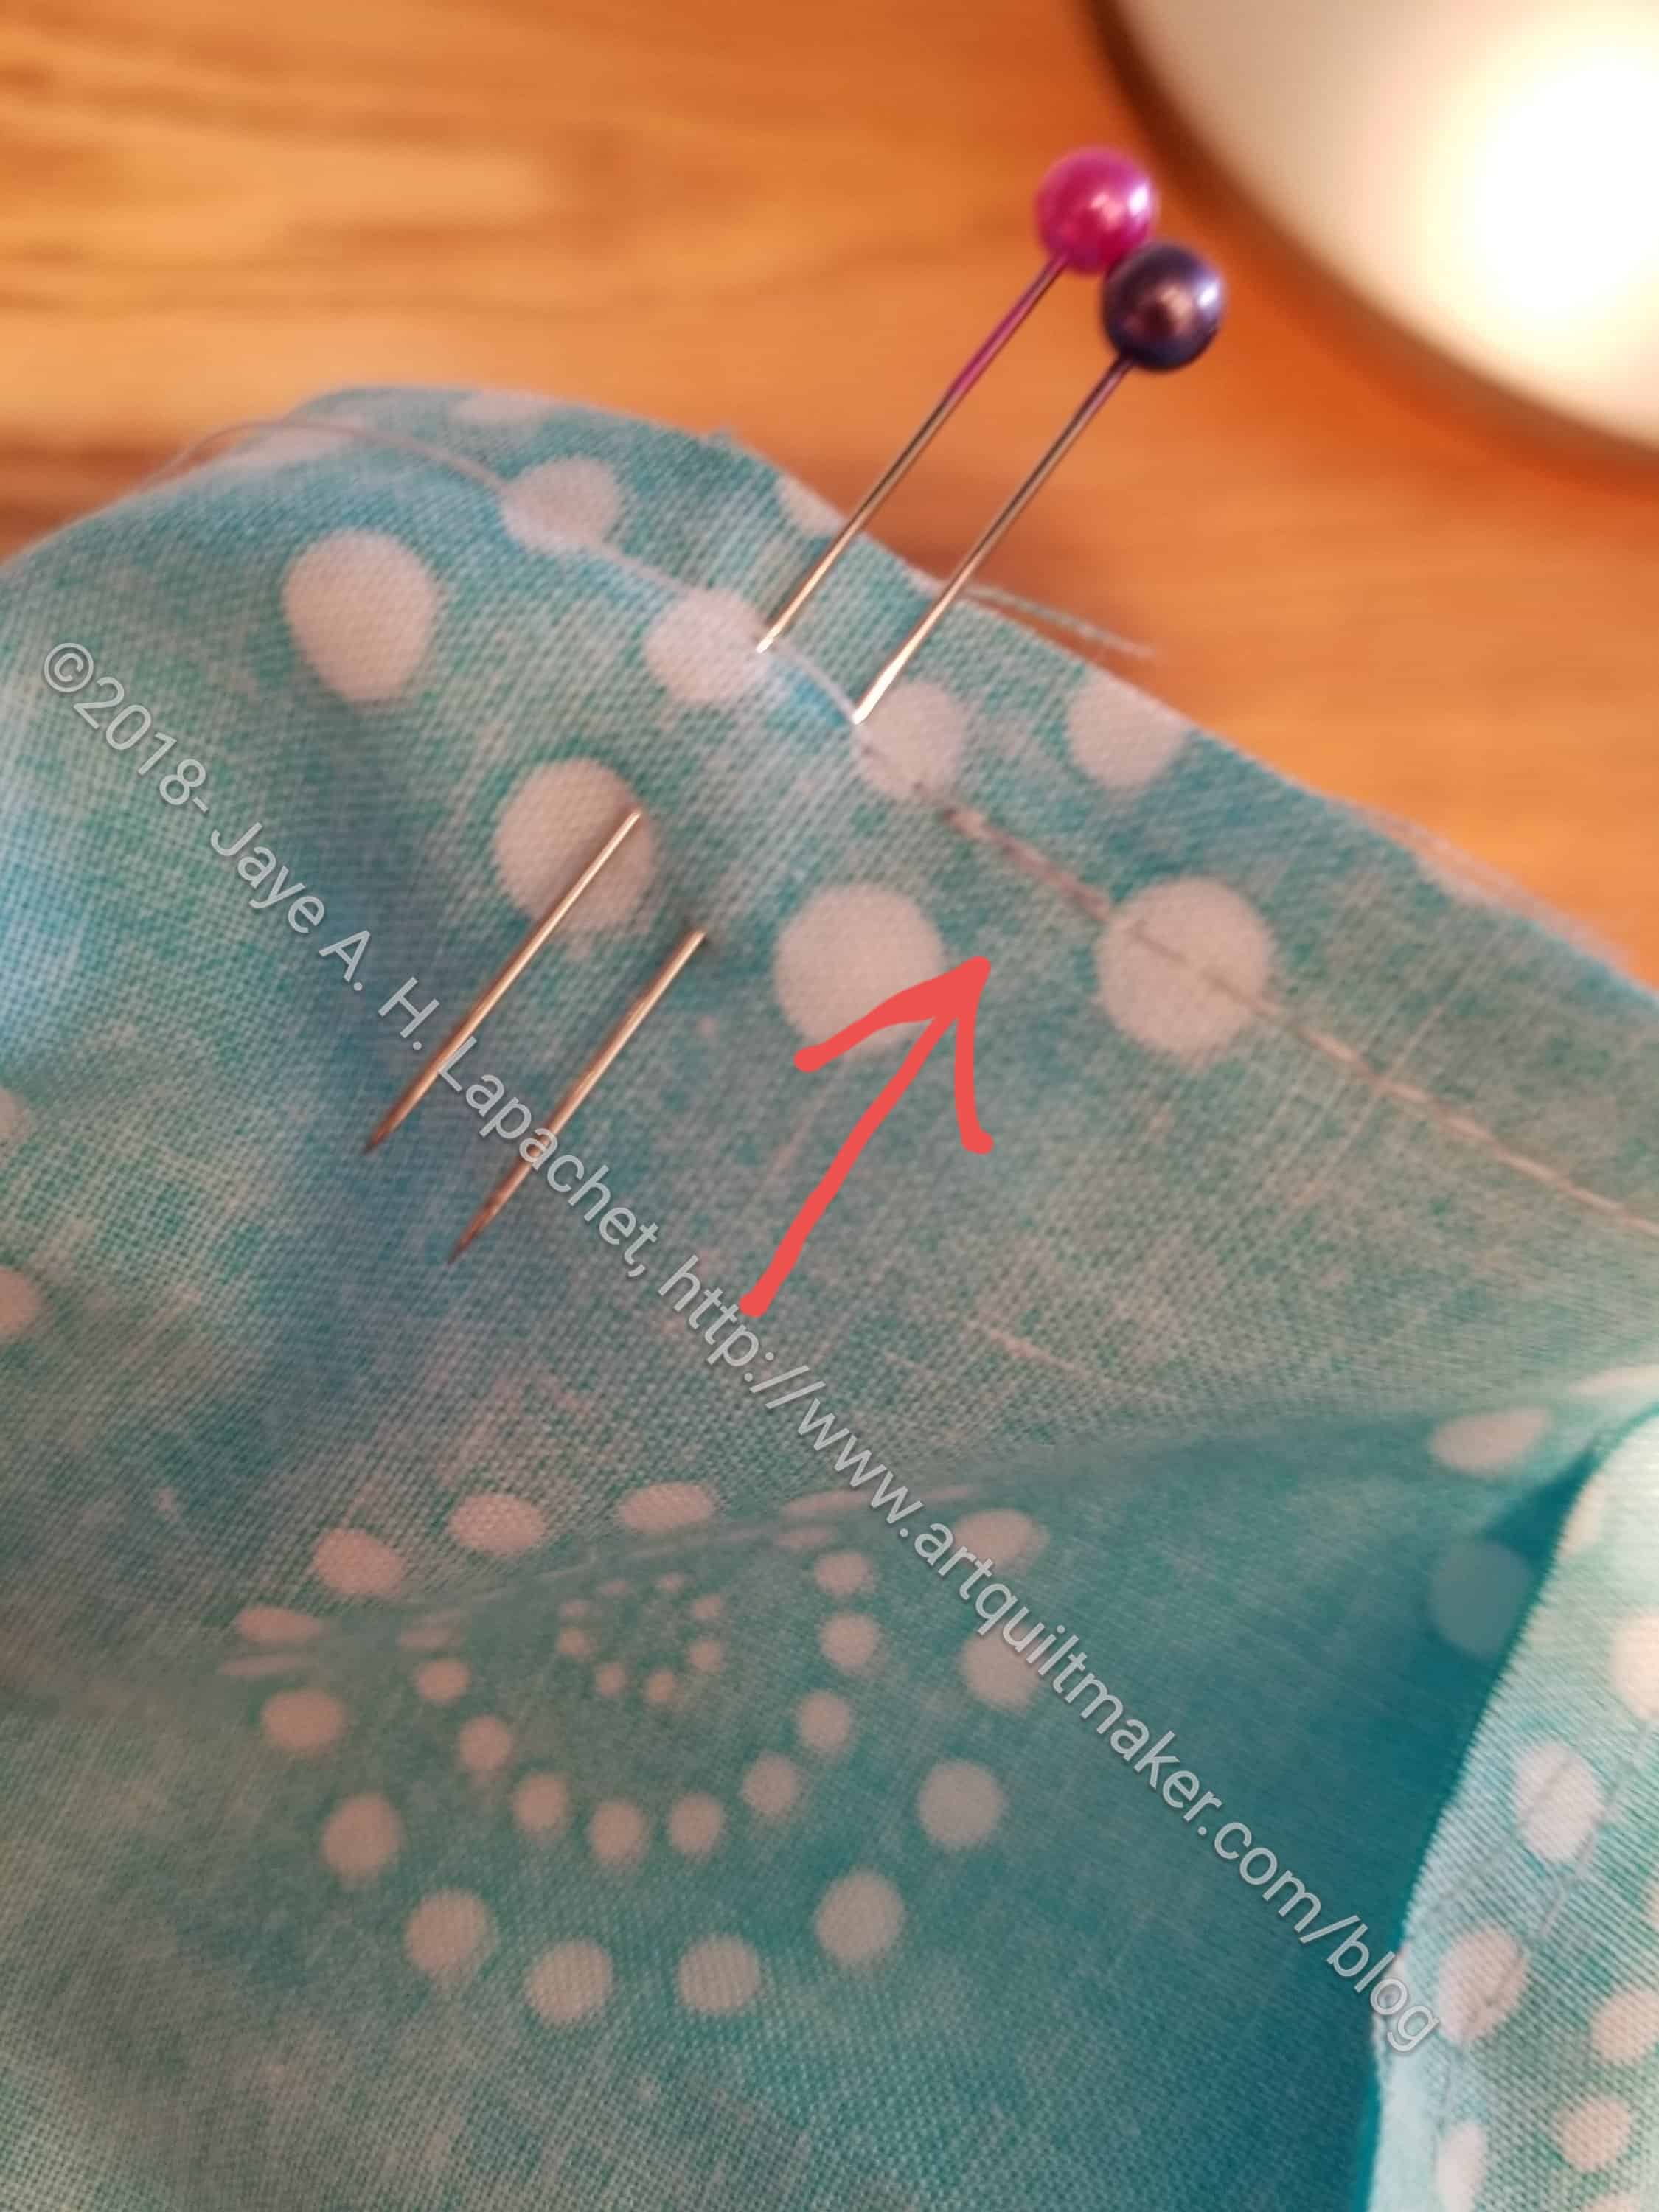
3A. Sew along the short side, backstitching at the beginning and the end.
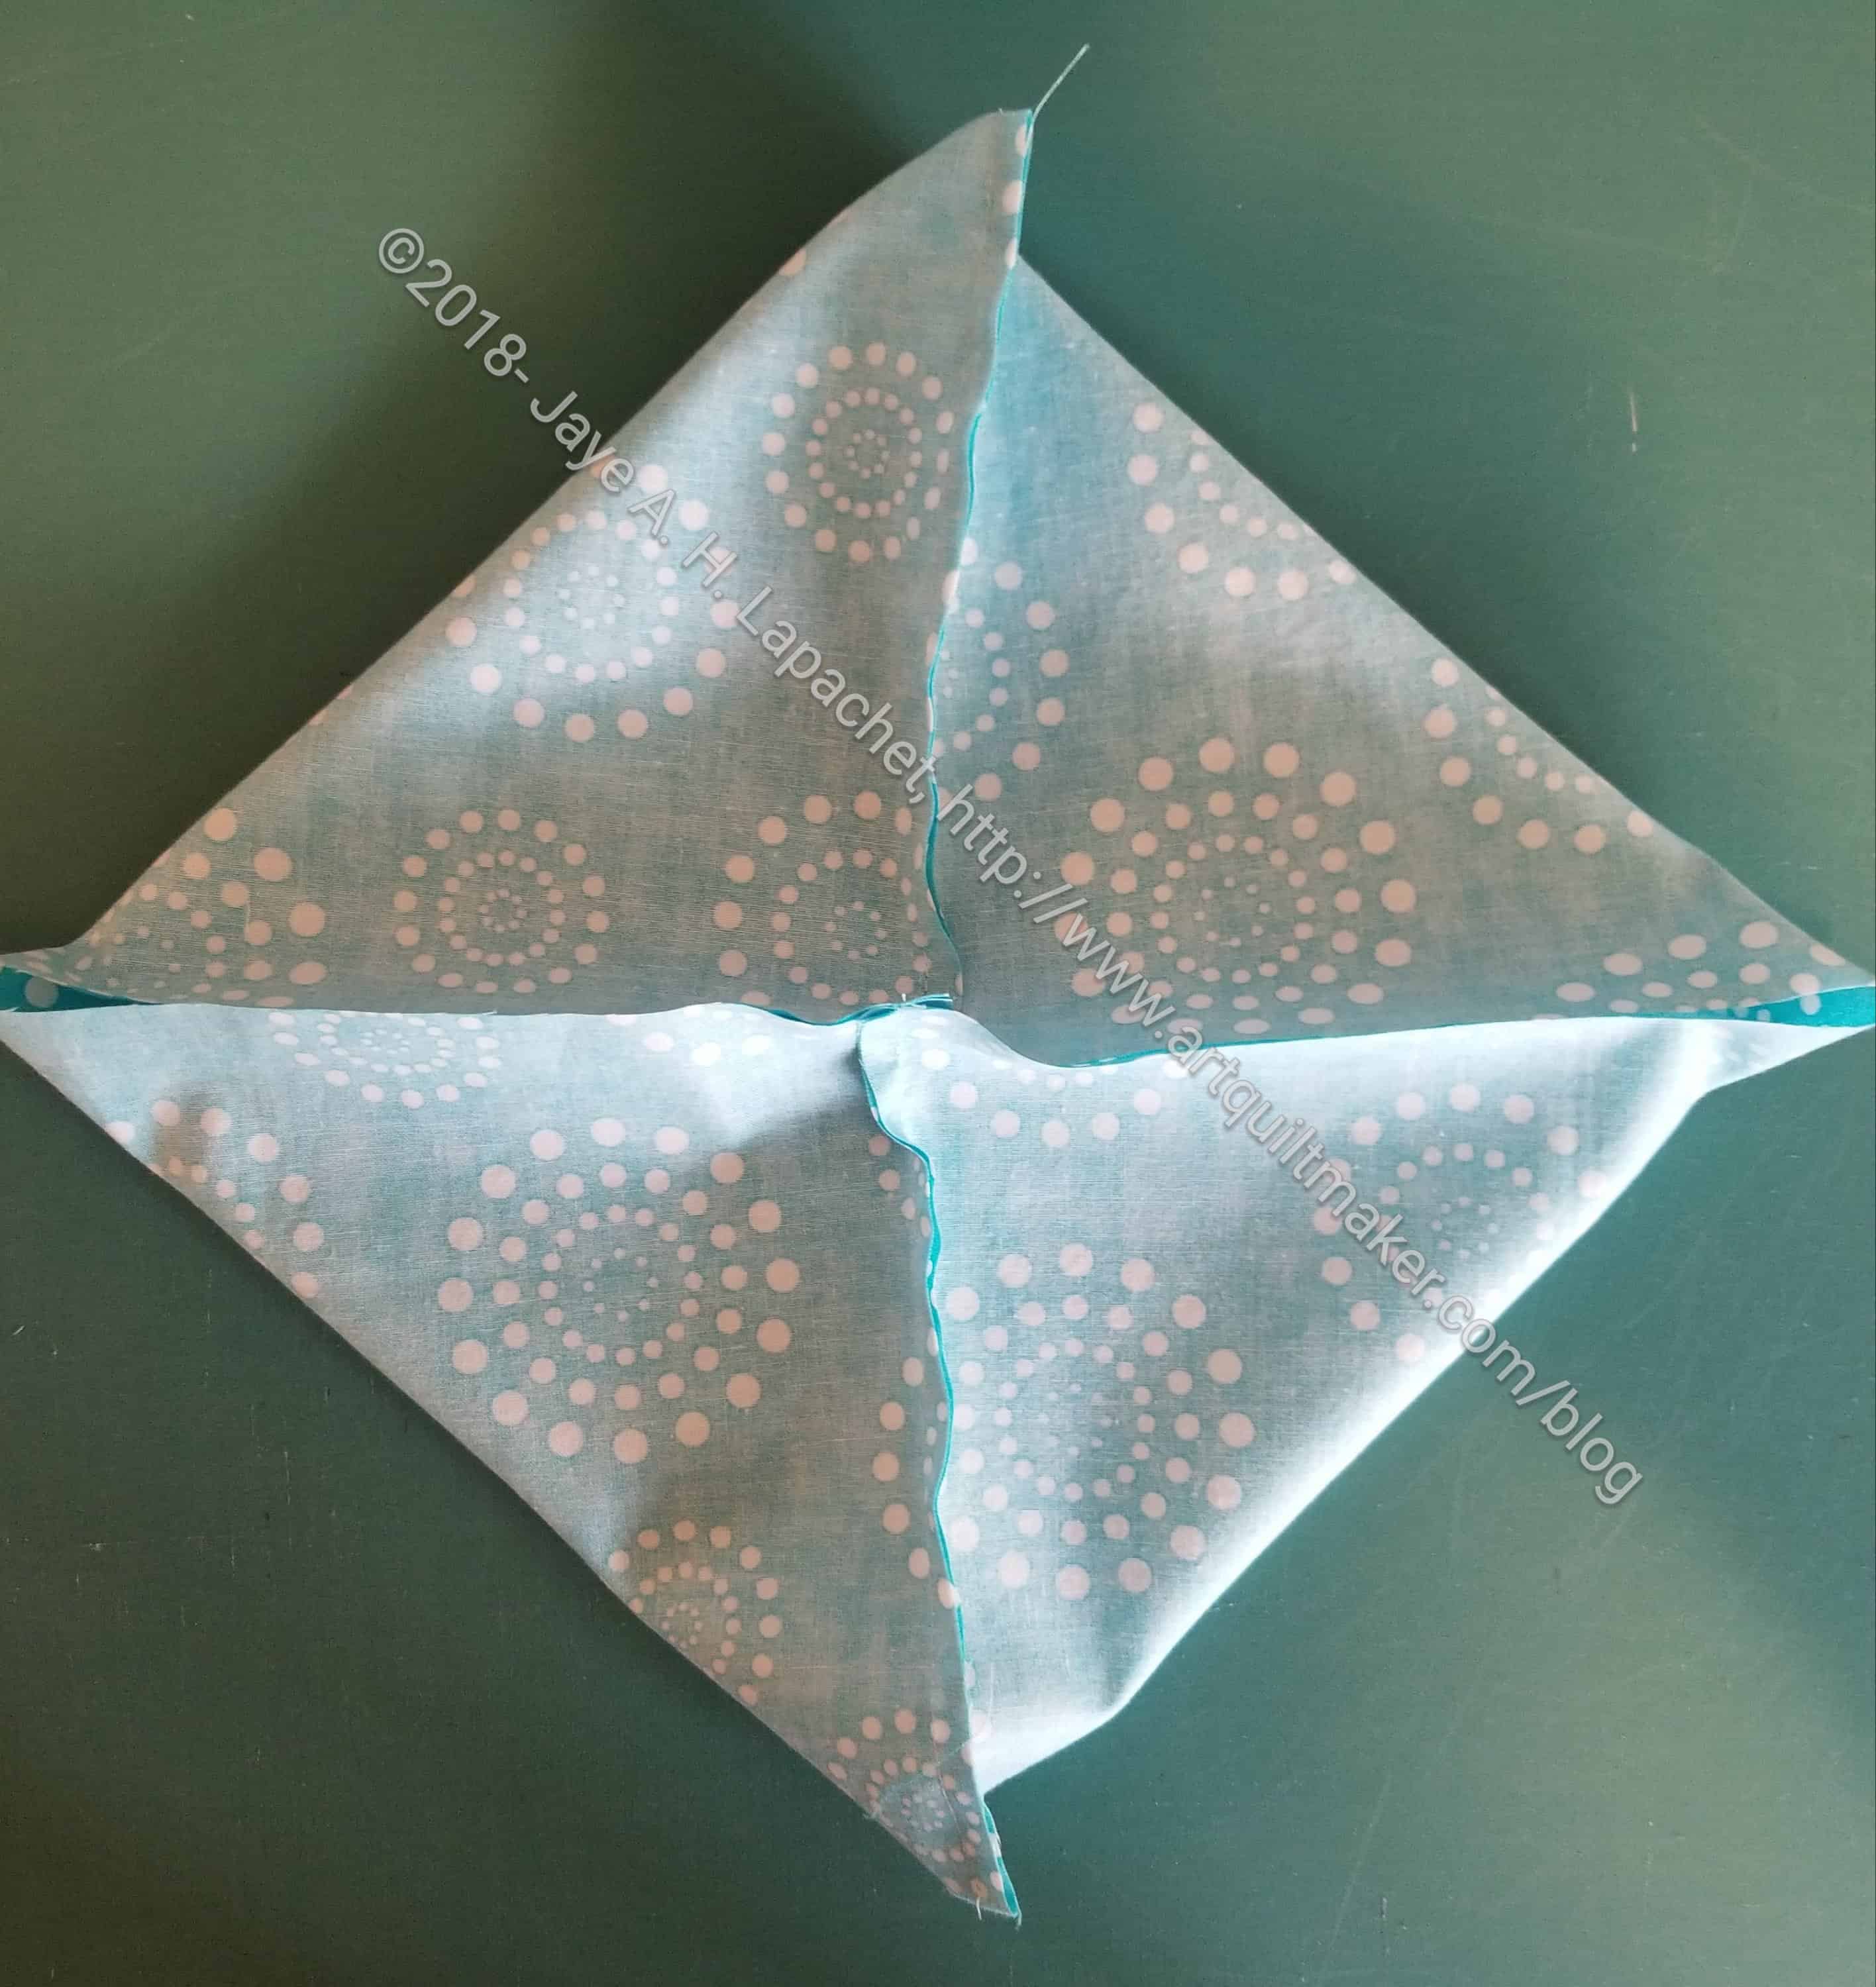
Open up rectangles & match edges
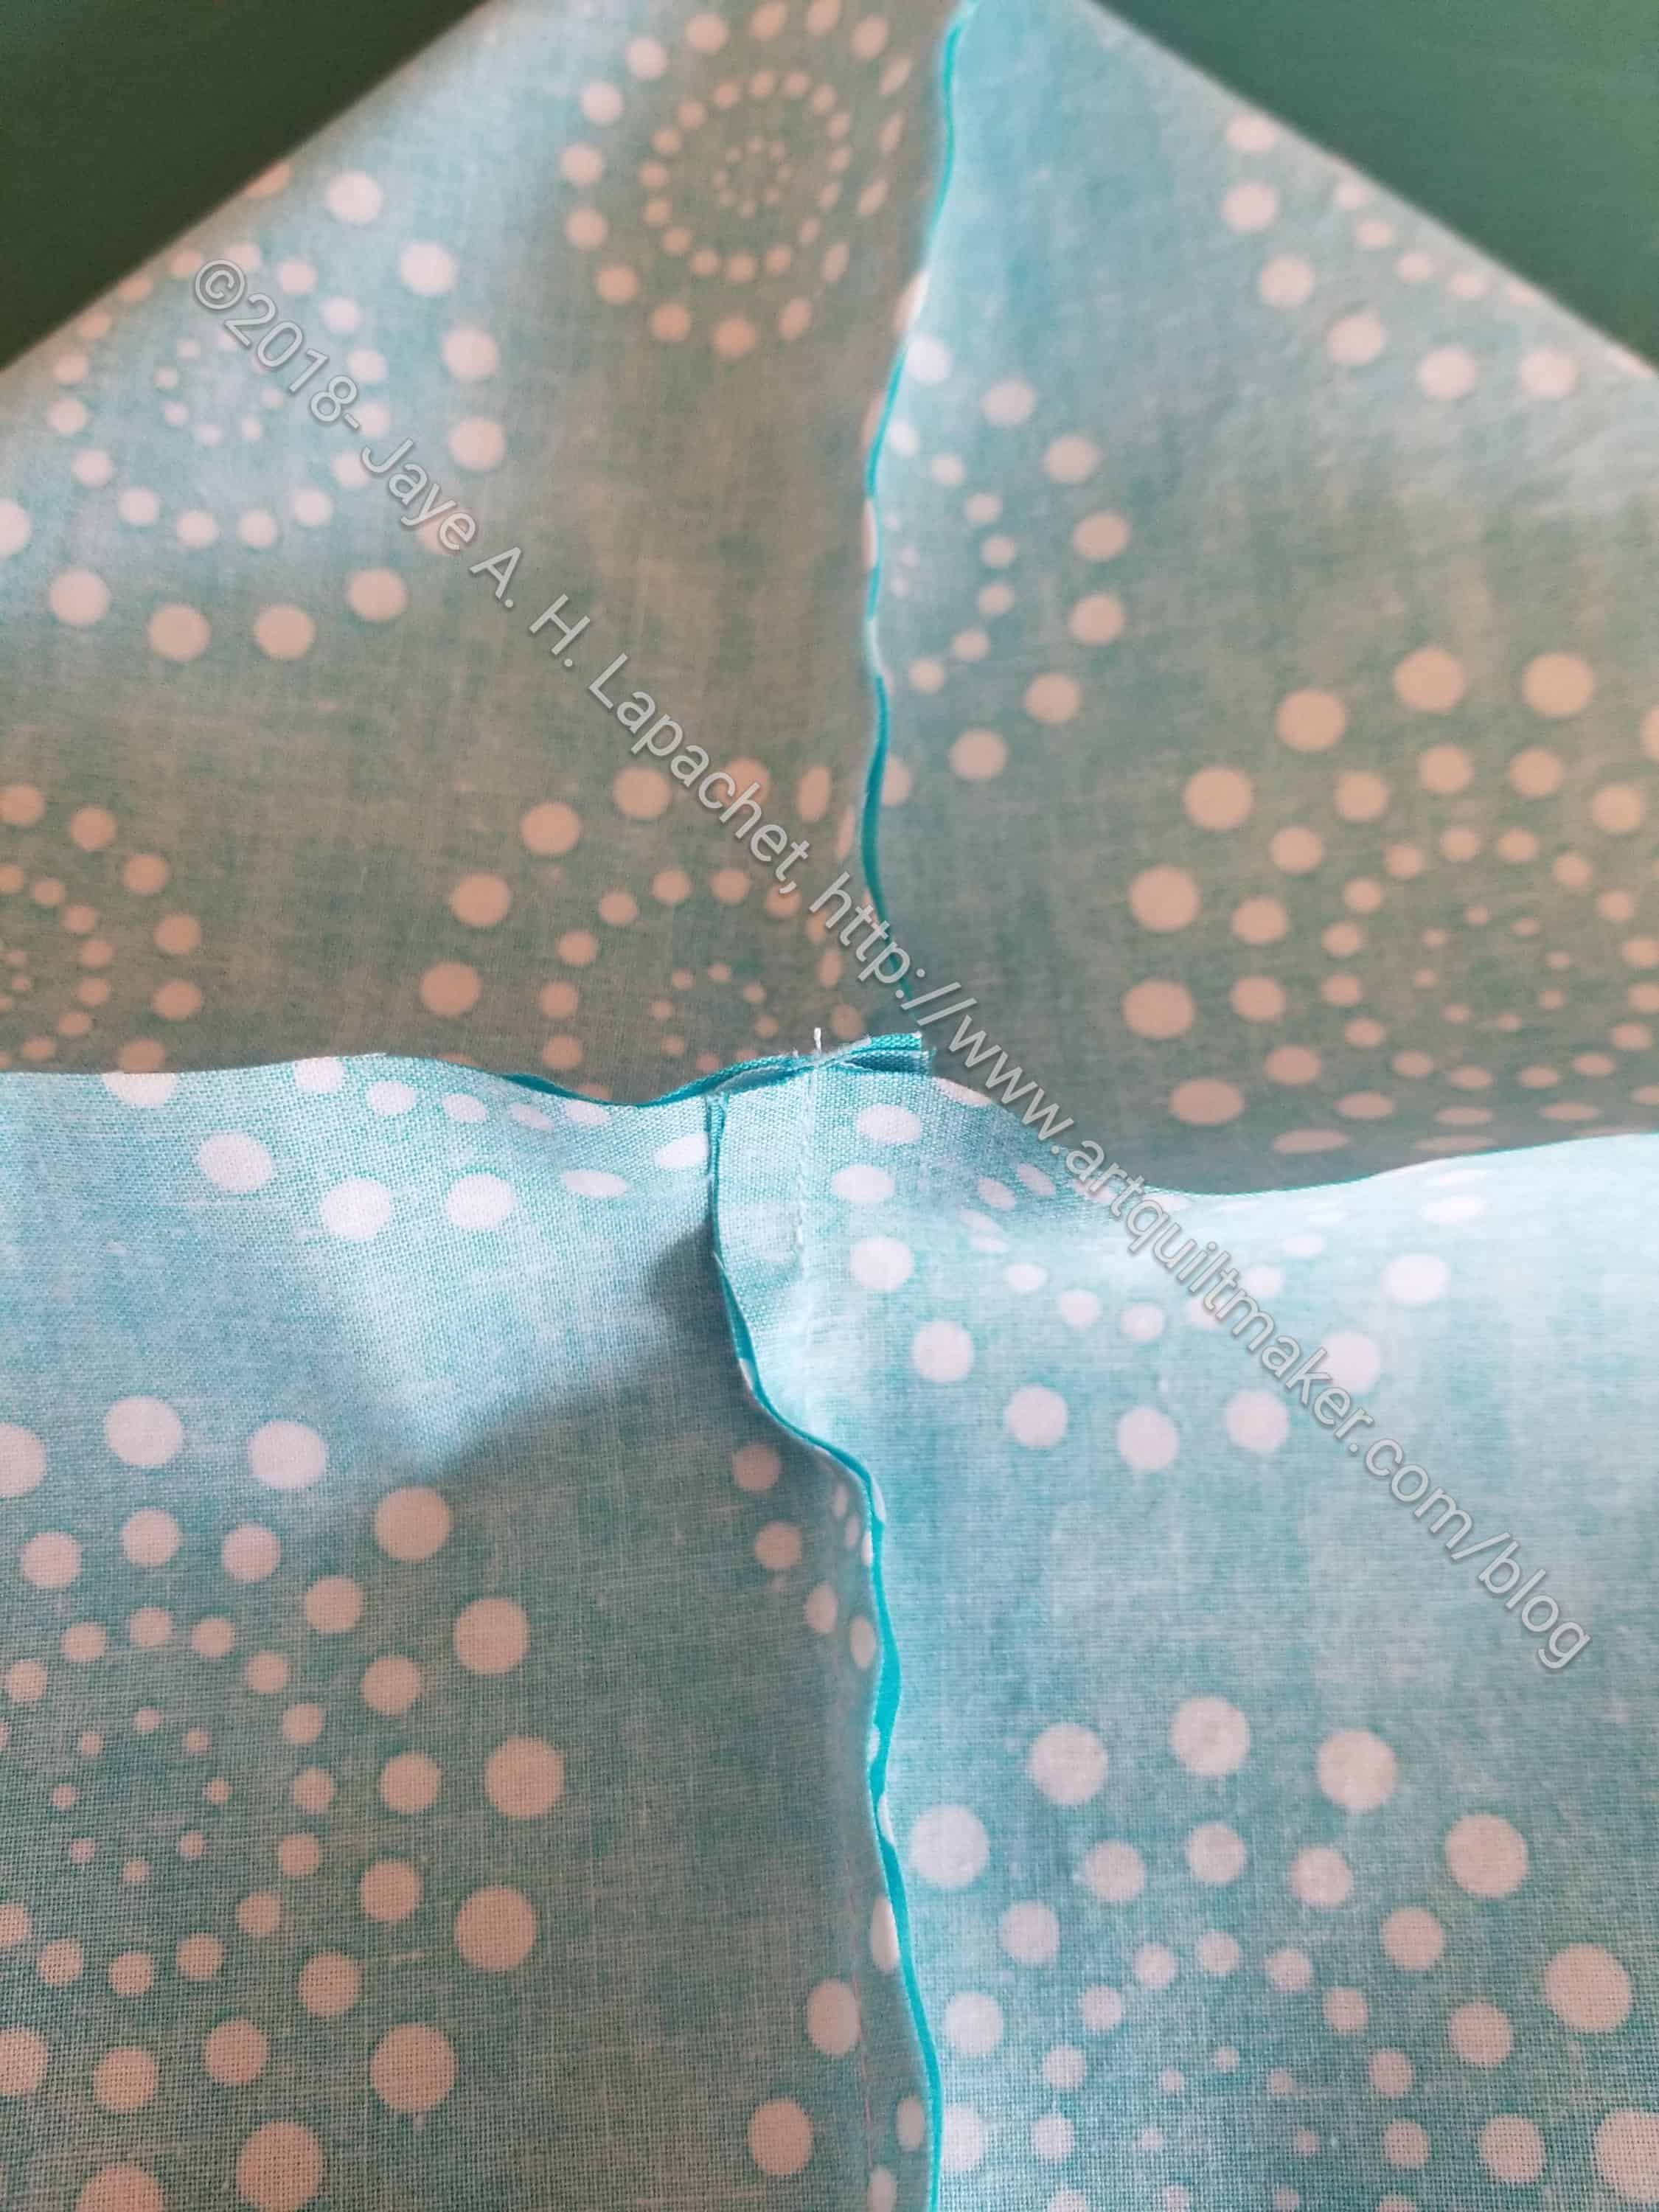
4. Open your rectangles and match up the raw edges.
Match edges and nest seams
Hint: I nest the center seams and pin, starting in the middle
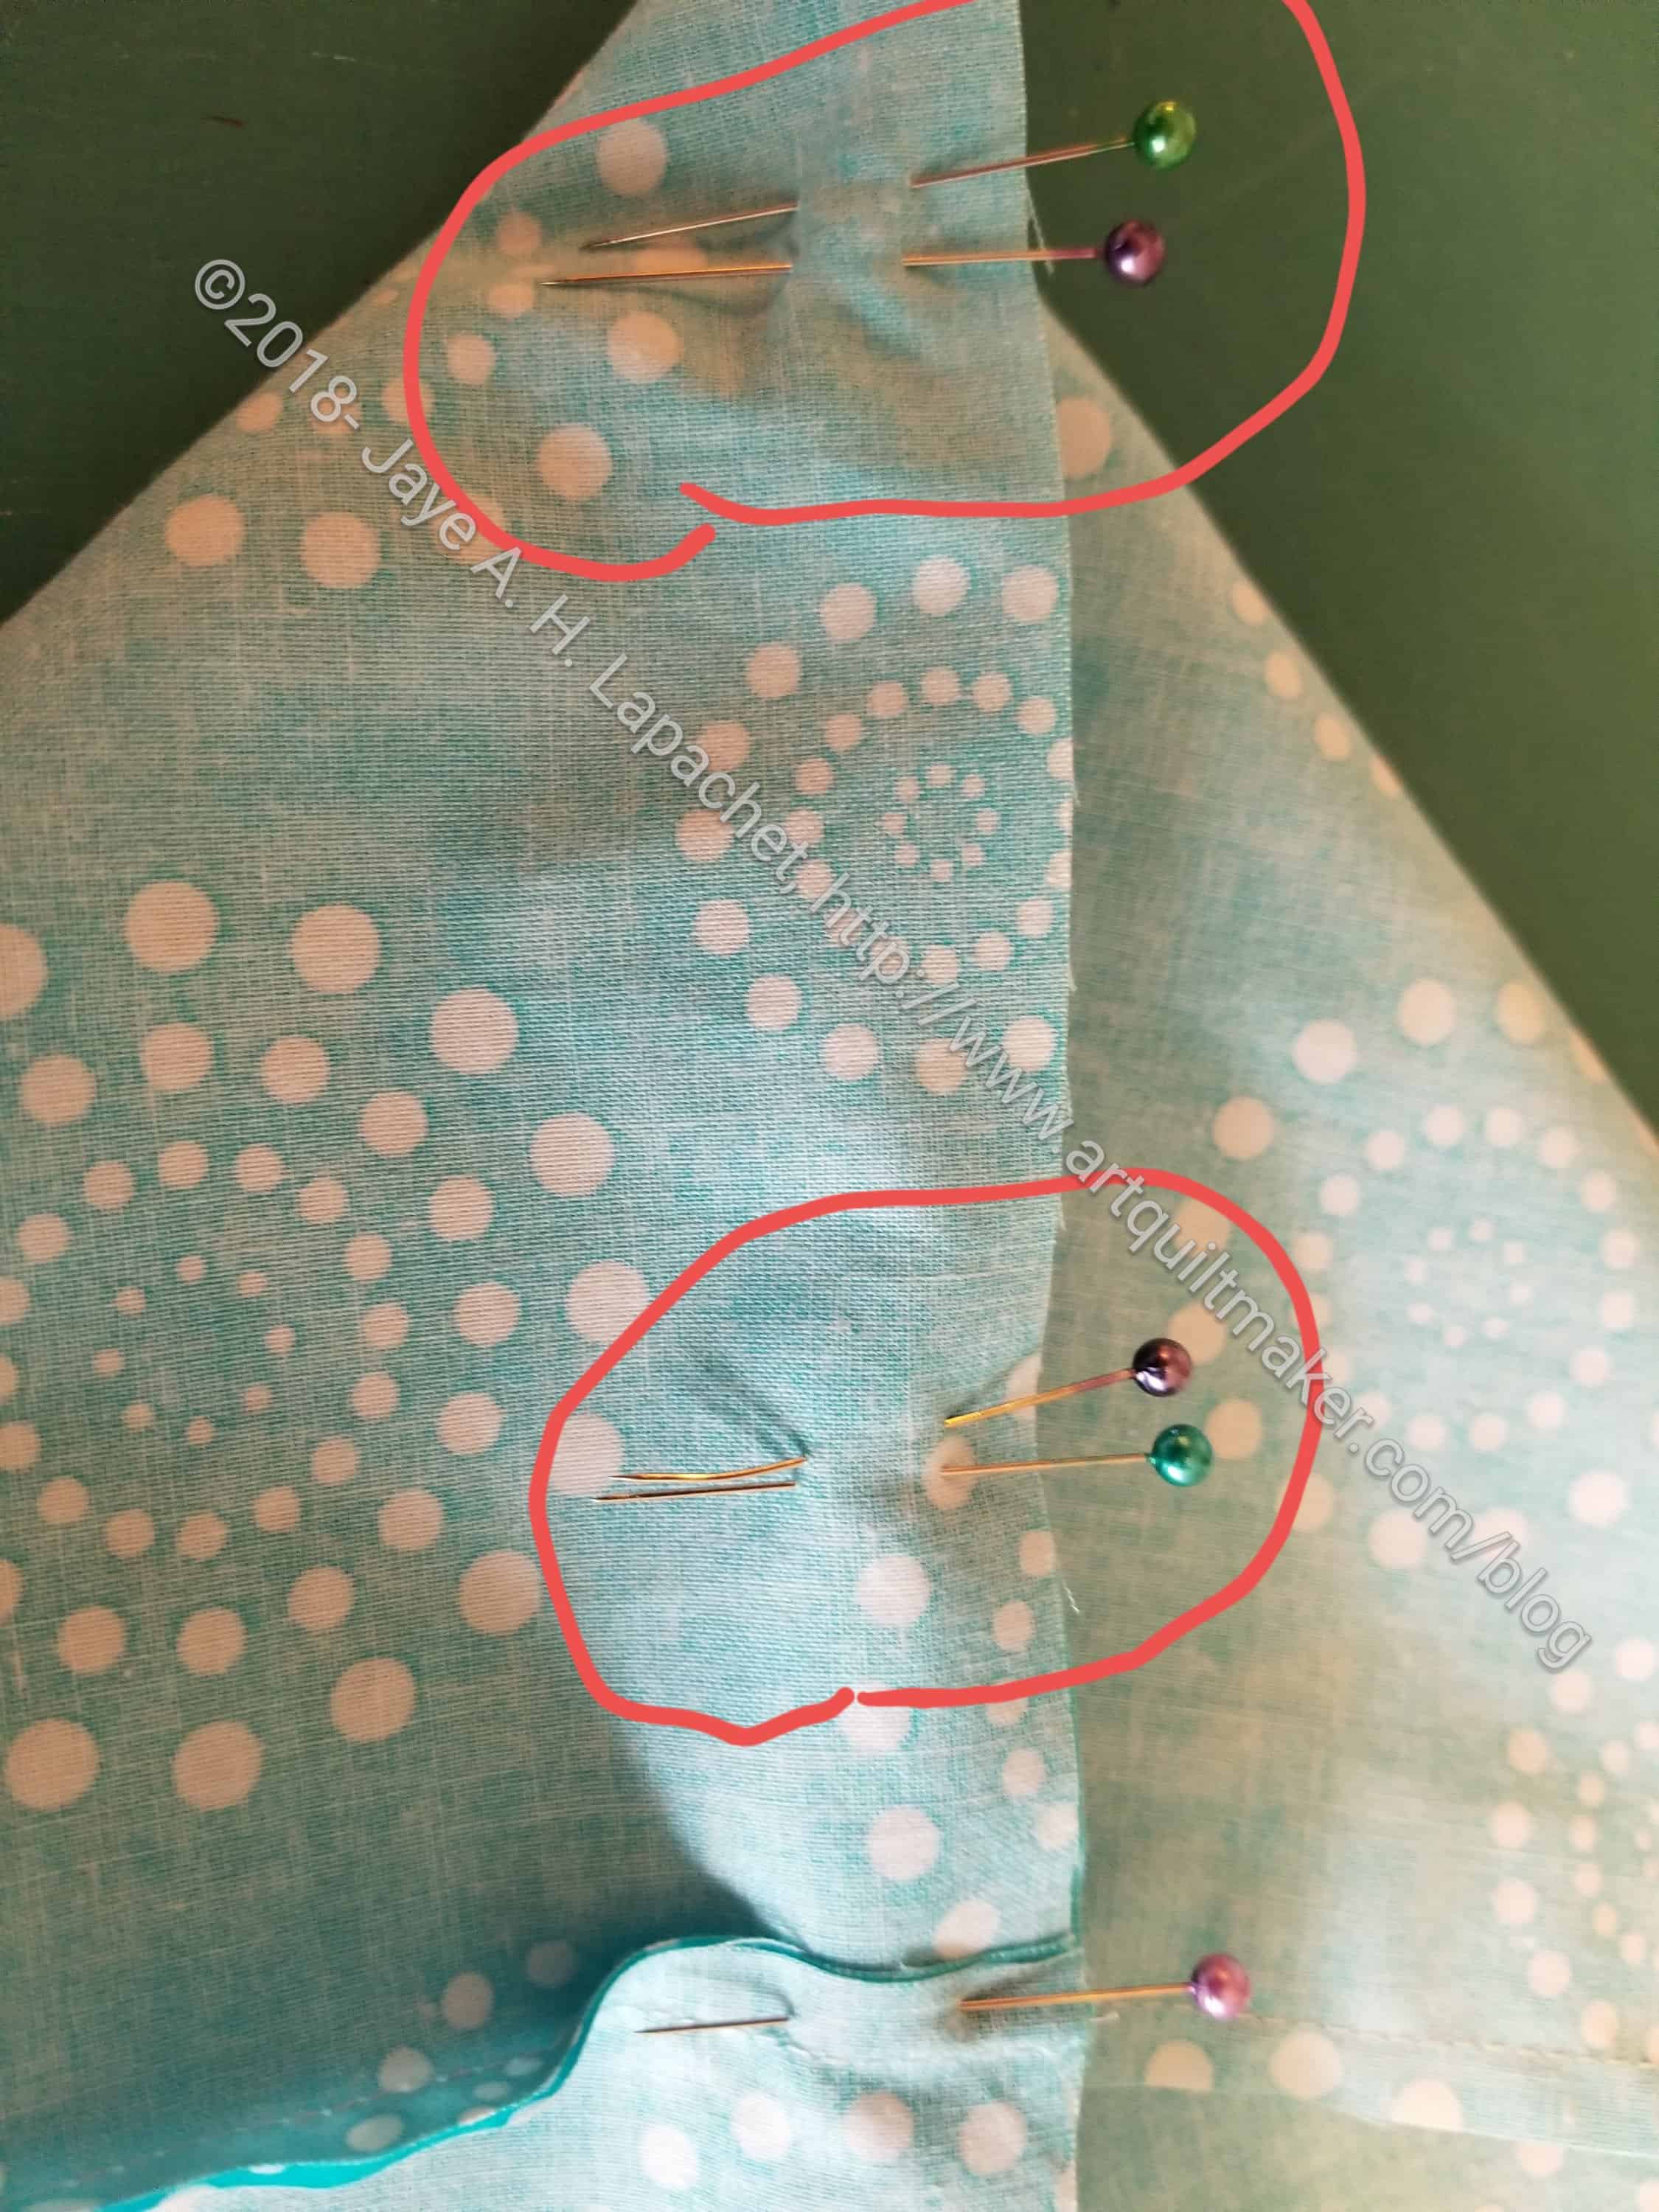
Leave openingPin edges closed, leaving an opening for turning
Hint: leave an opening 2-3 fingers wide for later turning. I mark this with two pins right next to each other.
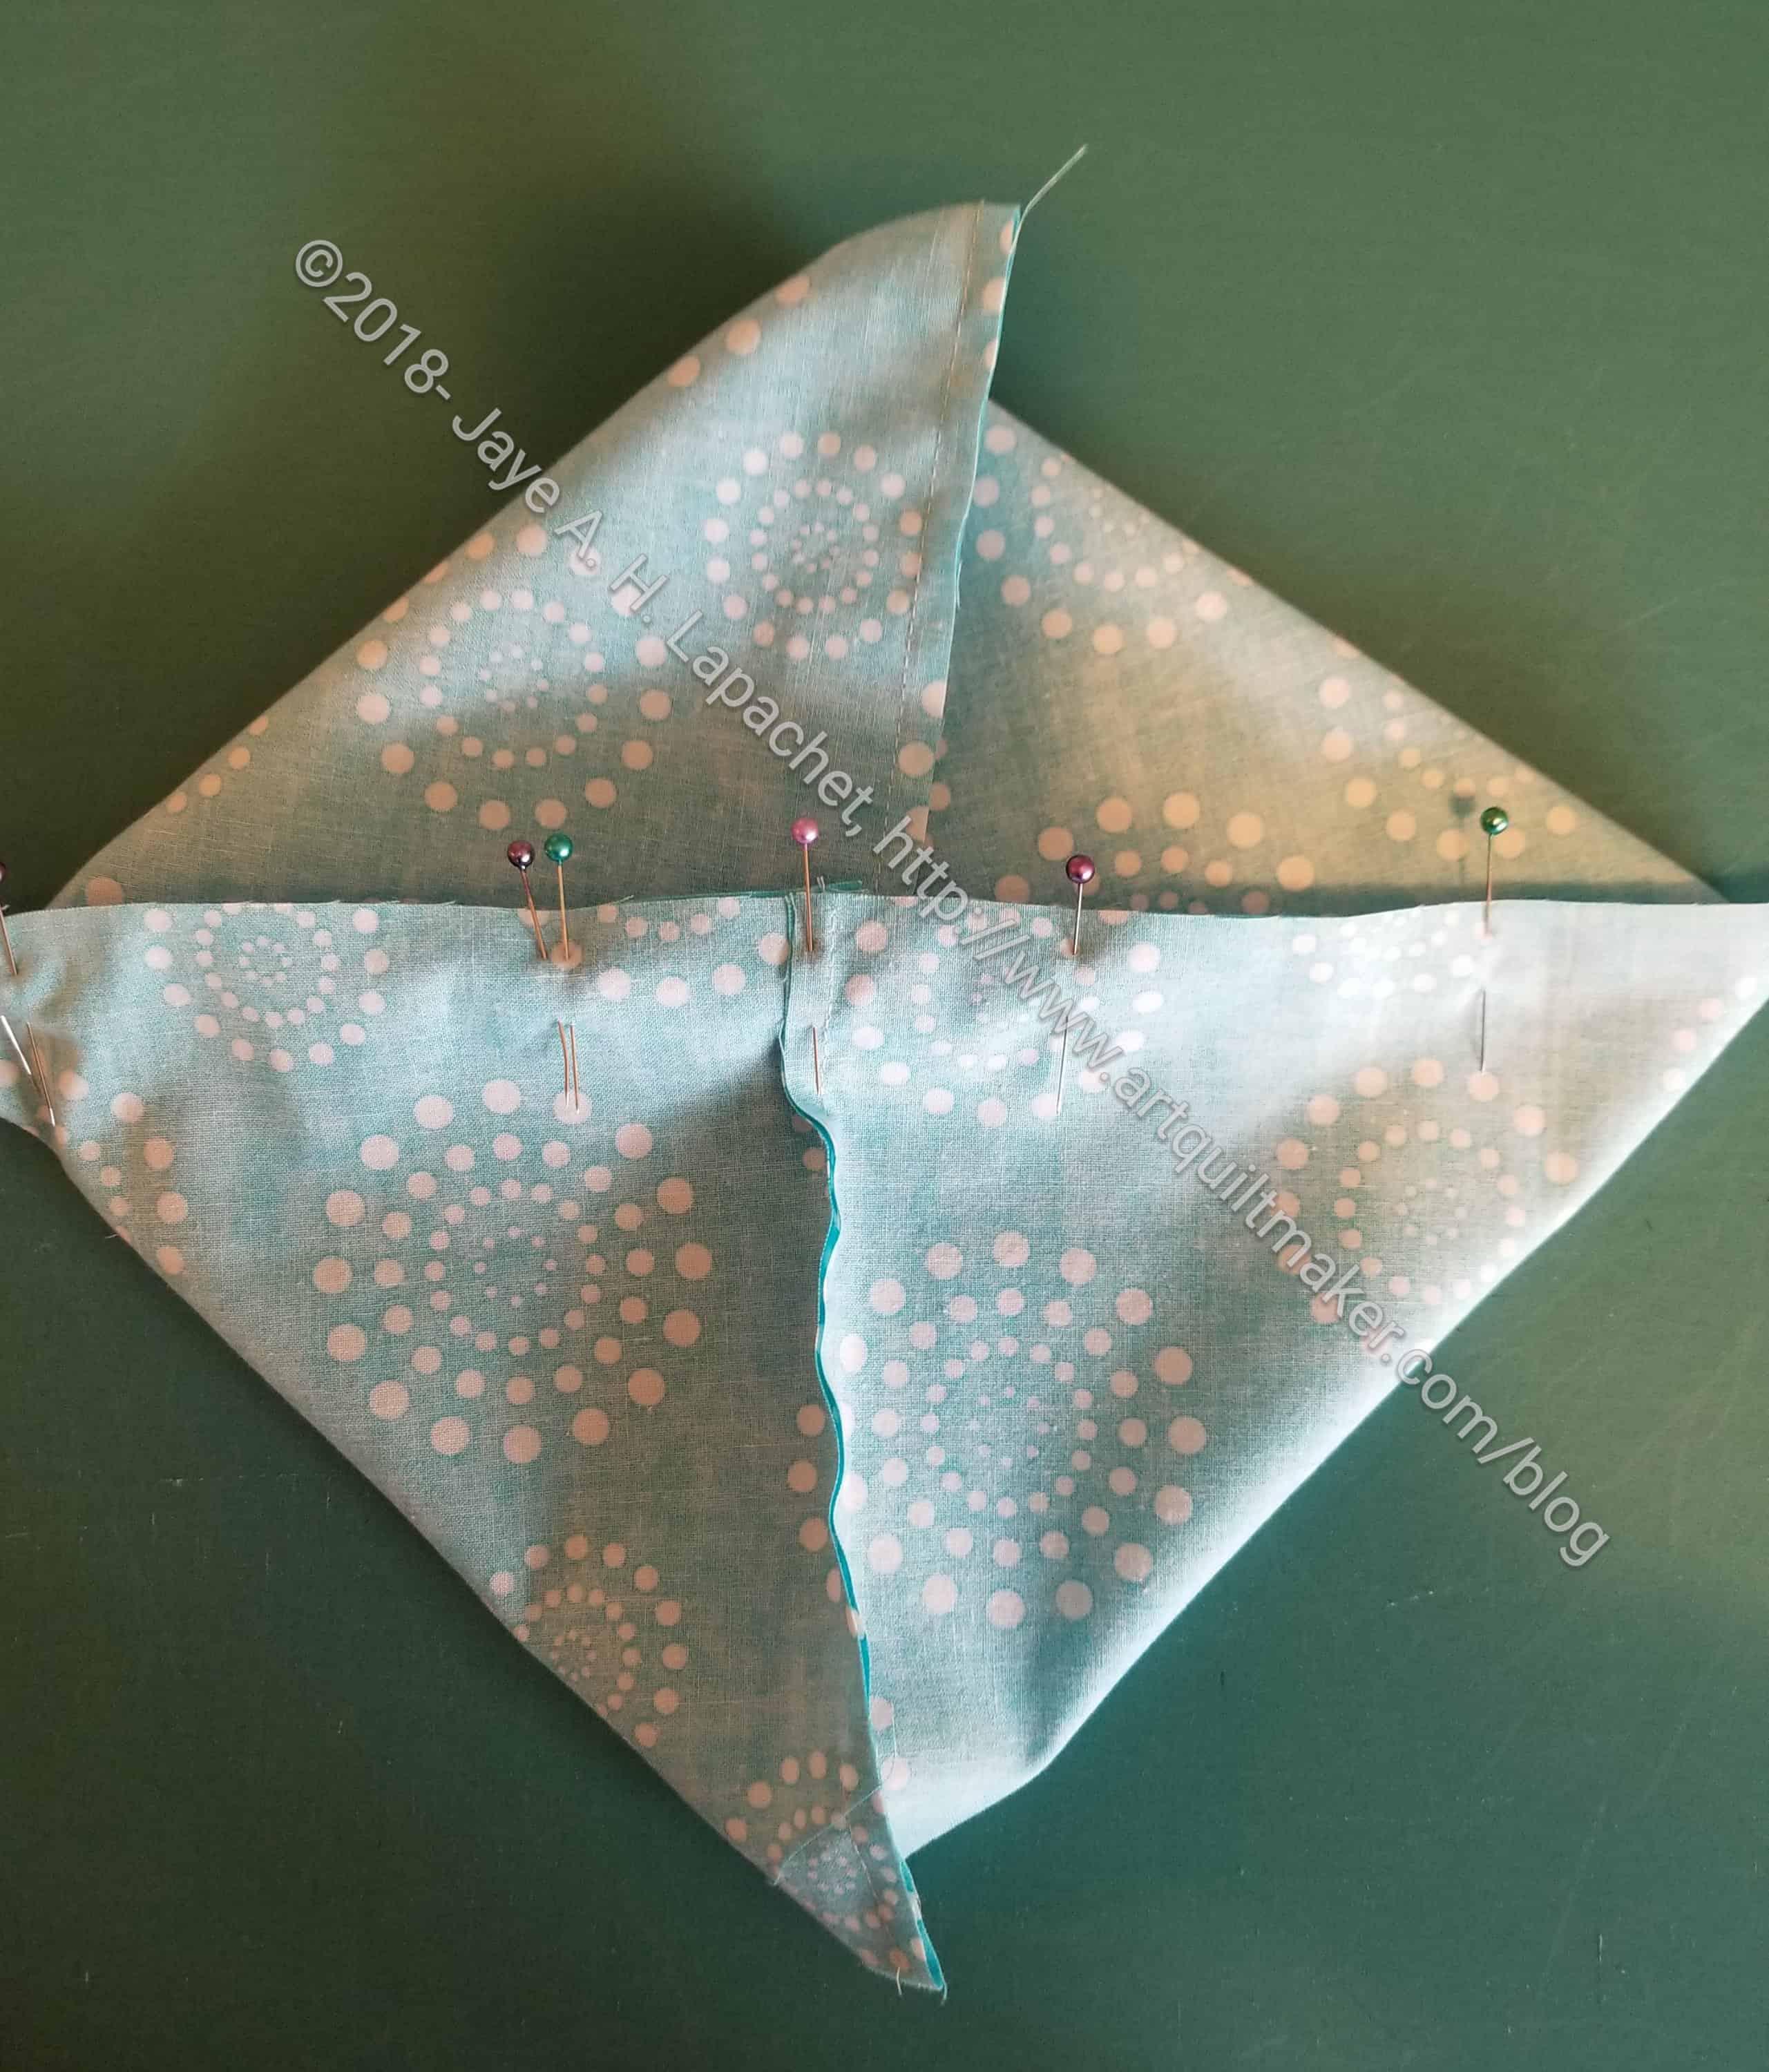
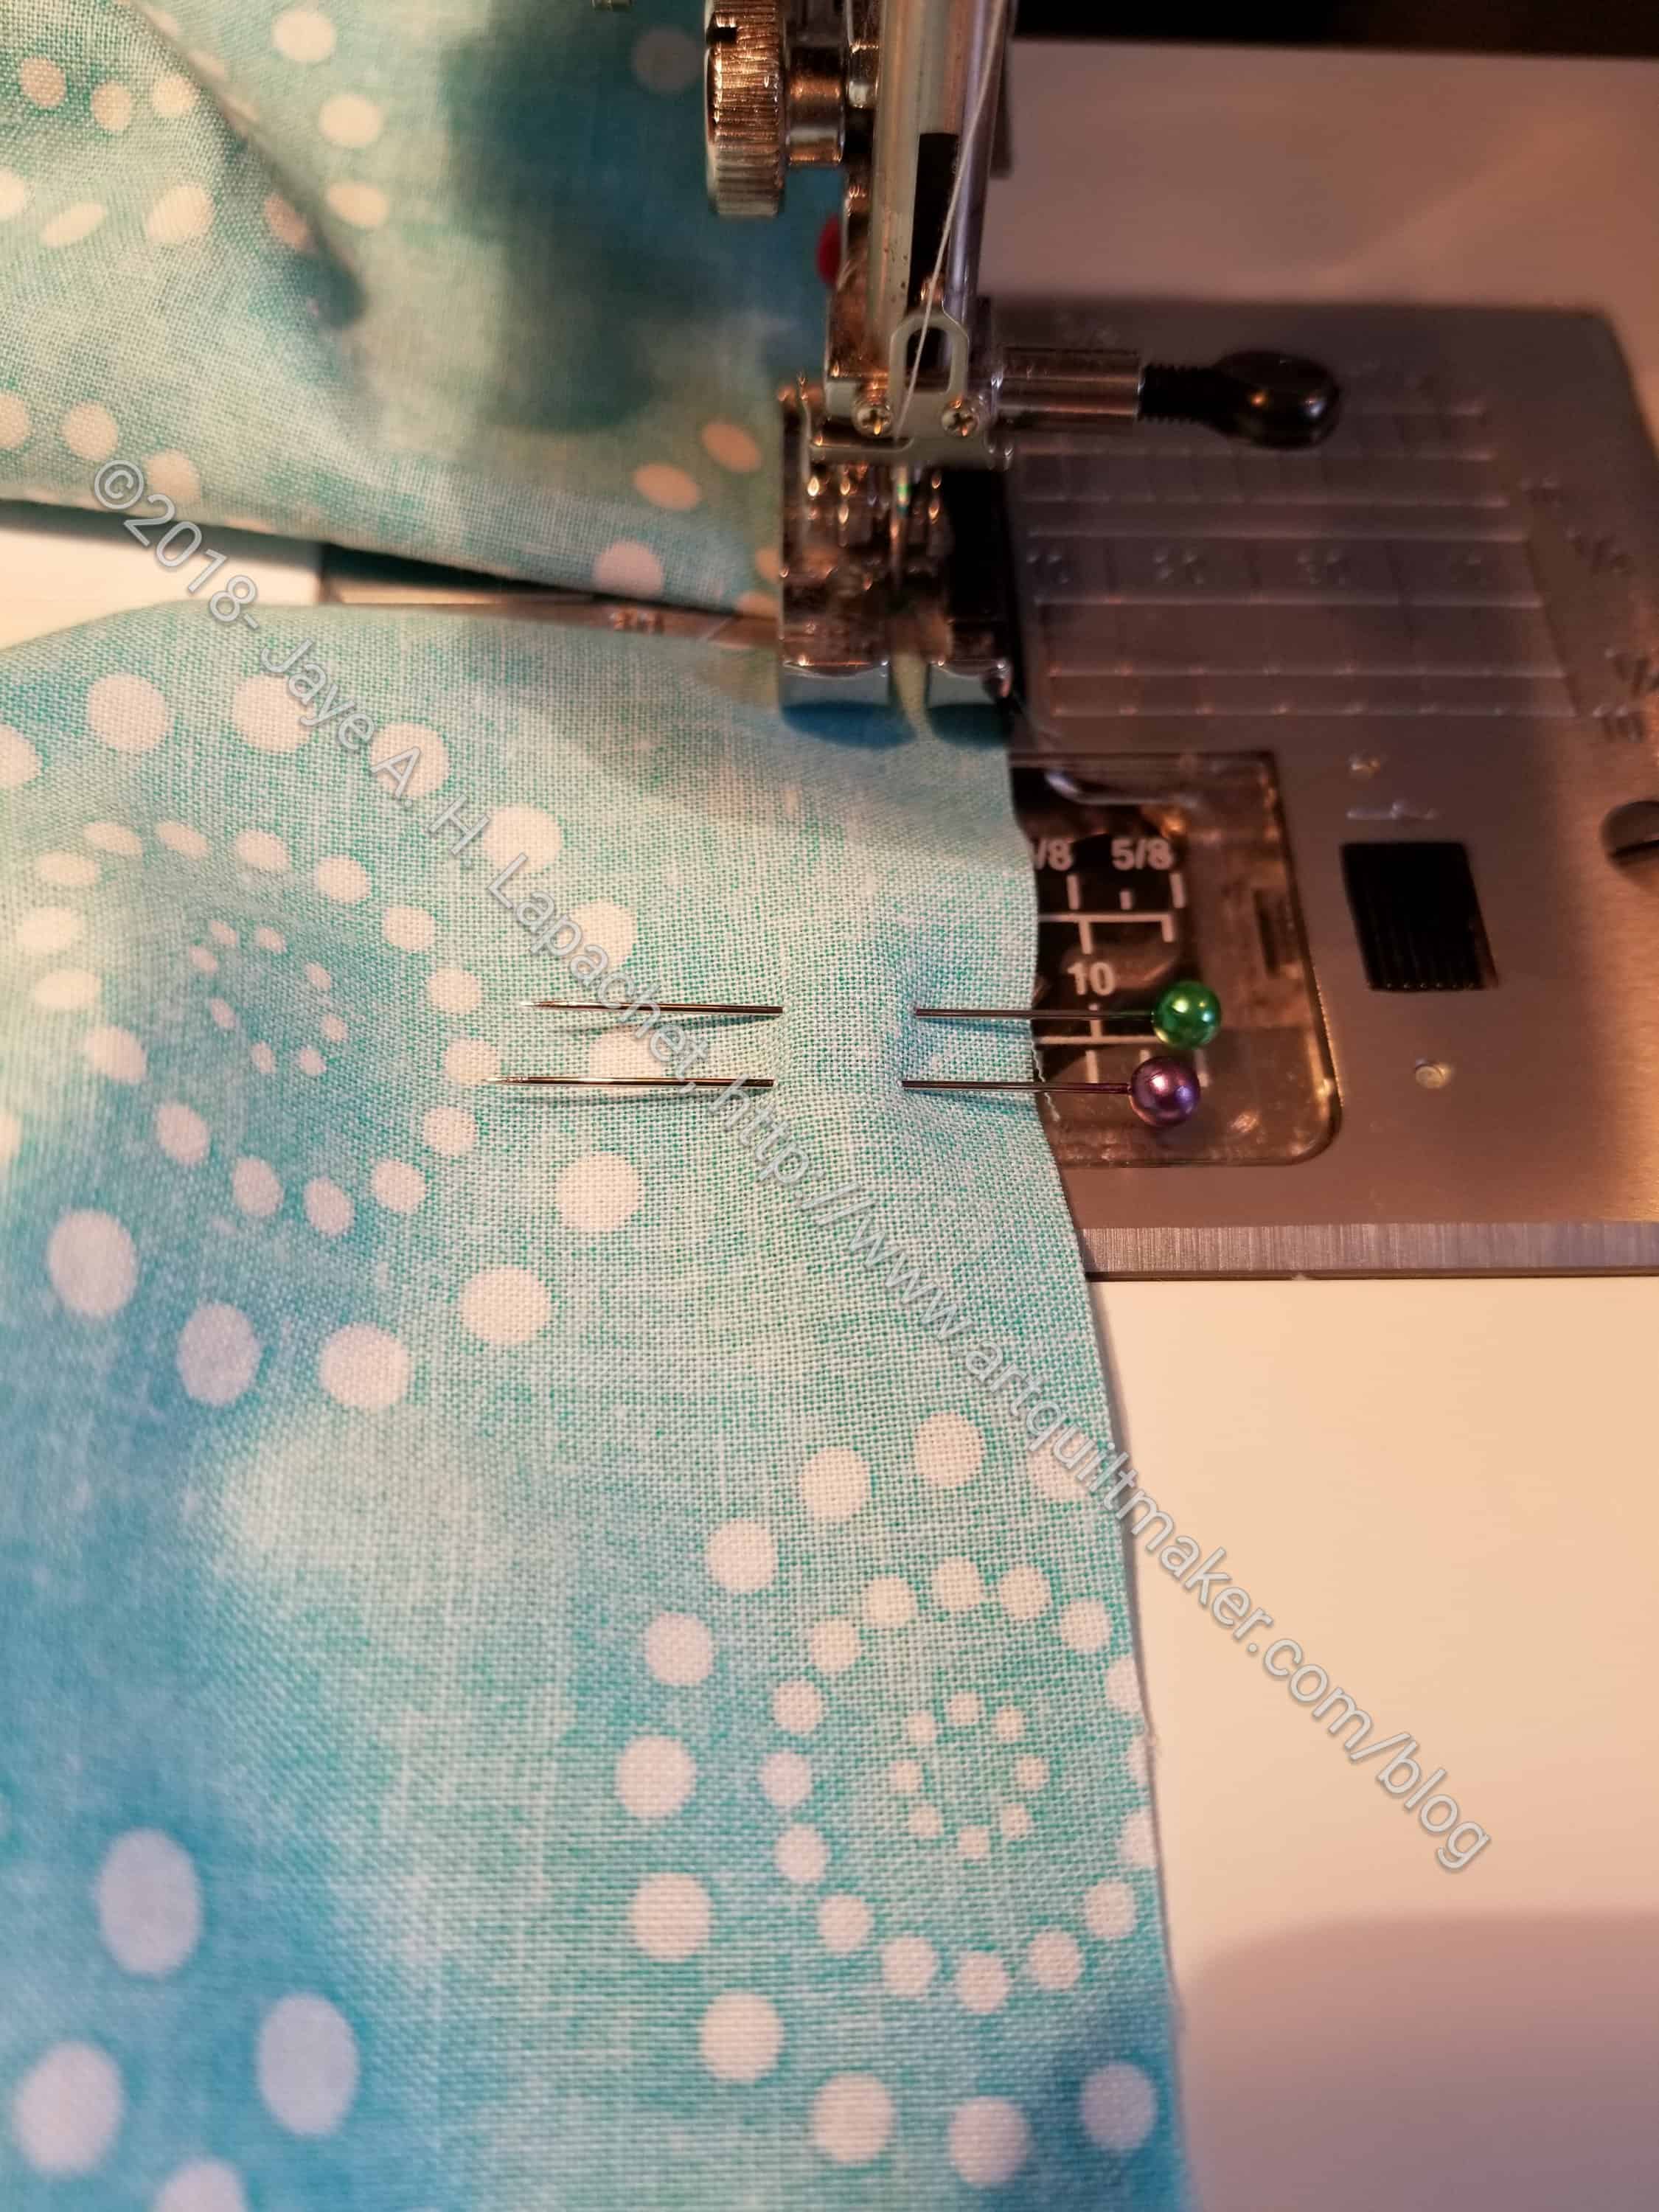
Sew seam shut
5. Sew your pinned seam shut except for the opening you have left.
Backstitch at beginning and endBackstitch at beginning and end
Hint: I backstitch at the beginning and end of the seams including next to the opening. Yes, it is a hassle to start and stop, but I don’t want the edges of the seams to come apart when I turn.
Smooth out blocks
6. Place recently sewn squares on the ironing board and smooth out wrong side out (above). They should make nice squares.
7. Press nested seams in opposite directions from the center out.
Press seam open to minimize bulk
8. Press long seams in one direction, being careful to line up edge of opening as best you can. You can press this seam open if you want.
You should now have 4 nice flat squares with wrong sides out.
9. Turn squares right sides out.
10 Poke out corners carefully. I use a knitting needle whose mate broke.
Your squares are now on the bias, so be careful when you handle them.
Press right side
10A. Press
Press
Corners folded in
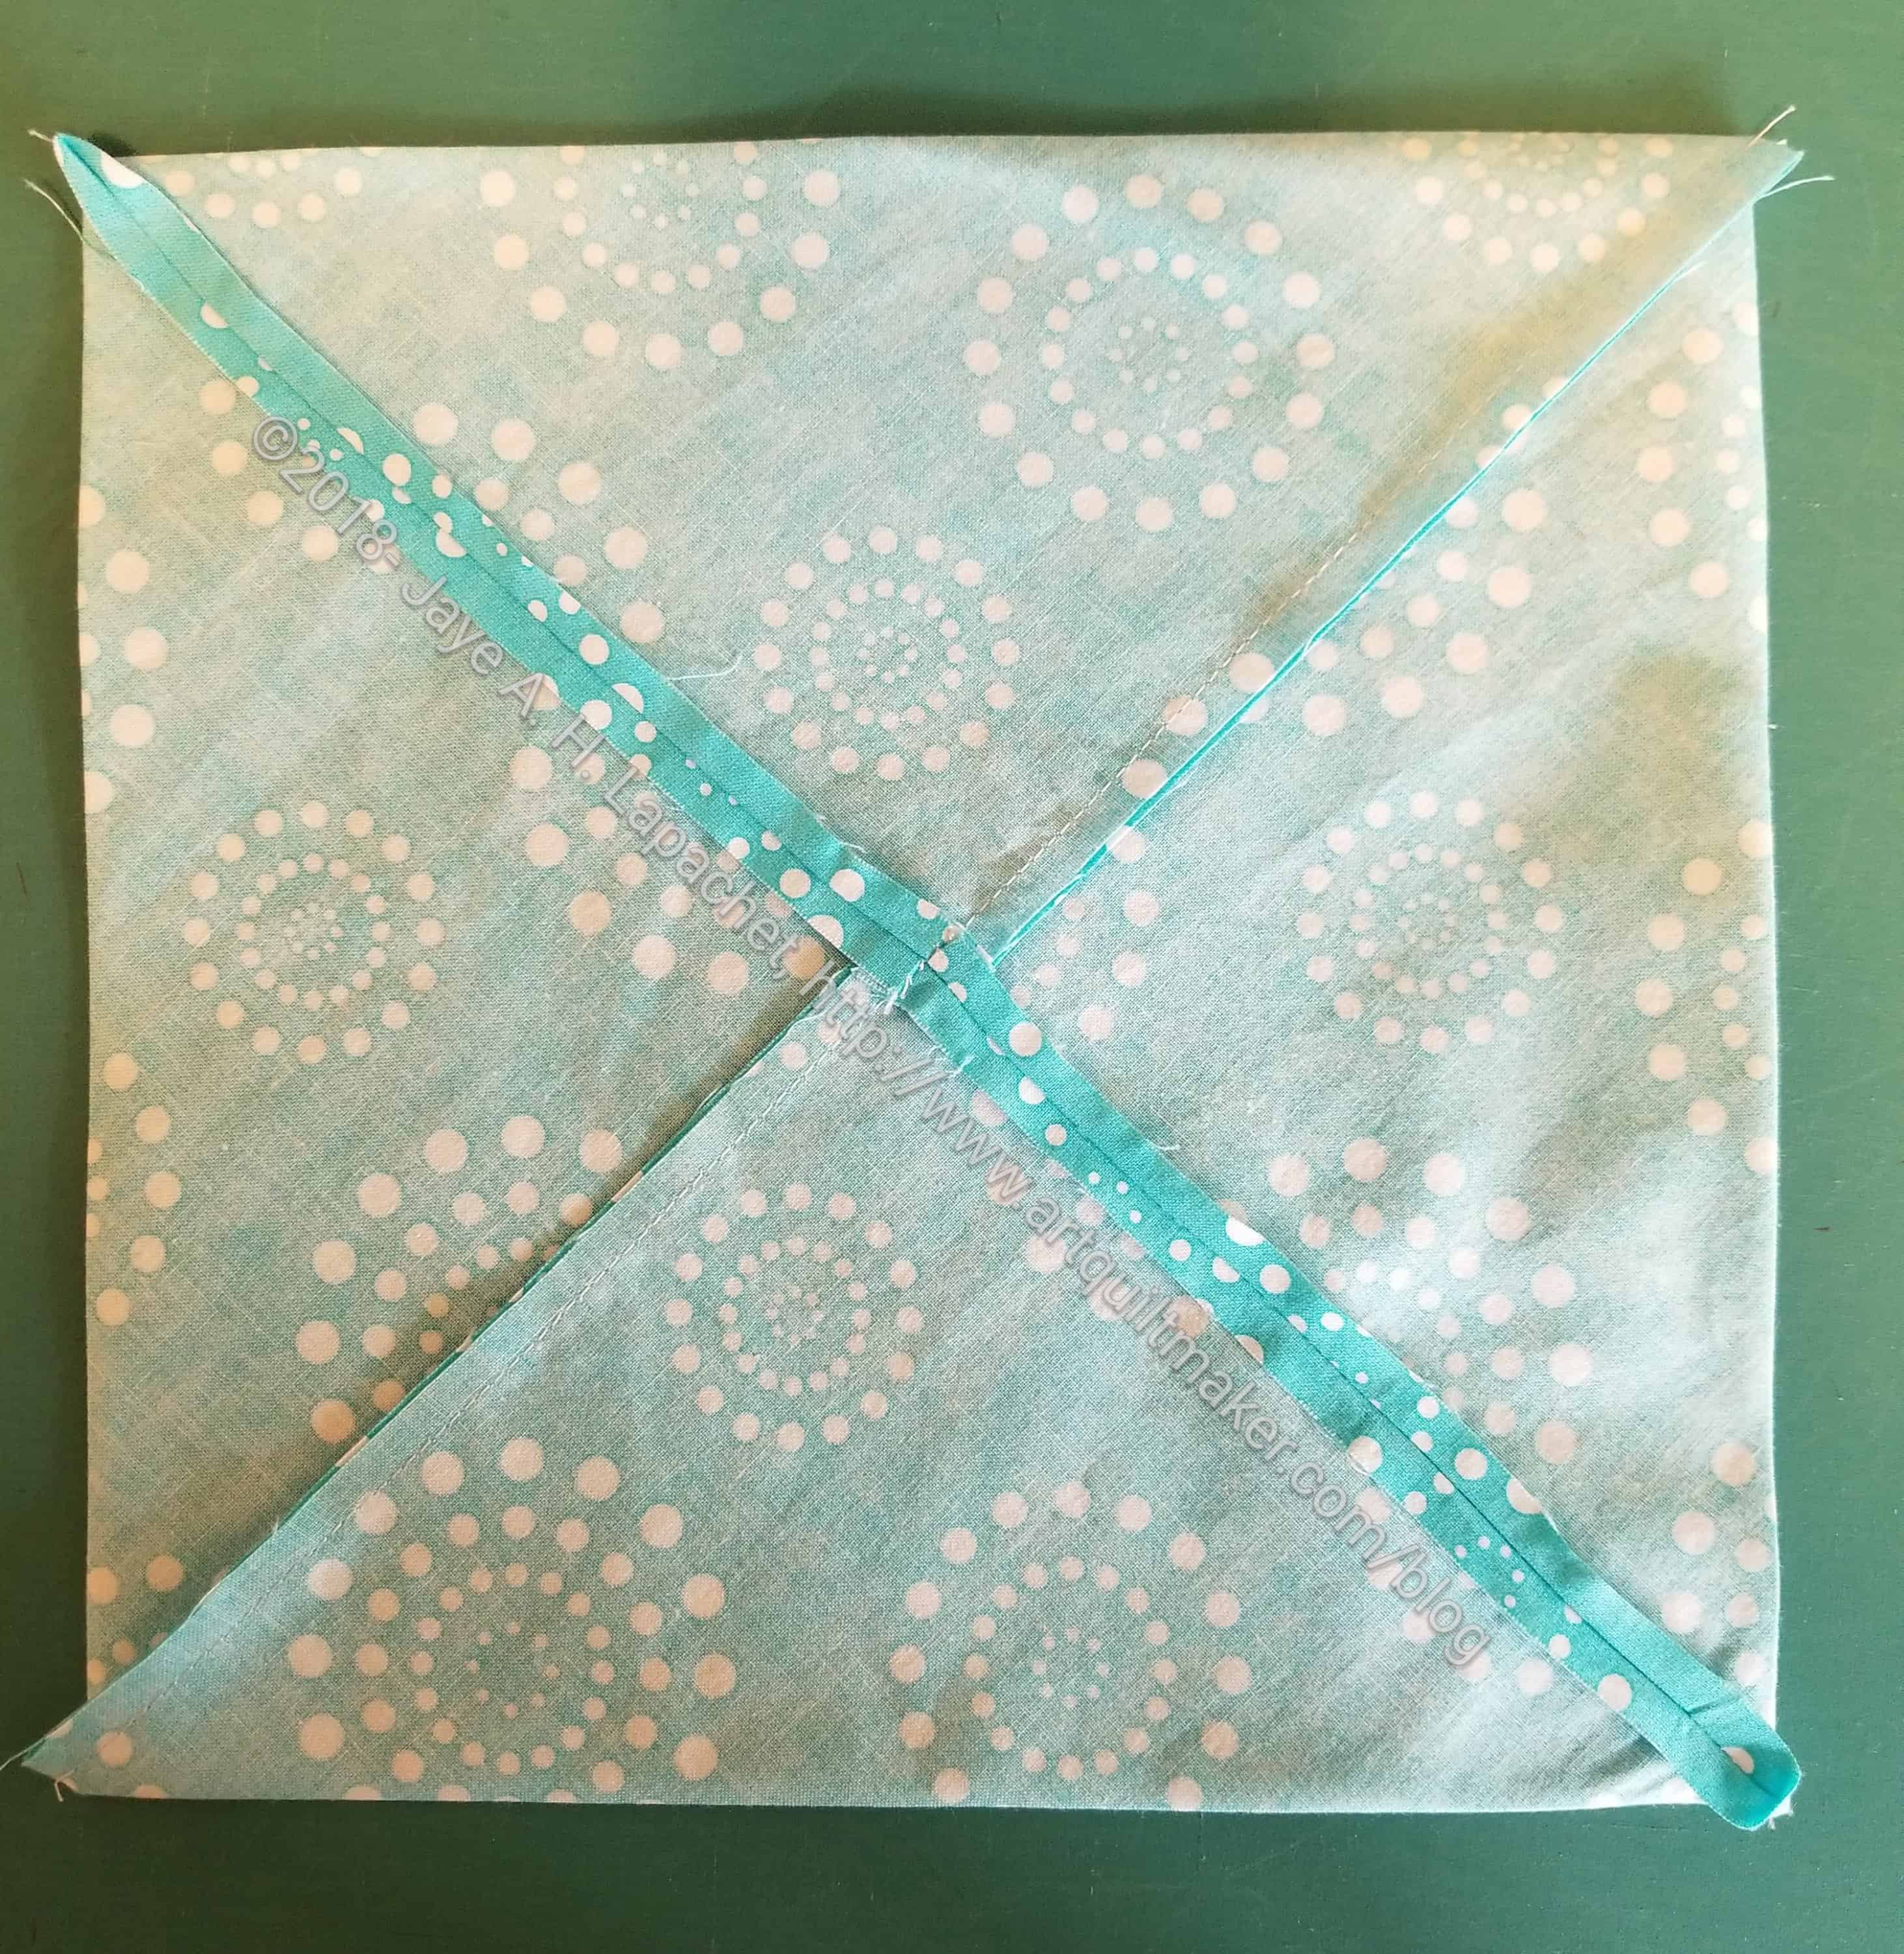
11. Fold corners into the center. Do this with all four corners and make a new square. The square should be 6 inches.
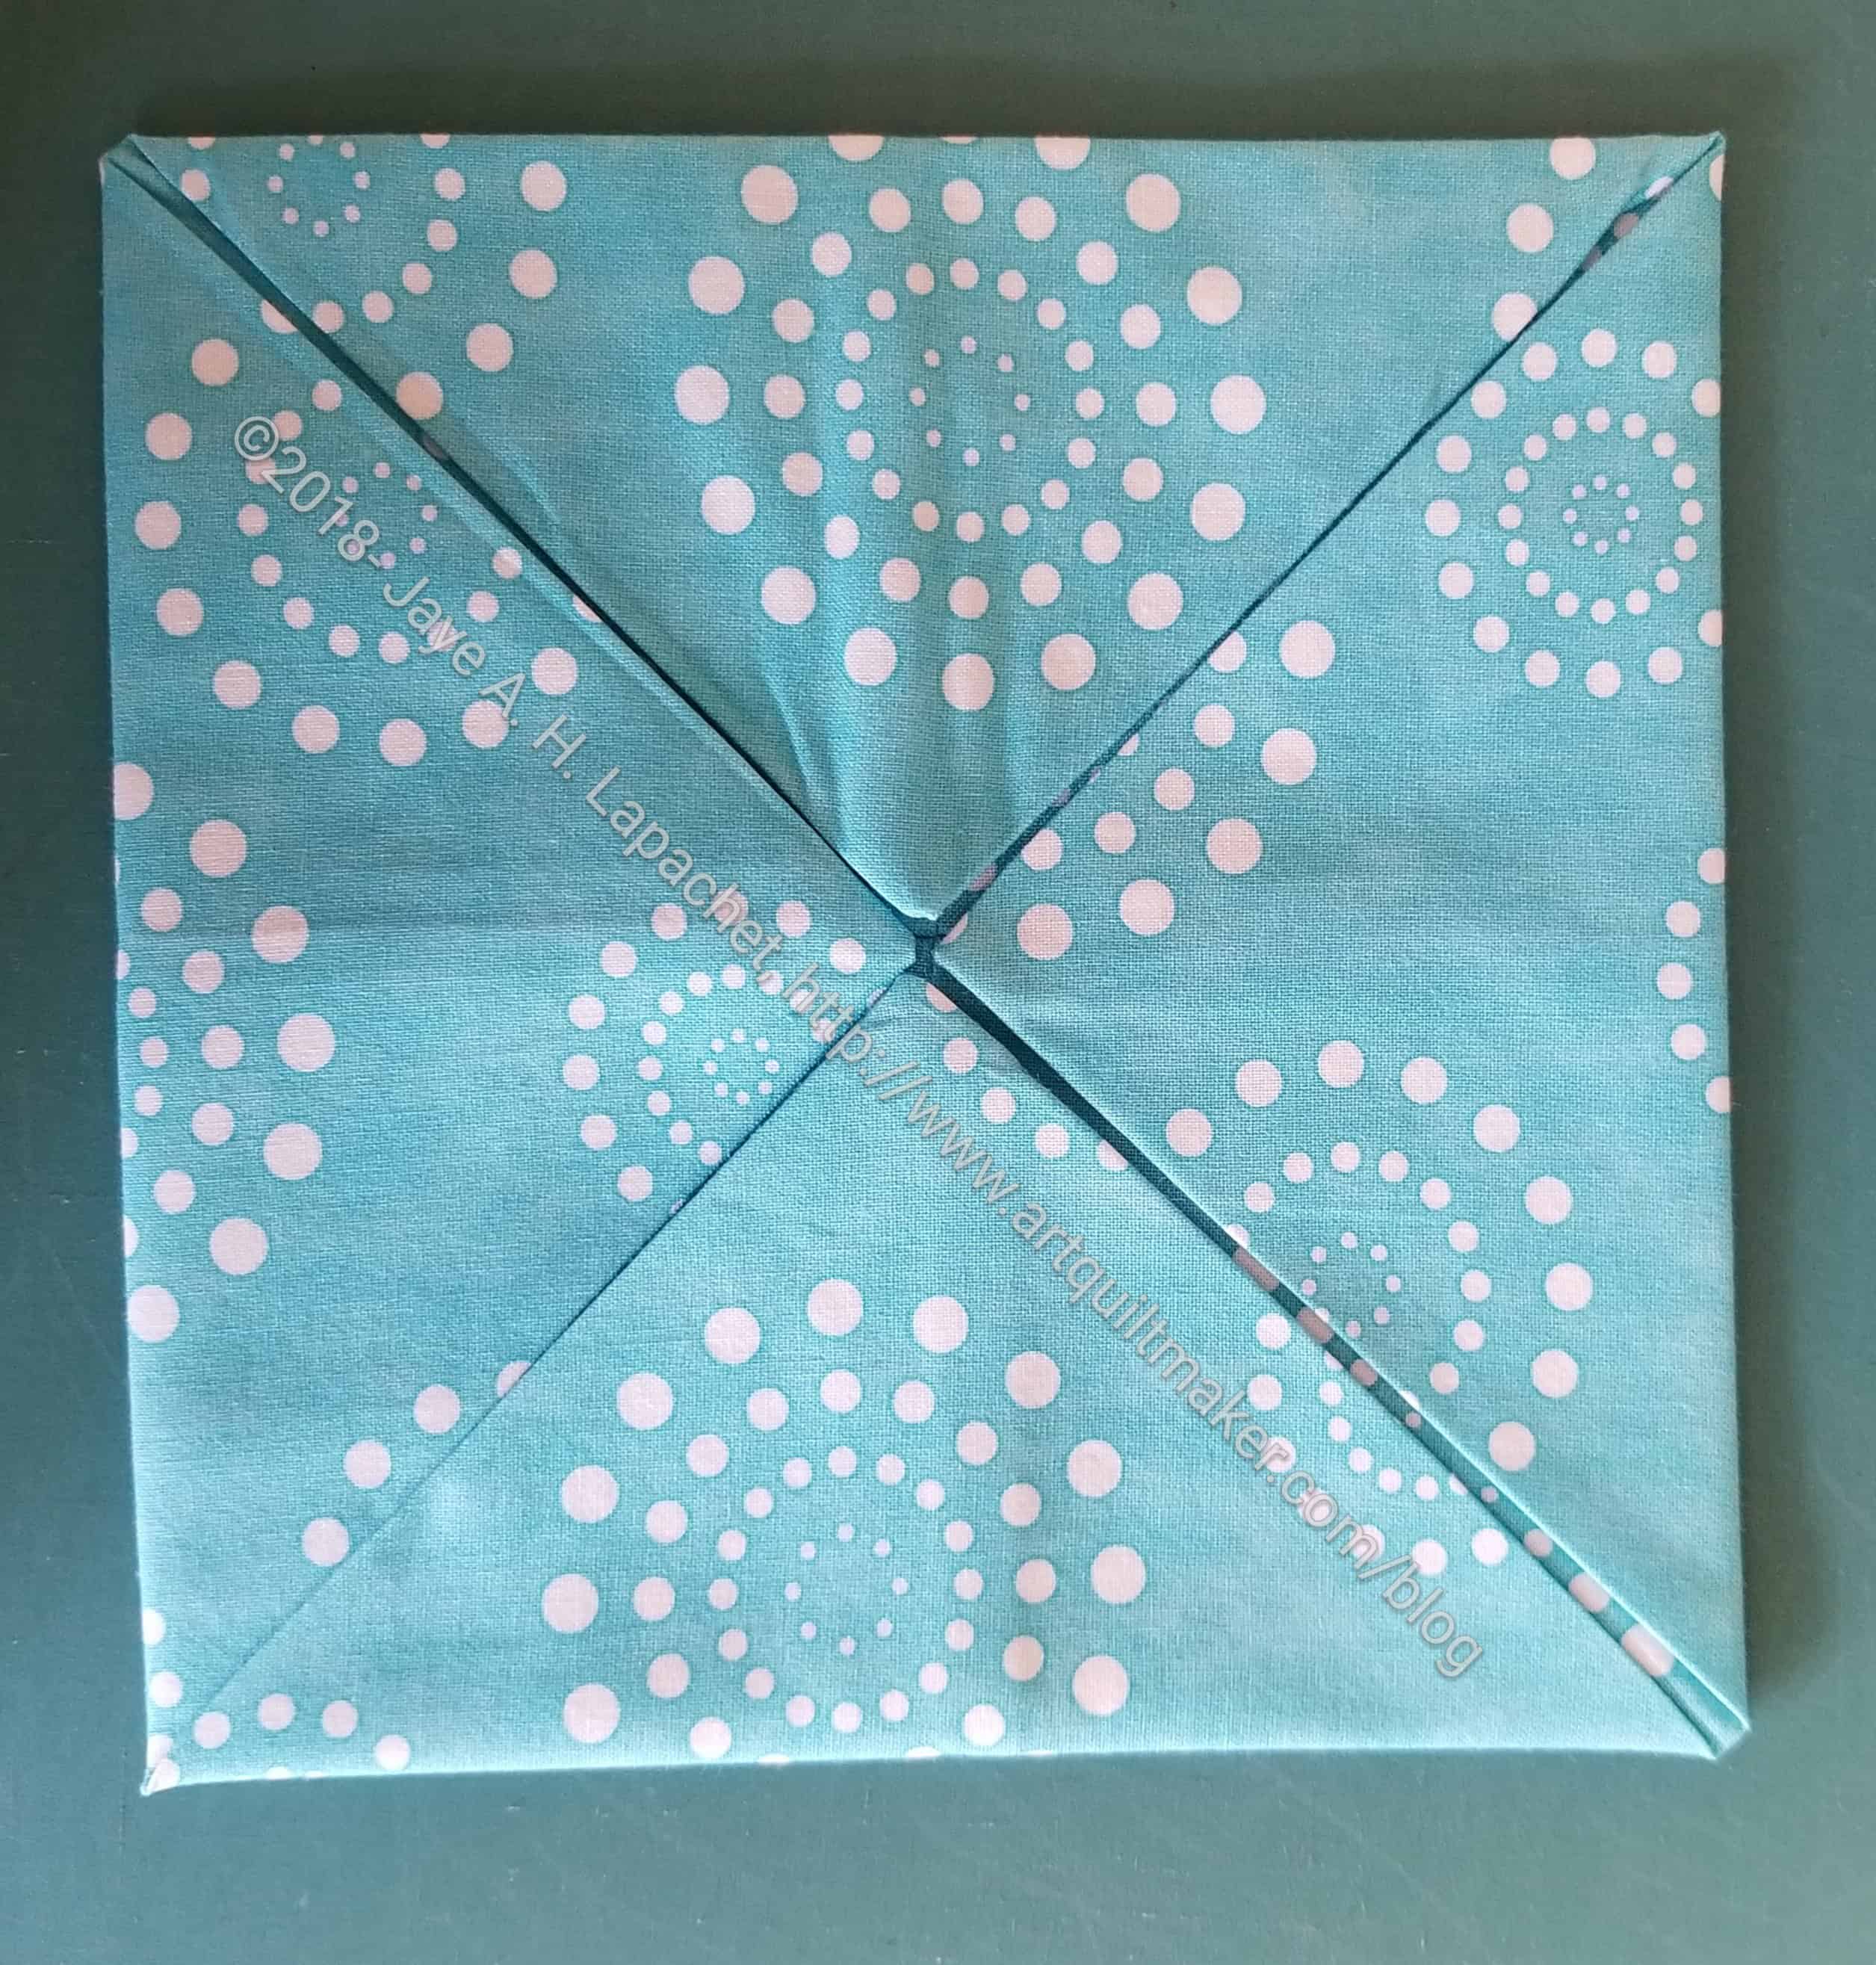
4 blocks laid out in a 2×2 grid
12. Lay out the blocks in a 2 x 2 grid, so you can see what you have
Pin triangles together
13. Pin the center triangles of the two top triangles together. Do the same for the bottom triangles. Now your 2×2 grid will be pinned together in two rectangular sections
Draw a line in the crease
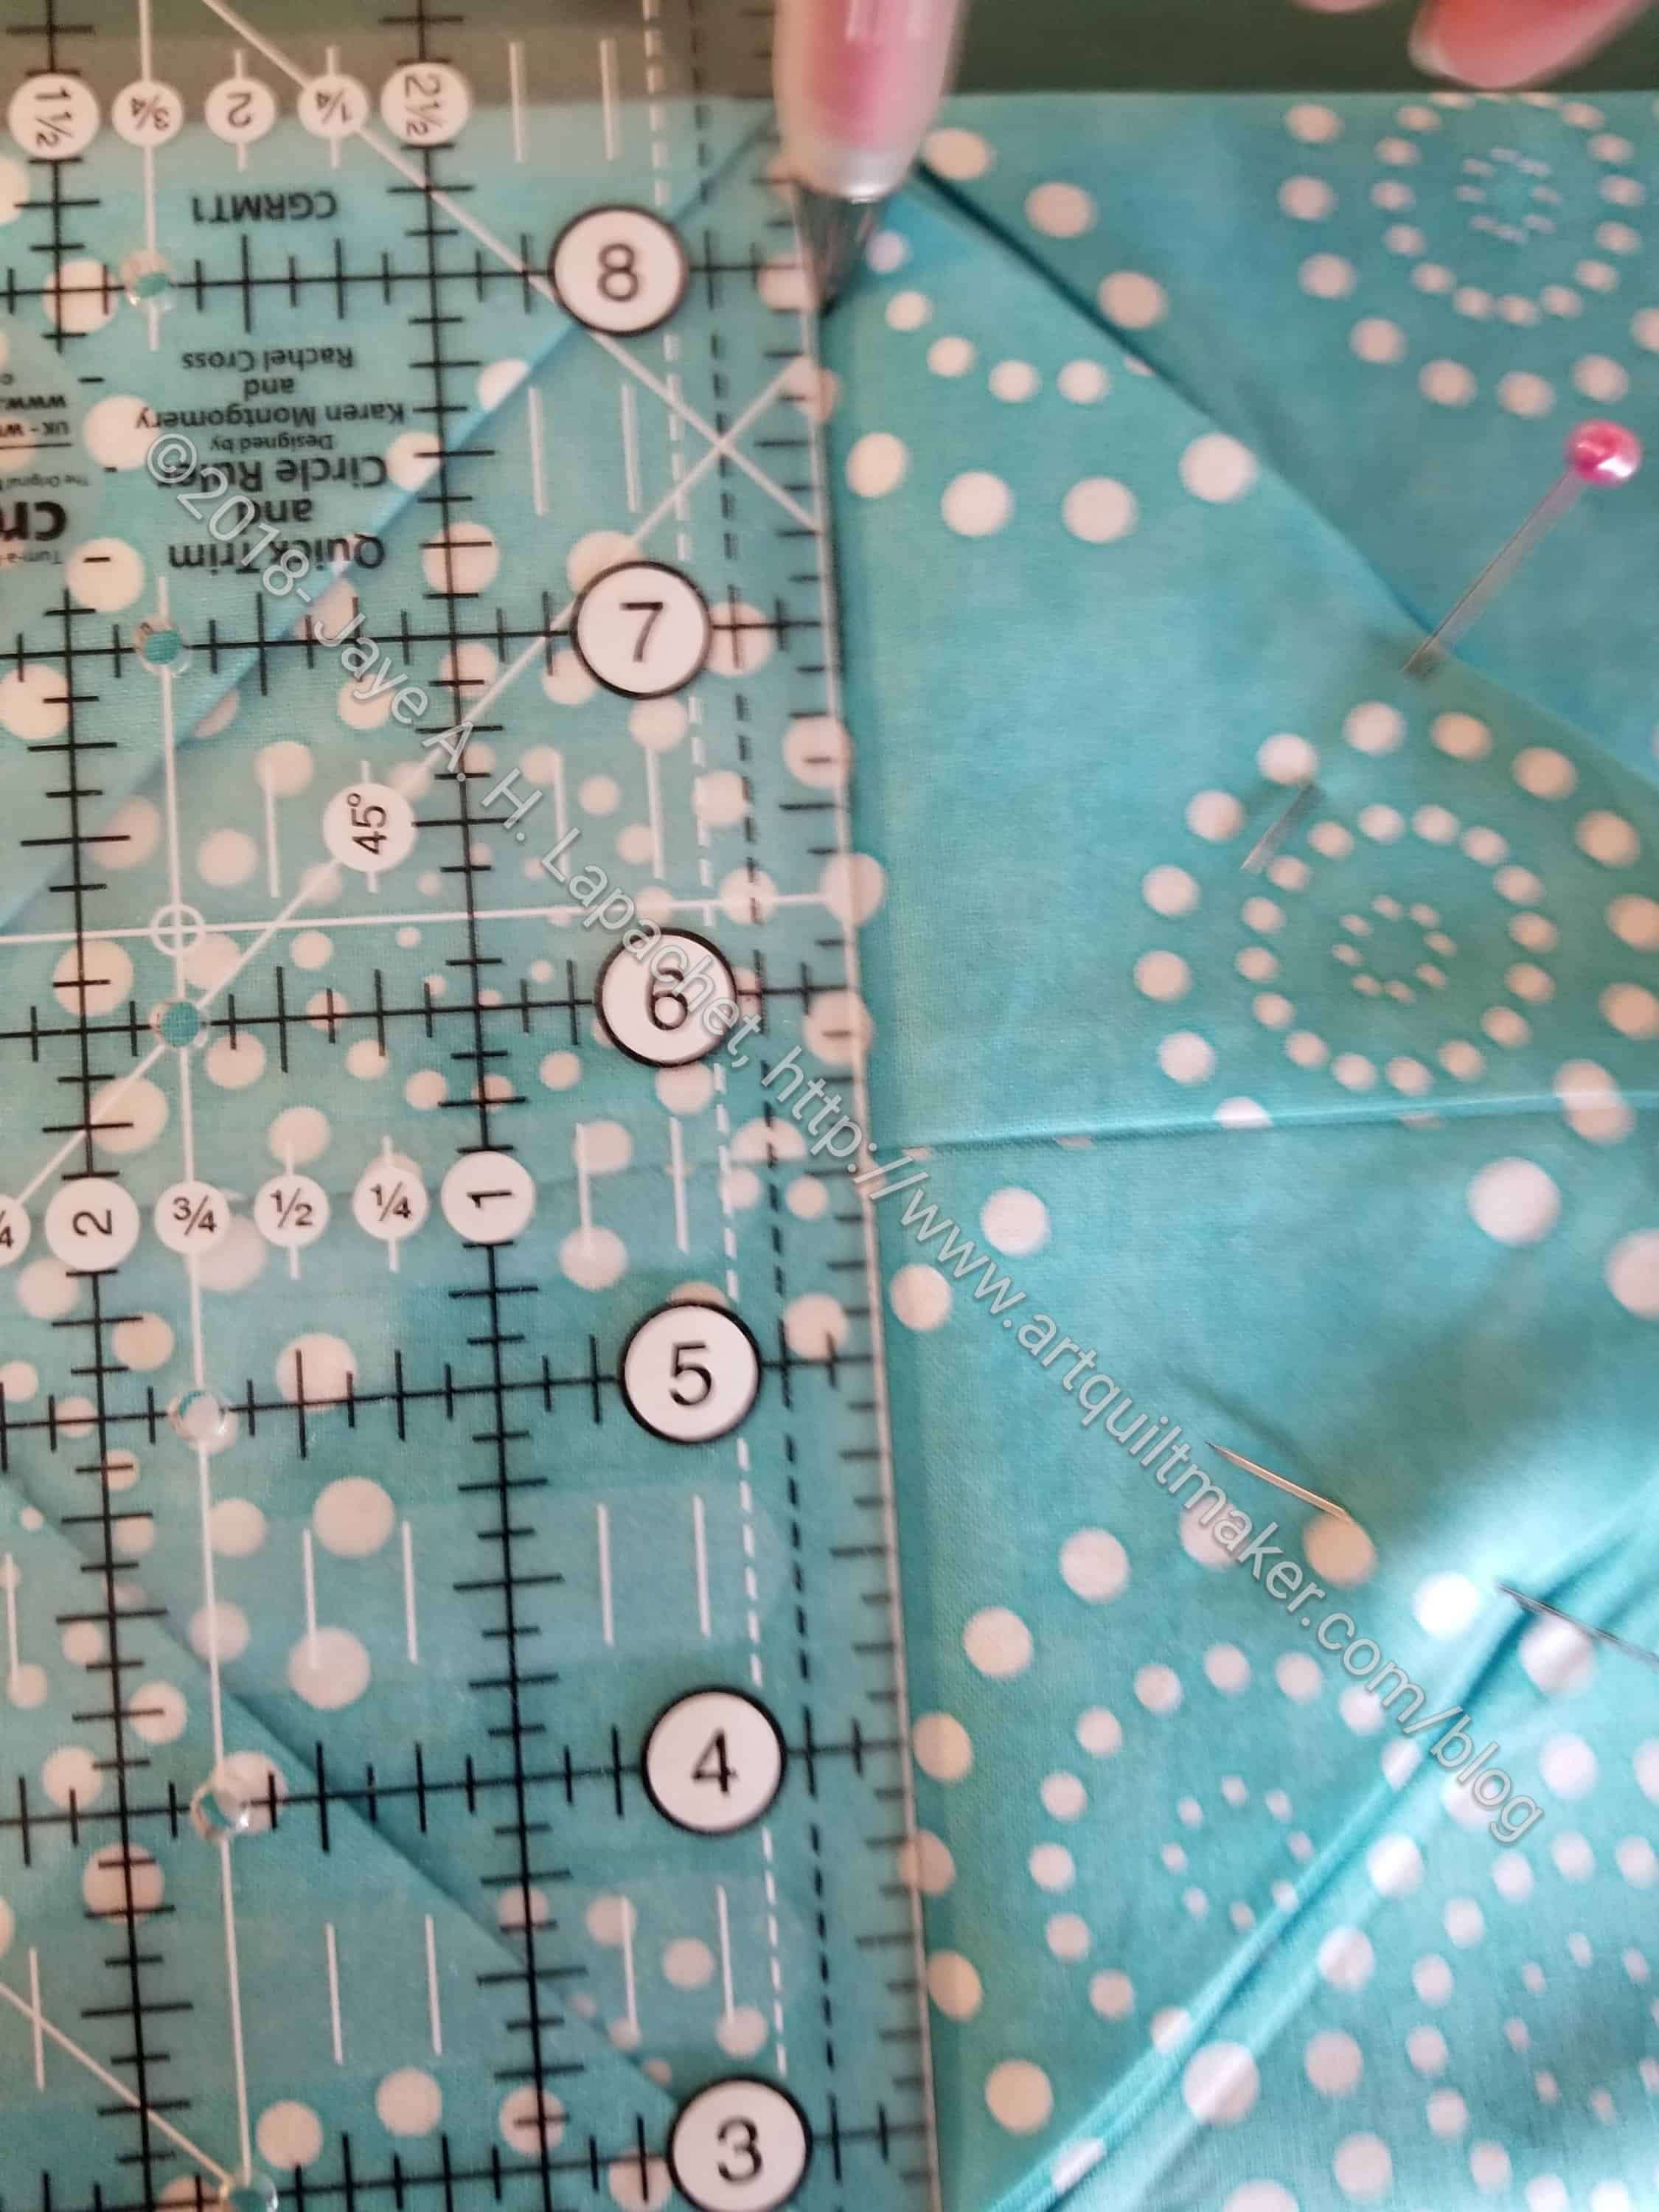
14. Using a ruler (I use a 3.5 x 12.5 Creative Grids), and your marking implement (I like Sewline pencils), draw a line in the crease under the triangles you are about to pin
Line up squares
15. Line up squares with backs together and triangles pointing to the right.
16. Put your applique’ foot on your sewing machine.
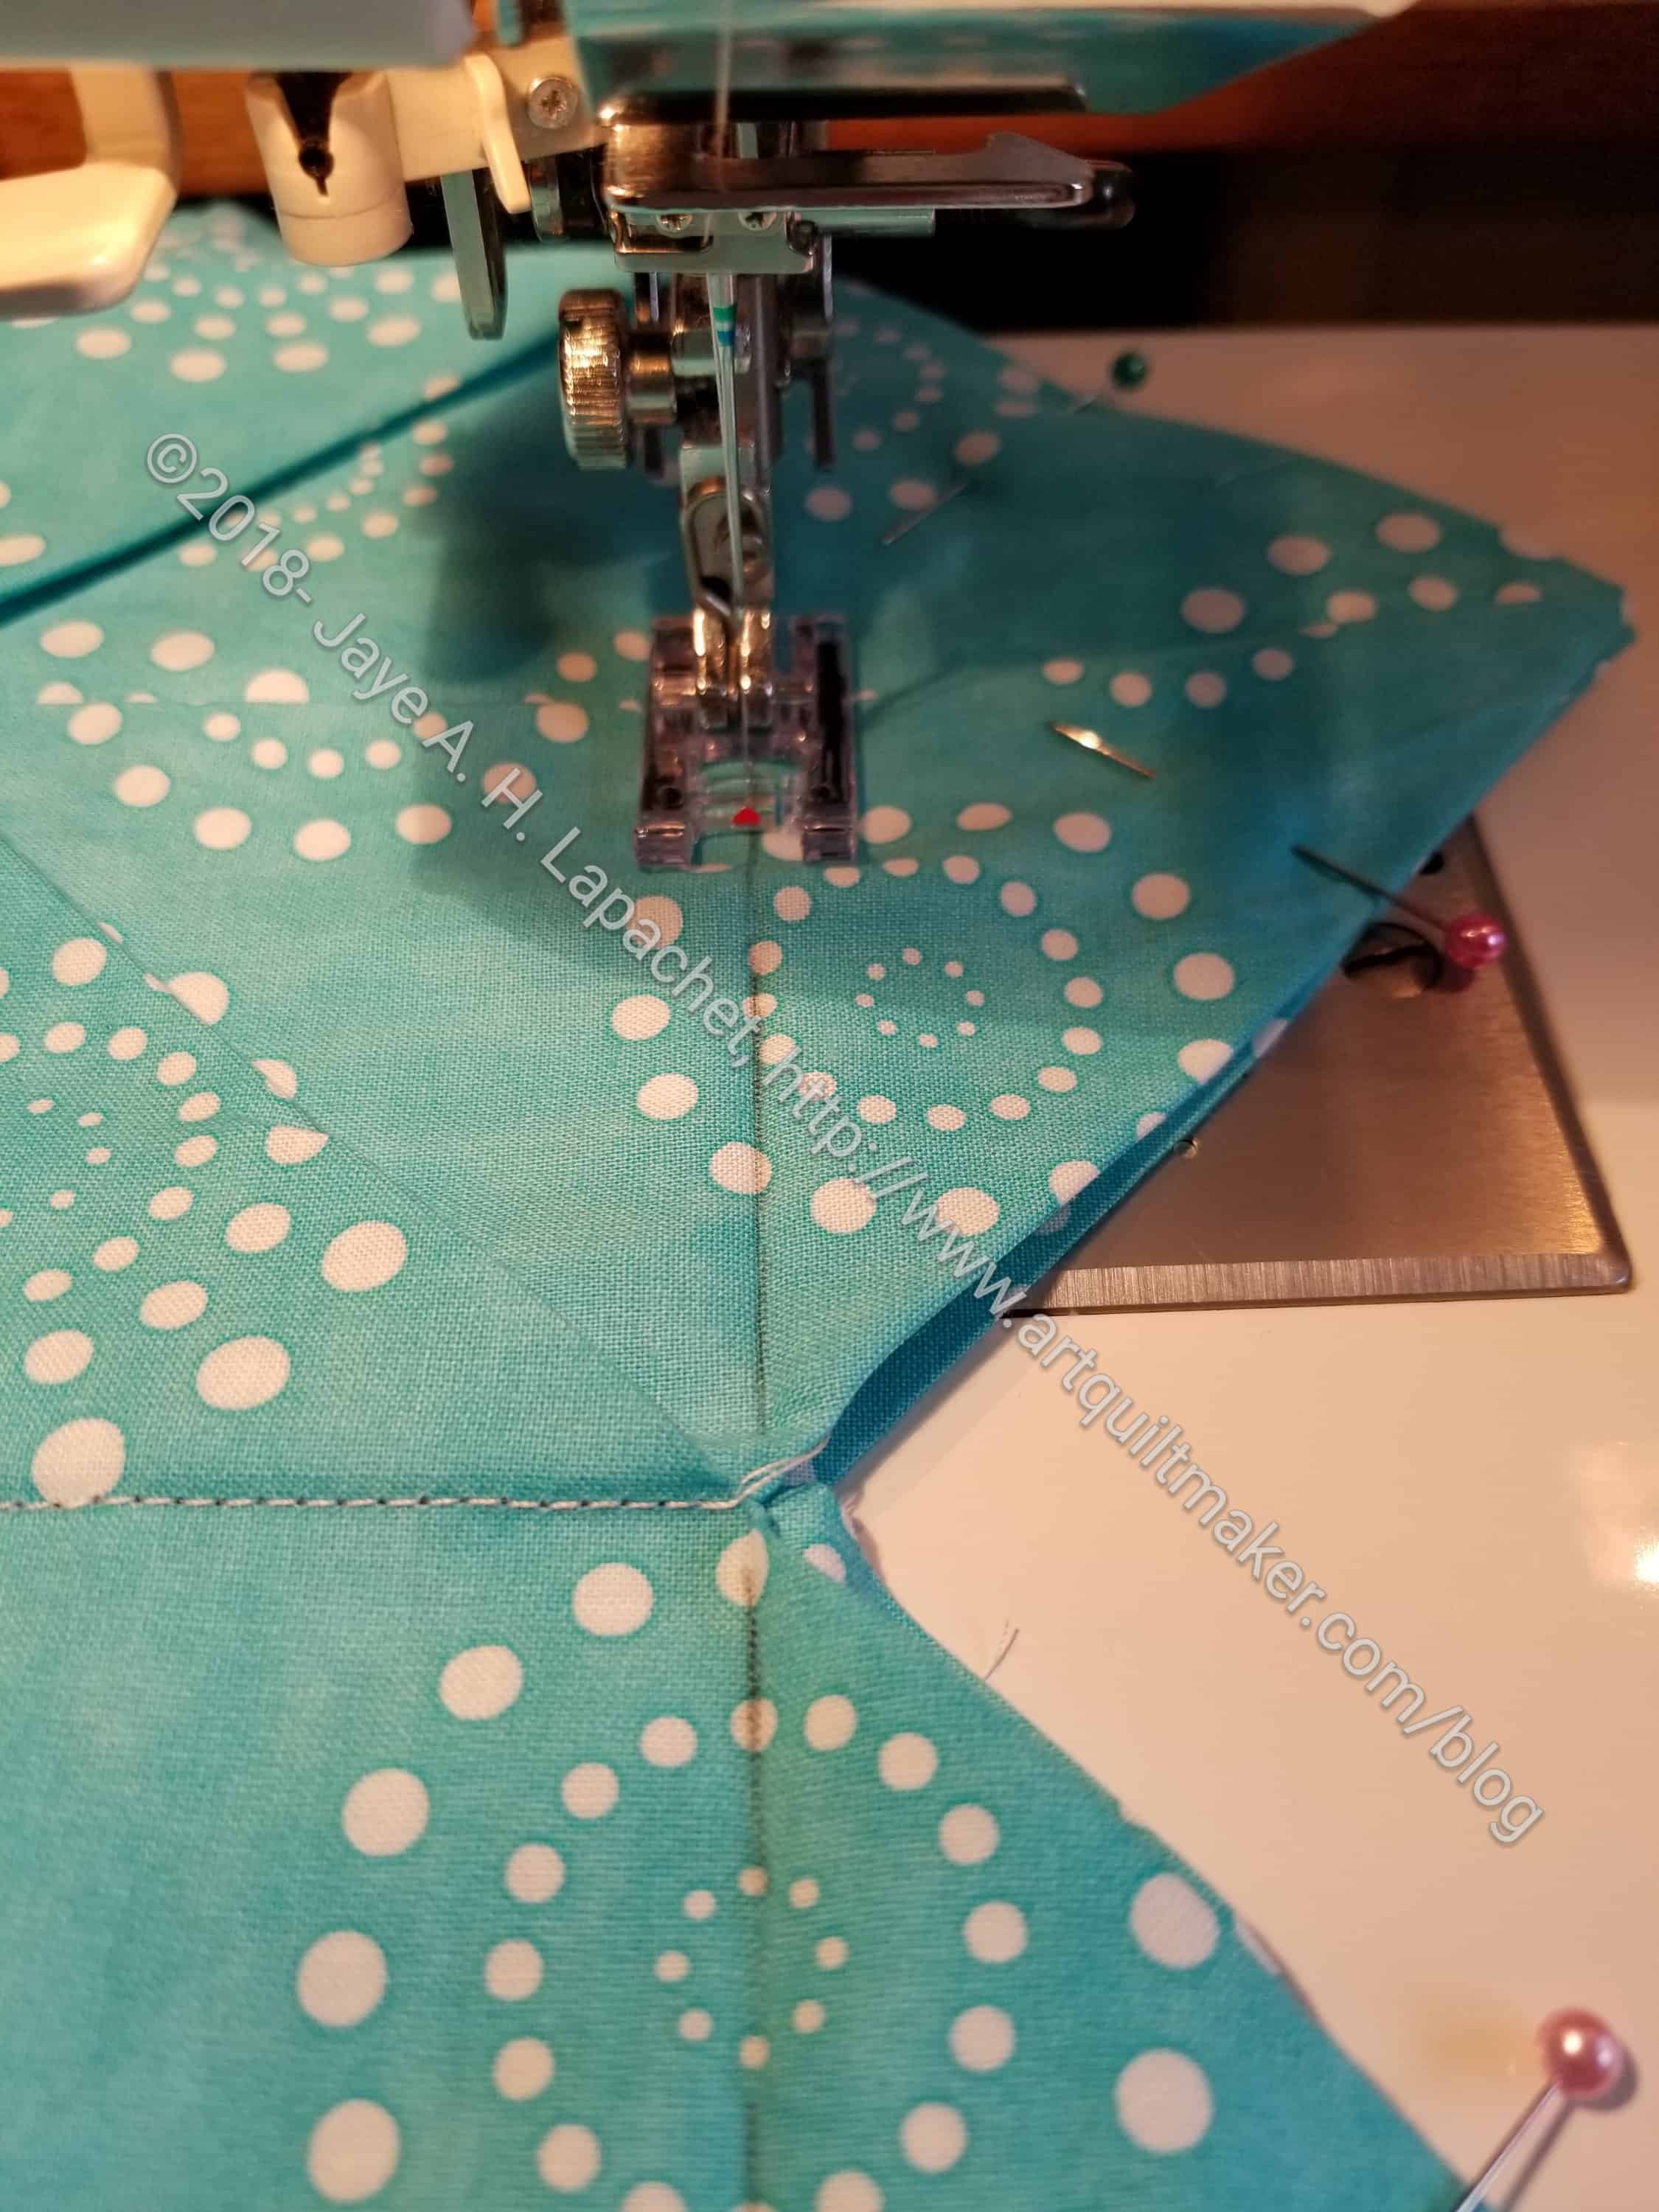
17. Sew along the crease on both sets.
18. Lay out the 2×2 grid again. Now you will have two ‘rows’. You are going to sew the rows together.
Pin them together
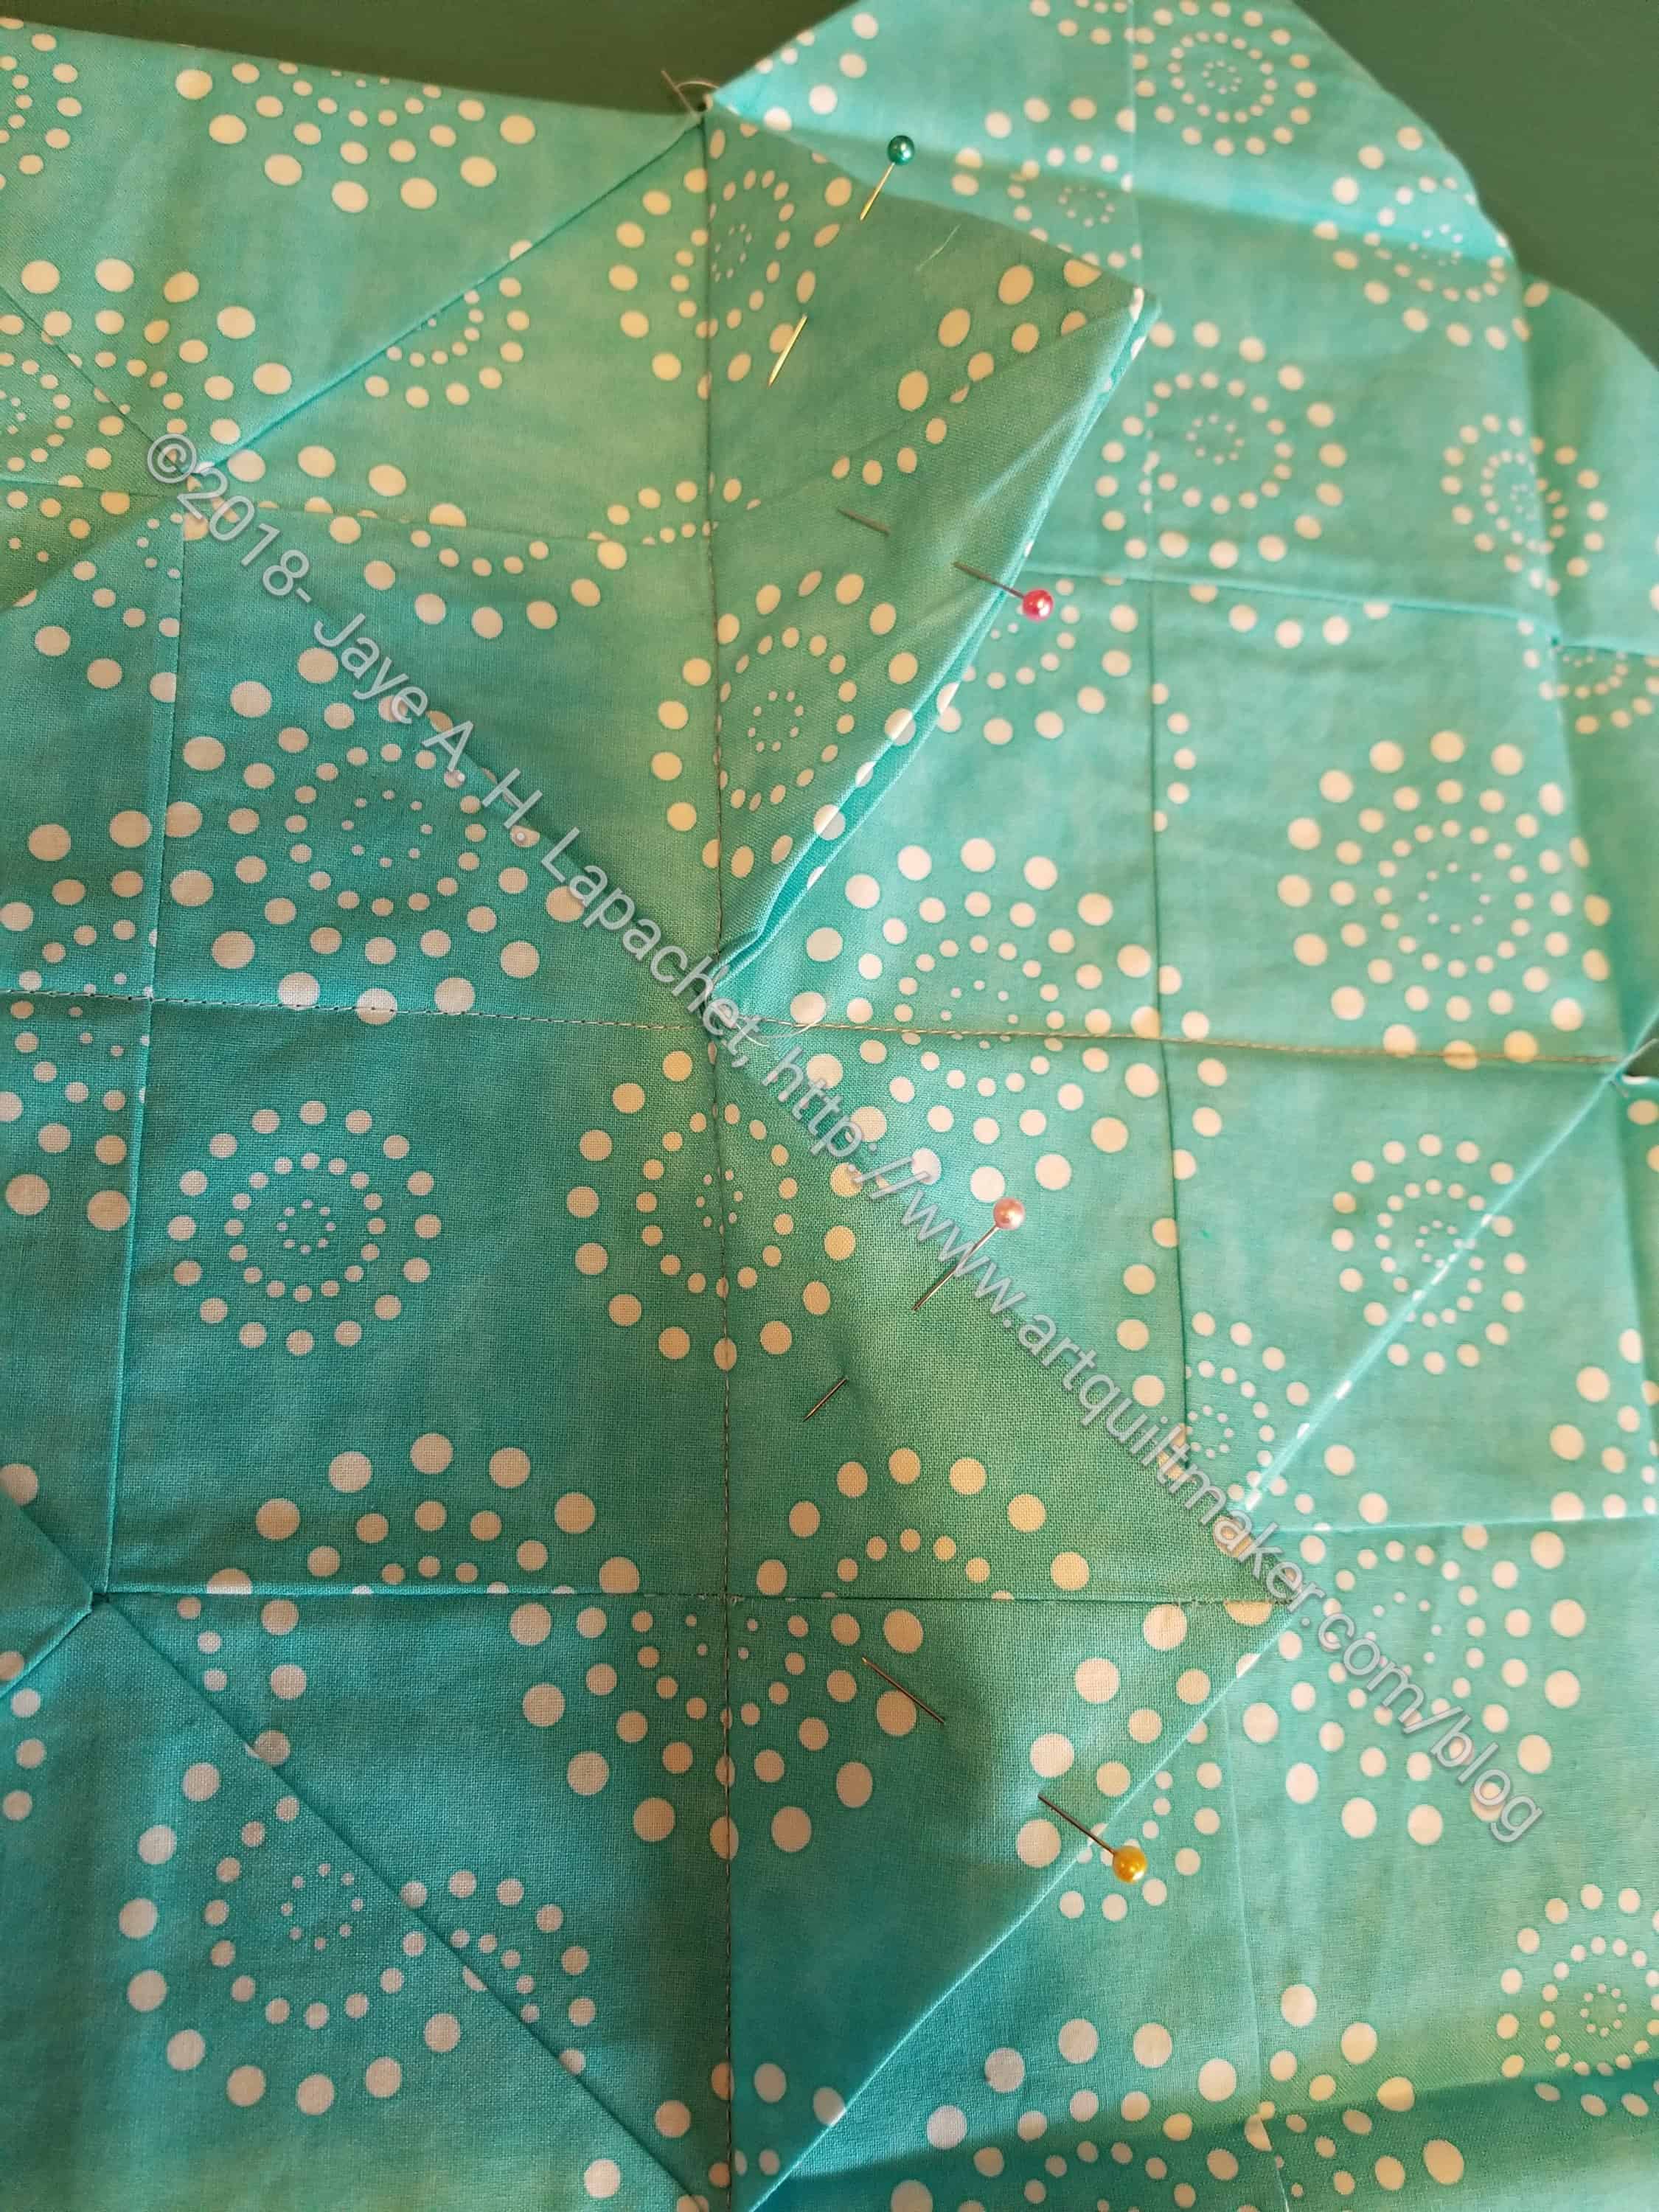
19. Fold up the top triangles from the bottom row and the bottom triangle from the top row.
Draw another line between the two ‘rows’ in the crease
20. Draw a line along the crease at the bottom of the two triangles.
21. Sew along the line. After, you will have your 2×2 grid of squares sewn together and the triangles will be flapping around.
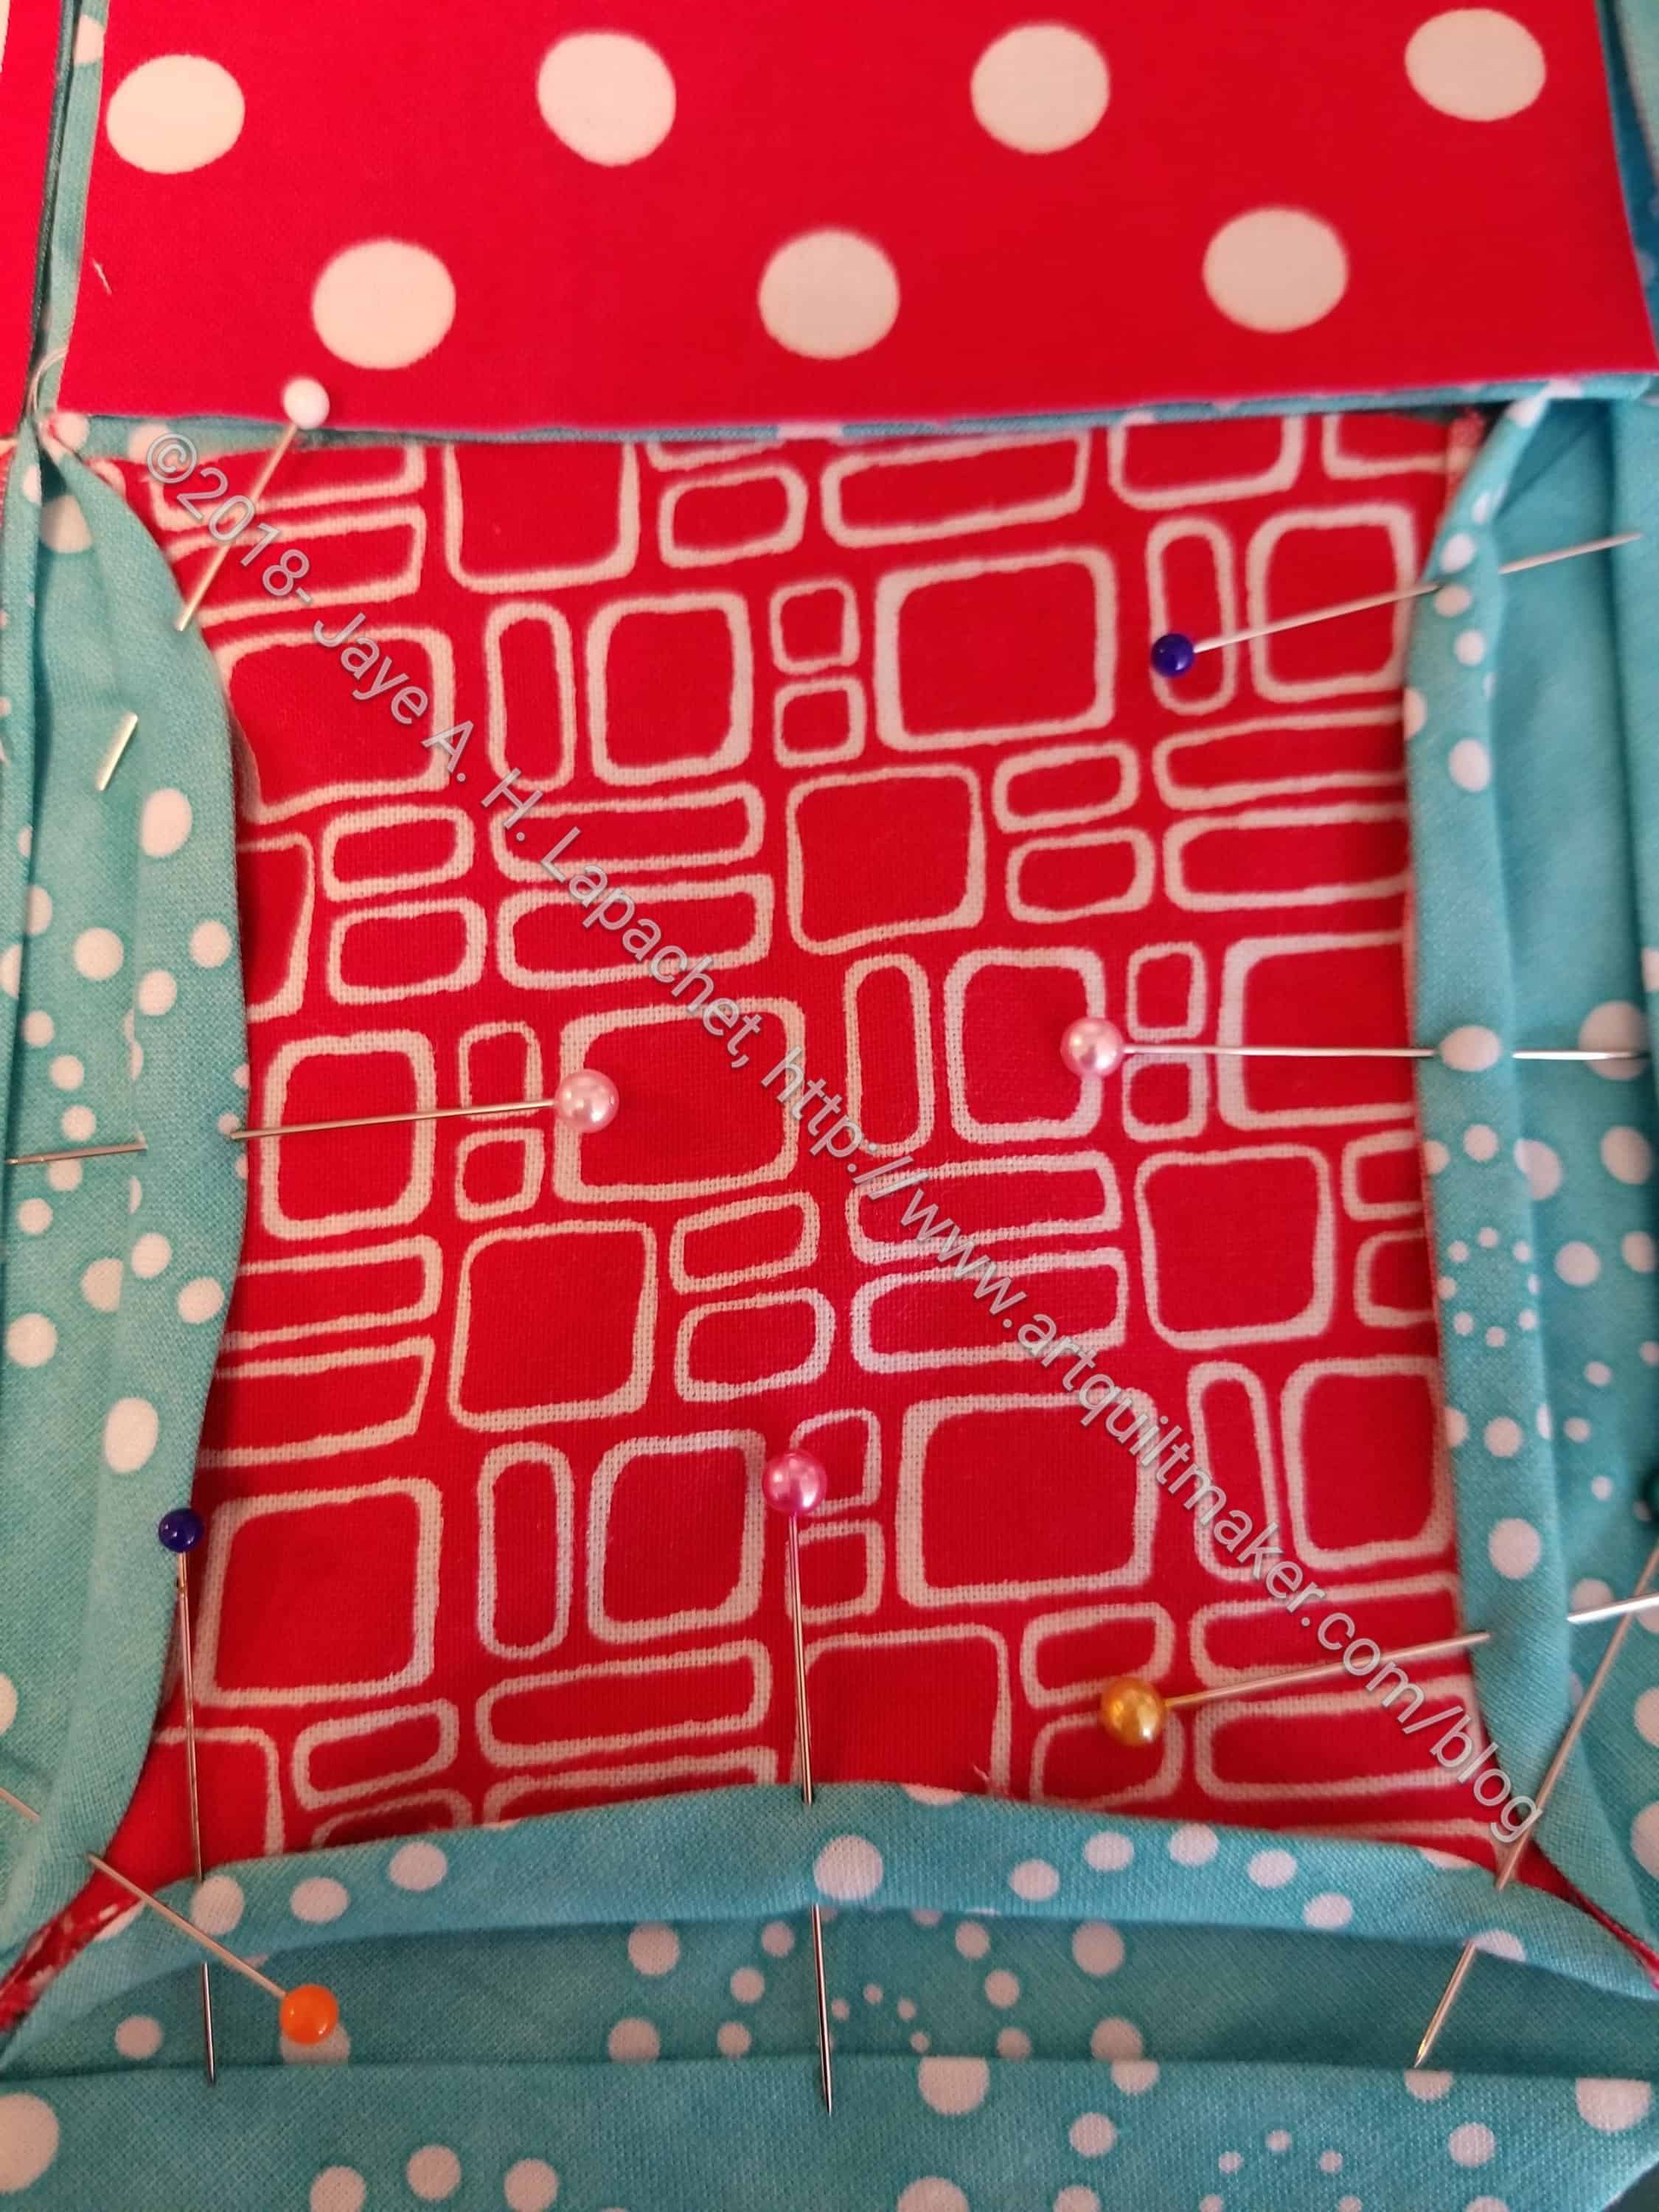
Start laying out your foreground squaresForeground squares laid out
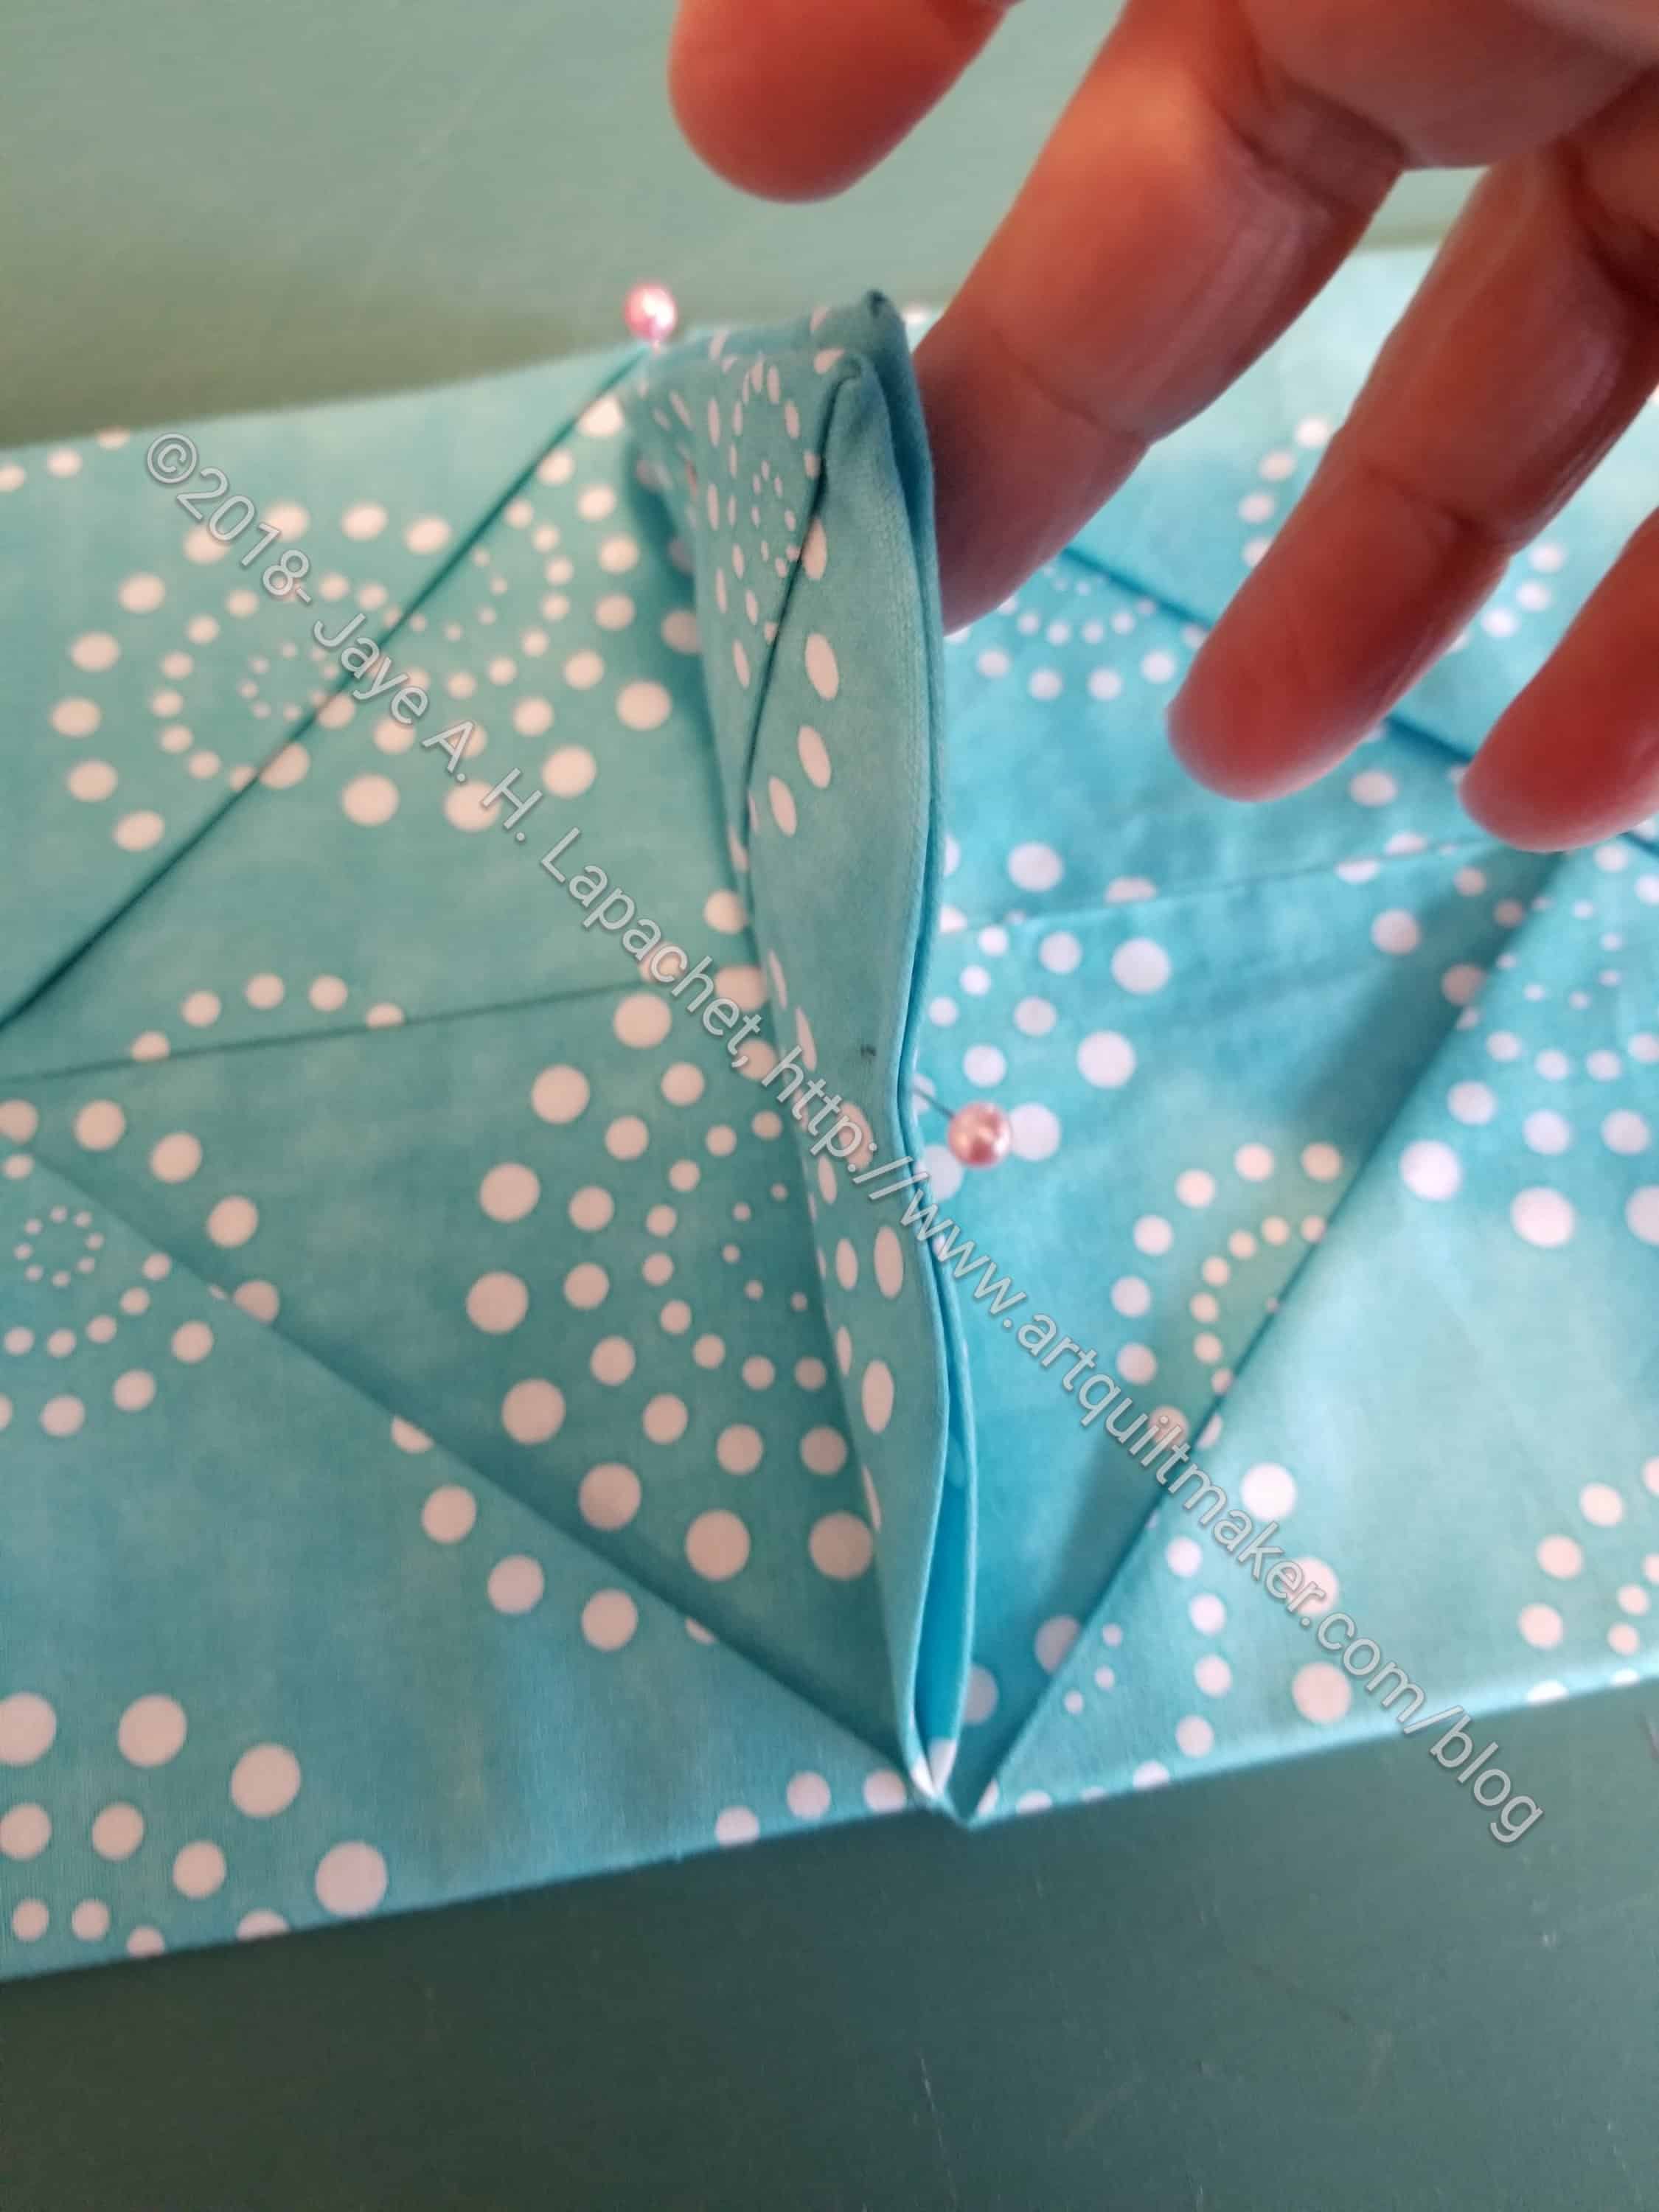
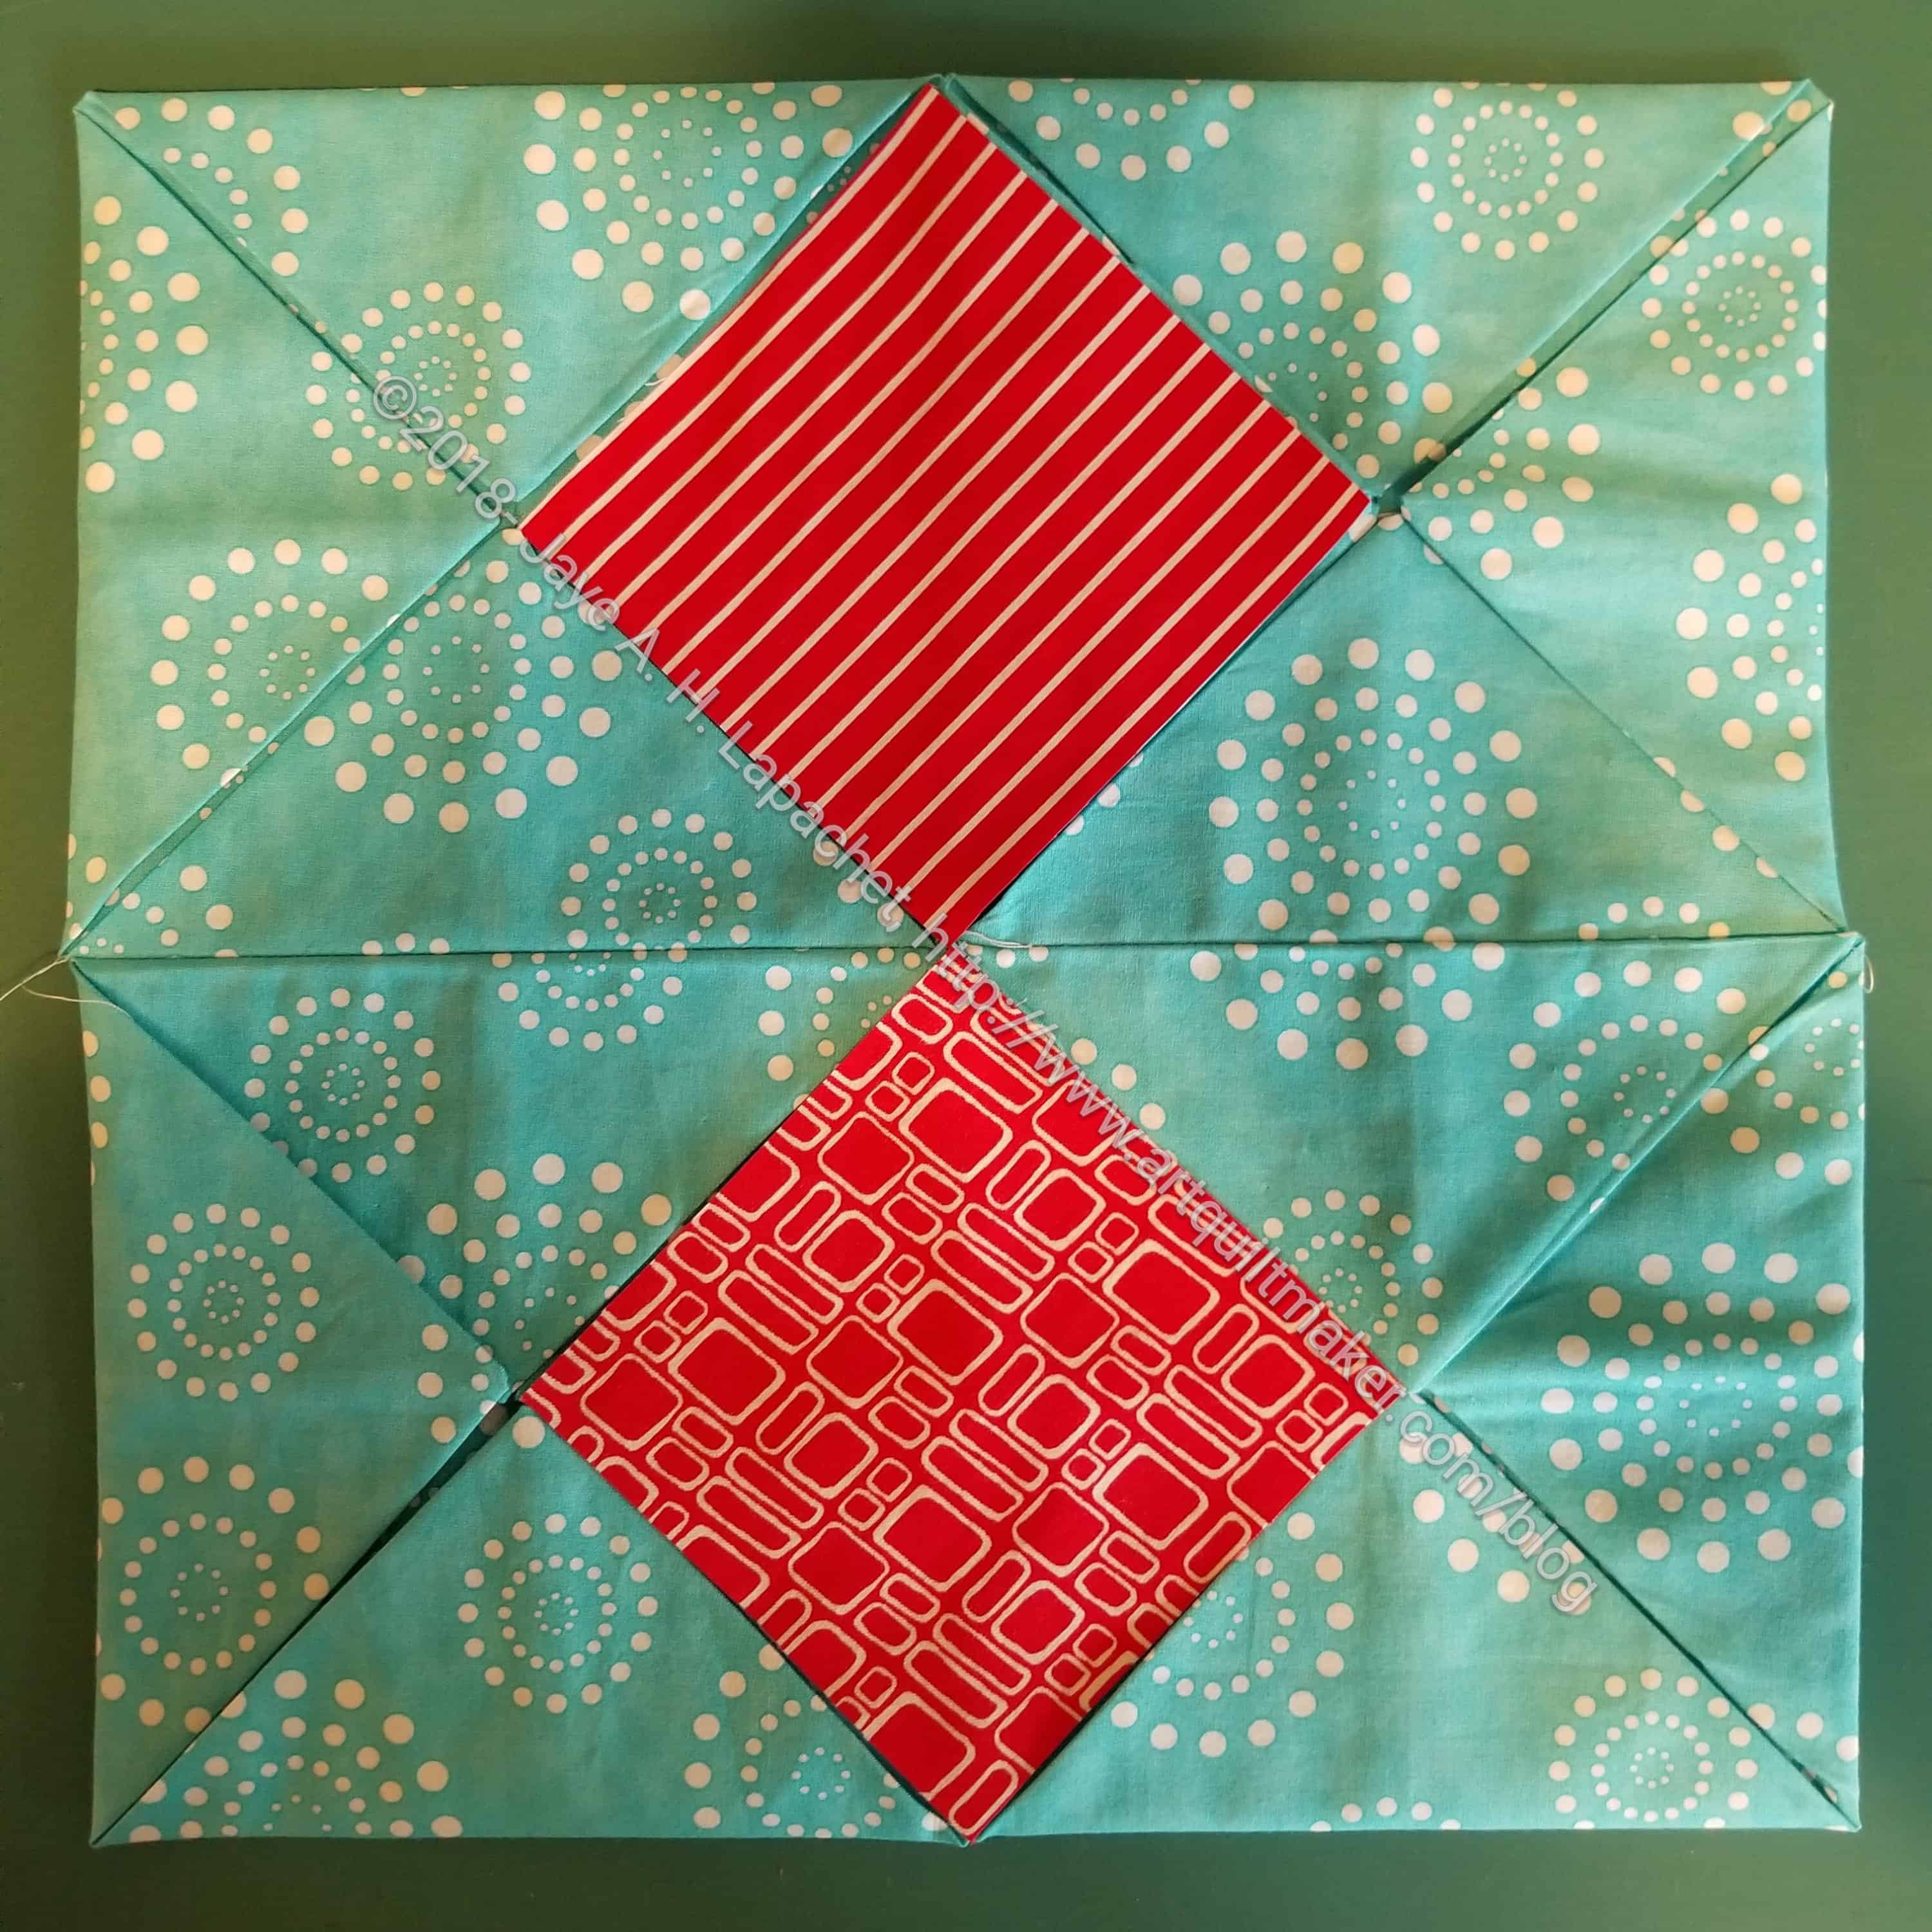
22. Take your foreground triangles and lay them on top of your background
Tuck flaps over foreground
23. Tuck the flaps in towards the center and pin in place. Watch out that the edges of your foreground squares don’t show. Make the edges curve slightly
Note: this was confusing to figure out and it turned out that I did not have all the sewn triangles in the right place. After you sew the triangles together, make sure you flatten them back in their original places, e.g. one layer of background on top
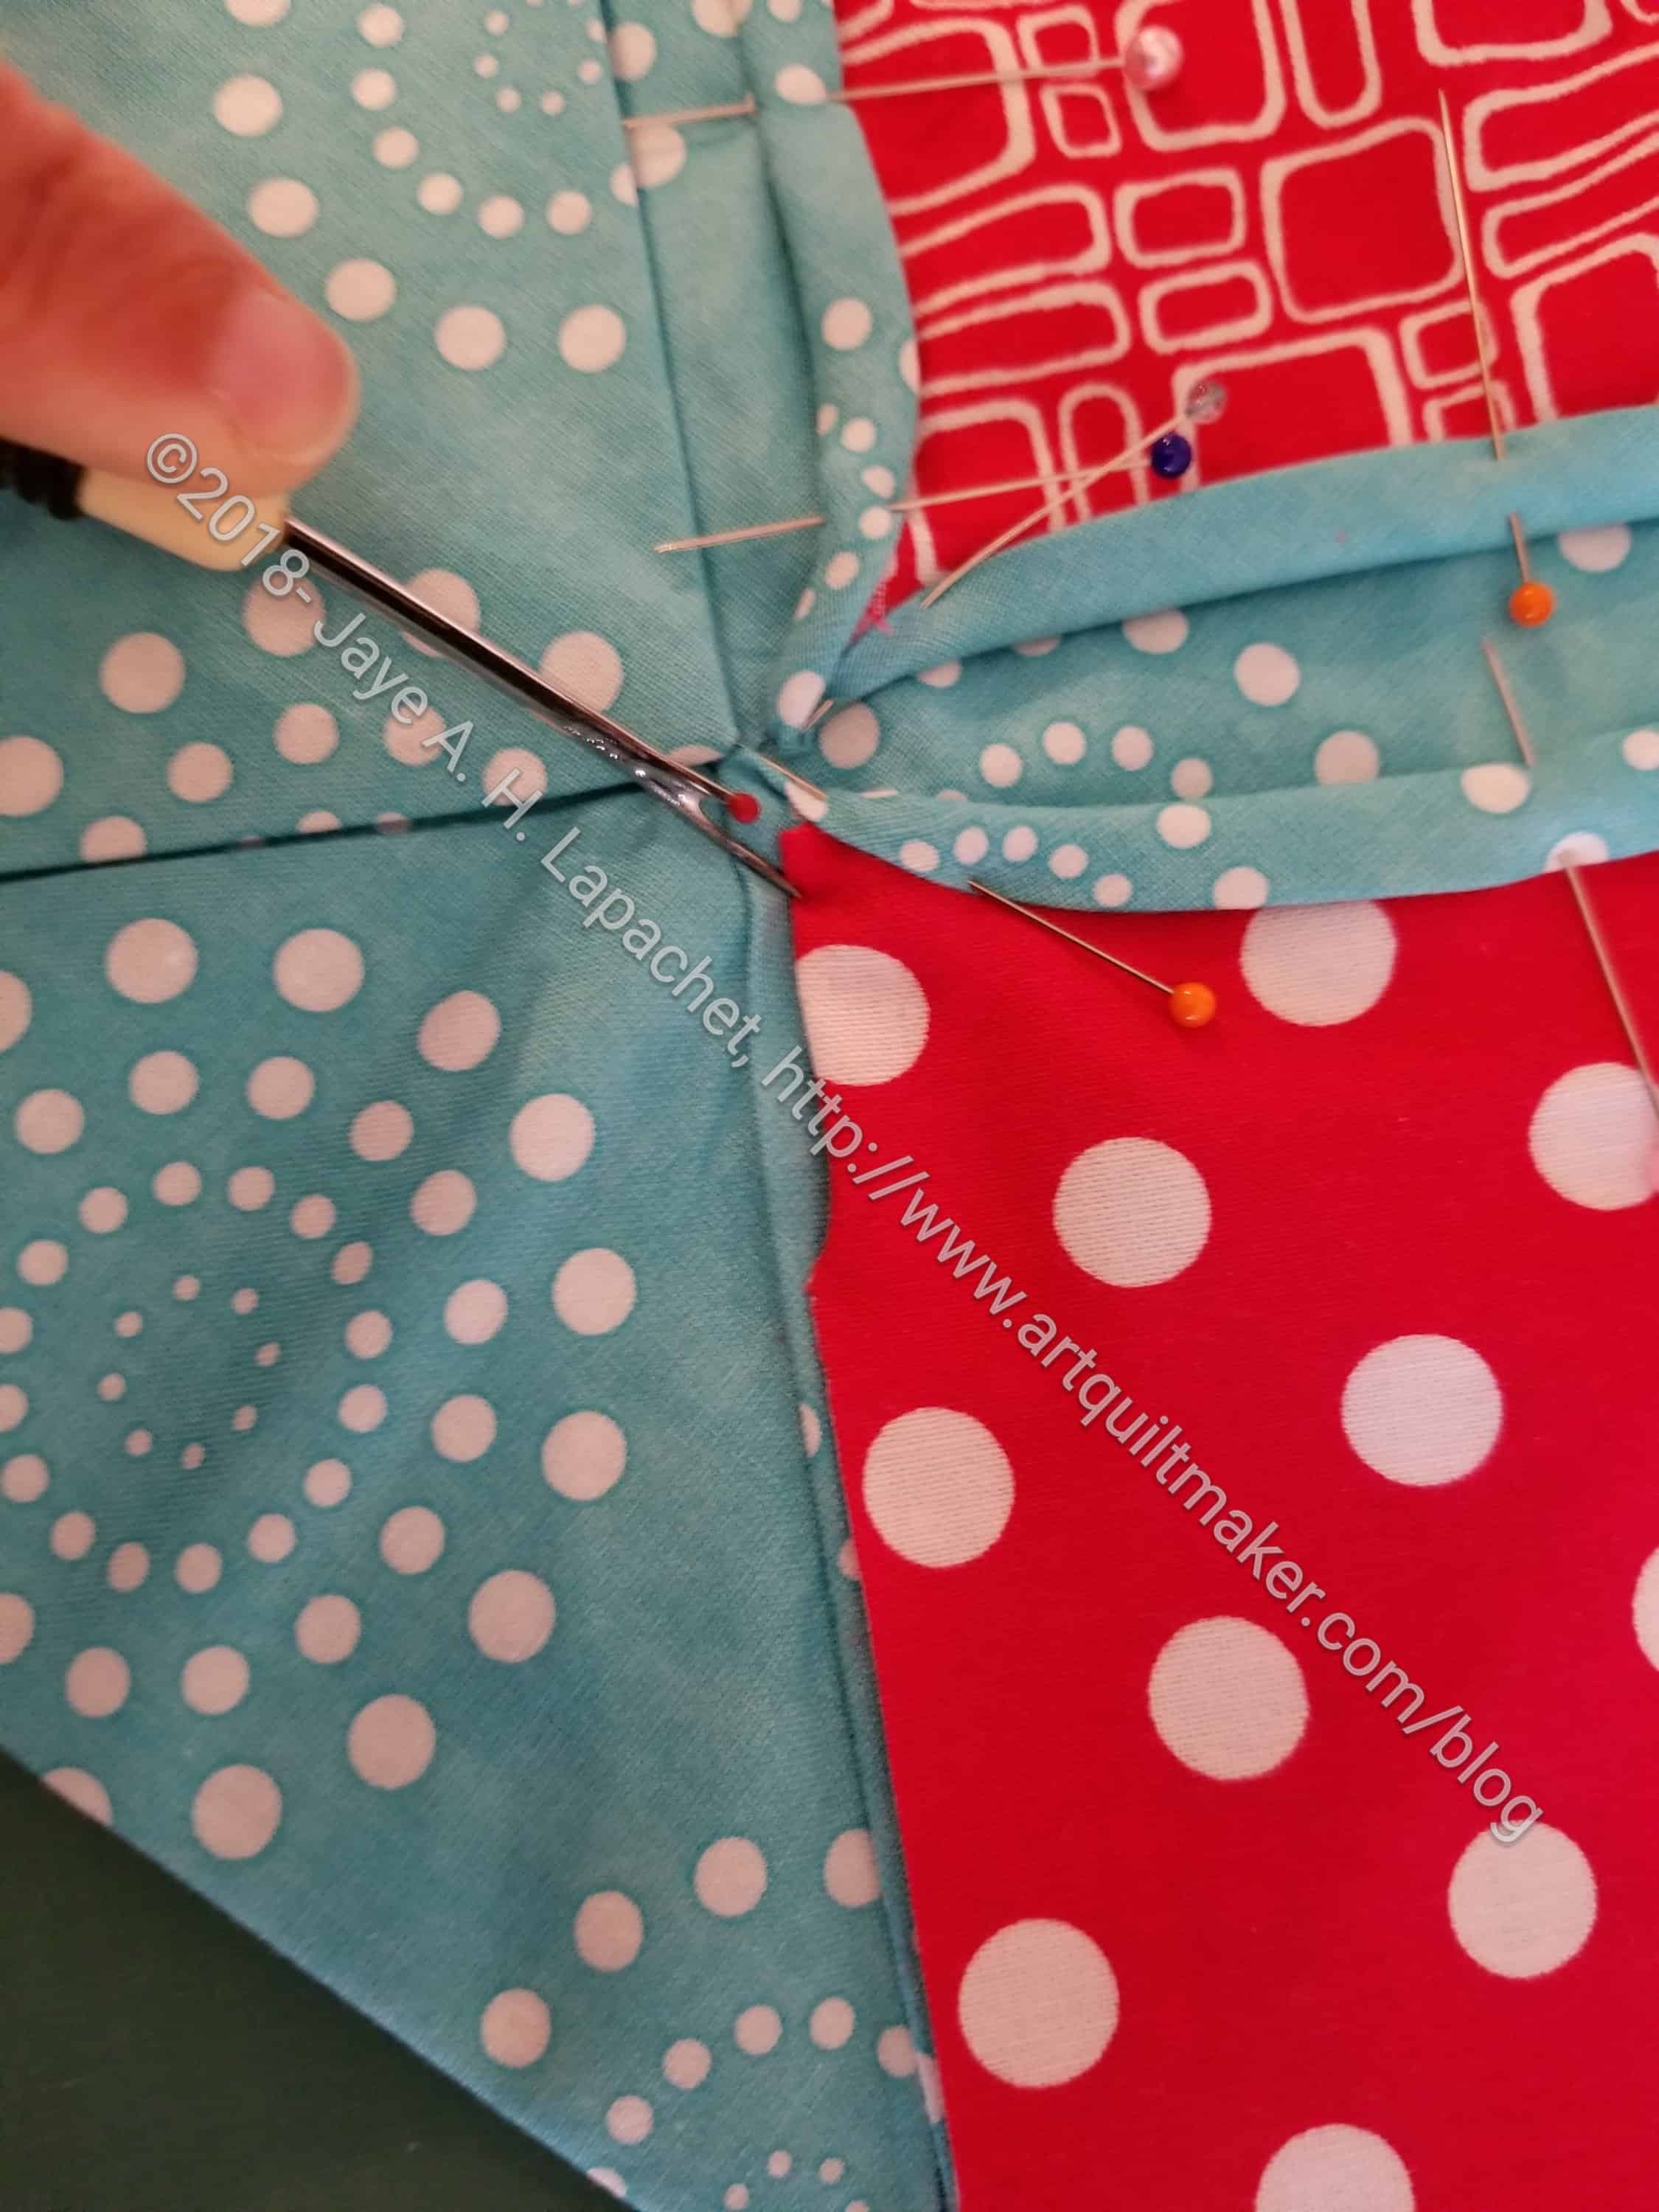
You may need to use a stiletto
Note: I had to use a thin sharp tool, like a stiletto or dental instrument to tuck in some of the foreground edges. I sometimes use a seam ripper, which is a very bad habit, because if you aren’t careful, you can rip your fabric. You can definitely trim the foreground fabric, but trim a little at a time very, very carefully
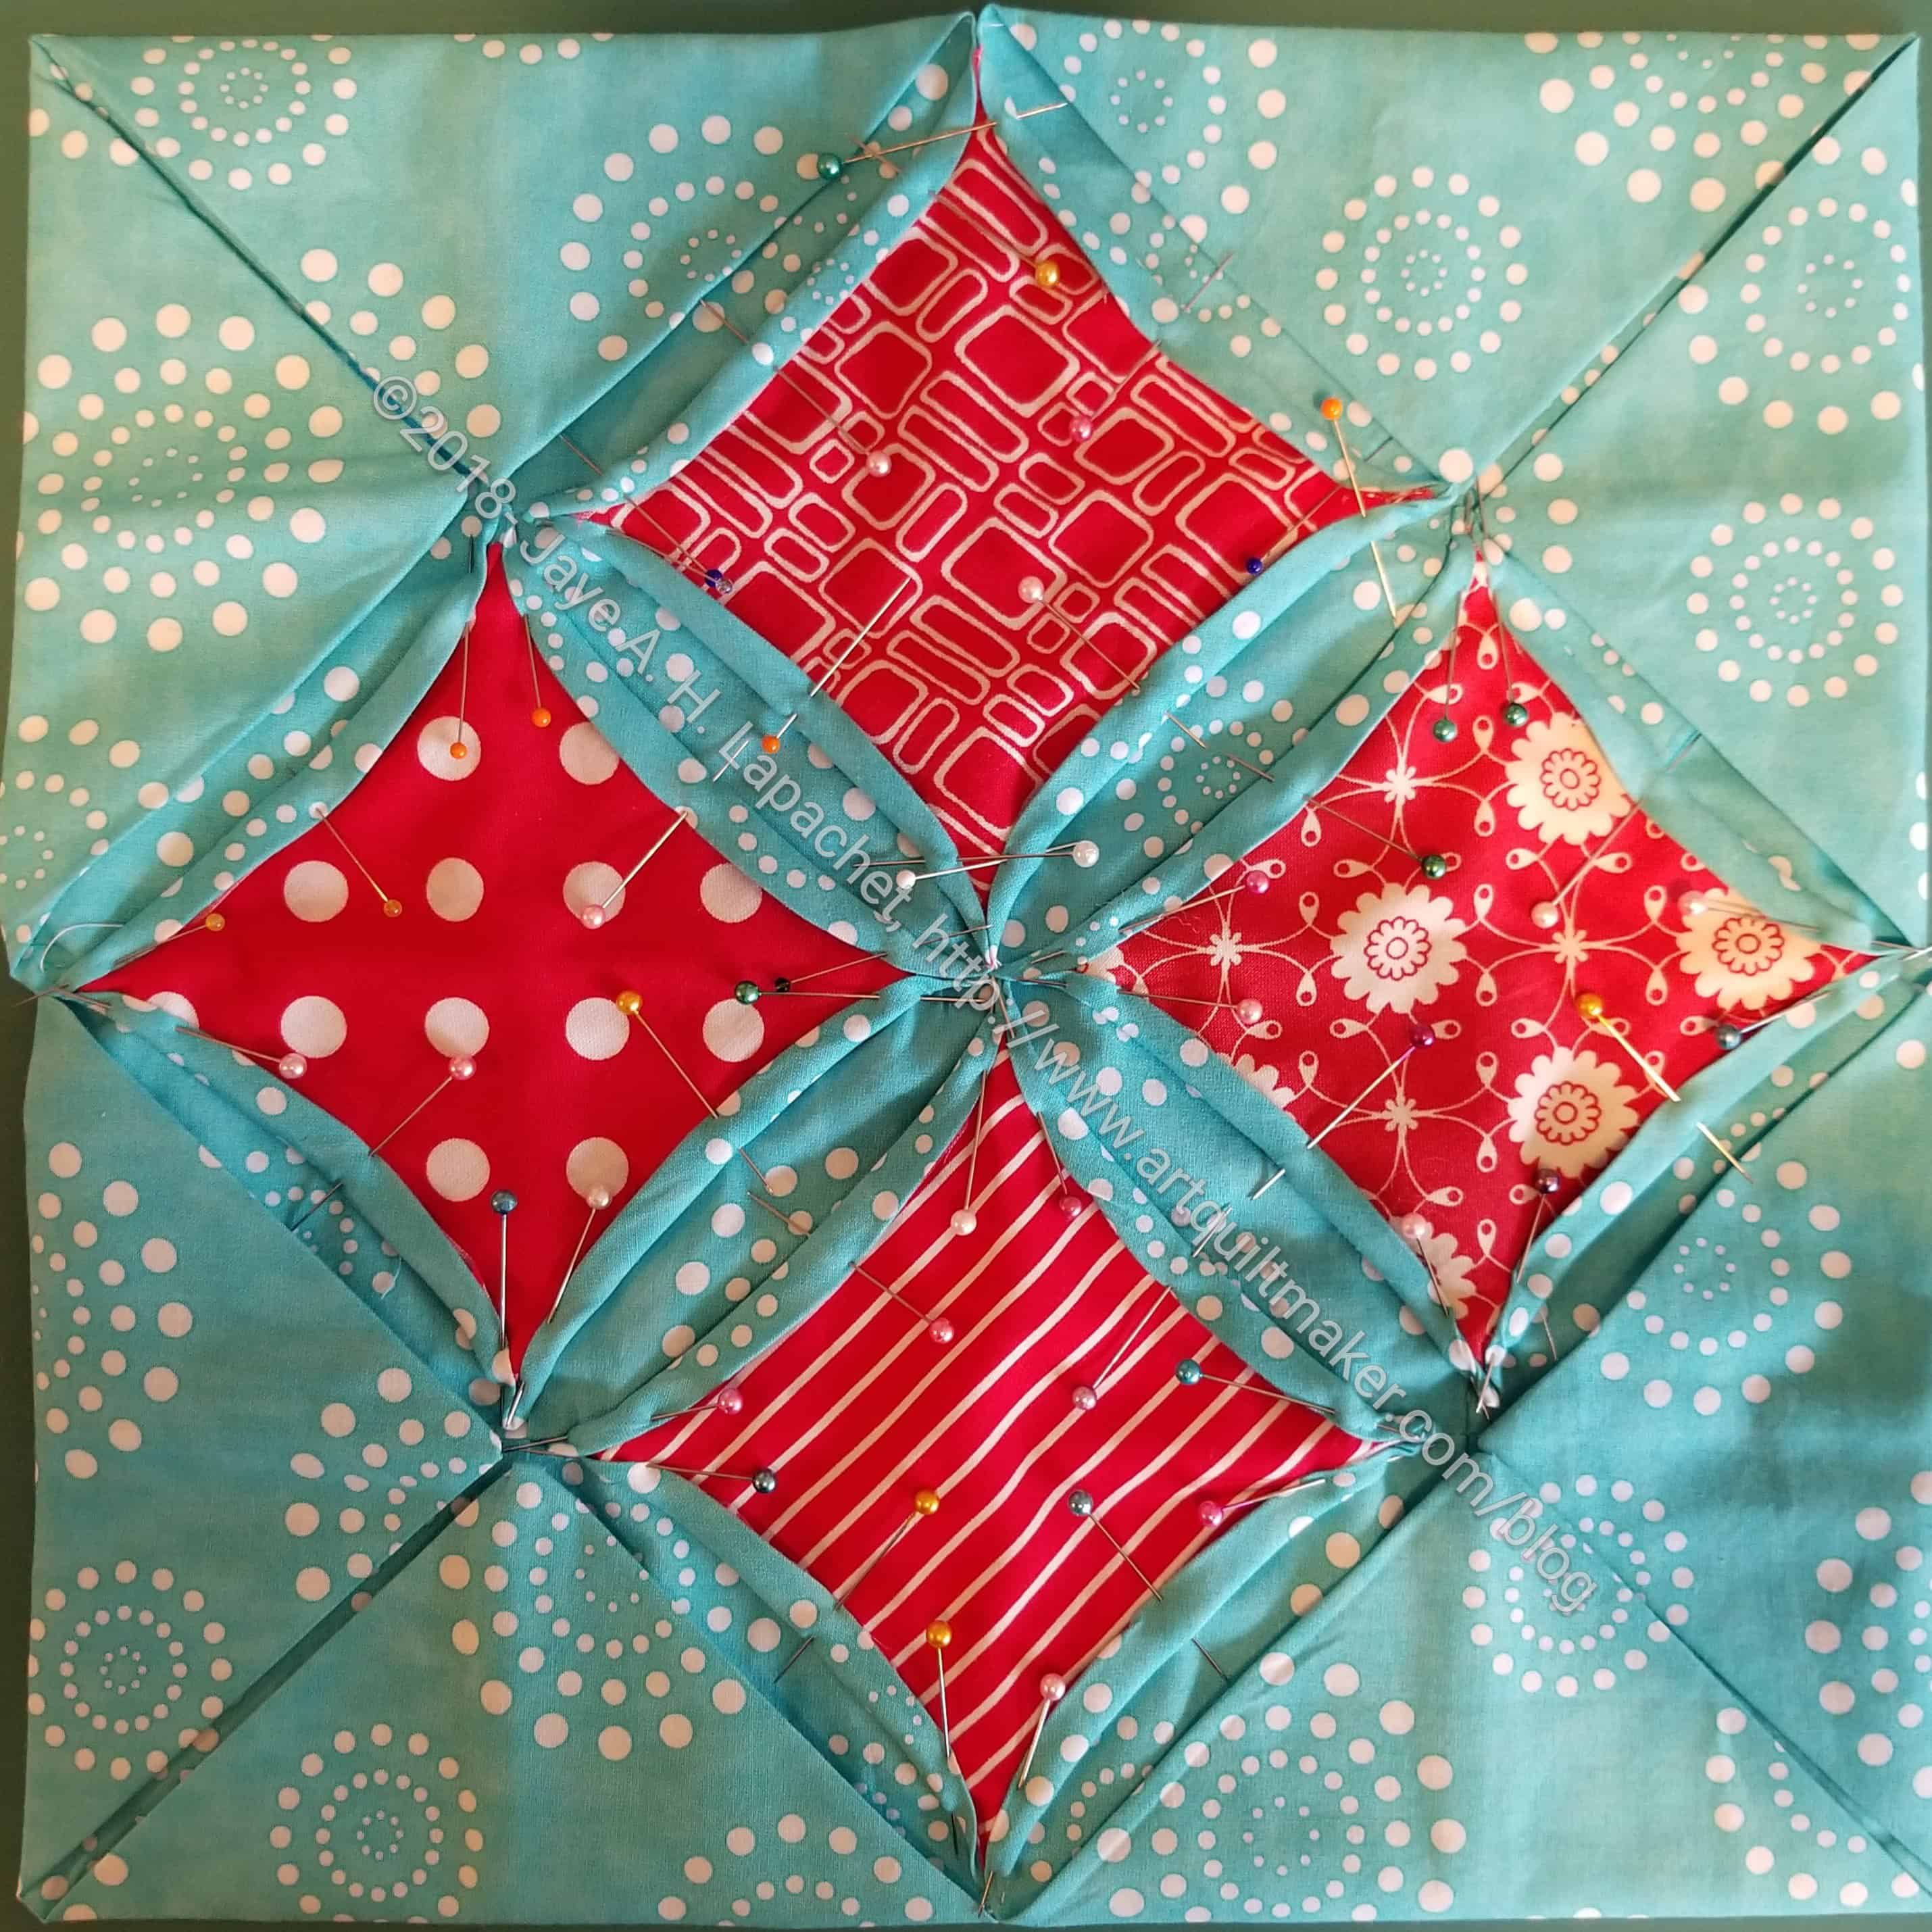
Pinned and ready for sewing
24. Pin each edge in three places with the heads of the pins facing the center of the foreground fabric. This is not micro management; this technique will allow you to sew as long as possible with the pins in place
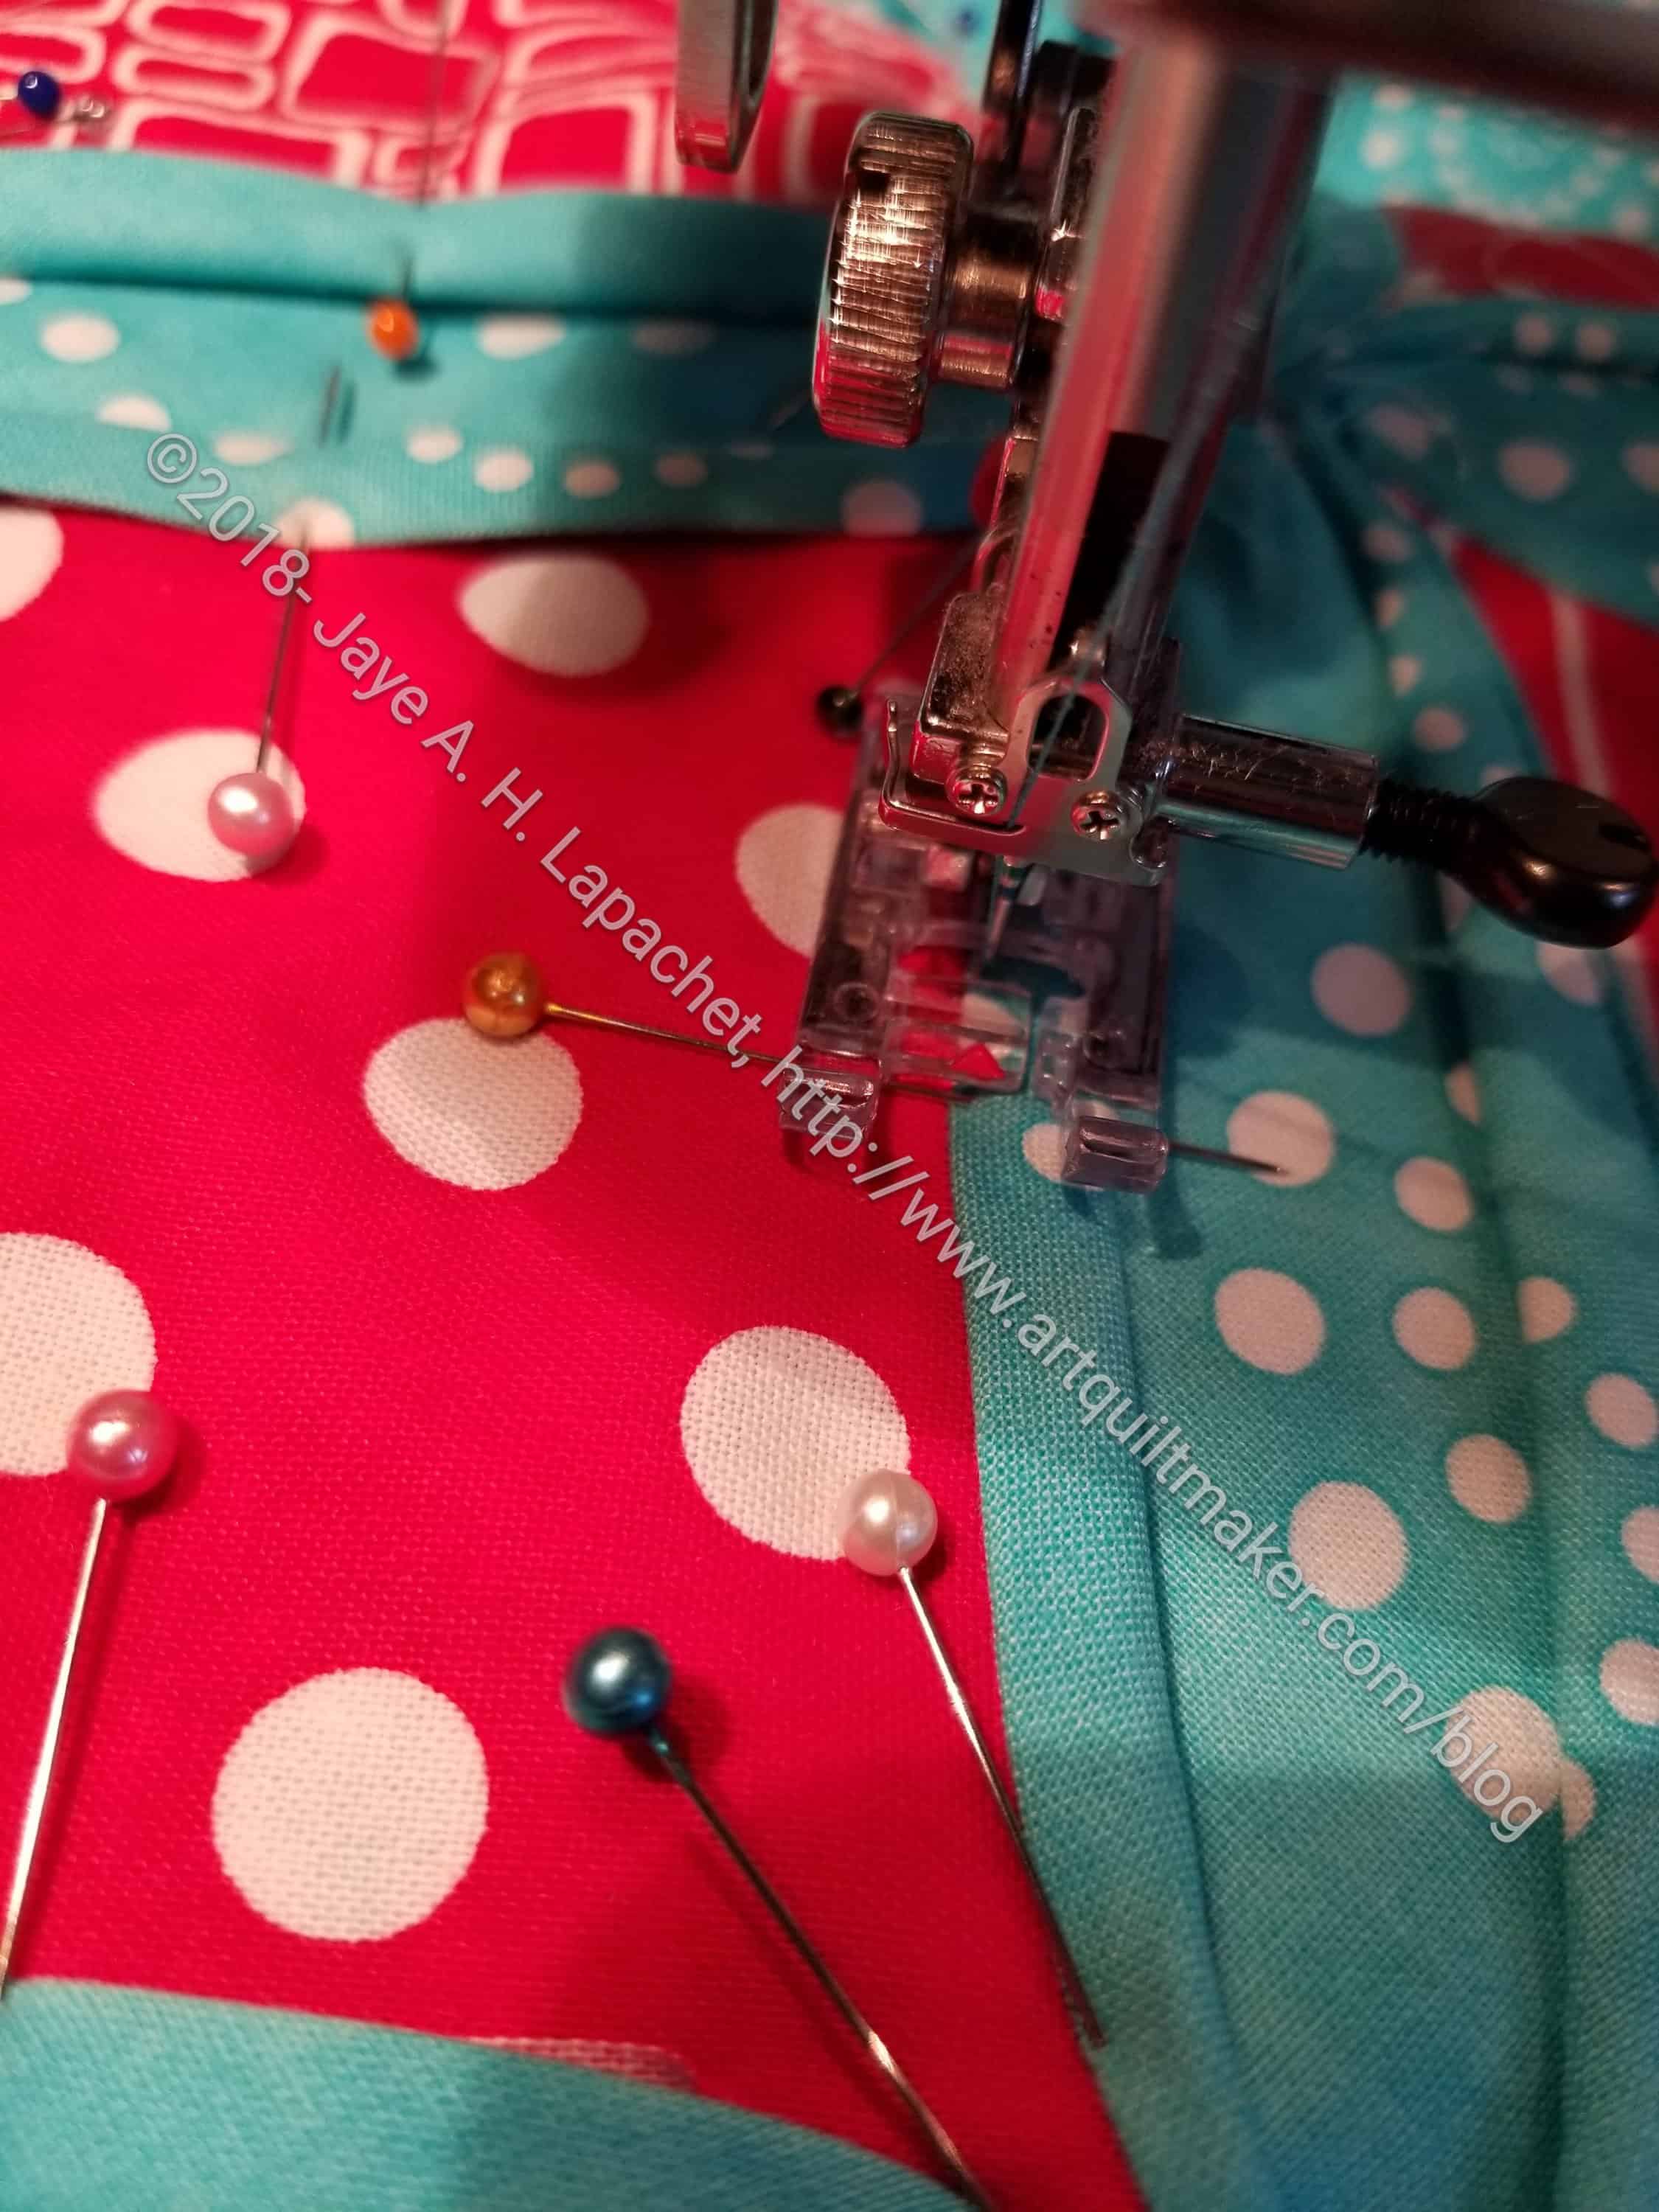
Sew close to the edge of the background fabric
25. Sew very close to the edge of the background. I sewed slowly and carefully. I used the above mentioned sharp tools when I needed a little help. Leave LONG tails so you can knot off and hide the threads
26. Handstitch the other triangle flaps closed with a few stitches. The other tutorials said to use the machine, but 2 stitches is a pain and an irritant on the machine, so I hand sewed the flaps closed when I was sinking threads.
Cathedral Window Block in process
I never thought of making it before, but this block did kind of take my fancy. This is kind of a strange block, partially because of all of the layers. It is lumpier than I expected. Warn your longarmer about it.
Resources:
Fons & Porter Cathedral Window block– I originally found the instructions in one of their magazines as part of their ‘learning to quilt* series’. I had to go looking for other instructions when I found the directions had no sizes or actual cutting instructions. Directions are brief.
Lovely Little Handmades Cathedral Window block – uses a printed background, so you can see how that works. Most people use white, so it was a little confusing for me when I wanted to use the blue.
Sometimes Crafter Cathedral Window block – some missing detail, but has the instructions for cutting the right sized patches. I also don’t like it that the viewer cannot enlarge the photos to see the details.
*Nota bene: not sure if this is the correct name, but it describes the basic idea of the series.