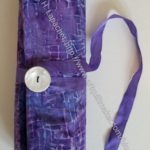
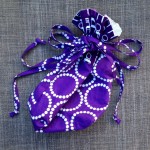
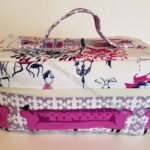
I was very pleased to make this Emmaline Retreat Pouch for Carrie for her birthday.
I decided to make one when I ran out of time to make her a Classmate Bag. The other thing that helped me decide was the several Retreat Bag frames I have stashed in Quilts Illustrated Tool Tote, where I keep my bagmaking hardware.

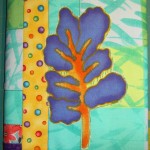
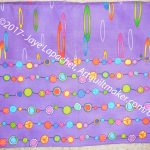
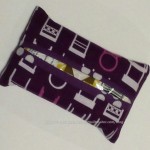
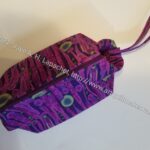
I used the Color Theory fabric by Carrie Bloomston, which is the fabric I have been using for her gifts.I have some random pieces that are cut from yardage, but still good sized that I was able to use.

The whole project went really quickly. I made the whole pouch in about 3 hours while I cooked dinner during part of the making. I did finish the pouch later in the evening. It requires a frame so I had to prepare and insert the frame, then sew up the hole.

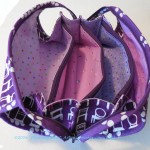
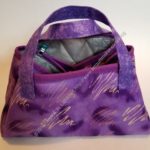
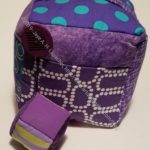
The frame means that this is an Open Wide or Wide Mouth style pouch. It is great for seeing everything you have stashed in the bag.


I am super pleased with the technique they use to veer the zipper. It made that process SO easy and it looks great. I have to remember it and try to use is on other bags. The only other pouch I can think of offhand that veers a zipper is the Cotton Candy pouch and that is a different sort of technique.
I thought it would take me longer, but am glad I was able to get it done quickly. Her birthday was a week after I made it and I had to fill and mail it as well. Carrie is super generous and I could never match her generosity, but I can make pouches and bags.
This is a free pattern, so go and take a look. Make one and tell me what you think.