I am so excited about finishing this bag! I am not sure that is the right way to say it, but it has been a long time in coming. As mentioned, I bought Minikins Season 2 for the express reason of making this bag. Then, I was intimidated and didn’t feel up to making it.
A few years have gone by, and I have made several bags. This bag seemed right for a gift. I guess I was ready.
The bag was a challenge, but only because of the many layers, not because of the directions. The process is actually very easy. With the pattern and the video, it wasn’t hard.

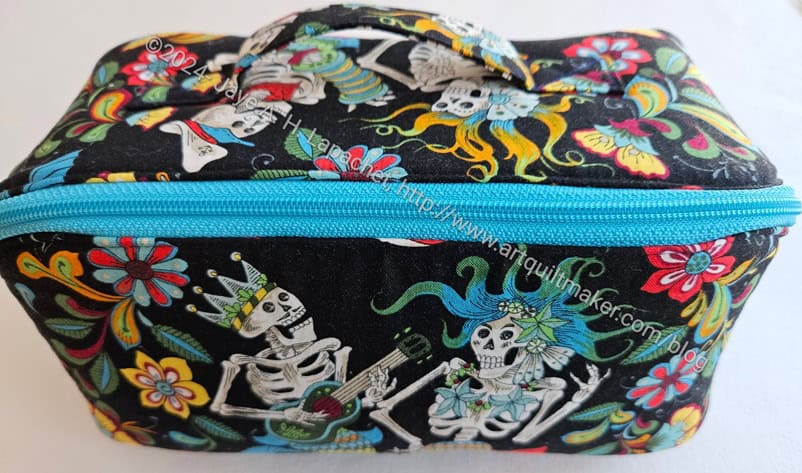
This bag is, basically, a small wallet that fits your cell phone. You could put this into a larger bag, but then take it out when you don’t need the whole bag.
This would be great for doing that since the strap is detachable. You could store the strap elsewhere or in one of the inside zipper pockets and take it out as needed.

This is the first one that I have made, but I hope to make more. I wonder about the size of the flap for the cell phone pocket. I wonder why it is so small. It might interfere with stitching the zipper. I have asked in the Sew Sweetness group to see what others say.
I was a little worried that the pattern was designed when cell phones were smaller and a modern phone wouldn’t fit. I tried my large-ish Samsung phone in the pocket and it fits just fine. Whew! This is good as the bag is not that large and I wouldn’t want it to be enlarged so much that it wouldn’t fit in the larger bag mentioned above.

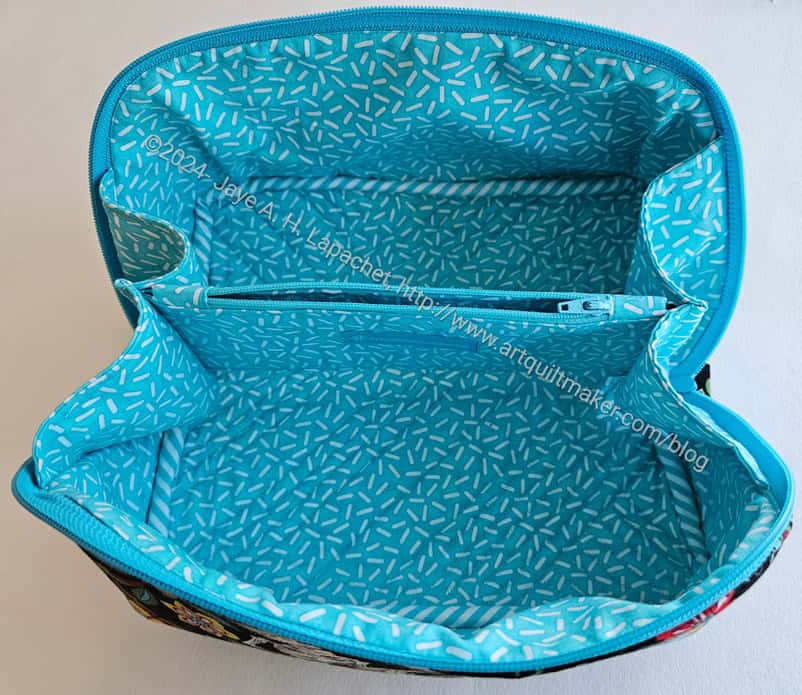
The inside has two sides, both with a zipper pocket and several card slots. Behind the top card slot could be a spot for cash.
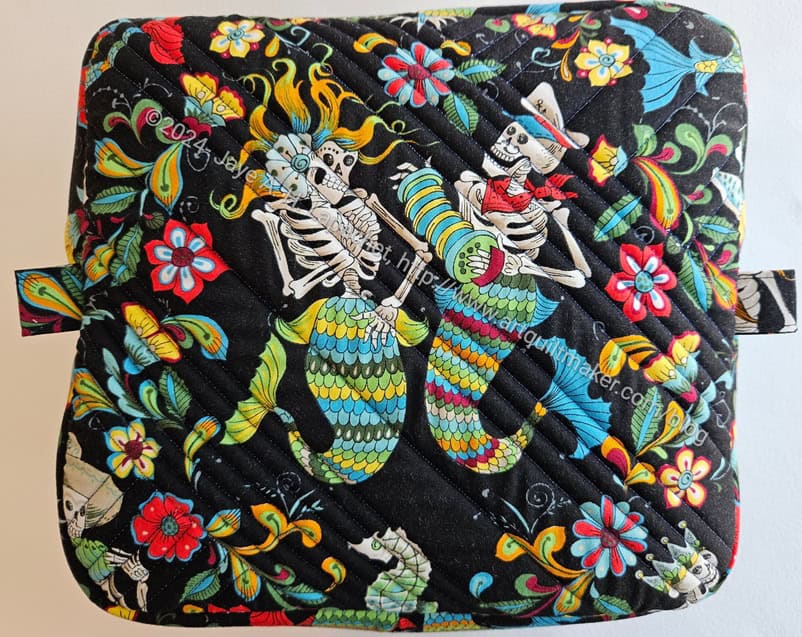
I added the optional D-ring on the spine so there would be a place to clip keys.
I also used two different colors of zippers in order to give the recipient a visual cue as to where she stashed something.

I think I could probably have put another cell phone pocket on the other side of the bag exterior. I am not sure how useful that would be, though more pockets are always better.
I am pleased with how this came out and am cutting out a second one. This one will be for my mom who needs something for her phone so her hands are free to maneuver her walker.