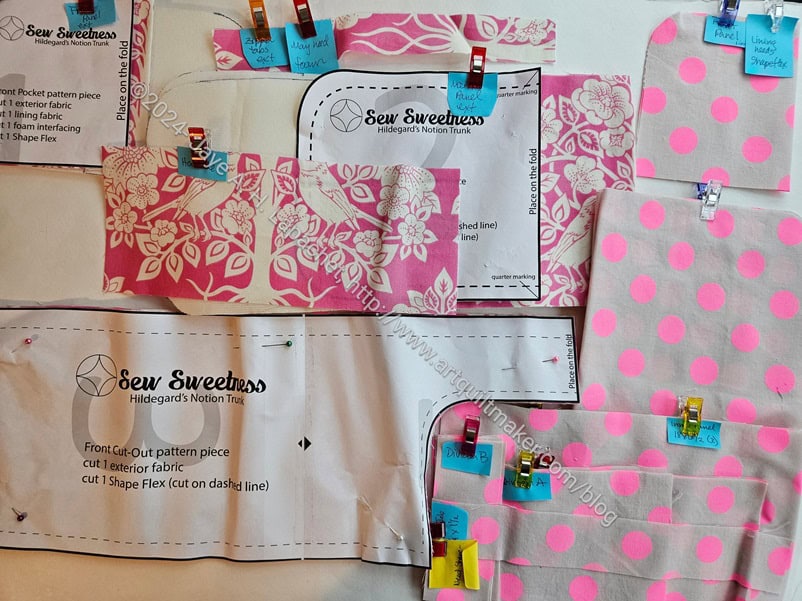
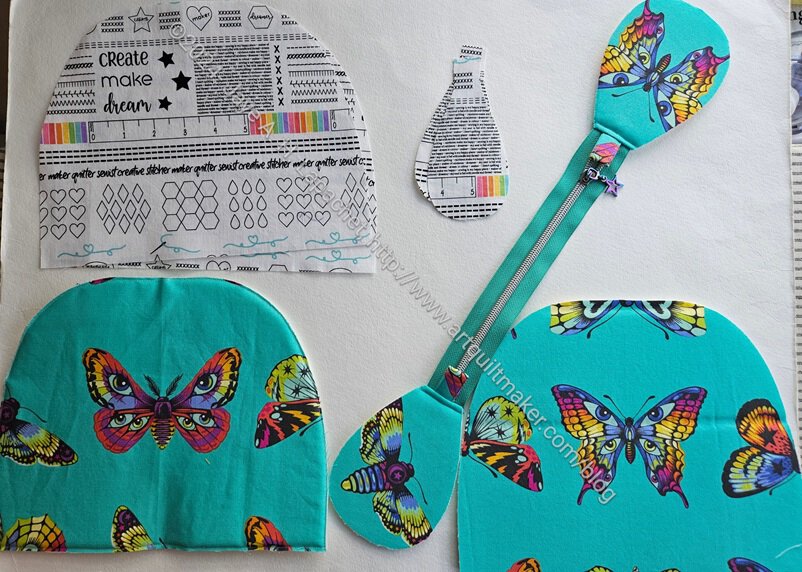
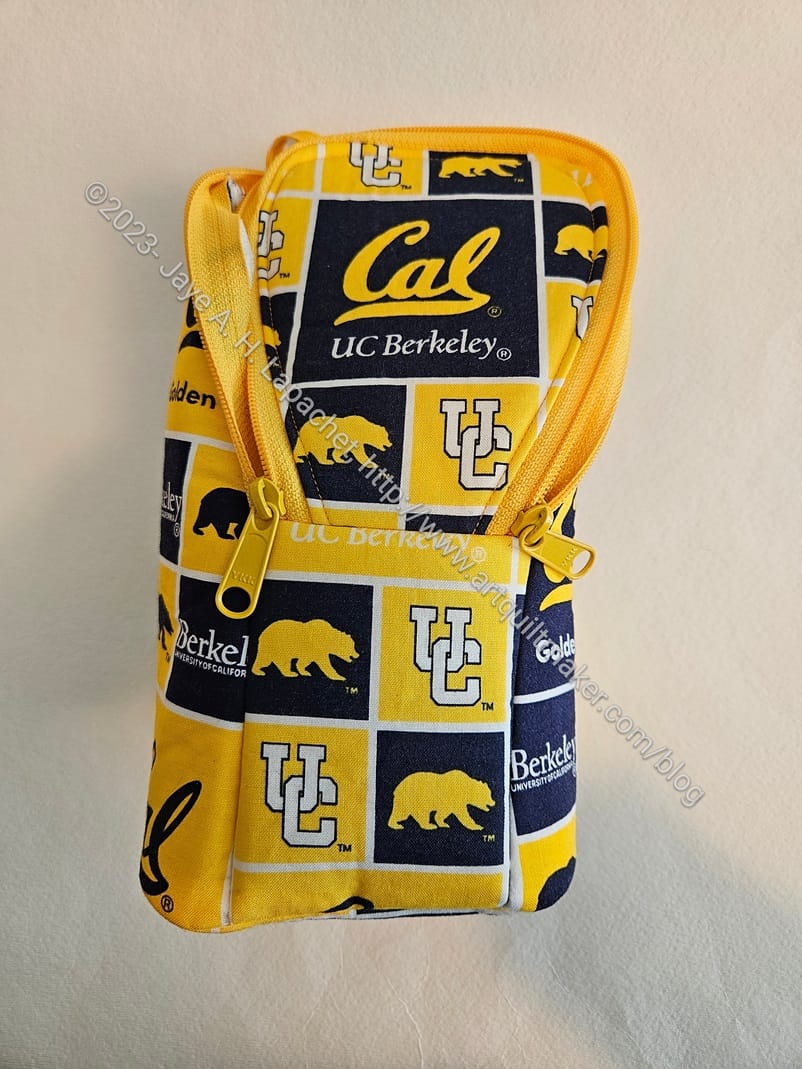
I know it seems like this bag is taking forever. It is sort of, but I have been diligently working on it a little at a time in between working and managing the house. This is turning out to be quite the complicated bag. In addition to all the pieces I had to cut there is a lot of other prep before I am able to start sewing the actual bag itself together. Oddly, I am not in rush to finish. Usually, I am, but for some reason I am ok with how long this project is taking.
I am sure it will be worth it.

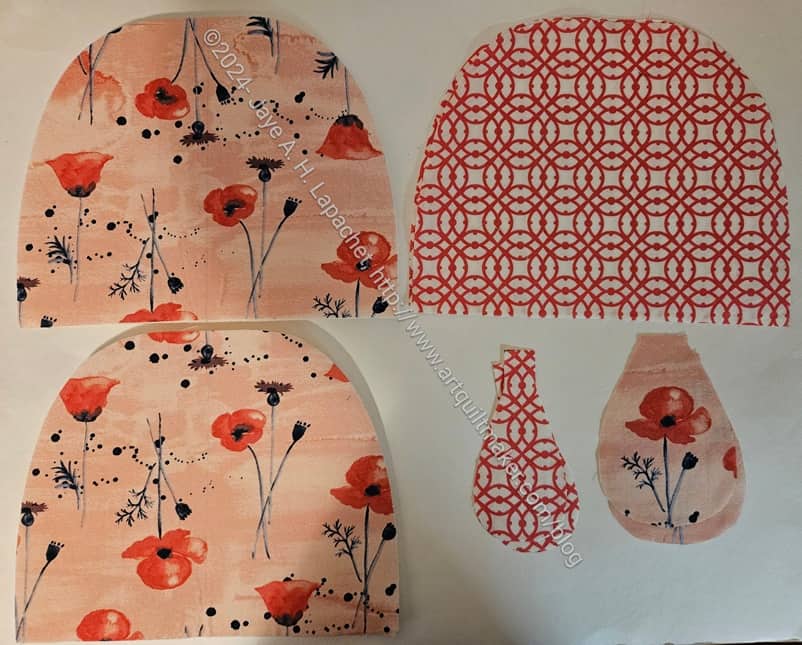
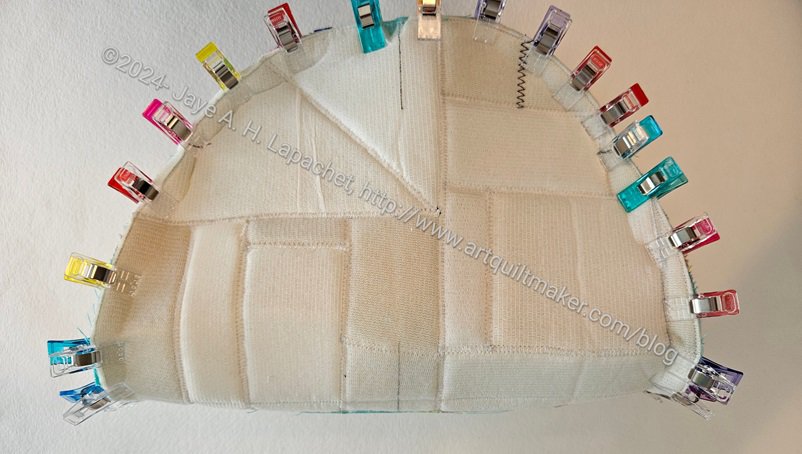
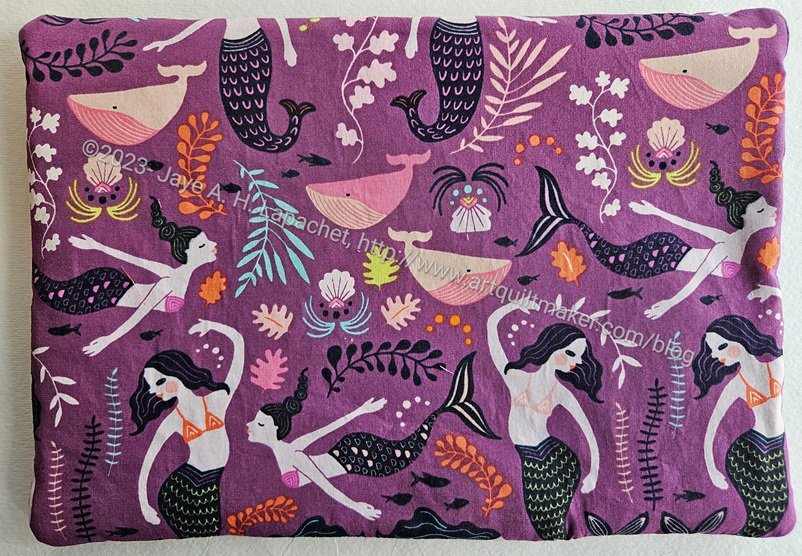
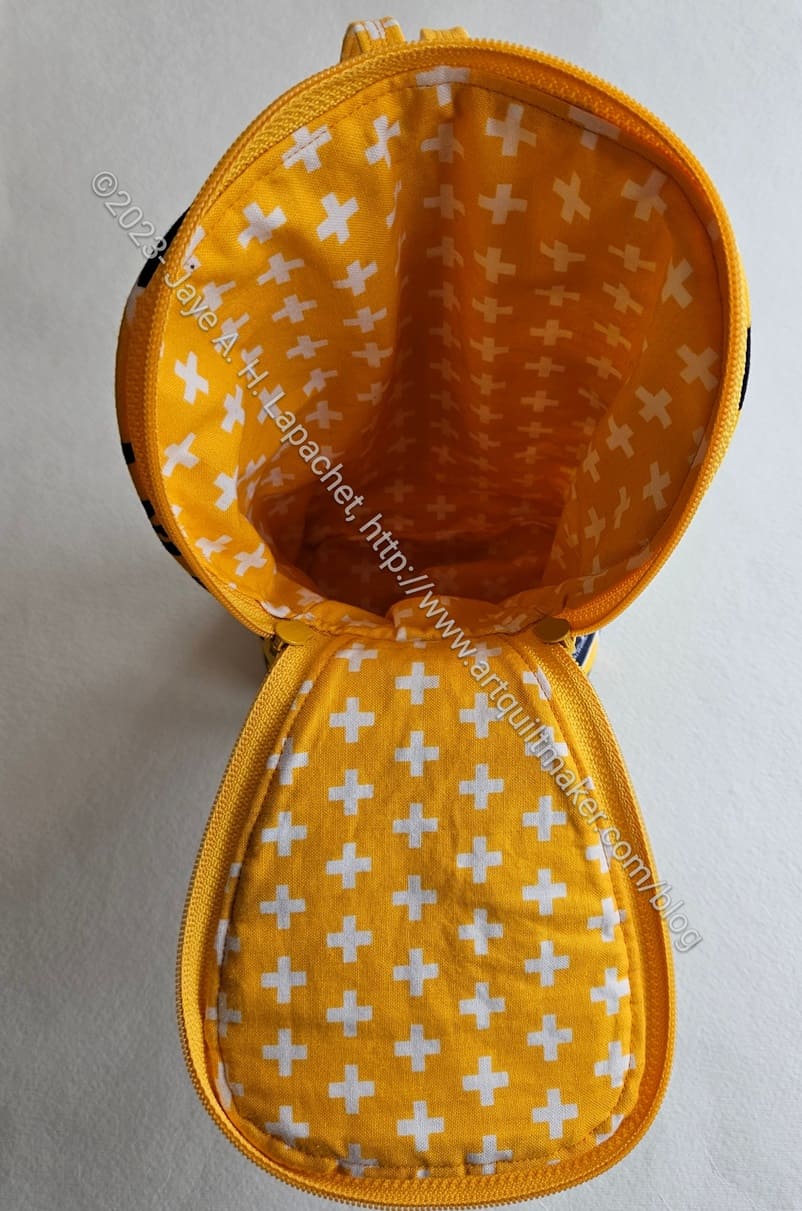
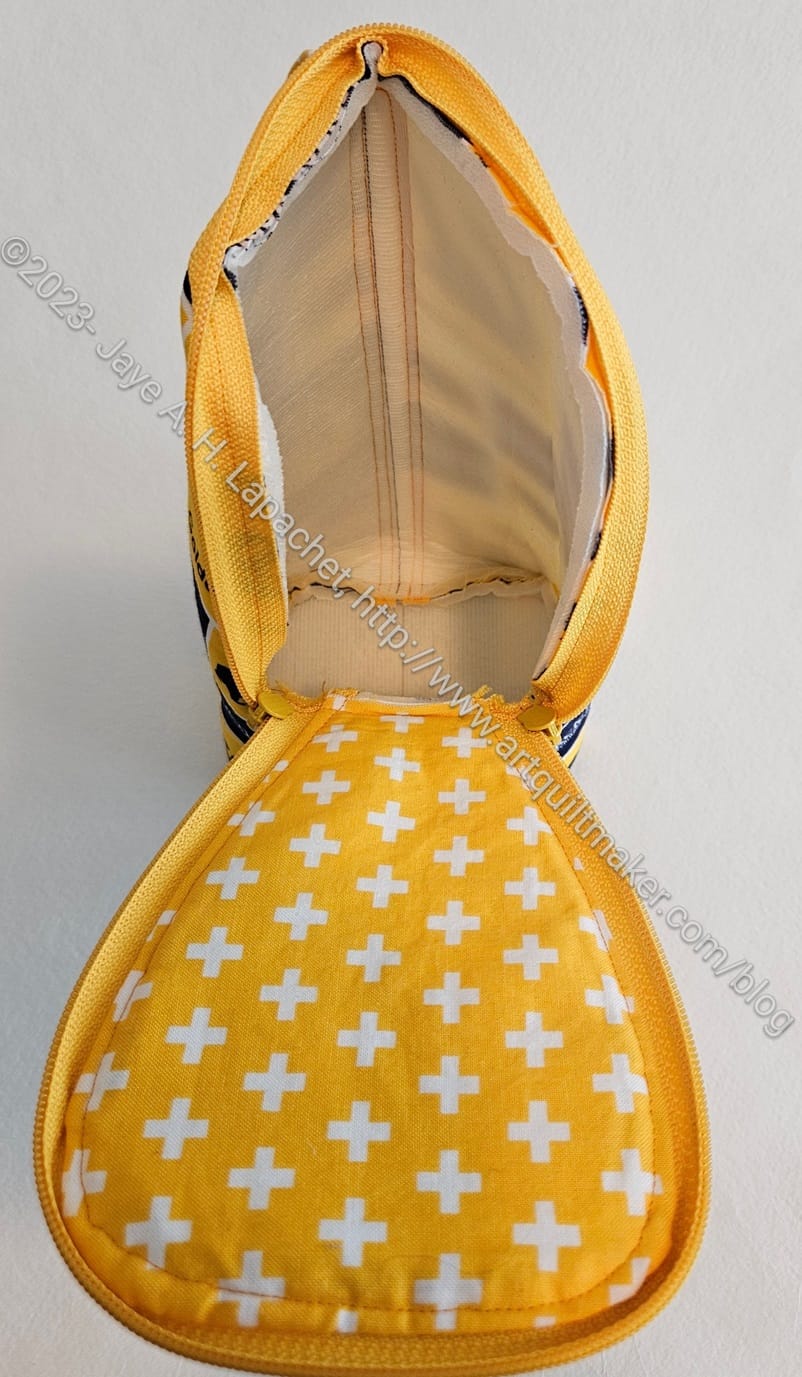
After all the cutting and interfacing, I had to make the dividers. These dividers were a little complicated and I wonder if they were unnecessarily complicated? I guess I’ll see once the whole bag is together.
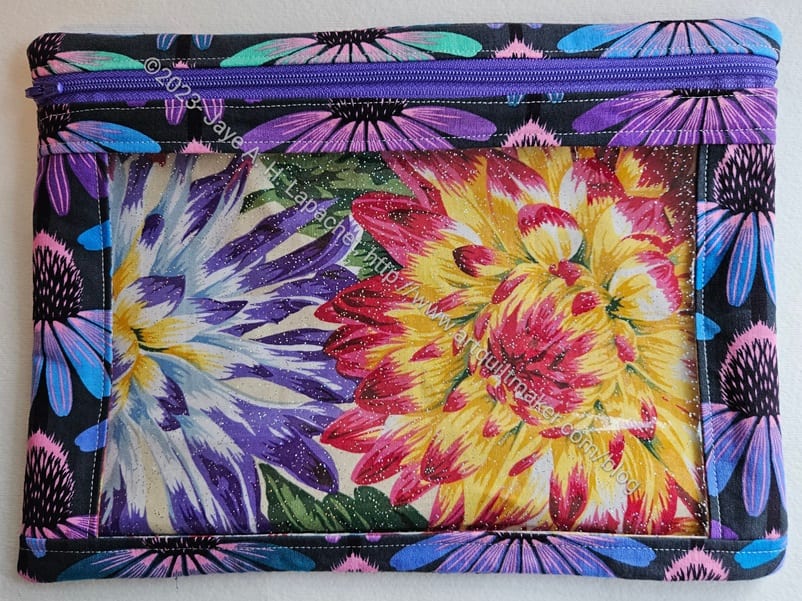
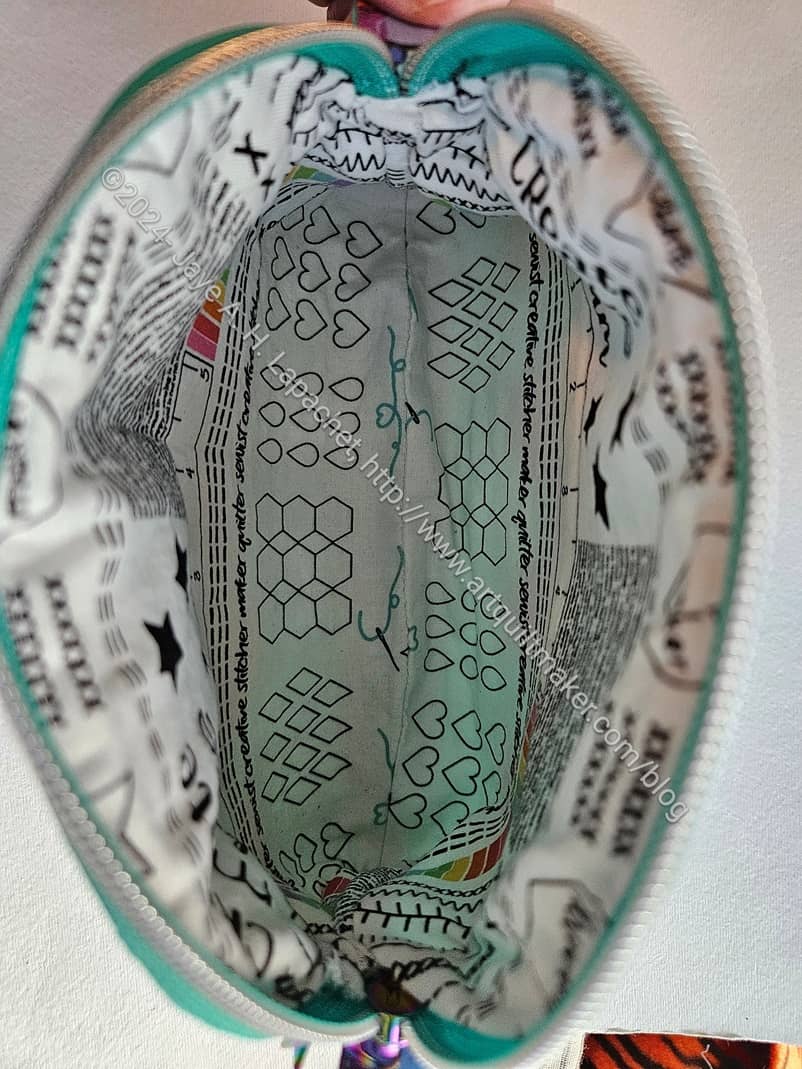
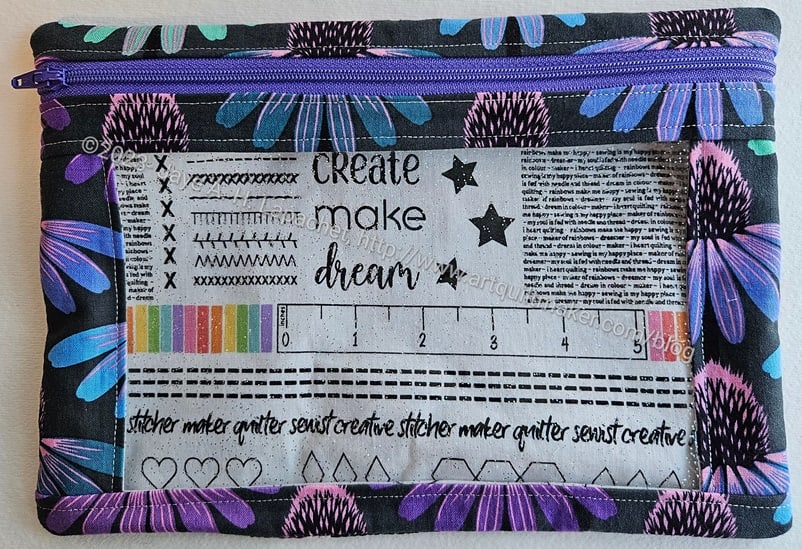
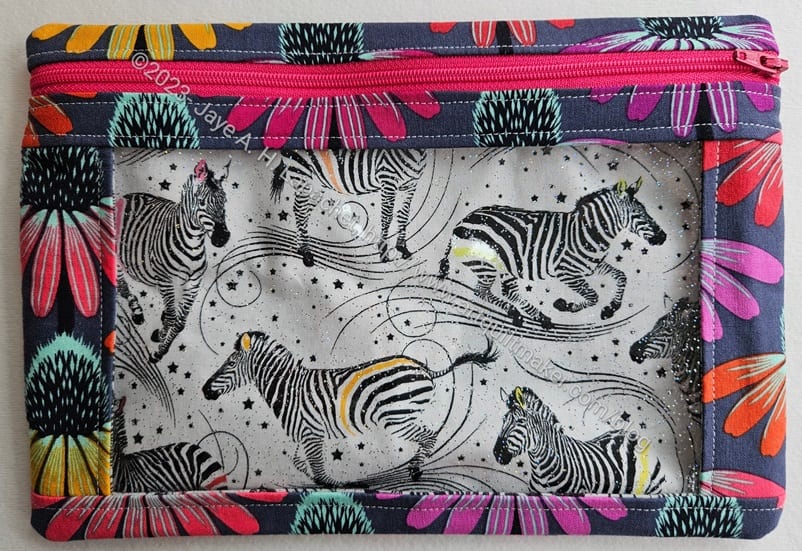
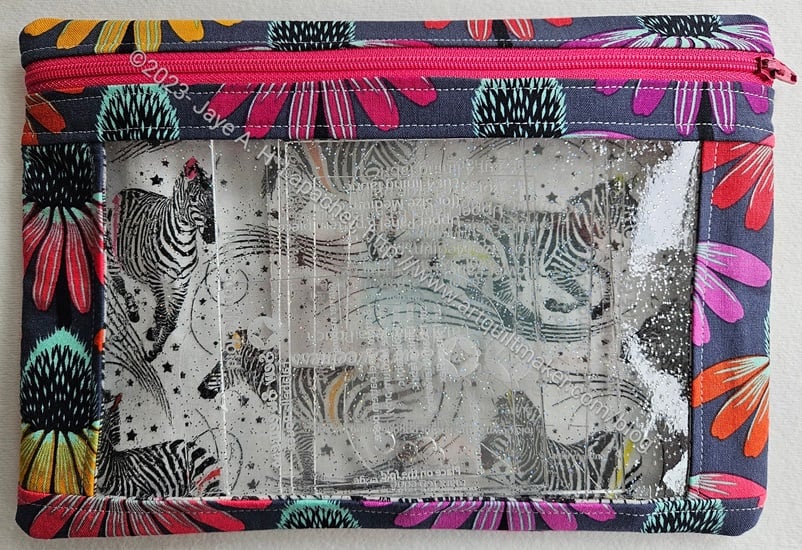
I am pleased with the front section elastic. I thought the way Sara told makers to put this together was really clever. I am a bit confused about the top part – the ‘slots’ are larger – but I am sure it will work out. I have to wait and see.
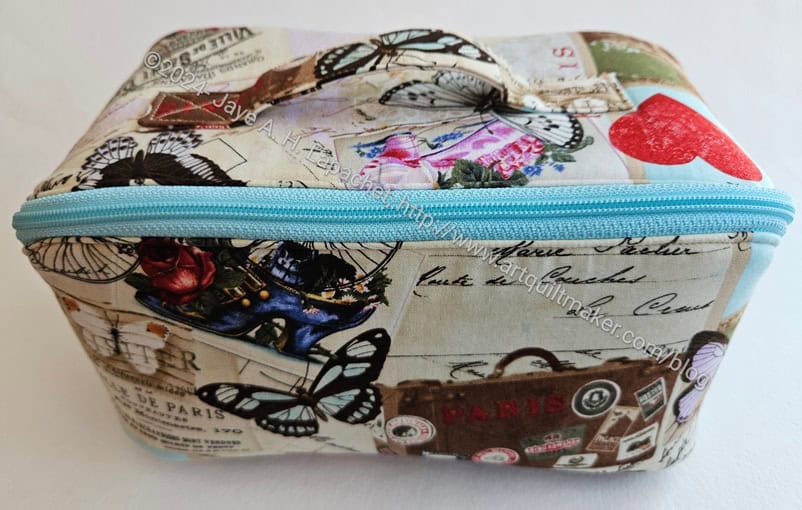
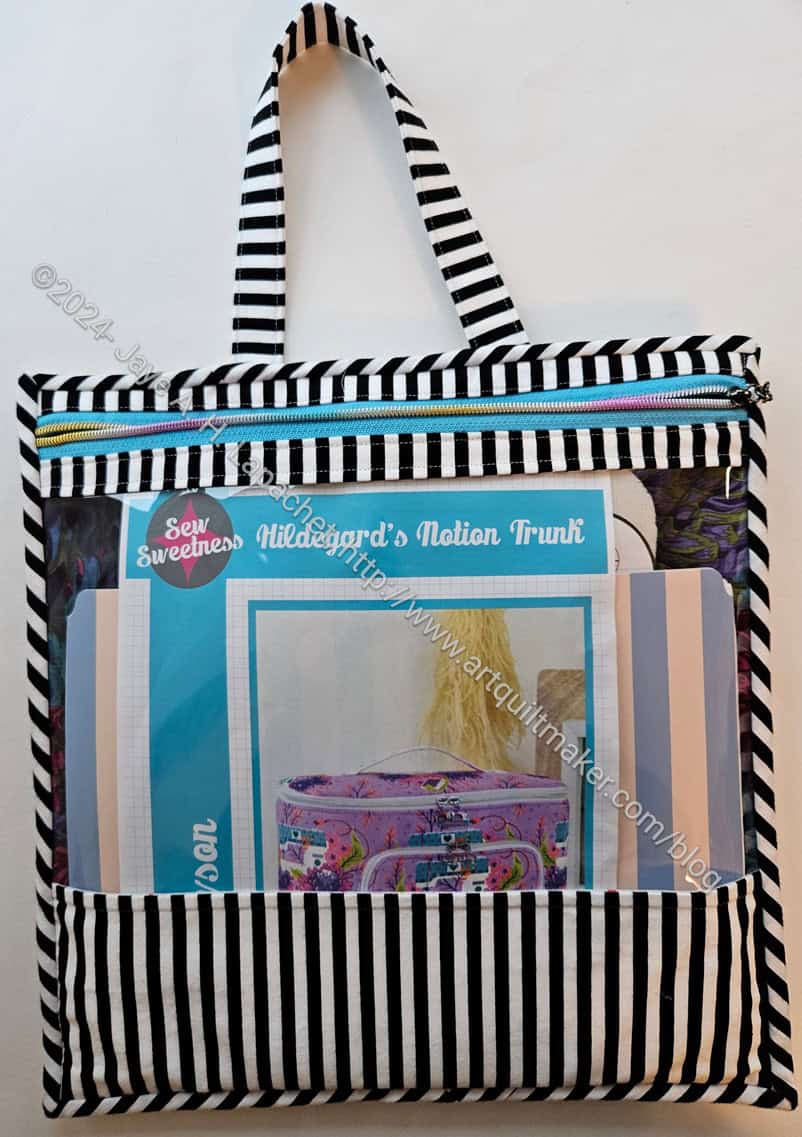
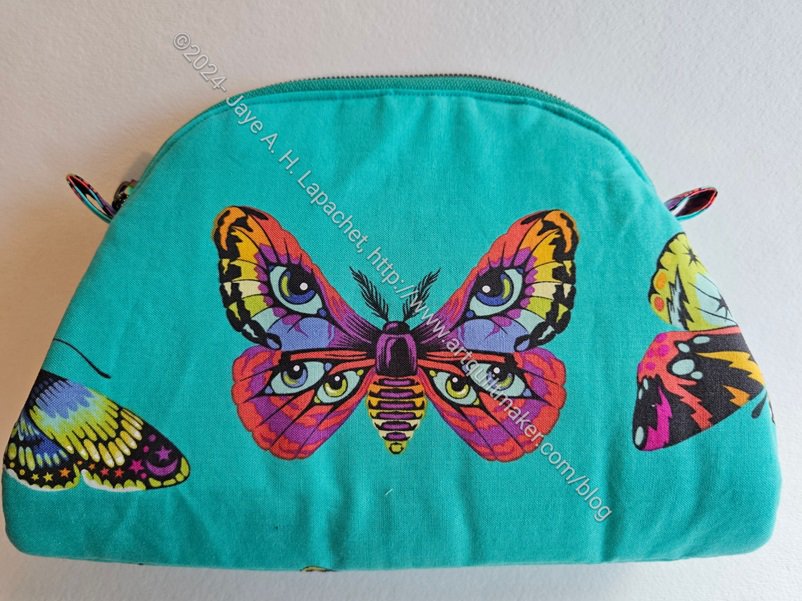
This is a Sew Sweetness pattern. It is part of Minikins Season 4 bundle. You can see the various projects I have made from the Minikins patterns on the Minikins page.