I took a look at my design wall the other day and realized that it reflected the craziness of my mind.
Yes, I have a lot of projects going on right now.
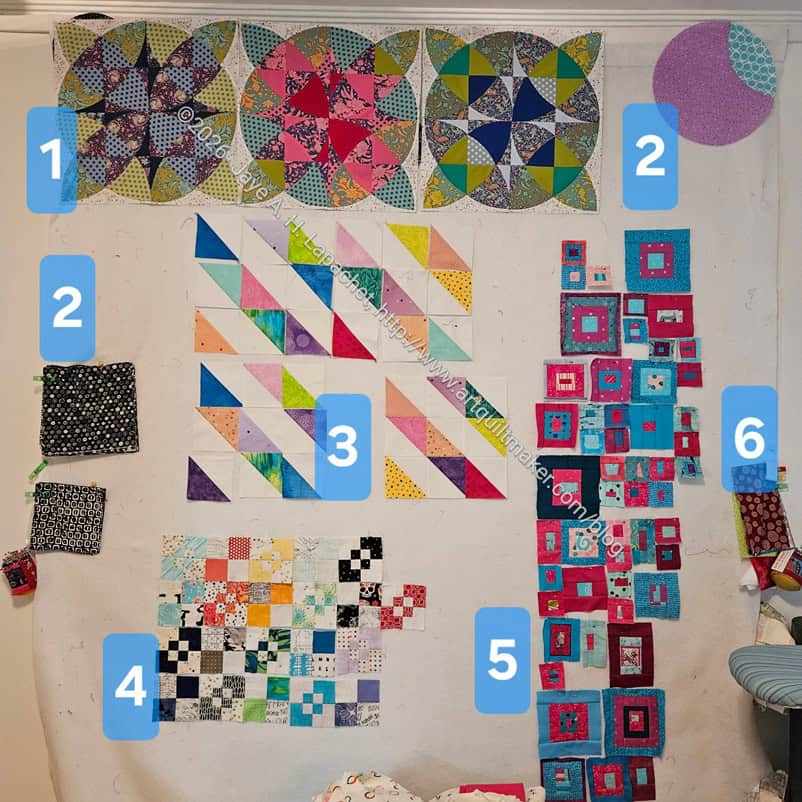
1- The Sad Quilt. I have three blocks made and need to cut out another. It takes time and a lot of brain space to do it, so I haven’t done it yet.
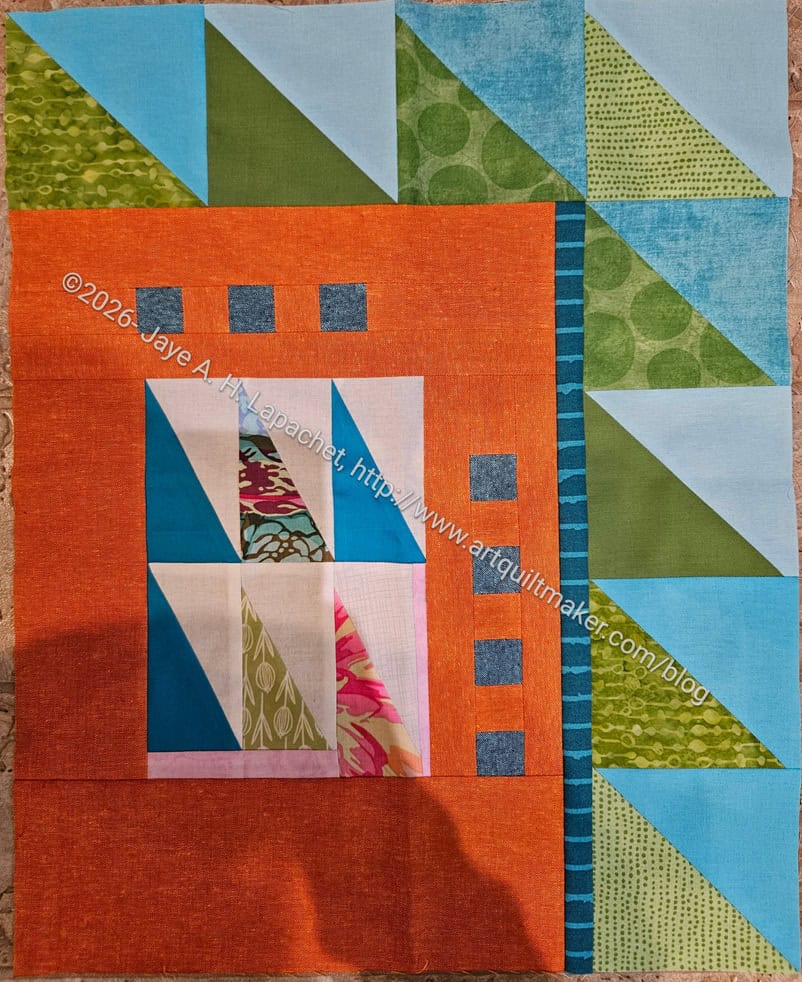
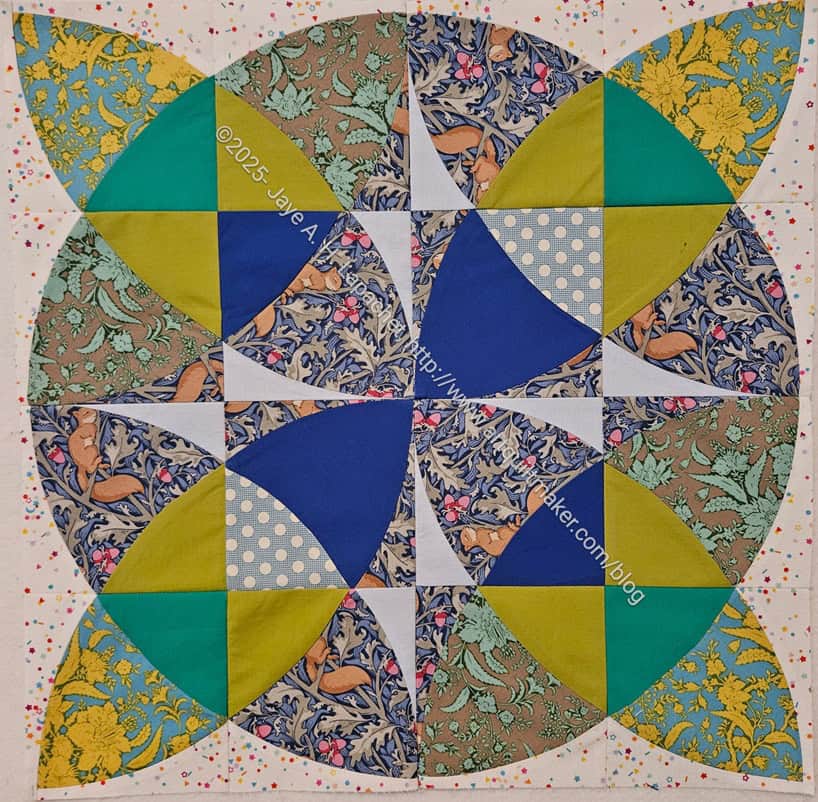
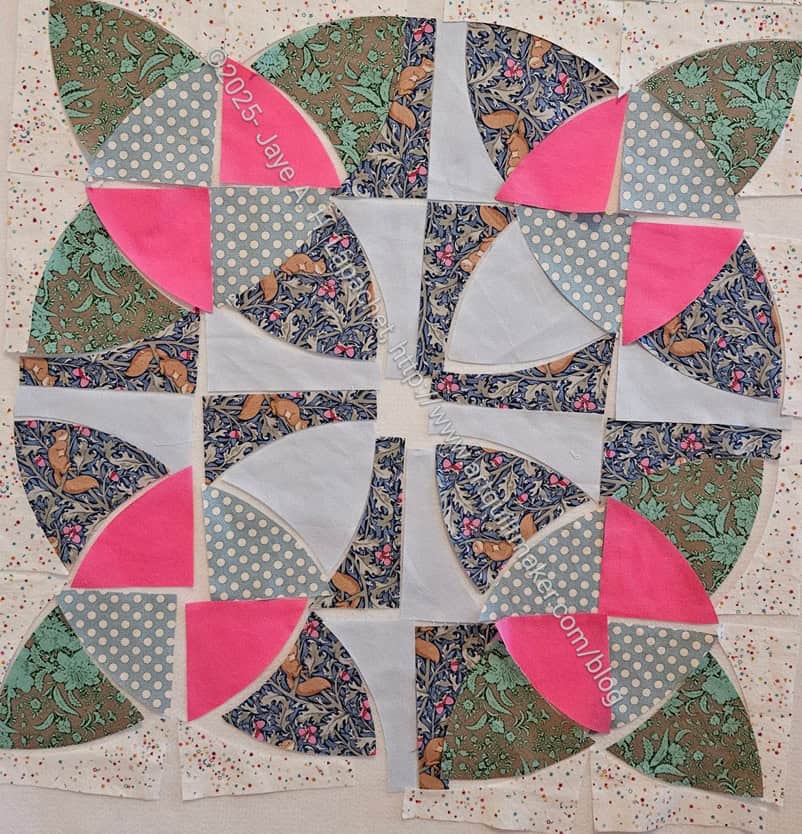
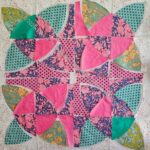
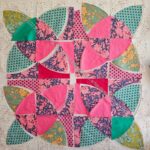
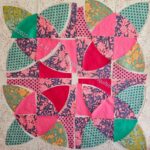
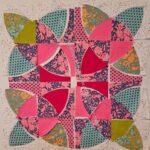
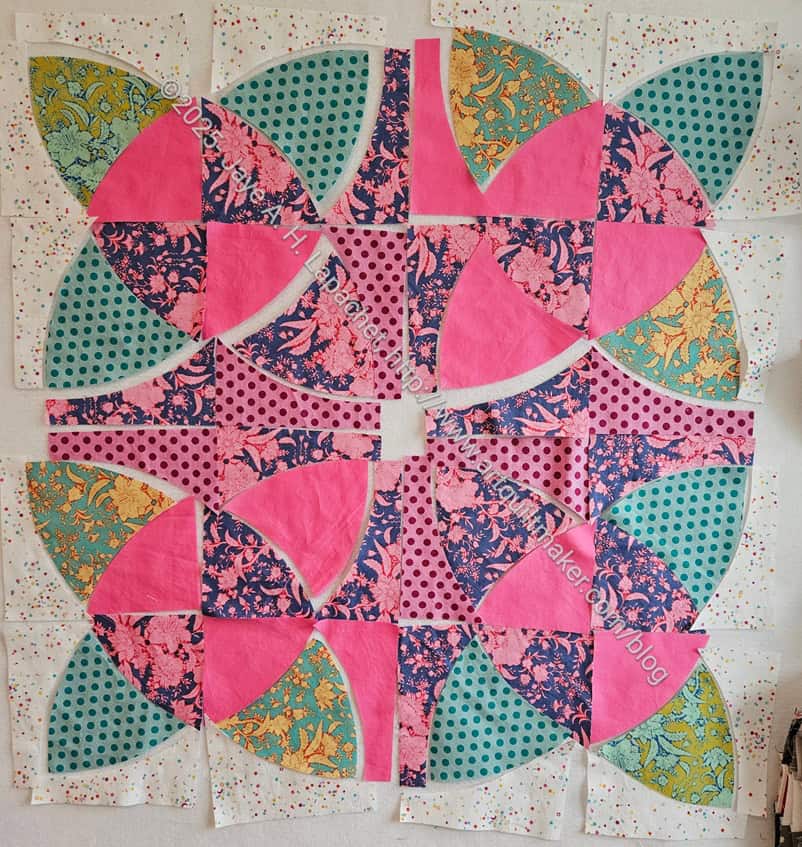
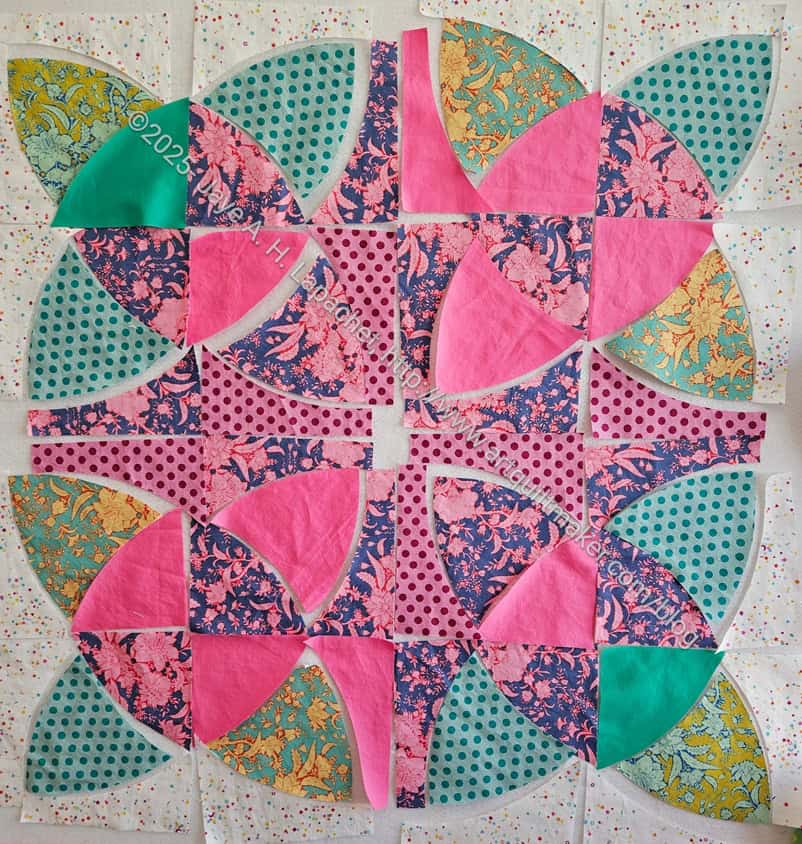
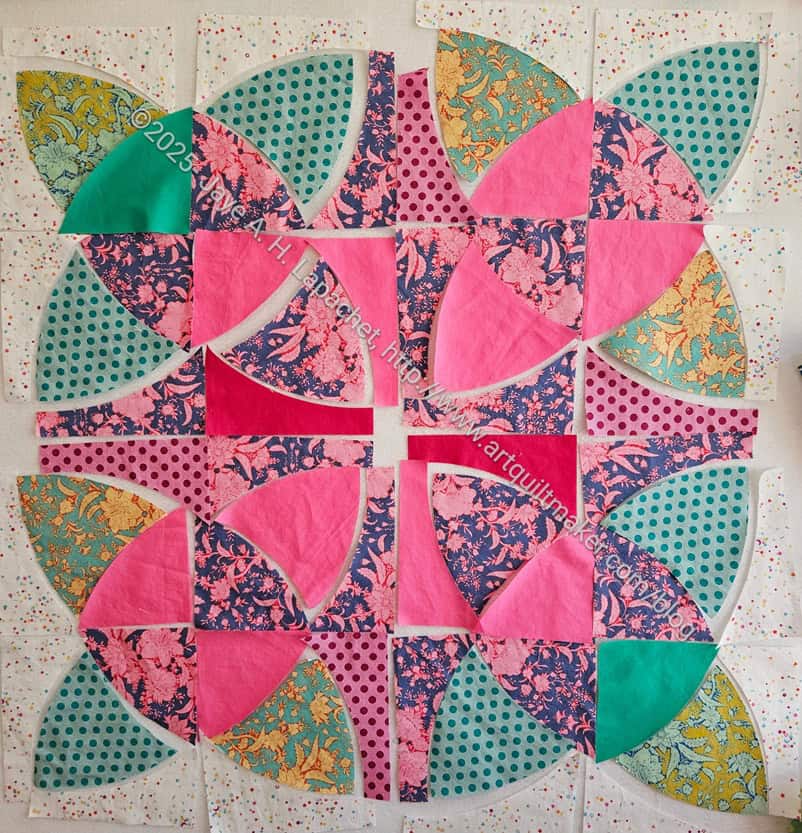
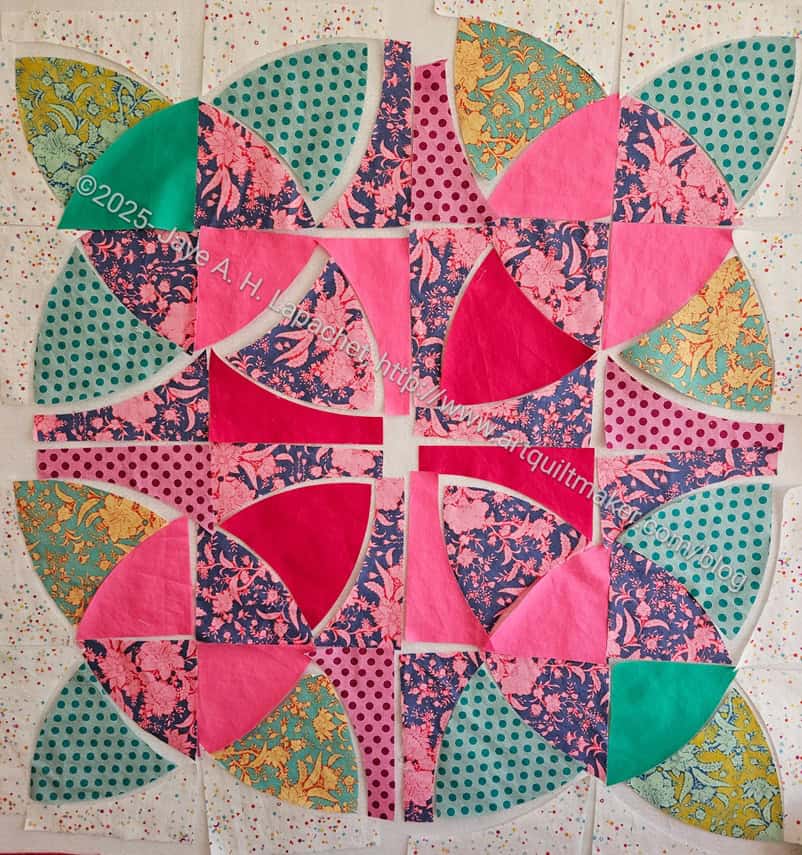
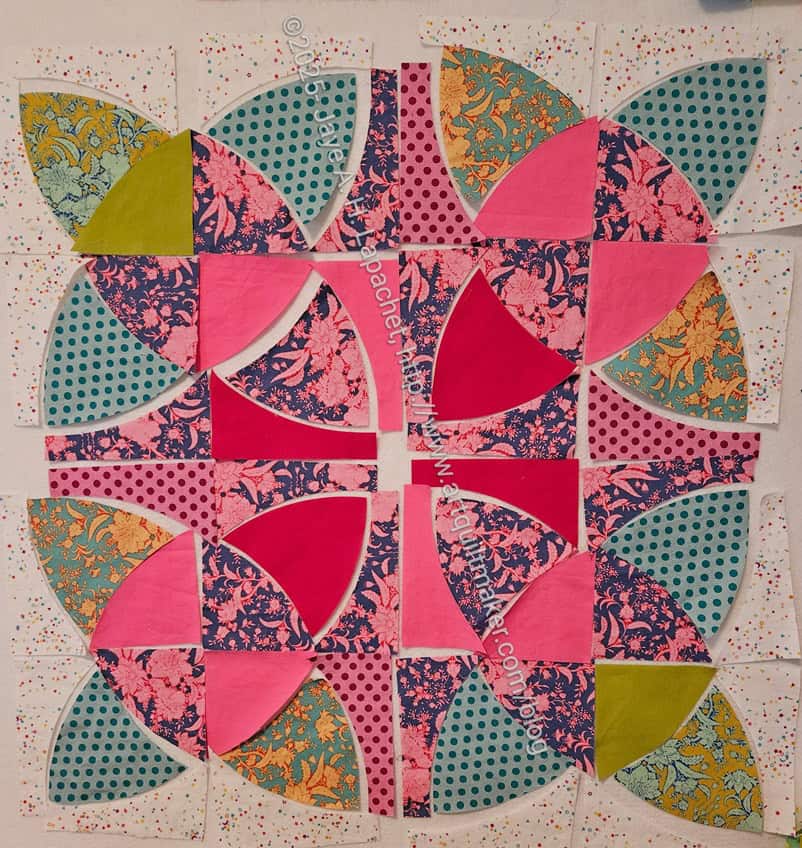
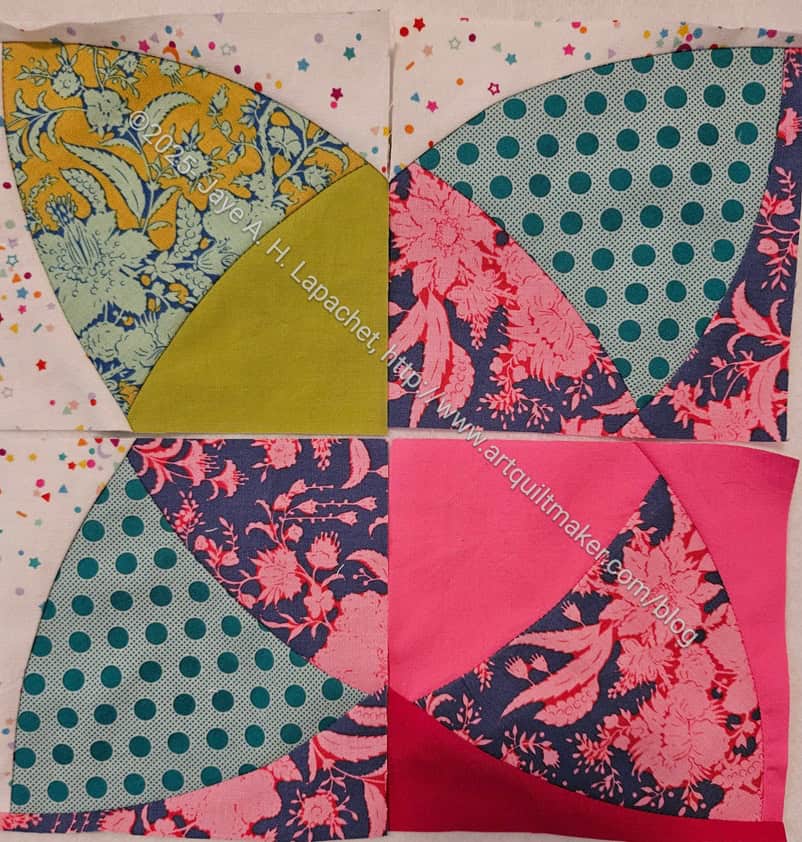
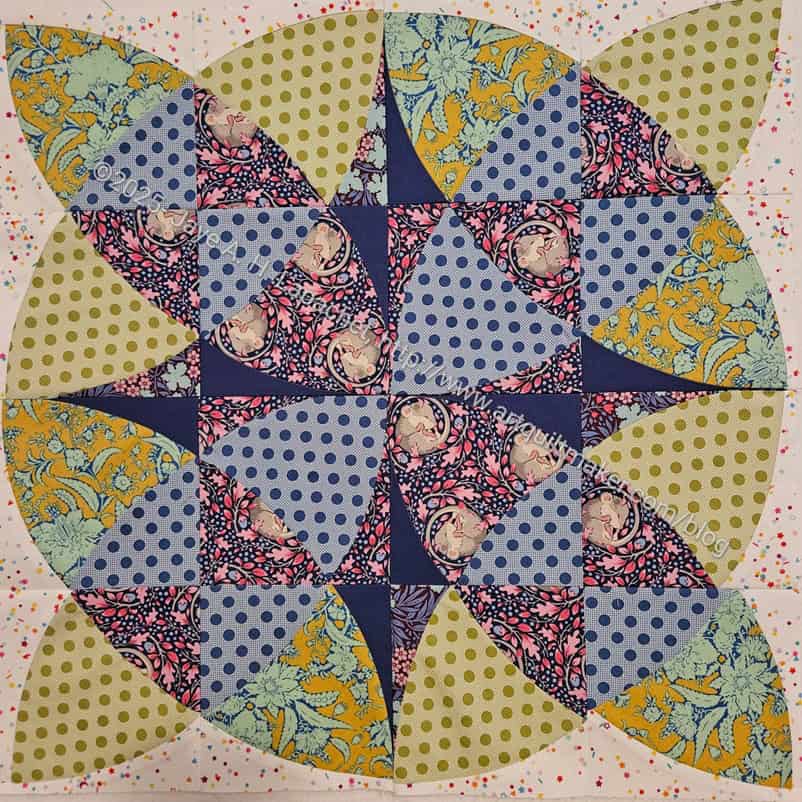
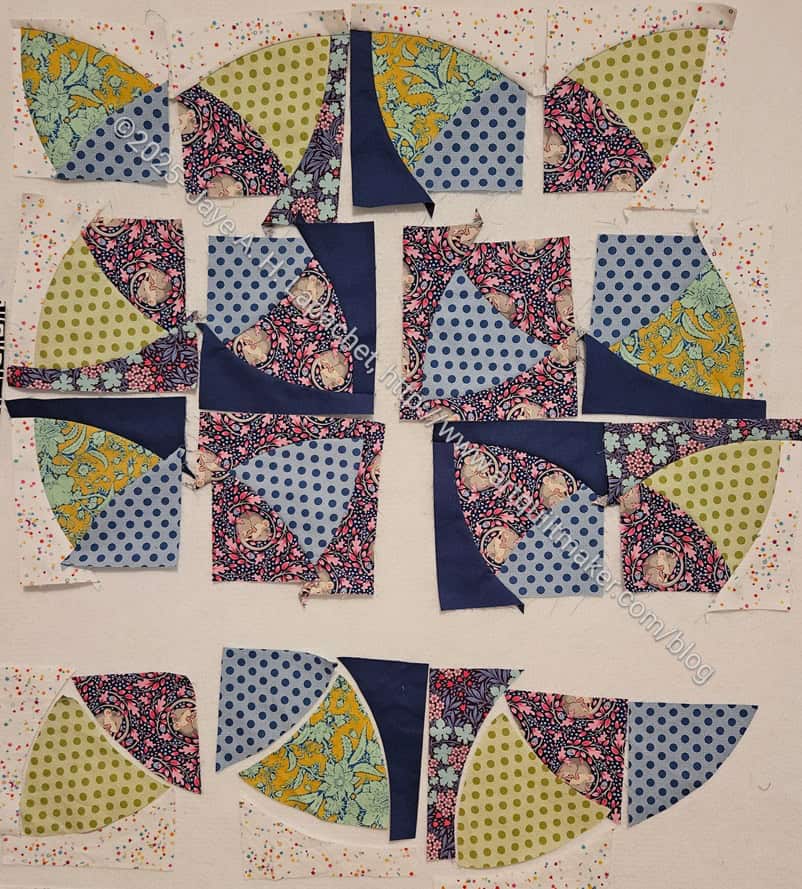
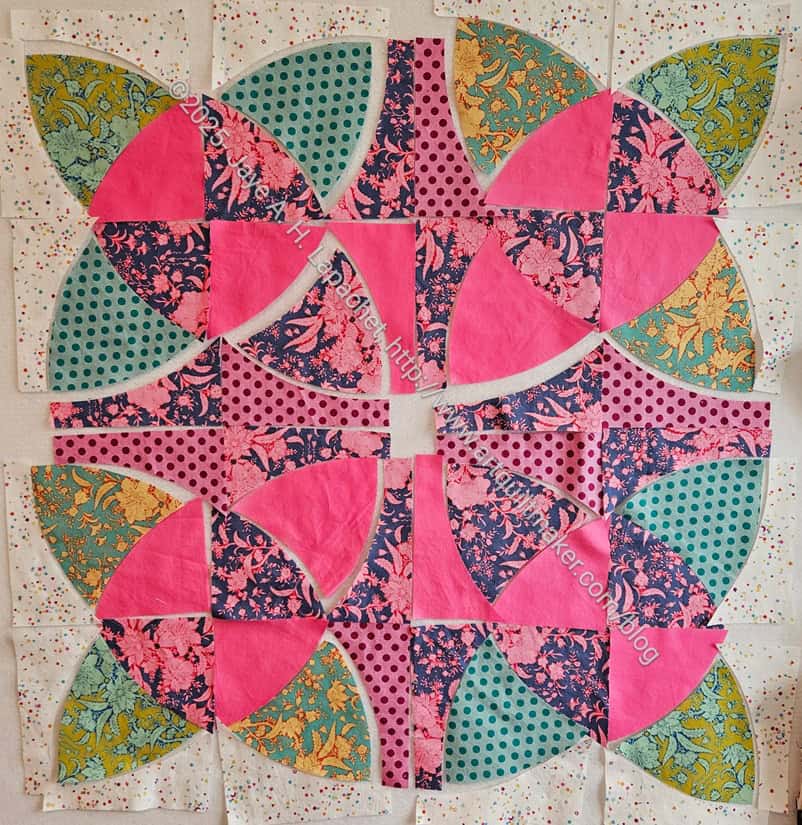
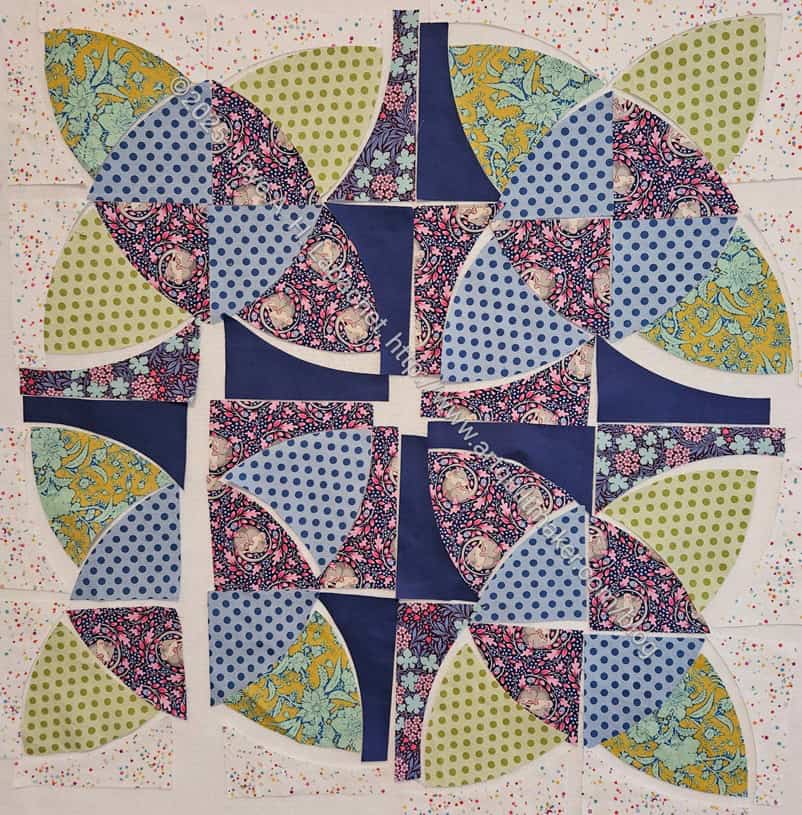
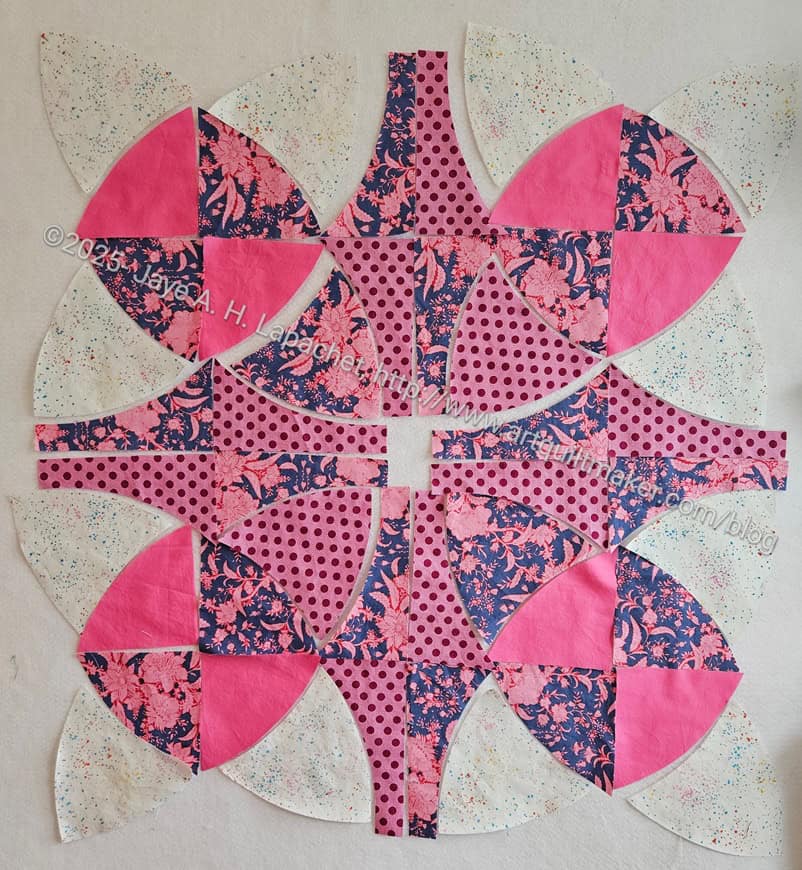
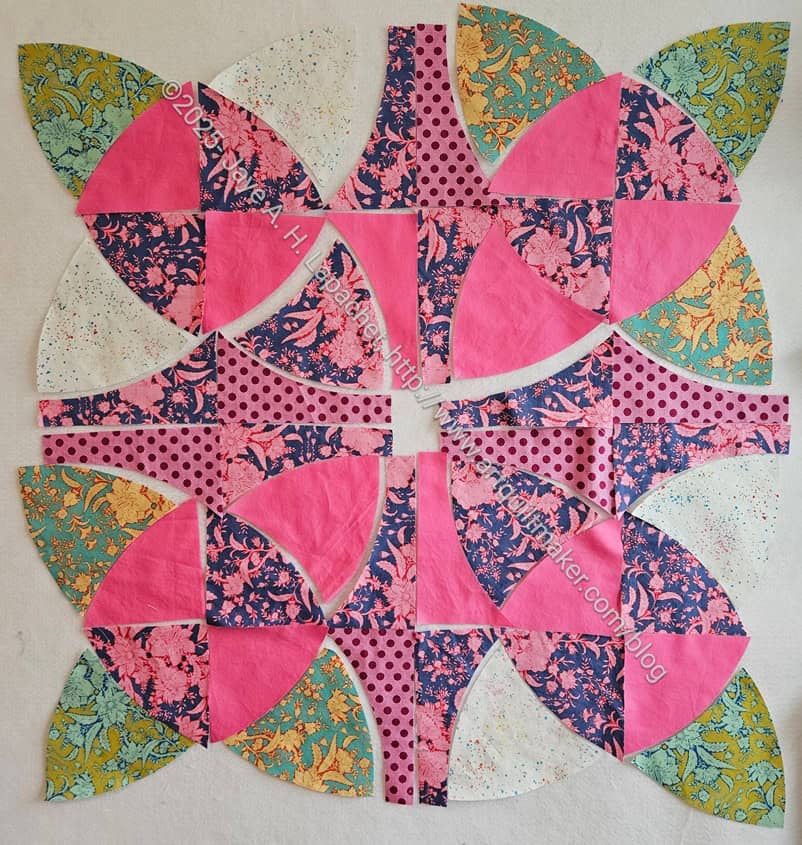
2- Orange Peel Circle sample. This is quite a large block and the wrong colors to use for my Orange Peel Circle quilt. The black squares will become Orange Peel Circles at some point. At the moment, I haven’t decided if I want to cut the large sample down or use it for the back. I really like the fabrics, so I want to do something good with it.
3 – Lucky Blocks. Donation blocks for the Pacifica Quilter’s Club. In process.
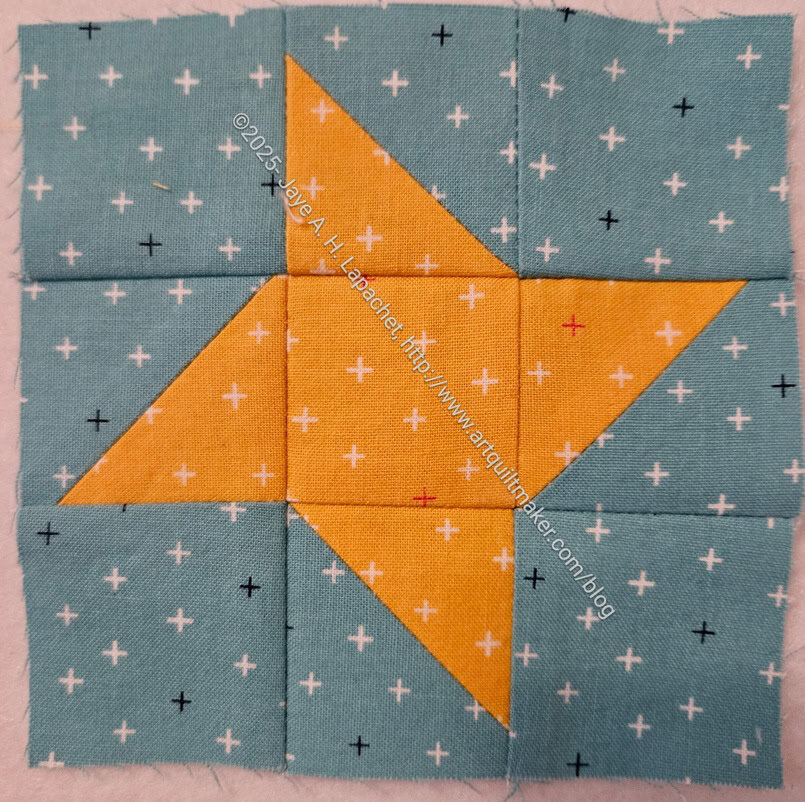
4 – Four Patch Fun. I finally have a plan for these blocks. I am pairing them with four patches as in the Judy Martin quilt I wrote about a few weeks ago. I am trying to highlight the contrast by using white and a color for the four patches. I hope that makes the contrast more prevalent. When I showed Cyndi the Judy Martin quilt she thought the design was hard to see and I agree. I am going to make one in cool colors and one in warm colors for the grandchildren of a friend. I think it will be a good use of the blocks.
5 – 1-2-3 Mosaic tablerunner blocks. I need more small blocks, so I will need to clear the decks a little and get back to this project. It requires some prep, which I haven’t done the way I did it in the class.
6 – I am collecting three sets of donation blocks for the Sidewalk quilts I will make at some point. At the very top are plain, one piece of fabric 4.5 x 8.5 inch blocks in scrappy colors. This top will look like Sidewalk #5, which I don’t think I ever wrote about beyond a brief mention in the All the Sidewalk quilts post. It’s very hard to see in the tiny section of the photo, but under those units are a group of pieced half 16-patch blocks in green . I need more, but have run out of green 2.5 inch patches. Way down under the ironing board are more pieced half 16-patch blocks, though in grey. Both sets need at least 20 more before I can put a quilt together. Check the tutorial to find out how to make a sidewalk quilt for yourself.