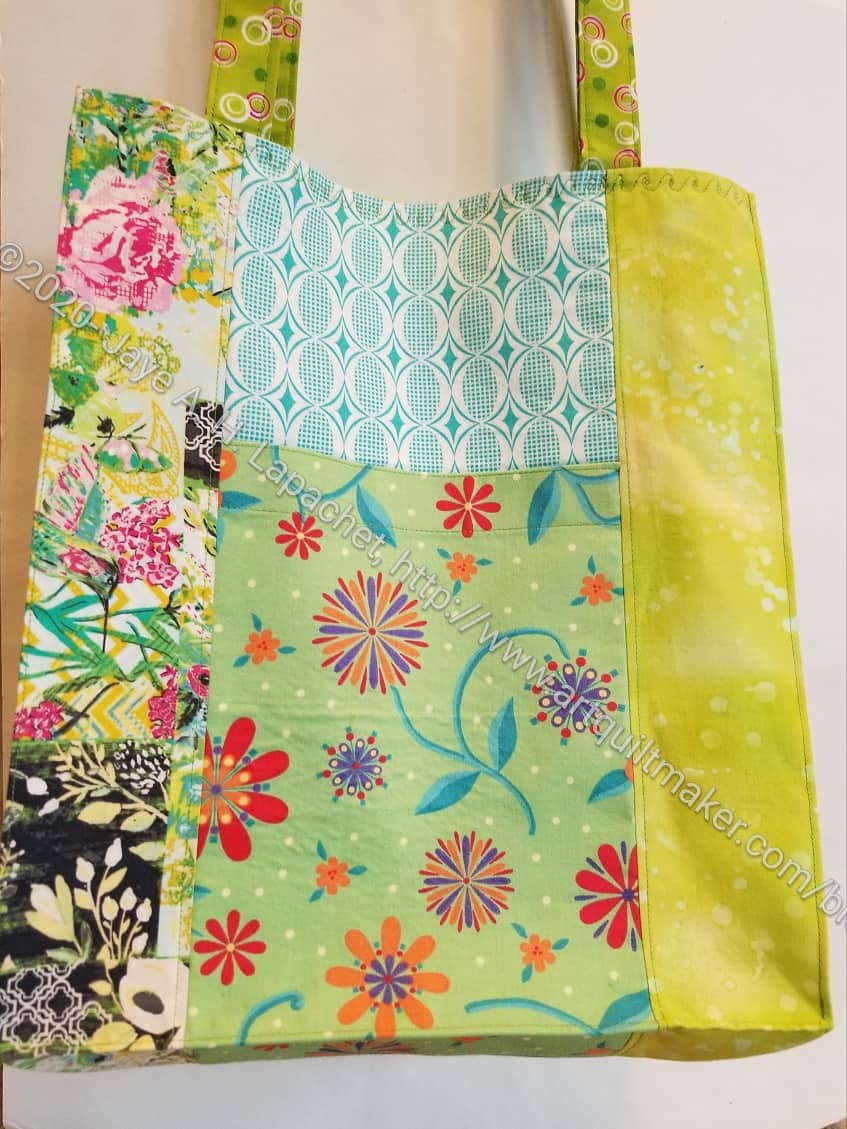
Last weekend I made a bag for the door prize at today’s meeting. I used the Jane Market Tote for the pattern again. This is a practical pattern that isn’t too big and goes together relatively quickly. I spent about 3 hours from finding the pattern to clipping the last thread.
It is scrappy green. I chose green for St. Patrick’s Day. I thought it would be fun to have green/St. Patrick’s Day as a theme.
I chose to make it scrappy so I could use up some smaller pieces of green.
My first attempt at putting the exterior of the Superbloom Tote together was unsuccessful. I was disappointed and distraught. I left the bag for much too long and considered not finishing it.
Briefly, I thought about quitting.
This was a terrible idea, because I have other fabric that I want to use to make another one. AND the fussy cutting I did with the Linework fabric is fantastic. The fussy cutting on those side pockets was fantastic. Finally, after mulling a lot, I realized that I had been working on the bag without the benefit of the video. Many of Sara Lawson’s pattern packs come with the pattern and a video. The video is very helpful. She has improved the videos by tagging them to steps in the pattern. I was able to navigate right to putting the exterior together easily.
Superbloom Exterior
Watching the video really helped and I was able to get over the hump of adding the side pockets and the straps to the exterior. There was one step I did a little wrong, so I had some ripping to do, but it came out really well.
I made another Retreat Pouch the other day. I cut up the fabric when I went to visit Tim, then decided to sew the pouch on Saturday.
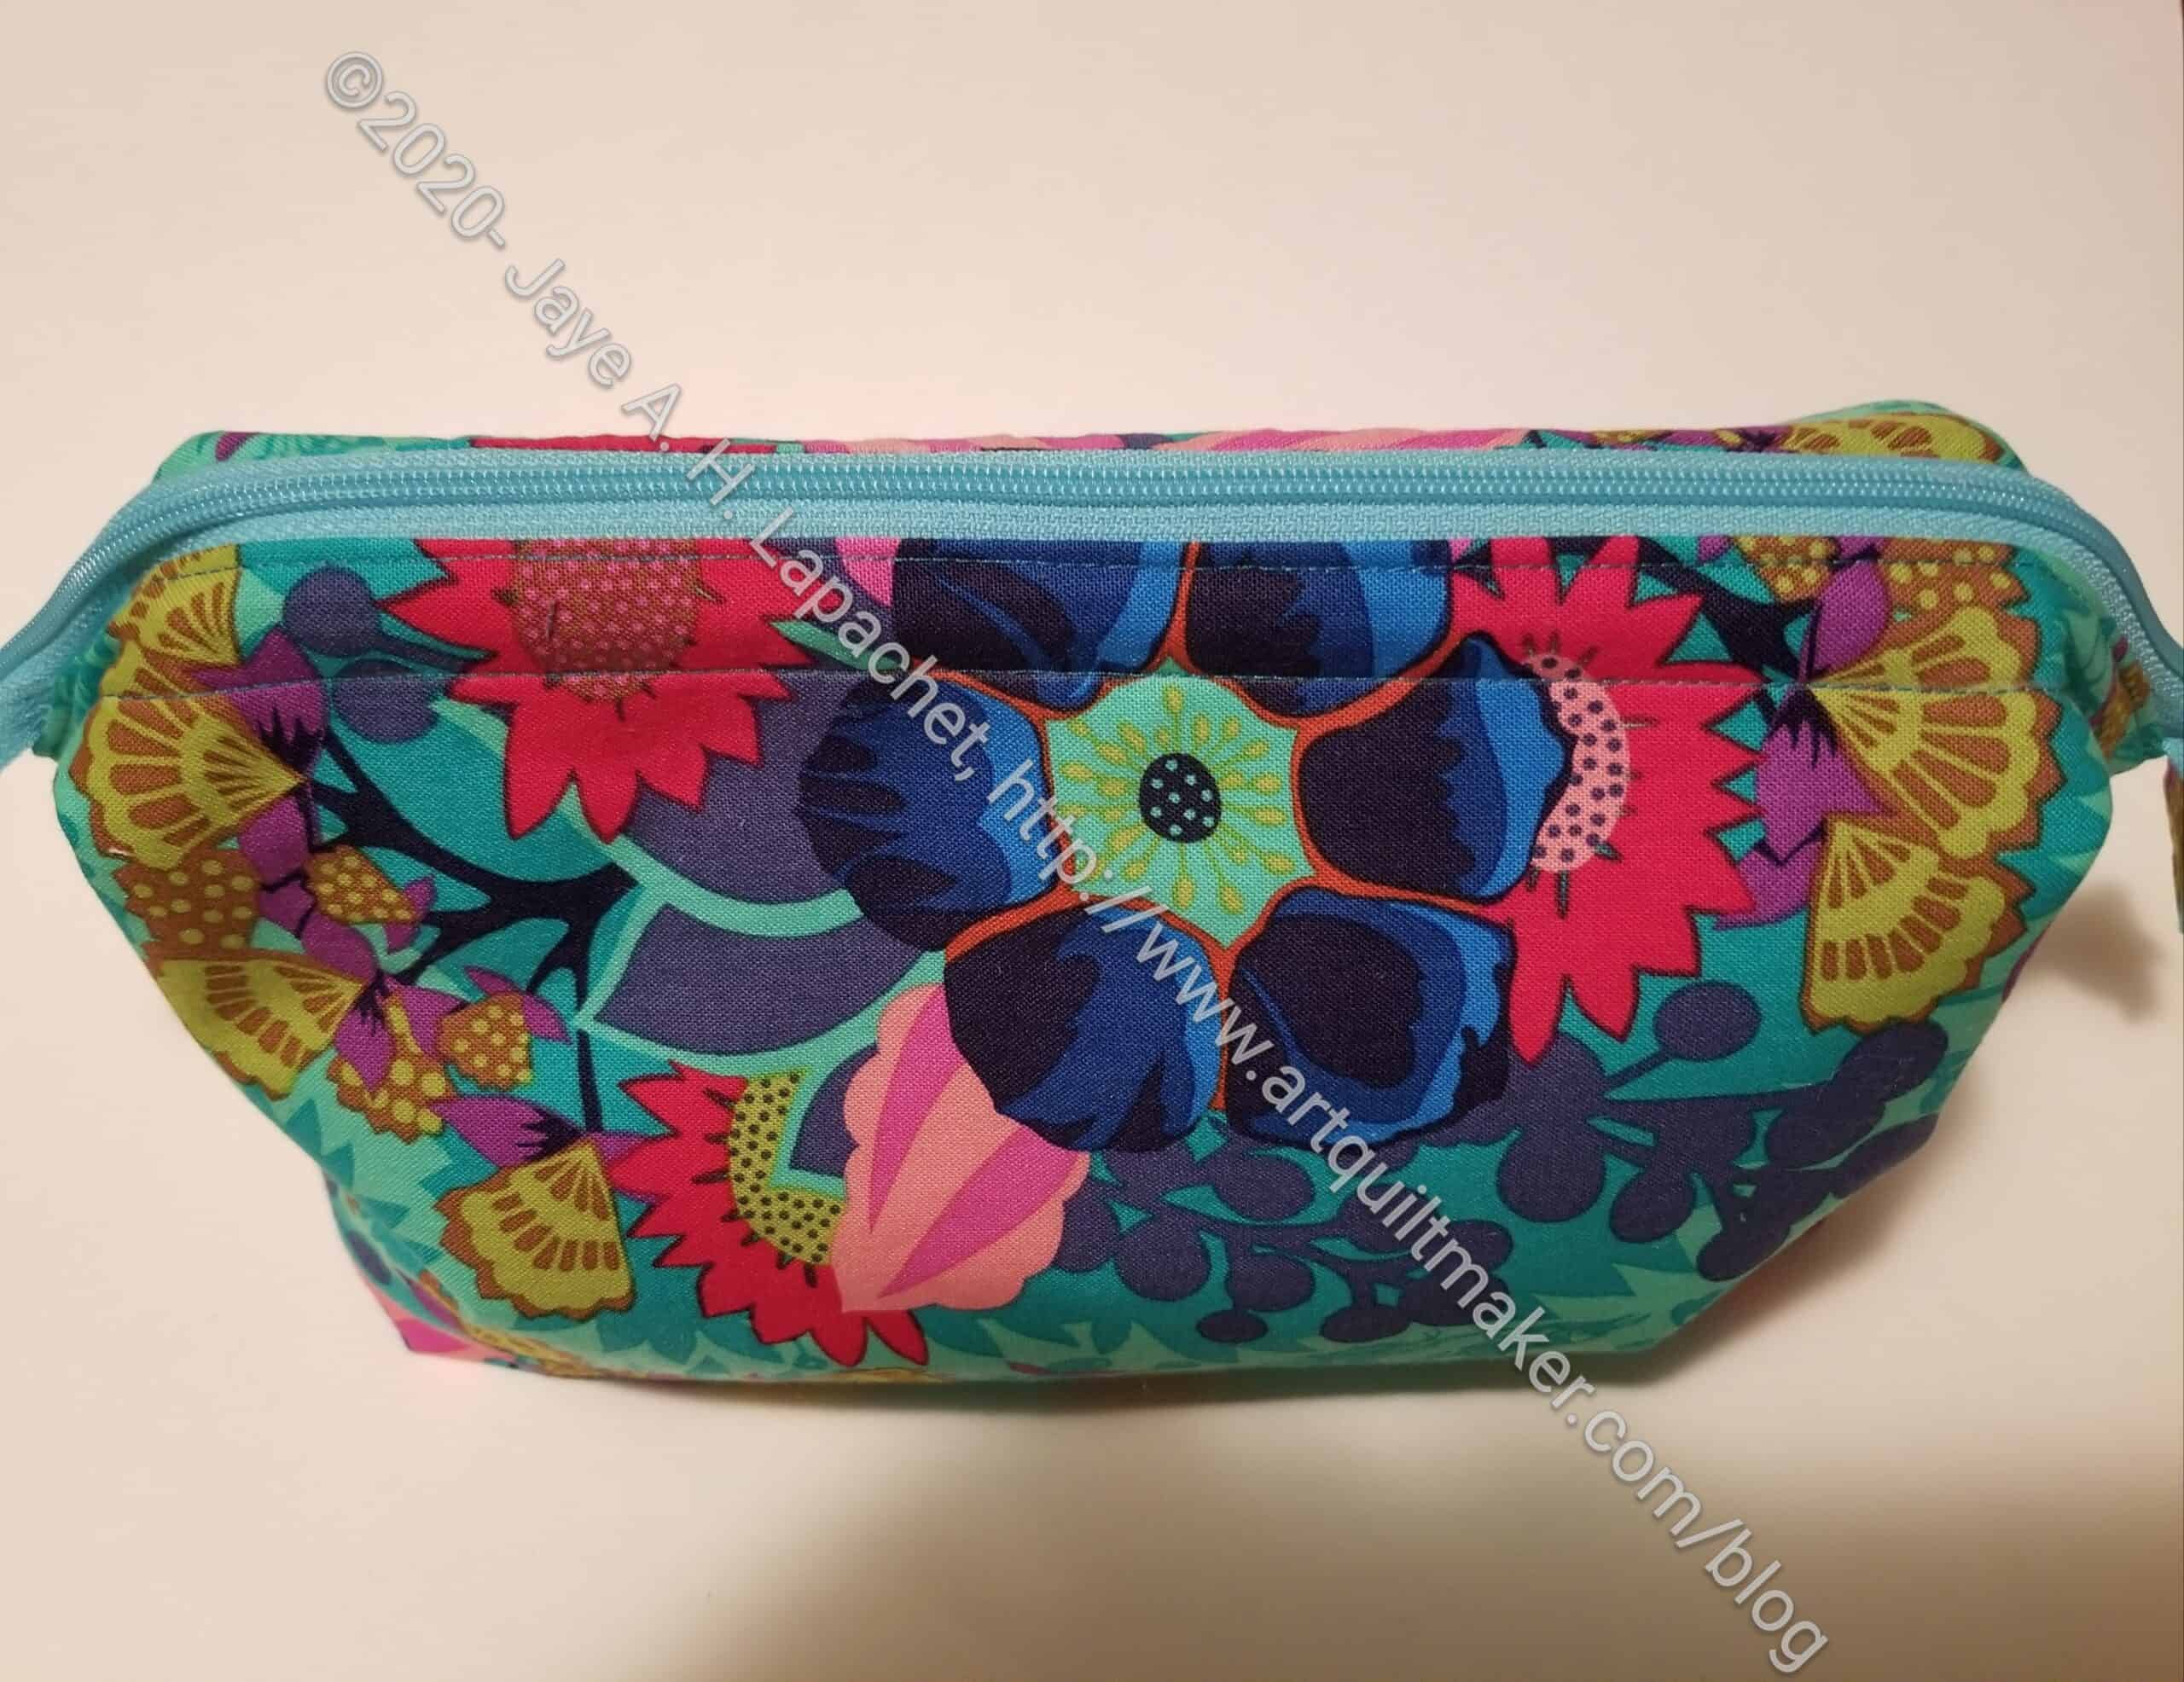
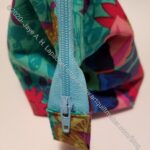
I am ridiculously pleased at how this Retreat Pouch came together. I think it looks great!
It is also a great project. Once the pieces are cut the bag goes together in a couple of hours. I think I talked about this before.
Retreat Pouch Fussy Cutting
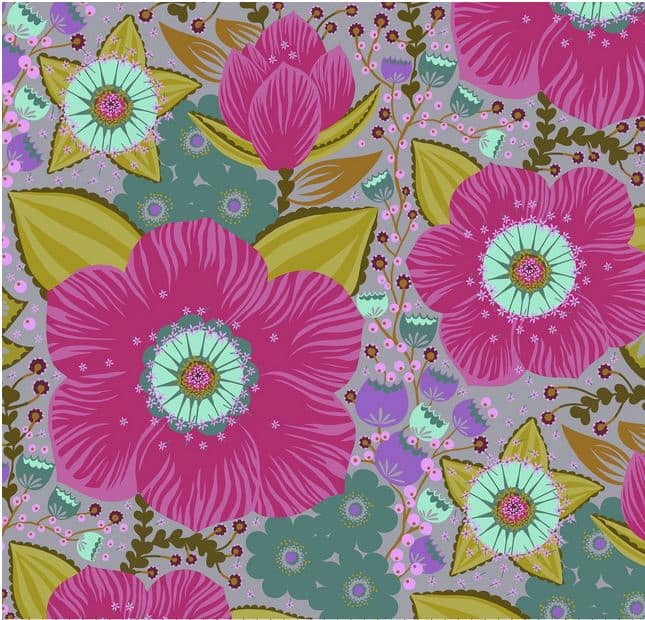
First, I love the fabric. This fabric is one of Anna Maria’s Hindsight prints. I received it in one of the Modern Handmade subscription boxes I received last year. Can you believe how lucky I got on the cutting? It looks like I intended to match the flower on either side of the zipper.
I really wanted to make the larger size, but one fat quarter is not enough to make one pouch, so I resorted to this size again. I bought two frames in each size, so I can choose some different fabrics that I have in larger quantities to make the larger version.
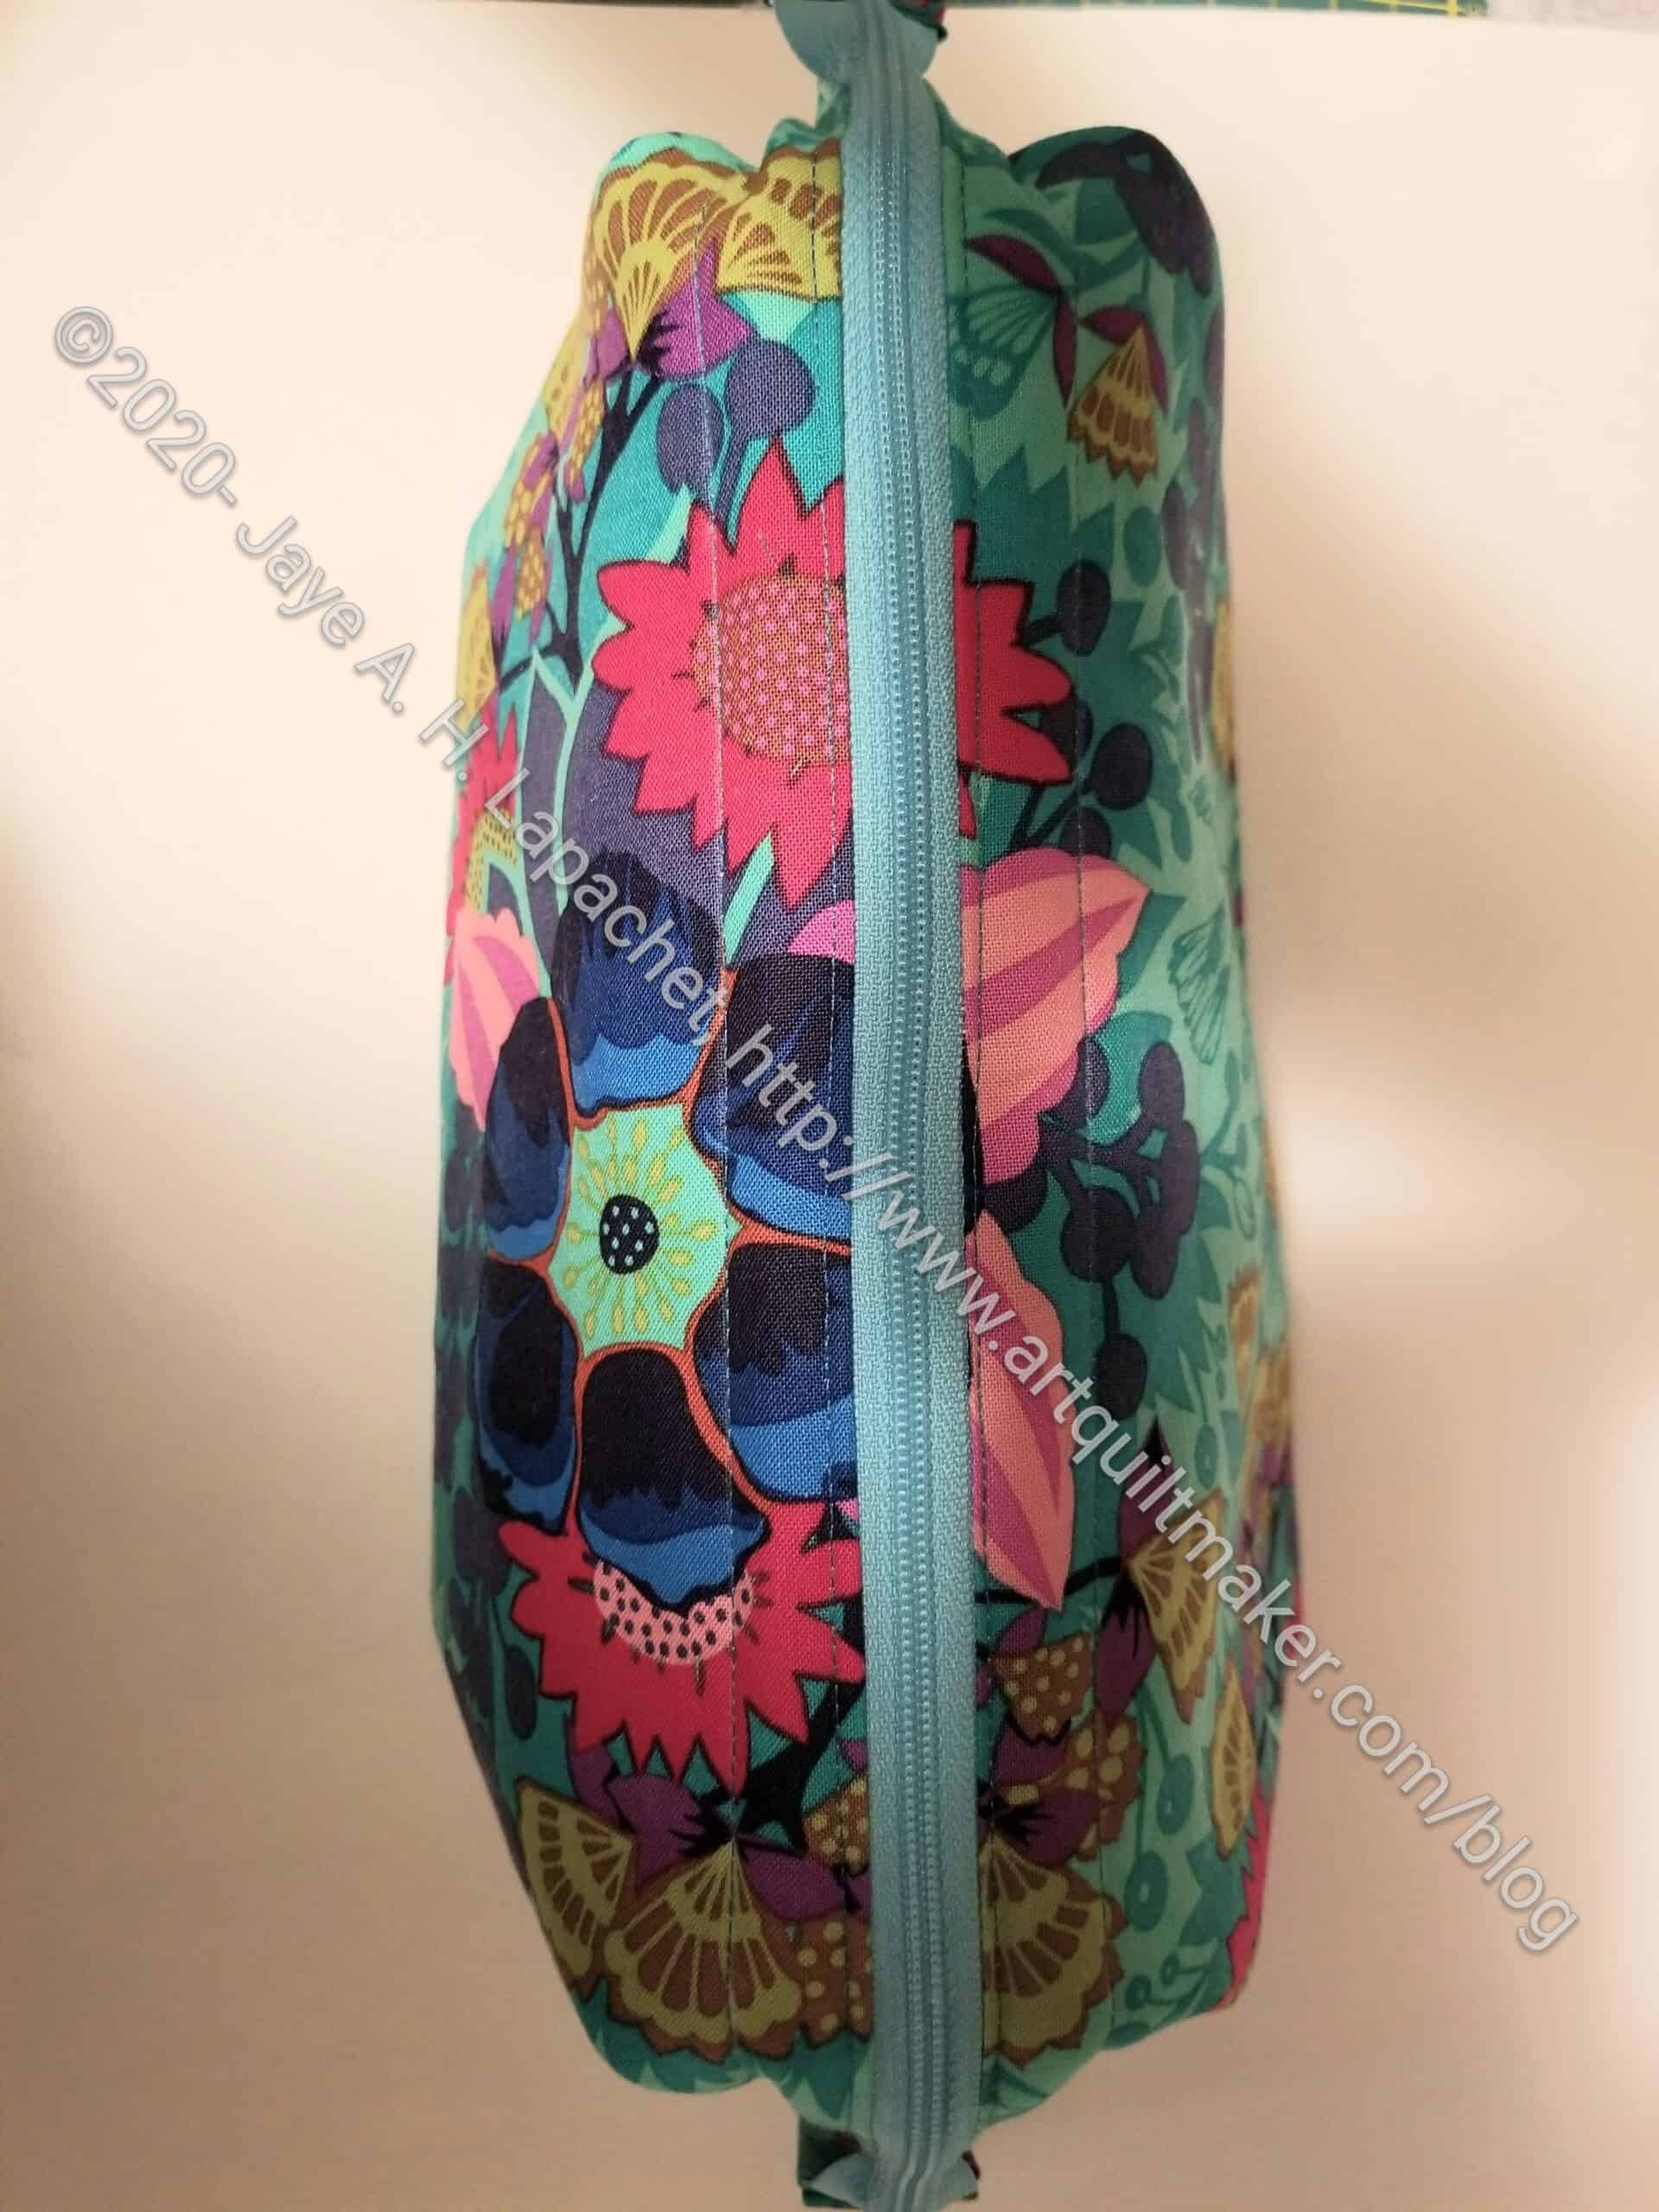
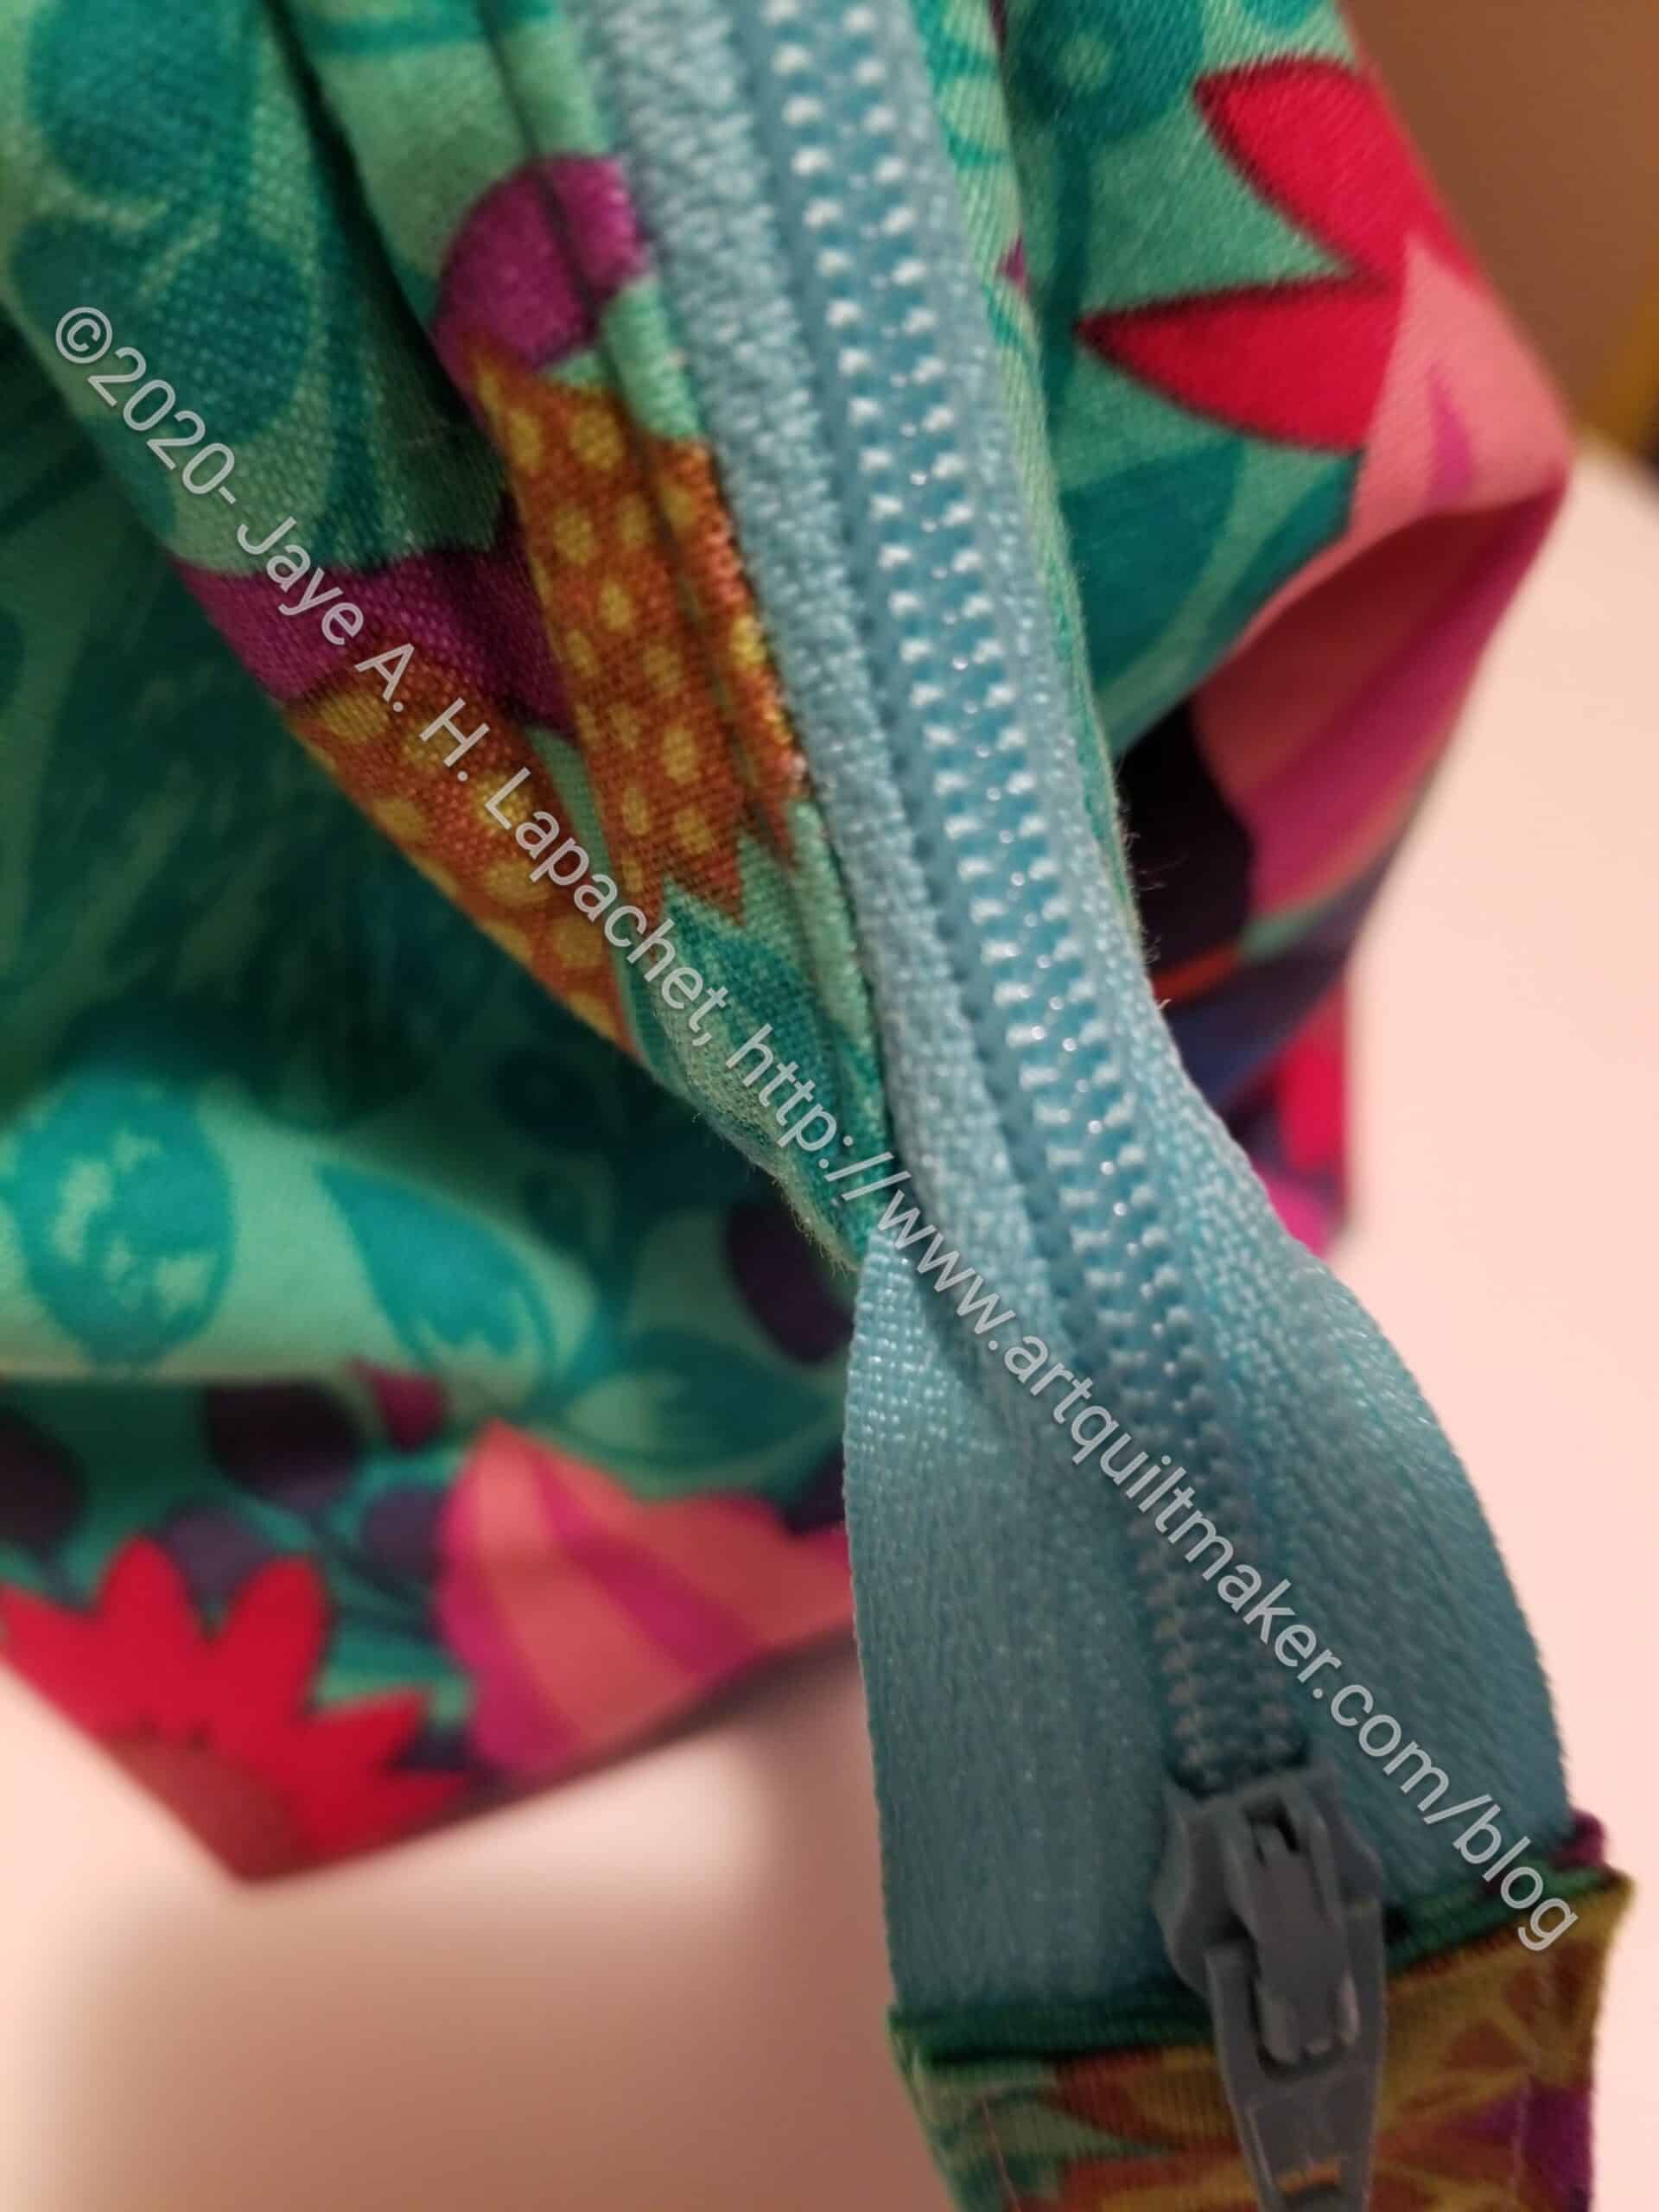
Retreat Pouch Beautiful Zipper
Second, the sewing went very well and the pouch looks professionally sewn. I am pleased with how the zipper ended up looking based on the instructions. I went an extra step by pinning the zipper down rather than holding it while I sewed and I think that helped. I knew where to pin it because I measured. I think this is another version of ‘veering’ the zipper that I have talked about with the Cotton Candy Pouches and the UCAB 45 degree angle technique.
Retreat Pouch Interior Pocket
Third, turning the pouch using the interior zipper pocket was a smooth process. Sara Lawson of Sew Sweetness has a tutorial. I don’t know why I don’t add these pockets for turning all the time.
This is not part of the pattern, but it is easy to add to any pouch or bag. I had to think carefully about the size because of the boxed corner. Despite my care, I still think the bottom of the pocket goes below the curve on the bottom of the pouch. I don’t think it really matters. For the moment I don’t know what I will put in that interior pocket.
I say this is an easy pocket to put in, but I always need to refer to general directions. I also have Sara Lawson’s Acrylic Zipper Pocket Template (no affiliation) and that makes the marking super speedy. I also saw one by Piera (no affiliation), which includes purse feet measurements as well.
I did watch the video before I sewed the first Retreat Pouch. I vowed to watch it again before making this one, but I didn’t. I don’t know why because it is a good resource.
I put my new Snap Setter and all of my Snap Setter Supplies in this pouch.
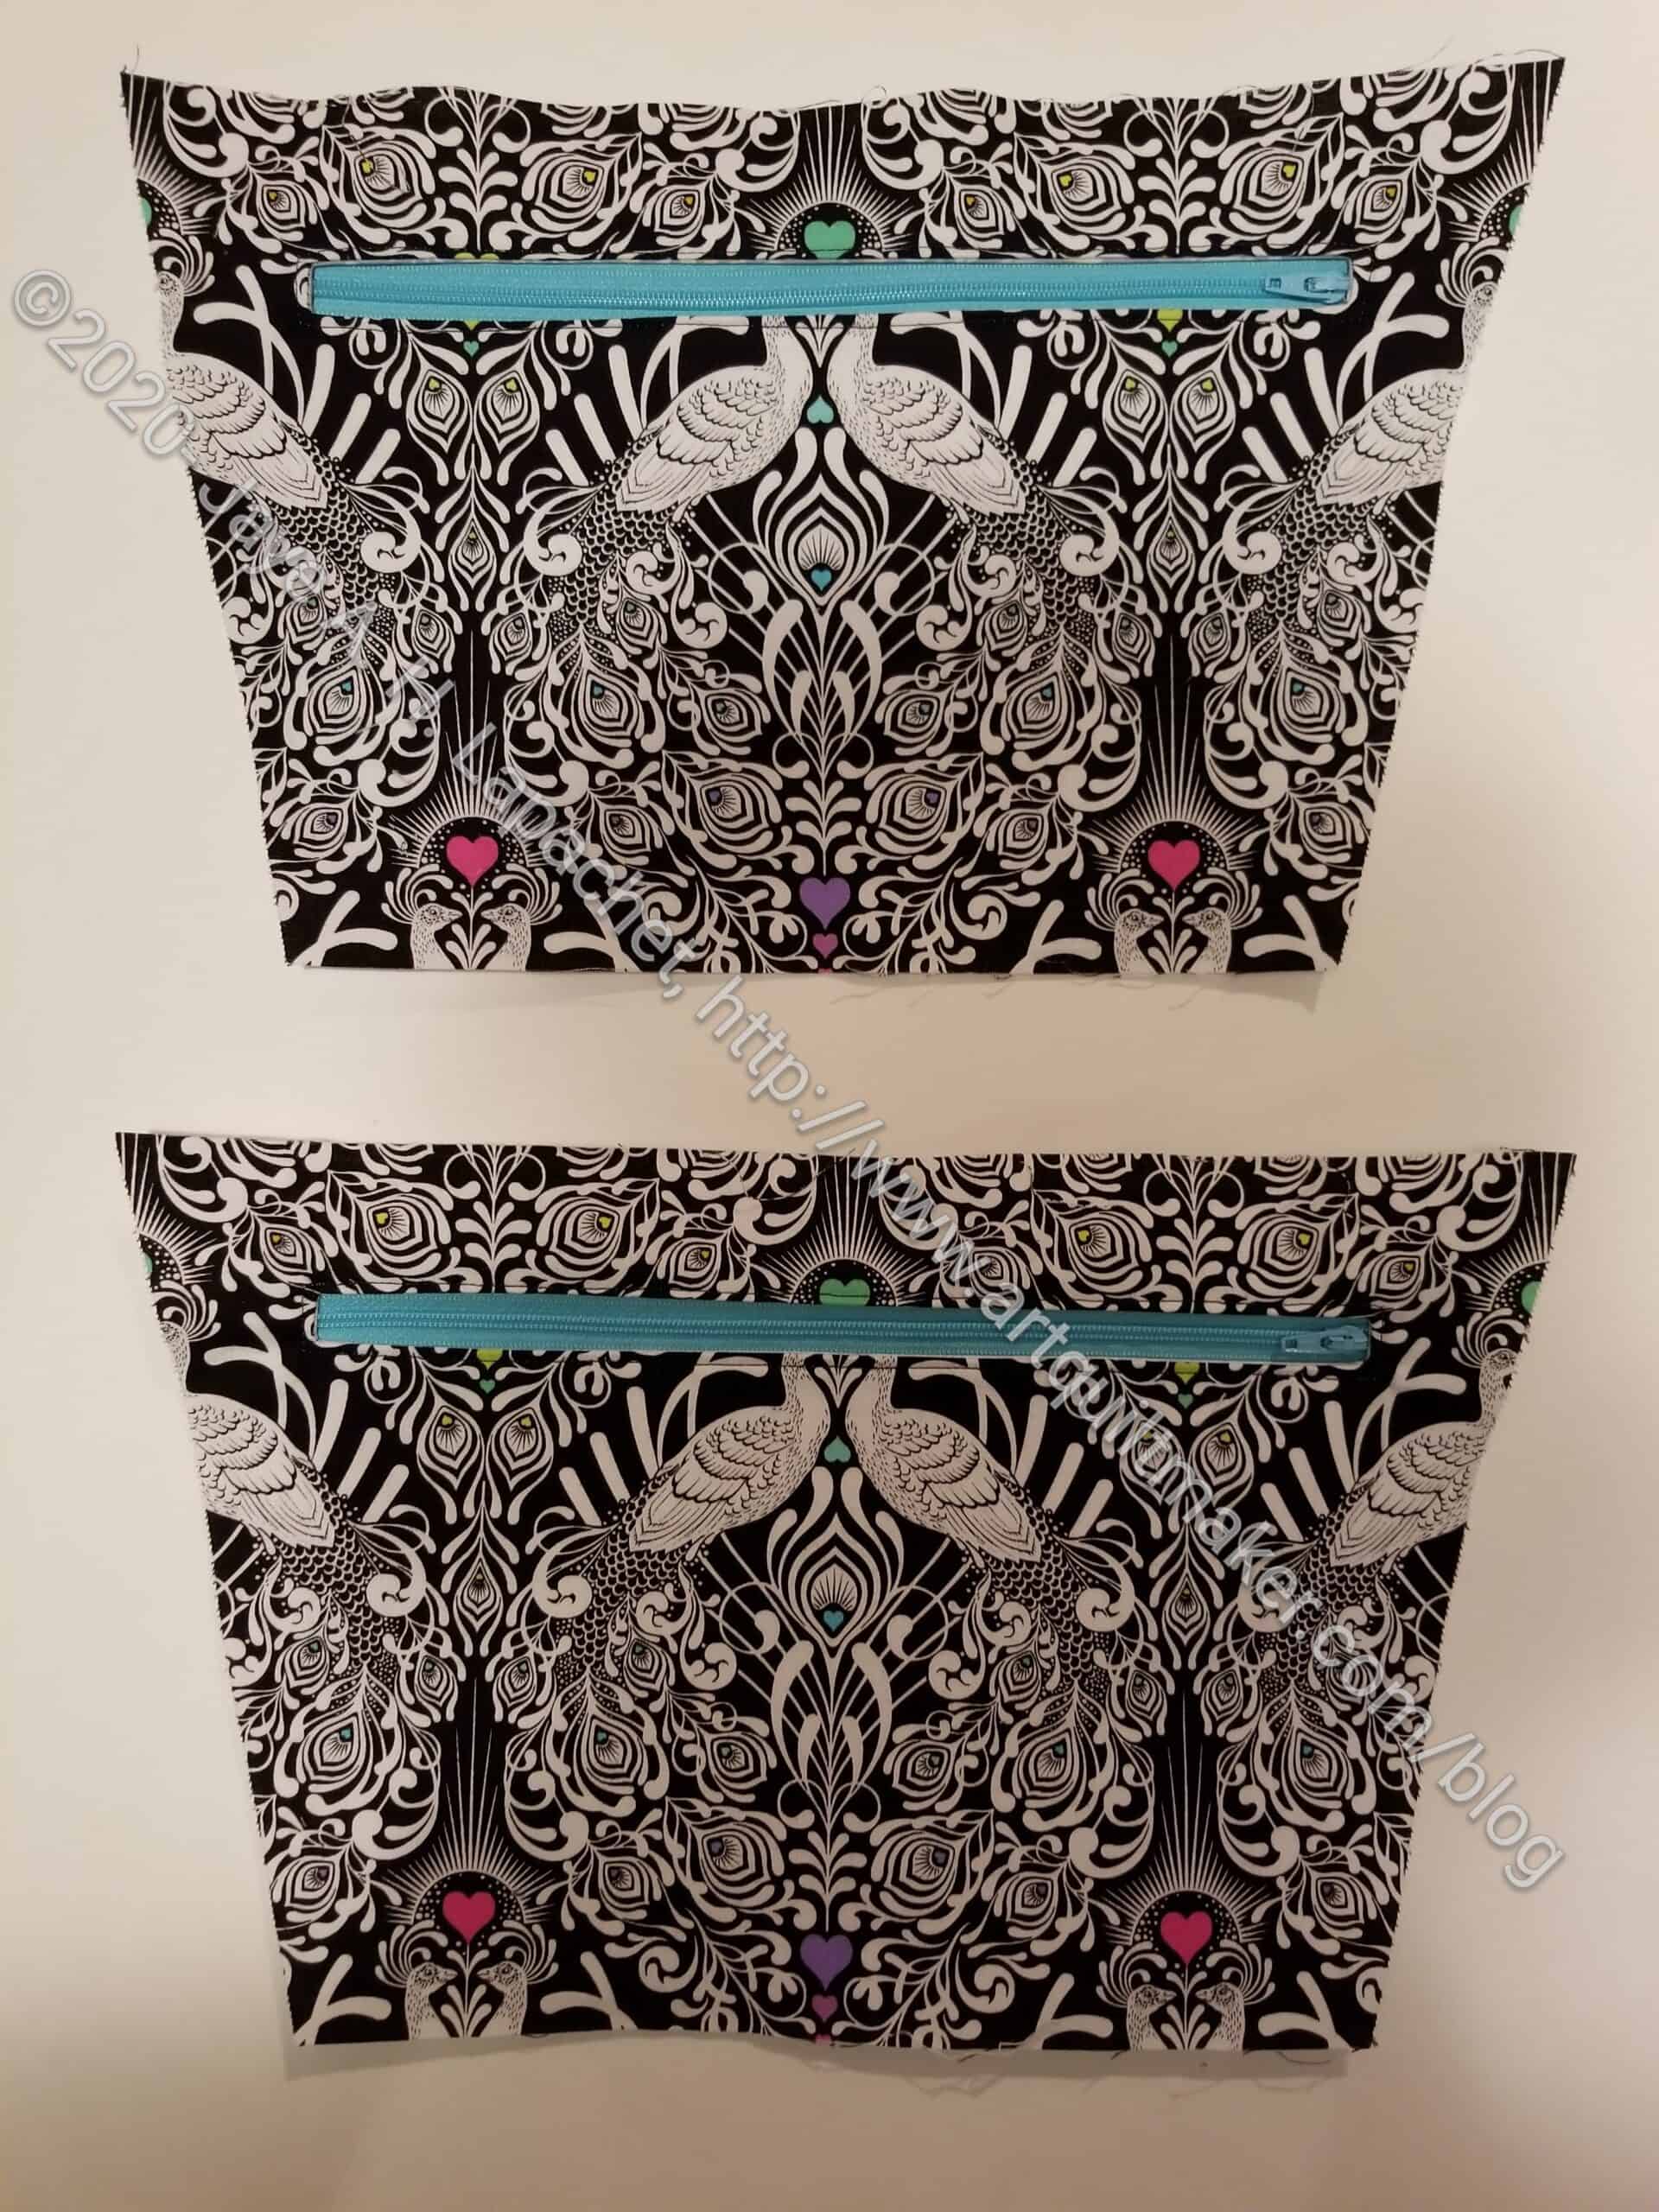
I spent some time on Sunday sewing the Superbloom tote. I am particularly happy with the Side Pockets.
First of all, I always forget how easy those internal zipper pockets are. They really go together smoothly. I always wonder why I don’t just add them to every bag. I should.
Second, I am super happy with fussy cutting. I basically lined up the motifs with the template pieces. My one issue is that the swans heads got cut off when I added the zipper. I plan to add some markers on the template where the zipper is so I know where the zipper for the next time I make one of these.
I started putting the bag together and am excited to see how it will look.
My YM’s girlfriend (YMG??) has a birthday at the beginning of January. I thought I might be a week late in getting her a gift, but here it is a month later and I have not made progress on the tote.
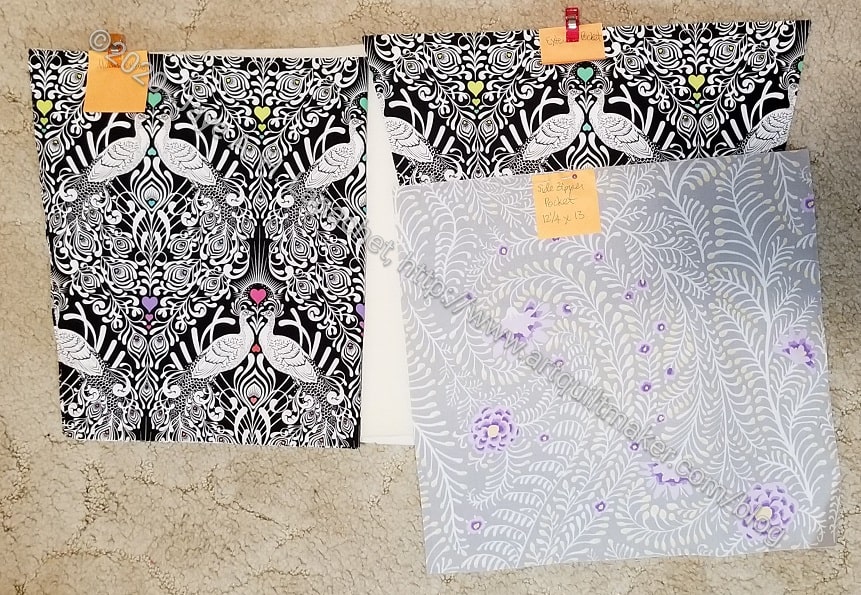
Linework Superbloom Tote pieces cut out
I decided to make her a Superbloom tote. I wanted to try this pattern and her birthday seemed like a good opportunity.
I used some of Tula Pink’s Linework fabric for the outside. YMG likes dark green, which is not a color of which I own a lot (shocking, I know), so black and white it is.
This is a Sew Sweetness pattern (one of the new ones) so I have every confidence that it will go well.
As you can see, I haven’t gotten very far. I still need to get beyond the cutting and hope to work on it this weekend.
I finally finished the Sew Together Bags and they are now in the hands of their new owners.
Sue’s Sew Together Bag
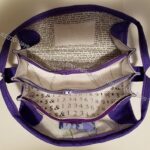
Sue’s Sew Together Bag inside back
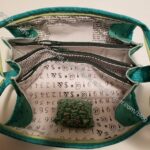
The outsides used different fabrics and embellishments, as I mentioned, but the insides were similar. I used most of the same fabrics for the insides. While the white insides make tools and supplies easy to find, I think they are a bit boring and might use one or two pieces of colored fabric to break up the white next time (yes, I am sure there will be a next time. 😉 )
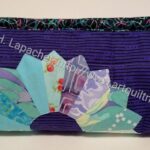
Carrie’s Sew Together Bag – outside
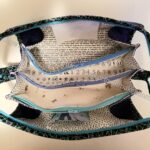
Carrie’s Sew Together Bag – inside
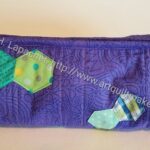
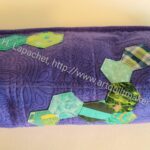
Carrie’s Sew Together Bag – bottom
As I mentioned in one post, the placement of the hexagon embellishment feature was off. I tried a few different things and considered some others. In the end, I left the original embellishment where it was and added a couple of extra hexagons. I think it looks nice and the original embellishment provides a surprise for the bottom if anyone looks there.
The recipients all claimed to enjoy their new bags. Tim doesn’t do much handwork, so I hope he finds a use for this bag.
I have made various sizes of the drawstring bags from the Jeni Baker pattern a number of times. I had an idea to use them as gift bags and, more recently, I made one to house some juggling balls. At the last minute, I grabbed some Marcia Derse fabric that has been nagging me lately to make some more of these bags.
Last week I cut out two – the Artist size and the smaller Project size. They go together very quickly once cut and are really great for wrapping gifts.
I do like that Marcia Derse squares fabric. I think it is a little hard to use, though, except for, maybe, on the back of a quilt. I think this is a good use for it.
I bought some twill tape awhile ago. I used that for the handles, but am not 100% happy with the look. I may go back and make handles that match.
Now that these are made, I am not sure how I will use them.
Sometime ago I bought the frames for the Retreat pouch. The Retreat pouch is a free pattern from Emmaline Bags. The pattern, as I said, is free, but the frames are not.
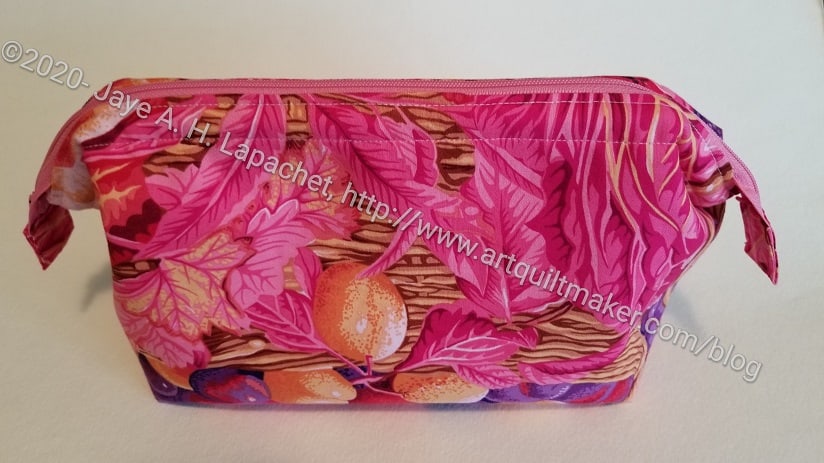
Retreat Pouch closed
Over the New Year holiday, I decided I was going to make some bags, the supplies for which had been hanging around. The Retreat pouch was one of the bags I sewed.
I started out with the small size, which is about 8 inches x 4 inches. I didn’t think the small size was tiny. Once cut out, this is not a difficult bag to put together. I was able to finish it in a couple of hours while I catted with a friend.
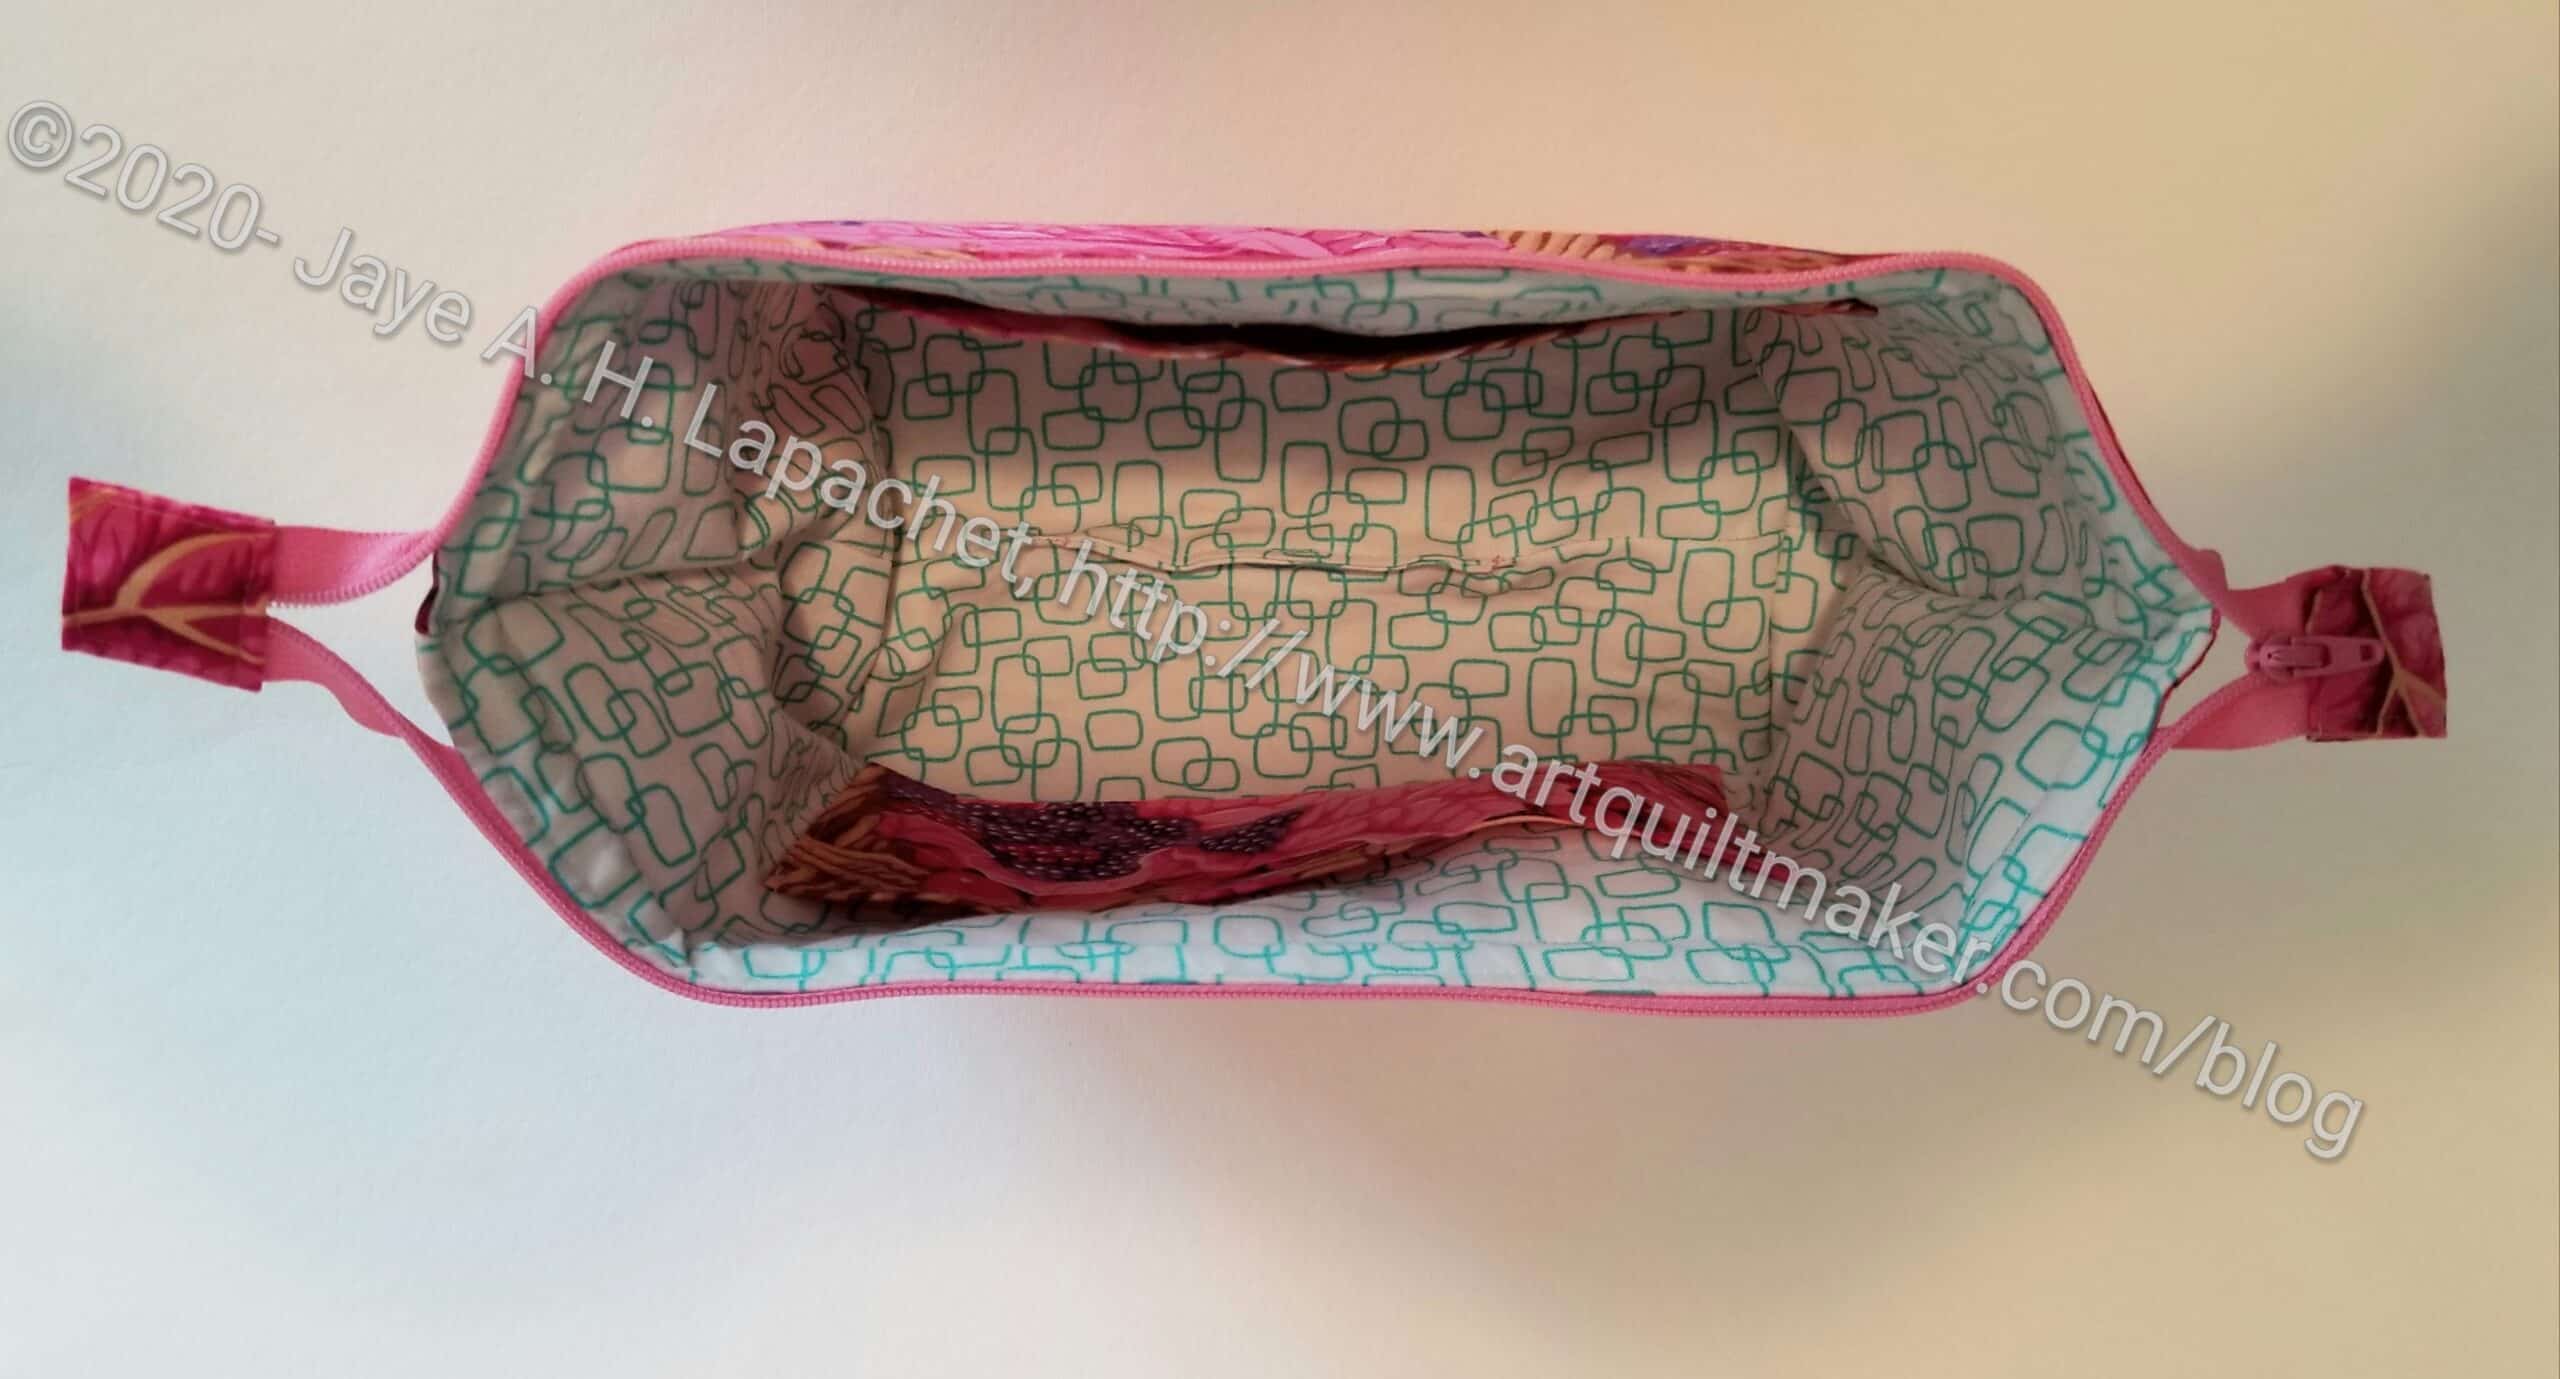
Retreat Pouch open
I thought the installation of the frame was a little weird because the pattern says to remove stitches you have already sewed in order to install the frame. The pattern didn’t say whether to sew up the hole that I made, so I did.
I just used a frame for the Sheffield Tool Bag. That pattern uses a casing to house the frame. Since I haven’t used a lot of frames in bags, I don’t know what is normal. I prefer the casing.
I plan to use this pouch for my bag making tools. I might need to make the larger version for the tools as I have a lot of them, but I plan to make the larger one anyway.
I found a video that shows how to add handles and make some other changes to the bag while showing how to make the pouch. I have watched it, but I didn’t watch while making this pouch. I may add handles to my next one.
N.B. on Frames: I still don’t have a good handle on frames. I know how to install them in a bag or pouch in a couple of ways, but I don’t know if different frames can be interchanged in different bags. I haven’t made enough bags with frames to understand them very well.
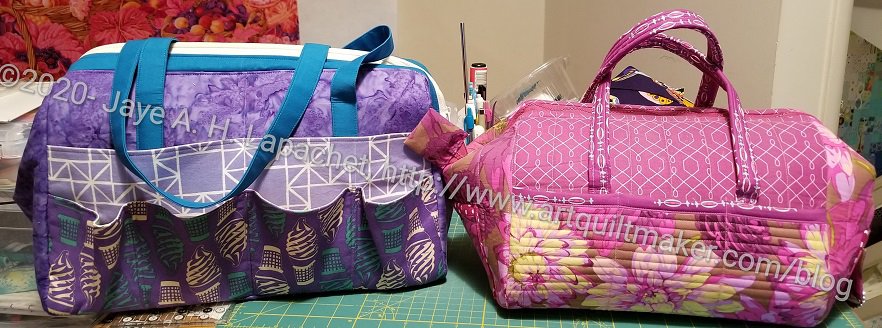
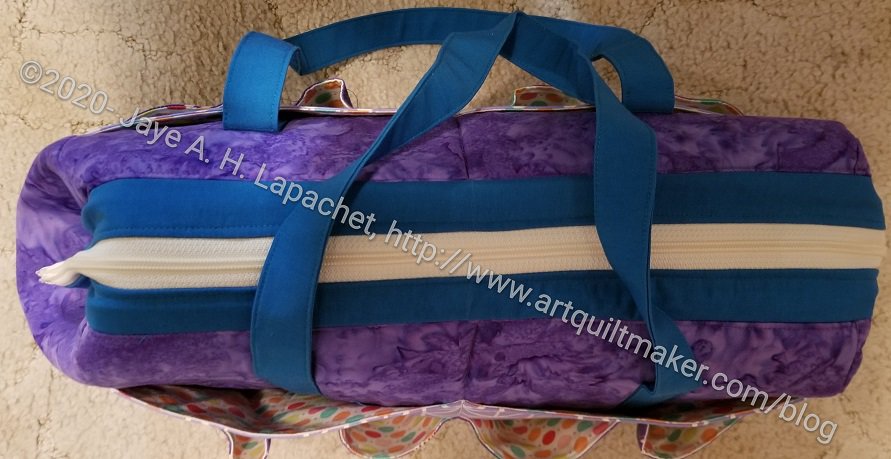
After thinking about the two tool totes, I decided to compare them. I already talked a little about them in the Gift Post, but I think showing photos would help you decide which you want to make. I made the Quilts Illustrated pattern in 2018. I use it for my bag making supplies. It is handy to keep them all in one place.
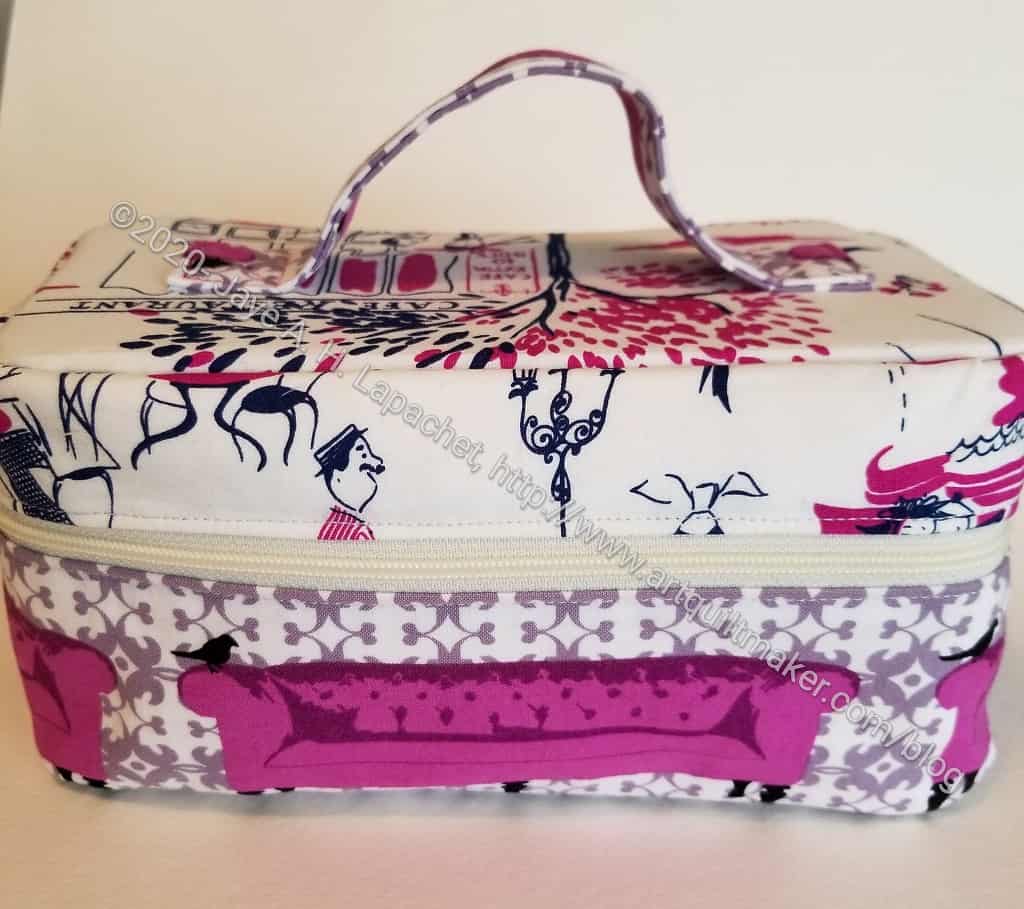
Sheffield Tool Bag v. Quilts Illustrated Tool Tote
As you can see from the photo above, the overall shape of both bags is substantially similar. The Sheffield Tote is larger than the QI Tool Tote. The Sheffield also has some 3D pockets in addition to the slip pockets on the outside. These additional pockets provide extra storage, though I wonder if the items in those pockets would fall out in transit?
The other thing I notice is that the handles are different. They are different widths and made from different techniques. I picked up the QI Tool Tote the other day and found it heavy. With all of my bagmaking hardware and supplies, it would be. That made me worried about the handles breaking. I think if I made the QI version again, I would make the handles wider.
That being said, I have not filled the Sheffield Tool Bag so I don’t know how it will feel with items inside. I do like the padded version of the handles (see tutorial – you can add these to any bag) for a bag like this and will add them next time I made the Sheffield.
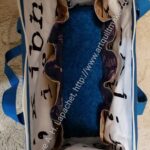
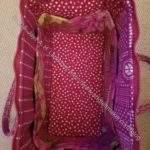
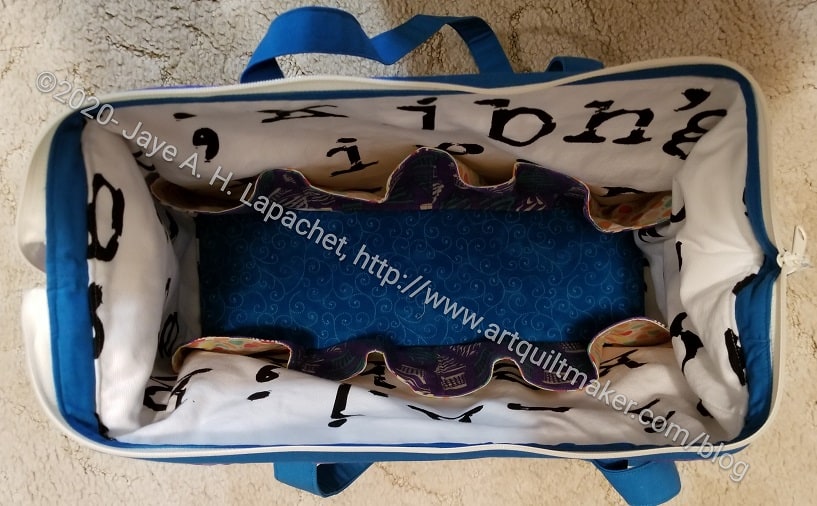
Sheffield Tool Tote – inside
Tool Tote: big mouth opening
The other thing I like about these bags is the frame. I haven’t made a lot of bags with frames, but the wide mouth aspect, enabled by the frame, on both bags is awesome. The maker can see into the entirety of both bags.
Again, the pockets are different. The Sheffield has more 3D pockets on the inside while the QI Tool Tote has slip pockets, including some on the ends. In a way I like the slip pockets better. I can see making a smaller slip pocket for the second pocket on the outside of the Sheffield instead of the 3D pockets. I might also make slip pockets for the inside of the Sheffield.
There is a lot of scope for imagination, as Anne Shirley would say, in this style of bag. I encourage you to try it out.
As I said earlier this month, I finished the Sheffield Tool Bag the week before Christmas.
I am usually pretty pleased with the Sew Sweetness patterns, but I found this one particularly easy to put together. The ease of putting together this bag was in direct contrast to my memory of putting the Quilt Illustrated Tool Tote together.
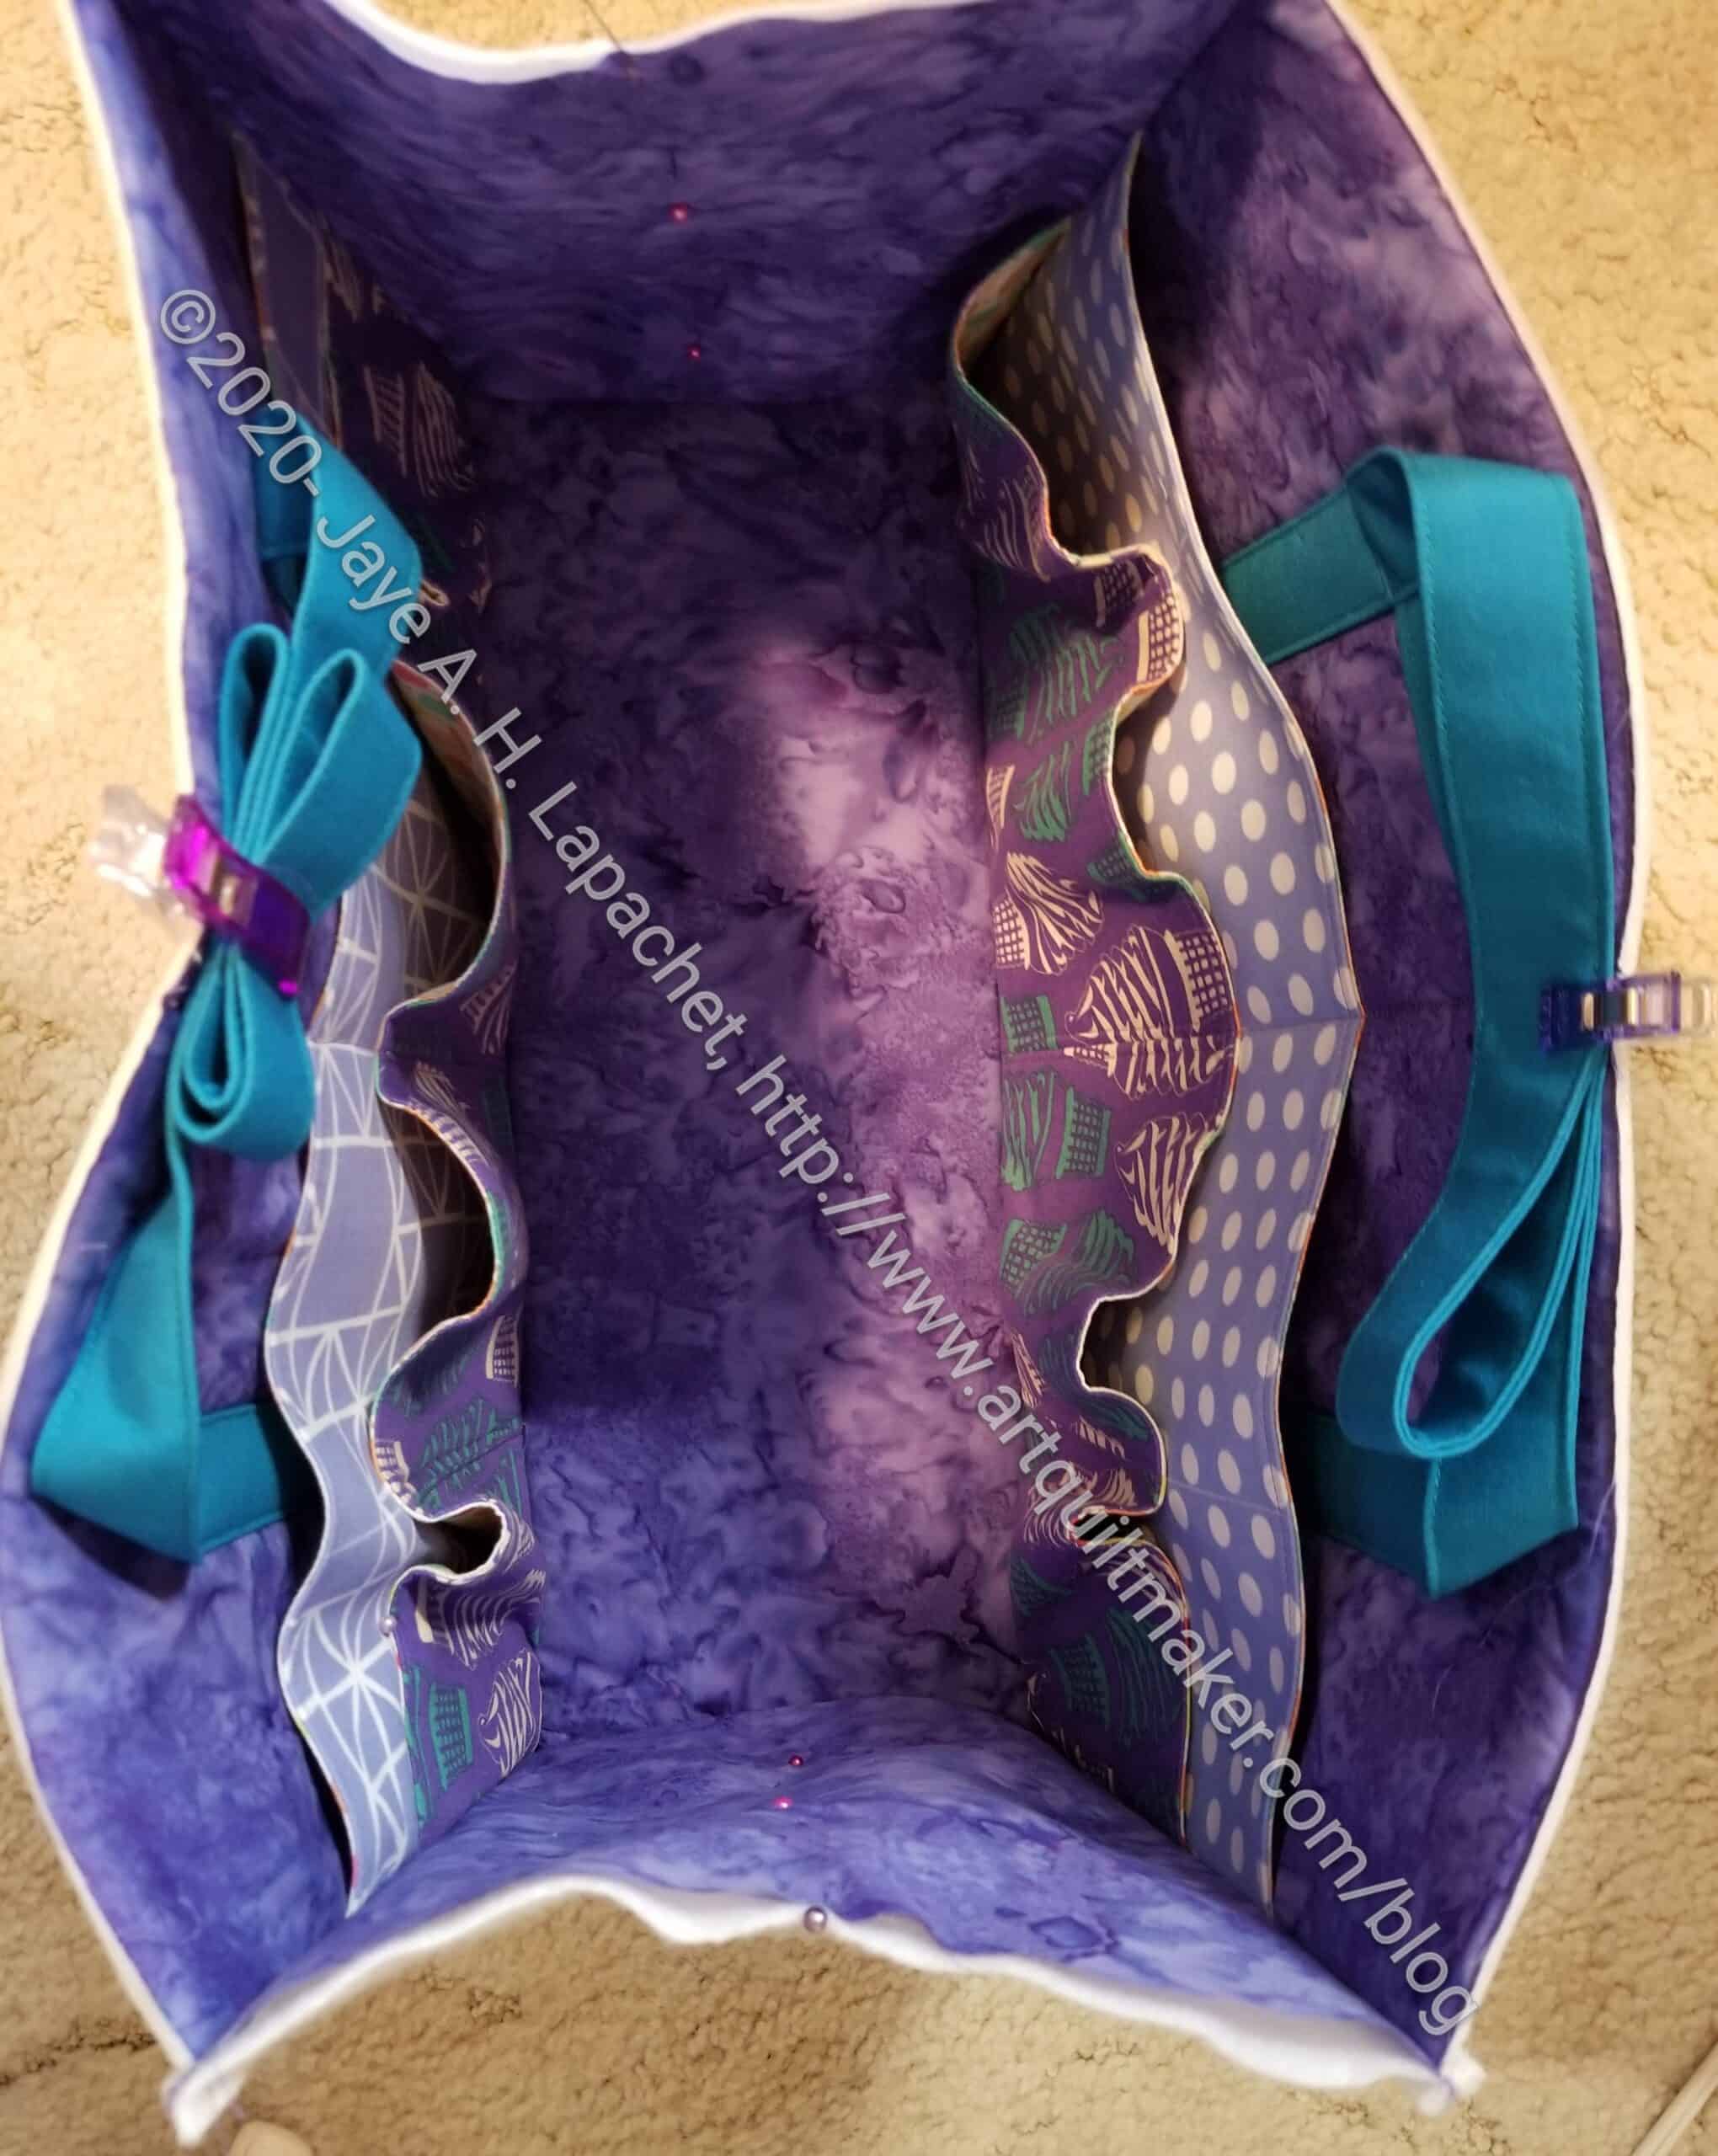
Sheffield Tool Tote – top
I found two tricky parts and the zipper was involved with both. First was the zipper panel and the video remedied my confusion. The second was the other/non-zipper tab end of the zipper and I am not sure how to remedied that beyond using a matching thread to the zipper and hoping for the best. I’d like to put a zipper tab on instead of folding over the ends of the zipper on that one end. I’ll think about that for future versions. I’d like to make another one of these bags.
On the bright side, I feel like I finally got the concept of ‘veering the zipper’. I talked more about this during the making of the Pink & Green Cotton Candy pouch. There is something about the way it was presented in the Sheffield Tool Bag video that fixed the concept in my head. Yay!!
It has a different feel than the Quilt Illustrated Tool Tote, though I believe the supplies were similar. I haven’t checked the Quilt Illustrated pattern recently, however, and I know I quilted the outside of the QI Tool Tote, though that is an option for the Sew Sweetness pattern as well.
Sheffield Tool Tote – inside
I am particularly fond of the inside. Despite being canvas and VERY loosely woven, I love the design motifs of the fabric I used for the lining.
Now that I know where all the pieces are going to be used, I would make different fabric choices for future versions. Still, I believe the white fabric makes the inside light enough to see all of the supplies (and stuff) that would go inside.
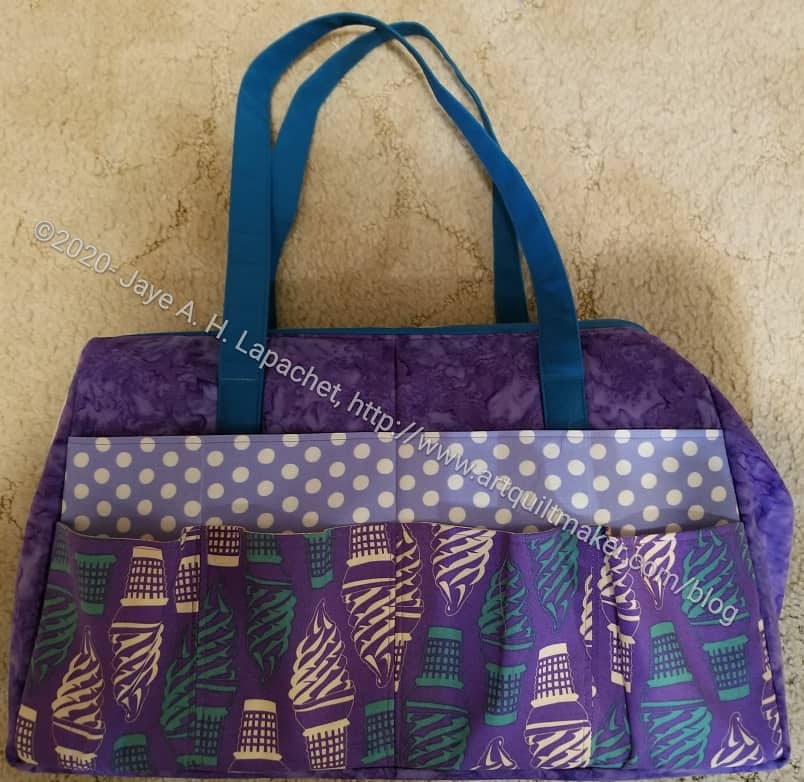
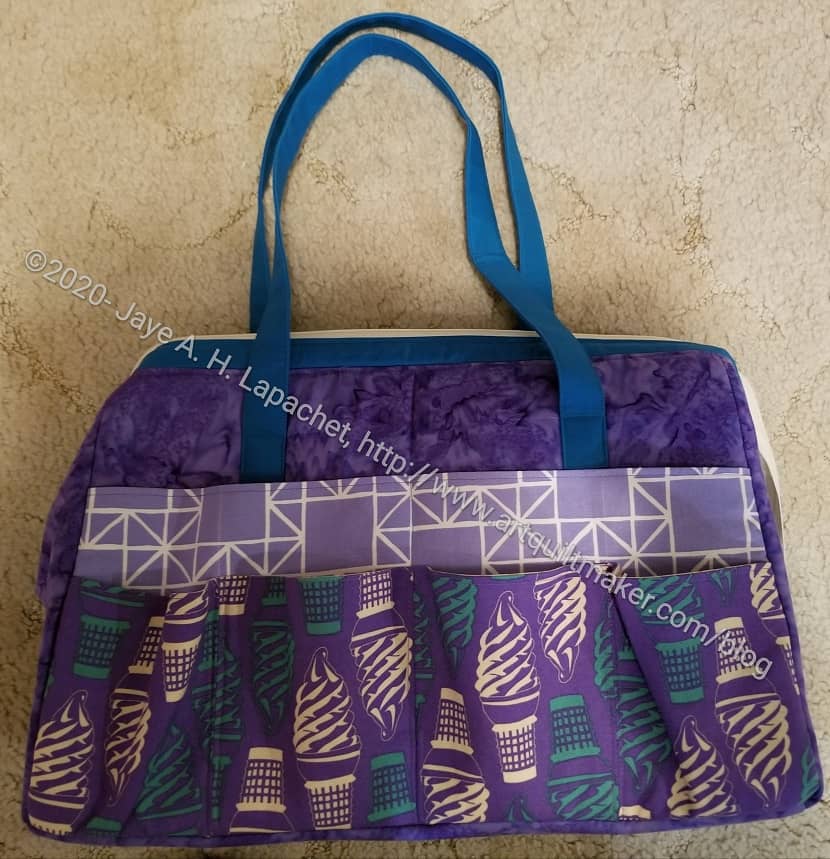
Sheffield Tool Tote – front
I didn’t have enough fabric for the slip pockets to be the same on both sides of the bag, so I used similar colors, but different fabrics. I think they look ok. The ice cream fabric was used so that it goes with the Classmates tote I made last year.
I finished the Mini Maker Case in September. I wanted to save the post for after I gifted it. The recipient, Friend Julie, reads this blog on occasion and I didn’t want to spoil the surprise.
The small Oliso irons didn’t arrive until after her birthday, so this ended up as a Christmas gift. I sent it off with the iron and a couple of other gifts last week. I meant to take a photo of my iron inside the case, but forgot. I hope she will take one after she receives it and has a chance to look through her gifts.
I want to make one for myself. It is kind of a talisman for when Sew Days start up again.
After a good day of gift sewing on Saturday, I got back to the Sew Together Bags, finally.
As you know, I am making three. I spoke with Gerre on the phone on Saturday.While we talked I was able to get the pincushions stuffed and stitched to one of the panels. It is a good quiet task and I hadn’t spent the time to do it before Saturday.
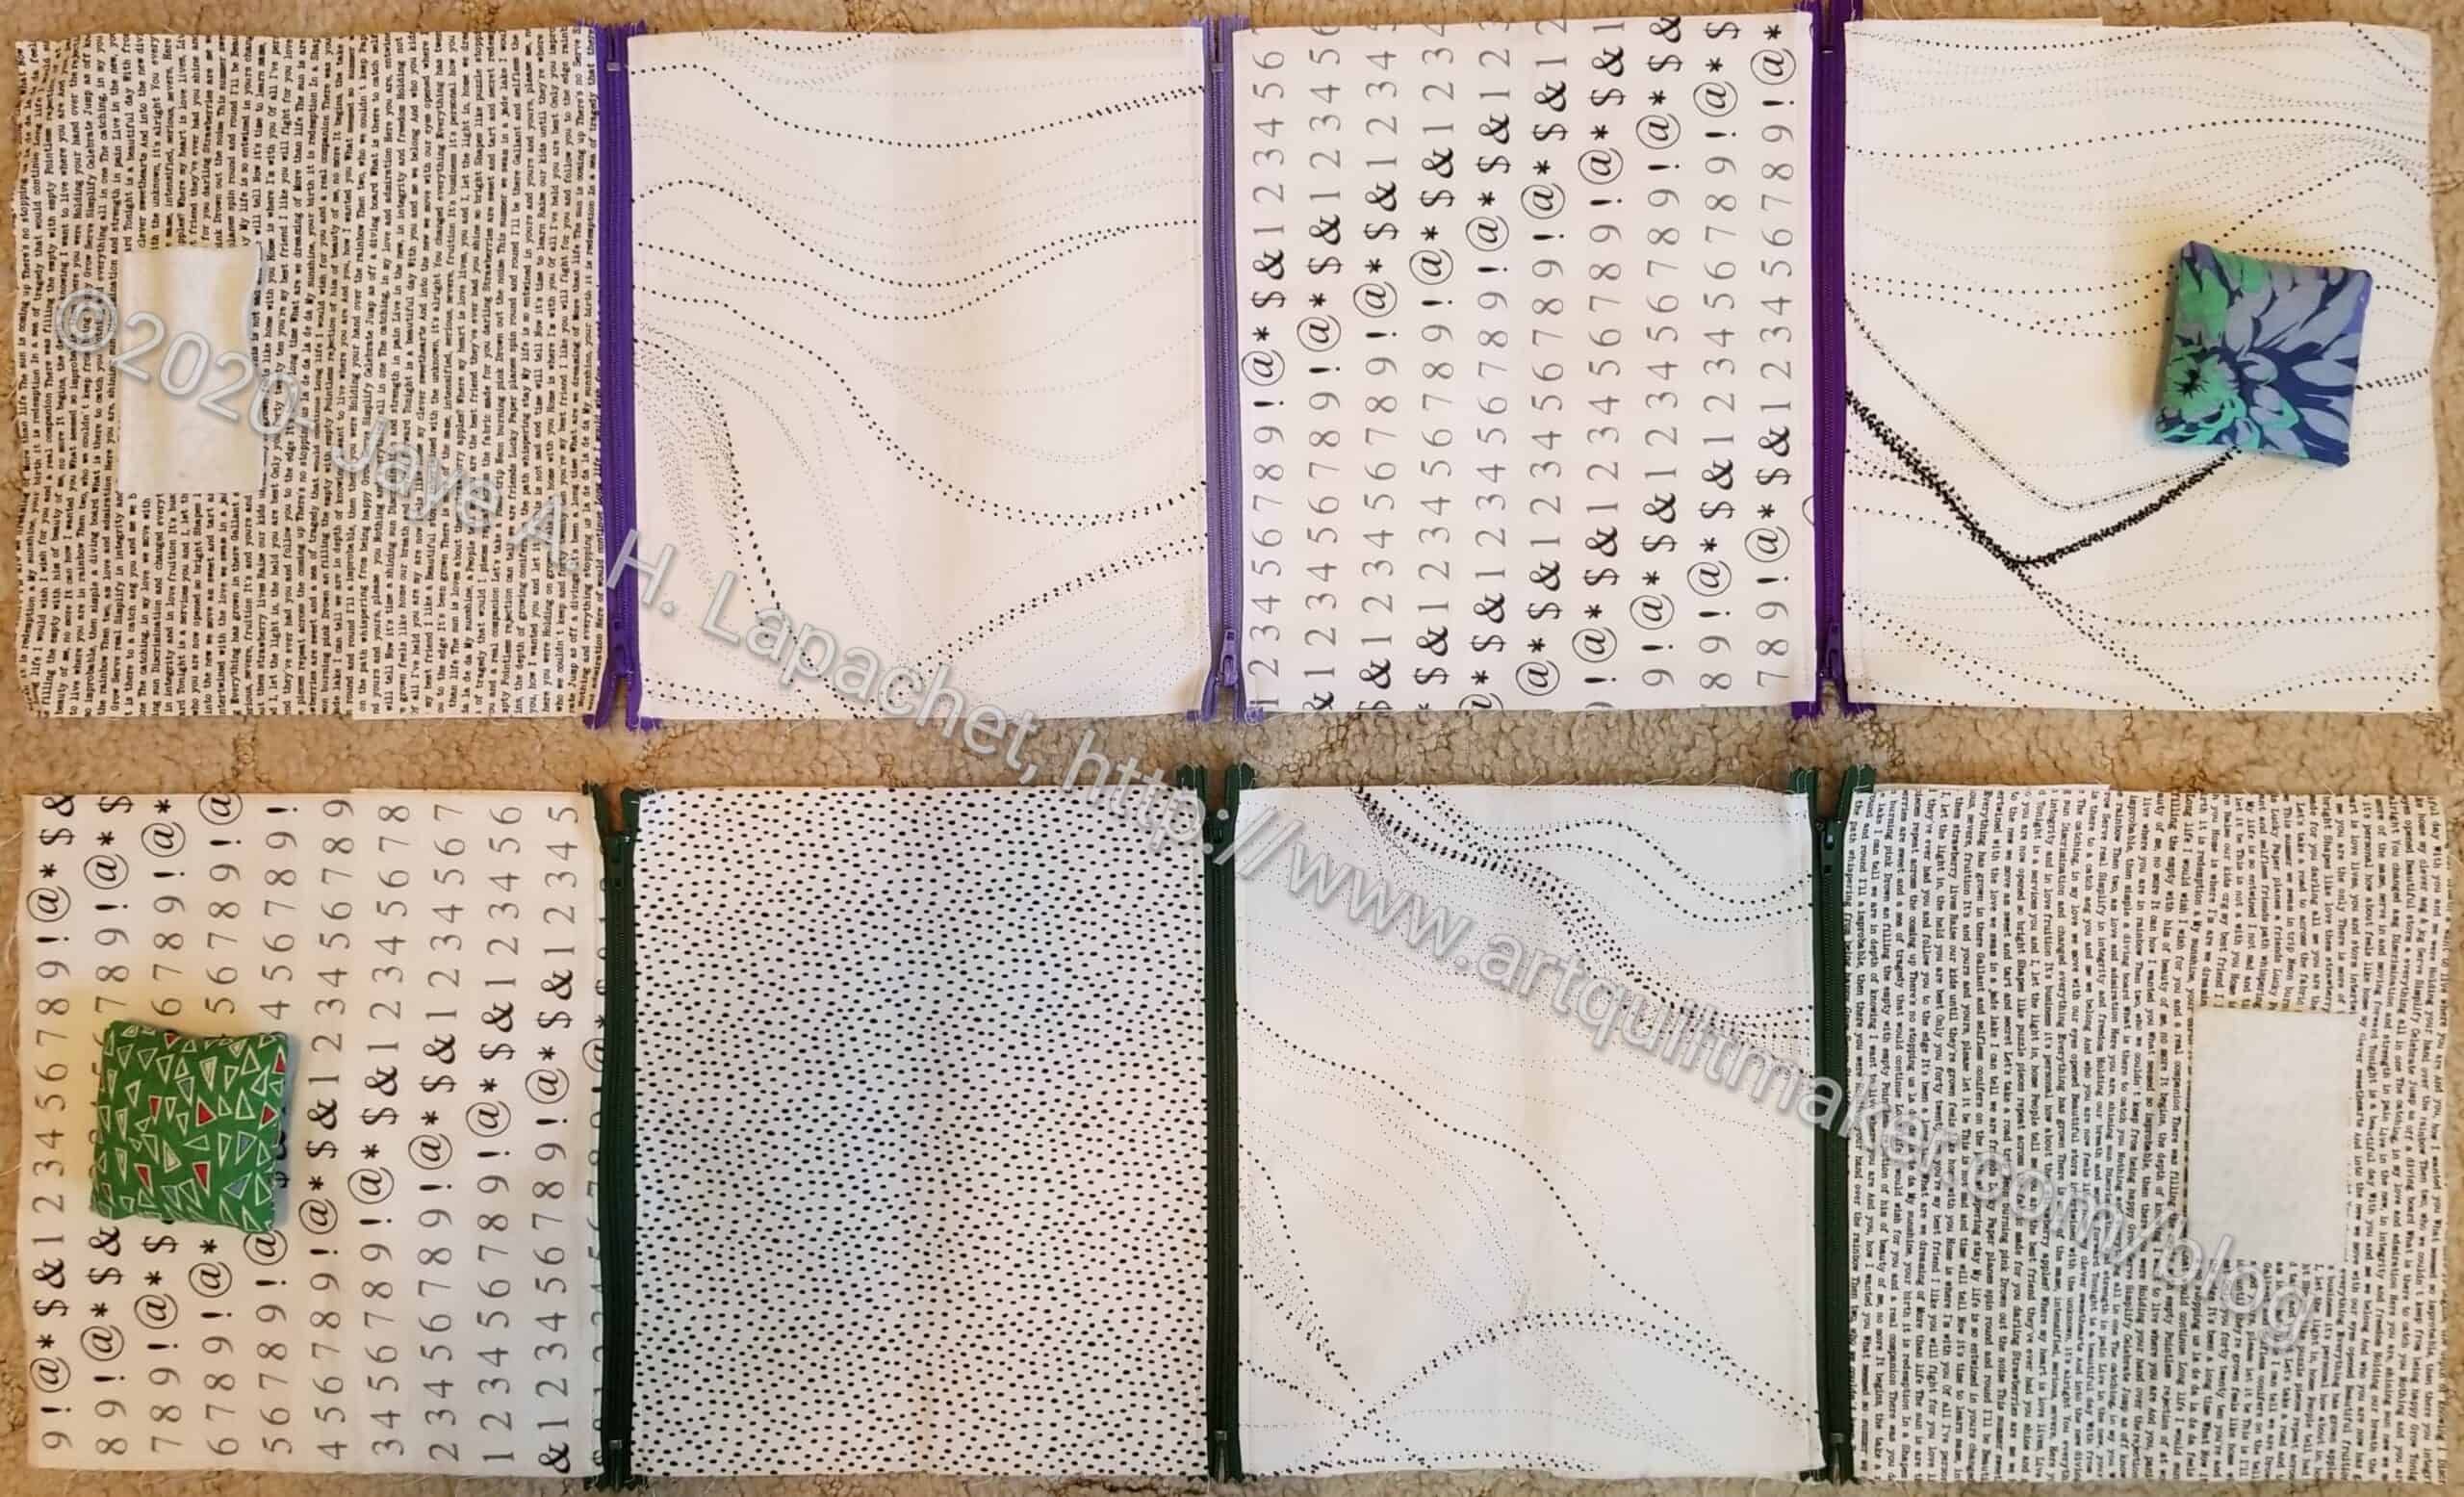
Once Gerre and I finished getting caught up, I set to work sewing the lining together. As you know the lining is made up of the 4 pieces you see in the photo plus 6 pocket linings as well, which are on the bottom.
I did have to resort to the Quilt Barn Sew-a-long tutorials, which were really helpful. I saved them as PDFs and was able to make some annotations that are helpful.
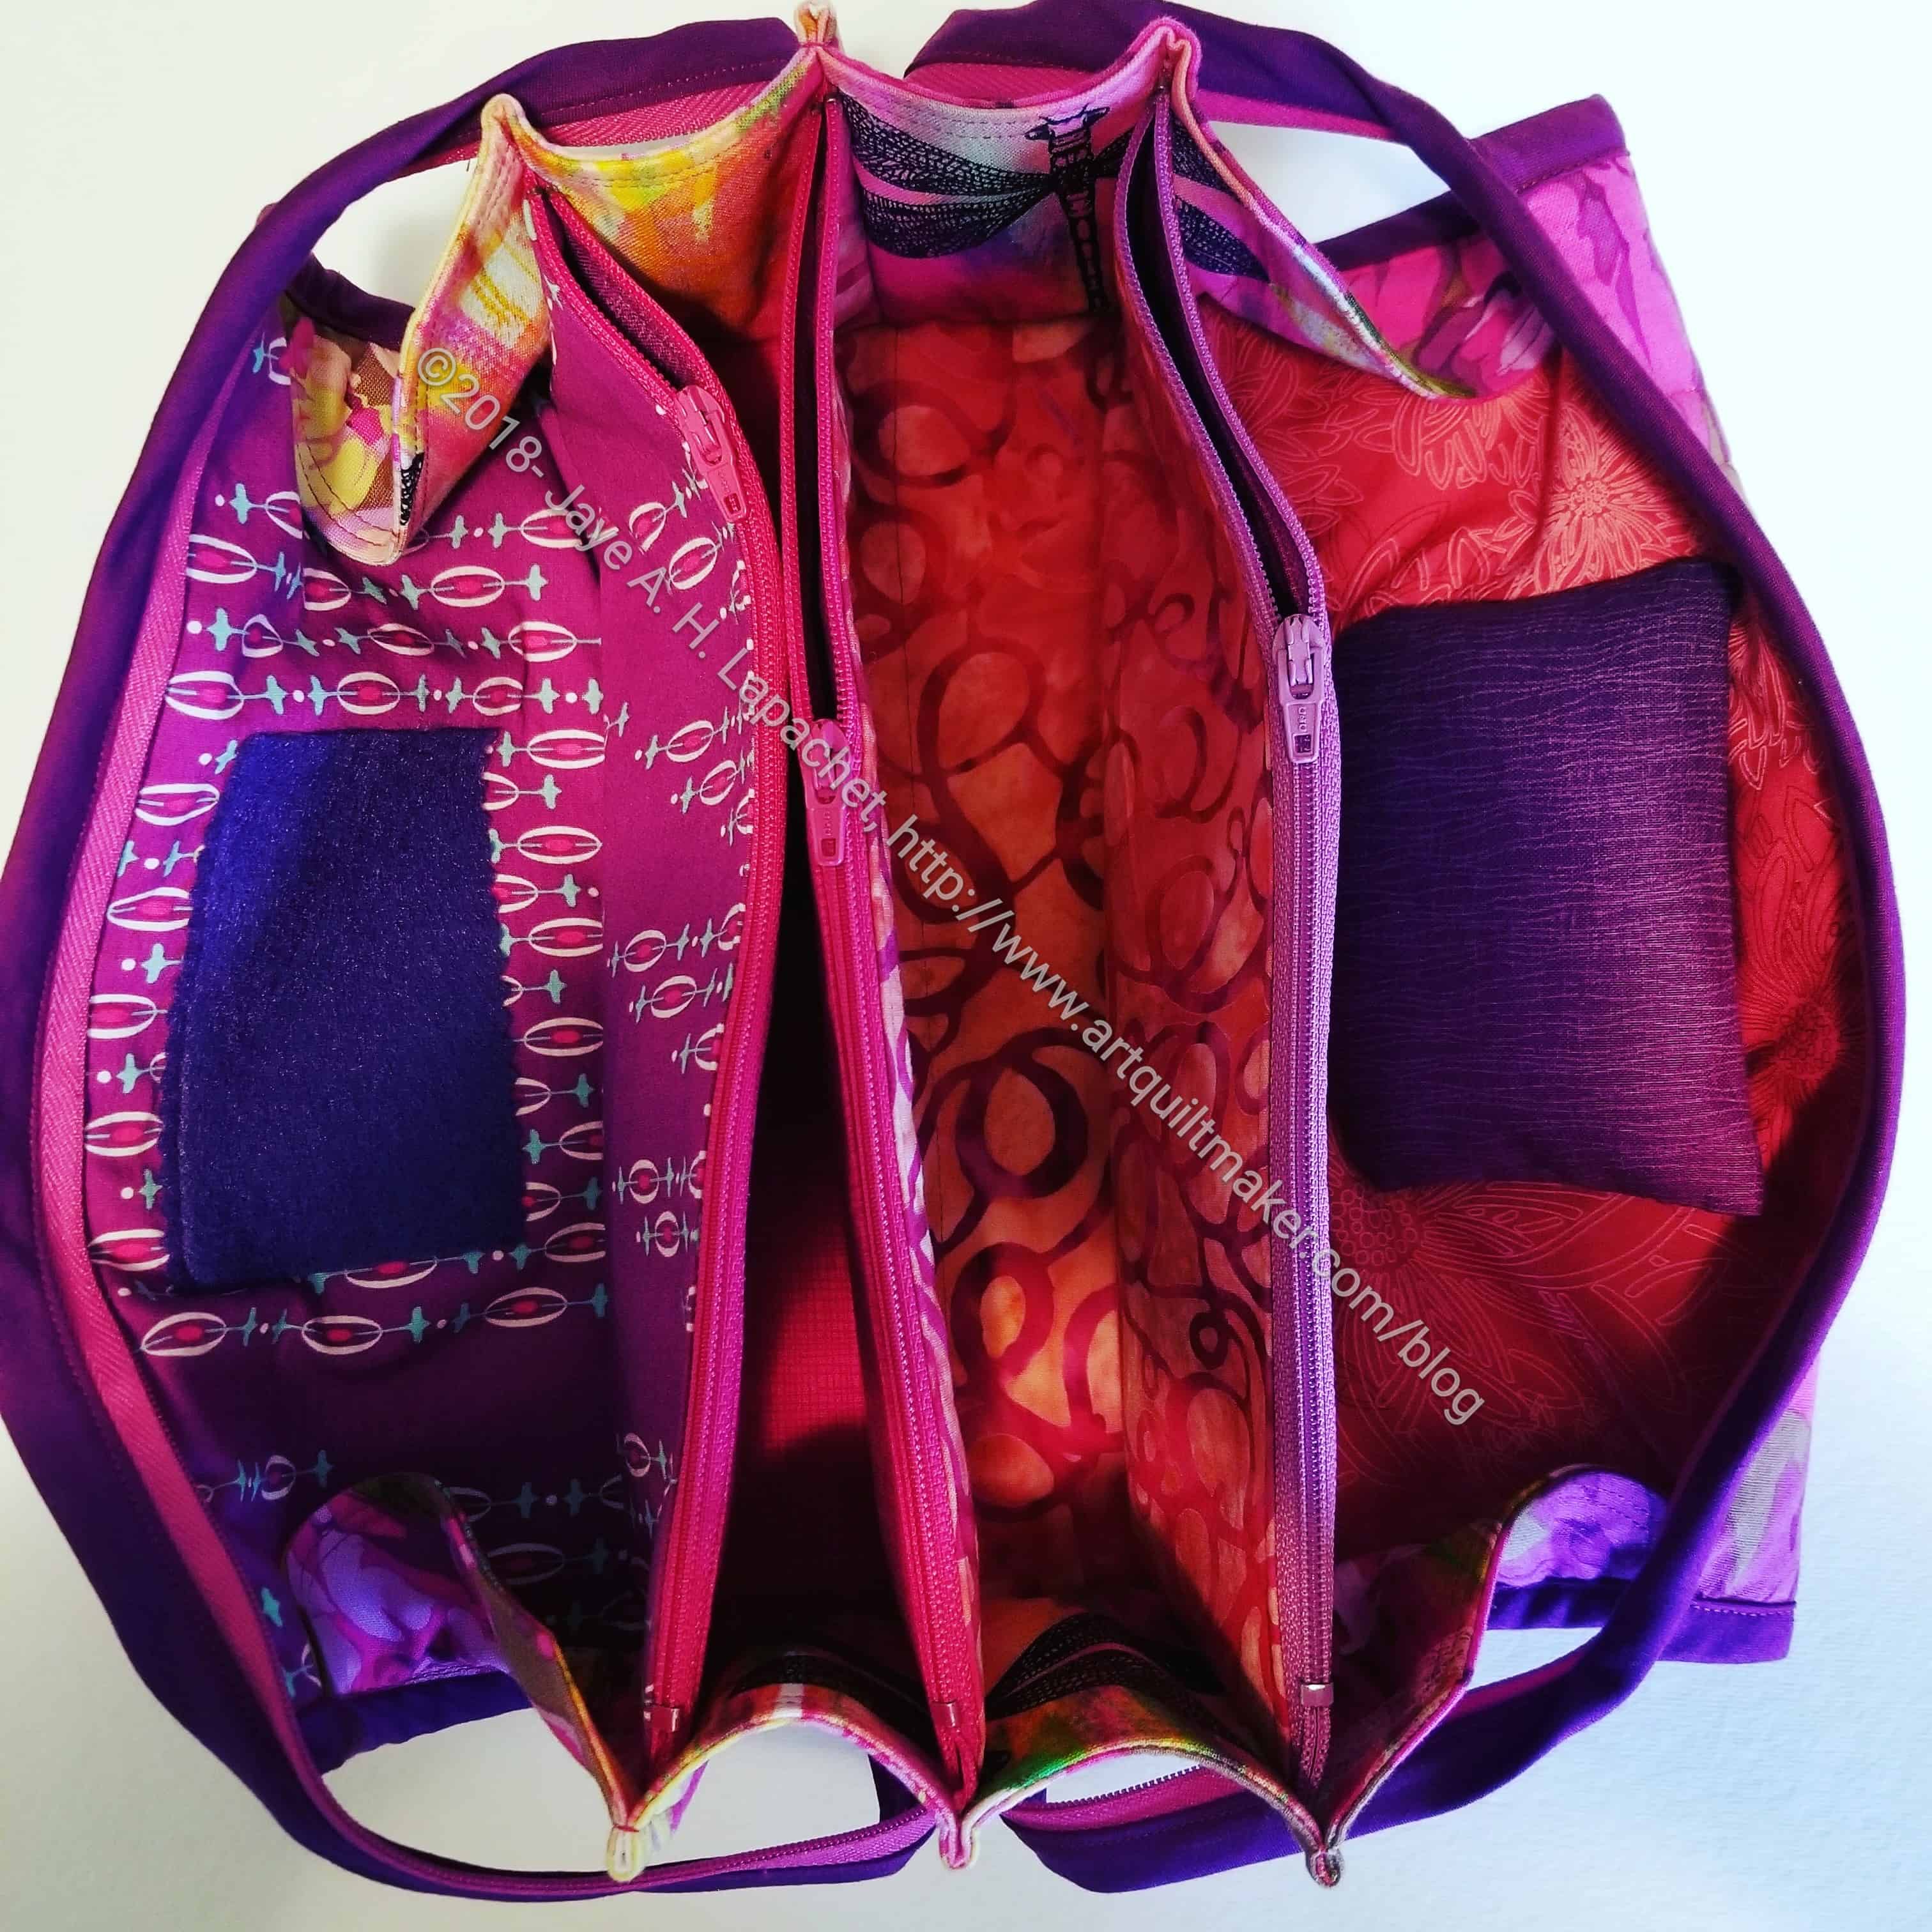
Embroidery Sew Together Bag Open
Seeing the way the all white linings look, I think I will add some color next time. I like the red-violet inside of my embroidery Sew Together Bag.
I was also able to make some progress on the third lining. I didn’t quite finish, however.
I made good progress on Sunday on the Sheffield Bag. There was very little ripping until I got to the zipper installation, which was all ripping all the time.
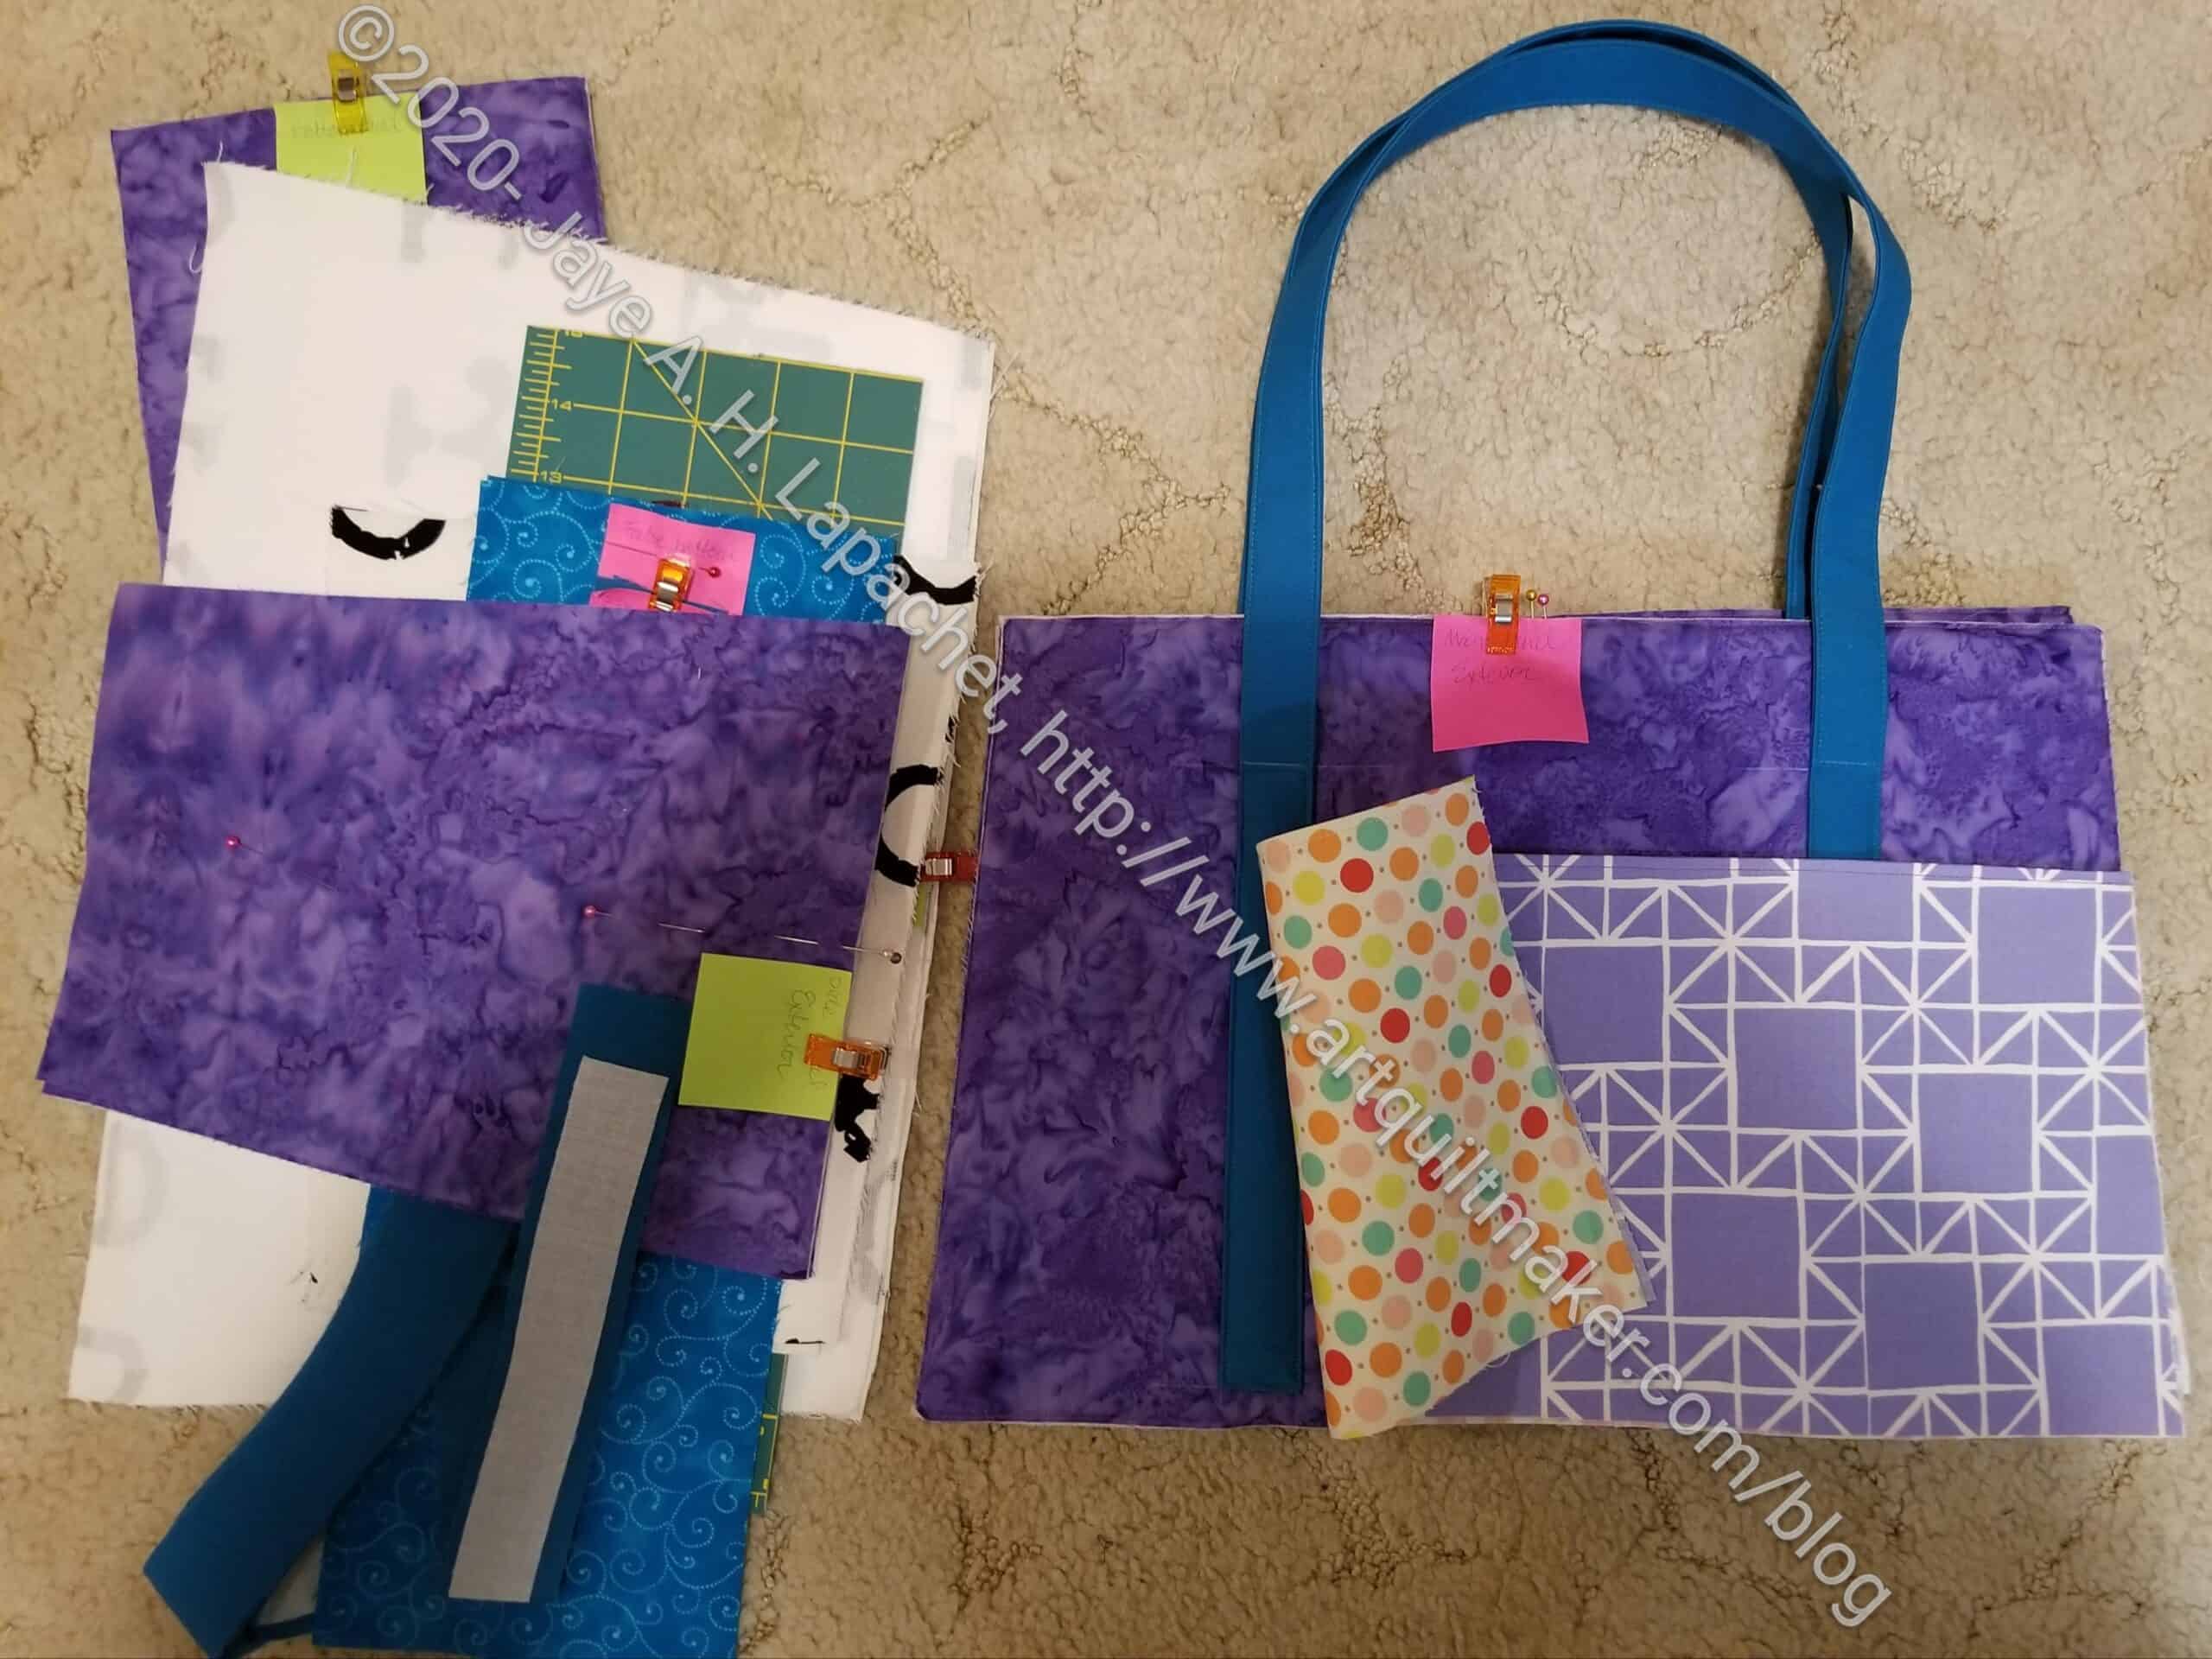
I have the handles clipped so they are out of the way. You can see a good view of the various pockets. I think the pocket construction on the gathered pockets would be much easier than the similar pockets on the Oslo Craft Bag. If I make the Oslo Craft Bag again, I will use this pocket construction.
I am kind of on a Sew Sweetness binge lately, aren’t I? Oslo Craft Bag, Sidewinder Pouches and the Sheffield Bag all within a month. I do have quite a few of her patterns and feel like I need to make my way through them.
I started cutting out the Sheffield Tool Tote last week during Sew Happy Hour. I really got busy on it Friday, which is when I finished the cutting and, then, yesterday I started the sewing. Cutting out projects really makes me feel like I am getting nowhere so making pockets and the exterior made me feel like I was making progress.
This is a pretty structured bag by Sew Sweetness. It is similar to the Quilts Illustrated Tool Tote I made a few years ago (?). I bought it as part of the His, Hers and Furs bundle when that bundle was on sale (no affiliation). This is the first project I have made from that bundle.