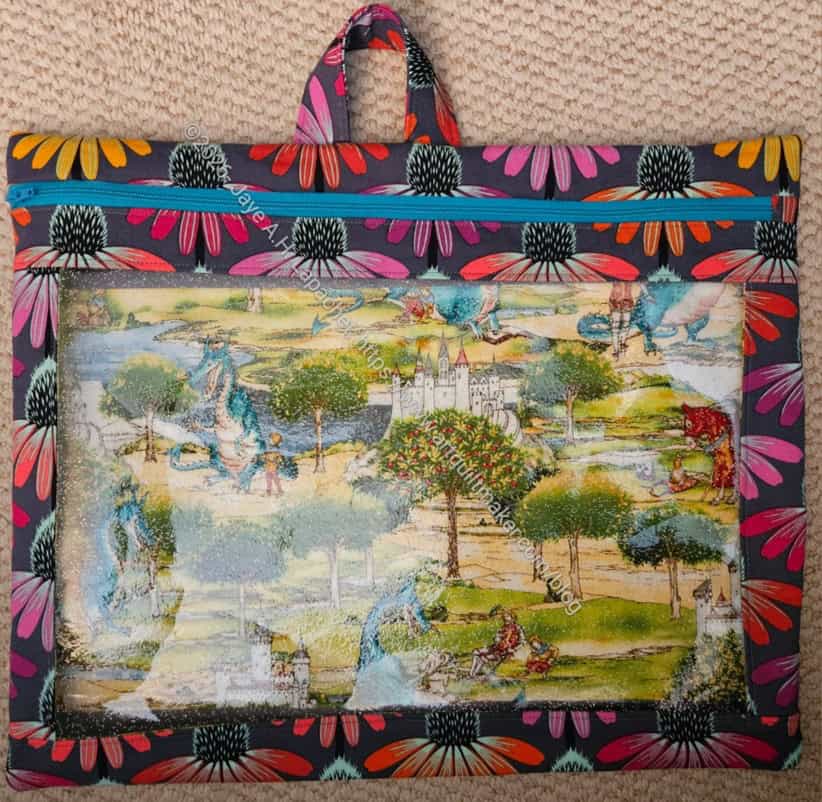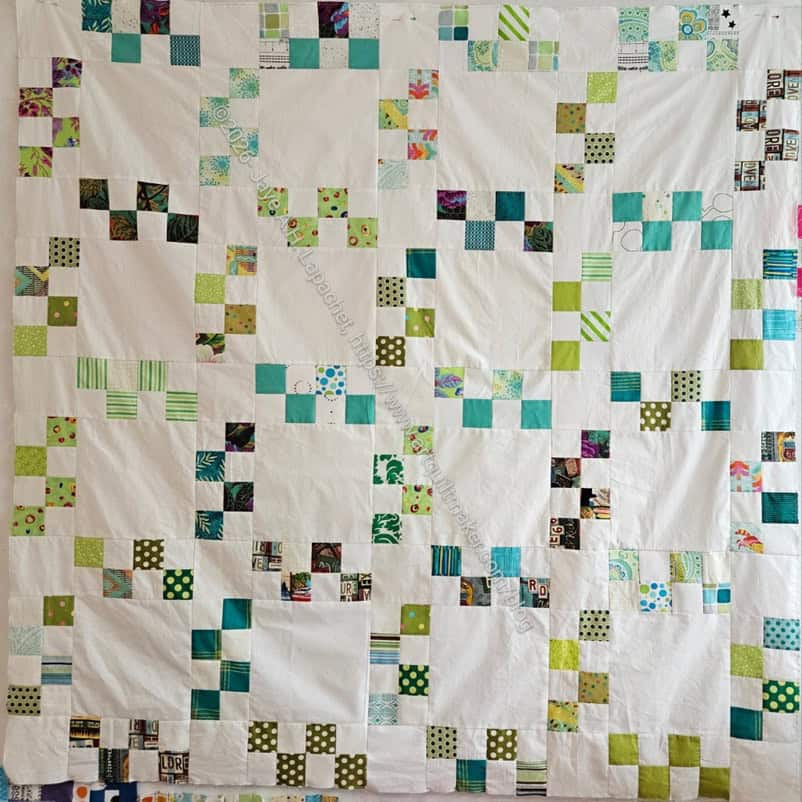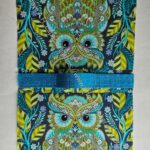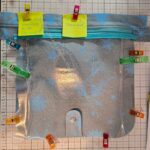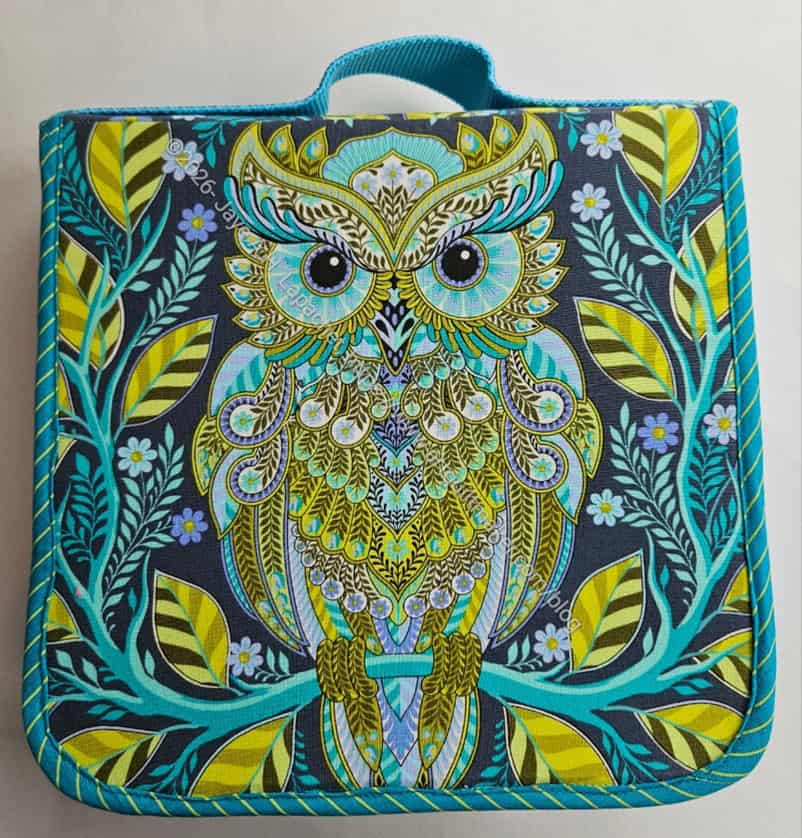
I finally finished the EPPic Bag after 3 years of it being in process.
“In Process” means that it was just cut out, but I hadn’t done any sewing. The guild UFO challenge got me going.
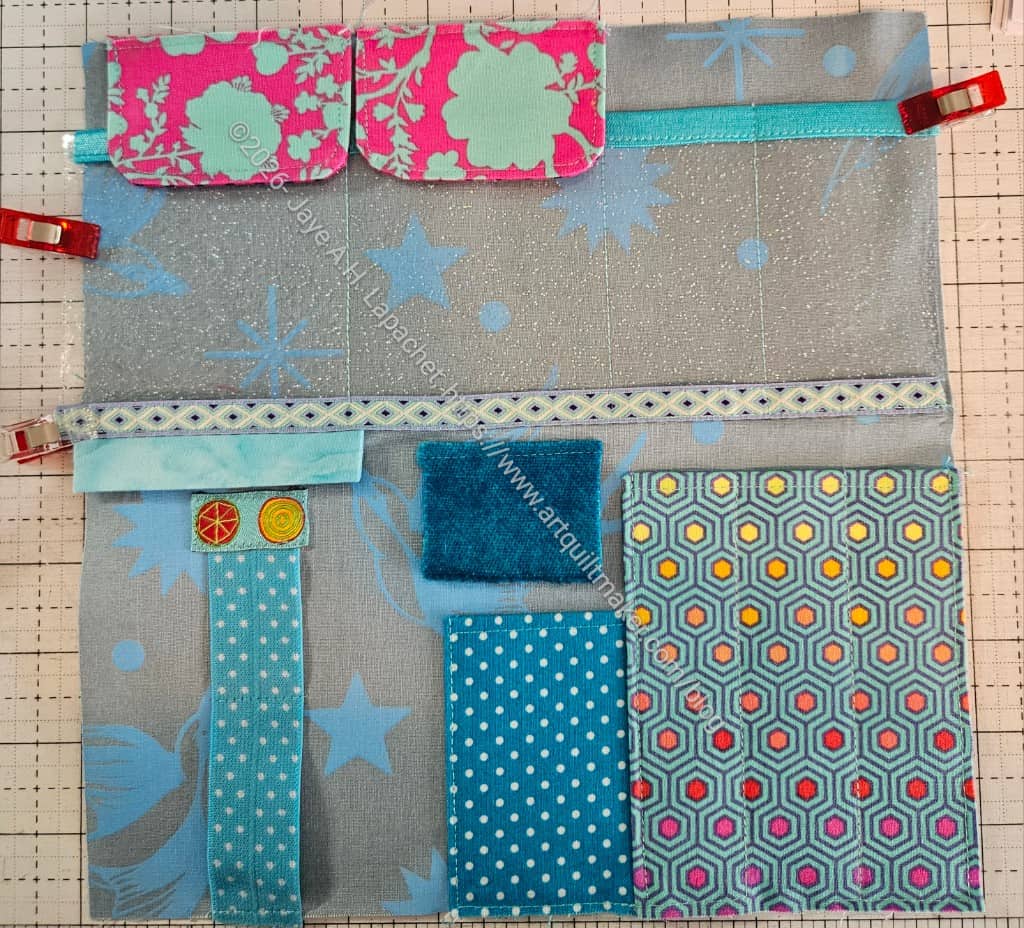
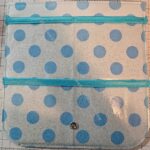
The best part of this whole project is the cover. I am not excited about the rest of it, though I used great fabrics and it looks good. I found the pattern required quite a bit of knowledge of bagmaking. I was very glad I found the videos she made to assist. One thing I learned is that I am allowed to decide to finish a step using a technique I know rather than trying to figure out what someone else is trying to describe.
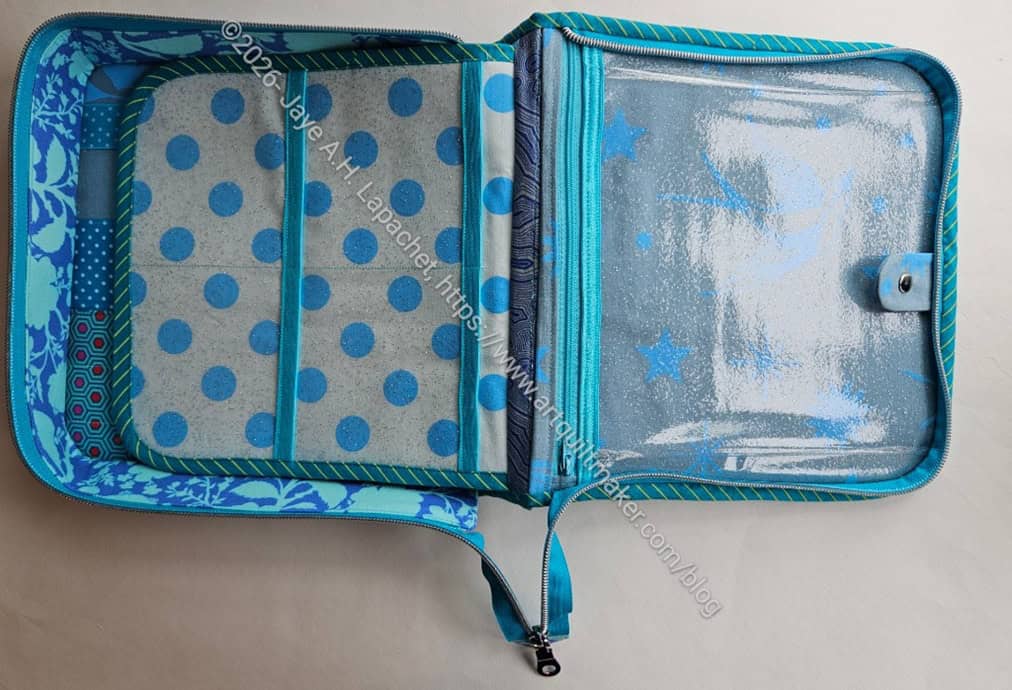
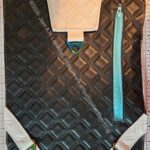
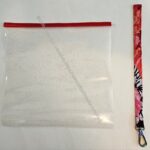
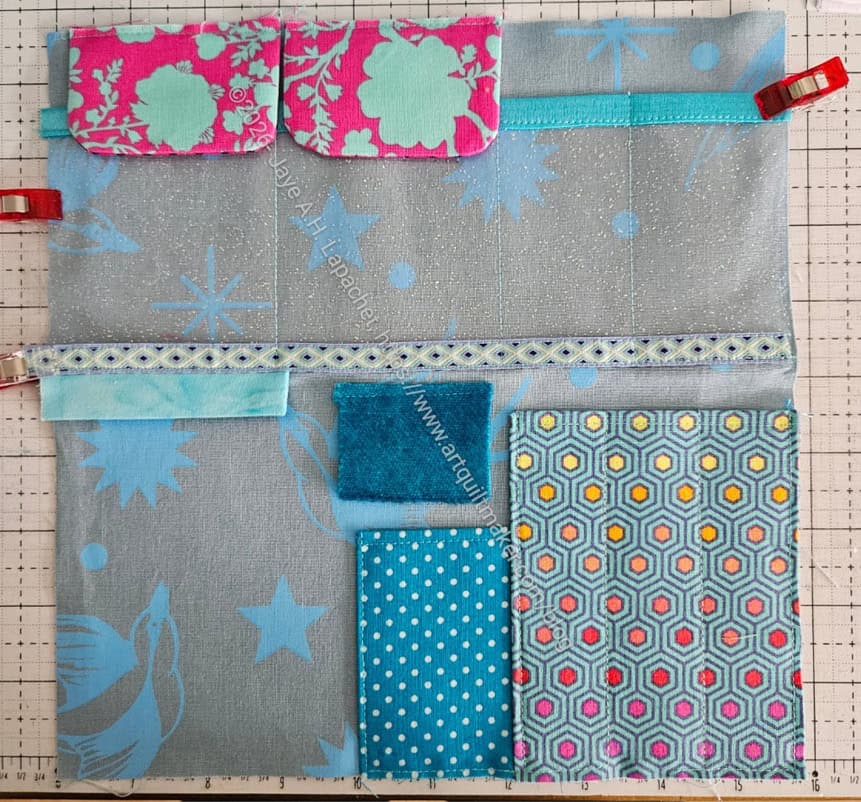
This bag also has a lot of firsts. This is the first time I have ever made a pleated vinyl pocket. Making the pleats was one of the tasks I didn’t understand and didn’t know how to make from other projects. I clipped them rather than sewing them wrong and let my mind process how to accomplish what I wanted to do/was supposed to do. I finally figured out a way – sewing the pleat parallel to the edge of the vinyl – and was able to to move forward. It is possible that the pattern said that exactly and my brain couldn’t take it in.
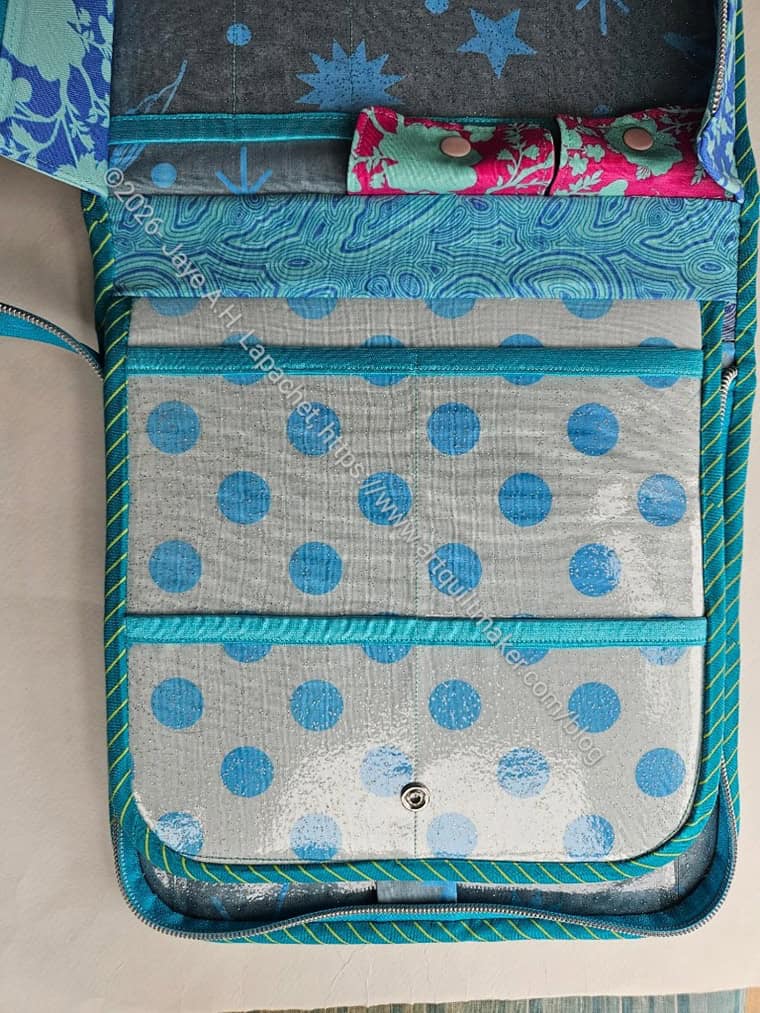
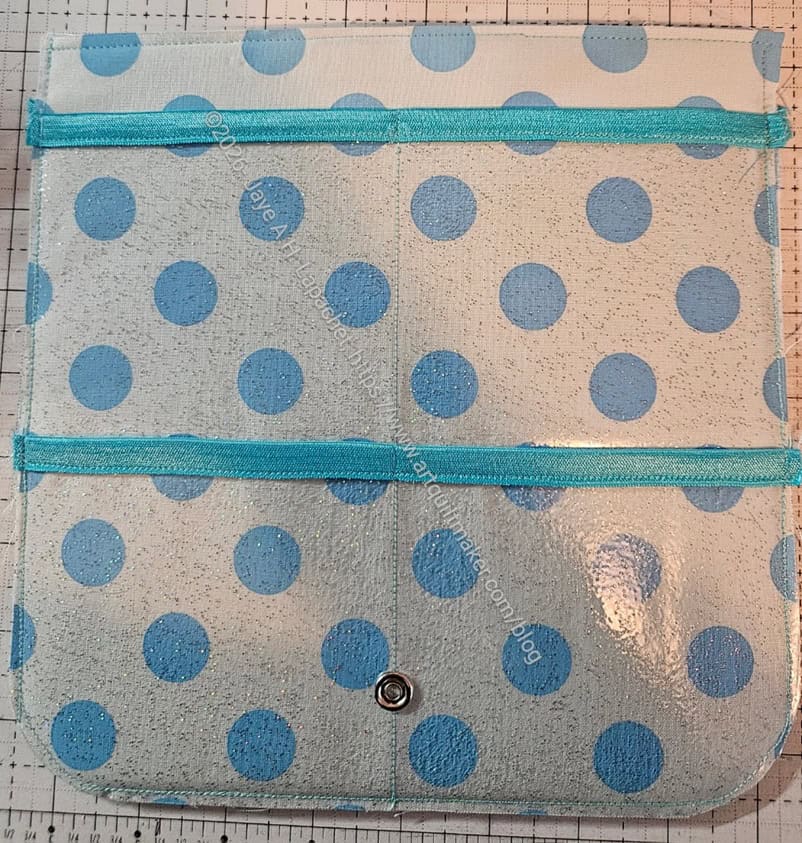
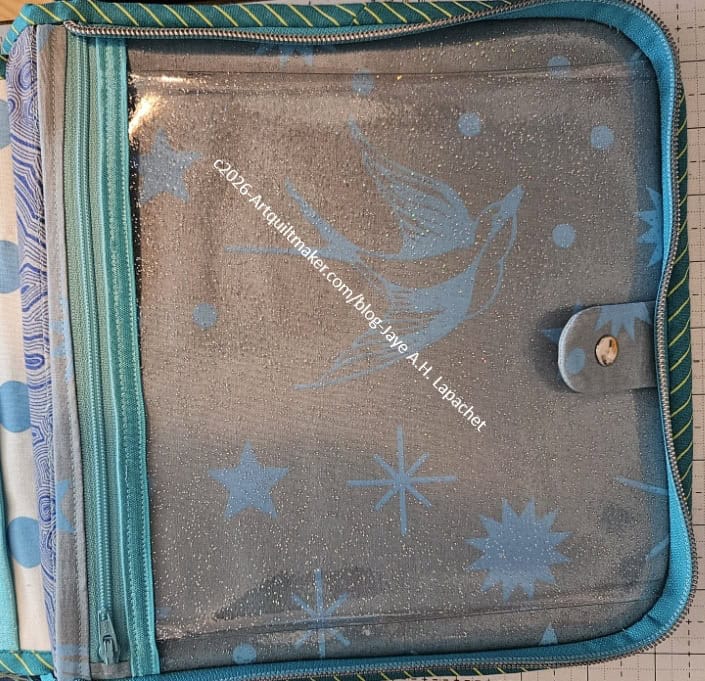
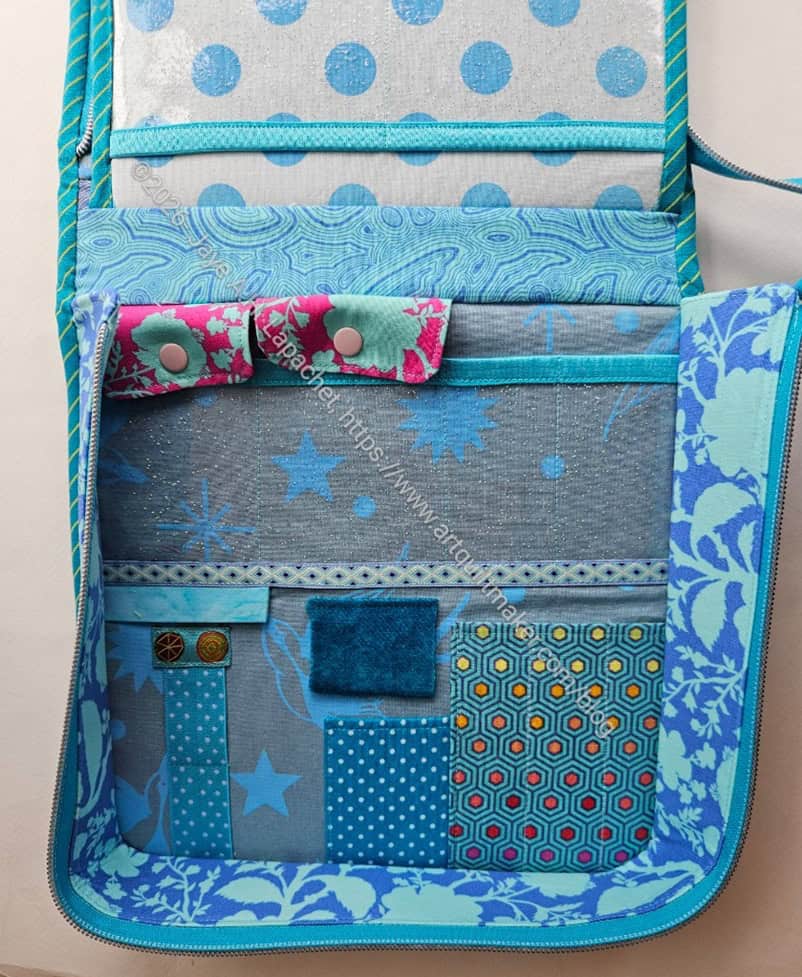
A lot of the pockets were made from fabric in the pattern. I decided to use vinyl for all of them because if I can’t see something, it doesn’t exist. The way this bag opens and closes lends itself to being able to see everything when the bag is opened.
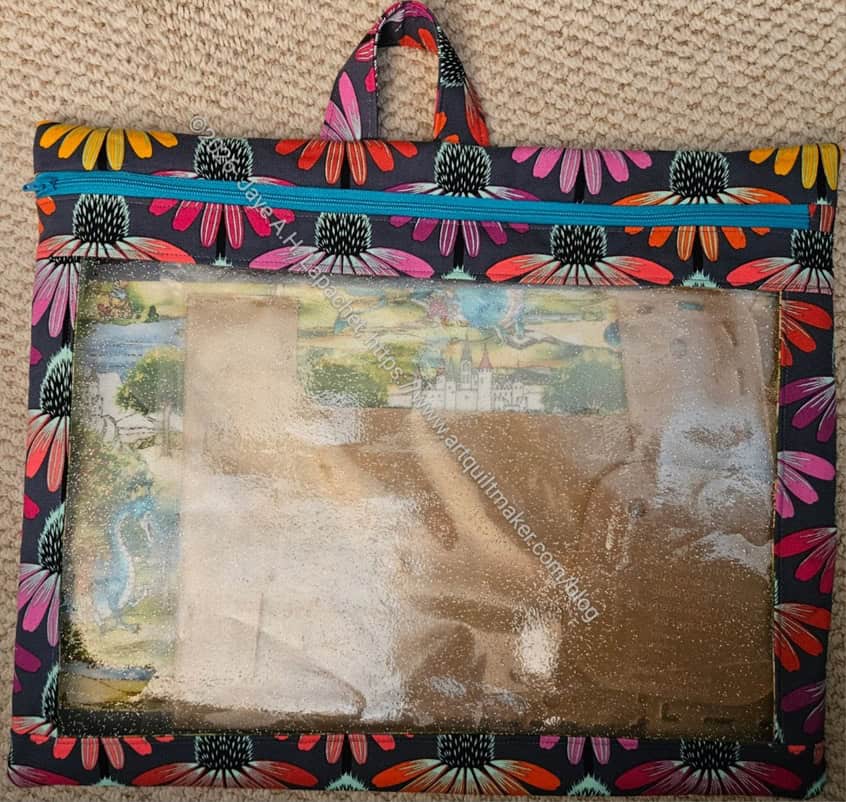
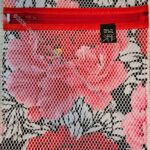
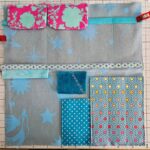
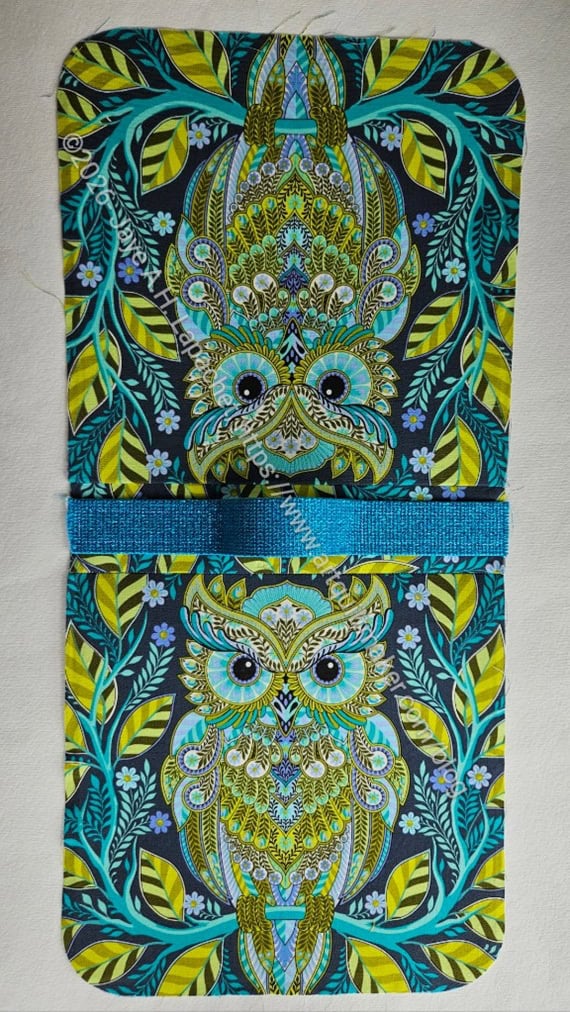
I chose to make two horizontal pockets on one of the ‘pages’ as I thought it would be more useful. Each pocket shown is divided into 2 parts. I am not sure how I would use them, but we will see.
That brings up a point I need to address: Pockets. I need to figure out what I plan to put in pockets so I can plan the layout of pockets in the bags I make. Usually, I make a bag because I want to try it. That was the case with this bag and I am not sure how I will use it, or if I will use it. It is cute, uses good fabrics and is pretty. Not sure if I will use it.
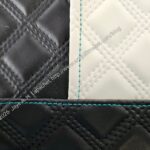
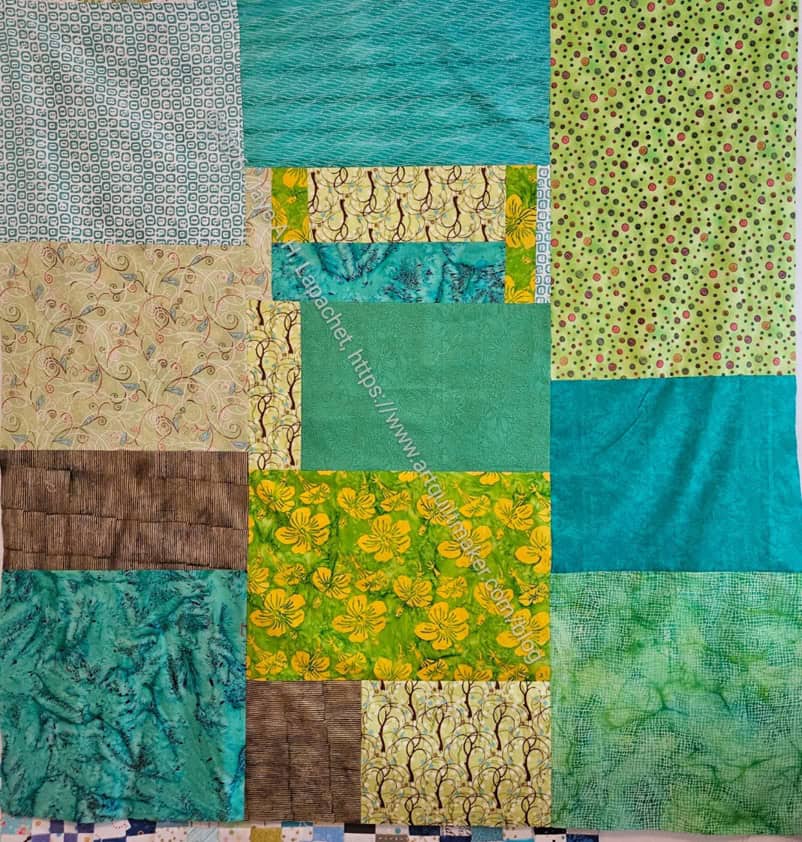
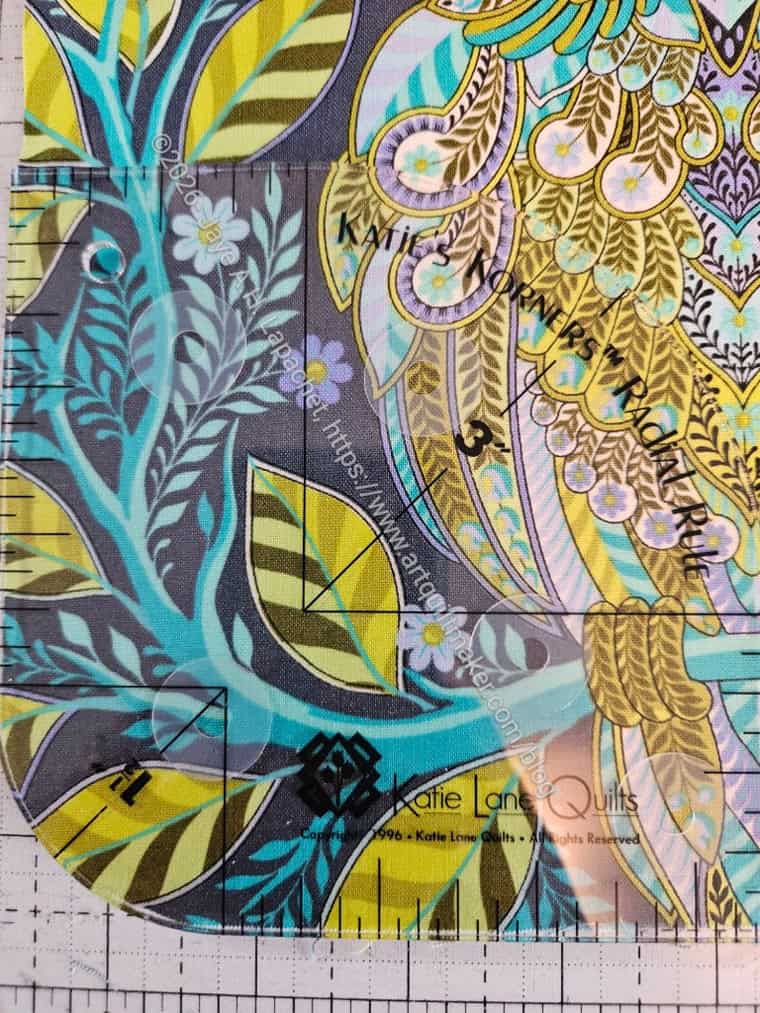
I really customized the base of the bag. I really like what I did. The whole base came out well except the pockets at the top. They shifted or moved or something when I was putting the whole bag together and now look terrible.
I also did the zipper like I have done them on ByAnnie patterns, such as the Zip It Up portfolios. I left it hanging off a bit with a little tail, because I didn’t have a separating zipper long enough in the right color for this project.
Two other patterns were included in the bundle, but I am not sure I will make them. I have a lot of Sew Sweetness patterns and I like them better.