Sandy and I got busy on the second class in the design series. See her blog for more information. See her supplemental post for even further information.
During my research travels into Line this past week, I found a great definition for design in Ann Johnston’s The Quilter’s Book of Design, 2d. This is an adjunct to the definitions we gave you in the last podcast. It is: Design is a problem solving activity within all the arts, placing or creating subject matter so it is of visual significance and interesting to the artist.
Line is an Element of Design.
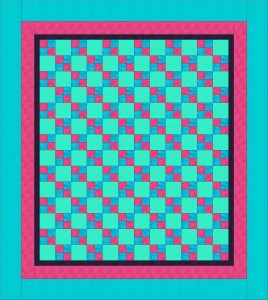
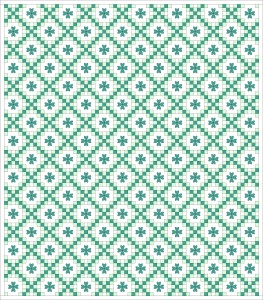
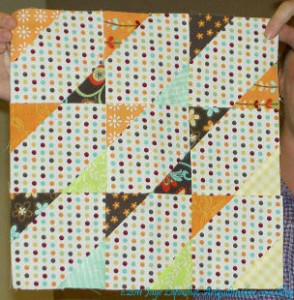
Definition: Line is a mark on the surface that describes a shape or outline. A line is a mark made by a moving point and having psychological impact according to its direction, weight, and the variations in its direction and weight. Lines in quilt blocks can draw the eye around the quilt. For example, a Double Four Patch set in diagonal lines will draw the eye from top to bottom diagonally. An Irish Chain quilt setting can frame plain blocks filled with quilting or applique’ blocks.
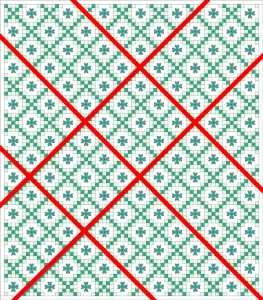
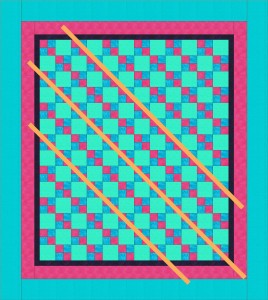
Line is a mark on the surface that describes a shape or outline. Types of lines can include actual, implied, vertical, horizontal, diagonal and contour lines. The line quality makes the work more expressive. Lines act as a connector or boundary between shapes. They divide, but also connect. Lines may be:
- thick or thin (Perl cotton v. Aurifil)
- fast
- slow
- serene
- agitated
- jagged
- lyrical
- aggressive.
Line brings energy to the design. (Liz Berg handout)
- lines in quilts are generally seam lines or quilting lines.
- hand quilting
- machine quilting
- Pressing also creates a line.
- When you press to one side, you have 3 layers of fabric bulking up the seam. This can be used to highlight areas (see Ruth McDowell’s Piecing Beyond the Basics book)
- lines on quilts can also be embroidery (hand or machine)
- sashiko
- redwork ( and similar)
- couching
- sashing creates lines
- overall top design can include strong lines
- Irish Chain
- Jewel Box
- Diamond Chain
Questions/Things to consider:
- how a design uses line
- secondary designs created by the way line is used in a block, leading the eye through a design, that kind of thing.
- Line has dimension
- Perl cotton has more dimension than Aurifil thread
- Lines have width and length
- Lines are directional: horizontal, curved, vertical, diagonal, zig zaggy, straight, parallel and so on.
Quilt Blocks and Quilt Designs with Strong Lines
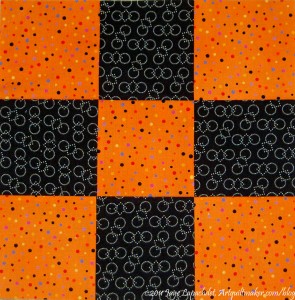
- Log Cabin (barn raising set ) Example – see #4
- Log Cabin (furrow set) – Example
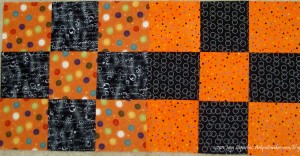
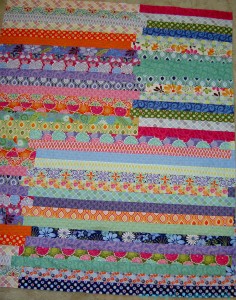
- Row quilt – Example or Example
- Amish Bars – Example
- Blue Tulips on Pink Skies by Sue Nickels
Homework:
Exercise #1
You will need:
- piece of blank paper (can be the back of junk mail)
- catalog or magazine pictures you are willing to cut up
- paper scissors
- drawing or writing implement (You can use anything, but one with a smooth line is great!)
- glue stick
- Find a picture in your magazine or catalog and cut a 3×3″ square out of it.
- Take a piece of blank paper and lay it on the table in front of you
- Glue the 3×3″ square somewhere towards the middle on the paper. There should be at least 2″ of white space around each side of the magazine picture.
- Turn the paper upside down so the image is upside down.
- Continue the image out from each side of the paper using your pen
- “Simplify the design in the square and its drawn continuation.” Use the cut off edges to make a new design.
- Perform this exercise over and over on different pieces of paper with different pictures until you are happy with the result.
- Use the simplified design as a starting point for a quilt.
(adapted from Fearless Design for Every Quilter by Lorraine Torrence, pg. 63)
Exercise #2
You can do exercise #2 with free motion quilting as well using a 3×3″ square of fabric on top of a small (11×11″ or so) quilt sandwich.
Supplies you will need:
- a charm pack OR
- a group of approximately 50 3-5″ paper squares of all colors and designs (junkmail works well, you could use a scrapbooking paper punch if you have that) OR
- cut a group of 3-5″ squares of fabric (approximately 50)
- notebook or paper (reusing junk mail is just fine)
- pen or other writing implement
Directions:
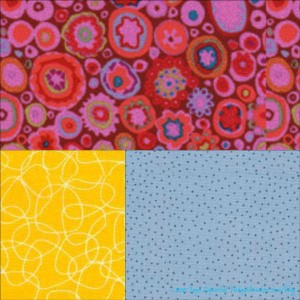
- Put all the squares on the floor or on a table right next to each other. Do not arrange them yet.
- Look at them and see if you see any dominate lines. Make a note of how the lines show up (because of the color? because of the design on the fabric or paper? Other?)
- If you have a camera, take a photo.
- Rearrange the squares in some kind of order.
- Look at them and see if you see any dominate lines. Make a note of how the lines show up (because of the color? because of the design on the fabric or paper? Other?)
- If you have a camera, take a photo.
- Based on what you saw in the squares of your fabric, draw simple lines in your notebook or on paper.
- Optional: think about and take note of design ideas that are suggested to you by the images you have created.
Exercise #3
You will need:
- notebook or paper (junkmail is fine)
- pen or writing implement (colors are fun)
Directions: Draw different kinds of lines:
- zig zag
- curved
- broken
- straight (ish!)
- continuous
- fat
- thin
Resources:
- Fearless Design for Every Quilter by Lorraine Torrence
- Introduction to the Elements of Design – http://char.txa.cornell.edu/language/element/element.htm
- Ruth McDowell Piecing Beyond the Basics, ISBN: 9781571200419
- Exercises: http://www.sasked.gov.sk.ca/docs/paa/clothing/mod5.html
- Interesting visual examples of types of lines: http://www.mmwindowtoart.com/foundations/foundationsline.html
Two of my art quilts that were discussed in the episode: What Comes Next and Kissy Fish
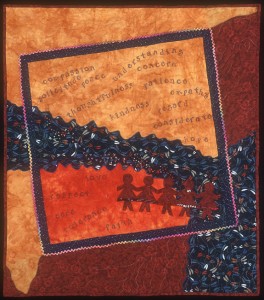
You can read more about What Comes Next in a previous post.
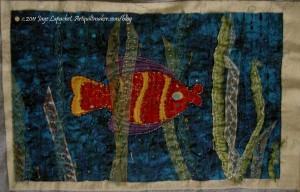
Kissy Fish is difficult to photograph, because there are a lot of parts that reflect light very well.
