A few days ago, I posted the second part of the tutorial for the first Large Pocket needed to complete the Ultimate Carry All Bag by Natalie Patton. This is the tutorial for the second Large pocket.
In order to sew along, you will need:
- Purchase the pattern
- Gather your supplies
- Cut your fabric
- Print the tags
You can find more information at the following links:
- Tour of the bag -Instagram
- Bag-a-Long project post – 9/27/2019
- Thoughts behind the bag – 8/7/2019
- Find all posts about this bag by using the hashtag, Ultimate Carry All Bag
Additional Supplies**
- Basic sewing kit
- Creative Grids 4.5″ x 8.5″ ruler**
- D-ring** or similar
- Double-fold elastic AKA fold-over elastic
- Fabric
- Sewline pencil**
- SF101
- WonderClips**
Today we will start the second of the large pockets. The directions for this step in the pattern start on page 8, step 2 of your pattern.
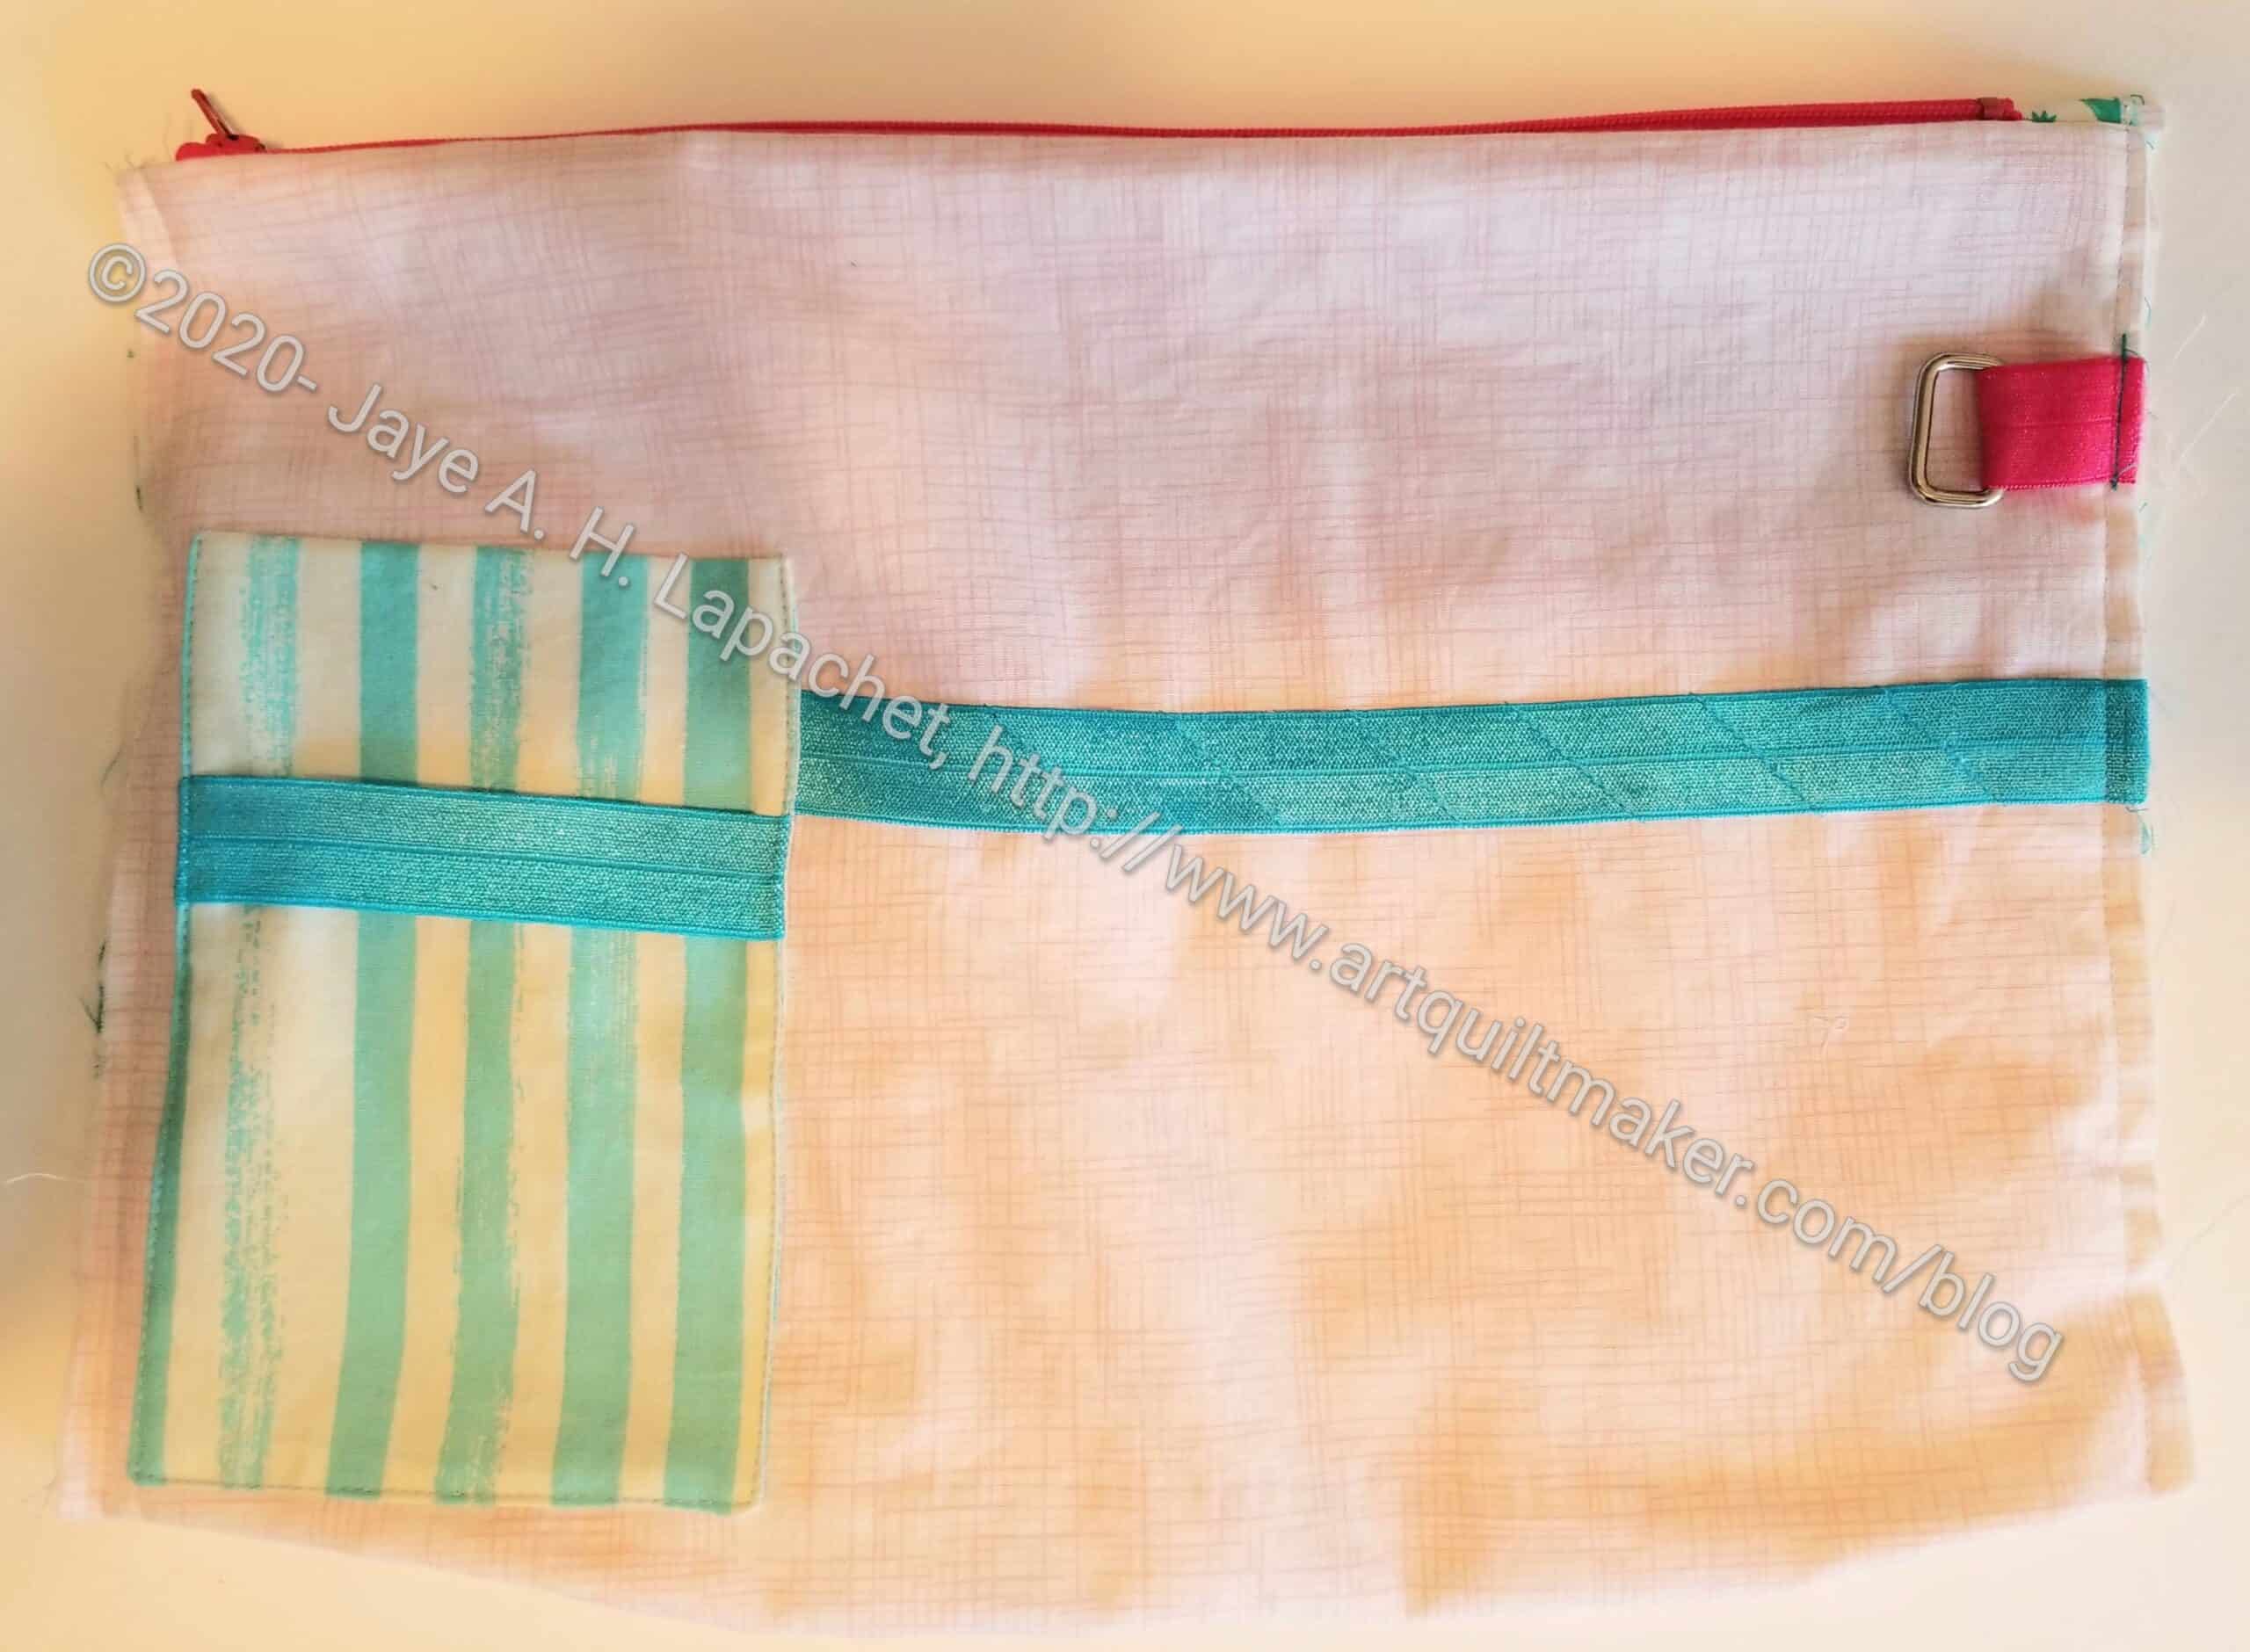
My version of this Large Pocket #2 includes a type of Clippy pocket that I added. The elastic holds your WonderClips and the pocket holds a rotary cutter.
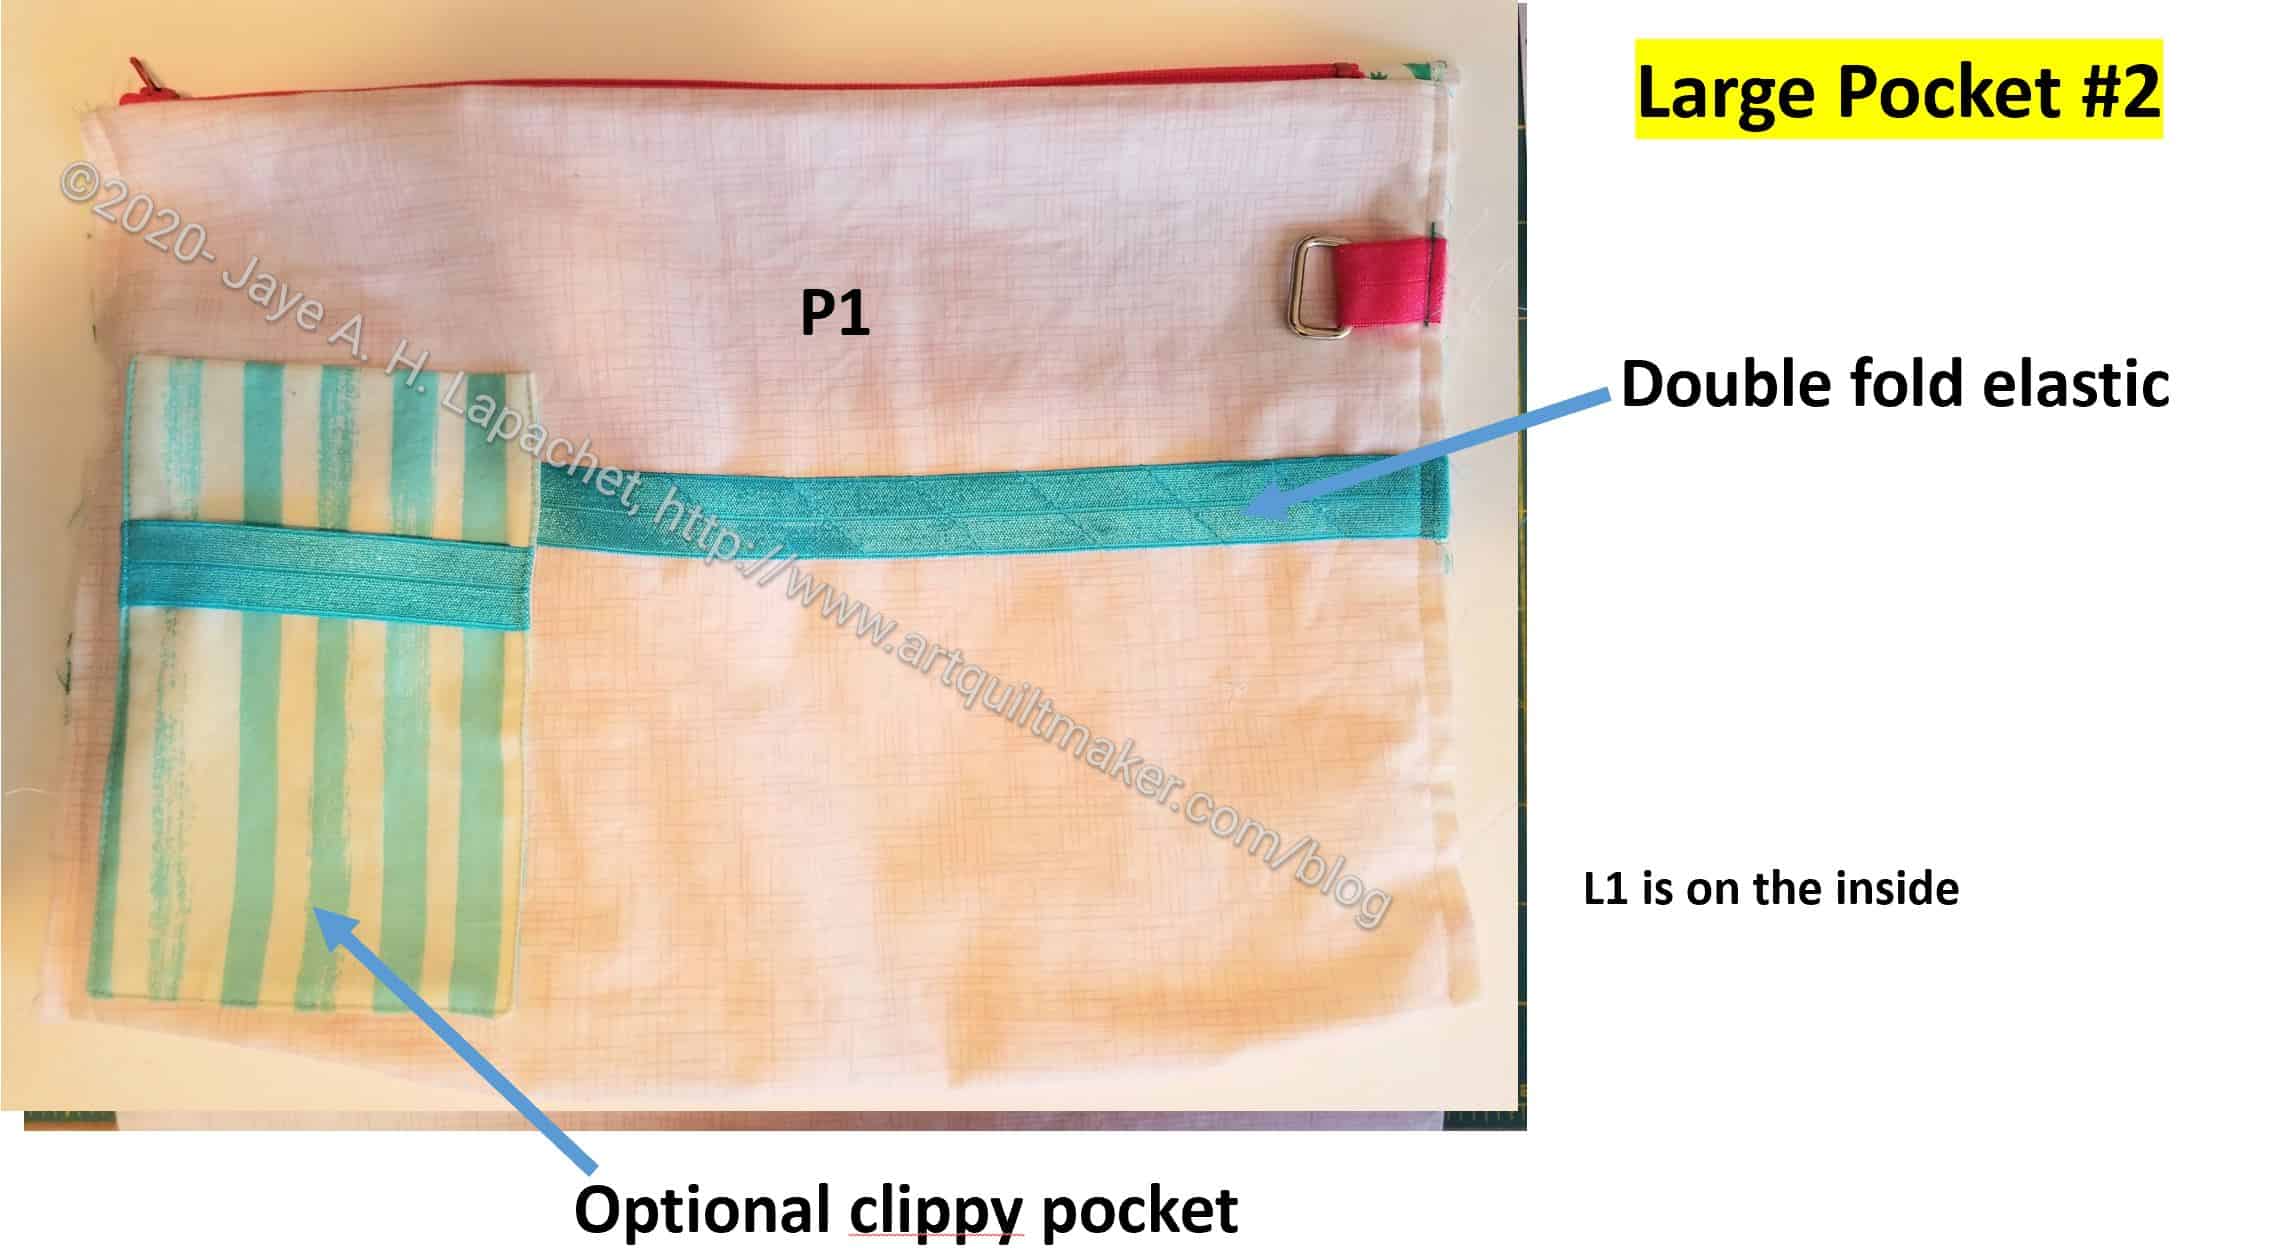
This Clippy Pocket is not part of the pattern, but I will share how to make it.
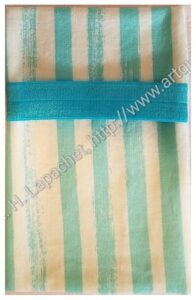
The picture shows all the pieces with which we will be working. If you want to omit my Clippy pocket, skip those parts of this tutorial. If you want to include it, make this Clippy Pocket before starting on the bulk of Large Pocket #2, but after you have cut all the pieces. Having the small bits and bobs ready makes the assembly of Large Pocket #2 easier.
-
- Cut the pocket fabric 4.5 x 12.5”
- Cut the SF101 interfacing 4×12
- Apply SF101 to wrong side of fabric
- Cut double fold elastic (you can also use a strip of fabric) 4.5” long. You can add two strips if you want more space for WonderClips
-
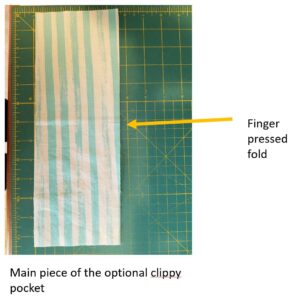
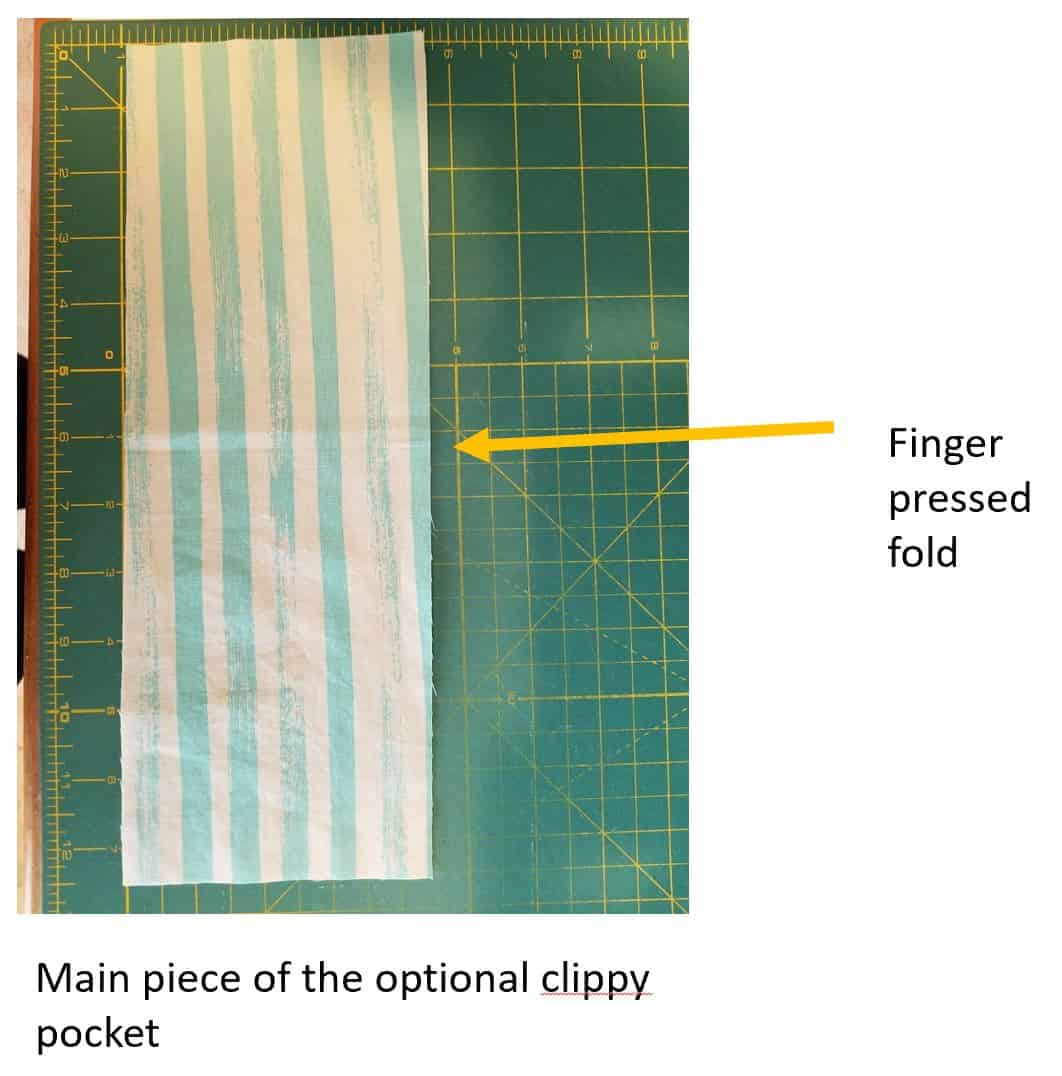
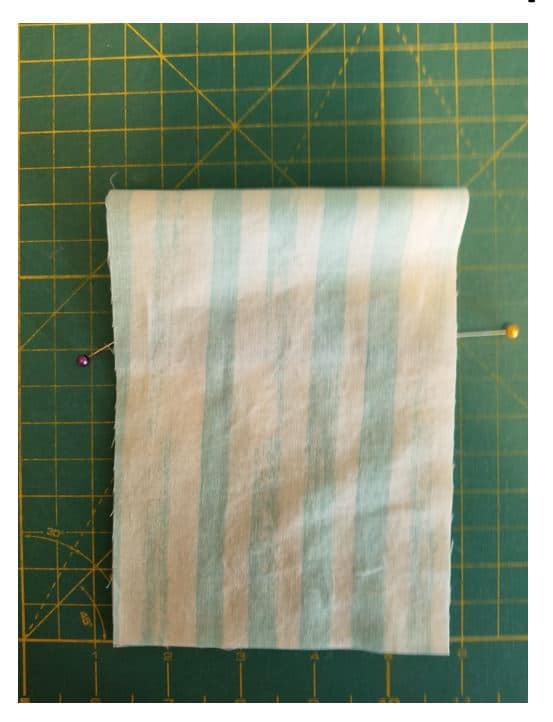
Clippy Pocket Fabric folded, finger pressed Fold pocket fabric in half and finger press. You want the short edges to touch when you fold and finger press. The folded piece will be 4.5”x6.25 (approx.)
-

Pin RST with Elastic Unfold and pin elastic to piece 1/3 down from the fold or 1 ¾” down from finger pressed center
-
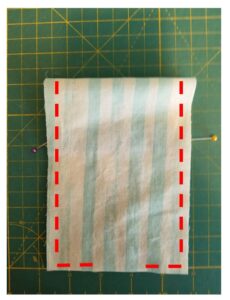
Sew around edge Sew around edge, leaving an opening the bottom to turn and avoiding the top with the fold.
-

Press Clippy Pocket Press.
- Clip corners Tip: try to press the opening seam allowances as straight as possible
-
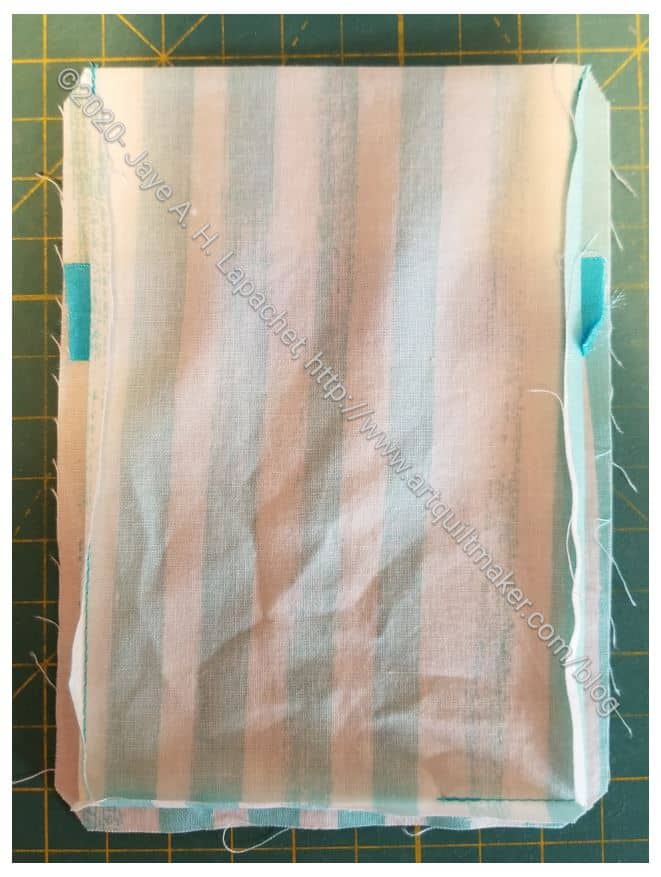
Turn RS out Turn RS out, push out seams, especially corners. Make sure seams are crisp, the press again.
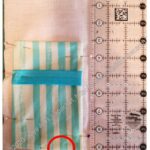
Measure to place Clippy Pocket 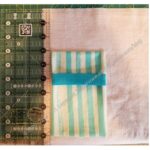
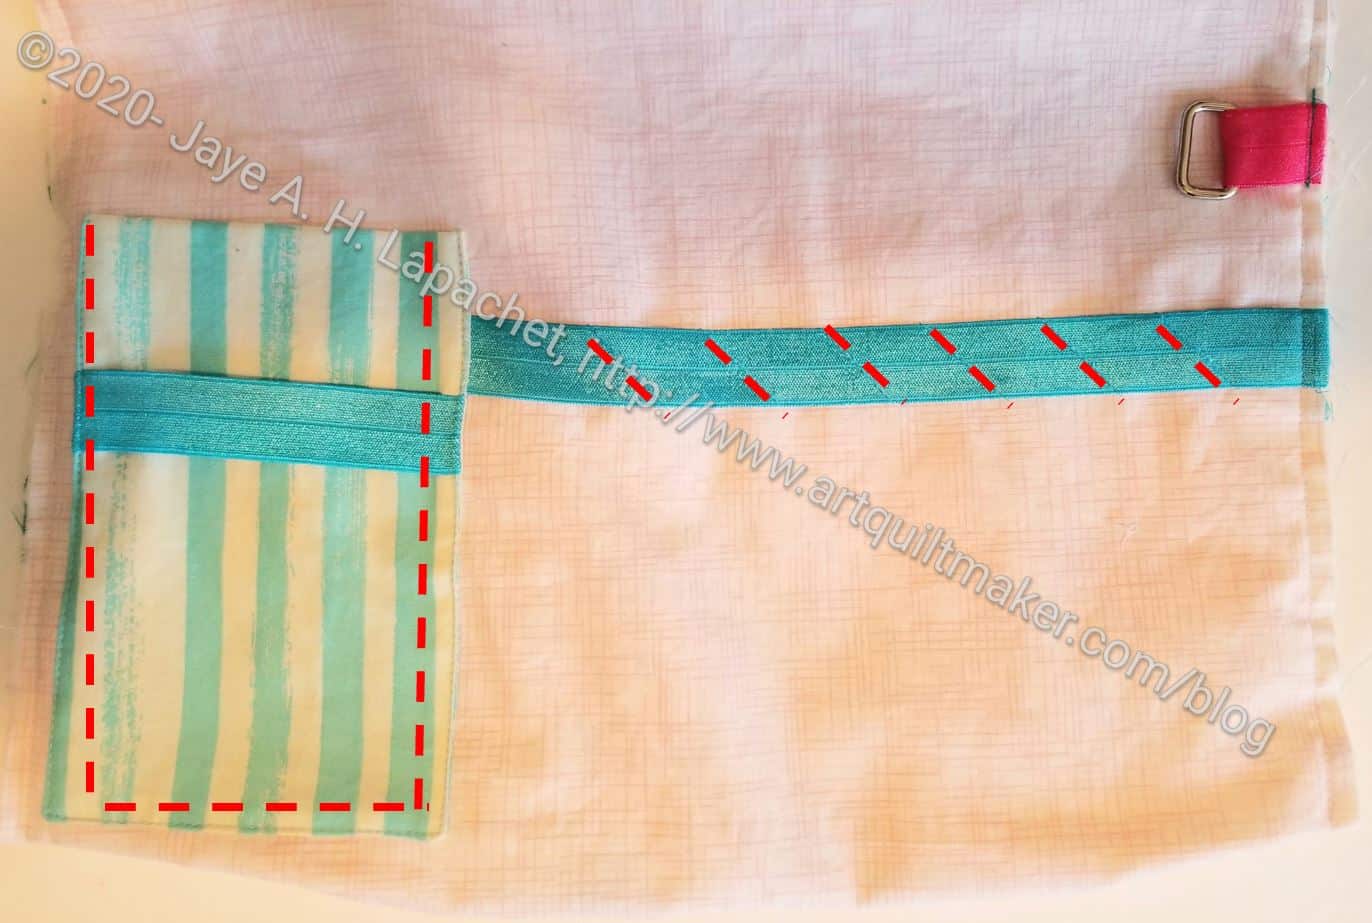
Measure to place Clippy Pocket -2 - Place Clippy Pocket in place on P1 by:
- Measure 9” down from top
- Measure ½” over
- Place Clippy Pocket
- Pin in place
- Cut an additional piece of double fold elastic 9 1/8 – 9 ¼”
- Measure down 3” from the top of P1. Place elastic in this location.
- Tuck one end of the elastic under the Clippy pocket to hide the raw edge
- Pin in place
- Mark the elastic so that your tools will fit. At some point prior to this, I looked at all the tools I thought I would use and measured them to make sure they would fit.
-

Attach Clippy Pocket and divide elastic Sew around 3 sides of the Clippy Pocket (not the top), ensuring that you catch the elastic in your seam.
- Sew on your marks in the elastic
- Add D-ring using a scrap of double-fold elastic or some fabric. Sew it in the seam allowance. I backstitch or go over the stitching a few times. This helps prevent the D-ring from becoming unsewn.
- Leave long tails at the start and end of your seams, pull threads to the back and tie off with knots


If you are not adding the Clippy Pocket, cut your elastic 20″, mark and sew, following the directions on the pattern.
Check back in a few days for the rest of the tutorial for putting the large pocket #2 together.