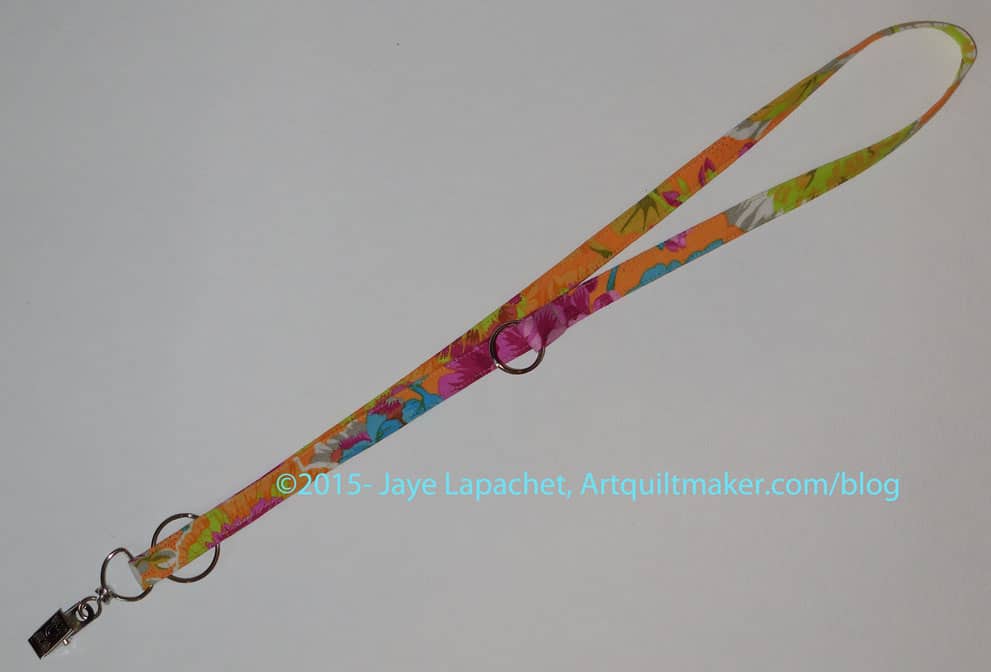
I wanted a certain kind of lanyard for my quilt guild nametag. I wanted my nametag to be near my shoulder so people could really see it. I also wanted some options to hang things from it, like a pouch for id, money, etc.
Make this lanyard fit your personality.
Supplies
- sewing machine in good working order
- ironing kit
- thread
- fabric
- basic sewing kit (BSK)
- pins
- WonderClips
- Stiletto
- Shape Flex fusible interfacing (scraps are perfectly fine)
- 2 circle metal rings (D ring or similar will work also)
- 1 metal hanging clip
Directions
Wash and press your fabric
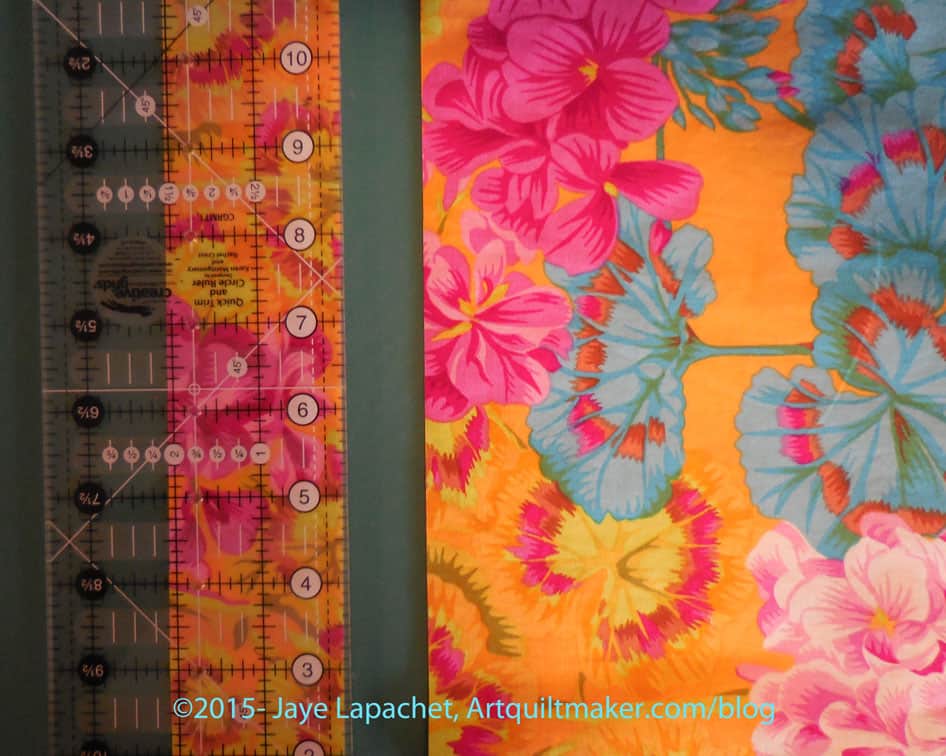
1. Cut a piece of fabric 40″ x 2″. You can adjust the length to fit your height, neck size, etc.
2. Cut a piece of Shapeflex 39.75″ x 1.75″. If you have adjusted the length above, then adjust the length of the ShapeFlex to be about a quarter inch smaller on each side. The ShapeFlex does not have to be one continuous piece. I often use scraps for this project.
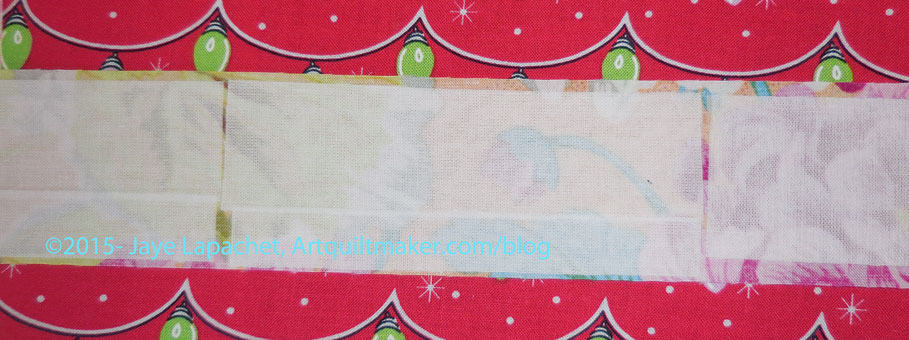
3. Layout your strip on the ironing board wrong side up. Cover the wrong side of the fabric with Shape Flex (or similar) interfacing. I usually cut the interfacing so it only goes with about 1/8″ from the edge. This reduces bulk.
**Note the Christmas light fabric was what was laying on my ironing board at the time I took the photo.
4. Fold your ShapeFlex covered strip in half, wrong sides together, and press so the edges match up.
5. Fold both ends up about 1/8″ (WST). This will finish the ends.
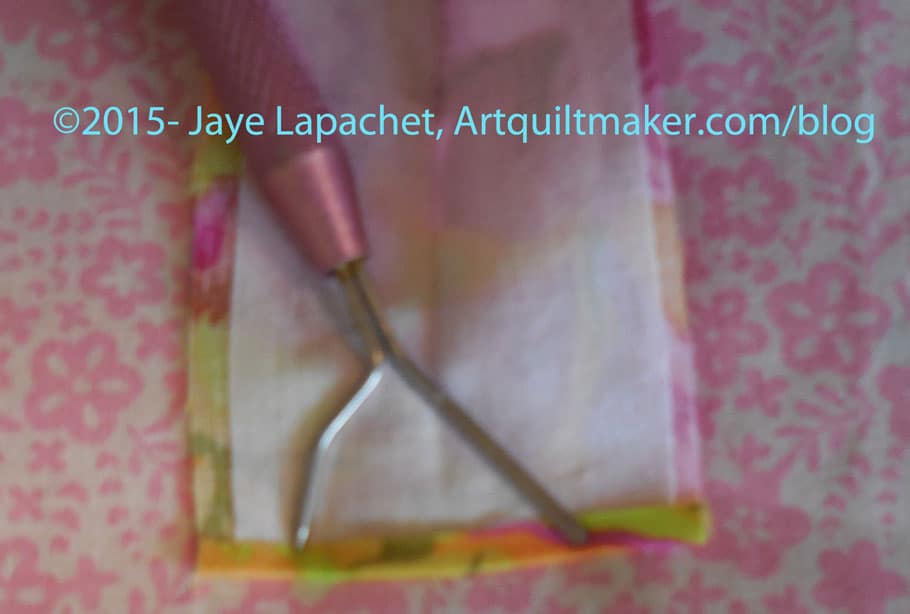
**Note: I don’t know what that tool is or where I got it, but I use it to keep from burning my fingers when I iron.
6. Open the strip you have just pressed down the middle.
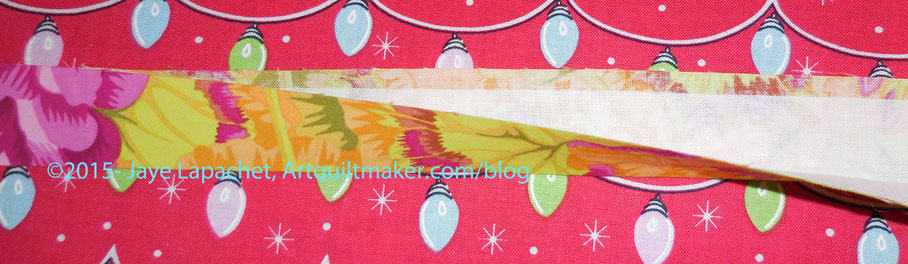
7. Fold both raw edges towards the center. Don’t fold past the center pressed line. Use a stiletto so you don’t burn your fingers.

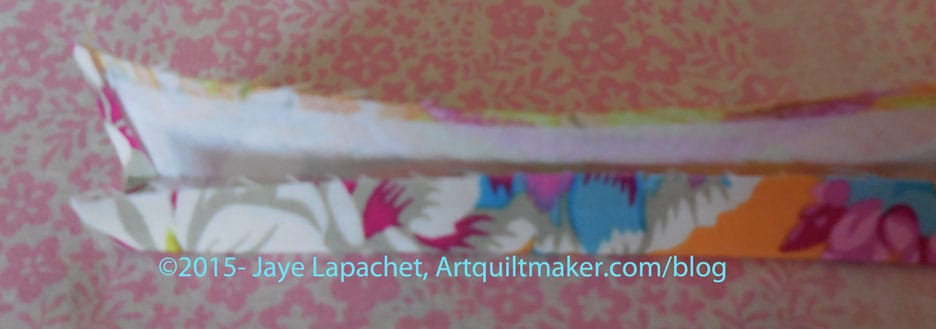
8. Once you have pressed both raw edges towards the center, repress the whole strip together on the center line.
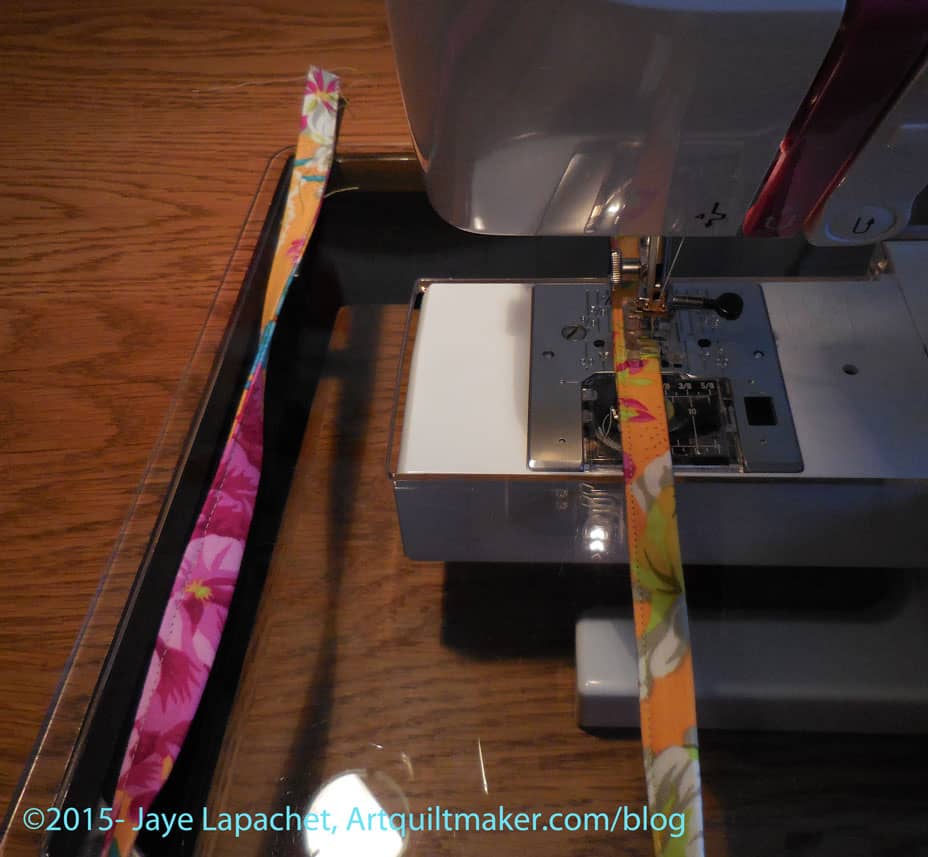
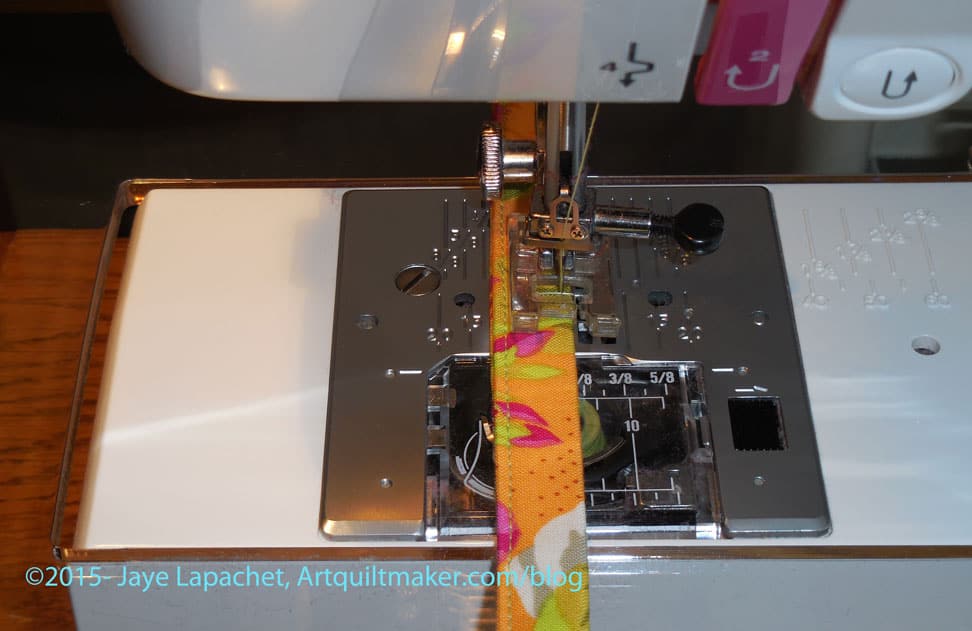
9. Topstitch around the whole strip using a matching thread. Of course, you can use whatever color you want, so do that. Make the piece interesting.
Topstitching encloses the whole strip so there are no raw edges visible.

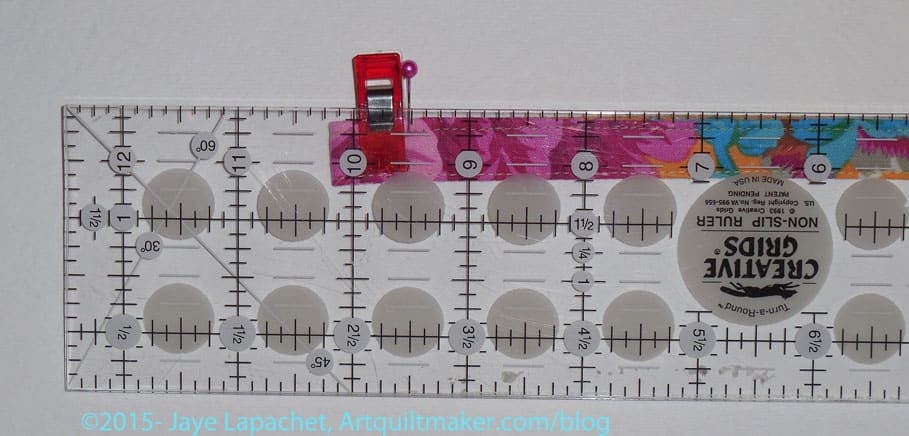
10. Mark 9.5″ up from the end with a pin. This will be your sewing line, which will create the place to clip your name tag. You will now be working with the center of the lanyard, not an end.
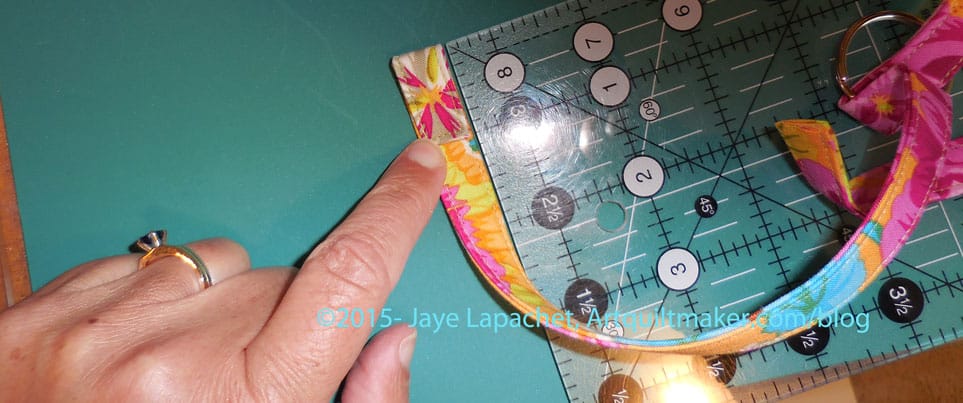
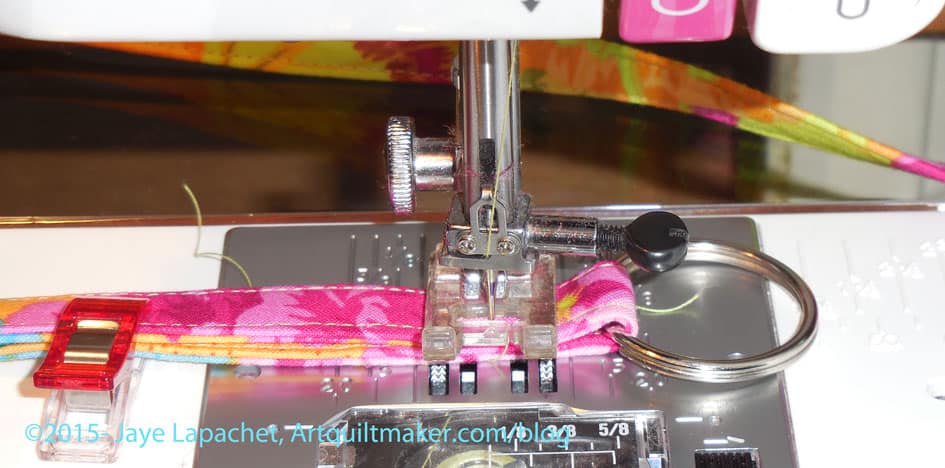
11. Insert a ring or D Ring through the end and up to the 9.5″ area. Fold that same area at 10.25″ in an S curve to accommodate the ring. As you fold, make sure your folds cover the 9.5″ stitching line. Clip with a Wonderclip to keep the section together.
12. Sew on the line you marked with a pin to make the upper nametag holding area. I sew between the topstitched lines (done in step 9). This is a PITA because of so many layers.

13. Fold each end up 1″. Make sure that the fold is on the same side as the upper ring is to the back.

14. Add a hardware clip on one end.
15. Add another ring or D Ring on the other end. These are my preferences, but use what works best for you.
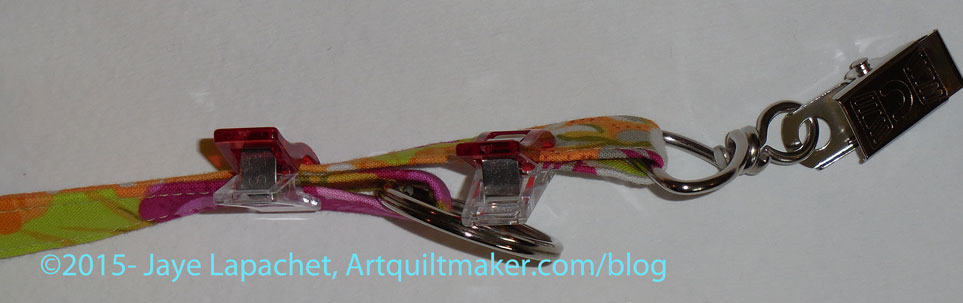
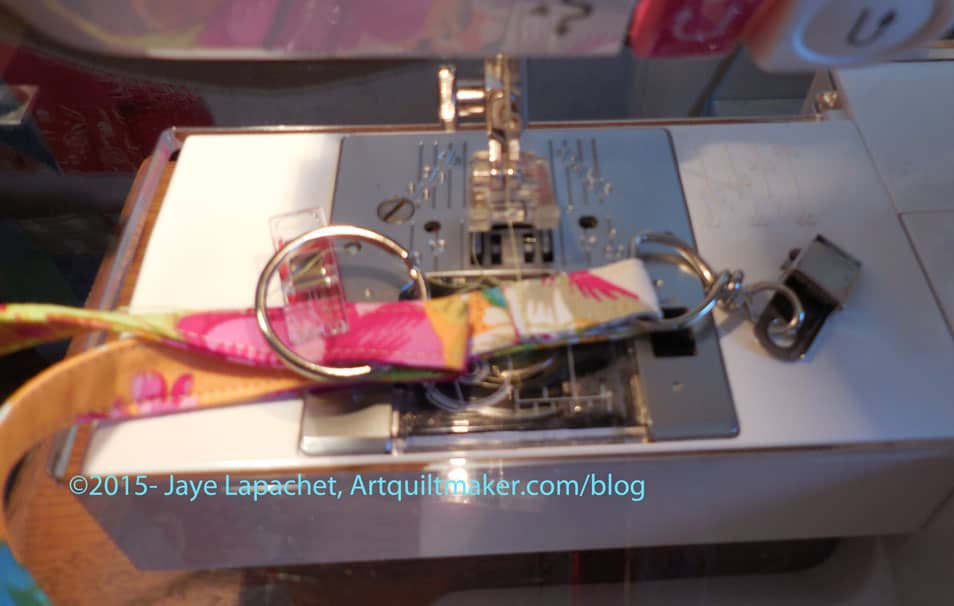
16. Clip piece with a WonderClip to keep everything together while you sew.
17. Sew on the marked line.
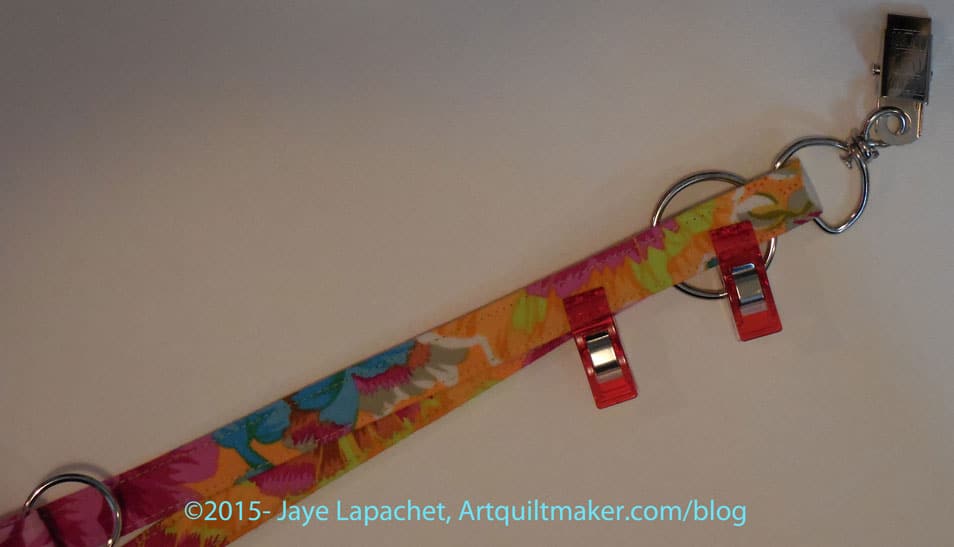
18. Adjust the ends so the hardware does not clank together when you wear it. If it does it will drive you crazy. If it doesn’t bother you, it will drive someone with auditory sensitivity crazy. I always adjust the hanging metal clip to be the longer end.
19. Sew the end of the hanging metal clip closed. Bury or clip threads.

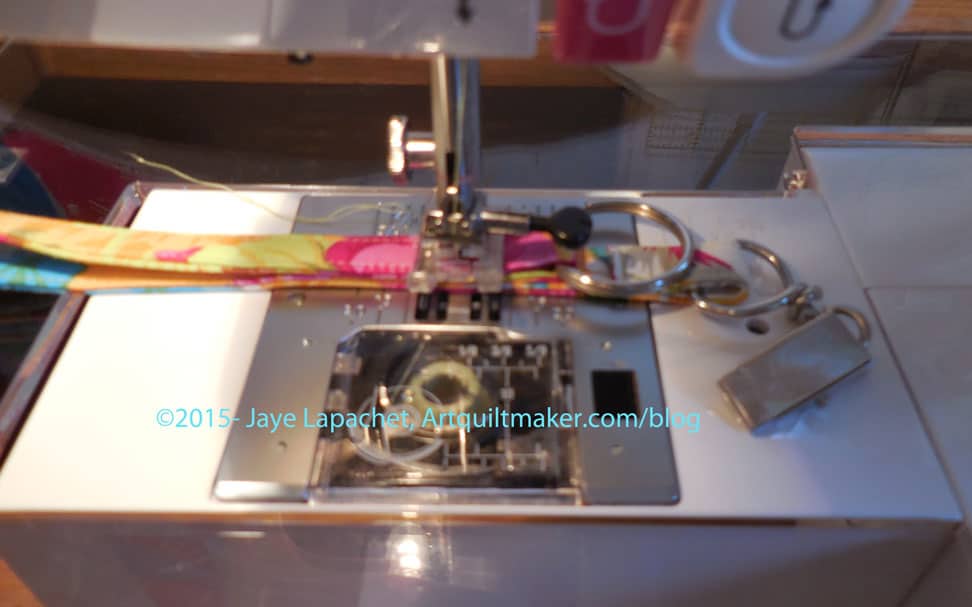
20. Now, carefully sew all the rest of the layers together. I sew the end with the ring using a square stitch pattern to reinforce all the layers of the lanyard.
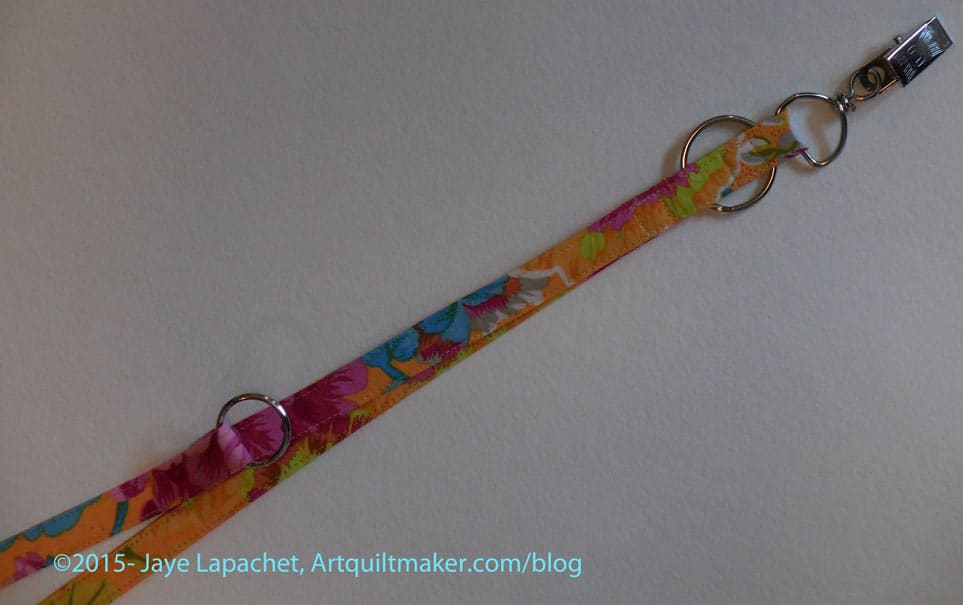
Clip your nametag on, hang your pouch and you are ready to rock.