Star Sampler – Another View

One of the things that makes me feel really good is when someone tells me that a project I made inspired them.

Lynnette's Star Sampler
Lynnette’s Star Sampler

At a recent Sew Day, Lynnette was laying out star blocks that looked suspiciously like my Star Sampler, but in really awesome colors. She told me that my Star Sampler had inspired her.

Ooooh! I inspired someone. That feeling is awesome.

I know the colors are hard to see, but it is in shades of white, plum and grey. It will be a gift. That told me that Lynnette is a better person than I am. I am just thrilled to see another version IRL of the Star Sampler.

O9P

Getting the Black & Grey Teenaged Boy Donation Quilt off the design wall allowed me, as I had wished, to put the Octagon Nine Patch up on the wall.

Octagon 9 Patch - March 2015
Octagon 9 Patch – March 2015

It looks so little. You know I make big quilts so this one just looks weird.

I could cut more octagons and make it bigger, but the pieces are really small and piecing the blocks takes forever.

I have a few more octagons that are in the process of being sewn into Snowballs, so the piece will be a bit bigger, but it won’t be bed sized.

I can add a border and I do have an idea for that already, so that will also enlarge it.

I could also just be okay with the size that it is.

Octagon 9 Patch - March 2015 detail
Octagon 9 Patch – March 2015 detail

There are a lot of warm colors and I may need to cut a few octagons from cool colors, but I am not going to decide until I have more 9 patches completed and all the octagons are made into Snowballs.

More Lanyards

Awhile ago, I talked about the lanyard I made for a swap and put up a sort of tutorial about making it. That Orphan Block lanyard came out pretty well and I was pleased.

As BAMQG is part of the Modern Quilt Guild, I got a pin. It has been lying on my desk and I finally decided to make a lanyard. I didn’t want to do a complete orphan block lanyard this time, because of the seam allowances. To much piecing makes lumps. I wanted it to be interesting so I used some of the larger scraps from my cutting table.

Lumps and floops
Lumps and floops

It went together pretty well and relatively quickly. Still: UGH! I don’t like the way it looks.

Fresh Fruit Lanyard
Fresh Fruit Lanyard

It is cute and cheerful and not terrible, but the seam allowances made it lumpier than I wanted. I forgot to make the upper loop insert a smaller width than the main part of the lanyard, so the lump is even more prominent.

True to form, I let the process options rumble around in my head as I went about my business and decided to make another, starting much more simply: with just one strip of fabric. I used the By The Sea by Gillian Fullard/ London Portfolio Series by Michael Miller fabric. This is the same fabric I used in the recent Ocean Going Journal.

Ocean Going Lanyard Upper Loop detail

The upper loop, which I like so the name tag is near my face and not even with my belly button, confounded me for awhile until I realized that I could make it much smoother by making it from part of the hemmed fabric. I folded up the length of hemmed fabric rather that inserting a different piece. The loop also turned out to be much smaller.

The tricky part was to make sure the metal circle was in the right place. That took a bit of fiddling and trying, but wasn’t difficult.

Of course, using the length of original piece to make the loop led to length issues for the overall lanyard. I still haven’t quite worked out the best length. Still, that little trick made a much smoother upper loop AND, and as an added bonus, prevented the loop from being too long and floopy.

Ocean Going Lanyard
Ocean Going Lanyard

Now my BAMQG pins and things are ensconced on my new lanyard and I can’t wait to give it a trial run.

Of course, I have to make another just to perfect my technique and, possibly, write another tutorial.

Sampler Quilt: Basket pt.1

Frances finally let me know she was ready to move on with her sampler quilt. We decided to make the Flower Basket Block, so I sent her the pattern, promised the tutorial and did nothing.

Christmas got in the way.

I wasn’t in the mood.

I had to finish another tutorial.

I have a lot of projects on which to work.

My muse was on vacation.

Finally!

Christmas was over.

I was in the mood.

The other tutorial was finished.

The projects will wait and my muse was back.

I was shocked to find that the last tutorial I did for this project was last year! I really should do them in advance. Perhaps for the next block?

Regardless, I am now ready to show you how to make the Flower Basket block, the next block in our Sampler Quilt Class.

Flower Basket
Flower Basket

These directions are for machine sewing your Flower Basket and include a little applique’, which can be done by machine or hand.

Will you play along?

Complete Supply List

  • Flower Basket Directions & Templates
  • paper scissors
  • mechanical pencil
  • thin Pigma pen (or similar)
  • template plastic
  • glue stick
  • 2 (or more) foreground fabrics
  • 12.5″ x 12.5″ piece of background fabric, which you will cut in half
  • FQ of same background fabric
  • Rotary ruler, including a long one, such as Creative Grids 4.5″x18.5″
  • Rotary cutter
  • Fabric scissors
  • thread
  • pins
  • Stiletto
  • Design wall or sandpaper board
  • sewing machine

Optional

Important information:

  • Block is 12.5″ unfinished, 12″ finished
  • These directions use a quarter inch seam allowance. Check your seam allowance before you begin. If you don’t know how to do that, there are resources available, including one from Connecting Threads and another from Craftsy. You can search the web for others if you don’t like these.
  • You will be directed to use the Triangle Technique. Make sure you have the chart as well as the instructions handy.
  • Respect the bias.

Templates

You really only a need a template for the basket handle. If you are using templates for all of your pieces, then prepare all the templates for pieces in the patterns as directed below.

Prepare pattern for your basket handle template by printing two copies of the pattern. I am telling you to do this first so when you get into the throes of sewing you won’t have to stop and fiddle around with templates.

You will eventually place one copy of the pattern in your binder, but keep it handy so you can use it as reference.

Nota bene: You probably know how to make templates. However, I am including a quick refresher. Look for a comprehensive tutorial soon. (I’ll update this post and link it from here)

  • Rough cut* the handle pattern out of the second printout.
Rough Cut Pattern
Rough Cut Pattern
    • Glue the paper pattern (with seam allowances) using the glue stick (or other suitable adhesive) to the template plastic.
Ok to use scraps of template plastic

It is okay to use scraps of template plastic. Put a piece of tape on seam lines to keep the joins stiff.

Fine cut templates
Fine cut templates
  • Fine cut** the paper pattern and template plastic you have adhered so you have an accurate template, cutting off any seam allowance that may have printed.

DSCN0125smIf you plan to machine sew the handle at all, you will want to prepare another basket handle template, in the same manner, without seam allowance.

Fabric

Gather your fabric and press it all. You can rough cut some pieces and press it with Mary Ellen’s Best Press to help deal with the bias. Consider this step for the large background triangle and the basket handle.

Cutting

Flower Basket
Flower Basket

Basket Handle
In my example basket, above (same as at the beginning of the post), this fabric is the medium blue.

Lay out template piece

Draw around the template with your black fine tip marker. Rough cut a piece of fabric large enough for your basket handle.

Place template face down on fabric

Place your handle template right side down on the wrong side of the fabric. Trace around the template carefully with your Pigma pen. Trace carefully without pulling or tugging at the fabric. You will be dealing with some bias on the curves. You will need to carefully move your hand along the template to keep it in place while you trace. Use the Pigma pen with a light touch.

Cut out handle
Cut out handle

Using your fabric scissors, cut around the traced image, cutting the drawn line off. If you are using a template with no seam allowance, leave approximately a quarter inch seam allowance on all sides.

Background:
In my example, above, this fabric is the blue Michael Miller Ta Dot with white dots.

Measure background
Measure background

Measure the template for the large triangle of background fabric. It should be 10″ on each of the outside edges WITH seam allowance. Cut a square 10.5″ x 10.5″. You can trim it later. Better safe than sorry. Press the square with Mary Ellen’s Best Press.

Cut square on diagonal

Cut the square in half along the diagonal.

Cut the following additional pieces according to the measurements given:

Background fabric:

    • 2 patches: 2.5″x8.5″
Nip off Bunny Ears
Nip off Bunny Ears
  • 1 patch: square 4 7/8″x 4 7/8″. Cut in half. Nip off the bunny ears with the Judy Martin Point Trimmer
  • 1 square: 5″ x 5″. Cut in half on the diagonal and set your second triangle aside
  • Remember: you have already cut the large background triangle
Cut some pieces from extra background triangle

You can cut some of the background pieces out of the leftover triangle.

Foreground fabric:

The foreground fabric is used for the basket. You will need at least two fabrics for this part. In my example I am using a scarlet red and a medium blue. See picture above for placement of foreground fabrics.

    • 1 square: 2.5″ square
    • For the HSTs, you will need 2 squares, according to the Triangle Technique Chart, 6.25″ x 6.25″. Each square should be from a different foreground fabric. See the picture above.
      • Nota bene: The above Triangle Technique only yields 8 HSTs. You can make another set using the Triangle Technique directions and have some extras, or you can cut the triangles themselves
    • 1 square 2.5″ x 2.5″
Cut triangles
Cut triangles
Cut squares in half
Cut squares in half
  • Cut 4 squares 2 7/8 in by 2 7/8 in the second background fabric (red in my project). Cut in half. These are the base and top line of your flower basket.
Cut Pieces
Cut Pieces

You should now have all of your pieces cut. Look for the next part of the tutorial on sewing the block together.


* Rough cut means that you cut around the outside line and a little away from it, leaving some extra paper. This helps to position the template properly and eventually cut it accurately.

** Fine cut means that you cut the template out very exactly and carefully getting rid of any extra paper and template material used when you rough cut. This is the shape you will use to cut your fabric so prepare this step with care.

Blue Lemonade Squares

Squares from TFQ
Squares from TFQ

I am a cheap date.

These squares arrived in the mail for me last week and I felt like a kid at Christmas. It was so fun to receive an unexpected batch of fabric. I really had a good time looking through them and imagining their placement in the Blue Lemonade quilt.

I have made good progress lately on Hunting & Gathering. Between these, the ones Mom cut for me and the squares I have cut for myself lately, there is a nice little pile accumulating.

I am still definitely in the Hunting & Gathering stage. I will be until I, at least, figure out how many patches I need. I do think this quilt will definitely happen.

I think I have 3 blue quilts in process and I wonder if I will get sick of them before the last one is finished?


Quilts Come Home

Friend Julie and I went to Colleen’s last Friday and picked up quilts.

I picked up 2 quilts, which now need to be bound. Julie picked up her giant Christmas quilt. We went to Dharma, Flourcraft and had lunch at the Miracle Mile Cafe.

Colleen is finally getting back into the swing after her family challenges. She is caught up on quilting quilts and is starting to design patterns again. She is working on a group of patterns with a labyrinth theme. They are gorgeous and the construction uses a technique that keeps them very straight. I will share more information with you when she gets to a point where you can buy them.

Julie picked up her giant Christmas quilt, which she showed at the CQFA Meeting. It is a full on scrap quilt and really epitomizes Julie’s exuberant nature.

I picked up the FOTY 2013 and the Russian Rubix. I didn’t remember FOTY 2013 until the morning of when I was in the shower. I am very pleased to have it home and am in the process of hand sewing the binding. After that I will work on the Russian Rubix. I thought I might get RR done in time to enter into the SCVQA Show, but I don’t think so. It is in two weeks and I have done no paperwork, contacted nobody. I’ll enter it into something else later in the year.

Silk ribbon
Silk ribbon

Julie needed to stock up on dyes and dyeing supplies, so we went to Dharma. I never feel like there is much there for me there, but I bought a couple of bottles of Retayne and some gifts. I always enjoy looking at the yarns. They are such beautiful colors and feel so soft.

Julie and I shared the purchase of on skein of some PFD silk ribbon. I wasn’t even thinking about until she showed it to me and said that we could lay it on other fabric and color it or paint it. Once she said that I was a goner. I couldn’t get the process out of my head, especially with the Tsukineko Ink experience fresh in my mind. She put it back, but I said I would share it with her.

After Dharma, we went to lunch. There is a cafe, which has a lot of gluten free options. I had GF Eggs Benedict. It is so nice to order straight off the menu and not have to go over ingredients with the server. It makes me feel like a real person. We sat for awhile and then headed over to Flourcraft, which is a gluten free bakery. I was full as a goog, but we sat and had coffee and cake anyway. I stuffed a piece of orange bundt cake into my stomach AND bought two scones for later. Again, I can’t tell you who a treat it is to go into some shop and buy whatever I want without worrying about wheat flour. It was nice to sit there and look out the large windows. The clouds were big and fluffy and gorgeous that day, so the sun was, on and off, peeking through to give a blast-like sunbeam. I definitely did not eat pizza for dinner. I just had a salad while the boys ate pizza.

We stopped at a small toy/craft shop called Doodlebug as well. They have a lot of fun toys, but also craft supplies. They also have pottery to paint. Their button selection is almost as good as Britex, but veering towards kids themed.

It was supposed to be a leisurely day, visiting with each other and doing fun stuff. We did fun stuff and we visited, but we also went and went and went and it felt a little like a marathon. A VERY fun marathon. 😉

Creative Prompt #300: Gateway

Post the direct URL (link) where your drawing, doodle, artwork is posted (e.g. your blog, Flickr) in the comments area of this post. I would really like to keep all the artwork together and provide a way for others to see your work and get familiar with your blog or website.

The Creative Prompt Project, also, has a Flickr group, which you can join to  post your responses. I created this spot so those of you without blogs and websites would have a place to post your responses.

We are also talking about this on Twitter. Use the hashtag #CPP

Gateway Arch

Golden Gateway Commons, San Francisco

Gateway Inc., is an American computer hardware company based in Irvine, California, which develops, manufactures, supports, and markets a wide range of personal computers.

medical claims processing & clearinghouse solution

The National Library of Medicine Gateway allows users to search in multiple retrieval systems at the U.S. National Library of Medicine.

A gateway is a network point that acts as an entrance to another network.

An object that encapsulates access to an external system or resource.

Development Gateway empowers international development professionals, governments, and citizens with the knowledge they need to improve lives.

The WWW/Z39.50 gateway to LC server and other servers.

Peninsula Gateway newspaper in Gig Harbor, WA is proud to offer you local news coverage online.

Gateway Healthcare is a non-profit behavioral health care organization that provides a wide array of services to adults, children and families in Rhode Island.

Located on a converted rail-trail, the Gateway State Trail offers 18 miles of paved trail for non-motorized use. The trail begins in the city of St. Paul.

The USPS Business Customer Gateway provides access to the entire suite of tools and services offered to the United States Postal Service’s business customers .

GATEWAY helps you make sense of the various methods for measuring and analysing corruption.

gateway drug

Computing

Companies

Places

Australia

Canada

Hong Kong

India

Singapore

South Africa

United States

Music

Fiction

Other uses

See also

Various & Sundry #3- Early March

It took me over a year to get up to 100 followers on the AQ Facebook page (check the sidebar for a link). In the past few weeks, I have gotten 30+. I guess this is what pundits mean by reaching critical mass. Thanks, everyone!

I received an envelope from my dad the other day with a brochure and a page of photos from the Tillamook County Quilt Trails. I looked on the web and found they have a web page! This trail debuted at the Tillamook County Fair in August 2009 with 13 quilt blocks. There are now 101 blocks included along the trail map. I was thrilled to learn that my dad had chased around the county to see these colorful quilt blocks.  He has started living life out loud a little more, which really makes me happy. Quilts are everywhere!

Projects, Patterns, Tutorials & Classes

Katie of Katie’s Quilting Corner has posted a tutorial for the QuiltSmart Gadget Cushion. I might need one to keep my phone handy when I am trying to participate in a Google Hangout with the other Twilters.

April Rosenthal has a rotary cutting tutorial.

I saw this GREAT free motion quilting project via a tweet from Elly at Aurifil. I love it. It isn’t cutesy and looks small enough to be a good practice piece.

Little Bluebell has put up a tutorial on HRTs. “HRTs?, you say” Half Rectangle Triangles. I don’t know if that is the correct name, but you get the idea. It makes me want to pull out my BiRangle and find the book I bought with it back in the last century and make some rectangle quilts.

Your path to a new bag is here! Sara of Sew Sweetness has a new bag pattern called the Holland Bag. I like that she shows so many fabric options and lots of inside bag photos in her post.

The newest Snapshots block is out and it is a sewing machine! This QAL is a fundraiser for St. Jude’s Research Hospital. The goal of $10,000 was reached in a month, which means that 2000 of you sent in the requested $5!  They have upped the FQS goal to $20,000! The suggestion is that you donate $5 for each block pattern downloaded. Wouldn’t it be great if the total donation was $10,000 per block pattern??

Need some organization? Want to make a matching set? A recent post shows 12 patterns for organizing your workroom.

American Patchwork and Quilting has a four patch quilt-a-long as well. There is a link to a number of designers who are in on the QAL and the hashtag for Twitter and Instagram is #APQquiltalong. I like April Rosenthal’s ‘Buried Treasure.’ I am sure her block has been around, but I didn’t take the time to look it up. Using Corner Store blocks to connect the four patches is a great idea!

Carol, the art quilt queen turned me on to the Rainbow Challenge. This month’s color is yellow. The main challenge page talks a little about the challenge, which has the main point of using up scraps.

Enrollment now open for EQU online classes. the following classes were advertised in the latest EQ newsletter:

Fabric, Tools, Books & Supplies

Gretchen reviews a Double Wedding Ring book.

I saw looking at the AQS catalog. I saw a task lamp called the Stella Task LED Lamp (item #6289). It has a flexible arm and has a special type of bulb to make it convenient to transport, because it won’t break. The ad claims that it still be working after 12 years. This looks great, but I am concerned that the bulbs will not last for 12 years and will be quite expensive.

Katie has a beautiful way of storing scraps. Not only do they look good, but you can enjoy the colors of the scraps as well.

Articles & Information

Someone pointed me in the direction of the American Craft Council article called The Healing Powers of Craft by Monica Moses. It is less an article that a catalog of the health benefits pointing to the beneficial effects while pointing the reader to the articles that discuss the point. I wonder if the converse is true. Will I not be as healthy if I work instead of sew when I am under a deadline? Are people, in general, less healthy if they do not make or repair?

Jennifer Ackermann-Haywood is ending her stint with mlive and focusing on CraftSanity again. Read her last article for mlive.com.

Even quiltmakers ‘get’ rides in police cars sometimes.

Shows, Events & Meetings

SCVQA Show: Saturday, March 14, 2015 from 10am – 5pm and Sunday, March 15, 2015 from 10am – 4pm.

Art Quilt discussion: March 19, 7:30 pm Richmond Branch of the San Francisco Public Library

San Francisco Quilter’s Guild Show: March 20-21.

Sonoma Museum of Art: Unconventional and Unexpected: American Quilts Below the Radar, 1950-2000, February 14-May 17, 2015

Other Artists

I not always a fan of the quilts that look like they were made from the Stack ‘n Whack technique. The name bugs me. Still, this quilt by Hilda is wonderful. I don’t know if it is the red or the gradation.

OMG! Frances did a video of her Mosaic quilt. Amazing!

NQR

In case you want to catch up with Outlander before the new season comes out in April, the Star series version is now on Blu-ray  and DVD.

February ATCs

February 2015 ATCs
February 2015 ATCs

HA! I actually made ATCs early, e.g. I wasn’t working on them the night before or the morning before the meeting.

I didn’t use the backing I prepared, but I had a different idea, as you can see, using the leftover tablecloth plastic I used to make one version of the Eco Market Tote. They came out a little bit curly, but I like that I am able to see through them. I did put a label in between the layers before I sewed the pieces together.

This is the first time I have used the roller foot with the new machine. It worked ok. Not great. Not terrible.

The exchange went pretty well. We had 6 people exchanging which meant I didn’t get one of each. wpid-wp-1425161944553.jpeg wpid-wp-1425161890853.jpeg I missed one of Nancy’s and one of my own. Usually I don’t choose one of my own, because I can make one for myself if I want one. I would have really liked one of Nancy’s. Oh well. There is always next time.

February 2015 ATCs - all choices
February 2015 ATCs – all choices

Julie’s (left hand photo, lower) uses some of the supplies we bought at Dharma last Friday. She rushed right out and used the silk thread/yarn I talked about. It looks cool and I really have to try it.

My chosen ATCs - Feb 2015
My chosen ATCs – Feb 2015

I am happy with the ATCs I picked. Rhonda’s (lower left) really looks different than the others, though isn’t too far off the one in the upper right hand corner by Bron.

The gold one is by Diane and I didn’t hear how she made it, but I think she must have melted something to give it texture.

Finished: Pink T Quilt

Pink T Quilt front
Pink T Quilt front

Yes, shockingly I finished something. It seems like it took forever! I know it didn’t take forever, because we made the top on January 4.

I made the back, as I mentioned, then I sent it off to Gerre with a Frankenbatting and she quilted it. I got it back and put the binding on. It really went very quickly once I sat down and sewed the binding. <It went much better than the quilt in front of it with a batik back AND binding. What was I thinking?>

The back came out pretty well and wasn’t a misery to put together. I am still uncomfortable not putting a label on these donation quilts, but I hope that documenting the quilt here will help historians some day. If the quilt is just loved to death then that will be enough.

Pink T Quilt back
Pink T Quilt back

I was able to use up some pinks and make a fun quilt. I am already thinking about what color to cut next. I am not a big fan of green, but I have a lot of green. If I cut orange to go with it, it would be really different and might appeal to someone who walks to the beat of a different drummer.

March To Do List

I didn’t think I made progress, but I actually did!

To Do List:

  1. Quilt Christmas table runner
  2. Wash fabric AKA The Great Unwashed (I am still pressing and cutting the loads of fabric I did in December. I did do a couple of loads in February since I wanted to use the fabric) ;-)
  3. Make stiff bucket or box for TP in main bath
  4. Make stiff bucket or box for TP in second bath – I am thinking of making this triangular in shape
  5. Anna Maria Horner Multi-tasker tote (gift-due Holiday 2013- sigh. Missed 2015 deadline as well) – found the pattern, which is a good start.
  6. Make 3 notepad covers (gifts)
  7. Day in the Park backpack variation
  8. Sew Bon Appetit apron
  9. ATCs for CQFA January Meeting – meeting was cancelled and I have until February 28? I have found some fabric for the backs and marked it
  10. Make binding for Pink T Quilt
  11. Fix button on DH’s California shirt

To see the 26 Projects Lists, which list quilt WIPS, visit the December Current Projects update. Last month’s to Do List has a couple of changes, which is heartening.

All small items, prior to those completed in December 2014,  have been completed since November 4, 2013. This is a new list for 2015. You can find the list for 2014 and previous on the last post.

Finished in 2015:

  •  Make two bags for gifts
  • Dragon Box (gift)
  • Make back for Pink T Quilt


CQFA Meeting – Feb 2015

I finally made it back to a CQFA meeting! September was the last meeting I attended and it feels like an eternity.

We changed locations and the months in which we will meet. The crowd was quite large – about 25 people. Dues were collected. Retreat monies were collected (if you are not a member and would like to attend, the cost is $107 and there are a few spaces left. Leave a comment and I will hook you up). Lots of announcements were made.

I am in charge of the workshop next time. The title is “Same Design, Make it Mine”. I have to post a photo of the image to our private group before the meeting, then everyone will bring their supplies and ideas and work on their pieces during the meeting. We probably won’t finish, but it will be a good way to work together on our own thing. I had an image all picked out and then I got an different idea during the meeting. We’ll see what I choose.

Workshop

Our Critique Pieces
Our Critique Pieces

The first activity we did was to view the SAQA Trunk Show through the lens of a formal critique in order to learn about critiquing art. Maureen secured the SAQA Trunk show and Dolores made up a handout, then presented it, on how to critique a piece of art.

I have never done critiquing and I learned a lot, mostly because there are fact based tasks to perform in a critique before you get to the part where you say whether you like the piece or not.

The moniker we used to remember the steps in critiquing is:

DESCRIBE
E
M

ANALYZE
P
P
L
E
S

INTERPRET
S

JUDGE
U
I
C
Y

The first 3 aspects are essentially fact based: what do you see, what principles and elements of design do you see, what is the work about? The last one starts to get into opinion, but then the last aspect, Judge, is when you get to say whether you like the work and why.

I liked this way of  critiquing, because it forces the viewer to stick to facts until nearly the end. By doing that, I found that my emotions about the piece were less important, because I was spending energy is really looking at the piece. There some things that I noticed:

  • Make an artwork that is appropriate to the size. Some of the pieces had too much going on for the format size (around 8.5″x11″). That is a small piece and you need to focus on using that space well instead of trying to get a complicated message across. We found that the ones that were most successful were the ones that fit the format. There was was one that was interesting, but got lost because of the size. It would have been great in a much larger format.
  • Knowing the basics of design was really helpful. The most successful pieces adhered to some of those principles and elements. Making a piece – the actual technique – is really fun, but in order for a viewer to get something out of a piece, having some structure is helpful.

Dolores did such a great job on the handout. She really should think about teaching art.

Challenges

Rhonda introduced a new challenge, which was inspired by the book Brave New Quilts by Kathreen Ricketson. We are to make a piece of art inspired by a particular art movement or artist. We will be having a challenge review at our December meeting so we are encouraged to bring past challenges as well as this one to that meeting. I am not really inspired, but I have a book called the Daily Book of Art which I will look at before I completely bail.

Some of the challenges we have had in the past are:

  • 2 shapes
  • placemats
  • under the sea
  • fusible flowers
  • monochromatic

I have ideas and/or fabric for some of these. I really have a great idea for the placemat challenge and really want to do it. I just need to start designing the shapes, then cutting.

Show and Tell

Show and Tell is, of course, my favorite. I only brought the Pink T Quilt. I’ll post about the finished piece in a day or two. I brought it with the binding half on to the BAMQG Meeting, but Gerre wasn’t there so she got to see it at CQFA, which was great. It isn’t very arty, but people seemed to like it. They asked about the organizations to which BAMQG donates quilts. I didn’t have a great answer, but Rhonda helped out.

I also talked a little bit about the Tsukineko Inks class I took and showed the class samples. I really want to get back to that and do something. I just don’t know what.

Julie's Christmas Quilt
Julie’s Christmas Quilt

Julie brought her Christmas quilt, the one we picked up the other day from Colleen (post about that soon as well!). Her Christmas quilt uses a lot of different Christmas fabrics. I have to admire her for having the courage to put them all together. If I look at the fabrics separately, I wouldn’t think they would work, but somehow they do. Of course, the Four Patches are wonderful as well.

Diane's Silk Piece
Diane’s Silk Piece

I love Diane’s silk pieces and she is always prolific, so she brings, what seems like, dozens. It is amazing how much work she does. I often think she has to have an assistant. My favorites are Diane’s aerial city images. She doesn’t call them that, but that is what I think they look like.

I love this one, because of the swirly quilting. There is also a kind of submarine shape, though I know it is not a submarine 😉 and for the little flecks of gold.

Of course, I also like the blues and greens.

Ann Brook's workshop piece
Ann Brook’s workshop piece

Ann Brook brought a finished piece that she started in a Sherri Lynn Wood class.

There were was lots of great work and people were talking about interesting things. So much more that my head is spinning. You should come sometime.


FOTY 2014 – End of the Road?

I think I might be ready to start cutting for FOTY 2015. I know. It is nearly March and finally I am getting in gear for 2015. 😉 Sometimes you have to let the process guide you.

I said last time that I wasn’t sure how much more I should cut. I think that I made that comment because I didn’t have a clear view in my mind of how to start FOTY 2015. I hadn’t decided on a shape. I have a better idea now.

As mentioned previously (or, maybe, on Twitter), I have been ironing fabric. when my sewing chair starts to fall over because I have too much washed, but unironed fabric hanging on the back, I have to iron. I ironed a lot while listening to Outlander (long LONG audiobook) and let it stack up on my ironing board, but finally I was ready to cut.

FOTY 2014 - Late February 2015
FOTY 2014 – Late February 2015

I still have a stack on my ironing board, but Voila! These are the patches I have cut in the past few weeks. I thought there were more, but if there were I lost the photo.

Yes, I cannot help attempting to gradate the patches.

Creative Prompt #299: Seahorse

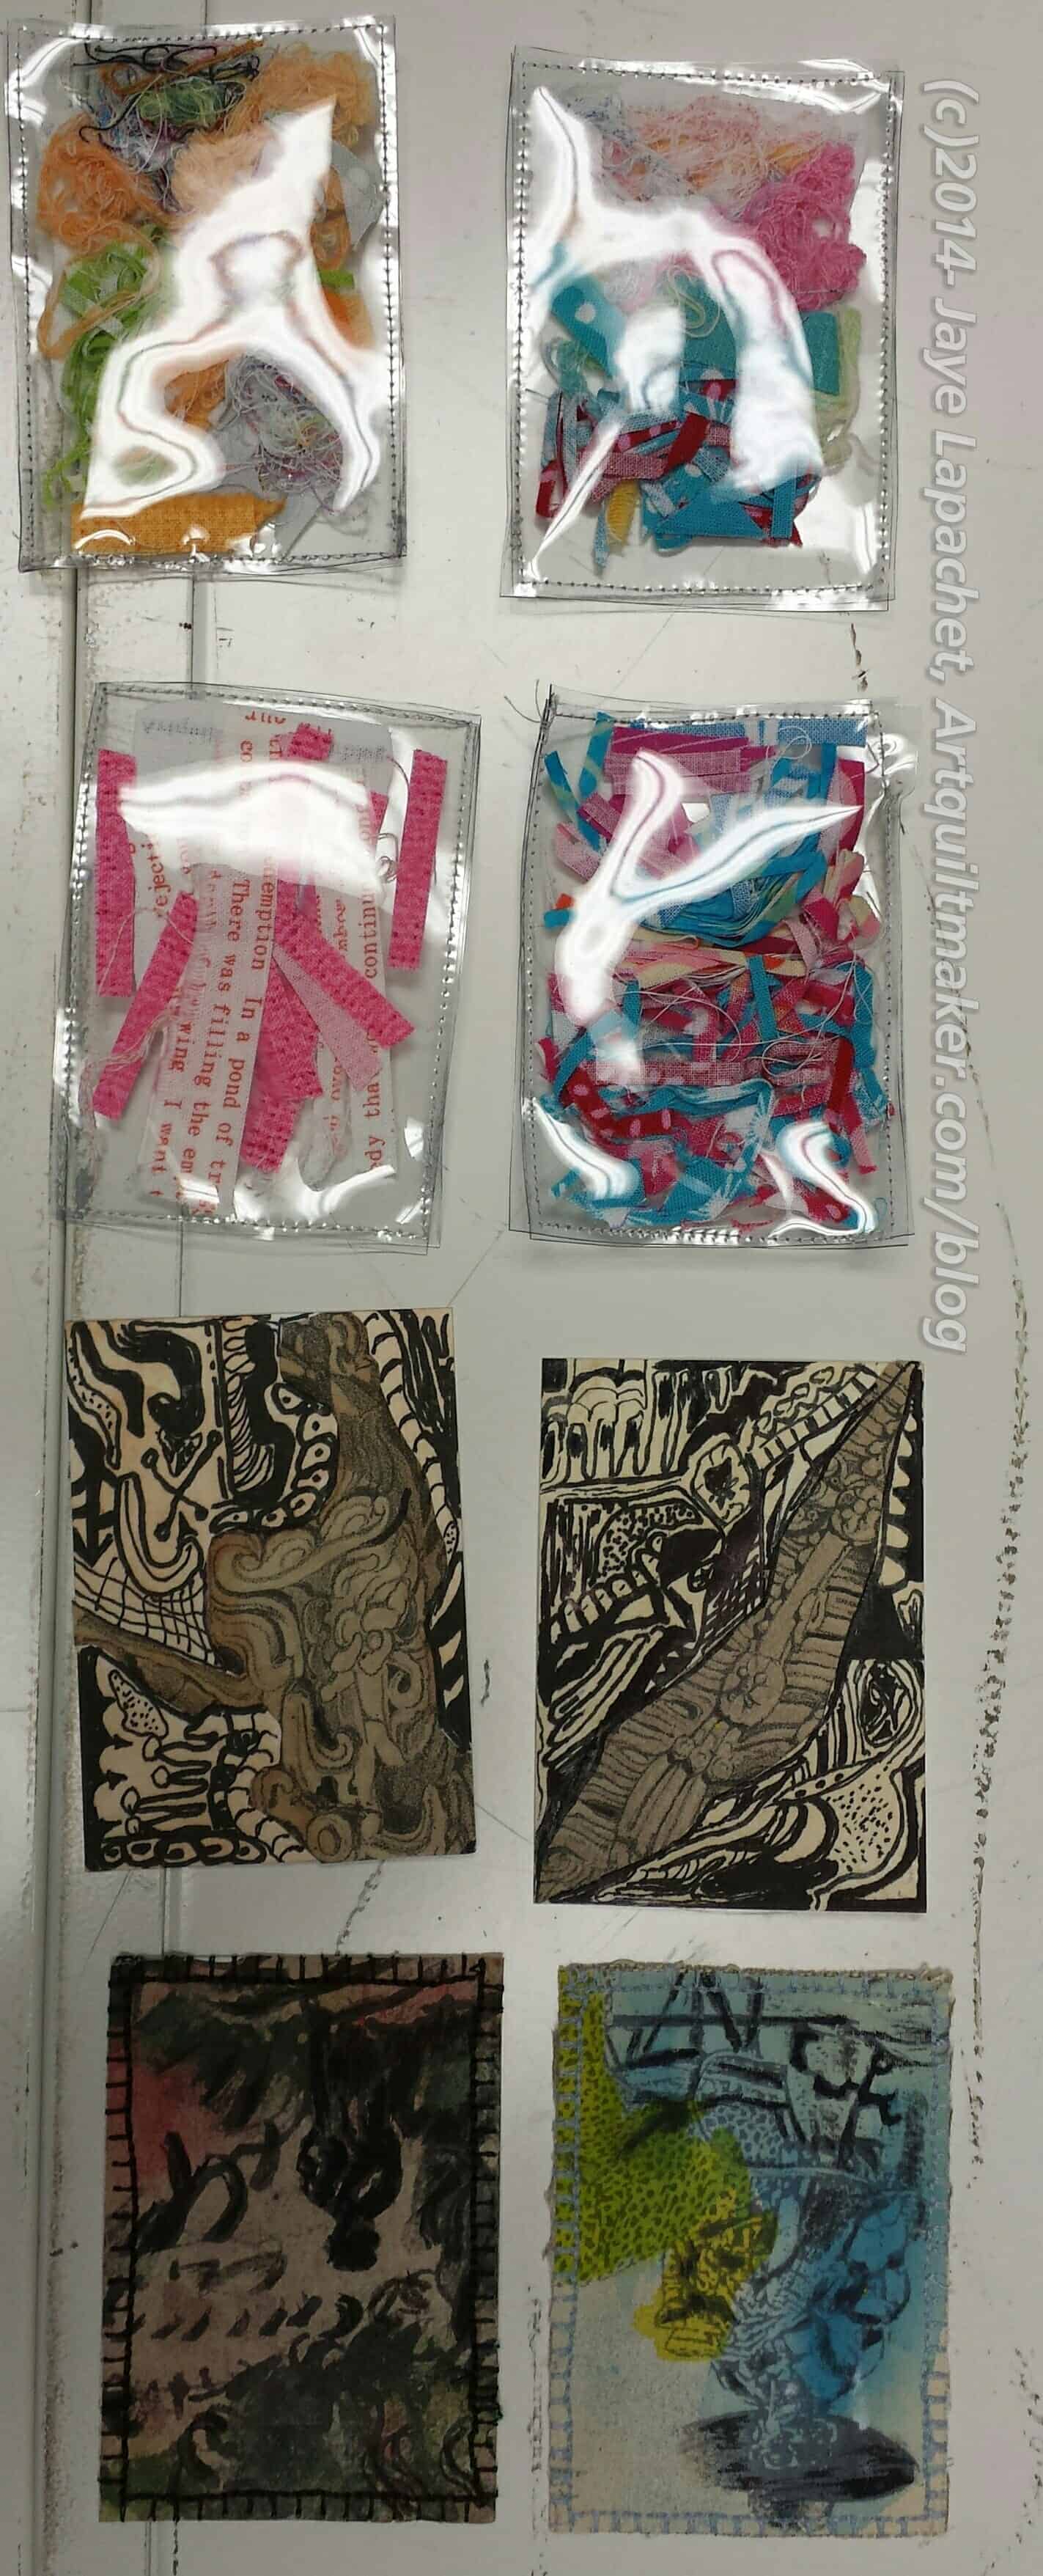
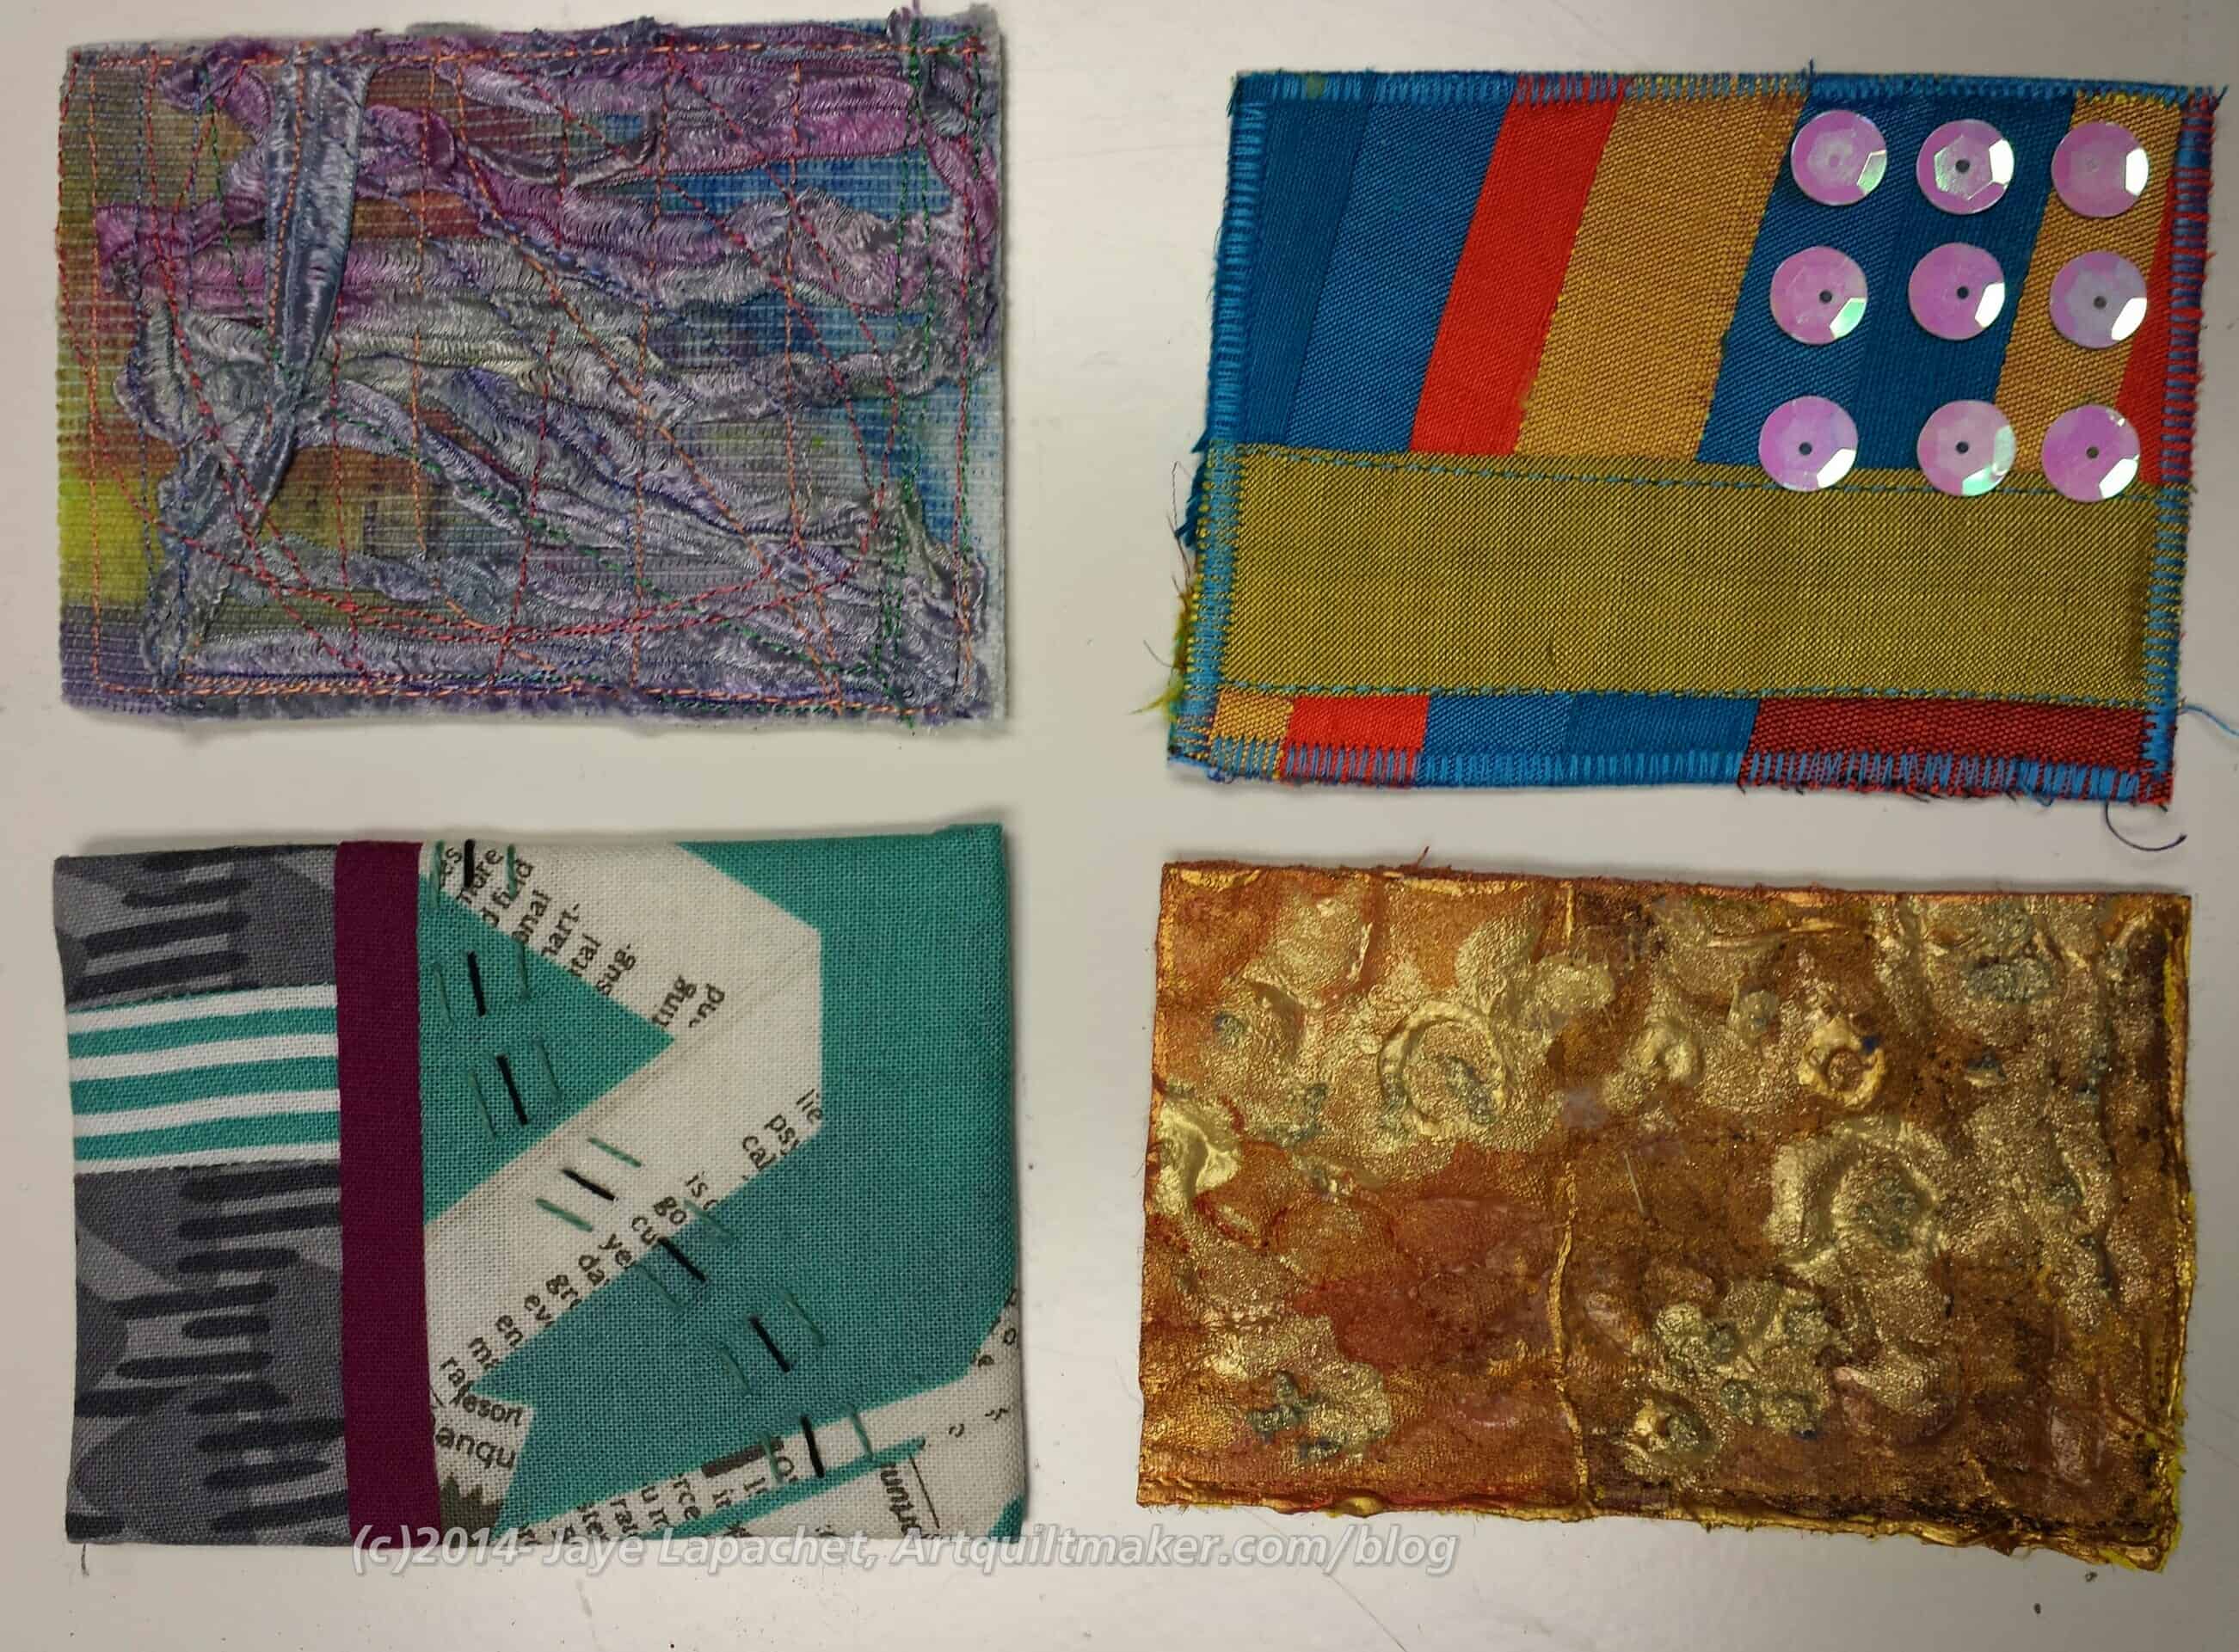
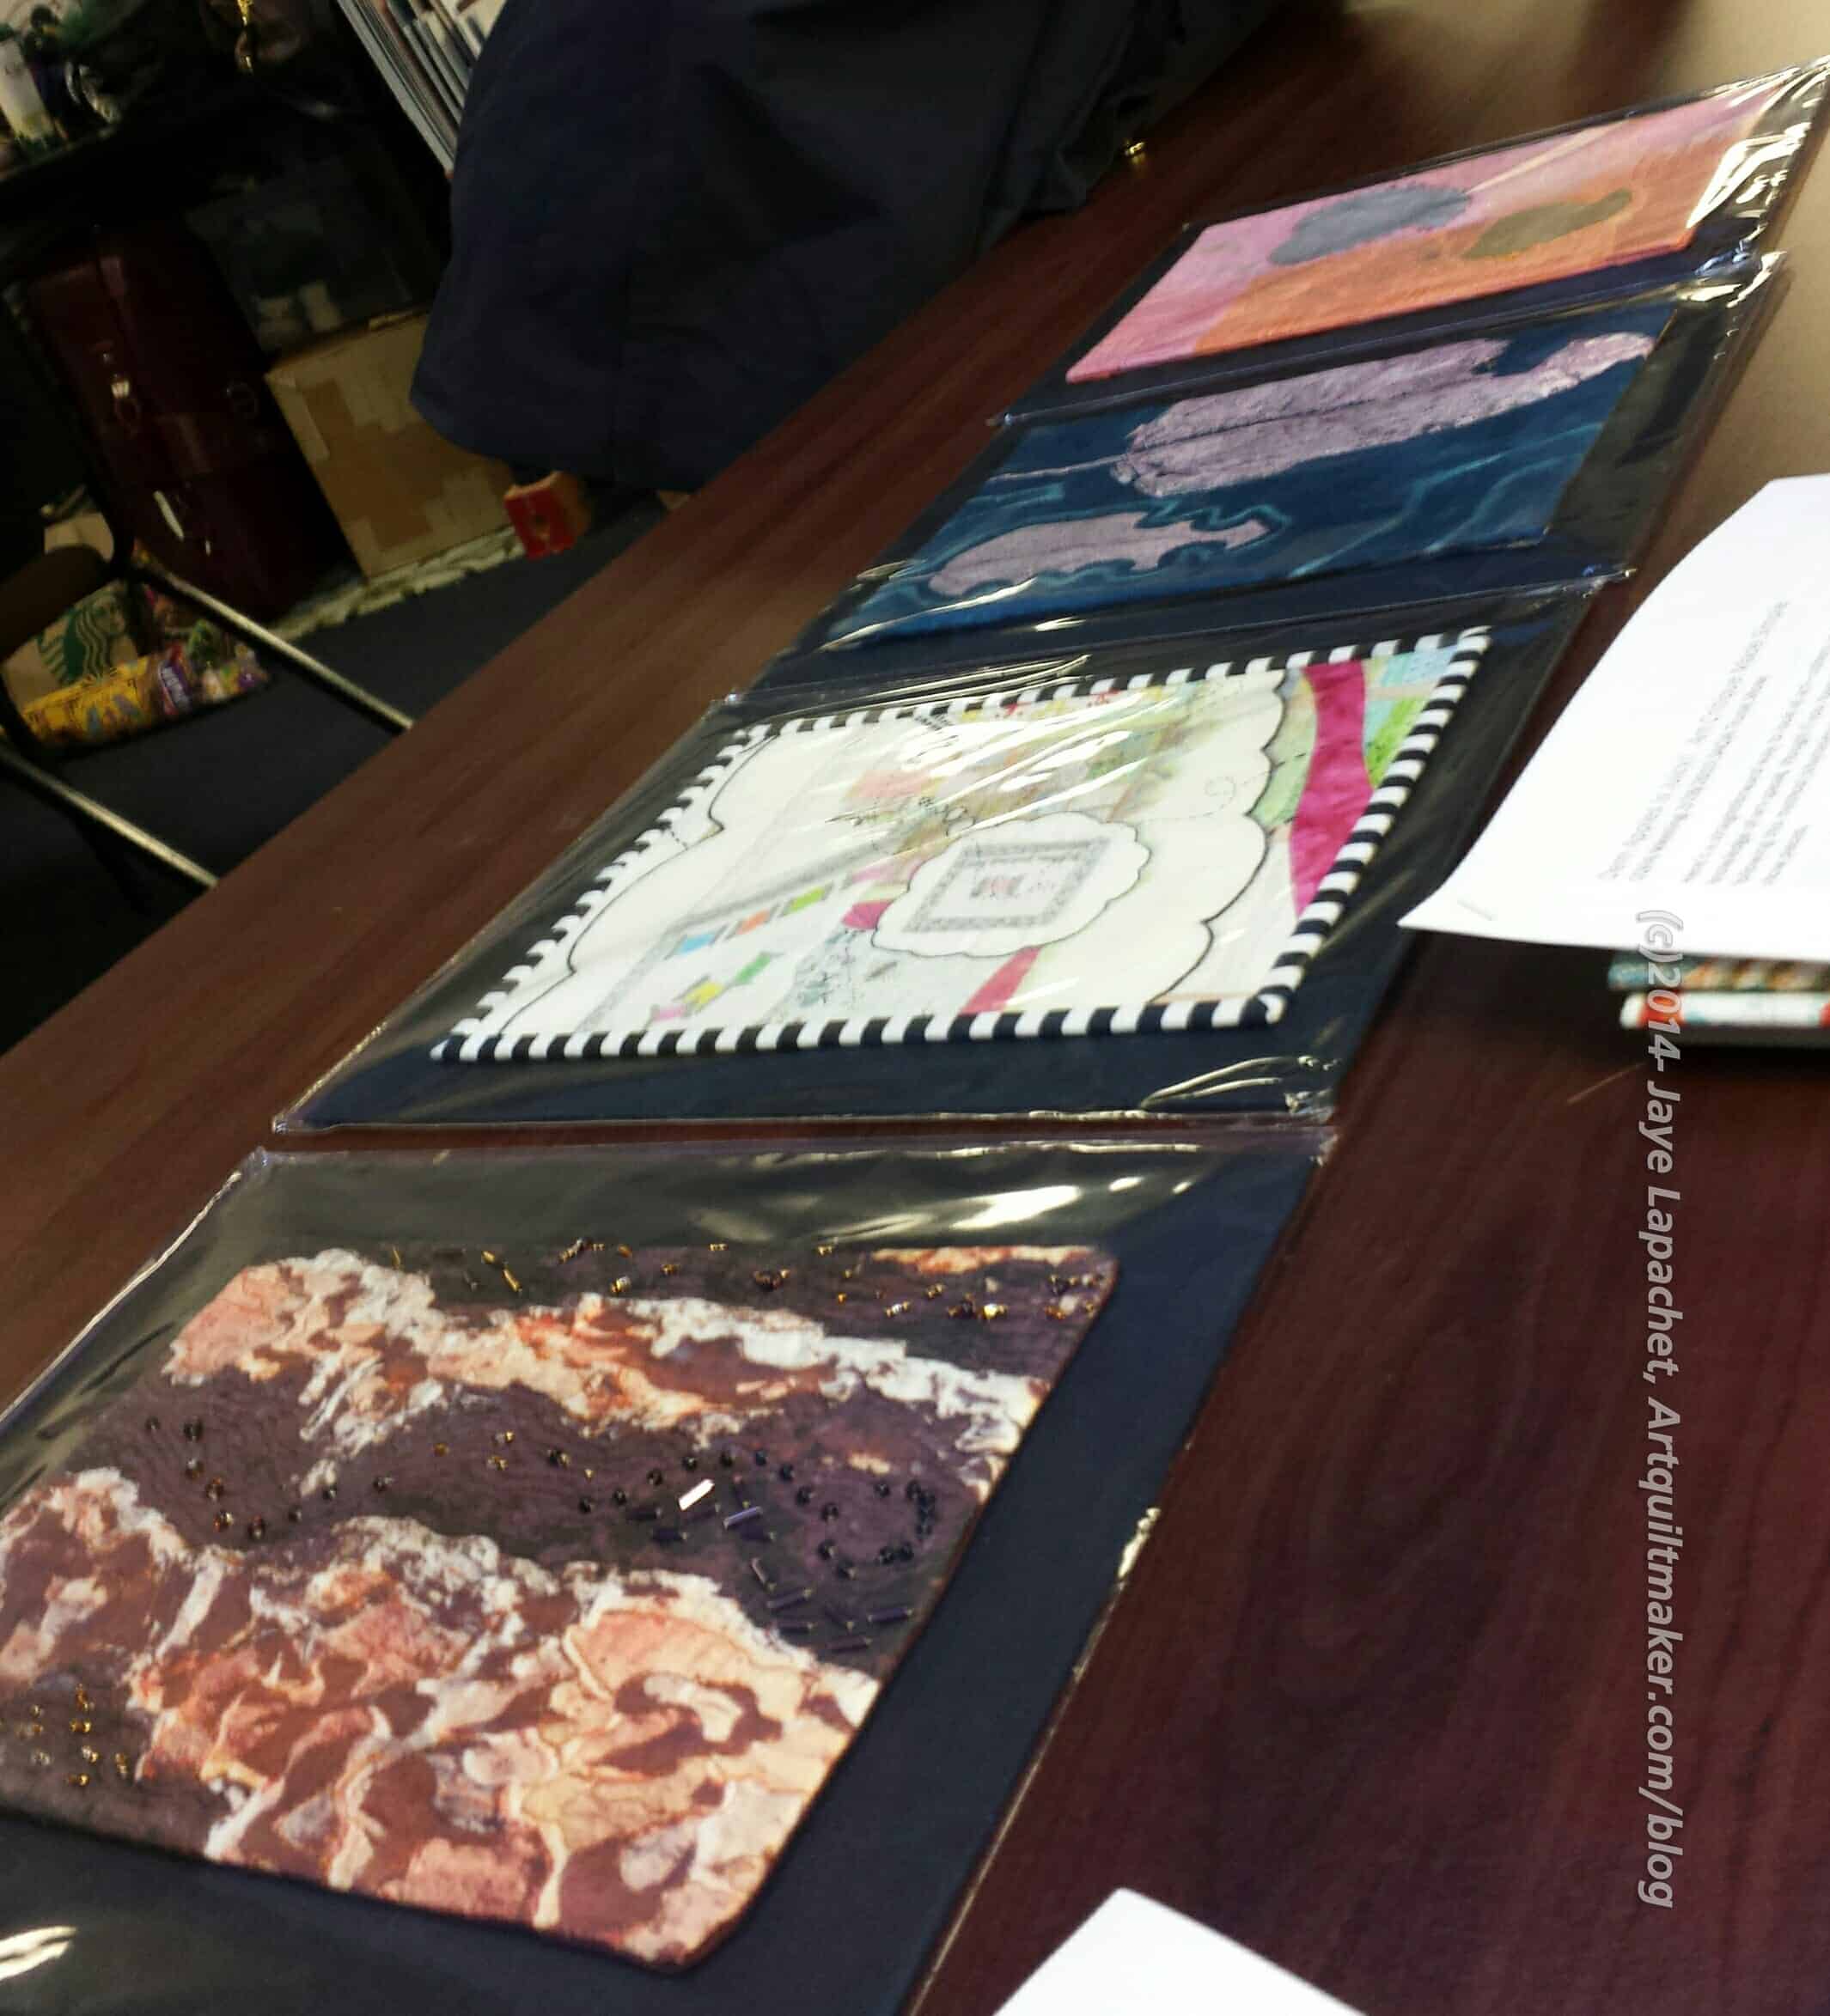
I was inspired to post this prompt by the fabric used in the Ocean Going Journal Cover.

Post the direct URL (link) where your drawing, doodle, artwork is posted (e.g. your blog, Flickr) in the comments area of this post. I would really like to keep all the artwork together and provide a way for others to see your work and get familiar with your blog or website.

The Creative Prompt Project, also, has a Flickr group, which you can join to  post your responses. I created this spot so those of you without blogs and websites would have a place to post your responses.

We are also talking about this on Twitter. Use the hashtag #CPP

Definition: “Seahorse is the name given to 54 species of small marine fishes in the genus Hippocampus. “Hippocampus” comes from the Ancient Greek hippos meaning “horse” and kampos meaning “sea monster”.[2] Having a head and neck suggestive of a horse, seahorses also feature segmented bony armour, an upright posture and a curled prehensile tail.

Seahorses are mainly found in shallow tropical and temperate waters throughout the world, and live in sheltered areas such as seagrass beds, estuaries, coral reefs, or mangroves. Four species are found in Pacific waters from North America to South America. In the Atlantic, H. erectus ranges from Nova Scotia to Uruguay. H. zosterae, known as the dwarf seahorse, is found in the Bahamas.

Colonies have been found in European waters such as the Thames Estuary.[3]

Three species live in the Mediterranean Sea: H. guttulatus (the long-snouted seahorse), H. hippocampus (the short-snouted seahorse), and H. fuscus (the sea pony). These species form territories; males stay within 1 m2 (11 sq ft) of habitat, while females range about one hundred times that.” (Wikipedia)

The Seahorse Trust

Magical Seahorse Tour

Seahorse Magazine

Sausalito Seahorse in Marin County, North Bay, California. Italian Seafood Restaurant. Live music nightly.

Seahorse is a new app for documenting life in scenes, together with friends and family.

Mister Seahorse: board book (World of Eric Carle)

Seahorse Lounge is a stunning Las Vegas lounge at Caesars Palace serving specialty martinis and more than 20 champagnes.

Seahorse is a simple solution for filers who need to meet European XBRL and iXBRL mandates.

Seahorse Triathlons and Duathlon (Kalamazoo Counties, Coldbrook County Park)

The Seahorse Inn, is located on Central Florida’s Atlantic coast, 50 miles east of Orlando’s Disney World.

Dr. Seahorse – indie pop music

The lined seahorse is a unique fish with a curled tail and horse-like head. It lives among bay grasses in the shallow waters of the middle and lower Chesapeake Bay.

The Neoprene perimeter O-Ring seal makes Seahorse Cases completely waterproof and airtight.

Symbolic meaning of Seahorse: “The symbolic meaning of seahorse is quite intricate and diverse as this little creature itself is full of surprises.

The seahorse is quite a unique creature, and thought to have mystical significance among the Ancient Greeks, European (alchemists) and Asians.

The Ancient Greeks and Romans believed the seahorse was an attribute of the sea god Neptune/Poseidon and as such, the seahorse was considered a symbol of strength and power.

Further, the ancient Eurpeans believed that the seahorse carried the souls of deceased sailors to the underworld – giving them safe passage and protection until the met their soul’s destination.

Chinese cultures believed that the seahorse was a type of sea dragon, and as such they were revered for their power and thought to be symbols of good luck.

Sailors have long viewed the seahorse as a good luck charm too.

Symbolic meaning of Seahorses carry the following significances…

Symbolic Seahorse Meaning

  • Patience
  • Protection
  • Perspective
  • Inflexibility
  • Persistence
  • Friendliness
  • Contentment
  • High-Perception
  • Generosity/Sharing

A relatively calm, and mild-mannered creature, the seahorse is seemingly content to roam the seas. Their bodies are geared for ambling-type motion – not for speed. Thus, they are symbolic of patience and contentment – they are happy with being where they are, and are in no hurry for advancement.

Further testimony to these attributes is the lack of evolution of the seahorse’s body style. They have remained with this body style without change since their inception. Content to be who they are, and not feeling the need to change – these are a few profound lessons the seahorse provides us.

However, along with a resistence to change, and a carefree approach to progress, the seahorse can be a symbol of inflexibilty or stubborness. To wit, the seahorse wraps its tail around the nearest object in order to anchor itself in turbulent waters. This is a lesson to be persistent in our goals, but be mindful that we are not too inflexible or stubborn in our achieving them.

A unique aspect of the seahorse is that the male is impregnated by the female and carries the offspring to term. This is a message of sharing the load in the home, and gaining perspective of both sides (genders) of an argument or situation.

The seahorse has a boney exoskeleton which is a message of protection. Often when the seahorse comes to us it is a sign that we either need protection from our external circumstances, or we are building walls that aren’t needed. Their armor-bodies are a sign that sometimes we might need to let our guard down – or perhaps we are leaving too open to get hurt.

Lastly among the long list of symbolic meaning of the seahorse and its lessons is the idea of perception. The eyesight of the seahorse is incredibly sharp, and each eye moves independently. We take this as a symbolic message of perception and awareness of those around us and our situations. When we are lost or confused, the seahorse asks us to take a good look around – not just with our physical eyes but with our spiritual eyes in order to get a better persepective of the situations.

Thus concludes this summary on the symbolic meaning of the seahorse. Check out the links at the end of this page for more symbolic meanings for cool creatures. Thanks for reading!” (What’s Your Sign.com)

Black & Grey Finished!

Black & Grey Donation Top Complete

I finally finished the top and back of the Black & Grey Teenaged Boy Donation Quilt. Whew! I am very pleased and while I was anxious to get it done I never got to the point where I disliked the piece. I am glad, because I want all of my donation quilts to have good energy in them not “get this done, stupid quilt!” energy. I don’t know if it makes a difference, but better safe than sorry.

I checked back and the first post about this quilt was back in January of last year. I know I started making it using these colors, because I was grieving for my grandmother. I think I became anxious to get it finished, because the grief, while not gone, is much better. I think she would be pleased to know that I did something good with the grief. Perhaps not as she didn’t think too deeply about feelings, but I like to think it.

The quilt is approximately 65.5″ square.

Black & Grey Donation Back Complete

I also made the back, which I think came out pretty well. Sort of symmetrical, which is different for me. It is a touch small, so I may have to add something to the side, but I am hoping the quilter can deal with it.

I am not sure how I am going to convince someone to quilt it for the guild. I am nervous because there were a lot of quilts waiting to be quilted at the last meeting.

I still have to make the binding, but I picked some fabric to use and will get that done soon.