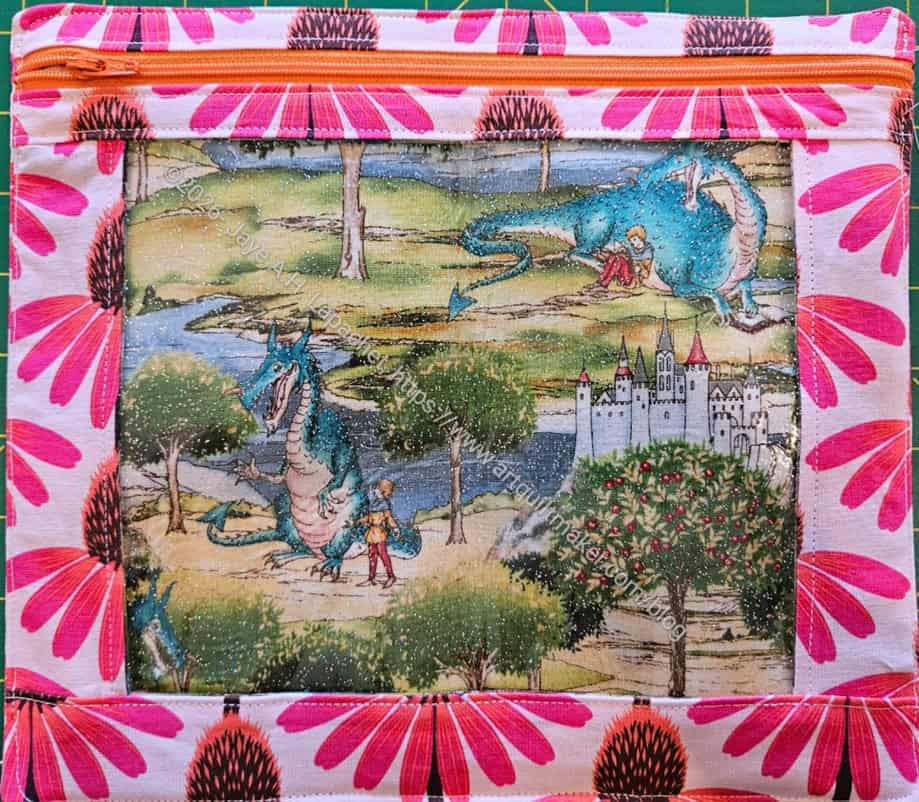
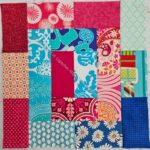
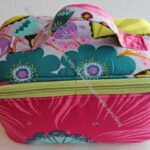
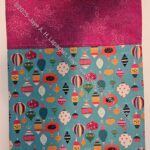
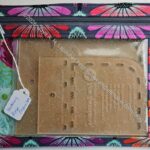
One of the first projects I finished on my vacation was an I Spy pouch. I wanted to make one for the Chaos templates. There are a lot of them and I want them to be corralled.
The largest size of the I Spy pouch wasn’t large enough for the templates, so I decided to make a larger one.
I wanted to make the new pouch 12×12 inches-ish. I got confused using Mary’s ruler and the pouch ended up being about 10×12 inches.
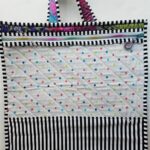
Fairytale I Spy with templates
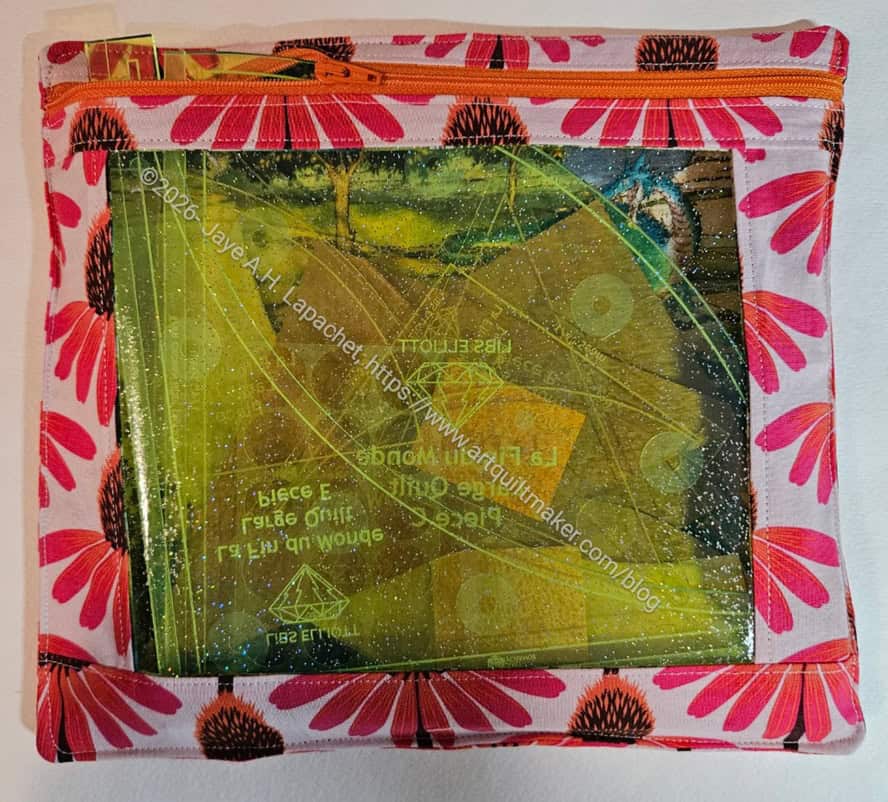
When I got home I found that the templates all fit, but the I Spy pouches are pretty flat, at least this one is, so the zipper doesn’t quite close. If I had made it with SF101 instead of the Sewfisive foam from Sewfisticated, it probably would have worked perfectly. I love that foam so much, though!
That fairytale fabric was in my pile of backing fabric. I have a few pieces of novelty fabric that have been hanging around for awhile. I thought about donating it, but decided to use it here. It’s fun and provides a good name for yet another I Spy!
As it is, it will do for now. I’ll make another larger one soon and use this one for something else.
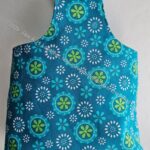
I spent some time on Sunday playing around with making a bag I saw on Instagram. Kotobukisewing showed how to make a Mini One Handle Tote in a reel <insert eye roll here. and something about it appealed to me.
I succeeded! I had to plow through all the bits that IG glosses over, but despite those things, the bag came out very well. This is a relatively simple bag, but my experience with bag making helped a lot.
I had to watch the video about 355 times, because I don’t know how to stop and start IG videos. I was able to make this bag and it looks similar to the one shown on the video. I had to translate the metric measurements into Imperial/American inches and I am pleased to say the bag still looks balanced. One thing I learned is that there is a metric ruler printed on my new machine’s sewing table. Super helpful!
Yes, I did look at their shop, but didn’t see a pattern. They have a lot of other cute patterns.
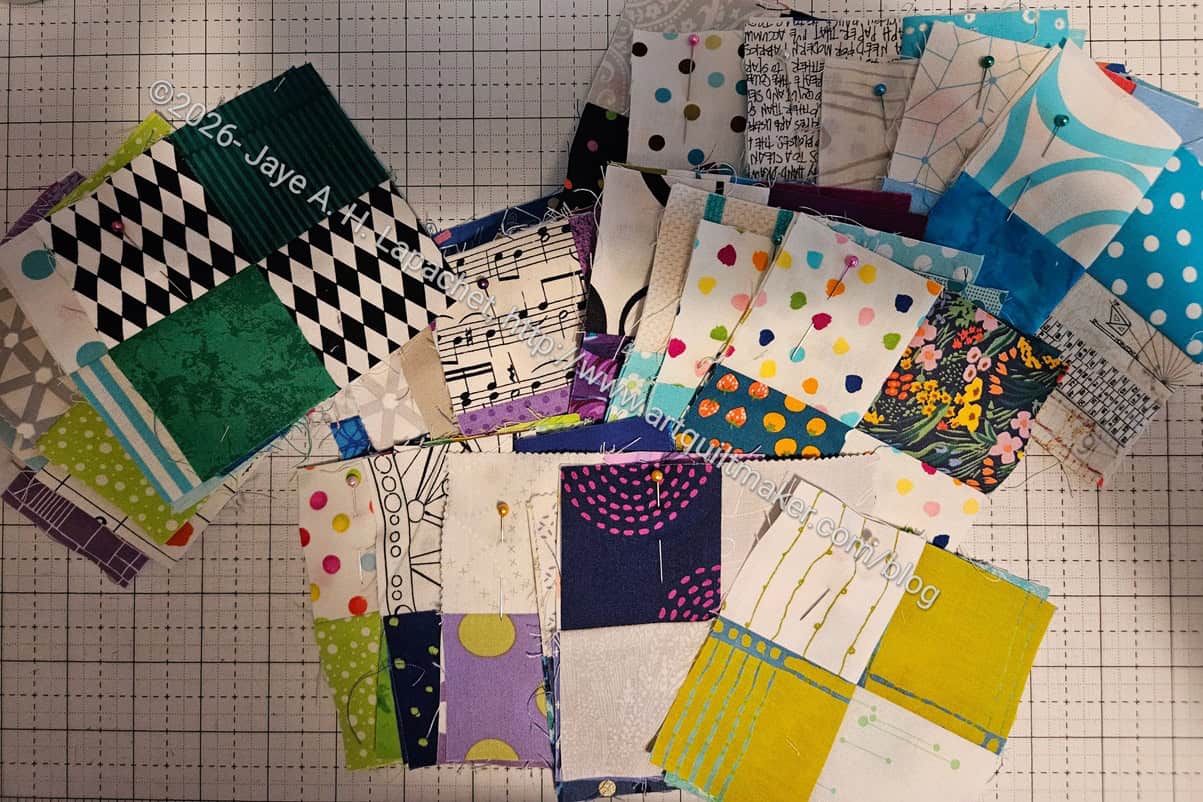
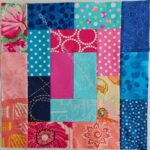
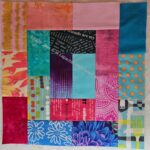
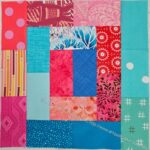
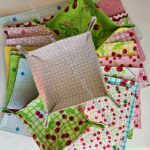
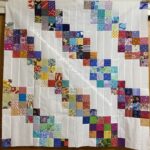
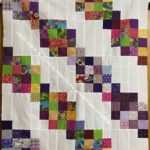
After installing all the KamSnaps into my Snap Trays, I started sewing something easy: Four Patches that will become part of the Cool Four Patch Fun quilt.
I started sewing cool 2.5 inch squares together with white and low volume squares. I chose foreground fabrics that kind of matched each other.
First Cool 4 Patch Fun Four Patches
Once I got home, I matched the Four Patches I made with Four Patch Fun blocks I thought would look good together.
I have more to make but the design wall is emptying and the pile of blocks ready for the other design wall is growing. I’ll need design wall space soon to lay this out.
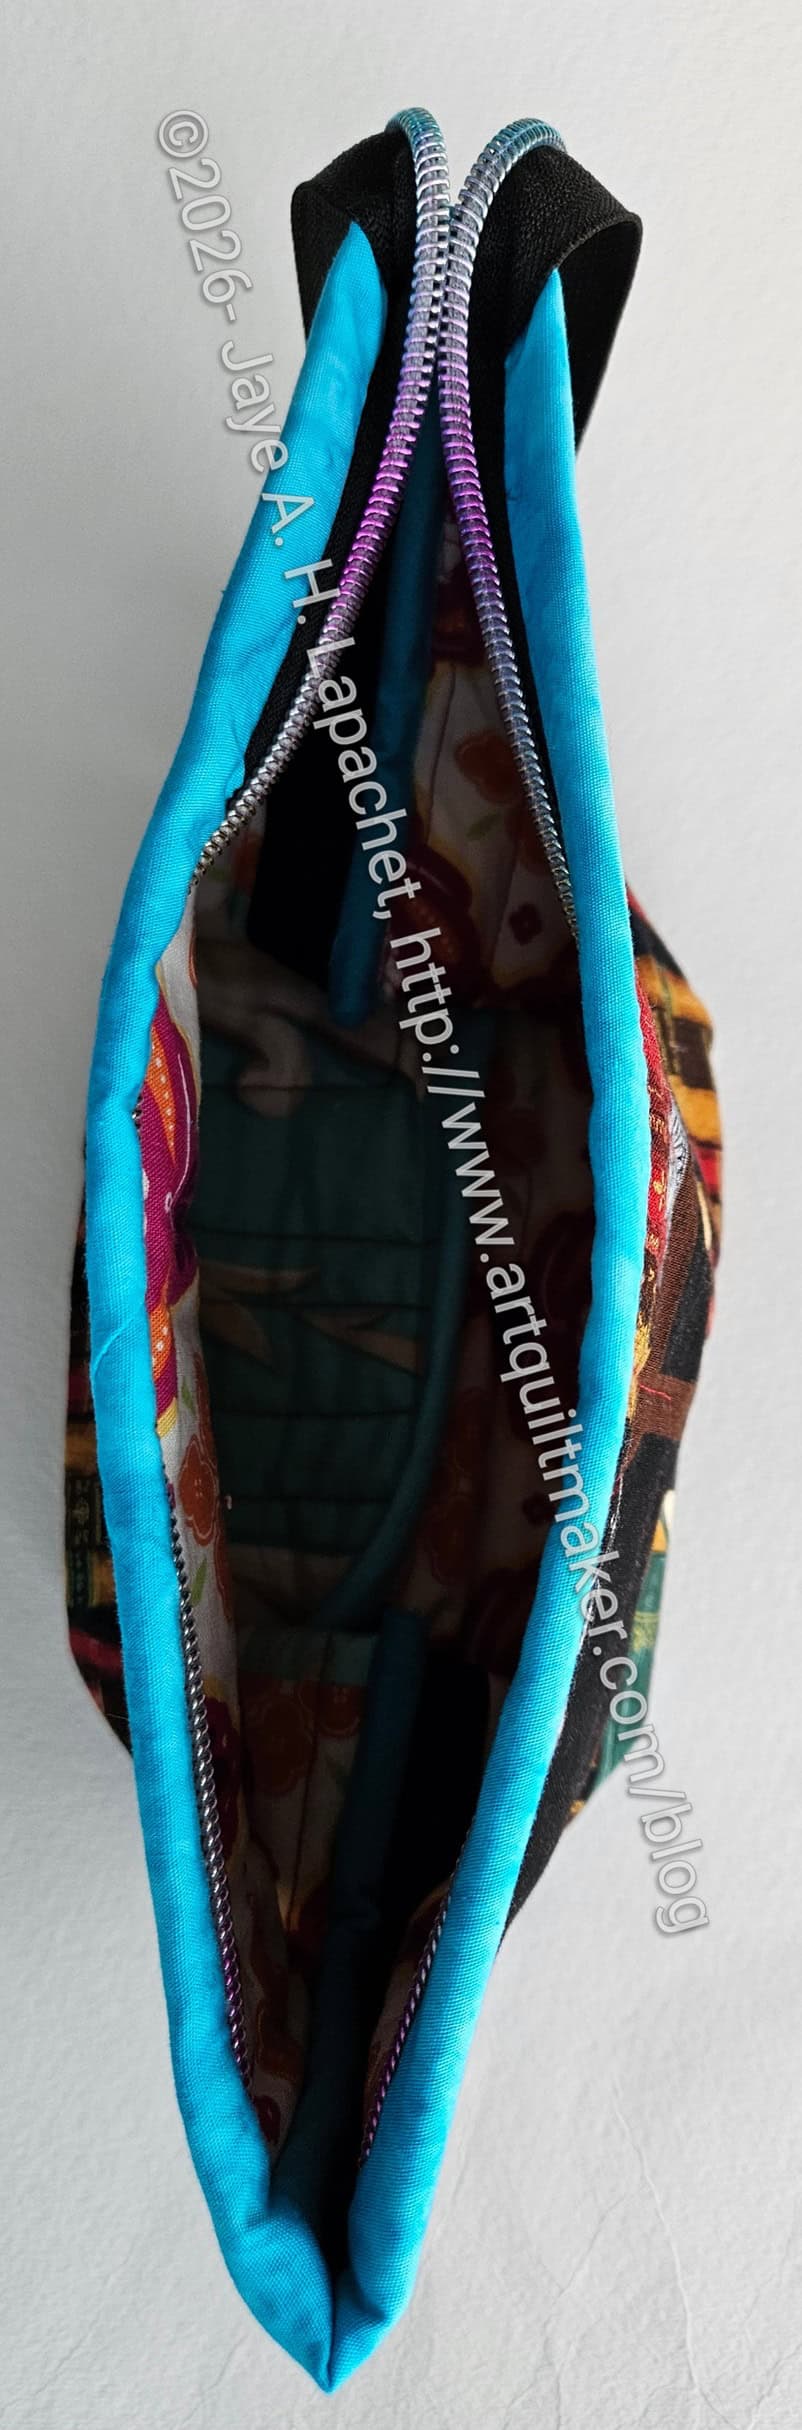
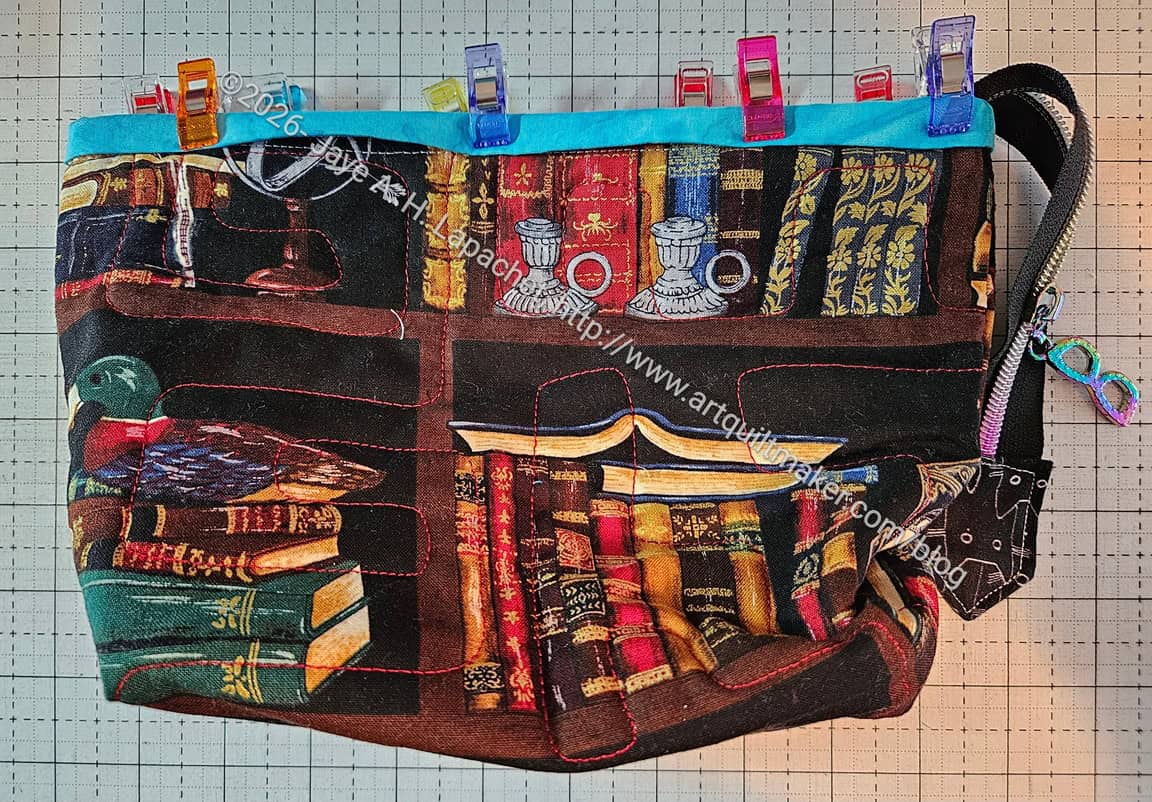
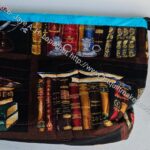
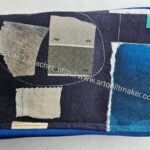
I finished the Book Pouch with only a little bit of fiddling. It has already arrived at its new home. I received a lot of nice compliments.
As mentioned, I used the Bristol Pouch pattern by Center Street Quilts as a guide. I am pleased that I was able to use more of the quilted book fabric. There is less of it for me to move around my workroom.
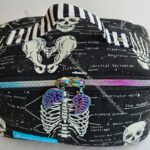
Book Pouch -open
I didn’t focus much on the other fabrics. The lining was the mish mash I used on the table leaf covers. I pulled from scraps and bits I had laying around to finish the pouch.
I didn’t just grab anything; I tried to find a binding that looked cheerful, but also went with the other fabrics. Brown and turquoise go together so I chose a turquoise binding.
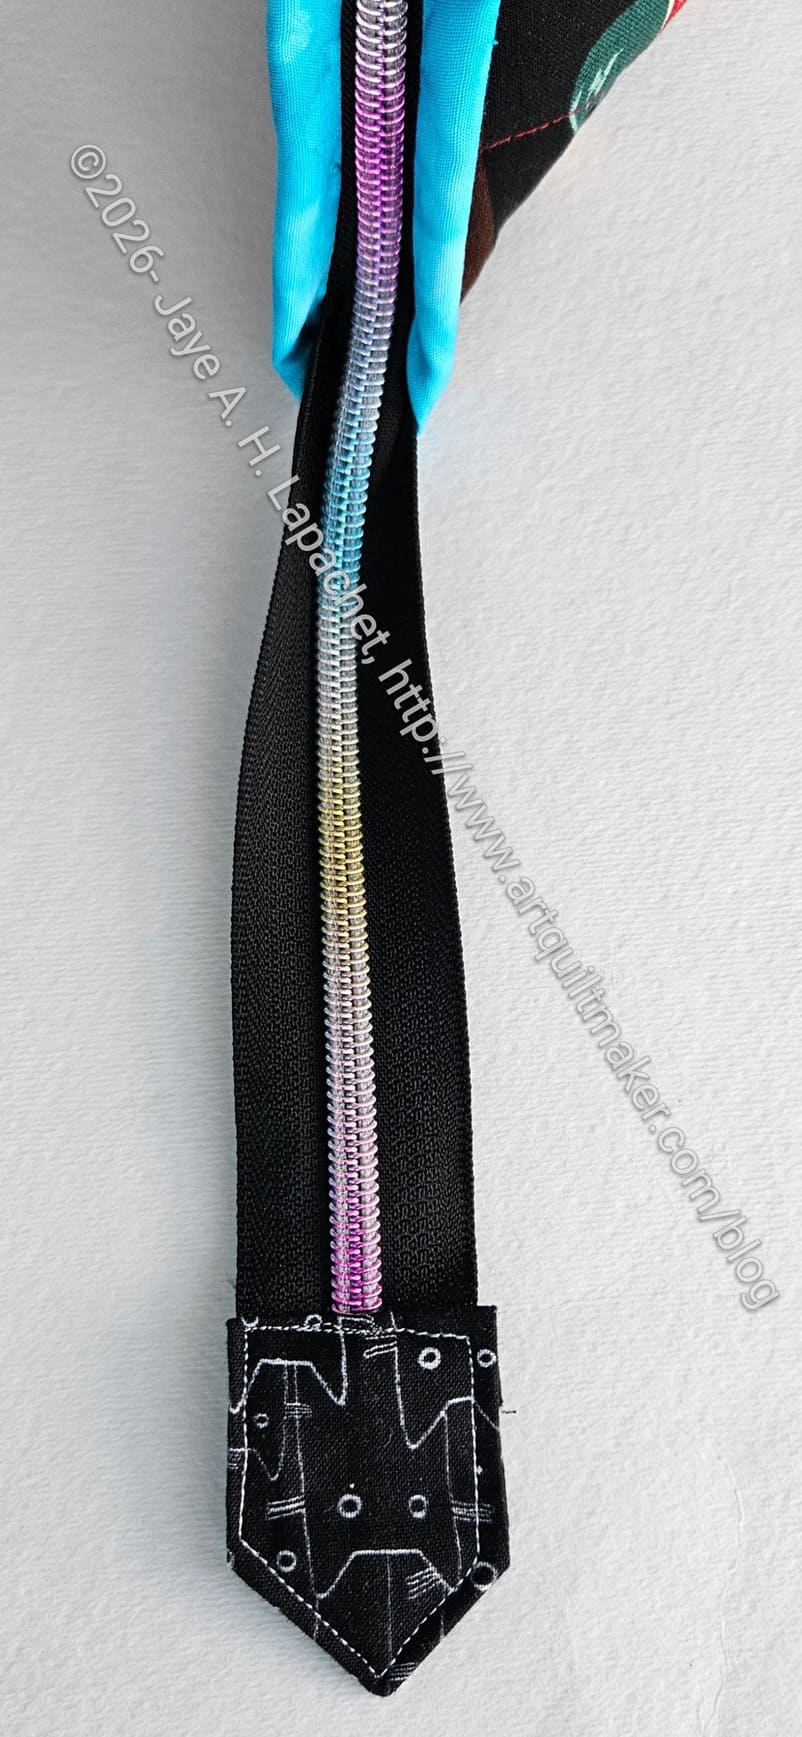
Zipper tab
The zipper was also a leftover. The tail is a bit long, but still works. I was pleased that the zipper tab technique I found on Instagram worked pretty well. I had to practice a little trial and error, but it worked in the end.
I find out interesting things on Instagram, but some of the videos are too quick and they are hard to follow. This test worked out.
I found a fun zipper pull in the shape of a pair of glasses that I added.
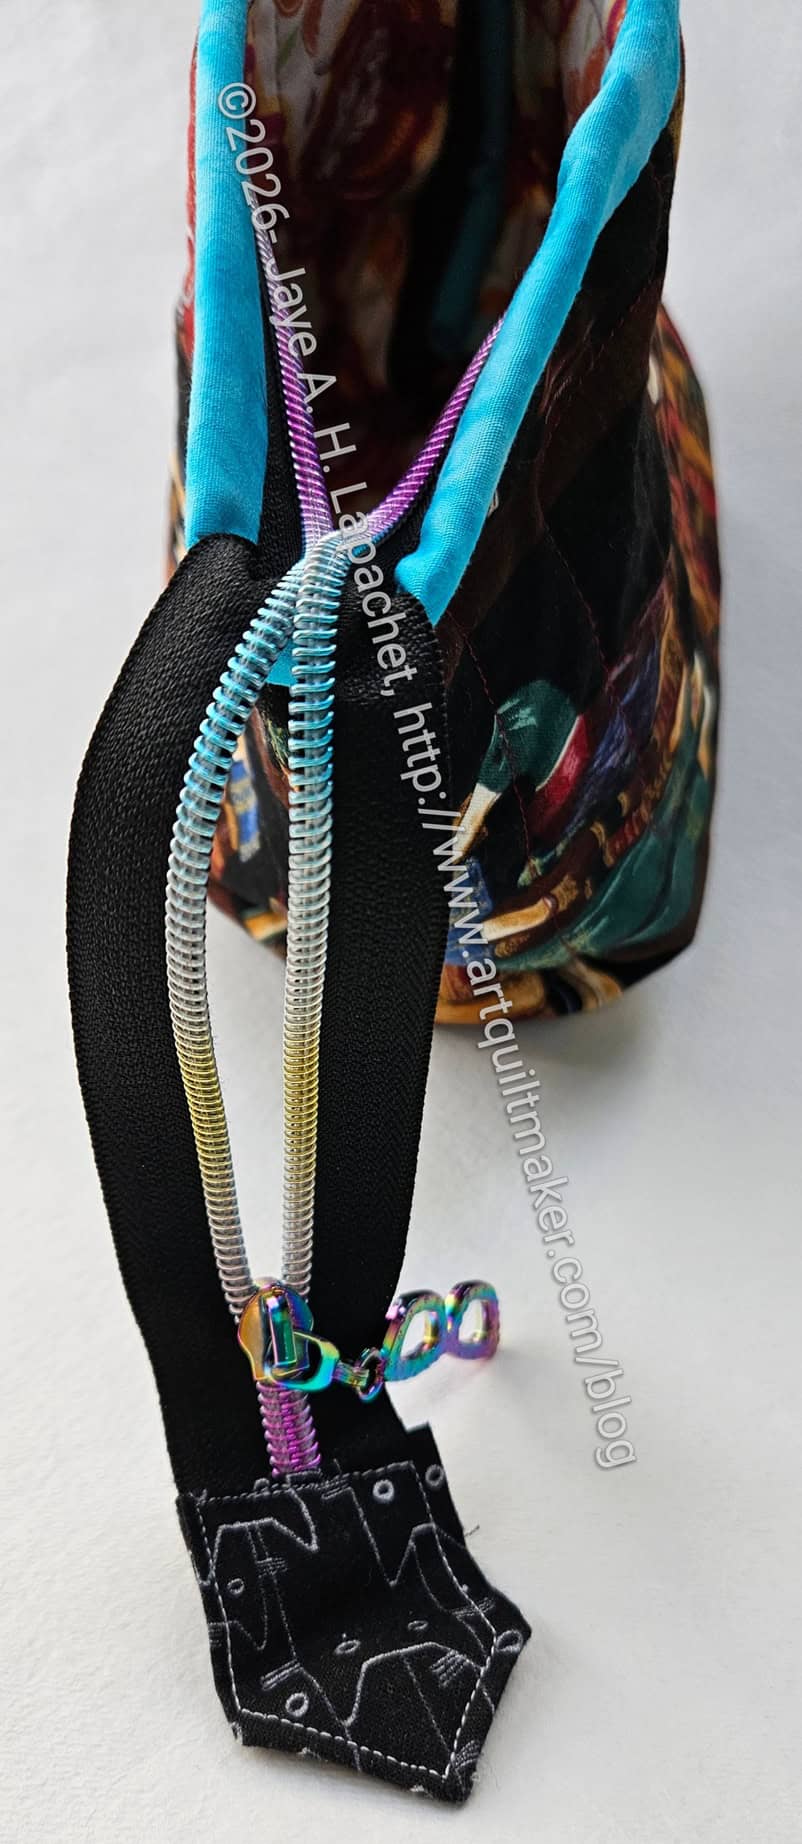
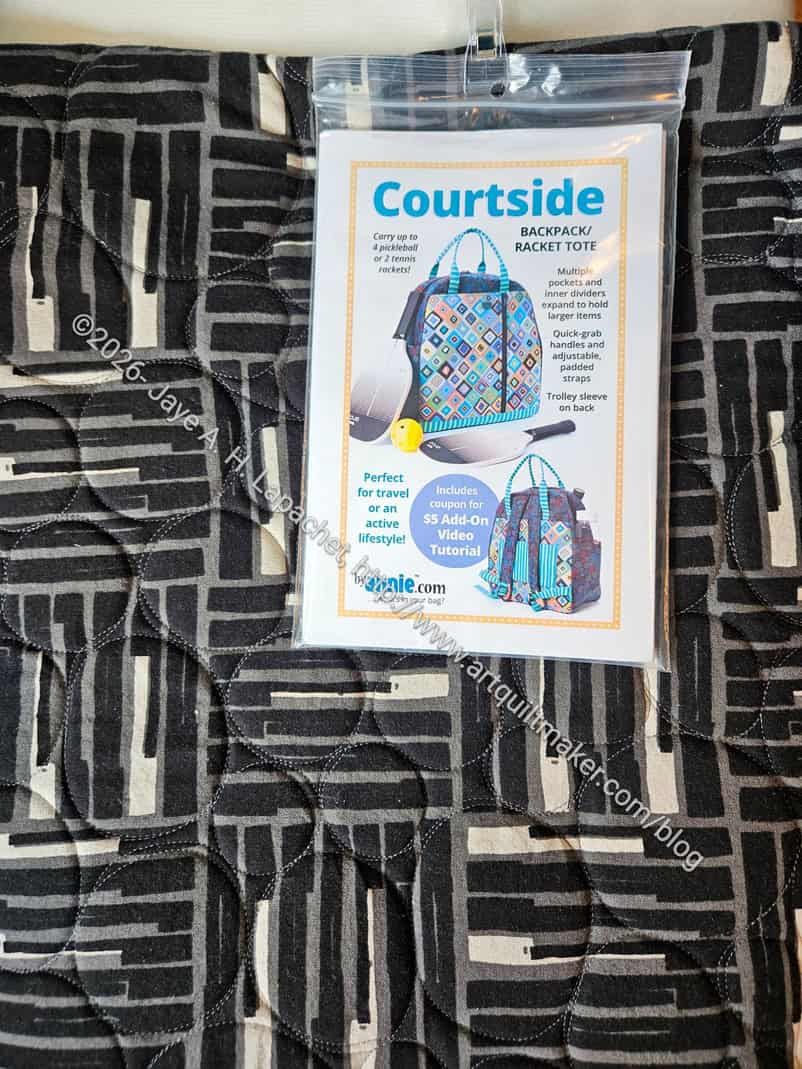
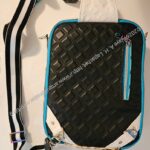
I am slowly gearing up to make the Courtside Bag, a ByAnnie pattern. I do not play a racquet sport, but really like the look of the bag, especially the vertical zipper.
The first step was to quilt some fabric. I had Colleen quilt fabric on foam for me. That step is ready to go.
I think the next step is cutting out the pieces. I am not quite there yet. I need to decide if I will add the backpack straps or make this into a crossbody bag only. I don’t have a use for this bag at the moment, but I will think of something.
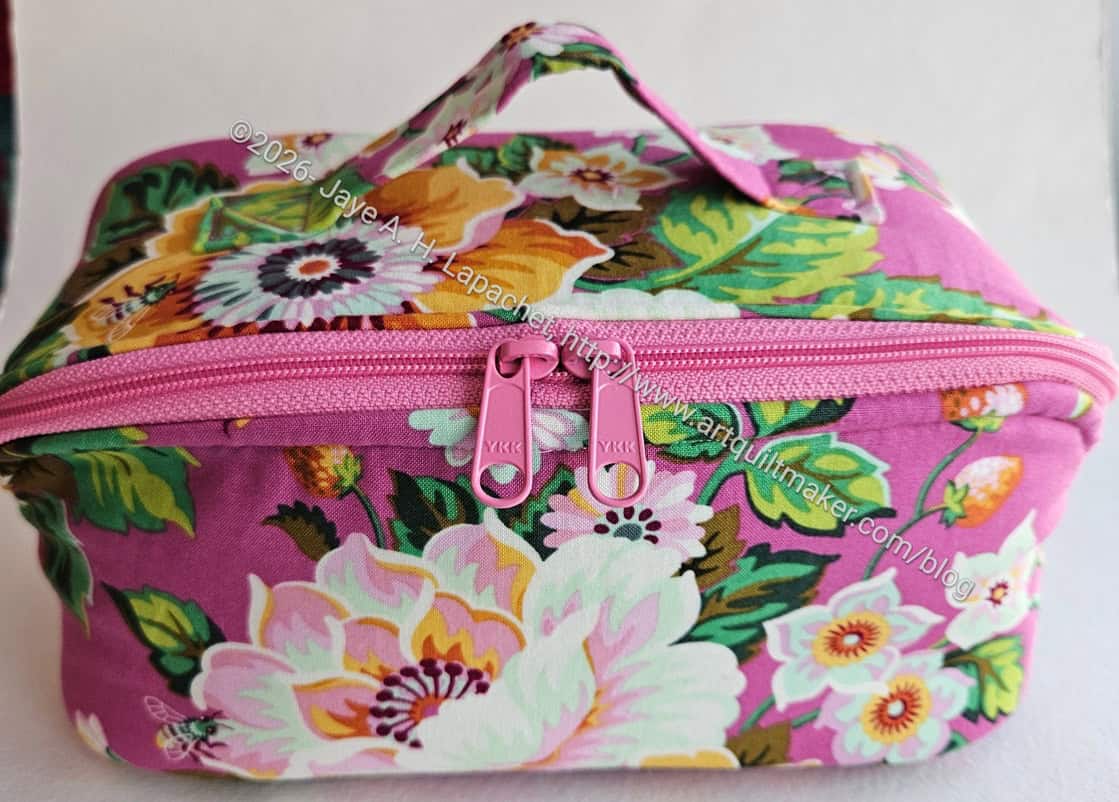
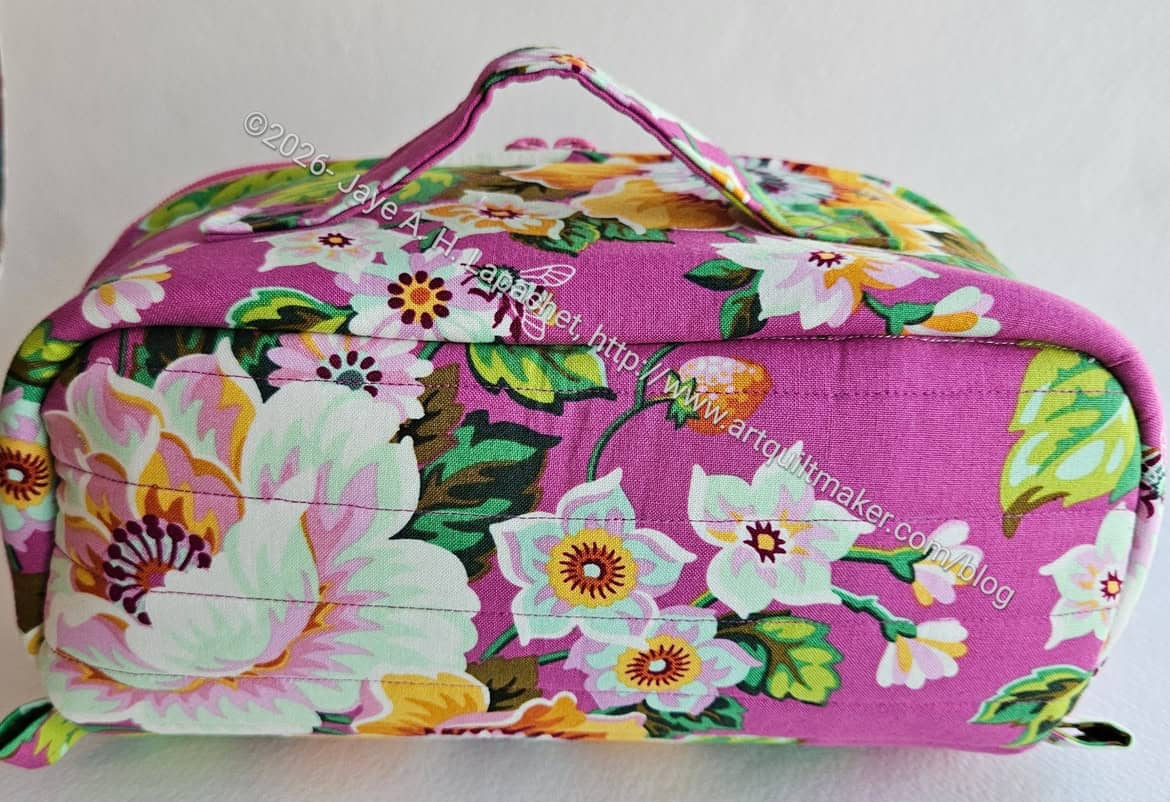
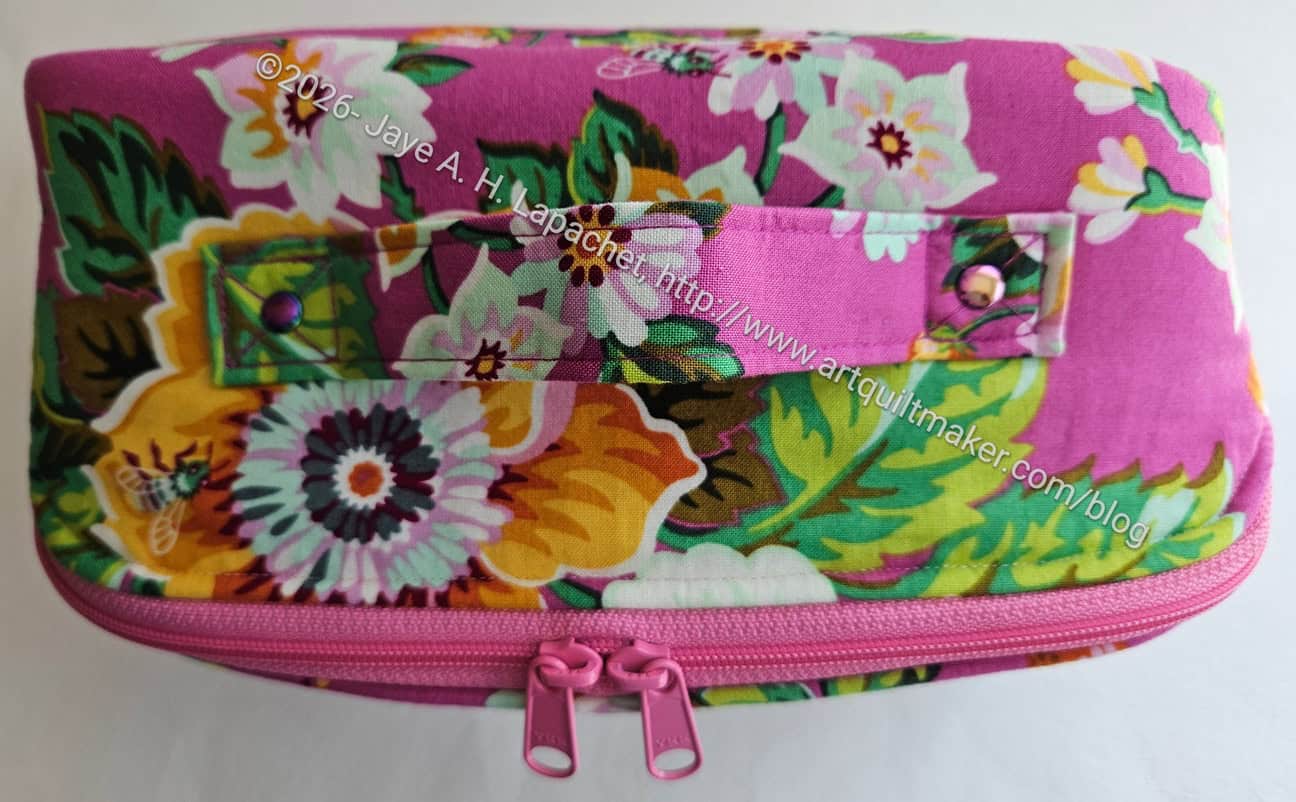
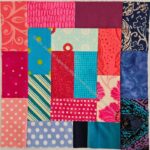
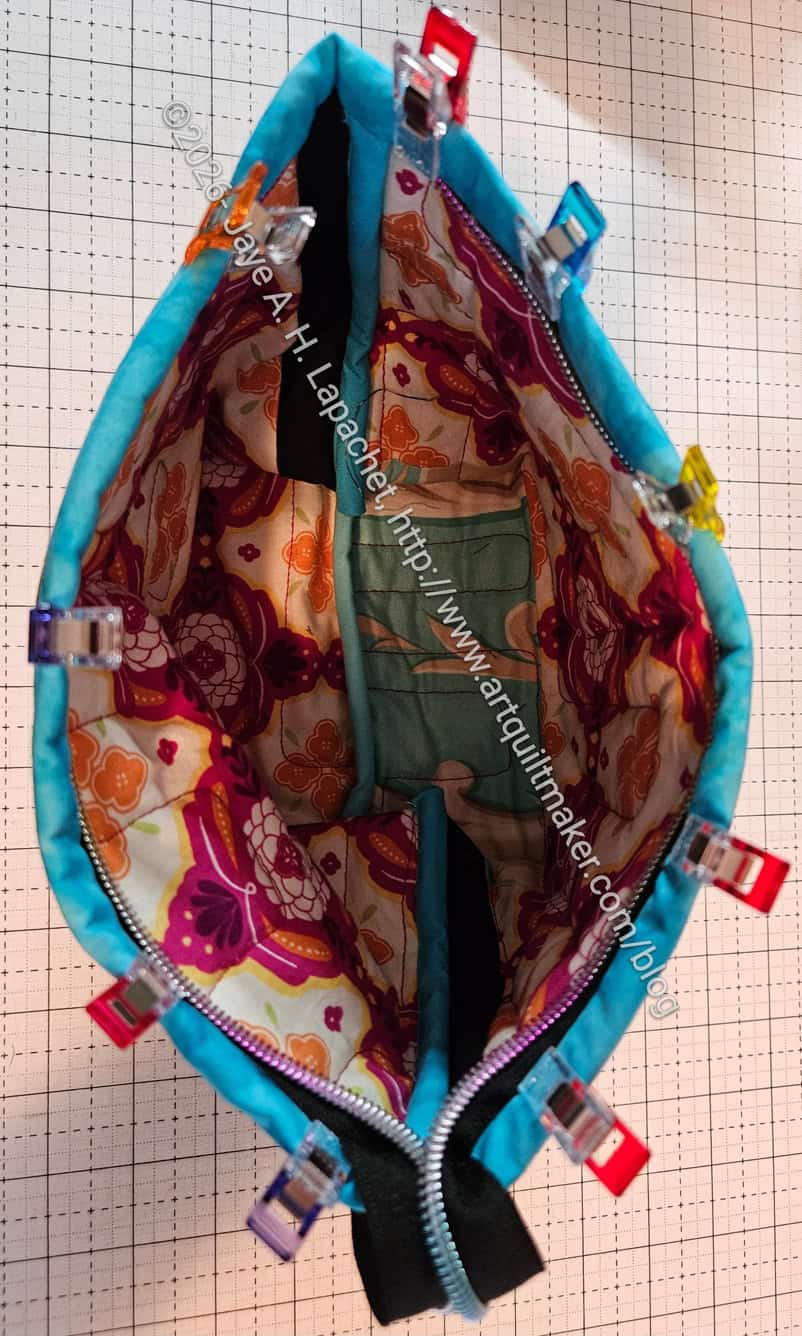
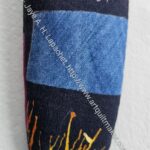
I finished and sent off this latest Enigma to friend who helped me with a project. It matches the Multi-Pocket Organizer that I gave to her last year.
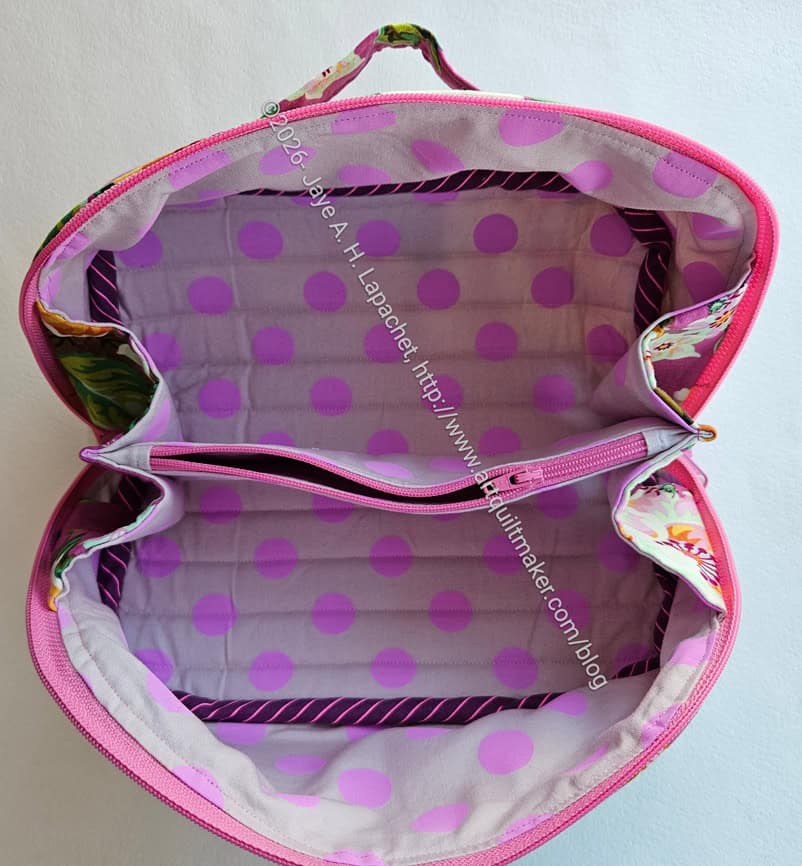
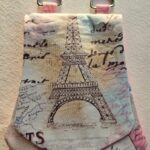
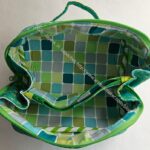
Nykky’s Rose Enigma-top, open
Like the Green Enigma, I struggled with this Enigma. Many things went wrong and I felt like this project took longer than it should have. Still, I think it turned out well and I am pleased I was able to send it off.
The Tula Pink dots look so great on the inside. This line had some challenging colorways, but the pinky-purple is a favorite of mine.
It also lightens up the inside so it easy to find things.
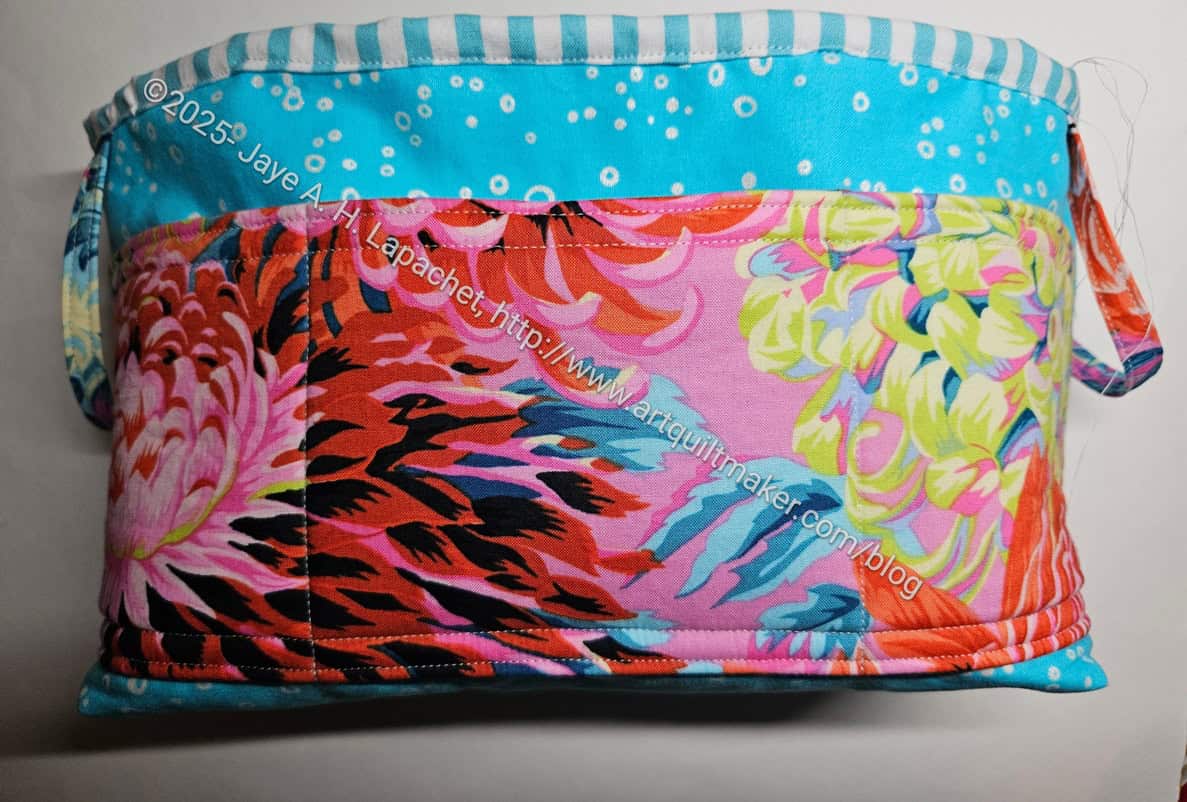
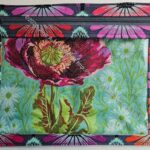
Nykky’s Rose Enigma-back
I fussy cut various parts a little bit so the roses would be highlighted on the back.
The rose pink of the background looks very cheerful. The shapes and shading of the flowers are nice as well.
Nykky’s Enigma-riveted
This is one of the bags that I riveted. Riveting the handles adds to the strength of the bag.
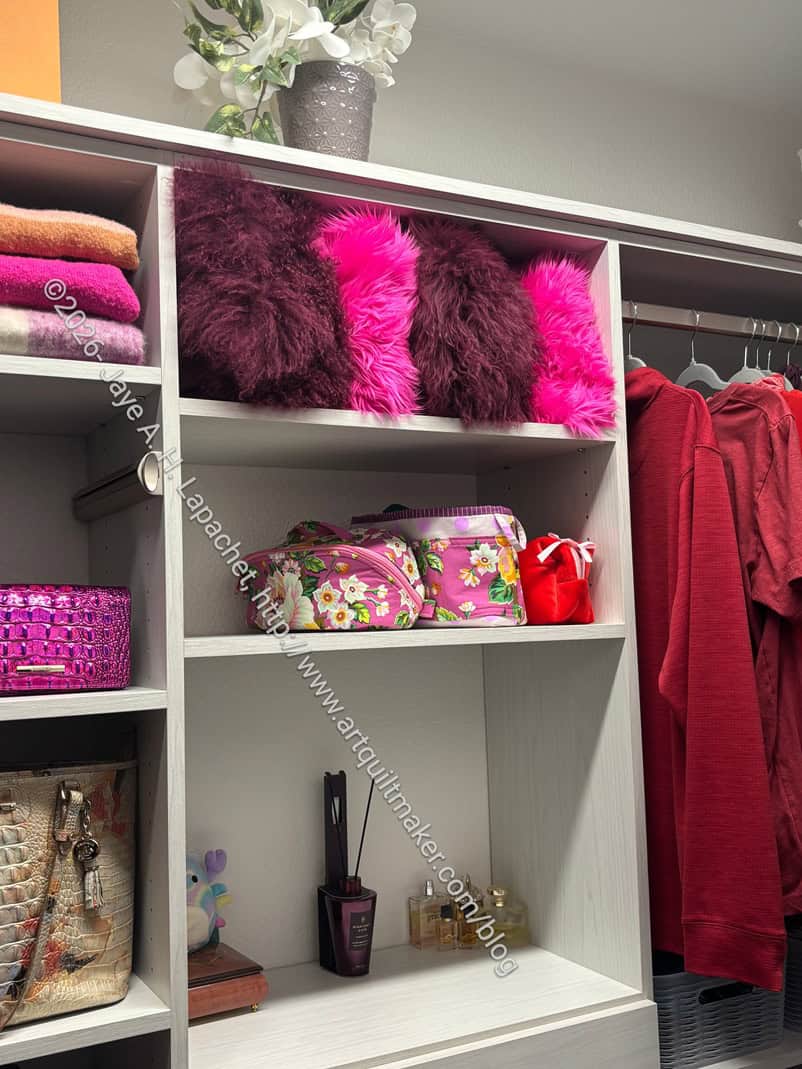
My friend sent me a picture of her closet, which she recently had redone. In it I can see the bags I have made her on the shelf.
Nykky’s closet
The next Enigmas will be finished on the Elna, so hopefully, I won’t have as many problems.
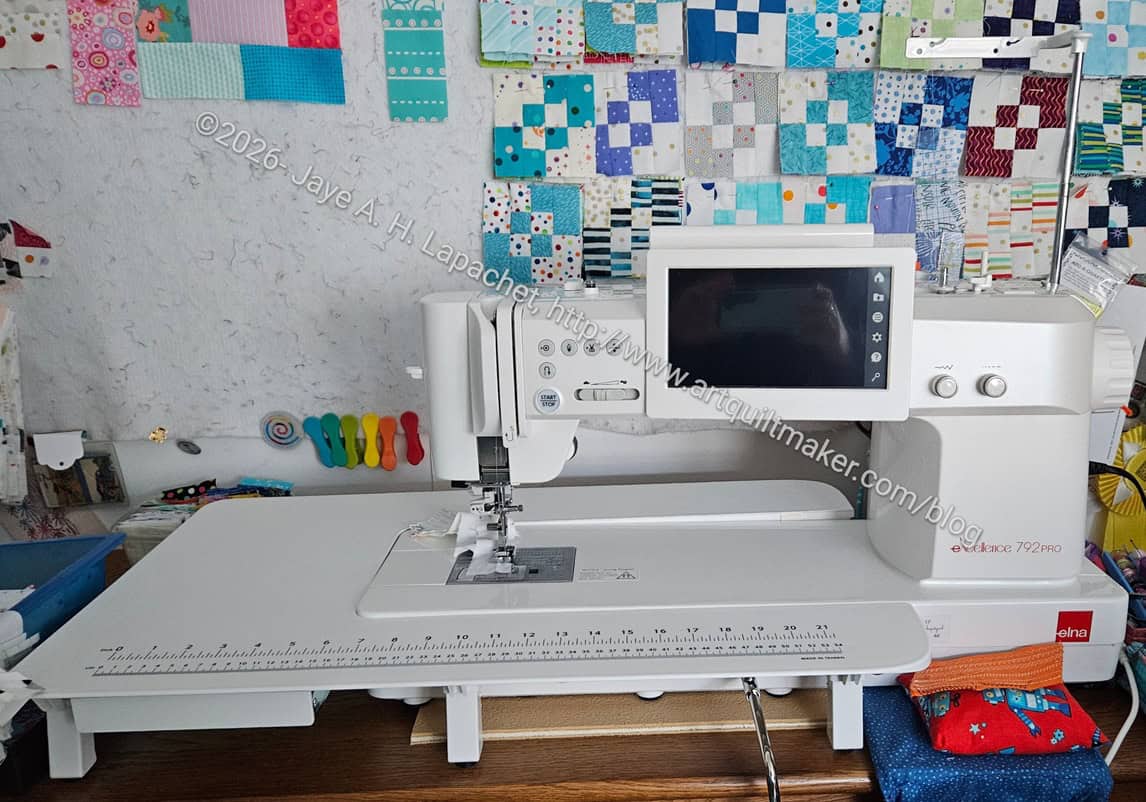
I have a new sewing machine.It has been about 10 years since I got a new machine and that one was new to me, not brand new. In reading over the post, I realized that I am still seeking a machine that will go through a lot of layers. At that time, it was the Boxcar Tote that was giving me fits. This time it was the Pandora Charisma. It has been 30 years since I bought a new machine. Will this be my last machine? I hope so, but with electronics, you never know.
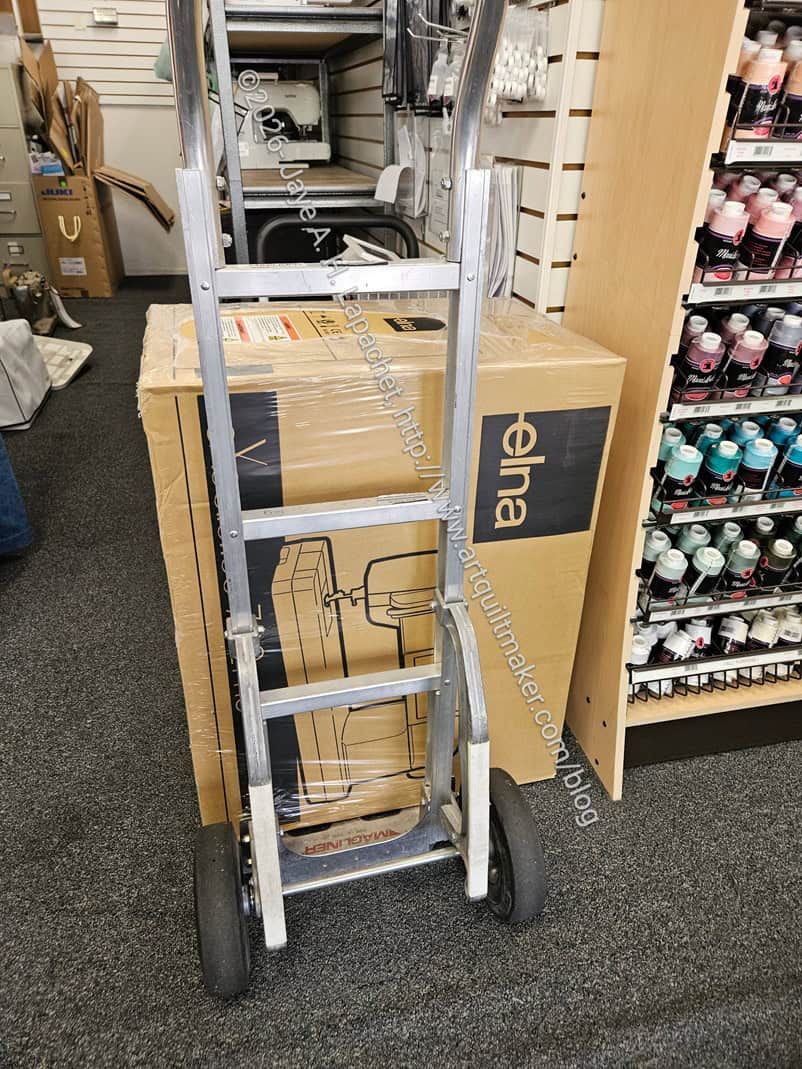
Elna in the shop
This is the Elna 792 Pro ex. I am assured that it is the same exact machine as the Janome M8, but with a lower cost. I like brand names, but couldn’t justify the added cost. Also, the Elna is white rather than grey and I am trying to keep my workroom to a limited color palette.
I was a little shocked when they brought the machine to the register on its side! The machine was well packed, so it was no problem.
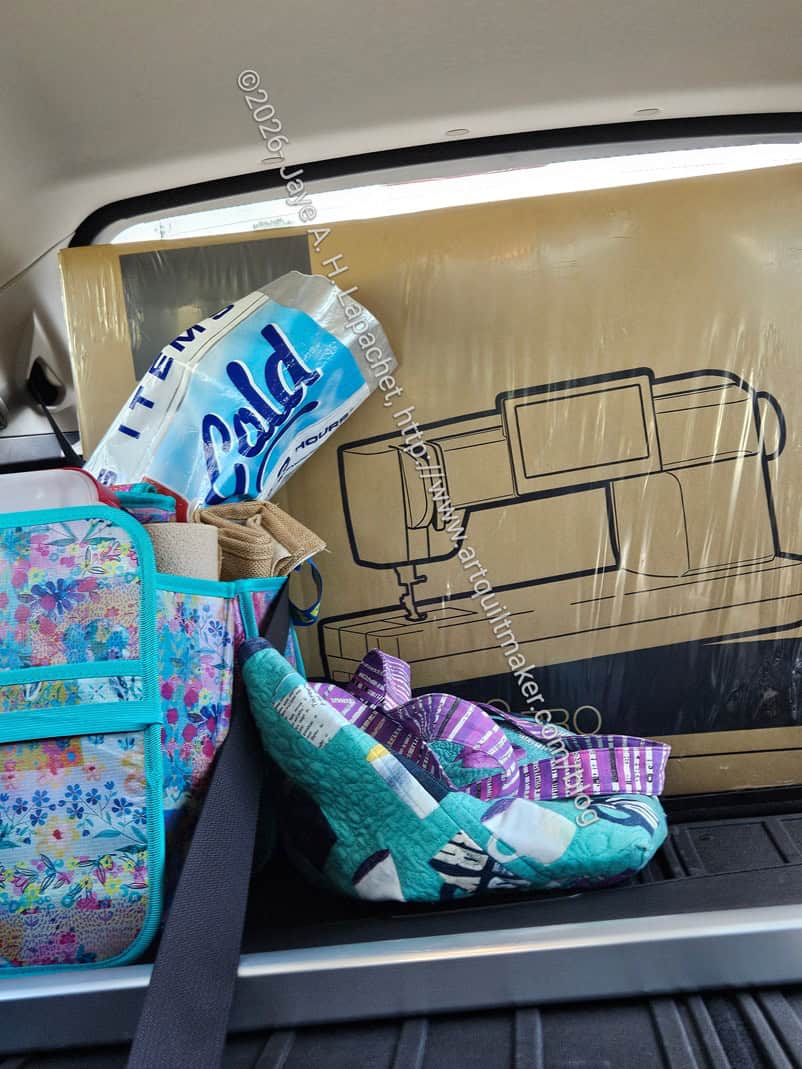
Elna machine in the car
The people at The Sewing Machine Shop put the Elna in the car for me. I had to rearrange everything, which makes me anxious. I knew it was temporary. I couldn’t see out of the back window very well driving home and that also provoked a lot of anxiety.
I set aside a day last week to get to know it and because of other things going on in my life, I sewed, but didn’t work through the manual trying all the new features. That is still on the agenda.
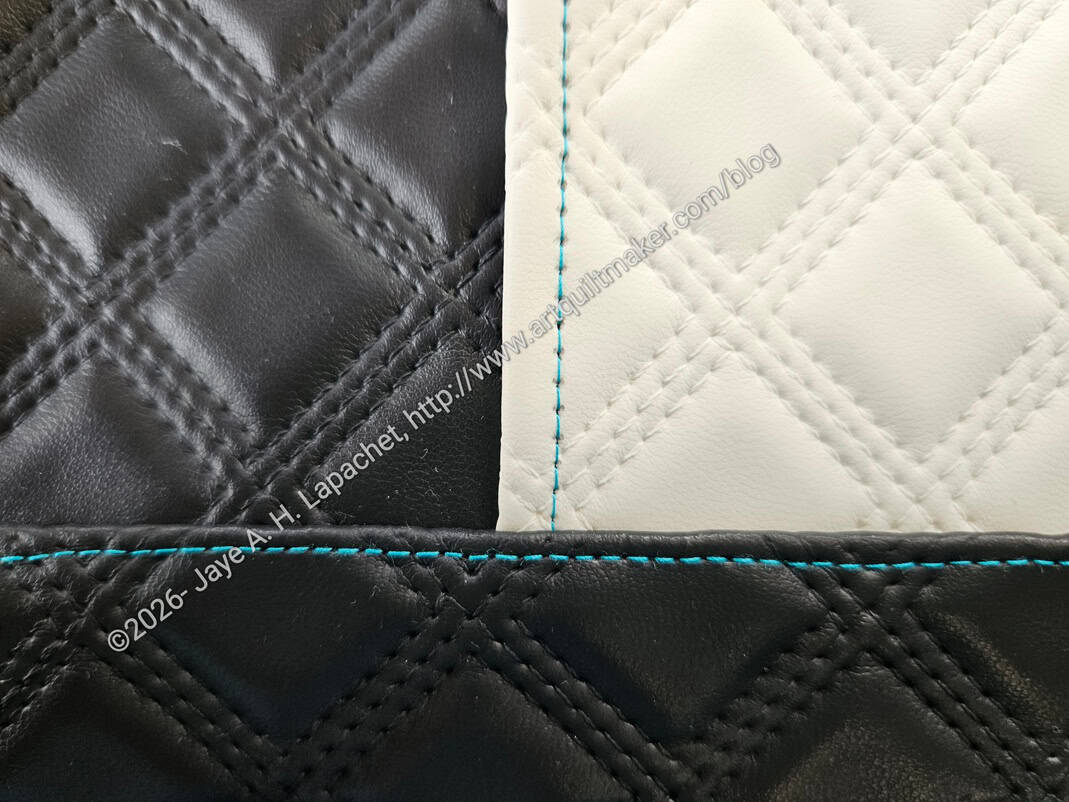
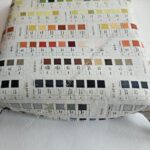
Pandora Charisma #2 front panel detail
Part of the reason I bought a new sewing machine, as mentioned, was because of Sewfisticated and the Pandora Charisma. I was chasing the machine that will go through thick layers without a reduction in stitch quality without buying an industrial machine. I might do that when I win the lottery and rent a warehouse workspace. The test stitching I did ticked the boxes. I was surprised and pleased when I read the Sewing Machine Shop newsletter recently, which said “The design of 792 Pro takes a different approach. It’s built on a flatbed, all-metal frame— more like what you’d find in an industrial machine. … Inside, it uses a brushless servo motor, which is the type of motor often found in industrial setups. In real terms, that means:
• More consistent power through thick fabrics
• Smoother operation
• Less wear over time
You don’t feel like you’re “pushing” the machine. It’s equipped with a motor and frame built to handle fabrics of all types.”
The way I read this was I got the closest machine to an industrial without buying an industrial machine. Yay! I don’t want an industrial machine, because I zigzag and use decorative stitches. I also don’t really want to collect machines, as I have mentioned numerous times.
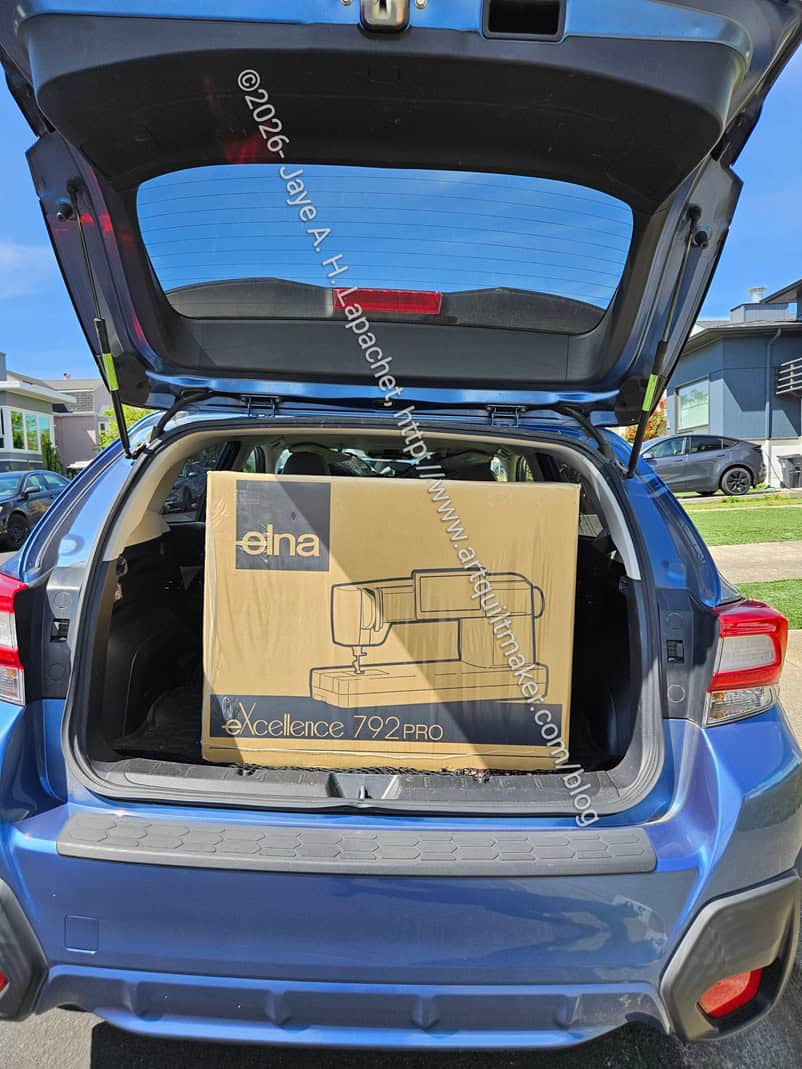
Big machine!
This is a big machine so it won’t be coming with me to Sew Day. I had to put the seats down in order to fit the machine in the box in my small SUV. The only reason I have had to do that in the past is because of quiltmaking – traveling with sewing machines, going on retreat and, now, buying a machine.
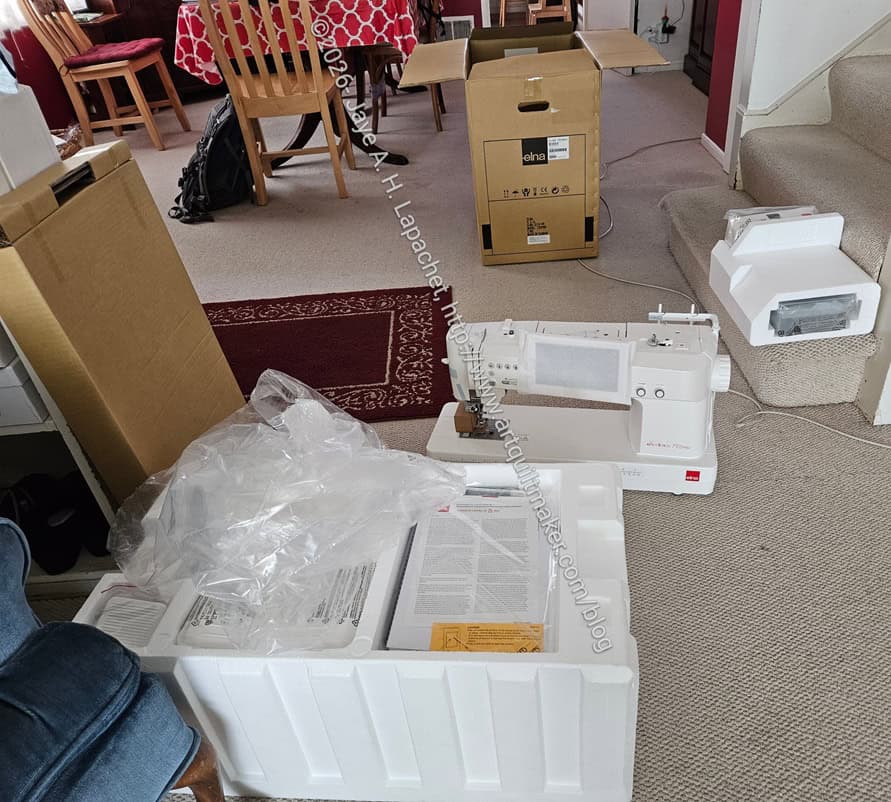
Unpacking the Elna
I had to take the machine out of the box in my front yard, because the box was too big for me to get out of the car on my own. It is a heavy machine and I could barely carry it up the stairs and into the house.
I went through everything that came in the box to make sure all the pieces and parts were included. That was kind of fun. There are soooo many feet! I have a lot to learn.
I have another Enigma cut out and I want to learn to use the HP2 foot on my own, without The Sewing Machine Shop hand holding, in order to finish it. I am going to read the manual and see how far I get. This is a slim foot similar to what I see when Sara shows how to make bags in her videos, but has a dual feed feature that squishes and holds the layers of a bag together. I tried it out and may never take it off the machine – as soon as I take the time to learn to use it.
Some of the weird substrates I have been using were purchased from Sewfisticated. Sewfisticated is pushing me to make more difficult and sophisticated bags. And there are a couple of their bags that I want to make using those substrates. I hope this machine will help me do that. I am already feeling ready to make the Pandora Allure. Maybe another gift for Lil Sissy?
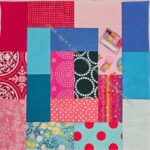
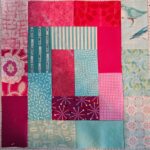
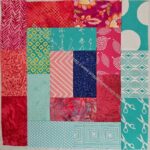
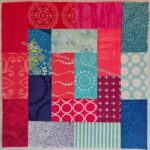
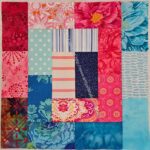
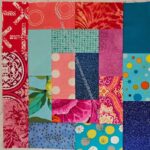
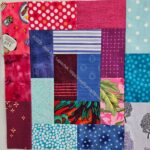
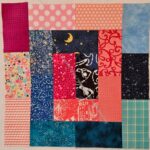
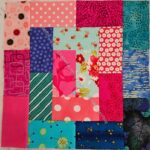
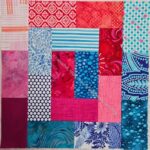
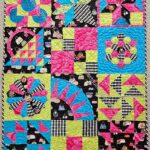
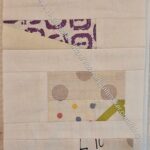
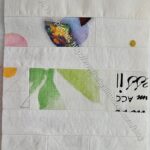
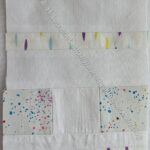
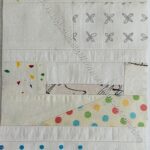
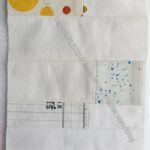
I made more Potato Chip blocks during the last few weeks. They are leaders and enders and go quickly.
Potato Chip block #5
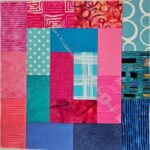
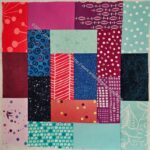
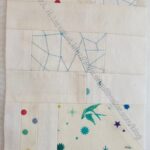
Potato Chip block #6
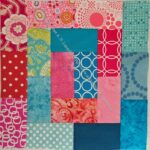
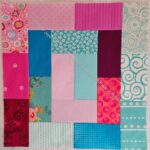
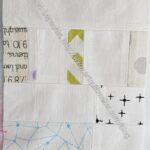
Potato Chip block #7
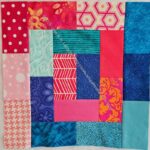
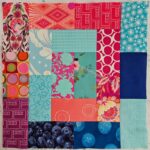
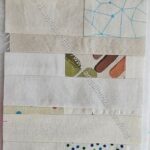
Potato Chip block #8
Potato Chip block #9
Potato Chip block #10
Potato Chip block #11
Potato Chip block #12
Potato Chip block #13
Potato Chip block #14
Potato Chip block #15
Potato Chip block #16
Potato Chip block #17
Potato Chip block #18
Potato Chip block #19
Potato Chip block #20
Potato Chip block #21
Potato Chip block #22
Potato Chip block #23
Potato Chip block #24
Potato Chip block #25
Potato Chip block #26
I was thinking about how big I would make the quilt. I think I will use up the rectangles I have made by making blocks, then I’ll see what to do with them. I don’t want to make a king sized quilt. I may have cut fewer than I think or, maybe, sewn into blocks, they make fewer blocks than I think they will.
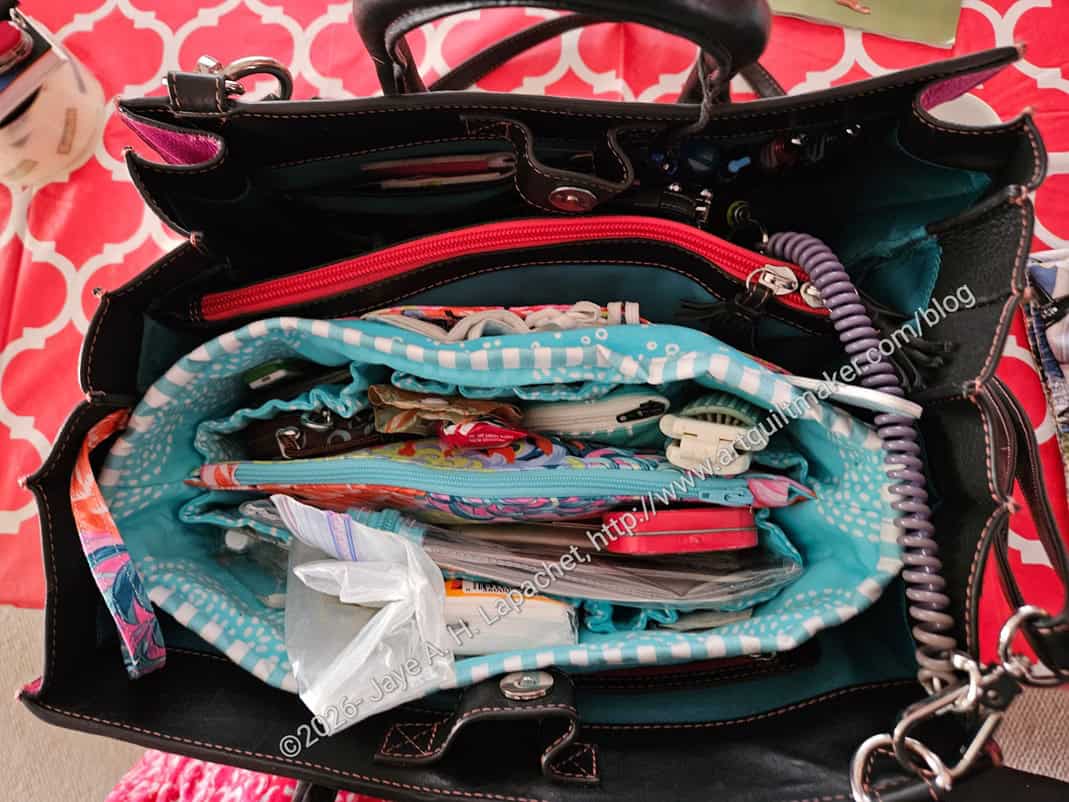
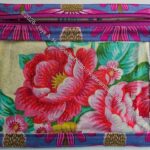
A few months ago, I was excited to finish my Multi Pocket Organizer. I finally put it in my handbag and organized all the random things into it.
🙁
My MPO in use
It didn’t work for me. I have a large handbag and this MPO is too large even for my giant purse. I knew it was big, but I did try it out when it was in progress. I am even more disappointed.
The part of my handbag shown above the red zipper is where I keep my keys and wallet and glasses. I use that area a lot, so when it is squished as shown, it is hard to access. Also, the magnet snap won’t stay closed.
Never fear! I’ll be able to use this in another bag. I think it will be good for a tote. Stay tuned for that.
I might also consider carrying fewer random items around with me. I found three different kinds of chocolate in that section of my bag and that is even too much for me!
In the meantime, I need to go back to the 37 handbag organizer patterns I have and see which one will work for this purse. The Mustang is smaller, much smaller, so I may try that one first. There’s always more fabric, right?
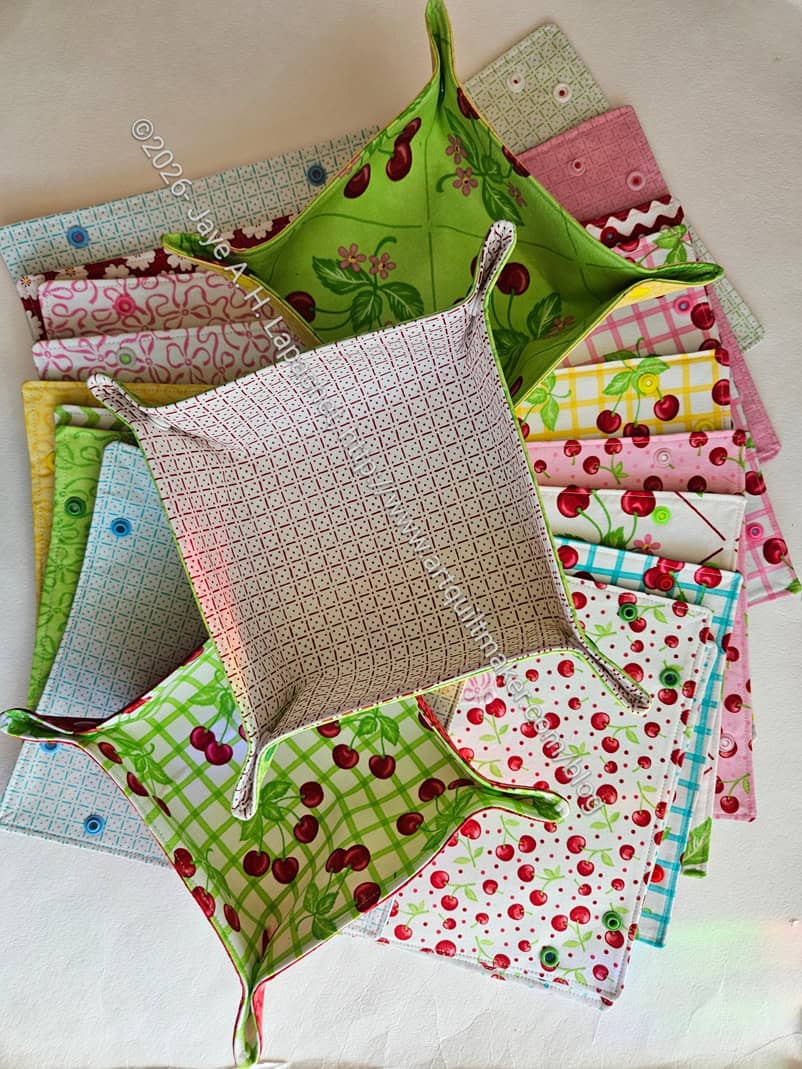
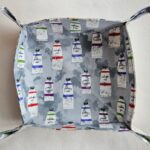
I spent a fun mini-Sew Day at SueS’ house finishing the Snap Trays. The only step I had left was to set the snaps. It is a tedious task. I was much happier doing it in the company of other people who could entertain me.
I am a little concerned the snaps won’t stand up to hard wear. I tried really hard to set the snaps firmly, but we shall see.
As I may have mentioned, I used a layer cake, which produced about 20 snap trays. I still want to make a rectangular version for my Quiltmaking Go Bag.
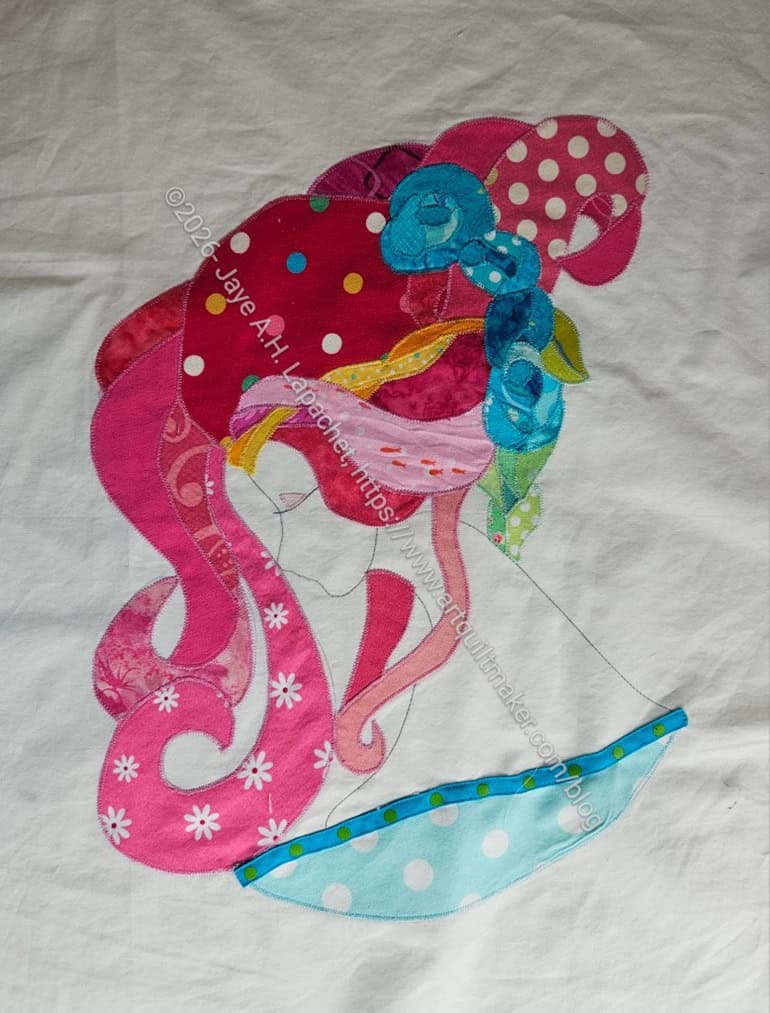
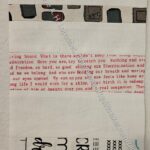
I was able to repair the tear on Serendipity Lady and move forward. Repair is a bit of an exaggeration as I just appliqued a piece of ribbon on the edge and called it done.
I was inspired after reading a novel about debutante balls. It made me think of the trim around those ballgown/ tea dress types of dresses. I am not sure of the era in which my lady resides, but I thought it was an appropriate way to fix the tear.
I am not going to be able to finish this piece before today’s UFO Challenge deadline. I really wasn’t inspired about the quilting and I don’t know my machine well enough to do the careful work I do know I want to do. I have kept up pretty well and am excited for the next project. I am not giving up on finishing Serendipity Lady. Today is just not that day.
A reminder popped up for the birthday of a librarian friend of mine. I still have some leftover bits of quilted book fabric from when I made covers for the leaves of our dining room table. On the spur of the moment and despite all the other projects I have going on, I decided to make her a pouch. After some thought, I decided to use the Bristol pouch pattern from Center Street Quilts.
Book pouch in progress
I used the pattern as a guide rather than following the exact directions since I didn’t have the exact pieces or sizes. This would never stand the test of an experienced bagmaker and it isn’t a terrible pouch, but for a non-sewing person, it is ok.
Book Pouch – zipper tab technique
I used it as a bit of a test for a couple of techniques. One was the zipper tab, which is a technique that IG has been shoving at me through their “you really should follow this” algorithm. I was pleased with how it came out, though I had to rip and watch the video a few times and I think I have to measure the size of the future zipper tab more exactly next time. The video (reel) doesn’t have sizes.
I also used a bit of a larger zipper (#5) that was extra rather than a dress zipper. It is a pretty zipper with rainbow teeth and looks good.
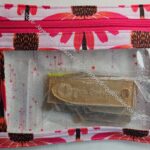
Book Pouch top
The Center Street patterns usually include binding inside seams and this pattern is no different. I found them to be really thick and probably should have tried to cut away some of the batting in the seam allowance.
If I haven’t done enough sewing this month, I blame my mom. 😉 I spent an entire day clearing out one of my mom’s storage units and consolidating all of her stuff into one unit. It was even stuffed, but I made her promise not to enter it after an earthquake. There are some teetering piles at the back.
The Saturday started at 6:30am. I got up, packed lunches for us all and went to get my sister from the airport. She lives in Portland so it is a short flight, but still makes for a long day. We drove 2 hours out to the storage facility. Mom was already there doing….something. We aren’t sure what. We looked in all the boxes, found most of the stuff she wanted and cleared out enough stuff to save her some money every month.
Then we drove back to the Bay Area, another two hours, got Lil Sissy some In ‘n Out (IYKYK) and took her to the airport. It was a long day and I was tired and sore the next day. I did a good deed, but that meant no sewing.
I still have UFOs. Who doesn’t, after all? A project in the ‘UFO’ category means I am stalled, it hasn’t been worked on in awhile or it is waiting its turn to be worked on. The list is a lot shorter and the projects are newer, for the most part.
Remember to sign up to receive notices of new posts in your inbox. The signup is right at the top, on the right of the blog.
I also updated the Minikins page with the new I Spy pouches I made. I am really sad that Sara isn’t continuing this series. It was probably too much work.
The Quilts in Print page has also been updated. Check out the list to find books that, at least, mention quilts.
You have two days, including today to sign up for Quilt Spark Live. Use the Code QSSpark26EQ for a discount. QuiltSpark LIVE 2026 is a live, online event on April 30. This one-day program features Rashida Coleman-Hale along with classes on quilt design, piecing accuracy, 3D and bojagi-inspired techniques, and more. C&T Publishing and Electric Quilt are sponsors.
Tobi, a bag designer in Nigeria, had her studio collapse. Her friend Emma has set up a GoFundMe to raise money to help her. You can help her this way or buy one of her patterns. She has a fun style and her bags are wonderful for special events. I am thinking about the Annie Tote Bag. Yes, I have a ton of tote patterns, but I can use this one to make a President’s Bag for the guild and it will help another woman. Another thing I liked about her site is the link to her bag testers. Such a kind thing to include.
I didn’t know there was a garment and apparel sewing studio in Alameda called the Sewing Room. It is at 1419 Park Street. They specialize in Apparel Sewing and Fashion. Their instructors have experience with garment fit, construction, design in both the fashion industry as well costuming. They have a lot of classes for all ages.
I watched the Sew Sweetness Live show the other day and Sara talked about Missie’s Fingertip Stiletto. She has a short video on how she uses it. I thought about getting it as gifts, but thought it was a little expensive for a tool that I wasn’t sure friends would use. I am not sure I would use it, so I’ll have to think about it.
I recently arranged a demo at a guild meeting showing how to use quilt magazines on the Libby app. As a result, I have been leafing through Love of Patchwork and Quilting on Libby. One of the things I saw was an interview with the owner of Grape Soda Studio in the UK. The site is super colorful, but I love the patches she has. I have always been a fan of patches and collected them as a child on my travels. I have a quilt in mind with the patches, so having a few quilt patches would be awesome as well. The shipping is from the UK, however, so not an option at this time.
Exhibits and Organizations
Bay Area Modern would, of course, love to have you as a member. However, if you are looking for a guild in another California location, check out this list of California guilds.
Media & Articles
Check out Marie Bostwick’s garage to sewing room conversion post.
Del Quilts posted a photo of one of Ruth McDowell’s quilts back in 2018 and it showed up in one of my feeds recently ?!?! Lovely! However, algorithms are stupid.