I did some processing of the various ‘ends’ I had received back from Colleen over the past few months. I decided I had enough to make another donation top.
I spent a little time looking through my patterns to try and resolve my scrap organization problem. Once I found a few I decided to make the Desktop Cube from Minikins Season 1. As mentioned, if this doesn’t work, I’ll make a Faithwell Storage Bin and see if that works better. If neither of those work, I’ll rethink.
The Desktop Cube is a pretty easy project and I was able to make it in a few hours while I sewed with Tim. I am also thrilled to make another new-to-me Minikins pattern. It will beef up my Minikins page. ;P
Desktop Cube with scraps
I brought it home and immediately tossed my scraps in it. Of course, they overflowed even the large size I had made right away.
I am undaunted! I need to process the scraps I have now before I decide that the Desktop Cube won’t work.
Note that I used new fabric for the Desktop Cube! I bought that fabric at Boersma’s last month. 😉
I finally decided to lay it out and see what needed to be done. I finally laid it out and inventoried the different blocks that I had available.
I am farther along than I thought.
The image above shows my first layout with what blocks I had. As you can see, I have been adding sashing to certain blocks even though I have not seen them up on the design wall.
Green Strip donation top #2 in progress (v.2)
I had enough blocks to add another row, so I did that to see how it looks. I know it is going to be a weird shape again, but I decided that using up the blocks was more important than my worries about shape. If I were really worried about shape, I would make square blocks.
I have sashing cut, so I prepared sashing and cornerstone strips for the last blocks and see how far I can get in the next little while. I really feel like I need to get this quilt off to the Community Quilt ladies.
You can see that the small design wall is filled. I still like the improv pieces; I just haven’t gotten back to them, though I have a few more scraps to add to each one.
The Ombre Weave blocks are there to remind me where I am going. I have 40 of those blocks sewn already. I might need to get more fabric as the blocks are small and I don’t want to make a miniscule quilt for a teenager.
Pantone Project – almost layout
On the large design wall is the Pantone Project. I haven’t made any more progress since my last post, but progress is coming. It is too long and thin, so that is one challenge that needs to be resolved.
This all means there is no space to lay anything else out. I guess I should work on these projects.
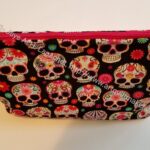
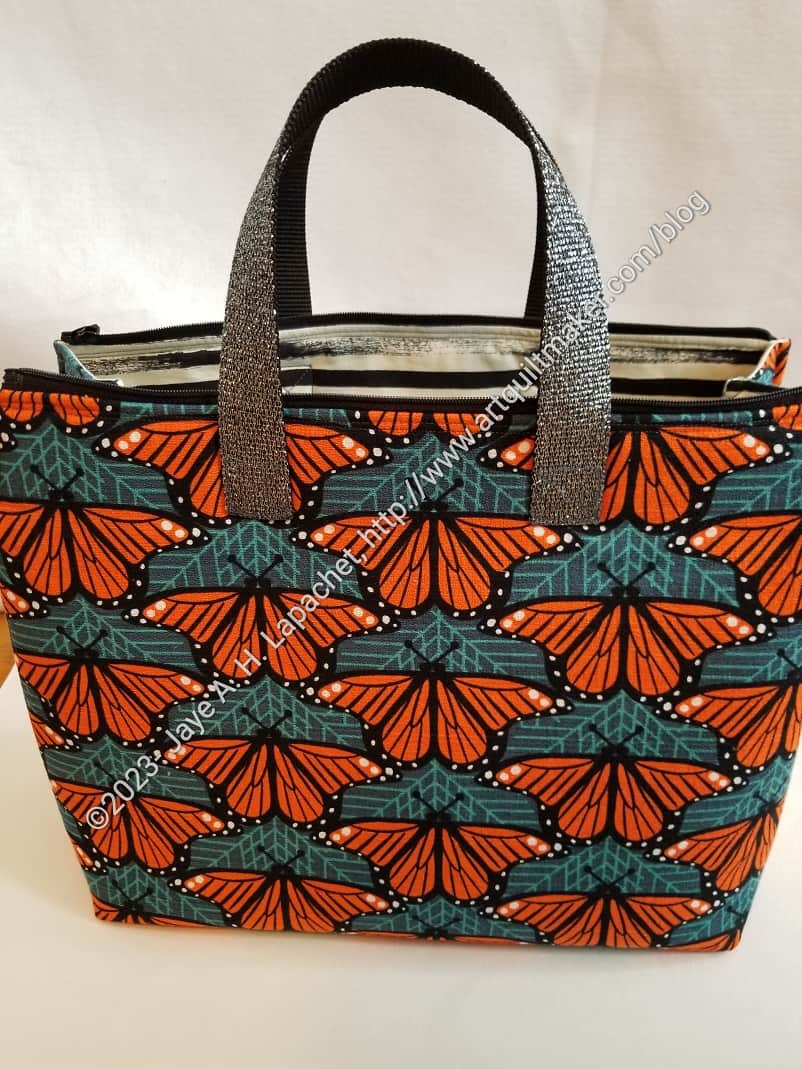
I got a border print thinking it would be great to use in a bag. I like the idea of the denser motif being at the bottom and thought it would be a great look for a bag.
After thinking about it, I decided that the free Retreat Bag pattern from Emmaline Designs, enlarged, would be a good pattern to use. I couldn’t find information on the enlarged version I had seen, but got a video from a friend that was really helpful.
I am pretty sure I saw a bag using a border print. I am also fairly sure I took a picture, but I can’t find it. I am starting to put inspiration in a tool called Notion, so I hope it helps eventually.
Large Sugar Skull Retreat pouch
Large Retreat pouch -aerial view
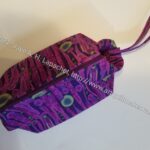
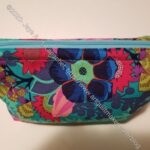
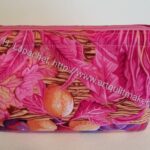
Retreat Pouch #2
Retreat Pouch closed
I thought I had made more of these bags, but I have only made four. It is a good pattern and I can now find the frames (Small = Style A**; Large=Style B**) on Amazon.
**N. B. : Obviously, you should shop at local quilt shops and small businesses. However, if you are too busy or can’t find what you need there, I use Amazon affiliate links and may be paid for your purchase of an item when you click on an item’s link in my post. There is no additional cost to you for clicking or purchasing items I recommend. I appreciate your clicks and purchases as it helps support this blog.
While I am thrilled that I was able to complete the Ultimate Carryall Bag, it isn’t working for me as a tote for hauling tools to Sew Days and Retreats. One reason it isn’t working is that I forgot to interface the inside pockets and the quilt weight fabric alone cannot stand up to my hard use.
It occurred to me that the one thing that worked for my old Quiltmaking go bag (going to Sew Days/Retreat system) was that the tote bag I used allowed me to be modular. I could put in my Tupperware box of tools as well as rulers and other things as needed. In the Ultimate Carryall Bag, items have their dedicated space and other, less used, supplies I need have to be crammed in where they can fit. The UCAB is bulging.
Finished: Kit Supply Tote
Yes, I have the Kit Supply Tote I made to replace the UCAB. My original idea was to make myself a Running with Scissors Tote (RwSt) using some of the quilted fabric/foam that Colleen quilted for me to organize my tools inside the Kit Supply Tote. I still have to measure to make sure the RwSt will fit in the Kit Supply Tote! I just haven’t gotten to the measuring or the making yet. I have the pattern** on my cutting table as a reminder.
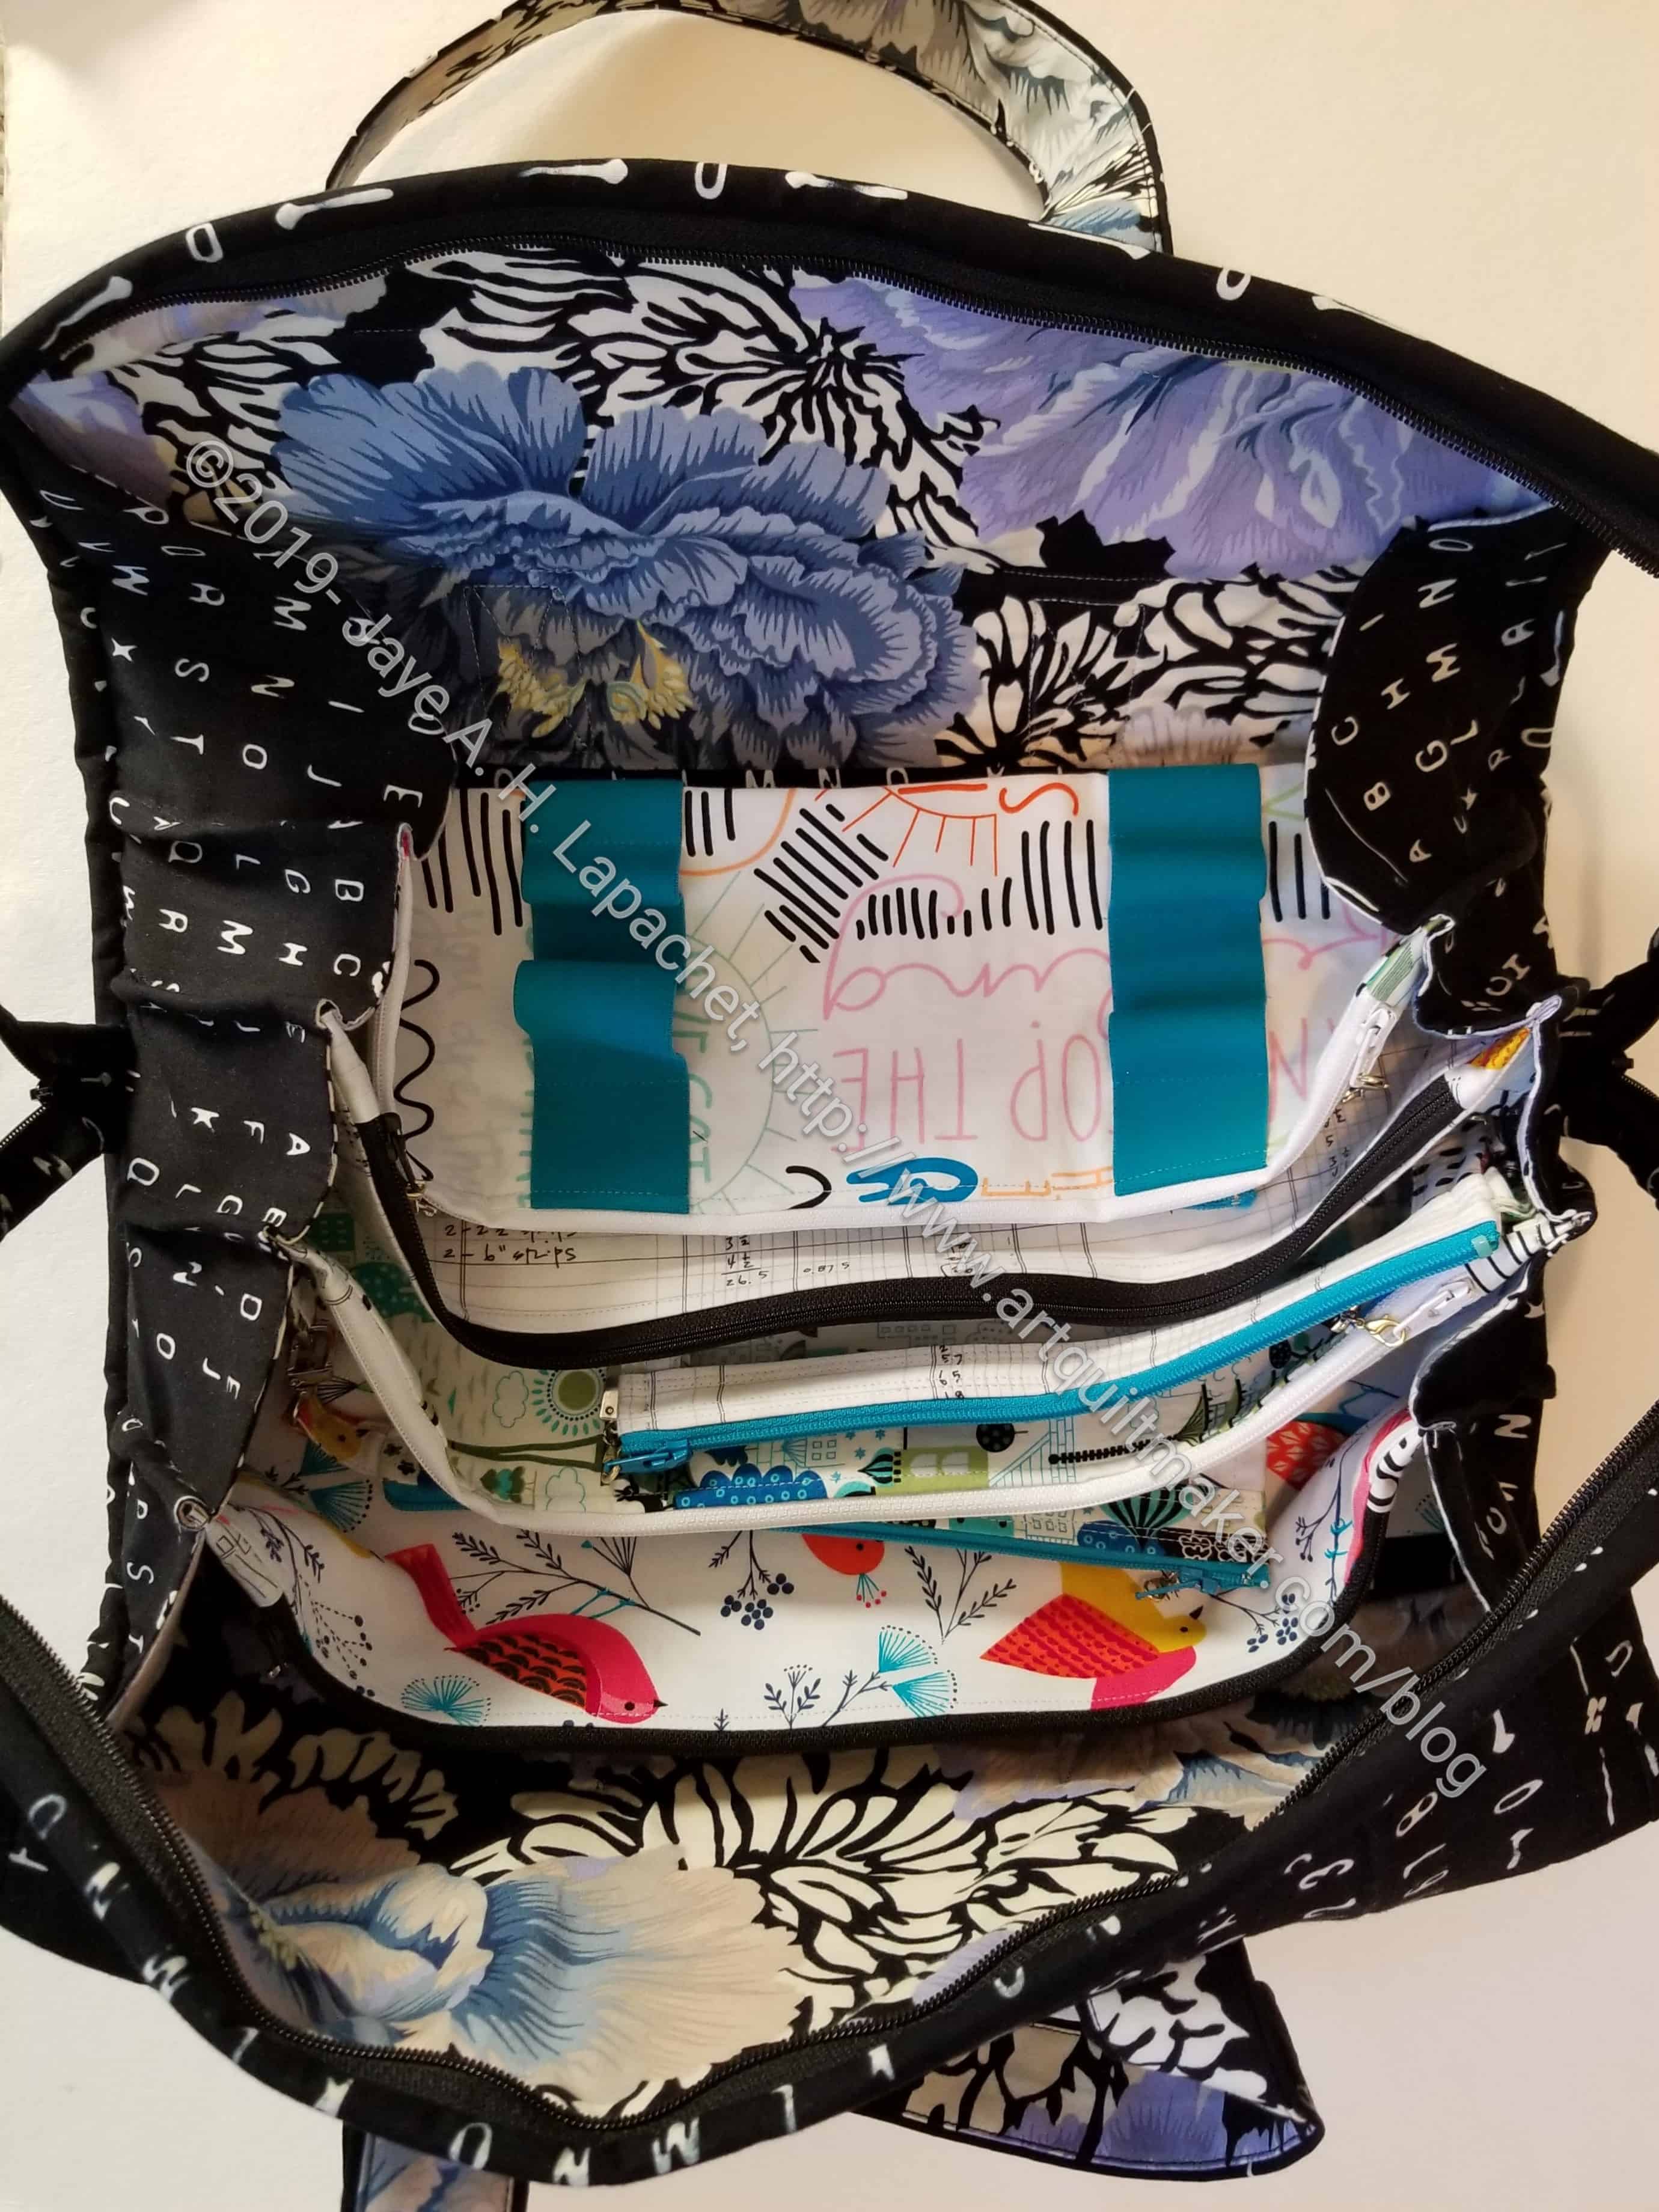
All Rolled Up tote with handles: open
This problem has been on my mind for awhile. I have searched through my patterns as well as available patterns to see if I could find another bag that would work. The UCAB is pretty unique in its design as a quiltmaking/sewing tote. I really haven’t seen anything else like it. The All Rolled Up Tote is a great bag, but somehow I have never considered using it for this purpose. Perhaps I should. It currently holds a lot of embroidery supplies.
Crafty Carrier by Ellie Mae
I was thinking about the problem again as I was organizing the fabric and patterns I bought on my trip.
Awhile ago, I checked Etsy to see what was available as ready made or in pattern form. I found some bags that might work. One was the Crafty Carrier by Ellie Mae Designs. I came across the pattern and pulled it out.
I bought this pattern a long time ago, on a previous trip to Portland, at a shop called A Common Thread. (N.B.: I don’t know if that shop is still business.)
Crafty Carrier exterior in process
While I have a lot of projects in the queue, I started working on this bag over the weekend. Sometimes I have no self control about what I work on!
I cut out everything and interfaced almost all of the pieces on Saturday. Then Sunday, I started to sew. I am making good progress. The picture shows the exterior (inside out) without the bottom
I am using a lot of canvas and Essex linen-type fabrics. You can see the Echino I bought at PIQF. I am thrilled to be using fabrics so soon after purchase!! It is so fun to buy fabrics and use them right away.
The inside doesn’t have many pockets, so I added two, but also thought about keeping it empty so I could put other carriers inside for the modular idea. I could have put an inside zipper pocket, but I didn’t think of it and it might be a bit too late.
Anyway, progress. I think I’ll have to make the Running with Scissors tote sooner rather than later. Having one with my various tools organized and together would allow me to tuck it into whichever bag I was taking to class, retreat or Sew Day.
**N. B. : Obviously, you should shop at local quilt shops and small businesses. However, if you are too busy or can’t find what you need there, I use Amazon affiliate links and may be paid for your purchase of an item when you click on an item’s link in my post. There is no additional cost to you for clicking or purchasing items I recommend. I appreciate your clicks and purchases as it helps support this blog.
Last year when I went to visit my team in Basel, I took the women on the team some Cork I Spy pouches. One of the team sent me a picture of her pouch on a boat in Croatia.
The photo is amazing and I am thrilled that my pouch got to go somewhere I have never been.
I decided at the last moment to make a storage bag for the baby quilt that was off to San Diego earlier this week.
I wanted to use the Jeni Baker of In Color Order drawstring bag pattern, but for a variety of reasons it wasn’t available. I have made enough of those drawstring bags that I have an idea of how to make them.
I used the steampunk fabric from Feather Your Nest in Gresham. The fabric paired well with some black and white stripes I had available. It is also perfect for my niece.
On a good day, my cutting table is small. Tim laughs at the size of my cutting table. His is twice the size. My small cutting table is the reason I do so much cutting at Sew Day. Having space to lay out large pieces of fabric and use big rulers is a luxury. When half of it is covered with scraps and patterns, there is really only a small amount of space to cut.
Scraps and patterns that were on the cutting table
It only looks this good, because the two giant piles, one of scraps and one of patterns, I had to the right of the tool caddy fell off yesterday. They are still laying on the floor, because something has to change.
This happens, if not frequently, then regularly. I keep walking past the mess and thinking about what to do. I think what I need to do is throw scraps into some kind of bin and then deal with them when the bin gets full.
SueG made me some small bins which I use for thread scraps. A larger size would be great. A One Hour Basket or the Desktop Cube from Minikins Season 1 are both options. The large size of the Desktop Cube is 5-1/2” long x 7-1/2” tall x 5-1/2” wide, so that might be a good starter bin. I also have a Sew Sweetness pattern called the Faithwell Storage Bin. The small size is small circle – 8” diameter x 7” tall, which is slightly larger than the Desktop Cube. What do you use for pre-processed scraps?
I was thinking about what to piece next after making some pillowcases. I was thinking of starting the Ombre Weave** pattern, which I bought at Stitch in Ferndale. If I started that new project, I would have to take all the pieces of the Pantone Project off the design wall. I thought that was a bad idea since I didn’t want it to become a permanent WIP. Been there done that.
I decided to work on it a little at least and then see what happened.
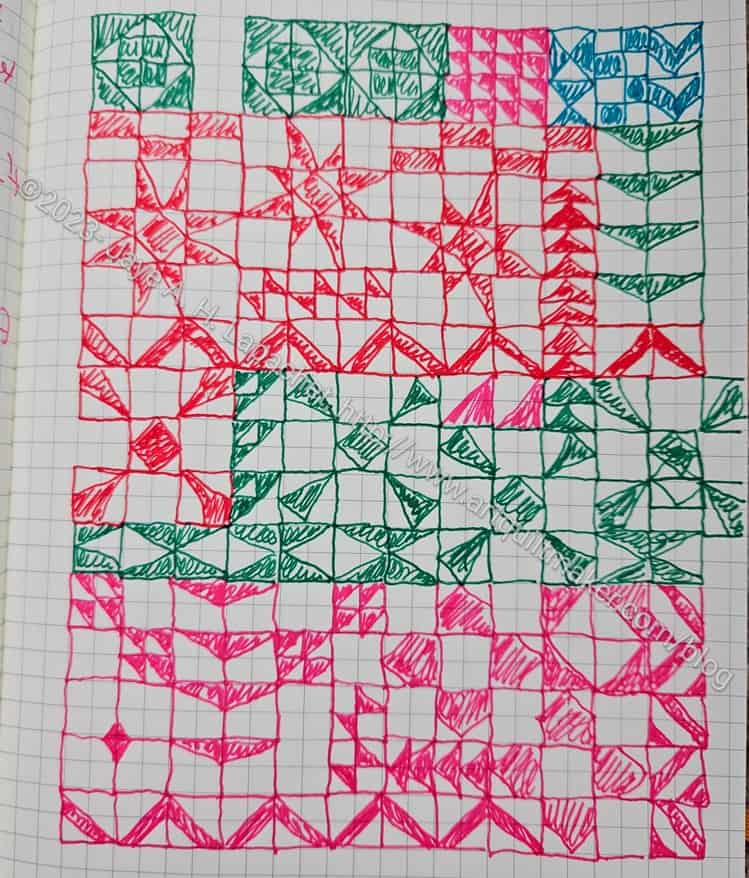
I wasn’t that happy with my previous layout ideas, Design #1 or Design #2, for the Pantone blocks. I took all the blocks down and started over with the design I drew in my journal. I liked it on paper so I thought it would be a good place to start.
Pantone Project – almost layout
It really is a good starting place. I am pretty pleased with the design as it is shown in the photo, left. I tried to duplicate what I had drawn with blocks and I am ok with the way the fabrics look. I couldn’t do everything as I don’t have enough of some of the parts, but I made due.
It isn’t perfect yet. The top right hand corner, for example is a little heavy while the left upper corner is a little light. Still for an hour of work, it looks like I can almost start piecing.
I might still start the Ombre Weave quilt and do both at the same time.
**Obviously, you should shop at local fabric, knitting shops or quilt shops. However, if you can’t, please know that I use affiliate links. I may be paid for your purchase of an item when you click on an item’s link in my post. There is no additional cost to you for clicking or purchasing items I recommend. I do not recommend items I don’t like. I appreciate your clicks and purchases as it helps support this blog.
I decided that the quilt I planned to give to my great niece wasn’t right. Then I saw this pattern on my Portland/Oregon Coast trip. Then, I remembered the Dessert Roll-ish bundle of fabric I bought at Sharon’s Attic in the beforetimes (2018-ha!). It has been sitting around marinating long enough and now is a good time to use it.
Now I have finished a few things that were in the works and I was looking for my next thing. Bag or Quilt? Quilt, I thought, then I thought about this one. My niece’s brother’s quilt will be done soon, so I should have this one ready soon as well. They are not grownups, so I expect them to wonder where their quilt is if I don’t send both at the same time.
I am not sure I have enough of that speckle fabric so I might need to rethink the background.
This pouch is for Lindsay’s daughter, A. A has a new brother and I didn’t want to bring him a gift without one for her. Mama loves Tula, so she got some Tula fabric in her bag.
This is a cute little pouch that is good for a little girl, though I don’t think it is good for much else. At least I can’t think what I would use it for. How would you use it? The first one I made went into the Pink Project Bag.
I made a tiny bit of progress on the sun hat since I talked about it last time. I washed the fabric and printed out the pattern. I also measured my head. Surprisingly my head is ‘teen’ sized!
The pattern was one of those that prints on 12 sheets of paper and you have to stick it together. Bleah! I know there is no way to print a pattern on one sheet using a home printer, but I dislike sticking patterns together and this one was no exception. It didn’t quite match up, and, yes, I made sure there was no scaling when I printed.
It’s a hat not a dress, so I am sure it will work.