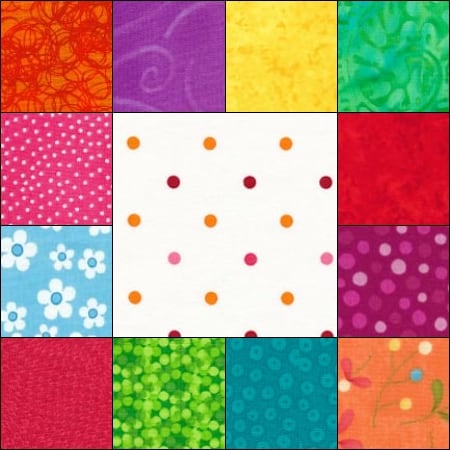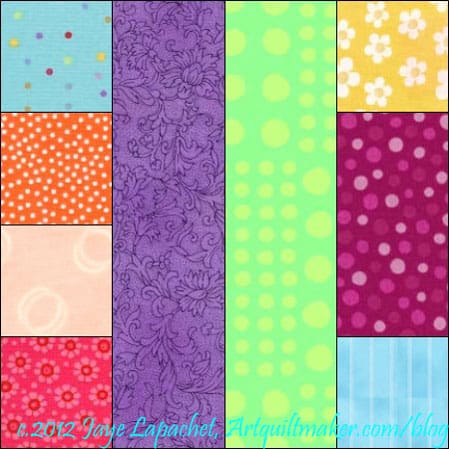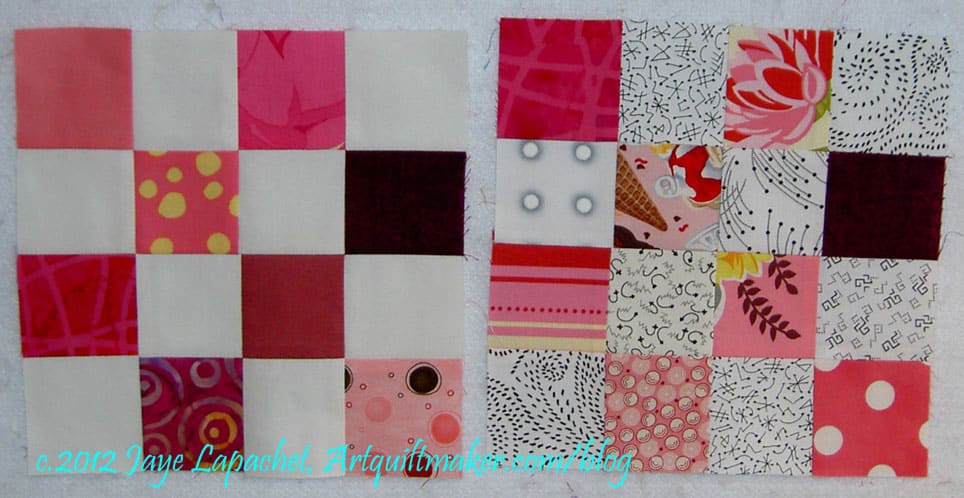
Can you tell where these pieces came from?
Yes, the Wonky 9 Patch. All of those oranges are nice, aren’t they?
I have nothing on the design wall for this project at the moment, so I have to get cutting again.
Commentary about works in progress, design & creativity

Can you tell where these pieces came from?
Yes, the Wonky 9 Patch. All of those oranges are nice, aren’t they?
I have nothing on the design wall for this project at the moment, so I have to get cutting again.

What I want to rant about is a very bad and getting worse customer service experience that has nothing to do with quiltmaking. I need to get over it (or at least put it out of my mind), delve into the happiness that is Quiltland and tell you all about the Corner Store.
I was truly despairing of every finishing this piece. The blocks are small (3-7/8″) and I wanted to make something larger than a placemat. I thought I could just make blocks until I was 90 and then have a table runner.
Oh me of little faith. As I said before, I get more on this project finished, when I don’t focus on it. You know how you see things out of the corner of your eye, but if you look straight at them they disappear? That is what is going on with this quilt. I used the C.S. blocks as leaders and enders for the Wonky 9 Patch, as I think I mentioned.

Guess what? 68 (or so) blocks done!
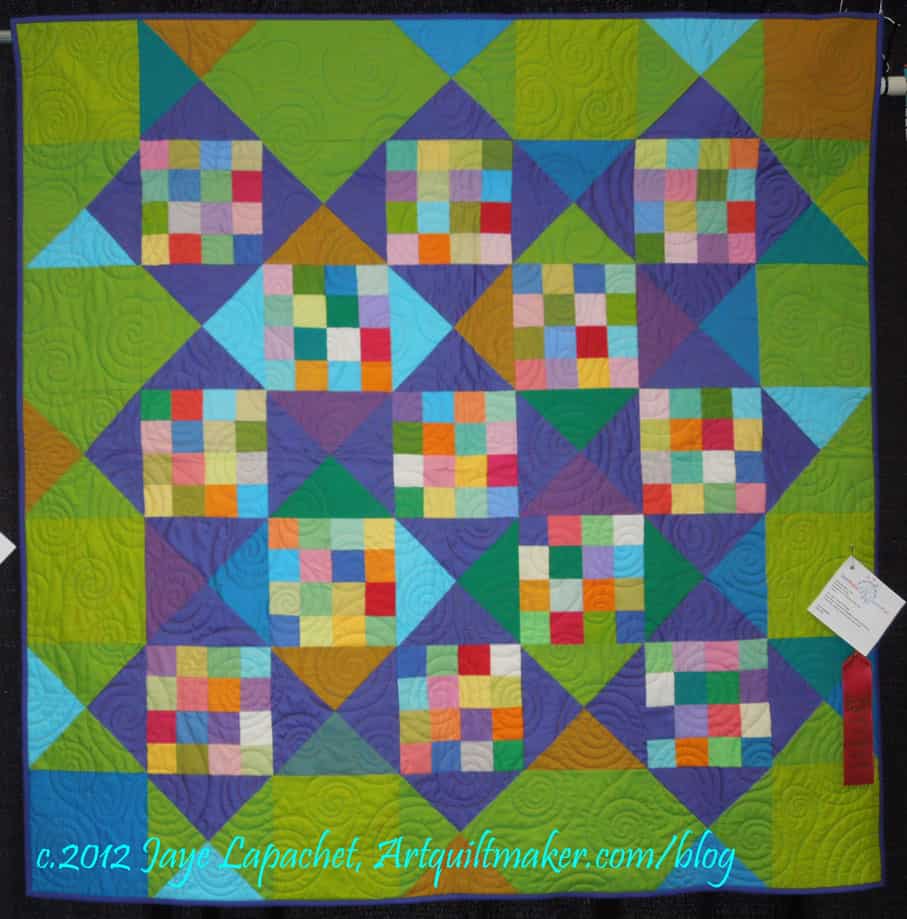
No kidding. I do not jest. You can see, in the above picture, that I have made a total of 168 blocks. The piece is bigger than a placemat and a tablerunner now.
I thought the blocks I finished before I started the W9P would be the end until I got some more Kona Snow. As luck would have it, I found a piece of Kona Snow, clearly labeled (damn solids for not having a selvedge with words on it!) and about 14″ wide. I promptly cut it all up into 4″ squares and came up with about 75 squares. I was off. I thought I would never get through that many, but I don’t have very many of the squares left.

The new batch of Kona Snow is here and washed, so I am ready to cut some more and continue sewing.
I don’t think I am nearly done. I am thinking that I need to make at least another 121 blocks and then the border. I am thinking of the spiky border Gwen Marston talks about in Liberated Quiltmaking.
Anyway, progress is being made.
Big Bird (Muppet)
eagle
Bird People of China
toucan
bird cages
penguin
bird feeder
Bird of Paradise
Avian
Birdman of Alcatraz
flips the bird
owl
Birdie (golf)
“Hold fast to your dreams, for without them life is a broken winged bird that cannot fly.” Langston Hughes
Tweety Bird
cockatoo
Bird by Bird by Anne Lamott
flamingo
The Birds by Alfred Hitchcock
cockatiel (Penfold for Brian)
Larry Bird
sparrow
Official US State Birds (is there a similar site for other countries, provinces?)
Bird is the Word
Andrew Zuckerman bird photography
bird banding
the birds and the bees
Angry Birds
birdsong
Bird City, Kansas
Cornell Lab of Ornithology (check out their wonderful heron nest web cam)
Alston & Bird LLP
American Bird Conservancy
Bird-in-Hand, Lancaster County, Pennsylvania
herons
Parrots of Telegraph Hill
hummingbird
Great Backyard Bird Count
parakeet (Penfold for Julie)
Make your response simple. It doesn’t need to be a masterpiece. Take 5 minutes. Just respond and create a creative habit. Please post the direct URL (link) where your drawing, doodle, artwork is posted (e.g. your blog, Flickr) in the comments area of this post. I would really like to keep all the artwork together and provide a way for others to see your work and/or your blog, and how your work relates to the other responses.
The Creative Prompt Project has a Flickr group, which you can join to post your responses. Are you already a member? I created that spot so those of you without blogs or websites would have a place to post your responses. Please join and look at all of the great artwork that people have posted.
Nota bene: Daisy Yellow is having an Index Card a Day Challenge in June & July. I think this project fits in well with the Creative Prompt Project and I agree with Tammy that an index card is a great canvas size.
Definition:Birds (class Aves) are feathered, winged, bipedal, endothermic (warm-blooded), egg-laying, vertebrate animals. With around 10,000 living species, they are the most speciose class of tetrapod vertebrates. All present species belong to the subclass Neornithes, and inhabit ecosystems across the globe, from the Arctic to the Antarctic. Extant birds range in size from the 5 cm (2 in) Bee Hummingbird to the 2.75 m (9 ft) Ostrich. The fossil record indicates that birds emerged within theropod dinosaurs during the Jurassic period, around 160 million years (Ma) ago. Paleontologists regard birds as the only clade of dinosaurs to have survived the Cretaceous–Paleogene extinction event 65.5 Ma ago.
Modern birds are characterised by feathers, a beak with no teeth, the laying of hard-shelled eggs, a high metabolic rate, a four-chambered heart, and a lightweight but strong skeleton. All living species of birds have wings—the now extinct flightless moa of New Zealand were the only exception. Wings are evolved forelimbs, and most bird species can fly. Flightless birds include ratites, penguins, and a number of diverse endemic island species. Birds also have unique digestive and respiratory systems that are highly adapted for flight. Some birds, especially corvids and parrots, are among the most intelligent animal species; a number of bird species have been observed manufacturing and using tools, and many social species exhibit cultural transmission of knowledge across generations.
Many species undertake long distance annual migrations, and many more perform shorter irregular movements. Birds are social; they communicate using visual signals and through calls and songs, and participate in social behaviours, including cooperative breeding and hunting, flocking, and mobbing of predators. The vast majority of bird species are socially monogamous, usually for one breeding season at a time, sometimes for years, but rarely for life. Other species have polygynous (“many females”) or, rarely, polyandrous (“many males”) breeding systems. Eggs are usually laid in a nest and incubated by the parents. Most birds have an extended period of parental care after hatching.
Many species are of economic importance, mostly as sources of food acquired through hunting or farming. Some species, particularly songbirds and parrots, are popular as pets. Other uses include the harvesting of guano (droppings) for use as a fertiliser. Birds figure prominently in all aspects of human culture from religion to poetry to popular music. About 120–130 species have become extinct as a result of human activity since the 17th century, and hundreds more before then. Currently about 1,200 species of birds are threatened with extinction by human activities, though efforts are underway to protect them.

This is a block made partially from a kit that the BAMQG Charity Girls provided. I wasn’t that thrilled with the choices left when I went to look in the basket, but these postage stamp type blocks are very popular and the kits are arduous to make up. And beggars can’t be choosers, so I took the kit.
The other thing about taking kits is that I get to use fabrics that are out of my comfort zone. I know I have some browns and beiges that have languished for a long time. I have started to use them as quilting borders and other temporary parts of quiltmaking. While I don’t want to depress some poor child with a brown quilt, perhaps I could use some of the beiges and browns for donation blocks? We will see.

I made the brown block up before the May meeting and Angela took it to the meeting for me. I was mostly working on the Blue Donation Quilt, so I only made a few blocks. I have a lot of backgrounds cut and, as I mentioned, I want to work with pink, so I am cutting some pinks to use for pink donation blocks.
I am cutting 8″ squares so I can cut a bunch of 2.5″ squares all at once using the Accuquilt. That means that I don’t actually have any pink patches cut yet, but soon, hopefully.
In the meantime, when I ran out of Corner Store backgrounds (because I was making them using the leaders and enders technique), so I switched to making a blue donation block. I have plenty of backgrounds for those.
I had a few pieces of fabric waiting to be cut on the Accuquilt, so when Julie was over the other day, I cut those up using the pieces for the donation blocks as a demo. That means I have a few pieces ready to sew.
The sad part is that I am using leaders and enders to move forward in other projects, so I haven’t done nearly as many blocks for the charity girls as I would have liked. I am trying to rest on my laurels a bit, since I did make an entire quilt and back. I’ll get back in the saddle.

I do not believe in the concept of Quilt in a Day. I love Eleanor Burns, I love various quick techniques and the rotary cutter, but I simply do not believe I can make a well designed quilt with great piecing and wonderful quilting in a day.It is not possible for me.
I do believe I can get a lot done in one day, though, and this quilt is proof.
Short story: the top is finished except for the quilting border; back is nearly finished. I do not want this project to linger. I want to finish the back and get it to the quilter. I want to be done with my part before the weekend. We will see. I don’t want it to become an albatross.

Inspiration is a funny thing. You never know when it will strike or what will spur it on. The combination of Kathleen’s quilt, the Pinterest photo and the oranges that I bought some weeks ago from the quilt shop From Here to Quilternity all coalesced into one big blob of inspiration and I sewed.
And inspiration breeds inspiration.
Susan, of the History Quilter podcast commented on Twitter (yes, I am there, too. You can follow me – @artquiltmaker) that the orange part of the quilt looked like mosaics. As you know, I love mosaics and tile and try to take inspiration from them where I can. Susan is absolutely right and her comment has been on my mind all day.
My mind is whirling with possibilities. Simply whirling. If I had more time, I would explore all of these possibilities. Perhaps someday.
Source: blue-t0paz.tumblr.com via Jaye on Pinterest
Long story: I really got a bug in my ear on Thursday night. I happened to look at a Pinterest photo (above, the door and the orange textiles) I had pinned some weeks ago and that photo, along with Kathleen‘s quilt made got me started.
Did I need another project? No.
Did I care? Obviously not. The muse must be satisfied.

I spent Friday late afternoon and evening cutting 9.5″ squares from the fat quarter group from the From Here to Quilternity quilt shop. I had to press and cut other pieces according to my ‘new fabric regime’, but it went well. The next day I began sewing.
Kathleen had done a demo for making these blocks and she reminded me that this is an Oh! Fransson pattern. I had forgotten.
When I looked at the pattern, I knew exactly what to do. I referred to it for sizes, but I also just went my own way. I have done this kind of piecing before with the Slash Stars. The thing that makes this quilt, IMO is the setting. Brilliant.
I also, like Kathleen, made the quilt a bit bigger. It has to be wrapped around a boy, so it needed to be bigger. If I had had more of the blue fabric, I would have added two more rows to the bottom, but I didn’t.

The only tiny quibble I have with the pattern (perhaps it is just a tutorial?) is the movement of the pieces. You can’t just move one piece each time. You need to move 2 at one point, three at another. I think this needs to be a bit clearer, BUT I should also read the directions all the way through before starting a project. 😉 I looked at my pieces and moved them according to what I thought was best, so it worked out.
I am pretty pleased with my blue plain squares. This sort of blue was my plan all along. I had planned to buy a solid, but didn’t have a Kona color card and wanted to make sure I had the right color. Blah. Blah. Blah.
On a whim, I delved into the fabric closet and came up with the blue fabric above, which is an old commercial hand dye. It is probably a Hoffman, but I don’t know for sure. I love it because it complements the orange perfectly. I like Kathleen’s grey background (the photo above does not do it justice); I am not so fond of the white (I know, Modern quilt blasphemy) in EH’s version. Then again, I am a color girl, someone in love with color, so I didn’t expect anything less.
Now I am in love with orange and blue. Stay tuned for the ramifications. 😉
The title of this post has to do with how Athena was born. Zeus got a massive headache and then Athena sprang, fully formed, from his forehead. Can’t imagine the scar. 😉 That is how I feel about this quilt. I didn’t do much of the work – EH designed the quilt, Kathleen made it and showed it at a guild meeting; I took up the baton and ran with the idea.
Since the NSGW pillows for 2012 went so well, I thought I would do a little tutorial. Remember, my SIL suggested I do it this way, so I am just passing on her information.
Supplies:
Tips, Tricks, Notes:
Please note that I am really only showing you how to make the pillow top. You can finish it anyway you want. I finish it with the envelope style of closure. I will briefly describe how to do that and, if I can find them, give a few links.
If you know how to foundation piece, you can do this. It is the same principle.
If you are not making a block that lends itself to foundation type piecing, you can make your block the normal way and then quilt it to get the same effect.
Instructions:
Cut strips of fabric the color(s) of your choice. Right now just worry about the width of the strips. You won’t need them any longer than 14″, but keep them as long as possible until a bit later.
Cut the batting to the size of your pillow form. I usually use a 14×14″ pillow form. I cut the batting/foundation half to a quarter inch smaller so that the form fills out the pillow cover well.
Cut a piece of fabric slightly larger than the batting. It will be used as a backing. It can be ugly fabric, if you want. Nobody will see it.

Lay your fabric back (ugly fabric)face down on your work surface.
Lay the batting on top.
Lay your panel or fussy cut fabric or embroidery panel over the batting. Center it, if you would like a symmetrical piece. Put it at an angle if you want more movement and don’t mind some bias edges.
Pin panel to batting to hold it steady.
Now you are ready to sew.

Lay a strips of fabric face down on the center panel even with the edge.
Trim the length of the strip to the length of the fabric panel. If you leave them too long, you will be tempted to sew to the end and it will eventually make the edges bulky.
Sew using a quarter inch seam. Really you can use any seam allowance that will stand the pressure of the pillow form trying to explode out.
Sew strips until the batting is covered. If you want a scrappier look, use thinner strips. If you want the project finished fast, use a few thick strips.

Once you have covered the batting with fabric, take your large square ruler and square up the pillow top to the desired size. I trim my pillow top about a quarter to half an inch smaller than the pillow form, so that the form fits snugly.
Now you are ready to make the back. Make the back anyway you like. I use the envelope method, which I will describe below. There are a multitude of books describing different ways of putting together pillows. Pick your favorite and do that.
Cut 2 pieces of fabric per pillow. The fabric should be the same size as the pillow form in one direction and about 3/4s of the size of the pillow form in the other direction.
For my 14″ pillow form, I cut pieces that are: 10″x14.”
If you have a 16″ pillow form, you may want to cut them 12″x16″, etc
Where possible I use a selvedge as the edge so I don’t have to hem. This works well with batiks as the selvedge is usually the same color as the fabric.
Hem raw edges. I use a decorative stitch.
Lay pillow top face up on your cutting table or workspace.
Lay both pieces of back face down on top of the pillow top. If you care which piece will end up on the top of the back, put that piece on the bottom.
Align edges of back and pillow top so they match.
Pin backs to pillow top.
Sew around the entire edge of the pillow top. Sew back and forth over the spot where the hem of the pieces of the back meet the pillow top. There are four of these sections, which you will have seen when you laid out your pillow top and back. This step is to reinforce the most vulnerable stress points.
Trim threads
Turn your pillow cover right side out.
Carefully poke out the corners with a wooden knitting needle or your favorite tool.
Stuff your pillow form into the pillow cover.
Adjust form so it is evenly distributed.
Congratulations on your completed pillow form!

Yes, this has a lot of small squares, but you can do it.
Directions for 2 Rectangles in a Field of Squares #56 are posted.
If you have made blocks or a quilt from these patterns, please post a link in the comments section of the relevant block or on the AQ Block-a-Long Flickr group. I would love to see what you have made.
Nota bene: The AQ Block-a-Long is ending. I am starting to repeat myself and run out of ideas and since this has not been very popular, I don’t feel bad about ending it. I am going to try and make it to #60 so you have an even number with which to work, but we will see.

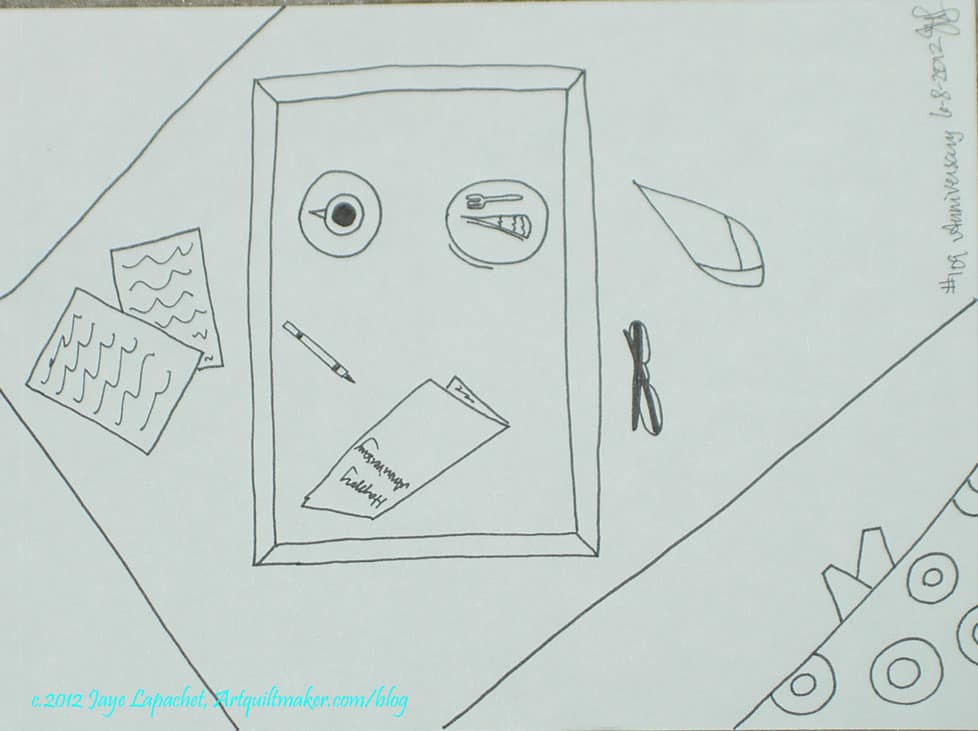
Yes, I am still catching up with prompts I didn’t do. We all go through moods and lack of creativity and response is one of mine. I seem to be back in the saddle, so here is an oldie, but a goodie.
Just spend 5 minutes developing a creative habit. it takes time.
Then, please post the direct URL (link) where your drawing, doodle, artwork is posted (e.g. your blog, Flickr) in the comments area of the original prompt post. Keeping all the artwork together provides a way for others to see the gamut of responses. It is also a great showcase for your work and way for people to find a link your blog or website.
The Creative Prompt Project, also, has a Flickr group, to which you can join to post your responses. Are you already a member? I created that spot so those of you without blogs or websites would be able to participate as well. Please join and look at all of the great artwork that people have posted.

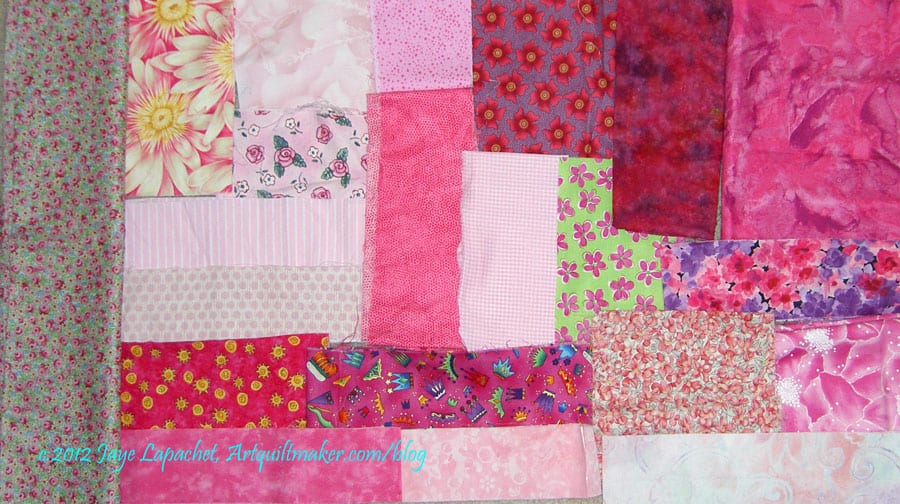
Many of the fabrics in this group are from the back of the Flowering Snowball. I am also diligently pressing and cutting pieces from fabrics that have been washed. The chair on which I hang just washed fabric is no longer falling over. That is a good thing.
There is some Half Moon fabric there, which I need to figure out how to work into a project. No ideas there yet. I have to say that I really came to like that large grey dot and ended up buying a few yards more to use as a background. This, dear readers, is why I do this project. By working with the fabric a little bit, I find out if I like it during a time where I have a chance to get more. I know I am repeating myself, but perhaps one reader will be enlightened. 😉
Fabrics from the most recent A-B-C Challenge blocks are also represented as are fabrics from the NSGW pillows. Kind of like a fabric diary of my recent work, huh?
Here is the list, again, still in no particular order. This time I have moved the finished pieces off. 23 WIPs left! I had to add two more projects to the list. I can’t believe I forgot about the Stepping Stones. Also, I have a Super Secret project that I did, but it took me such a short time that I don’t know if it really counts.
Finished or Abandoned projects that were on the list:
Write what you know
writing practice
Palmer method
freelance
comedy writer
wrote code
copy writing
written communications
write me a letter
cursive
write a cover letter
write fiction
write a song
write your own ticket
writing classes
WriterCorps
Definition: (transitive verb) 1. a : to form (as characters or symbols) on a surface with an instrument (as a pen) b : to form (as words) by inscribing the characters or symbols of on a surface c : to spell in writing <words written alike but pronounced differently> d : to cover, fill, or fill in by writing <wrote ten pages> <write a check>; 2 : to set down in writing: as a : draw up, draft <write a will> b (1) : to be the author of : compose <writes poems and essays> (2) : to compose in musical form <write a string quartet> c : to express in literary form <if I could write the beauty of your eyes — Shakespeare> d : to communicate by letter <writes that they are coming> e : to use or exhibit (a specific script, language, or literary form or style) in writing <write Braille> <writes French with ease> f : to write contracts or orders for; especially : underwrite <write life insurance>; 3 : to make a permanent impression of; 4 : to communicate with in writing <we’ll write you when we get there>; 5 : ordain, fate <so be it, it is written — D. C. Peattie>; 6 : to make evident or obvious <guilt written on his face>; 7 : to force, effect, introduce, or remove by writing <write oneself into fame and fortune — Charles Lee>; 8 : to take part in or bring about (something worth recording); 9 a : to introduce (information) into the storage device or medium of a computer b : to transfer (information) from the main memory of a computer to a storage or output device; 10: sell <write a stock option>; (intransitive verb) 1 a : to make significant characters or inscriptions; also : to permit or be adapted to writing b : to form or produce written letters, words, or sentences; 2 : to compose, communicate by, or send a letter; 3 a : to produce a written work b : to compose music.
Make your response simple. It doesn’t need to be a masterpiece. Take 5 minutes. Just respond and create a creative habit. Please post the direct URL (link) where your drawing, doodle, artwork is posted (e.g. your blog, Flickr) in the comments area of this post. I would really like to keep all the artwork together and provide a way for others to see your work and/or your blog, and how your work relates to the other responses.
The Creative Prompt Project has a Flickr group, which you can join to post your responses. Are you already a member? I created that spot so those of you without blogs or websites would have a place to post your responses. Please join and look at all of the great artwork that people have posted.
Nota bene: Daisy Yellow is having an Index Card a Day Challenge in June & July. I think this project fits in well with the Creative Prompt Project and I agree with Tammy that an index card is a great canvas size.

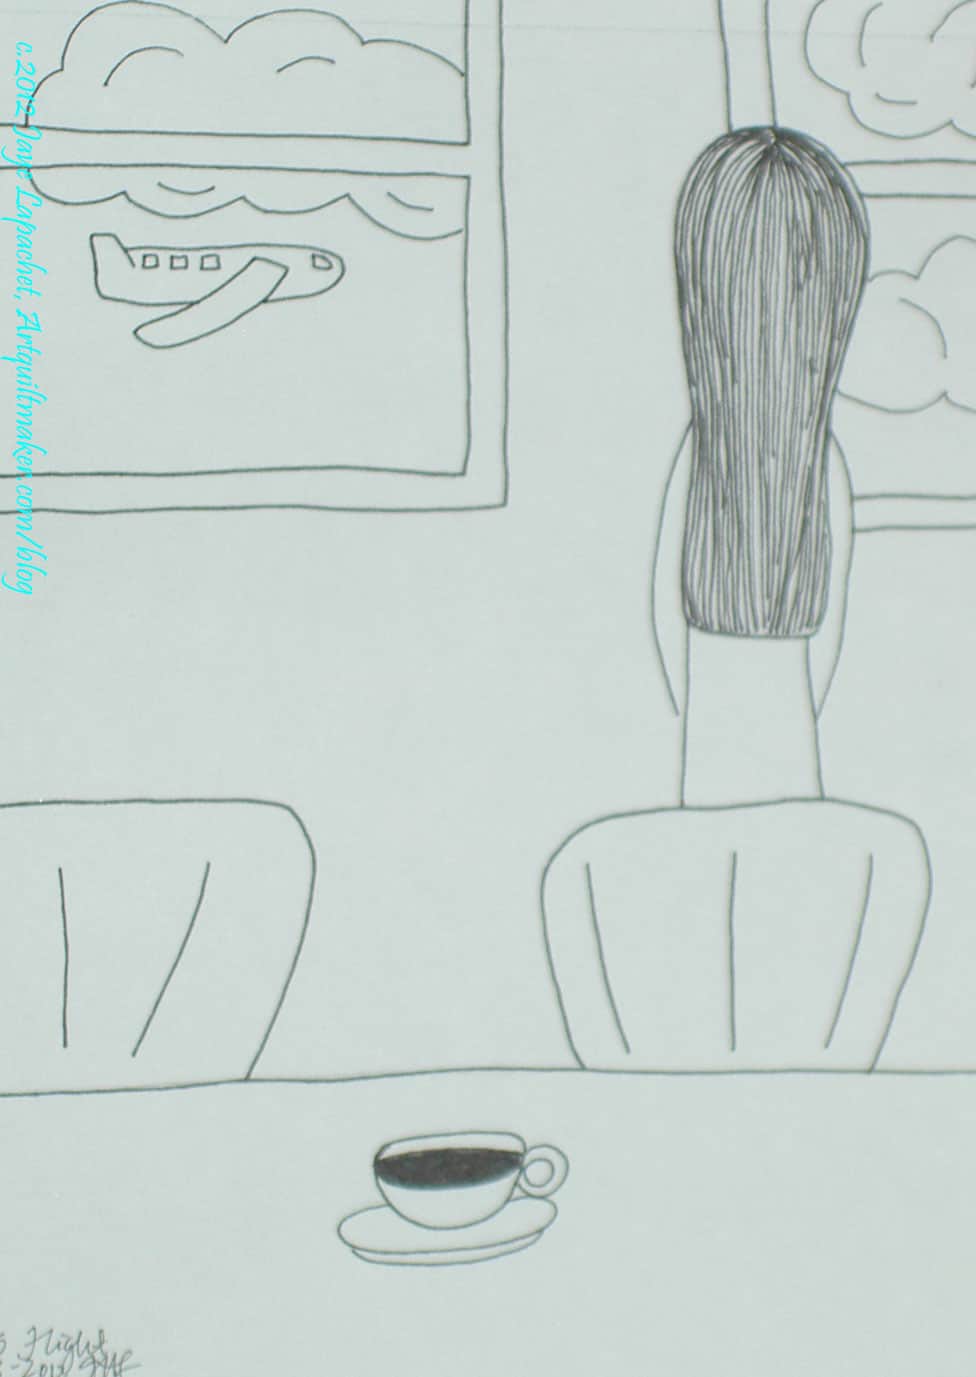
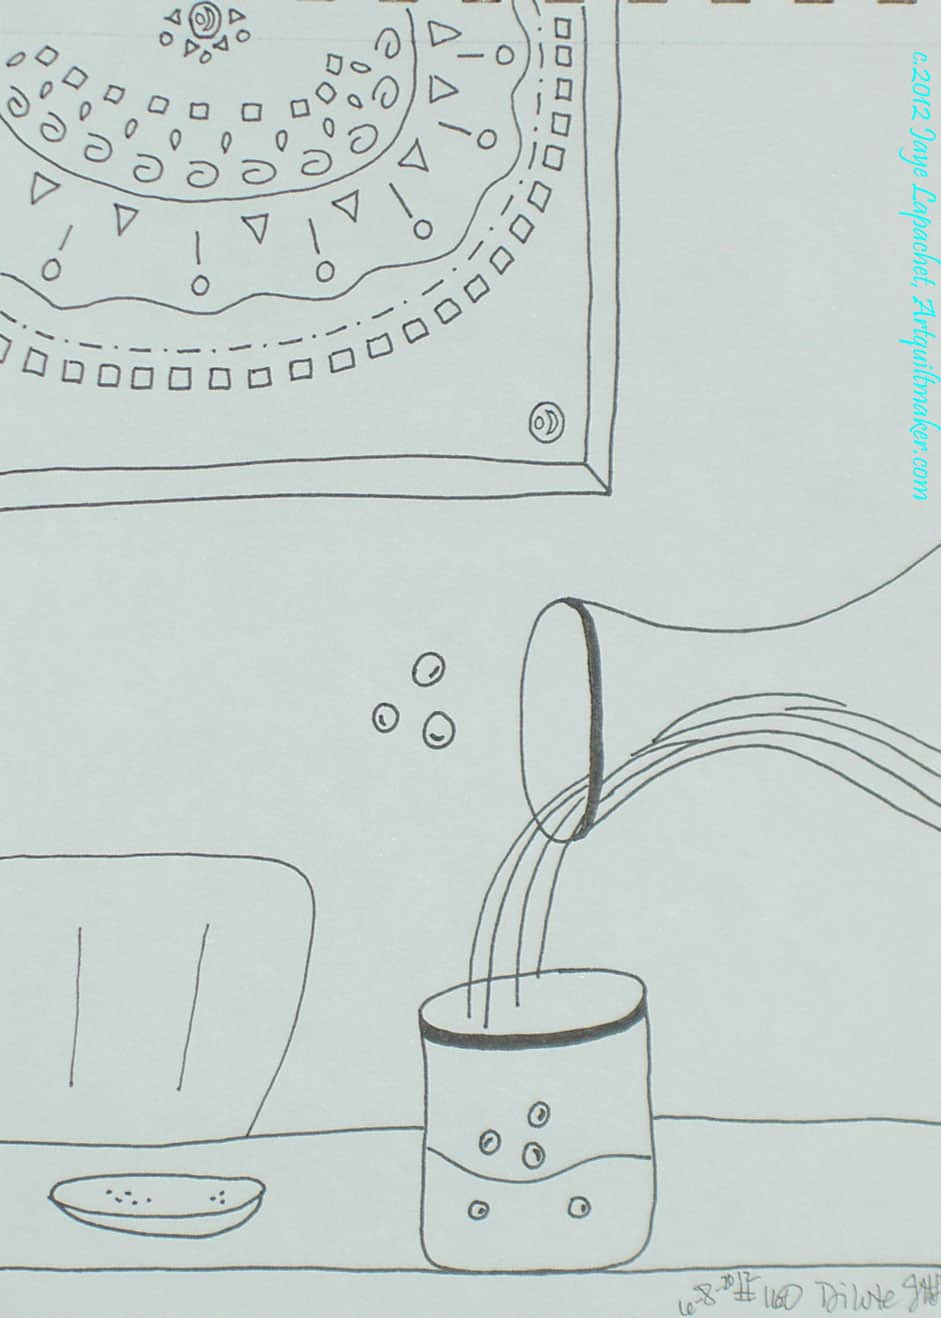
Lots taking place in the dining room recently. Not sure why. I guess I am obsessed with eating. I am really thrilled that Landscape Lady is participating; she has really re-motivated me. I did 3 prompt responses (still catching up!) on Monday. Check back later for the others. I won’t have my usual drawing time again until June 4, so I’ll have to figure out a way to keep up without that time.
Just spend 5 minutes developing a creative habit. it takes time.
Then, please post the direct URL (link) where your drawing, doodle, artwork is posted (e.g. your blog, Flickr) in the comments area of the original prompt post. Keeping all the artwork together provides a way for others to see the gamut of responses. It is also a great showcase for your work and way for people to find a link your blog or website.
The Creative Prompt Project, also, has a Flickr group, to which you can join to post your responses. Are you already a member? I created that spot so those of you without blogs or websites would be able to participate as well. Please join and look at all of the great artwork that people have posted.

I think this project will progress in fits and starts. I made the new blocks (on the right) while I was piecing the Flowering Snowball. I used the Corner Store blocks as leaders and enders. Such a useful, productivity improving technique.
I find that I put the blocks up on the design wall and I become uninspired to make more. Not sure why. I like them; I think the piece works well, is interesting and pretty. As a project I work on steadily, it wasn’t working for me yesterday. However, as leaders and enders in between a different project, I make a lot of blocks. What is that about?
And, the other question is, if I don’t work steadily on the Corner Store, what should I work on? I need some bang for my buck. Can I finish another top next weekend? VIMH#1 says I have to enjoy the process not just go for finished product.

I put all the blocks up. I have quite a few. They are small, though, so it isn’t enough. There is still a lot of red and pink. I made an effort to make blocks with no red or pink, but I have a lot of red and pink triangles, so it is hard.
This is not the final arrangement. I slapped them up on the wall and did a tiny bit of rearranging.
I also have to buy some more Kona Snow as background. The Pure Elements Linen, of which I have plenty, is different enough to be noticeable.

This is related to the response to prompt #98. I wanted to use the same location. It is the other side of the dining room.
Just spend 5 minutes on your prompt. It will help you develop a creative habit. Developing a creative habit takes time. What you make does not have to be perfect or for public consumption. You will get better if you do something every week.
Then, please post the direct URL (link) where your drawing, doodle, artwork is posted (e.g. your blog, Flickr) in the comments area of the original prompt post. Keeping all the artwork together provides a way for others to see the gamut of responses. It is also a great showcase for your work and way for people to find a link your blog or website.
The Creative Prompt Project, also, has a Flickr group, to which you can join to post your responses. Are you already a member? I created that spot so those of you without blogs or websites would be able to participate as well. Please join and look at all of the great artwork that people have posted.

I was back in pillow hell on Monday, except that it wasn’t really hellish. I made four pillows using embroidery panels my SIL and I created on her embroidery machine when I was in Maryland/DC last year. My part in that was saying yes or no to colors of thread and whether the letters should be curved or not. She is the embroidery queen and I was just her humble assistant.

While I was in Maryland, we made a few pillows for the Native Daughters, of which we are both lurker members, but I took the embroidered panels home to make the Native Sons pillows later. As I have mentioned, my DH in on the Board of Trustees of a non-profit. When they are running for off their parlor (e.g. chapter) sponsors a hospitality suite at the Grand Parlor (e.g. annual conference). In the hospitality suite, they play cards, offer liquid refreshments and raise money for their Cleft Palate charity using raffles. For the past year or two, since DH has been running, I have made pillows for him to raffle off. They were wildly popular the first year and he raised a record amount for the charity.
Guess what?
“Later” is this weekend! Can you say last minute? I wasn’t planning on spending my day off making pillows, but this coming Saturday would be even more last minute, so I did the job. I was prepared for drama and there was none. I think I only had to rip out one seam. I measured correctly, counted properly and generally made 4 pillows in record time.

The big difference was that Cathy, my SIL, suggested using batting as a foundation. It makes the block look nice and gives the maker a goal. You cut the batting the size (including seam allowance, so if finished is 14″ you cut the batting 14.5″, etc) you want the pillow and then sew on top of it. I don’t know how this would work if you didn’t have a flip and sew friendly pattern, but I am sure there is a way to figure that out.
Anyway, the pillows are done and packaged ready to head to NSGW Grand Parlor. DH was pleased and I am going to the dentist and then am going to work on something fun that doesn’t feel like “quilt work.”
The Sunday Stash Report (a la Pam at Hip to be a Square podcast) is 2 yards. More on that later.
Nota bene: if you think there are photos missing, there are. I am having trouble uploading some pictures to the blog. Check back later. It will be resolved eventually.