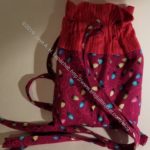
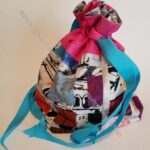
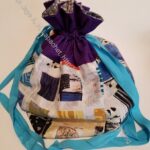
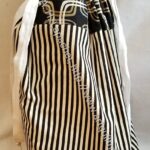
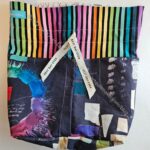
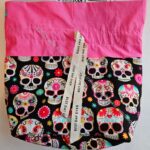
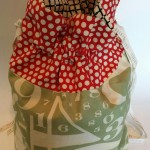
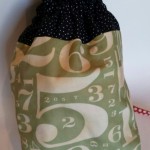
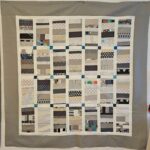
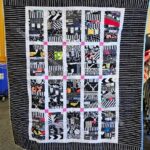
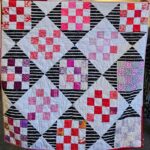
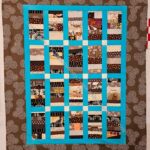
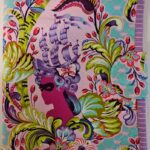
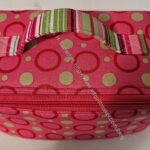
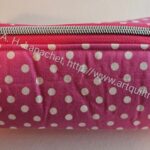
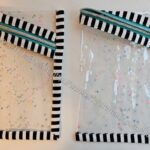
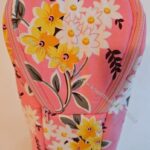
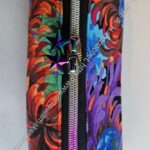
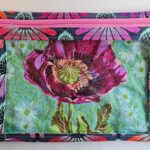
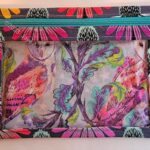
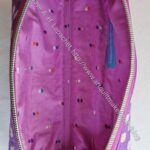
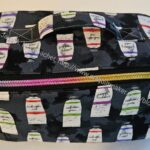
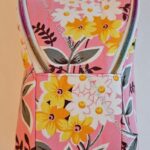
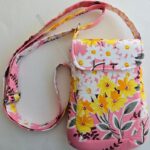
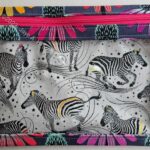
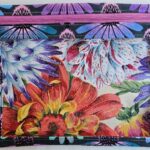
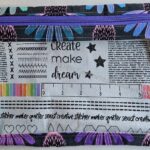
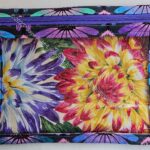
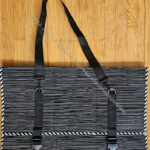
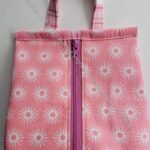
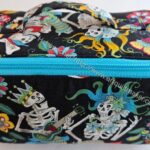
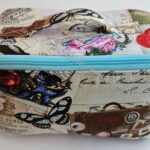
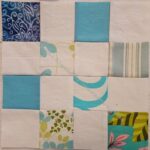
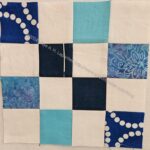
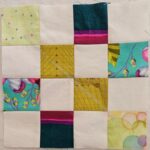
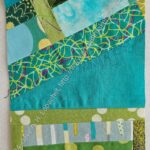
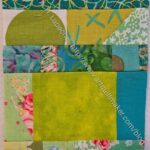
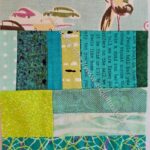
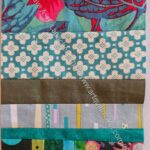
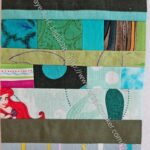
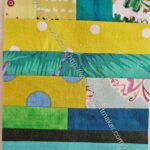
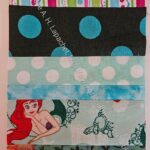
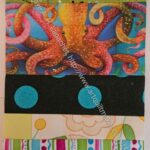
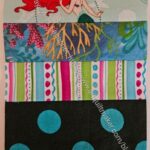
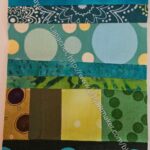
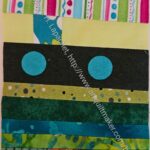
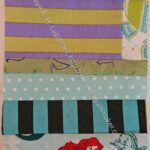
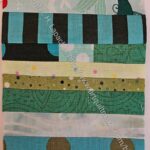
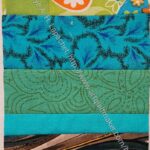
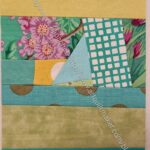
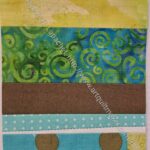
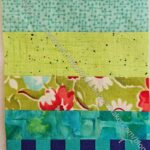
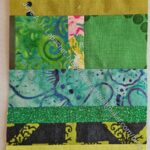
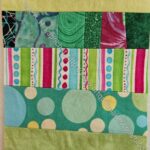
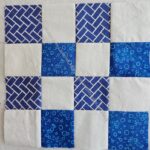
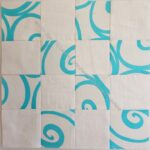
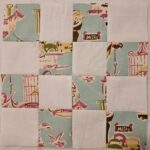
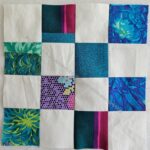
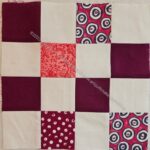
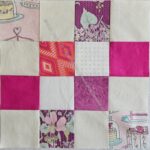
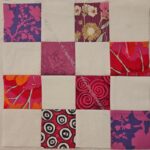
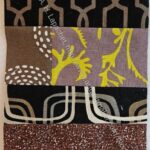
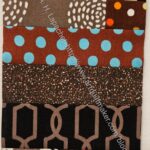
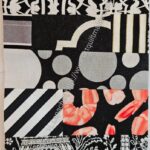
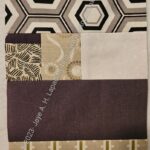
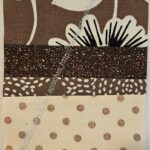
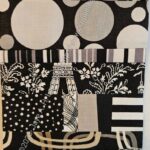
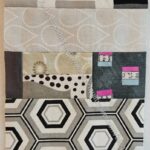
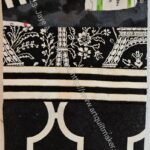
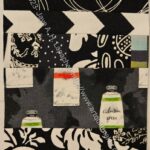
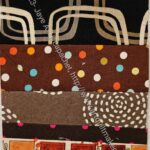
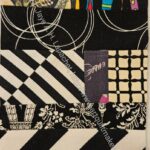
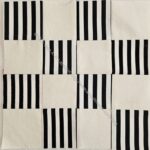
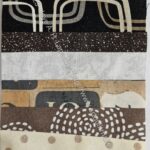
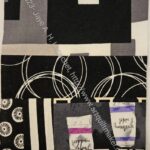
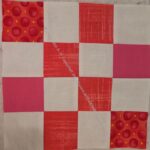
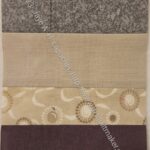
Sometimes I feel like I need to review how many of a certain pattern I have made. I think I have made enough Lined Drawstring Bags to do that now. I also feel like I’d like to see all of them together.
This is a good pattern that can also be used for gift bags. They take more time and fabric than my tutorial, but are more useful as well. I’d like to start making a bag for each quilt I give away, but I haven’t done that yet.
Juggling Balls drawstring bag-3/4 view
Drawstring Gift Bag
Drawstring Bag – Project size
Drawstring Bag – Artist size
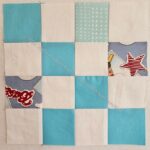
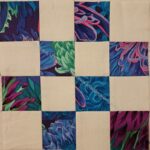
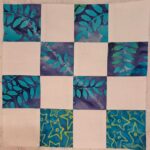
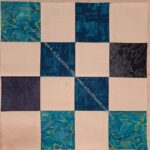
Diagonal Nine Patch Storage Bag
Carrie’s Lined Drawstring Bag
Lined Drawstring Bag for Gerre
Sue’s Drawstring bag -end
Lined Drawstring Bag for Julie
2015 Drawstring Bag for Michelle
2015 Drawstring Bag for Peggy
I was certain I had made more, but I think I always think that!
I don’t have high hopes for the US political situation, but hope for the best and plan for the worst, right? I have very high hopes for quiltmaking and bagmaking however, which I hope will spread joy throughout my little sphere of influence. What are your plans for 2025?
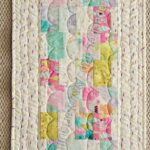
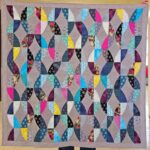
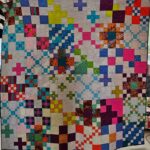
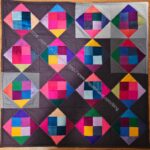
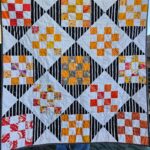
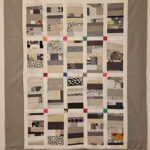
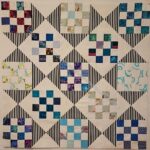
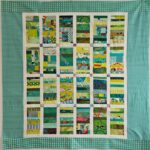
Eight quilts and a table runner is nothing to sneeze at. I really wanted to make more and I can try again next year.
Finished (for me!) Donation Quilts
As you know, I don’t quilt (as in the stitching of the 3 layers together) much. I really enjoy the collaborative effort of making a top and allowing someone else to quilt and bind it. Thus, the quilts below are mostly tops, but I will include a finished quilt once someone else finishes it for the group.
WIPs are projects on which I am working. This means that I am past the cutting out of pieces stage, some sewing has taken place.
La Passacaglia – I am working on the border. I am slightly stalled, but will get back to it
Cut Out & Stopped
EPPic Bag – I need to make a cover/ main exterior piece for this bag. I was thinking of a Pineapple block, but haven’t gotten back to it yet. I am also kind of scared of this pattern. I know what to expect from Sew sweetness patterns, but this is a new designer to me.
Rose Petrillo bag – I found the pieces for this bag cut out, but not sewn.
Still UFOs
I still have UFOs. Who doesn’t, after all? A project in the ‘UFO’ category means I am stalled, it hasn’t been worked on in awhile or it is waiting its turn to be worked on. The list is a lot shorter and the projects are newer, for the most part.
I am annoyed that some of these are still UFOs. I have to give myself credit for completing some of them last year.
Superbloom tote using Hindsight fabric – not started, so maybe it isn’t a UFO? I did pull the fabric, supplies and found a photo I plan to use as inspiration that others posted, so I am one step closer.
Handbag Sampler – I found the blocks! I found them in a bin I thought I had thoroughly searched! I also found the fabrics carefully stored together. Hooray!!
I went on to Instagram the other night and had an unexpected message from Free Spirit Fabrics. I won a prize! Yes, I checked to make sure it was the real Free Spirit and not some scam.
I don’t know what it is. Fabric, I am guessing. I’ll definitely let you know.
This excitement made me go and look at the Free Spirit website. There is a lot there. First, I checked what designers they represented beyond Kaffe, Tula, Philip Jacobs and Martha Negley. Jane Sassaman and Mary Engelbreit both work with Free Spirit. Mary Engelbreit has a new line of Christmas fabric and a Halloween line coming out. There is also a very strong projects section – lots of quilts, but also a few bags, an apron, a table topper and at least one pillow pattern.
Well, I am excited to see what is coming. Stay tuned!
This is quite a few donation blocks! I am pretty pleased with how many blocks I made this year. I know you saw many of these yesterday. Scroll down to revisit the ones I made earlier this year. I made 149 donation blocks. That is less than half of my goal, but it is still a significant number. I hope to do better in 2025.
On Christmas Eve, SIL#4 and BIL#4 hosted. We put our coats and bags on their bed where I saw the Christmas Pillowcases I made for them as well as their Red Scribbles quilt in use. I was pretty excited.
SIL#4 said that they use the quilt most of the year, which warmed my heart.
DH and I did not exchange gifts this year because we went on a cruise. That meant that the gift giving was very light at home. Still I received a few things off my list.
I now have a Martelli sewing machine mat I can take to Sew Day and a foot pedal mat that I hope will keep my foot pedal at home in place while I sew. I have 3 different ‘mats’ for my foot pedal and I still have to chase it around the underneath of my sewing machine.
I also got a new Wing Clipper ruler. I have had one for a long time, but decided that it is off on one side and wanted a new one.
The photos in the middle are of my maternal grandparents. I have always liked those photos. My mom is clearing out and keeps giving us things from her house. I am pleased to have these.
Gifts from Mom round 2
My mom gave me a second round of gifts over New Year. The gifts hadn’t arrived in time, but they were worth the wait: lots of things I can use in 2025.
I am especially happy about the bobbins. I have plenty of bobbins, but suddenly they have all disappeared, so I needed some extras.
2025 Gifts from Friend Julie
I also got a nice selection of gifts from Friend Julie.
Carrie and Sue were also super generous. Carrie is eminently practical, so I now have a mini vacuum to use to clean my sewing machine.
I have already worn the socks and really like them. They are soft and comfy.
The sewing machine ornament is on my tree, as is the little cardinal, which was a decoration on the outside of the package.
Gifts from Sue 2025
Sue presented me with a book I had been wanting since I saw the exhibit at PIQF. I really like it that I have another meaty book to get into.
The fabrics are lovely colors as well. I will be able to incorporate them into Old Town.
*N.B. : I am going to post a thorough review of the cutting mat soon. Stay tuned.
**N. B. : Obviously, you should shop at local quilt shops and small businesses. However, if you are too busy or can’t find what you need there, I use Amazon affiliate links and may be paid for your purchase of an item when you click on an item’s link in my post. There is no additional cost to you for clicking or purchasing items I recommend. I appreciate your clicks and purchases as it helps support this blog.
I now have 100 subscribers! Hooray! Thanks to Eleanor for being the 100th subscriber. If you are not a subscriber and want to subscribe, go to the box on the right and enter your email address. Go through the verification process and you will get an email every time I post.
Happy Birthday to my friend, Pam G! Hope your day is great!
Make sure you download the directions for Bonnie Hunter’s Old Town mystery quilt. Part 7 was posted yesterday and the directions will go away in late January or early February. I have made some progress and Friend Julie has as well. She has finished the first clue and is making progress on the other clues. I have finished the first clue and am also working on some of the other clues in a scattershot kind of way. I have to be able to focus and some of the easier parts are better for me at the moment.
One thing I saw right after I posted V&S 2024 #10 was Technique Sheets by Deb Tucker of Studio180 Designs. She is the designer of the Wing Clipper**, which I have mentioned a couple of times. The Technique Sheets show you how to make another design. Sometimes the Technique Sheets refer to one of the Studio180 rulers and sometimes they don’t. There are some examples of what the technique sheets look like on the Free downloads page. Check out the Corner Pop II Replacement Rectangles Technique Sheet.
I was really pleased to see Kristina of Center Street Quilts post some small bag and pouch type projects on her blog for the holidays. She also posted short videos on IG. I am interested in trying the small vinyl zipper pouch. This is a good use of leftover bits of zipper and vinyl. There is also a small round pouch that looks super fun and could be a great way to fussy cut a small motif you like. Kristina uses a handbag zipper for this pouch. I would use a smaller zipper, but it is good to know that a handbag zipper works. She also has a trinket basket in various sizes, which is great for organizing.
If you want to know how to use the Wing Clipper, check out a tutorial I found by accident. I found it on the Quilting Affection Designs blog.
I saw several new bag designers recently. One was Andrie Designs. The team there have a blog and post regularly. While we all have plenty of bag and pouch patterns, I thought some of these had great shapes.
It’s a little late now, but a good time to get started on a Holiday 2025 project. This Moravian Star tutorial was posted by AQS. Another option is the Scandinavian Folded Star ornament. I found a tutorial on the SandyStar blog. I wanted to make these for small gifts, but decided not to make myself crazy. Maybe next year.
Check out all the different tutorials available on the AQS site. Some I saw were about binding, pinning, designing your own quilt and many others. I didn’t know this resource existed and was pleased with the quality. A few of the tutorials direct readers straight to YouTube videos.
Want to declutter in 2025? Just Get It Done Quilts has a declutter challenge starting on January 1.
I didn’t see anything earth shattering in this new-to-me group of patterns from Linda Handmade, but some of them were interesting, such as the family travel wallet. The Lindsling is also an interesting shape. I couldn’t quite figure out where you put larger items.
I haven’t worked on any of the Arabesque Scissors patterns I bought. Maybe in 2025. I was perusing her blog and saw the Creator’s Companion pattern. If you are getting a planner for Christmas or Hannukah, then you might want this cover pattern to enhance your new organizational goals. You might want to use a little vinyl in place of some of the fabrics so you can see your stuff.
Also, if you want a printable planning sheet for preparing to create your quilts, Arabesque Scissors has that also.
Pantone Color of the Year 2025: Mocha Mousse
Have you seen the Pantone Color of the Year for 2025? UGH! They call it Mocha Mousse, which sounds delicious. In reality, the color is a depressing beige. The IG video makes it look fabulous, but it is just beige. I guess those fancy color people were just depressed.
The Kona Color of the Year for 2025 is better than ‘Mocha Mousse’. It is Nocturne and it is a deep purple. Lovely.
I was really interested to be introduced to Sewfisticated. Jassie is a bag designer and her bags are different from some of the designers with whom I am familiar. The FoldnZip Pixie looks like it could be useful for a quilt tools bag. She is one of the designers in the Bag of the Month Club for 2025.
Tools, Books, Fabric, Notions & Supplies
I have talked about LP Sharp, the company to which I send my rotary blades for credit and recycling. I was talking with Mary the other day and couldn’t find the name. It was clear out of my brain. I wanted to share it with her as they do give a discount when you send them old blades. I am pretty sure they recycle rotary blades they can’t resharpen and re-sell. Try them out. I have been using them for years.
I have only about half a yard left of the Paris fabric I have been using for my sister’s bags. On a whim, I went looking for it. It is old, so I figured it was long out of print and not available. Amazingly enough I found 3 yards of it on a site called US Fabric Shop. When I had a moment, I went to look at the site. They have a LOT of different fabrics. Need a team fabric (except Cal)? Need some peacocks? Travel fabrics? This is your store. I was able to find some new Stonehenge with Celtic knots that was very appealing. They have that chocolate fabric I have used to make pillowcases! I am pretty excited about that. I don’t have anyone for whom to make pillowcases at the moment, but I am keeping that tab open. I will need to buy some more travel fabric for the nephew’s pillowcases, so maybe I’ll add a couple of yards of chocolate as well.
This is listed on Amazon as “MagnoGrip Magnetic Wristband for Holding Screws, Nails, Drill Bits for Men”. I think this could certainly be used for quiltmaking. What do you think?
If you want to know everything there is to know about sizes in yardage, check Brown Bird Designs Ultimate Cheat Sheet On The Yard + Make Your Own Pre-cuts. This is a woman after my own heart.
I received an email from Hawthorne Threads about Anna Maria’s new line, Loves Hue. It is all about stripes and I really like the Marathon in Vintage and Marathon in Circus. I could really use those for bindings. I need to see them in person and look forward to them coming to a shop near me.
Media, Books and Articles
My DH does Artle every day, or nearly every day. One day he showed me a piece by June Paik, which I think looks like a quilt. It does until you look closer. I like the outlines as well.
I thought this short video on the archeology of knitting was really interesting. The narrator speaks really quickly, so pay attention!
Frances Dowell’s annual holiday story, “Winter Stars”, is available for your holiday listening pleasure! Head over to Quiltfiction.com, and while you’re there, download a free block pattern designed by Patty Dudek!
Are you a Bay Area reader? Join our guild, Bay Area Modern Quilting! We want people who want to socialize, sew, learn and share. We want YOU! Click on the link to see about our activities and join.
**N. B. : Obviously, you should shop at local quilt shops and small businesses. However, if you are too busy or can’t find what you need there, I use Amazon affiliate links and may be paid for your purchase of an item when you click on an item’s link in my post. There is no additional cost to you for clicking or purchasing items I recommend. I appreciate your clicks and purchases as it helps support this blog.
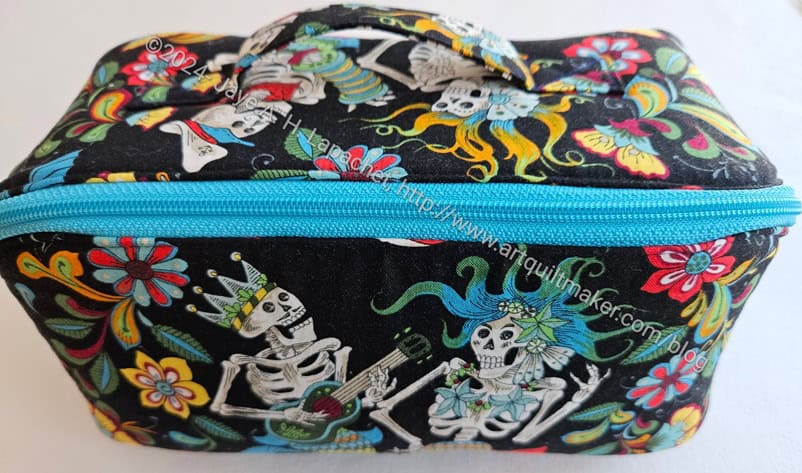
While I was making my sister’s Enigma bag back in July, I also made one for Gerre for Christmas. This is Enigma #6.
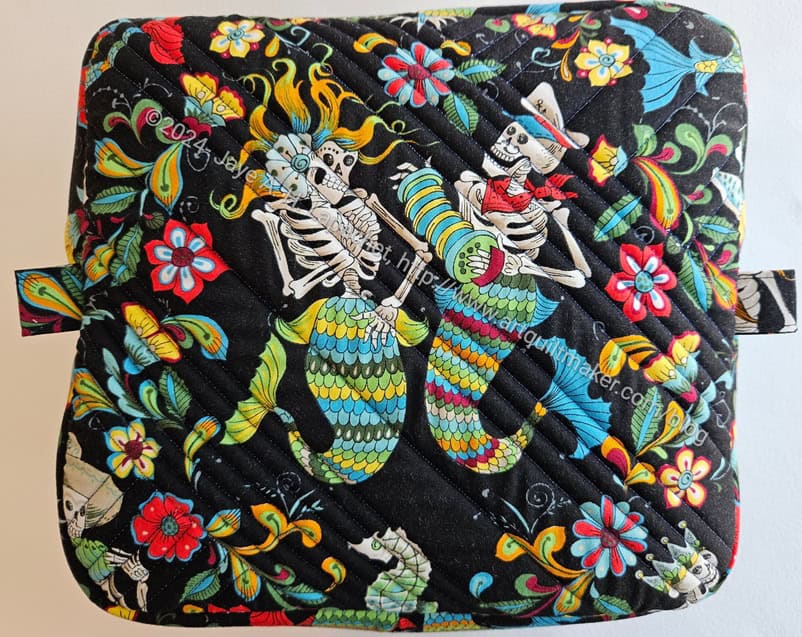
Skeleton Mermaid Enigma – bottom
I didn’t use my ‘regular’ sugar skull fabric for this one. I used a fabric I bought on my trip to and around Portland and I can’t decide if I like it. The key is whether Gerre likes it. I thought the seahorses and some of the ocean life were cool, but the skeletons started to creep me out after awhile. If she feels the same, I will make another one of these for her. I’ll have to see what she says.
I am pleased with the fussy cutting on the bottom. I didn’t have a lot of the fabric and was glad I had enough to highlight the main motif.
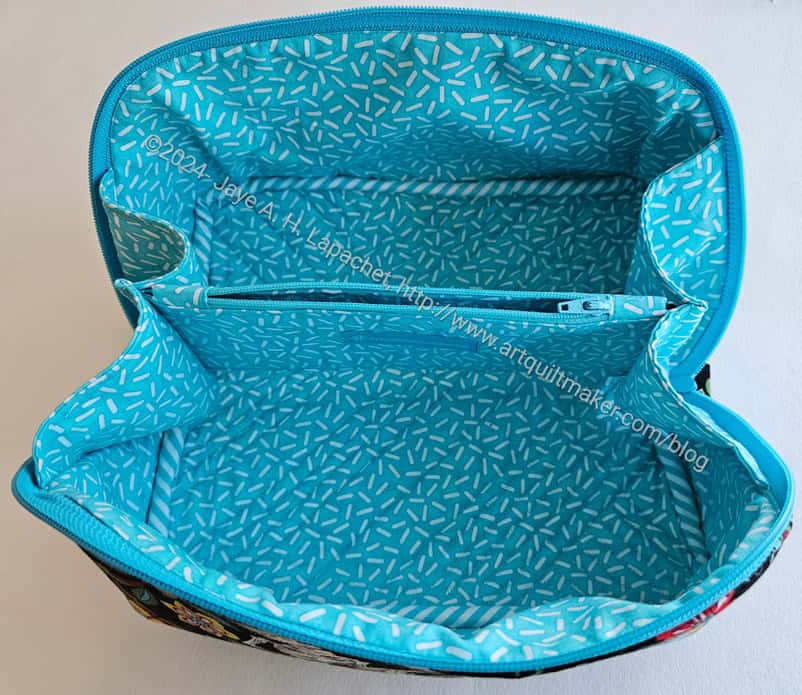
Skeleton Mermaid Enigma open
I am also pleased with the way the inside came out. The stripes I bought at the Granary are perfect for the inside.
The pattern calls for a 2.5 inch wide binding. I made the binding 2.25 inches wide, which is my norm for quilting binding. I had to stretch the binding a bit in certain places and trim seams, but mostly the 2.25 inch binding worked well.
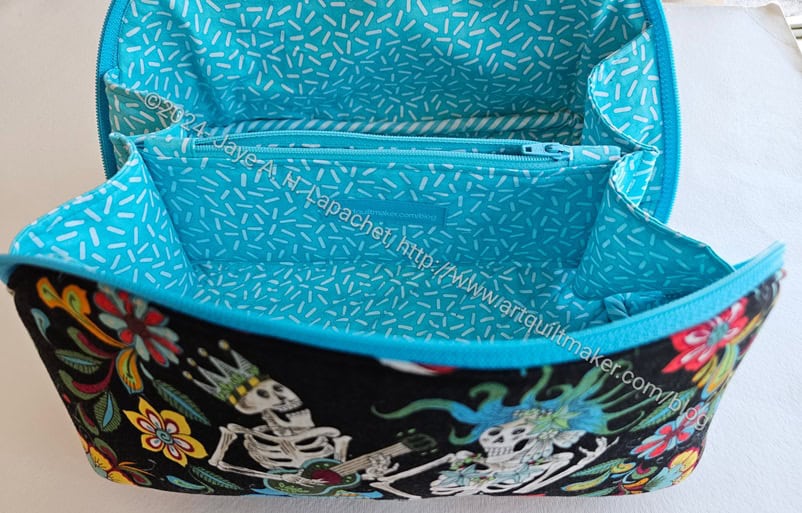
Skeleton Mermaid Enigma – interior detail
I figured out a great place to put my label on these Enigma bags. The label fits well in the middle of the inside pocket. The label isn’t tucked away unobtrusively and I am not sure how I feel about that. I am not sure why I didn’t think of it before as it was also easy to install.
As with my sister’s Enigma bag, this one went together pretty easily. I like making the same bags over and over as they get better each time I do it.
You might remember the pajama pants that the YM made when he was visiting in the spring. Right after he left I was given a robe pattern. Carrie suggested the YM might want to use the pattern to make a matching robe. I decided that I would make him a robe for Christmas. I went out and bought more of the fabric (Tarot flannel from Joann) and started it in October while I was in Portland. I got stuck and put it all away. I needed more fabric, though I thought I had originally bought enough. This is what happens to me when I try to sew garments! Also, I used the pattern Carrie gave me rather than the pattern I used a long time ago to make a robe for my SIL#4. I must have given it away.
Anyway, I got help from MaryC. She basically finished the robe for me in about 2 hours while I entertained her. She is a master garment maker and I always appreciate her help.
I finished the Atlas Zipper Case right before Thanksgiving. Of course, I couldn’t talk about it before now because I wanted to be a surprise. Even this is a little early!
I am super pleased with the way it came out. I hope my Lil Sissy likes it, too. She shared the original IG video about the pouch (portfolio) with me.
I didn’t find the project to be very difficult even though I struggled to get started. Cutting is always a hassle. I always want to get straight to sewing.
For this piece, I used a piece of the Paris fabric I have been using to make gifts for my sister. The fussy cutting, after I quilted it, came out really well. I used my 20.5 inch x 20.5 inch Creative Grids ruler**. That ruler is really big and a bit unwieldy on my small cutting table, but I wanted to be able to see the whole piece and trim exactly. It worked really well except for pushing my entire scrap bin onto the floor in the process! LOL! The Eiffel Tower is perfectly placed on the front.
Paris Atlas Zipper Case – back
The bicycle on the back looks good, too. I haven’t ever asked my sister if she likes this fabric. I hope so as I just bought more of that yardage. I feel like I was lucky to find some as is isn’t new.
I forgot to sew the label on before I added the inside pockets, so I hand stitched it later.
The portfolio has a zipper that goes all the way around, so the bag is completely closed when it is zipped.
Atlas Zipper Case Open
It has smallish, but useful pockets to keep some of your tools, or, possibly, project pieces organized.
There is also space for flat items, like a 6.5 x 6.5 ruler** under the pockets.
Atlas Zipper Case -open, right
I am on the fence about the fabric pocket on the lower right. All of the other pockets are vinyl. I like seeing what I have available, but I guess you could use that pocket for things you didn’t want everyone to see. Credit cards or your driver’s license? I don’t know. I keep those things in one place so I always know where they are. If I make this again, I might make it into another vinyl pocket.
Atlas Zipper Case -open, left
The left side has a larger pocket completely made from vinyl. This is a really useful pocket.
I really like this project and am looking for ways to make more.
**N. B. : Obviously, you should shop at local quilt shops and support small businesses. However, if you are too busy or can’t find what you need there, I use Amazon affiliate links and may be paid for your purchase of an item when you click on an item’s link in my post. There is no additional cost to you for clicking or purchasing items I recommend. I appreciate your clicks and purchases as it helps support this blog.
This started out after I searched my various small project books and the web for an easy gift card Holder. I found one on the web, but there were so many ads that I couldn’t use it. I also saw some YouTube tutorials, but just wanted a paper template and maybe some instructions.
Gift card holder drawing
DH and I talked about it at dinner and came up with a viable pattern. We talk a lot about the mechanics of quiltmaking at dinner. Usually, I am trying to work out a problem. He doesn’t want to make quilts, but has a mind that can help me work out a pattern and mad math skills. It’s a good thing we had a lot of holiday and New Years cards on the table. Their backs made for great drawings.
N.B. while it is Christmas now, it will also be Hannukah in a few days. You can use this pattern for any holiday or gift giving event. Just choose the right fabric.
Supplies (If you have taken my quilt class, you should have all of the supplies, except maybe felt)
I have not tested this ‘pattern’ extensively, so YMMV. Adapt the sizes as you see fit.
These sizes are slightly larger than my test version to make it easier for you to sew.
Take your graph paper and measure out the lines as shown. It helps to have a gift card or credit card handy.
There is no size or angle for the diagonal line. Create the rest of your pattern first, then connect the two lines to make the diagonal.
Gift card holder pattern traced
Trace your pattern on the felt.
If you plan to make a lot of these, I would recommend pasting the pattern onto template plastic as it makes it a lot easier to trace. That is why I added template plastic and a glue stick to the supply list as optional.
Gift card holder -cut out
Cut out your felt along the lines of the outline.
If you have time, you can embellish your felt. Some embroidery along the diagonal line would look nice as would an applique’ around the area of the diagonal line. If you do an applique’, remember that that part of the piece will be folded to the left, so you need to put the applique’ on the back of the piece as shown above. See below.
Of course, you can also embellish the edges using various decorative stitches on your machine or bits of leftover ribbon and rickrack.
Gift card holder – testing size
Test your pattern piecing using a gift card or credit card.
On my first try at this ‘pattern’, my piece was very tight. I only had a little space for sewing. That’s why I made the sizes a little larger for you. Depending on your machine, you may be able to use a decorative stitch.
You only need to sew from the bottom of the diagonal line on the left vertical to the corner and then along the bottom. If you want to sew all the way around, check your size to make sure you have enough space for the stitching and that the card will still fit.
Gift card holder finished
I also cut the top corners so they were curved. I did it freehand and you can, too.
This is a super basic gift card holder, but it is free and fast, especially once you have made the pattern.
Since I am not making you plow through ads or watch a 30 minute video to make this, I appreciate you clicking on the Amazon links and buying things from my Associate account. As it says below, it helps support the costs of this blog.
If you send me a photo of a gift card holder you make, I will post it, with due credit, here in the new year.
**N. B. : Obviously, you should shop at local quilt shops and small businesses. However, if you are too busy or can’t find what you need there, I use Amazon affiliate links and may be paid for your purchase of an item when you click on an item’s link in my post. There is no additional cost to you for clicking or purchasing items I recommend. I appreciate your clicks and purchases as it helps support this blog.
I am finally making some gift bags this year. Some of the fabric was laying around half finished from last year. I needed to wrap some gifts and we haven’t gotten the Christmas decorations out. Also, I want to use up fabric. Of course, you probably saw the tutorial I posted a week or so ago, so go make some bags.