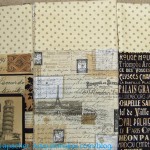
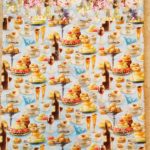
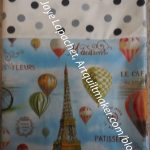
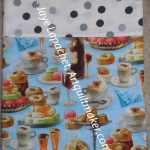
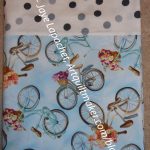
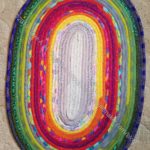
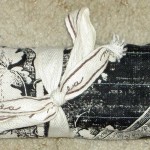
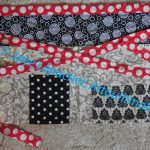
I revisited my Christmas pillowcase gifts after seeing some on SIL#4’s bed on Christmas Eve. It occurred to me that there are a few new spouses/SOs for whom I had not made pillowcases. Nobody will know that they don’t have them, but it is only fair, especially if they see their spouse has one.
My tally was in a post from 2015 and there are a lot of new additions to the family, mostly spouses, but a few kids as well. The original tally was confusing, so I have rewritten it.
Well, that’s at least 8 yards of fabric I can use up right away in 2025. I need to check to see what Christmas fabric I have in case I need to get some on sale. I hope I have enough.
Another project I finished for the holidays was a second Atlas Zipper Case. This one went to SIL#2. She is a Cal (UC Berkeley) alumna so the fabric was appropriate.
As mentioned, the pattern is from Center Street Quilts. The second one went more quickly and came out really well. This is a really good pattern. I want to make more of them.
I didn’t have quite enough of the Cal fabric. I bought 5 yards several years ago and I am down to scraps after this project. I found some yellows and blues that matched the Cal fabric colors perfectly. I went looking for more of this fabric, but aside from Spoonflower options, this particular print is nowhere to be found.
Cal Atlas pouch – open
This pattern requires quilting, as do many of the Center Street Quilts bag patterns. I learned a lot by quilting the other Atlas and applied this knowledge to this bag. As you can see, I only quilted it intensely in a few places, not all over the whole piece. That technique made it a lot more doable. I like very dense quilting for bags, as you know, so I really had to restrain myself.
Cal Atlas pouch – right
I thought about making the privacy pocket (lower right) with vinyl instead, but ended up fussy cutting some of the Cal fabric and keeping it as indicated in the pattern for private items.
The interior fabric on the top vinyl pocket is an older AGF fabric and it is just a little off of the Cal yellow. I like it as an addition so the whole bag too matchy-matchy.
Cal Atlas pouch – left
I think the most useful pocket will be the large vinyl pocket. It has a lot of space for various items.
There are also slip pockets underneath all the pockets described, so flat items can be safely placed there.
I did shorten the tail of the zipper. I had a longer piece than required and thought it would be fine, but it was really too long.
The other day, I wrote about what I accomplished at Sew Day. I worked on cutting up scraps into shapes and sizes I need for future projects. A big blob of unorganized scraps makes me anxious. It also takes up a lot of space on my sewing table.
I generally keep a list of shapes I need/want to cut from scraps and yardage on my cutting table. This list includes shapes I use all the time such as 2.5 inch squares as well as special pieces I need for certain quilts.
As part of my preparation for the 2025 quilt- and bagmaking – year, I looked at my list of shapes. I found that I didn’t update my list in 2023 or 2024. That was the first step. This year, I will cut a variety of shapes for projects known and unknown.
As usual, I will cut 2.5 inch squares. I find I dive into those bins pretty frequently. Old Town needed a bunch of 2.5 inch squares. I didn’t need to cut any, because I had the right colors in my 2.5 inch bin.
In general, however, I cut two sets of 2.5 inch squares. One is for my own projects, like Old Town, and the other is for donation blocks. Often, when I cut from scraps, I cut one for myself and several for donations. It depends on how big the scrap is and how much I like the fabric.
I like the donation quilt I made with 4.5 inch x 8.5 inch rectangles, so I am collecting more of those. I am not cutting those sizes from yardage. I only cut these when I have large scrap. I do get them sometimes.
I am also still cutting 2 inch x 2 inch cool colors for Blueberry Lemonade. I really need to start making that quilt. I probably have enough squares to make two quilts!!
When I find scrap triangles, I make them into HSTs. I have a lot of randomly sized HSTs. I plan to put backgrounds strips around each unit and then put them all together into a quilt.
I also cut 5″ charms. I haven’t dug into them as much, but they also come in useful. I will dig into them to make the sashing for Old Town.
I have to be more diligent about cutting for the Spin Wheel quilt. This pattern is the Fons & Porter Spin Wheel, 1200 series, episode 1201. I need to work on gathering background fabrics, which are the triangles, but I can use squares and then cut the triangles.
2.5 x 4.5 blue rectangles for a Blue Rectangles Gradation quilt. You can see some thoughts about this quilt on a recent ‘Dream’ post.
I also cut 2.5 x 4.5 pink rectangles for a Pink Rectangles Gradation quilt. I have a lot of these rectangles as well, so I should get on this quilt also.
This seems like a lot of work and, to some extent it is, but it is also useful. For me, it is pre-cutting or processing. Cutting is my least favorite part of quiltmaking, so having shapes already cut is great for me.
Before Christmas, I went to Mary’s again and we worked on this bathrobe. It wasn’t a complete bathrobe Christmas, but two people got them. That is about all the garments I can manage even with Mary’s excellent assistance.
This is a different pattern than the Tarot bathrobe. It has a flat collar instead of a shawl collar.
I bought this fabric awhile ago, sort of by accident. I was trying to replenish my stock of the dark grey version of this fabric and ended up with the light grey background. I like it, but Mom has put the stop sign up for more bags. I didn’t want to start a whole new set with this fabric anyway. I decided a bathrobe would be good. It used up most of the fabric.
As you know, I often get stuck somewhere on garments and my confidence drains away. Mary has been great about helping me. This time I was able to rip out some seams for one of her projects and also cut out a Classmates Tote for her to sew later. It was a good exchange for me, at least.
YM & Mom in their bathrobes
I was able to take a photo of both bathrobes and their people.
I have a lot of tutorials available for FREE for you.
Click on the link indicated above. Note: if you click you get a longer list. If you hover you see a submenu of my favorite tutorials.
All of these tutorials are available for your perusal at your convenience. You can find them on the tutorials page. I, also, am not perfect, so I constantly update and rewrite them.
I have made a list of the tutorials here so you can easily take a look.
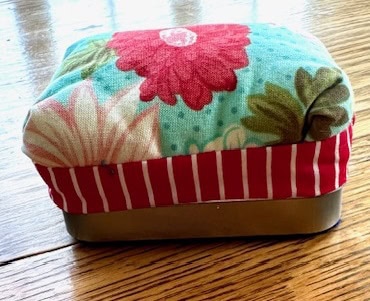
Altoids Tins Sewing Kit
Altoids Tin Sewing Kit – how to make a small sewing kit using an Altoids tin. This combines a space for supplies and a pincushion. It is great for recycling Altoids and other tins.
English paper piecing is a method of patchwork where fabric is wrapped around shapes made of thin paper cardboard or heavy paper. Once the shapes are wrapped and ready, the sewer will hand sew the shapes together one at a time until the shapes become an intricate design. The paper or cardboard is removed once the shape has been sewn to another shape on all sides. Check out the Wikipedia article, which is great. Use the tutorials below if you are already familiar with EPP.
Facing: I started with Jeri Riggs directions and some help from Maureen over at Flies in the Cathedral. I have modified it a bit more to use strips double the size folded in half so I don’t have to stitch a hem.
Flowering Snowball (Cross Block)
Flowering Snowball blocks: these blocks have curves and inset seams. Fun, but not for the faint of heart. How to make the traditional pattern, Flowering Snowball. This block is #3081 in the numbering system of Barbara Brackman’s book.
Folded Corners Ruler: I taught myself the basics of using this ruler. Very helpful to avoid drawing diagonal lines for ‘flippy corners’.
Gift Bags: these bags are great to use instead of wrapping paper. You can see and admire your fabrics and use them year after year. Vary the fabric to make bags suitable for all occasions.
Half Square Triangles (Triangle Technique/ HSTs): tutorial and size chart on making 8 half square triangles (triangle squares) using the X method at one time.
Handles: this tutorial makes up very sturdy bag handles with flair. It shows you how to cover webbing with fabric to make straps that match your bag. It was written to supplement the handle section of the Noodlehead Cargo Duffle 2 pattern. You can, however, use it for different bags. Vary the length of the handles according to your needs. Some tutorials from other designers may help you find the right type of strap:
Journal Cover: how to make a journal cover. This builds off of the patterns over at Exuberant Color and All People Quilt.
Kelly’s Bag– make this after you have practiced some free motion quilting. Makes a great gift.
Lanyard Tutorial – includes a ring so that your nametag is near your face and people don’t have to look at your belly button to see your nametag. Includes hardware where you can clip things to the hook.
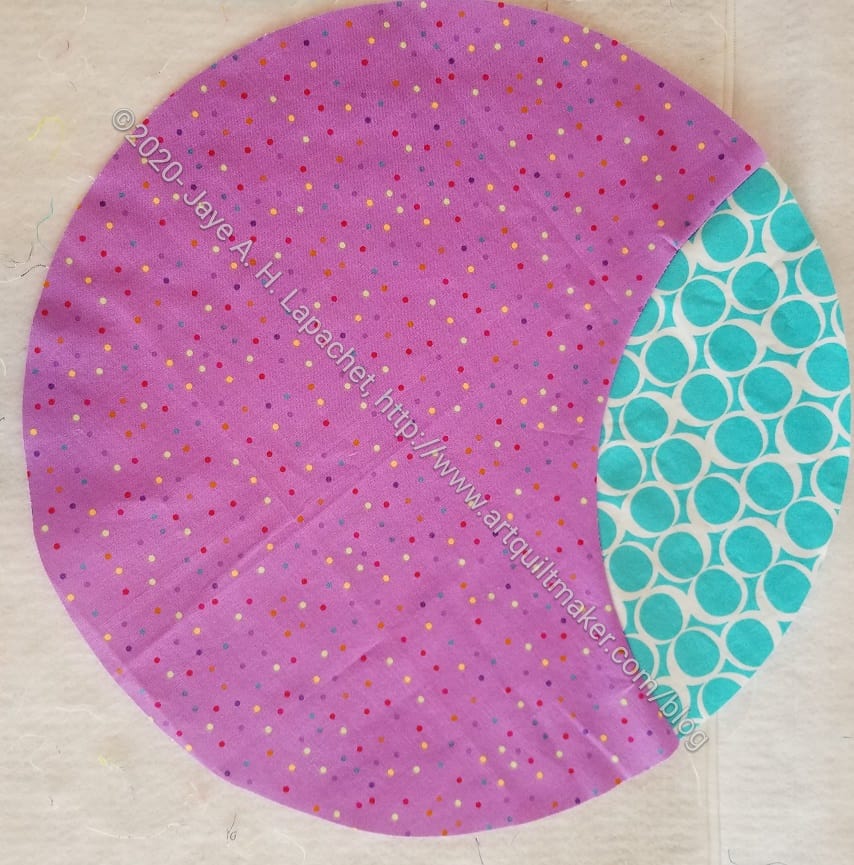
Orange Peel Circle
Orange Peel Circle tutorial: This is a tutorial using the Clammy ruler to insert an Orange Peel into a circle.
Paper Wreath (Origami Starburst) – step-by-step tutorial for making a paper wreath. Directions are the same for making the wreath from fabric with a few added supplies that I have noted.
Spiky Star block – guide for making one block using the Studio180 Split Recs ruler
Triangle Technique (Half Square triangles/ HSTs): tutorial and size chart on making 8 half square triangles (triangle squares) using the X method at one time.
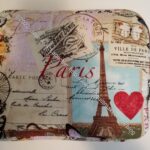
Lil Sissy asked me outright for king sized pillowcases. Apparently, she has giant pillows and the cases I made for her are too small. Initially, I said no, then I found a big piece of turquoise and decided to make some.
These don’t feel as exciting as the other pillowcases I have made for her, but needs must. I have more of the Paris fabric now, so I can make her some more if I find another large piece of fabric to go with it.
My sister is constantly messaging me on IG and FB with cool pouches and great quiltmaking techniques. I finally told her to learn to quilt. LOL!
I do like giving her gifts as she uses them all – well, I have seen her with various pouches and I know she uses the apron and the pillowcases.
Use your gifts! There is always more fabric!
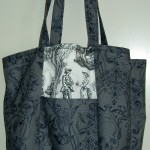
Turquoise Leopard Tote
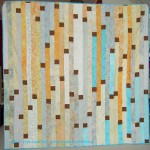
Calm quilt
Skull Jane Market Tote for Lil Sissy
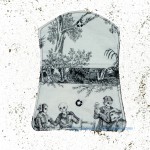
Skull Wallet Open for Lil Sissy
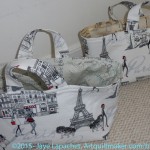
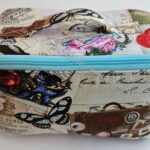
Paris One Hour Baskets
Paris Pillowcases
Le Cafe Pillowcase 2018
Paris Hot Air Pillowcase
Paris Pastries Pillowcase
Paris Bicycles Pillowcase
Finished: Jelly Roll Rug
Lil Sissy Pencil Roll Closed
Lil Sissy’s Cafe Apron Repaired
French Cotton Candy pouch
Lil Sissy’s Inside Outside Pouch – 3/4s view
Falabella Pouches
Percheron Pouch (size large): Finished
Disco Double Zip Pouch – finished
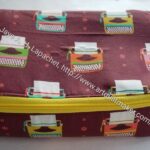
Typewriter Hackney – Top & Front
Paris Enigma Bag (Kim)
Paris Atlas Zipper Case
3 king sized pillowcases
When I made the Enigma Bag for Lil Sissy’s birthday, I went looking for another ‘Revisiting’ post and couldn’t find one for her. I decided to write one after all the Christmas gifts have been distributed. I went through my older posts a few times and kept adding gifts I had made for her. I kept finding various things I had forgotten about. I was really glad to be reminded.
My mom is in the hospital and the post surgery process is not going as well as hoped. I haven’t had time to post or even look at the blog. I hope to be back up and running soon.
She made it as a test before she makes one with some of her precious fabric. One of her friends gave her the fabric and supplies for both backpacks.
Archie Backpack – interior
I love it when people make bags so I was thrilled to see this effort.
It looks like a really useful bag. I have the Marlin Backpack pattern from Sew Sweetness and it looks similar. I haven’t made it yet, so I am having a hard time answering a couple of Lindsay’s questions.
She said the seams are rolling and I am not quite sure if that is a function of the pattern, or the fact that it is a backpack or if it is the way the seams are finished.
Archie backpack – back, straps
From these angles, the bag looks really great. I hope I get to see it in person.
I had a tough time deciding what to make for Carrie and Sue for Christmas. I don’t want to just make them anything. I want what I make to be useful. Eventually, after considering several Minikins patterns I hadn’t tried, I decided on I Spy pouches.
Is this a cop out?
No.
Sue’s I Spy – back
As I have said before, these pouches are like eating potato chips for me. I can make one quickly. I also really enjoy making them. Because they are fast? Maybe. Mostly because they are useful.
Sue gets a color wheel on the back to help her pick out fabric. I also remembered to put a label on the pouch.
Some time ago I made Carrie and Sue Kit Supply Totes. The Hackney pouches I made for them fit nicely into the Kit Supply Totes. I thought the I Spy would fit nicely in it as well.
First, I had one entry into my post Y seams demo contest. SueG made an effort to try out Y Seams. She was the only one, so she won the fabulous prize, which was a small gift certificate to The Granary.
She chose a great pattern. I love the split hexies.
You should have seen the back! Those little seam intersections looked gorgeous. Check out my tutorial, if you want to try Y Seams for yourself.
Processed scraps
I made some good progress on cutting up scraps. I didn’t cut all of my scraps, sadly, but more of them are organized into shapes I can use. People were kind of amazed at what I was doing, which was weird. I thought everyone processed their scraps.
Christine’s needle folio
I also saw a project Christine made from a Sue Spargo pattern. I love Sue Spargo‘s patterns, but have never made anything. Her patterns look so cheerful.
I love the little vase and the striped binding. Really I love the whole thing. Looking at Christine’s version makes me see this as eminently doable.
Christine’s needle folio – inside
The inside is also great, but has the issue of not being able to see what is inside the pockets. Still, this is a gorgeous project.
I know it’s been a week or so since I posted about gifts, but we are back to it.
I posted last week about Sue’s I Spy pouch. One of the differences I made is that Carrie got a whole color wheel in the front while Sue’s was on the back. One of the reasons I like this fabric is because it means they always have a color wheel with them.
Carrie’s I Spy – back
I found some nice zipper pulls in my hardware bag that I added. They are apples, which have nothing to do with color wheels, Carrie or Sue, but here we are. Zipper pulls, aside from being cute really help to pull zippers open.
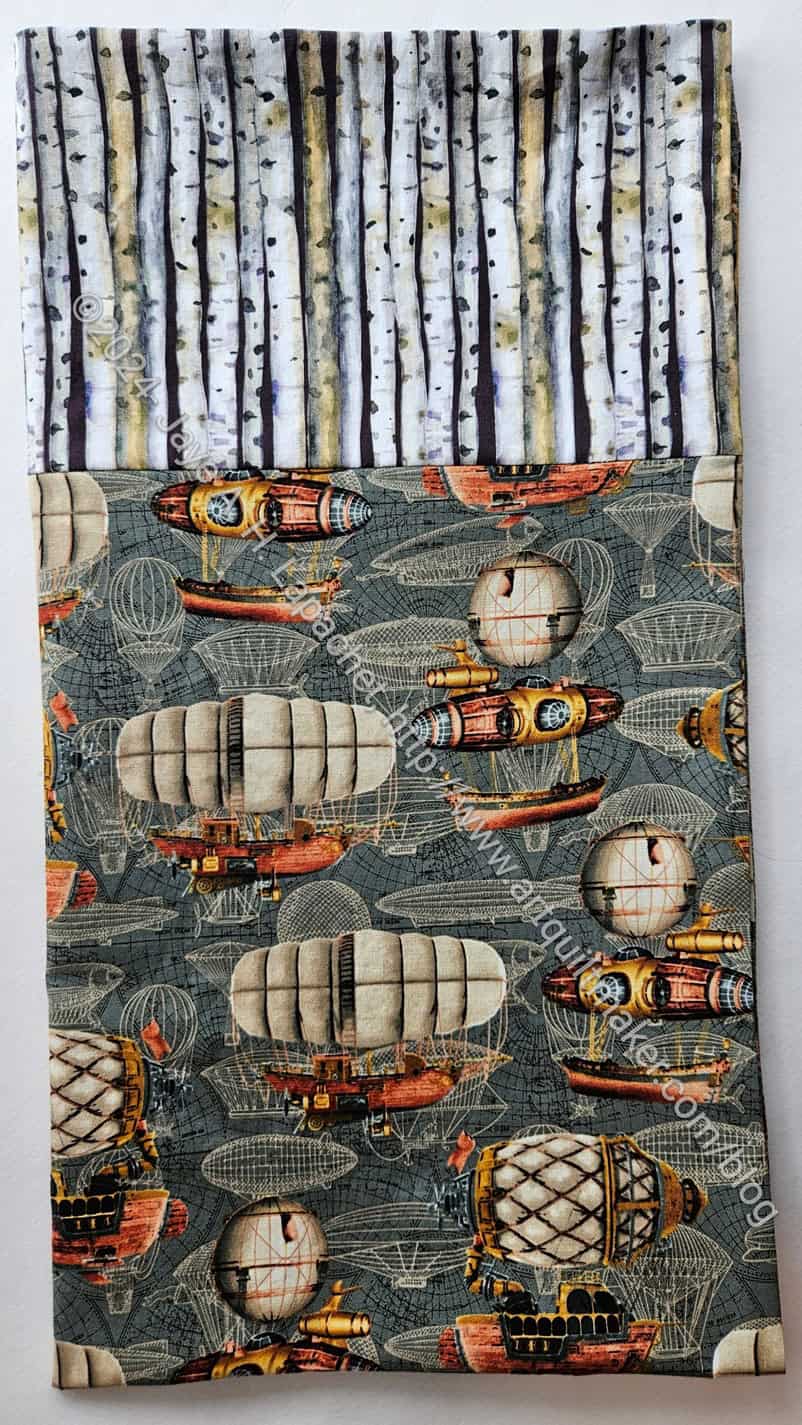
This is the latest travel pillowcase for my youngest nephew. I sent it off a little late as we were out of town for the New Year holiday.
I am still on the travel theme. This pillowcase depicts steampunk travel. I am a fan of steampunk and really enjoy looking at the costumes and artistry. I thought this would be a fun installment in the series.
The colors are not as fun as I would have liked, but at least there isn’t a lot of brown.
I have one more pillowcase from those I made from the fabric I bought on my summer trip before I have to get more fabric.