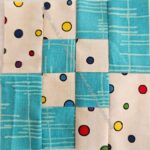
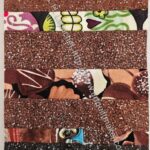
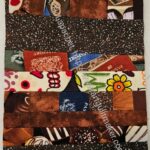
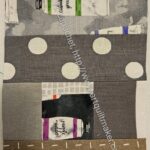
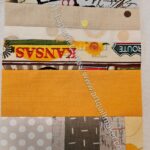
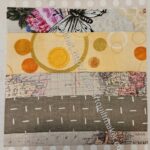
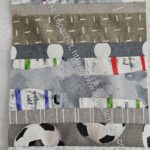
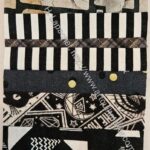
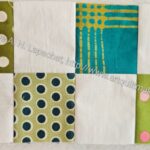
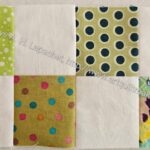
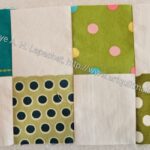
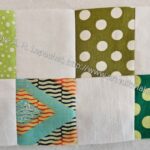
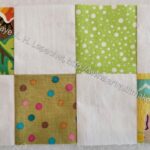
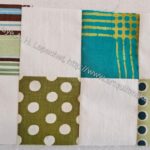
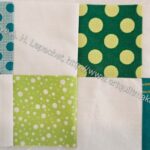
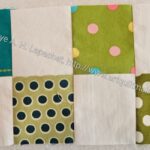
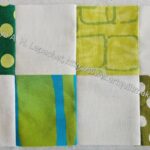
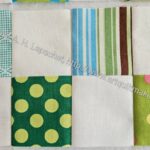
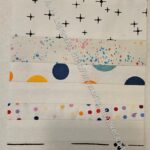
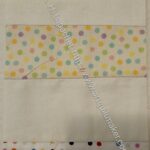
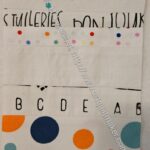
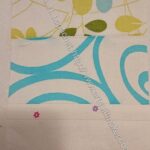
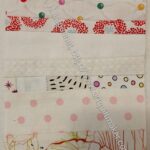
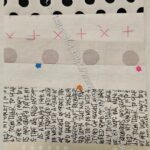
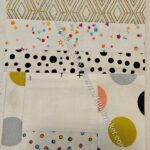
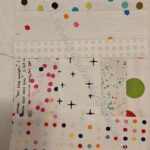
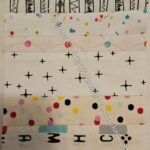
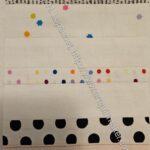
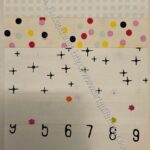
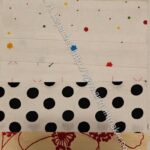
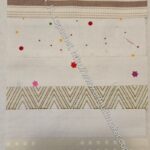
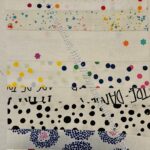
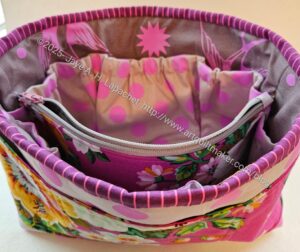
I saw a different binding technique, again, on Instagram. I tried it on a recent project and it works really well.I need to try it on a quilt or smaller project so I can get a better idea.
New binding technique – sewed
It is basically just matching up the edges of the binding, turning both pieces at an angle and pressing, then sewing them.
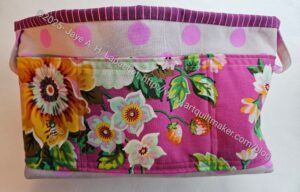
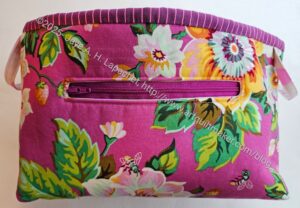
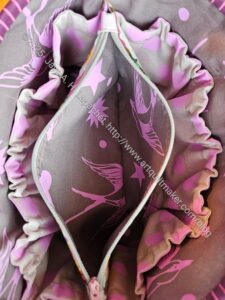
I found that I needed to have additional unsewn length in the binding for this technique. I was making a Hold Tite Folio which is already very small. I didn’t leave enough spare length as I was going to use a different joining method. I remembered this one and changed my plan at the last minute. I think it will be easier on a quilt.
I have to say that some of the recent binding tutorials I have seen on IG are brilliant. Mostly they have to do with joining the ends, which I have always found to be a challenge. That was not something I learned when I learned to make quilts. I don’t remember if it wasn’t taught or if I missed the class. I always teach joining in my classes.
We had a Sew Day on Saturday dedicated to making a group quilt that will be donated. Peggy has a pattern that uses different sizes of squares to make a quilt. I don’t know the name and I am not sure Peggy made it up. She probably found it somewhere. The directions were a bit confusing to start with, but easy once we got a few explanations and I drew some pictures.
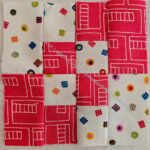
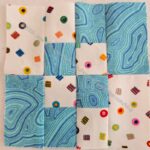
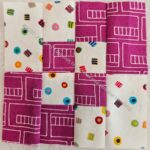
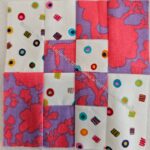
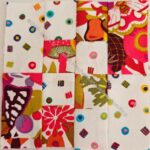
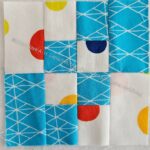
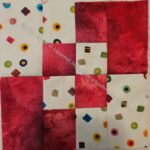
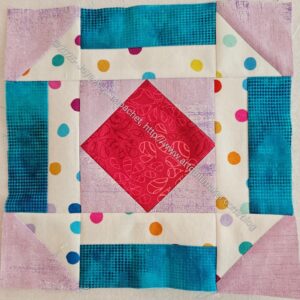
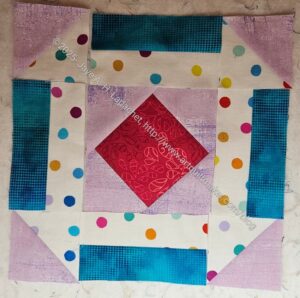
Community Center block
We all brought a few squares that were the right size, so the quilt would be very scrappy. I made one center block and a couple of border blocks.
My center block didn’t look very nice by itself. The fabrics were scraps from various projects that were the right size. I wasn’t hopeful that my block would fit in.
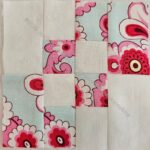
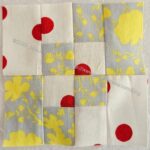
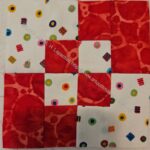
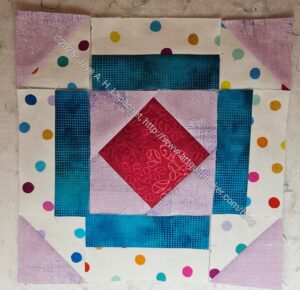
The border block looked a bit better. While the motifs were quite different, I think having similar colors was better for a block.
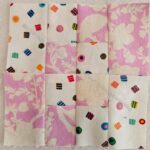
Community border block
In general, though, the quilt went together well and the variety of fabrics worked out.
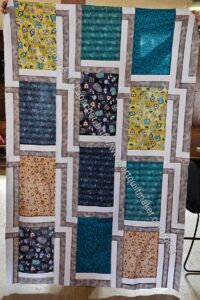
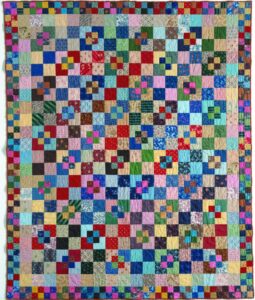
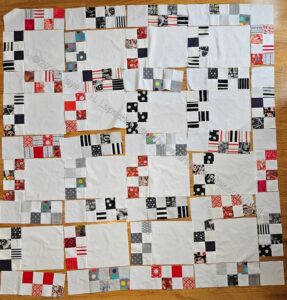
Community quilt top
The quilt looks like an HST quilt, but it didn’t go together that way at all. Unlike some methods of making HSTs, the bias was completely enclosed, so not a problem.
Peggy did a great job and the participants really stepped up.
The other day I mentioned finding some piecing. I thought I would let it languish for awhile, but I need the space on my design wall for other projects, so I quickly sewed it together.
April Cornell Poetry Collection donation top
I am pretty happy with the way it turned out. I had very low expectations and was rewarded with a better than expected outcome.
I was able to use all the pieces I found and only had to add a little bit of some peach Grunge I had laying around. I didn’t have much of it left and it was about the only color that went with these soft muted colors. At Julie’s suggestion I added a small strip of Tilde pink to get a little more length. I didn’t think it went with the April Cornell fabrics, but Julie said it picked up some of the darker pinks in some of the flowers. It is a little big strange looking for a top, but hopefully someone will like it.
April Cornell Poetry Collection donation back
The back was much harder. I really don’t have fabrics in those soft colors. I picked some that I thought sort of went with the quilt top. I would have preferred a sage or muted blue.
A long time ago, the Angel Family Mom mentioned an apron she used to wear at school (she’s a teacher), but lost. What she described sounded a lot like the Cafe Apron I made for my sister some time ago.
After looking up that project, I realized I bought the same pattern again. 🙁 I thought it was a different pattern and should have looked it up. Oh well. At least it wasn’t an expensive pattern.
Amanda Jane school apron
I bought the fabric and the pattern at Moonlight Quilters. I think I was inspired by the fabric, which doesn’t scream school teacher, but is school oriented. The motifs are subtle.
The apron didn’t take me very long to make. I estimate it took about 4 hours total. This time I used all the same fabric instead of different fabrics for the pockets, etc.
I got a call from the Angel Mama and she LOVES the apron. She said that she was wearing it around the house and it was just like the apron she lost. I was thrilled that she liked it. I threatened to make her one for home, but she said she had some Starbuck’s versions she used for around the house.
I am pleased that I was able to finish this in time for the new school year.
I am not mailing this pillowcase to my nephew. His parents are coming over for dinner tonight and I will just hand it over. I know it’s less exciting than getting mail, but I am saving myself a few cents.
He hasn’t really gone on any travel adventures despite his plans. I find that sad. He will be starting community college in the fall, which makes me happy. I hope he enjoys it.
July Projects Ready for Quilting / In the Quilting Process
Chain Link Top finished
Old Town top complete
Finished: Triumphant top
Handbag Sampler top finished
Projects In the Finishing Process
I had to change this from “July Projects In the Finishing Process” to just “Projects In the Finishing Process”, because the projects might linger here for a few months.
none yet
All the WIPs
WIPs are projects on which I am working. This means that I am past the cutting out of pieces stage, some sewing has taken place.
Country Revival – I have just started this quilt for my friend who is grieving her daughter. Photos soon.
La Passacaglia – I am working on the border, but need to work more and harder
Pantone Project – it has been nearly a year (where does time go?) since I worked on this. I need to get back to it.
Cut Out & Stopped
EPPic – this is mostly cut out and I have selected the main fabric, so we are closer than before.
Oxbow – SueS is organizing a Sew Day at her house to help us all finish our bags. It won’t be until the Fall so it gives me time to make some progress
Rose Petrillo bag – I found the pieces for this bag cut out, but not sewn.
Still UFOs
I still have UFOs. Who doesn’t, after all? A project in the ‘UFO’ category means I am stalled, it hasn’t been worked on in awhile or it is waiting its turn to be worked on. The list is a lot shorter and the projects are newer, for the most part.
I am annoyed that some of these are still UFOs. I have to give myself credit for completing some of them last year.
I eeked out the last few blocks from what was left of my blue scraps. Most of the scraps went to the Blue Improv #2 donation top. Mostly they are too small for the blocks, so were perfect for an improv top.
I have also included some blocks I am making for one of the upcoming Sidewalk donation quilts. As mentioned before, they are half 16 patches. I am so used to making the 16 patch blocks that it feels weird to include these half blocks. Still, they make up really nice quilts, so I am trying to get over the weirdness by including them.
I updated the Tutorials page with the new Sidewalk tutorial and also a zipper tab making technique. If you make the Sidewalk quilt top and want to give me constructive feedback, please email me privately.
I added a pattern to the tutorial for the Sidewalk quilt. The first pattern is for the improv version. When I have time, I’ll create the half 16 patch version.
I talked a little about this pattern after the guild organizer swap. Christine found it and I think it is a fun pattern. It is only a video pattern. The link shows what to cut and then you have to watch the video to make the basket.
Need a reading glasses case? I found a free pattern on the Spencer Ogg site.
I can’t tell the size of this fabric basket tote, but I really like the shape. Finished dimensions are listed as approximately 16” wide at the top and 11” tall (not including the handles).
I have been kind of immersed in boxed corners lately. It occurred to me that there must be a list of calculations to use for boxing corners. Even better! I found a boxing corners calculator! The site talks about the formula and what each part of the formula means. Then it gives an example of a calculation.
Julie posted about Feral Notions on her blog, so I went to take a look. I really like their sparkly rulers. Those confetti rulers might make great gifts.
Moonlight Quilters purchases – July 2025
I bought some fabric for backgrounds and gifts at Moonlight Quilters
After working with Lynette on anchoring the lining to the bag exterior, I went looking for boxing corner templates. I have a ruler that works pretty well in certain circumstances, but not for the process Lynette showed. This was a “I know how to break Google” search, because I really didn’t find what I needed. The closest I found was Carol’s Box Corners ruler. I didn’t buy it because I thought it was too basic.
Latifah Saafir showed us some fabric by Emily Van Hoff while we were on Zoom together. I am thinking of making a giant HRT quilt with the HuRTy and this fabric was very appealing. It might be great combined with some Philip Jacobs giant flowers.
If you are a Bonnie Hunter fan, then you might want some of the fabric that was designed for her. Get it on Spoonflower!
Fabrics from Rhonda
I picked up some fabric from Rhonda’s stash at the last guild Sew Day.
I was contacted by Quilted Joy. They wanted to exchange links and they mentioned some older, but not ancient posts. They wanted me to link to a post called Cats in Pajamas Quilt, , which was really about cats. The post included the Elizabeth Hartman cats pattern. I was really confused, because I saw the links they mentioned were to some of my travel/quilt shop review blog posts. When I went looking for their address I found it is in Kentucky, so it was even more confusing.
Exhibits and Organizations
The Santa Clara Valley Quilt Association is hosting their 2025 quilt show on September 27-28. The theme is 50 years of quilted memories and possibilities. Hours are 10-5 Saturday and 10-4 Sunday at Club Sportiva, 521 Charcot Ave, San Jose 95131, $15 at the door, $12 in advance. There is free parking as well!
At the Fair, we womanned the booth across from other guilds. I went and talked to all the other people booth sitting, because I was on a mission to get new BAM members. One was the Pacifica Quilt Club. It is pretty close to my house, so I went to check it out when DH was at one of his meetings. The people were nice and the dues were low so I joined. I don’t know if they are my people, but it won’t hurt to go and see what they are making. They have an arrangement with Coastside Quilt Studio to host their BOMs on her site.
Or get some Mary Engelbreit “Engeldark” postcards** and send them to the !#$holes making you angry.
**N. B. : Obviously, you should shop at local quilt shops and small businesses. However, if you are too busy or can’t find what you need there, I use Amazon affiliate links and may be paid for your purchase of an item when you click on an item’s link in my post. There is no additional cost to you for clicking or purchasing items I recommend. I appreciate your clicks and purchases as it helps support this website.
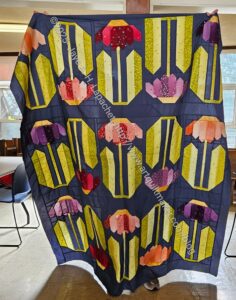
I finished the Handbag Sampler and it is now with Colleen getting quilted. I am pleased with the way it came out. I am even more pleased that it is done.
I am kind of amazed at the colors and fabrics I chose for this quilt. It is super bright and there is a lot to look at.
I rearranged the blocks before I sewed it together. I thought I needed to move some of the diamond fabrics away from each other. They were sort of concentrated at the bottom of the quilt, so I moved the Nosegay block to the top.
I have to admit that I feel slightly bereft finishing this quilt. I have others on my to do list, but this one seems like it might be the oldest.
I was really pleased to see this quilt come back from quilting and binding. Lee Ann did the binding. I was pretty unhappy with this quilt when I finished it, but I think it came out really well in the end.
I used the leftovers from the Angel Family pillowcases and some scraps from Melinda. I was pleased to be able to use up as much of the fabric I bought as possible.
Today’s is Lil Sissy’s birthday and I was able to finish her Zeppelin pouch and send it off.
I am really pleased that I was able to fussy cut the fabric so that main Paris motif is, essentially, centered.
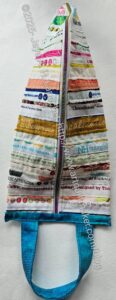
This was a very easy pouch to make, if a little fiddly.I know I talked about the shape of the pieces the other day. The construction was genius! I am constantly amazed at what Sara comes up with. I don’t know how she figures out these bag patterns.
Zeppelin end
The one part that was a little confusing was the ends, where the zipper tabs and sides come together. I had to watch the video and that made it clear. You have to know what to do, then it works out.
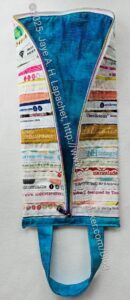
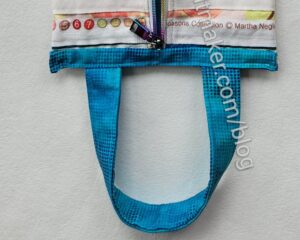
The photo shows mostly the handle, but if you look behind the handle at the zipper, you can see the zipper tab, which is longer than normal sewn in. Super clever. It also reminds me of what I was trying to do the other day with the zipper tab technique.
Zeppelin back
I also remember to put on my label! It is pretty prominent, because I remember after I had already assembled the pouch. I think it is ok to have it be a little prominent for once.
The fabric I used is such great fabric! I was so pleased that I found more of it. I love all the different motifs.
Zeppelin lining anchored
I was also able to anchor the lining to the exterior even though there was no way to box the corners. I took a look at the Hackney pattern, which shows one method and kind of followed those directions.
I am probably ridiculous, but I love the concept of using chocolate fabric to make Sweet Dreams pillowcases.
I bought this fabric on a whim at Quilts & Things. Last week I made the pillowcases so I could bring the to my Mom. These were not for my Mom, but for the Angel Family parents. The Angel Family was on vacation for about 3 weeks and I wasn’t going to see them, but I was going to see my Mom. She agreed to bring a plethora of gifts to the family.
Julie and I made the pilgrimage to drop off quilts with Colleen the other day.
Old Town top complete
Chain Link Top finished
Finished: Triumphant top
Handbag Sampler – all the blocks
Four of my quilts and Julie’s City Sampler are all in the capable hands of Colleen. I also left a small panel quilt of my Mom’s there. That was a mess. It had no backing or binding. Colleen had some perfect backing fabric and I will send her a binding in a few days.
I learned from making the pilgrimage with Tim that I have to plan a lunch break. We stopped at Black Bear Diner because the area is a mecca of chain stores and restaurants. Fortunately, they have gluten free options, so I indulged in a BLT and ate the french fries.
Bay Quilts, July 2025
On the way back, we stopped at Bay Quilts. They close at 3pm during the week! We only had about 15 minutes to shop, but we both found a few things. I like that shop. It is big and they have good fabric.
The two background fabrics I purchased are from the same line as the fabric I used for the Triumphant background. I didn’t realize it until the clerk was cutting the fabric.
I also finally indulged in that color set of fat quarters. I have been looking at it for a year at least. I need to find a good way to use it.
I couldn’t help myself. I said I wouldn’t, but I really couldn’t help myself. I made two more blocks for the Handbag Sampler.
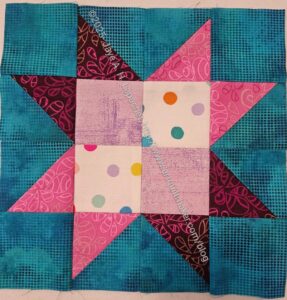
I decided that the quilt needed a few more blocks and I took the time on Sunday morning to choose a couple of easy blocks. I chose Sawtooth Star, because it is a favorite. I also chose Fox & Geese, because I thought it would look good with the other blocks. I really had to stretch that blue fabric, because I had barely enough to make the background.
Handbag Sampler – all the blocks
The blocks went relatively quickly and I think they look good with the other blocks. I am well on my way to finishing the quilt.
SIL#2 led at swap at the meeting on Saturday. As mentioned, I made a pencil roll. I decided at the last minute to make another organizer in case a new member or potential member came and wanted to join in.
I found the pattern in a book I reviewed some time ago called Make It, Take It: 16 Cute and Clever Projects to Sew with Friends by Krista Hennebury. I am glad to say that I did notice this project when I reviewed the book.
Make It, Take It needlecase
I am very pleased with the needlecase I made. It is kind of a portfolio and holds quite a bit of stuff. I like it because it is useful and practical, but also has scope for creativity.
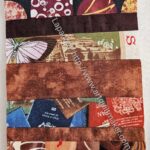
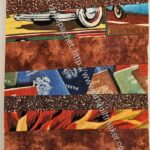
I used some of the leftover improv piecing from the latest improv donation top. I think it would work to use Quilt-as-you-go to make the cover as well. I could just as easily use one piece of fabric for a very quick finish.
I was also pleased to see the way the zipper was installed, because I thought it would help me with another project on which I have (mostly not) been working.
Make It, Take It needlecase – open, inside
This was a fairly quick project. I had all of the supplies, which helped. You do need some wool felt and a long zipper.
Each section could be used for a different type of needle, if one were that organized.
One of the reasons I am pleased with the pattern is that it gave me a different way to install a zipper on a circular piece. I can use this technique. I need more practice, but it came out better than my other project.
Make It, Take It needlecase – open, outside
I am also pleased because the exterior looks really good. There is ton of scope for creativity with the outside, as I mentioned. This might be a great project to work on in a group.