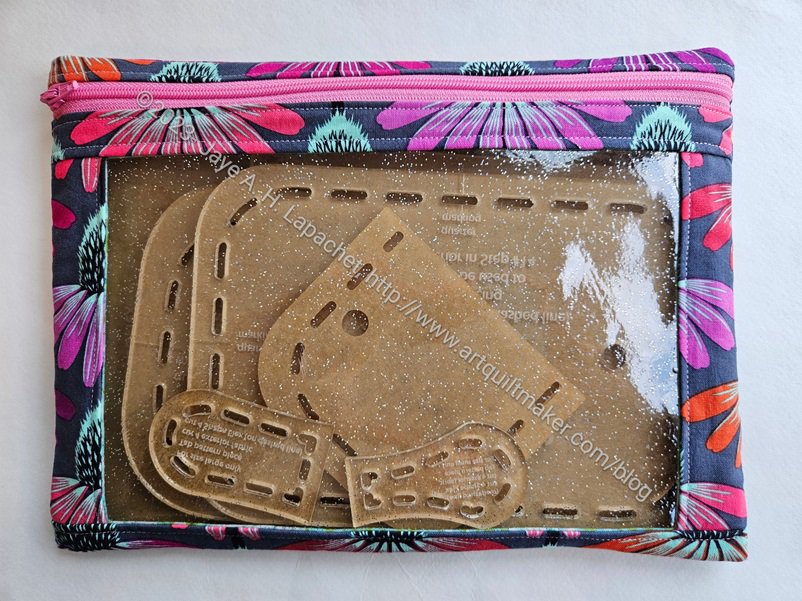
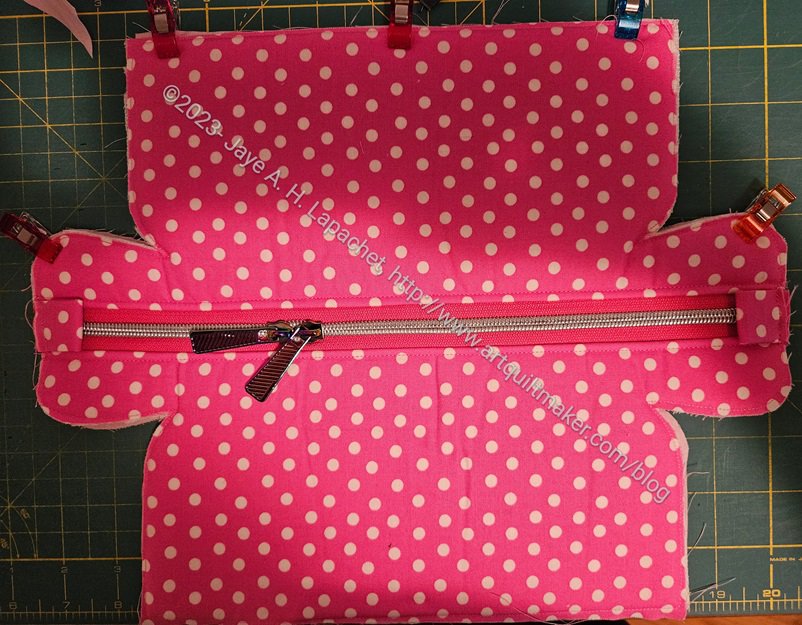
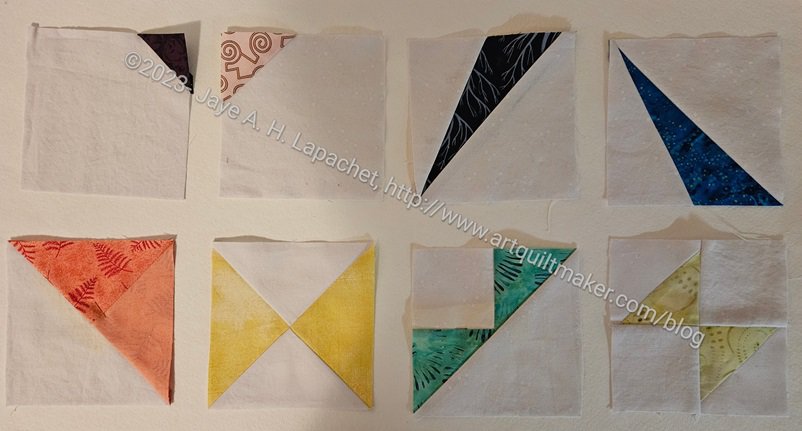
I got some new templates this week, which means I needed a new I Spy pouch in which to store them.
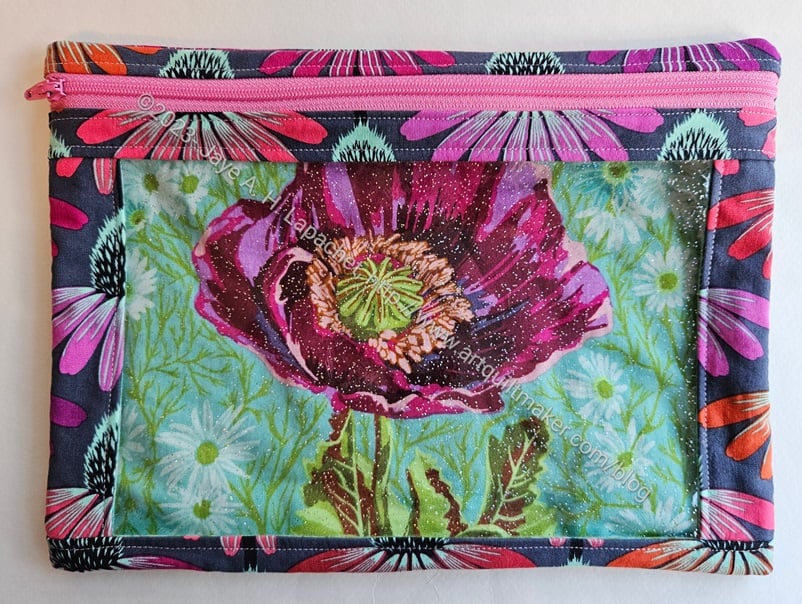
I cut this pouch out after work on Monday and sewed it up during Craft Night. I only had to whip stitch the bottom closed and I could fill up the bag with my templates.
Big Poppy I Spy
I made an effort to make the window (lining) fabric look good and used some fabric I received for Christmas. Normally, the fabric isn’t seen, but I wanted to make this super pretty.
I am planning to make another pouch for the other set of templates. I could have made two at a time, but I thought I would have to adjust the size and I didn’t want to worry about that on Monday. I just wanted to sew.
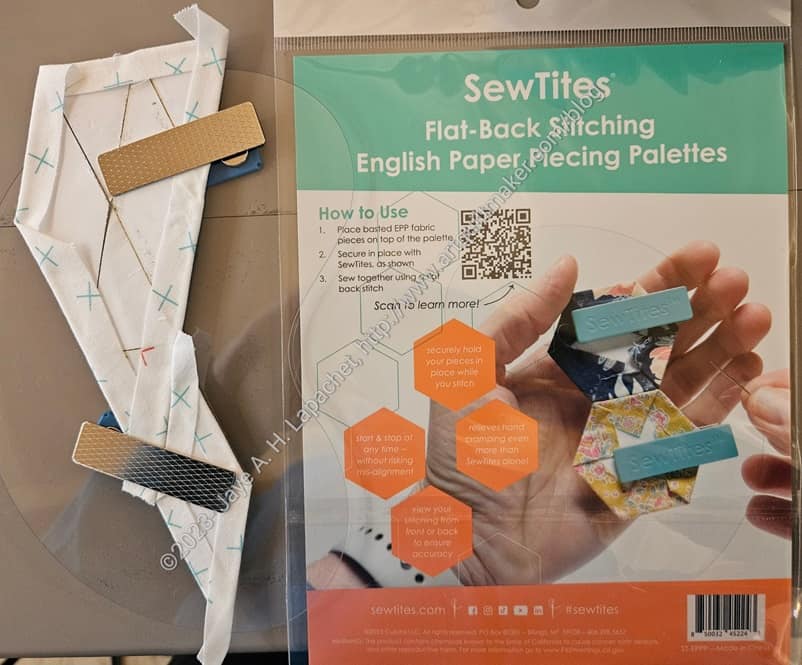
The package comes with 3 different palettes of varying sizes. They are a kind of kidney shaped and made from thin plastic.
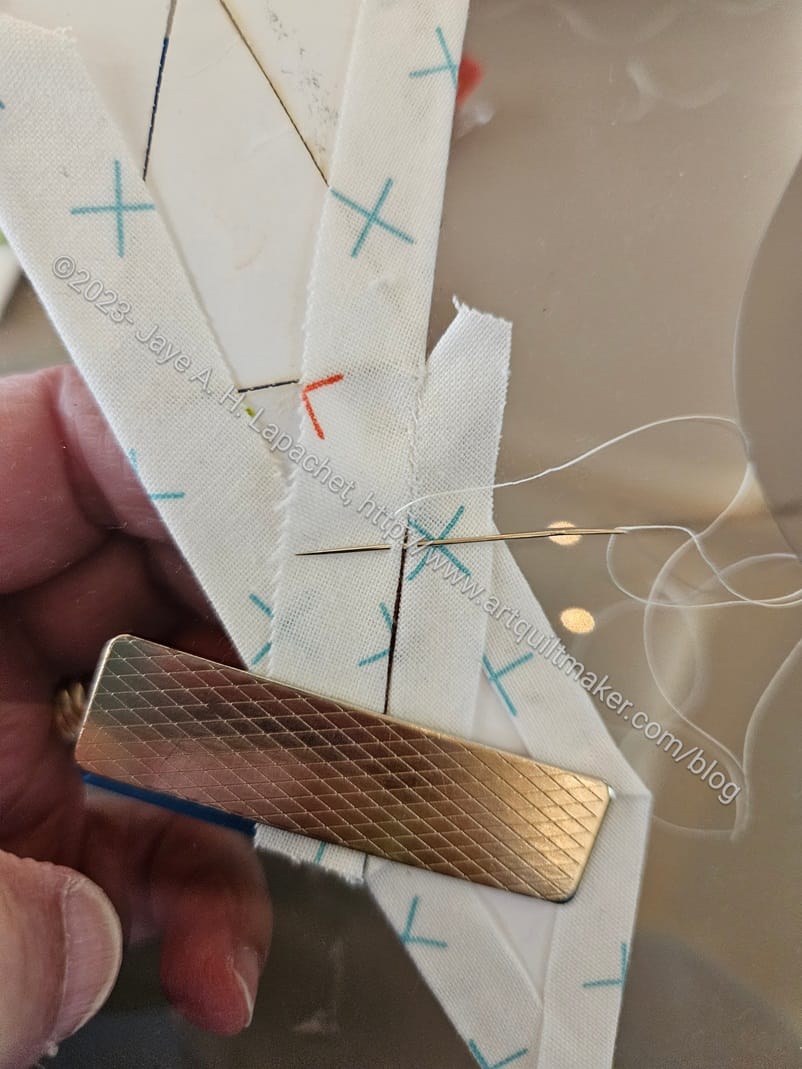
Working on pieces using the palette
There is a lot to hold when stitching EPP pieces together and it is very easy for the pieces to get out of alignment. I found that using one of these to start stitching is super useful. I have started to use it to anchor a few pieces in place while I get started stitching them together. Once I am about halfway through the seam, I take the piece off the palette and continue stitching. By that time, I need a little bit of play in the pieces.
Another benefit is the Sew Tite magnets have something on which to hold besides the EPP pieces themselves. You can see in the photo above that only about 2/3s of the magnet is on the EPP pieces. Without the palette, the magnets move around more.
This is a good tool and I am really glad I have one.
**N. B. : Obviously, you should shop at local quilt shops and small businesses. However, if you are too busy or can’t find what you need there, I use Amazon affiliate links and may be paid for your purchase of an item when you click on an item’s link in my post. There is no additional cost to you for clicking or purchasing items I recommend. I appreciate your clicks and purchases as it helps support this blog.
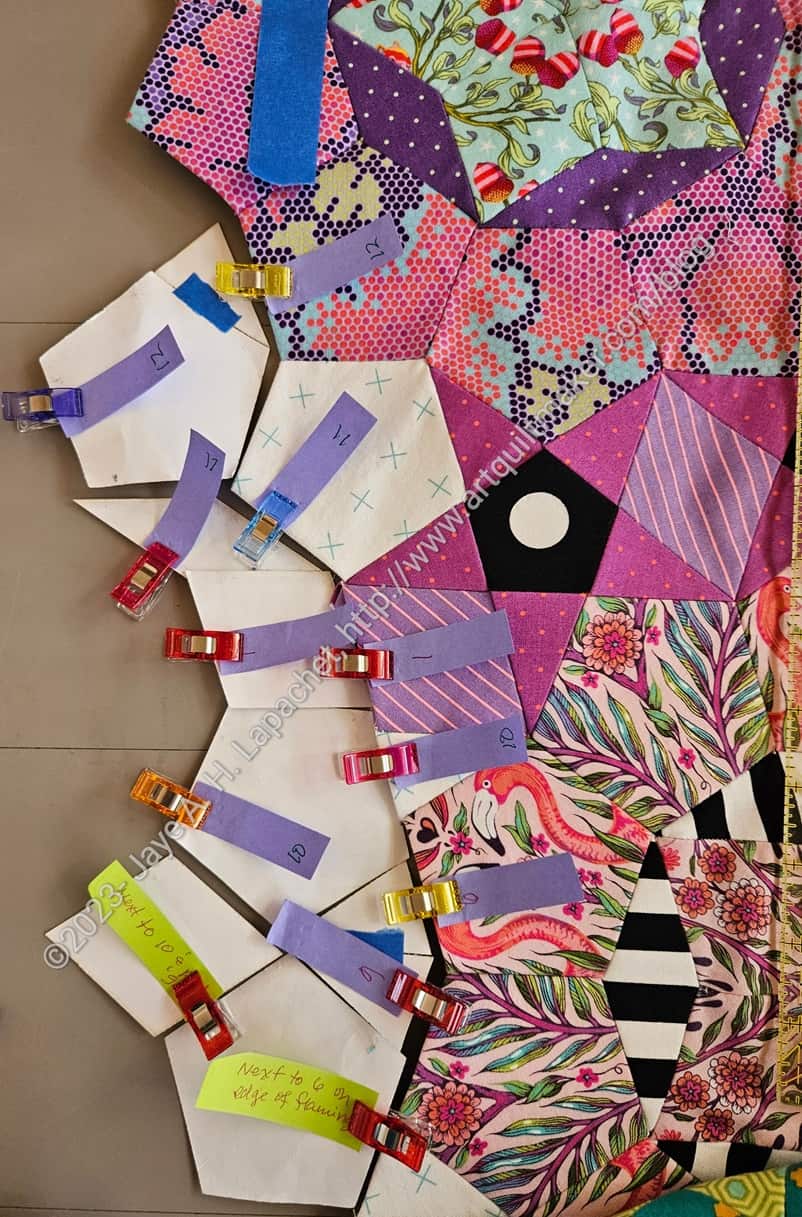
I finally started working on the La Pass Border again. I took the quilt and all the supplies to Sew Day and laid out the pieces for another section of the La Pass border.
As I explained, I lay out the paper pieces I need, label them, then do the basting and, finally, the sewing.
I am about to reach another side of the quilt where I already worked on the border. I don’t know if I am done with that side yet. If nothing else, I am finishing my first pass. I may need to continue and get to a point where I can add a straight piece of border on each side.
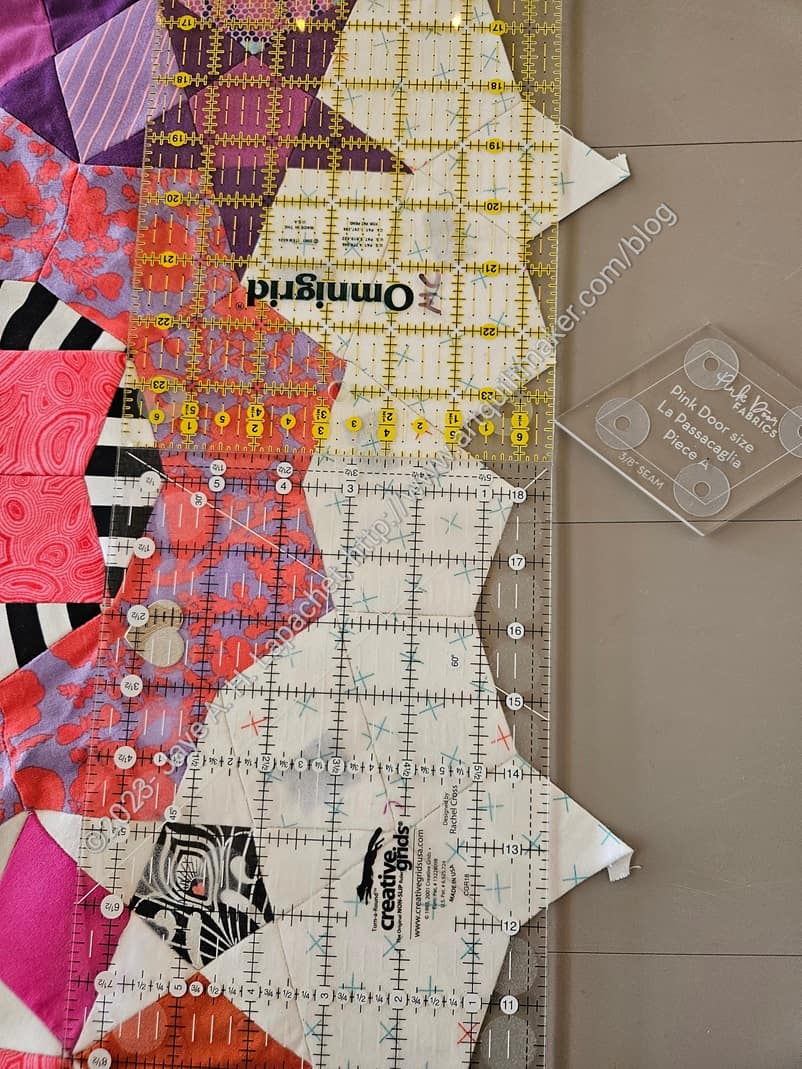
La Pass: possible border trimming
I am thinking of trimming. One of the good things about working on this at Sew Day is that I can lay a bunch of the piece out and see more of what I am doing. At home, I need to lay it out on the floor and at the moment, there isn’t space.
In this image, I thought maybe I had enough of a border. However, I think I may need to add more later.
OMG! More birthday gifts arrived. It is almost a month after my birthday and the party keeps going on.
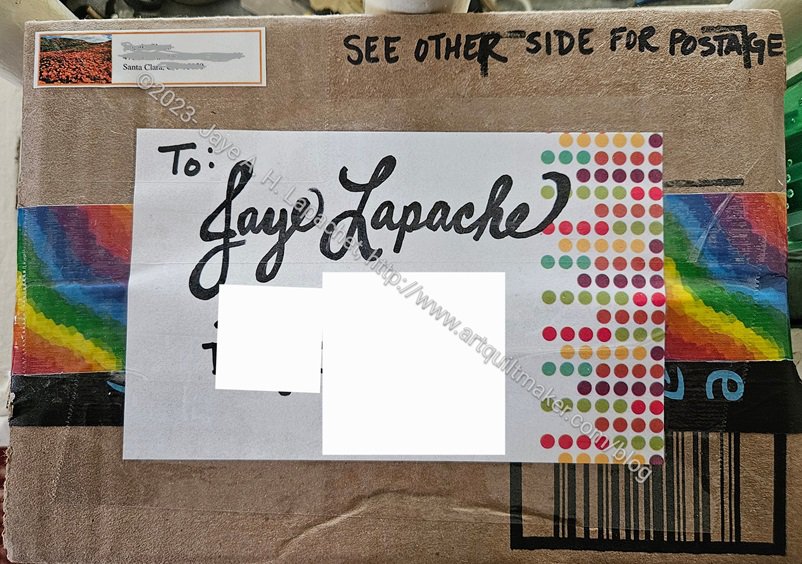
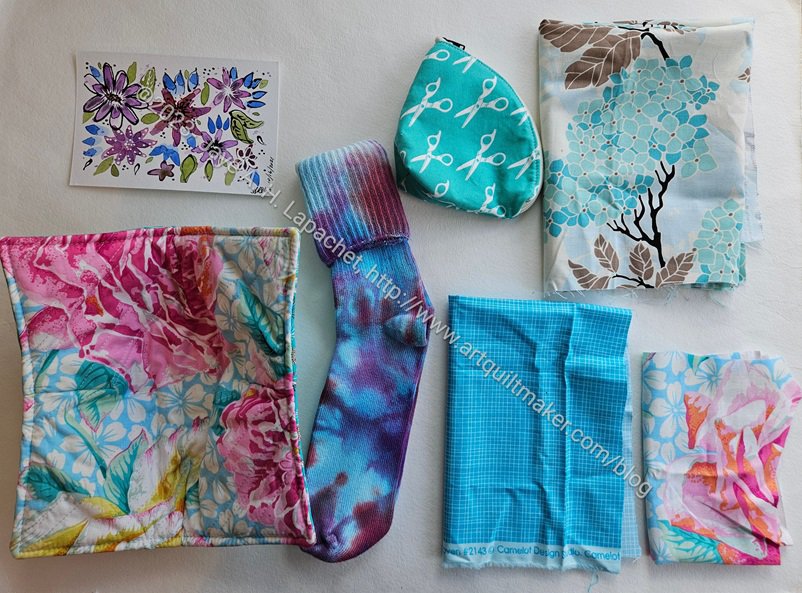
This wonderfully decorated box filled with delightful gifts arrived last week.
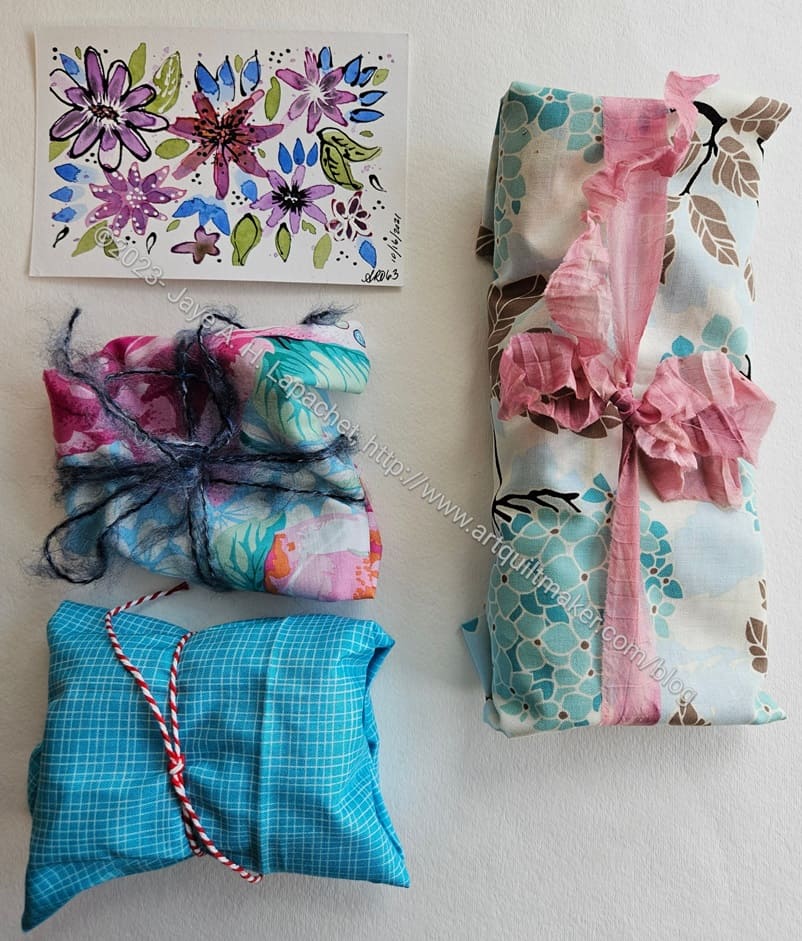
Wrapped gifts + card from AO
First, everything was wrapped really nicely in fabric (of course!). Look at how everything goes together in a light green and turquoise kind of color scheme. Great, right?
The card is a piece watercolored by AO. I don’t want her to spend time watercoloring. I want her to sew, but she does a really good job on the cards, so it is hard to get upset. 😉
Gifts + card from AO
The little parcels were so hard to unwrap because I just loved the way they looked together.
The bowl cozy will definitely be useful. I already wore the socks and they are nice and thick. I am already using the little triangle pouch for lipsticks and small cosmetics in my handbag. It is super useful.
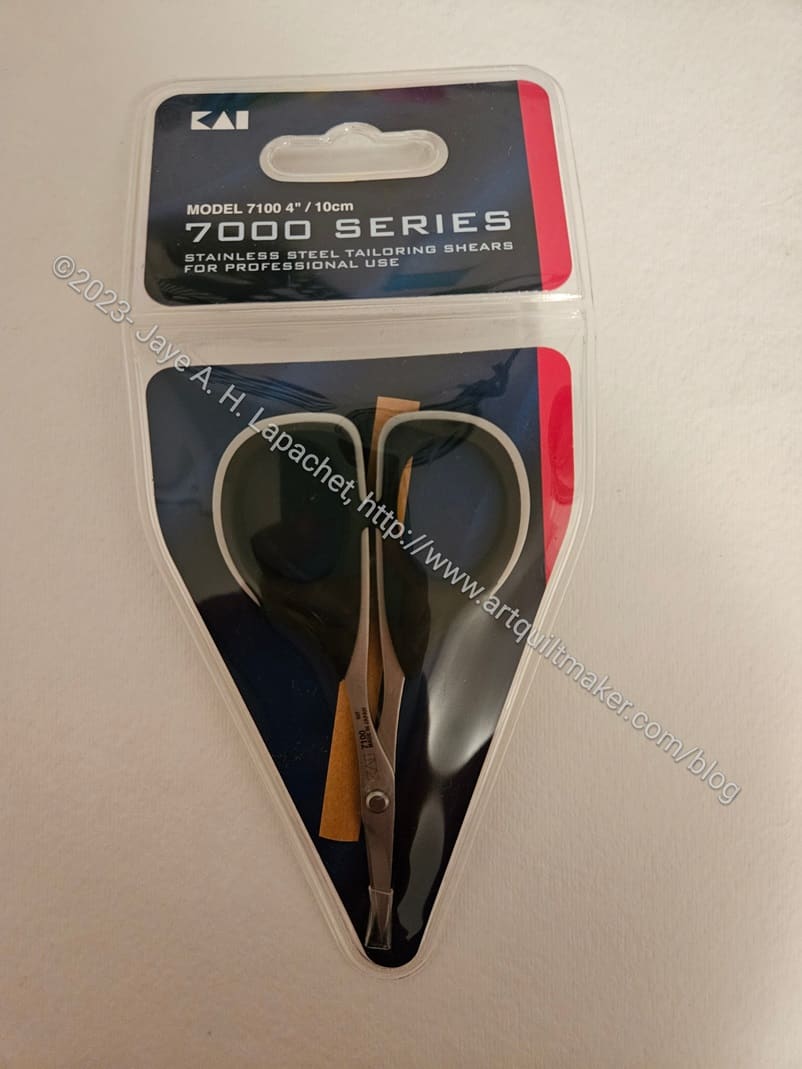
Kai Scissors
My dad got me a gift card and the small scissors I bought to replace the Tula snips** (they didn’t stay sharp and I need to get them sharpened). I had a hard time deciding what to buy. Amazon has everything except Sew Sweetness patterns, which is what I really wanted. These scissors are awesome! The tips are super sharp, so they are great for clipping curves and trimming just a thread or two. They are also lightweight and open and close easily, which means they don’t hurt my hands.
This is the first pair of Kai scissors I have gotten. While I haven’t used them a lot, I already really like them.
On Saturday, I went out to lunch with Sue and Carrie. It was my birthday lunch and came with gifts. They are really super generous and I don’t know what I did to deserve their kindness.
Gift bag from Carrie
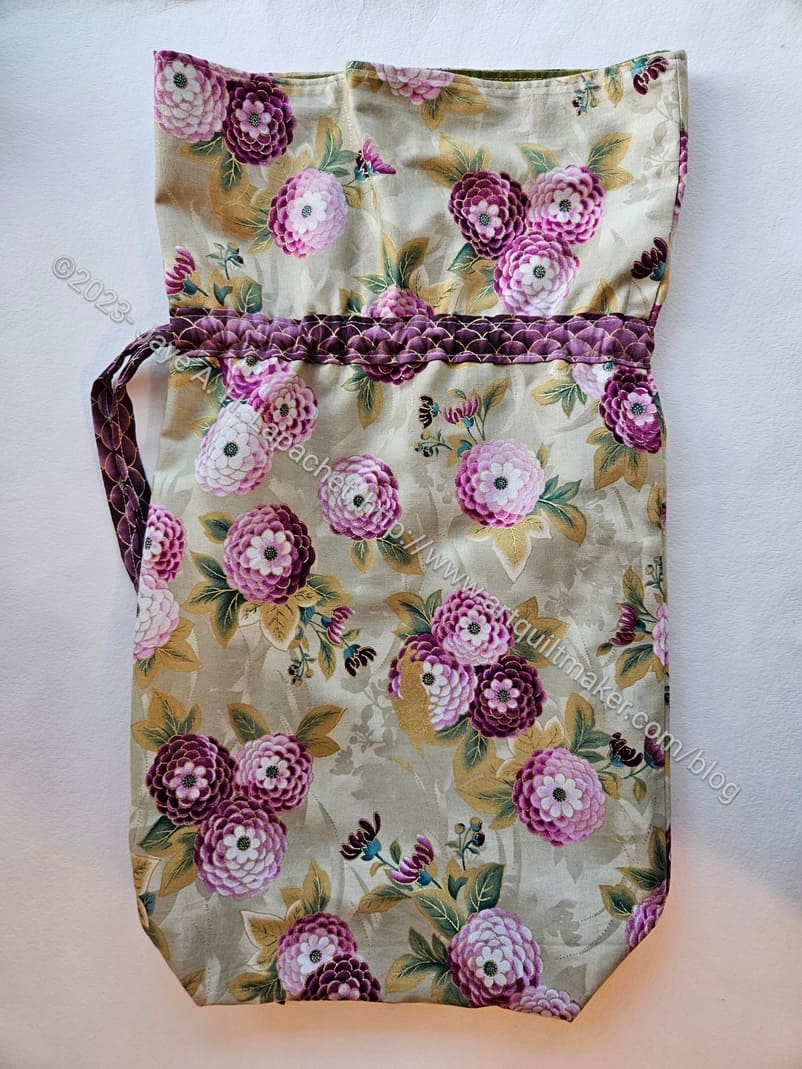
Carrie has recently started bag making and has, even more recently, taken my gift bag making to heart. She used an Asian fabric to make me a gift bag that has a coordinated channel in it.
This is a similar design to Jeni Baker’s Lined Drawstring Bags. Carrie is the YouTube Queen, so I think she found this pattern in a video. It is great. I really like the coordinating channel.
Gifts from Carrie
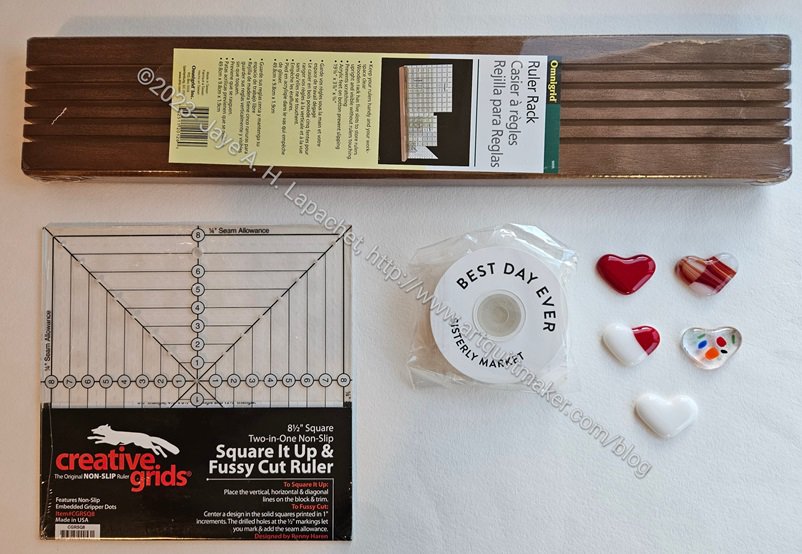
In the gift bag were a couple of lovely gifts. One is a Creative Grids Fussy Cut ruler**. This is one ruler I don’t have and it will be useful. The good thing about it is that it has the squares of different sizes radiating out from the middle. This means I can put the very middle on a motif and know exactly how it will be placed.
Along with the ruler was a ruler stand. I have looked at these for years and never taken the plunge. I need to do some tidying before I can set it up.
The “Best Day Ever” ribbon and the beautiful glass hearts are Valentine’s Day gifts. Yes, I received a Valentine’s Day gift as well! So sweet.
Gifts from Sue
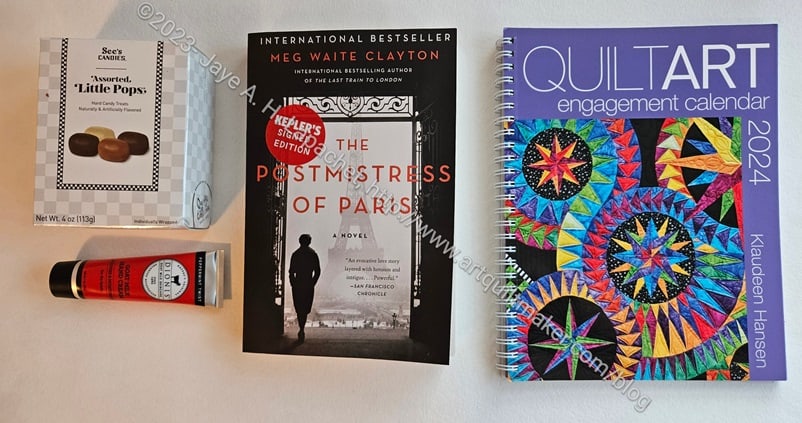
Sue gave me some books. Yes there is a bit of quiltmaking in there, but mostly it is a relaxing gifts. I can sit and read the book or look through the Quilt Art calendar while eating the candy. Wonderful!
I was glad I made the Hemingway pouches, because those ended up being the party favors I gave to Sue and Carrie.
Needles & the Granary purchases
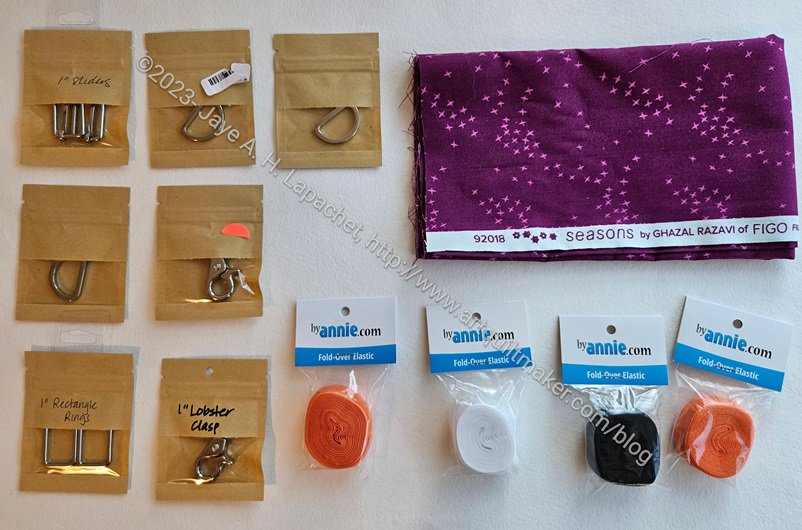
After lunch, we wandered around Los Altos. Needles Studio was having a sale. I bought some bag hardware on sale for $2 or less each. I couldn’t resist that red-violet fabric. I bought the double fold elastic at The Granary before I went to lunch. I need it to work on the Bluestem pouches.
I also received a gift from Gerre at Sew Day. She added to my set of dish towels with a few more with different embroidered motifs. I am such a lucky person to have such great friends.
**N. B. : Obviously, you should shop at local quilt shops and small businesses. However, if you are too busy or can’t find what you need there, I use Amazon affiliate links and may be paid for your purchase of an item when you click on an item’s link in my post. There is no additional cost to you for clicking or purchasing items I recommend. I appreciate your clicks and purchases as it helps support this blog.
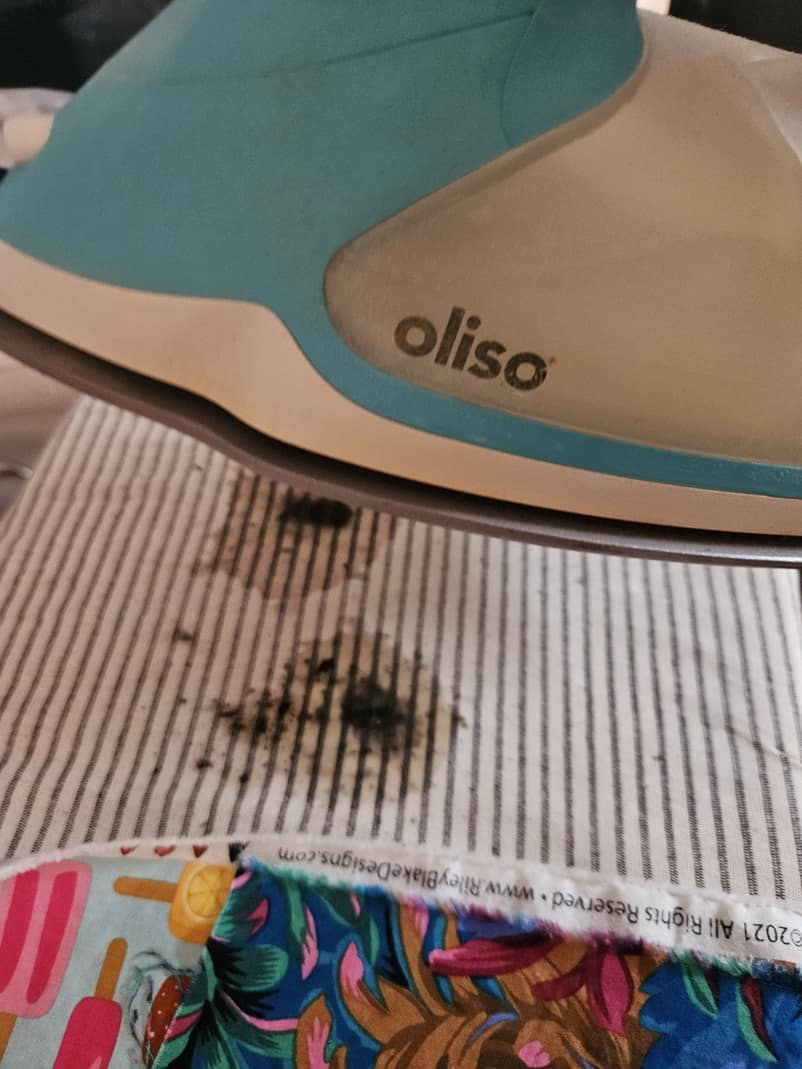
I am super unhappy with my Oliso right at the moment.
It blurped black gunk on to my brand new ironing board cover. 🙁
I spent a few days religiously using a pressing cloth and trying to get all the gunk out of the iron. The gunk spewing seems to have stopped, but I am still irritated. I am really glad it didn’t blurp all over any piecing.
Oliso weird gunk
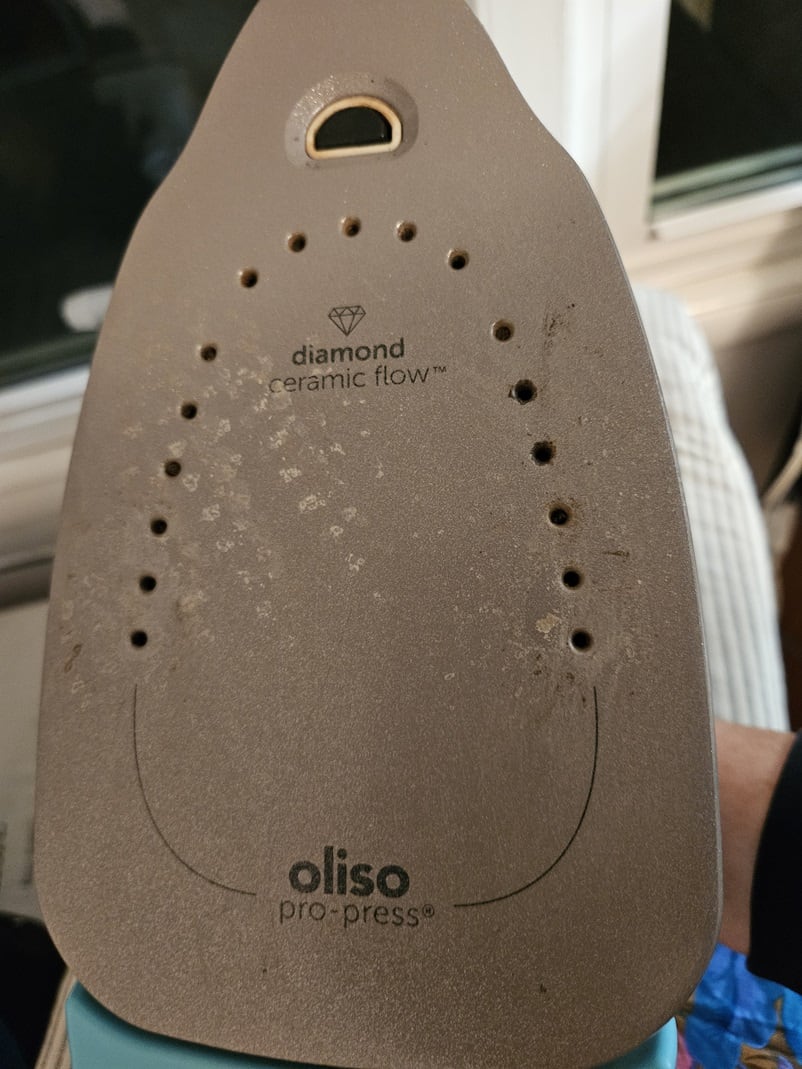
The iron also has some weird stuff on the bottom and no, I wasn’t using any fusible. I really like Iron Off** and use it immediately if I get anything on my iron. I don’t know where this came from. It appeared after the black gunk, so I am sure they are related.
Now I am using my backup iron while I work through the steps that Oliso has given me.
Oliso says clean it with white vinegar. I can’t do that because I am allergic to it. I have asked a friend to do it for me, but that requires some coordination. I might be done with Oliso irons. I think this is the 3rd one I have had. I really like not standing it up on the end, but I seem to have a lot of trouble with them.
**N. B. : Obviously, you should shop at local quilt shops and small businesses. However, if you are too busy or can’t find what you need there, I use Amazon affiliate links and may be paid for your purchase of an item when you click on an item’s link in my post. There is no additional cost to you for clicking or purchasing items I recommend. I appreciate your clicks and purchases as it helps support this blog.
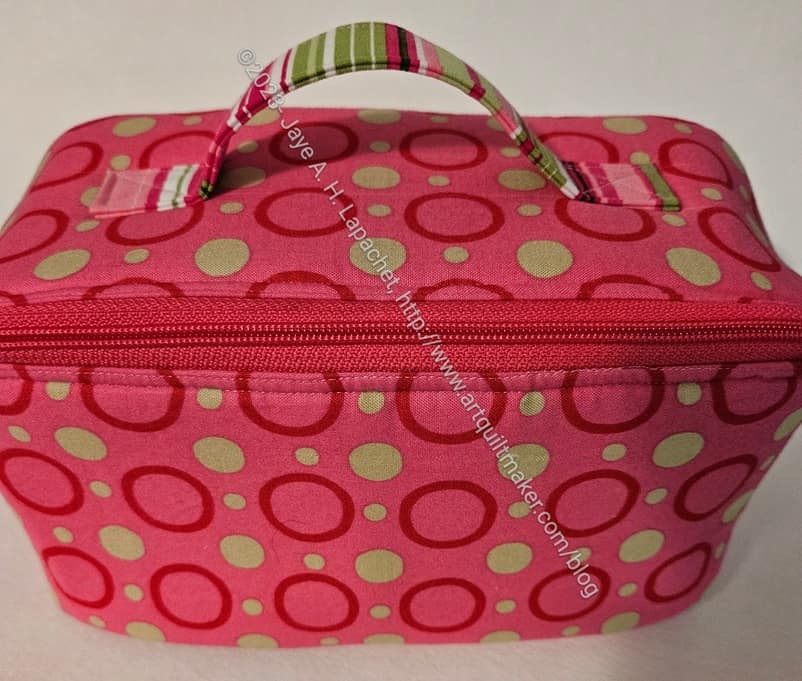
I finished the Enigma #4 and also gave it to my friend. She was so touched; it made me want to cry. I don’t think of giving bags to people as anything special. In my small quiltmaking/bagmaking world, everyone gives bags like they are napkins or something equally as mundane. I am always brought up short when I give a bag to someone outside of that world and see how amazed they are.
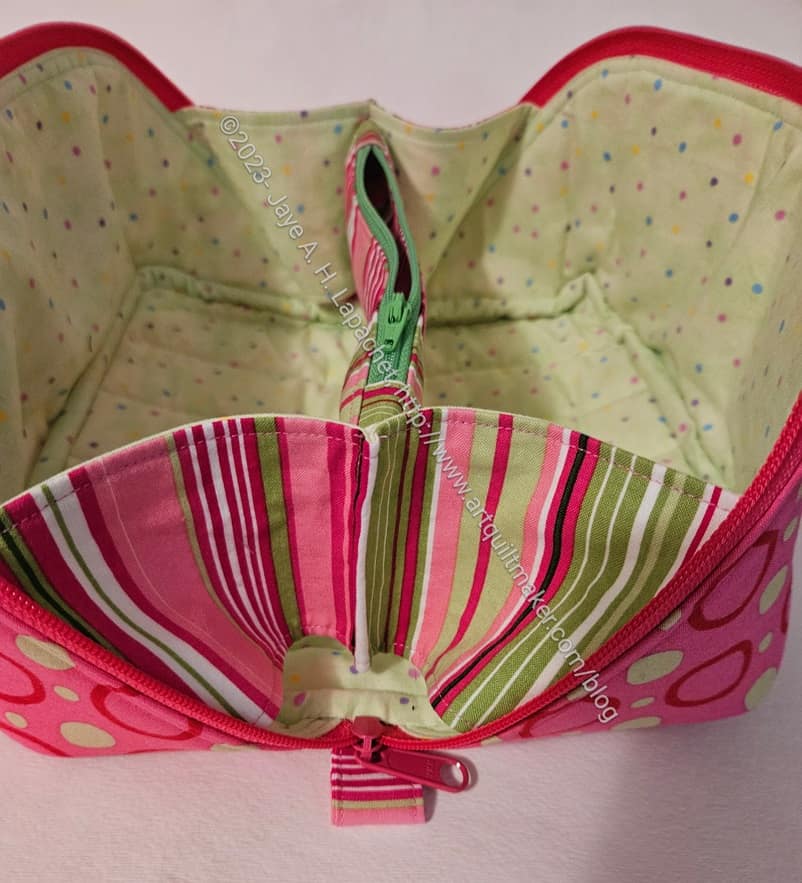
Pink Enigma #4: open
This one came out really well. I am still impressed by the matching stripe I was able to find. I cannot remember when I bought it or where, but it has been hanging around for awhile. It just goes so perfectly with the pink and green outer fabric. I used up all of the fabrics I used. All had chunks taken out of them when I started and were really just scraps when I finished.
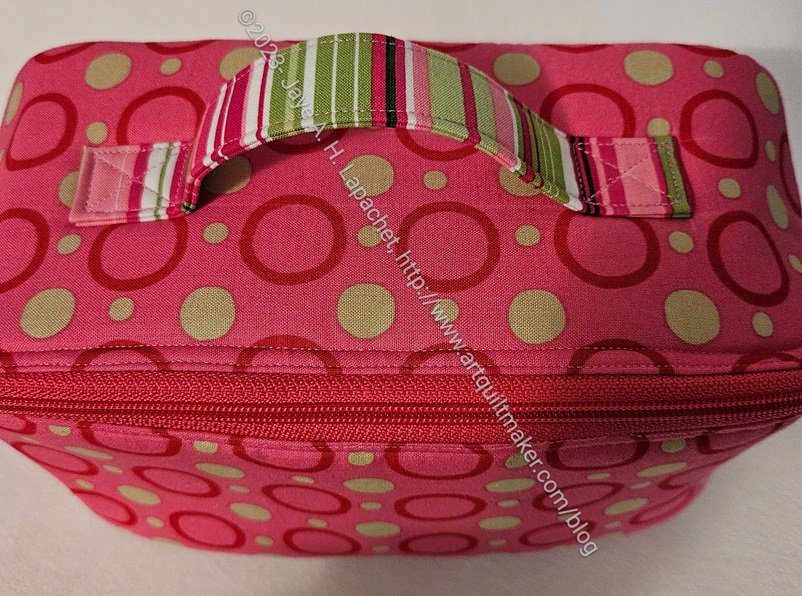
Engima #4 – top view
Of course, I am still swooning over the diagonal zipper. Of course, I didn’t take a photo of the side where you can see in this version. You can see the diagonal zipper and how it works in the picture of Mom’s Enigma.
I am really pleased, also, with how well the handbag zipper color goes with the exterior fabric of the bag.
I am Miss Self Admiration Society today, aren’t I?
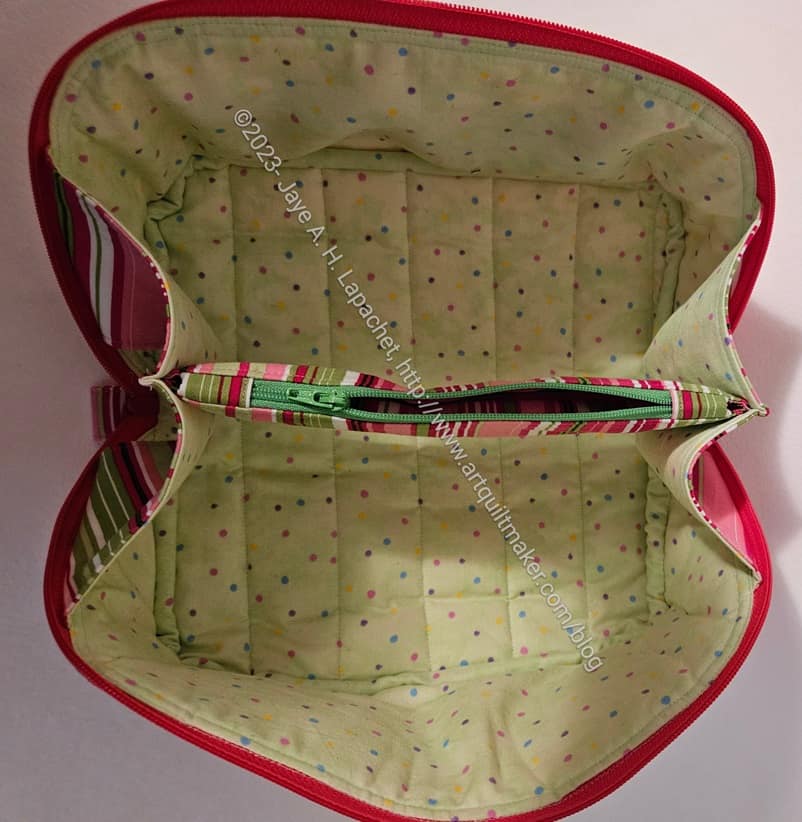
Pink Enigma – open flat
This one also lays flat. I still really like the way this design opens flat for accessing everything inside.
This piece really came together well in terms of fabric. I am already thinking about the next one I want to make.
I wouldn’t exactly say I finished this in record time, but I did work hard to get it done and off my design wall.These quilts aren’t difficult to make. The blocks can take some time, but go together quickly if the strips are available and I use the leaders and enders technique.
This is the third quilt finished from my black-grey-brown scrap drawer. It never ceases to amaze me how little fabric it takes to make a quilt. This one, including borders and sashing took about 3 yards.
I showed it to Marty, who loves the nuanced subtlety of brown, at Sew Day the other day and she loved it. She wanted to know if I was a brown convert. No, no I am not, but I am glad I made this quilt and got rid of the brown scraps I had.
While we were looking at the quilt, I pointed out some of the fabrics I used in really old quilts, like She Had to Have her Latte. That is the fun of scrap quilts – seeing old fabrics and remembering a previous project.
Brown strip donation quilt back
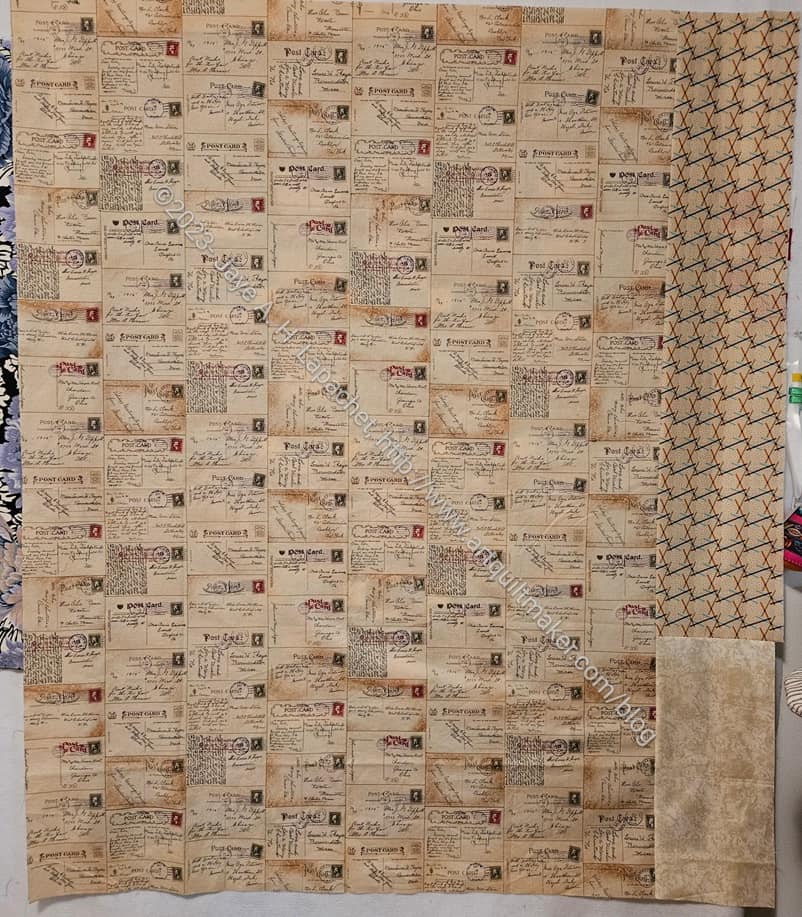
I had a large piece of ‘tea dye’ colored fabric that was almost perfect for the back. I had to add on a bit more, but it was nice to get that large piece out of the fabric closet.
The fabric has postcards on it. I tried to read the messages, but I finally decided they must be fakes as some were impossible to read. That, or they were intentionally blurred.
Another project and more fabric out of the house.
I remembered that I used up quite a bit of brown for the Henry Softies.
This was a relatively easy project. As mentioned the other day, I didn’t use the exact dimensions, but it didn’t matter. You can make this pouch any size.
For me, it seemed best to make two at a time since you only use one side of a zipper. I didn’t want to have a random piece of zipper hanging around, so I made two.
I am going to try making one with some of the pre-quilted foam I got last year. I might make a bag for my lightbox.
Traveling is a good time to get inspiration. Last weekend we went to Jackson for the Native Sons event, Discovery of Gold. I enjoy visiting these small towns in the boonies of California. I always find something interesting.
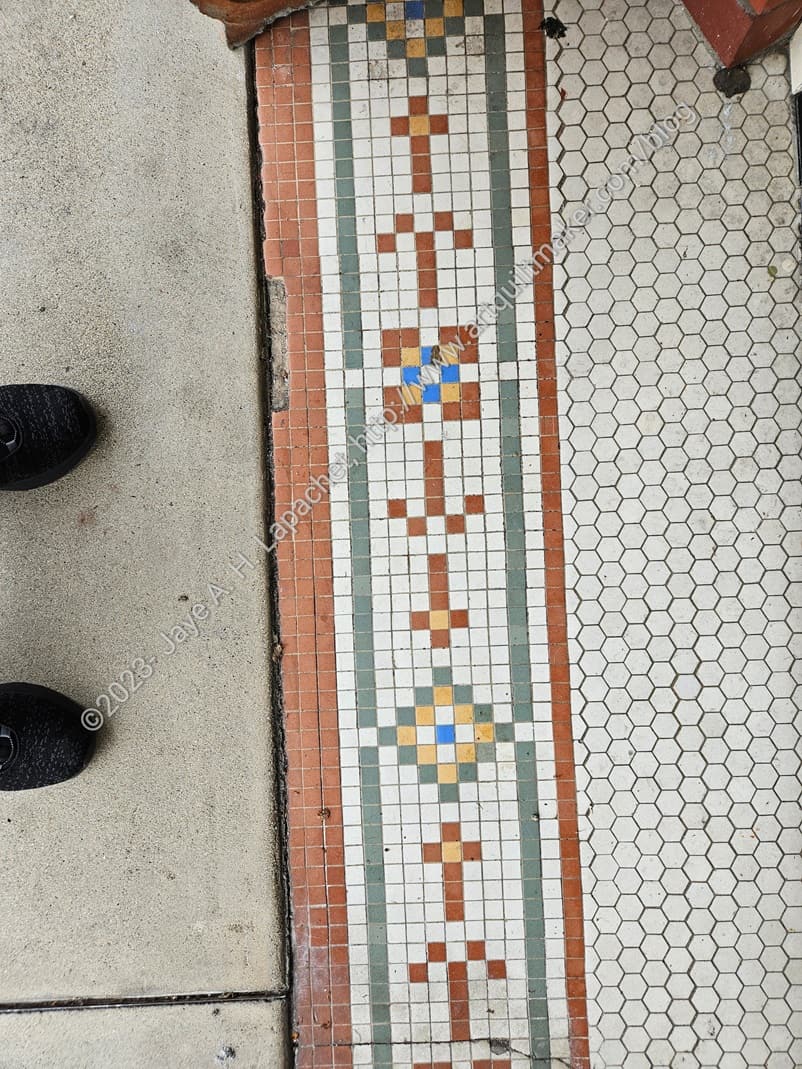
I thought the tile at one closed storefront would make an interesting row quilt – or the start of a row quilt. Look at the different elements between the ‘blocks’. I wonder if they relate to the shop’s original owner or wares?
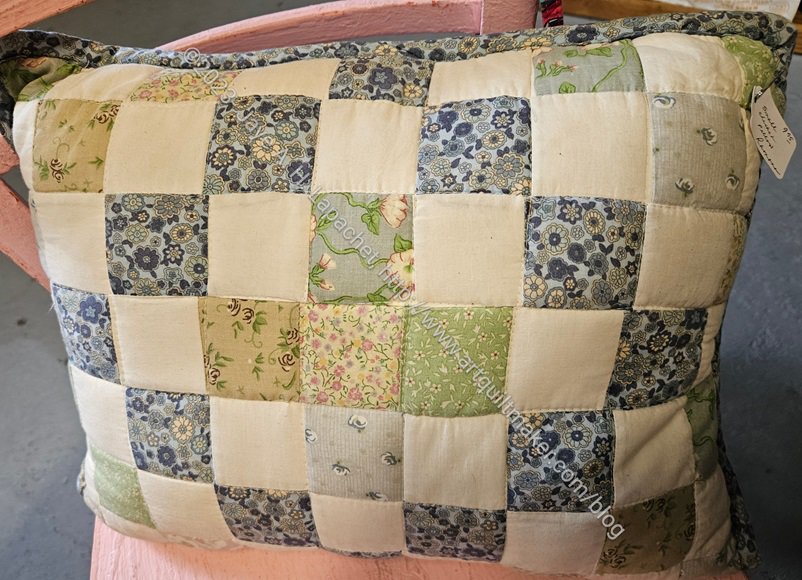
‘Checkerboard’ pillow
This trip, I spent a lot of time on my own because DH had a lot of meetings crammed into one day. Jackson has quite a few ‘antique’ shops. Some are more curated than others. I wanted to visit a quilt shop, but the closest one was 40 minutes away in Placerville and I wasn’t up for the drive. It was fun to wander around Jackson. I found a few gifts, especially a teapot I have been looking for for years.
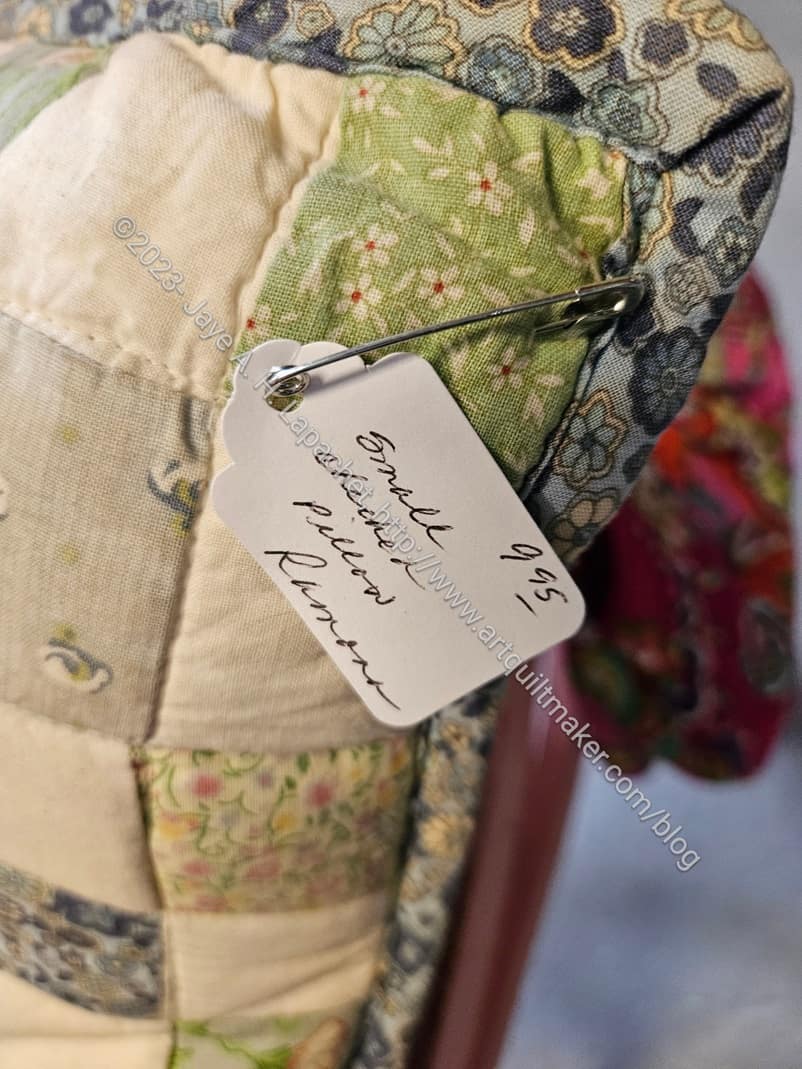
‘Checkerboard’ pillow detail
As I wandered around, my thoughts around Women’s Work and its value (or lack of monetary value) were rekindled. The cushion above had a very depressing price tag on it. I blame Walmart and the Dollar Store, fast fashion and always wanting a deal. $9.95! I couldn’t really take it in, though this kind of thing is why I don’t have a quilt business.
Really, I kept seeing a lot of quilts and quilt related items. I also saw a lot of crochet, but I can’t take photos of everything.
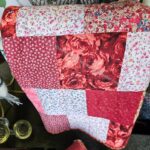
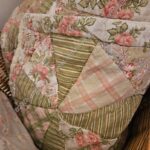
One thing I noticed was a lot of quilts. Not art quilts or high quality quilts, but a noticeable number of utilitarian quilts. After seeing the first few, I started photographing them and thinking about Women’s Work again. I’ll try to stay off of my soapbox, but the prices and the cavalier way in which most of them were displayed makes me wonder again about the value of women’s work. I also can’t help wondering if my work will end up in antique-thrift-junk shops. If the YM doesn’t want my quilts, I hope my nieces and nephews will divvy them up.
Sponges and placemats (?)
Aprons & trivets
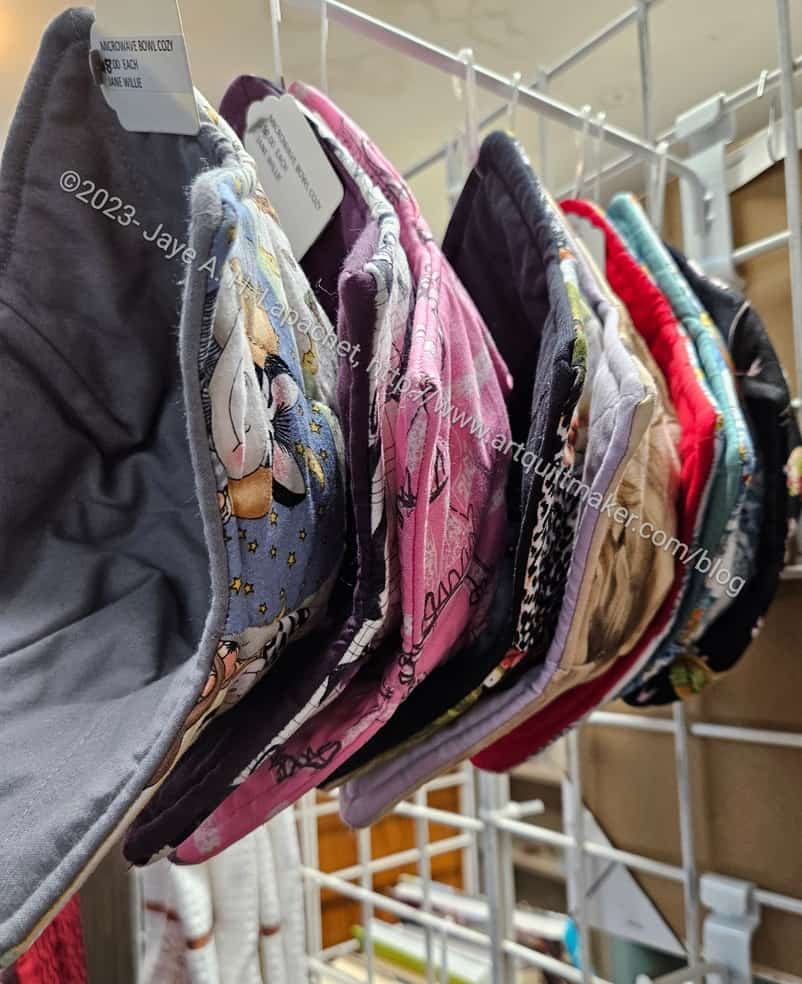
Bowl Cozies for sale
Someone clearly sews in one of the shops as there were a number of sewn items for sale, including bowl cozies ($8). You’d have to have a well oiled production line going to make it worth selling these for $8. It is, however, a great way to justify making stuff. I am not sure I would be satisfied making hundreds of bowl cozies, but to each his/her own.
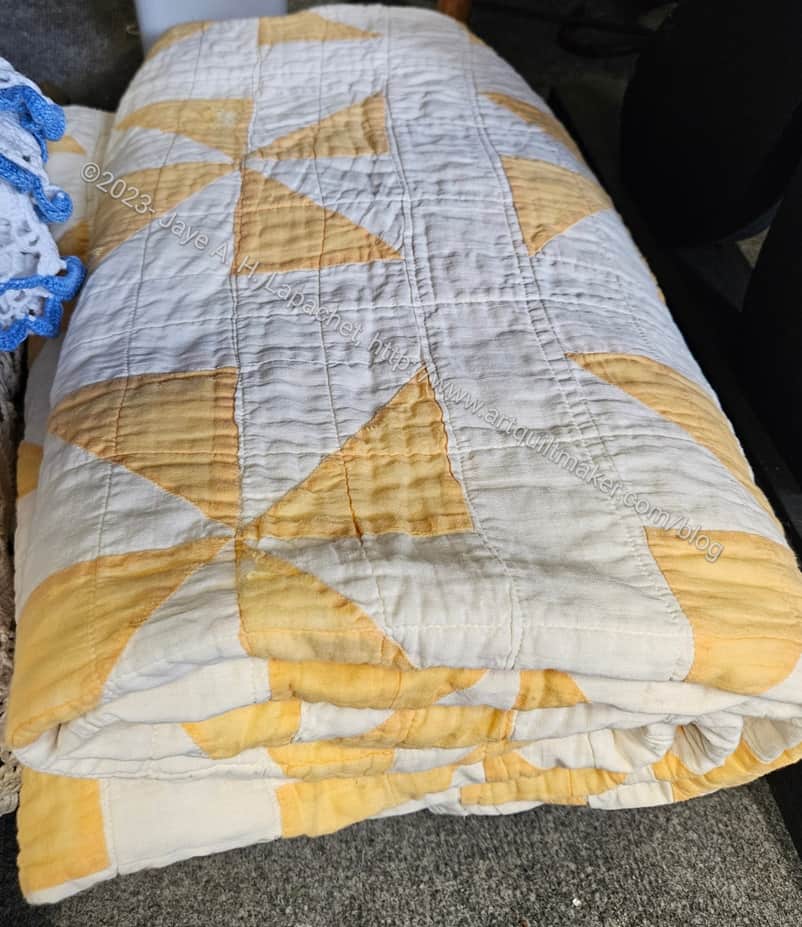
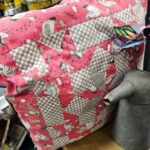
Yellow Pinwheel quilt, folded
I enjoyed the simplicity of many of the quilt designs I saw. One of my favorites was a yellow pinwheel quilt. I made a basket quilt with a yellow background once, called Cheerful Baskets, so I have a fondness for certain tints of yellow. The simplicity of this quilt really grabbed me. I think those blocks are about 5 inches, but possibly four inches since they are a 4 patch. The sashing gives the pinwheels space to breathe. The eye can see each pinwheel clearly.
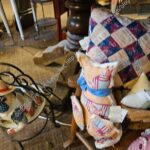
Crazy quilt cushion
Crazy quilt cushion (damage)
I saw some cushions made with a crazy quilt design that were in bad condition, but still pretty. I wonder if they could have been cut from a crazy quilt?
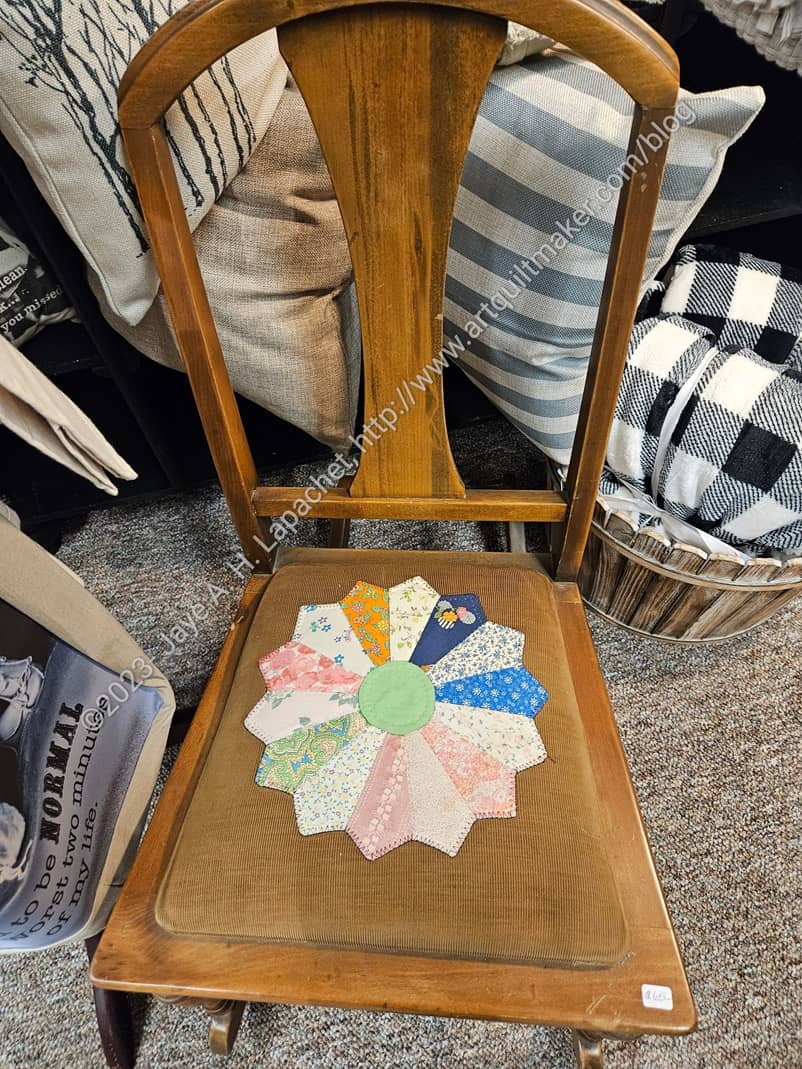
Dresden Plate Chair
Someone had the clever idea to reupholster a chair with a Dresden Plate. I am not a fan of that type of oak furniture, but I think the seat looks cool.
I saw this not in an antique-junk-thrift shop, but a higher end store that takes some stuff from antique-junk-thrift shops and upcycles it. There was only one of these chairs, but it might make a nice start to a collection of them in different woods and styles. The Dresden Plate could unify them.
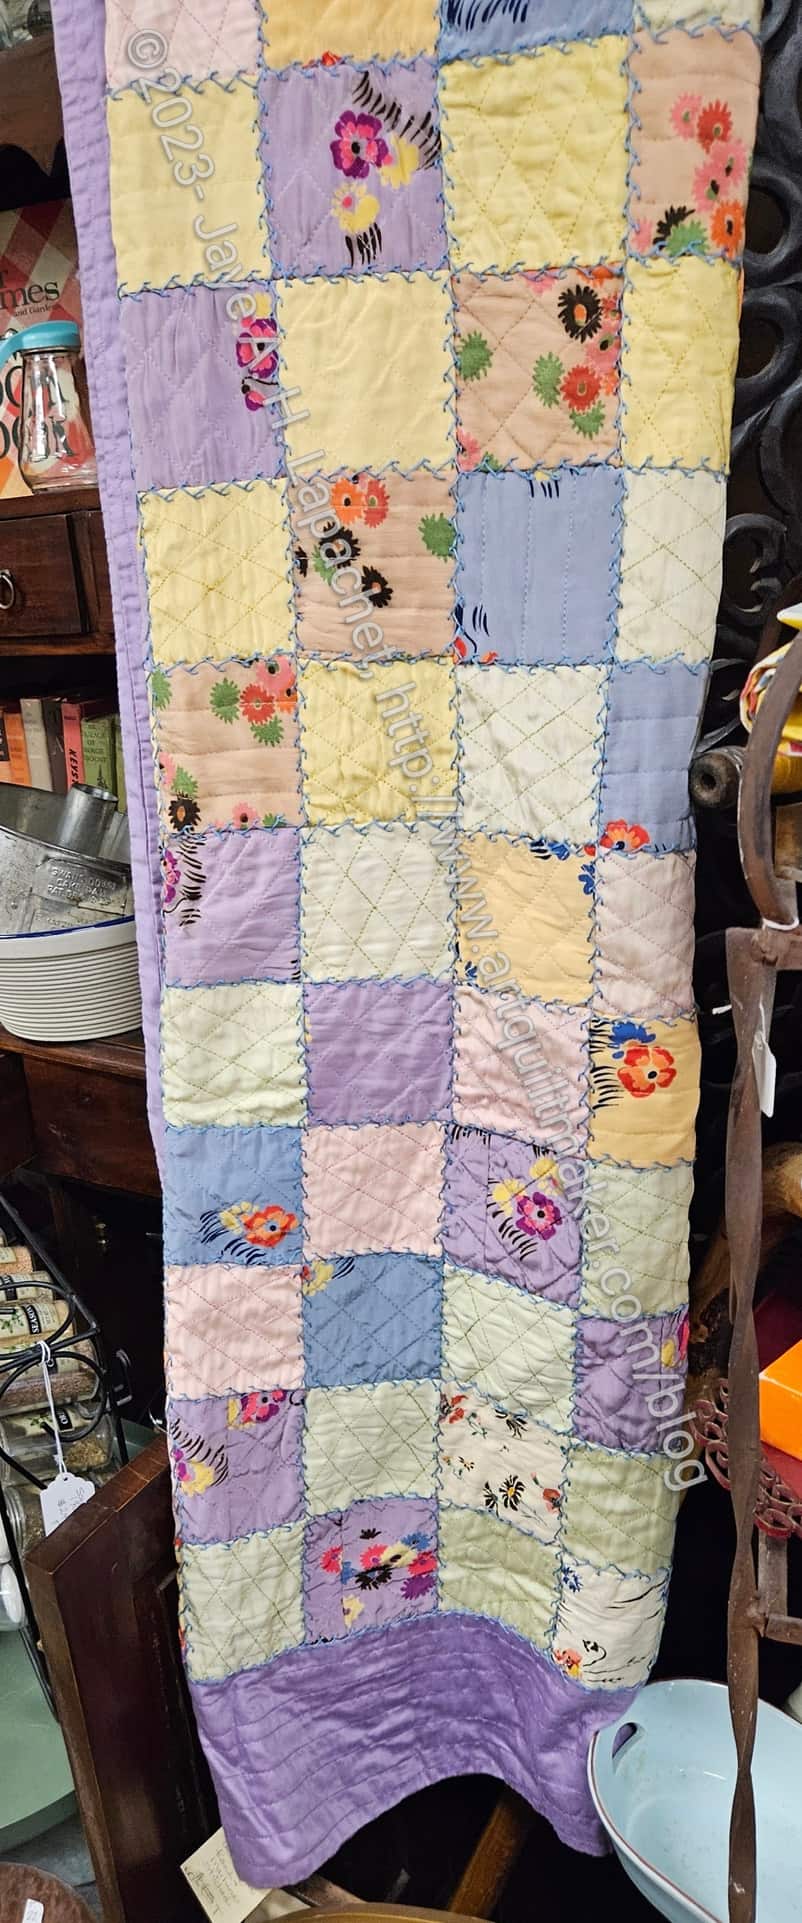
Squares with embroidery quilt
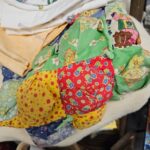
There was a sweet child looking quilt that reminded me of the Laura Ashley quilt I made for a friend a million years ago when there was a Laura Ashley store in downtown San Francisco. I had just started quiltmaking then and found an early charm pack there. Charm packs as a concept didn’t exist as they do now, so it was really novel to find a pack of pre-cut squares.
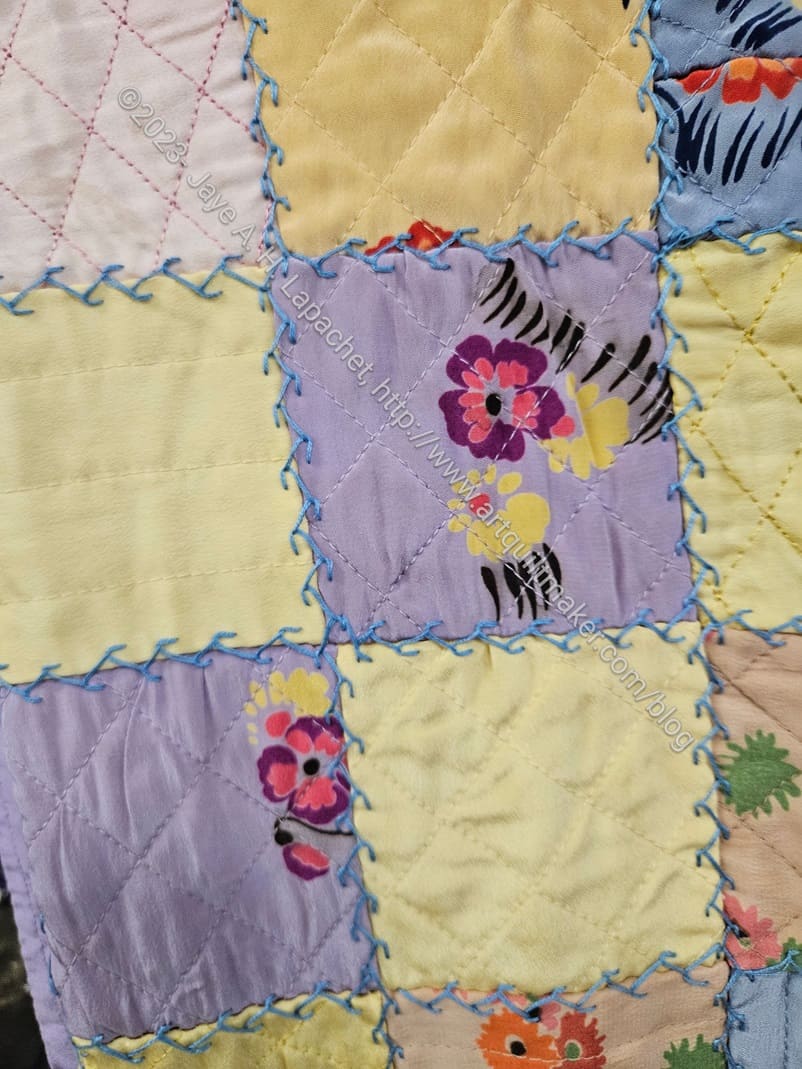
Squares with embroidery quilt – detail
The quilt isn’t exactly like mine, but it does remind me of the one I made.
The embroidery is some kind of vine or edge stitch. I like it. It adds interest to the simple design of the quilt, as do the flowers in the fabric. They looked like they were painted on, but I think it was just the printing process of the fabric used.
That violet (or lavender) with the yellow is a good combination.
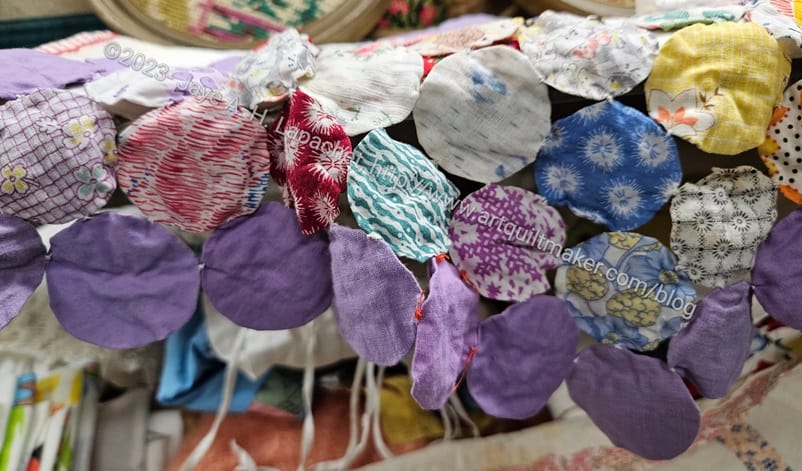
Yo-Yo looking quilt in Jackson
There was also, what I think was, a yo-yo quilt. It looked different than other yo-yo quilts I have seen. It could be that the gathered side was face down in the display and I couldn’t see them. It is possible that people don’t know that yo-yos are mostly displayed/used with the gathered side up. On the other hand, this could be a completely different type of quilt or a yo-yo variation.
Welsh-style whole cloth quilt in Jackson
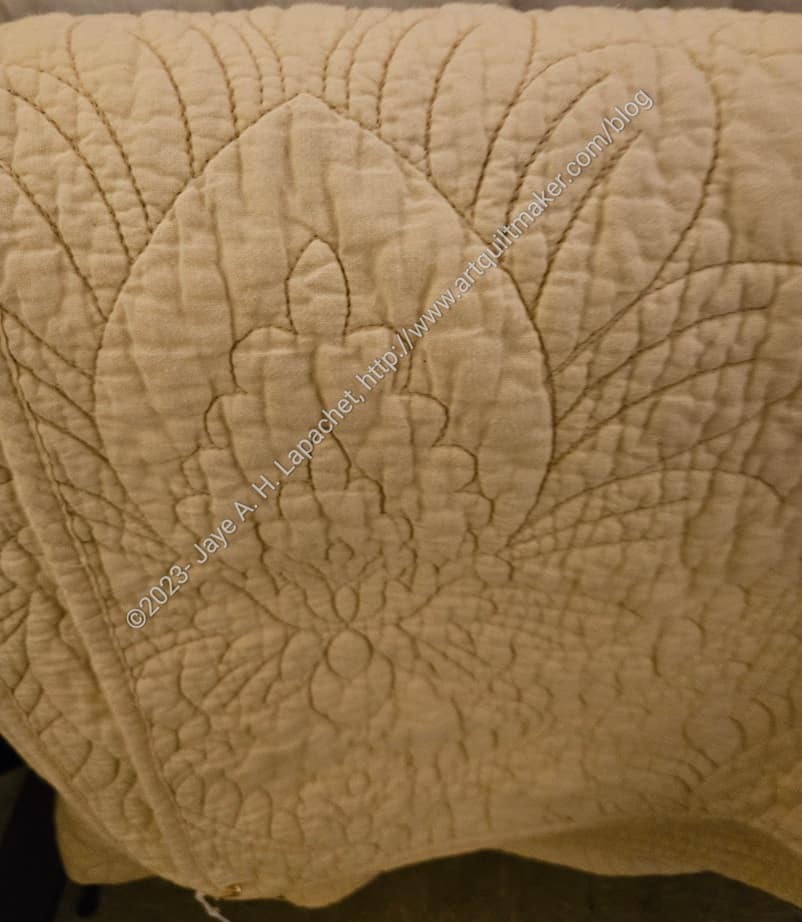
I also saw, what looked like, a Welsh-style quilt. Of course, it could be a regular whole cloth quilt using a color similar to those used in Welsh whole cloth quilts. I couldn’t see much more than the picture shows, though I did take another photo from farther away that shows a little more of the design. The vines and leaves are really nice.
It is clear that this quilt has been washed, if not used, but it looked to be in good condition.
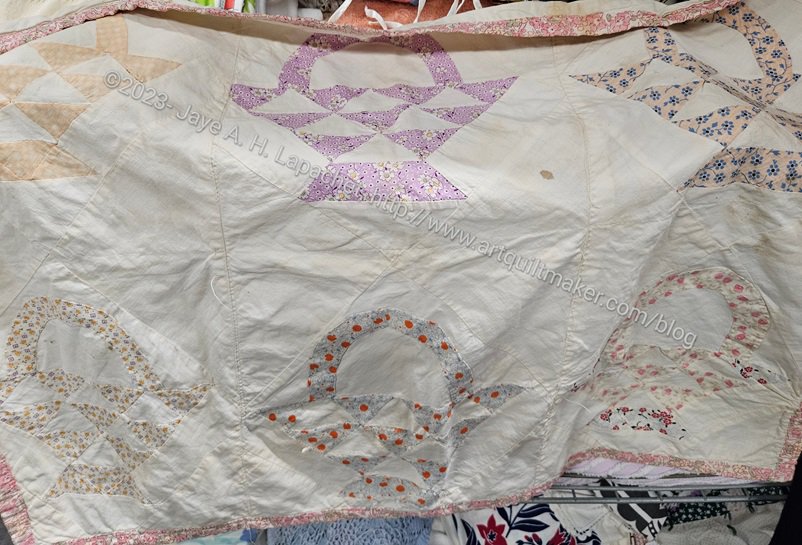
Basket quilt top
I also saw a Basket quilt top. Again, this quilt has lavender. I wonder if that was a popular color in a certain era? 1930s? I know that a lot of 1930s reproduction fabric lines include a lavender colorway. One of the nice things about this design is how some of the baskets fade into the background. It could be from fading or it could have been designed that way. No way to tell.
I really like basket block quilts and have only made one. So many designs so little time!
QST quilt in Jackson
QST quilt in Jackson – detail
This Quarter Square Triangle quilt is sewn together in a interesting manner. I am not sure if the quilt was pieced and then embellished with a blanket-type stitch or if it was sewn together with the blanket-type stitch. I can see both types of stitching on the detail photo. The scraps used in this quilt are quite bright and cheerful. It might be a newer quilt without fading or it is older and well taken care of.
Puffy squares quilt in Jackson
Burgundy quilt in Jackson
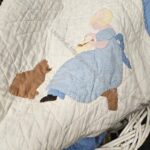
Applique’ quilt in Jackson
Kaleidoscope quilt in Jackson
Pink Star cushion in Jackson
Various in Jackson
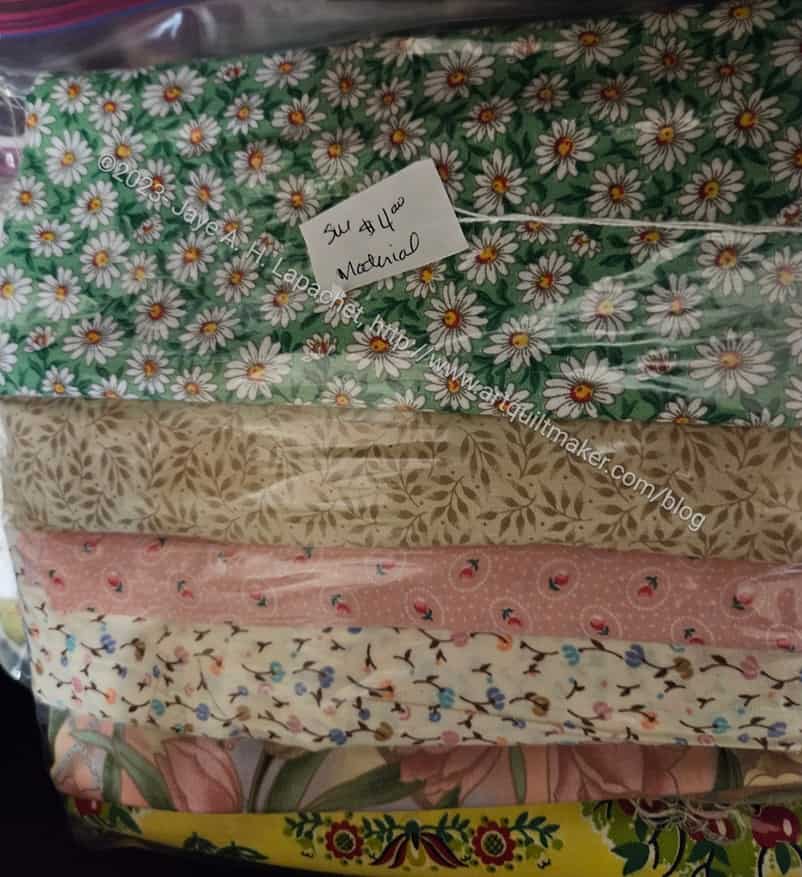
$4 for ~6 yards
Finally, this is what is going to happen to all of my fabric when I die.
I don’t know that there are definitely 6 yards in there as I didn’t open the package. I do know that there were multiple similar packets of fabric. The fabric isn’t to my taste, but if you want some of it go to Jackson and visit Antiques On Main,1 Main St, Jackson, CA 95642. There are multiple vendors with a lot of different stuff. The one in the front on the right side of the aisle is where the fabric was.
One lesson? Label your quilts. Even stitch lettering with your name and the year are better than ‘artist unknown’.
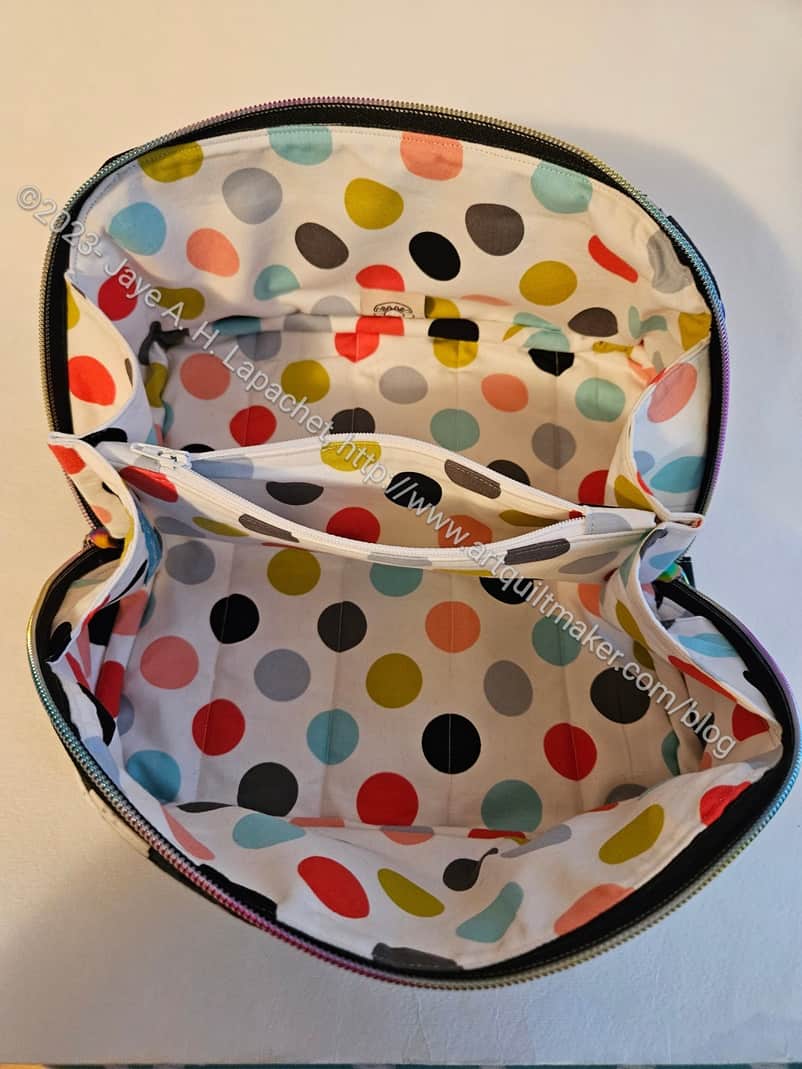
I briefly talked about Mom’s Enigma bag in the post I did about all the gifts I have made for her. It was so brief that you probably didn’t notice.
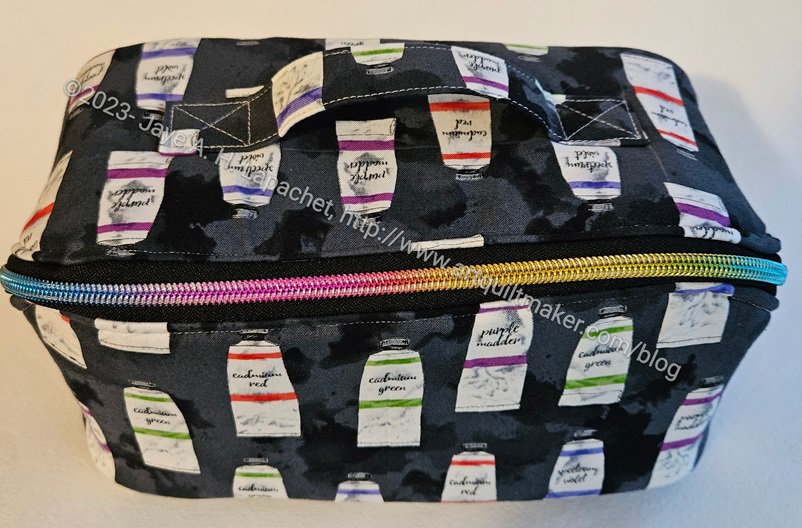
This is the third Enigma Bag I have made and I am especially pleased with how good the zipper looks with this fabric. You can see the other Enigmas I have made by looking at the Minikins page.
As you know, the Enigma is part of Minikins Season 4 from Sara Lawson at Sew Sweetness*. It came out in November or December – I can’t remember – late last year in any case. I am pleased that I have made 6 projects from this group. Yes, four of them are the same pattern, but still a good showing.
Paint Tube Enigma for Mom
This is the bag that is great for handwork, especially in the car or on a plane, because of the open flat, completely enclosed design. There is a small pocket in the middle. It is a floating pocket, so your items fit underneath it. I want to try making it in vinyl.
Paint Tube Enigma for Mom
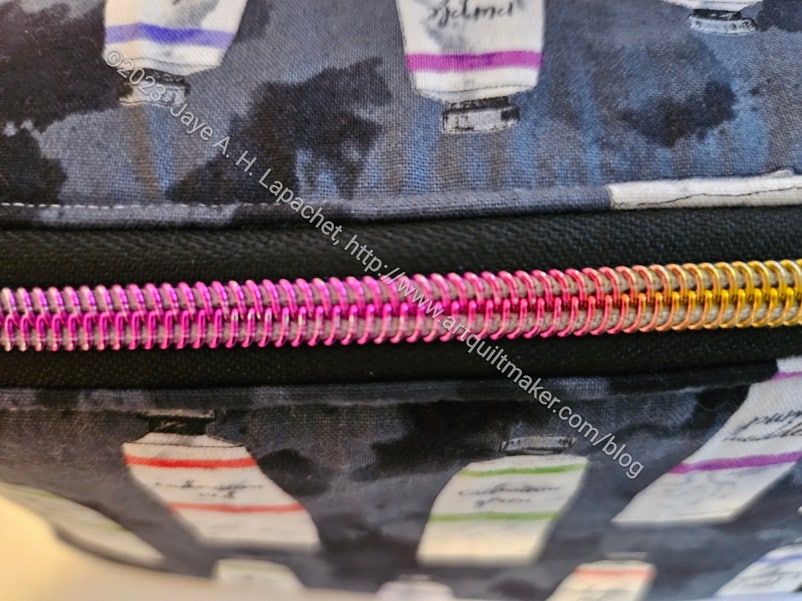
As I mentioned, I am happy with the zipper. I used zipper tape either from Sew Sweetness or Sew Hungry Hippie. The rainbow look is a favorite, but I also like how the zipper tape blends with the fabric color.
Paint Tube Enigma for Mom – end
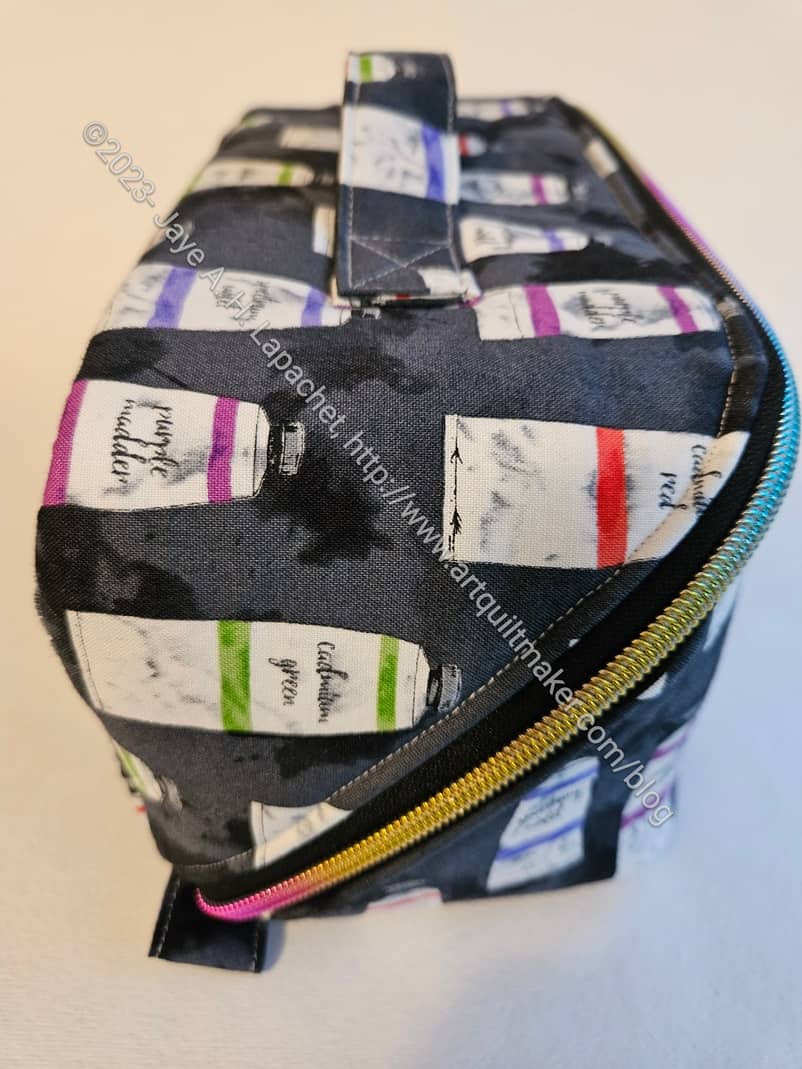
I am not that fond of these giant zipper pulls. They are easy to grip, so Mom won’t have a problem opening and closing the bag, but they do clunk together in an unattractive way. I have some other options coming.
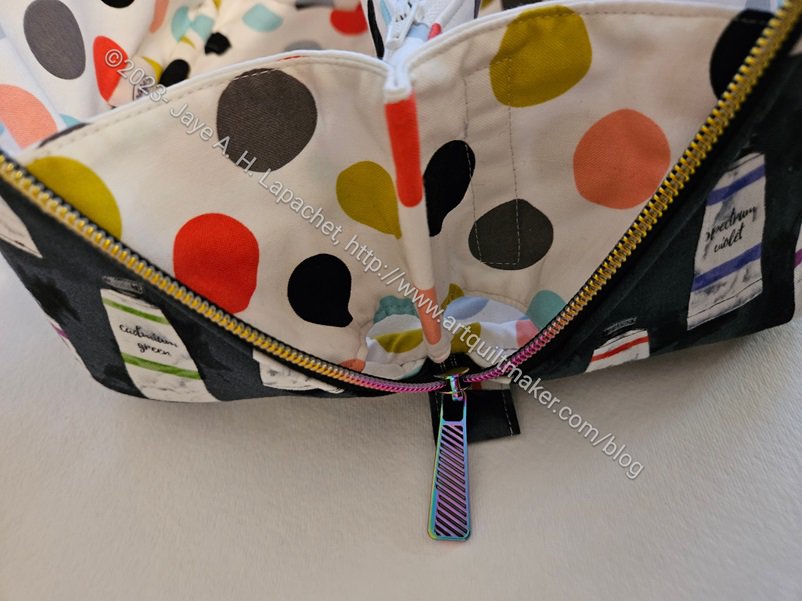
You can also see that the construction of this bag using a similar accordion construction technique to the Sew Together Bag. If you have made an STB, then you can make this bag, no problem.
Mom’s Enigma – side view
One of the reasons I have made 4 of these is because of the diagonal zipper. I really like that look.
Mom seemed to like, though she is making noises about having too many bags. I still have a lot of fabric for gifts for her, so I’ll have to think about that.
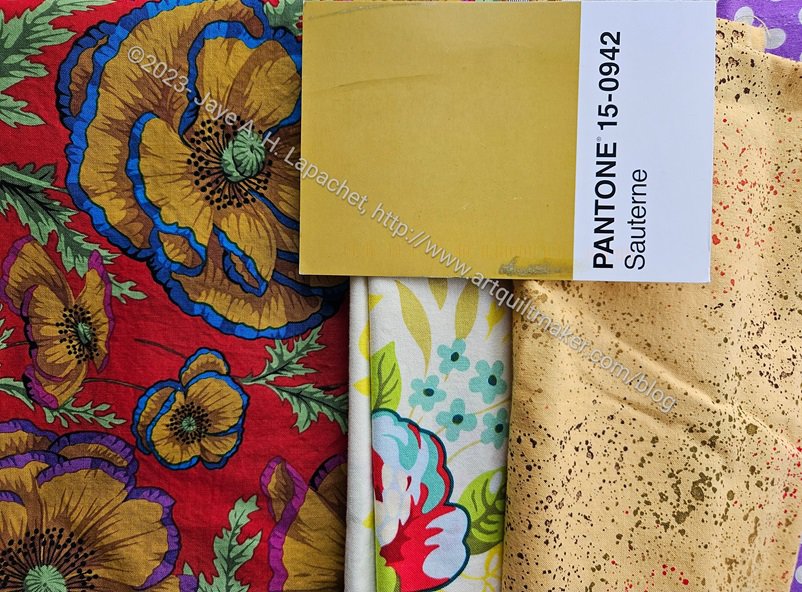
I received Sauterne with a heavy heart. Not for the message, which I always anticipate, but for the color. Another color I almost never use and never buy. Amazingly, I found a Philip Jacobs print with that color used for some flowers. It was almost perfect.
This print was the third one I found. The speckle gold is a good type to use for this project, but definitely the wrong color.
In the middle is a Heather Bailey print. Again, those tiny leaves right under the postcard are the perfect color, but so small. I didn’t think it was right.
Pantone: Sauterne in Half Night & Noon
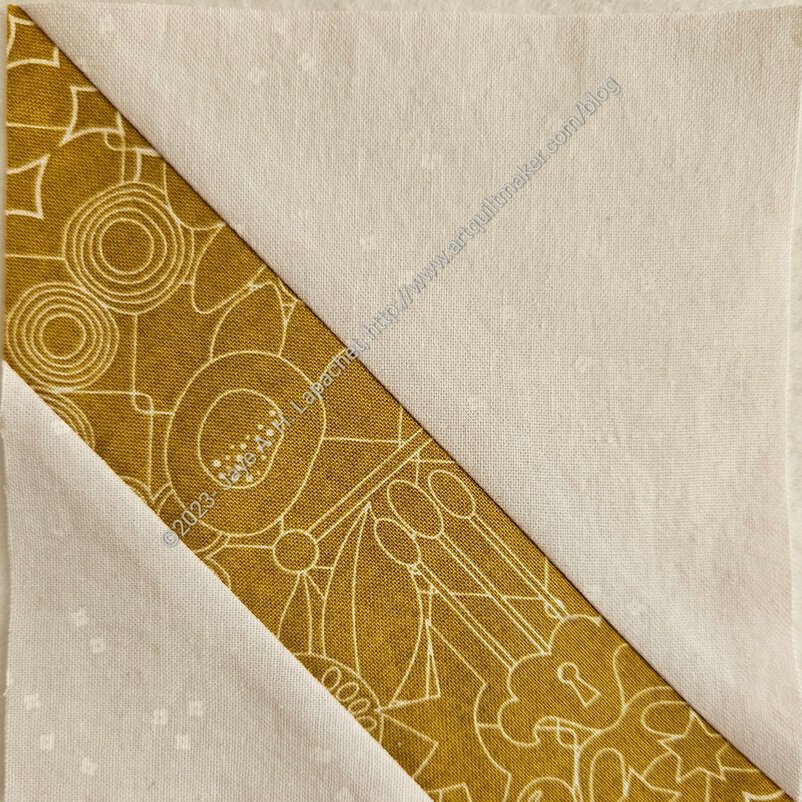
Finally, I found a 10×10 square (I wonder where that came from?) of an Alison Glass print that actually was the perfect color and also the perfect type of print – a tone-on-tone.
I received another postcard today, so back to the fabric closet for more hunting and gathering.
I am also finishing some things, but you’ll have to wait for that news. I need to take photos.
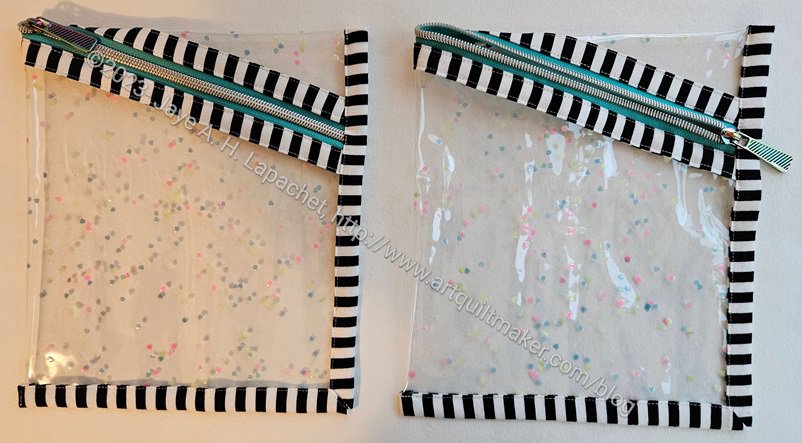
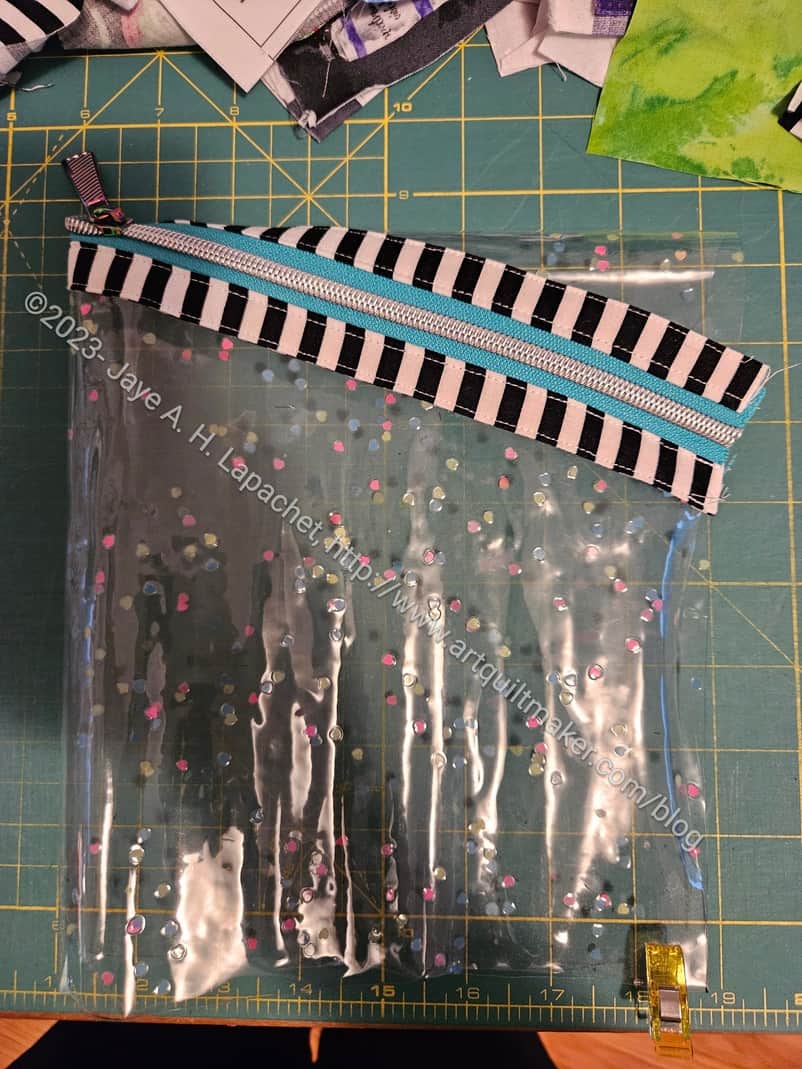
The Hemingway pouch is a quilted pouch by Center Street Quilts. She has some very appealing videos on IG. She released this pattern recently and I have to admit I was taken in by the angled zipper. I also like this feature on the Enigma bag, so I think it is a ‘thing’ for me right now.
As you can see, I am making this bag with vinyl, because I wanted to finish it fast. I decided to use the vinyl that Carrie gave me. The roll is not as tall as the Sew Hungry Hippie glitter vinyl, so I didn’t use the directions in the pattern exactly, but it is working out.
I just have to put some binding on it and it should be done.
One thing I worry about is the triangle that gets cut off. I thought the zipper was sewed to both sides of the vinyl, but I was wrong. We’ll see if I can think of something to make with a random triangular piece of vinyl.
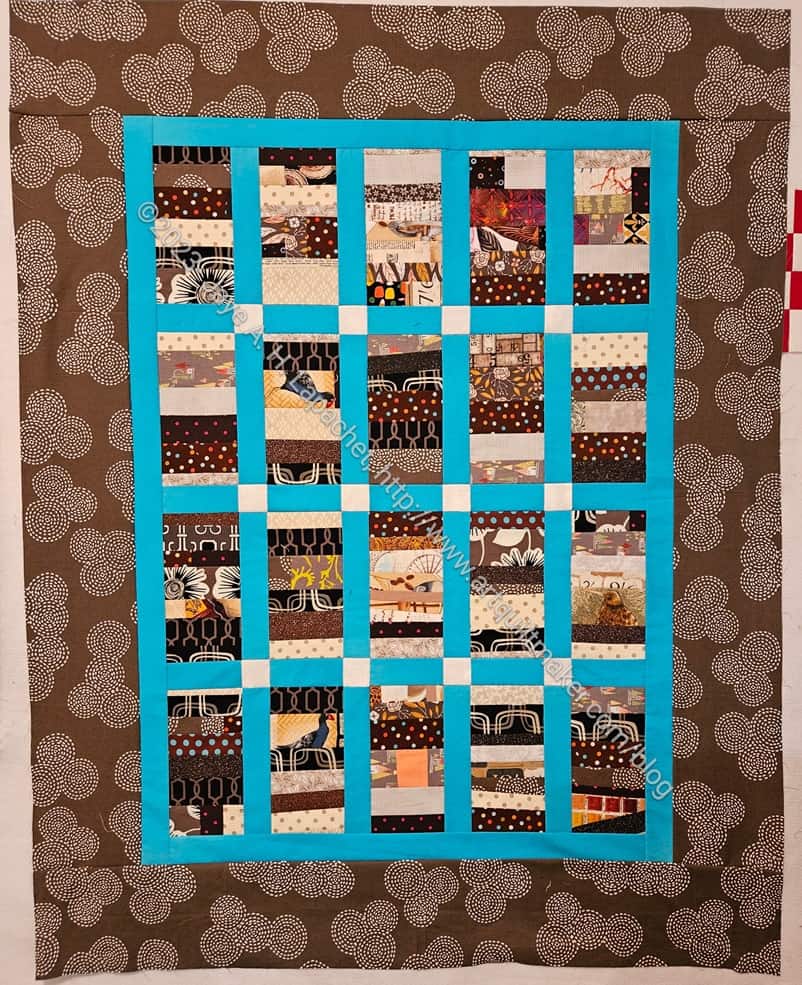
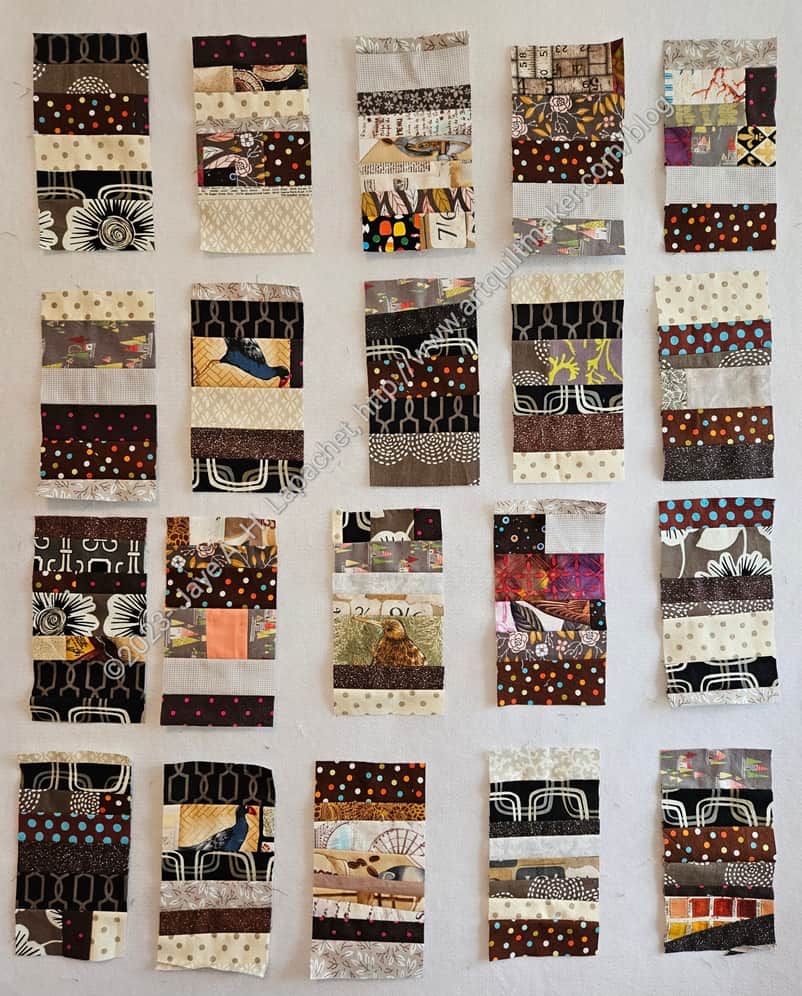
I finally scraped together enough blocks to make a brown (ugh!) donation top. This will be the third quilt I finished from my brown-grey-black scrap bin.I might even have enough blocks for one more grey quilt.
Fortunately, they do not scream brown at me. The lighter-beige strips help.
I started a new pouch for the Sew Sweetness contest. It is the Bluestem pouch and is also part of Minikins Season 4.
I used one of the fun rainbow zippers I bought from Sew Hungry Hippie. I am not a huge fan of the pulls as they are so large, but we will see. At least they are pretty!