Progress on Black Strip Donation Top

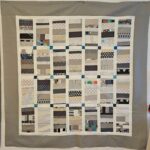
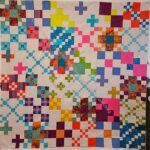
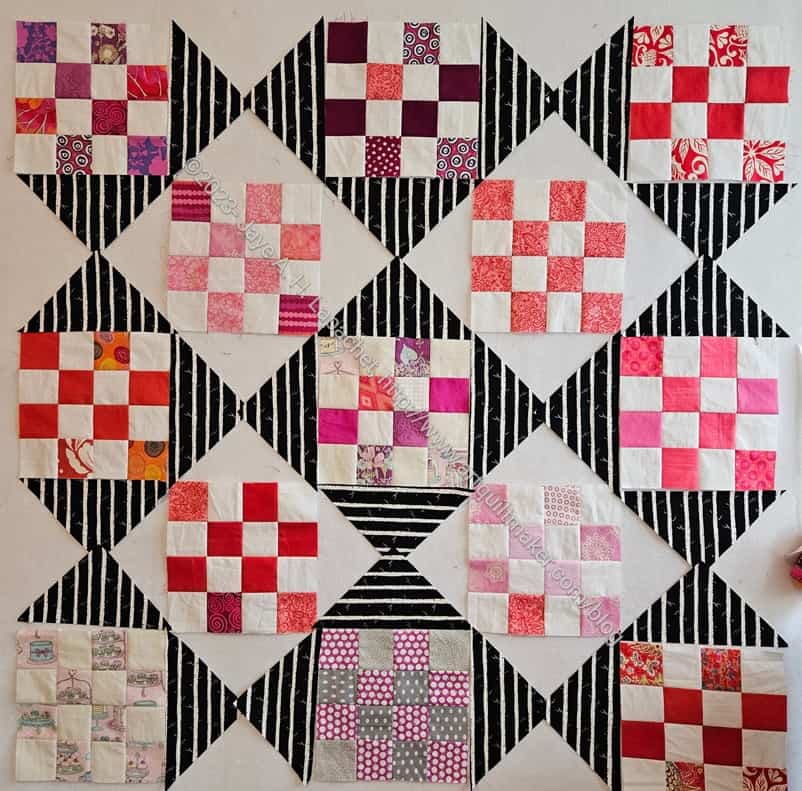
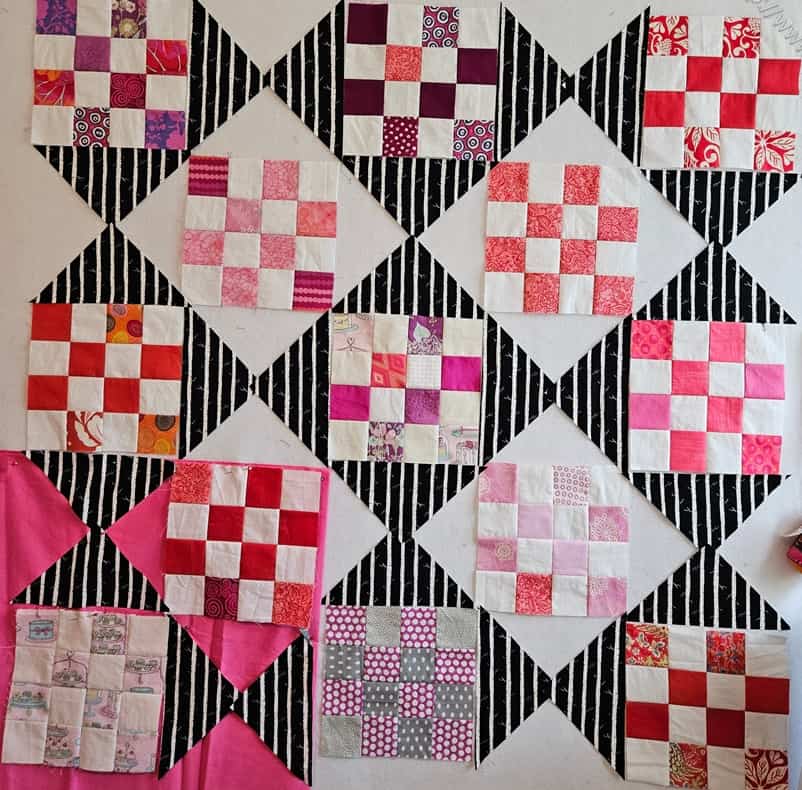
30 Black Strip donation blocks

I finished enough blocks since I last posted on Saturday to look at this top as a rectangle.

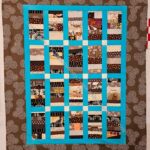
One thing I noticed when I was looking at the last donation top I made was that the blue top was a weird shape and I had to adjust it with a border. In this case, the number and arrangement of blocks I have made are the same as that blue strip top. I don’t want to end up with a weirdly shaped quilt, so I need to figure out if I have enough strips to make 5 more blocks of if I should put the top row on the side and save one block for another rainbow version?

Gift: Carrie’s Kit Supply Tote

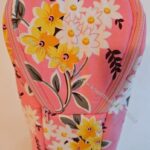
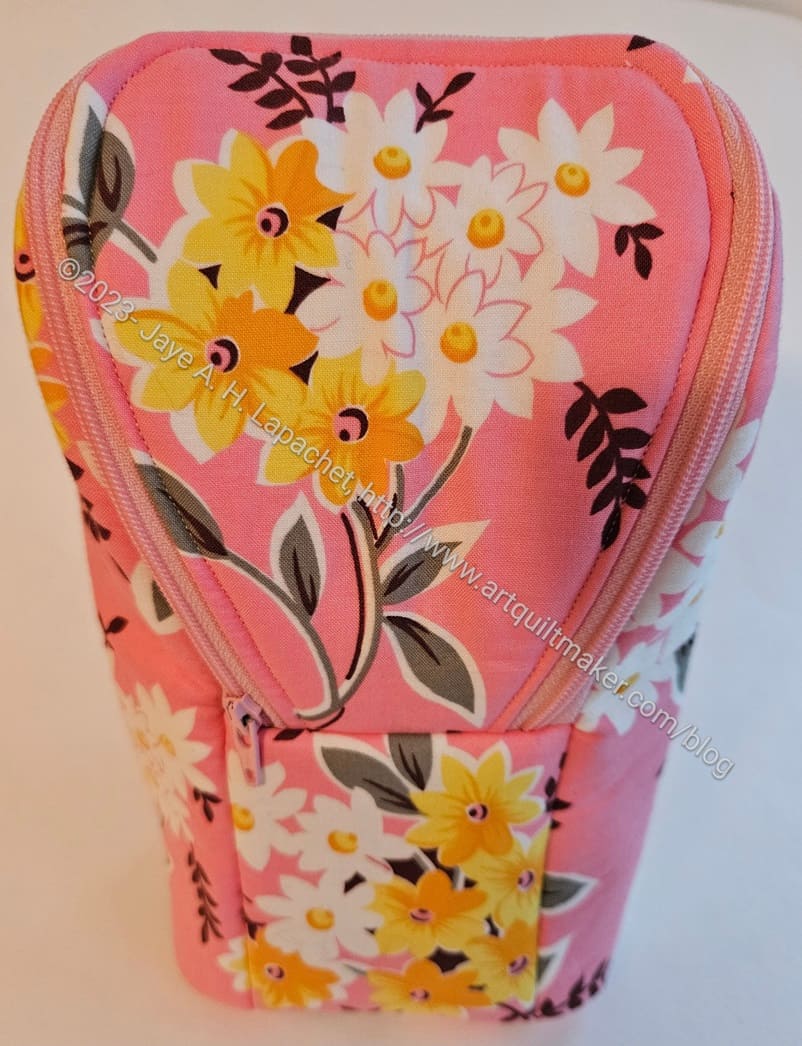
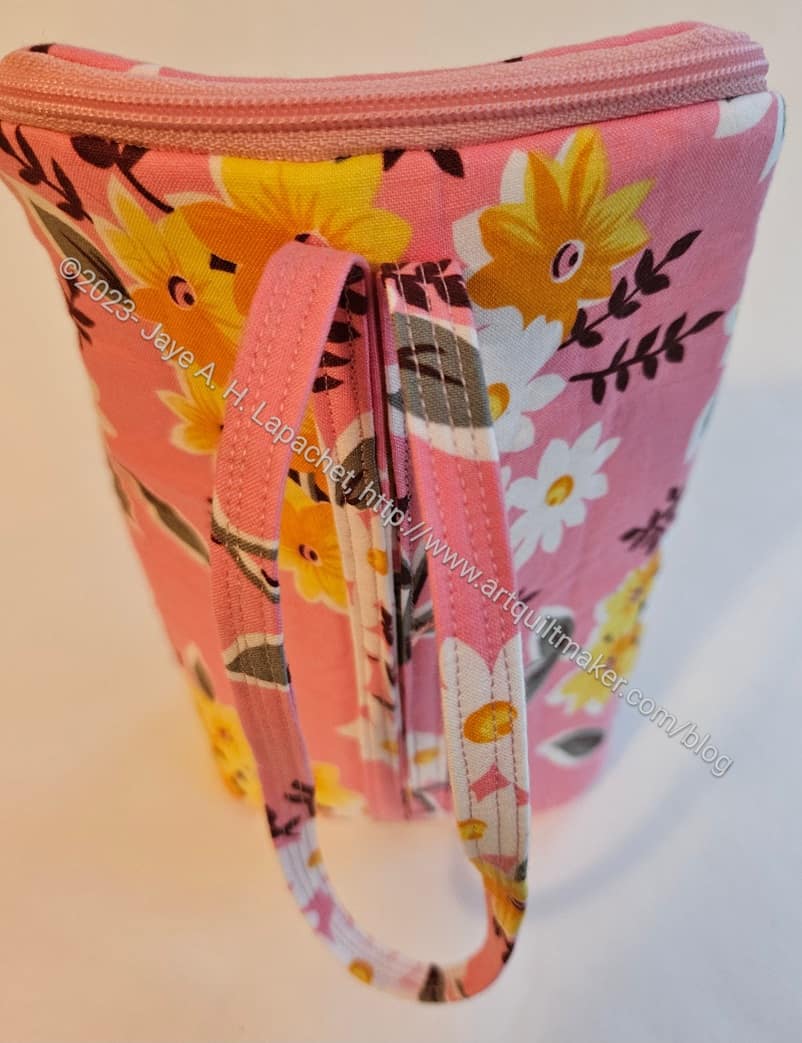
Carrie's Kit Supply Tote
Carrie’s Kit Supply Tote

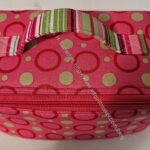
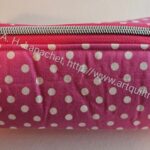
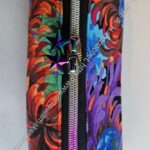
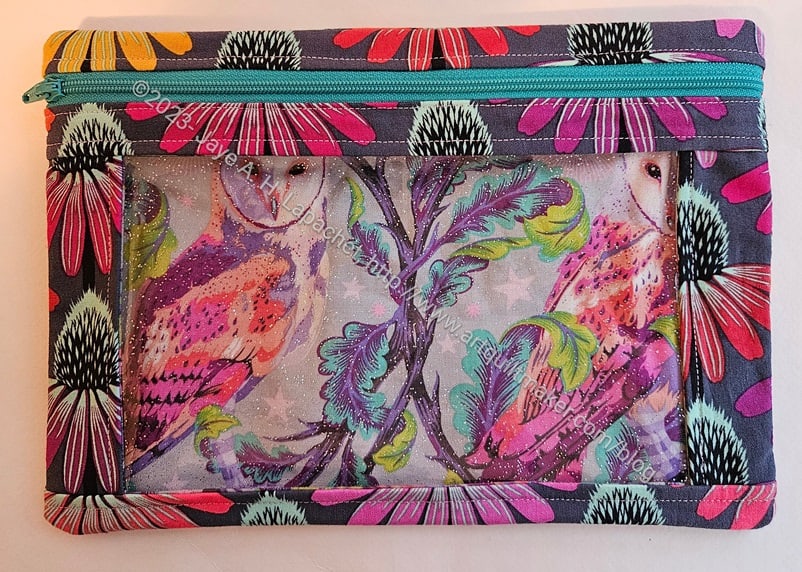
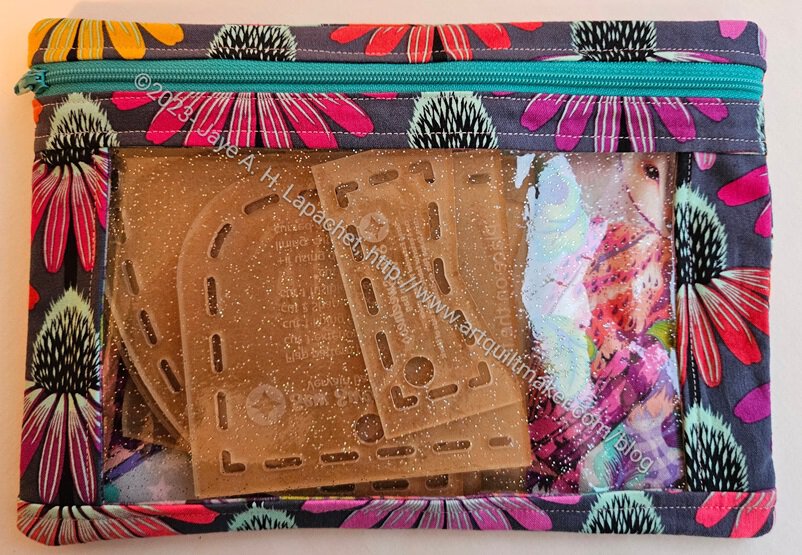
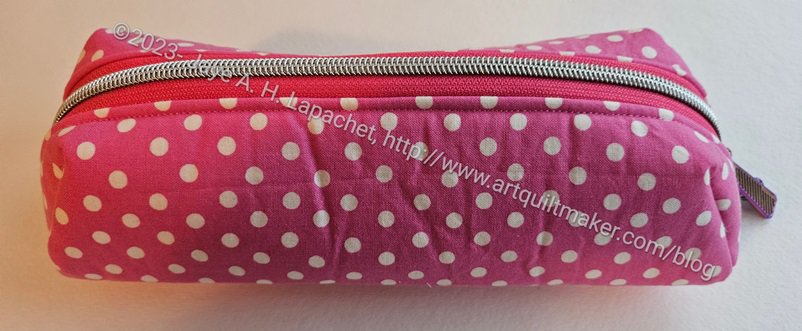
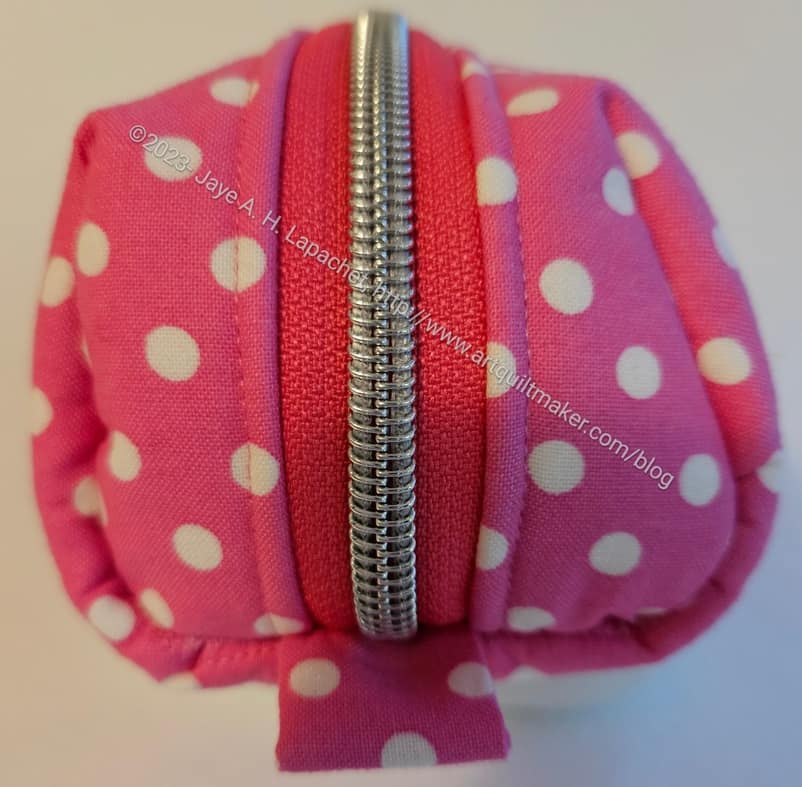
This the Kit Supply Tote I made for Carrie. It looks the same as the one for Sue, mostly because I used the same fabric for both of them. I highlighted the paint chips on this one and the color wheel on Sue’s.

We had a holiday lunch yesterday, which was super fun. I was hopping about the week before, because I could barely contain my excitement in giving these totes to them. I basically thrust the gift bags into their hands as soon as we sat down at the restaurant and made them open them. They seemed excited as well.

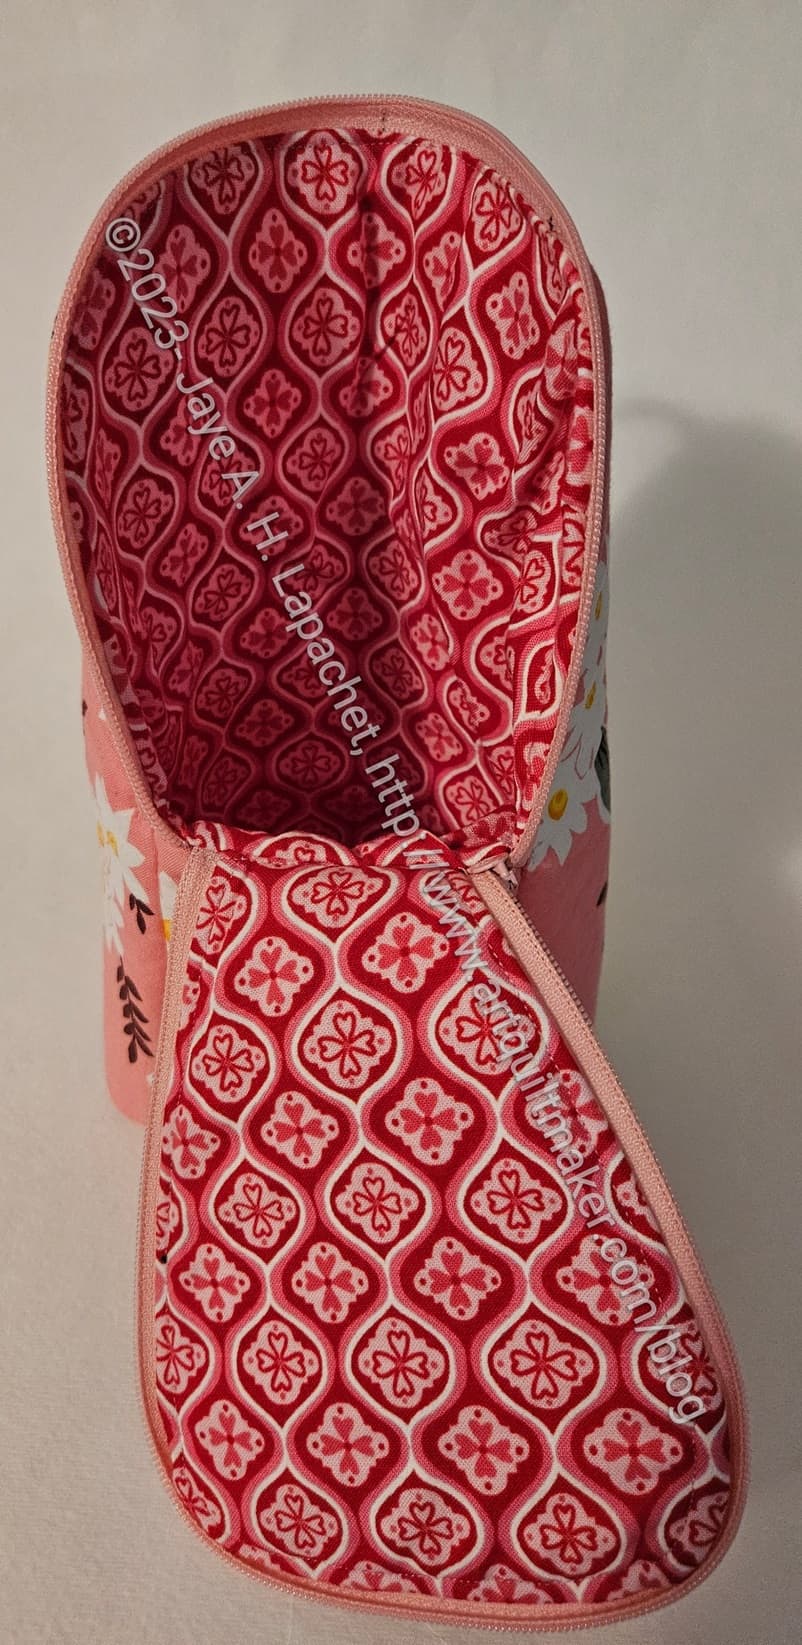
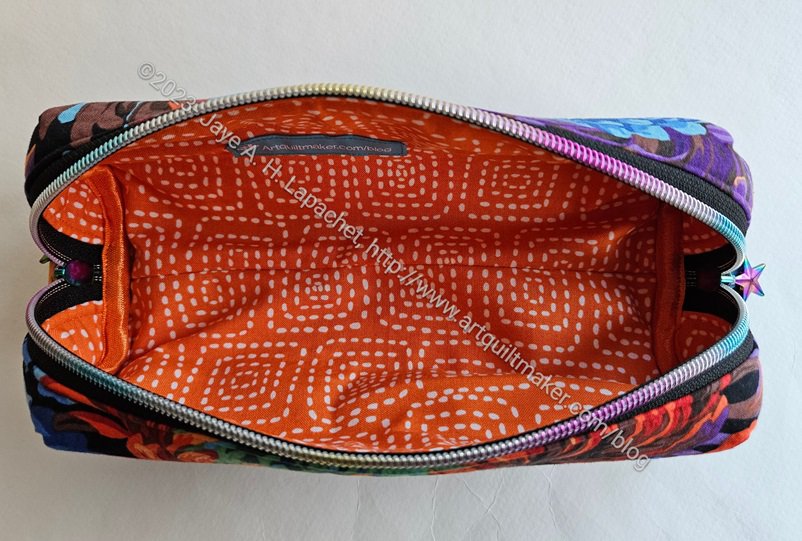
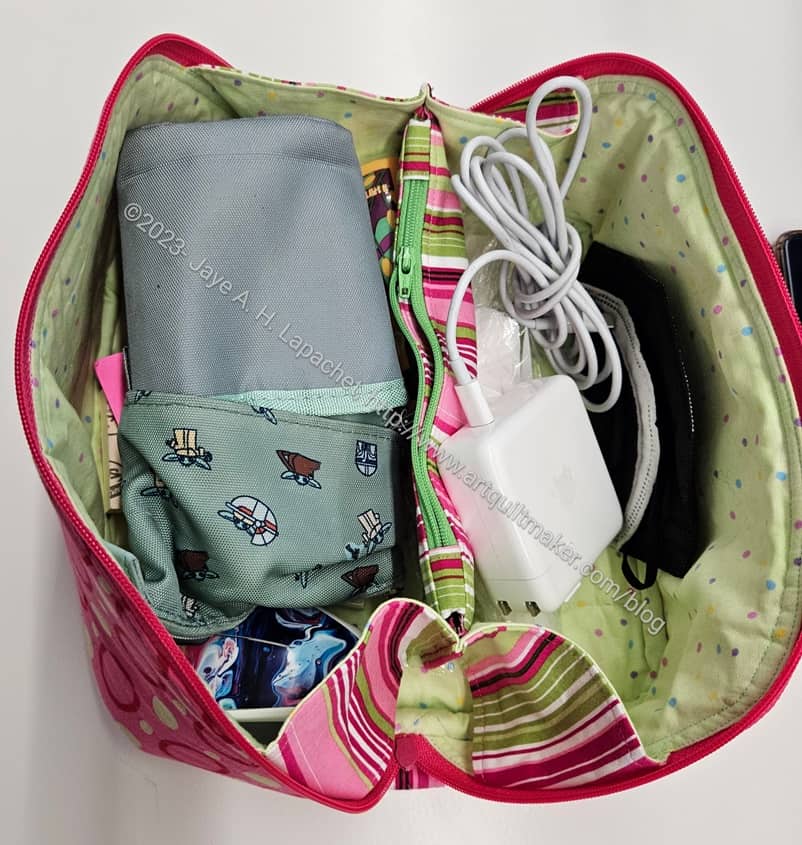
Kit Supply Tote: Carrie's inside
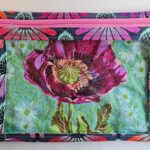
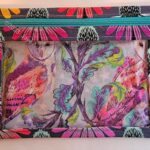
Kit Supply Tote: Carrie’s inside

I put a few small gifts in side just because I don’t like to give empty bags.

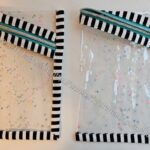
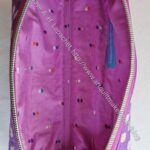
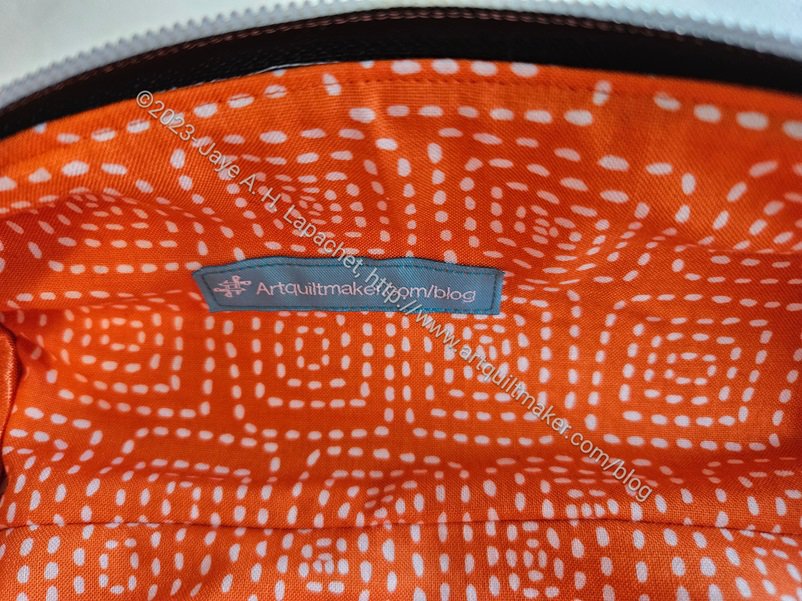
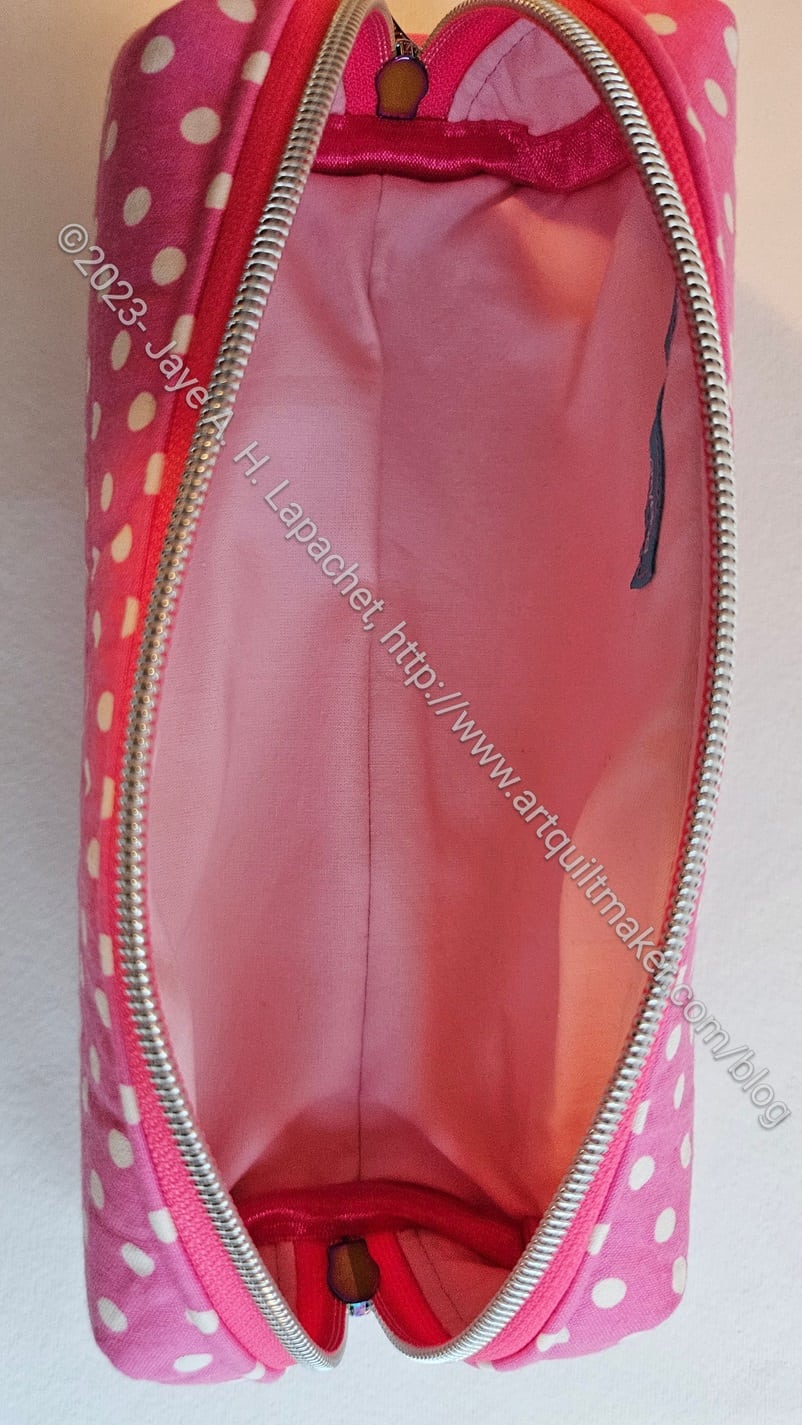
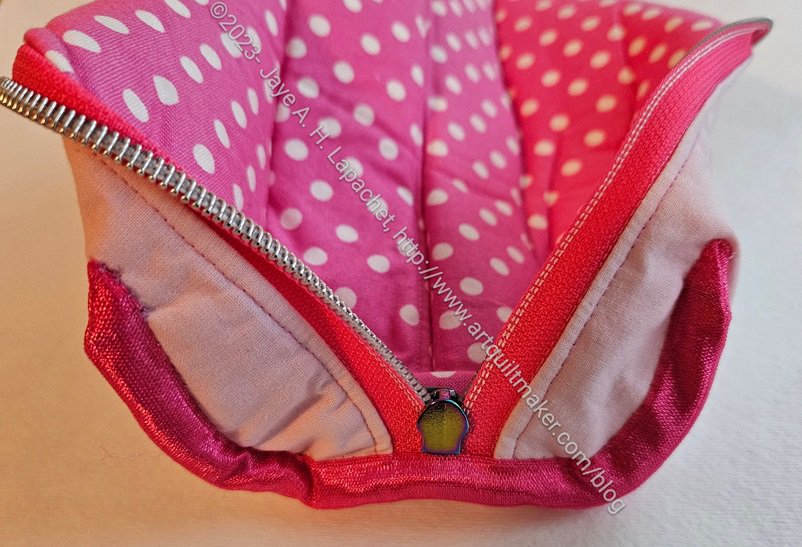
The insides are the same on both. I designed the pockets differently from the pattern as I wanted to put two layers of pockets for added storage. On Carrie’s tote, I separated the pockets more.  Both have vinyl pockets on top of the fabric pocket. The vinyl pocket is edged with some turquoise doublefold elastic.

Carrie was super excited that this bag matched her Hackney bag. 😉

Generating Donation Patches

Scraps to be processed

Periodically, I get so many scraps and various leftovers on my (already small) cutting table that I can’t actually cut. The other thing that happens is I run out of patches to make the 16 patch donation blocks for the guild.

Then, as weird as it sounds, I have to process them. I create three piles: 2.5 inch squares, strips longer than 4.5 inches and everything else.

That is what I have been doing on and off for the past week. I am also trying to find all the black pieces large enough to use in the donation blocks I am making now.

This can be a tedious job and I usually do it during Craft Night, because I can talk and cut at the same time. This week, I have been a little on the distracted and unmotivated side, so this is a good task. It is usually so boring that I start to want to scream and that drives me to a much more interesting project.

I am finding a lot more grey pieces I can cut strips from than black. I am also refilling, a bit, my 2.5 inch square bin for donation patches.

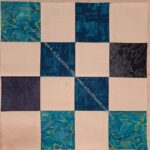
Black Strip & Chunk Donation Blocks

First, I already know that black is not a color. Black “results from the absence or complete absorption of visible light. It is an achromatic color, without hue, like white and grey. It is often used symbolically or figuratively to represent darkness.” (Wikipedia) I chose a Wikipedia link, because I am lazy.

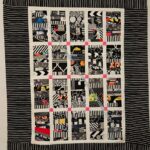
27 donation blocks
27 donation blocks

Next, I have made 27 of these blocks and my scrap drawer is still pretty full. Granted, the scrap drawer in which I keep the black also has brown (very little) and brown related fabrics, like taupe, as well as grey. I’ll have to make an improv version in black to use up more of my scraps.

Third, I was on the fence about making a black donation top. I thought it would be depressing. I am not finding this collection of blocks depressing. It isn’t primary color cheerful, but I think there is plenty of white, which is good. Someone will like it, right?

I thought 27 blocks would be the right amount, but I need at least 30 to make a rectangular quilt. I may add another column, as well. I still have strips sets in progress, so I know I can make at least 3 more blocks, then we’ll see. If I only have chunks and odd shaped scraps left, I’ll have to leave it at 6×5 and start the black improv version.

My last strip donation quilt was blue, so this is a change.

Finally, yes, you are going to see these blocks in the end of the month donation block post, but I bet you’ll forget by then.

Gift Post: Purple Project Bag

I am in the thick of the gift giving season. The YM’s birthday was on the 30th. Friend Julie’s birthday was on the 1st and Christmas is right around the corner. Yes, I am holding on to my hat!

Purple Dot Project Bag

I finished the project bag for Julie back in November, but as with a lot of gifts, I couldn’t show it until now. I did put in a 26 Projects post, but didn’t make a big deal out of it.

I made Julie one of these before. This is a little different. It is the Jumbo size, which just looks large to me. It is, however, larger than the large.

The quilted construction of this is the same as the Ultimate project bag, so next time I’ll just quilt a certain size of fabric sandwich and move on. The directions for that part of the project were long and somewhat tedious. I know they have to plan for any type of bag maker and Annie thorough, for sure.

Julie received her package after some drama at the post office, which is a relief. I thought for awhile that she wouldn’t get it. She also wrote about it on her blog and said some very sweet things. I was very pleased hear how she is using the smaller version I made her last year (??).

New Pincushion

Wagon Wheel pincushion by Julie

I am already starting to accumulate a small group of gifts. They aren’t really Christmas gifts, but are sort of, too.

Over the weekend, we held the BAM Holiday Party. As is usual for the December Sew Day, we combined the meeting and the Sew Day together. Whoever thought up this concept was smart. We only have one meeting in December, because it is very probable that people will be busy on the third Saturday and won’t come to the meeting.

That means that we do all of our end of year stuff on Sew Day. That includes a swap. SIL#2 organized a pincushion swap, which was surprisingly popular. I have enough pincushions, but decided that I would support SIL#2 and make one. I made the one I usually make, the Clippy Pincushion, as shown yesterday.

Wagon Wheel pincushion by Julie

The one I selected was from Friend Julie. She didn’t wrap hers and I saw it and thought it was cool and useful. I also saw the pattern for this pincushion somewhere and thought about making one. Now I don’t have to!

Swap Pincushion

Clippy Pincushion front

I decided to participate in the BAM swap, which was a pincushion swap. I was a little overwhelmed with life, so I just sewed my old standby pincushion, the Clippy Pincushion. The pattern is from Love of Patchwork and Quilting, issue 39. The pattern is also available digitally in the Apple and Google Play stores. I used this pattern to make the Clippy Pockets in the UCAB, which I find to be very useful. It isn’t rocket science, so I am sure you can make something similar without the pattern.

BAM Swap pincushion 2023

I did supersize this one a little bit. I wanted to make it slightly larger to accommodate the cool selvedges from which I made the back.
At first I machine sewed the stuffing hole closed, but then I unstitched and hand sewed it closed. I think it looks better hand stitched.

SIL #2 chose my pincushion.

Working on the Ultimate Project Bag

I was pretty excited about this bag and my reward for hosting 27 people for Thanksgiving was working a project on which I really wanted to work. That is the Ultimate Project Bag.

I said in my previous post that there wasn’t much to cut out. That was true, but there is a lot of prep. I had to quilt it, but I took my lessons from when I visited Mary M and used the automatic cutting feature on my machine. OMG! even on my machine it makes a huge difference. I really don’t know why. Something about not having to pick up my snips, I guess.

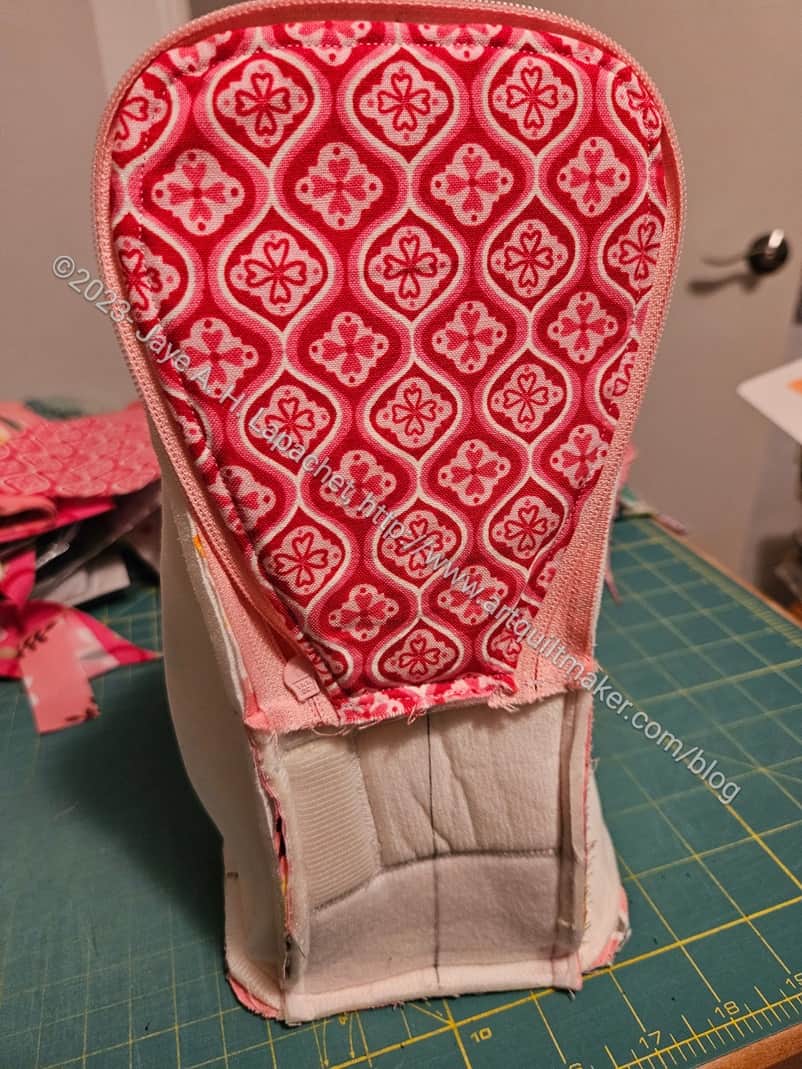
The quilted piece is made up of lining, foam and exterior. Vanessa (Crafty Gemini) suggests quilting a big X over the whole piece. I didn’t want to do that, so I drew some random lines on the exterior.

Do I say that about all bags? The prep never gets easier. I know I said was Zen with it one time. I have to get that feeling back.

Exterior with handles ready to sew

I didn’t really like the way Vanessa told me to make the handles, so I made them the way I usually make them. I cut the fabric 15×5 and folded the pieces into quarters the long way. I did put a piece of foam, which she suggested, inside and that was a good idea. I usually forget to do it. Now, the handles are nice and comfy.
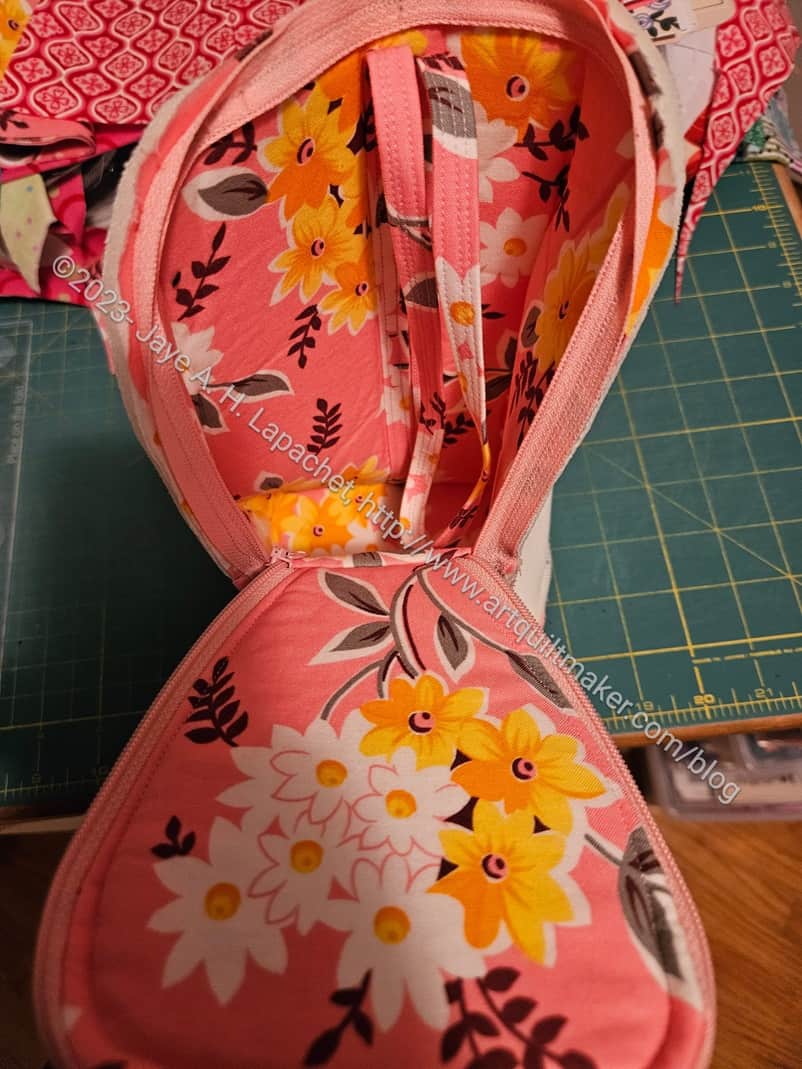
Zipper pockets in process

I also worked on the zipper plackets. I am not excited about how she says to make the zipper plackets. As I have said, I like my zipper tape covered. Only part of the zipper tape is covered. Granted, you can’t see the tape, because it will be too high up, but still.

Pockets on lining
Pockets on lining

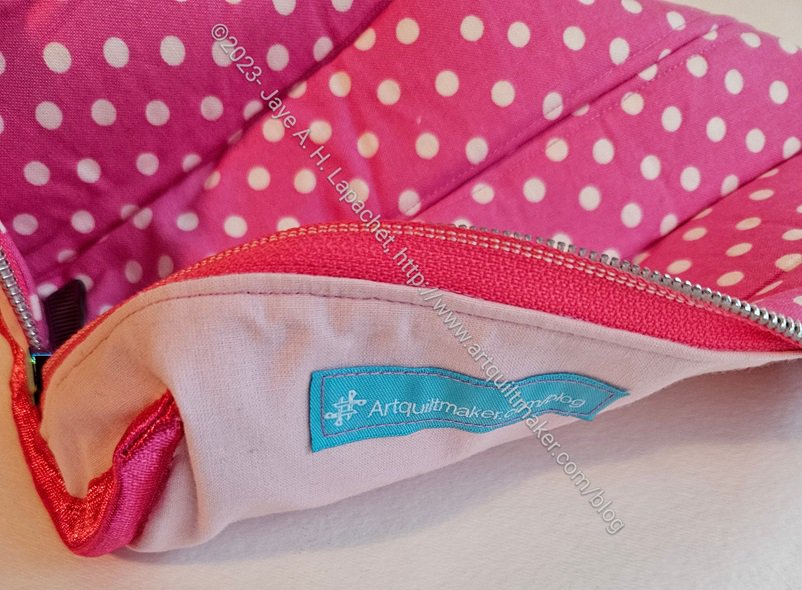
The pockets go over the lining. They are sewn down at the bottom and then the excess is trimmed. Vanessa goes into a long explanation about why she adds extra to the end of the mesh and vinyl. She just trims them and leaves the edges raw. I was a little shocked by this, but I don’t really like raw edges. I think what I would do next time is sew down the pocket on the top, then mark the spot on the vinyl or mesh where the piece will be topstitched, then trim and put doublefold elastic over the edge. Finally, I would sew that edge down. I am not sure if it would work, but the edge would be bound. I guess I have to figure out if the stitching line for the bottom of the pockets has any wiggle room.

Vinyl pocket sewn down

I was able to get the mesh pocket sewn on. I worried the whole time I was working with mesh that everything I put in that pocket would get stuck in the mesh. If I make this project again, I can make two vinyl pockets.

As mentioned previously, this is one of the projects from the Crafty Gemini Organizer Club. I find that some things don’t age well with these videos. For example, many people use Sew Tites** now, especially when working with vinyl. There is no mention of them in the video. I think they must have been released after, though I thought maybe it was at a QuiltCon in 2015 or 2016. I don’t know. If you make this project, definitely get some Sew Tites**.

I made good progress and will be able to finish soon. This isn’t a difficult project. I am a little angry at myself for not getting to it sooner.
You can still buy the club (no affiliation). Check out the video showing all the projects.


**N. B. : Obviously, you should shop at local quilt shops and small businesses. However, if you are too busy or can’t find what you need there, I use Amazon affiliate links and may be paid for your purchase of an item when you click on an item’s link in my post. There is no additional cost to you for clicking or purchasing items I recommend. I appreciate your clicks and purchases as it helps support this blog.

Finished: QST 16 Patch #2

QST 16 Patch #2
QST 16 Patch #2

I am sure you can imagine that I was super careful when sewing this project back together. After all the ripping I had to do, I hope I learned my lesson.

It didn’t take me very long to sew the top together, but it would have taken me less time if I had paid better attention the first time.

It is now off with Laura the quilter.

La Pass Border Methodology pt.2

La Pass border in process

My new system works very well. I am pleased that I was able to sew the border pieces I prepared without drama or sewing the wrong pieces in the wrong place and having to rip out.

The white you see might look a little weird. AT this point it doesn’t have to be even, but it will be even later when I – or someone (ha!) – cut a straight line.

I am so pleased with how that green rosette came out. The green spikes really are highlighted. They have some space to breathe.

WonderClip facilitating organization

One issue I had was the WonderClips** getting in the way of each other. That was a minor detail since the system worked so well. Another thing I learned is to just baste a small section at a time. I don’t need to try to organize an entire border (one side) all at once. I am making good progress a little at a time.


**N. B. : Obviously, you should shop at local quilt shops and small businesses. However, if you are too busy or can’t find what you need there, I use Amazon affiliate links and may be paid for your purchase of an item when you click on an item’s link in my post. There is no additional cost to you for clicking or purchasing items I recommend. I appreciate your clicks and purchases as it helps support this blog.

Ends n.15: Leftovers Complete!

Ends n.15: Leftovers

This quilt was returned to the guild’s community quilts project at last month’s meeting by Lee Ann. She named it ‘Leftovers’ after I told her the story of the three food quilts and how I make the Ends quilts.

I am really pleased that a number of my quilt tops have been finished recently.

Various & Sundry 2023 #13

Admin

If you care about pouches, I updated the Minikins page again.

I am tempted to put all of my donation quilts on one page and all of my other quilts on a different page.

Tools, Books, Fabric, Notions & Supplies

Janome came out with the Continental M17. I was sort of interested when Sarah talked about it. She also wrote a post about the embroidery function, specifically. I saw that the price is almost $20,000. I am not going to do enough machine embroidery to justify that price. The M7, I thought was the same, but the non-embroidery version. It isn’t the same, but is ‘only’ $8000. The M8 is $9000 and also not what I was thinking about. Hhhmm. Maybe they don’t sell the one I was imagining. Or maybe I imagined it! Or I don’t need a new machine.

Ironing board as desk

I do not recommend using your ironing board as a desk. How would you be able to iron your quilt projects? The good thing is that you can raise and lower the height to suit your body’s needs.

Projects, Classes, Patterns & Tutorials

Natalie from Sew Hungry Hippie has a tutorial on using the printed vinyl she sells, like the glitter vinyl I swooned over.

Check out Sarah’s tutorial for Lapped and Felled seams.

Sweetseamz has a great version of the Retreat Bag from Emmaline. Her modifications make it much more useful! The Retreat Bag is a free pattern, though you do need to buy the frame, if you don’t make your own. I have made a few of these, like the Sugar Skull version, and like the open wide design.

If you want to learn rotary cutting, a video that Carrie shared with me is pretty good. Jennie at Clover and Violet talks about using Creative Grids** rulers and the same kind of Olfa rotary cutter** I like. Her point about not using the cutting mat lines to measure is excellent. Please note that pressing your fabric before you cut improves accuracy

Bonnie Hunter has started her annual mystery quilt again. Check out the tab on her blog or go to Part 1.


**N. B. : Obviously, you should shop at local quilt shops and small businesses. However, if you are too busy or can’t find what you need there, I use Amazon affiliate links and may be paid for your purchase of an item when you click on an item’s link in my post. There is no additional cost to you for clicking or purchasing items I recommend. I appreciate your clicks and purchases as it helps support this blog.

26 Projects 2023 #11

We are nearing the end of the year! Can you believe it?

Finished 2023 Quilt Projects


Finished (for me!) Donation Quilts

I don’t quilt much and I enjoy the collaborative effort of making a top and allowing someone else to quilt it. Thus, the quilts below are mostly tops, but I will include a finished quilt once someone else finishes it for the group.

It would be great if I was able to make one more donation top before the end of the year. 12 quilt tops = 1 top per month, though some of them I didn’t make this year. Regardless, the blog symmetry is good.

Finished Bags and Small Projects

This category covers bags, toys, aprons and knitting as well as other non-quilt projects.

In Process or To Make

The ‘In Process’ is used to denote projects on which I am actively working or are on the design wall waiting for me to stitch. I am continuing to try not to put away projects. I find putting a project away ensures I never work on them, because I just lose steam.

Quilts (machine work)

Quilts (Handwork)

I decided that some of my quilts are in a different class because they are hand piecing or embroidery or beading. They take longer. Thus I created a new category and have moved some projects here.

  • La Passacaglia – The rosettes are all assembled. I am working on the border.

Ready for Quilting

In the Quilting Process

    • Nothing at the moment

In the Finishing Process

    • Nothing at the moment
  • Ultimate Project Organizer – another project from the Crafty Gemini Organizer Club, also on my list, but not yet started. I did pull the fabric, supplies and reviewed some finished photos that others posted, so I am one step closer. FINISHED!
  • Retreat Organizer – another project from the Crafty Gemini Organizer Club, also on my list, but not yet started. Recently, I saw one of these made up and I am not so nervous about it. I did pull the fabric, supplies and reviewed some finished photos that others posted, so I am one step closer.
  • Rose Petrillo bag – I found the pieces for this bag cut out, but not sewn.
  • Superbloom tote using Hindsight fabric – not started. I did pull the fabric, supplies and found a photo I plan to use as inspiration that others posted, so I am one step closer.

Still UFOs
I still have UFOs. Who doesn’t, after all? A project in the ‘UFO’ category means I am stalled, it hasn’t been worked on in awhile or it is waiting its turn to be worked on. The list is a lot shorter and the projects are newer, for the most part.

I am annoyed that some of these are still WIPs. I just need to work on them!

  1. Handbag Sampler – this is still the forgotten project. I found one block in the not-too-distant past, but otherwise I don’t actually know exactly where the blocks are hiding. I crawled up in the far reaches of my fabric closet to see if I could find them and they weren’t where I thought. I am sort of mystified as to where they could be. I haven’t even found a picture of all the blocks. WTH?
  2. Self Portrait: started in 2006 at a class at Quilting Adventures in Richmond, Virginia. After a brief burst of inspiration, I am stalled on this again. As one of my oldest (I am pretty sure) UFOs, I put it on my blog and out into the Twitterverse and Diane suggested that I not consider this as a self portrait. I think that strategy is a great idea. I am now trying to think of a new persona for her.
  3. Serendipity Lady – I am still planning to take this piece to be framed. It might need a bit of quilting first.
  4. Fabric of the Year 2020
  5. Fabric of the Year 2021 – I may combine 2020 and 2021 into a COVID edition.
  6. Fabric of the Year 2022 – yes, I added this one to the list, but this is the last one I plan to do.

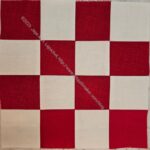
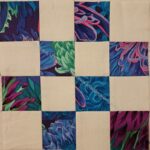
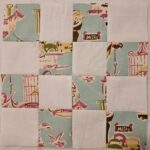
November 2023 Donation Blocks

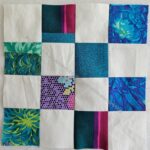
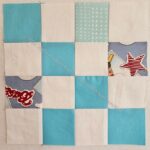
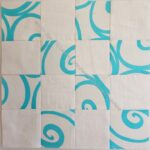
I am getting to the part of the year where I cannot show all of my progress on various projects. It simply means I need more time to sew! Here are some donation blocks for this month. I might make another QST 16 Patch quilt with some of these. On the other hand, I have an overflowing black scrap drawer that needs some attention, so I am back to making more color strip blocks in blacks and greys.

I am trying to organize the patches in the gallery above so they don’t look as random and weird.

Stay tuned

Red Improv Donation Quilt Finished

Red Improv donation quilt finished

Also thanks to Erin, the Red Improv donation quilt is done. This one is also more than 4 years old.

Along with the Orange Improv version from the other day, seeing this quilt finished reminds me of how great this process is. It makes me want to make more

The other color versions that I have made over time are really awesome as well and add to the idea of making more.

Right now my black, grey and brown drawer is overflowing. I have made a few black strip blocks, the first step in my process, but not enough to clear out my drawer. I talked about it with guild members the other day about cheerful quilts. Black is not always a cheerful quilt color like pink or orange. Someone suggested doing a two color version. I don’t think I am ready to branch out from the monochromatic parameters of the project so far.