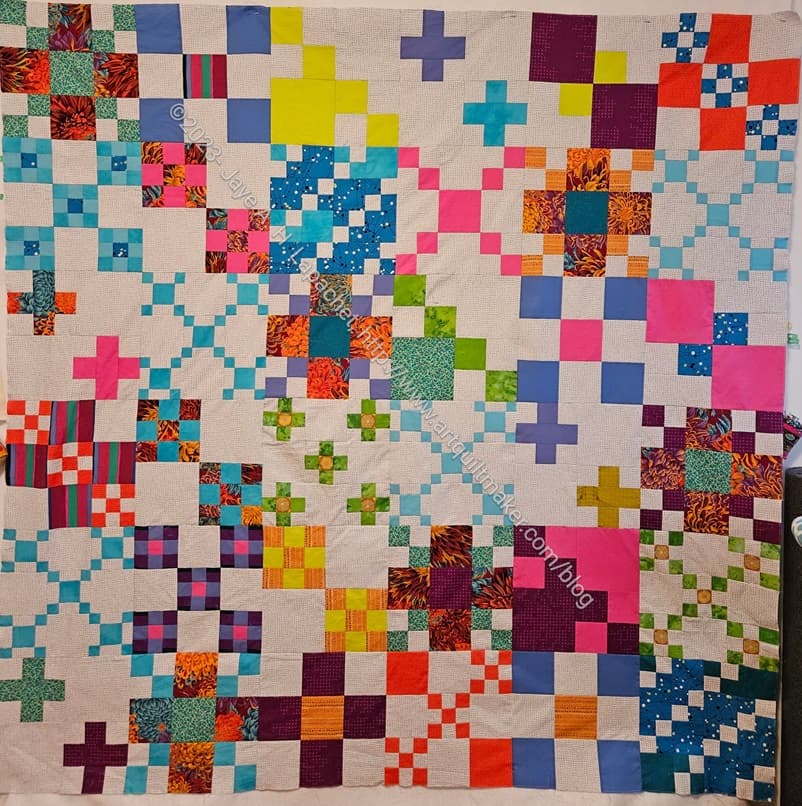
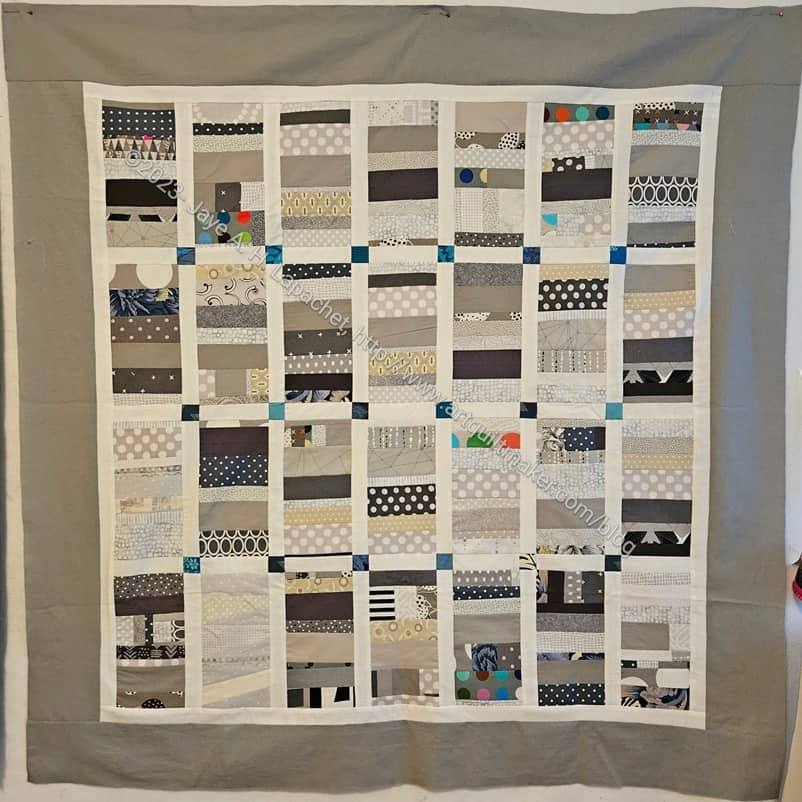
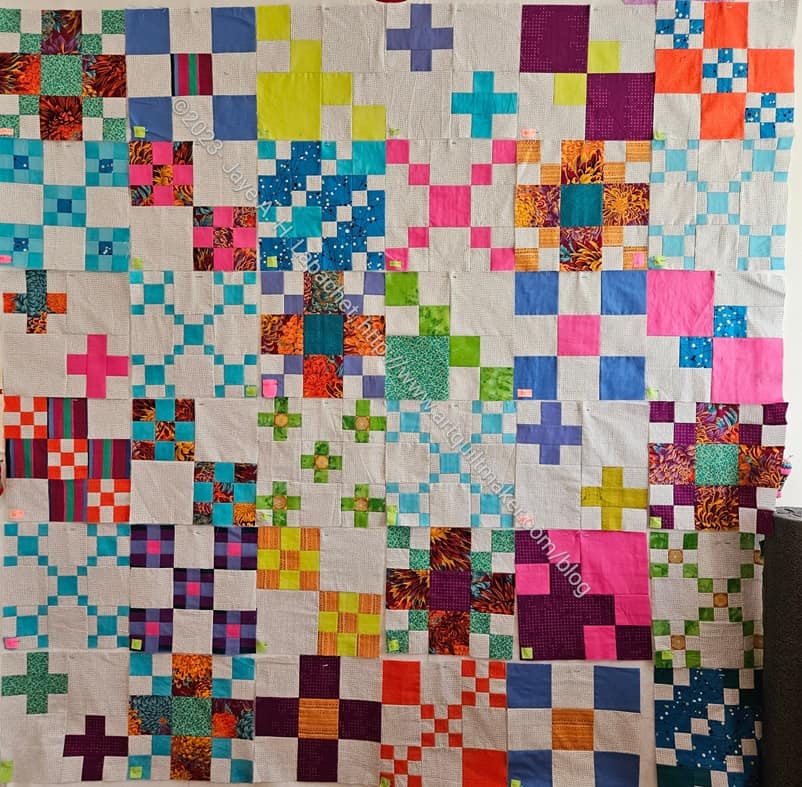
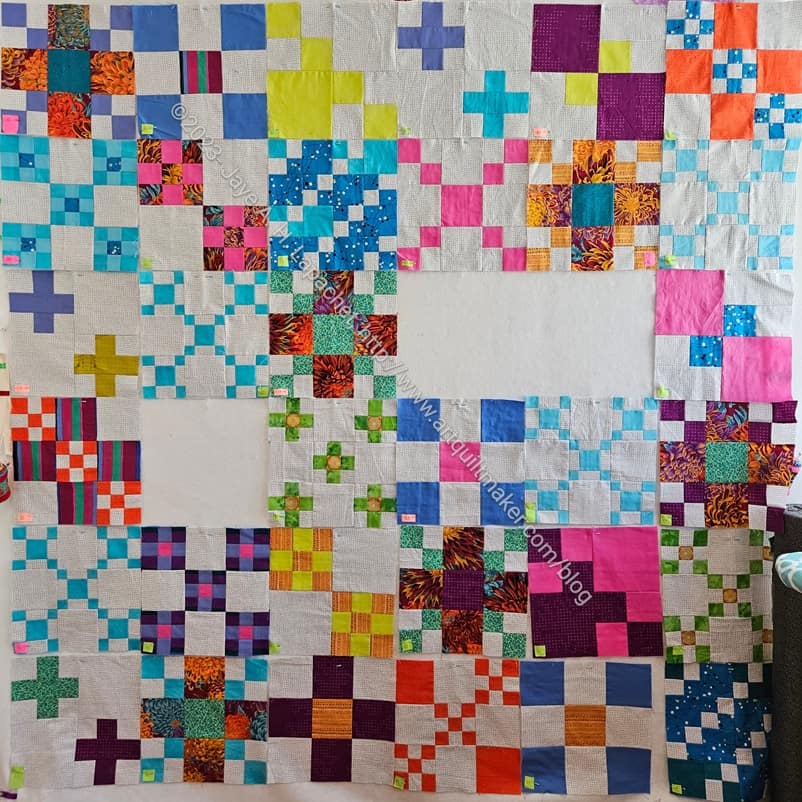
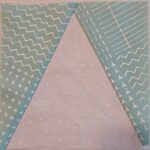
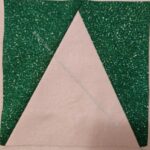
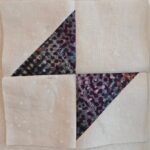
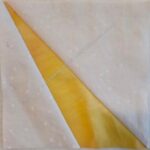
Scrappy Celebration is finished. Well, my part is finished. Today I will bring it to Colleen for quilting.
This quilt was nowhere near ready to give to Colleen, but except for one mishap, it went together quickly and fairly easily (knock wood). I am pretty pleased with the way it came out. It is a lot more interesting to look at than it was to piece.
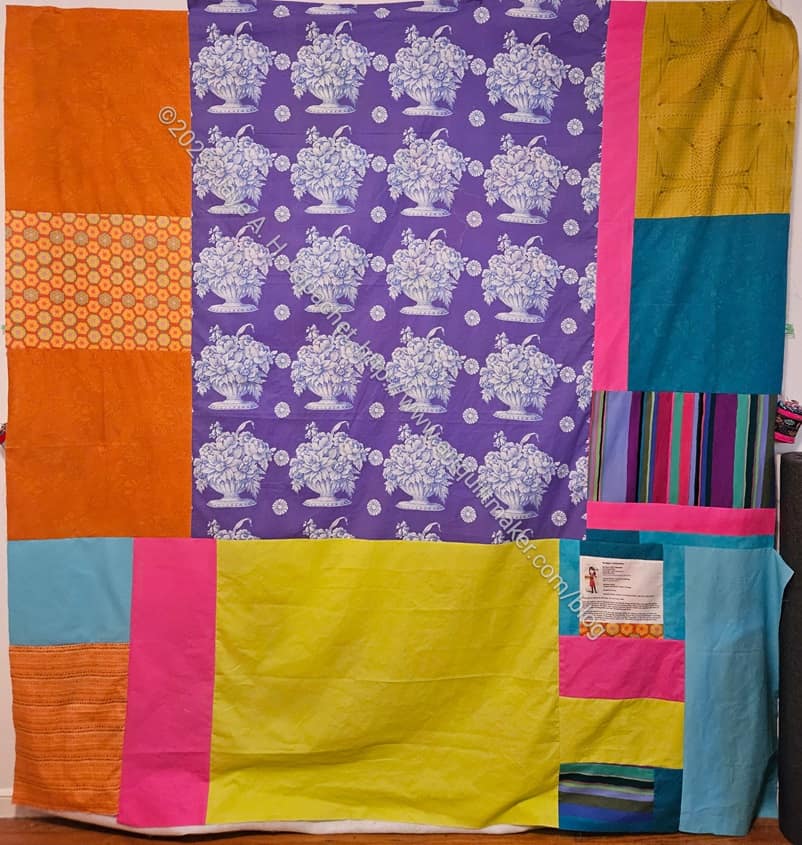
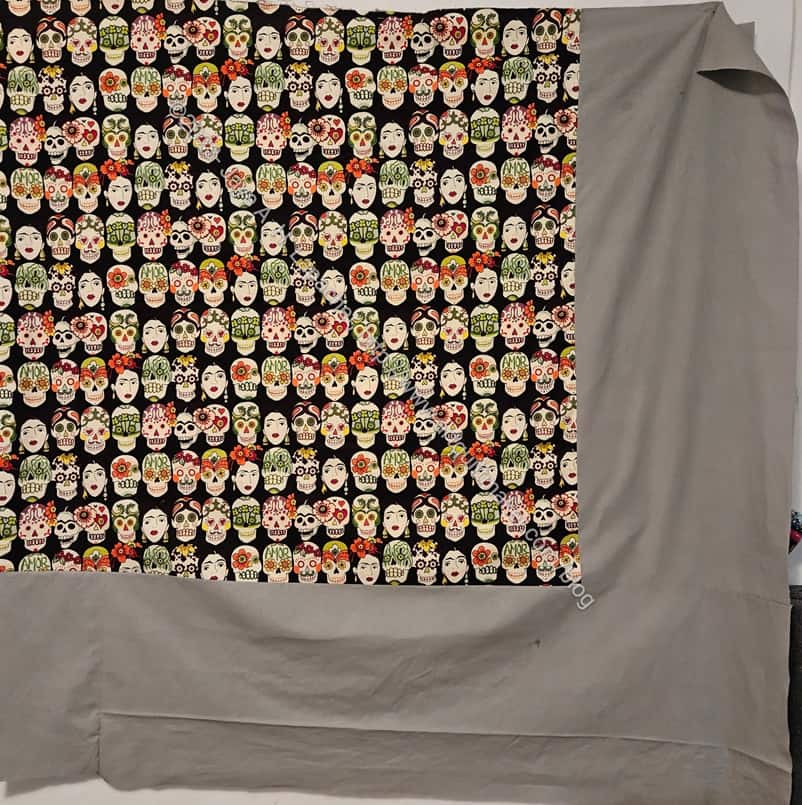
Scrappy Celebration back
As usual, I used a lot of the leftover fabrics for the back. Friend Julie said the look of the back is energetic. I hope that is good and not just a nice way of saying “what were you thinking?”
Notice that I didn’t use the Philip Jacobs chrysanthemum print on the back. I wasn’t ready to use it up yet.
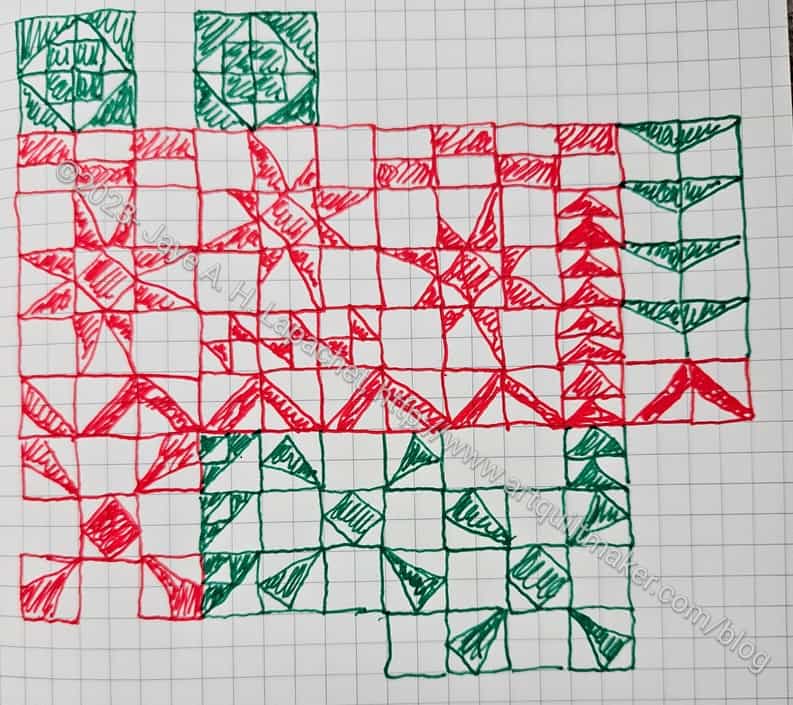
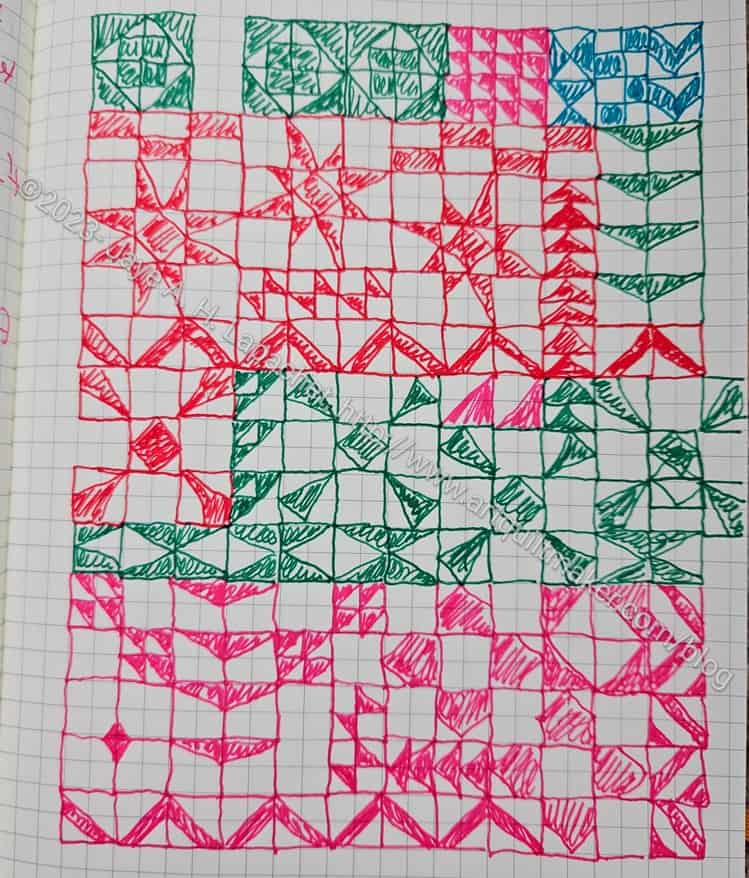
We are fast approaching the end of the Pantone Project block making aspect of the project. That means we are speeding quickly towards the design of the quilt phase. I looked for the ideas that I had generated last year and couldn’t find them so I sat down and doodled what I remembered,or thought I remembered.
I don’t have tons of spare time, so the doodles evolved over several days. The colors represent different days.
Remember, we have units based on Doreen Speckman’s system from her book, Pattern Play**. As an aside, I know most of you missed Doreen’s career in quiltmaking, but anything you can find on her is worth the effort. This book is all about designing quilts using units.
Pantone ideas – evolving
Friend Julie and I are using these units for our project, which means I used those units for my doodling. In putting together these units, I made larger designs. And that was super fun.
I started off thinking of a row quilt. I was a little stiff at the beginning, but as I worked, I started coming up with some interesting shapes using the units.
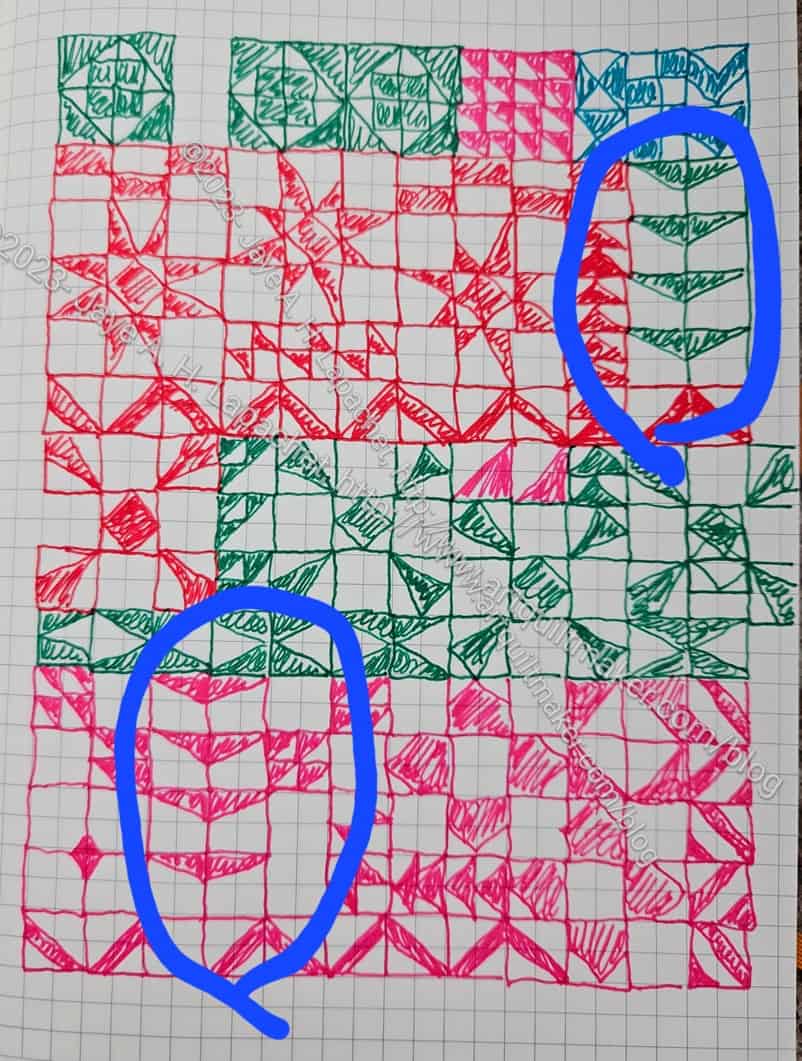
Umbrella shapes
I am super excited about the umbrella/propeller shape, which makes me want to make more of those blocks. That is an added bonus for the doodling.
One issue I have not addressed is color. You know that each unit is a different color and we are making units from colors in the Pantone Postcard Box** as they inspire us not to any plan. I am not going to worry about that now. After all, I can always make a second quilt with the colors of my choice from the same design, if I want.
Fabric, Sewing machine and regular Sewing supplies (BSK)
Decisions to Make with your friend:
Size of units (blocks)
Type of units to make
Time frame for making the project
Time frame for sending postcards
**Obviously, you should shop at local fabric, knitting shops or quilt shops. However, if you can’t, please know that I use affiliate links. I may be paid for your purchase of an item when you click on an item’s link in my post. There is no additional cost to you for clicking or purchasing items I recommend. I do not recommend items I don’t like. I appreciate your clicks and purchases as it helps support this blog.
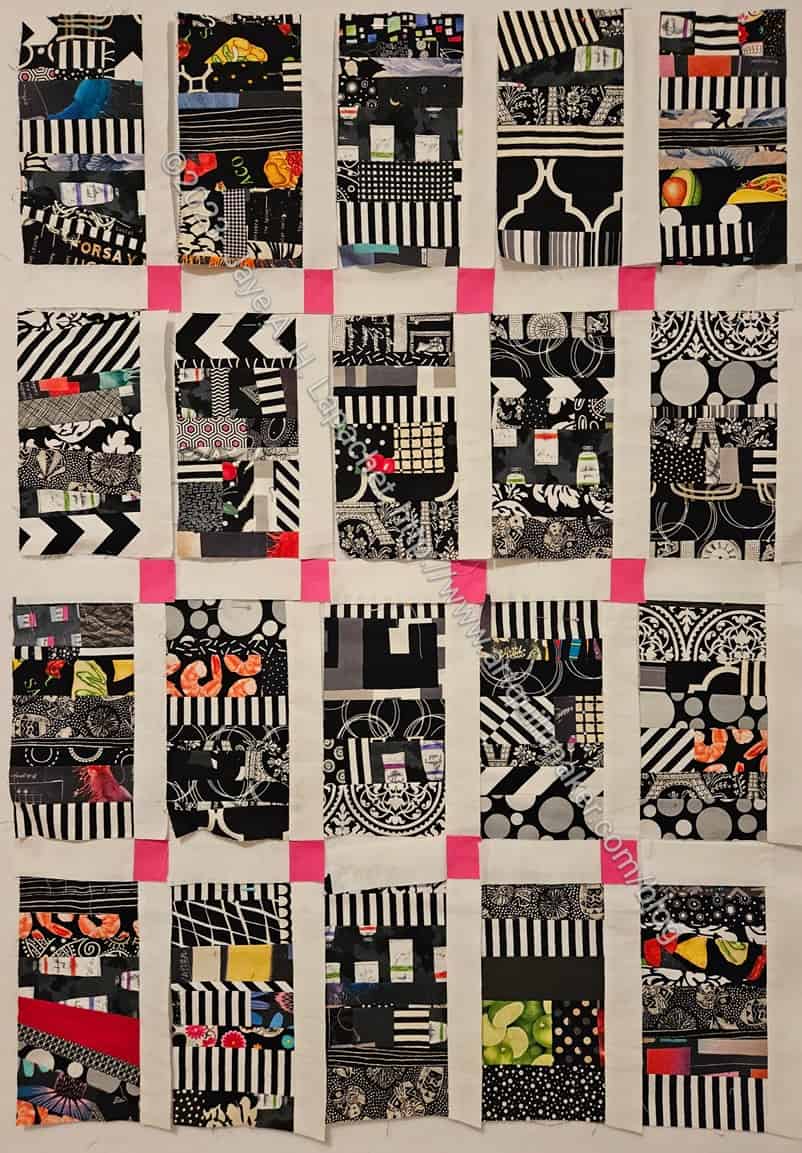
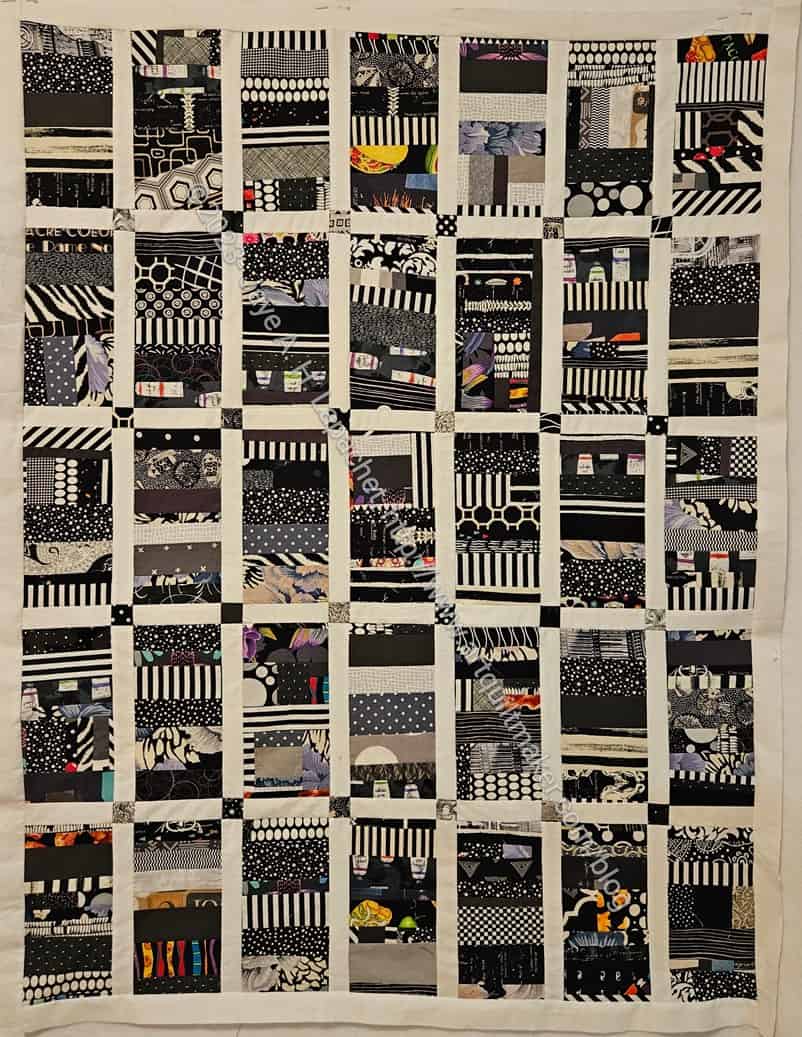
I was able to finish the grey strip top at Sew Day, then work on the back at home. I am pleased that this top is finished and am already working on the next black version.
With the back, it is another 3 yards used for a good cause.
Grey strip donation back
I have now made 14 of these quilts, with the help of my guild colleagues.
The last time I talked about this quilt was in September! Since then I have been moving the blocks around my workroom in a desultory manner. I last had them all on the design wall in August and they don’t look great. I decided I needed to finish it and my deadline is on Friday. I have a date with Colleen and knowing my work schedule, will be unable to make another any time soon. So, I needed to get it finished.
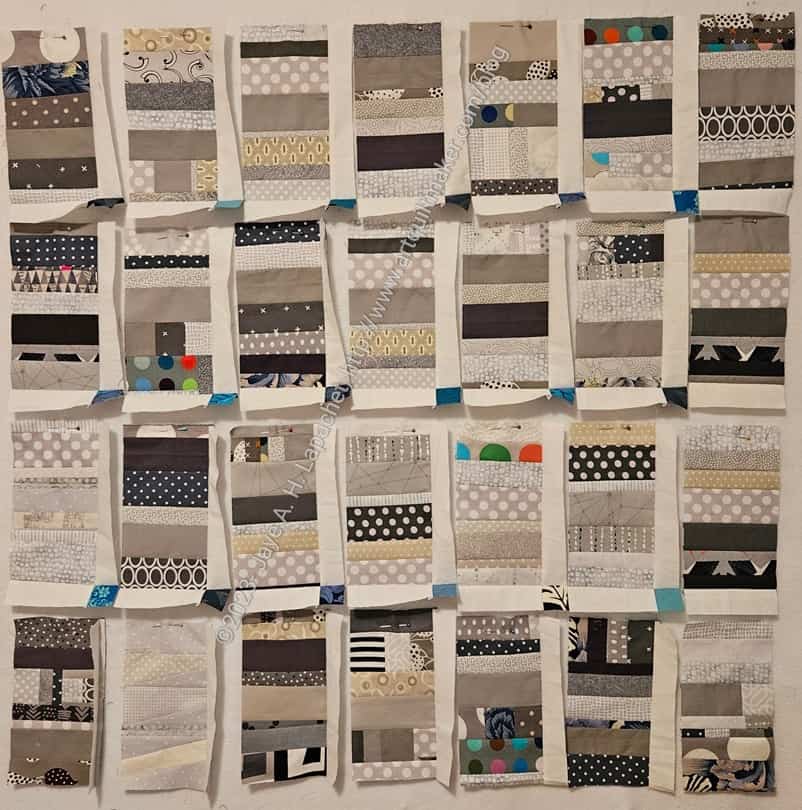
Scrappy Celebration -what I had
I actually didn’t start from a bad place. I just needed to figure out where I was and where I needed to go.
The photo on the left is what I had when I put all the blocks up on the design wall. I ignored the block labels I had put on based on where the blocks were in the pattern. I rearranged blocks so they looked more appealing and, then, decided what I additional blocks I needed to make.
I worked on it last weekend and made good progress. I am now ready to sew the piece together.
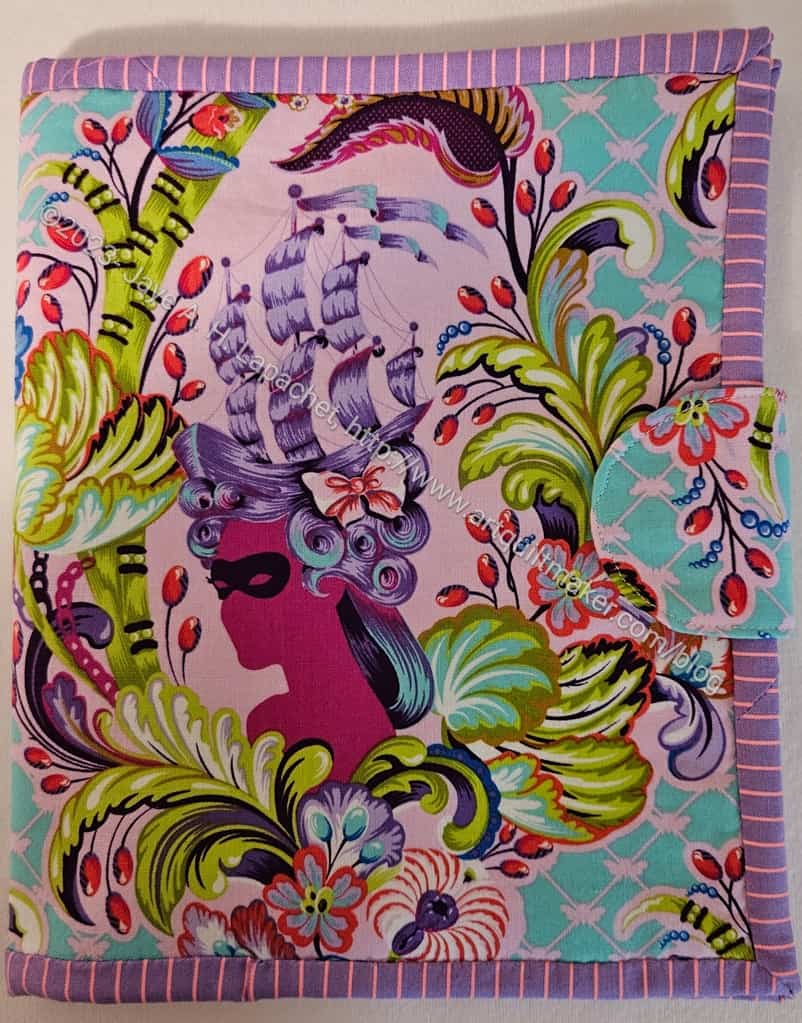
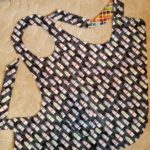
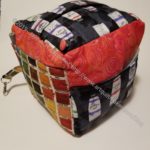
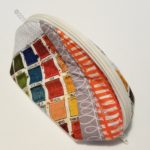
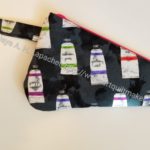
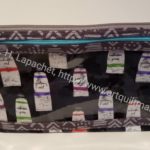
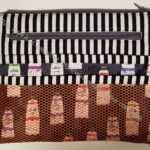
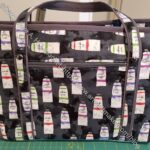
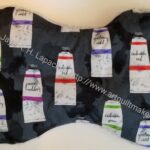
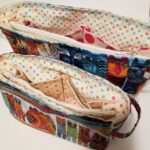
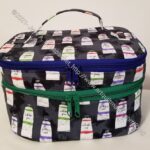
I finally finished the Tula 2-in-1-Case. The binding gave me fits. I am pleased, however, that it came out so well. Choosing a Tula Tiny Stripe for the binding made coordination easy.
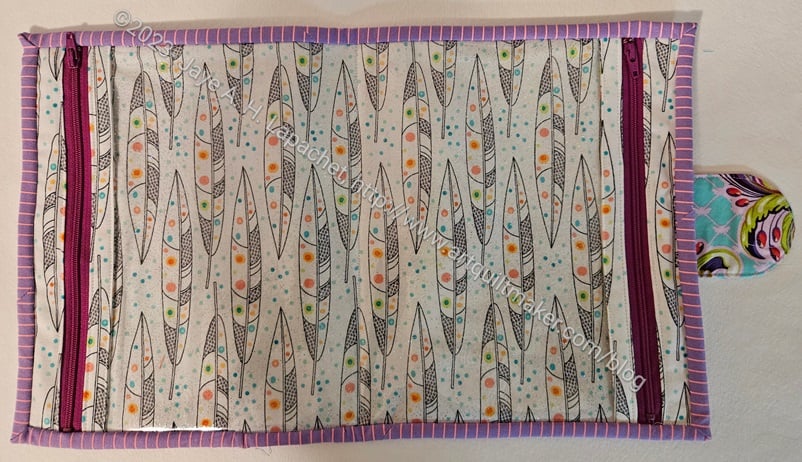
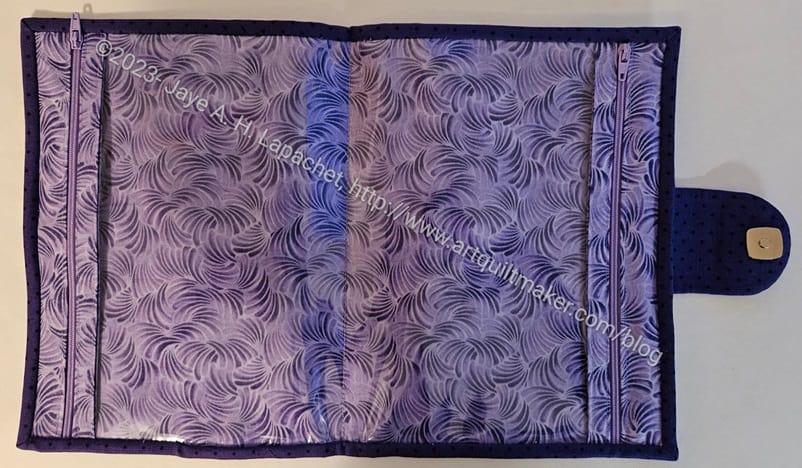
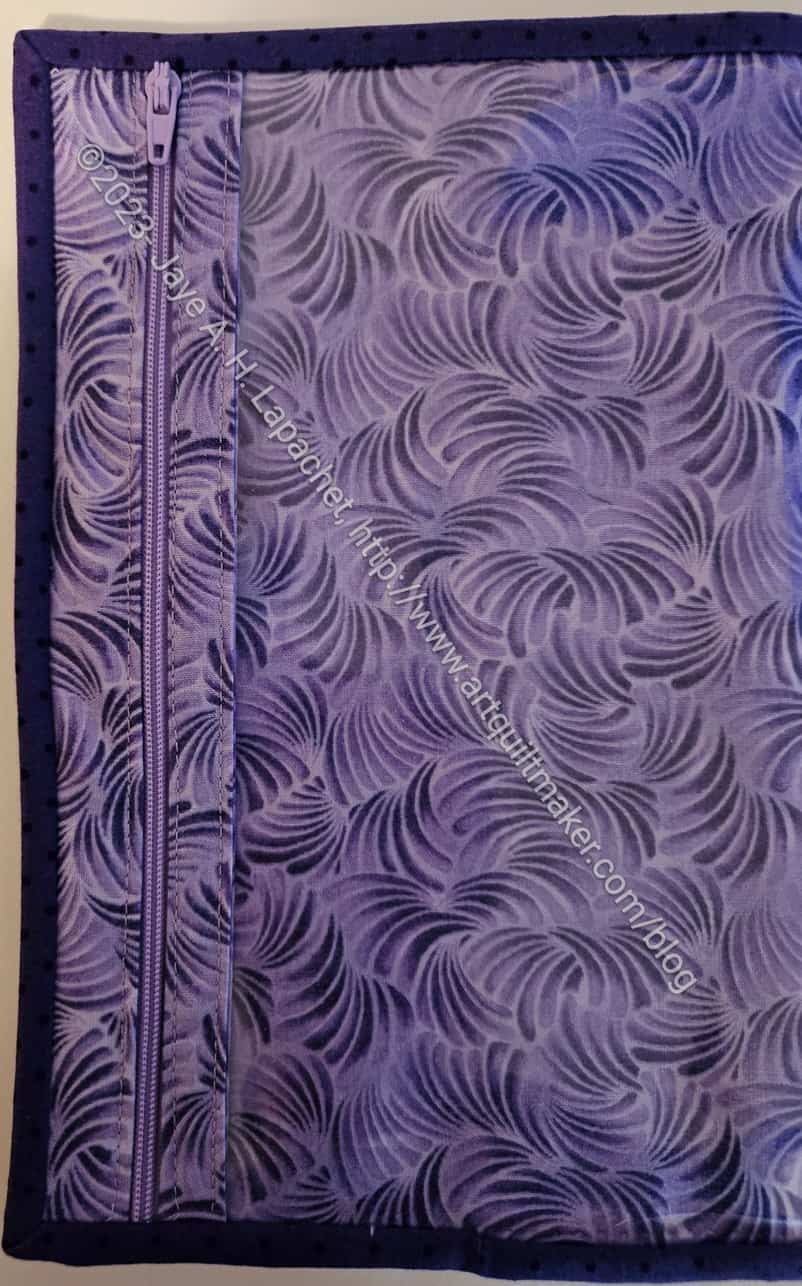
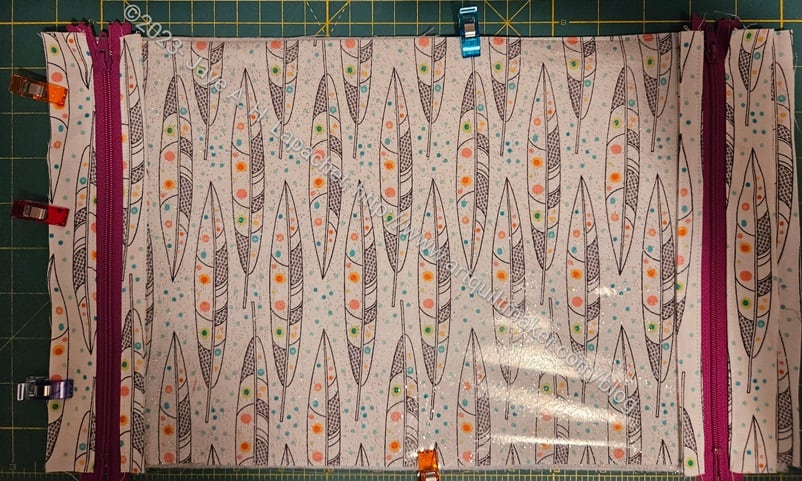
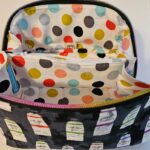
The inside is an old feather print I had. I like it and it is light colored so the recipient will be able to see what’s inside. I suppose, however that is not as important with a bag that opens flat?
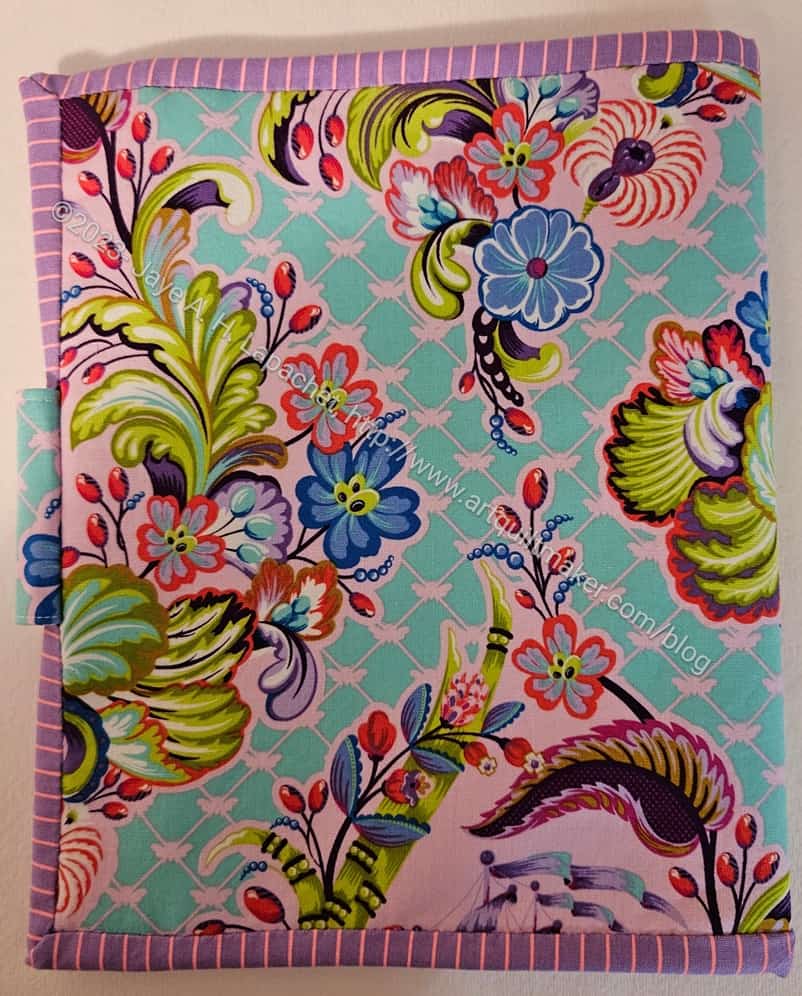
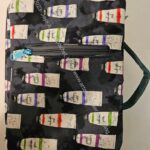
Tula 2-in-1 Case – openTula 2-in-1 Case -back
The back is fairly normal. It is just the back of a bag. There is an interesting bit of symmetry because of the way I cut the exterior panel so that the lady would be centered on the front.
I don’t yet know who the recipient will be. Stay tuned!
Angela is a relatively new member who volunteered to make one of the 2-in-1 cases for the officers. She did a really wonderful job!
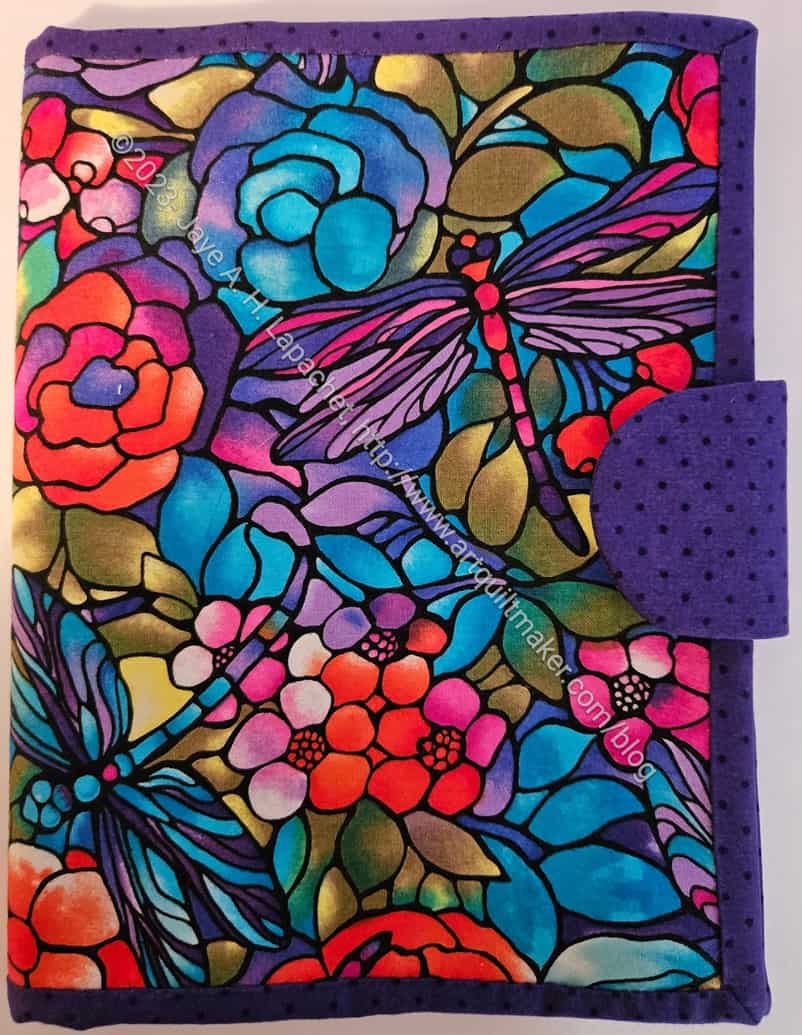
The colors are really great. I think the binding picks up and enhances the purple in the dragonfly print really well.
I love the fussy cutting she did, though she claims it was a happy accident. The cover really looks like the dragonflies were placed intentionally.
AngelaB’s 2-in-1 Case – interior
The inside mimics the outside, but uses a lighter print to still allow the owner to see what is inside.
She really matched the interior print and the zippers well.
AngelaB’s 2-in-1 Case – interior detail
Angela’s zippers also went in beautifully.
I am completely impressed with this version of the case. You can see the other completed 2-in-1 Cases in a previous post and my, second, in process case in a post from earlier this week.
I realized I needed one more 2-in-1 Case for the officer gifts so I decided to make a Tula version.
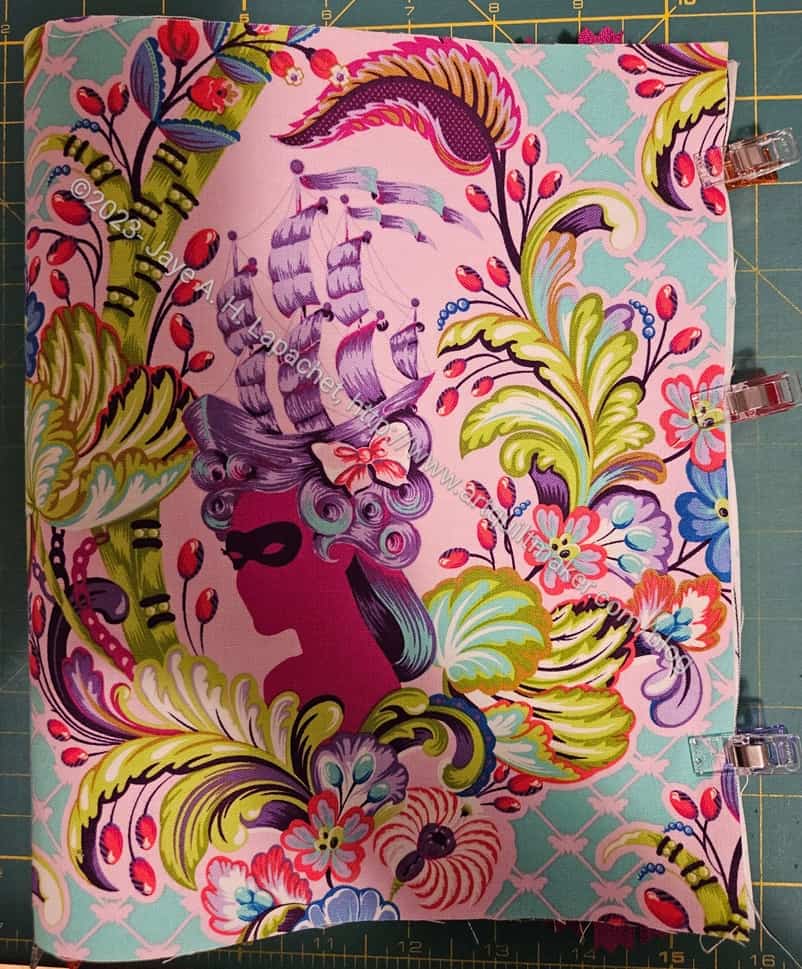
This is a really singular print and I wouldn’t normally choose it for a gift, but it kept calling to me for this project. I really hope one of the officers is a Tula fan!
I carefully fussy cut the image of the woman so that it would show up on the front.
Tula 2-in-1 Case interior in process
I also made the inside first so that any seam allowance problems, as mentioned when I made the last case, could be dealt with by cutting the exterior a different size.
This version is really coming together quite quickly. I am surprised at how easy it is compared to how difficult the directions seem.
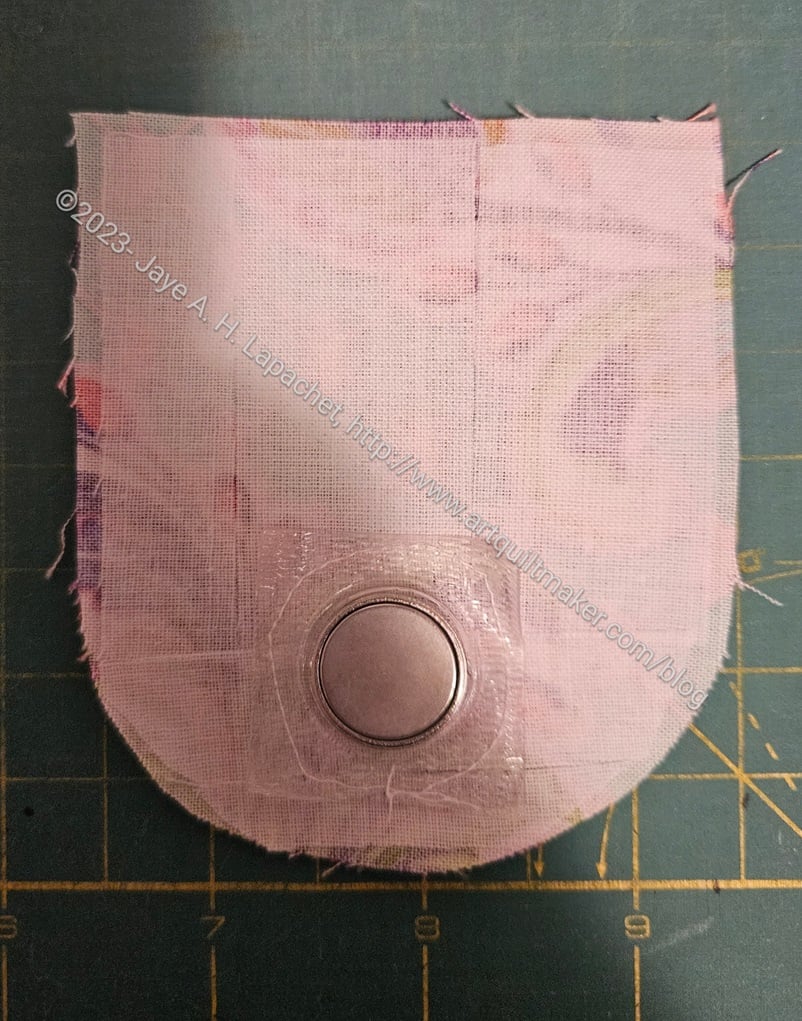
Tula 2-in-1 Case-sew in magnetic snap + tab
This time I am also using one of the sew-in magnetic snaps. I used the edge of the square-ish zipper foot to sew around the magnet part and it worked pretty well. I can sort of see the stitching on the outside, which I am not thrilled about, but am leaving and hoping for the best.
I have been thinking a lot about what I want to sew this year. Yes, I need to continue the 26 Projects project, but it is less important now that I have completed so much and many fewer UFOs. I have been going back and forth between a lot of different ideas. I am not sure if I have settled on one yet.
One idea is to continue as I did last year. You can see what I made by reading the Year in Review post. I made a lot of gifts, made a few donation tops, made a few quilts. While the gifts gave me some direction, I felt like, overall, I was a little directionless.
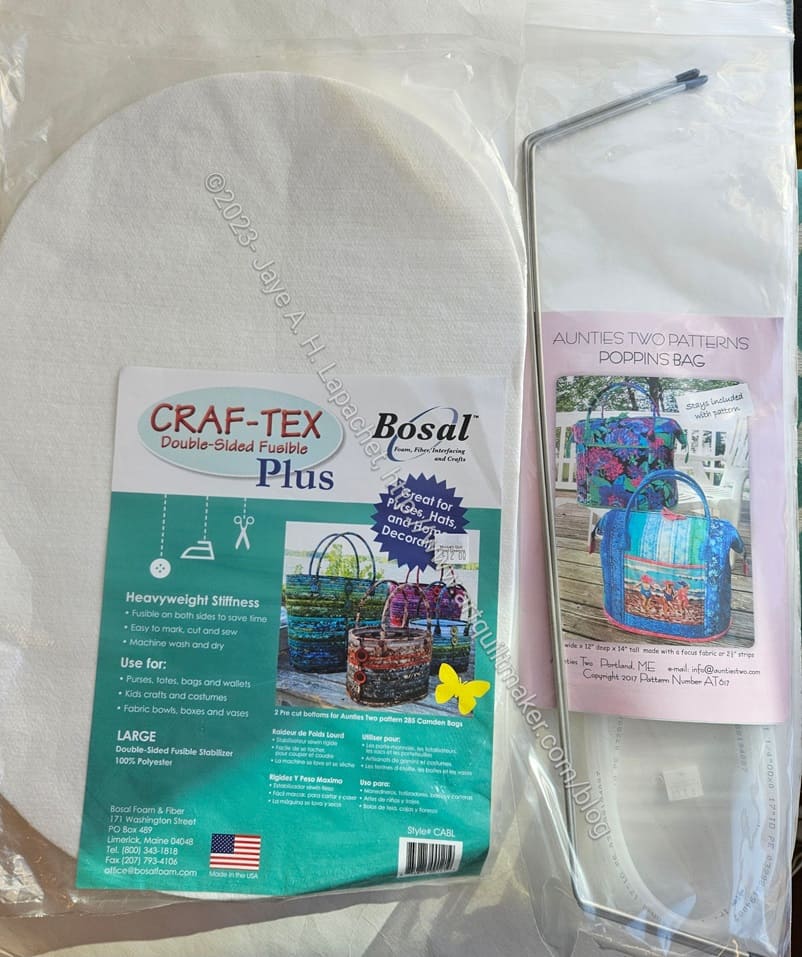
Poppins Bag Supplies
I have some goals, but I never attach a date to my goals. I don’t want to add to the guilt I already feel at not getting enough done. One goal is to replace the Ultimate Carry All Bag. It had a good run and has some good qualities, but it is not the ideal bag for going to Sew Day or on Retreat.
I am still looking for the perfect bag pattern. The other day, I was reminded of the Poppins Bag. I bought the pattern and the frames in 2019 at PIQF, though I have more of a description of the bag from 2018 (when I didn’t buy it-LOL!). I haven’t made it yet, though I did look at it last year and felt a bit daunted, but, perhaps, with the start of the year I might be more up for the challenge. It might be a good replacement for the UCAB. It is, however, a daunting pattern.
One is idea is just to think about what I feel like doing and sewing in that way. Part of that idea is not to make any gifts, or many fewer. I don’t know if that will work as I have a couple of ideas I want to try. I think that idea is to put less stress on myself in terms of deadlines.
As usual, I want to use up as much fabric as possible. I didn’t make my 100 yard (net) goal last year. Not going to Portland with its tempting quilt shops in January will help with that goal. It does mean a lot of sewing, though.
I decided I needed to be diligent about the Pantone Project blocks. I put my nose to the machine and started working hard on them. I want to have another group to give to Julie on Sew Day. I don’t know that I will be able to make them all. I can try.
Pantone: Peaky & Spike
Pantone: Peaky & Spike
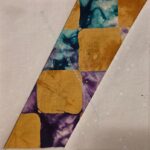
Pantone: Wingy Things
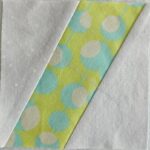
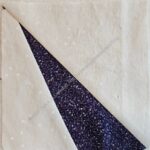
Pantone: Sliver Right
Pantone: Sliver Right
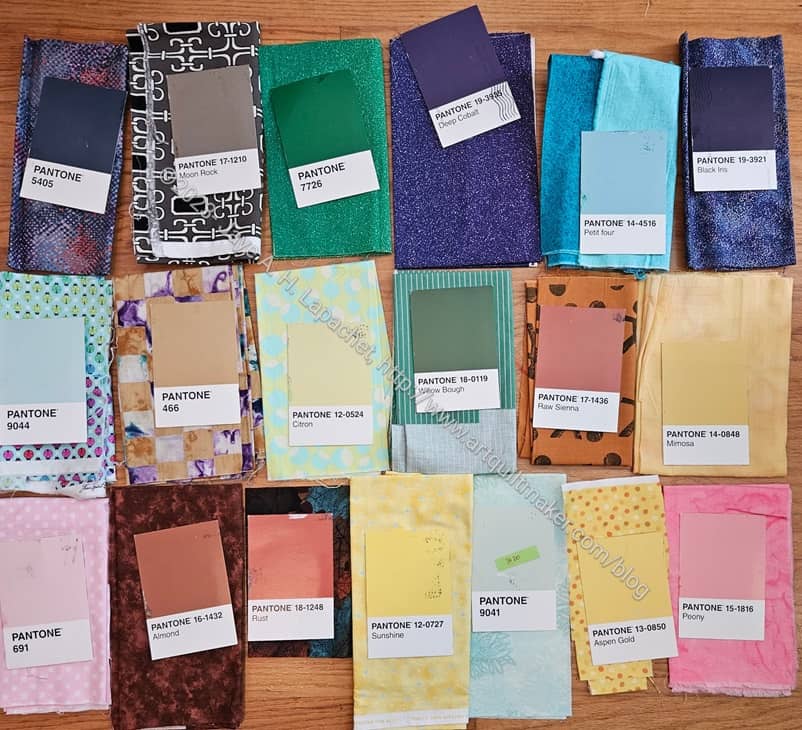
New Year’s Pantone selection
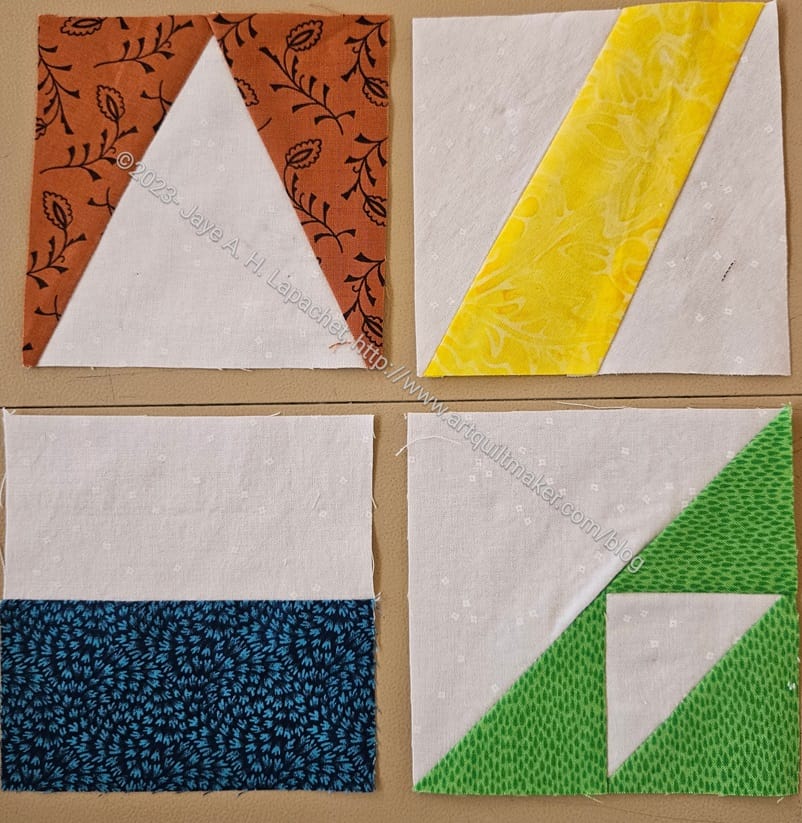
I am in the process of making a second batch. On New Year’s Day, I got all the postcards together and selected fabrics for each of the cards, then, interspersed with sashing the Grey Strip donation top, I started making blocks. I did change out the light blue, Pantone 9044, in the middle on the left. You can see the replacement fabric above in the Peaky & Spike block.
I am selecting blocks to make based what I have already made. I have a sort of plan in mind for the final quilt that requires even numbers of blocks.