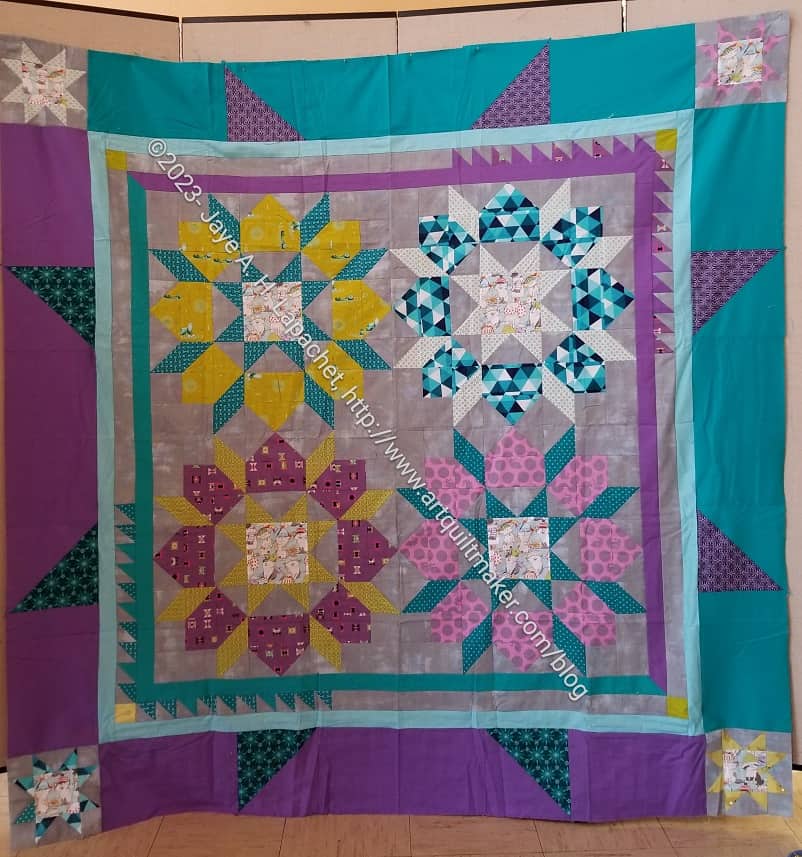
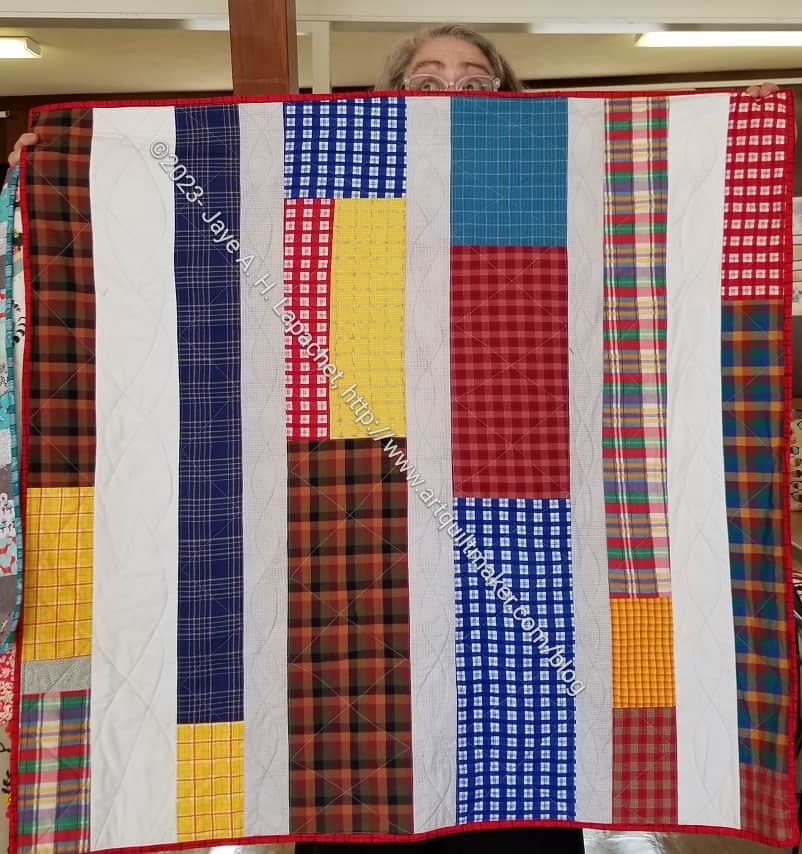
I had time this week to work on this donation top. I was able to finish putting the blocks together into a top.
The top is a weird shape – kind of long and skinny. I probably should have put the top row of blocks on the side to make it more square. I didn’t, however, so I will put a larger border on the sides than on the top to see about making it more square.
The pink cornerstones add a little spark to the top.
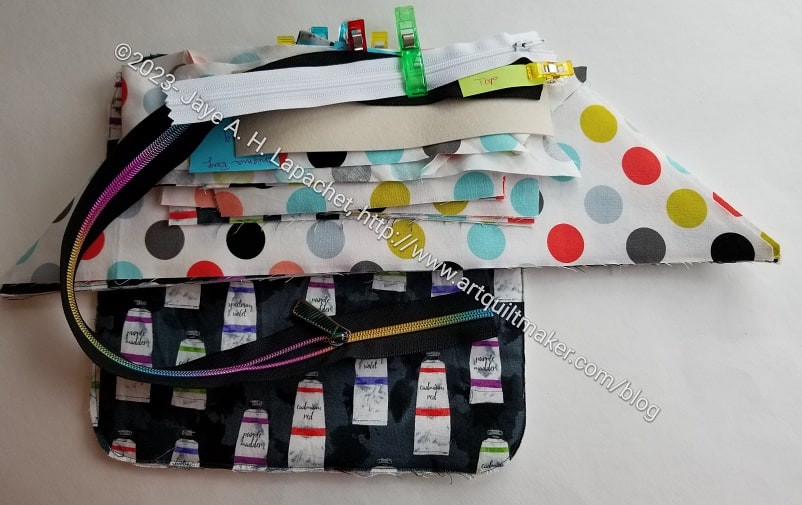
I cut out a large version of the Kit Supply Tote by Aneela Hoey at one Sew Day in the past. I checked and can’t find a date when I did it. Still, I decided, over the weekend, that it was time to put the bag together.
Overall, this is a pretty straightforward tote. Directions are provided for two sizes and both are put together the same way.
Kit Supply Tote handles
Towards the end, I chose one of the webbing handle materials from Sew Hungry Hippie.They are a glittery black or silver overlaid on black. Very glittery
It was hard to sew on the previous lines from the front. I was using a charcoal thread color that matched pretty well. I sewed the handles on a little bit from the top/exterior, counting stitches carefully until I had one line of stitching sewn in a square.
Handle stitching
Thereafter, I took the bag out of the machine and sewed from the lining side. I could easily follow the stitching by sewing on the previous lines. I am pretty pleased with how the stitching came out.
Julie told me about foundation paper piecing where you don’t sew through the paper. I meant to have her show me at the last Sew Day, but somehow we didn’t get around to it.
What a game changer! I might actually start to use FPP more.
I am not doing a tutorial right now, but might in the future. It would be a good technique to teach in my Sampler class.
Fold pattern over thin ruler
One of the keys is folding the paper back. The video I watched show using the Add-a-Quarter** ruler to fold the paper back. I have that ruler, but it didn’t work the way I expected. I have a very thin Bernina ruler I got somewhere and that worked very well for me.
There are a few different videos on this technique. Julie said she uses this technique in a little different way, but that what it shows is basically the same.
One good thing about this technique is that I don’t have to print paper patterns all the time, use them once and then print another. Great reuse!!
**Obviously, you should shop at local quilt shops and small businesses. However, if you are too busy or can’t find what you need there, I use Amazon affiliate links and may be paid for your purchase of an item when you click on an item’s link in my post. There is no additional cost to you for clicking or purchasing items I recommend. I appreciate your clicks and purchases as it helps support this blog.
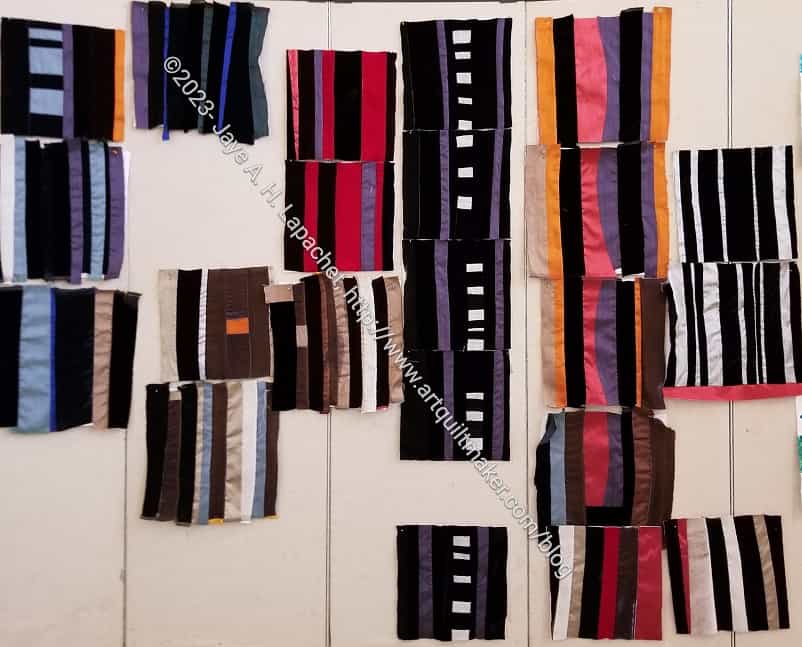
I focused on getting some more blocks done for Scrappy Celebration over the weekend. My design wall is looking good even if I have to layer some of the blocks. I do need to move them all up and will probably do that today.
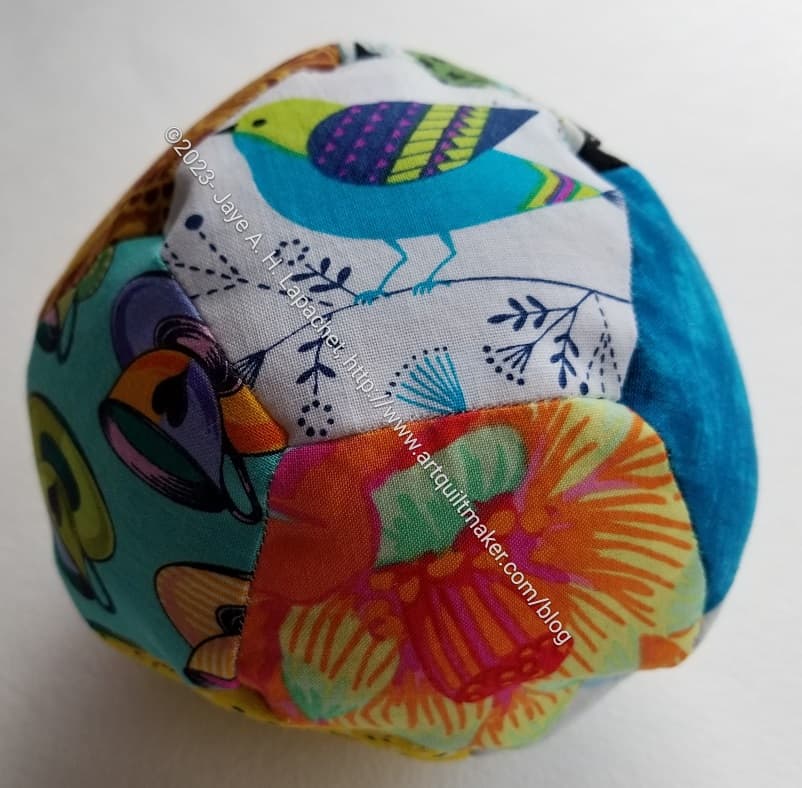
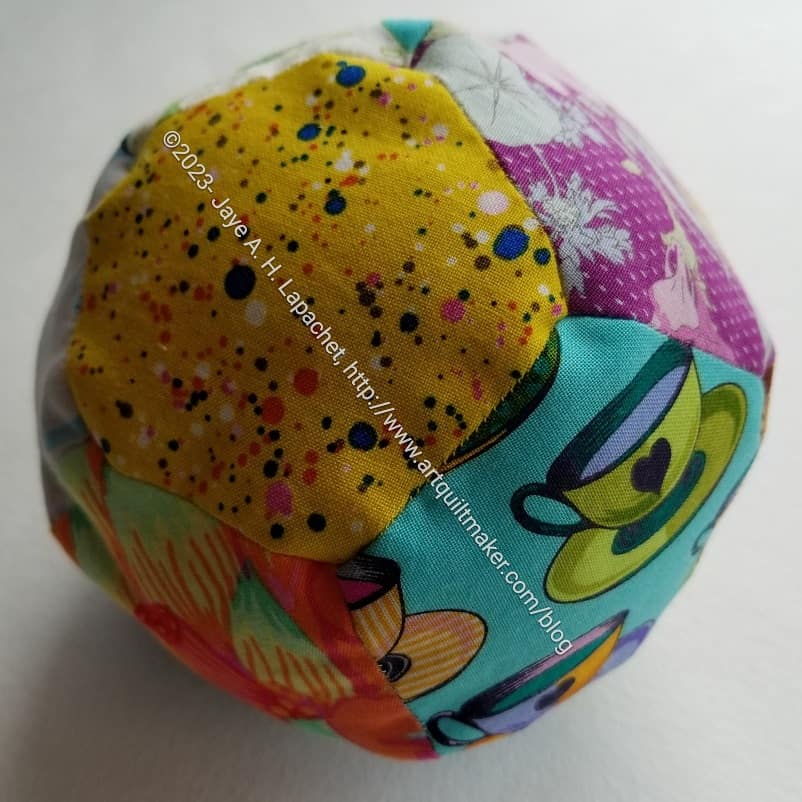
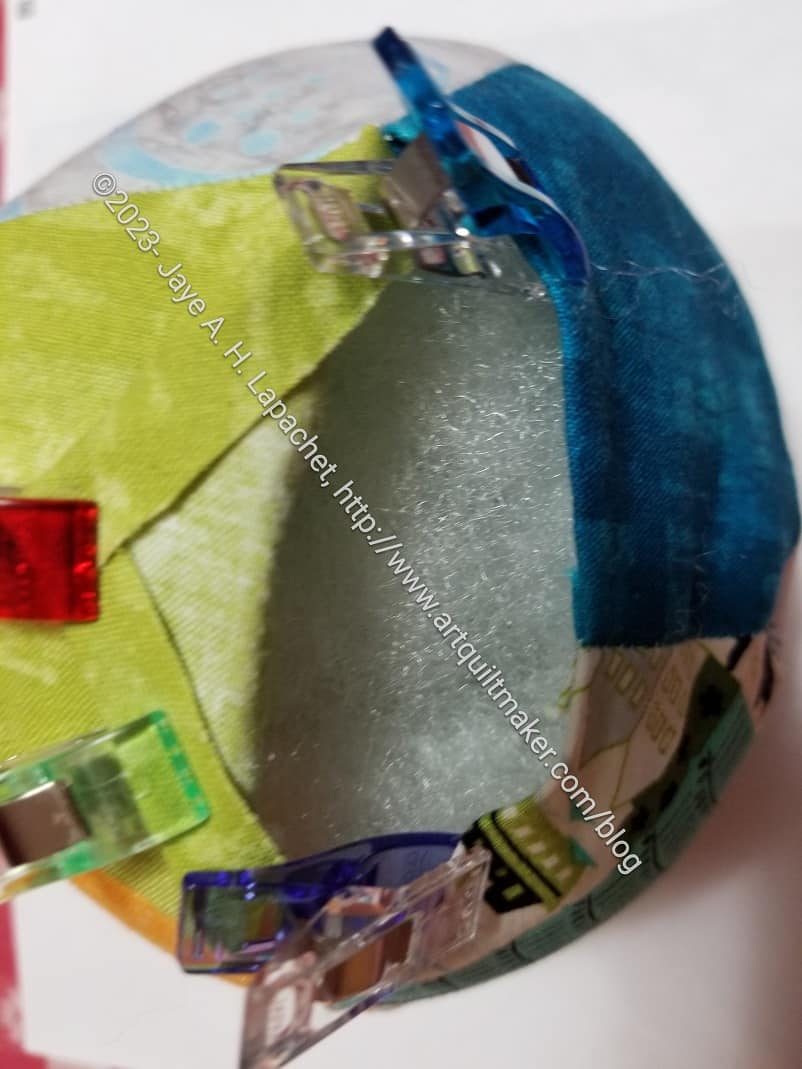
I plan to use it for small EPP projects when I am on the go. In this case, I have the pentagons that will be made into a ball in the bottom.
I was able to stock the bag with scissors, needles etc by using some other gifts I have received that haven’t had a home yet and I am really pleased about that.
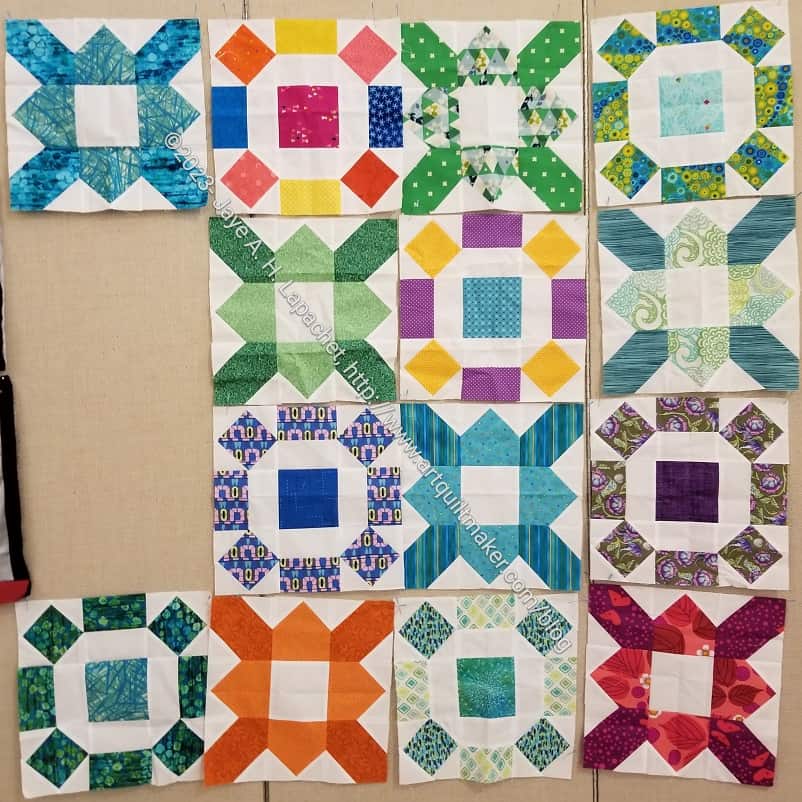
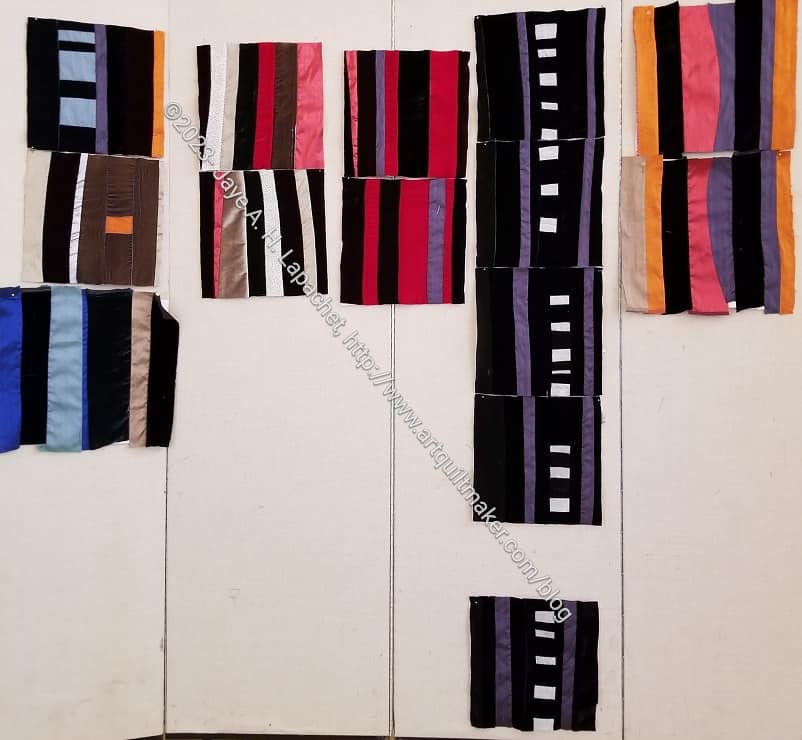
After the meeting on the weekend, I cleaned out the Chubby Charmer I take to the meeting and found a bunch of stuff leftover from Retreat in the bottom. Among the items was a bunch of Pantone Project blocks that Julie made. She must have handed them over at the Retreat.
This group looks very Fallish/Autumn-like to me.
I feel terrible that they have languished unremarked upon for weeks. My only explanation is that I left for a business trip only a few days after I returned from the Retreat and really didn’t do a great job of putting everything away.
I have some fabrics chosen for some blocks for Julie and I am determined to get some done.
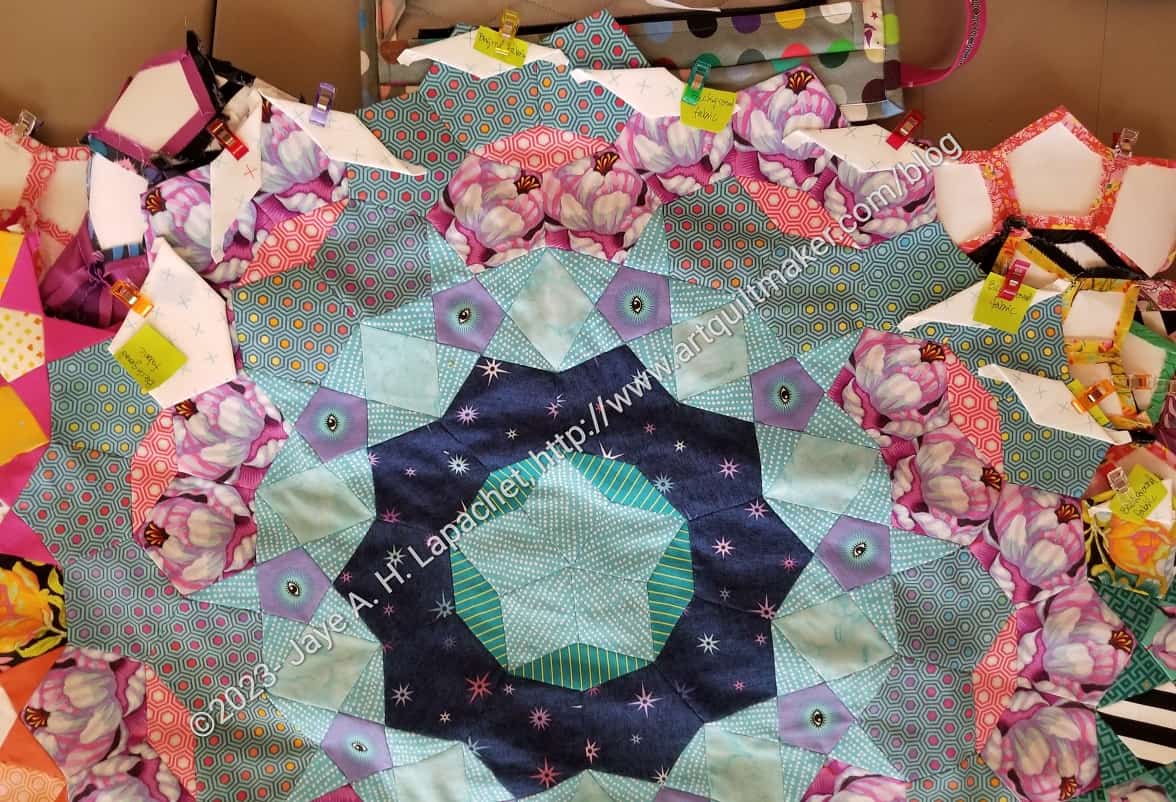
Yes, half of my La Passacaglia top is sewn together. I think it looks pretty good. I do think there were some things I would change if I had known then what I know now.
I was telling Lindsay that I have learned so much making this quilt. I am really sad it is ending. I will probably try another one on my own. Nothing is happening before I finish this one, however.
I am ready to put the Blue Color Strip blocks together. I have made all the blocks and laid them out on my small design wall, ready to sew. I hope to get the quilt ready to hand in on Sew Day in July.
I looked at the previous quilts and didn’t want to do the same thing, but also am not up for a lot of fancy piecing.
It came to me in a flash to add some pink cornerstones!!
I forgot to post about the finished second Enigma. I wrote about last a week ago.
I am so pleased with the fabrics, which I talked about last time. They look so well with the zipper, too.
Peony Enigma open
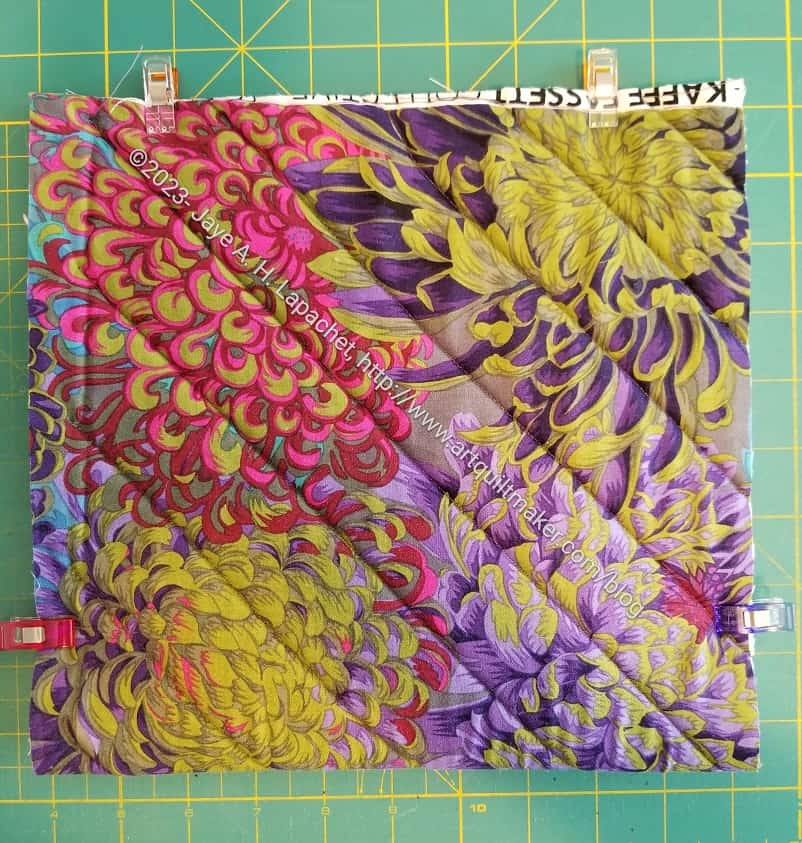
As per usual with second tries, this one went together a lot easier and much faster. I didn’t use the prequilted fabric I had Colleen make for me. I only have one fabric, the Philip Jacobs fabric I used last time and I wanted something different. The bottom piece needs to be quilted, which meant I had to quilt the bottom. It was fine. I used one fabric for the lining and I like that look a lot better, even if the various lining fabrics aren’t very noticeable on the first Enigma.
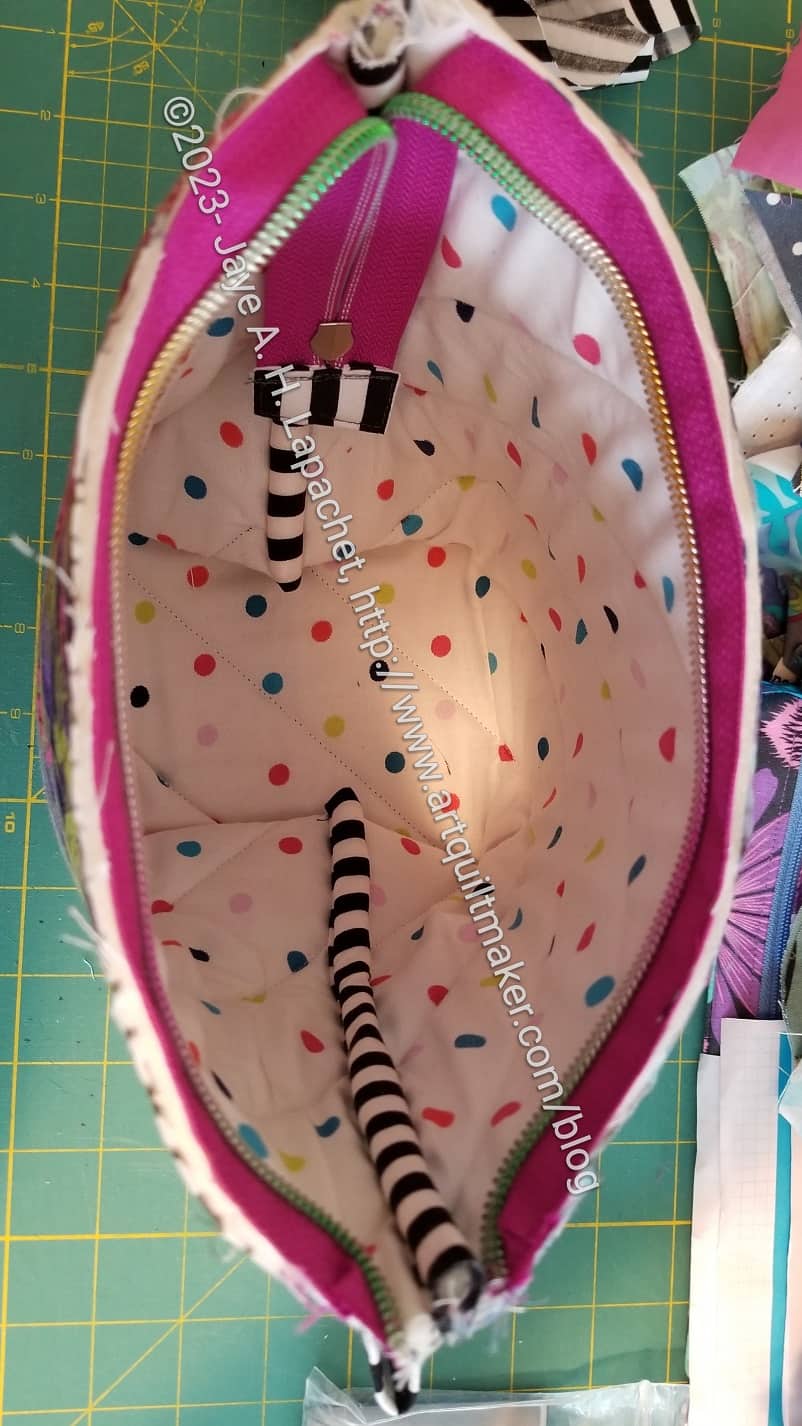
Peony Enigma: accordion pocket
The accordion construction of the center pocket is magical in a way. It is just so amazing how easily it goes together. I am really pleased with how it came out.
Also, the fabrics look so pretty in this configuration. I think the Kabloom fabric is just a good fabric design, because I didn’t have much fabric left to fussy cut. The end with the half peony flower is a happy accident.
Peony Enigma: diagonal zipper
I am still kind of enamored of the diagonal zipper design. I really need to know how Sara comes up with her designs. I saw another bag like this, but can’t believe that she would steal a design.
The only part that didn’t come out exactly as planned was the handle. I think I spaced the stitching too far apart. The empty space is large enough for me to carry it, but the Chrysanthemum version had more space. C’est la vie!
Peony Enigma: handle
I am so pleased with how this bag came out.
I plan to use it to travel with EPP projects. I haven’t filled it, or the Chrysanthemum version, up yet, but will. I have a few trips coming up later this year and will need it for them. Cross your fingers I can find a good project.
I might put this bag on my list to make as gifts. I am not done with the Hackneys yets, so stay tuned.
After encouraging my sewjo a little bit with the Spiky 16 Patch, I made some more blocks for the Scrappy Celebration quilt.
I have to admit I was dreading this block a little bit because the first one took so long to sew. I concentrated on chain piecing this one and it went more quickly.
I did forget to use the other blue fabric, so it looks the same as #1. Still, it is done and I can move on to other blocks.
Plus block #2
I also made the second Plus block, which completes the top row. Unlike the 9 patch above, I have decided to make the Plus blocks different colors. Well, I have decided that the pluses will be different colors. I have been longing to use that emerald green again, so here it is.
I like the combination of the red-violet and that emerald.
Scrappy Celebration blocks – June 2023
I moved some of the blocks around so the completed block layout I have looks different now.
Not a lot of progress, but over a small hump and progress is progress.
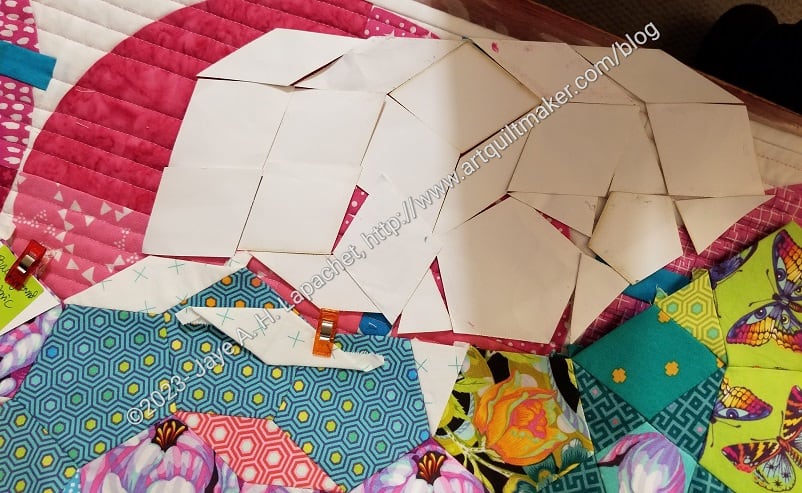
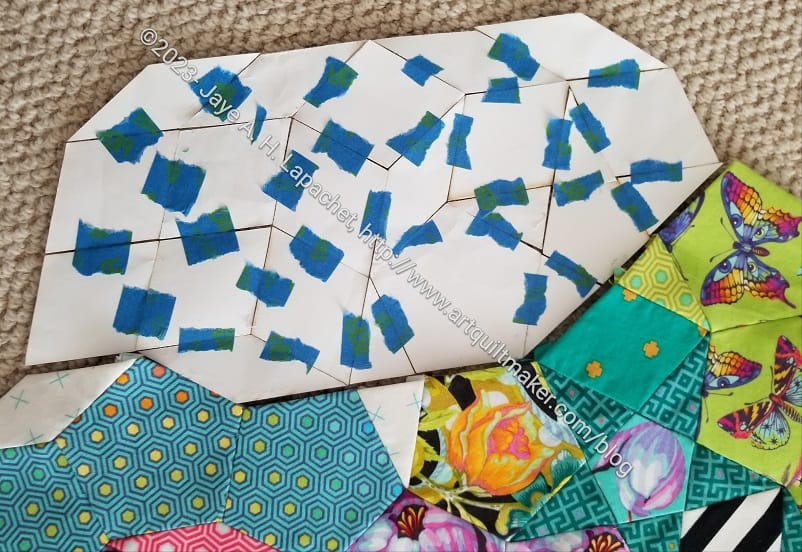
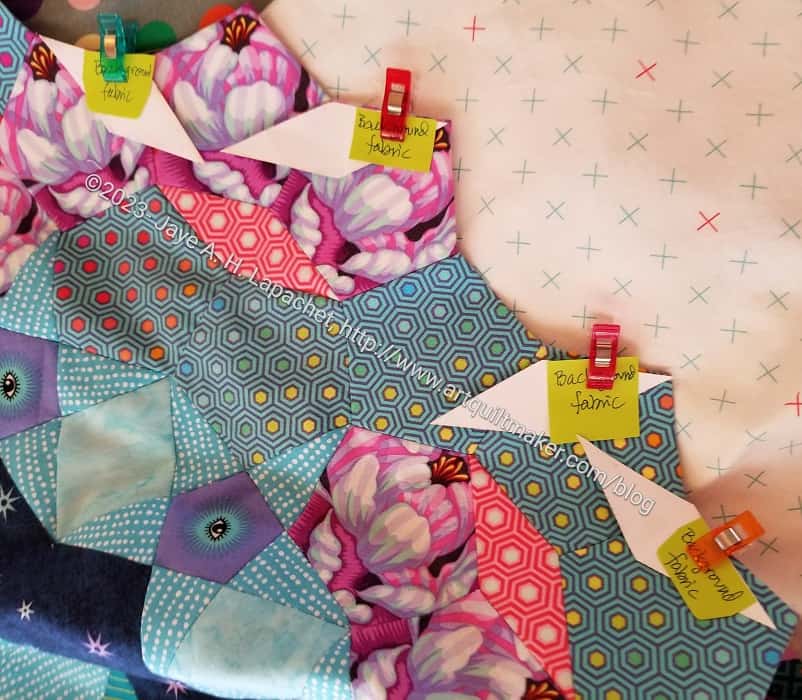
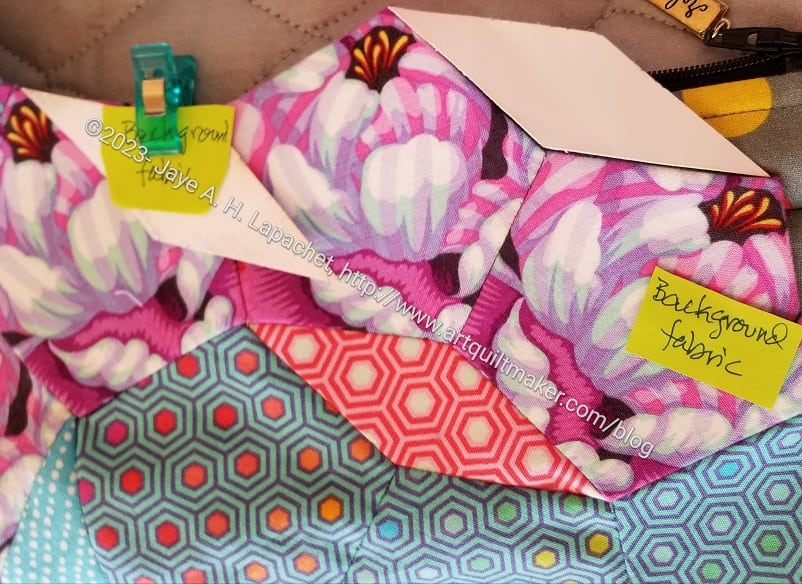
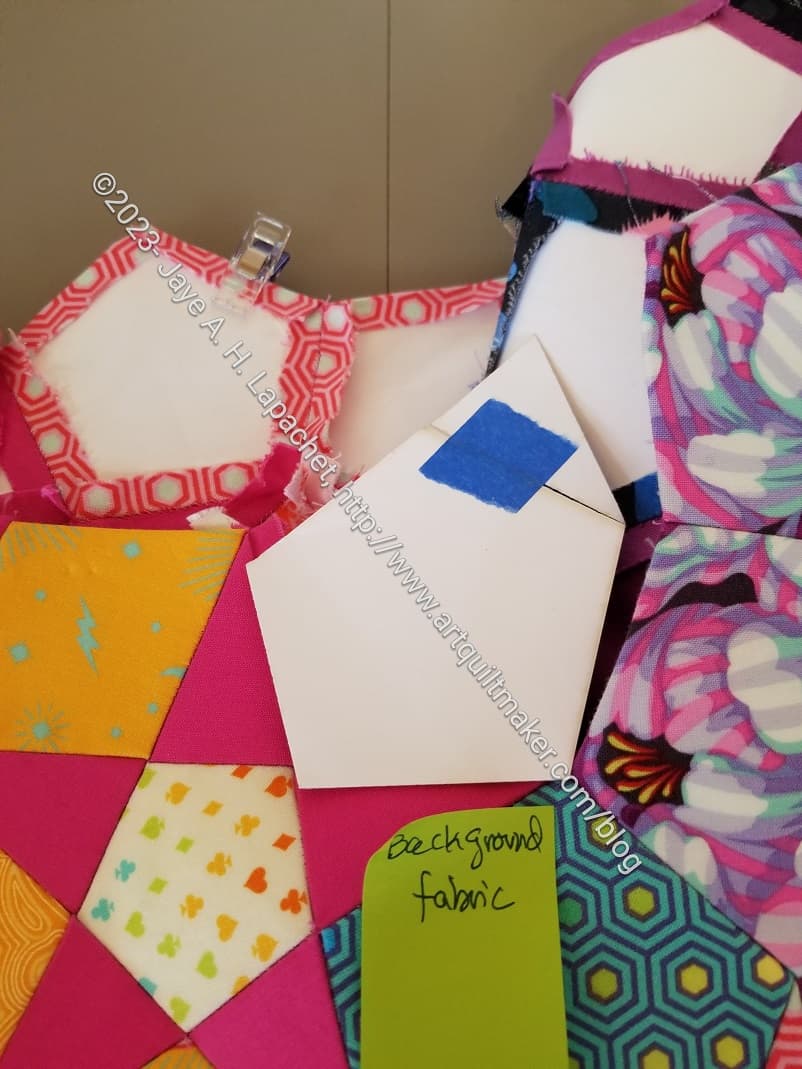
I am going to create a border that has some of the rosettes sticking out. It will be similar to the quilts in an Instragram video I found.
Most of the quilts that do this finishing style don’t finish out the Month 18 rosette, which is at the top. I wanted to, because of the woven look I had started on it. I wanted a rosette with that full woven look and it was too late to piece any of the other large rosettes together like this.
I am really pleased with how Month 18 came out. I might do another one as a table topper. We’ll see.