I finished Clue 5, the block centers of Old Town. I think I only have some HSTs to make before I can start assembling blocks. Yay!
I spent almost the whole weekend working on it, but finished and worked on some bags I need to finish once these were done.
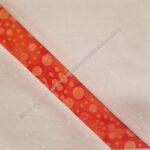
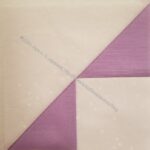
Scrappy Old Town Square-in-a-Square
I read the clue wrong and started out making the outside triangles scrappy, but pivoted and made them all match, which is what it looked like others were doing.
Some of the lavenders are leaning towards purple. I hope that they are not too dark. I really tried to keep them light.
Old Town Clue 5 detail
I know I could have done my own thing, but I thought a little control would be better. I am already substituting lavender for the coral called for in the design. I think the lavender looks good so far. We’ll see when I put the blocks together.
Yesterday was the guild’s Holiday Extravaganza. SIL#2 organized a pouch swap. I didn’t participate in the last swap, which featured potholders. I am not a fan of potholders, so I didn’t want to bother. There were plenty without me. However, I want to encourage people to make bags, and I like making pouches, so I planned from the beginning to participate in this latest swap.
Swap Stella pouch
After seeing the Center Street Quilts video on IG showing the making of a half vinyl pouch, I decided to try and make one for the swap. I thought I could probably make the pouch after watching the video, but decided to buy the pattern, the Stella Pouch from Center Street Quilts just to make the process a bit easier.
I looked for more specific directions on the Flying Geese and the vinyl, but didn’t find any. Even with the pattern, I still had plenty of figuring out to do. It wasn’t a problem. I knew I could figure it all out. That is one reason I enjoy making bags. There is always something to figure out.
I think I forgot to trim the height, so the pouch is bigger than the pattern states. Still, I think it will be useful. Small project bag?
Swap Stella pouch – back/vinyl
I am pretty happy with the way the pouch came out. I am getting more practice with binding the inside edges and I was thrilled to get more practice on the zipper tab technique I talked about a week or so ago. I have big plans to make a bunch of these, but we will see.
One reason I am making so much progress, aside from taking the time to select the fabrics, is that I don’t mind the (almost) paperless foundation piecing as much as I mind regular foundation piecing.
You can see also that the fabrics are relatively bright and cheerful.
I am not a fan of foundation paper piecing, but I do see it as an essential skill, so we are working on it.
In the past, I have taught this class using the New York Beauty block, which I love. I decided to change so that the block would focus primarily on the piecing rather than curves as well as foundation paper piecing.
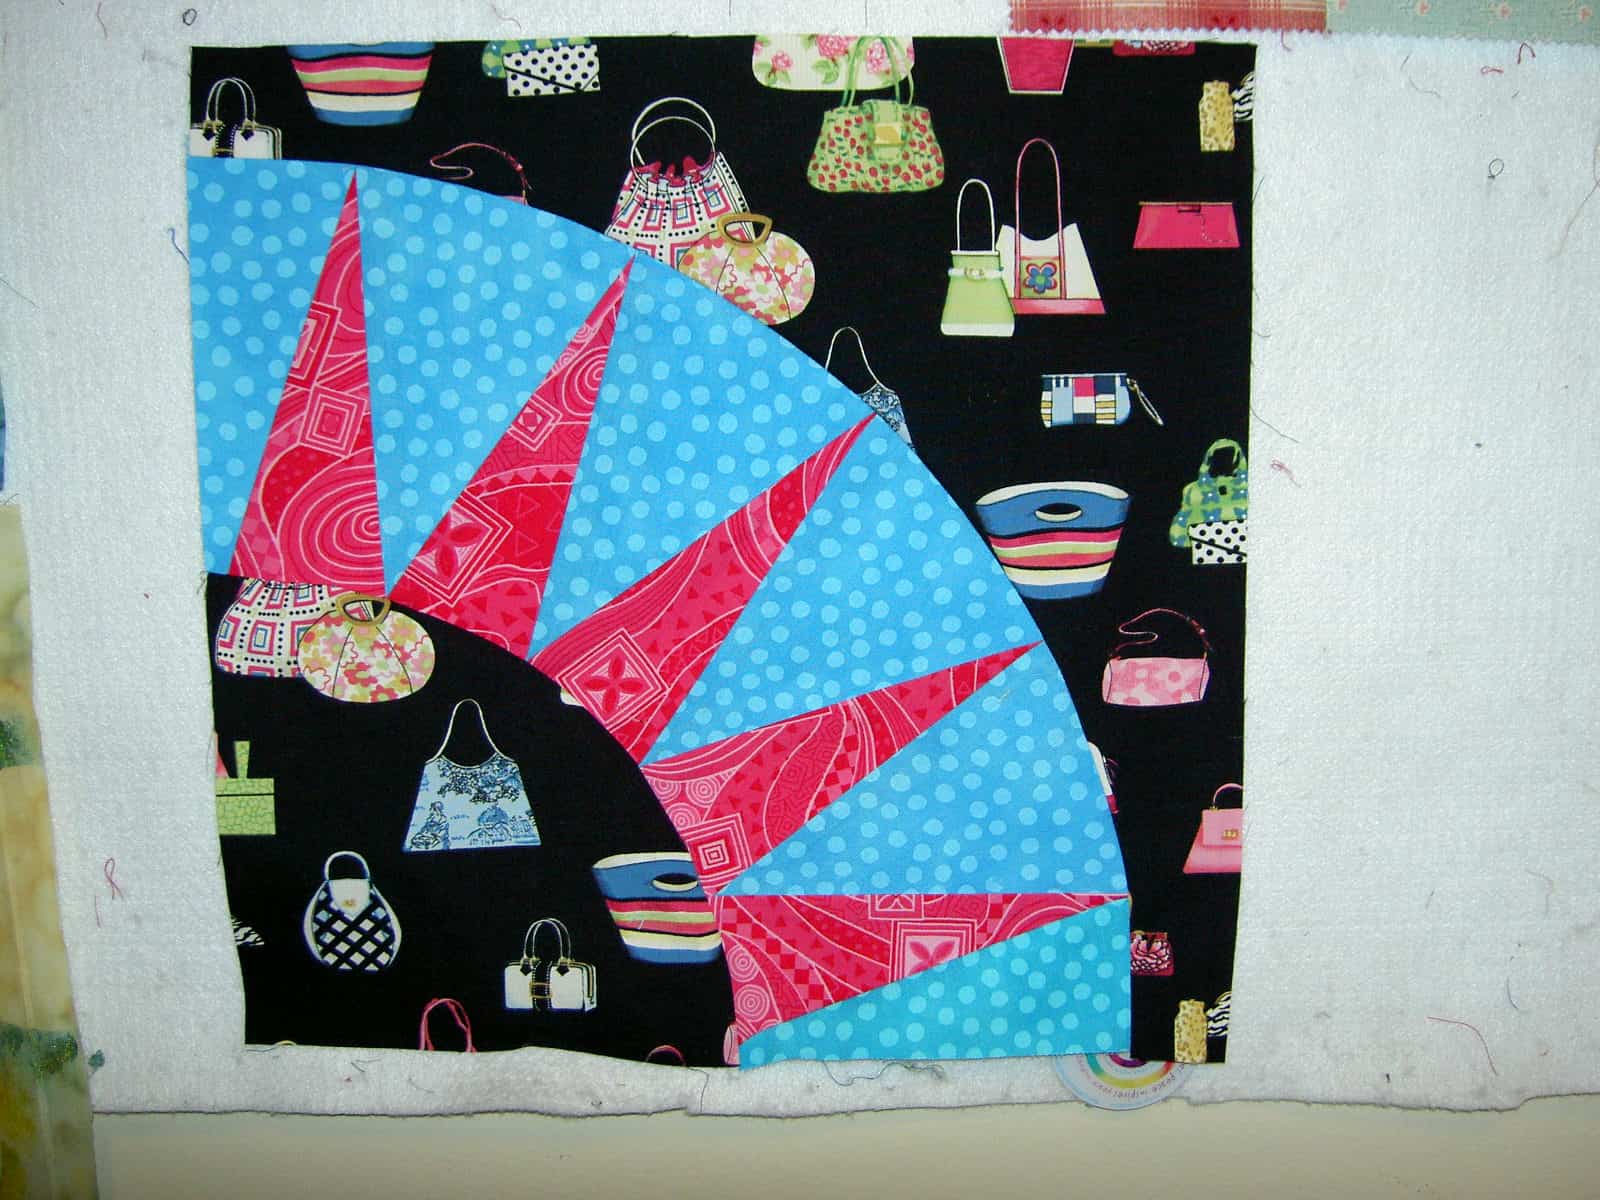
The image above is one that I just can’t believe. I can’t believe such a weird looking compilation of fabric shapes can end up looking like the block below.
Cactus Compass block
I used a pattern from Wombat Quilts (a really good site, if you haven’t been there) called Cactus Compass block. Even I made the block! Despite all the swearing and ripping, it came out pretty well.
Yes, there are a few fabric problems. I didn’t notice them until I was finished with the block and stood back to look at it. I don’t know how it happened, but such is the result of foundation paper piecing.
Do you remember the Corner Store quilt? I started this tutorial back in 2012 and decided that I would post it. I don’t know why I never finished it, but here it is, a blast from the past. Good topic for a Throwback Thursday, don’t you think?
I thought a tutorial might be in order for these Corner Store blocks, so you can start on your own. Why would you want to make these blocks after I felt so miserable about the top I made? Because you can choose a different background. You can make the pieces larger. You can do a better job. I have laid the groundwork. Go forth and do better!
Supplies:
Basic sewing kit
Rotary kit
Square rotary ruler in a size slightly larger than the cut size of your blocks (I used a 6″ x6″ Creative Grids ruler)
Sewing machine
Leftover triangles or squares cut in half on the diagonal. There is no particular size, though larger triangles will be easier to work with.
Background fabric to accommodate the size of your quilt.
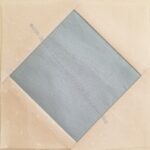
First cut some 4×4 squares of your background fabric. Note, you do not have to use white (or Kona Snow as I selected). I would, in fact, suggest something not in the white or cream realm. I think a nice light yellow or creamy kind of grey would look better. Yes, if you choose something else you may need to eliminate triangles in that color range. It will be worth it, because the triangles will show up better against a background that contrasts well.
Nota bene: The triangles you will cut are right triangles. You can take some squares and cut them in half on the diagonal.
Also, you can choose a different sized background square. You can start with a large square to accommodate very large prints in the triangle portion. The directions are the same regardless of the sizes you use. Experiment and see what look appeals to you.
Next: find scraps or cut triangles from yardage. Cut different sized squares in half on the diagonal or use a triangle ruler to cut the shape. You do not have to be precise and there is more movement in the quilt if the triangles are different sizes. The only guideline on size is to make sure that a little bit of the background shows once you sew the triangles to the background.
Once you have your triangles and background squares, it is time to prepare to sew.
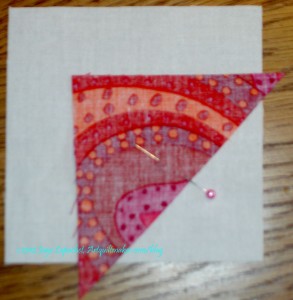
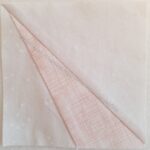
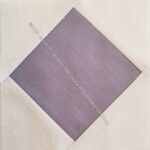
Pin Triangle to background
Next: Position a triangle on your background square, right side of the triangle down on the right side of your background fabric, and prepare to pin in place.
Before you pin, you will need to fold the triangle back on itself, approximating a quarter inch seam so you can ensure that your triangle covers the foundation/background fabric.
If the ears of the triangle are about a quarter inch over the edge of the foundation/background fabric, you should be in good shape.
If you have the Judy Martin Point Trimmer, you can trim off the ears of your triangle and position the now blunt edges of the triangle against the two sides of the foundation/background square.
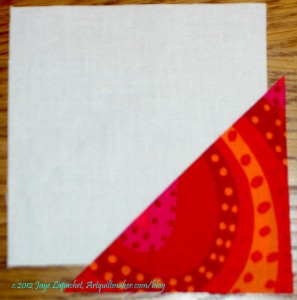
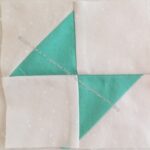
Sew and press
Sew along the hypotenuse (the long side) of the triangle using a quarter inch seam allowance, then press the triangle back along the seam line.
Once you are sure your triangle has covered the foundation/background fabric, you can fold back the triangle and trim the excess foundation/background fabric away.
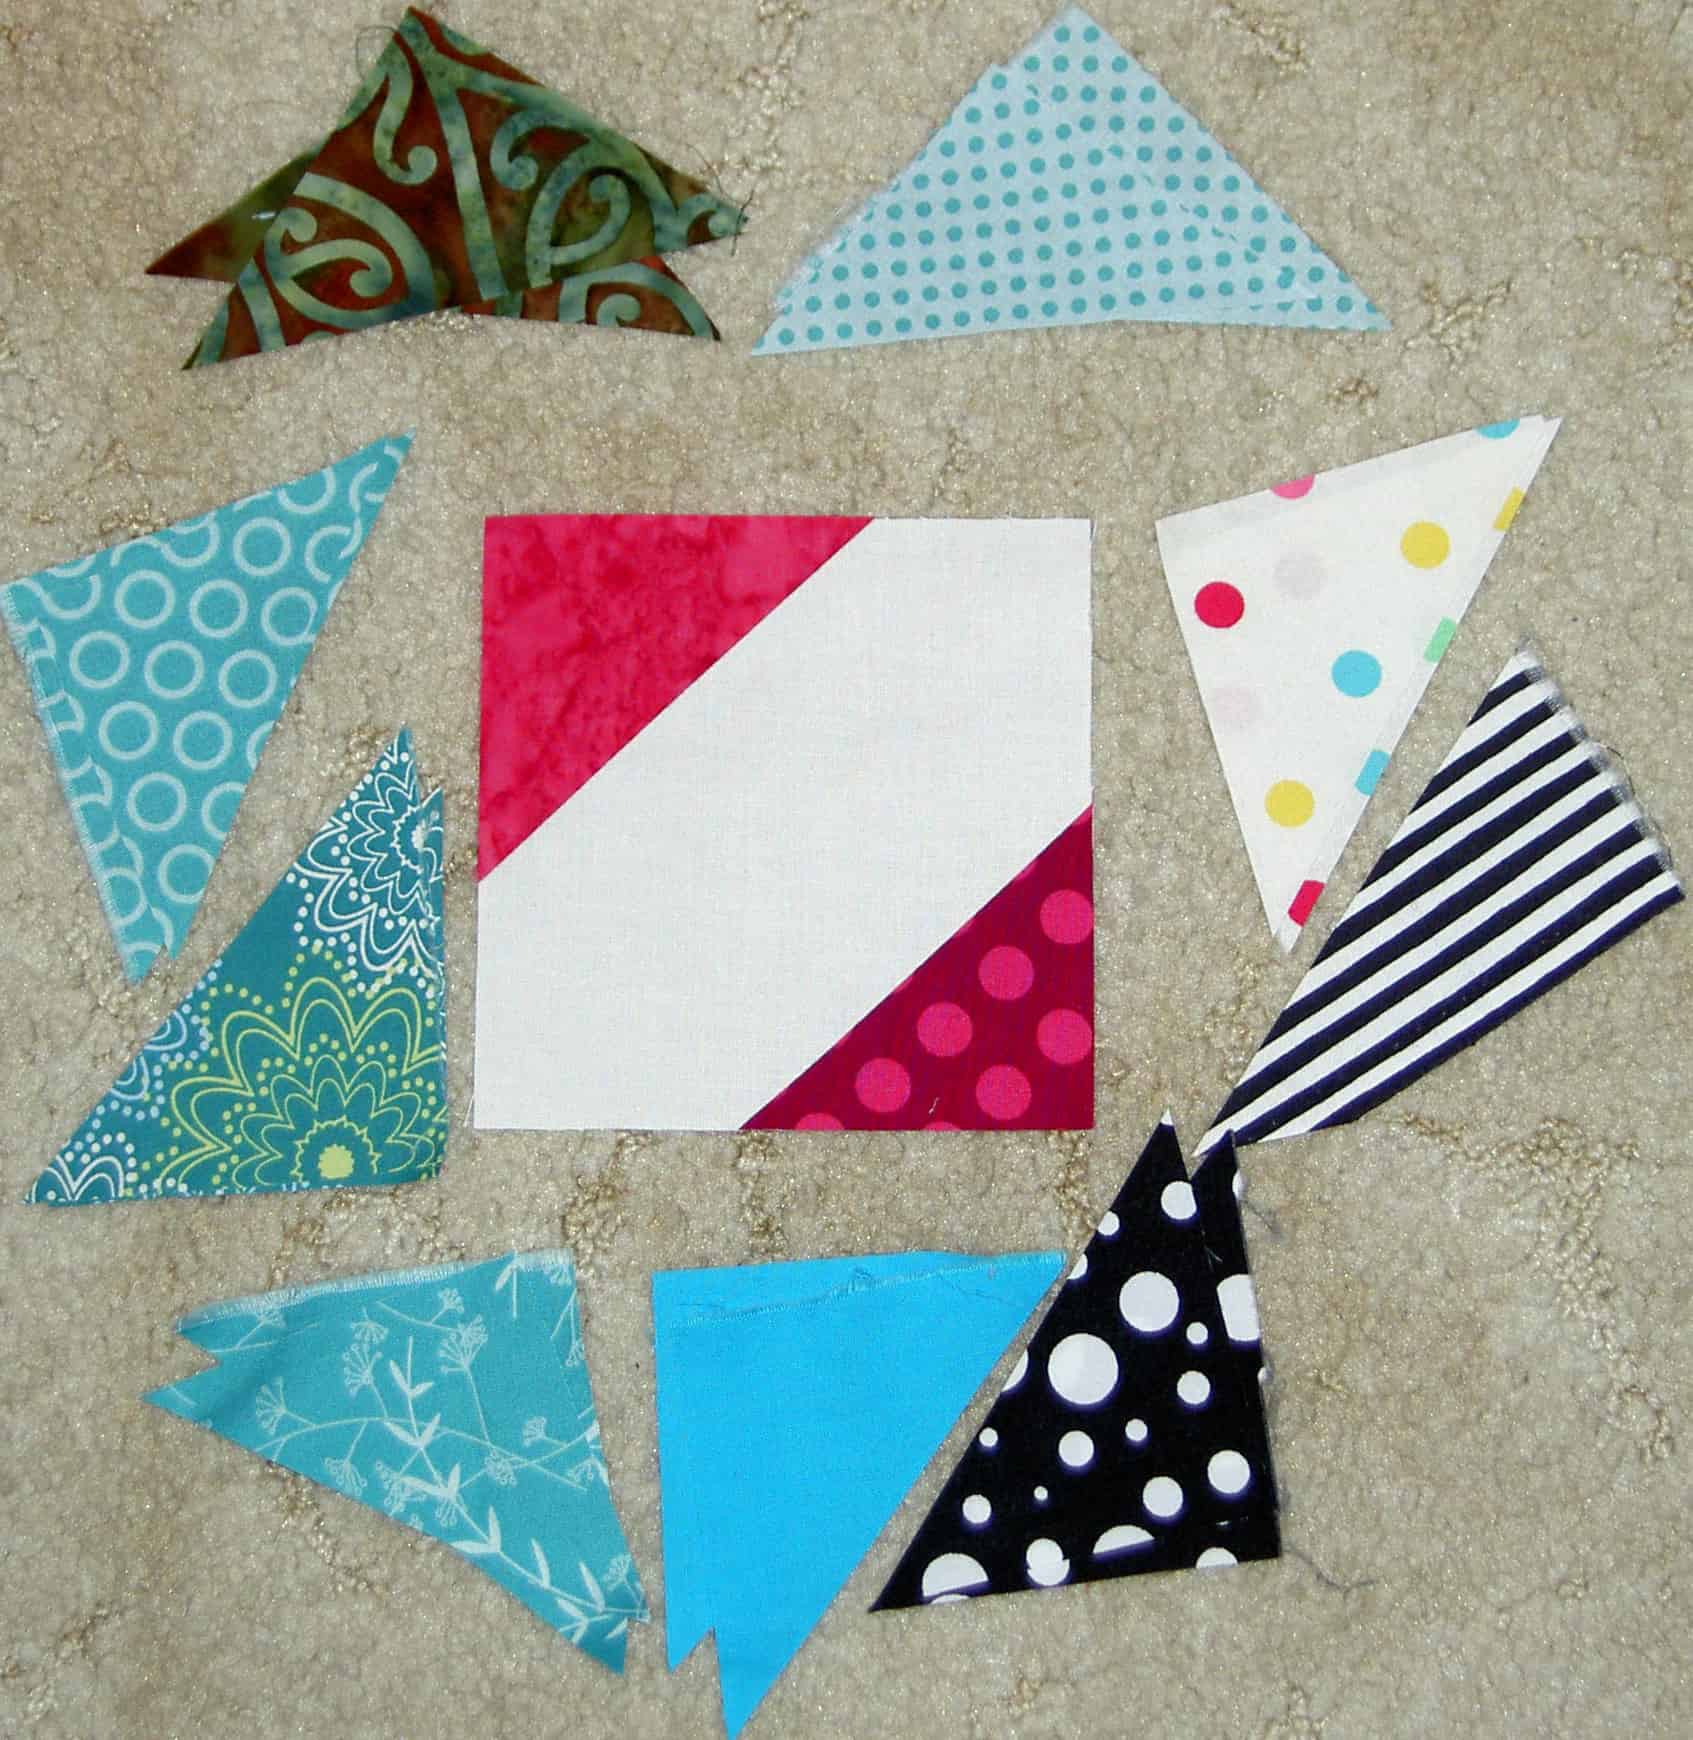
Corner Store block and patches
You will need to put two triangles on each square, so follow the directions above for the second triangle. Once both triangles are sewn to the foundation, use your square ruler.
After while, you will have a big stack of blocks. My quilt has 288 blocks. It is large enough to top a double bed, but my BIL uses it as a large nap quilt on the couch. You can make more or less blocks, depending on the size you want. (Nobody pays me to do this so you’ll have to lay out the blocks as you make them and figure out your perfect size on your own.)
Layout the blocks. Shuffle them around so different colors are touching each other and you have a pleasing layout. Using my tutorial on Chunking, sew your blocks together.
I wanted to give the quilt blocks some space, so I added an inner border that matched the background fabric and then added my outer border.
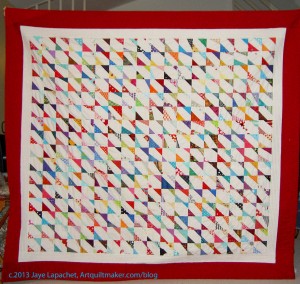
Corner Store Finished
And this is what you get if you make a whole lot of these blocks!
_______________________________________________________________________
I am linking up with Jenny over at Quiltin’ Jenny blog
After years of this project being a UFO and a WIP, the end is in sight. Colleen is back in the saddle and she did this quilt as soon as she returned. She has had it for a year. I didn’t believe her, but when I looked back in the blog, I had to agree that she was correct.
Five more quilts will follow quickly over the next couple of months with one coming, perhaps, next week. I am not quite sure what to think! I had better get to binding; that is for sure.
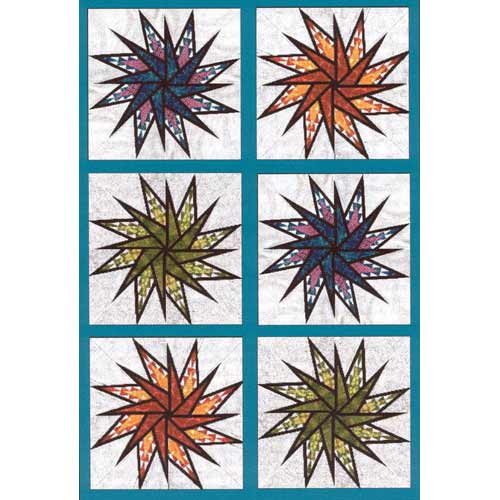
I have firmly moved into the realm of obsessiveness with this project. I don’t know what got into me this past weekend, but I worked on sewing the blocks for this Spiderweb piece like a person possessed. I had about 7 blocks (sewn in groups of 4) sewn together last week and now I have about 108 sewn together in groups of 4.
By Sunday night I had all of the groups of 4 done and laid them out on the workroom floor (top photo, left). The piece will be large. The original pattern I drew called for a layout of 8 blocks x 10 blocks. I was glad to have the layout and some idea of what I had been thinking except that I ended up with 20 extra blocks.
Hhhmmm. One of the drawbacks for me of leaving a project to languish for so long is that I can’t really remember what I intended. I am pretty sure I didn’t intend to make 20 extra blocks and not use them. I looked at the quilt and the blocks and thought about adding them or making a companion quilt with the extras.
Spiderweb with added blocks
After much thought, I finally decided to add the blocks to the quilt. I couldn’t add them to the side because of my border blocks, so I would need to add them to the middle and make a couple of additional border blocks.
As I may have told you, my workroom floor isn’t large enough (would it ever be?) for a quilt of any size, so I had to take advantage of a half an hour after work to lay the whole thing out on the living room floor. The furniture and life debris still is in the way. The arrows are pointing to the column of blocks I am adding. I am 4 blocks short to complete the column. I will print the foundations, make the borders in between sewing the rest of the new column together in order.
Spiderweb laid out
I have to admit that I wasn’t sure my scheme would work. I tried to look at the layout drawing and figure out from that if my changes would work, but I couldn’t tell. I needed to lay all the blocks out.
I can be impulsive. I just started sewing the leftover blocks into blocks of 4 and figured I would work out the details later. This isn’t always the best strategy, though it does makes for some interesting design challenges. Fortunately, as I said, in this case, it worked.
I don’t have all of the leftover blocks sewn together. There is also one block whose seam allowance is a bit off. It is bugging me, so I will need to fix that.
Spiderweb marked
I was afraid I wouldn’t have enough of the background fabric, so I was very frugal while making the border blocks. This fabric is so old that there was probably not even a whisper of a chance that I would be able to find this fabric again. I pieced parts together where I was short. It turned out that I had plenty of fabric in the end, but I am glad I was frugal. I don’t think anyone will notice my frugality.
Because the blocks are different (center and border) as well as oriented in different directions I marked each block with a number in the lower left hand corner. This tells me where to place the block and in what orientation I should position it. I often do this, if I find a layout I like and I want to position certain blocks or colors specially.
In the “Spiderweb marked” photo, you can also see how I added two more blocks to fill in so the gap where the border blocks will go did not look quite so gaping.
Spiderweb new column
I always hope that the quilt will draw up when I sew it together. The blocks have already drawn up a bit, but this will definitely be another monster.
It feels good to immerse myself in this project and I am excited that I have made such progress. I really didn’t expect to have so much done by today. I wish I could just spend a week doing nothing but sewing. I don’t know if that experience would get this mania out of my system, but it might lessen the feelings a bit. Perhaps such a focused time would make the feelings less special. I suspect having a week of time where I didn’t have to do anything but sew would make the mania worse.
Nothing for years and then a blast of Spiderweb posts. When it rains it pours, right? Thursday I wrote about working on the Spiderweb and how that felt. I mentioned the 7 blocks I had done and thought I should post about those.
From this picture you can get an idea of what the quilt will look like. In order to complete the whole section, I will need 5 more border blocks and 1 center block. I have labelled the photo below so you can see what I mean.
7 Border Blocks annotated
As usual, what I am trying to do is to complete the plates. I want each of the plates to be complete. I don’t want any of them to be cut in half or just show a quarter. There is nothing wrong with those types of layouts, but they are not for me at this time.
Sometimes the border blocks take too long and I need to make some progress, get a little bang for my buck. At those times I grab some center blocks and sew them together. I think that alternating keeps me from getting bored. When I sew some center blocks together, I feel like I am making real progress.
I walked by my Sampler quilt, the first one I ever made and saw the Spiderweb block in that quilt and it made me think that the first Spiderweb block in the Sampler quilt was just a taste or precursor to this quilt. OR I might be getting just a bit too philosophical.
I really hope you can understand this when you read it. I stayed up too late watching the election Tuesday night and, as I write this, the exhaustion is taking over.
The last time I wrote about the Spiderweb was last December. Nearly a year later, something is finally happening. But the worst part of the story is that I started this project in 1998. I looked at the blocks many times and my tastes had changed and I didn’t really want to work with dark backgrounds. The project languished, but the 26 Projects list has forced me to get to it. Forced is a strong word. I could have donated all of the blocks to the Charity Girls and been done with it, but something prevented me from doing that.
I started small by buying some Carol Doak foundation paper. Then I continued by printing the main foundations for the border blocks. Then I started sewing and found I printed the foundations the wrong size, so I started over. Finally, I was able to sew enough to get some blocks put together.
In the process, I found something really remarkable. I feel really good making these blocks. I don’t know why. They don’t seem especially gorgeous, though they are pretty. I get a warm glowy feeling inside each time I work on them. It is so odd.
Spiderweb Border Block detail
I have all of the center blocks done, but, like the Flowering Snowball, I needed to make special border blocks so the border plates weren’t cut up. I wanted them to be finished.
In the photo, right, I have put numbers on the border blocks. You can see the differences, if you compare them with the center blocks.
The border blocks are definitely brighter and more cheerful, because of the newer fabrics I am using. I hope there isn’t a big disparity when the quilt is finished.
My biggest problem, however, is that I have nowhere to lay this quilt out. My design walls are full and the quilt, since there is foundation piecing paper on the back of the blocks, wouldn’t stay on the design wall without pins anyway. For the moment it is on the floor in front of a design wall and blocking the closet. This isn’t going to last long, but I don’t have a solution right now.
At the moment, I have 7 border blocks complete and one needing some trimming and pressing. The quilt will be 8 blocks wide and 10 blocks tall. I have about 32 more blocks to make and I hope I don’t run out of the border fabric. If I do, I will have to make the quilt smaller and donate a few of the leftover blocks to the Charity Girls.
Leah left a comment here and, kindly, included her blog address, so I went and took a quick look. Her blog is very colorful! I loved this curved New York Beauty piece that she shows on her most recent post. It reminds me that I could just draw something like this and sew it.
One of the great things about looking at new blogs for me is that my mind opens up and I look at things in a new way. Or I see the same things in a way that inspires me to think about them in a new way.
Thanks to Leah for stopping by and for updating her blog!
I saw this block about 2 weeks ago and have not been able to get it out of my mind. With the many, many blocks in the DS pool, I wasn’t able to find it again either. I was really glad to come across it today. Love the pointy corners.
I did get some sewing and fabric work done over the weekend. Nothing fantastic, but it felt good just to be handling fabric.
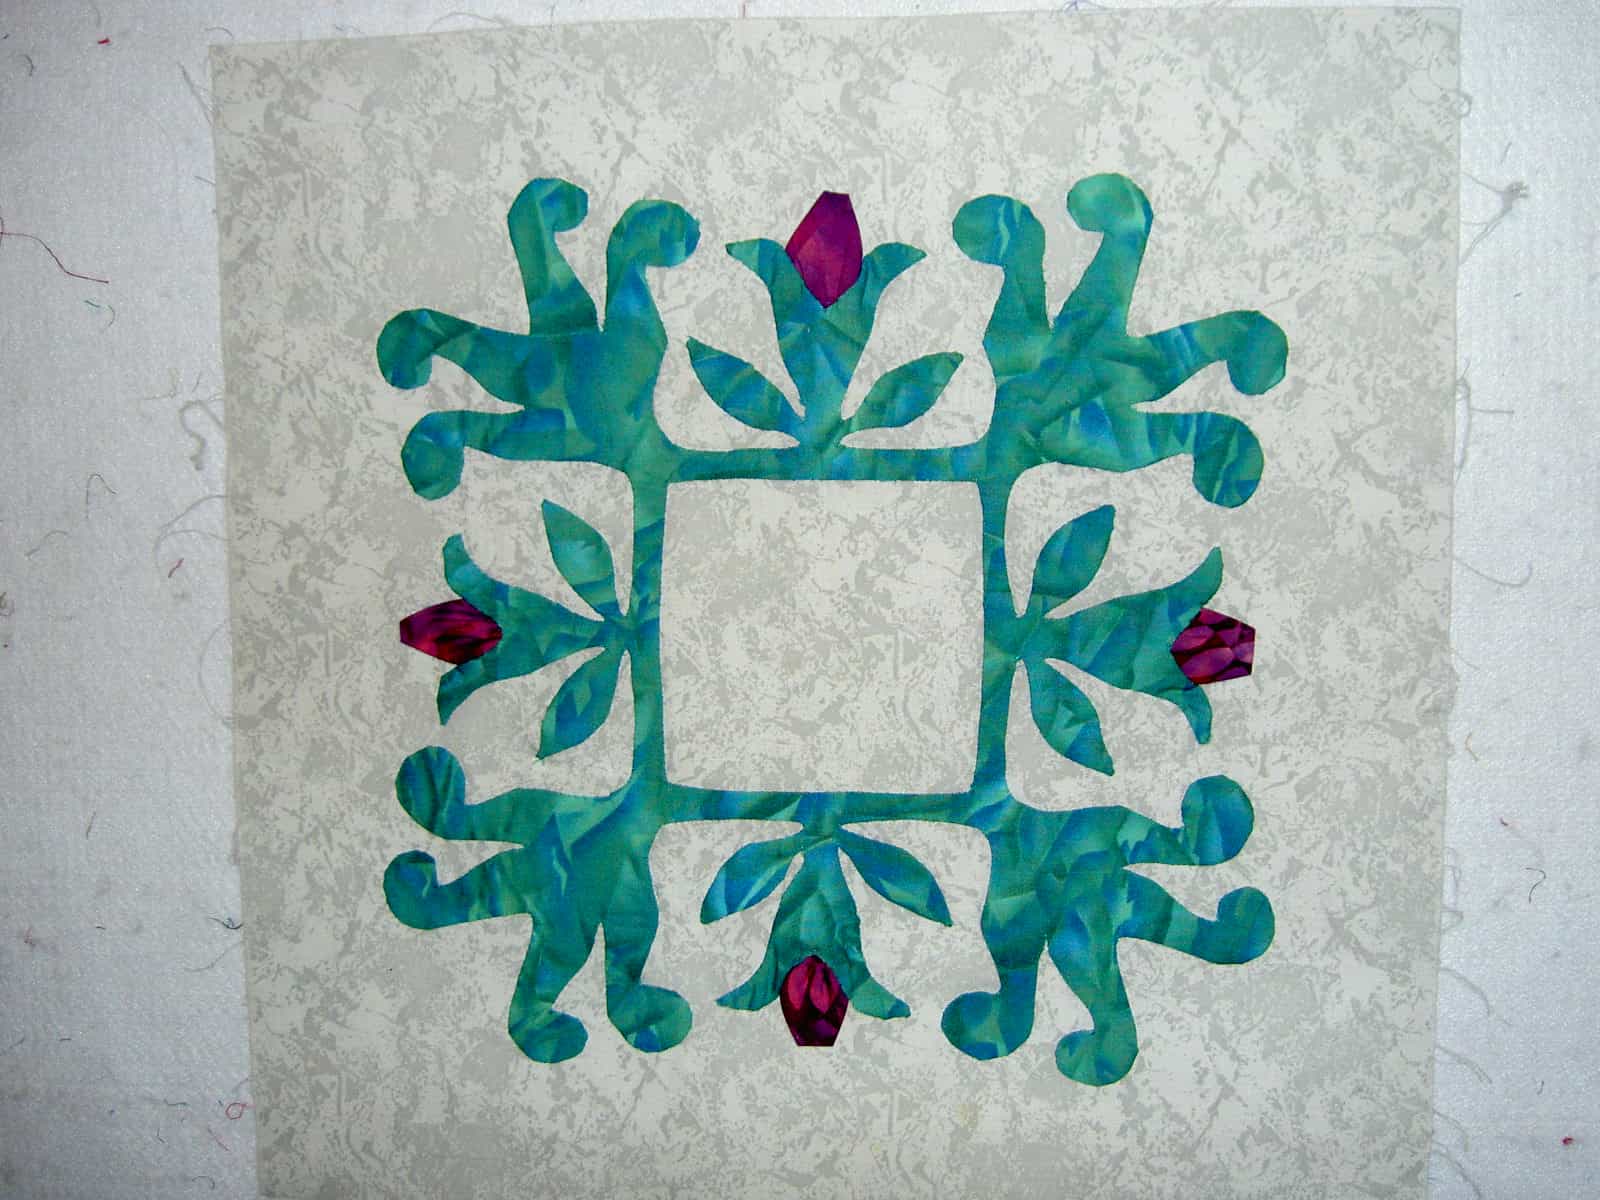
I actually finished this block on the way back from our ski trip the first weekend in March. I didn’t get around to pressing it until this past weekend. I started this block years ago in an Elly Sienkiewicz class when I thought I might want to do a Baltimore Album Quilt. Two blocks taught me my lesson. All of you who do needle turn applique’ are goddesses. I will never be one. This block will go into the orphan block quilt that I plan to make when I am old.
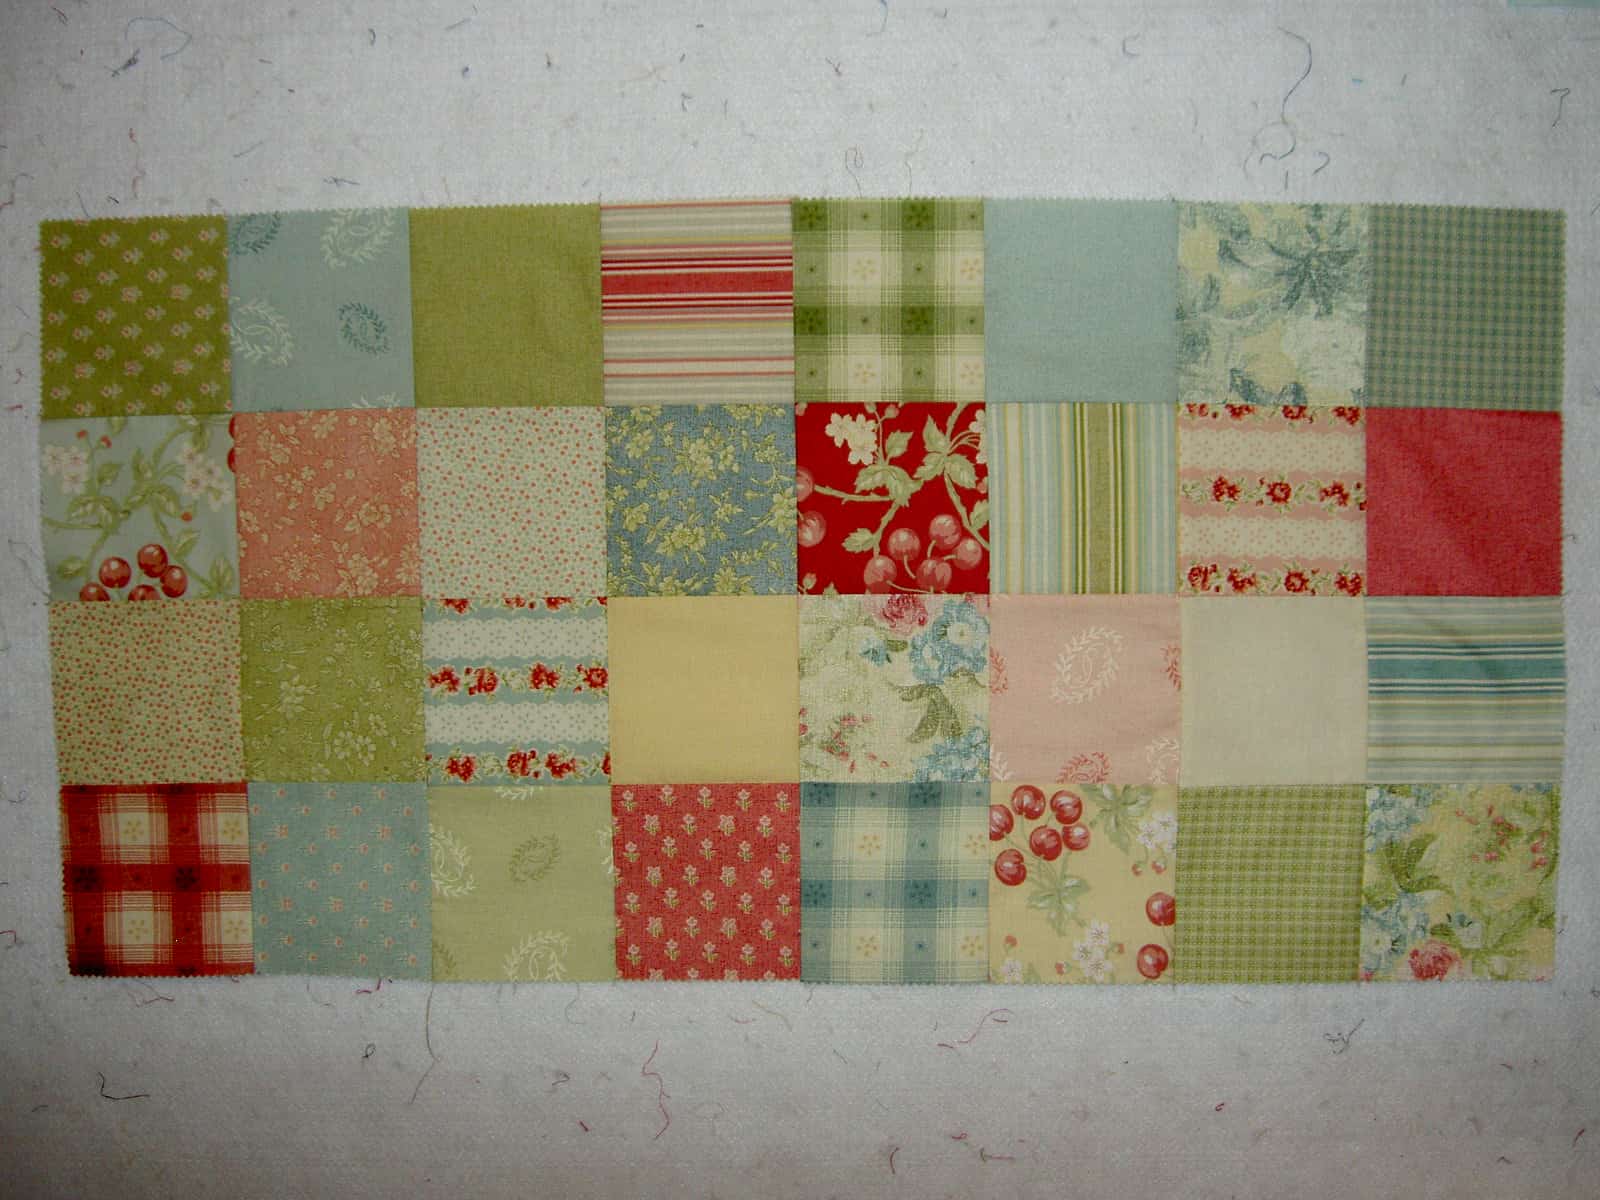
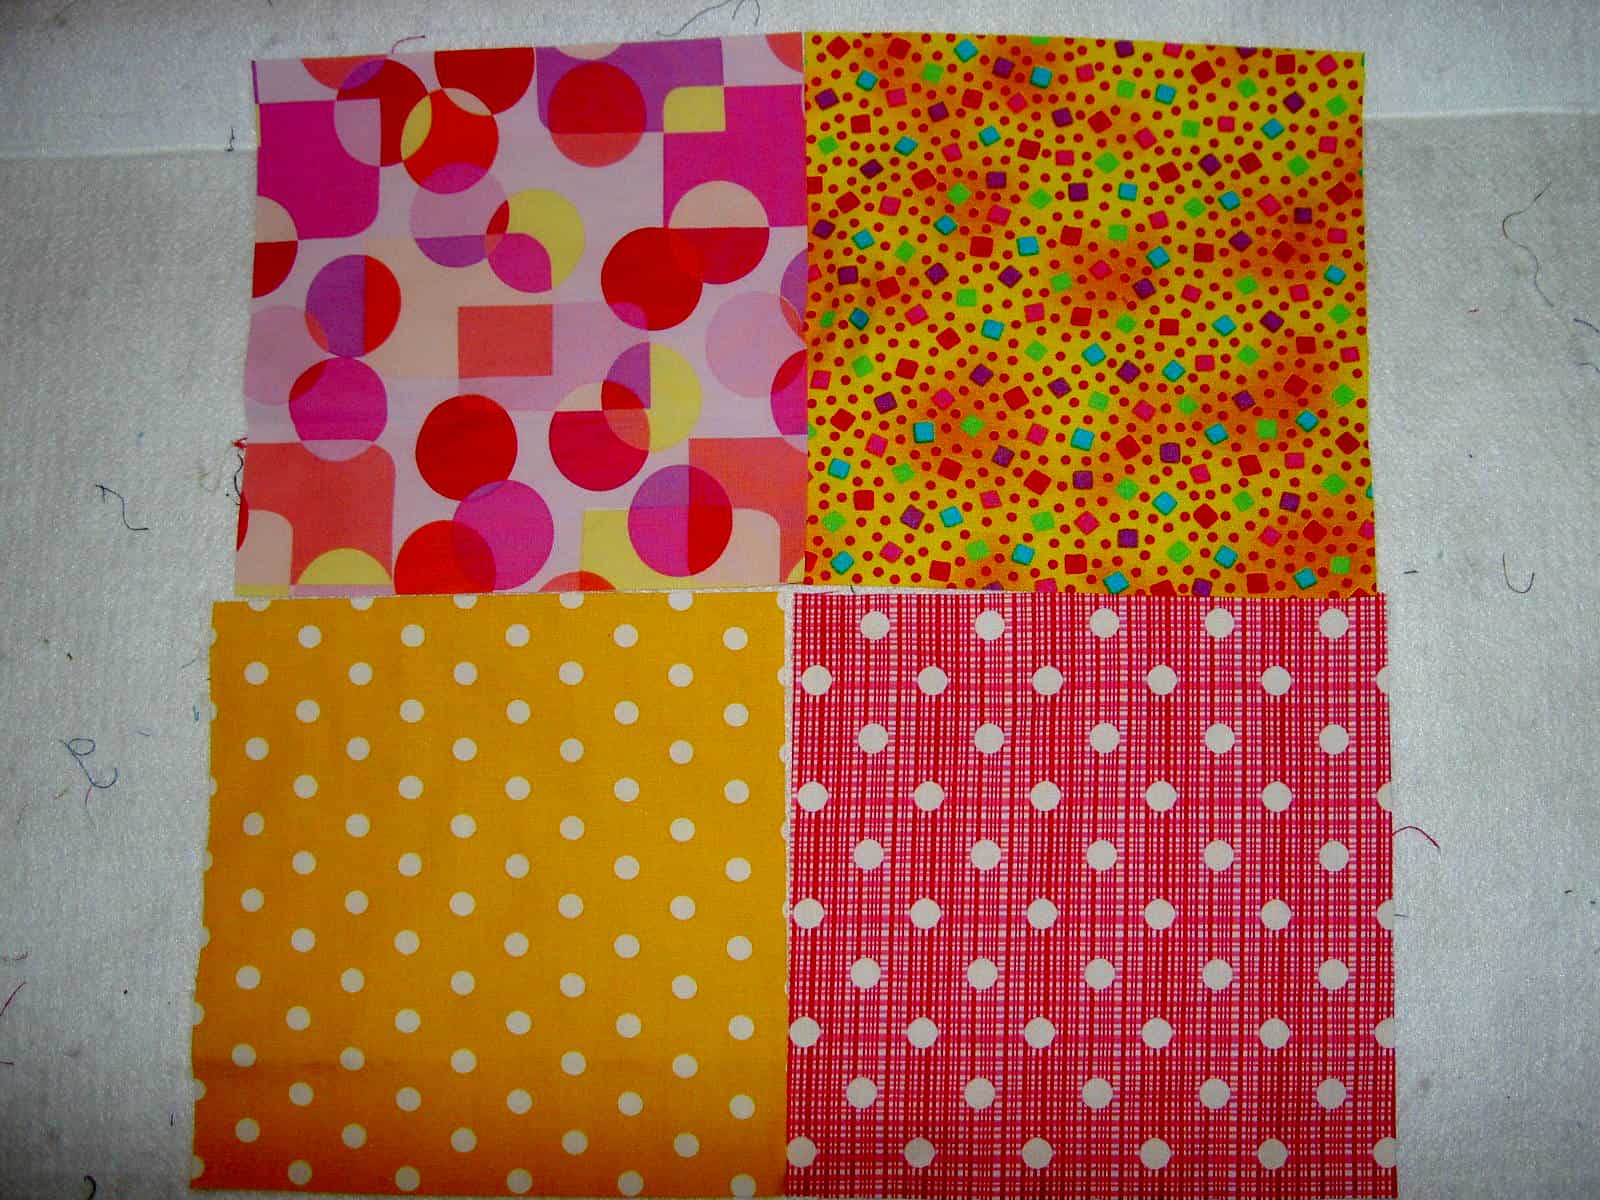
I just stopped receiving the 4×4″ squares from Benartex. I decided not to renew my membership in the club as receiving the 4×4″s was starting to get on my nerves. I no longer wanted to find a place to stash them and have given up on making a 4×4″ square quilt. However, this group came and was on my sewing table on Friday when all of sudden I became desperate to sew. I just sat down and sewed them all together. They are definitely in the color scheme of Robyn Pandolph, a color scheme that I admire. I always think I might make something in this color scheme, but then always end up adding hot pink or lime green, which isn’t this scheme at all. This was a good way to get it out of my system with very little effort on my part. Now I have a big rectangle of squares on my design wall and am not sure what to do next. I could do nothing and just admire what I have when I am in a Robyn Pandolph sort of mood. I could make a table runner. I could make this the center medallion of a quilt. I am not sure yet. Still, it was fun and fun is definitely a good thing.
I also finished my block for the Sampler class. The technique was foundation piecing and the block is a simple New York Beauty. I am not happy with it at all. It is too simple. This block made me think that I could just keep these blocks as class samples and not make them into a quilt. This presumes that I will teach a sampler class again. There is something about the blocks together that makes me not want to make them into a quilt. I will have to figure out what.
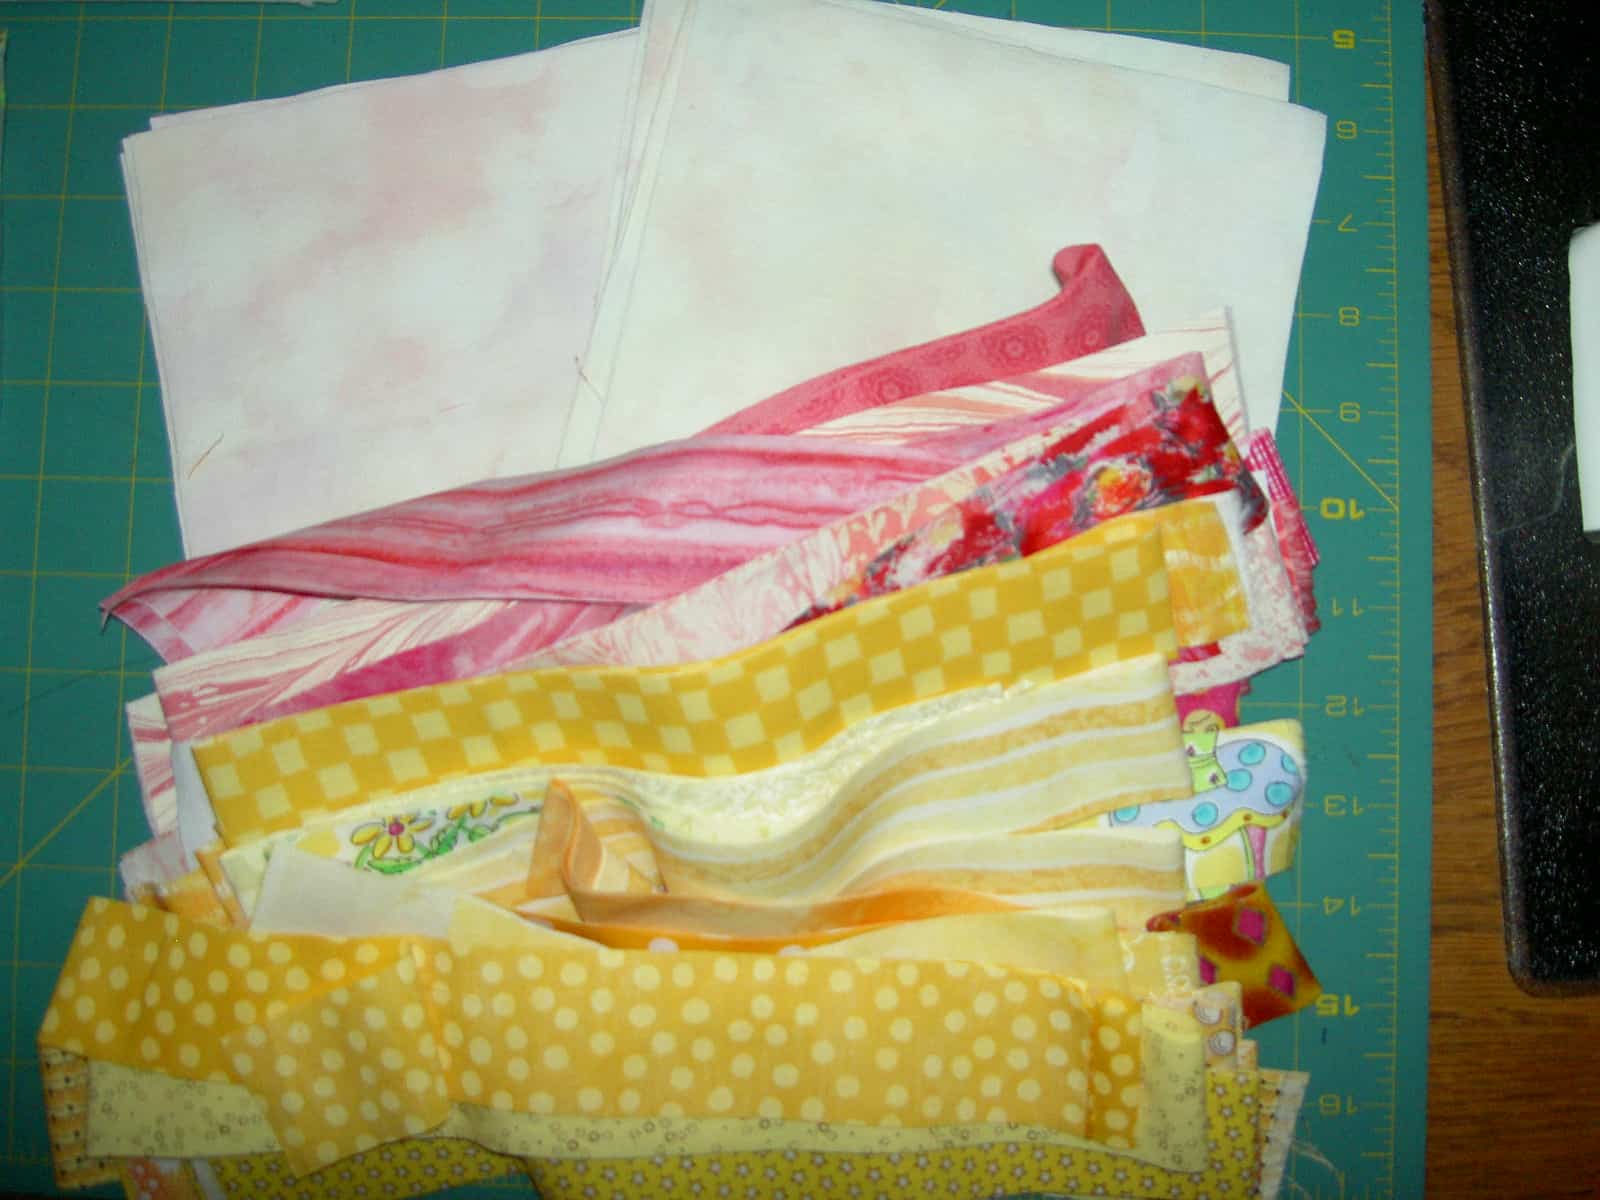
I also made progress on SLB’s wedding shower quilt. I cut all the blocks and all of the strips that we picked out. I plan to start sewing the strips this weekend.
RE: More Thoughts on Dots — I also began cutting 6.5″ squares of dot fabrics with the thought of making a simple yet happy quilt with all of the dot fabrics that I have. So far I have four blocks. Immerhin.


 4x4 squares")