Kelly Pena, a quiltmaker/sewist also working on La Pass and in the private La Pass FB group, creating a basic and an easy to understand tutorial for making center medallions. She has kindly allowed me to use her photos for this English Paper Piecing technique. This question has come up a few times in our La Pass group. I consulted with Kelly and said that I would write a blog post using her photos so there would be a permanent link to the information. I have added a little bit of additional explanation to Kelly’s already excellent tutorial.
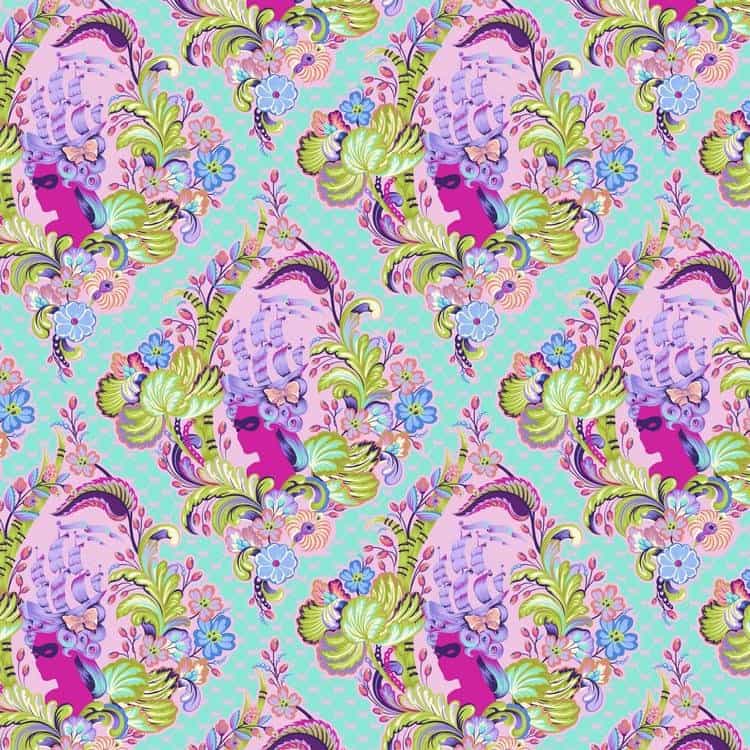
Our La Pass rosettes require certain sized fabric pieces that correspond to the paper we are using to create various rosettes. We fussy cut the fabrics and make cool designs. Sometimes people want to use a larger motif, such as Tula Pink’s Marie Antoinette from Parisville Deja Vu. This motif would be difficult to put together using the various shapes and pieces. Not impossible, but very difficult.
In order to use up, in this case, the entire cameo and not make ourselves completely crazy, we need more ‘paper space’.
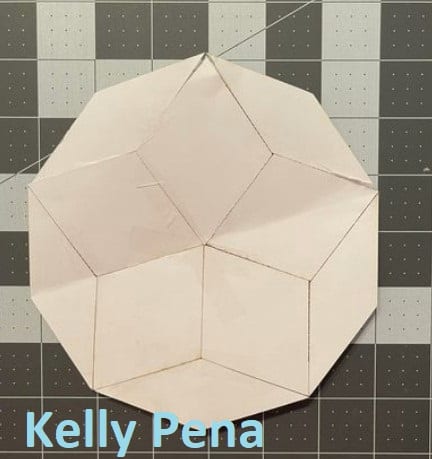
1. Find all of the paper pieces you need (want to use) to make the center medallion. Tape the paper pieces together for the final shape. This can vary depending on the shapes making up the rosette and you can adjust the shape by adding or deleting papers until you are satisfied. You can create quite a large shape.
As far as I know, there is no size limit as the paper will be removed at some point anyway. My gut tells me that you may have some issues with the bias if the pieces are too large. As a result, and, as usual, be careful with the bias.
You can configure the papers into any shape that will work for the fabric you have. I tried this technique on one of the Month 4 rosettes and found it moderately successful. In looking at Kelly’s example above, I should have added the long, thin diamonds to my center in my attempt. I think it would have made the process easier. The concave edges around the center diamonds are difficult and the long, thin diamonds make the edge easier to deal with.
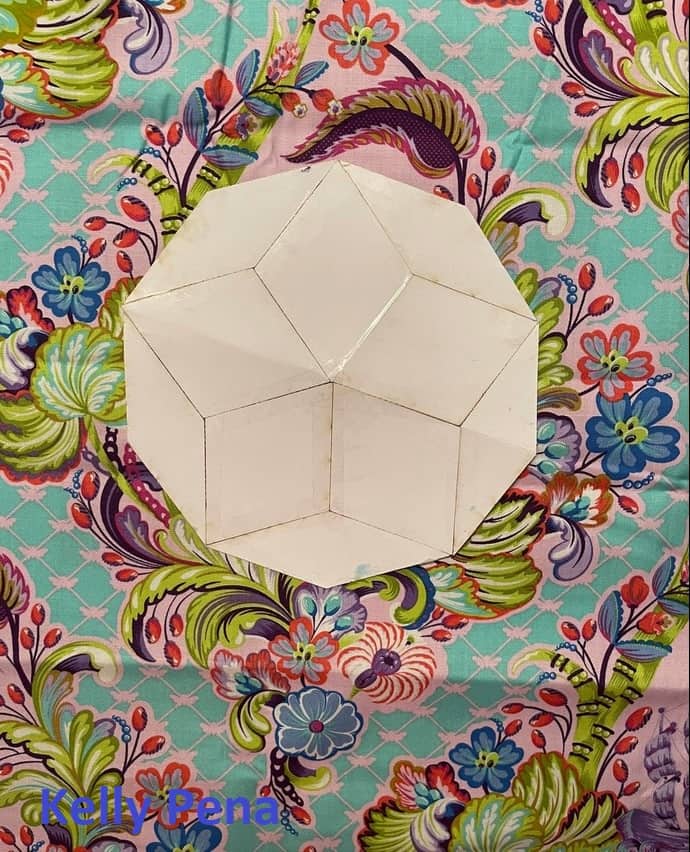
2. Lay the combined and taped papers on the fabric. Adjust the placement until you have the fabric motif you want centered on your papers.
Remember to take seam allowance into account.
You can use a light board or light box** here for more accuracy.
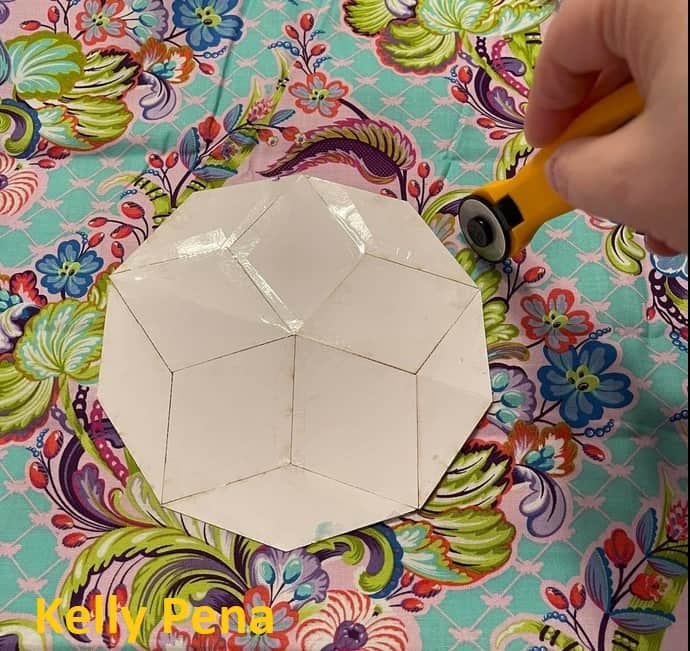
3. Cut around the template allowing for seam allowance.
N.B.: In the image (left), Kelly is cutting freehand. If you are not confident, you can also use a small rotary cutting ruler**. If you use a ruler, you will need to keep moving it around the piece. In this case, a rotating cutting mat** might be helpful.

4. Baste as usual. Kelly and I are both using glue for La Pass. I am using thread basting for my Half Hexie Star project. Either method will work with this center medallion technique.
You may find it helpful for circular shapes to cut notches into the seam allowance when basting.
**Obviously, you should shop at local quilt shops, knitting shops or art stores. However, I use Amazon affiliate links. I may be paid for your purchase of an item when you click on that item’s link in my post. There is no additional cost to you for clicking or purchasing items I recommend. I only link to items I like. I appreciate your clicks and purchases as it helps support the costs related to maintaining this blog.