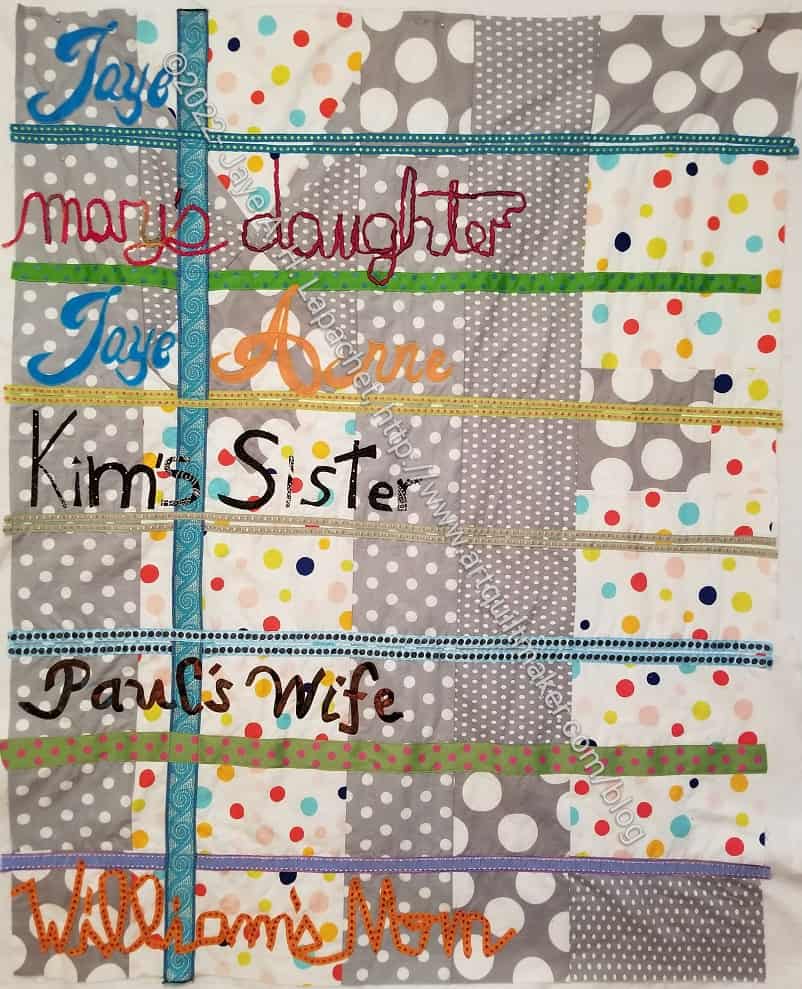
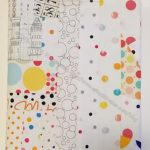
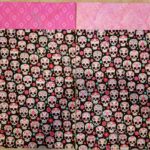
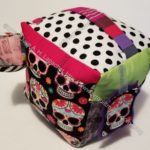
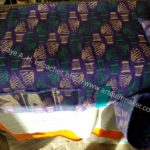
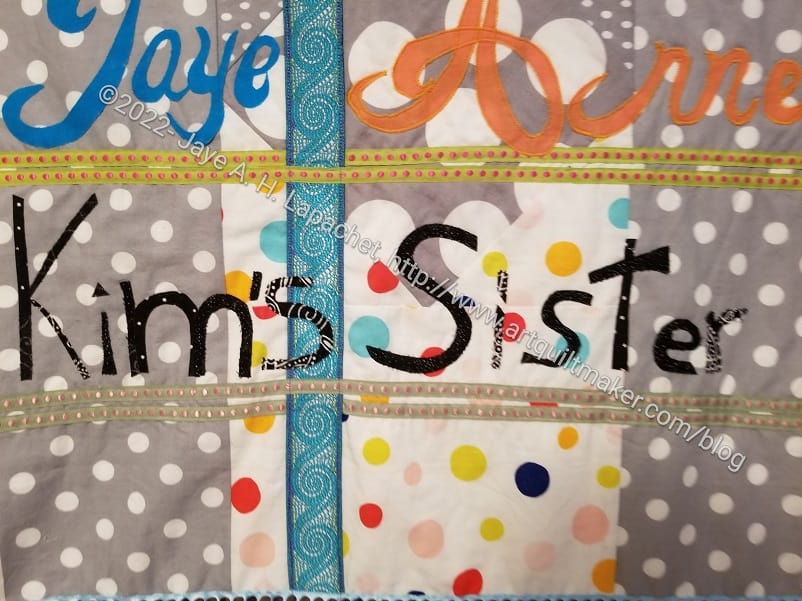
I continued to work on Who Am I? over the winter break. I wanted to finish it and just be done, but other projects and resting prevailed. Still, I was able to add another line of text to the piece.
I used bias tape to add Paul’s Wife to the piece. I had good luck using bias tape in the Red Scribbles quilt and also when I taught my students how to make bias tape and use it. Thus, I thought it would be easier than it was. I think the loops and swirls were smaller than my previous works. I used 1/4 inch bias tape, which is the smallest I could make. Still, I am happy with the result.
Two more rows to go!
As an added bonus, I used my new Daylight light table** for the first time. It is awesome.
**Obviously, you should shop at local quilt shops and small businesses. However, if you are too busy or can’t find what you need there, I use Amazon affiliate links and may be paid for your purchase of an item when you click on an item’s link in my post. There is no additional cost to you for clicking or purchasing items I recommend. I appreciate your clicks and purchases as it helps support this blog.
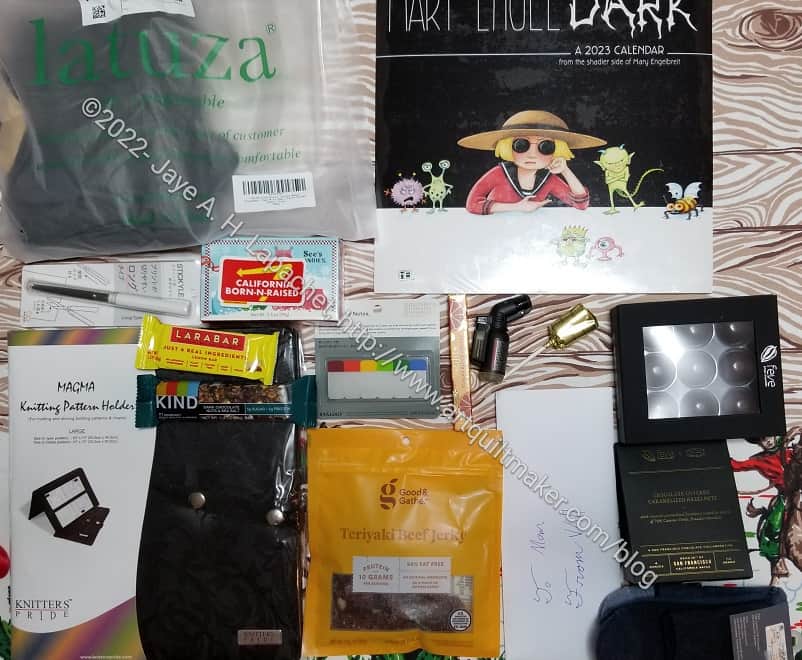
I had to show you my Christmas gifts. We didn’t buy each other a lot of gifts this year because we are buying some things for the house. I was pleased with what I received.
Most of this is from my stocking, but I received a pair of pajamas that I love. I got a lot of candy and snacks, which is great, because I don’t have to store them. Well, I don’t have to store them for long. 😉
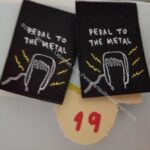
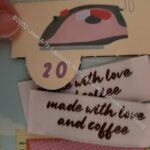
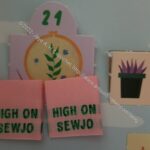
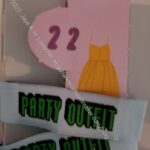
Sew Sweetness order – Dec 2022
One of the items above is a pattern holder for knitting.I have to start that second sock, so I think it will come in handy.
I also got a couple of gift certificates, so I bought some stuff from Sew Sweetness and some zippers for the projects I organized over my break.
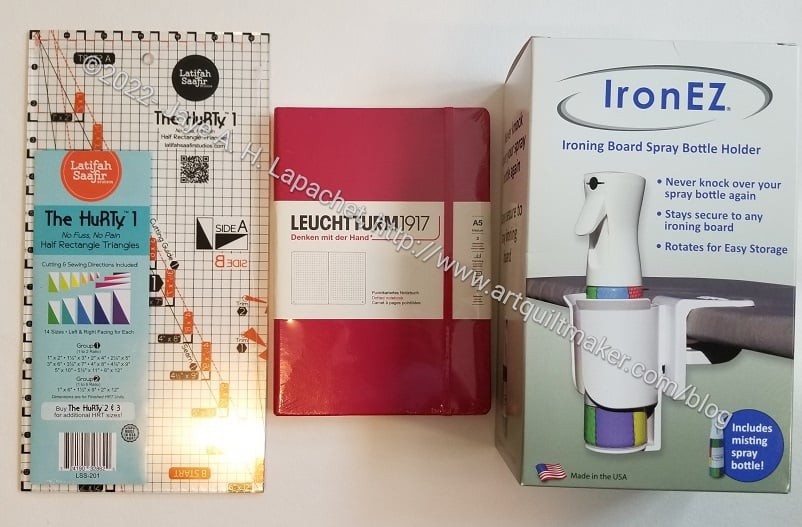
Gifts from Julie
Julie gave me a bonanza. That ruler on the left is the HuRTy ruler from Latifah Saafir. It makes Half Rectangle triangles. Remember my guidelines?
I haven’t tried it yet, but I will so I can add the info to the tutorial.
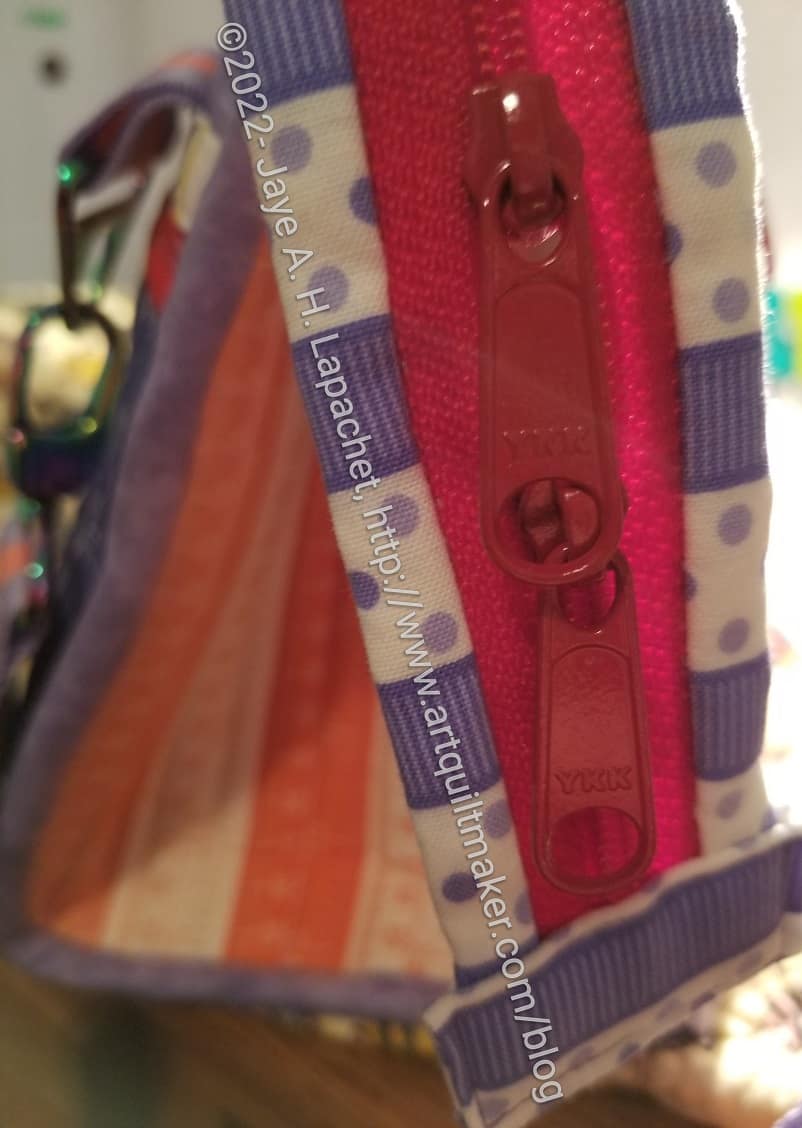
In September I did a gift inventory as I worked on various projects for the holidays. It takes time to make gifts, so I do periodic inventories so I am not scrambling at the last second. During this excavation, I found that the zipper on Julie’s Take a Stand bag had the same problem as mine! Fortunately, I realized this in September, not November 30, and took care of the problem right away. It really only took me a few minutes, since I had already fixed the issue on my bag.
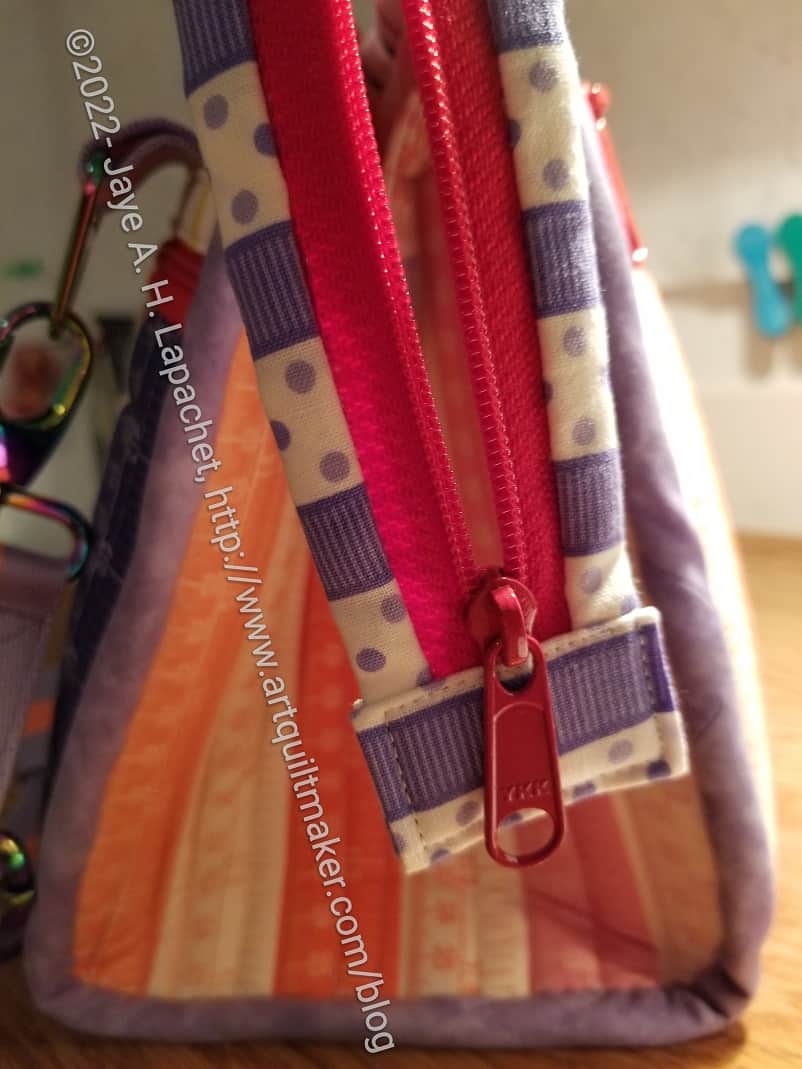
Take a Stand – Fixed Zipper
I took 15 minutes while DH made dinner and fixed the zipper. I was able to tighten up the size of the zipper tab at the same time, which made me feel better. I don’t like zipper tabs that are big and floppy. I realize that the one on the end was not big and floppy before I fixed it, but it was not the right size either.
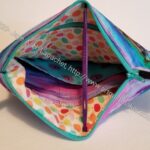
Take a Stand opens wide
Now the bag opens wide. Yay!
And I was able to admire the inside again, which came out very well. I am very proud of it.
I really felt irritated with myself. What was the deal with those two zipper heads? If I did it twice, there had to be something in the pattern.
In addition to the Pink Moto pouch I made, I also made a black one.
I have said I like to make more than one of the same pattern so I can get the process in my head or smooth out the challenges I had with a pattern. These two pouches were no exception.
As mentioned, I struggled a bit with the drop-in lining on the pink version. I don’t sew patterns with drop-in linings very often, but I would be smart to make more to cement the techniques for making them look good in my mind.
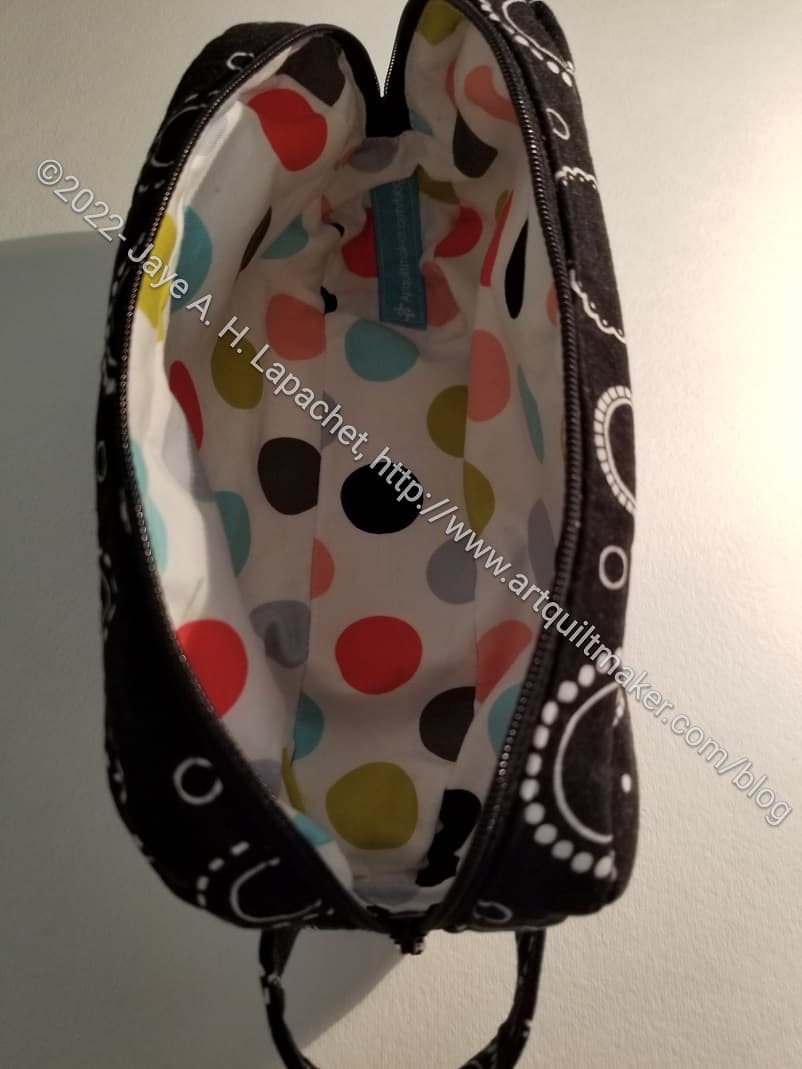
Black Moto open- with lining
I used the same lining as the Skeleton Hackney, because it was handy, I think, and looks good with the black.
It is somewhat cheerful. The background fabric used for Who Am I? is the same print, but in a different colorway.
I am pretty happy with the way the lining came out. It isn’t too saggy-baggy. Since the lining is sewn separately and then inserted, it is pretty easy to sew it with a smaller seam allowance.
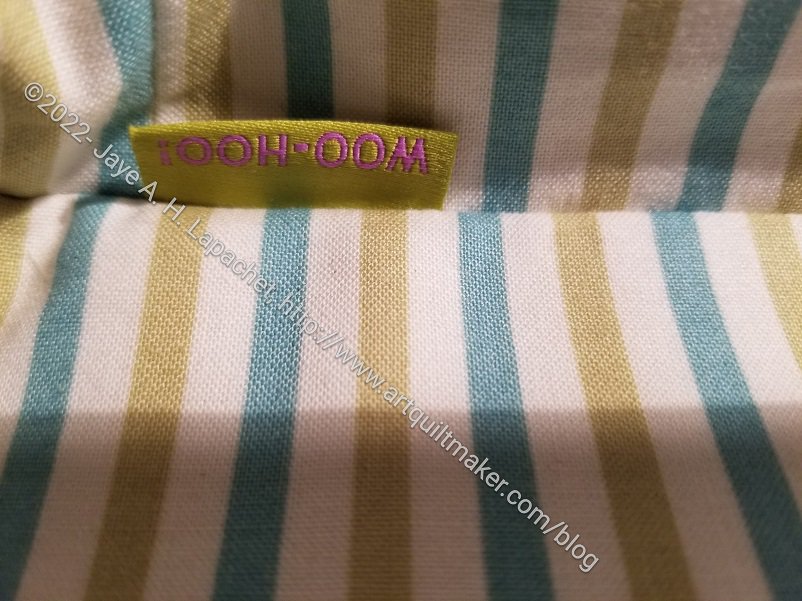
As you can see I added in a Wunderlabel at the last minute. That’s why it ended up in such a weird place. I am trying to be better about sewing them on intentionally.
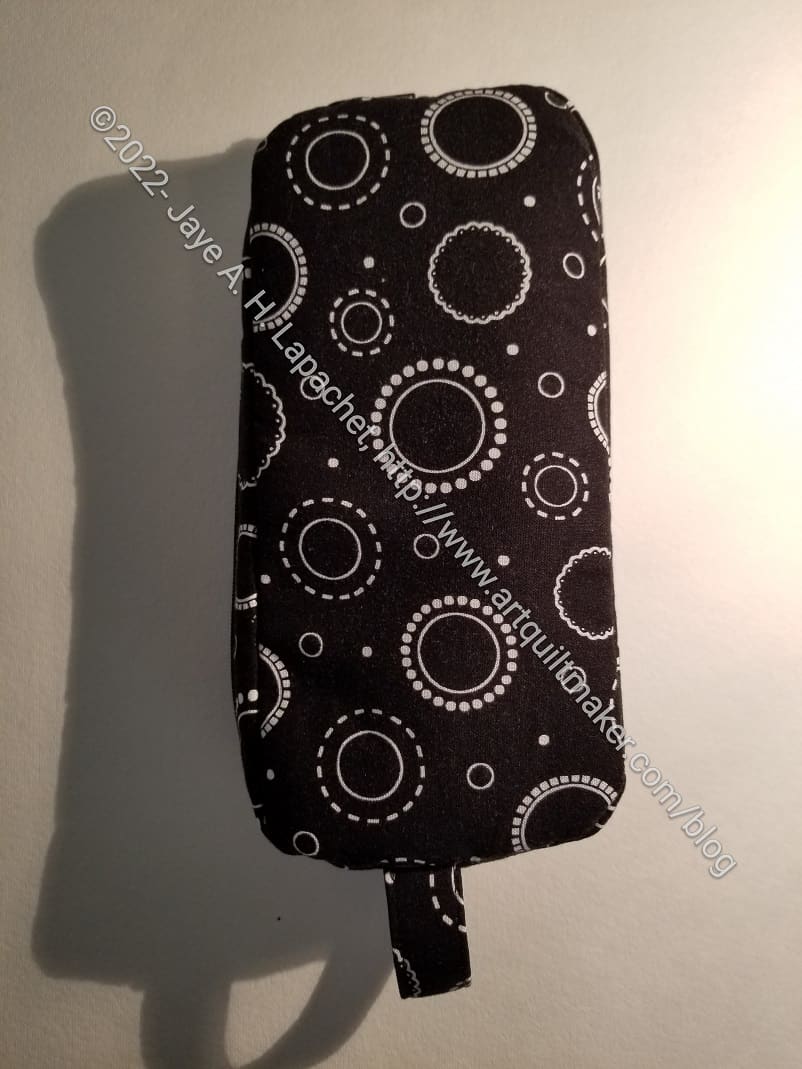
Moto side view
I can’t remember what size Moto Pouches I made. I think these might be medium. They were fiddly enough without going to the small. I really admire the testers for Sara’s patterns. They have to make all the sizes whether they want to or not.
I think this a useful size. Not sure what I would use it for, but I would probably make it again as a gift. It might be good for the nephews.
I guess I am revisiting all the gifts for my friends regularly now. it is really fun to see them all together. I also enjoy seeing how my fabric choices for each person have evolved.
I really made a lot of progress on Who Am I? Despite taking a day off of my winter break to do other things, the quilt is looking good.
I added ‘Paul’s Wife’ using bias tape and it took me just as long do straight stitch down those letters as it did to satin stitch the two other lines. I didn’t enjoy it and don’t think the bias tape worked as I had hoped. I think it looks fine, but I probably won’t use more of it for the other lines.
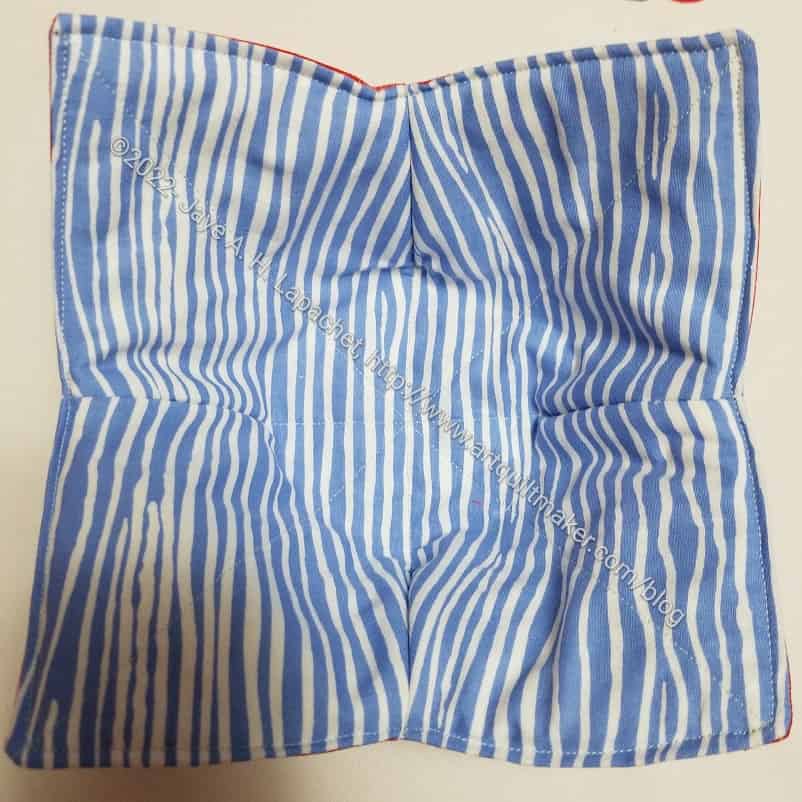
One of DH’s cousins no longer eats sugar and made a kind of deal about it with me last year. I have a lot of feelings about this, but put them aside and made a bowl cozy for them.
I like the way this one came out. I didn’t think too hard when I chose the stripes, but they came together in the darts really well. DH asked for red and blue and this was a blue that I thought would look good but not too patriotic.
Bowl Cozy bottom for B&D
This might be the first bowl cozy where I didn’t have to rip out any seams!
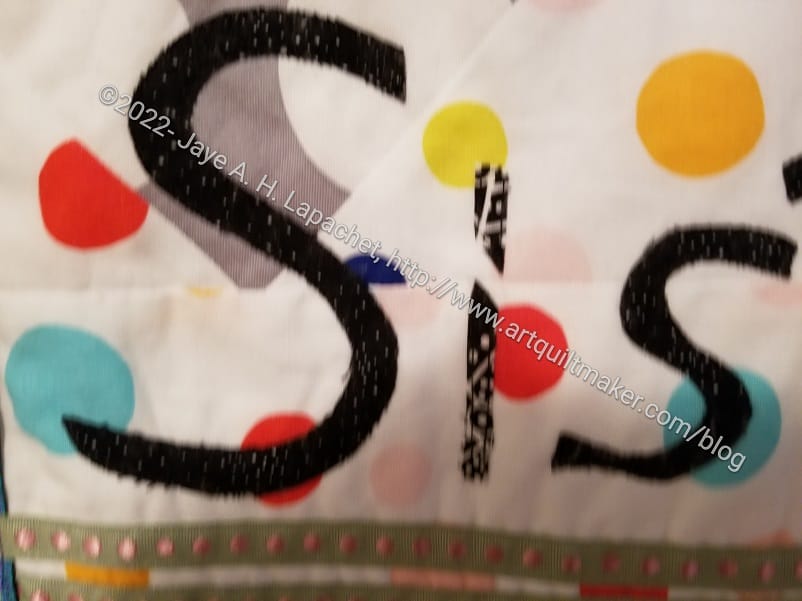
Who Am I? ProgressWho Am I? satin stitching detail
I made some good progress during my winter break from work. Can you believe it? It wasn’t even that terrible. I worked pretty quickly, which meant I got almost all of the satin stitching I needed to finish done in one afternoon. It was amazing. Again, I was kind of shocked at why I was balking at ….sooooo muuuuccchhh saaaatttiiinnnn stiiiitccchhhiiiing…… It wasn’t super fun, because there were a lot of loops and swirls to stitch around and I am out of practice. I had to go over some spots a second time to smooth them out but, all in all, it went relatively quickly. Now it is over.
I am using a variety of techniques in addition to the satin stitching.
Who Am I? Progress – detail
The black letters are attached using a straight line, raw edge applique after I fused them to the background. This quilt will not be washed, so that type of treatment is fine.
The two parts that have been stitched down for a long time, ‘Mary’s daughter’ and ‘William’s Mom’, are sort of couched. I pinned ribbon into place, then stitched it down. I made some 1/4 inch some bias tape that I will use for one of the other lines.
I finished the second Hackney in record time. Now, as I mentioned, have plans to make a few more. The second one always goes a lot faster than the first and I am enamored with the shape.
Cutting wasn’t even terrible for this pouch. Something must be getting into me, though it’s probably the templates. I have a set of acrylic templates for this pouch and cutting with templates is a million times easier than when I have to use a paper pattern. It might be even easier if I used a rotating mat.
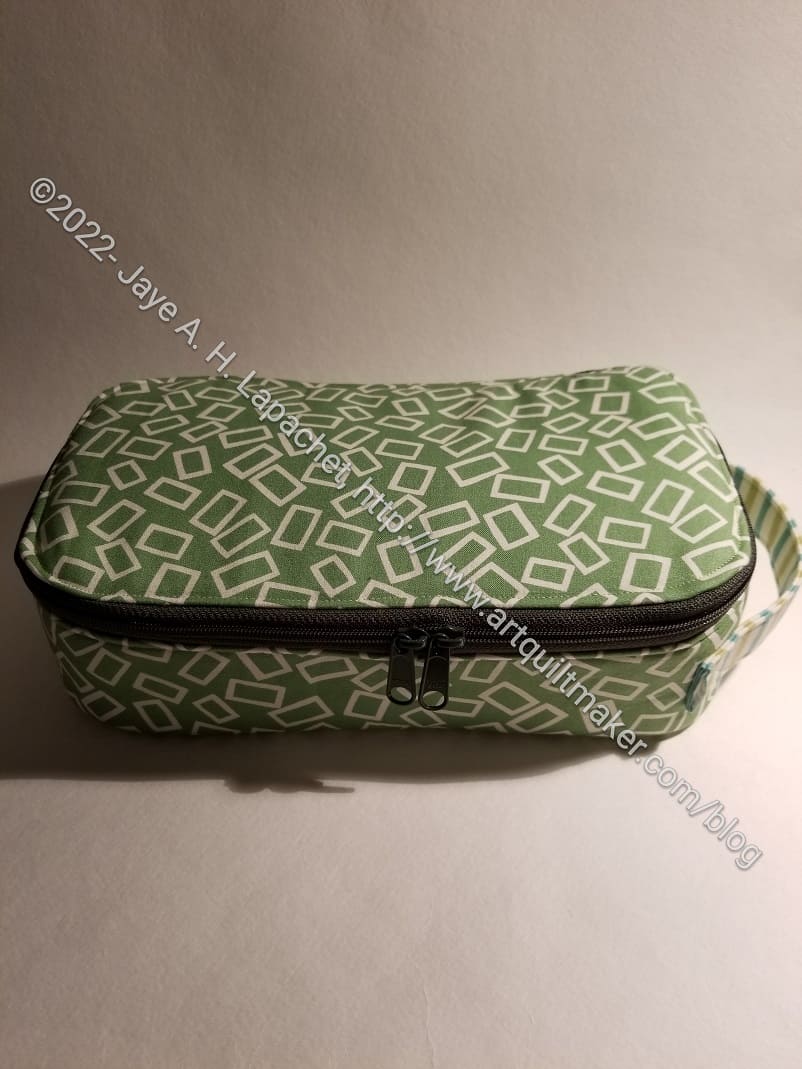
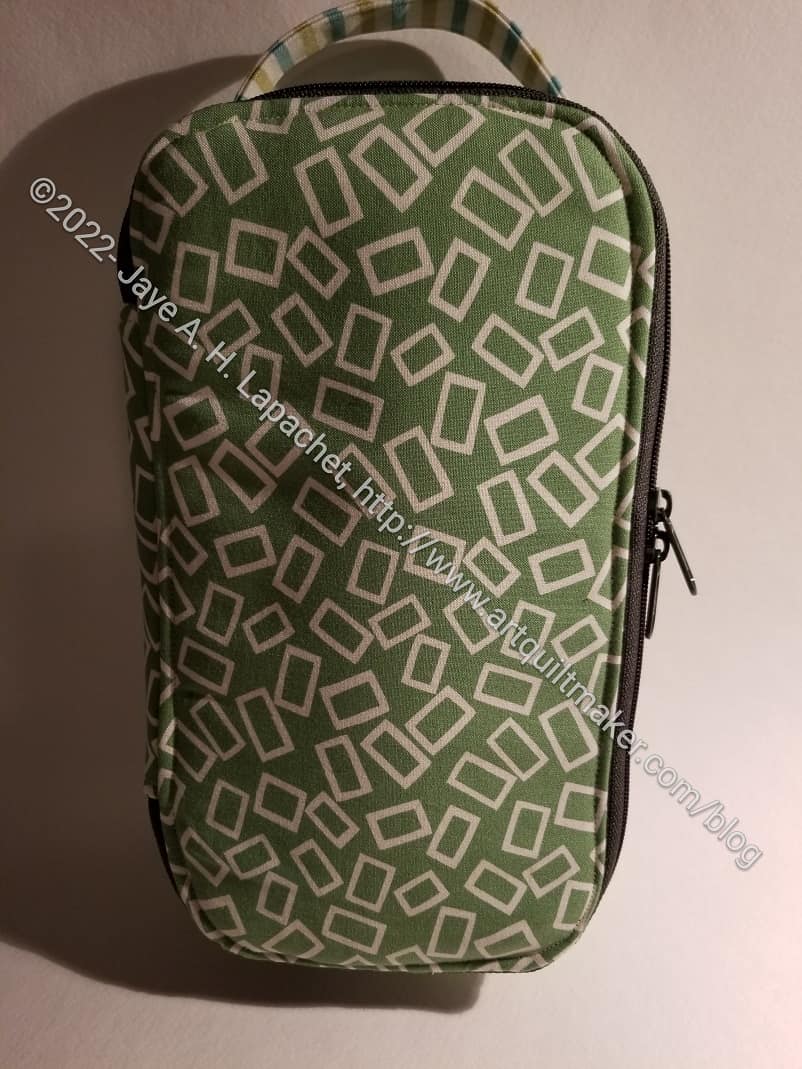
Green Hackney upright
The one problem with this pattern, as written, is the lack of a handle. I am not sure of the original intention of the bag, but having a handle I think is important. I asked a few questions of the designer and her team about when to add the handle. I got enough information and ended up adding after step 13. I think it worked out pretty well.
I love the pouch even more set upright like the picture (right). I think it looks so cool. It makes me want one, though I have no idea how I would use it. Some people sew elastic bands on the bottom in such a way that pens and such can be anchored to the bottom. It’s an idea I will have to consider. I have also seen this made as mini first aid kit. Lots of good ideas.
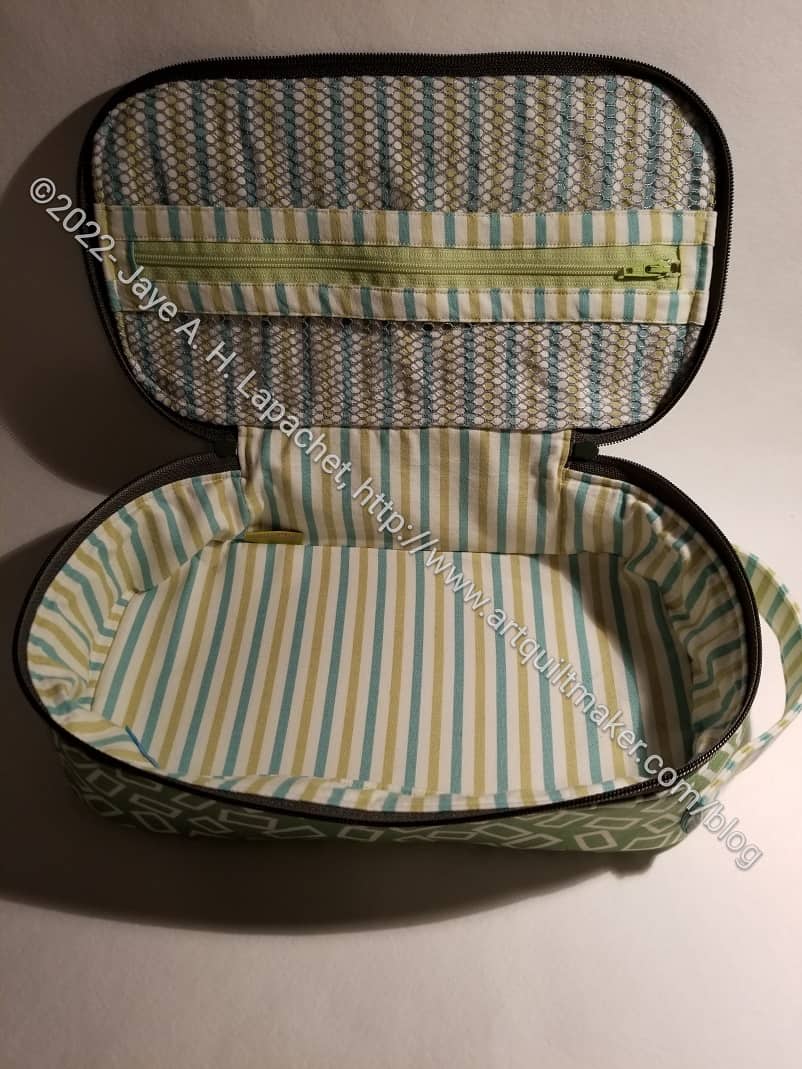
Green Hackney open
The same fabric that I used for the handle was also used for the lining. I am really pleased with how the stripes came out. Also, I think the inside zipper matches, without matching, very well.
The inside pocket is mesh and I think the center zipper looks a little weird, so I think I will try moving the zipper up a little, though I know that might interfere with the operation of the zipper. I might be able to move it up to where the curve starts with no ill effects. The other idea I have is to put a vinyl pocket on top and no zipper. Stay tuned for further iterations.
Sew Sweetness has a hashtag for the Hackney on her FB group (you have to be a member) and I scrolled through a lot of versions of them to get ideas. It was great.
This poor bag’s post has been juggled around for at least two months now.
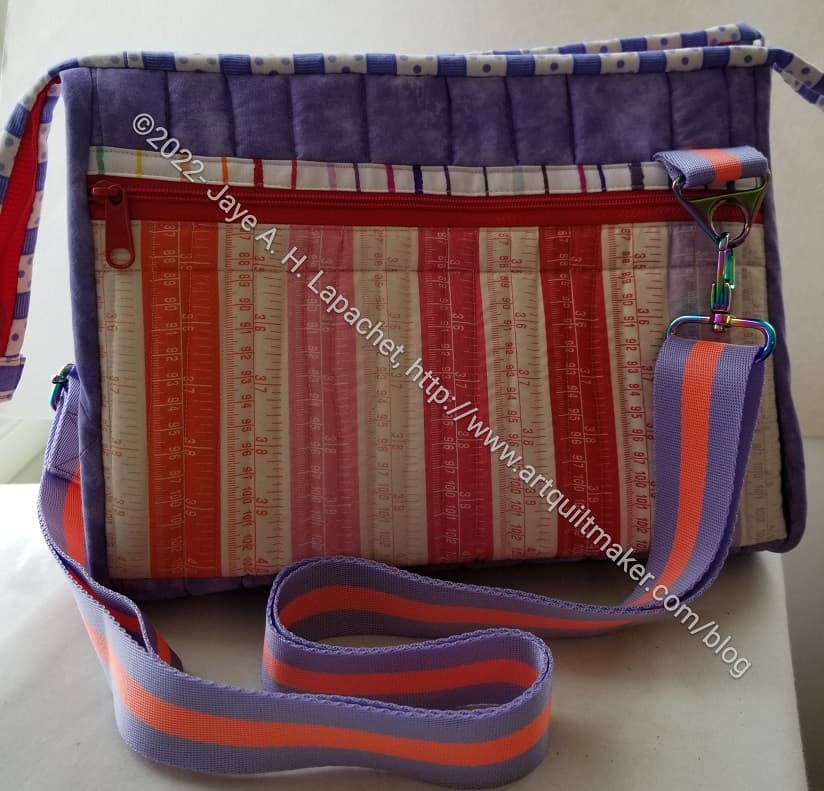
Julie’s Take a Stand Bag
I finished this bag back in May after I finished my Mom’s Take a Stand and before I finished mine. This was originally scheduled to be a gift for Friend Julie’s birthday. That meant I couldn’t show it to you until at least December 2. This state of affairs was terrible enough for me, but then I decided to give her this gift for Christmas and give her the Ultimate Carry All Bag for her birthday. That meant I had to wait. Then our New Year’s plans to go out with Friend Julie and our DHs were postponed, because of terrible weather. It is hard for me to wait to show you what I am making. It is so fun to read what you think. Also, I get to think about what I made when I am writing about it. Anyway, we made it through.
Finally, I gave her this bag over the weekend. I had filled it with a lot of little gifts.
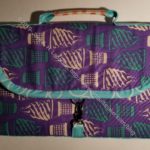
Usually, I choose purple fabrics. Julie and I were out together and she mentioned this fabric, which gave me the idea to make her a bag from it. It won’t exactly go with her other bags because I usually choose a darker purple. I hope she likes it anyway.
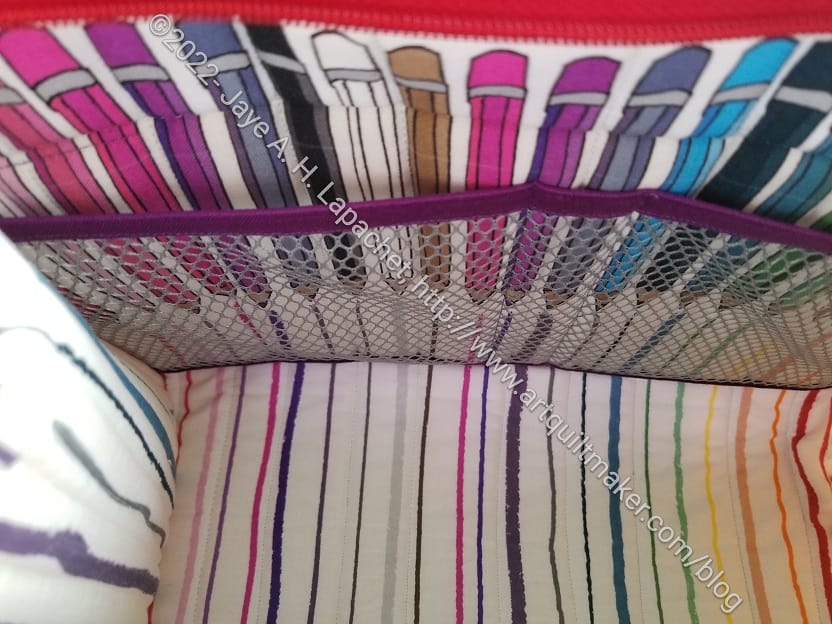
Julie’s Take a Stand interior
I am REALLY pleased with the inside. The fussy cutting came out really well. Also, the construction of the ByAnnie bags means the linings are really taut, which I like.
A happy accident is the lines at the end of the pencil points. The bottom matches up with the sides! The pencil fabric is from Crimson Take and I am really glad it is highlighted.
Julie’s Take a Stand front pocket – interior
I used an old Moda Marbles light purple for the main part of the bag. This is fabric that will mostly be covered. I found that to be true with the APfE v.2 as well, that is that most of the outside is covered by pockets so choosing a tone-on-tone rather than a special fabric makes more sense. This Moda Marbles light purple fabric ties the bag to her other bags.
I used the Tula Pink Scissor ribbon from the Homemade line for the interior of the front and back pockets to cover the zipper join.
Again, I used the Tula Pink webbing for the strap (see above). Mom’s was kind of my test bag so the strap for this one went a lot quicker. I am pleased with how well the webbing color fits with the colors of the bag.
I am still calling this the Without a Trace bag periodically. And I still don’t know why!
I went on another organizing rampage this morning. I decided to gather all the fabrics and supplies for several bag projects I have planned. This task has been on my list for awhile, so I decided today was the day. In the course of this effort, I tidied up some project bins that were stuffed full of fabric, patterns, etc.
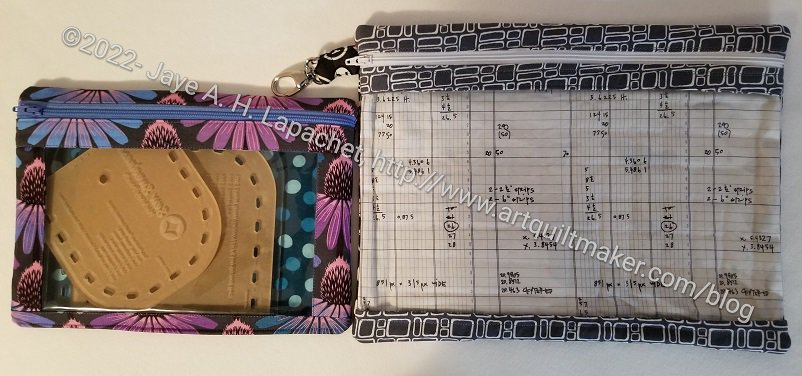
I-Spy / Roadtrip pouches
In one of the project bins I found two of the smaller, completed Crafty Gemini Organizer Club projects. I know I left them there so I could put them together with the last two projects. The last two projects, the Retreat in a Bag and the Ultimate Project Bag have not yet been made, but are on the list. Thus, they were two of the projects for which I gathered supplies and materials.
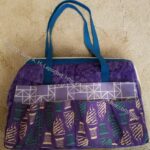
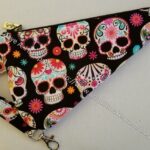
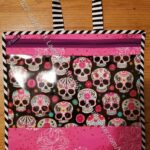
One of the projects I found, which will be clipped into the Ultimate Project Bag was the Roadtrip bag (right, photo above). Seeing this project again made me think of the templates for which I made a number of pouches.
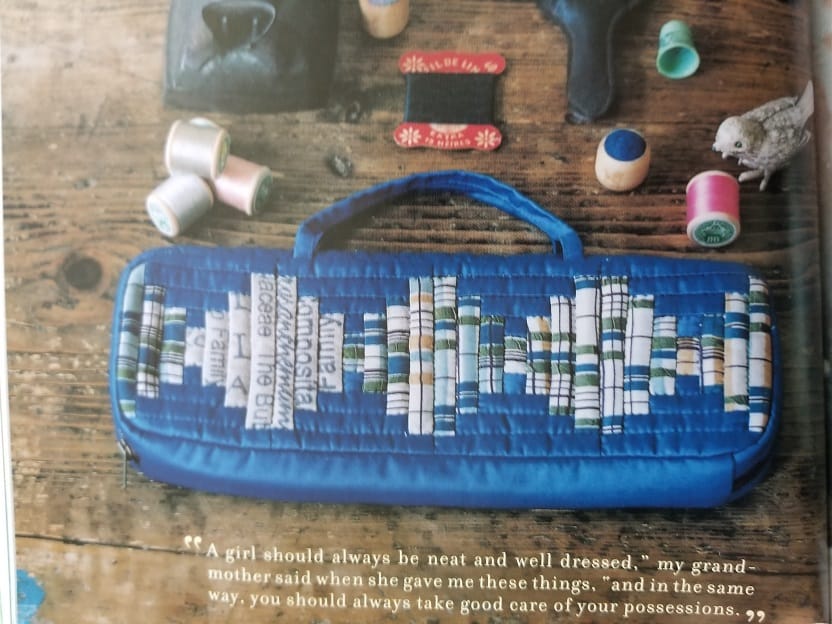
The Roadtrip bag (pouch) was not used for the templates, but it could be. It looks very similar to the I-Spy pouch by Sew Sweetness (left, photo above), which I did use for the templates. Not counting the size differences, the main difference is the side strip on the Sew Sweetness bag. I made several of the I-Spy pouches for acrylic templates.
The reason I am talking about these is that I thought I would make a larger one, adjusting the size, to suit two sets of templates which don’t fit in the sizes given in the pattern.
The Sew Sweetness I-Spy pouch comes in 3 sizes. The largest size is 10.5 in x 8.5 in high, which is great except that it will not fit the larger templates that need a home. I want to make a pouch for the Chickadee Backpack templates I bought last year when the pattern came out. The templates need a pouch that is about 8 in by 19 in.
Yoko Saito’s Natural Patchwork bag
I know I talked about the bag from Natural Patchwork**, which I still want to make, but I don’t think today is that day. I do like the idea of handles (makes me think of the Grab & Go pattern, also from the Minikins patterns) and I may use foam instead of batting since the templates are quite large and I don’t want them to break.
What did I gain by today’s organizing effort? 1. I have everything ready when I decide to cut new projects out; 2. I have zippers on order, which weren’t already in my bin of zippers; 3. I have more of an idea for securing some templates; 4. Bins with less junk in them.
**Obviously, you should shop at local quilt shops. However, if you are too busy or can’t find what you need at quilt shops, I use affiliate links and may be paid for your purchase of an item when you click on an item’s link in my post. There is no additional cost to you for clicking or purchasing items I recommend. I appreciate your clicks and purchases as it helps support this blog.
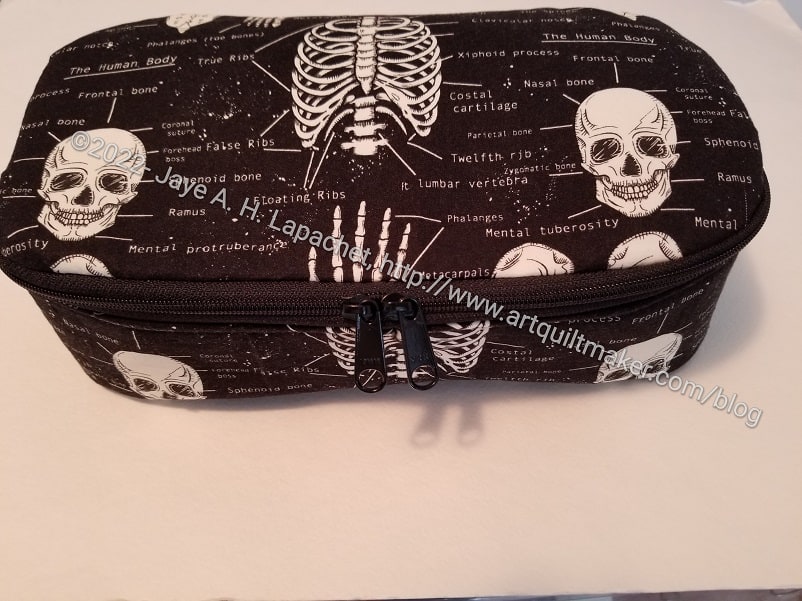
As briefly mentioned when I posted about the Minikins Season Three patterns from Sew Sweetness, I made a Hackney pouch as gift for the YM’s girlfriend/partner. She works as part of a forensics team and loves skeletons. This Timeless Treasures fabric is perfect for gifts for her and I still have quite a bit.
I made her a Sidewinder pouch a couple of years ago, but that had no skeleton fabric. I used a bit of skeleton fabric for the pincushion in the Leaf Sew Together Bag I made for her last year.
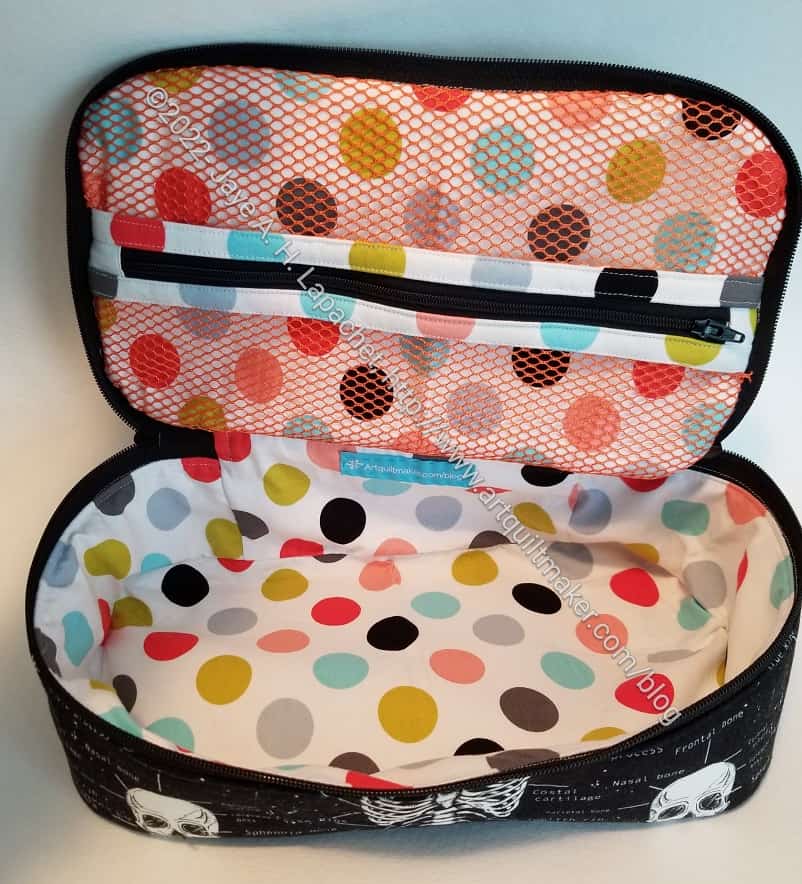
Skeleton Hackney open
This turned out to be all skeletons all the time, though not the lining. I can’t get away from light colored linings.
I think the center looks super cheerful and people using it can see their stuff.
This was my first try at the Hackney pattern, but I like it as a bag. These are quite large (I made the large size), so not really a pouch, but a small bag. I really want to know if it fits a Switch**. I’d like to see a photo of the large Hackney with a Switch inside it.
I plan to make a few more for more gifts, but also one for myself. I need to think of what to put inside before I make one and have it hanging around.
**Obviously, you should shop at local quilt shops. However, if you are too busy or can’t find what you need at quilt shops, I use affiliate links and may be paid for your purchase of an item when you click on an item’s link in my post. There is no additional cost to you for clicking or purchasing items I recommend. I appreciate your clicks and purchases as it helps support this blog.
I used one in the green Hackney I made. Friend Julie suggested that there were instructions on sewing them into projects. I’ll have to look for those. I just stuck this one in the seam allowance of the lining and sewed.
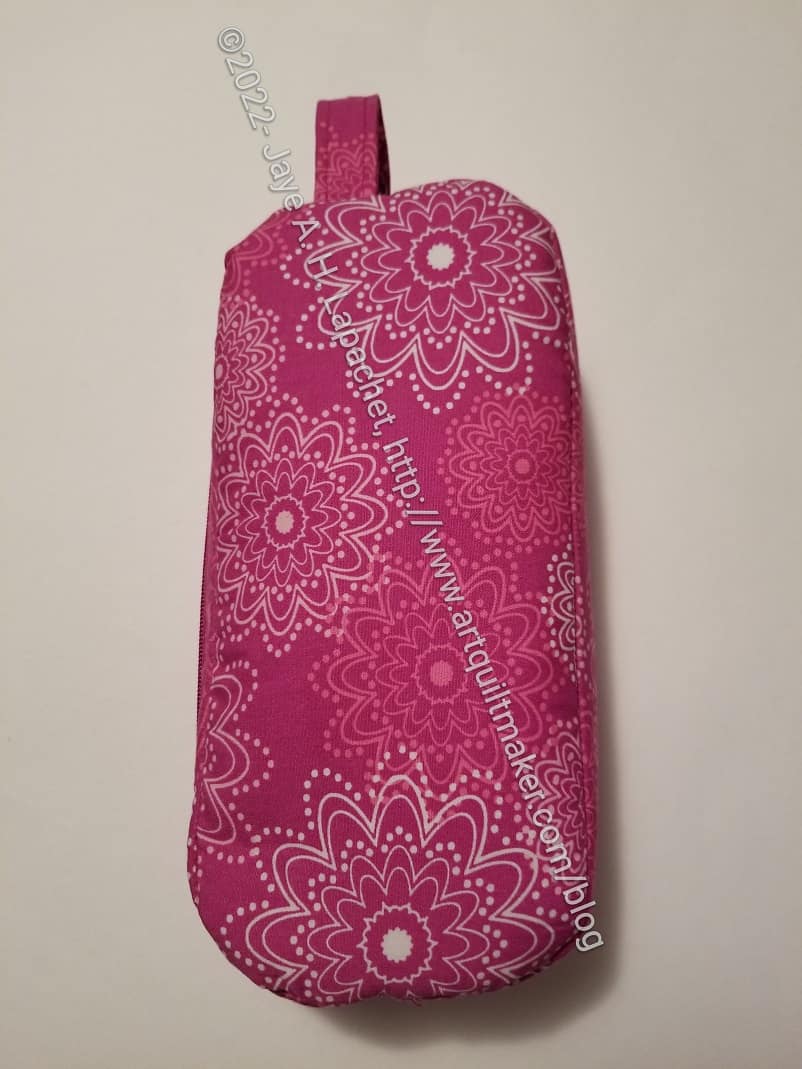
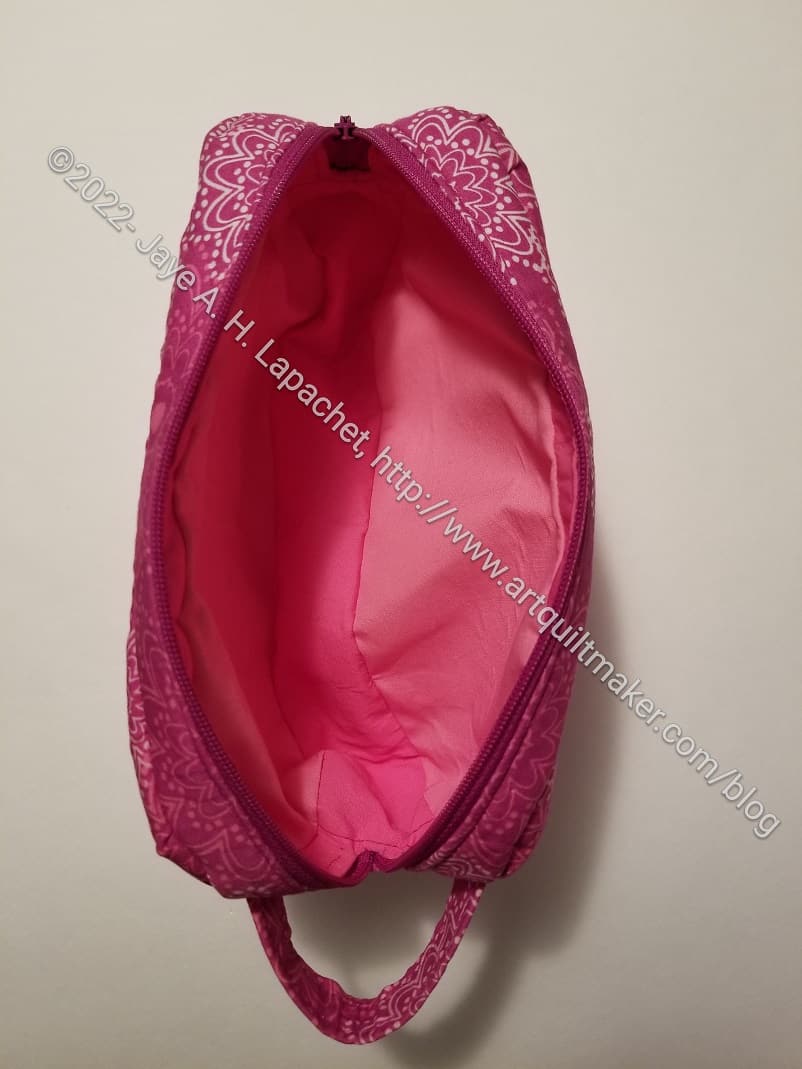
I finished the Moto Pouch not long after my last post. I like this pattern despite the drop-in lining. I think I have figured out a way to deal with the lining that looks good and isn’t terrible to sew.
Moto Pouch open view
Whether I need that knowledge, we’ll have to see. I don’t know that I’ll make another one. I do know that there are other patterns with drop-in linings. I can use what I learned there. I should make another pattern with a drop-in lining in order to cement the techniques in my mind.
I put the zipper on the side without the handle, but I think that was a bad choice. The handle acts as an anchor for pulling the zipper. The directions are clear and I put in on the handles side on the other one I made, but didn’t understand the reason until I made this one. Live and learn.
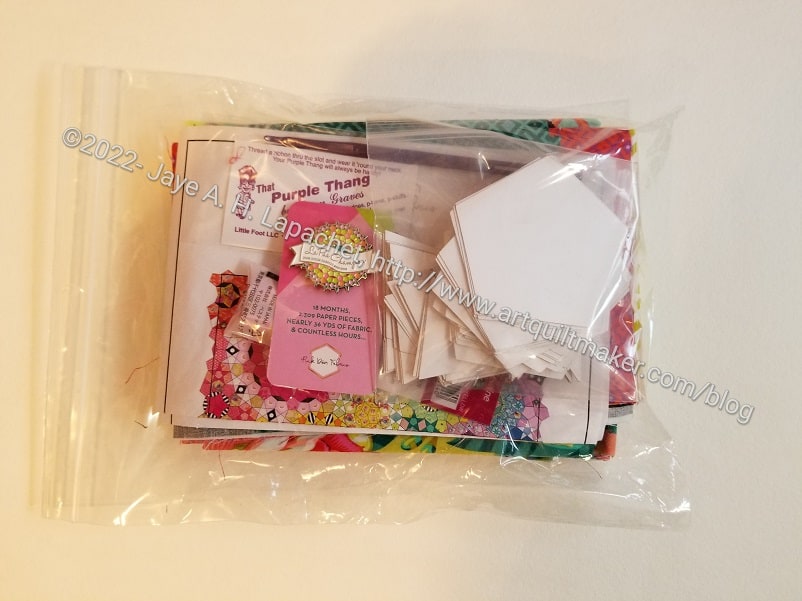
My last BOM packet for La Passacaglia came a few days ago. <insert crying emoji here>
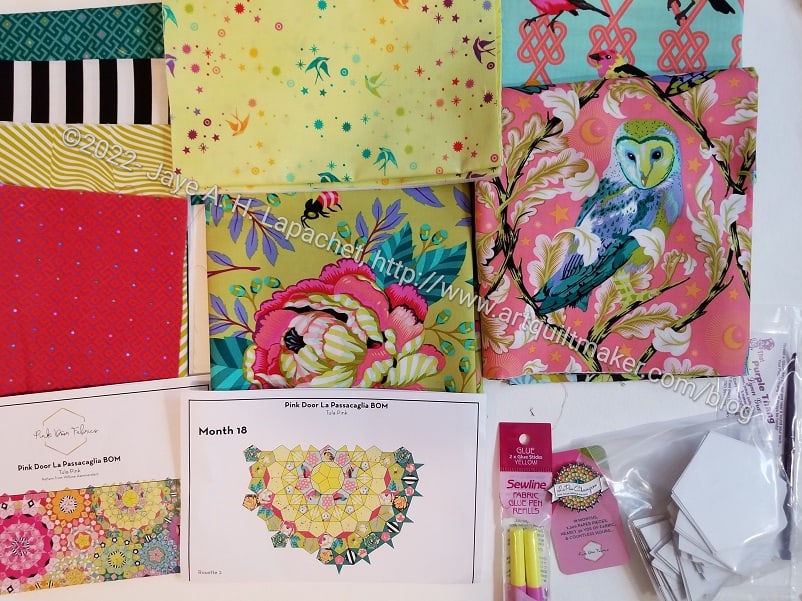
It was a fat packet with a lot of fabric for the last rosette. I probably won’t use most of it since I am changing the predominant color from green to blue.
La Pass Month 18 fabrics
I’ll use fabrics that I used in the Month 16 rosette. I found more of the fabrics wrapped in each other when I went to wash everything, so not all of the fabrics are shown. Since I won’t be using most of them, you can ignore the selection. LOL!