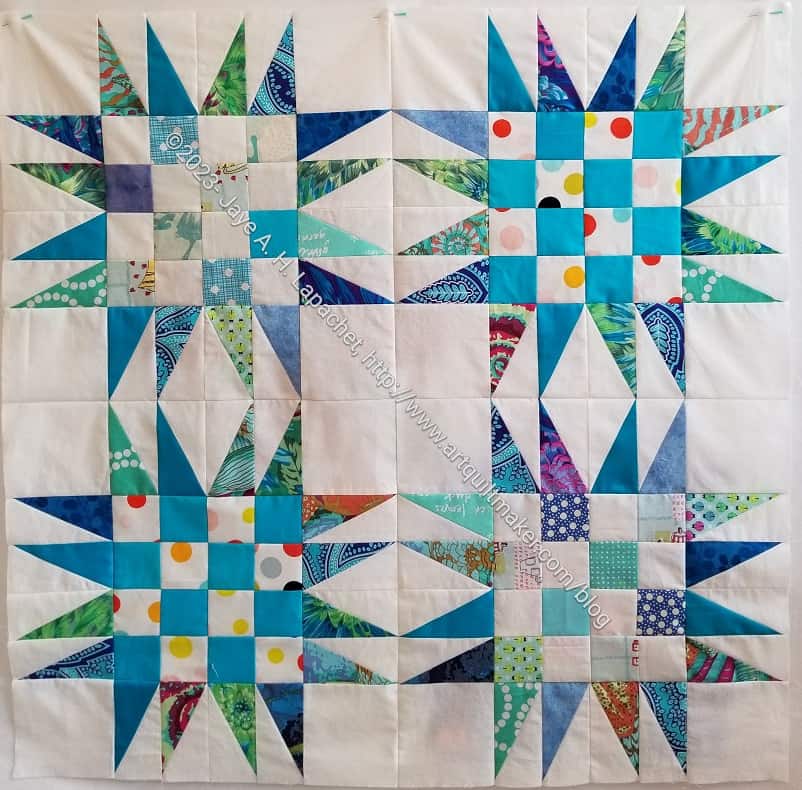
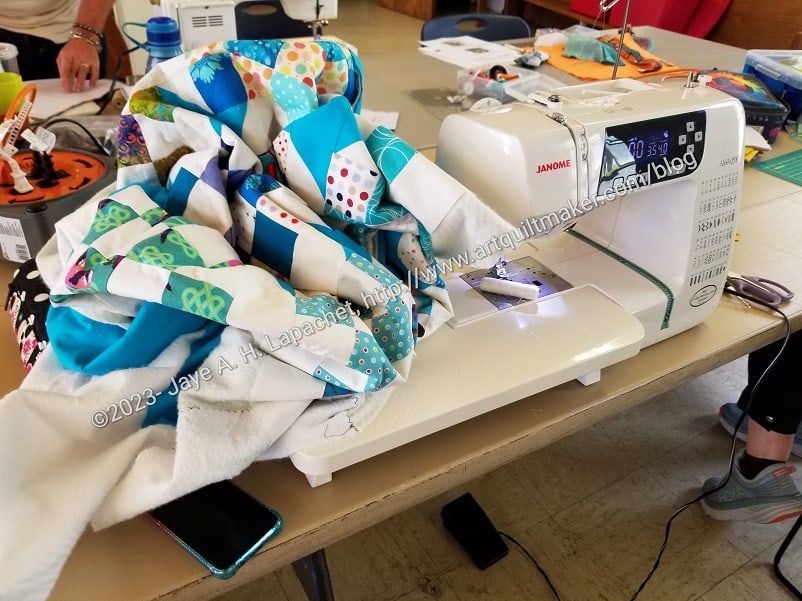
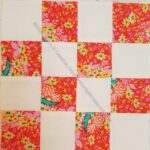
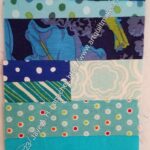
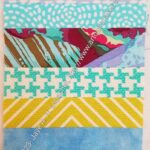
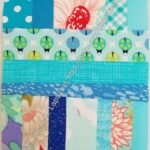
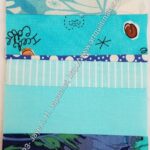
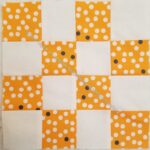
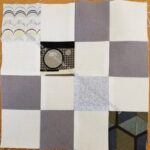
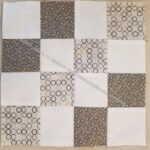
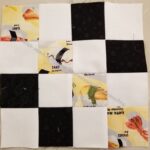
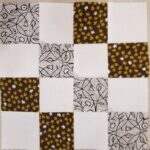
I started working on the Spiky 16 Patch blocks again. I was really struggling with just getting to the machine and decided that this piece was what I should work on.
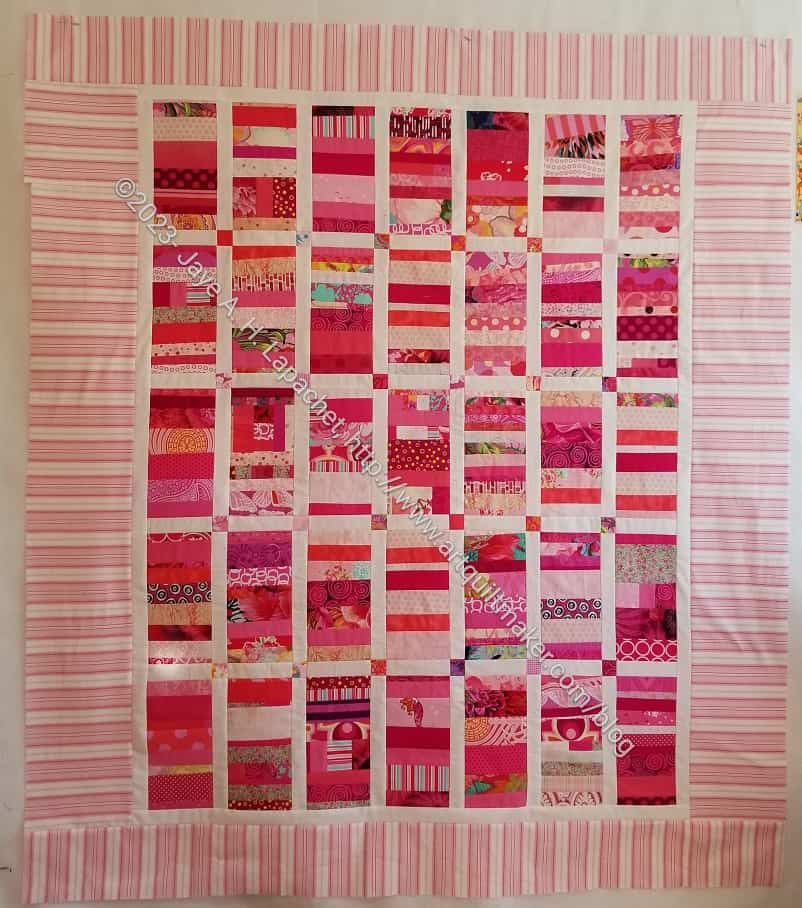
As you read before, I was struggling to decide how to set these blocks. After two weeks, I decided just to do a straight set and a border and move on with my life. I have a couple of donation quilts in progress and it is better to get them finished and out to people who need them rather than have them perfect.
I surprised myself by getting more donation blocks made than I thought I would.
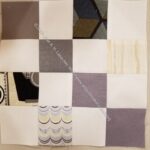
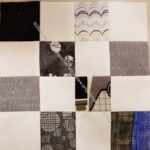
Spiky Star Blue #2
Spiky Star Blue #3
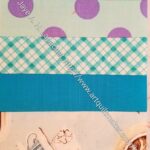
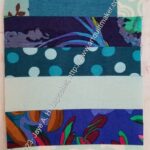
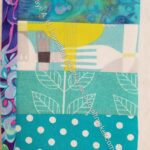
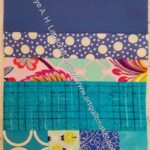
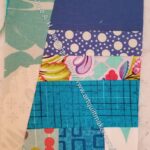
Blue Strip donation block #6
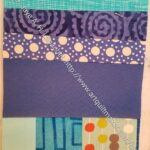
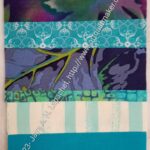
Blue Strip donation block #7
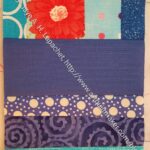
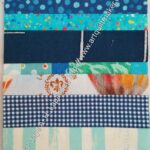
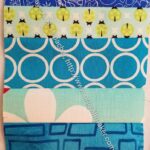
Blue Strip donation block #8
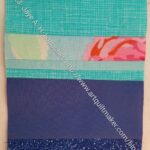
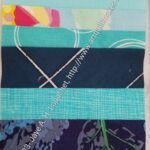
Blue Strip donation block #9
Invisible Hedgehogs donation block
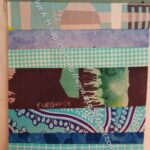
Blue Strip donation block #10
Blue Strip donation block #11
Blue Strip donation block #12
Blue Strip donation block #13
Blue Strip donation block #14
Blue Strip donation block #15
Blue Strip donation block #16
Blue Strip donation block #17
Blue Strip donation block #18
Blue Strip donation block #19
Blue Strip donation block #20
Blue Strip donation block #21
Blue Strip donation block #22
Blue Strip donation block #23
Blue Strip donation block #24
Blue Strip donation block #25
Blue Strip donation block #26
Pink Batik donation block
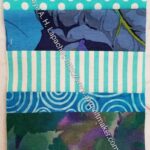
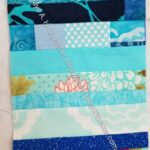
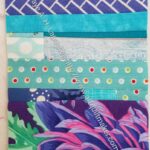
I am definitely on a blue kick this month. I am definitely making another blue strip donation top even though I just wanted to make 3 blocks for the second Rainbow strip donation top.
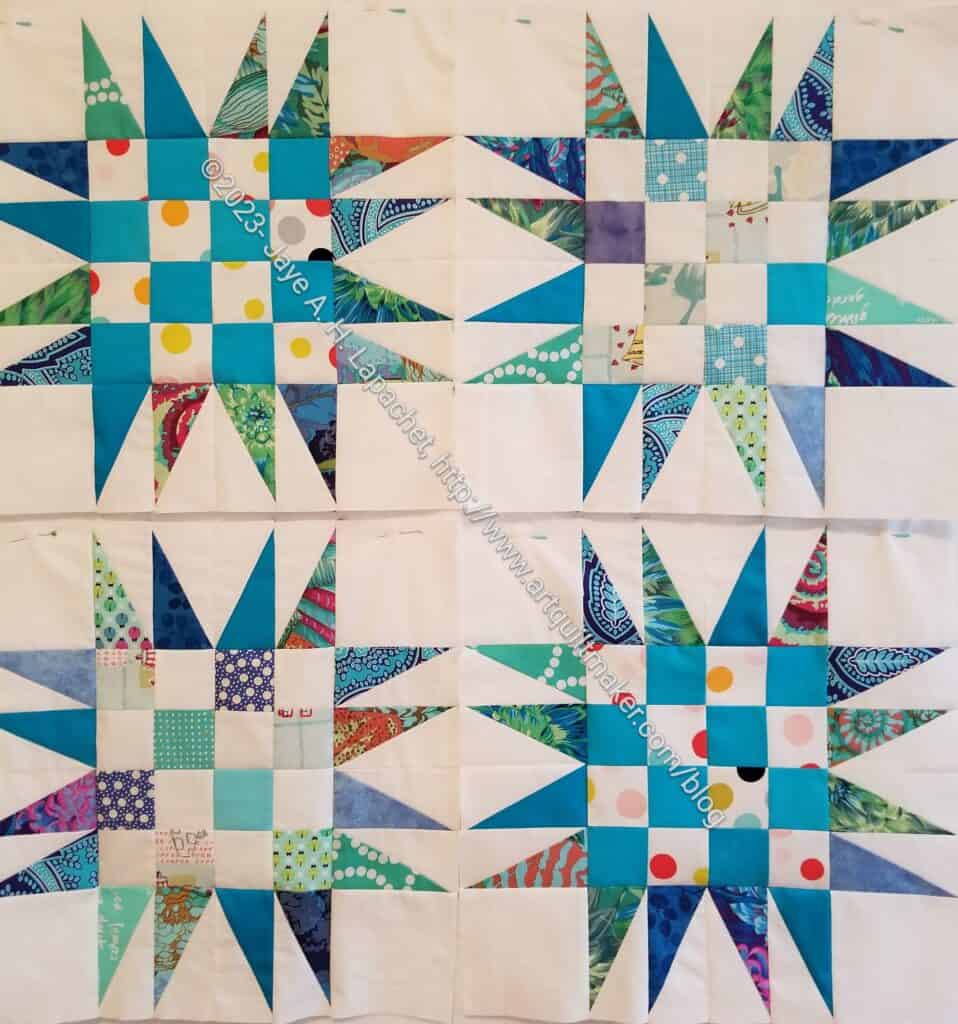
I spent some time yesterday just sewing donation blocks, including these Spiky 16 Patches. I came home to all the pieces on the floor. This is a problem with my new design wall that is making me crazy. I decided to get them off the floor and sewing together.
These will be part of another donation quilt. You saw these blocks unpieced back in April. I hope to have the fourth one finished sometime this week so I can put the top together in time for Sew Day.
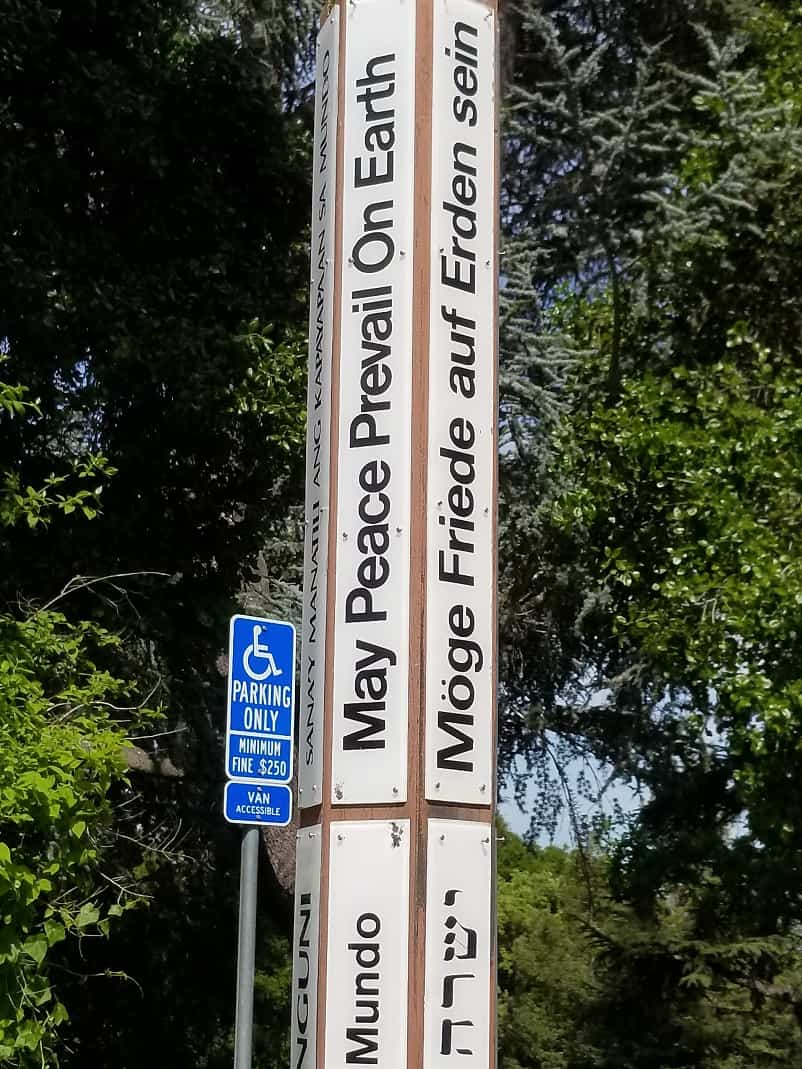
Before we could check in to the Retreat center we spent some time in downtown (old town?) San Juan Batista. We had lunch at the Jardines de San Juan. The food there was really good. We sat outside at a big table and enjoyed the sunshine. The restaurant was down the street from the quilt shop.
There weren’t very many people around the town as in it wasn’t packed, but there were plenty of people around.
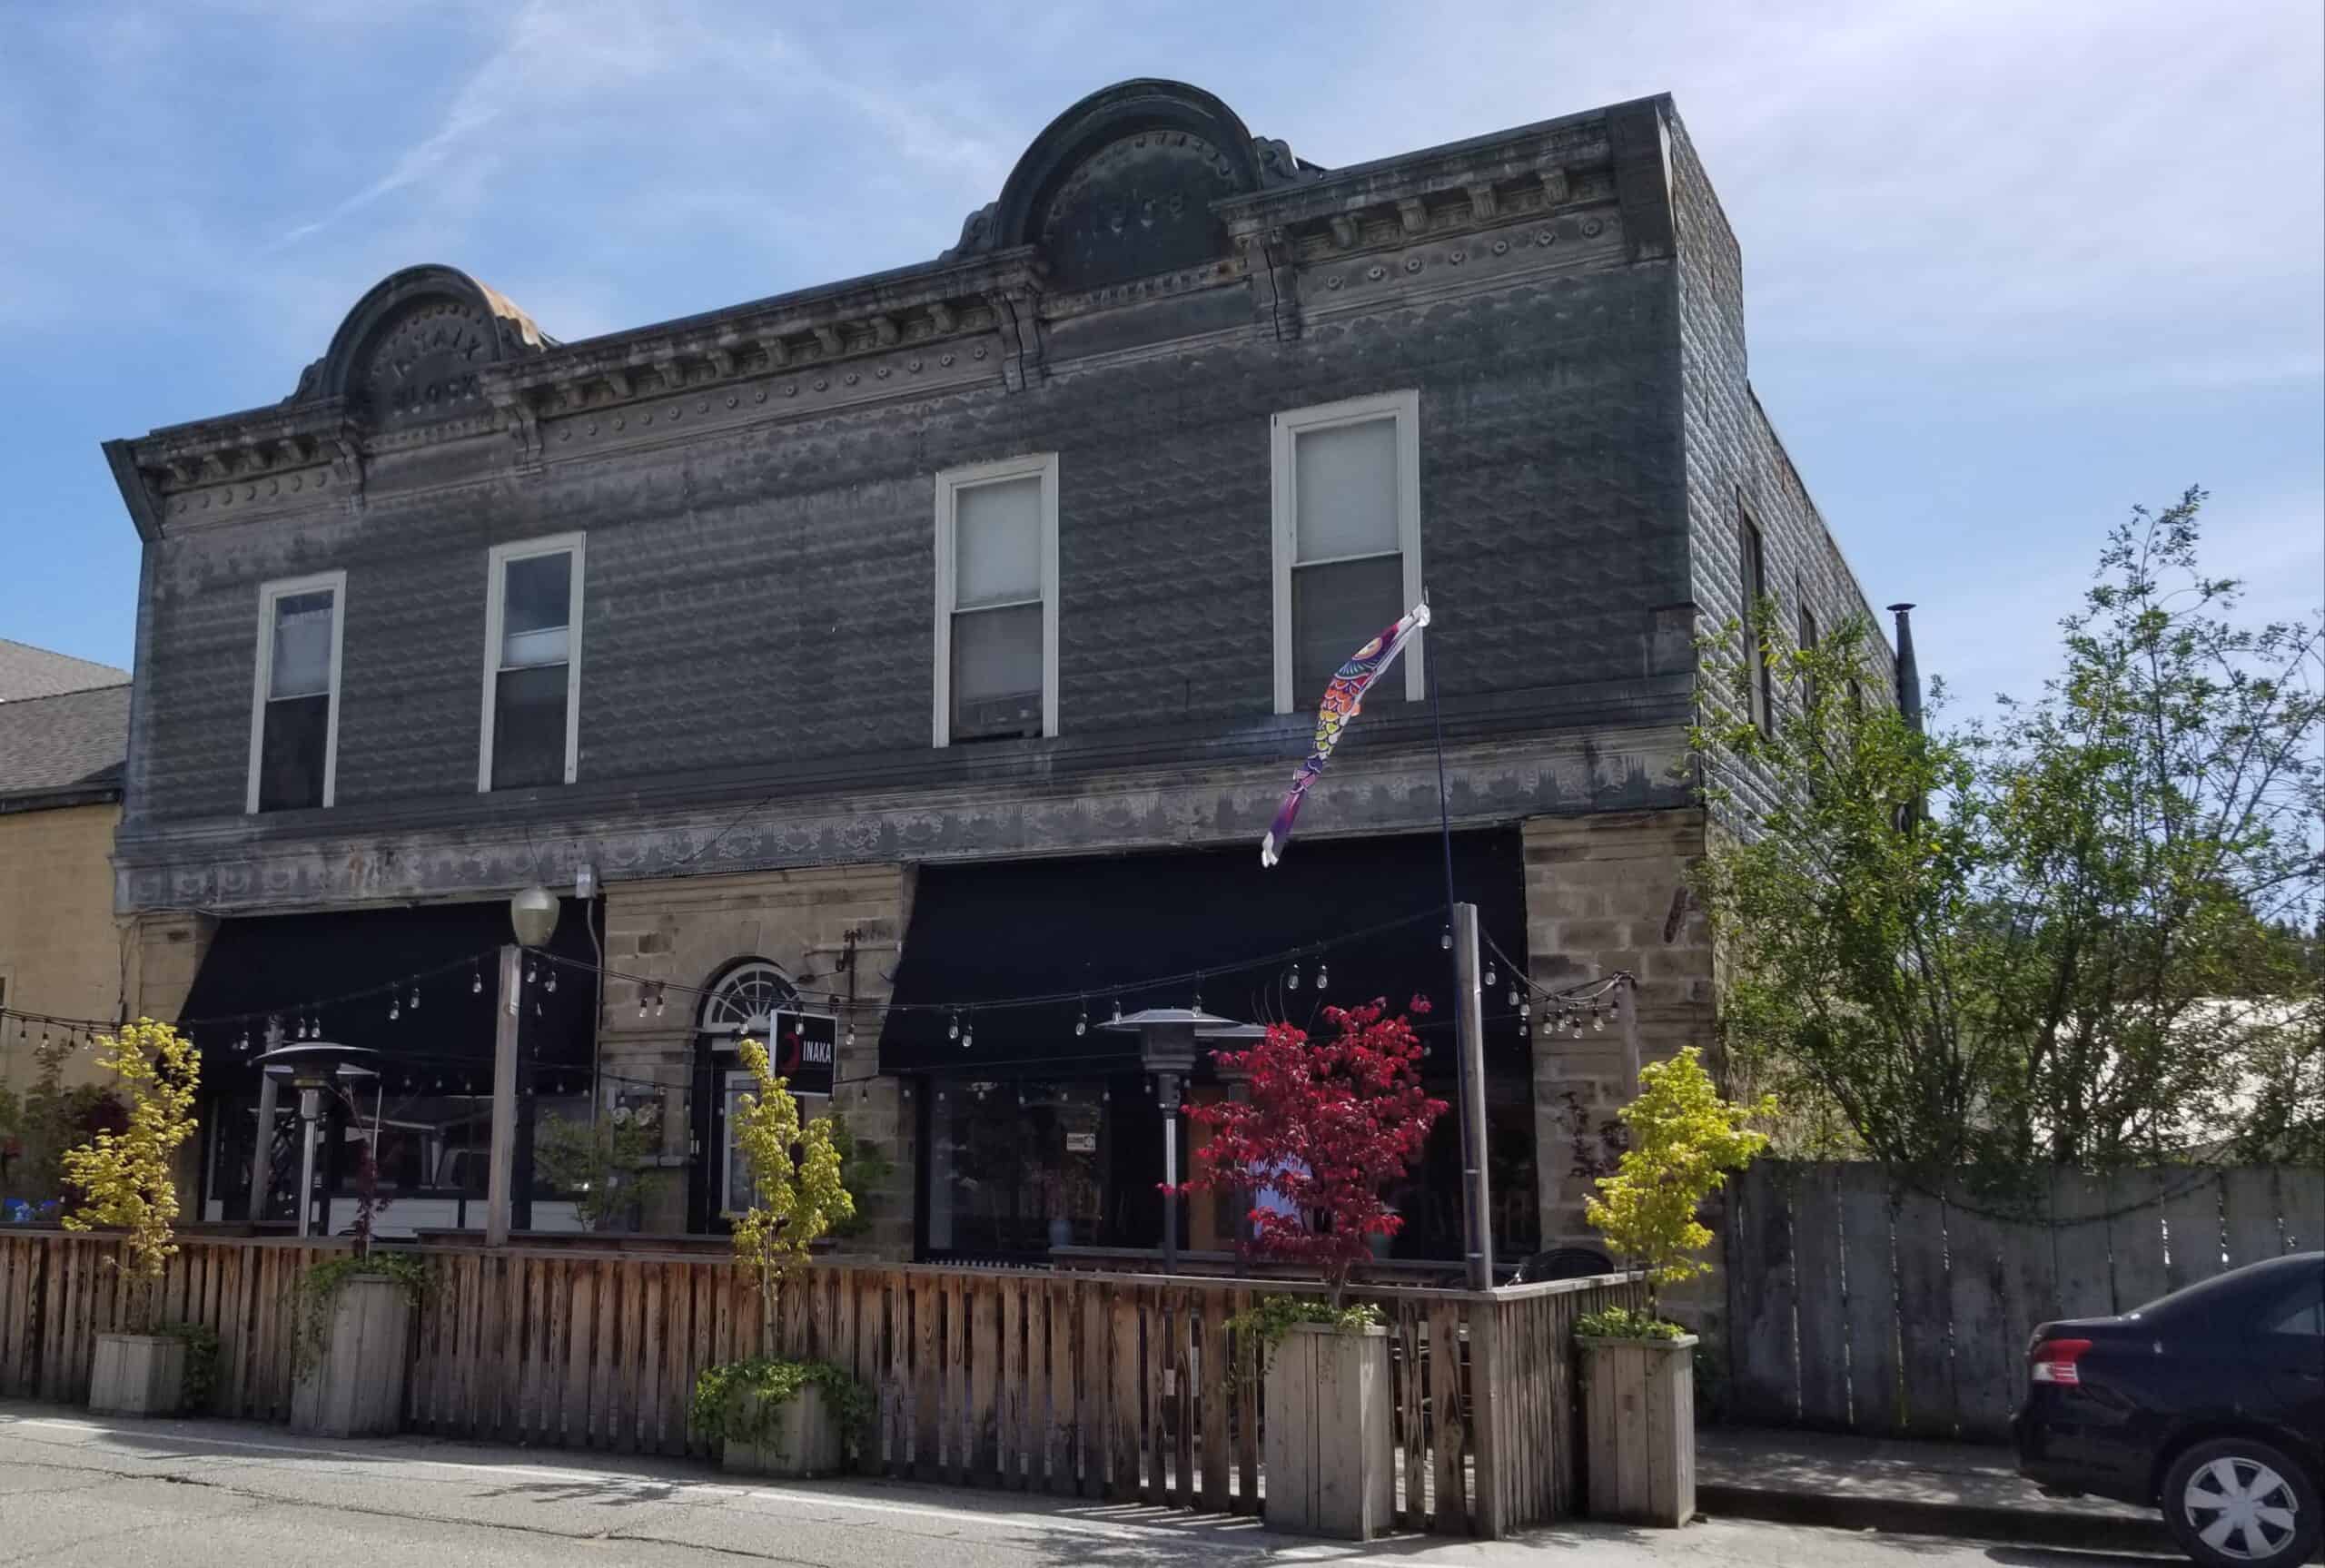
A. Taix Building, SJB
After lunch we walked around the old part of the town. They had a lot of porches over the sidewalks and a lot of old buildings.
I couldn’t tell if this building was tin, but Julie and SIL #2 said it was decorative brick.
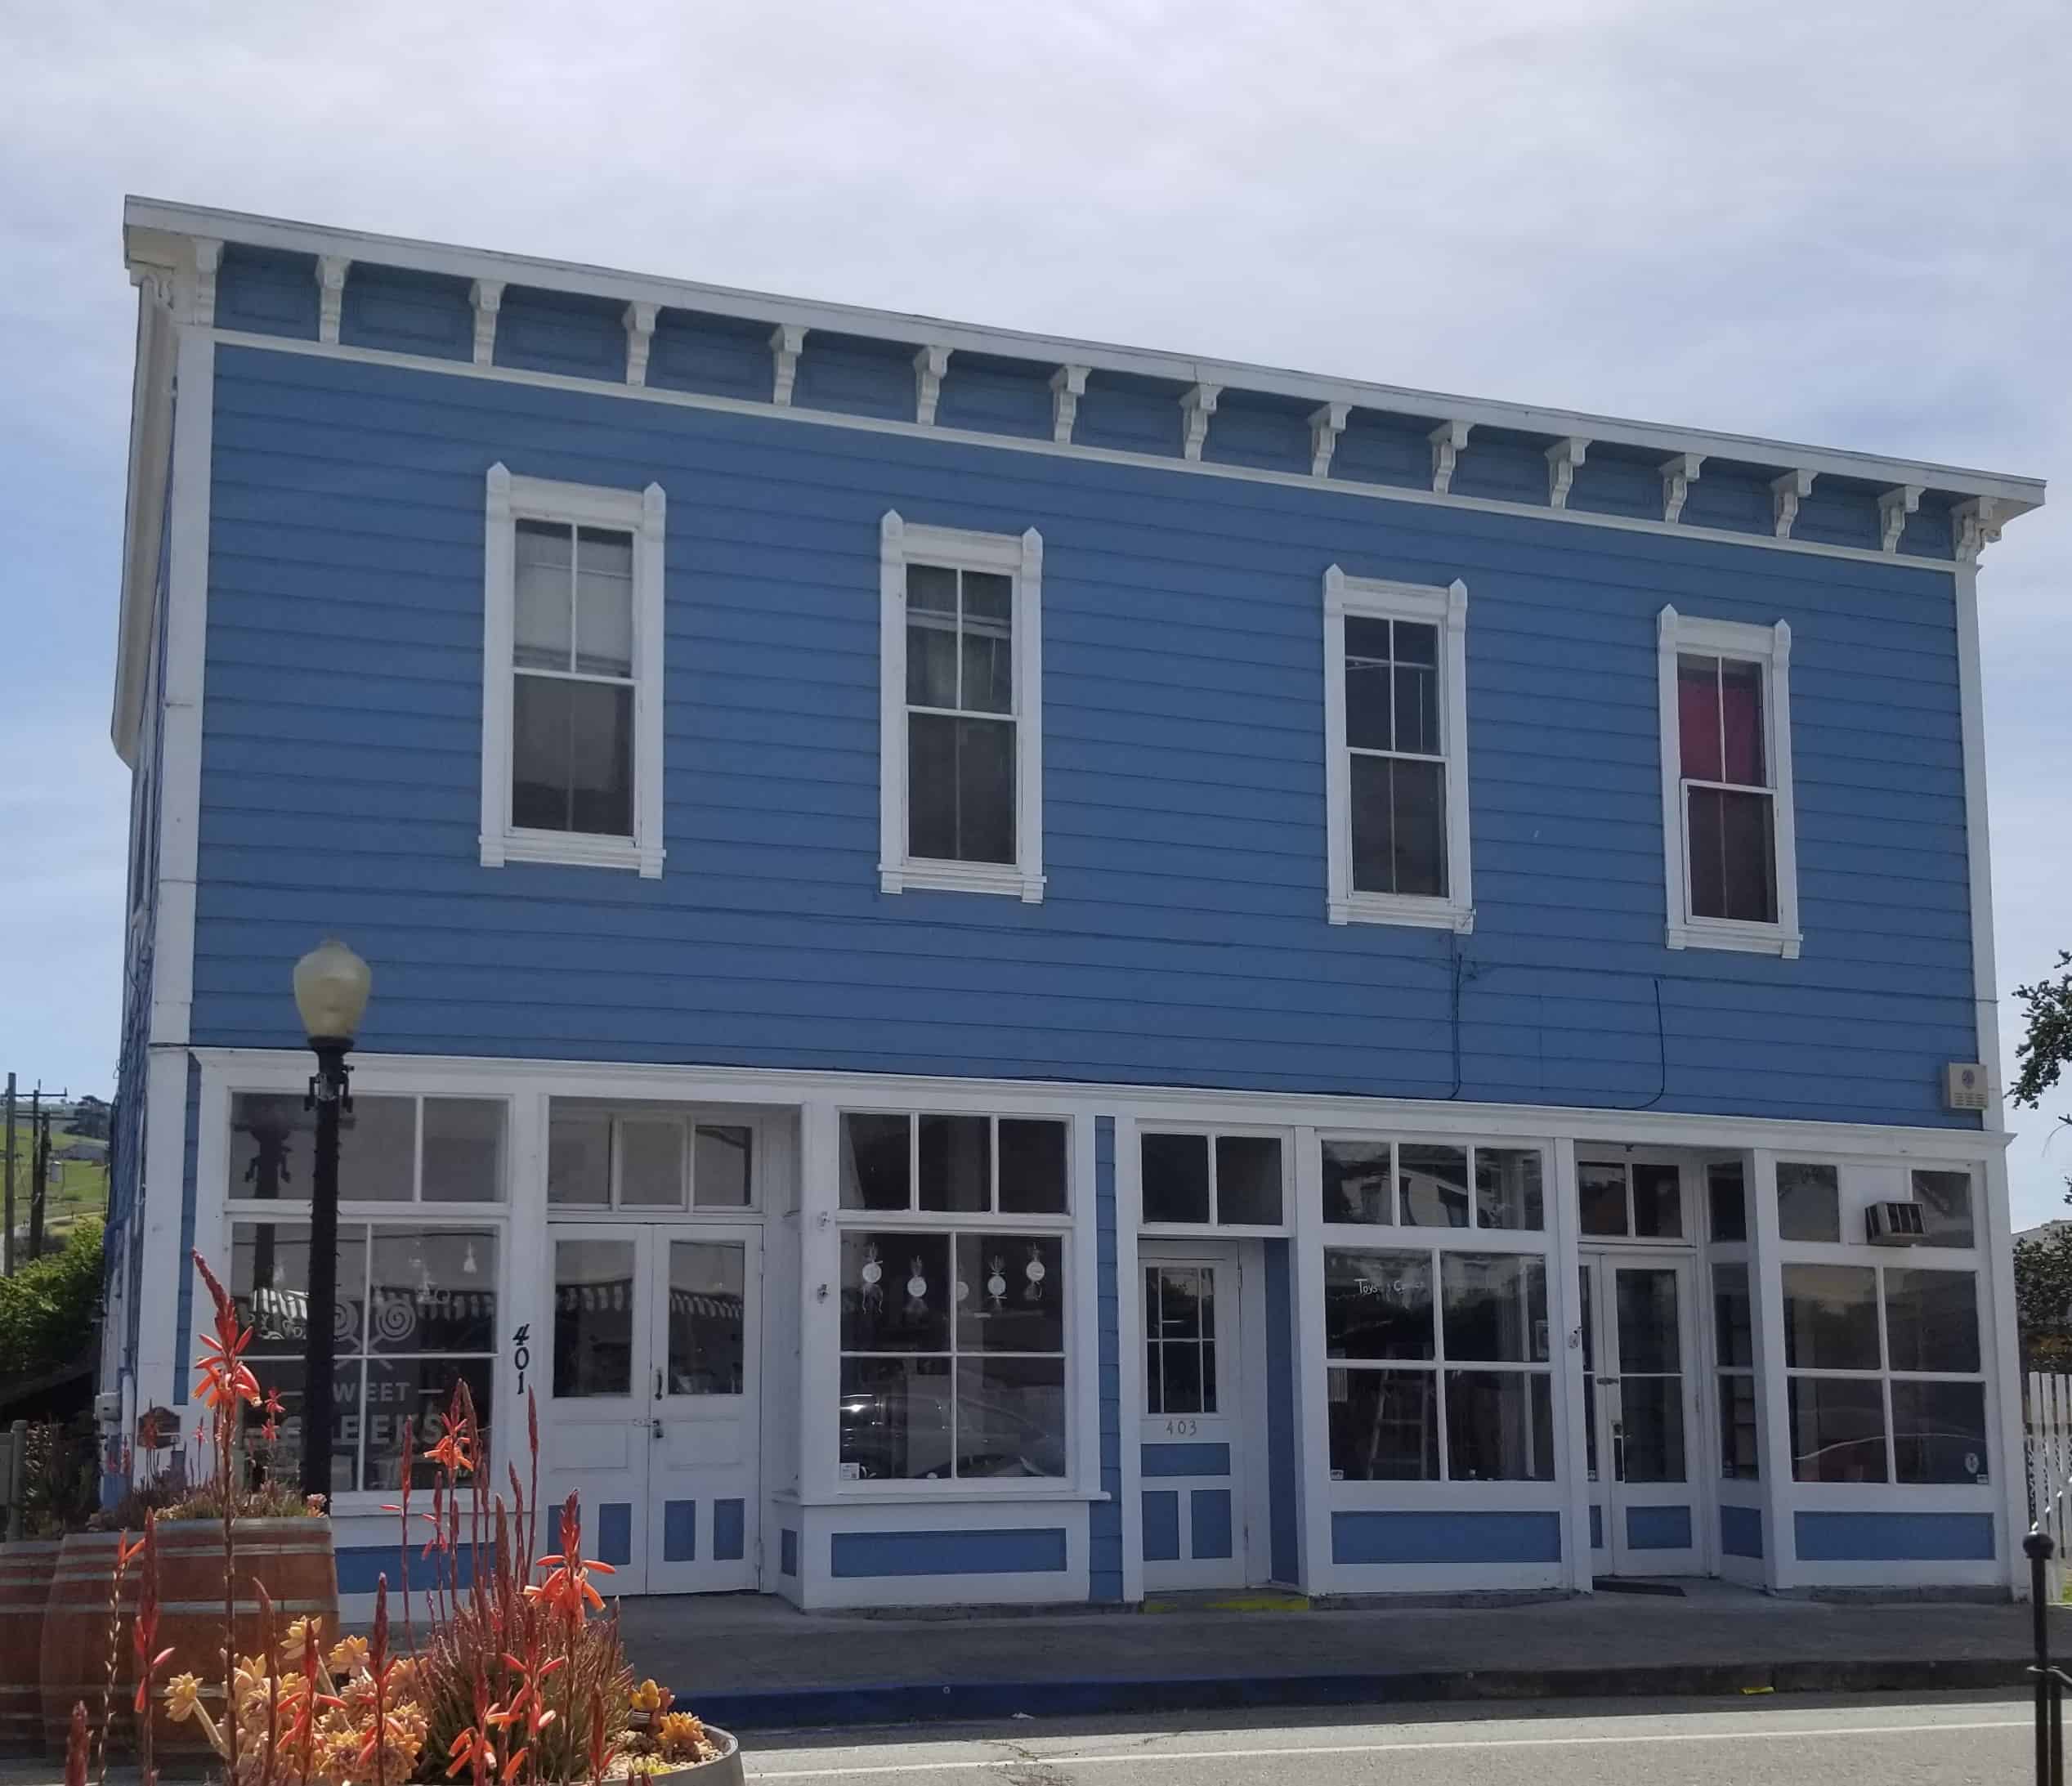
SJB old building
This building is a style that I really like, because of the big windows. I always thought it would be great to have a studio in a building like this, because of the light. I know that light isn’t good for fabric, but I really like working in a nice bright space.
In this building one of the shops was a candy and ice cream store.
Cactus apples
There was a San Juan Batista Historic Park. There was a HUGE cactus, which had a lot of cactus apples on it. Julie knew that they weren’t ripe yet and what color they would be when they were ripe.
It’s interesting how many different textures there are on this plant.
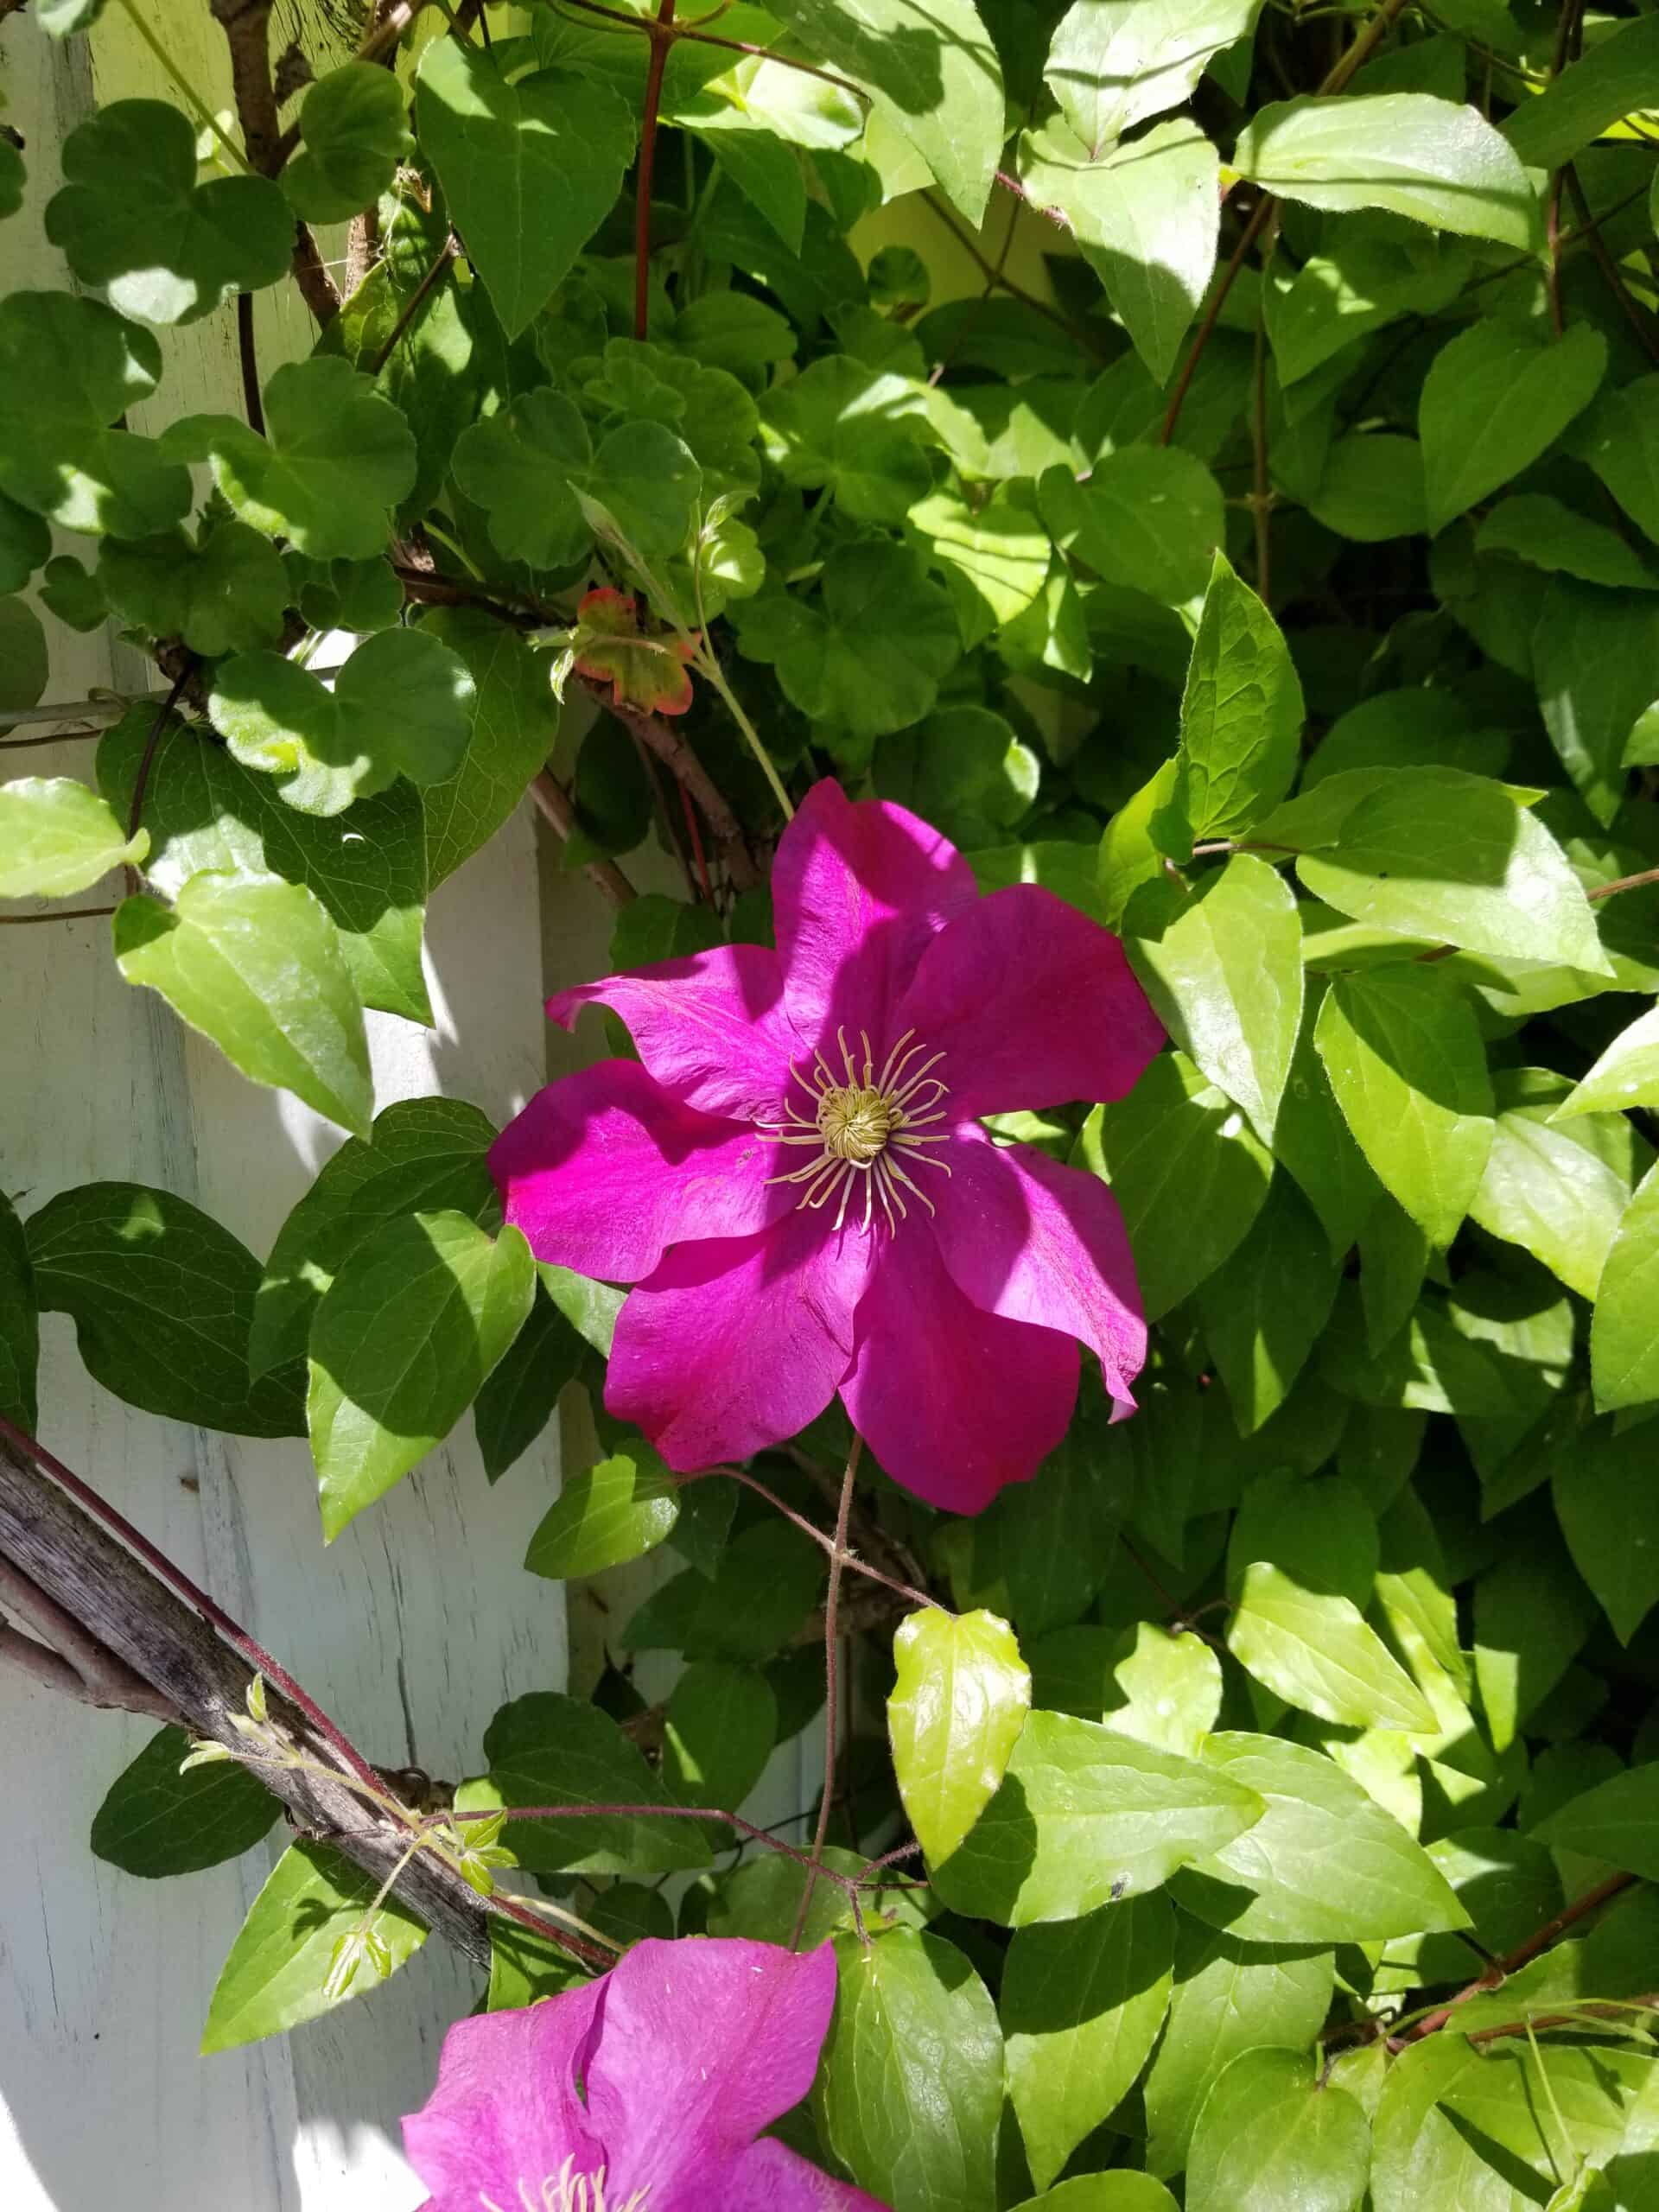
Flowers in SJB
There were also a lot of flowers and blooming plants around. I don’t spend a lot of time outside beyond my walks. I seem to enjoy it when I am outside. I also seem to take photos of a lot of flowers and plants.
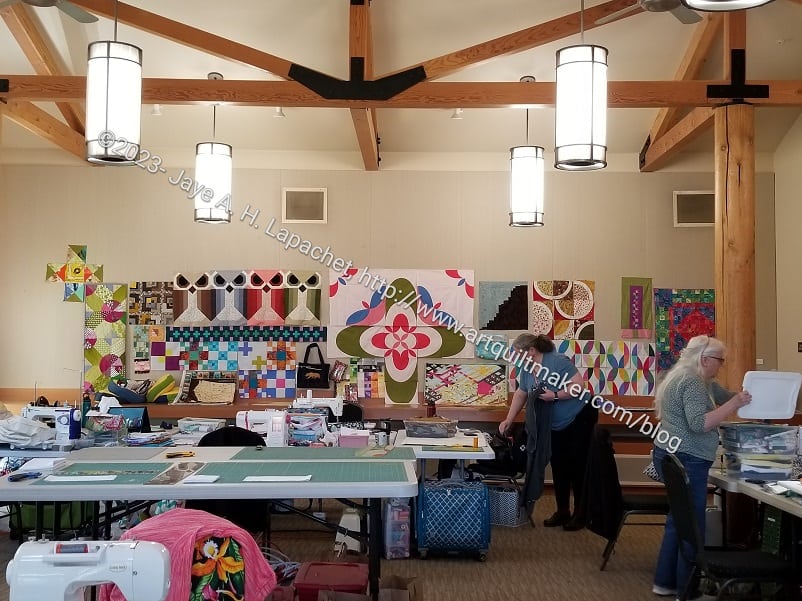
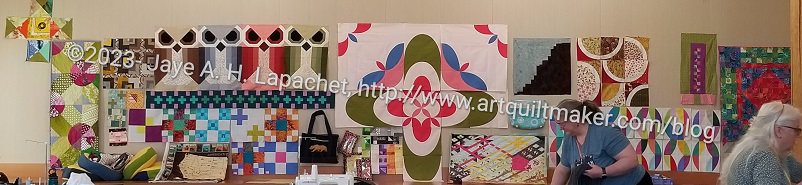
One thing we did was put all the projects, both finished and unfinished, up on the wall and take a picture of them. I thought it was a good way to acknowledge all the work we had done and all the progress we made.
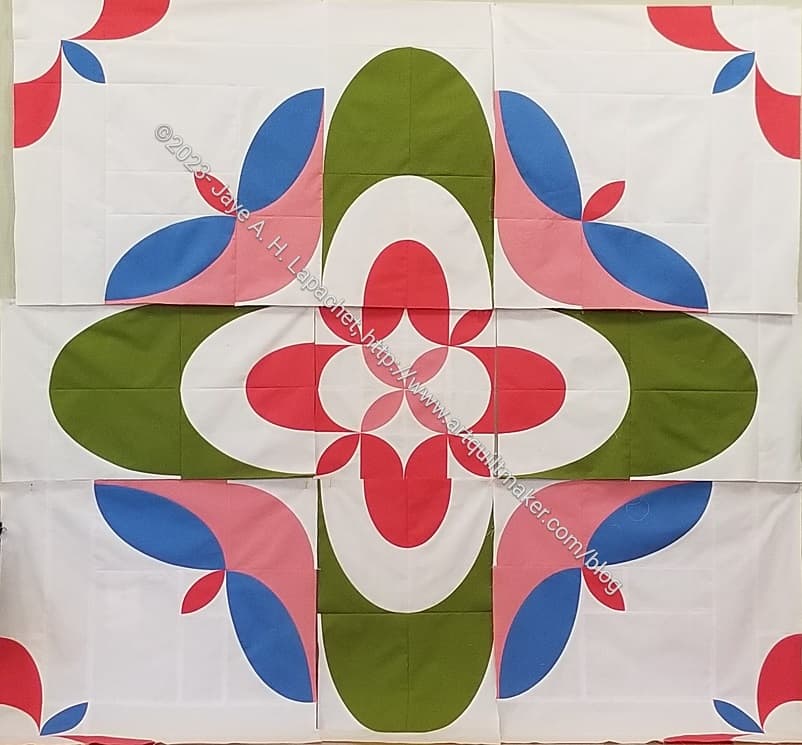
Mary C’s KaleidoBloom
Other people made amazing projects as well. That big amazing quilt with all the curves is Mary C’s project, Kaleidobloom, Crafty Nomad Block of the Month project. I have seen the pattern and many people in the guild are working on, but I wasn’t very impressed until I saw the blocks on the wall.
I think there is just a border or two left, but I wish those corners would be built out some more. I’ll have to wait and see before I make some pronouncements beyond: awesome!
She cuts off the top and adds fabric to the bottom, then boxes the bottom using a 1 inch square. The bonus is that she doesn’t have to insert a zipper and the plastic bags are pretty inexpensive. She is working on developing a project that uses the bottom part of the bag as well. She may do a class or tutorial. I said I would be her tester, so you may see a few of these here later.
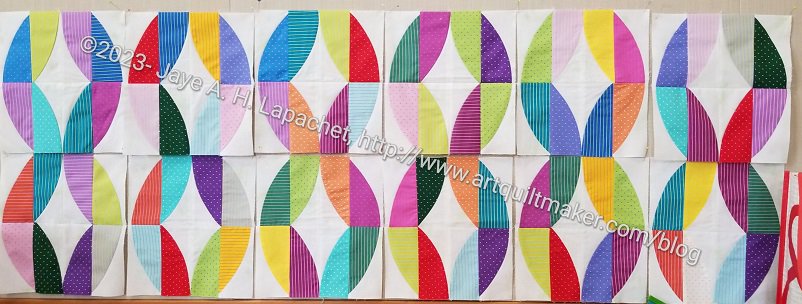
Amy’s Metro Twist
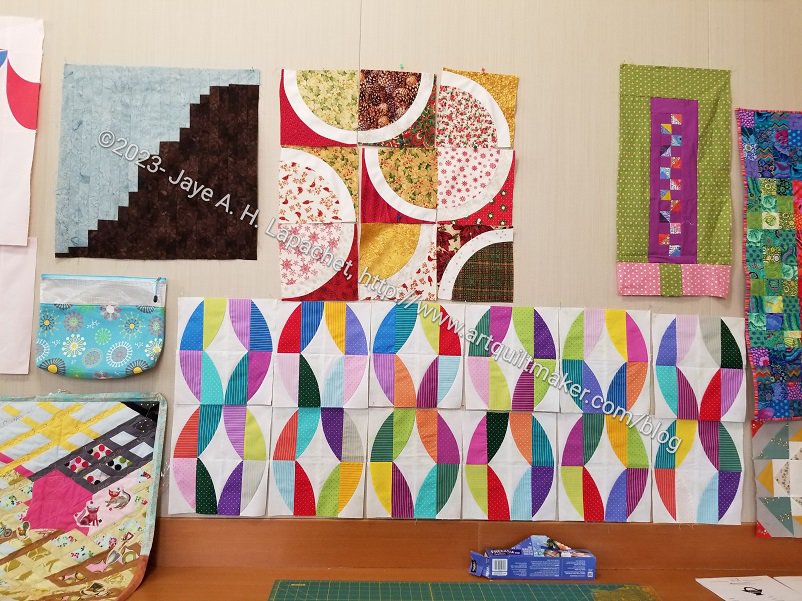
Amy worked on her Sew Kind of Wonderful pattern, Metro Twist. Amy’s looks awesome! I love the Tula Pink True Colors dots and stripes she used and want to make one exactly like it. 😉 This is made with the Quick Curve Ruler, a ruler I thought worked very well. Amy talked about the certified teacher from whom she took the class and getting that person to come to the guild. Somehow that morphed into Amy and I teaching the class! If we do it, it’ll be fun. We’ll see.
Anna’s Kaffe Fassett quilt
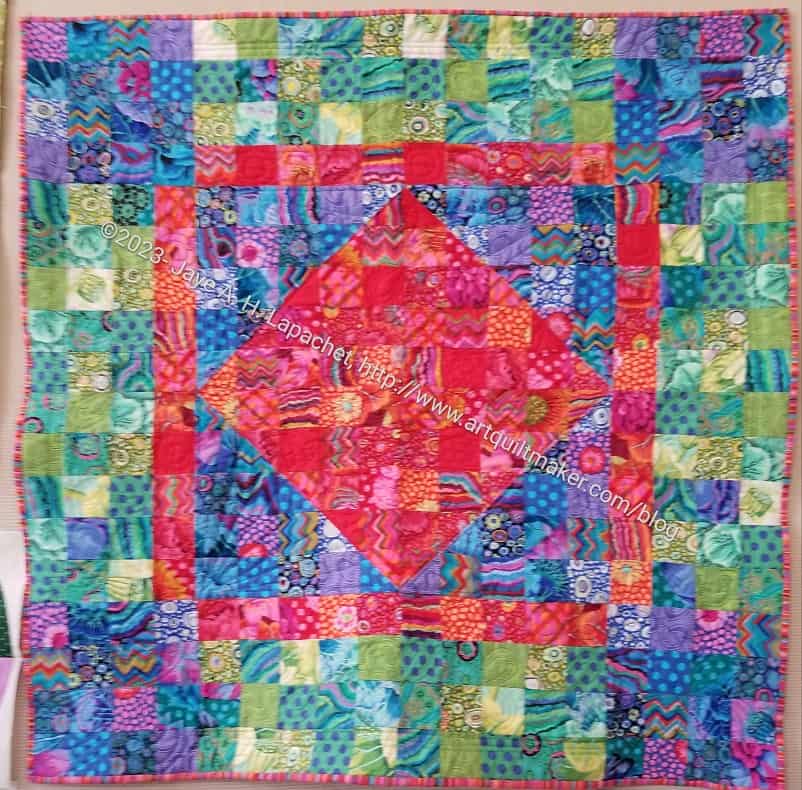
Anna finished a Kaffe Fassett quilt she has been working on for awhile. It looks a little like a watercolor quilt. Remember those? She has a goal of only working on UFOs this year. This was encouraged by the President’s challenge, which is to work on (and maybe finish?) projects that have not been worked on in over 6 months. I plan to finish some of the bags from the 2018 Crafty Gemini Organizer Club. Remember I gathered all the pieces and parts recently? I just haven’t done anything about it yet.
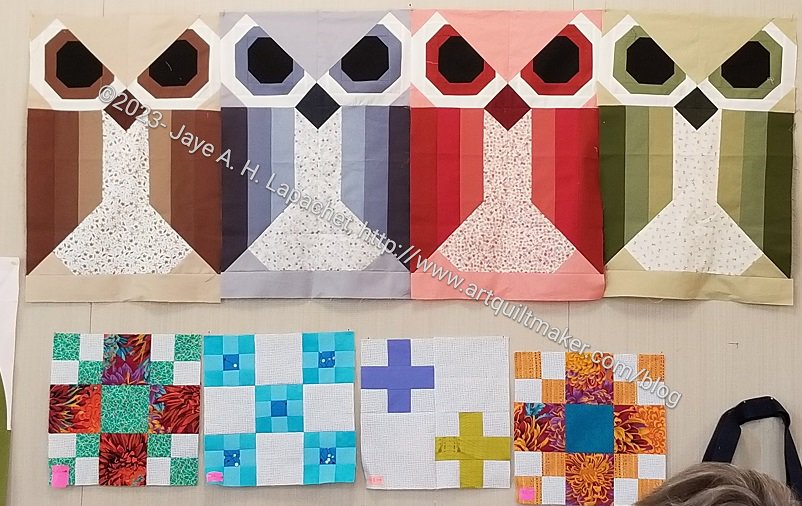
Owls with my blocks
Melinda and Mary M were working together to make a quilt for Mary M’s daughter. They used an Elizabeth Hartman pattern called Allie Owl**. The owls were quite large and will make a lap quilt. The pattern shows brighter fabric; these fabrics look nice, too. I was really amazed at the size.
Some of my blocks are under the owls.
Deb’s quilt top
Deb is a new member and this was her first retreat. Where I worked on 3+ projects, Deb worked on one project and she ended up with a quilt top.
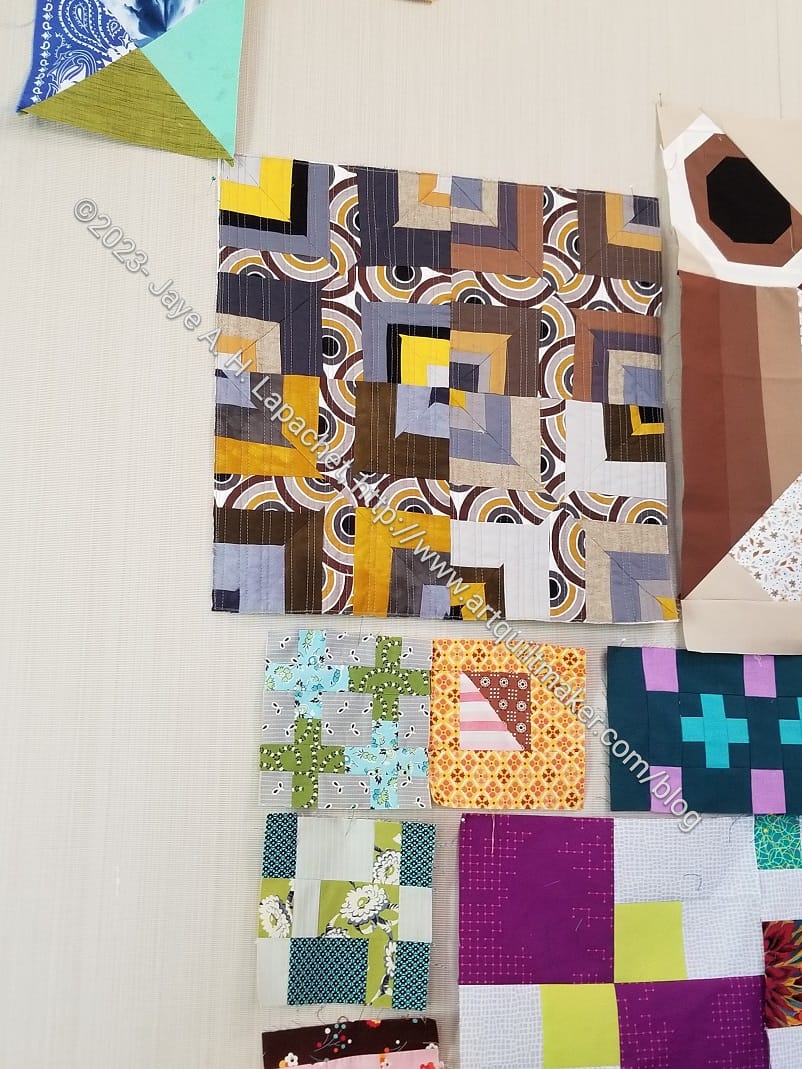
I haven’t seen most of the fabrics she used in awhile. Some of them looked like aboriginal style fabric. This pattern doesn’t look like one that I have seen, but there are some elements that look familiar. The zigzag sashing looks like a Streak of Lighting quilt, but the blocks don’t fit with that design. It’s definitely interesting.
Melinda, Bonnie, Amy & Julie’s projects
Melinda, Bonnie and Julie have their projects above Amy’s Metro Twist. Melinda’s blue and brown piece will be part of the San Mateo County Fair climate change challenge. It depicts the amount of rain in sort of a graph format that her hometown got this winter.
Bonnie has been working on the circle piece for a few months. She had some acrylic templates made by Tap Plastics and has been steadily making progress. It looks good.
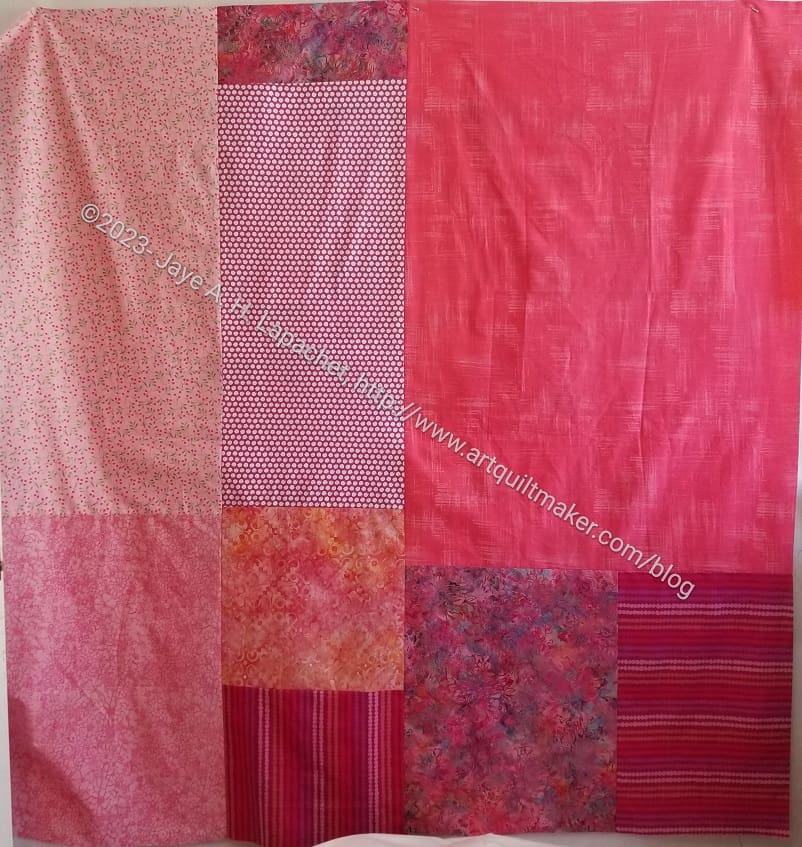
The piece with the fuchsia in the middle to the right of the circle piece is the back of a quilt Julie is making. She wrote a post about it recently. This back goes on the Stitch Happens quilt I talked about recently. I really like the little HSTs surrounded by the fuchsia.
Maria and Alison’s projects
Maria’s climate challenge is on the left of this picture. I didn’t have a chance to talk to Maria about her piece, but I will later.
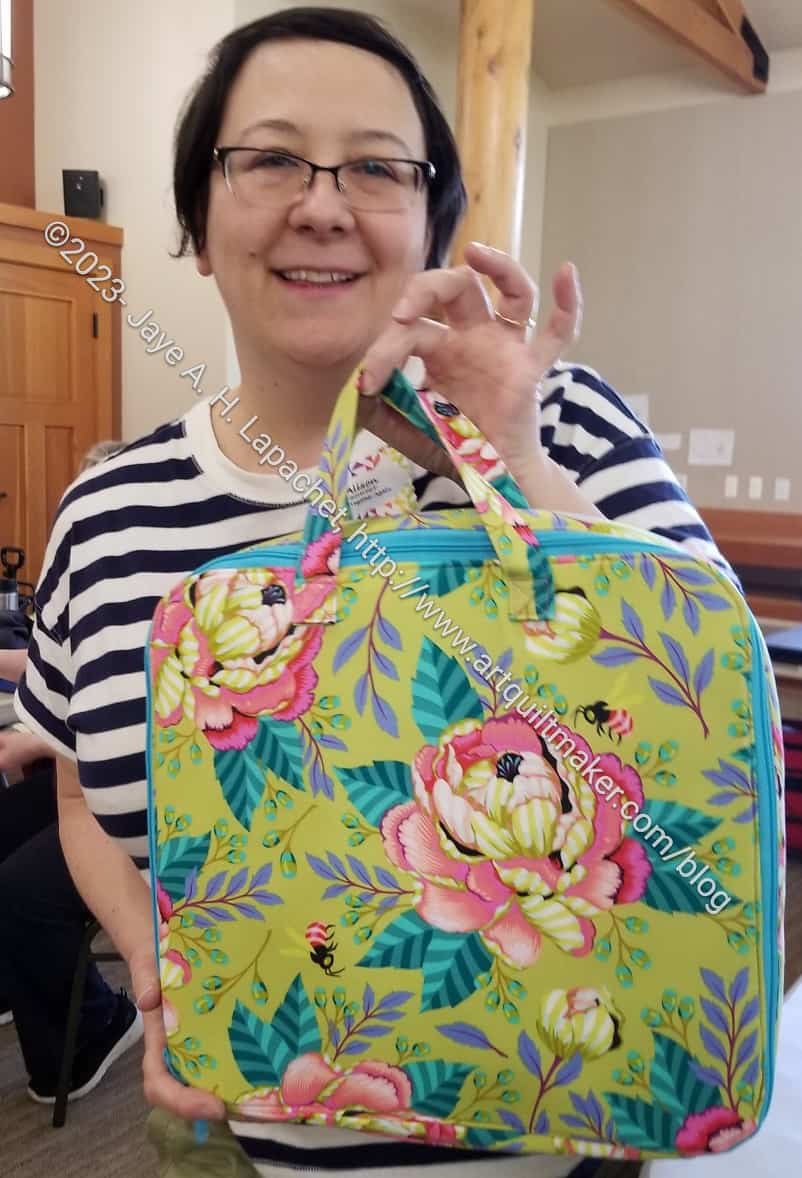
Alison’s blocks are underneath it . They are from the Tula Pink City Sampler book**. She is using some of Denyse Schmidt’s fabrics she got in some swaps.
You get a peek at another one of my blocks.
It is amazing how much we got done in a short amount of time. I love seeing everyone’s projects.
**Obviously, you should shop at local quilt shops and small businesses. However, if you are too busy or can’t find what you need there, I use Amazon affiliate links and may be paid for your purchase of an item when you click on an item’s link in my post. There is no additional cost to you for clicking or purchasing items I recommend. I appreciate your clicks and purchases as it helps support this blog.
This will be a multi-part post on the recent Retreat I attended. I have to split it up, because I don’t have enough time to write a big long post right now.
I had a couple of specific goals in mind. I wanted to finish a Mother’s Day gift and I wanted to finish some gifts I am taking to my work colleagues later this week. Then, if time permitted, I planned to start a new quilt.
First, I was able to finish the Mother’s Day gift. It is small and you’ll have to read the post on May 14th to see what it is.
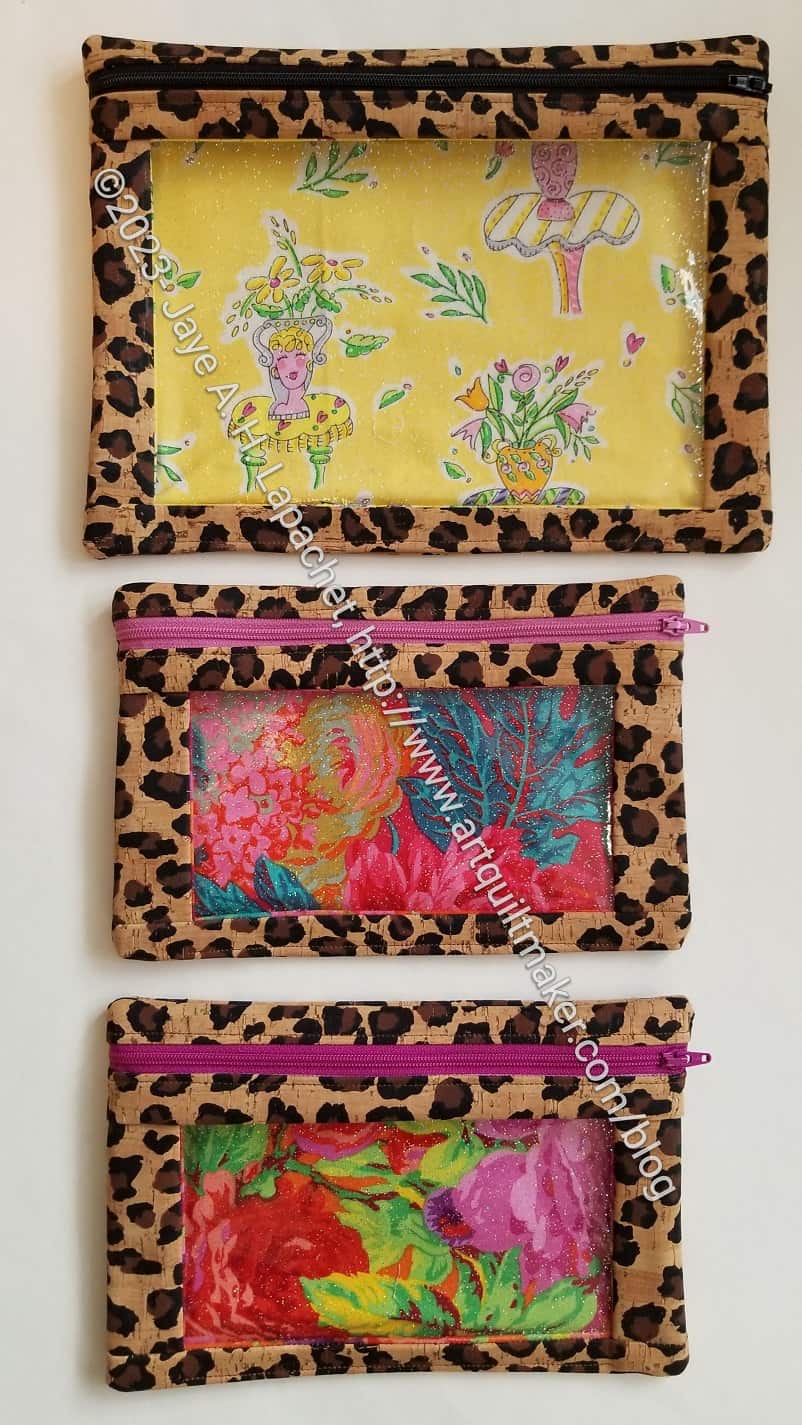
Three cork I Spy pouches
Second I finished the three I Spy pouches I started. I had some of the fabric cut, but not all. I cut the cork, yes cork, at the Retreat and sewed the pouches together. I cut quite a number of strips wrong, so will have to make some pouches out of odd sized strips.
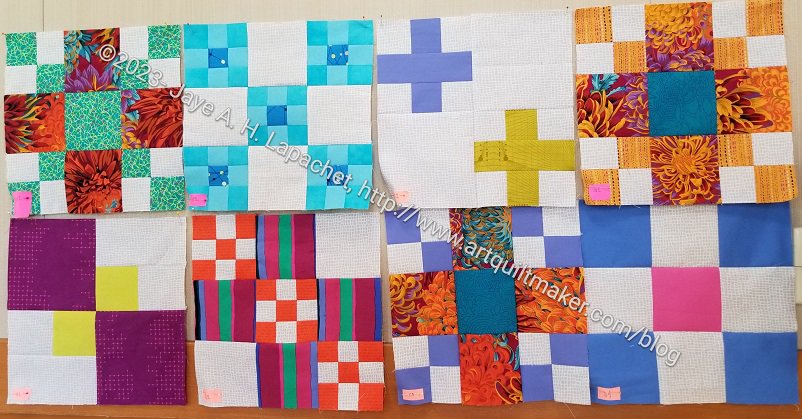
In between, the top two projects, I worked on donation blocks. You saw some of these in the post a few days ago about donation blocks for April. I don’t think I mentioned that I used kits the guild team had prepared. The squares frayed a lot and made me quite crazy.
Scrappy Celebration – first blocks
After these, except the donation blocks, were finished, I started a new quilt. I had a fabric pull from a couple of years ago that I wanted to use. I had some options and finally decided on a plan. This quilt is from the American Patchwork and Quilting Sew-a-Long. It is designed by Lissa Alexander. Because I seem to be incapable of following directions as written, I resized the EQ8 project to include 12 inch blocks rather than 6 inch blocks. The straight nine patches are quite large, but they provide some space for viewers to rest their eyes. Also, the small squares in some of the blocks above are much easier to sew when the entire block is 12 inches finished.
I missed the Sew-a-Long, which started in February, but this project is super easy. The pieces are, mostly, standard sizes and easy to cut. I think even beginners looking for a second or third project could do it.
One of the things I wanted to do to start was to use all the fabrics I selected to see how they worked together. I didn’t quite succeed, but I was able to use a lot of them. So far, so good.
I only have a few blocks this month as I was working, mostly on the newest Spiky 16 Patch. However, I got a little boost by attending the retreat and using the materials available for leaders and enders. I tried to choose fabrics that went together so the Community Quilt people could make a kit, but I was only able to finish 5. Maybe someone will start on a Spiky 16 patch.
My guild went on retreat over the weekend. It was held at a somewhat revamped Franciscan monastery. I say somewhat because the building with the sewing room was new, modern, spacious and nice. The building with the sleeping rooms was old. The rooms were small, the furniture clean and well maintained, but a mishmash and the bathrooms were super tiny.
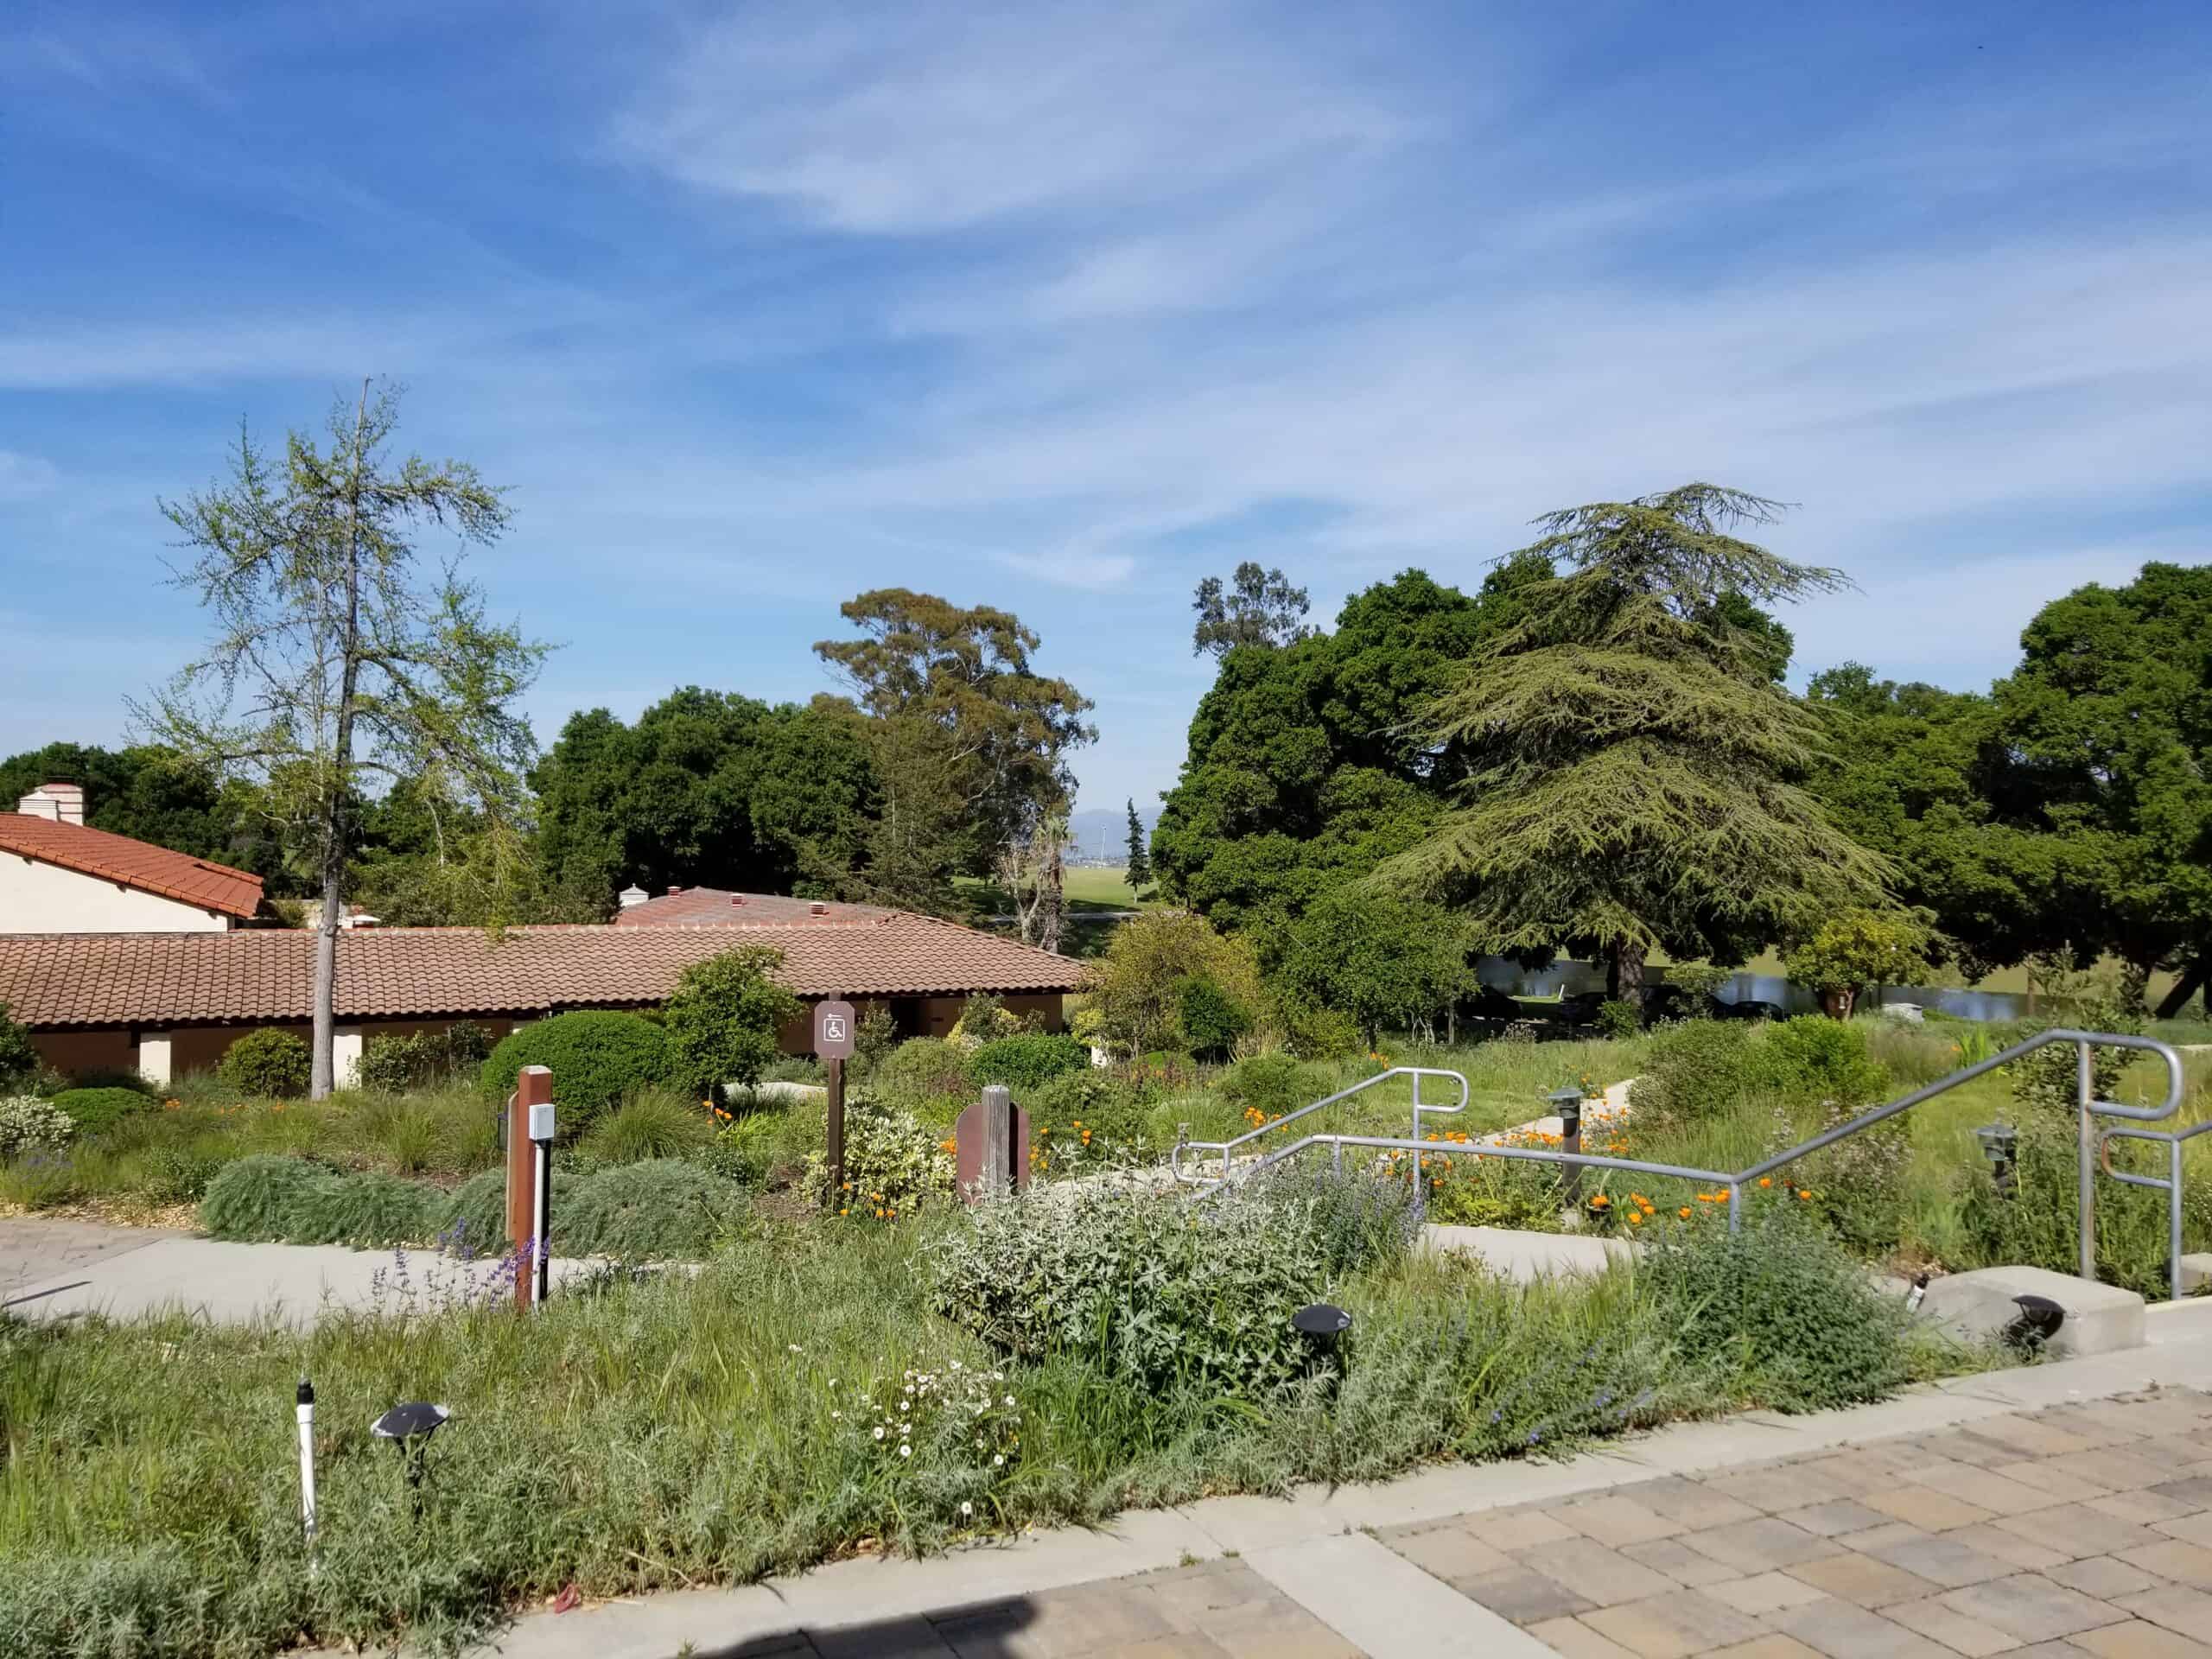
View from the workroom
The rain for the past 3-4 months has been difficult for a lot of people, but the result now that it has stopped is amazing.
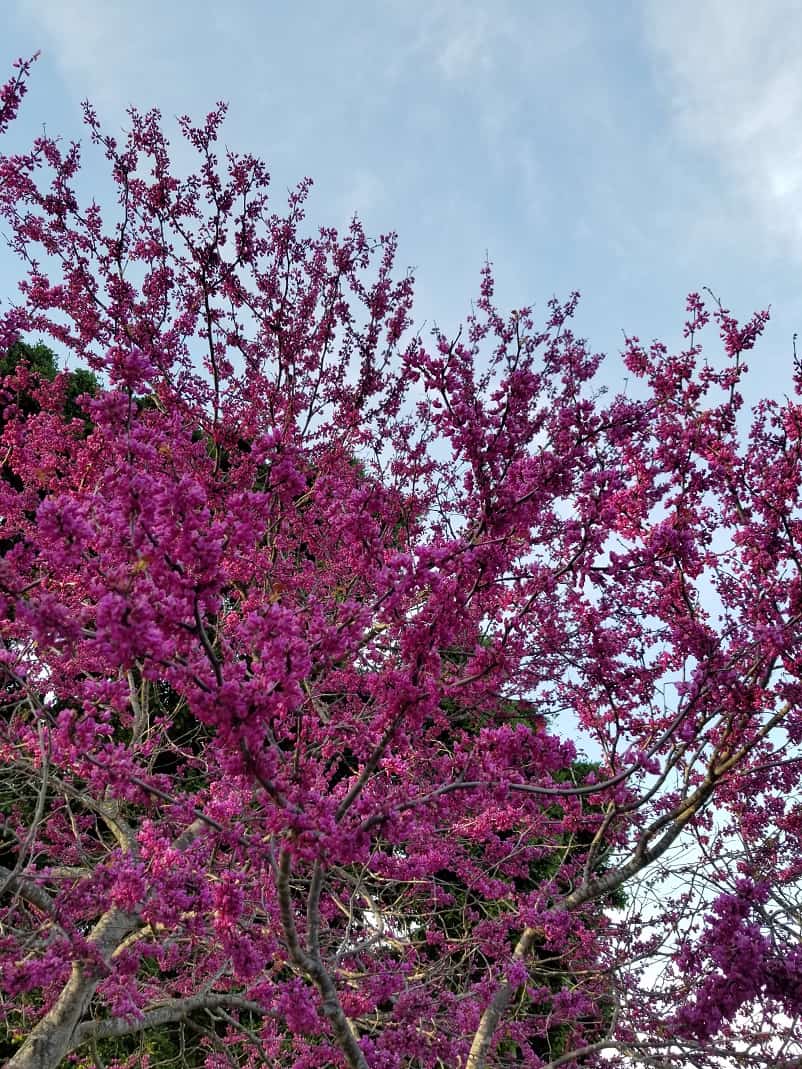
SIL #2 told me this was a Redbud. I really enjoy these flowering trees. It was great to see this gorgeous tree whenever I walked to the ironing board.
View from Alison’s workstation
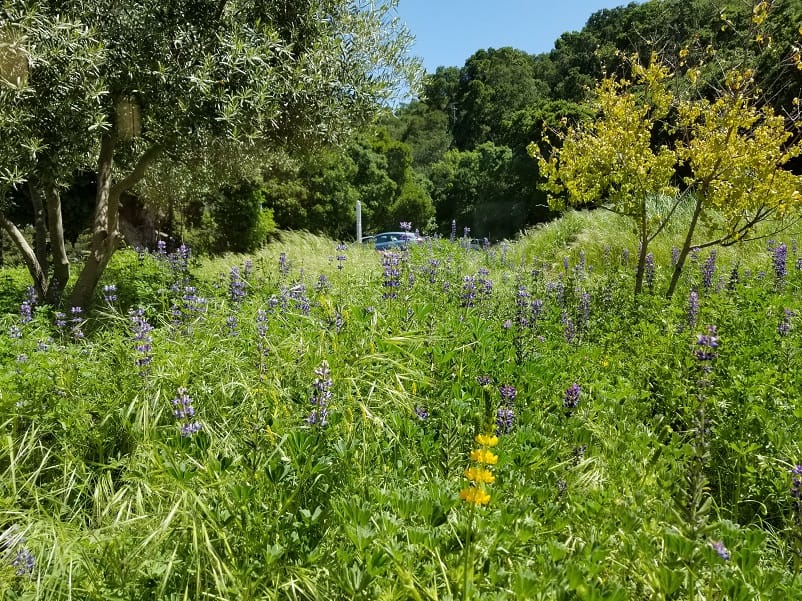
Out another window, by Alison‘s workstation, was a field of purple and yellow flowers. I think lupin was one of them. I am sure if you check Friend Julie’s blog she will be able to tell you exactly what all the plants were.
Workroom view
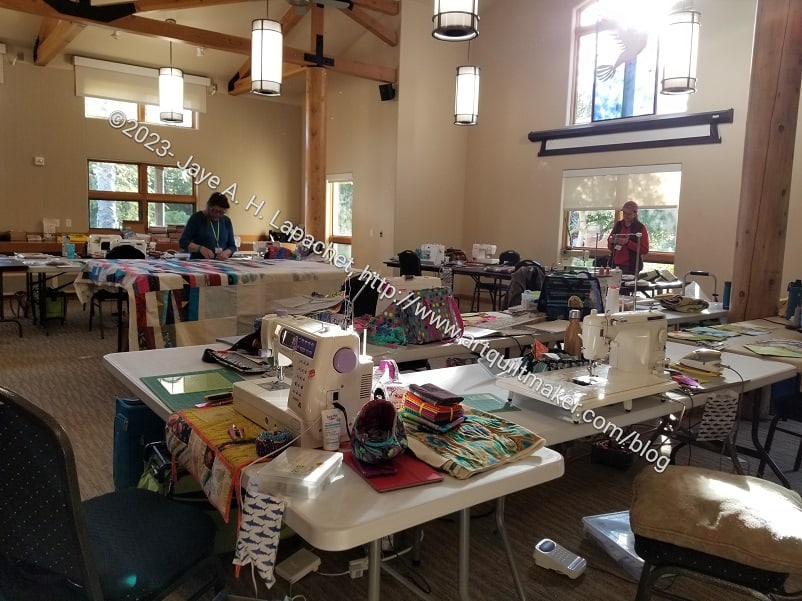
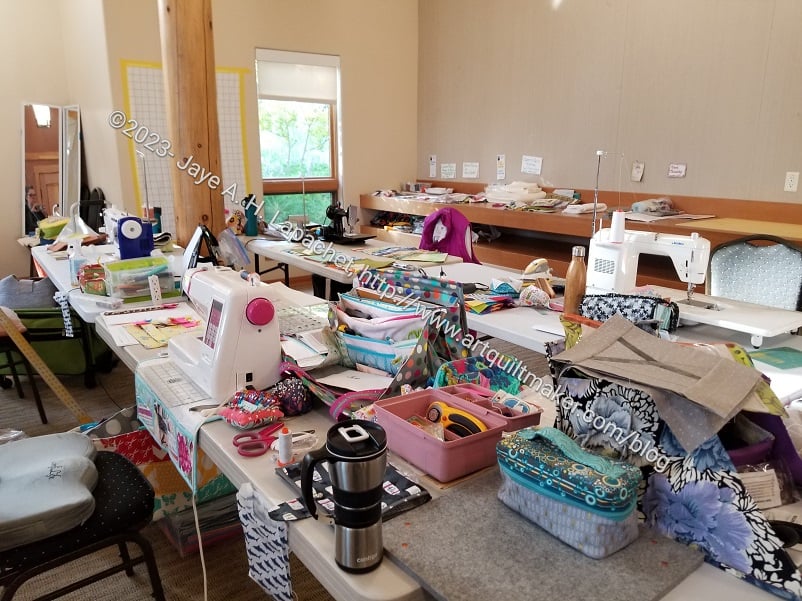
The workroom was really nice. It was very modern and there were plenty of outlets and large tables. In this view, you can see Julie’s workstation in the front and the bulk of the other workstations towards the back.
You can see how many large windows there are. I had no problem seeing even late in the evening.
My Retreat workstation
I felt like my workstation was large enough. You can see all the tools and supplies I brought. You also get a peek of the Ultimate Carry All Bag I made and ended up giving to Julie. I like sitting next to her. We kept borrowing supplies and tools from each other so it worked out pretty well.
All in all it was a great retreat. I got enough done – more on projects later – and got some time off from life. The Retreat was really well organized and had the right amount of activities.
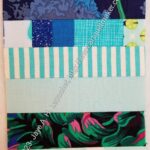
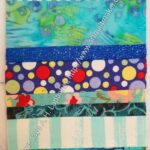
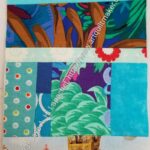
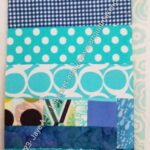
I started, sort of, the next Rainbow Strip donation top. I finished the first one in September of last year. Mostly what this means is that when I am delving into a scrap bin and come up with strips, I make a Color Strip block from it.
Blue Strip donation block #1
Blue Strip donation block #2
Blue Strip donation block #3
Blue Strip donation block #4
Blue Strip donation block #5
Blue Strip donation block #6
Recently I have been making blue strip blocks and I have a lot of them. I think I will have to make a blue Color Strip donation top.
I don’t know if I will use all of these since 6 is a lot of any one color. We’ll see.
This group adds to the yellow, green, grey and pink blocks I already have.
I have made good progress on this bag and am in the last stages of putting it together. I am amazed since I really didn’t think I would have time to work on it when I last talked about it.
Amethyst Bag – happy accident
First, this ‘fussy cutting’ came out pretty well. I didn’t really fussy cut it, I just took the opportunity to put it together in a way that looked like I had fussy cut. It’s a happy accident.
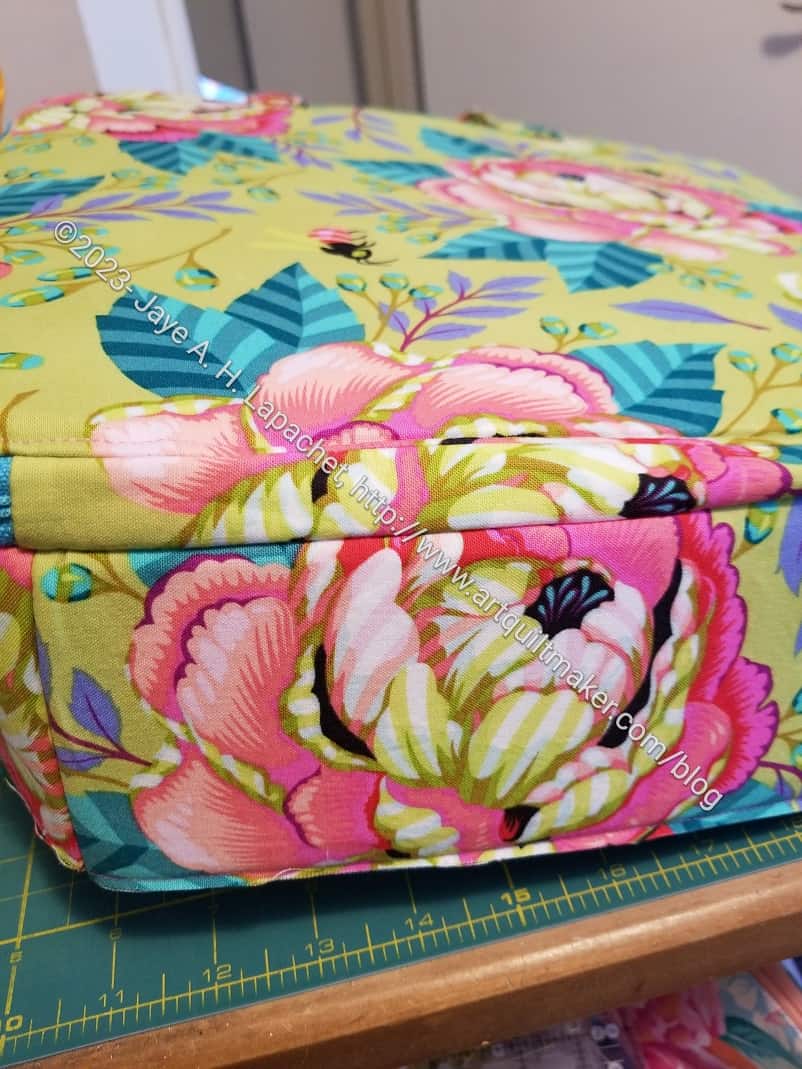
You can also see how this bag is starting to shape up. I have the front cover and inside pocket assembled and the gusset installed.
So far, the bag goes together in a fairly straightforward manner. The prep of all the various parts is making the assembly go relatively quickly.
I know this should come as no surprise, but I am always surprised. Perhaps I have come to terms with making handles and sewing bits and bobs together before the actual bag assembly? Who knows.
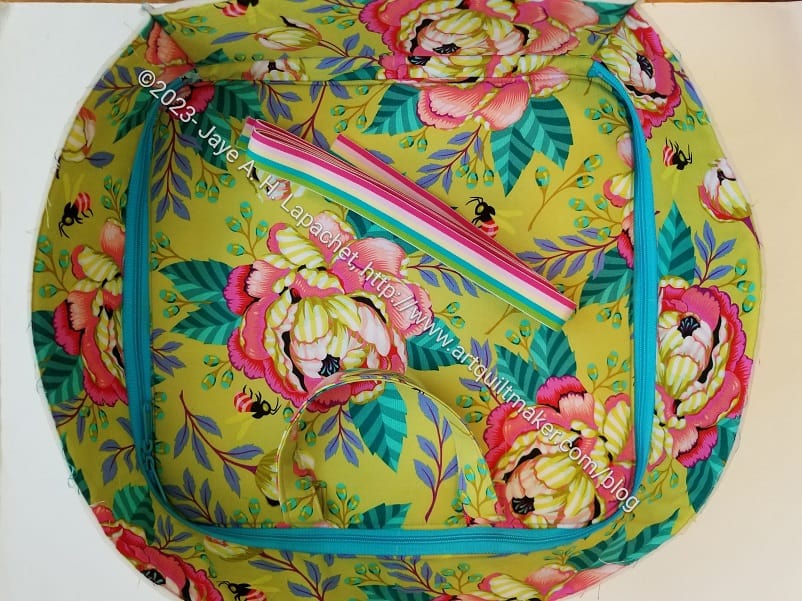
Amethyst in progress -inside out
In this photo, you can really see the dimension of the bag. The picture shows the exterior top and the exterior gusset. The top is pushed down and not the way it will end up when finished. It was like that for top stitching.
The elastic I bought that came the other day looks really good with the Tula fabric.
I used a blue zipper instead of green, because I only had one 40″ zipper and that was it. I think it looks pretty good, though a green would have been better.
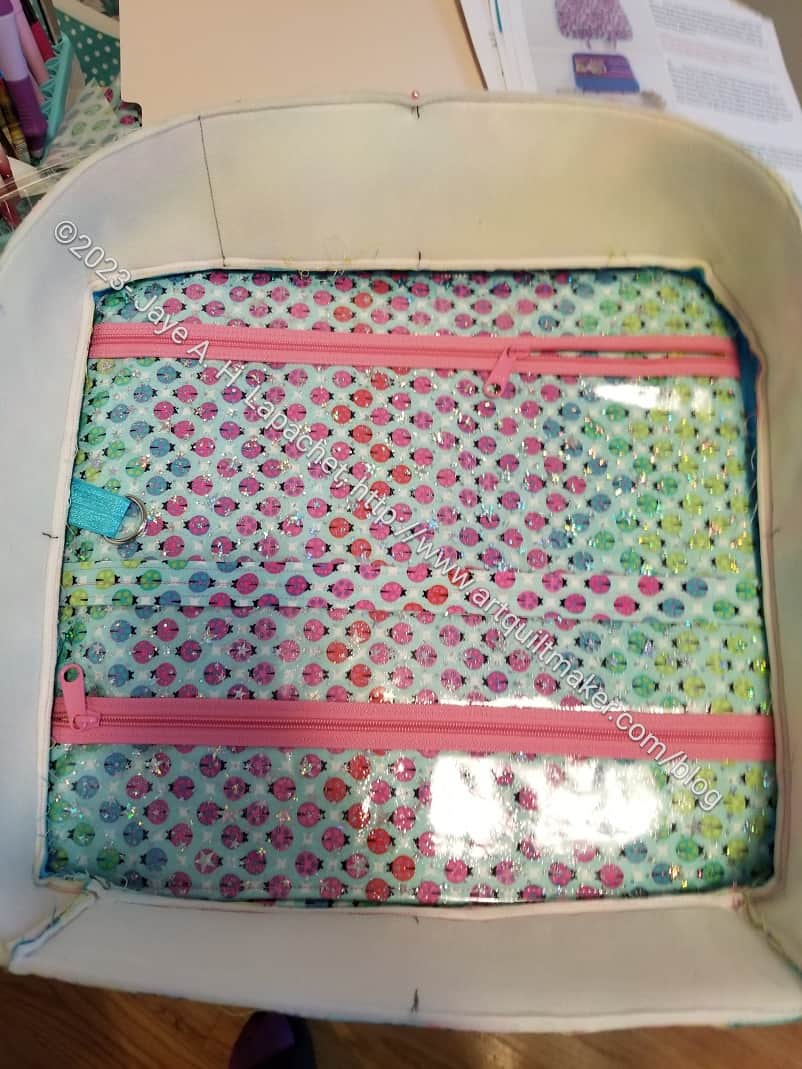
Amethyst – inside front cover + gusset
The other side of the piece in the photo (right, above) looks better than I expected. It is the inside front cover. I thought it would be a bit wonky, but it isn’t. Hooray!
The vinyl isn’t difficult to work with, but it does add layers. Thickness can be difficult to work with.
I put in a new needle and held my breath. Everything was fine.
I am waiting on a parachute buckle to finish. I didn’t want to use a black one, so I got one off Etsy and I think it is coming from Siberia or somewhere. That wasn’t my intention, but sometimes I miss the location from where things ship. 🙁