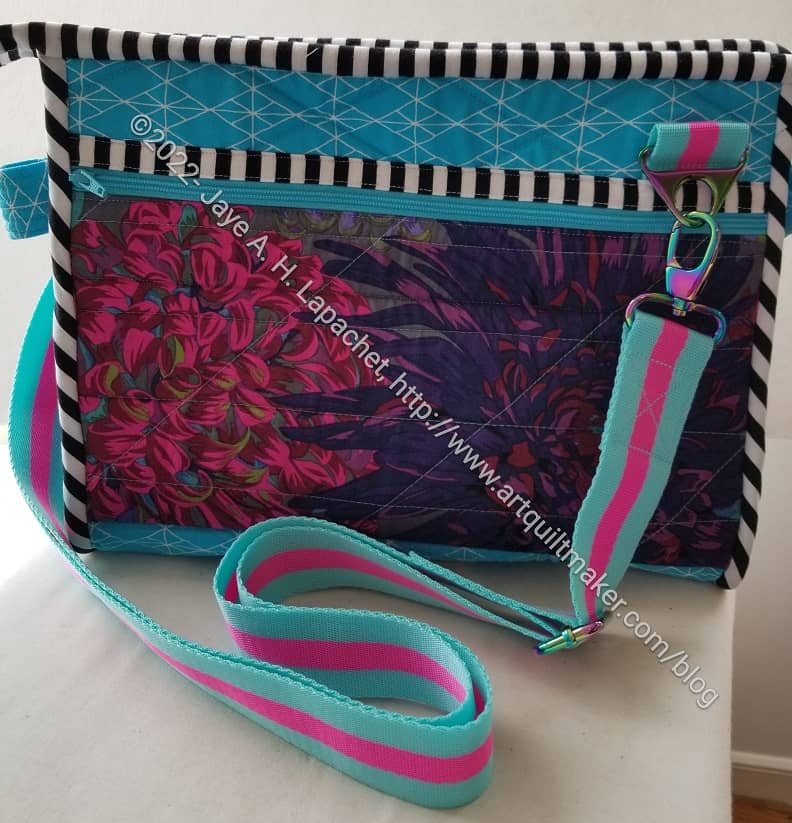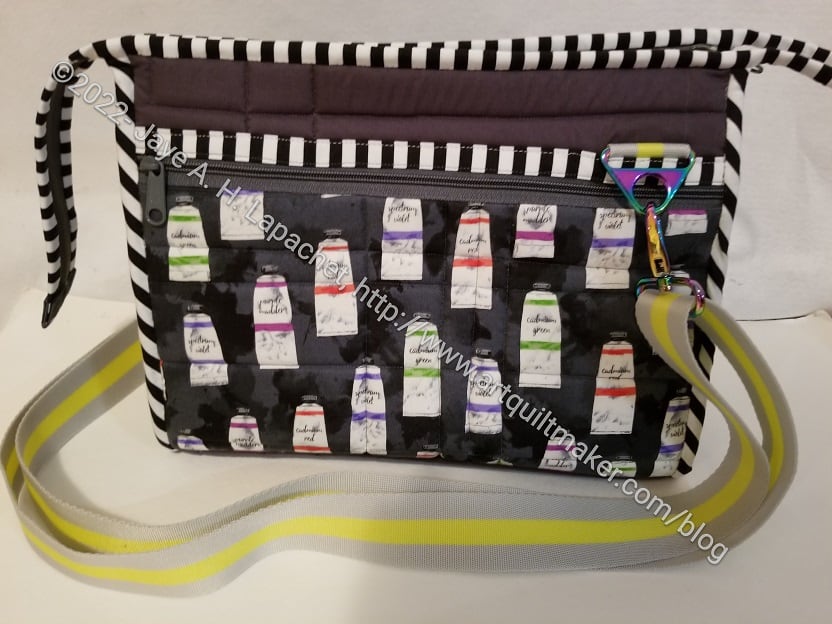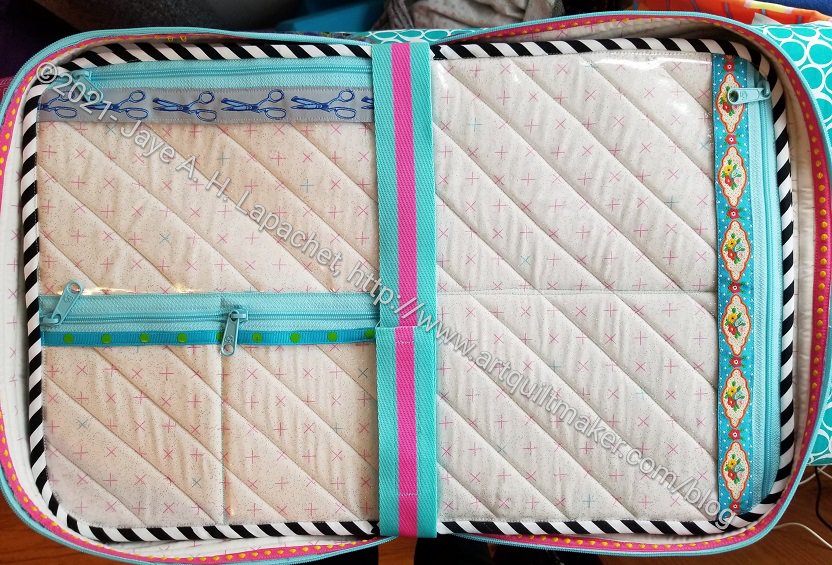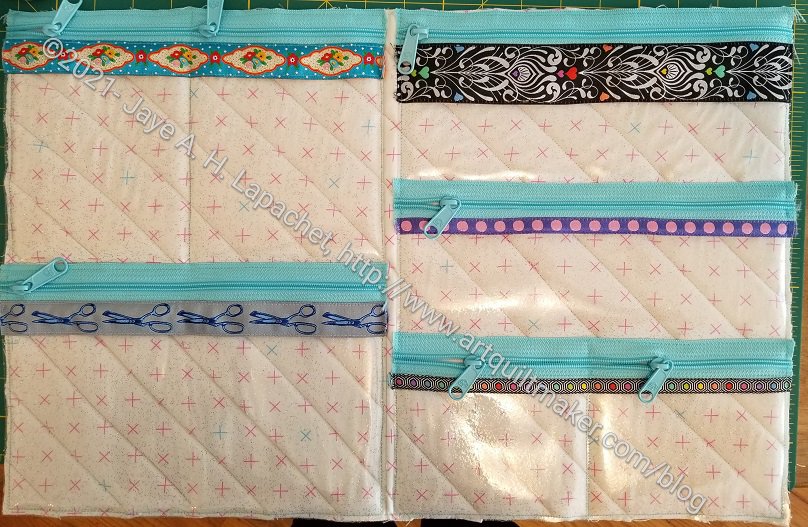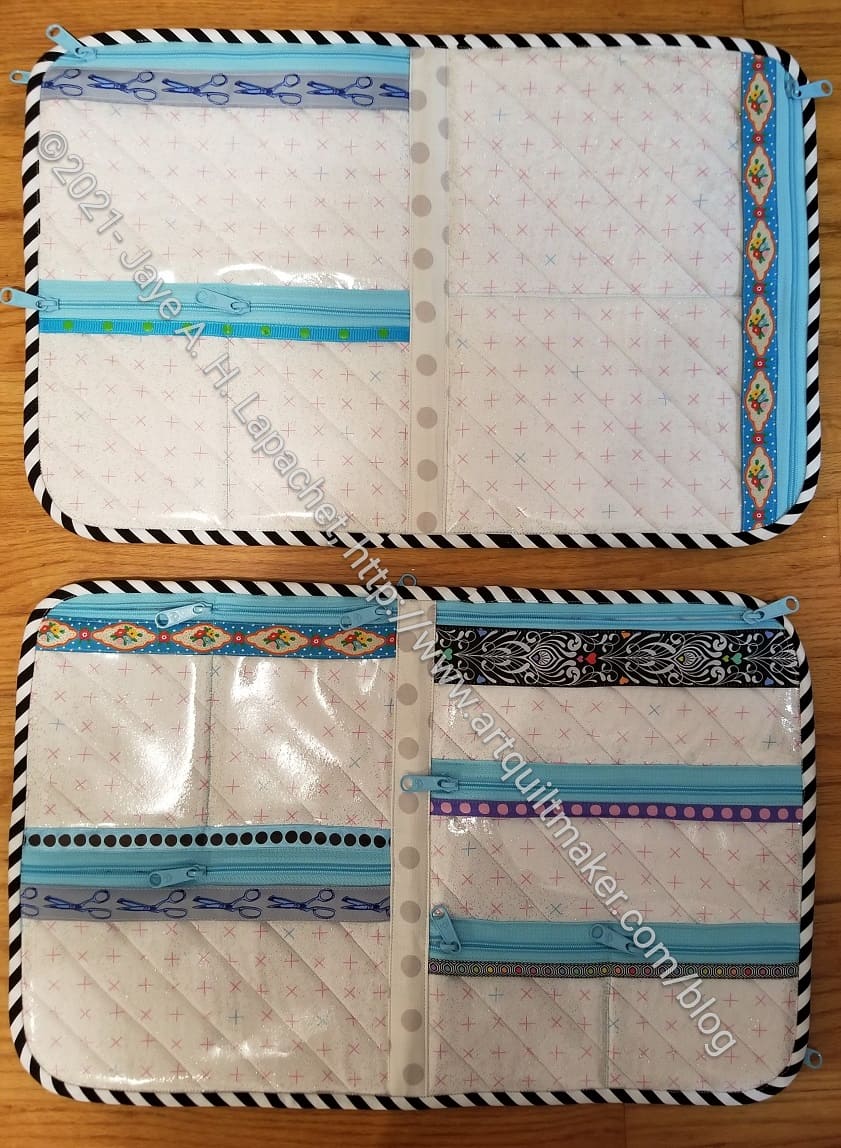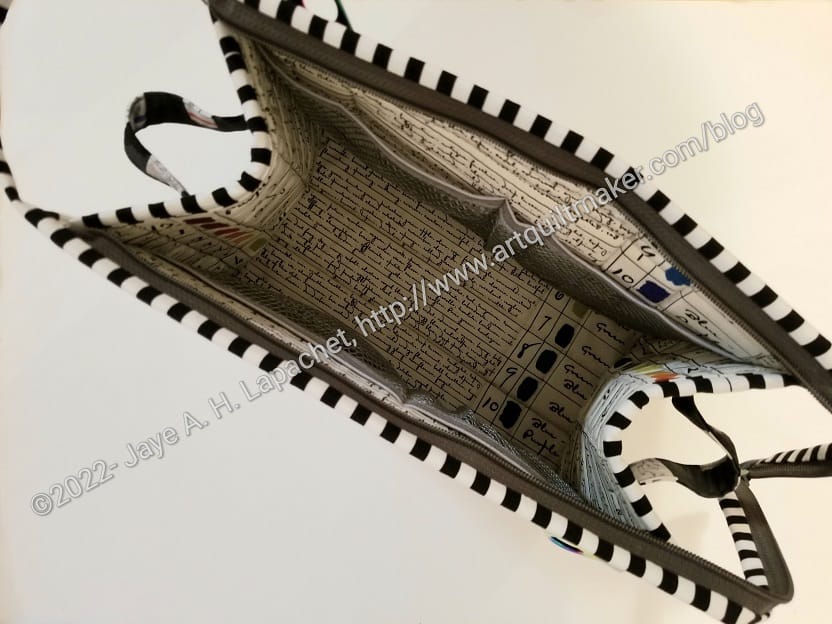
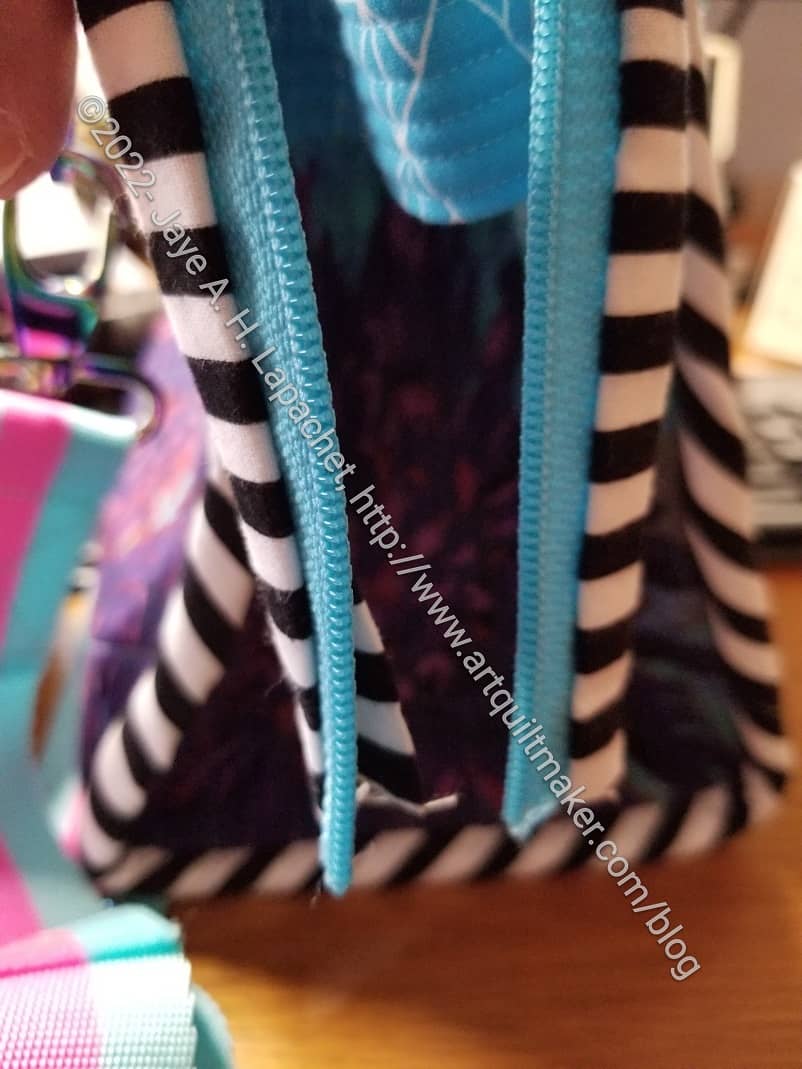
I talked about finishing this bag back in May. The problem was that the zipper wasn’t working right. The bag is supposed to open wide, but the double zipper I had installed was preventing it. I don’t have a photo of this problem on my bag, but I do have a photo of what it was supposed to do. You can see from the photo of Mom’s bag that the whole bag is accessible. Mine didn’t do that.
Apparently, my subconscious was working on this, because one night last week I kept waking up in the middle of the night dreaming/worrying about this damn zipper. I didn’t even remember thinking about it during the day, but my subconscious was clearly dealing with the problem.
I shouldn’t even really call it a problem, because I could still use the bag. I wasn’t, however, actually using the bag.
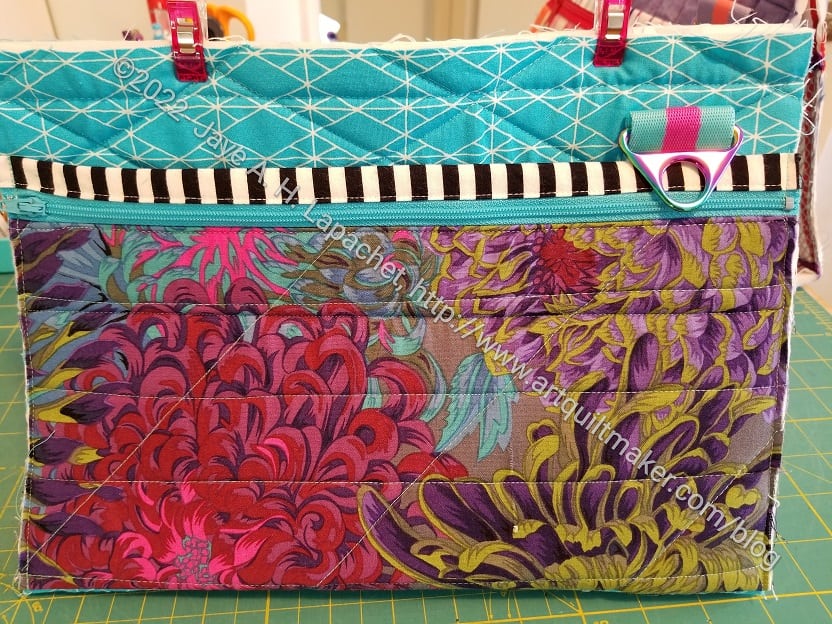
After that night of dreaming about zippers, I looked at the zipper on the bag. If I needed to remove the zipper completely, which I didn’t want to do, it would require a lot of ripping. I thought I could take off the zipper tab, remove one of the zipper heads and put one zipper head back on.
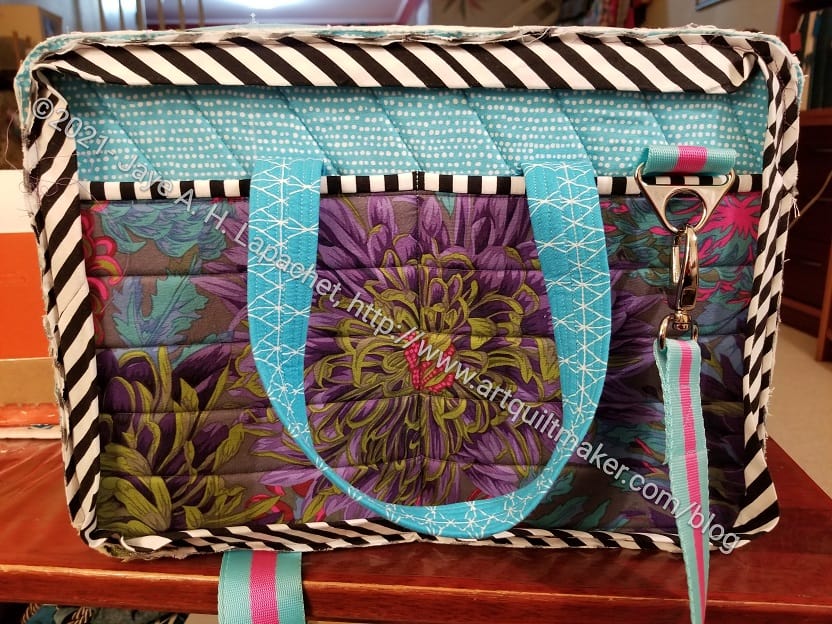
I don’t know why I put two zipper heads on. I didn’t do that on Mom’s Take a Stand. If I had, it would have had the same problem, but you can see from the photo above that it doesn’t

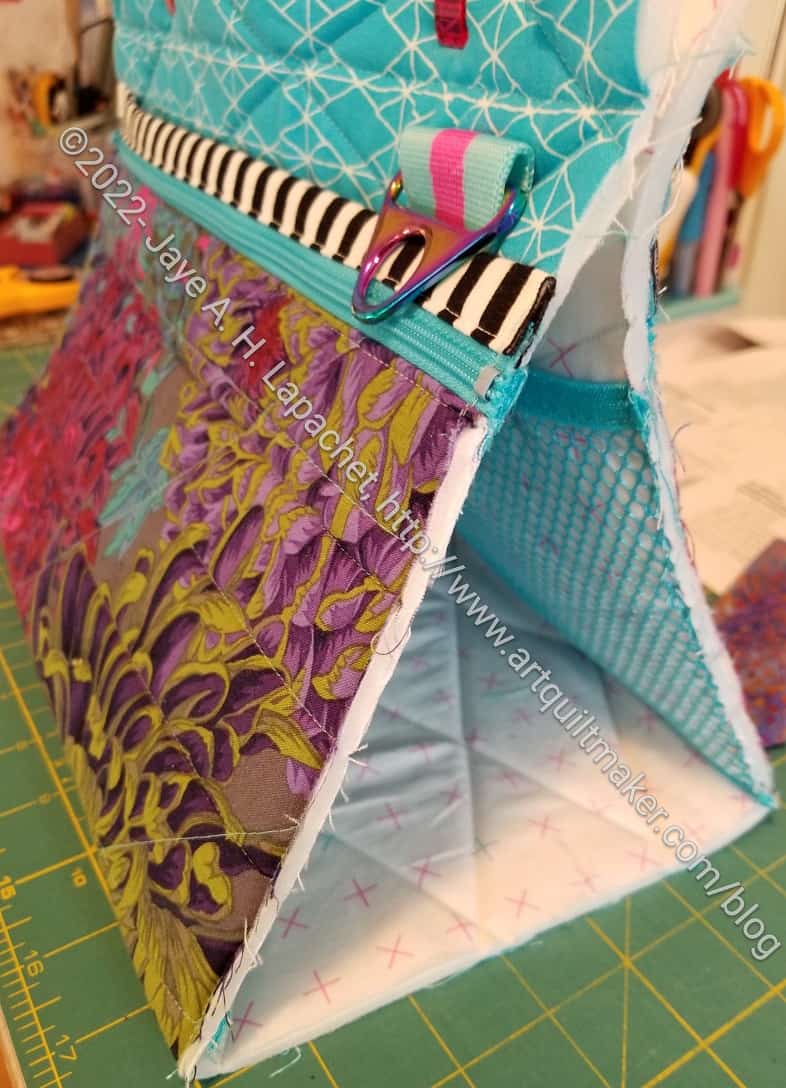
During Craft Night, I started by removing the zipper tab. Then I removed both zipper heads. I could have just removed one, but they were not in the right orientation for one zipper head. I, then, followed my zipper head tutorial. I am so glad I wrote that tutorial, because I always forget I have to put the head in the towel holder** upside down and insert the zipper tape upside down as well. This was a little challenging since the zipper tape was already attached to the bag. I had to do a bit of wrangling, but eventually got the zipper head on.
It works perfectly!
Now I just have to sew the zipper tab again and we should be in business.
**Obviously, you should shop at a local quilt shop. However, I use affiliate links and may be paid for your purchase of an item when you click on an item’s link in my post. There is no additional cost to you for clicking or purchasing items I recommend. I appreciate your clicks and purchases as it helps support this blog.