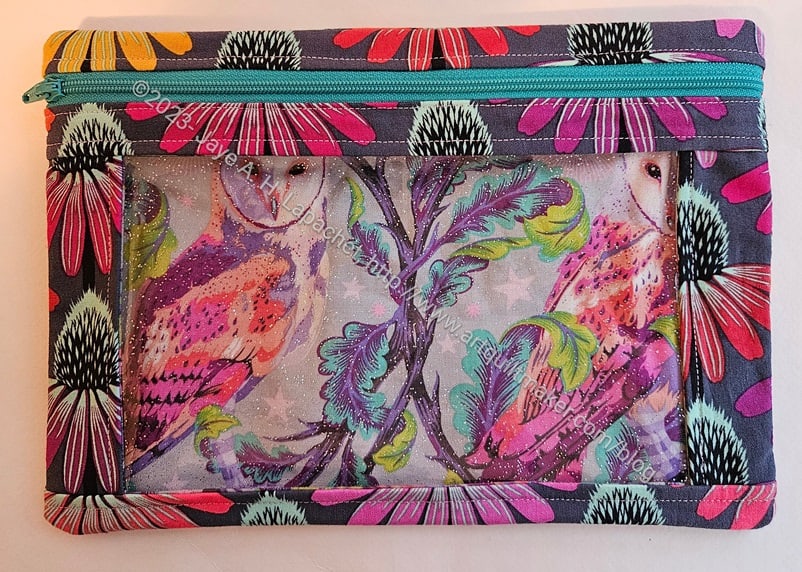
If you ever watch the TV show Ghosts, you will know Flower. I watched the beginning episode of the season and decided that some Tula owl fabric would be good for this latest I Spy.
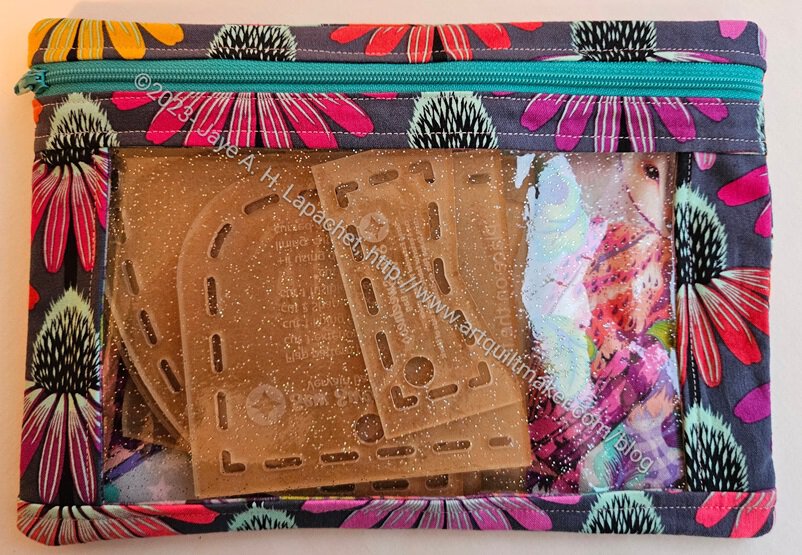
Flowl I Spy with Vervain templates
I know I always say that I don’t want animals looking at me from my quilts, but these I Spy pouches seem to be immune. Anyway, the owls will most be covered by the Vervain templates that now live in this pouch.
I know I have said this before, but these pouches make me really happy.
This is the Bluestem pouch pattern from Sew Sweetness. As mentioned when I made the pink one recently, it is part of Minikins Season 4.
I plan to use this pouch for my pens, post-its and other bits an pieces that I take to guild meetings and Sew Day.
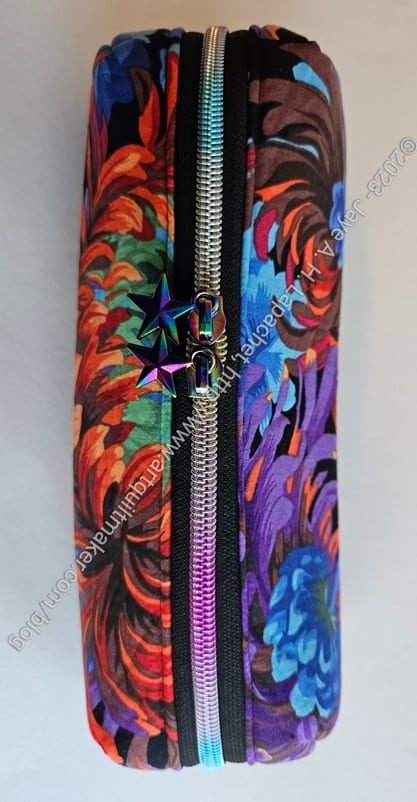
Chrysanthemum Bluestem – end
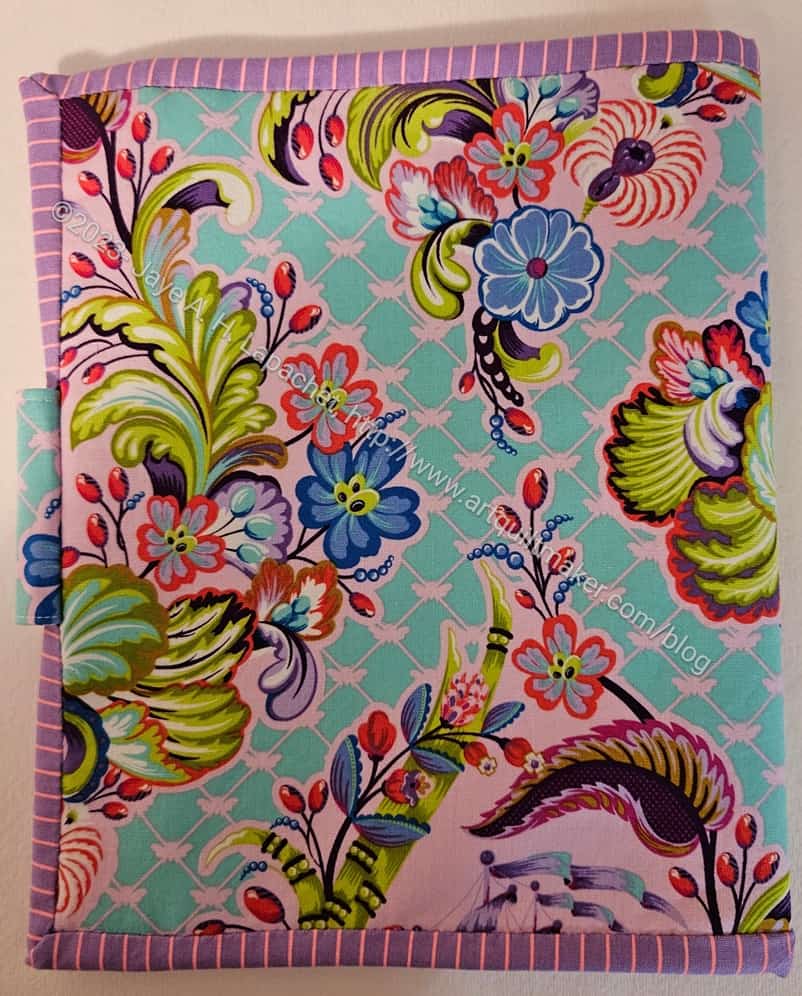
I decided on the fabrics as part of the latest President’s Challenge at the guild. I have had some of the Chrysanthemum fabric for awhile, but I got another piece for my birthday. The goal of the President’s 2024 Challenge is to get people to ‘use the good stuff’. I have been trying to do that, but it is difficult. When I started this pouch, the day had come to do it.
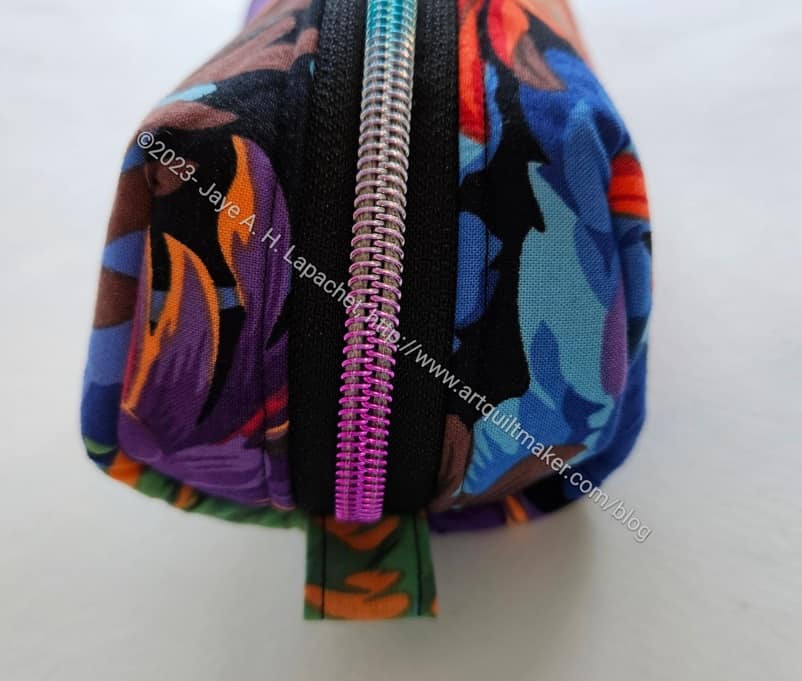
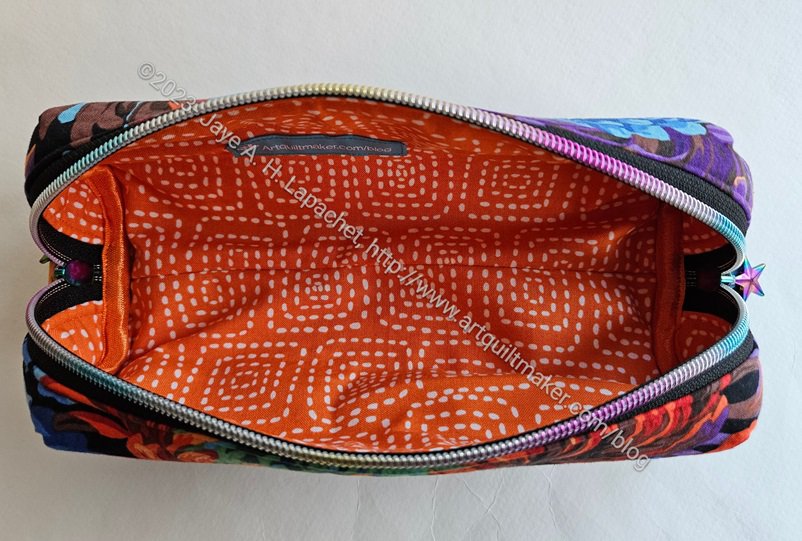
Chrysanthemum Bluestem – open
I am taking the President’s 2024 Challenge a bit farther in that I am also using the fun zippers I have been buying. I really like those rainbow zippers. The new zipper pulls also look great.
I used the orange stitch fabric, because I like it. I have used some of it, but also tend to hoard that particular print. I decided I could enjoy looking at it as I used the pouch just as well as when I came across it in my fabric closet.
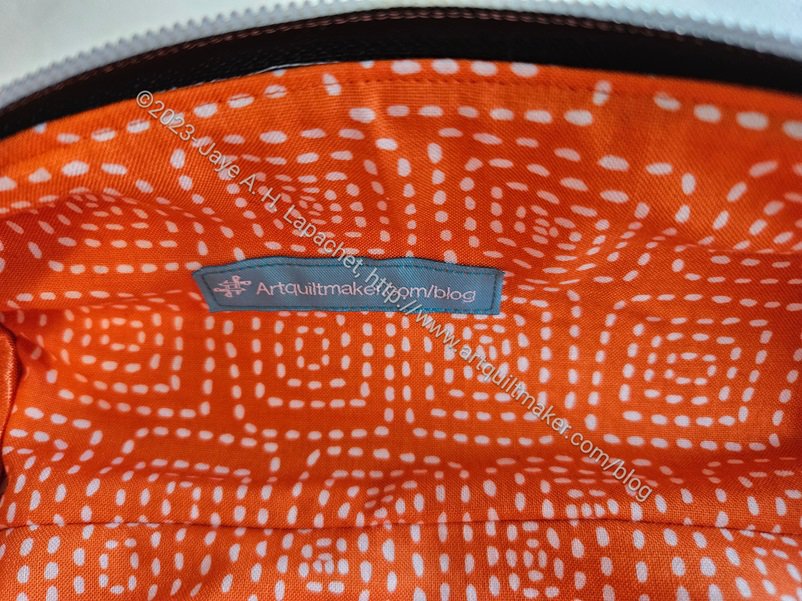
Chrysanthemum Bluestem – label
I remembered to put a label on the lining before I sewed the lining together, which makes me smile.
I am struggling a little with covering the inside raw edges. Still practice makes perfect, right?
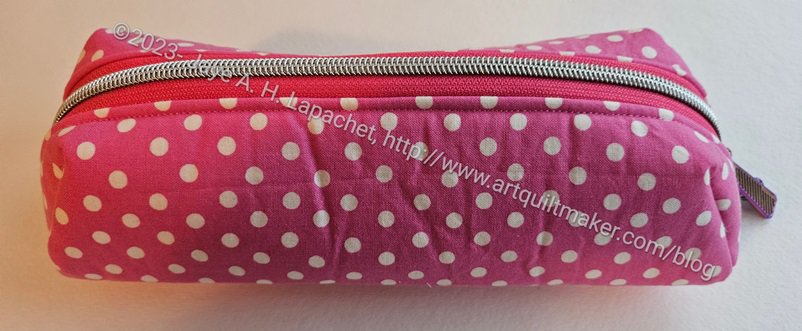
I finished the first Bluestem. It is a small (pens would fit well), firm pouch with the opportunity to use fun zippers and zipper pulls.
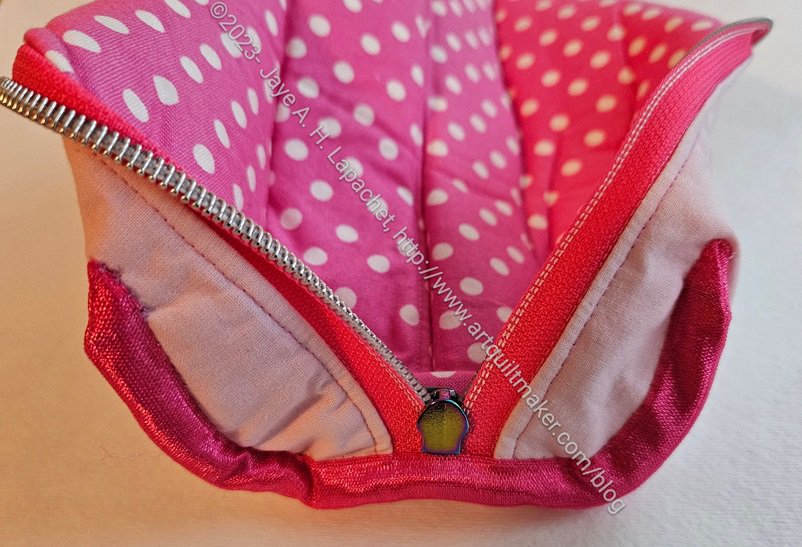
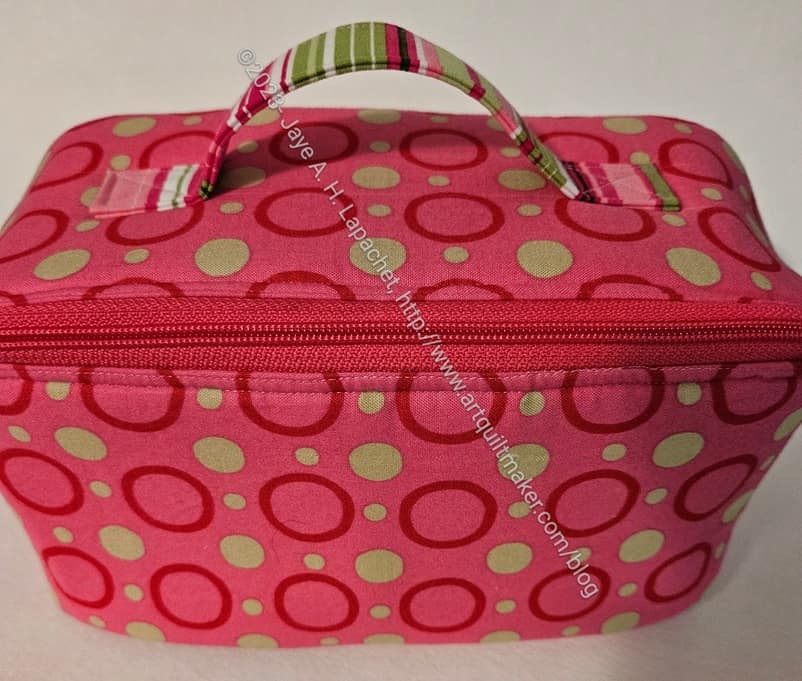
Pink dot Bluestem – side view
I have the idea to make a group of pink bags for a fundraiser or raffle gift and this is the first of the possibilities.
This pouch doesn’t take very long to make. The main pattern piece is an odd shape and I couldn’t imagine how the bag would be put together. I had to watch the video and that helped a lot.
I have to say that, unlike other Sew Sweetness Squad members, I don’t watch the whole video before I make a bag. I just get started, then watch the parts that I need to watch when I am confused by the directions. Sometimes I feel bad about that, but it works for me.
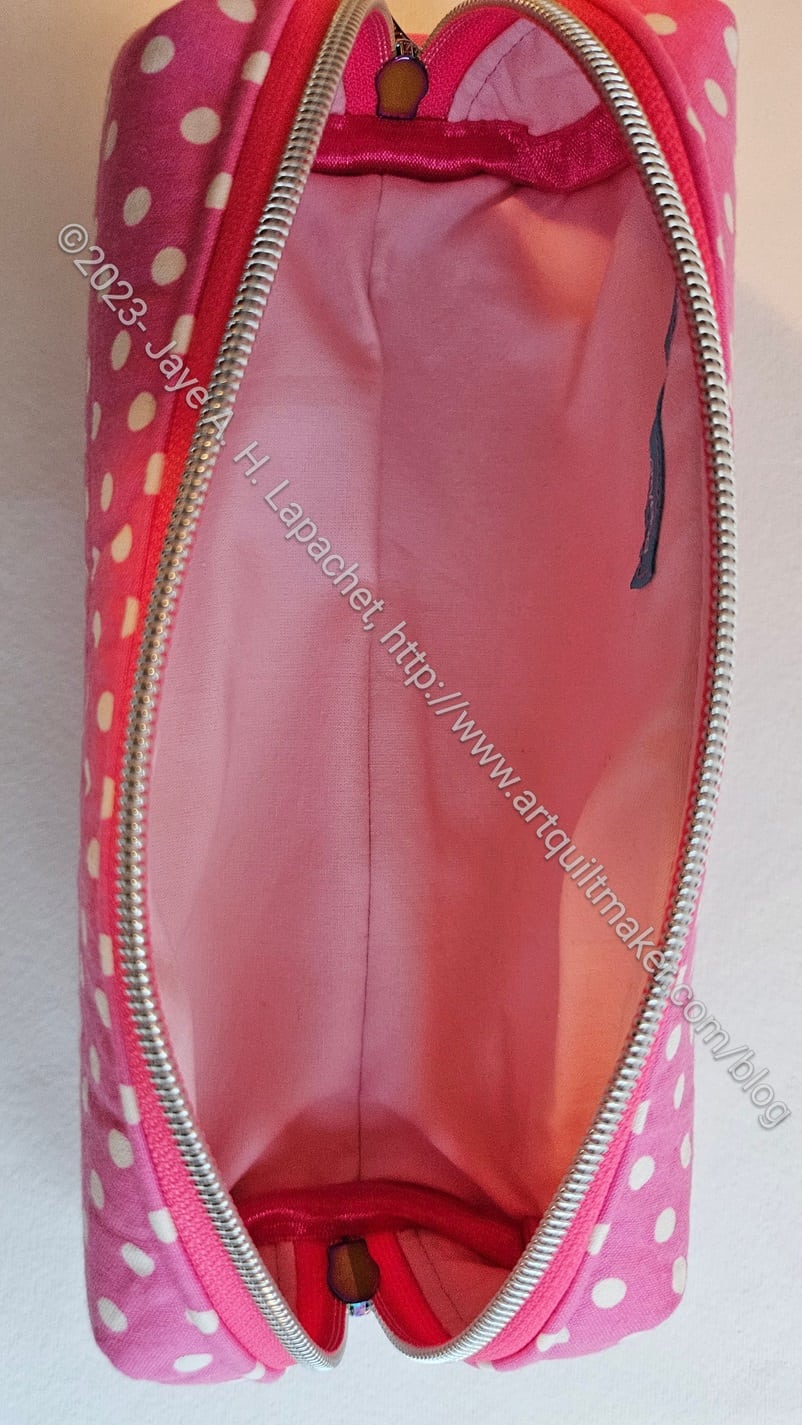
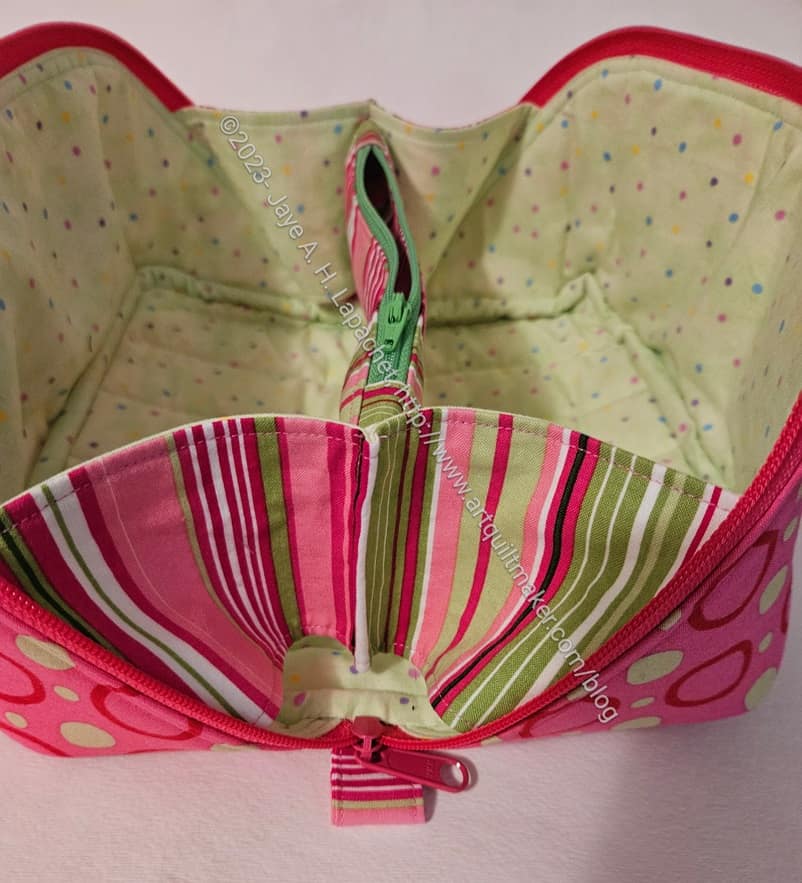
Pink dot Bluestem – inside view
The construction made me worry about raw edges at first, but Sara uses some doublefold (foldover) elastic** to cover the inside raw edges. I am not great at that part of the process, but I am getting better!
You can see the foldover elastic peeking out at the top of the photo, left.
I am pleased with that pale pink solid. It’s from Art Gallery and just looks perfect.
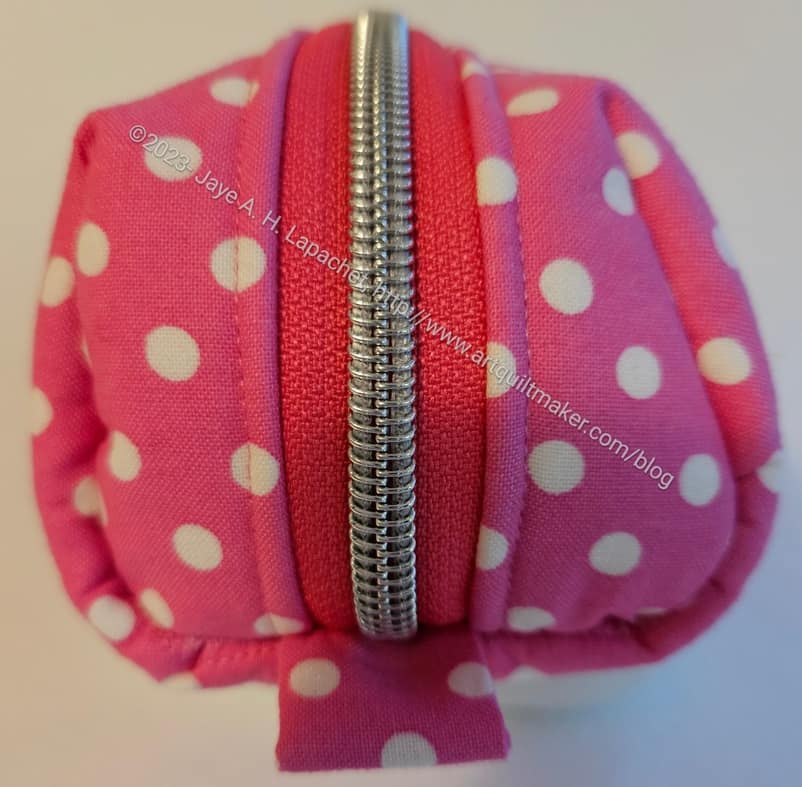
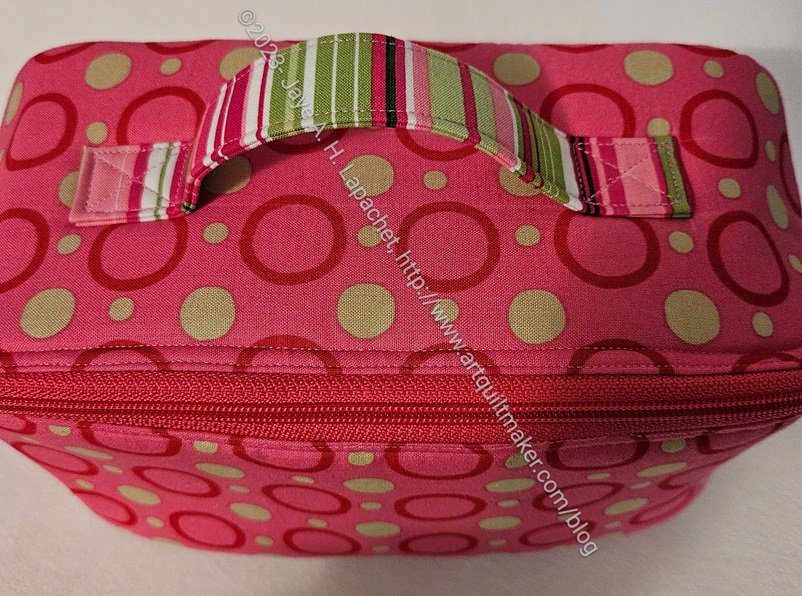
Pink dot Bluestem -end
I am also pleased with how the zipper and the foldover elastic came out together. I admit that I hand stitched one side of the elastic. I just wasn’t confident to stitch both sides at once on the machine. I plan to make more of these, so I’ll get there.
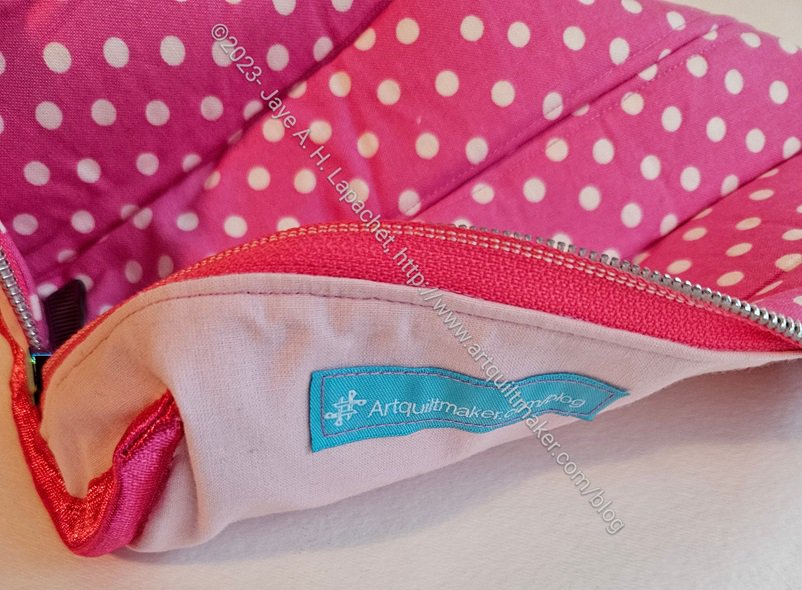
Pink dot Bluestem -label
I also remembered to add a label!
**N. B. : Obviously, you should shop at local quilt shops and small businesses. However, if you are too busy or can’t find what you need there, I use Amazon affiliate links and may be paid for your purchase of an item when you click on an item’s link in my post. There is no additional cost to you for clicking or purchasing items I recommend. I appreciate your clicks and purchases as it helps support this blog.
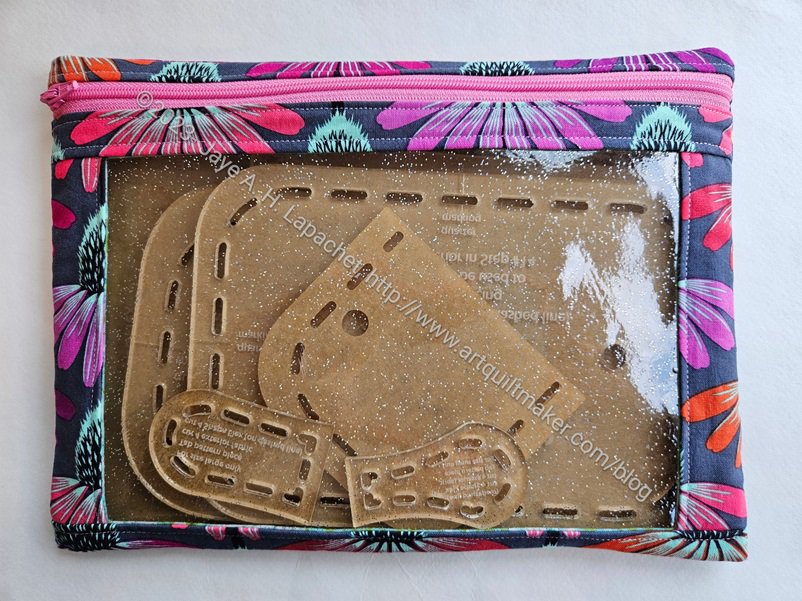
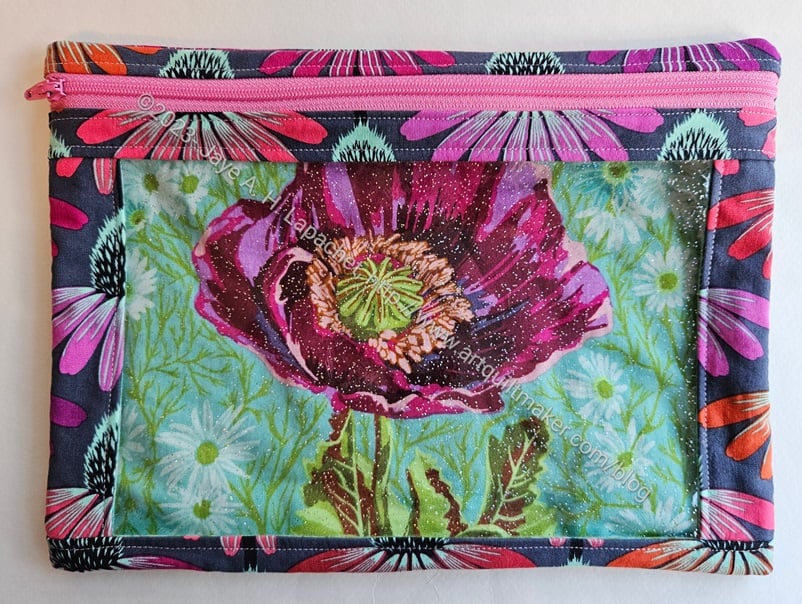
I got some new templates this week, which means I needed a new I Spy pouch in which to store them.
I cut this pouch out after work on Monday and sewed it up during Craft Night. I only had to whip stitch the bottom closed and I could fill up the bag with my templates.
Big Poppy I Spy
I made an effort to make the window (lining) fabric look good and used some fabric I received for Christmas. Normally, the fabric isn’t seen, but I wanted to make this super pretty.
I am planning to make another pouch for the other set of templates. I could have made two at a time, but I thought I would have to adjust the size and I didn’t want to worry about that on Monday. I just wanted to sew.
I finished the Enigma #4 and also gave it to my friend. She was so touched; it made me want to cry. I don’t think of giving bags to people as anything special. In my small quiltmaking/bagmaking world, everyone gives bags like they are napkins or something equally as mundane. I am always brought up short when I give a bag to someone outside of that world and see how amazed they are.
Pink Enigma #4: open
This one came out really well. I am still impressed by the matching stripe I was able to find. I cannot remember when I bought it or where, but it has been hanging around for awhile. It just goes so perfectly with the pink and green outer fabric. I used up all of the fabrics I used. All had chunks taken out of them when I started and were really just scraps when I finished.
Engima #4 – top view
Of course, I am still swooning over the diagonal zipper. Of course, I didn’t take a photo of the side where you can see in this version. You can see the diagonal zipper and how it works in the picture of Mom’s Enigma.
I am really pleased, also, with how well the handbag zipper color goes with the exterior fabric of the bag.
I am Miss Self Admiration Society today, aren’t I?
Pink Enigma – open flat
This one also lays flat. I still really like the way this design opens flat for accessing everything inside.
This piece really came together well in terms of fabric. I am already thinking about the next one I want to make.
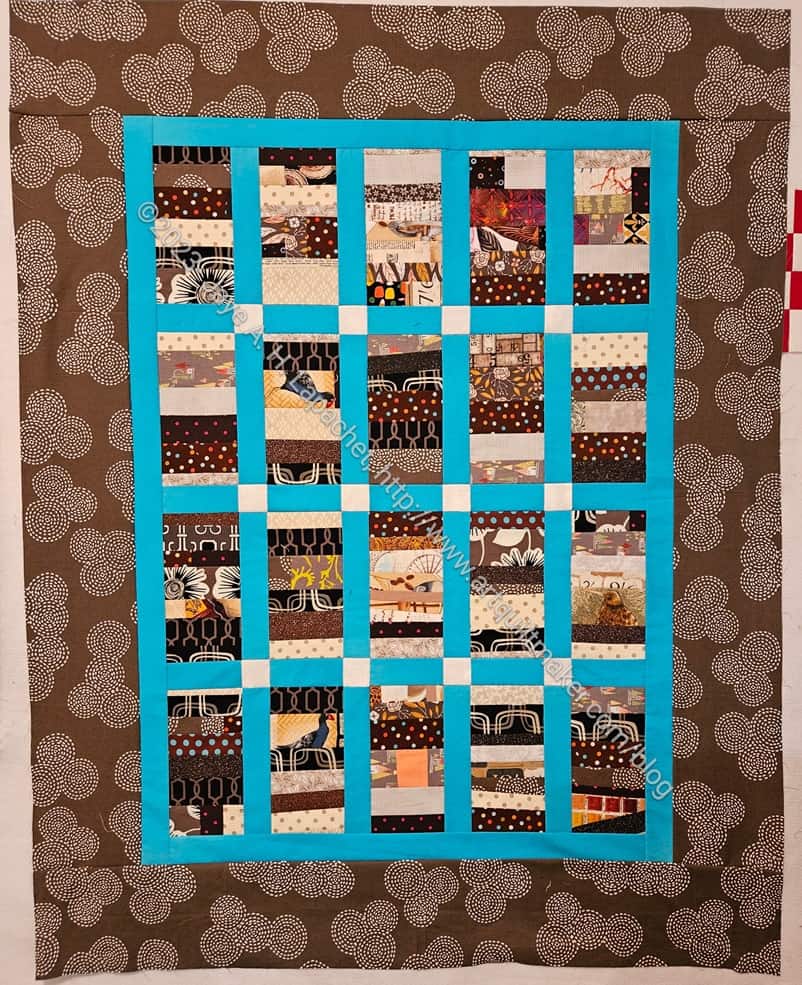
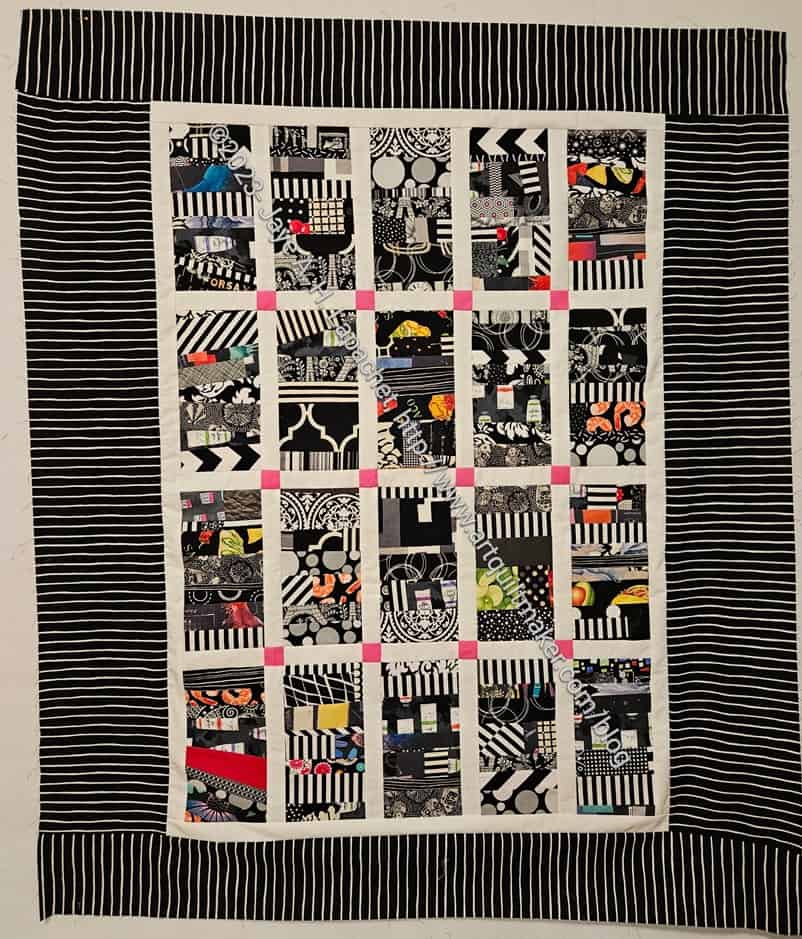
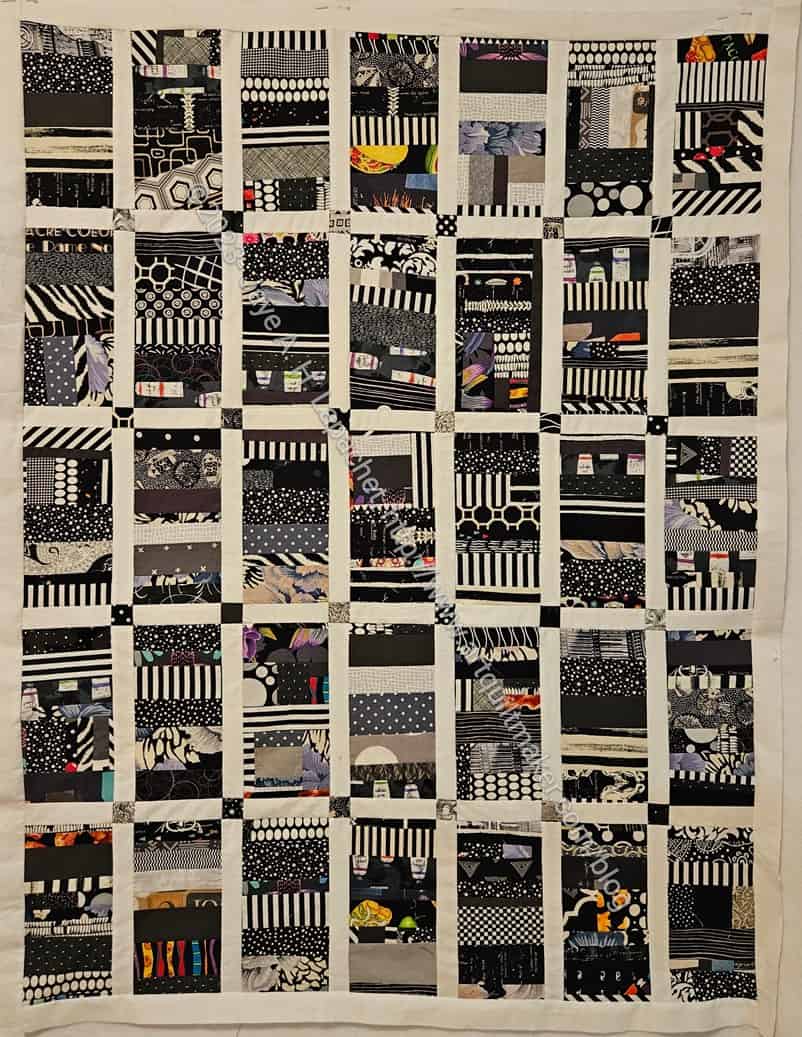
I wouldn’t exactly say I finished this in record time, but I did work hard to get it done and off my design wall.These quilts aren’t difficult to make. The blocks can take some time, but go together quickly if the strips are available and I use the leaders and enders technique.
This is the third quilt finished from my black-grey-brown scrap drawer. It never ceases to amaze me how little fabric it takes to make a quilt. This one, including borders and sashing took about 3 yards.
I showed it to Marty, who loves the nuanced subtlety of brown, at Sew Day the other day and she loved it. She wanted to know if I was a brown convert. No, no I am not, but I am glad I made this quilt and got rid of the brown scraps I had.
While we were looking at the quilt, I pointed out some of the fabrics I used in really old quilts, like She Had to Have her Latte. That is the fun of scrap quilts – seeing old fabrics and remembering a previous project.
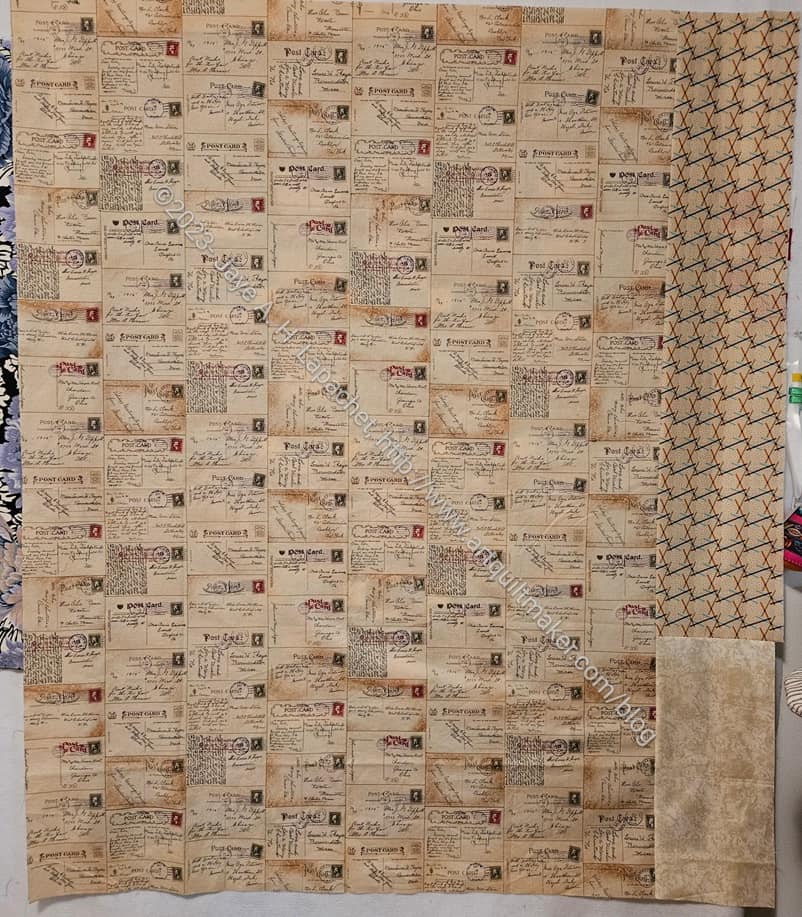
Brown strip donation quilt back
I had a large piece of ‘tea dye’ colored fabric that was almost perfect for the back. I had to add on a bit more, but it was nice to get that large piece out of the fabric closet.
The fabric has postcards on it. I tried to read the messages, but I finally decided they must be fakes as some were impossible to read. That, or they were intentionally blurred.
Another project and more fabric out of the house.
I remembered that I used up quite a bit of brown for the Henry Softies.
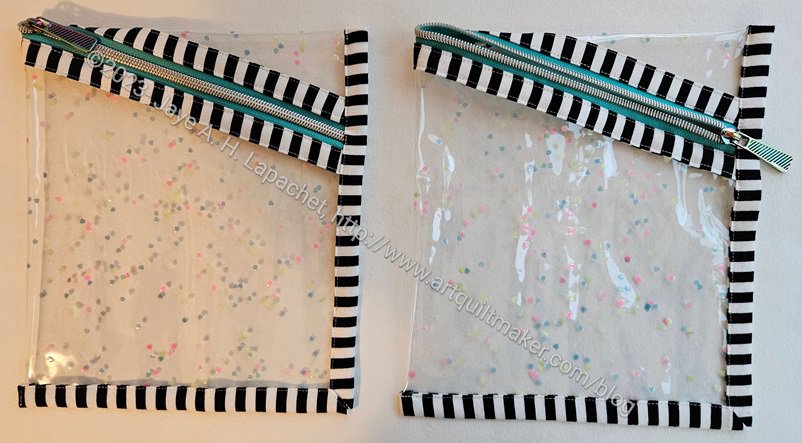
This was a relatively easy project. As mentioned the other day, I didn’t use the exact dimensions, but it didn’t matter. You can make this pouch any size.
For me, it seemed best to make two at a time since you only use one side of a zipper. I didn’t want to have a random piece of zipper hanging around, so I made two.
I am going to try making one with some of the pre-quilted foam I got last year. I might make a bag for my lightbox.
I briefly talked about Mom’s Enigma bag in the post I did about all the gifts I have made for her. It was so brief that you probably didn’t notice.
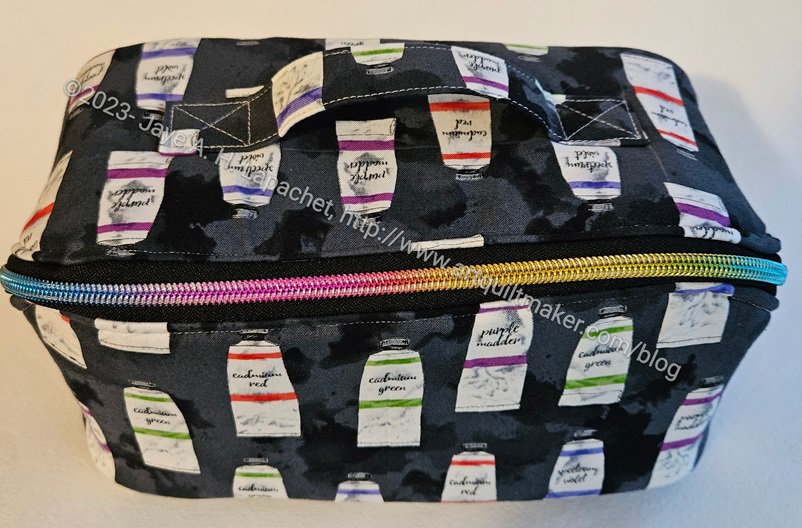
This is the third Enigma Bag I have made and I am especially pleased with how good the zipper looks with this fabric. You can see the other Enigmas I have made by looking at the Minikins page.
As you know, the Enigma is part of Minikins Season 4 from Sara Lawson at Sew Sweetness*. It came out in November or December – I can’t remember – late last year in any case. I am pleased that I have made 6 projects from this group. Yes, four of them are the same pattern, but still a good showing.
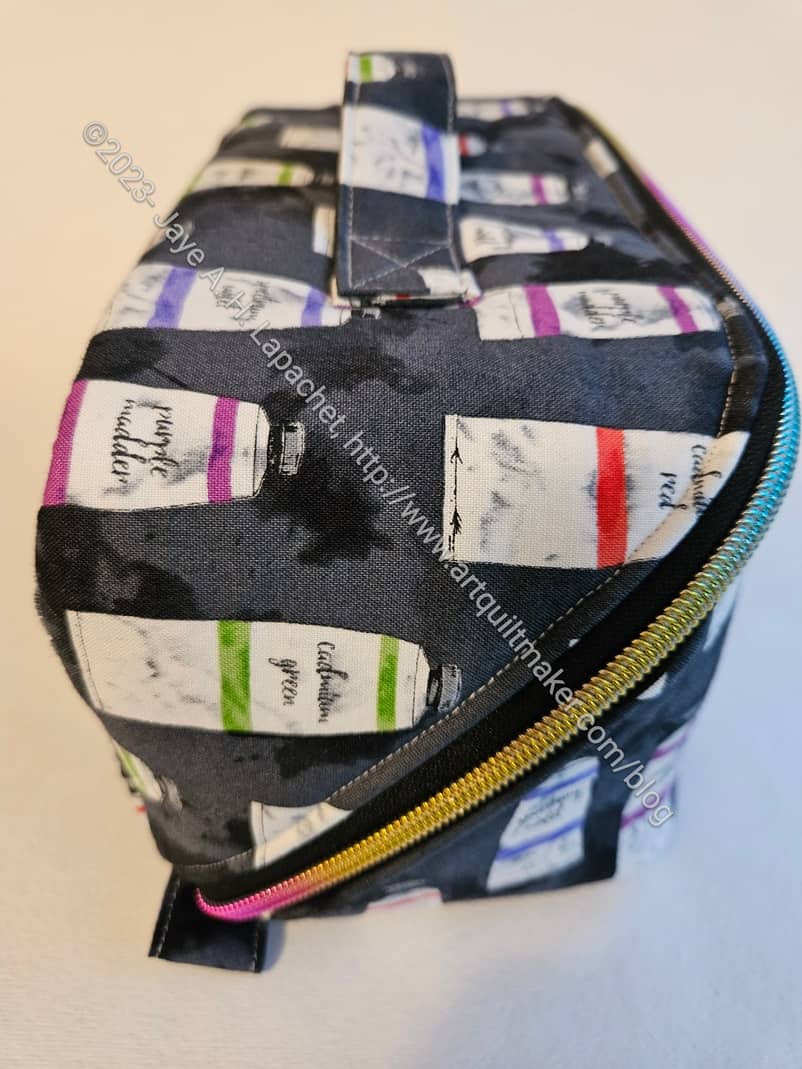
Paint Tube Enigma for Mom
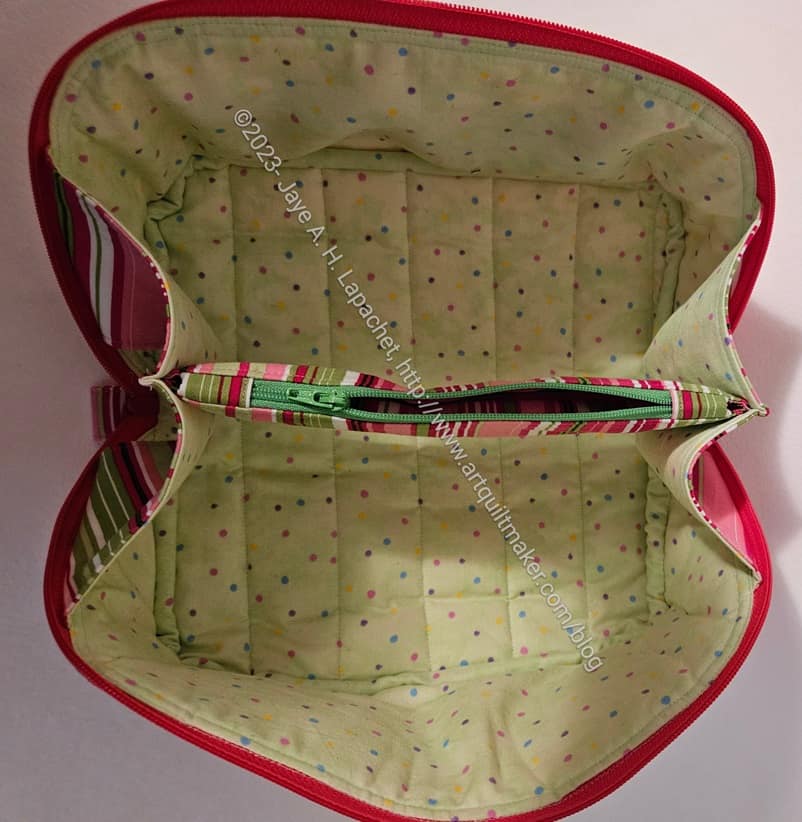
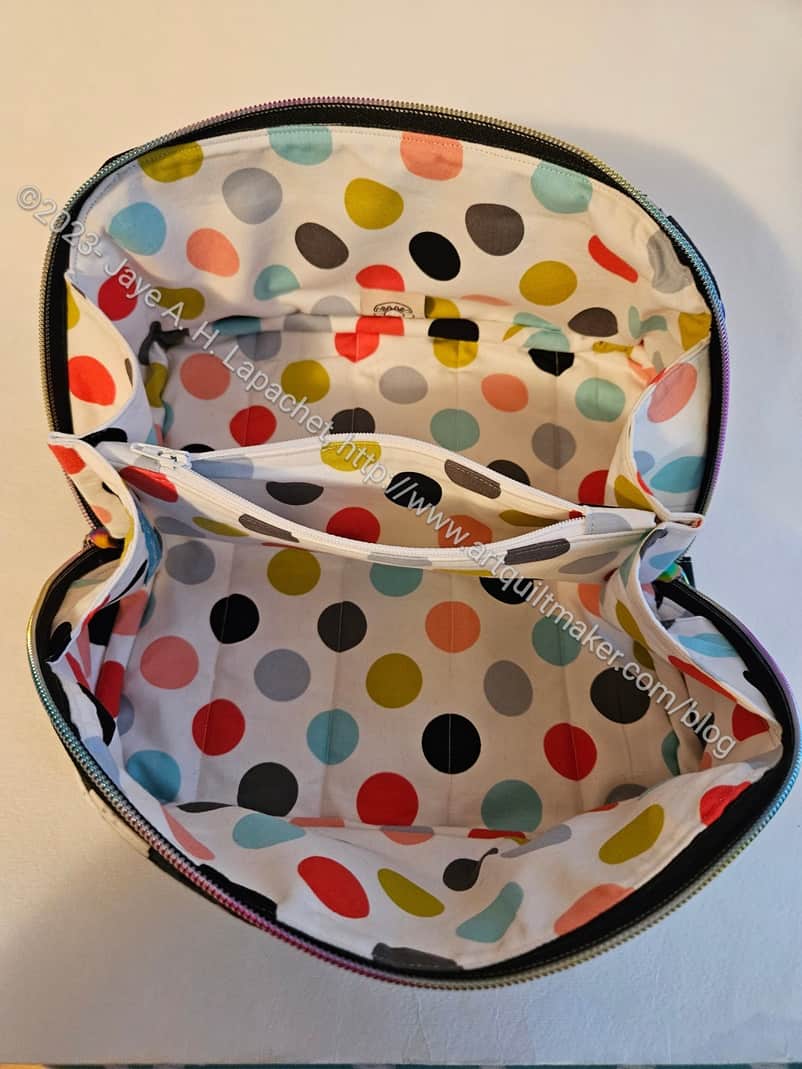
This is the bag that is great for handwork, especially in the car or on a plane, because of the open flat, completely enclosed design. There is a small pocket in the middle. It is a floating pocket, so your items fit underneath it. I want to try making it in vinyl.
Paint Tube Enigma for Mom
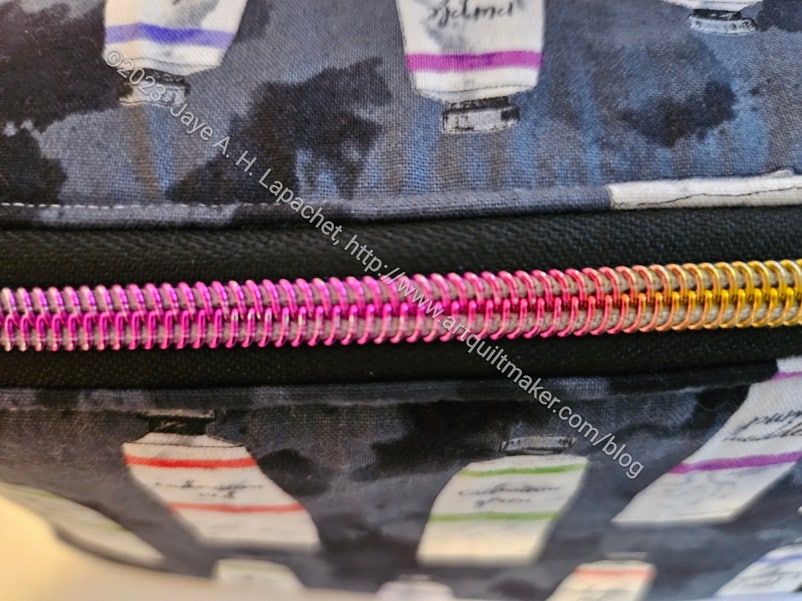
As I mentioned, I am happy with the zipper. I used zipper tape either from Sew Sweetness or Sew Hungry Hippie. The rainbow look is a favorite, but I also like how the zipper tape blends with the fabric color.
Paint Tube Enigma for Mom – end
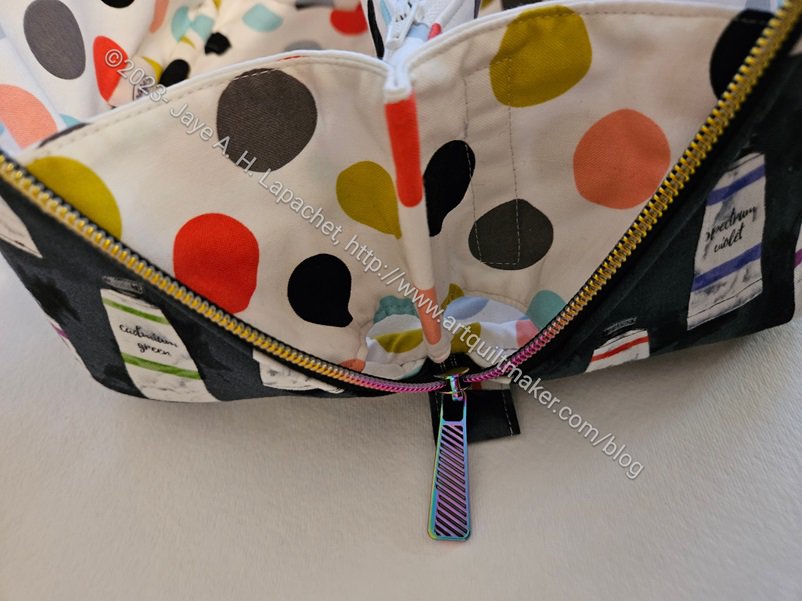
I am not that fond of these giant zipper pulls. They are easy to grip, so Mom won’t have a problem opening and closing the bag, but they do clunk together in an unattractive way. I have some other options coming.
You can also see that the construction of this bag using a similar accordion construction technique to the Sew Together Bag. If you have made an STB, then you can make this bag, no problem.
Mom’s Enigma – side view
One of the reasons I have made 4 of these is because of the diagonal zipper. I really like that look.
Mom seemed to like, though she is making noises about having too many bags. I still have a lot of fabric for gifts for her, so I’ll have to think about that.
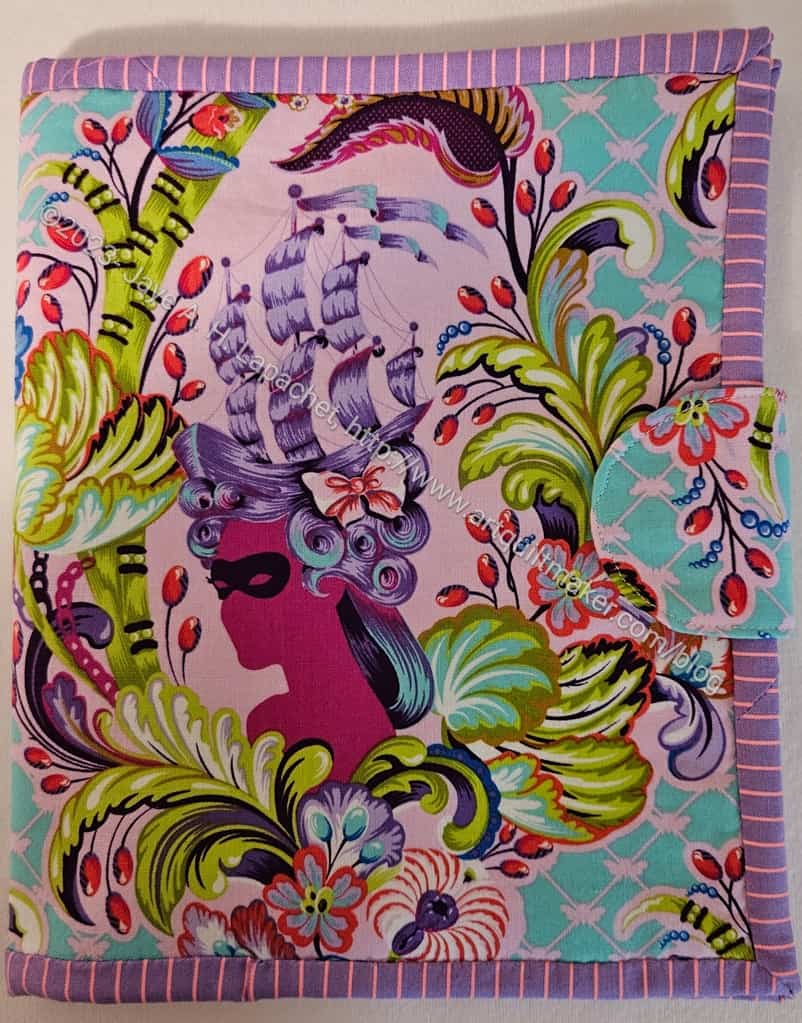
I finally finished the Tula 2-in-1-Case. The binding gave me fits. I am pleased, however, that it came out so well. Choosing a Tula Tiny Stripe for the binding made coordination easy.
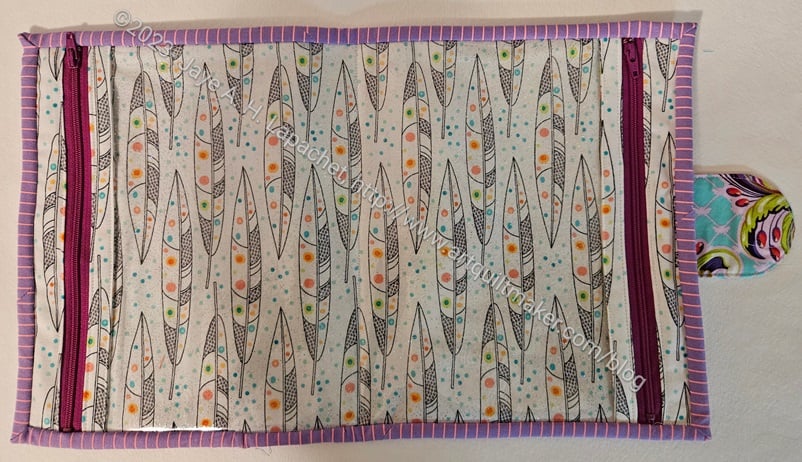
The inside is an old feather print I had. I like it and it is light colored so the recipient will be able to see what’s inside. I suppose, however that is not as important with a bag that opens flat?
Tula 2-in-1 Case – openTula 2-in-1 Case -back
The back is fairly normal. It is just the back of a bag. There is an interesting bit of symmetry because of the way I cut the exterior panel so that the lady would be centered on the front.
I don’t yet know who the recipient will be. Stay tuned!
I finished the Ultimate Project Bag! After 5 years, I finished it. I am annoyed, because this was not a difficult project. It may have been more difficult 5 years ago, but my skills have improved tremendously since then. I was also swayed by the other members of the club saying that it was such a difficult project.
I am pretty happy, not only to have it finished, but also with how it came out. I have some ideas for changes, (of course!), if I make this again. I should make it again just to remind myself that it isn’t a very difficult project. It could be very useful for toting around bag projects in process!
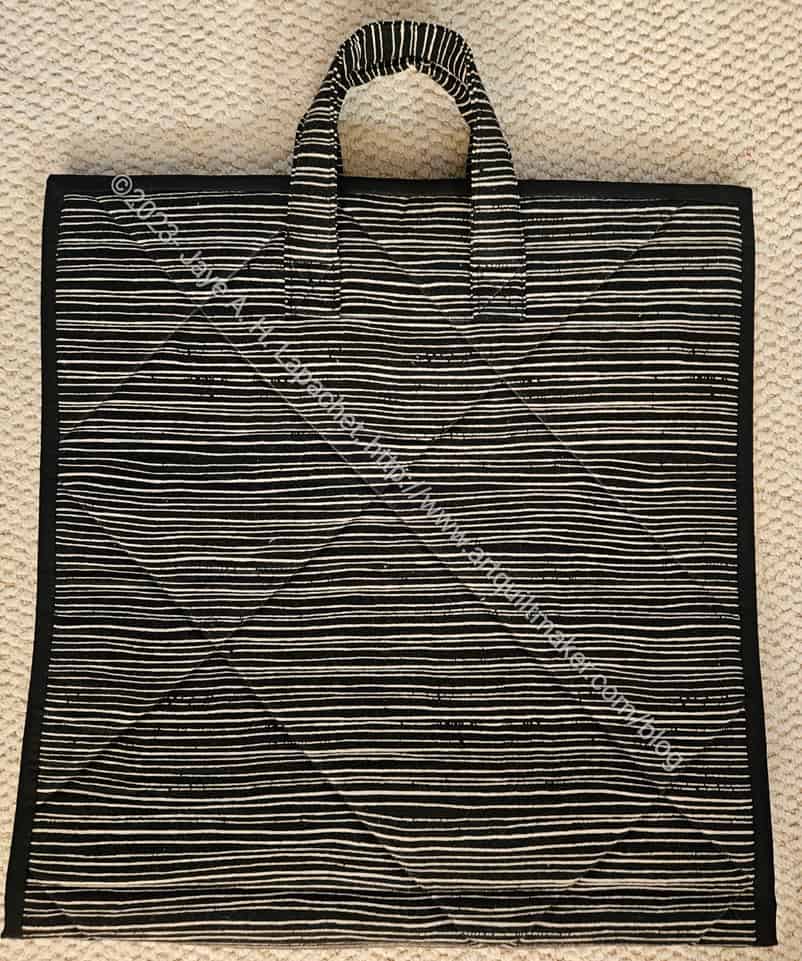
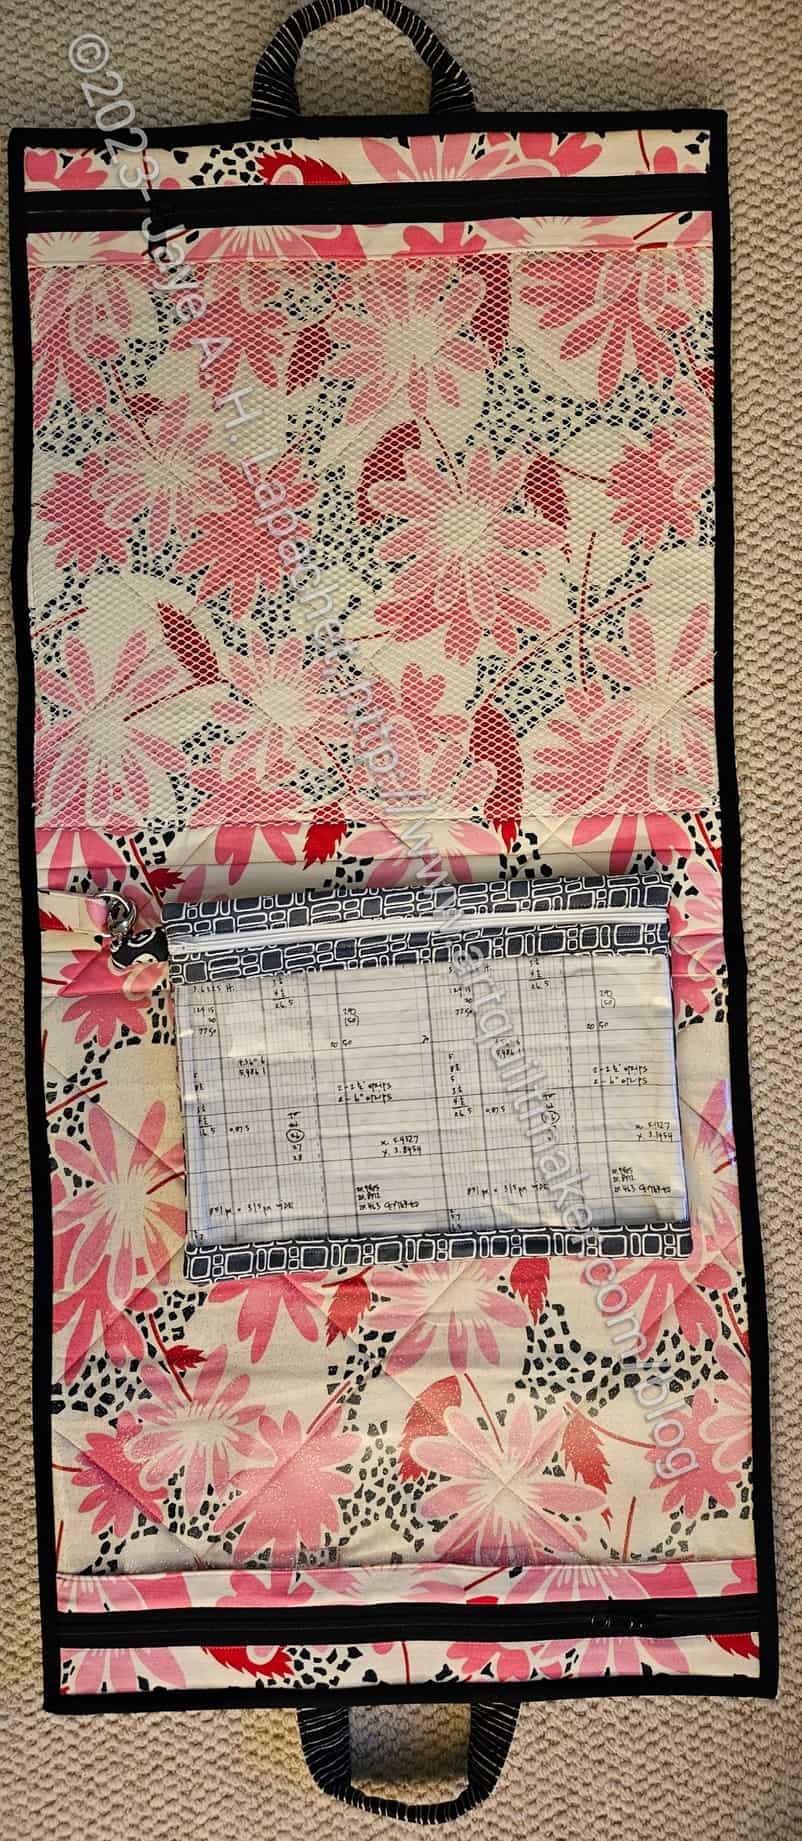
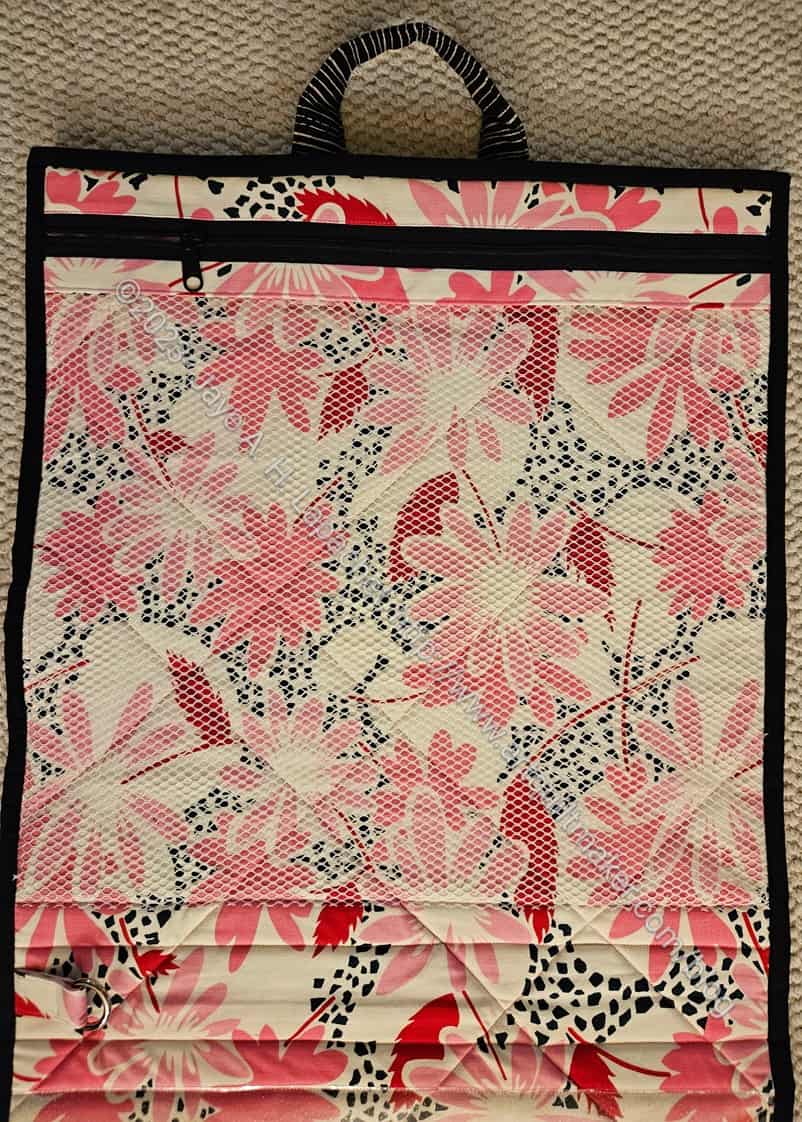
This is the exterior and you can see the quilting pretty well. I talked about it a little in the in process post I wrote a few weeks ago.
The exterior is like an Essex Linen, but by Figo. It feels like a very lightweight canvas, though drapey. It looks like the photo above on both sides when closed.
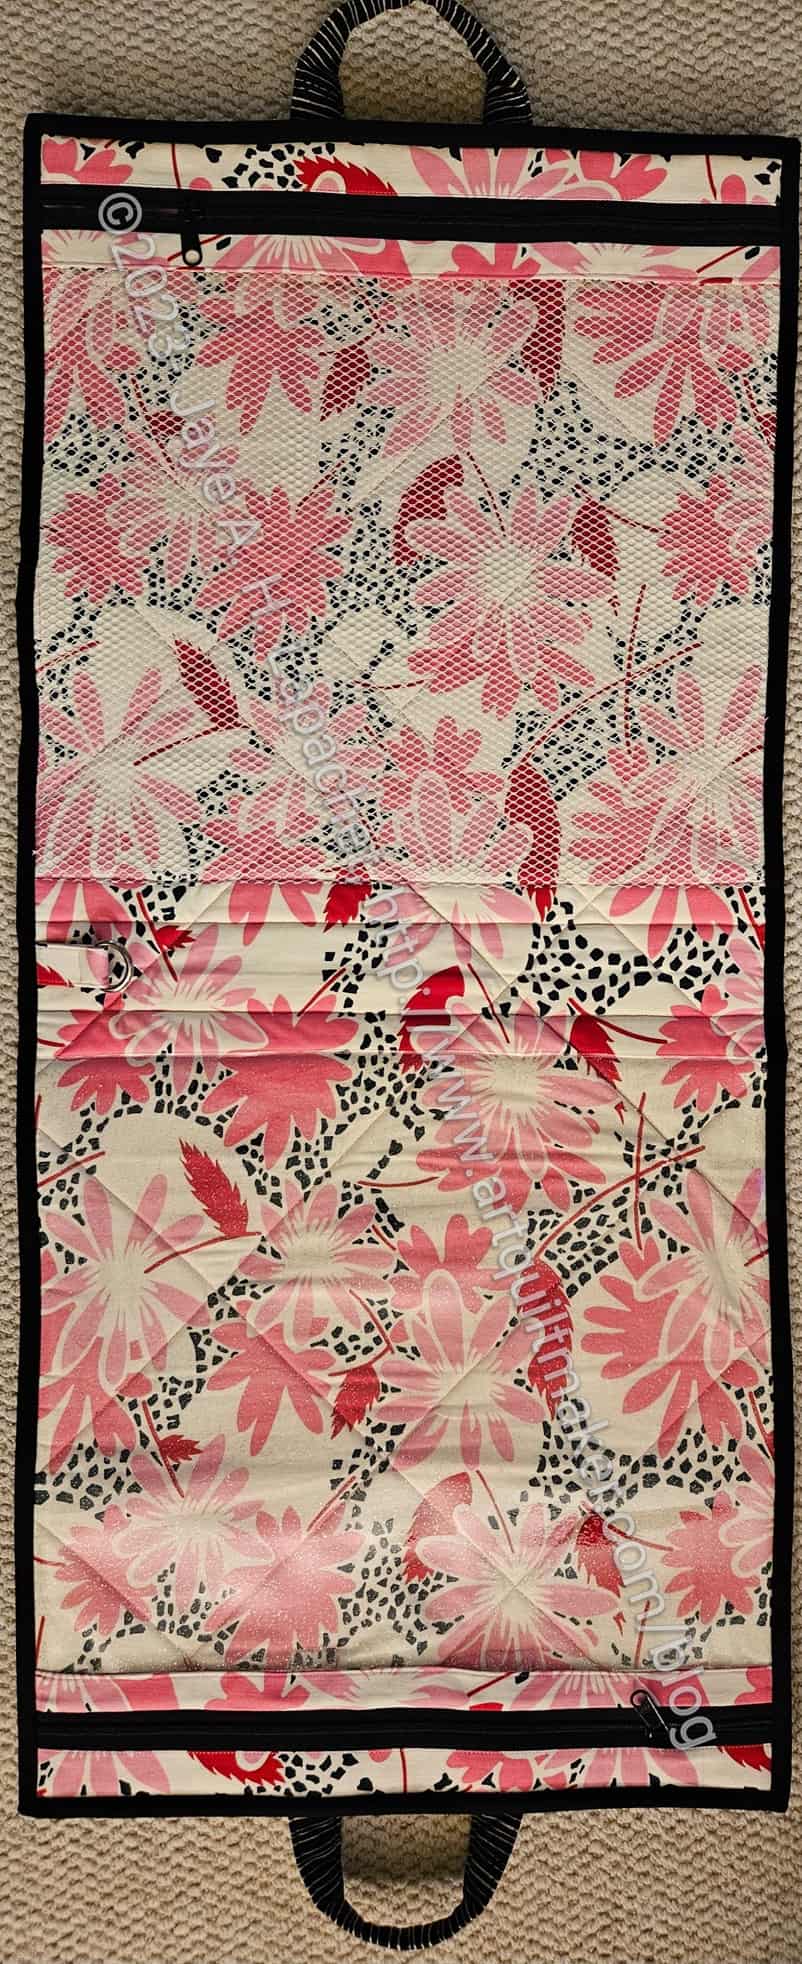
Ultimate Project Bag – interior
When opened it is about 39 inches long. I don’t know why 39 inches and not 40. ~\/0\/~ On one half of the bag (top in the photo, right) is a zippered mesh pocket.
In the middle is a tab with a D-ring.
On the other half in a vinyl pocket where I used glitter vinyl (because I love it). The vinyl pocket also has a zipper.
The pockets are quite large – around 16×16 inches, which definitely holds blocks.
Ultimate Project Bag – interior – with Road Trip bag
As I mentioned, this was part of the Crafty Gemini Organizer Club and one of the first projects we made was the Road Trip bag. The Road Trip bag was designed, from the beginning, to be attached to this Ultimate Project Bag. It is a good idea, because I often need a place to store bag hardware I have collected as I am assembling supplies to make a bag. I put a Lobster Clip on the Road Trip bag and a D-ring in the Ultimate Project Bag, because I prefer to be able to clip the smaller bag to larger bags. Crafty Gemini designed the patterns to have the D-ring on the Road Trip bag and a Lobster Clip on the Ultimate Project Bag. It is really preference. Neither is right or wrong. I try to remember to put a leash/tab and a D-ring on my larger bags just in case I want to clip something to it.
Ultimate Project Bag: detail-mesh pocket
I am not happy with the position of the clip for the Road Trip bag. As I carry the Ultimate Project Bag, the Road Trip Bag falls out and drags on the floor. I am thinking of adding a separate tab and D-ring to the top side, under the zipper, of the mesh pocket. If I do that the Road Trip Bag will still jut out a little bit, but at least it won’t drag on the floor.
Taking the binding off the mesh pocket, will be less destructive than taking it off the vinyl side.
I am sure you can imagine that I was super careful when sewing this project back together. After all the ripping I had to do, I hope I learned my lesson.
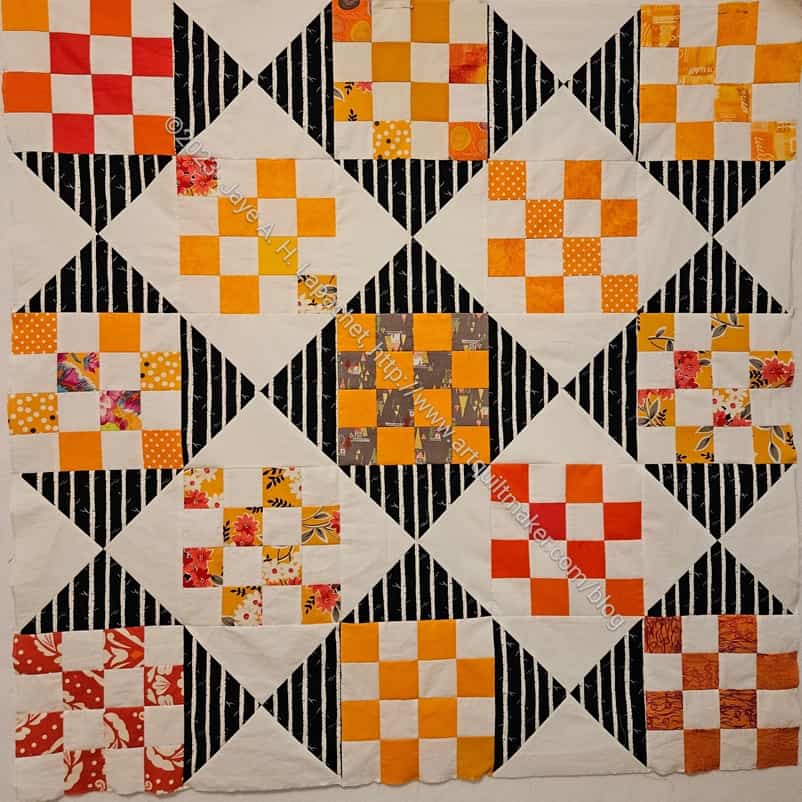
It didn’t take me very long to sew the top together, but it would have taken me less time if I had paid better attention the first time.
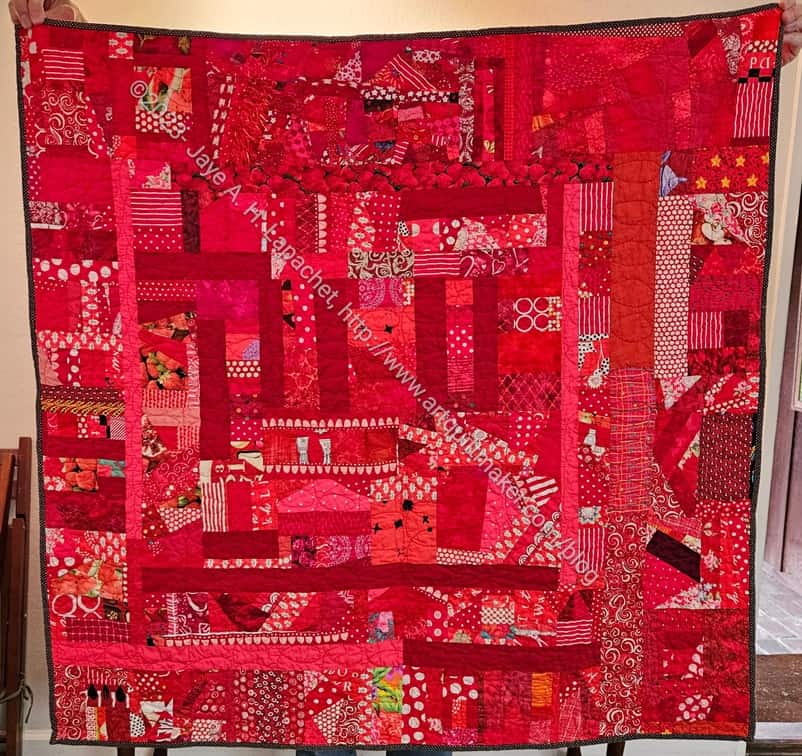
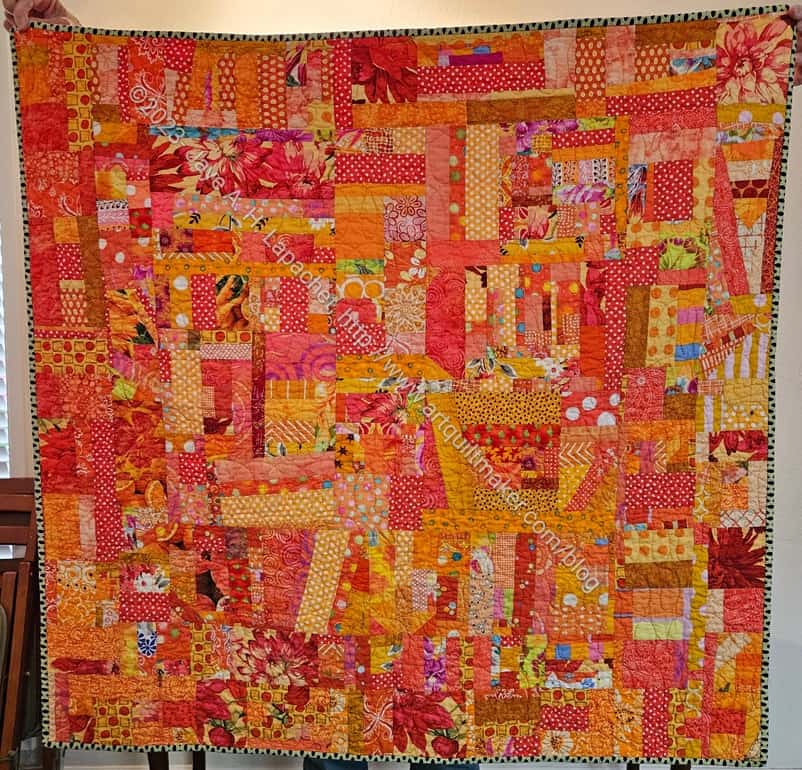
Along with the Orange Improv version from the other day, seeing this quilt finished reminds me of how great this process is. It makes me want to make more
The other color versions that I have made over time are really awesome as well and add to the idea of making more.
Right now my black, grey and brown drawer is overflowing. I have made a few black strip blocks, the first step in my process, but not enough to clear out my drawer. I talked about it with guild members the other day about cheerful quilts. Black is not always a cheerful quilt color like pink or orange. Someone suggested doing a two color version. I don’t think I am ready to branch out from the monochromatic parameters of the project so far.