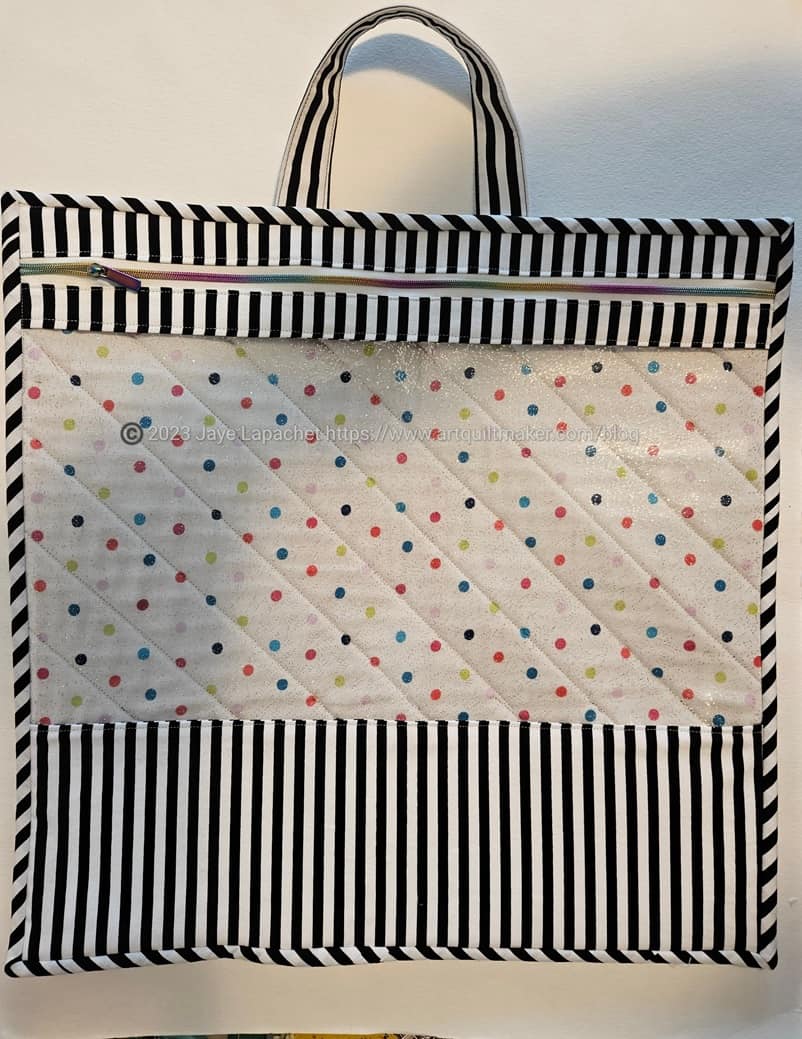
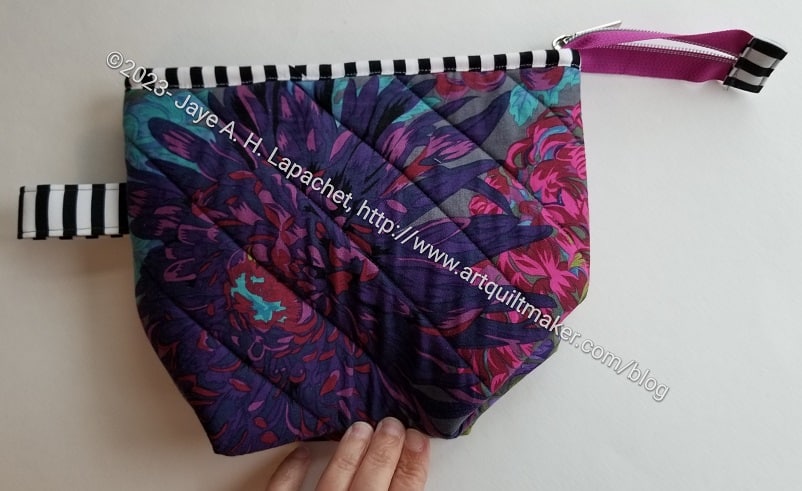
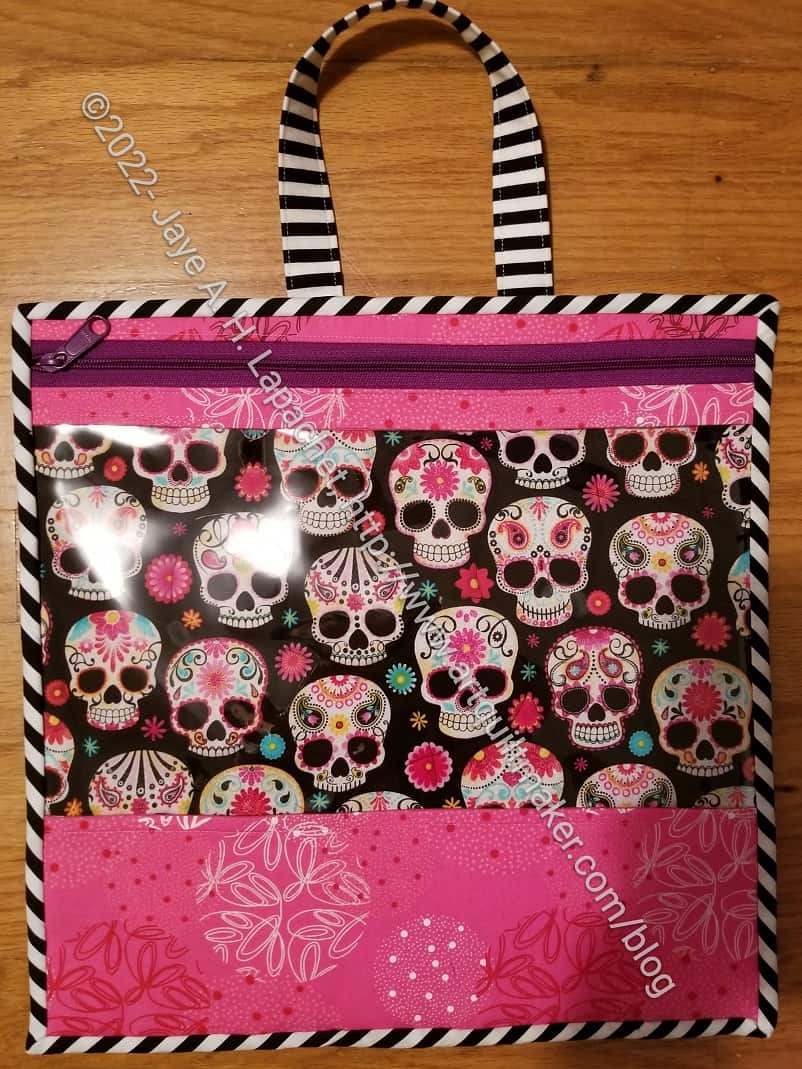
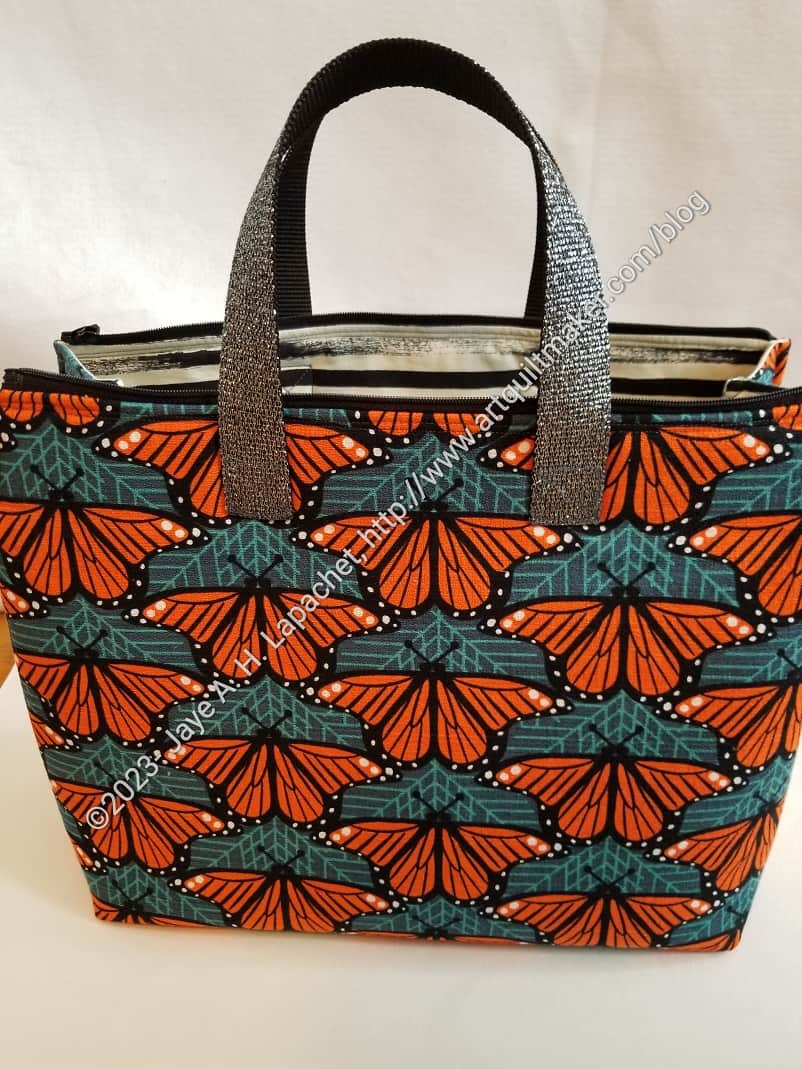
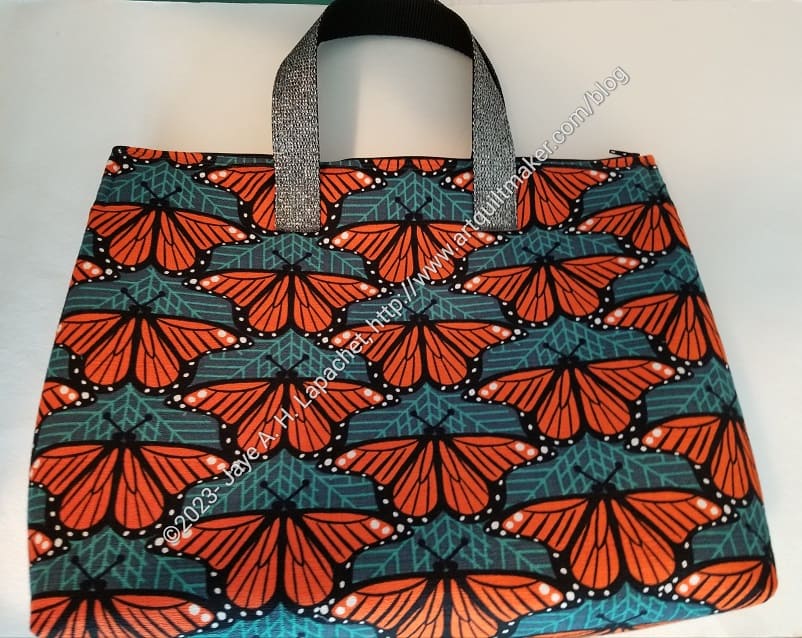
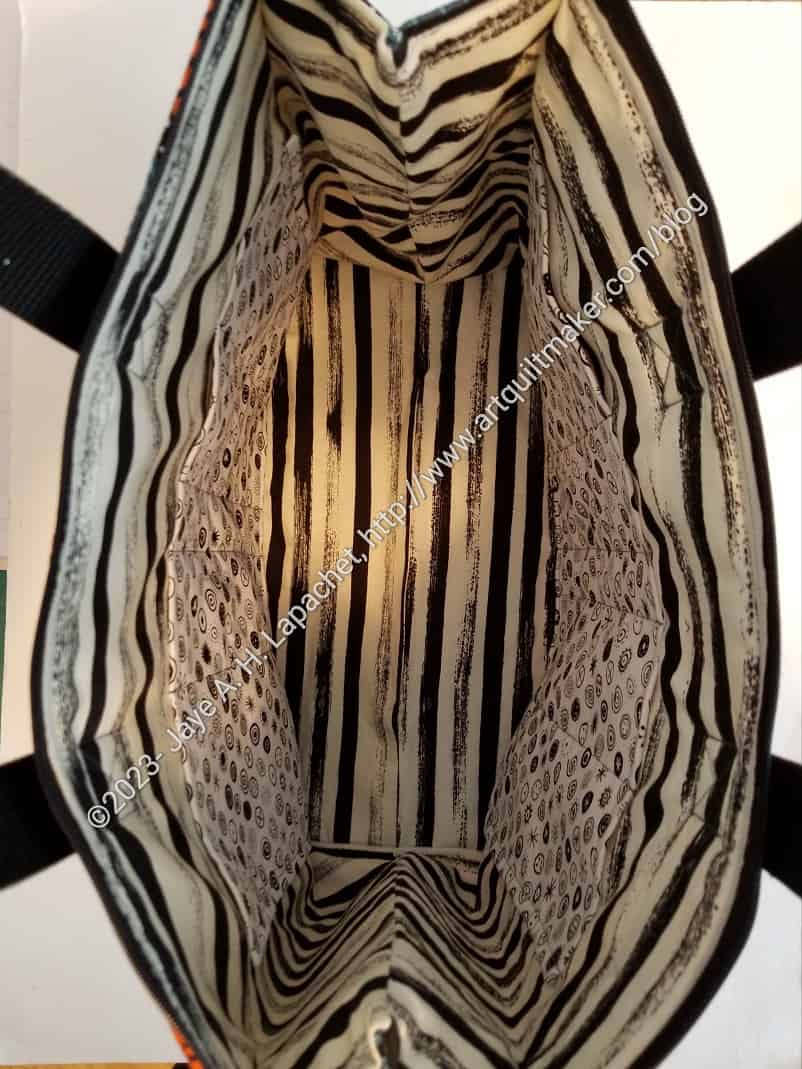
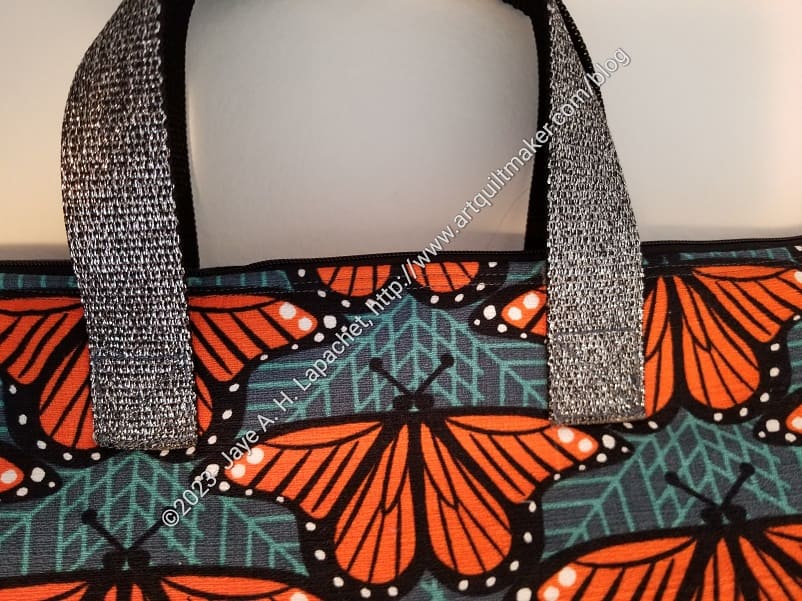
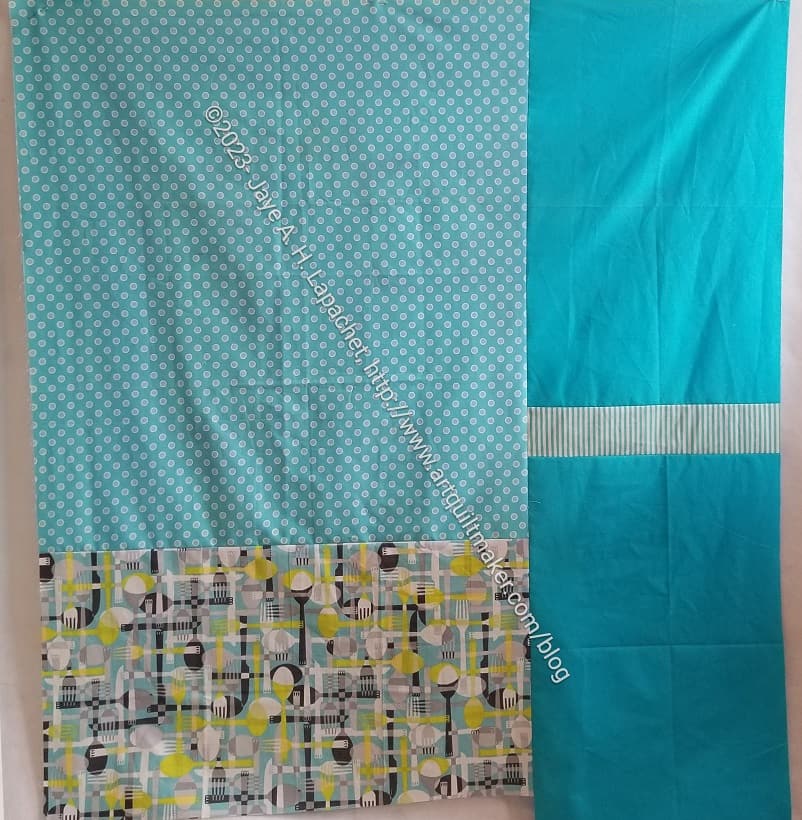
I was able to finish my Project Bag while I listened to a presentation at work the other day. You might think I was cheating on work, but I find that if I do some handwork, I can pay better attention to the presentation.
I was going to make Mom another one for Christmas, but decided on something else and made this one for myself with some of the fabric Colleen quilted for me. It is already in use for the EPPic bag pieces I cut out at Sew Day some time ago.
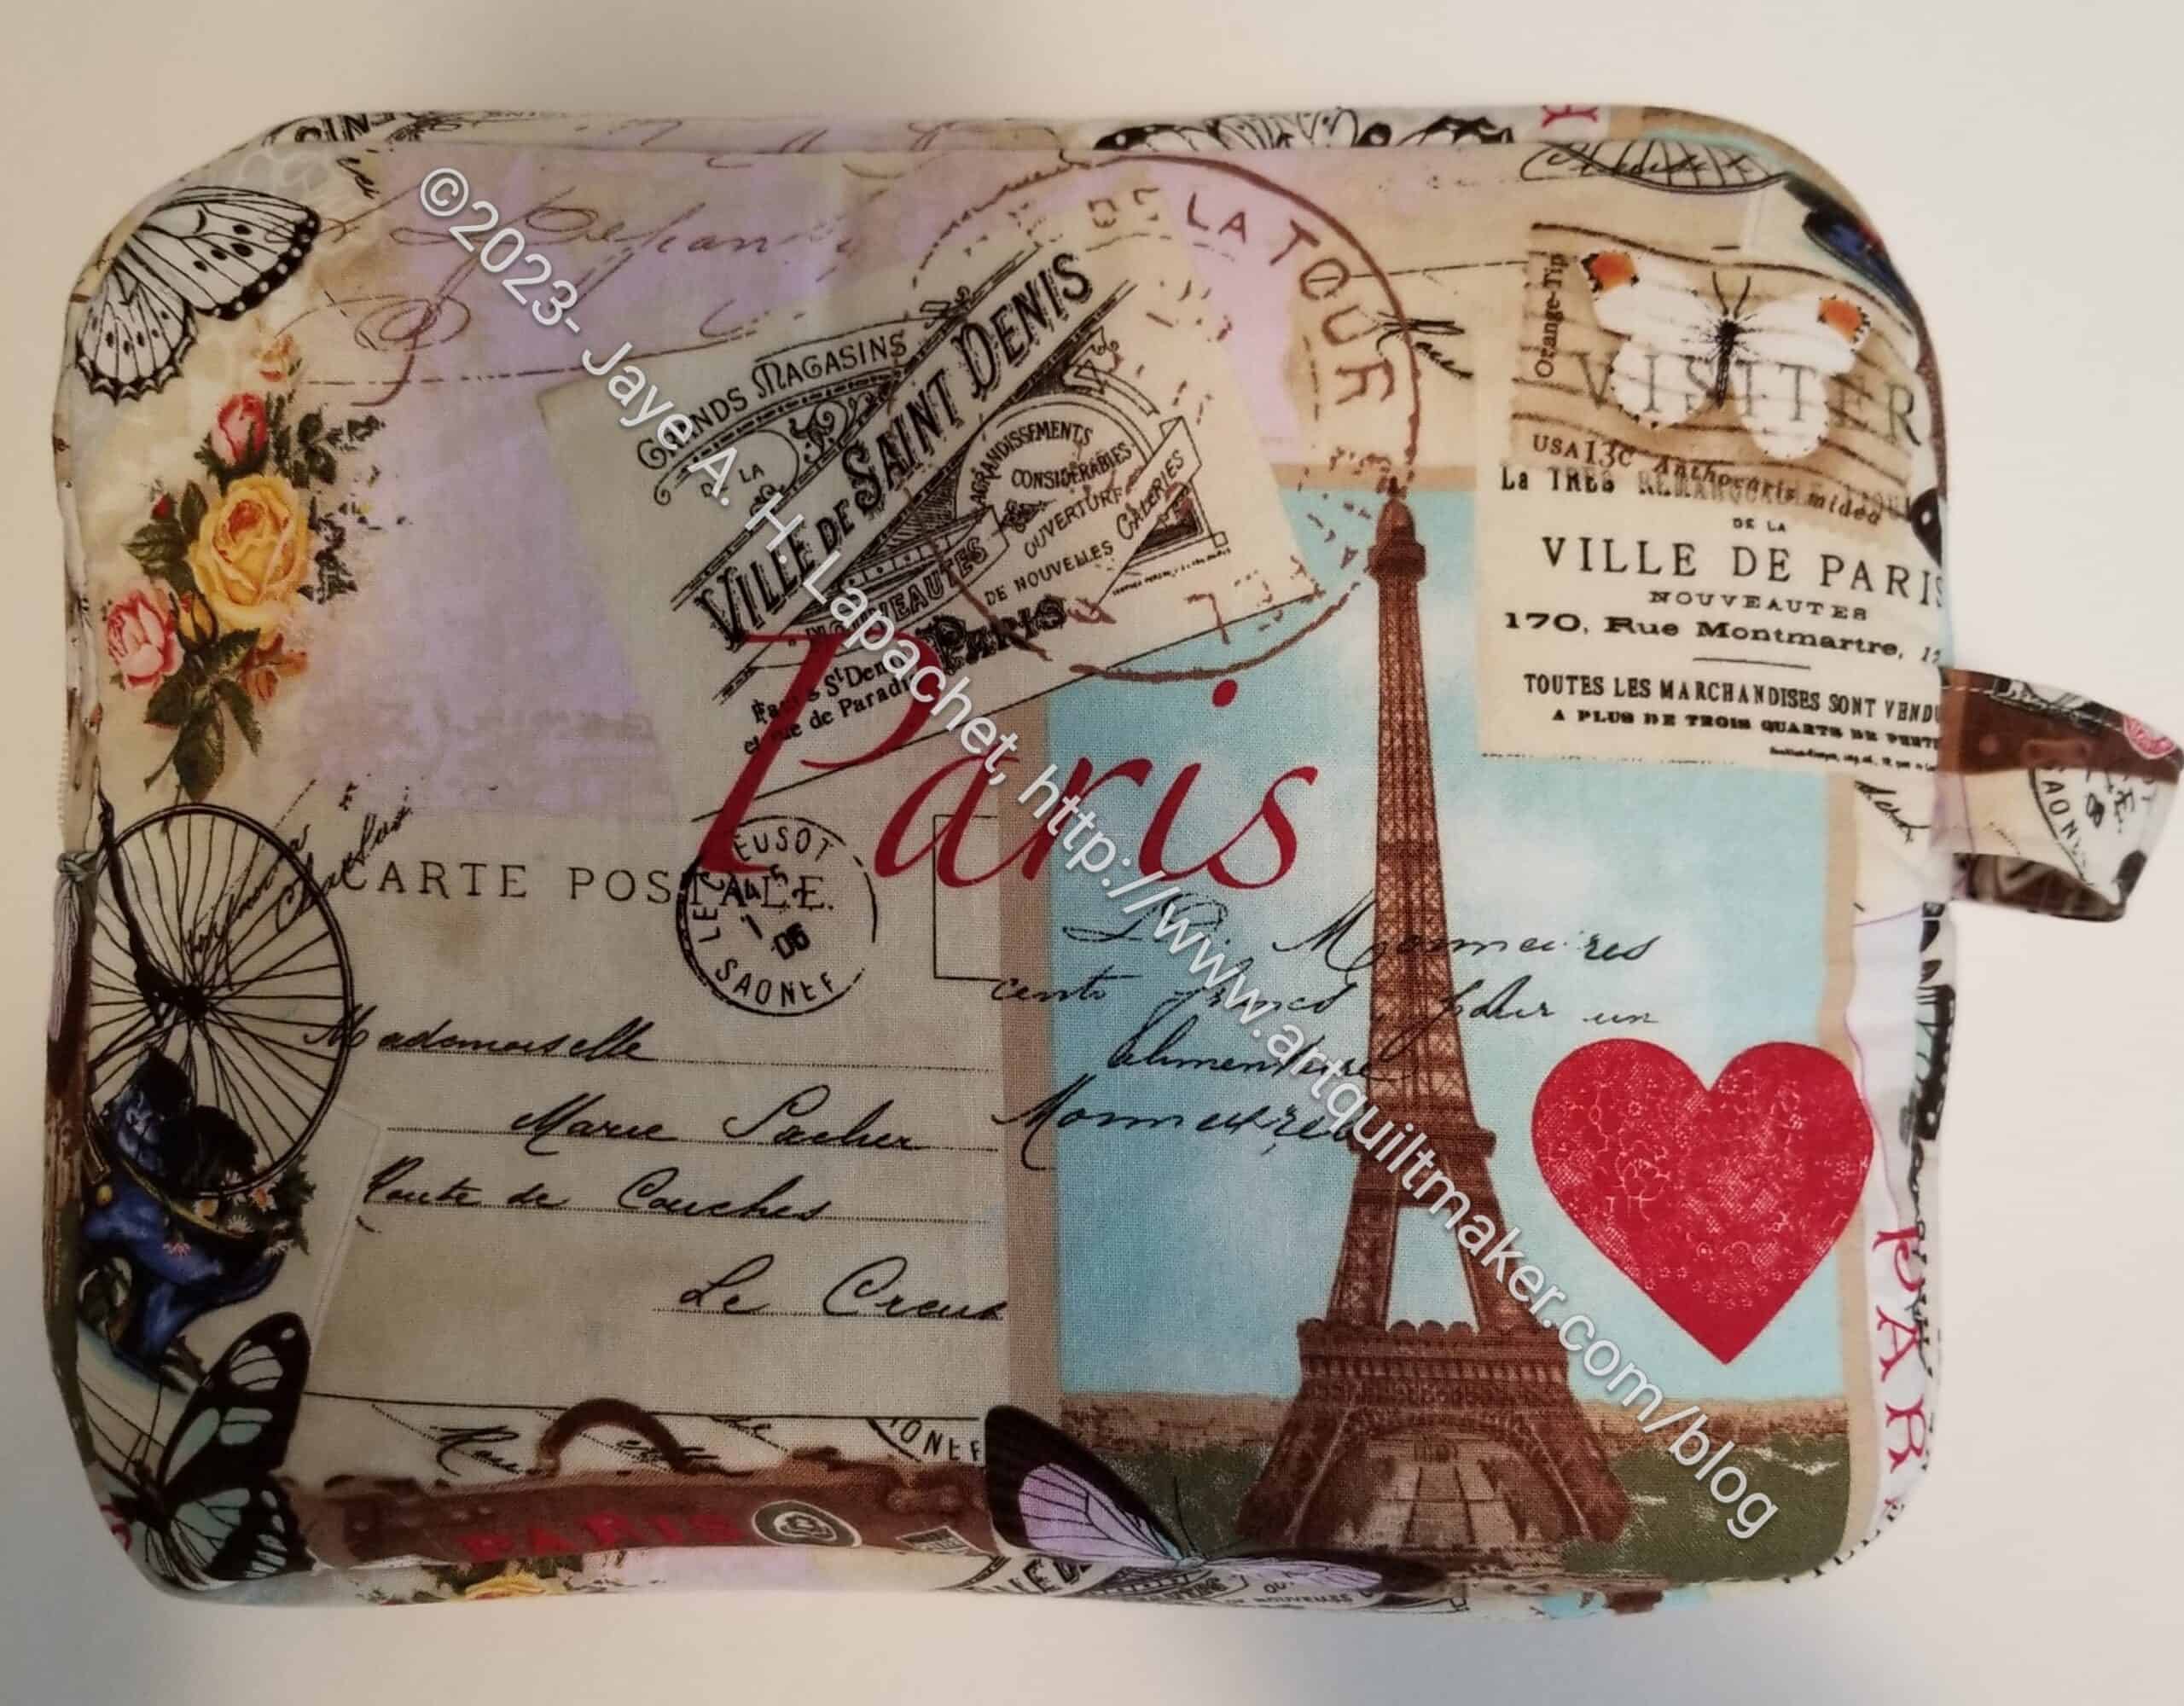
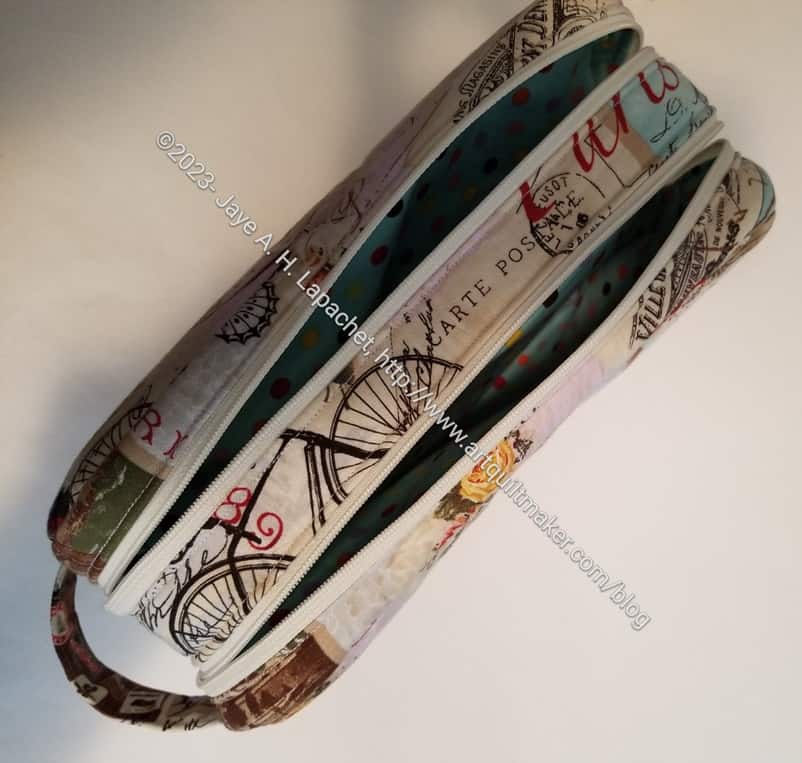
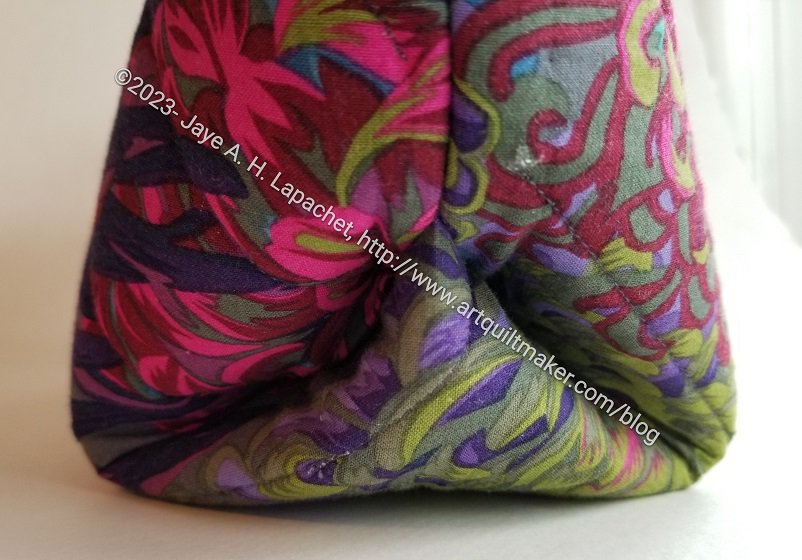
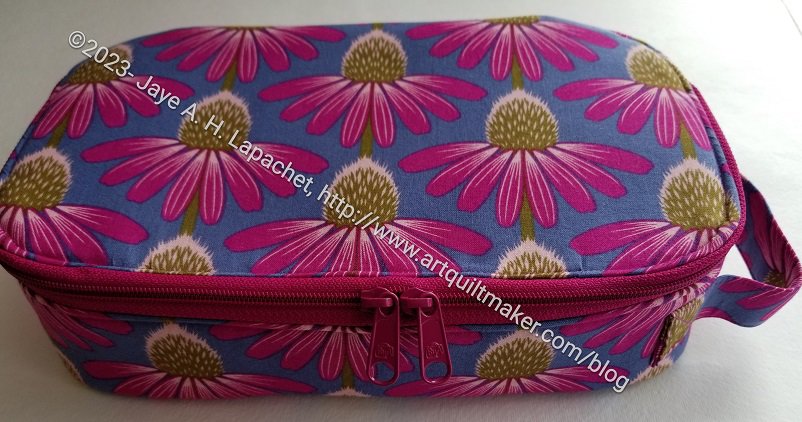
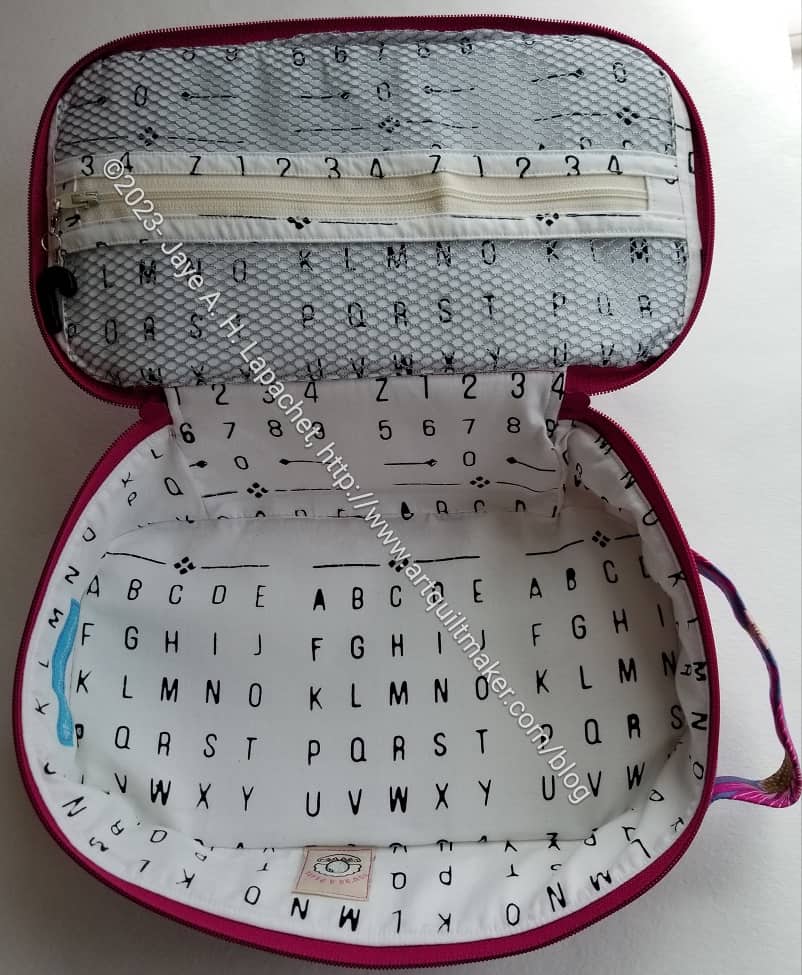
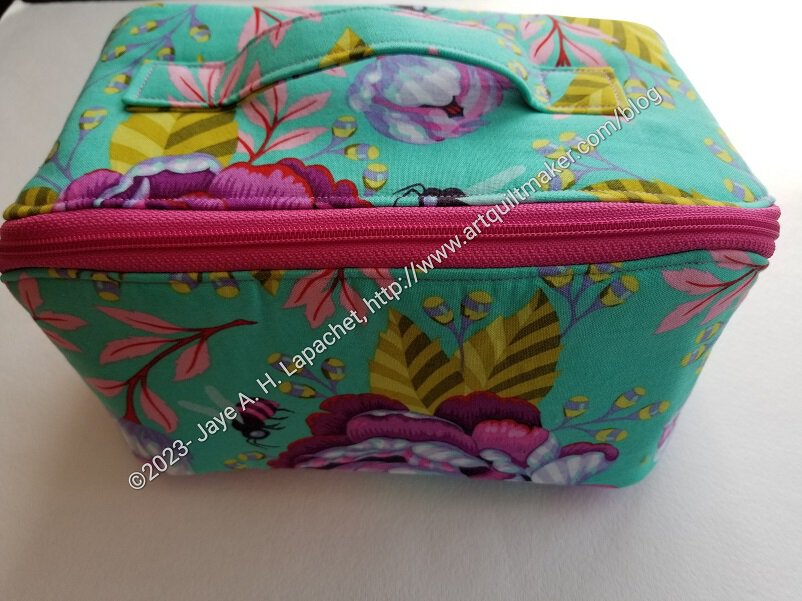
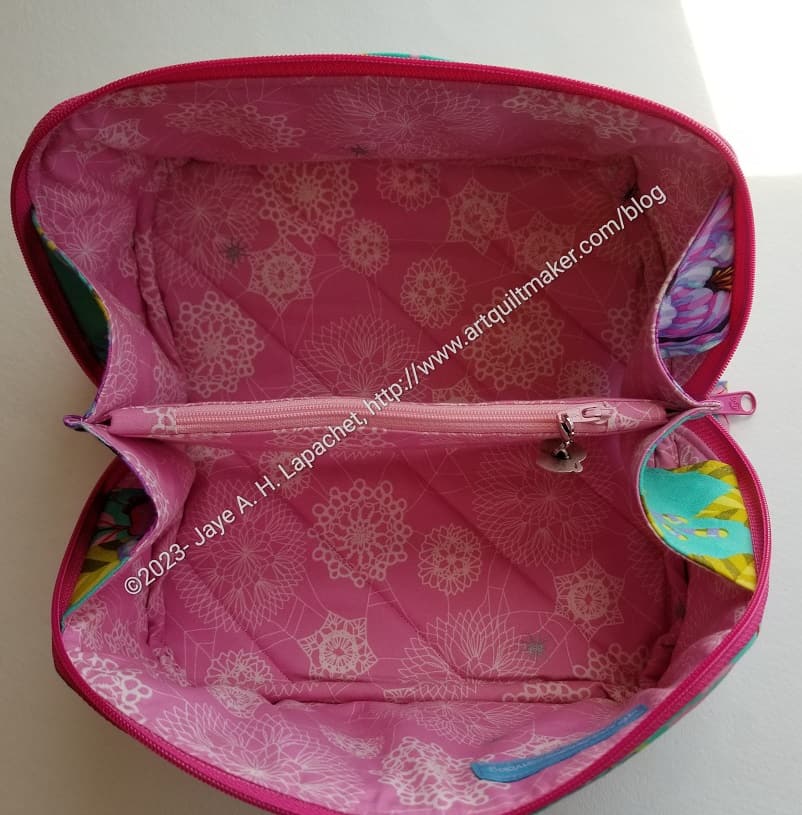
The pouch itself is quite large and with the extra Decor Bond, it is not very squishable. It would fit well into a Chubby Charmer to organize all the things someone needs to take somewhere.
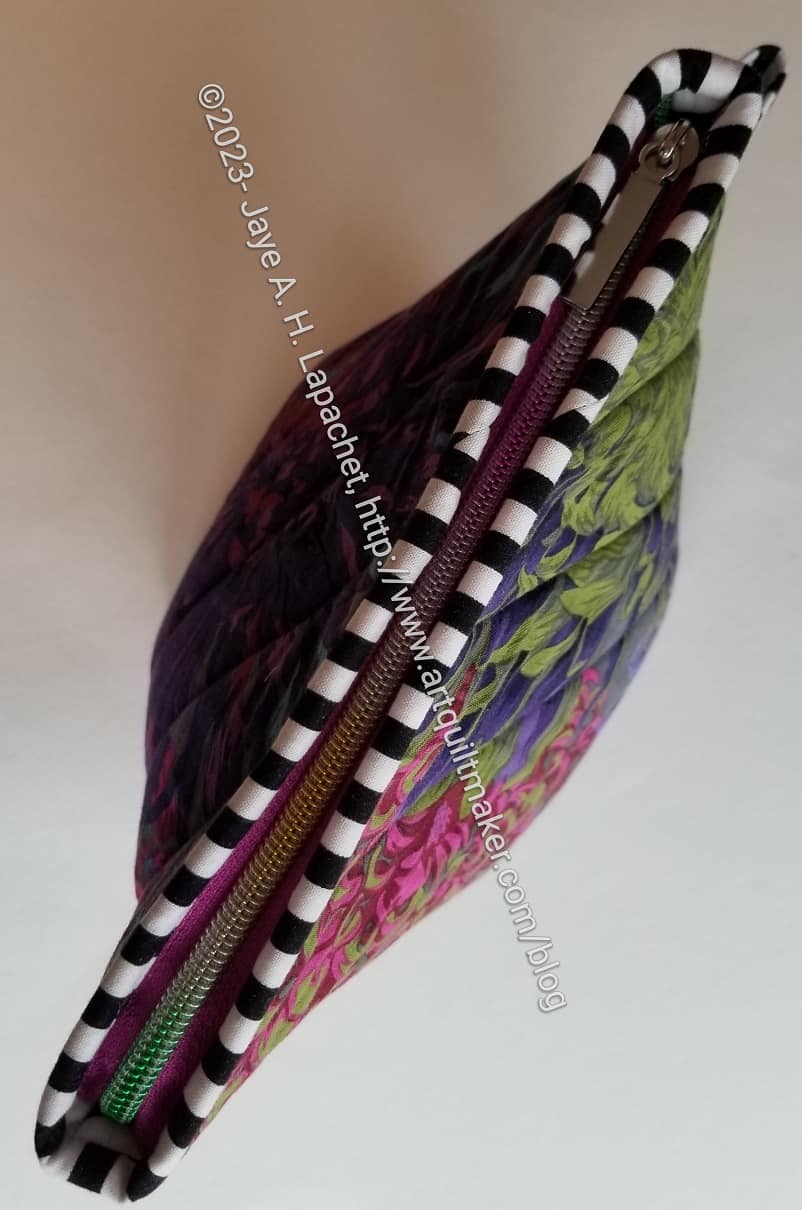
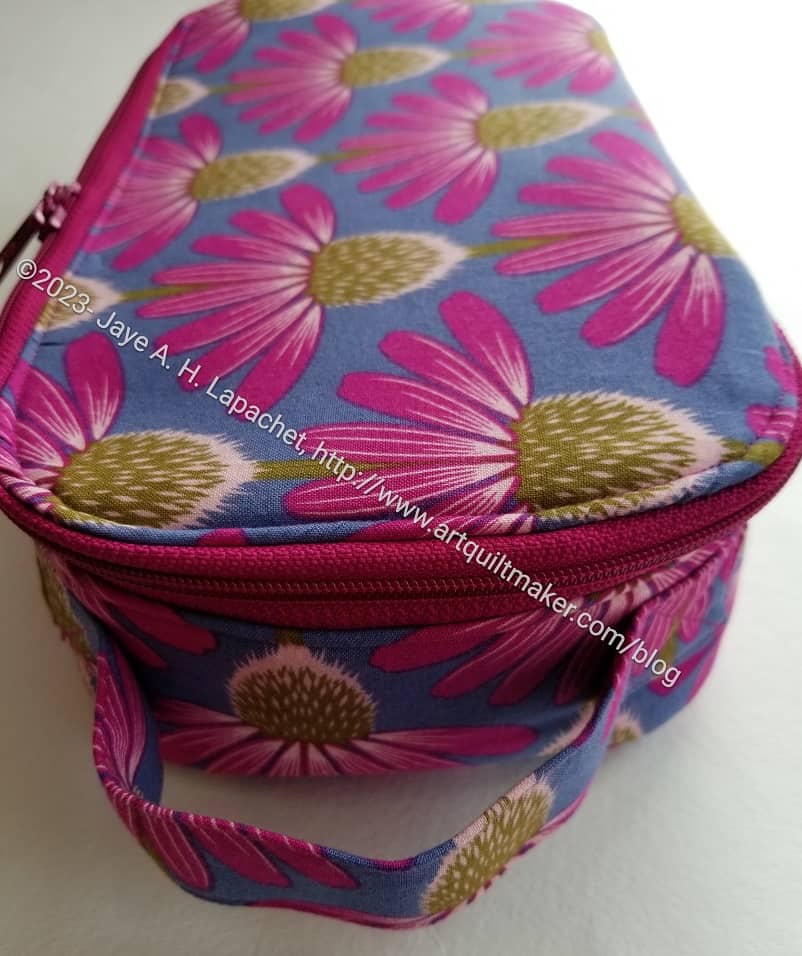
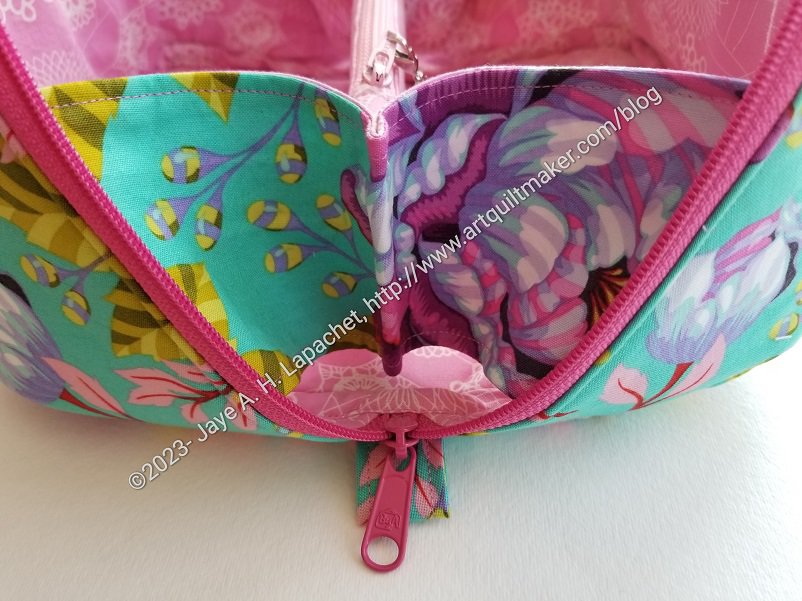
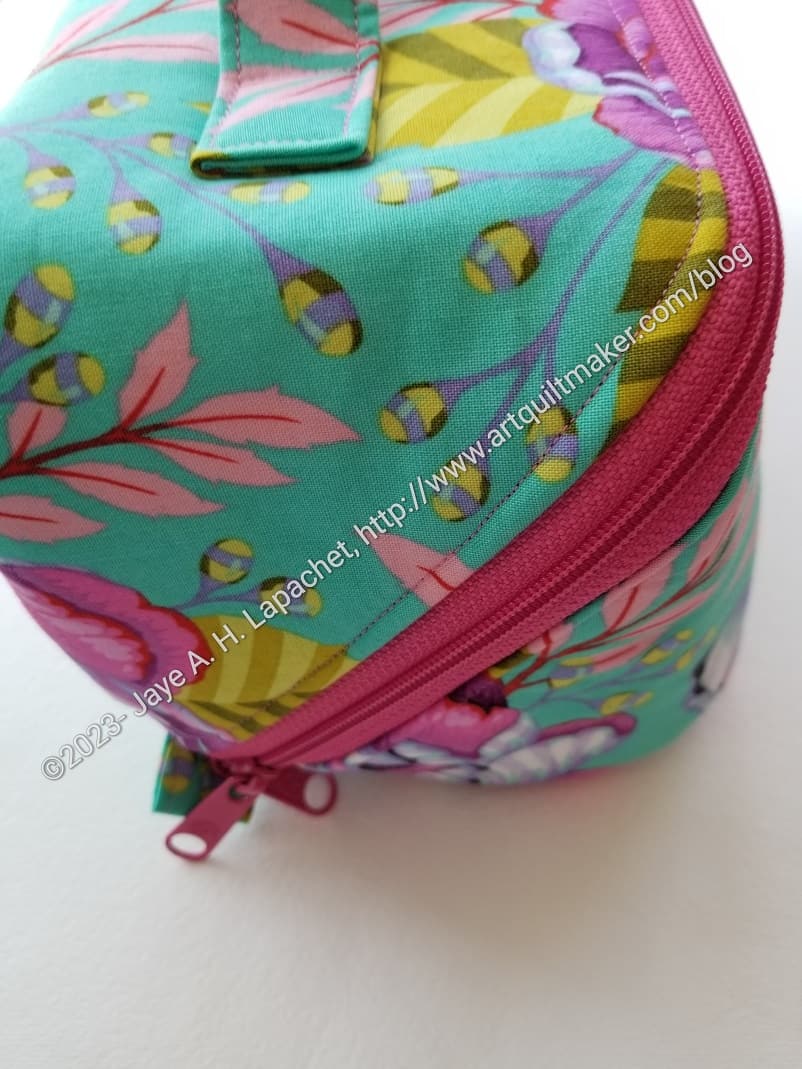
Disco Double Zip Pouch – top
If I were to make this pouch again, I might add some interior zipper pockets. I am not sure how useful they would be, but there is enough space and I think you can never have too many pockets. It would also be good to add some pen holders. As the pattern is written, you just toss things into the pouch. It would fit my Leuchtturm notebook, but then what? I just don’t know how I would use this pouch.
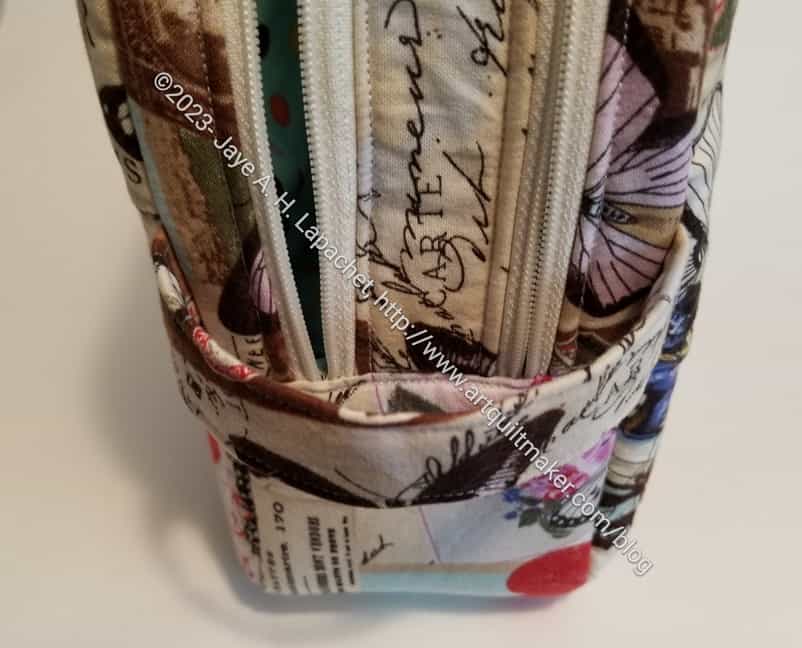
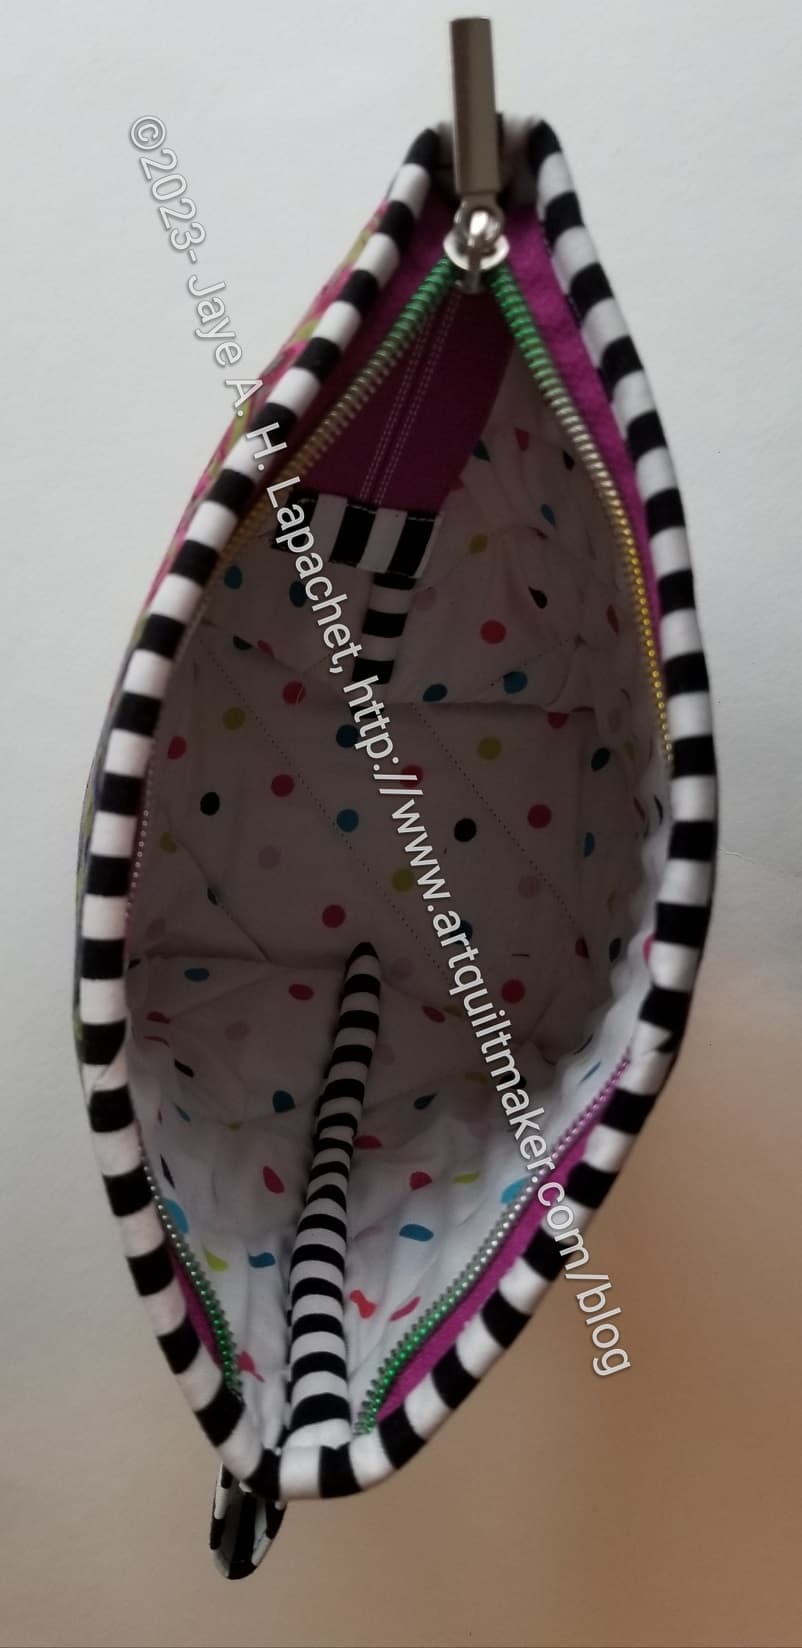
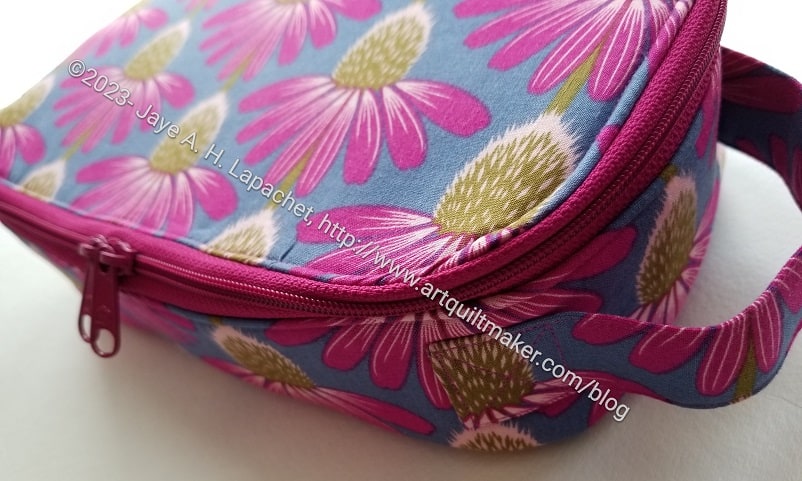
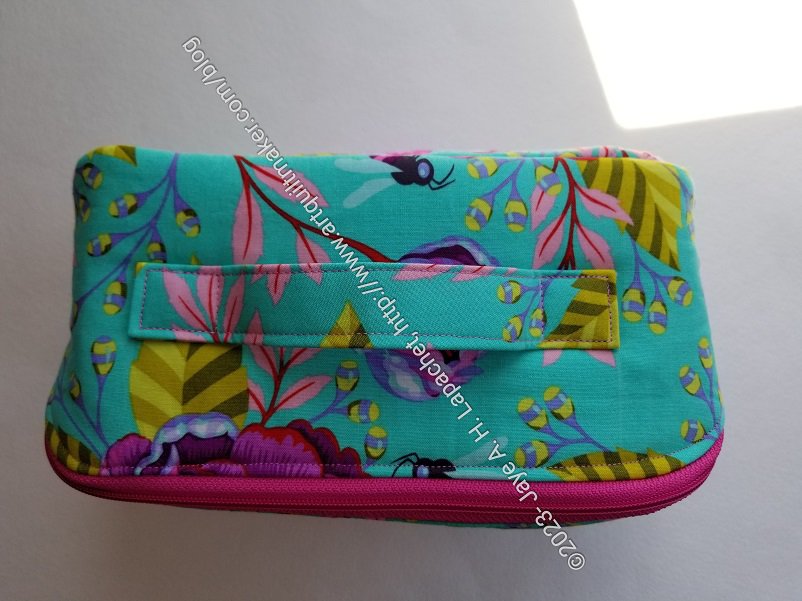
Disco Double Zip Pouch – handle
The handle is very useful, I think. One of the reasons I added a handle to the Hackney was that it made the bag more usable. I am glad the pattern included a handle for this pouch. The weird thing is that the zippers are behind the handle. I might add some zipper pulls.
This pouch is great if you want to fussy cut some special fabric, or use an embroidery design. The large size has a great space for a specific motif. Frankly, I am not sure how I would use this pouch, but I am glad I made it.
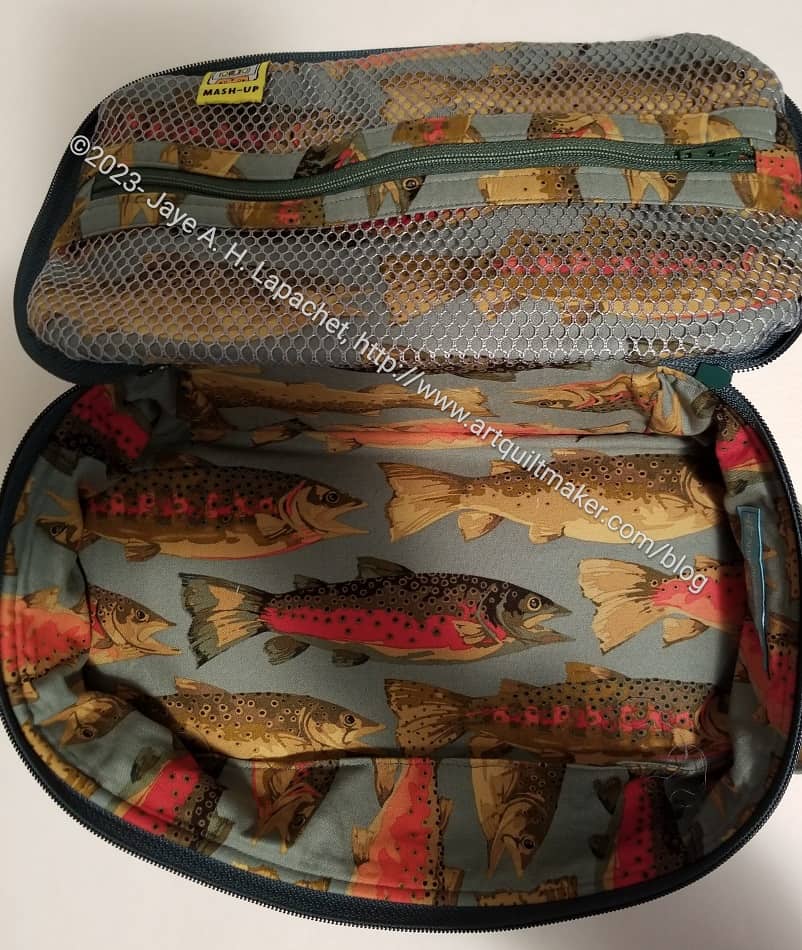
Hooray! The Fish Hackney is done. I am going to get a gift card and store it in my box of gifts. I can cross off one holiday gift requirement.
It looks pretty good. I am happy with it and hope my Dad will like it as well.
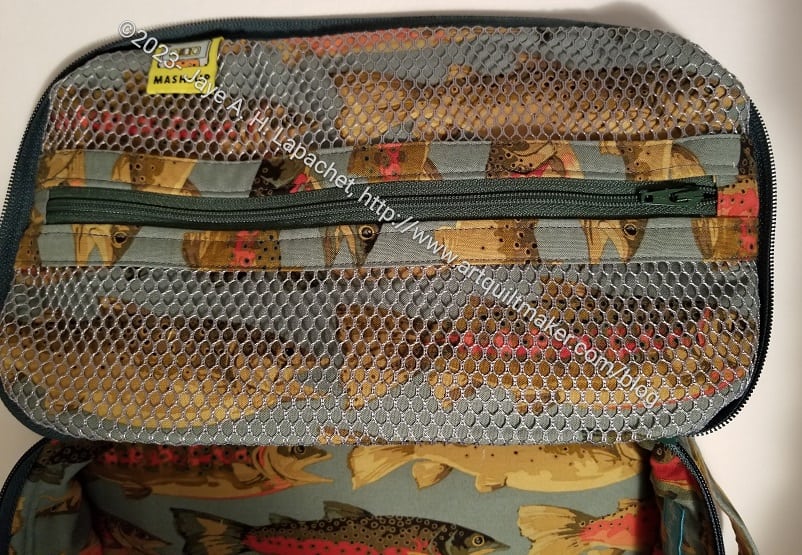
I think next time I will try a smaller vertical zipper for the mesh pocket. I think it might be useful and there is something about the zipper in the center of the pocket that bugs me a little bit. I’ll have to adjust the size of the zipper binding (called Mesh binding in the pattern) to accommodate a different sized zipper.
Fish Hackney – done – top
I was able to fix the label. I connected the bottom of the label to the mesh by sewing it carefully to bits of the mesh. I should have used yellow thread, but I didn’t.
I’ll have to think about where to put non-artquiltmaker labels in the future. Middle bottom of the top? It would mean they were upside down, but might be an option.
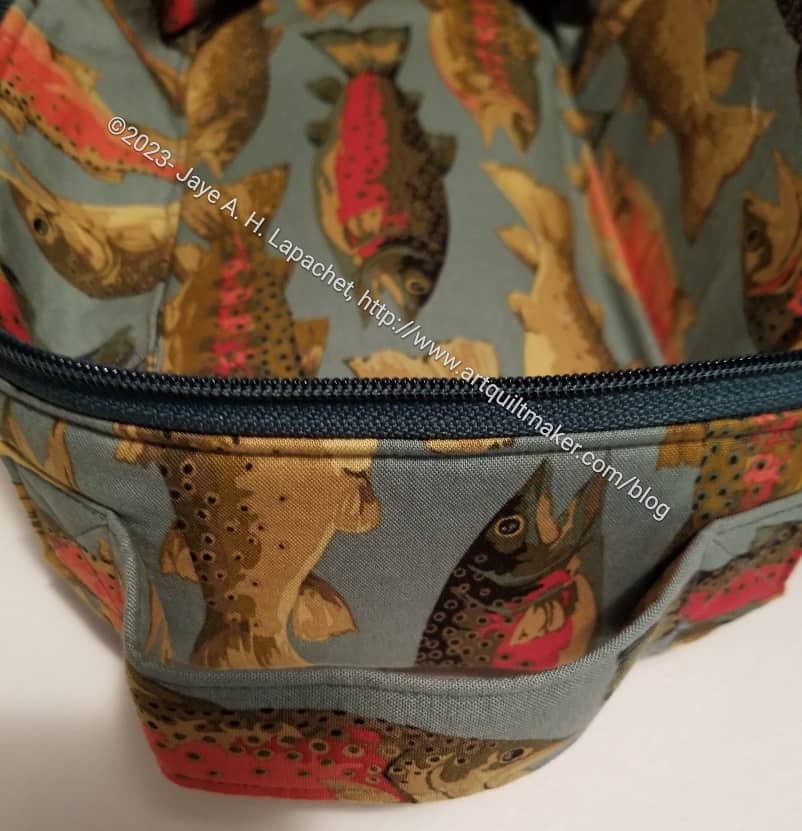
Fish Hackney – done – handle
The handle looks good. I think I need to position them a little higher up in the future.
I know I will make at least one more of these bags, maybe two.
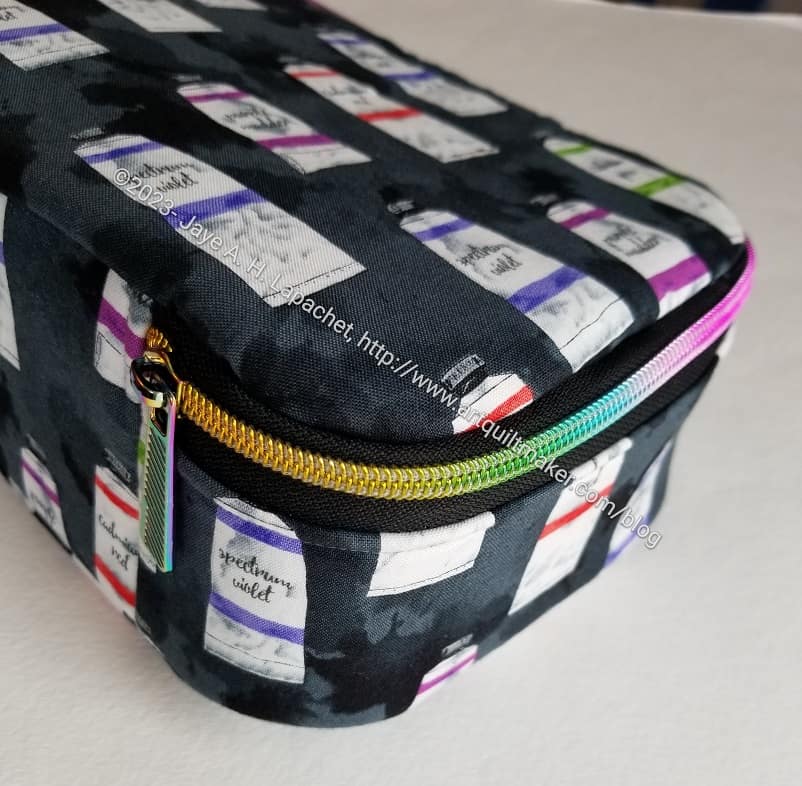
I have made a number of these Hackney bags, but this one is special as it is for my mom for her birthday, which is today!
This one also really came out well. I am super pleased with it.
I used some zipper tape I have had for awhile. I bought it from Sew Sweetness in January in both black and white. I am pleased with how the rainbow metallic of the zipper teeth enhance the look of the paint tube fabric. I did forget to add a second zipper head, but the bag will still be able to be closed with a zipper, so no problem.
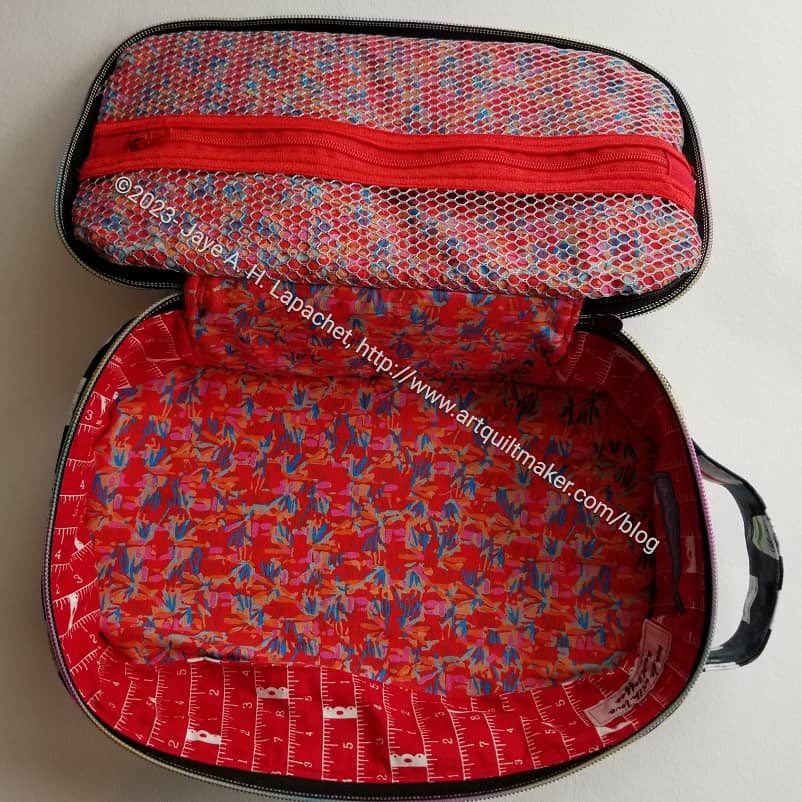
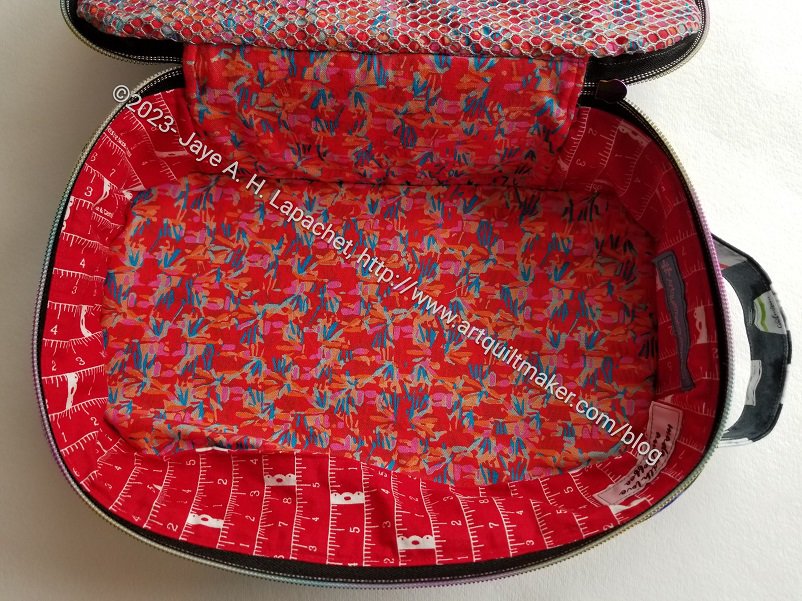
Mom’s Hackney Bag: interior
I used a more Decovil** and DecorBond** than in other Hackneys. Note, I didn’t add an excessive amount, just a bit more. I have to remind myself that I like structured bags and I should add more appropriate interfacing when I need to.
I thought I had a ton of red fabric, but I didn’t have quite enough for the front panel of this bag. I still think it looks nice. It looks very cheerful on the inside.
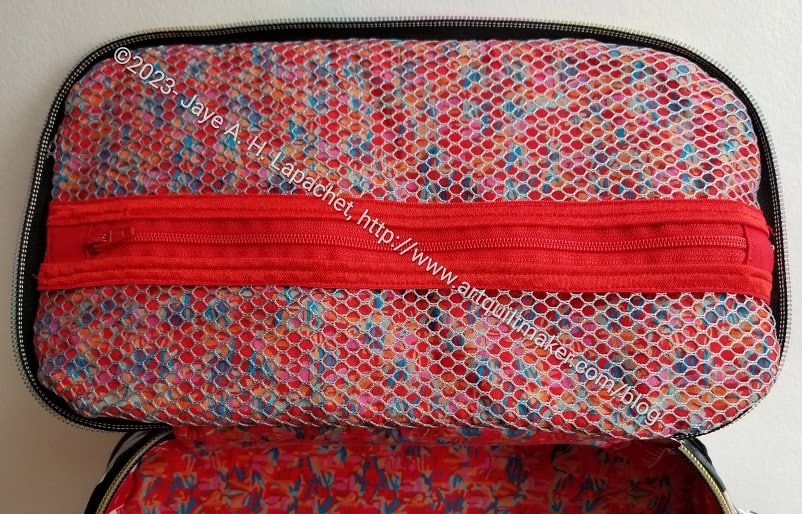
Mom’s Hackney Bag: interior mesh pocket
Yes, I made the mesh pocket again. As I said before, I think they are useful; I just don’t like making them, but practice makes perfect. I think I would like to try making it a different way. I don’t want to fold the edge of the zipper tape as much as the pattern says. The edge of the zipper tape gets ensconced in the seam allowance, so there really isn’t a reason not to leave it raw. It is easier and tidier not to go through all of those layers of folded zipper tape anyway.
I will say that the fabric I found matches the zipper and the foldover elastic very well.
I think I still need more practice making the inside.
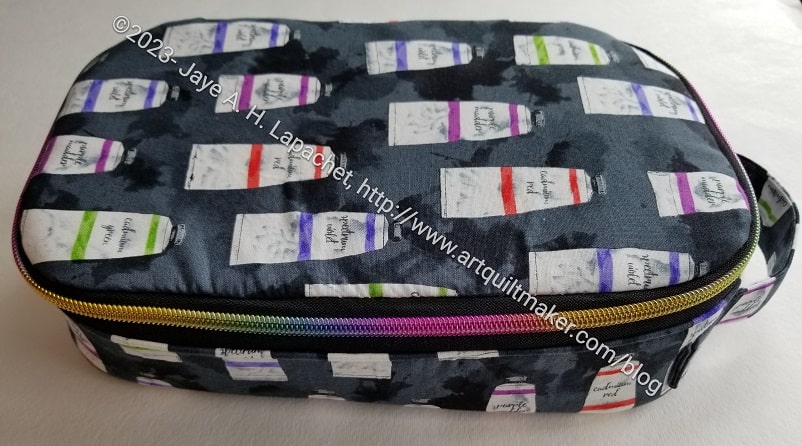
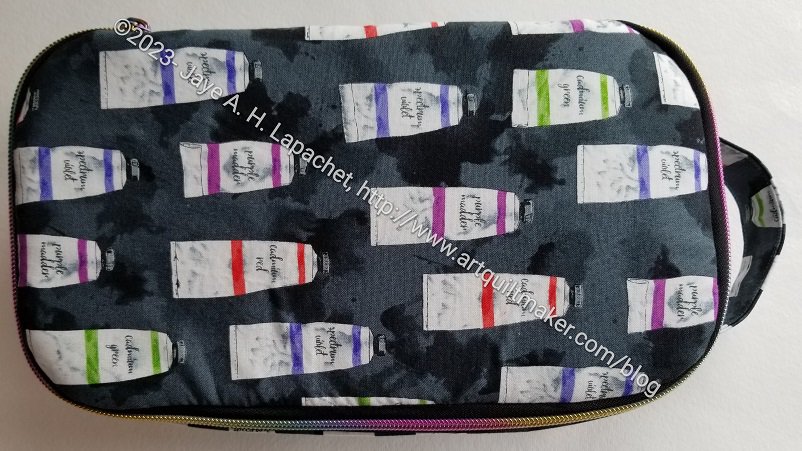
Mom’s Hackney Bag: exterior
The outside looks very good, though.
I oriented the directional fabric a little differently this time. I oriented the top exterior piece so the paint tubes are right side up when the bag is being carried. The bottom paint tube are oriented at a 90 degree angle from the top.
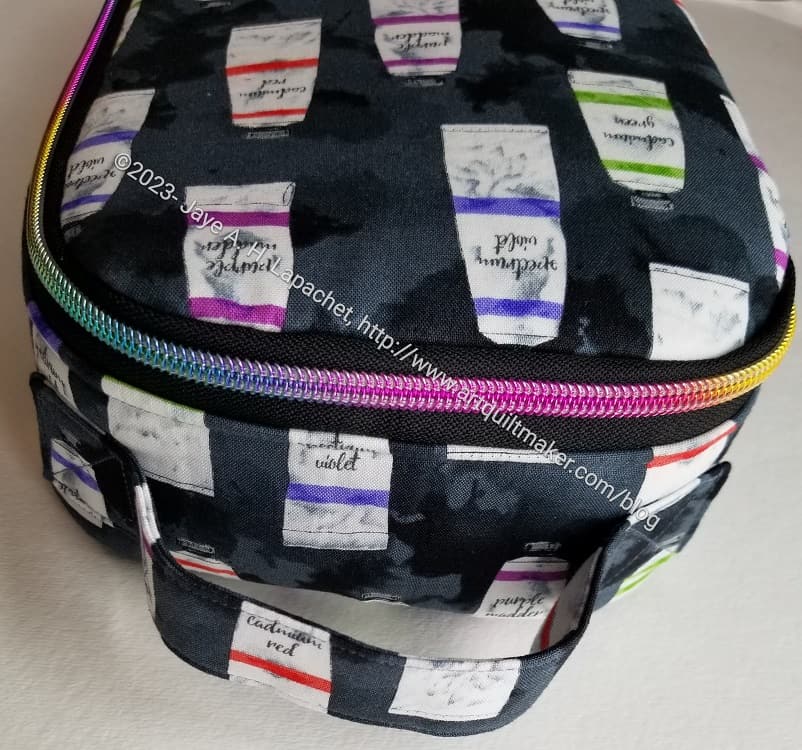
Mom’s Hackney Bag: handle
The handle is also in the right place, which makes me really happy.
One thing I haven’t figured out is where to put the handle in terms of the distance between exterior top and exterior bottom. I hope I remembered to measure where this handle is placed before I gave it away. 😉
Mom’s Hackney Bag: interior bottom
I am doing a better job of remembering to sew my labels in. I wrote myself a note on the pattern, so sewing in a label has become another step in the process. You can see the labels in the photo on the right. I try to include one of my Wunderlabels as well as a label from my 2022 Advent Calendar.
Mom’s Hackney Bag: exterior top
So, another Hackney under my belt. I feel like writing another post showing them all. Maybe I should make myself one.
**N. B. : Obviously, you should shop at local quilt shops and small businesses. However, if you are too busy or can’t find what you need there, I use Amazon affiliate links and may be paid for your purchase of an item when you click on an item’s link in my post. There is no additional cost to you for clicking or purchasing items I recommend. I appreciate your clicks and purchases as it helps support this blog.
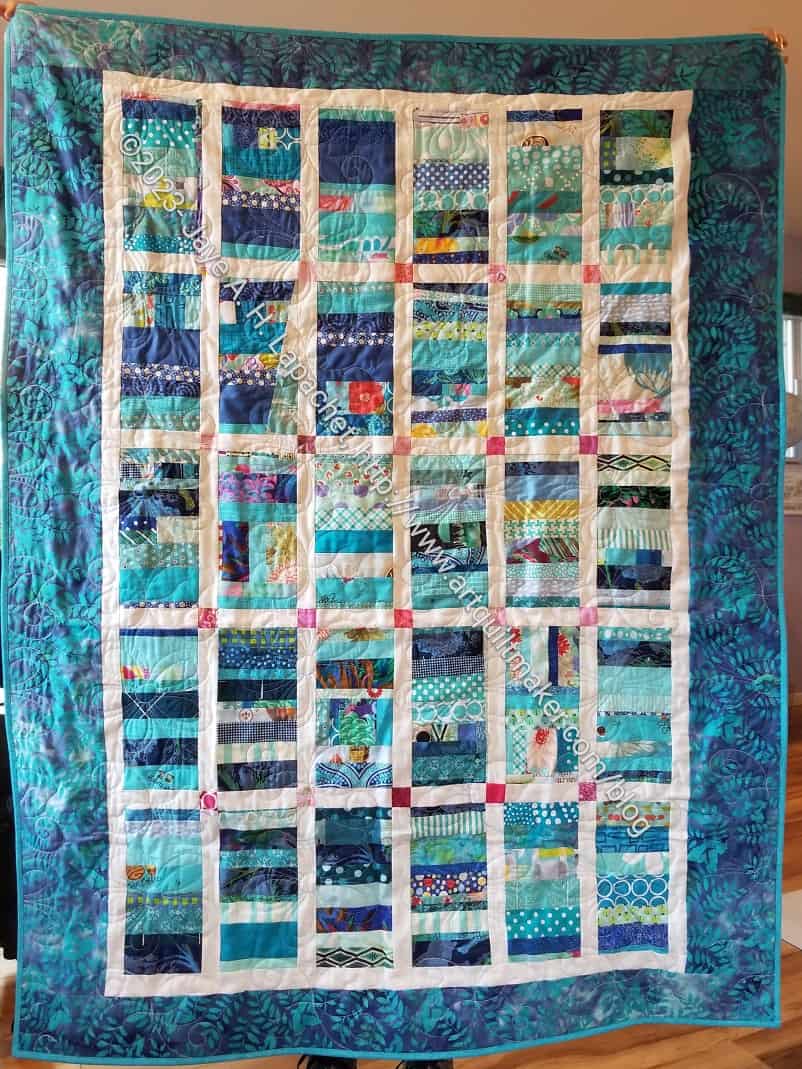
At my sew day with Cyndi, she worked on binding quilts. One of them was my Blue Strip #3. I am so thrilled because I just finished this one in July! I am thrilled that it is already finished.
We discussed colors to use as binding and eventually settled on a turquoise. I thought a purply blue would look better with the batik border, but she didn’t have such a fabric and I didn’t think it mattered that much. The turquoise turned out to be a great choice.
Cyndi did a machine binding that looks really nice. I have to try and learn that skill.
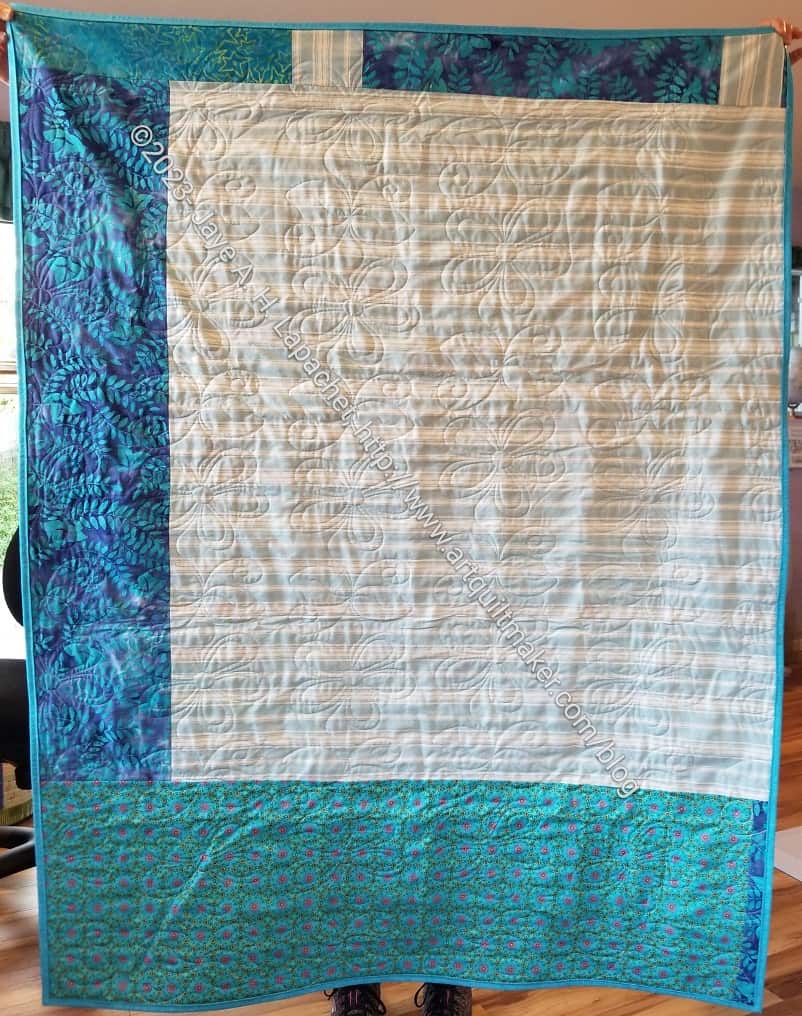
Blue Strip #3 donation quilt back
Laura, a longarmer who has been doing quilting for the guild, did the quilting. It is flowers and you can see it really well from the back.
I finished the Bristol Pouch. I am pleased with how it came out.
I am also pleased with the “fussy cutting”. I have to laugh, because I didn’t really fussy cut the big flower. It just happened: Happy accident!
Bottom and side
I think I would construct it a little differently if I made it again. I think the foldy instructions for the bottom are cool, but I don’t like the way it looks on the outside. I also think this technique would be better without the foam. I might try this technique with fusible fleece. The finished piece just feels too thick in the corners. I am pretty sure this is personal preference.
Bristol pouch: top closed
From the top, the pouch looks good. It looks very sleek.
As you can see, I chose a striped binding. I love striped binding and I think the fabric combination looks good.
I am also pleased that my leftover zipper end worked in terms of color with this pouch. I struggled a little to get the zipper to work properly, but once I zipped it a few times, the teeth got themselves organized and there was no problem.
Bristol pouch: top open
I really wanted to make this quickly, so I didn’t spend a lot of time choosing fabrics. I used the quilted combination I had from Colleen, but I probably should have matched the binding on the inside to the lining fabric. Maybe next time.
I am not sure how I will use this pouch, but some need will turn up.
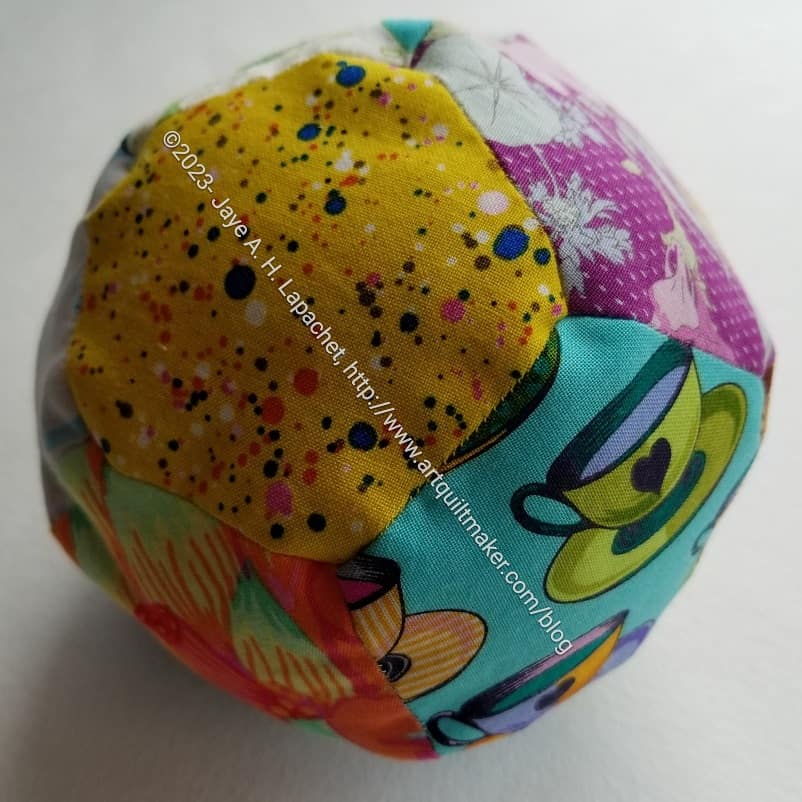
I was able to sew up the gap in the second EPP ball and it is ready to go to its new home. The birthday isn’t until October, so I have a little time.
I really enjoy making these. If I had some space, I might make one for myself. As it is, I will give this one to Dameon or Alita. I haven’t decided yet.
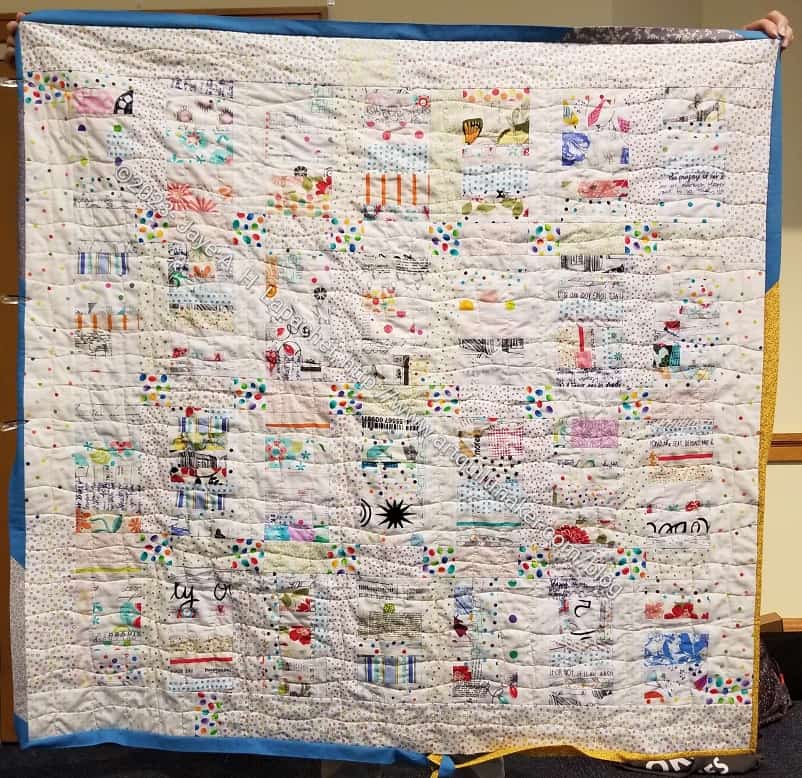
Leann brought the White Strip Donation Quilt to the meeting last weekend. It has been a long while in coming, but she quilted it and was finishing the binding. I am so pleased to see it done.
I finished the top in 2019, so it has been languishing for awhile. Fortunately, fabric doesn’t go bad. There is something about this one that I really like. Soon, I will have enough scraps to make another.
Another Hackney is in the books. The Coneflower Hackney #2 is finished and the recipient should have received it by now.
Remember how I talked about DecorBond in my last post about this bag? You can see how great the top looks in the photo – flat and smooth. I love it! I am so pleased that it looks that good.
Coneflower #2 Hackney, Aug 2023 – front, top
It really surprises me how different a bag can look with different interfacing.
In this version, I sewed the top stitching, to close the turning gap on the inside, from the top. I wanted the top stitching to look good from the outside as well as close the gap. This is something I have trouble with repeatedly, so I did it slowly and with care. I think it looks good this time. Still not perfect, but I am getting there.
Coneflower #2 Hackney, Aug 2023 – end with handle
I think I have finally gotten the handle placement down. I think these bags are just way more useful with a handle. I wonder what inspired Sara to make this bag without a handle? I suppose it could be used in the bottom of a suitcase to corral all of those random items one needs on trips that aren’t clothes. Maybe the Minikins Season 3 video says something about that. I don’t really remember.
I have seen Gerre carrying hers by the handle to Sew Day, so I know the handle isn’t superfluous.
Coneflower #2 Hackney, Aug 2023 – inside
I had a little trouble with the back panel on this one, but the inside still looks good. I really like that bright white fabric.
I also remembered to put labels into the lining front panel this time.
I have made a number of these Hackneys and haven’t gotten one perfect yet. I really worry that I will never be able to make a perfect bag the first time through.
I am not finished with this pattern yet. I just cut one out for my Dad using the leftovers from his birthday pillowcases.
I realized, after posting yesterday’s ‘in the wild‘ post, that I had never posted about the project bag I made for Gerre.
I made this one at the same time I made one for myself, Mom and Julie.
Despite my concerns about the size, both Gerre and Julie said they really love these project bags. Using mine for the Metro Twist has been really useful. I said I would try making the larger size and let them know how it turned out.
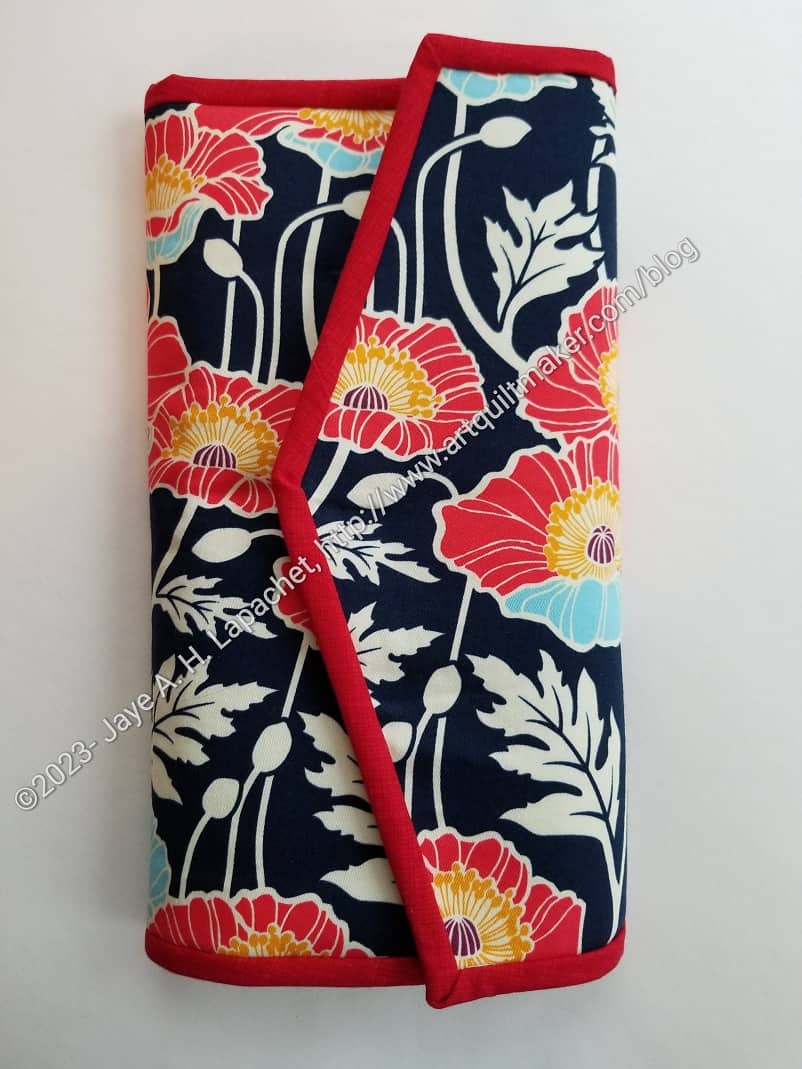
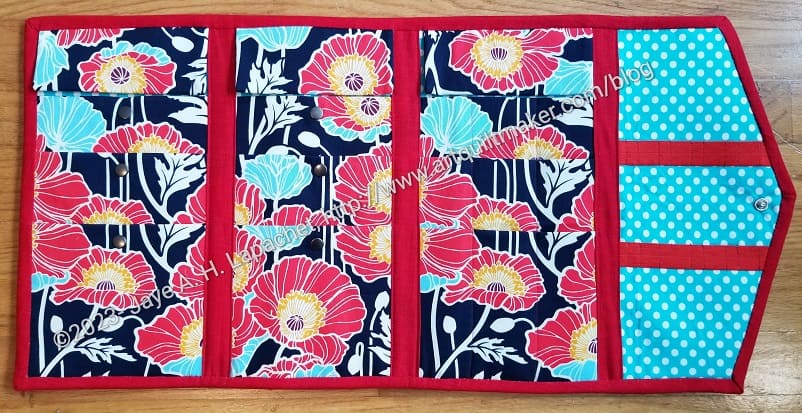
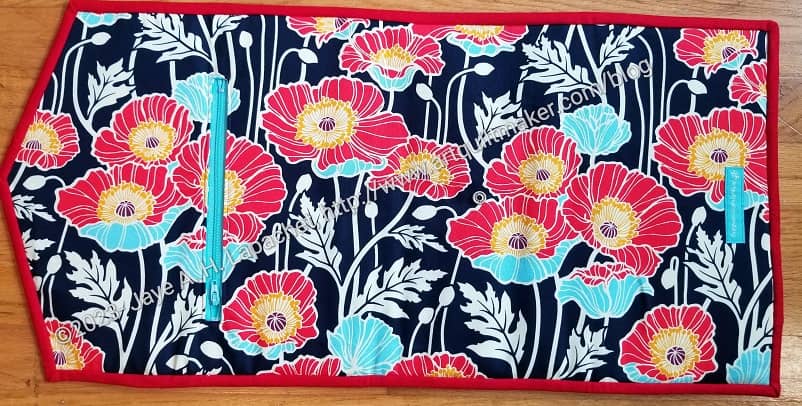
I sewed the binding on to the Knitting Needles Case #2 on Tuesday night and was able to finish the piece. It is great! I really like it. It will be hard to give away. Fortunately, I have more of the poppy fabric so I could make another.
I love the way this closes up so neatly. The roll is so slim and convenient to carry. Of course, I haven’t crammed 100 needles into it yet!
I was very careful with the fabric, both on the outside and the inside. I wanted it to line up properly and be oriented in the right way.
I really wanted to see the poppy fabric. I decided to use the canvas for the pockets instead of for the inside lining. I used to have some of this fabric in cotton. I made a Petrillo Bag out of it. I should have looked to see if I had enough to cut the pockets out of it. It didn’t occur to me until I had already sewn the pieces together, so maybe I’ll make this bag again and use the cotton, if I still have some.
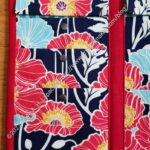
Finished: Knitting Needles Case #2: inside left
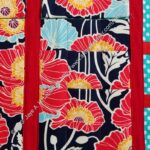
Finished: Knitting Needles Case #2: inside center
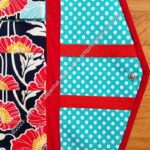
Finished: Knitting Needles Case #2: inside right
The inside came out pretty well. I sewed carefully because of the thickness, but really had no problems. I think the turquoise dot fabric goes very well with the Poppy print
Finished: Knitting Needles Case #2: exterior
The zipper, if a tiny bit short, went in very well and matches the fabric very well.
I plan to use the Poppy print for a Sheffield bag, but I may also make a Kit Supply Tote with it. I really like that fabric.
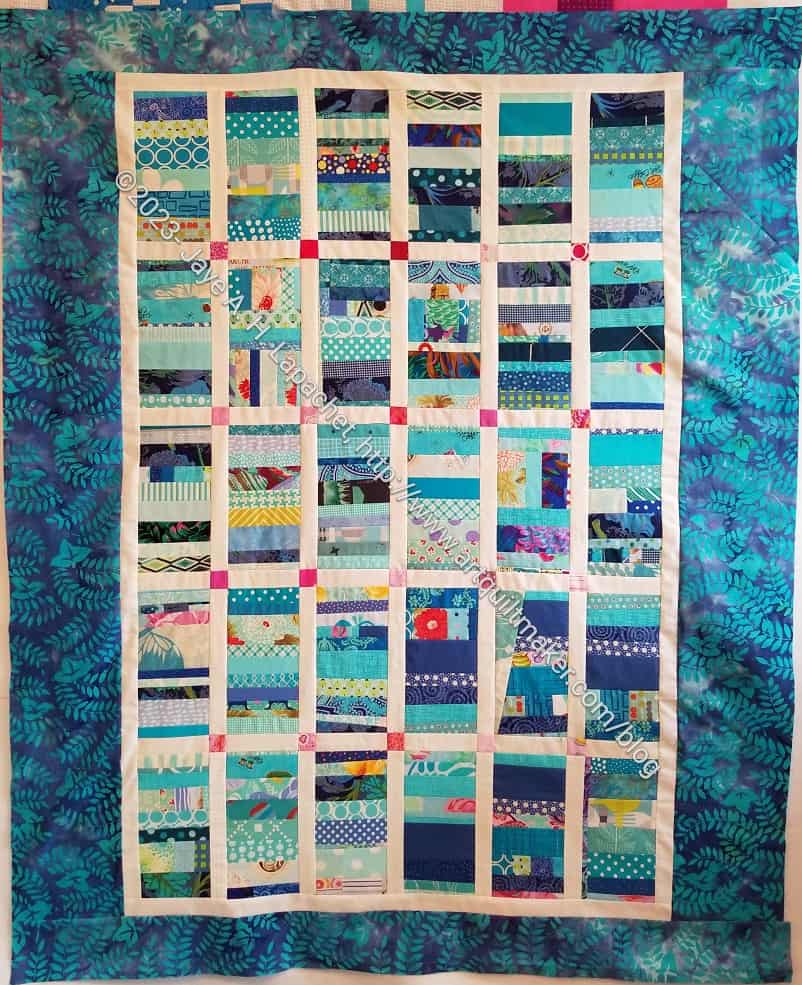
I finished the Blue Strip #3 donation top and back in the nick of time to take to Sew Day on Saturday.
As I mentioned, it was a weird shape, so I made an effort to widen it by making the side border strips larger than the top and bottom border strips.
It is still very much more rectangular than square, but more of a bed shape than a weird shape.
I’ll have to work on a blue color improv quilt like the others as I still have quite a few blue scraps. They seem to multiply when I am not looking. LOL!
Peggy, as usual, was very complimentary and happy to receive it. I plan to make another one using greys or blacks or both. The scrap drawer with greys, blacks and browns is very full.
I really love this bag. It is sitting on my cutting table so I can admire it. The fabric is great, but I really love the size and shape.
I haven’t tried carrying anything in it, so stay tuned for that adventure.
There are also some details I haven’t used in other bags that I think make a nice finished look.
This is an Aneela Hoey pattern. It is a stand-alone pattern, as in not from her book, Stitched Sewing Organizers**. I have had the pattern for awhile and admired Mary C’s version at every Sew Day. I talked a little about the beginnings of this bag in the post earlier this week. I will say that I was able to finish it pretty quickly and that I immediately wanted to make another.
Finished: Kit Supply Tote
Of course I did! It seems to be my MO. I do have some of the pieces cut out for a smaller version, so I may make one of those. We’ll see. I do like the large size.
I had some trouble with some of the directions, but it is my poor pattern reading not the pattern. I’d love to hear what others think about the directions on pg. 8. I found them confusing, but I looked at some of the photos provided after the first page, then I tried some things and went with it. The basic idea was to sew the lining to the exterior staying within the seam allowance.
There was some ripping, but in general this bag went together pretty well.
Finished: Kit Supply Tote – lining
The pockets look pretty useful. I don’t have measurements for my particular tools and supplies, so I mostly followed Ms. Hoey’s guidelines in the pattern. I don’t know yet what I will use this bag for, so I am not worried yet.
I did change the pocket fabric at the last minute for the circle motif fabric. I had cut out the pockets using the striped fabric of the lining, but changed my mind. I will use the fabric for the pockets for another version.
Finished: Kit Supply Tote – handles
Considering my ‘handles from the back’ technique, I am pretty pleased with how they turned out. I don’t think these handles will feel very good if I had to carry this bag filled with heavy supplied for a long distance, but I don’t anticipate that happening.
One thing I did with my fingers crossed was modify the zipper. This pattern calls for a 14″ separating zipper. I only had a longer one. I followed the directions, which were to fold the ends over at a 45 degree angle and sew the angle into place. It seemed to work just fine and the zipper looks good. Whew!
I really want to put this bag into use. I may replace the Ultimate Carry All bag with this one, though that bag is growing one me.
**Obviously, you should shop at local quilt shops and small businesses. However, if you are too busy or can’t find what you need there, I use Amazon affiliate links and may be paid for your purchase of an item when you click on an item’s link in my post. There is no additional cost to you for clicking or purchasing items I recommend. I appreciate your clicks and purchases as it helps support this blog.
I forgot to post about the finished second Enigma. I wrote about last a week ago.
I am so pleased with the fabrics, which I talked about last time. They look so well with the zipper, too.
Peony Enigma open
As per usual with second tries, this one went together a lot easier and much faster. I didn’t use the prequilted fabric I had Colleen make for me. I only have one fabric, the Philip Jacobs fabric I used last time and I wanted something different. The bottom piece needs to be quilted, which meant I had to quilt the bottom. It was fine. I used one fabric for the lining and I like that look a lot better, even if the various lining fabrics aren’t very noticeable on the first Enigma.
Peony Enigma: accordion pocket
The accordion construction of the center pocket is magical in a way. It is just so amazing how easily it goes together. I am really pleased with how it came out.
Also, the fabrics look so pretty in this configuration. I think the Kabloom fabric is just a good fabric design, because I didn’t have much fabric left to fussy cut. The end with the half peony flower is a happy accident.
Peony Enigma: diagonal zipper
I am still kind of enamored of the diagonal zipper design. I really need to know how Sara comes up with her designs. I saw another bag like this, but can’t believe that she would steal a design.
The only part that didn’t come out exactly as planned was the handle. I think I spaced the stitching too far apart. The empty space is large enough for me to carry it, but the Chrysanthemum version had more space. C’est la vie!
Peony Enigma: handle
I am so pleased with how this bag came out.
I plan to use it to travel with EPP projects. I haven’t filled it, or the Chrysanthemum version, up yet, but will. I have a few trips coming up later this year and will need it for them. Cross your fingers I can find a good project.
I might put this bag on my list to make as gifts. I am not done with the Hackneys yets, so stay tuned.