I thought I had mentioned the Crafty Gemini Organizer Club, but I can’t find a mention of it.
Angela is helping with a bag project on which I am working and she pointed me to the Crafty Gemini Organizer Club. I looked at it, watched the video of the bags the club would be making and thought about it. Finally, I joined. The club’s early bird special came with 2 free bonus projects, but I didn’t do anything until I saw an IG post by Angela and how much she had done! Then I was embarrassed, so I got busy.
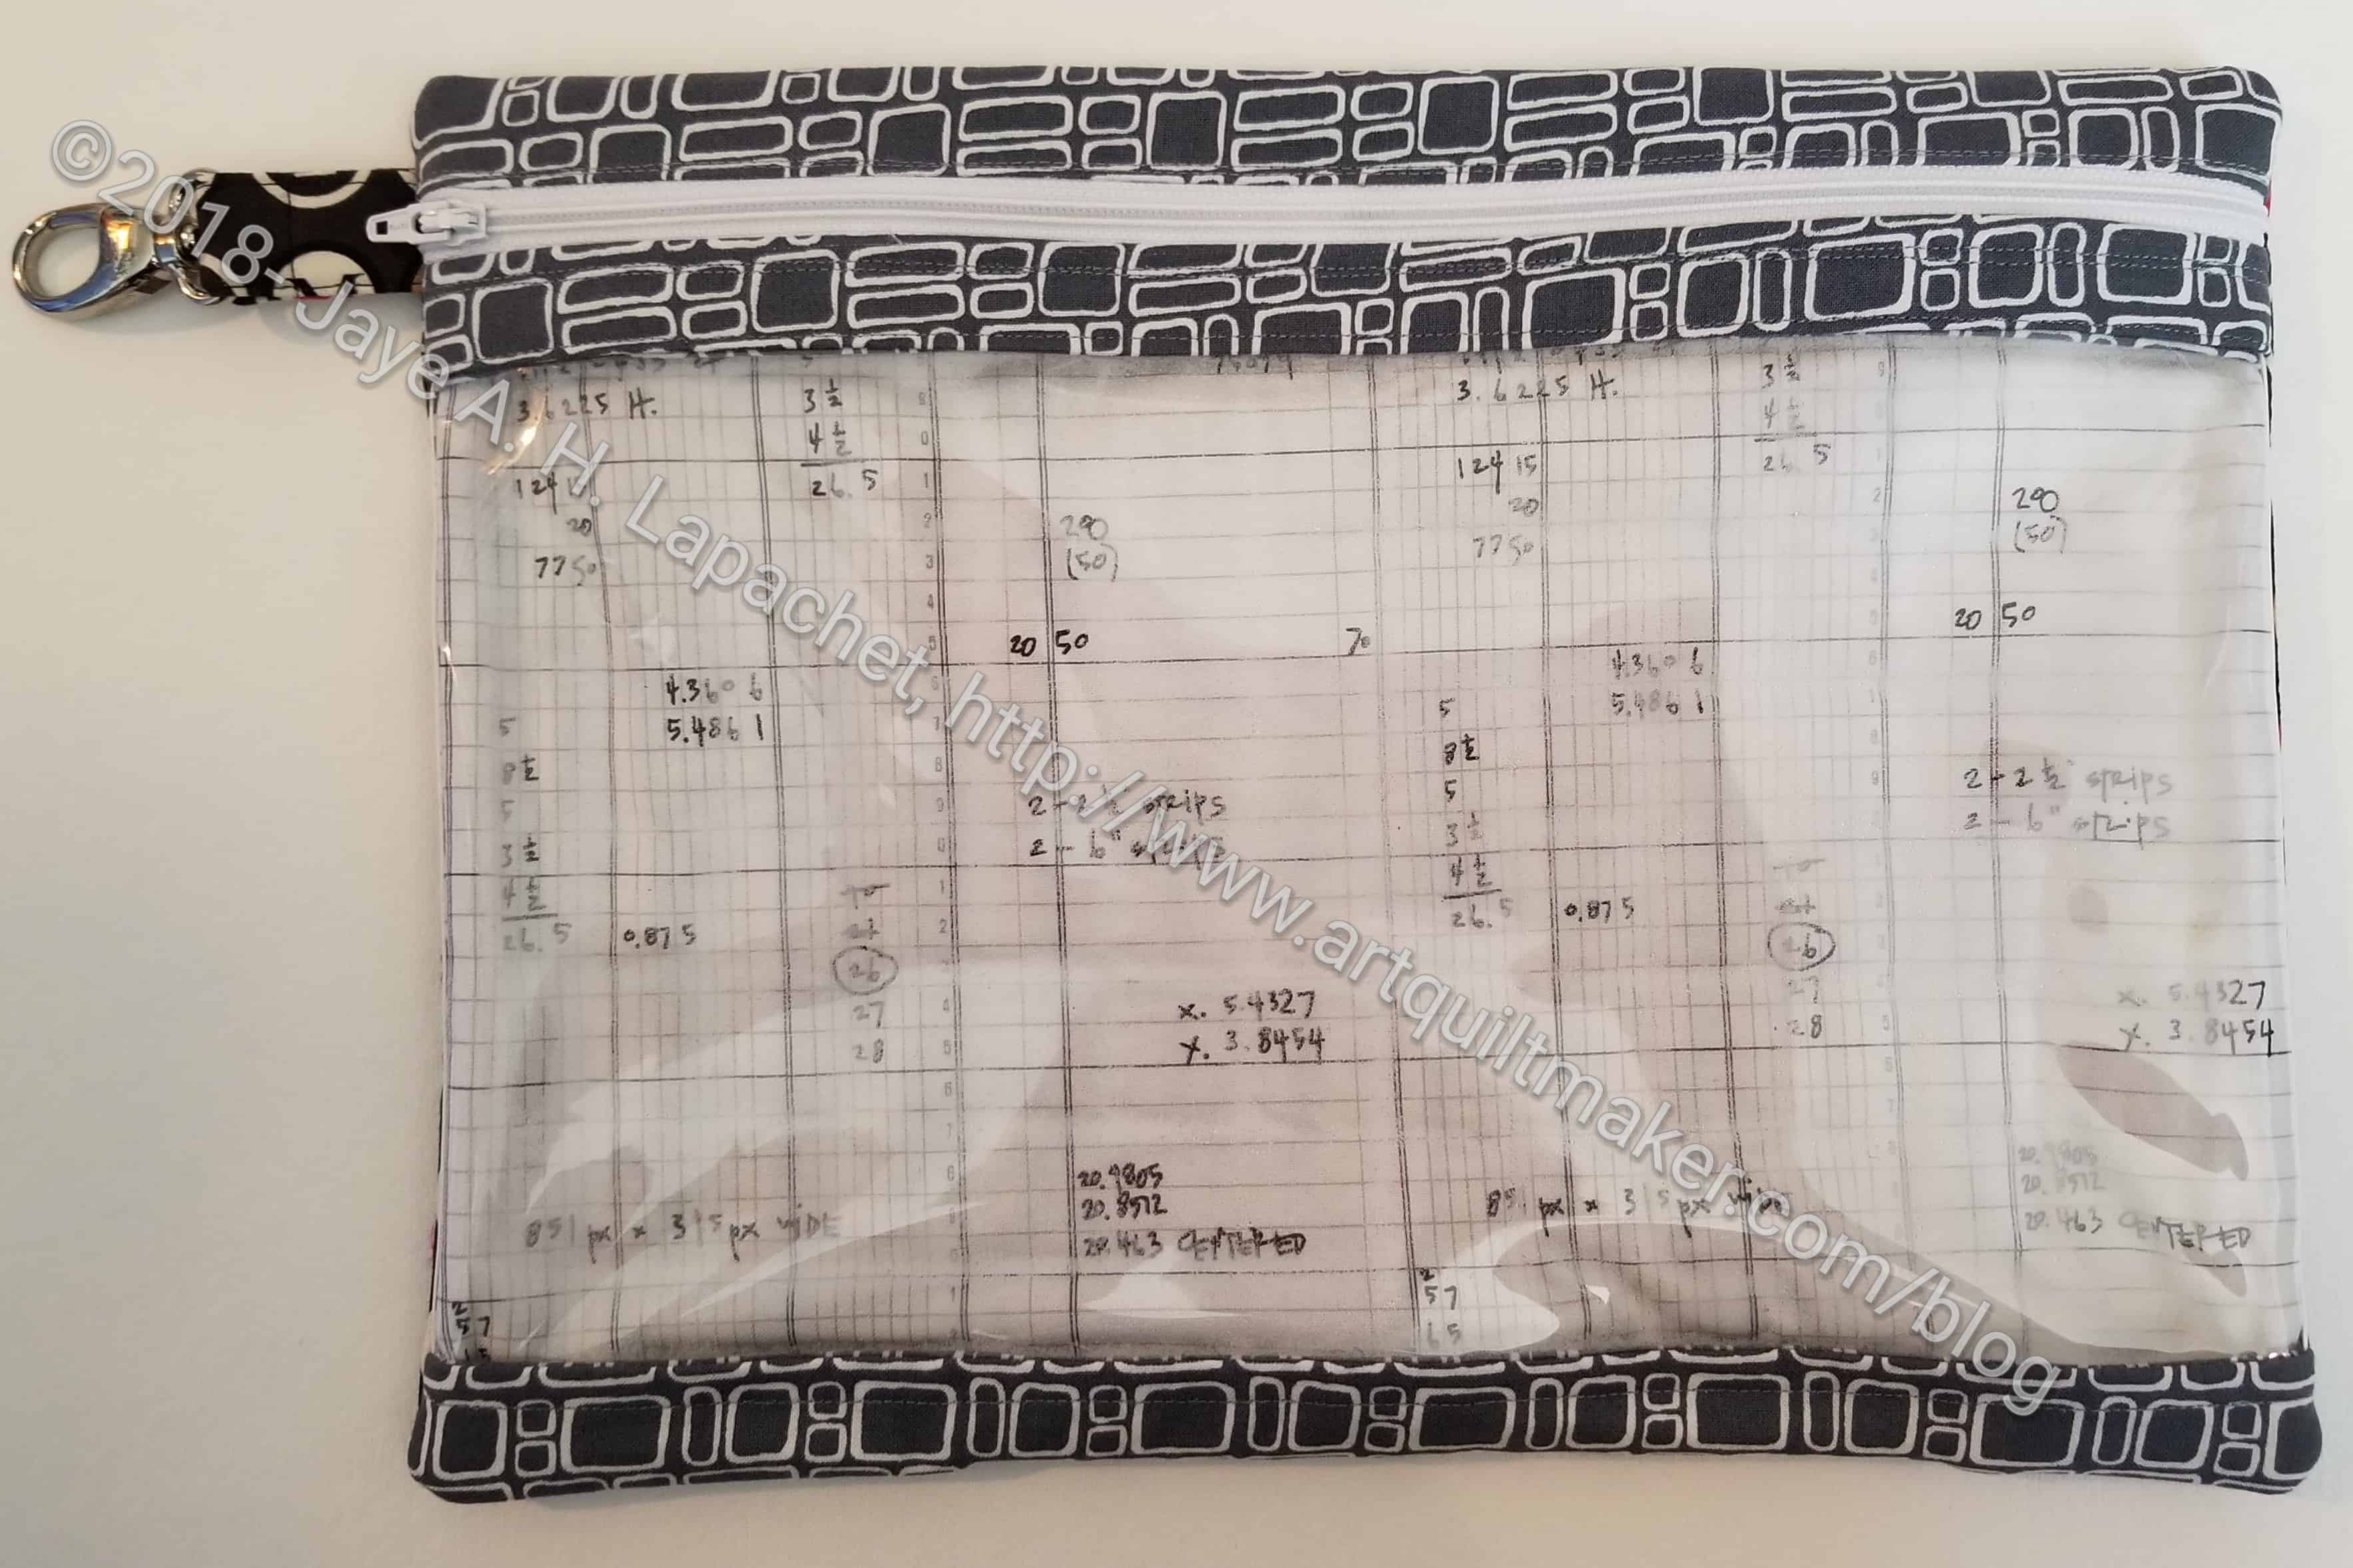
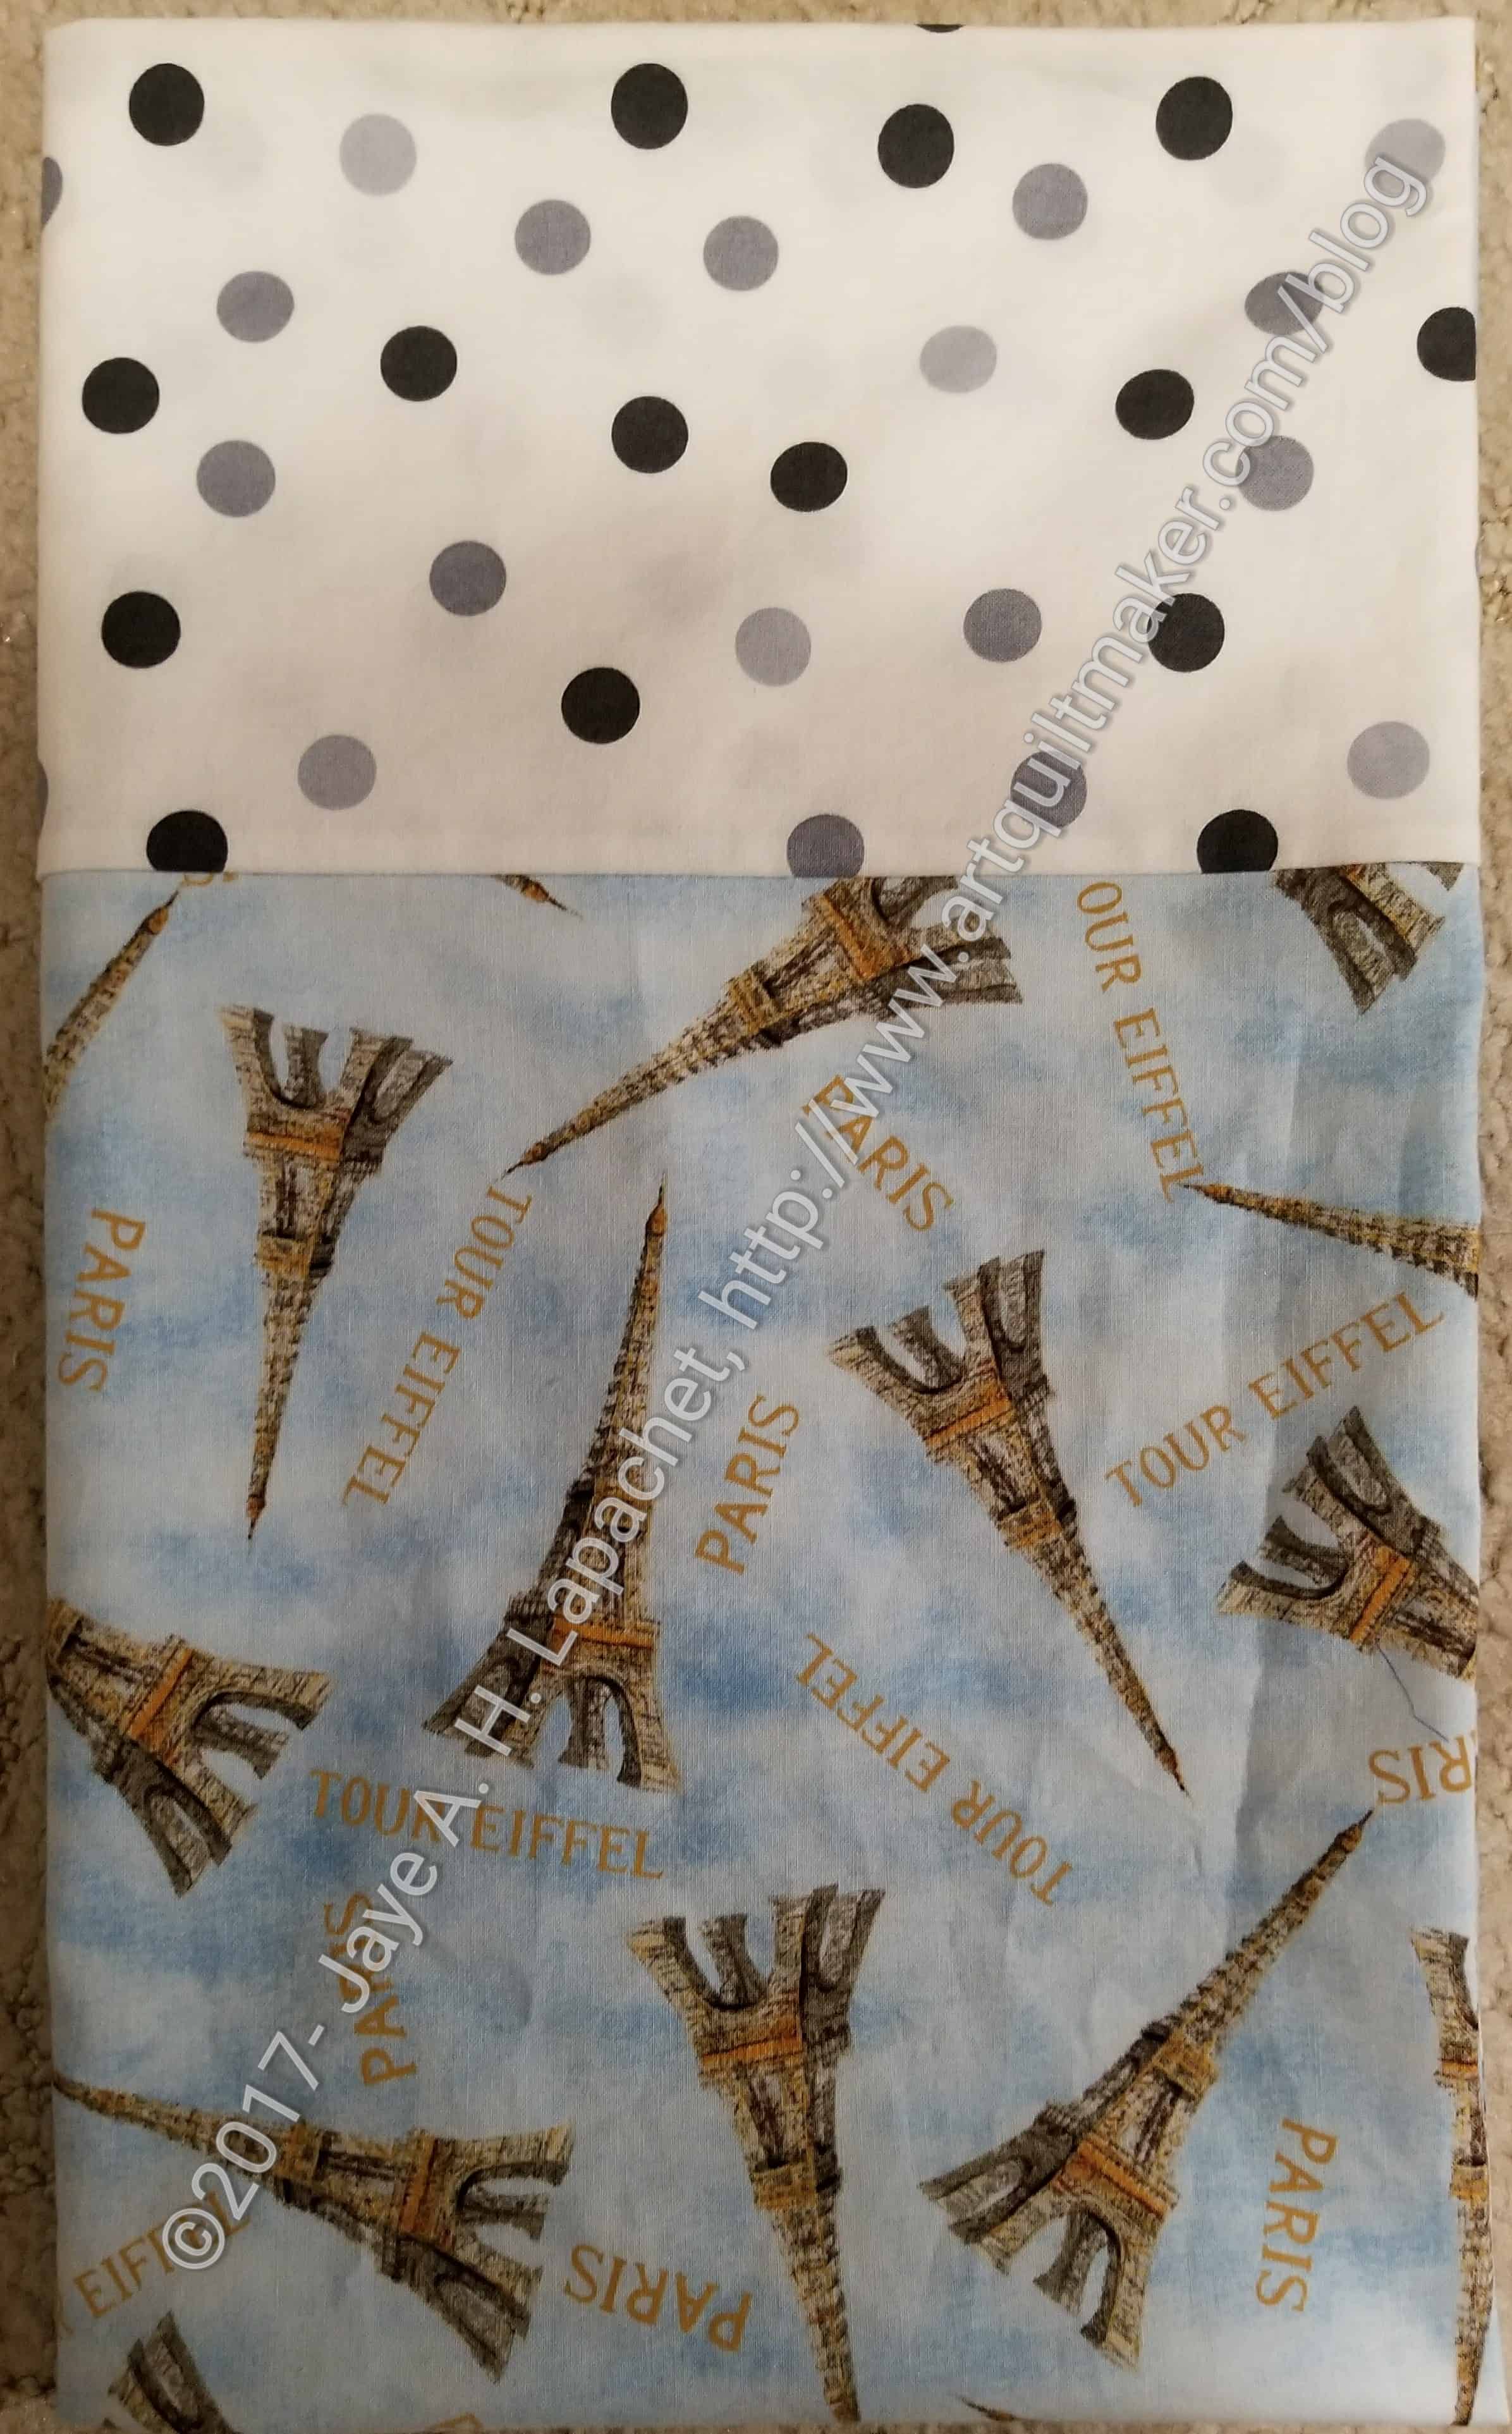
The first non-bonus project is the Roadtrip Bag. This one is made to clip onto a later project. I am trying to make the various projects coordinate. I originally thought I would put a rainbow stripe in each one like RockBaby Scissors does on many of her projects. I didn’t do it. I am just going with black, grey and white. I will be using some of the same fabrics for each of the projects.
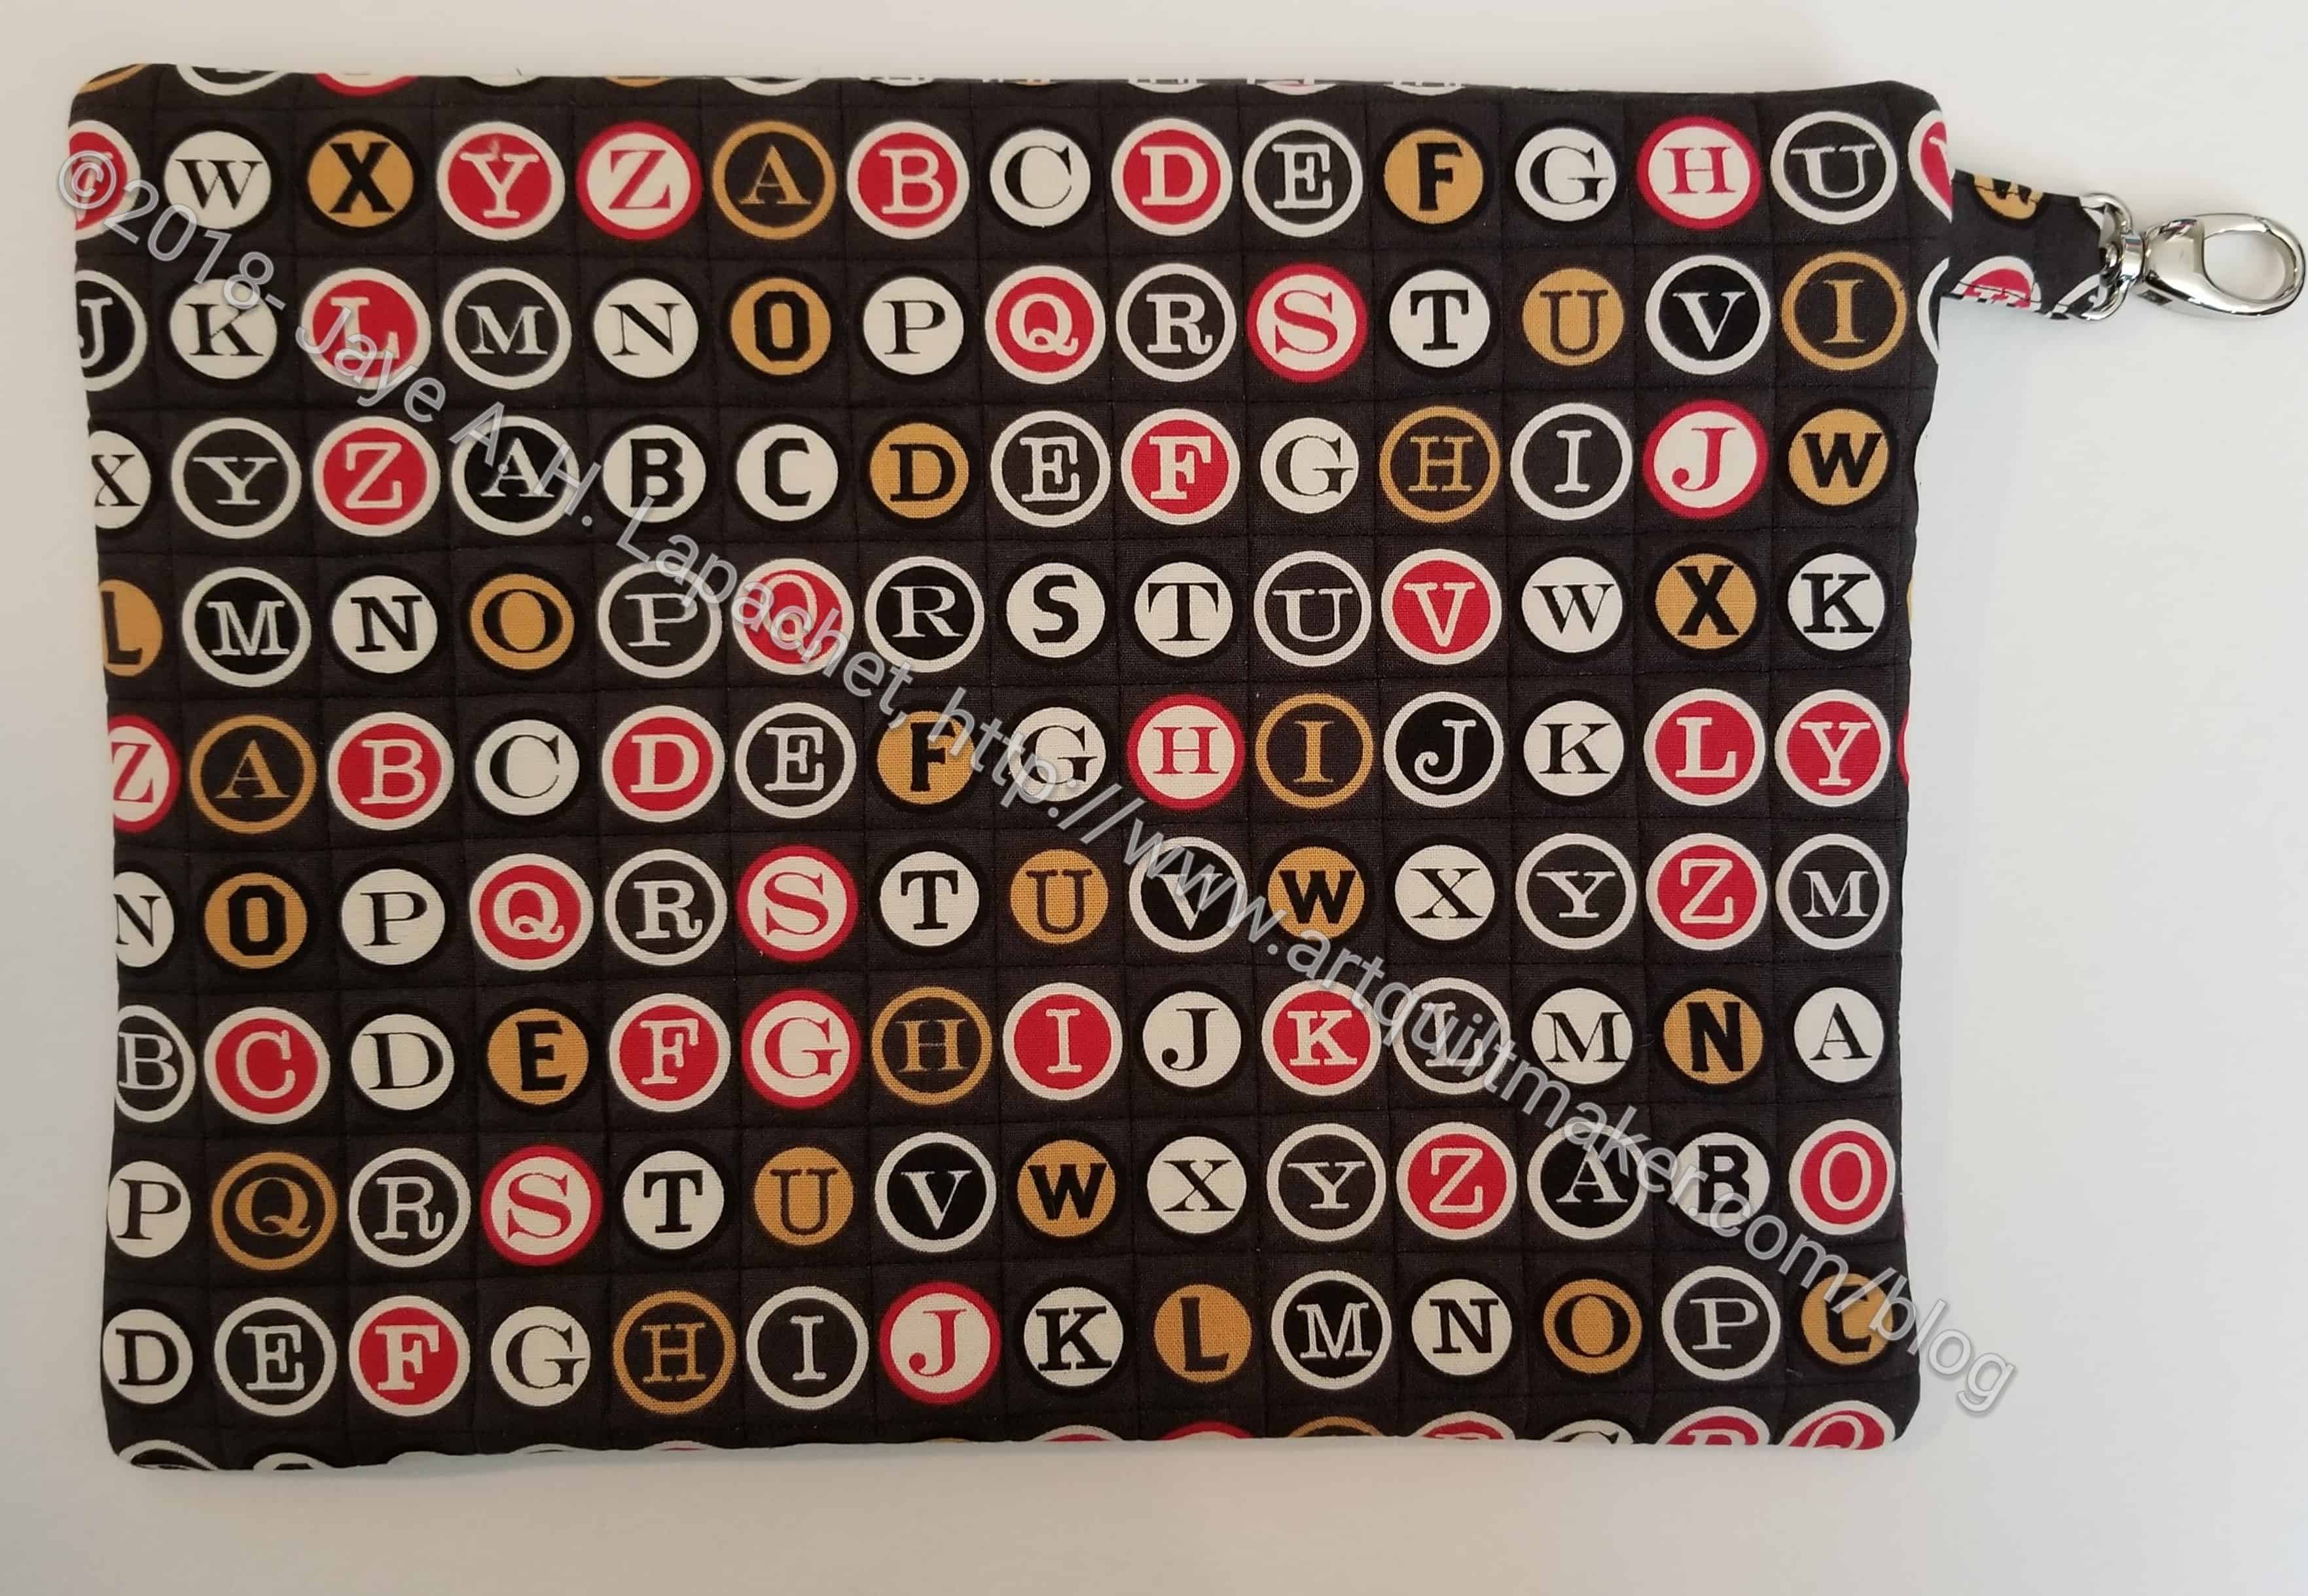
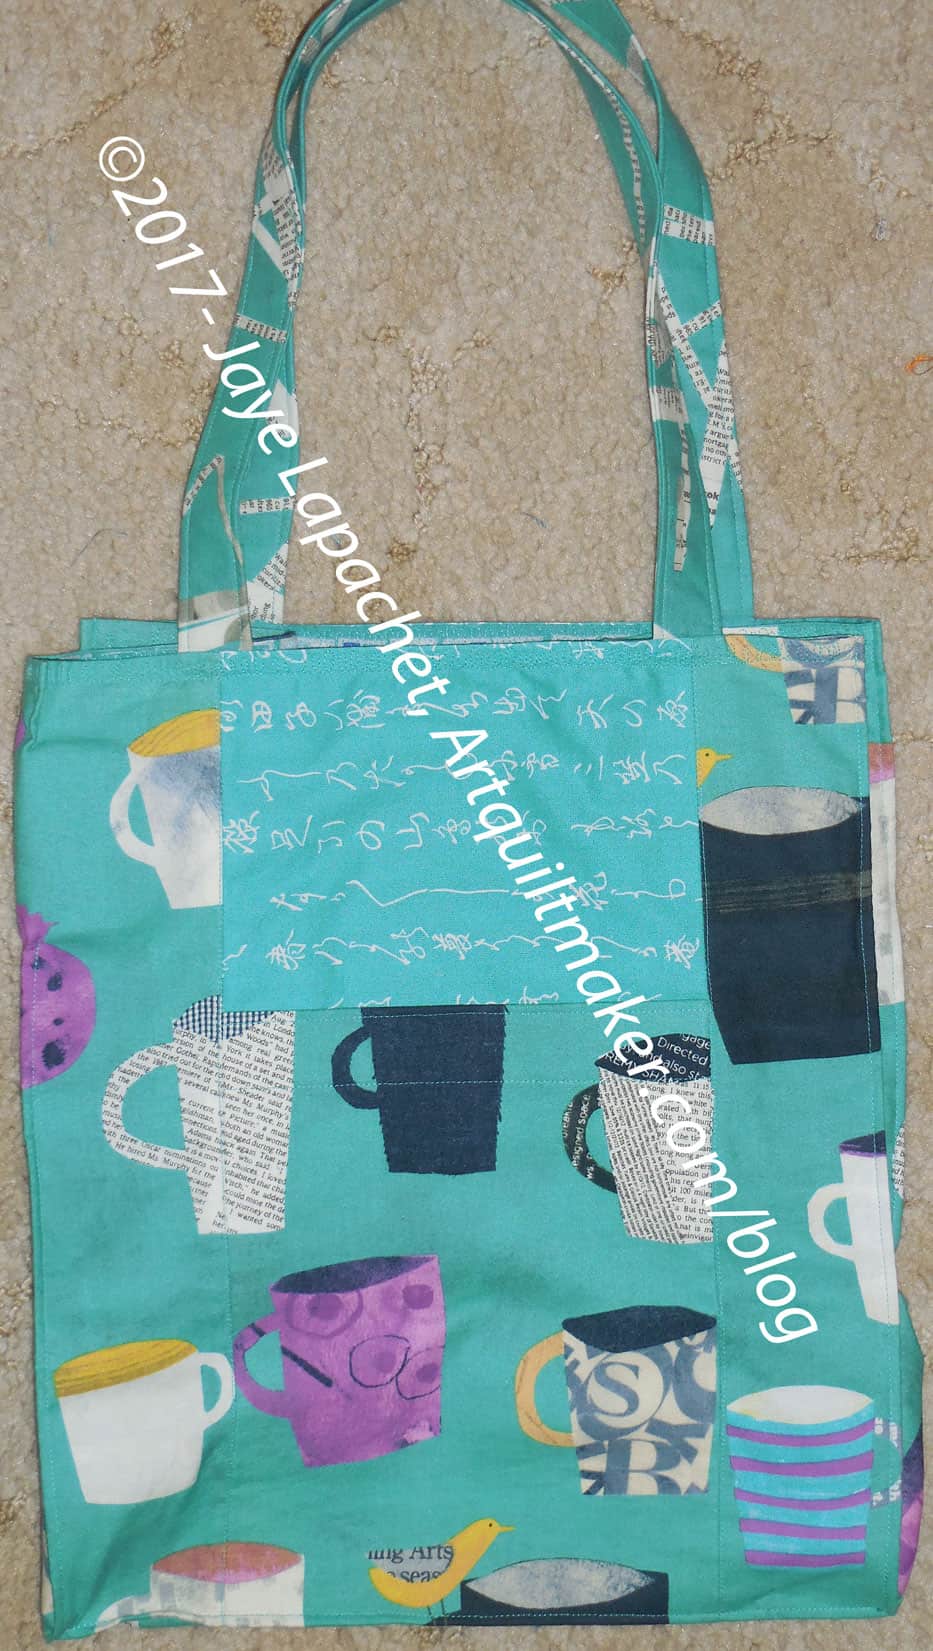
I think this could be used for a small-ish project. It would definitely be a good gift.