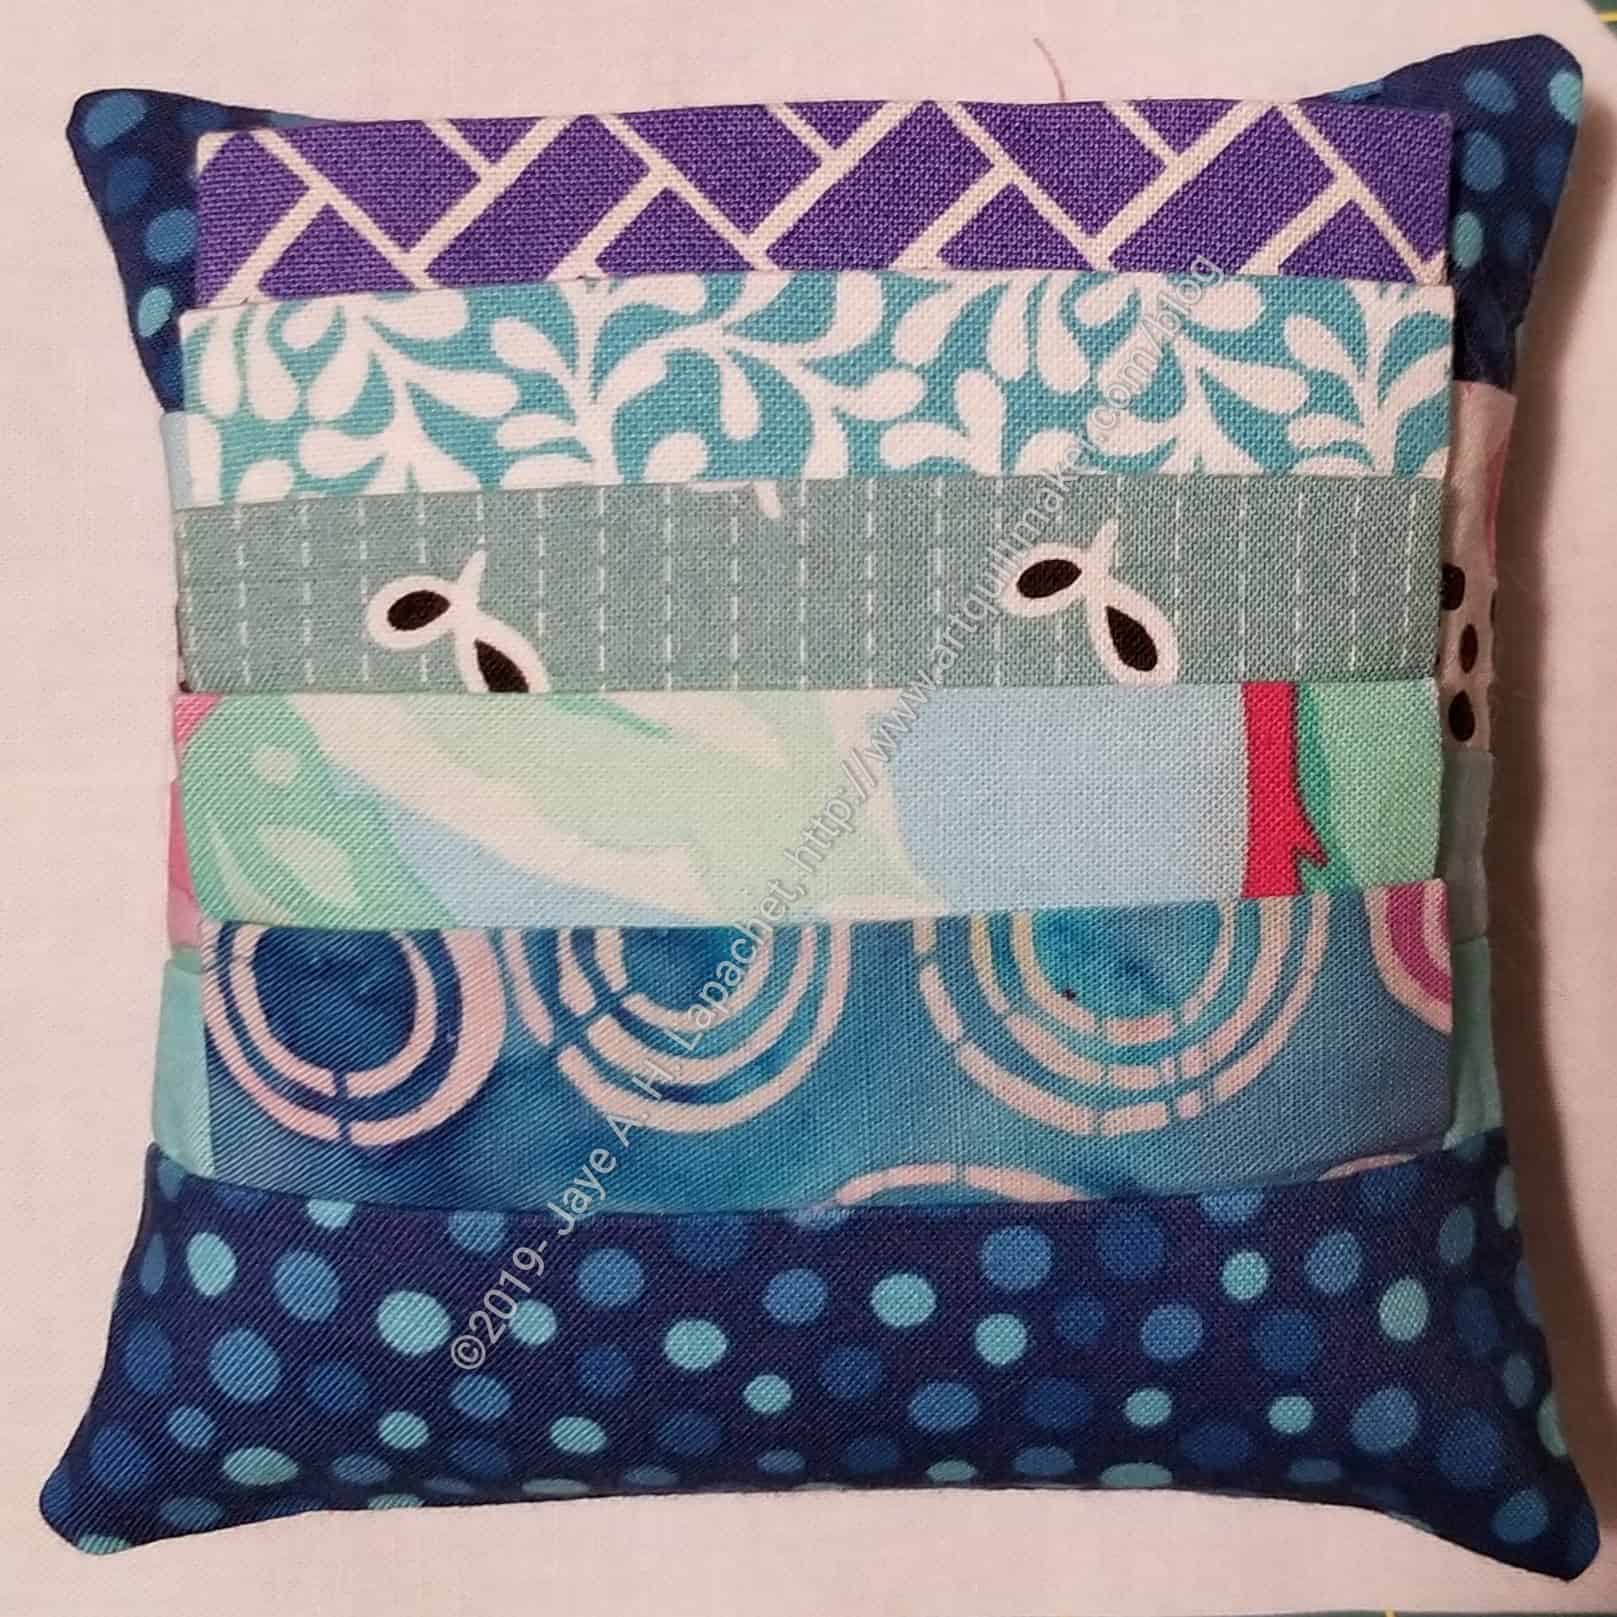
In order to add a gift to Maureen’s bag, I made her a pincushion. Unlike the bag, the pincushion went together very smoothly. I had some of the pieces and parts from my last round of pincushion making on the cutting table. They weren’t crappy, just unused.
I picked out some other scraps from the unsorted pile on my cutting table and came up with a great selection. I am pleased with how it looks and don’t think it looks thrown together or disjointed at all.
Maureen’s pincushion-with clips
I saved time by not using selvages for the back. I just used a piece of the batik. As usual, I filled it with a combination of wool roving and Beanie Baby pellets.
The other day, I went to visit my friend and sew. DH was out until the evening and it was a good day to go and hang with a friend. One thing we do together is eat cornbread. My family doesn’t like it and Gerre loves it. Every chance we get she and I enjoy it together. We also took a nice walk around her neighborhood, which is filled with lovely Victorians.
We didn’t skimp on the sewing, however.
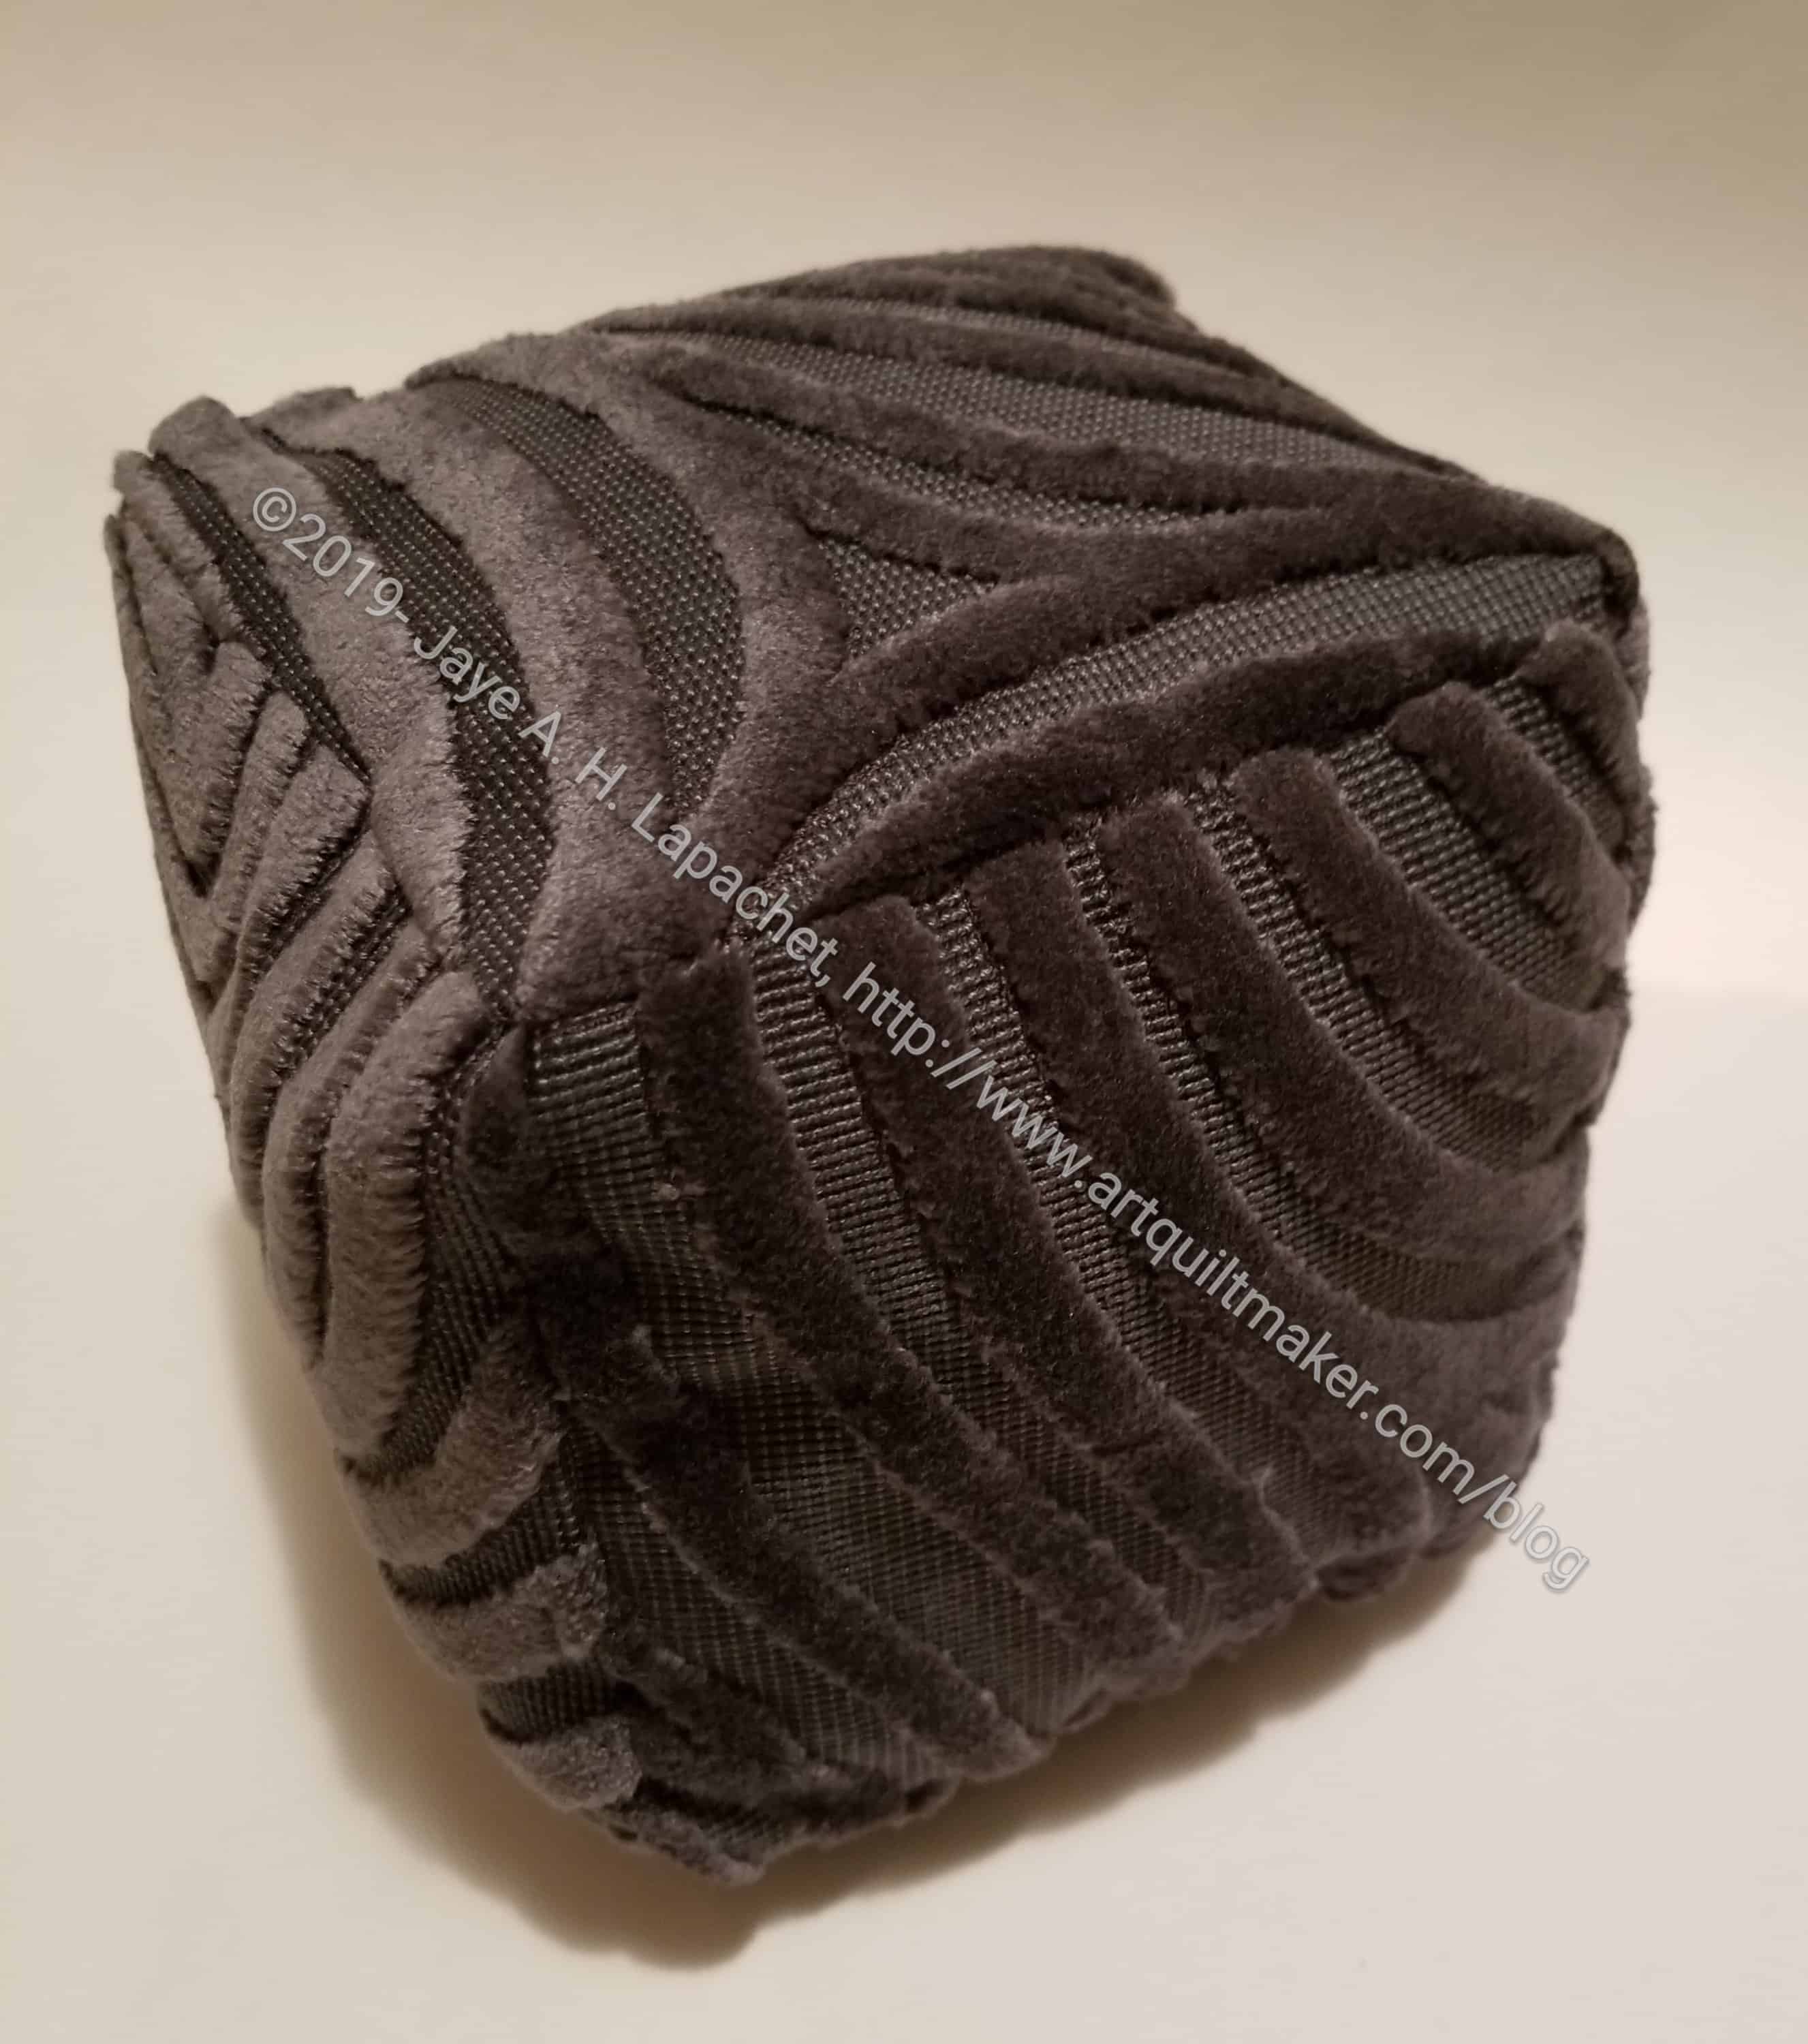
Textured Cube
I followed up on Jan’s idea from the retreat of a textured cube. Jan works at a local museum as an Exhibits Coordinator, so she is always doing interesting things with fabric for the museum. This time she had found some 6 inch squares at FabMo. For the kinesthetic aspects of an upcoming exhibit she decided to make fabric cubes. I thought the YM would like something like this for stress relief. I took Jan up on her kind offer of squares and and made this cube on Gerre’s second machine. Since the squares were already cut, it was pretty quick to put together
I also started working on some fabric bags. Before I went to Portland I had about 30 small gifts to wrap. I didn’t have small bags so I was forced to use paper, which, for me, is a special kind of hell. I decided that I would make a bunch of small bags. In this case, some gifts arrived too late for Christmas and I decided to use the In Color Order drawstring bag pattern.
I spent most of the time we had together making the drawstrings. You’d think I would have gotten them right, but I think they are too long for the size of the bag. We’ll have to see. The bags will look nice, but this endeavor is turning out to be more complicated than I want so I will go back to my regular gift bag tutorial once I finish these.
All in all, it was a great day. I didn’t get as much done as I would have liked, but we had some nice conversation and the most important thing to me is that Gerre is getting back to sewing.
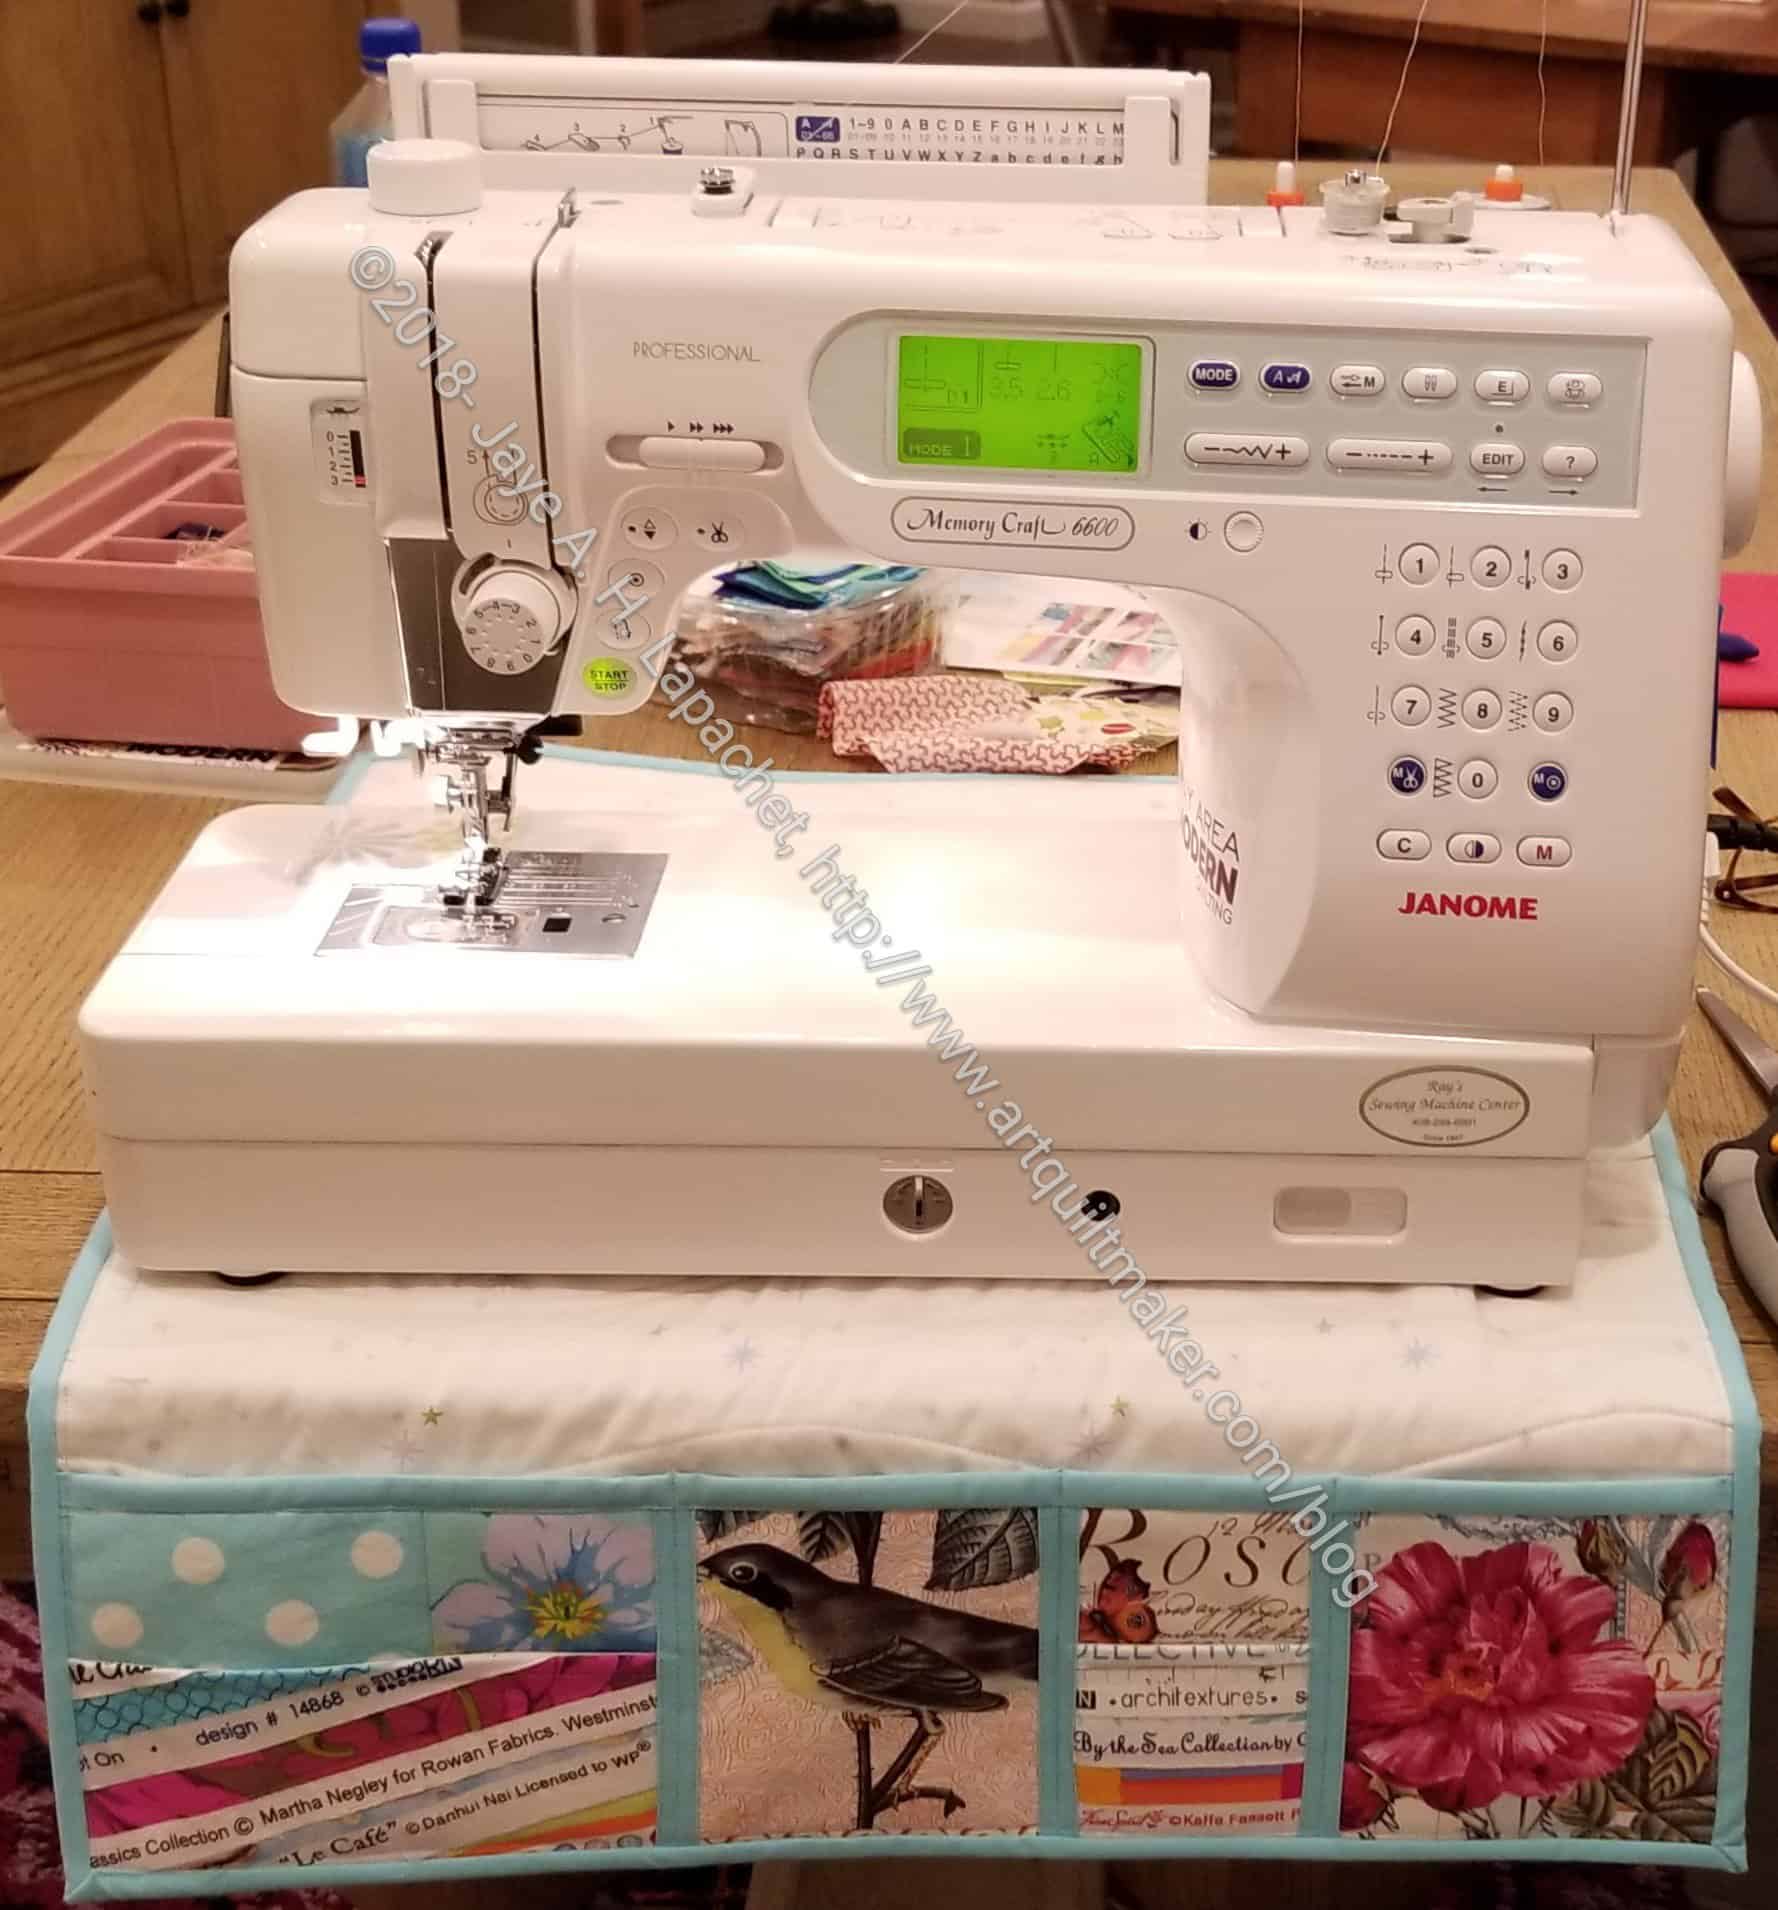
My plan is to use this mat at Retreats and Sew Days. I tend to put the tools I am using on the right side of the machine so they are easily at hand and don’t interfere with the fabric ‘products’ on the left. This works relatively well, but at Retreats, things can get knocked off the table or I don’t really have space to put tools in their usual location. It won’t really work at home because I have a cabinet even though I could use it since I don’t have a lot of space on the right side of my cabinet.
Undercover Maker Mat with portable table finished
I didn’t adjust the size at all, though I thought about it. The size of the mat, as you can see, fits my machine pretty exactly. I decided that my portable table didn’t need a mat underneath it. I also didn’t want a giant thing. It is usually better for me to make adjustments after I have made the project according to the pattern at least once.
I think that this item will be a good gift as well.
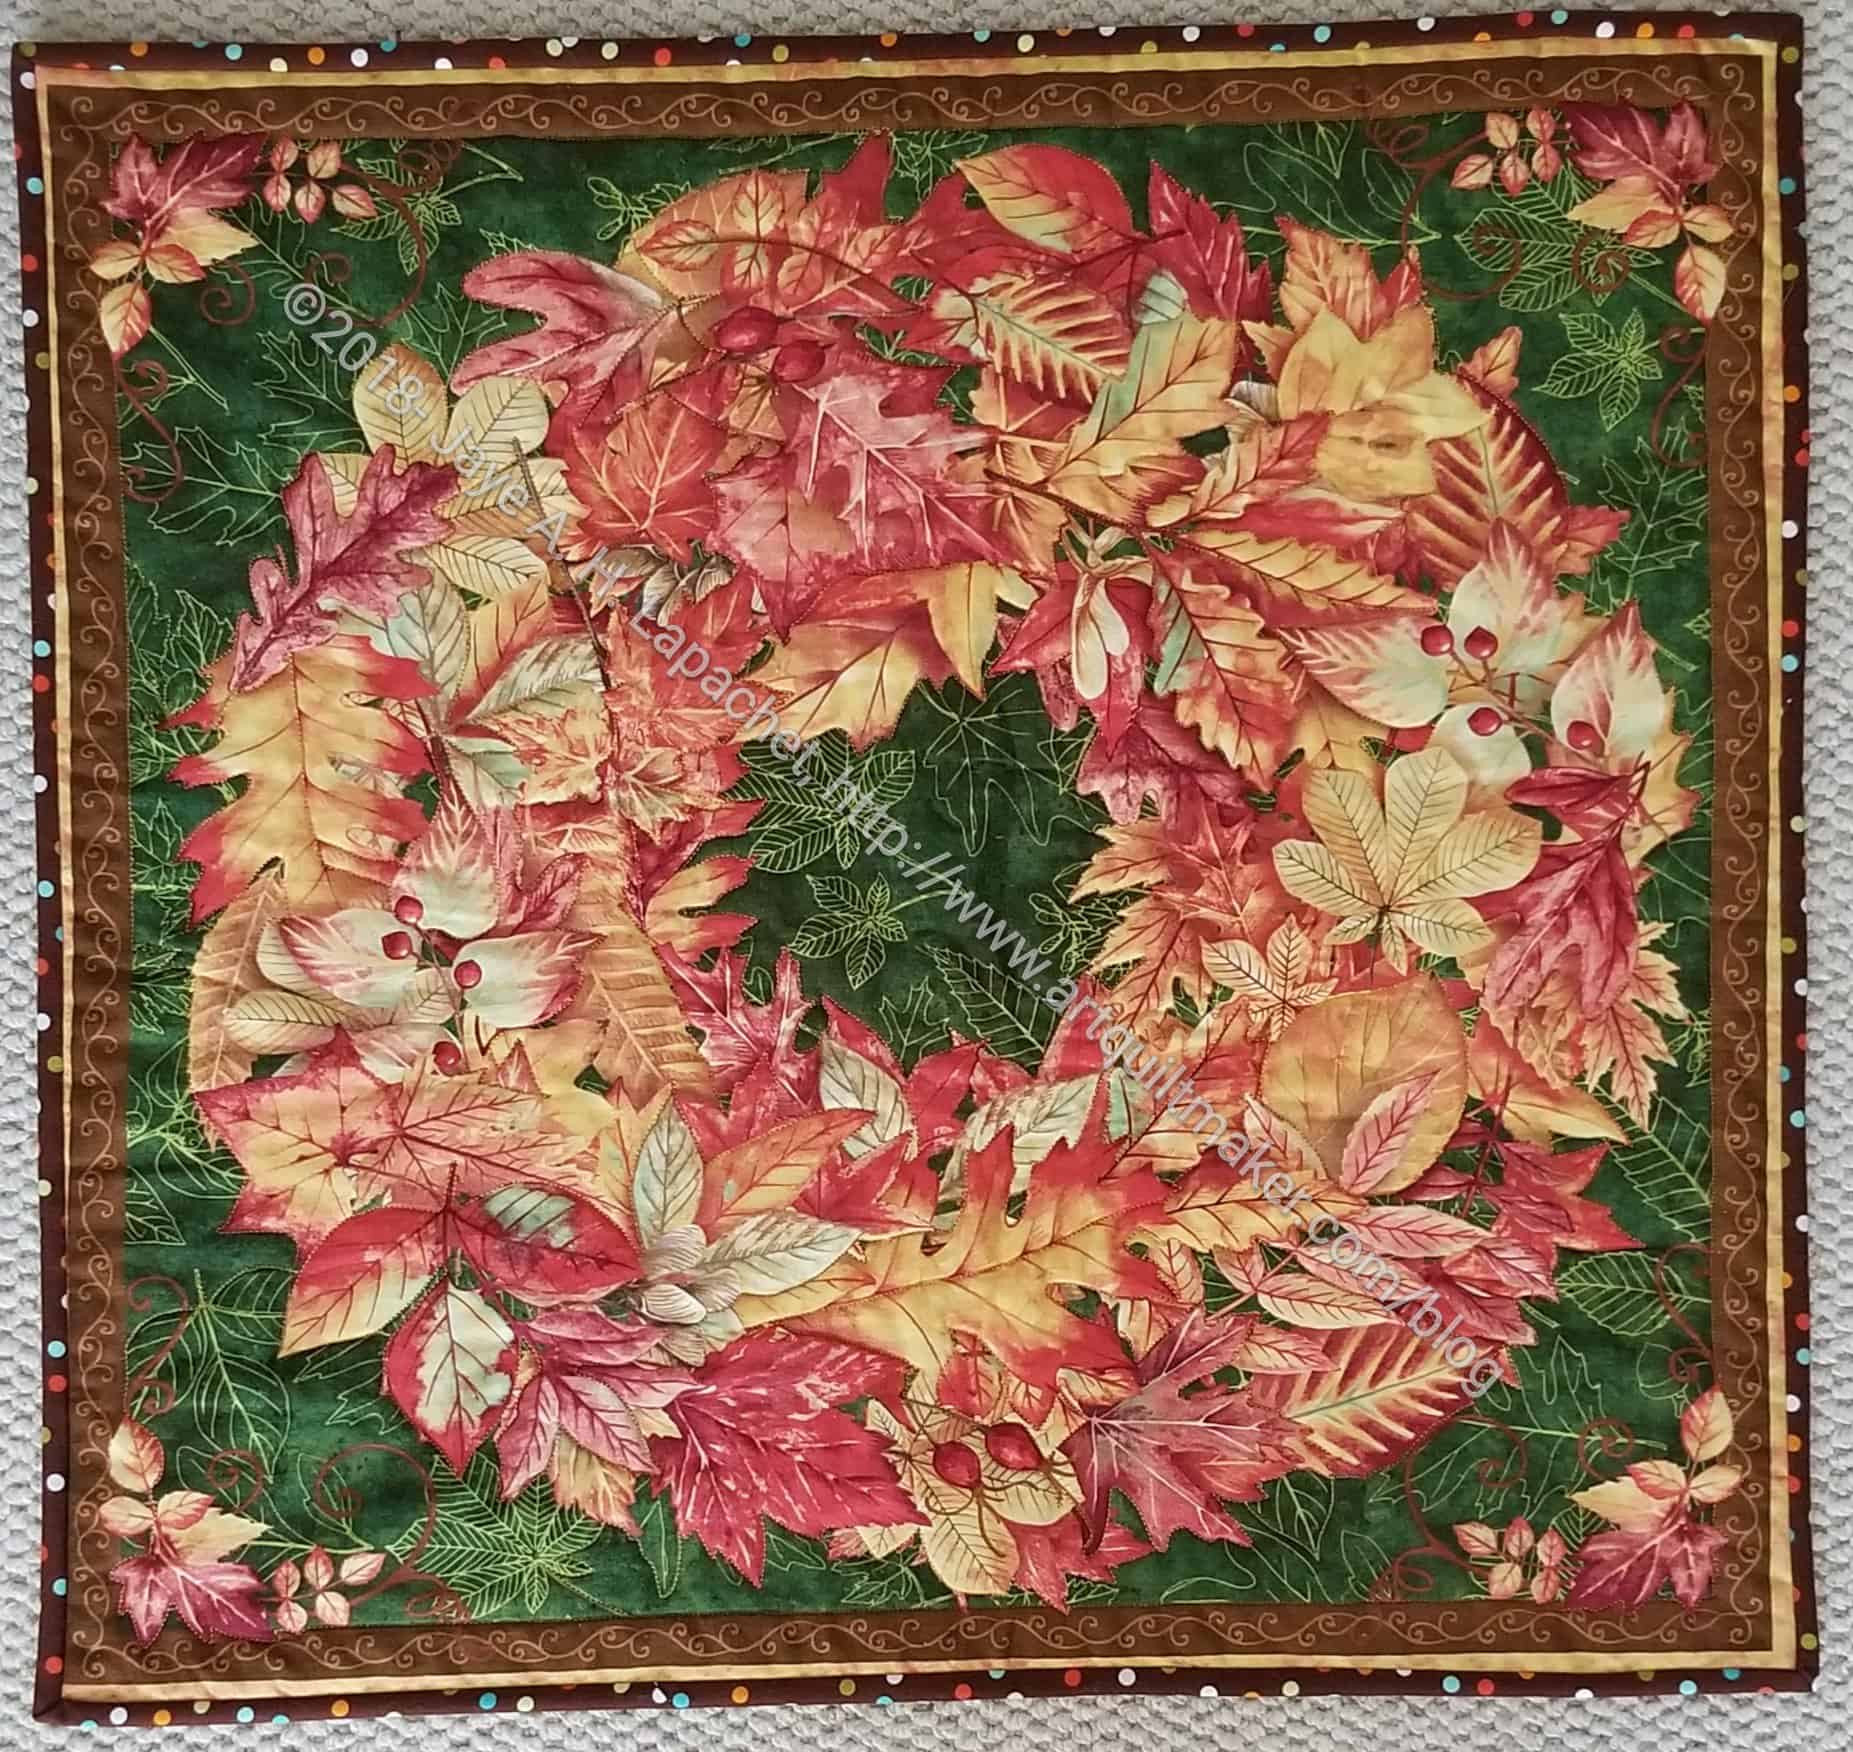
Last week was a week of finishes and I am just getting around to reporting on them. I am finally finished with the Thanksgiving tablemat. I bought the fabric in August of 2015 as I came back from dropping the YM off for his freshman year at college. I started working on it sometime around the end of 2016, worked on it at the retreat in 2017 and finally finished it a few days ago. It is 23 x 24 inches and fits perfectly (whew!) on my coffee table.
This is the final piece in Thanksgiving decorations. I may make more, but for now I am finished and I am glad to cross this project off my To Do list.
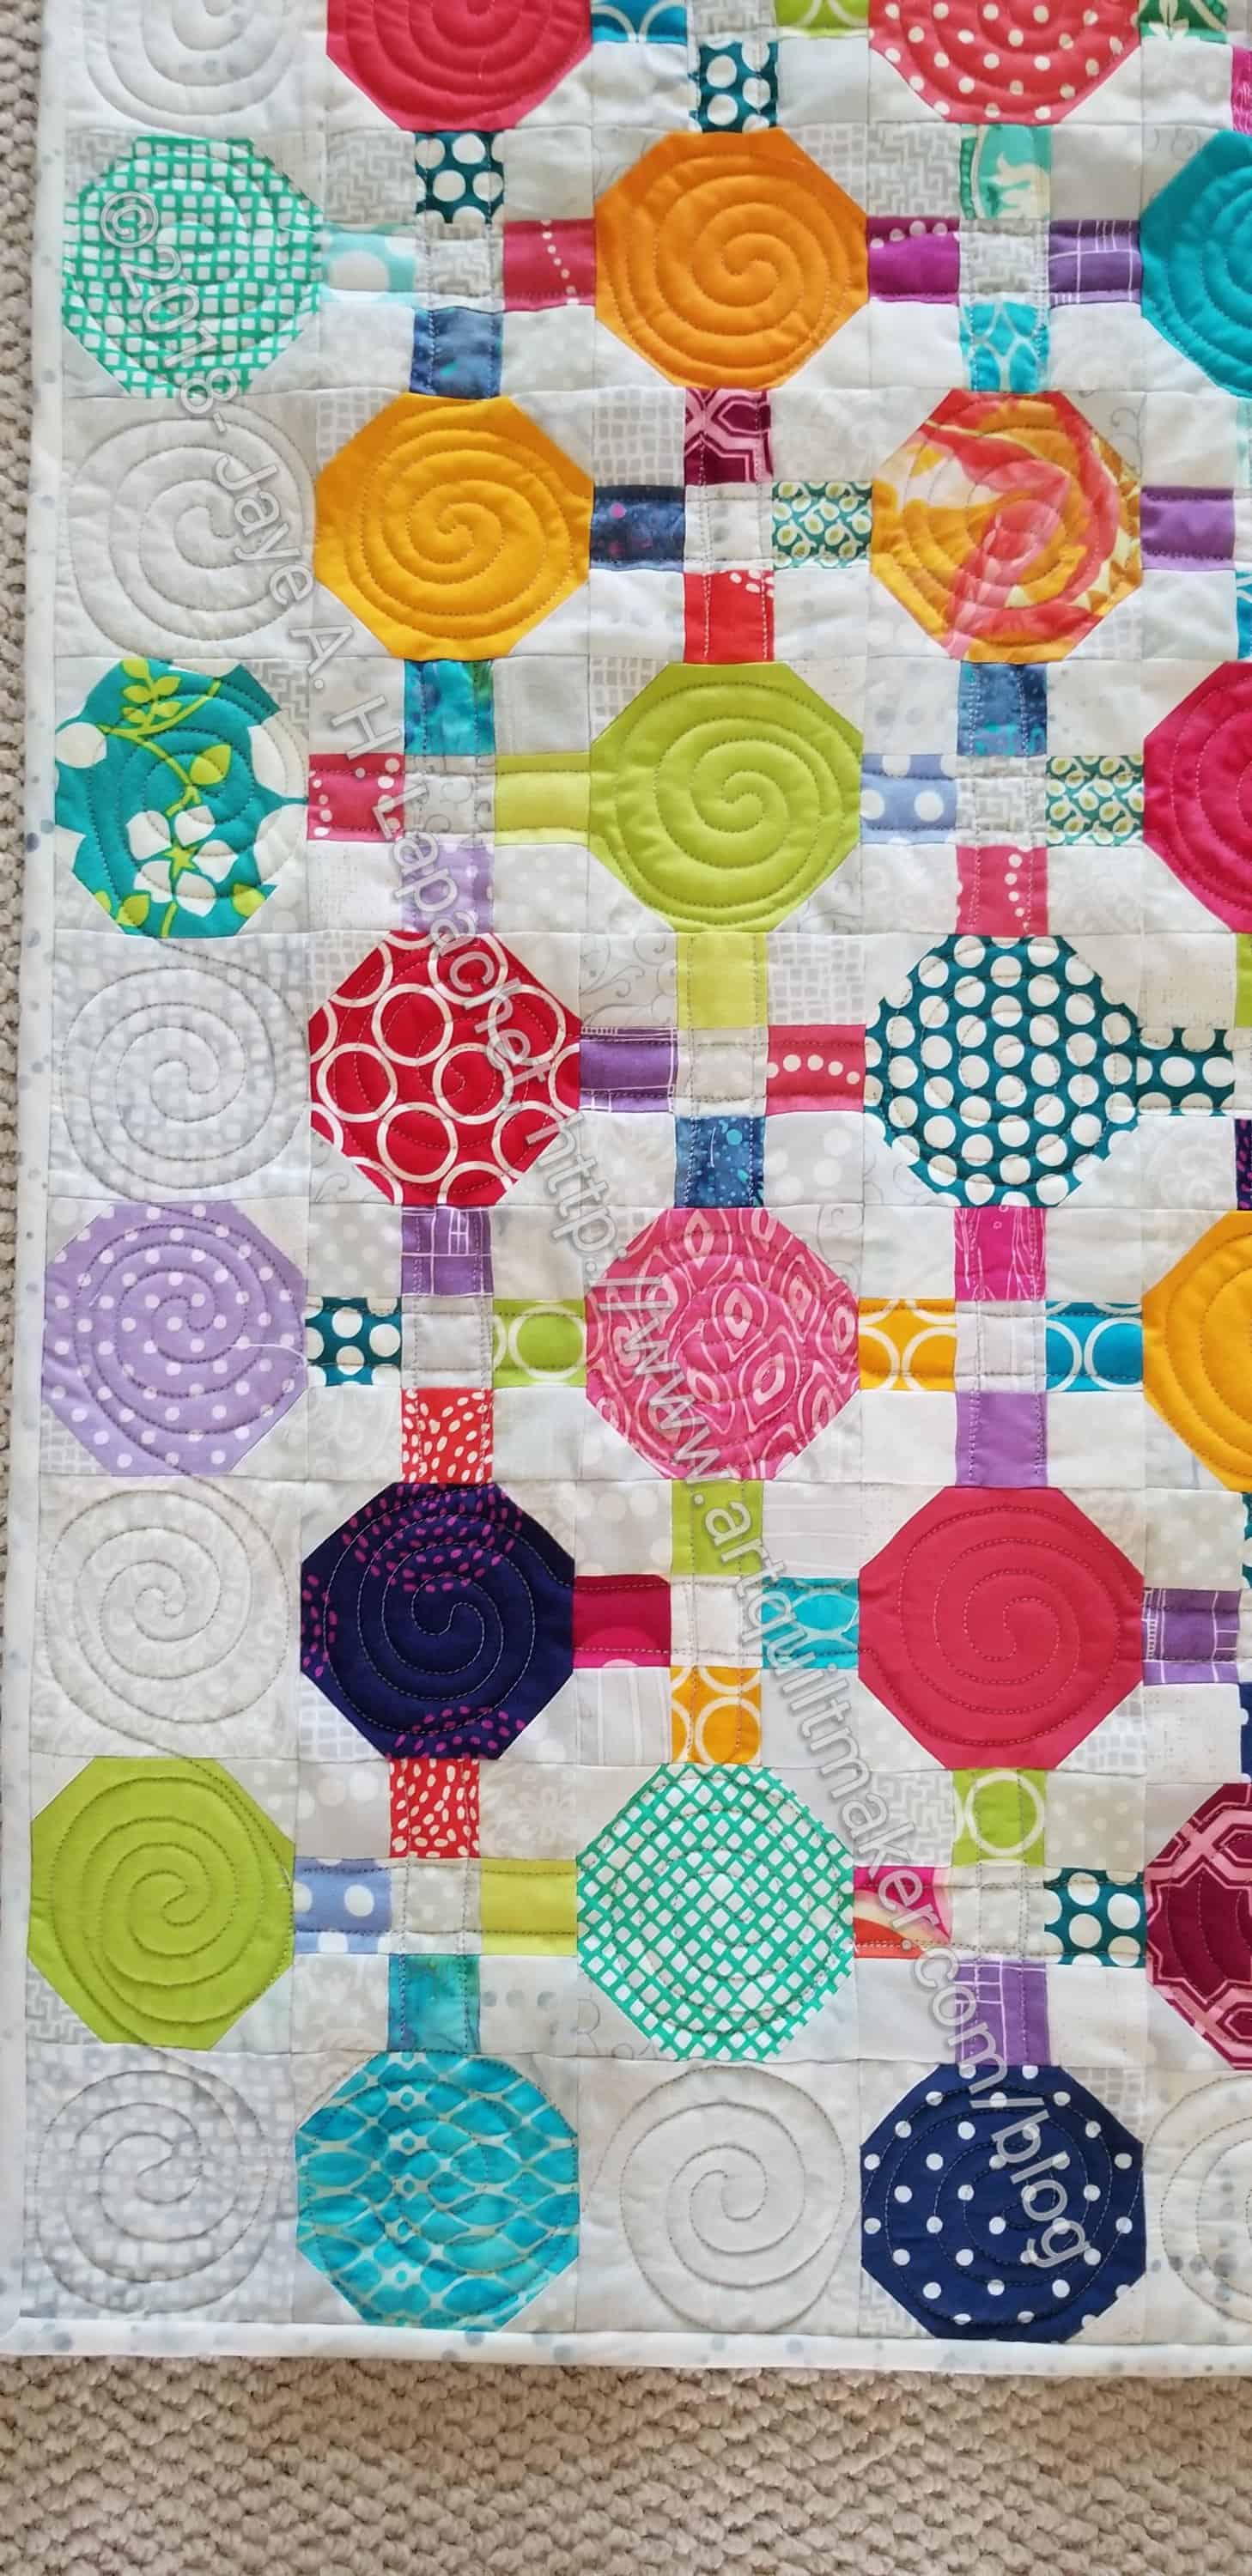
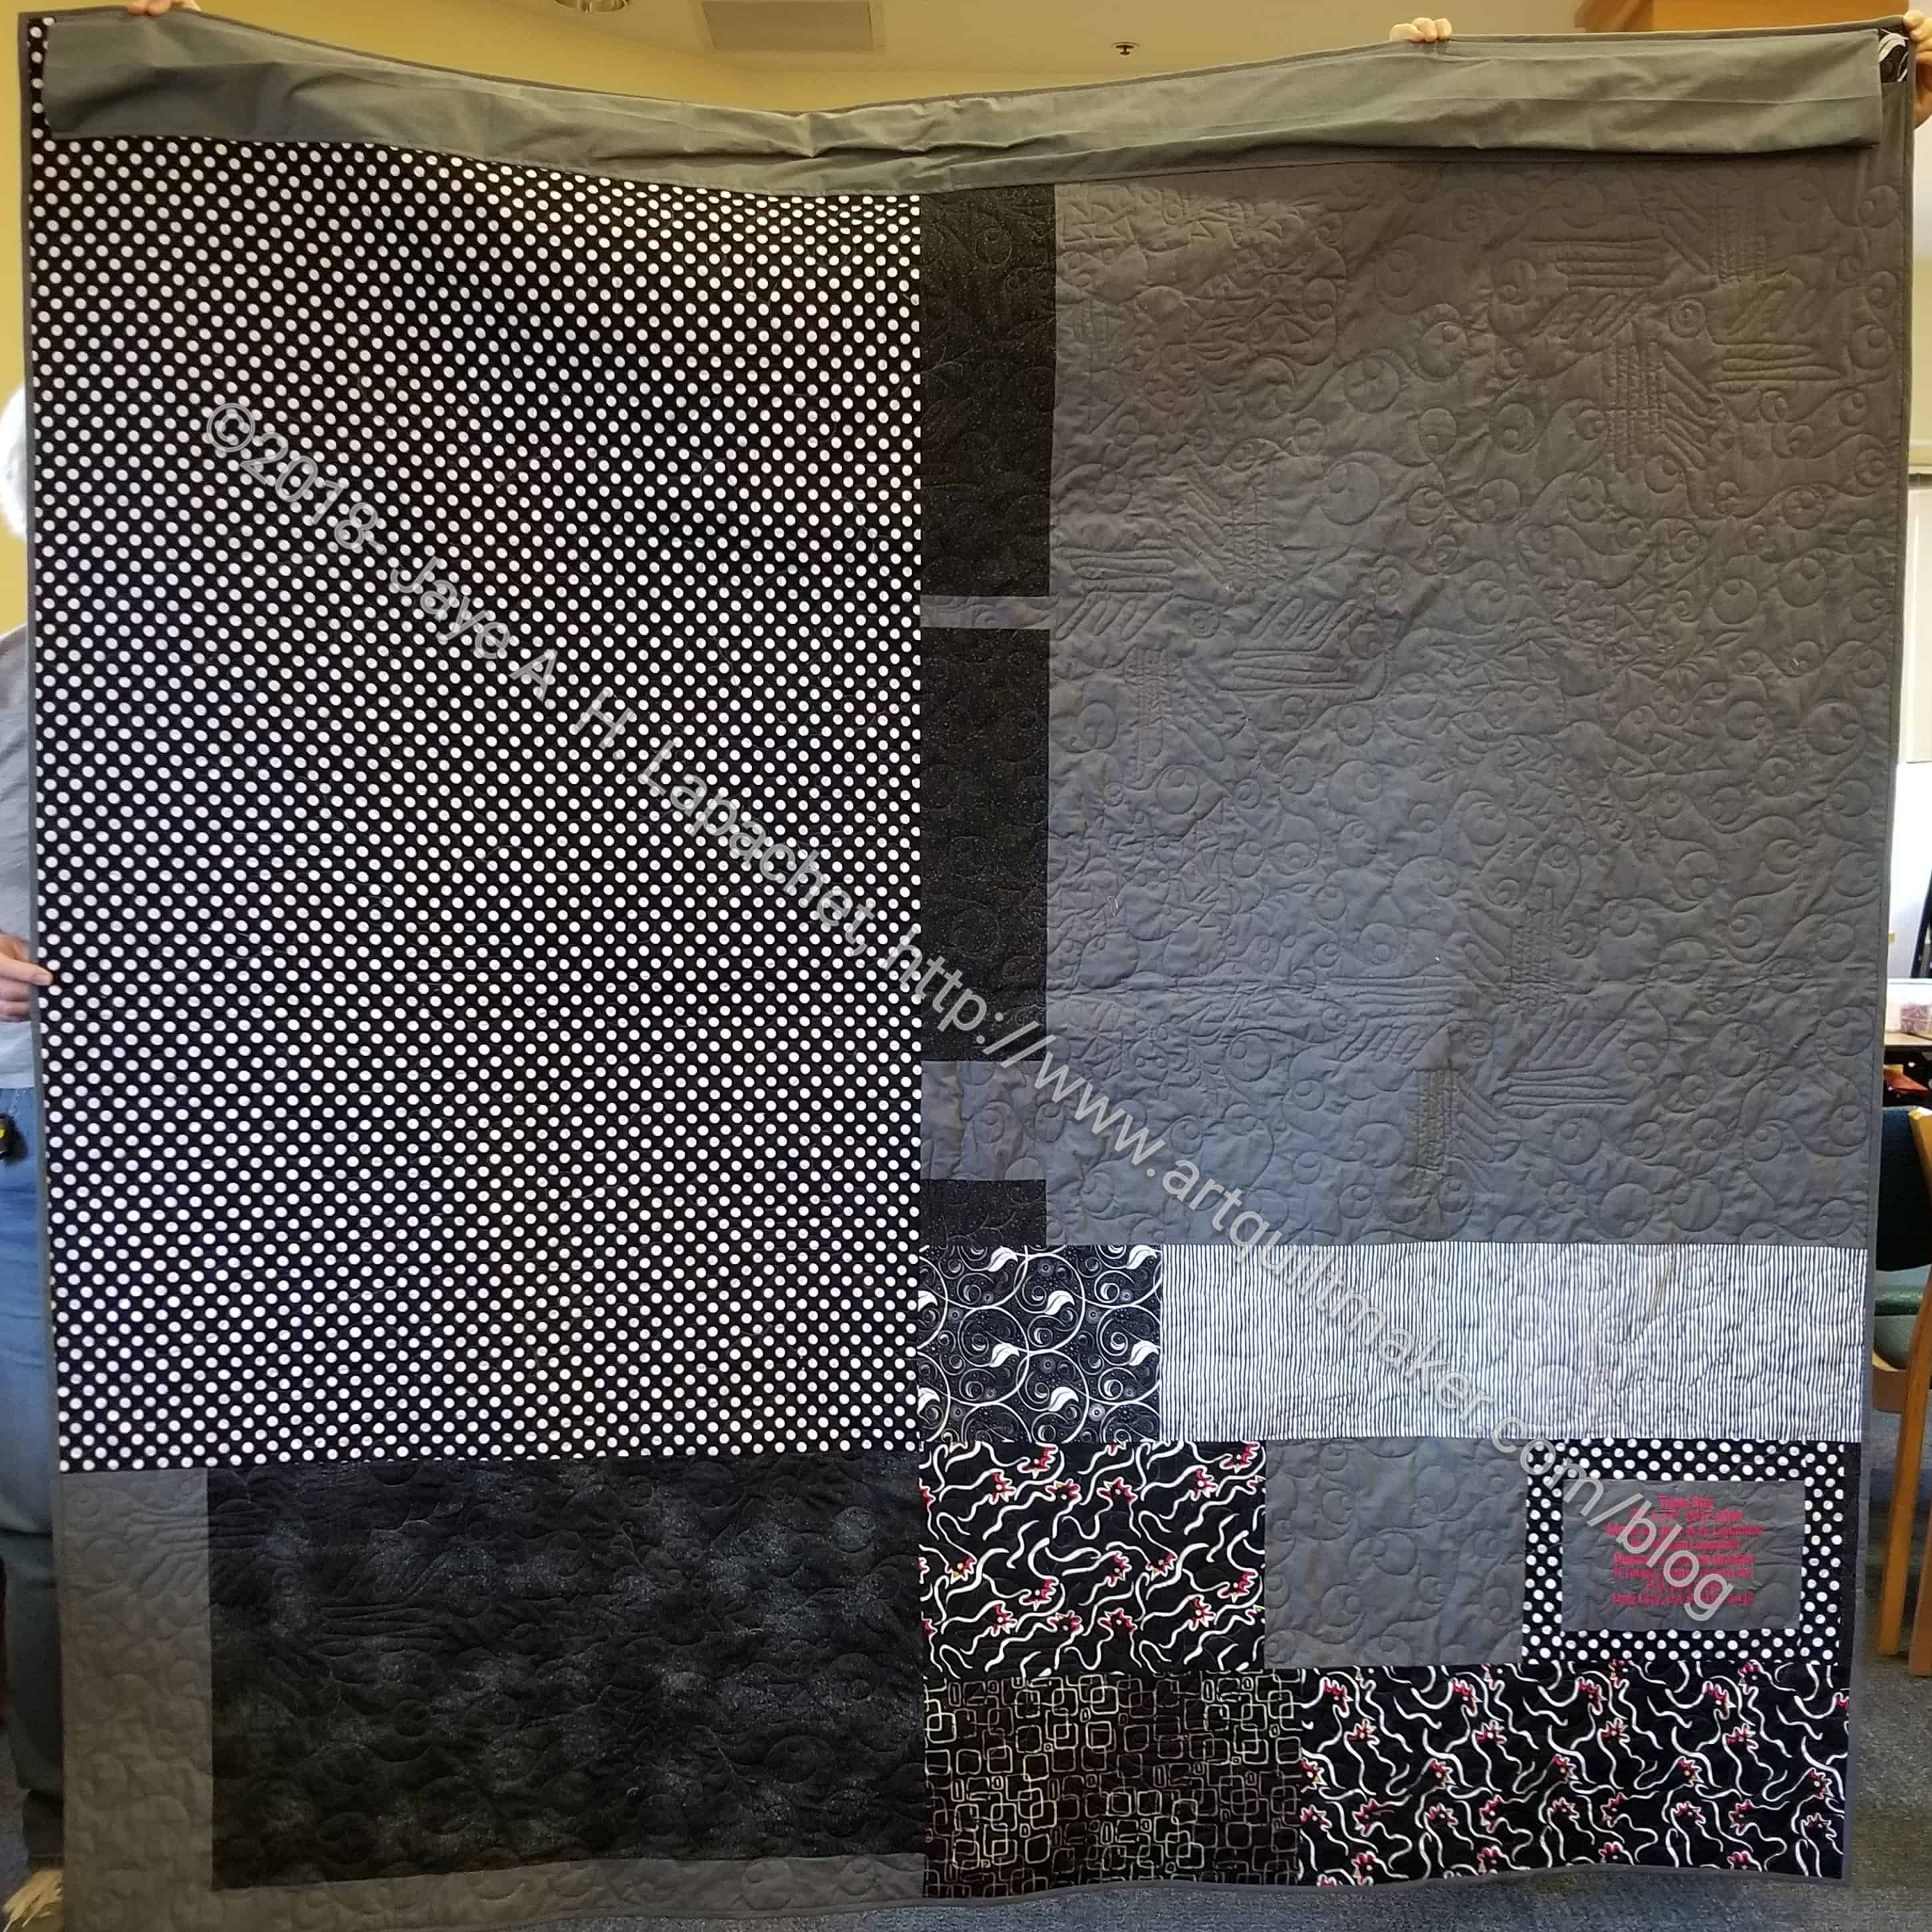
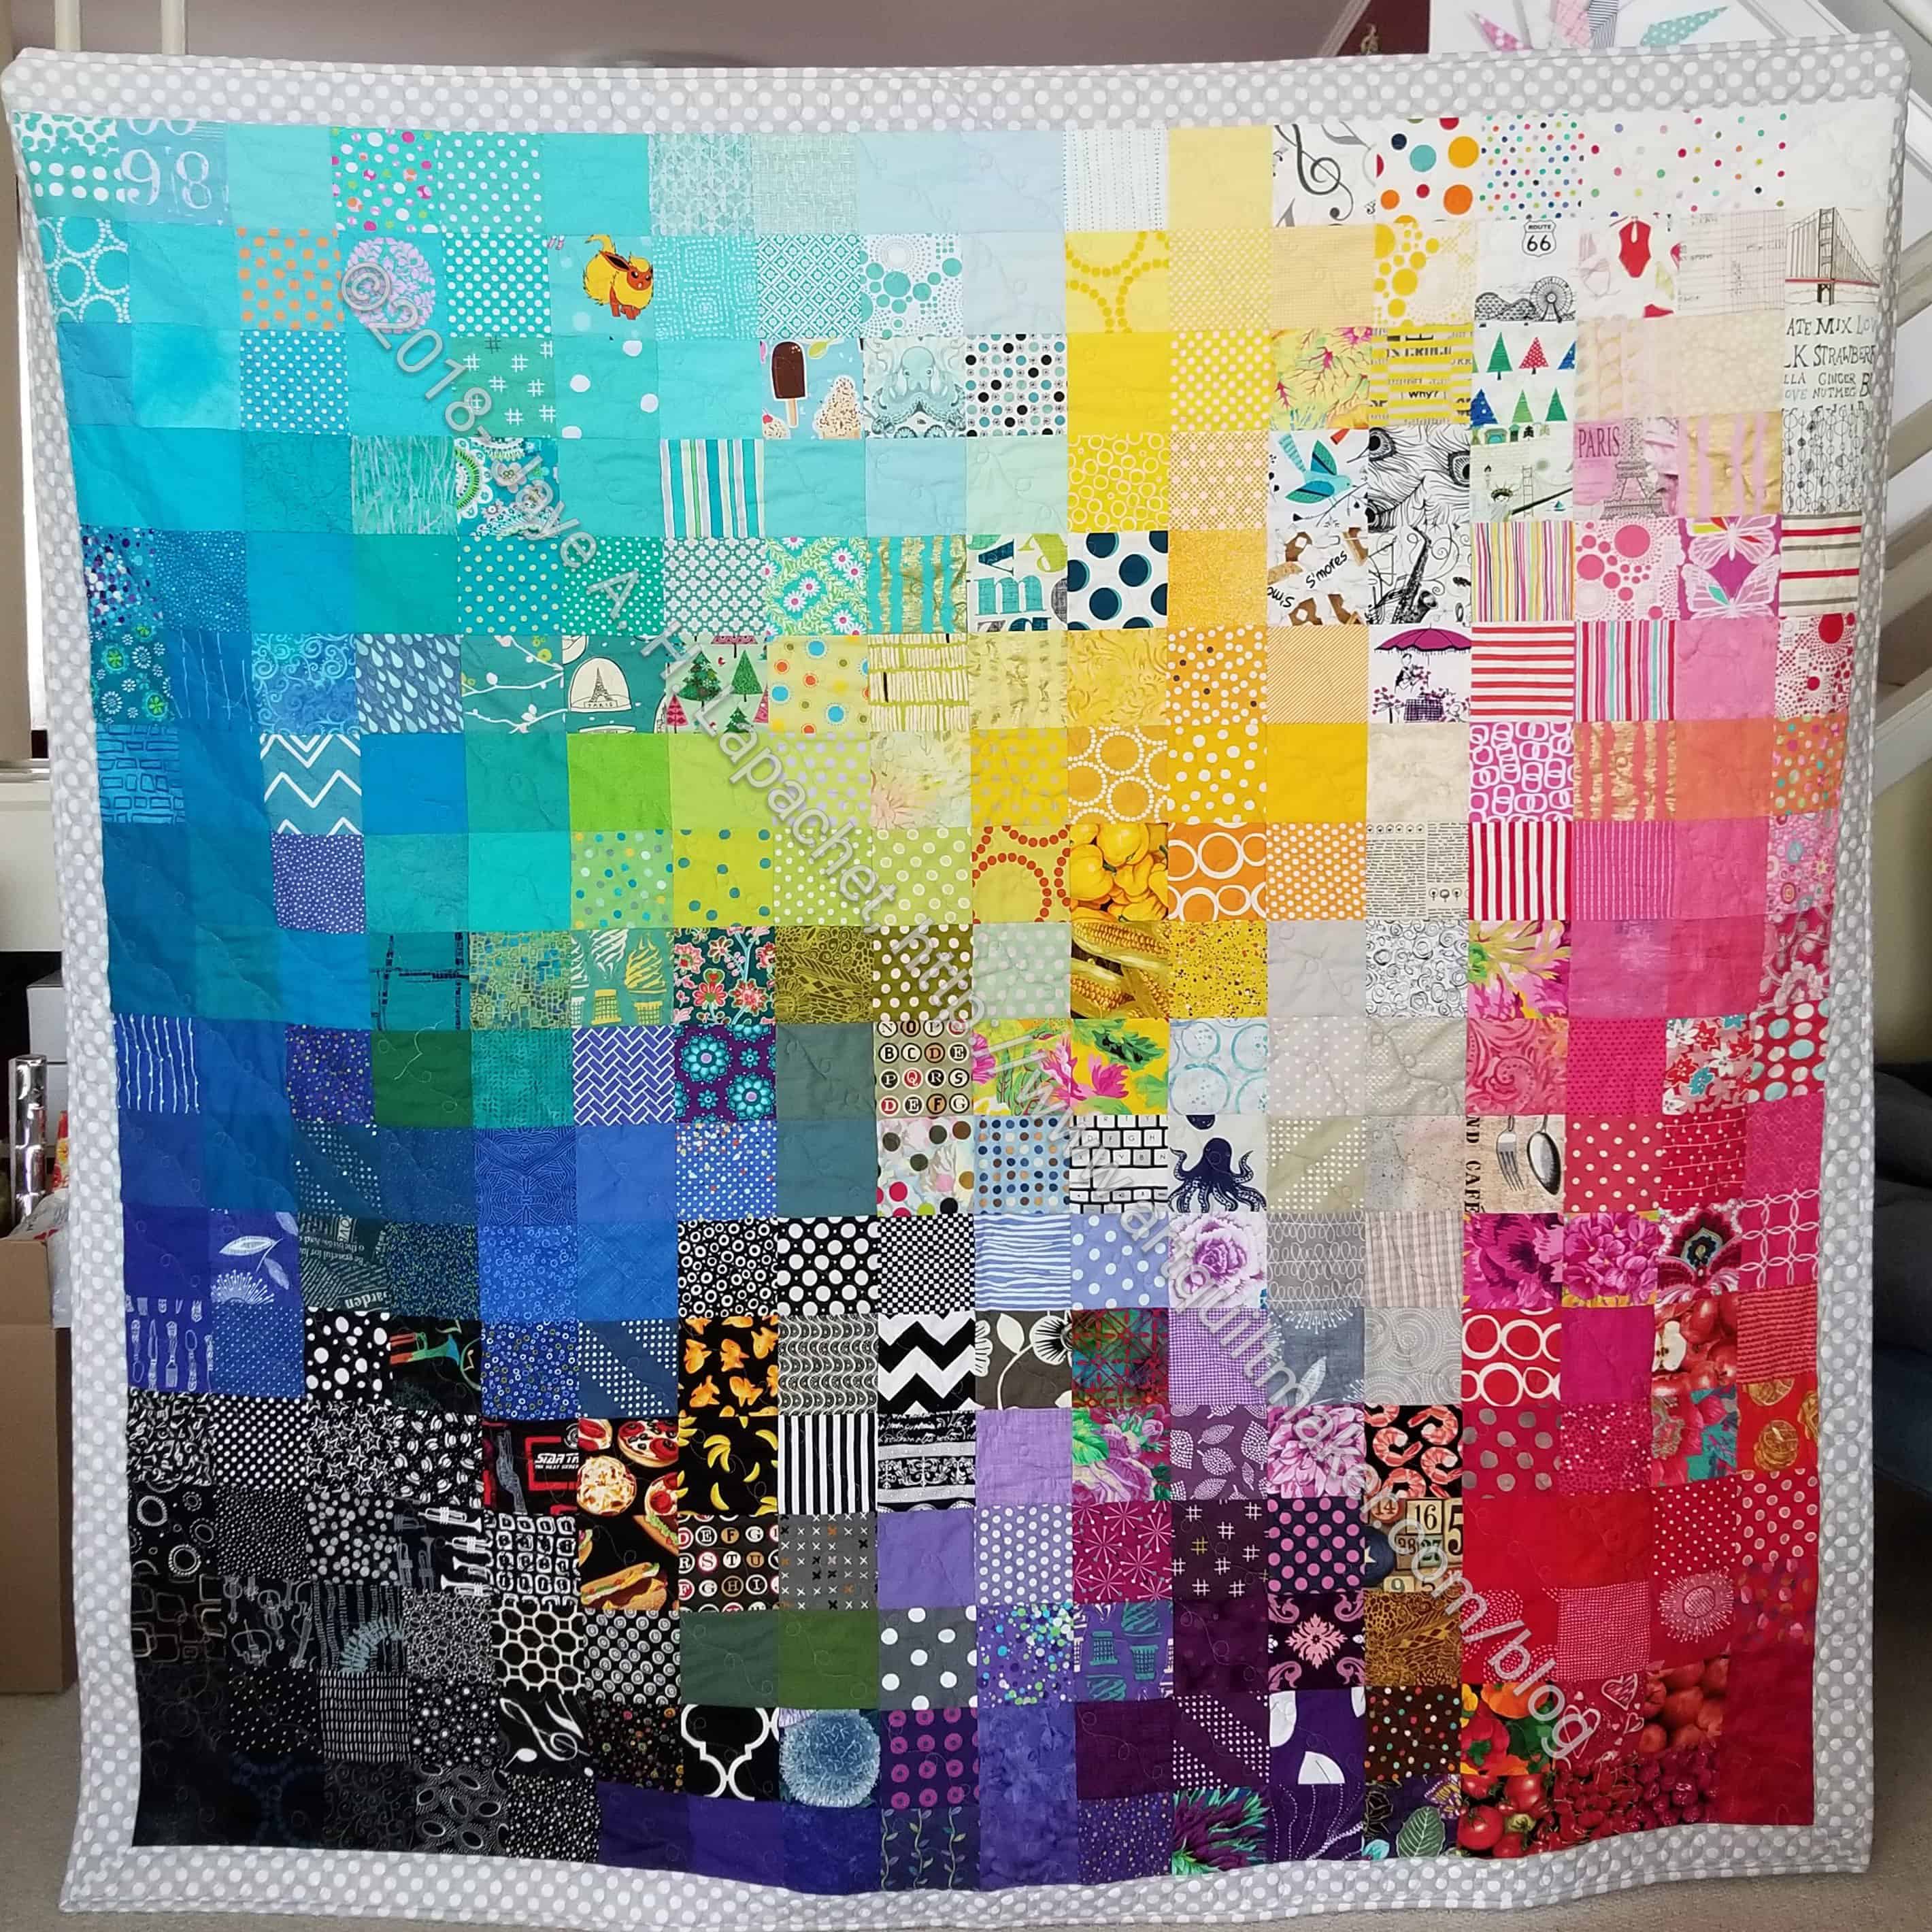
Yes, the second finish I am reporting this week. The BAM (BAMaQG) Color Round Robin is now also finished.
It is definitely cheerful and fun, but I am not a fan of the overall piece. It has nothing to do with anyone’s contribution. Everyone did a fantastic job.
I am not sure what I don’t like about it. I certainly don’t hate it.
It will go off to it’s new home as soon as I finish the Sealife quilt-let and can find someone heading to the EU.
I really can’t believe this quilt is finished. It has been in process so long- at least since 2015. Three years! I wonder if that is an average for me? I really want to get to the point of starting a project, working on it and finishing it without stopping. Of course, that may not work for me as letting projects marinate seems to be part of my process.
I really am in love with this quilt. I love the border. I was really inspired when I made it.
I finally finished the Tool Tote. Now I can just stare at it wondering, a little, what I was thinking.
Looking at in this photo, it looks great, but I am not sure about actually using it. The Tupperware box I have used forever works fine for tools and is hard. How would I fit this thing into my travel system? On the other hand, it has handles and handles are always a good thing.
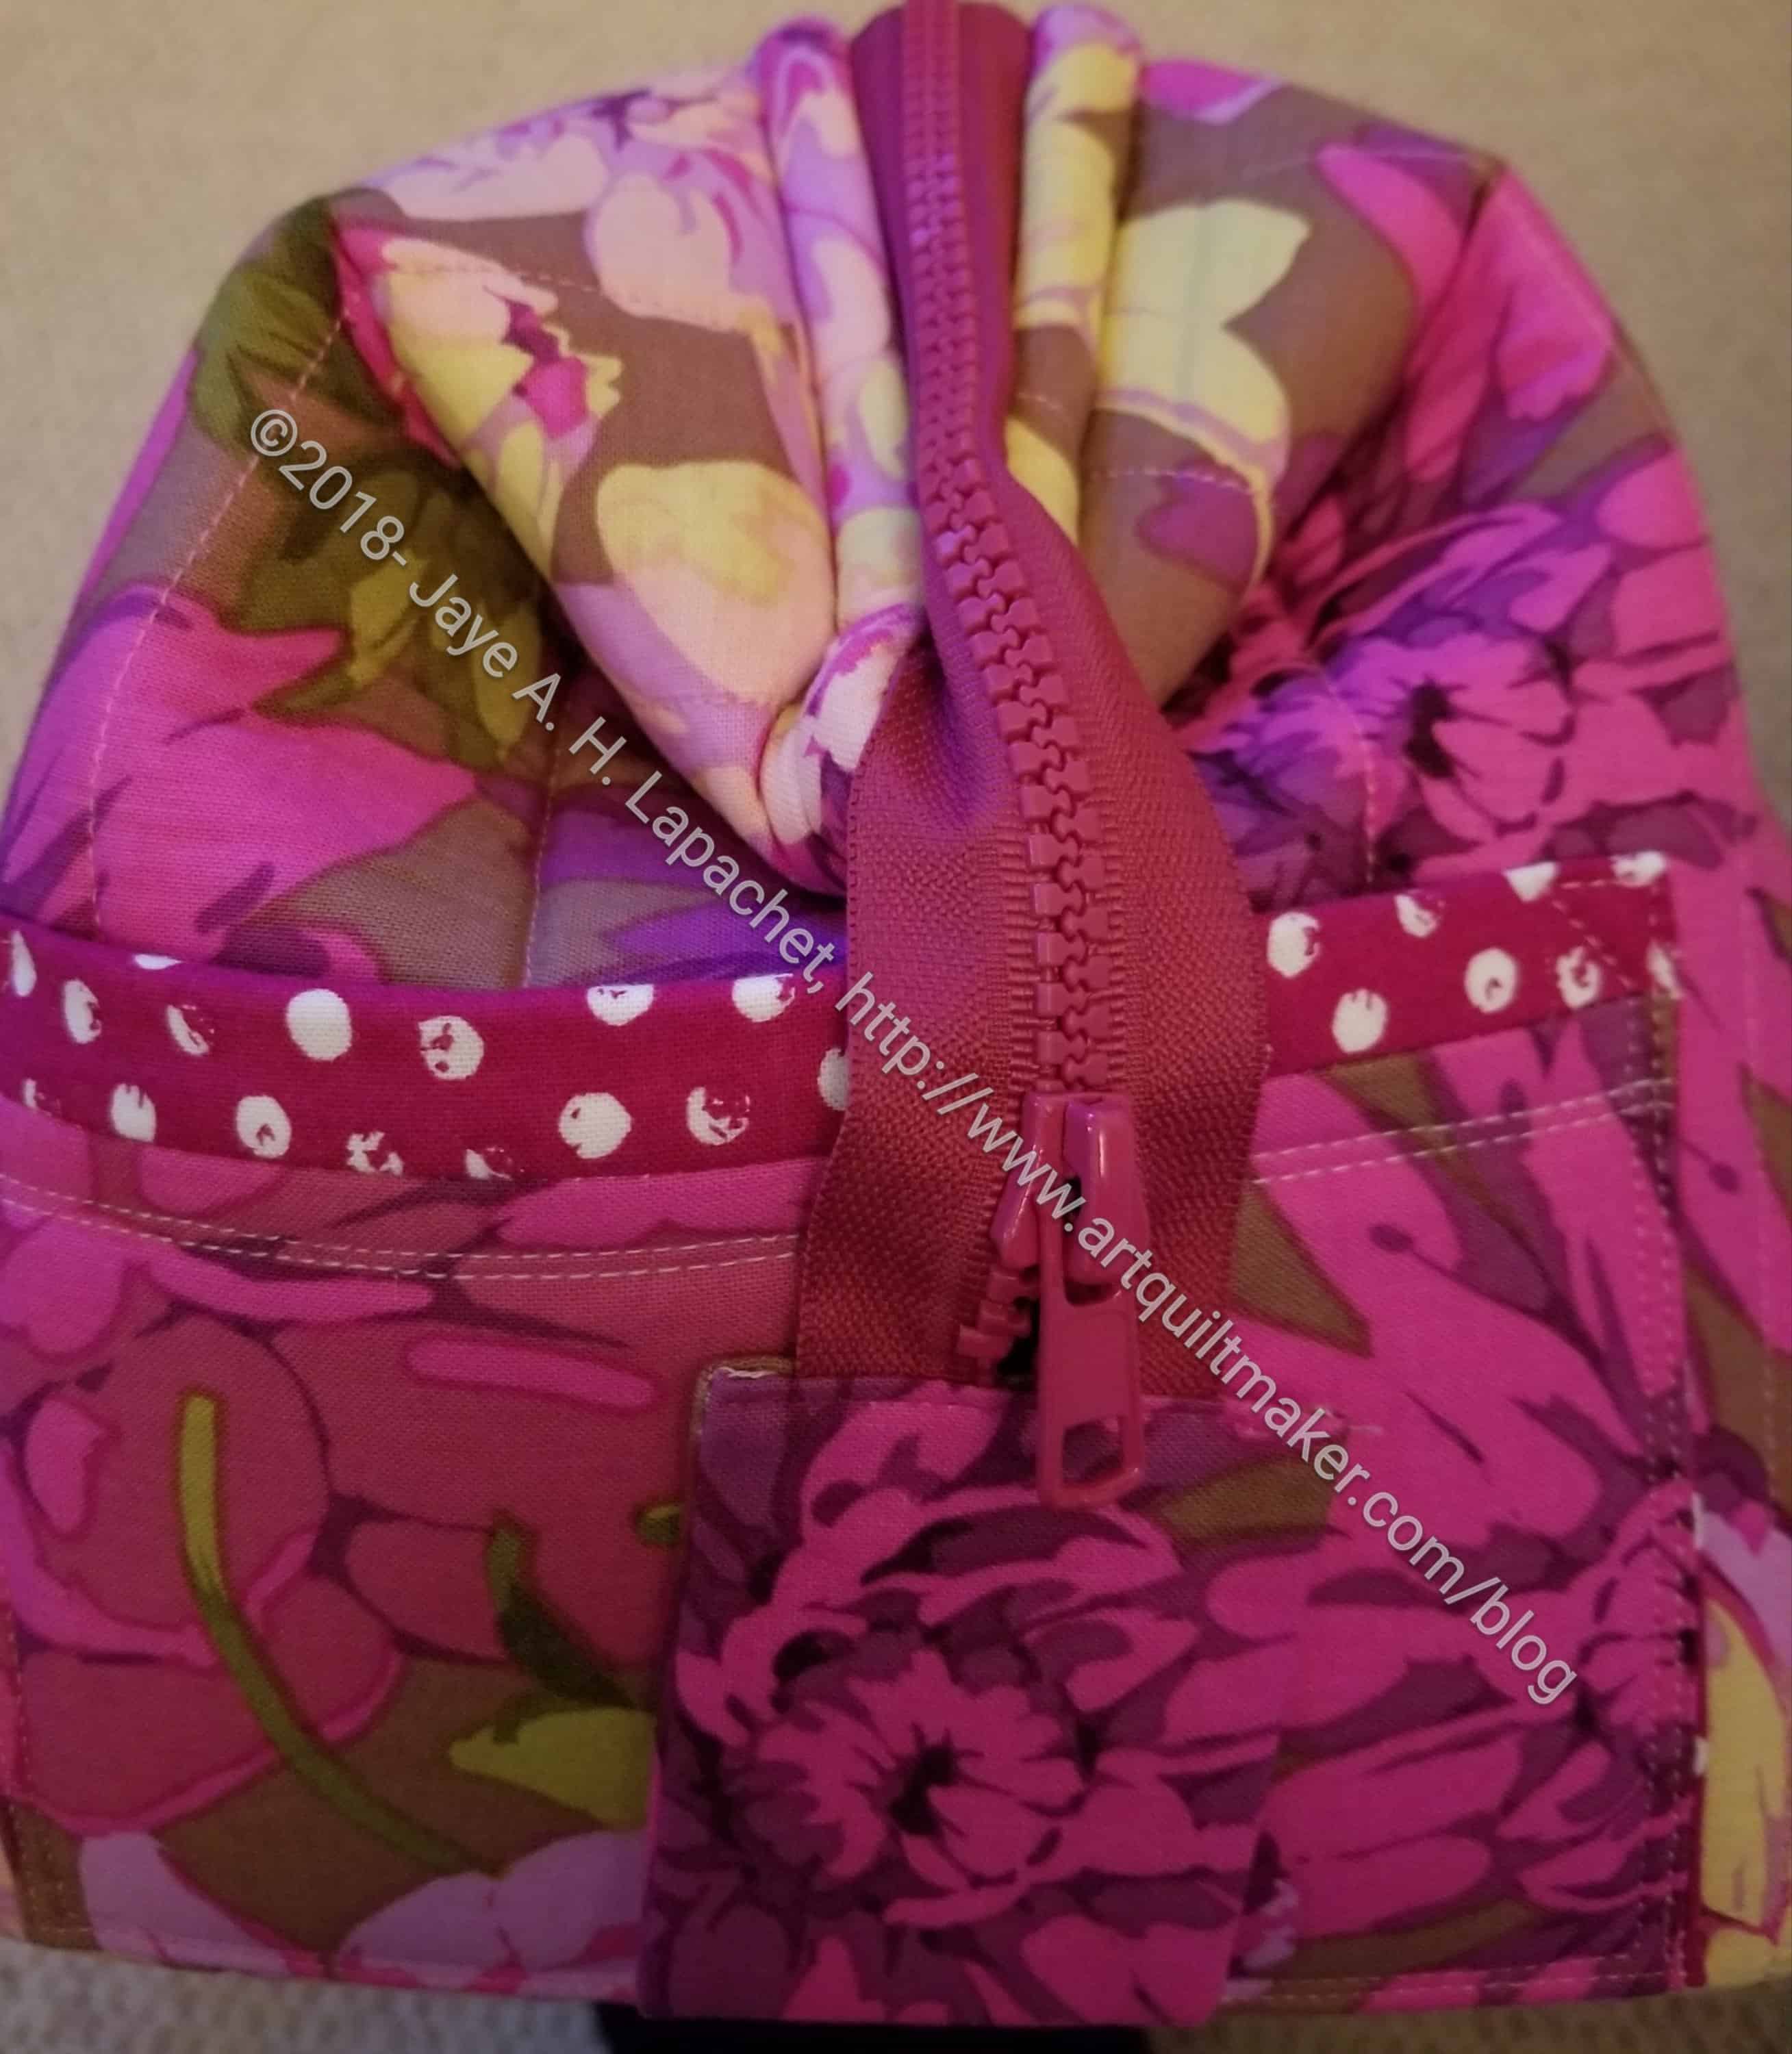
Tool Tote: Zipper Tab with Soft & Stable
I was almost finished the other day, but I put the zipper tabs on and they just looked terrible. Using Soft & Stable in a zipper tab is a dumb idea. I wouldn’t have known it was a dumb idea unless I had done it, though.
The photo of the zipper tab makes the thing look fine. It isn’t fine, though; it didn’t stay together and on the back the top hem was popping out and looking awful. I also went around the whole thing 3-4 times and couldn’t quite match up the stitching as the whole bag was attached to the zipper tab. The whole thing was a mess.
Tool Tote with new zipper tabs
I ripped off the Soft & Stable zipper tabs and made some new ones with ShapeFlex instead. It worked like a charm and the zipper tabs look a lot better. I changed the fabric used and that helped make the tabs look better as well.
If you make this bag, definitely make it with fabric for the zipper tabs matching the outside pocket.
Tool Tote: big mouth opening
I had big plans to make a bunch of these, because of the Big Mouth design. I really like the way it opens up all the way, so you can see all of your stuff. It was a hassle to make and I didn’t think the directions were great. They were very chatty and friendly, but not very useful. I think I might be ruined by the Crafty Gemini style of learning. I do know that if I make more I will get better at making them.
As I said, I am not sure what to do with it. I could get another set of tools and fill the thing and keep it with my guild stuff. Not sure if really need that.
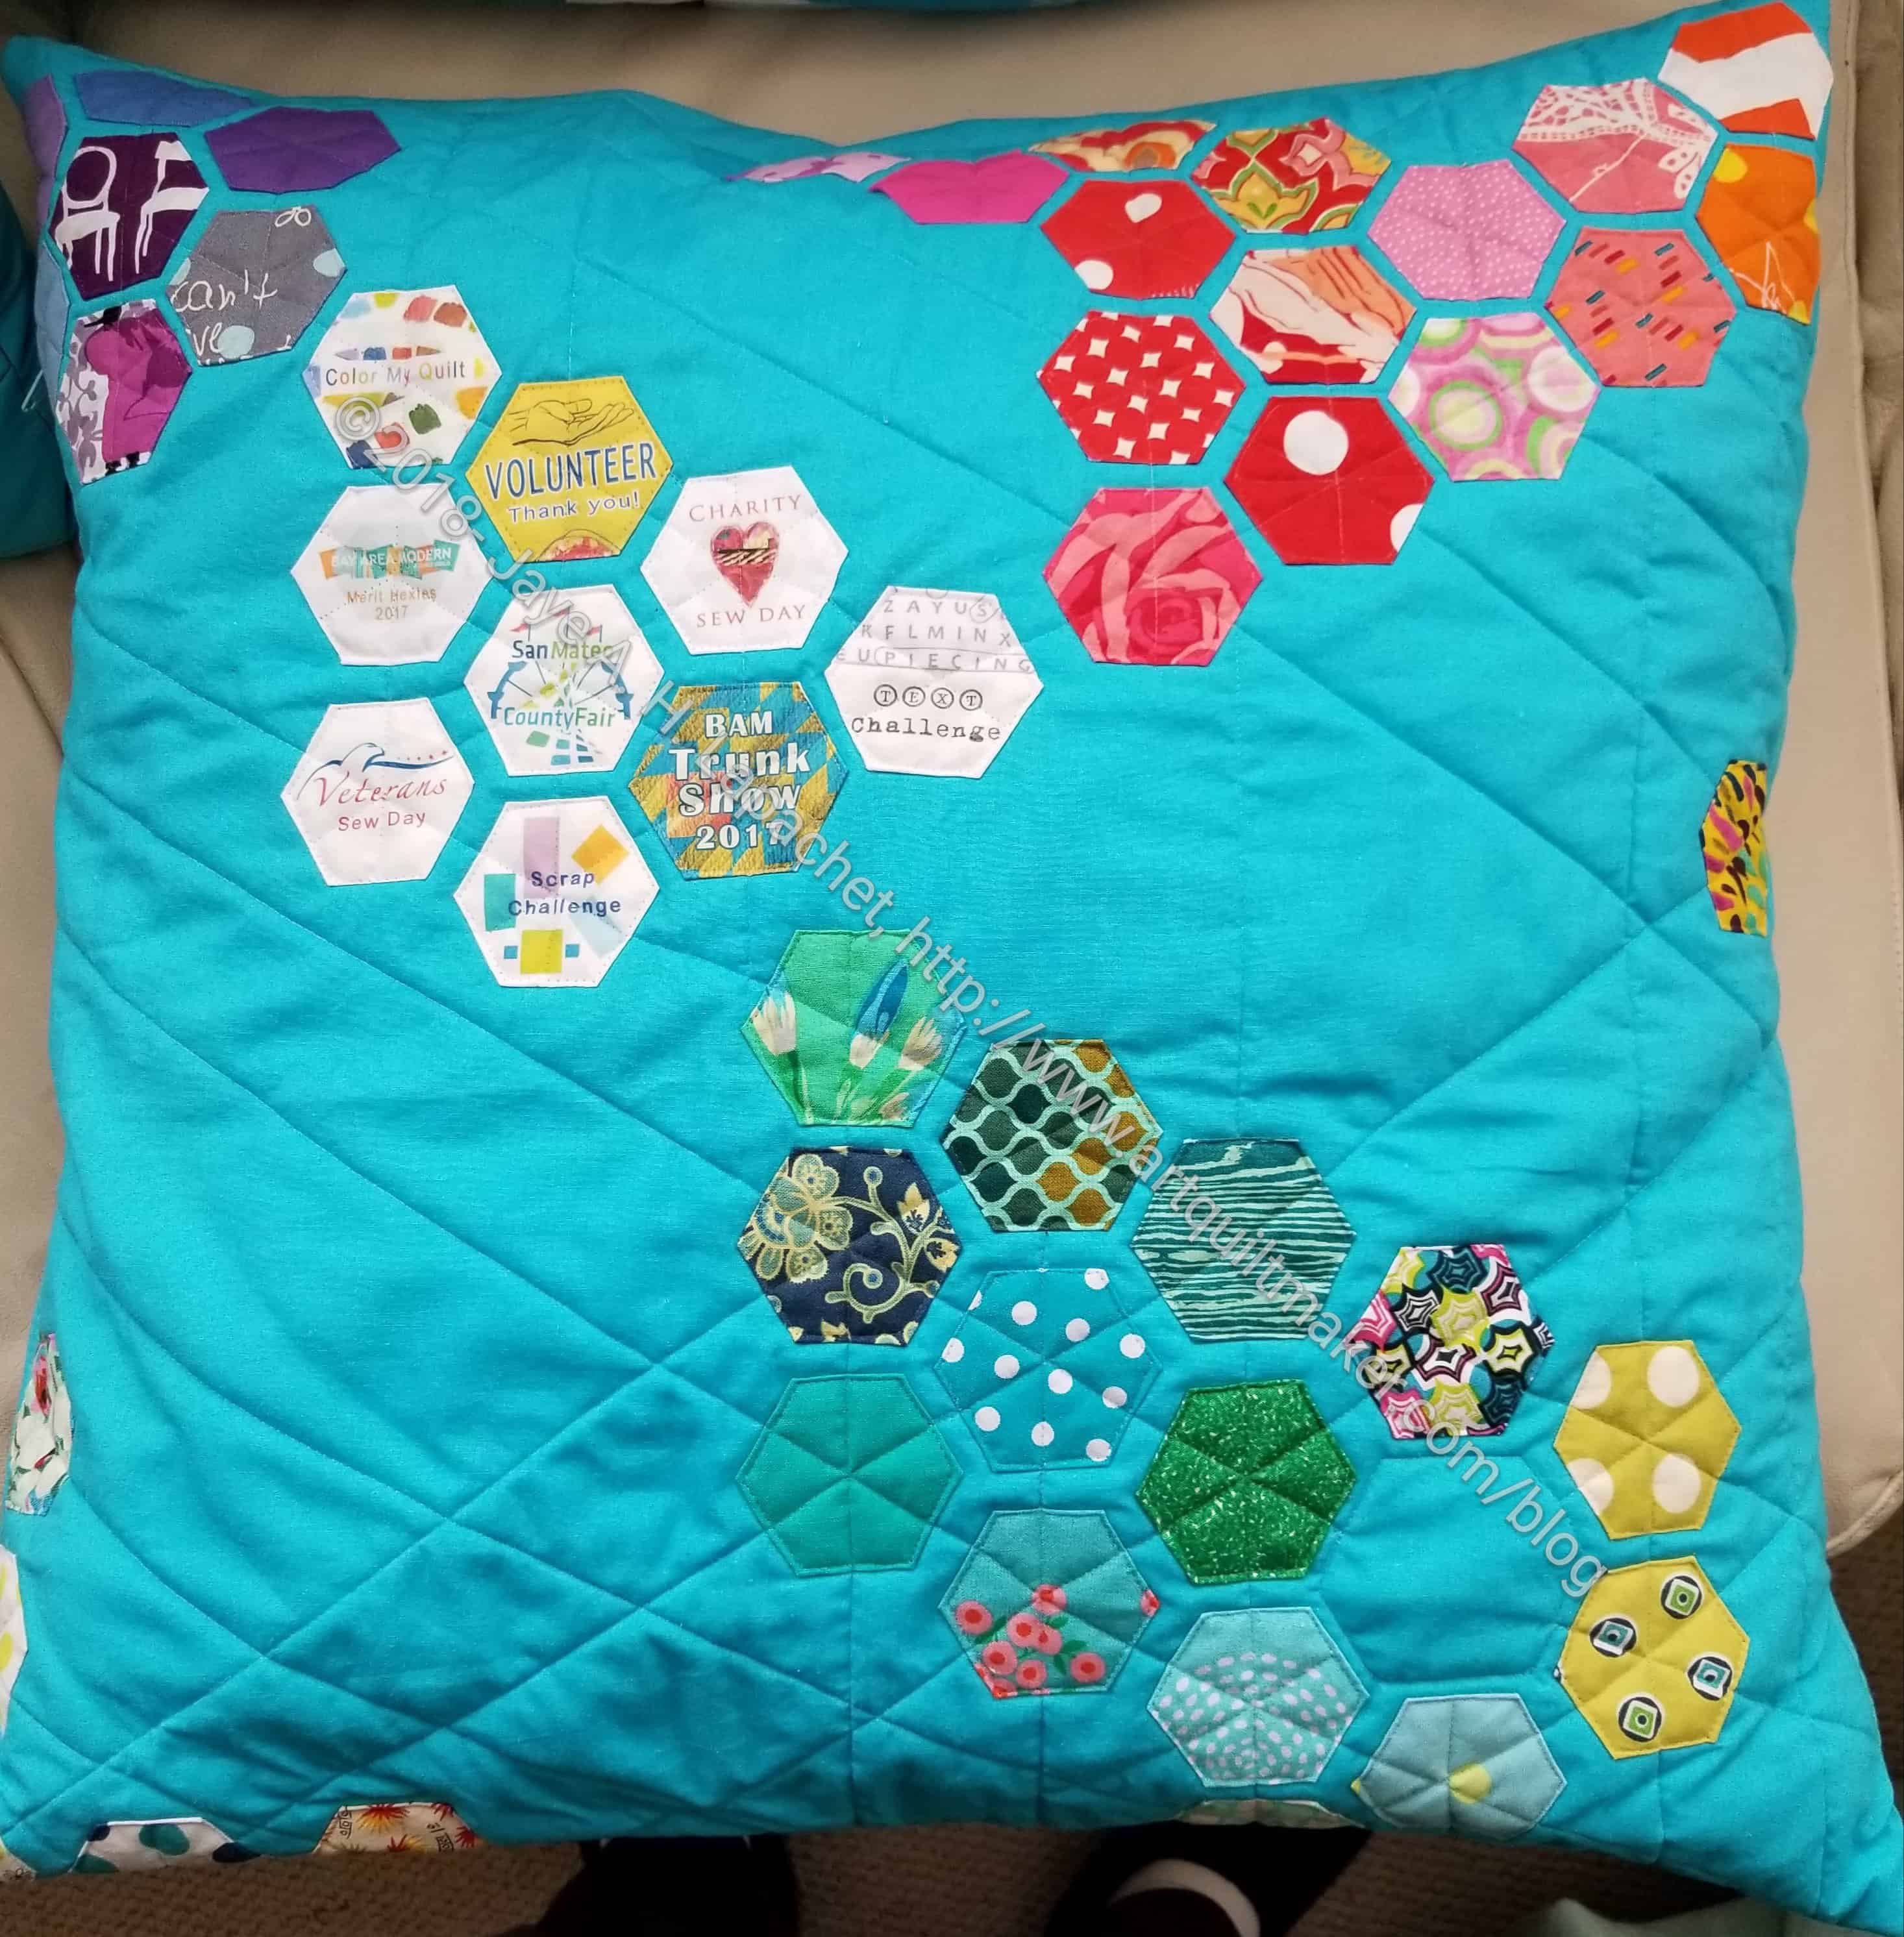
I totally forgot to post the finished version of my merit hexie pillow. The last time I posted about this was on April 4!
I don’t know exactly when I finished it, but it was not long after April 4.
I had to take all the papers out before appli-quilting them on to the background.
I also forgot to show it at the guild meeting. I’ll bring it with the Walking Foot WOW pillow (another thing I forgot to bring to show and tell) to the next meeting.
Finally, I can show you the third and final Sew Together Bag. My SIL n.3’s birthday is today and I already gave her the bag. She is not a quiltmaker, but I am sure she will use it for something.
Sew Together Bag for SIL #3
I am really pleased with how this one came out. I think it looks really great. I am tempted to keep it. I won’t, though.
With this STB, I have made a total of 7 Sew Together Bags. I am not sure I will make any more, though there is talk in the guild about making more for gifts. And the Crafty Gemini Organizer Club has a project that looks suspiciously like the Sew Together Bag. Sigh.
FYI: To see the All Rolled Up Tote, you can take a peek on the Organizer Club site or on Craftsy, as it is the design of someone who is not the Crafty Gemini and available there for purchase. If you want the video tutorial, Crafty Gemini is your best hope. I haven’t made it yet, so I can’t give you anymore details.
Anyway, I am taking a break from Sew Together Bags for awhile. I may be completely done. We’ll see.
Beth’s Sew Together Bag
I really like the yellow binding on this one. SIL #4 likes yellow so I distinguished this one from the other Cal version with yellow binding and more yellow fabric.
I included another fussy cut pincushion as well as a variety of blue and gold zippers.
As a reminder, I used the Quilt Barn Sew Along Tutorials to clarify points around making these bags. These posts are critical to my success with this project.
For some reason, I thought it would be a good idea to make 3 Sew Together Bags at once. At a point towards the end of the process on the first 2018 bag, I concentrated on finishing one at a time.
I know I decided to make one for my SIL because she had some random carrier for her supplies at Craft Night and didn’t have the supplies she needed. I don’t mind lending supplies or thread or whatever. However, I thought a Sew Together Bag would be great for her. It just took me forever to finish it.
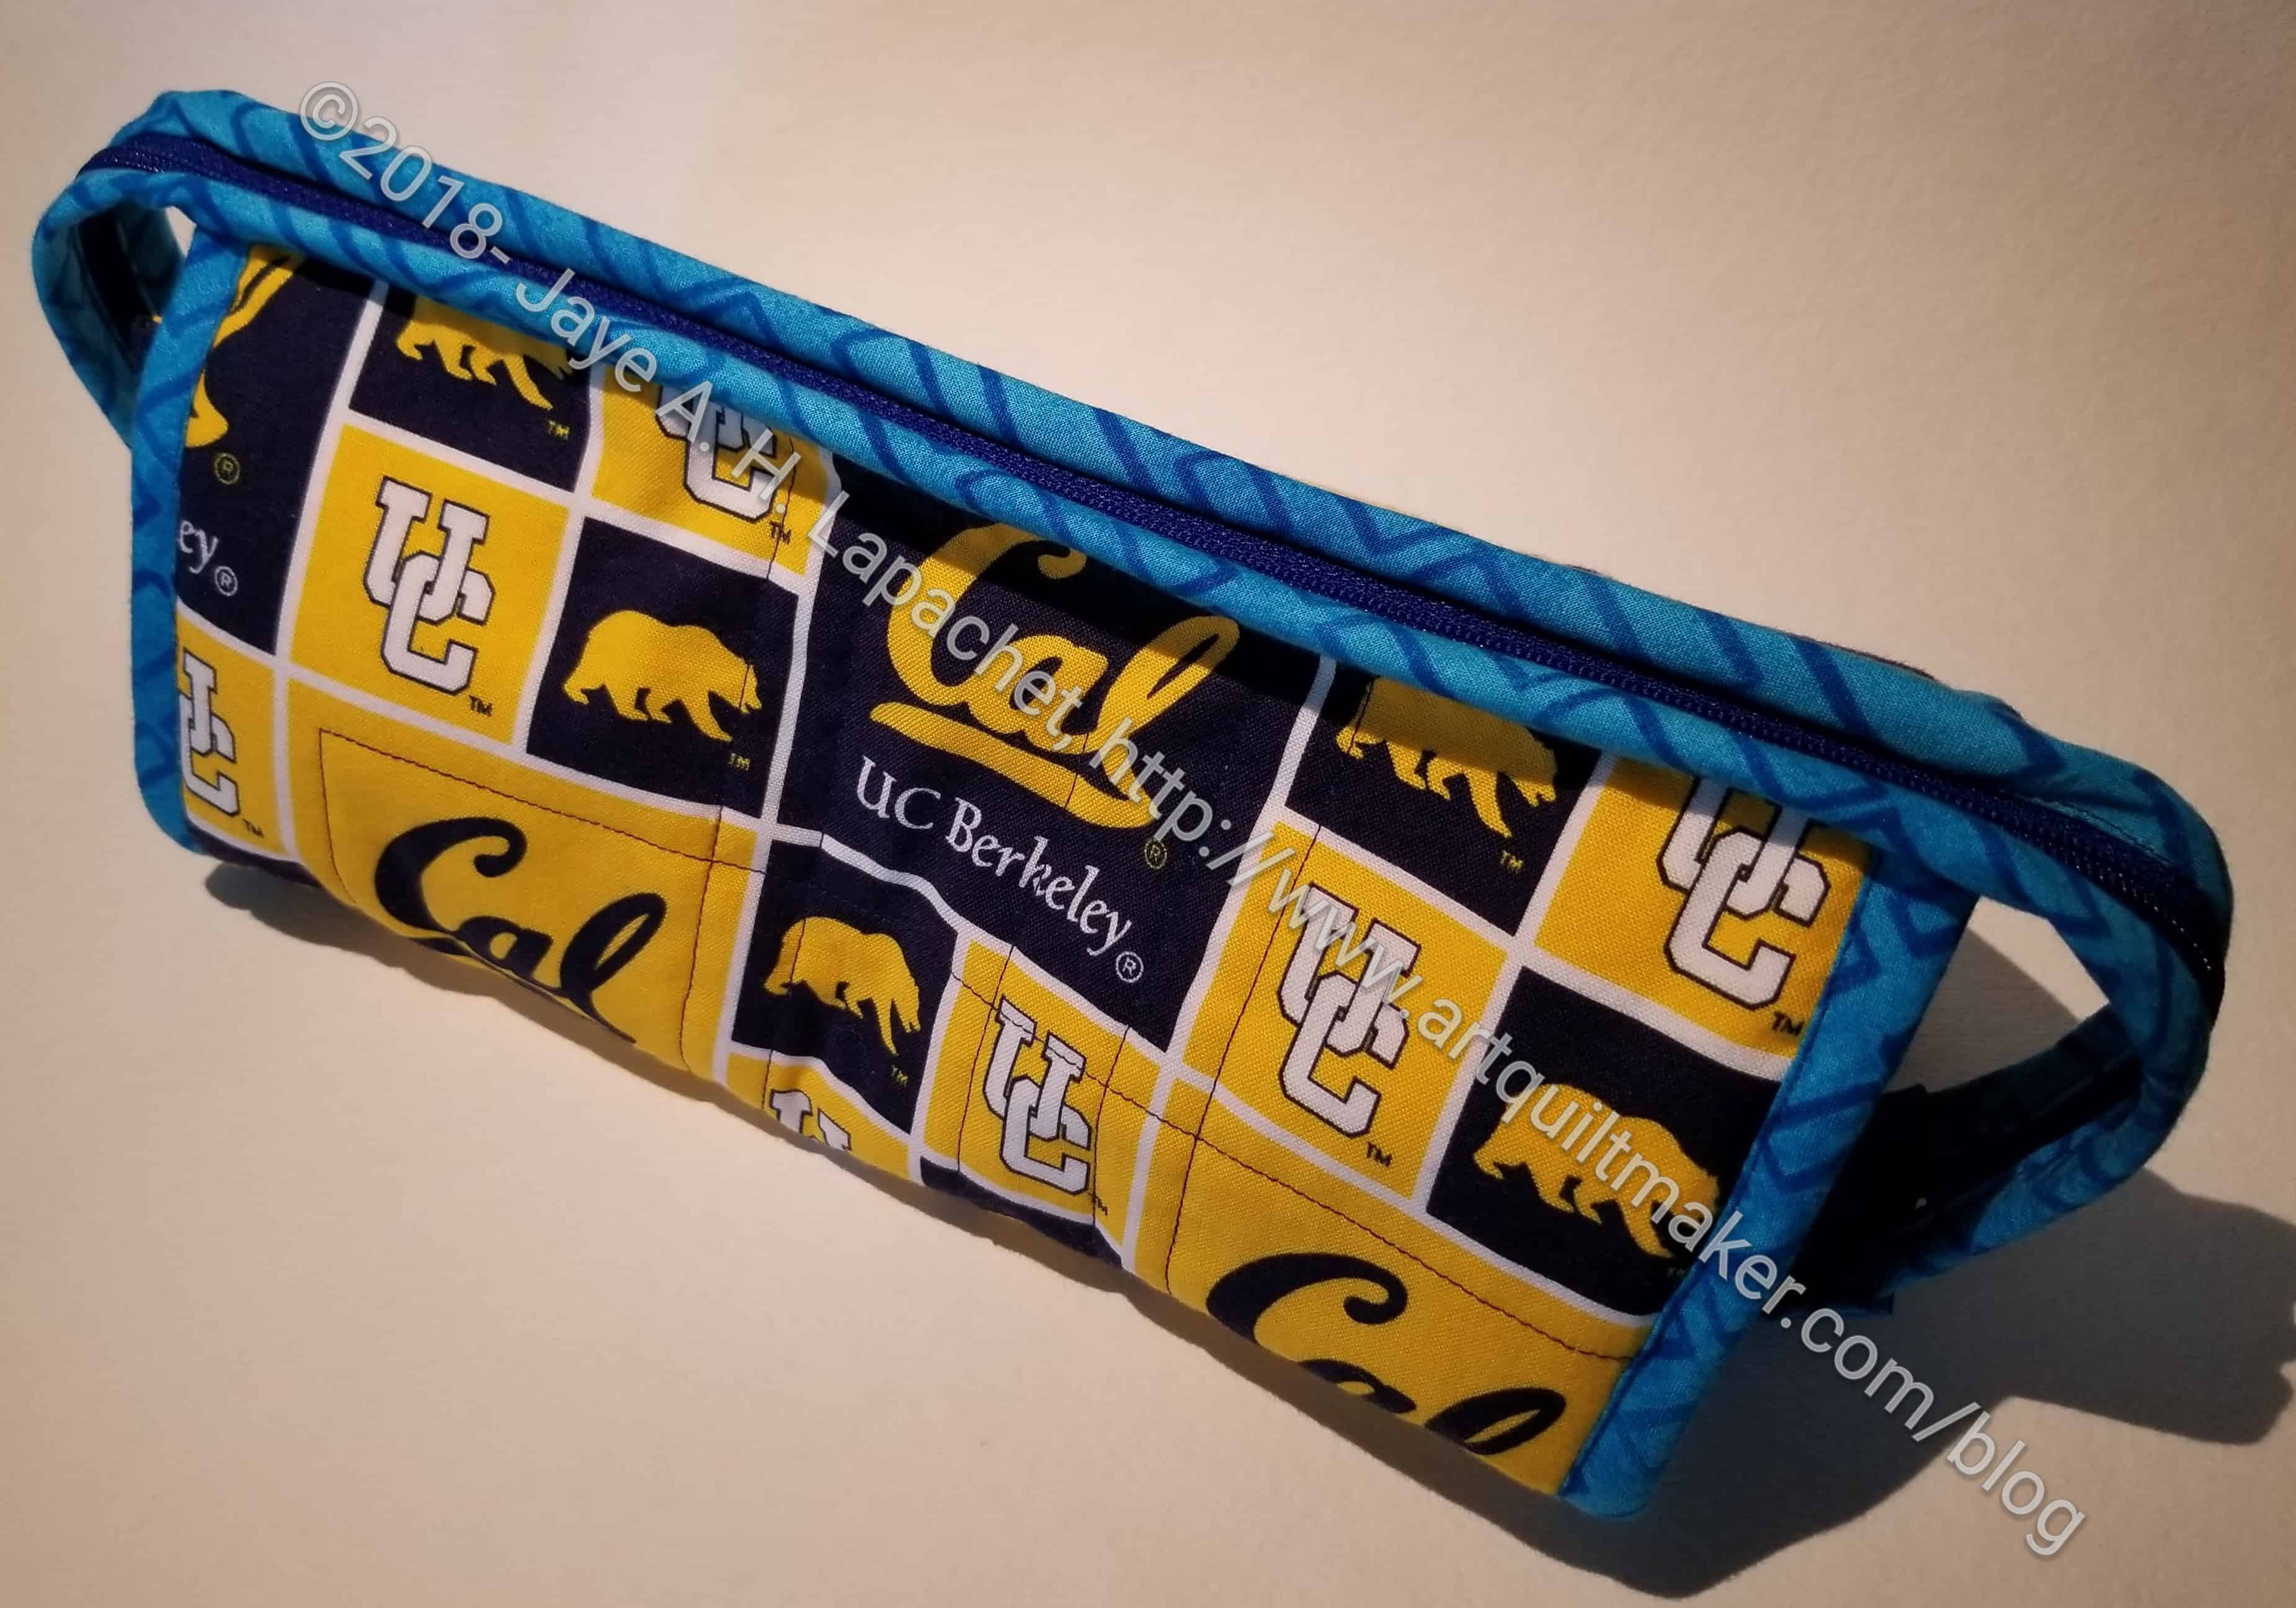
SIL #2’s Sew Together Bag – outside
The outside is Cal fabric, because I knew she would like it and because I have a ton of it.
SIL #2’s Sew Together Bag – inside, zippers closed
Otherwise I used various blues I thought she would like with some yellow accents. Blue is the main color on this one. I also chose a variety of zipper colors to add interest.
SIL #2’s Sew Together Bag – inside, zippers open
I fussy cut the Cal fabric for the pincushion, of which I was proud. Even though her birthday is today, I gave the bag to her yesterday.
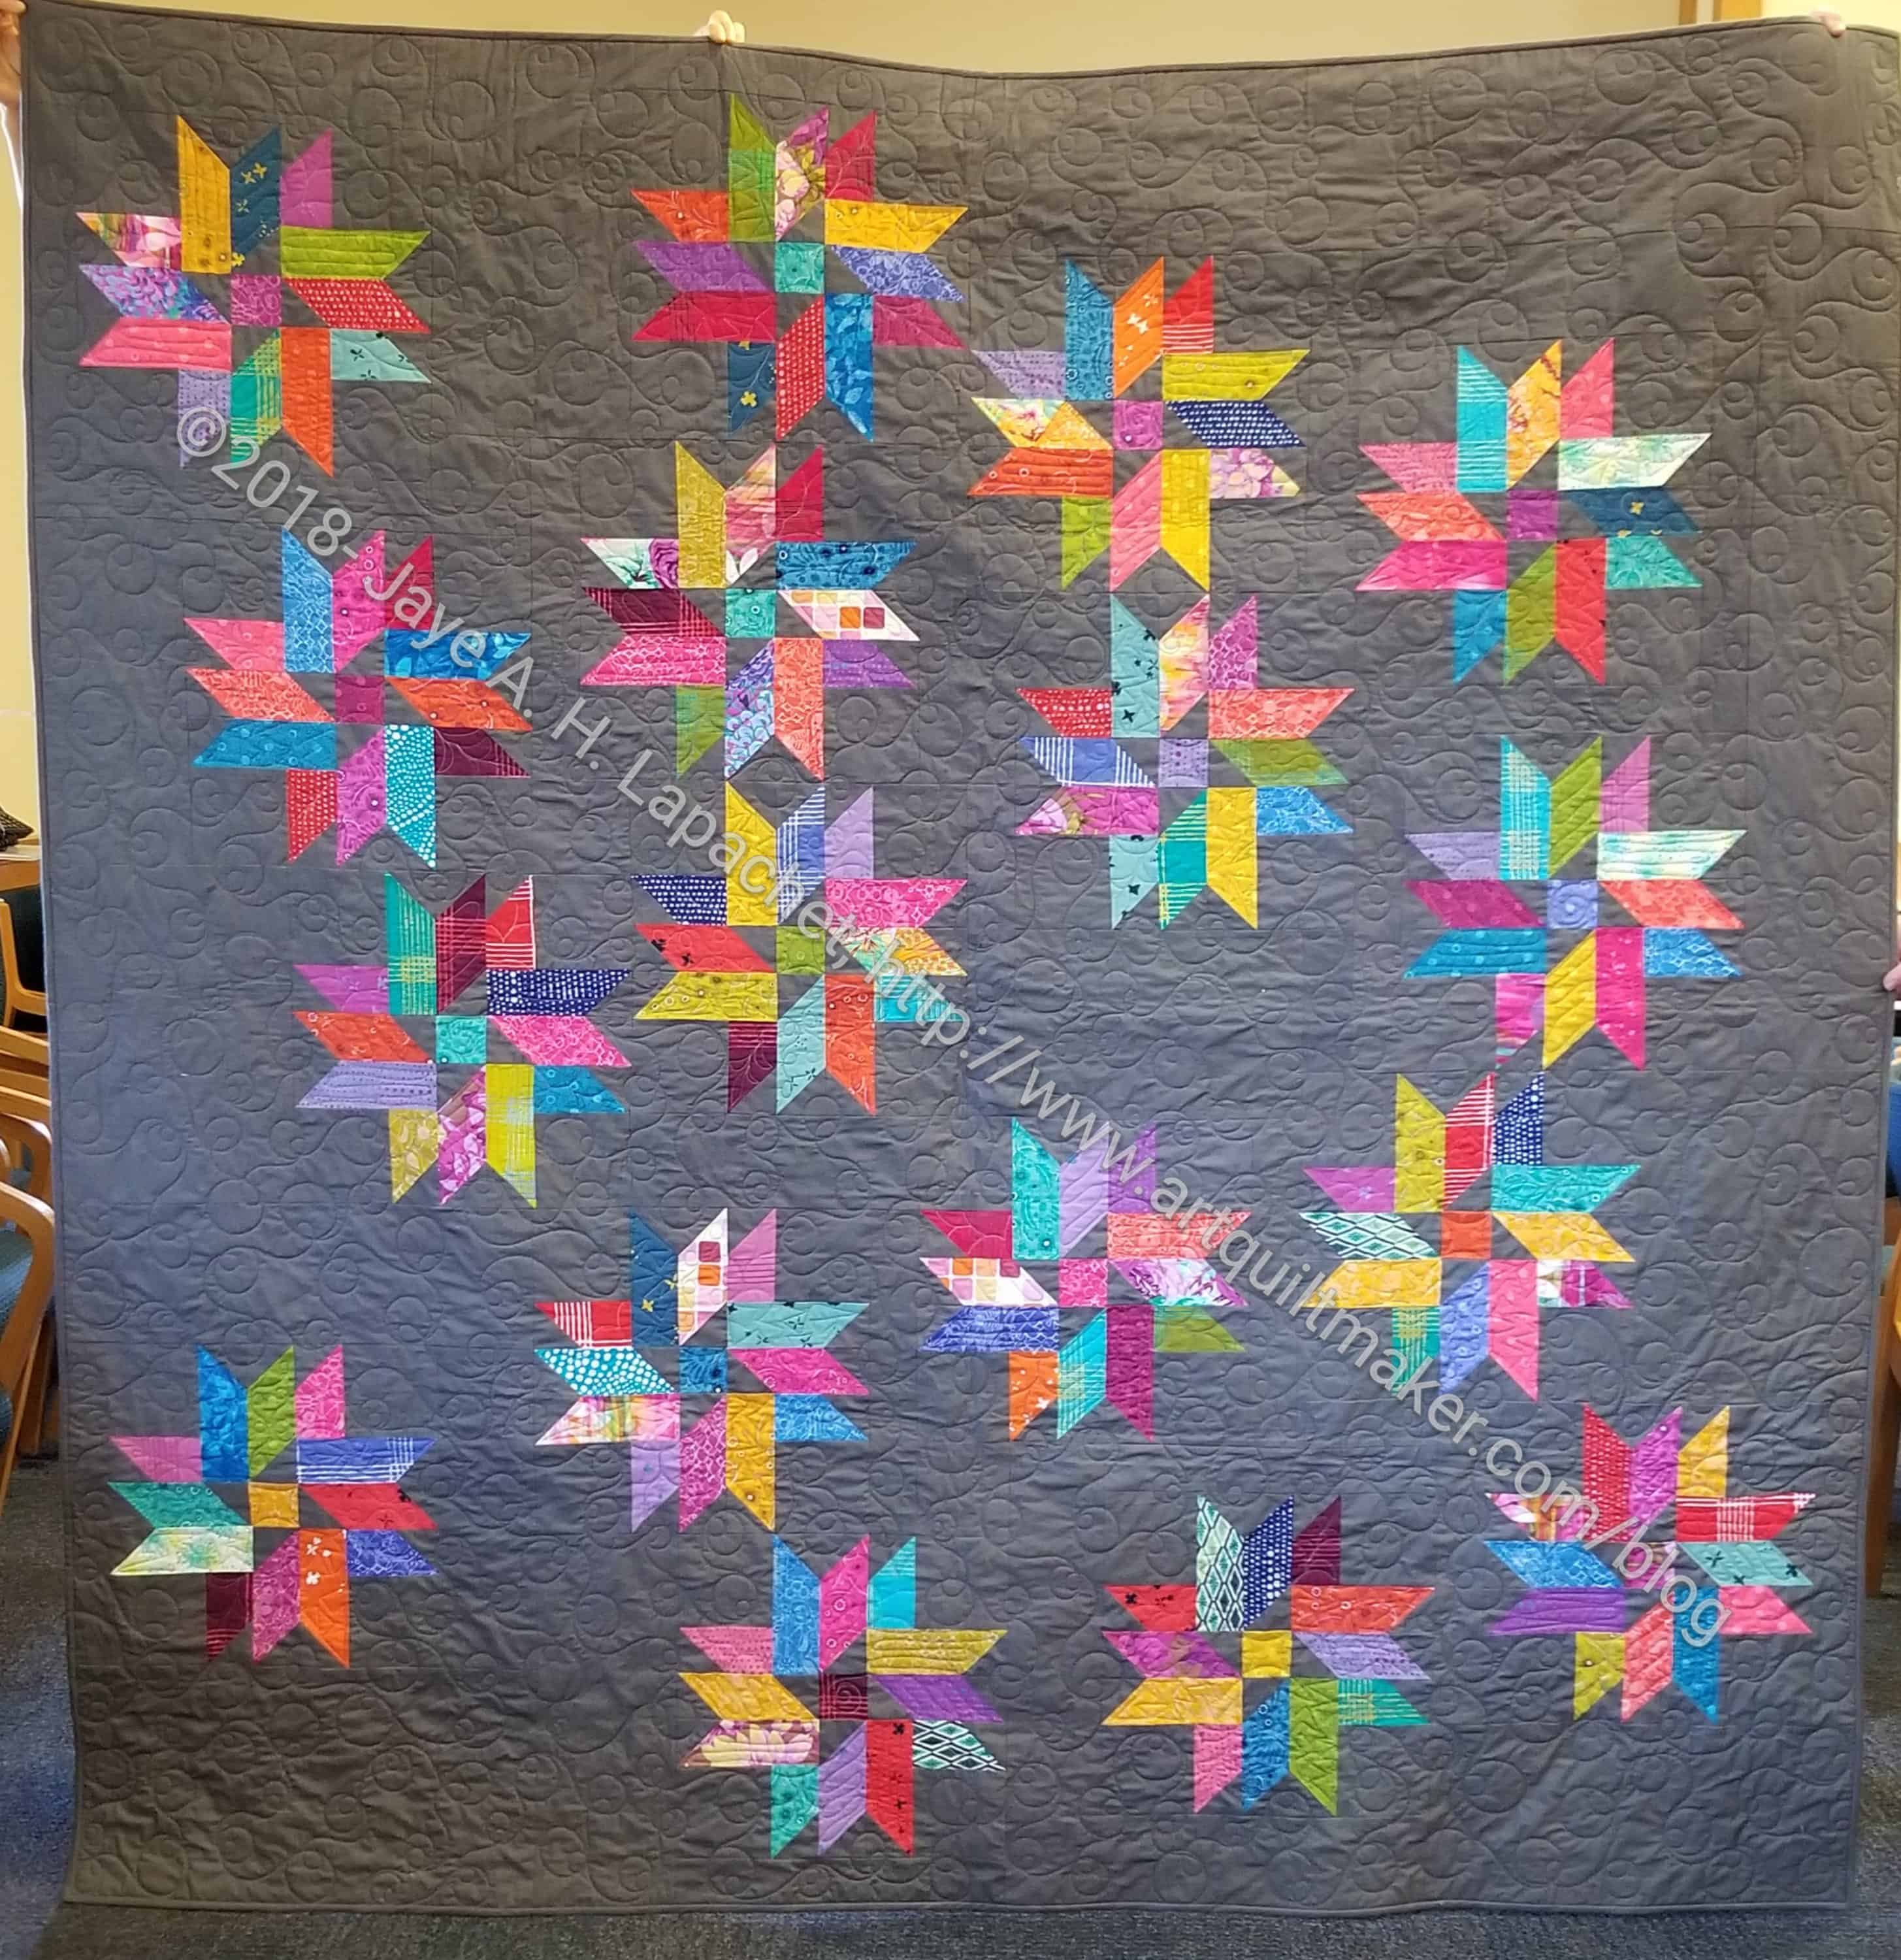
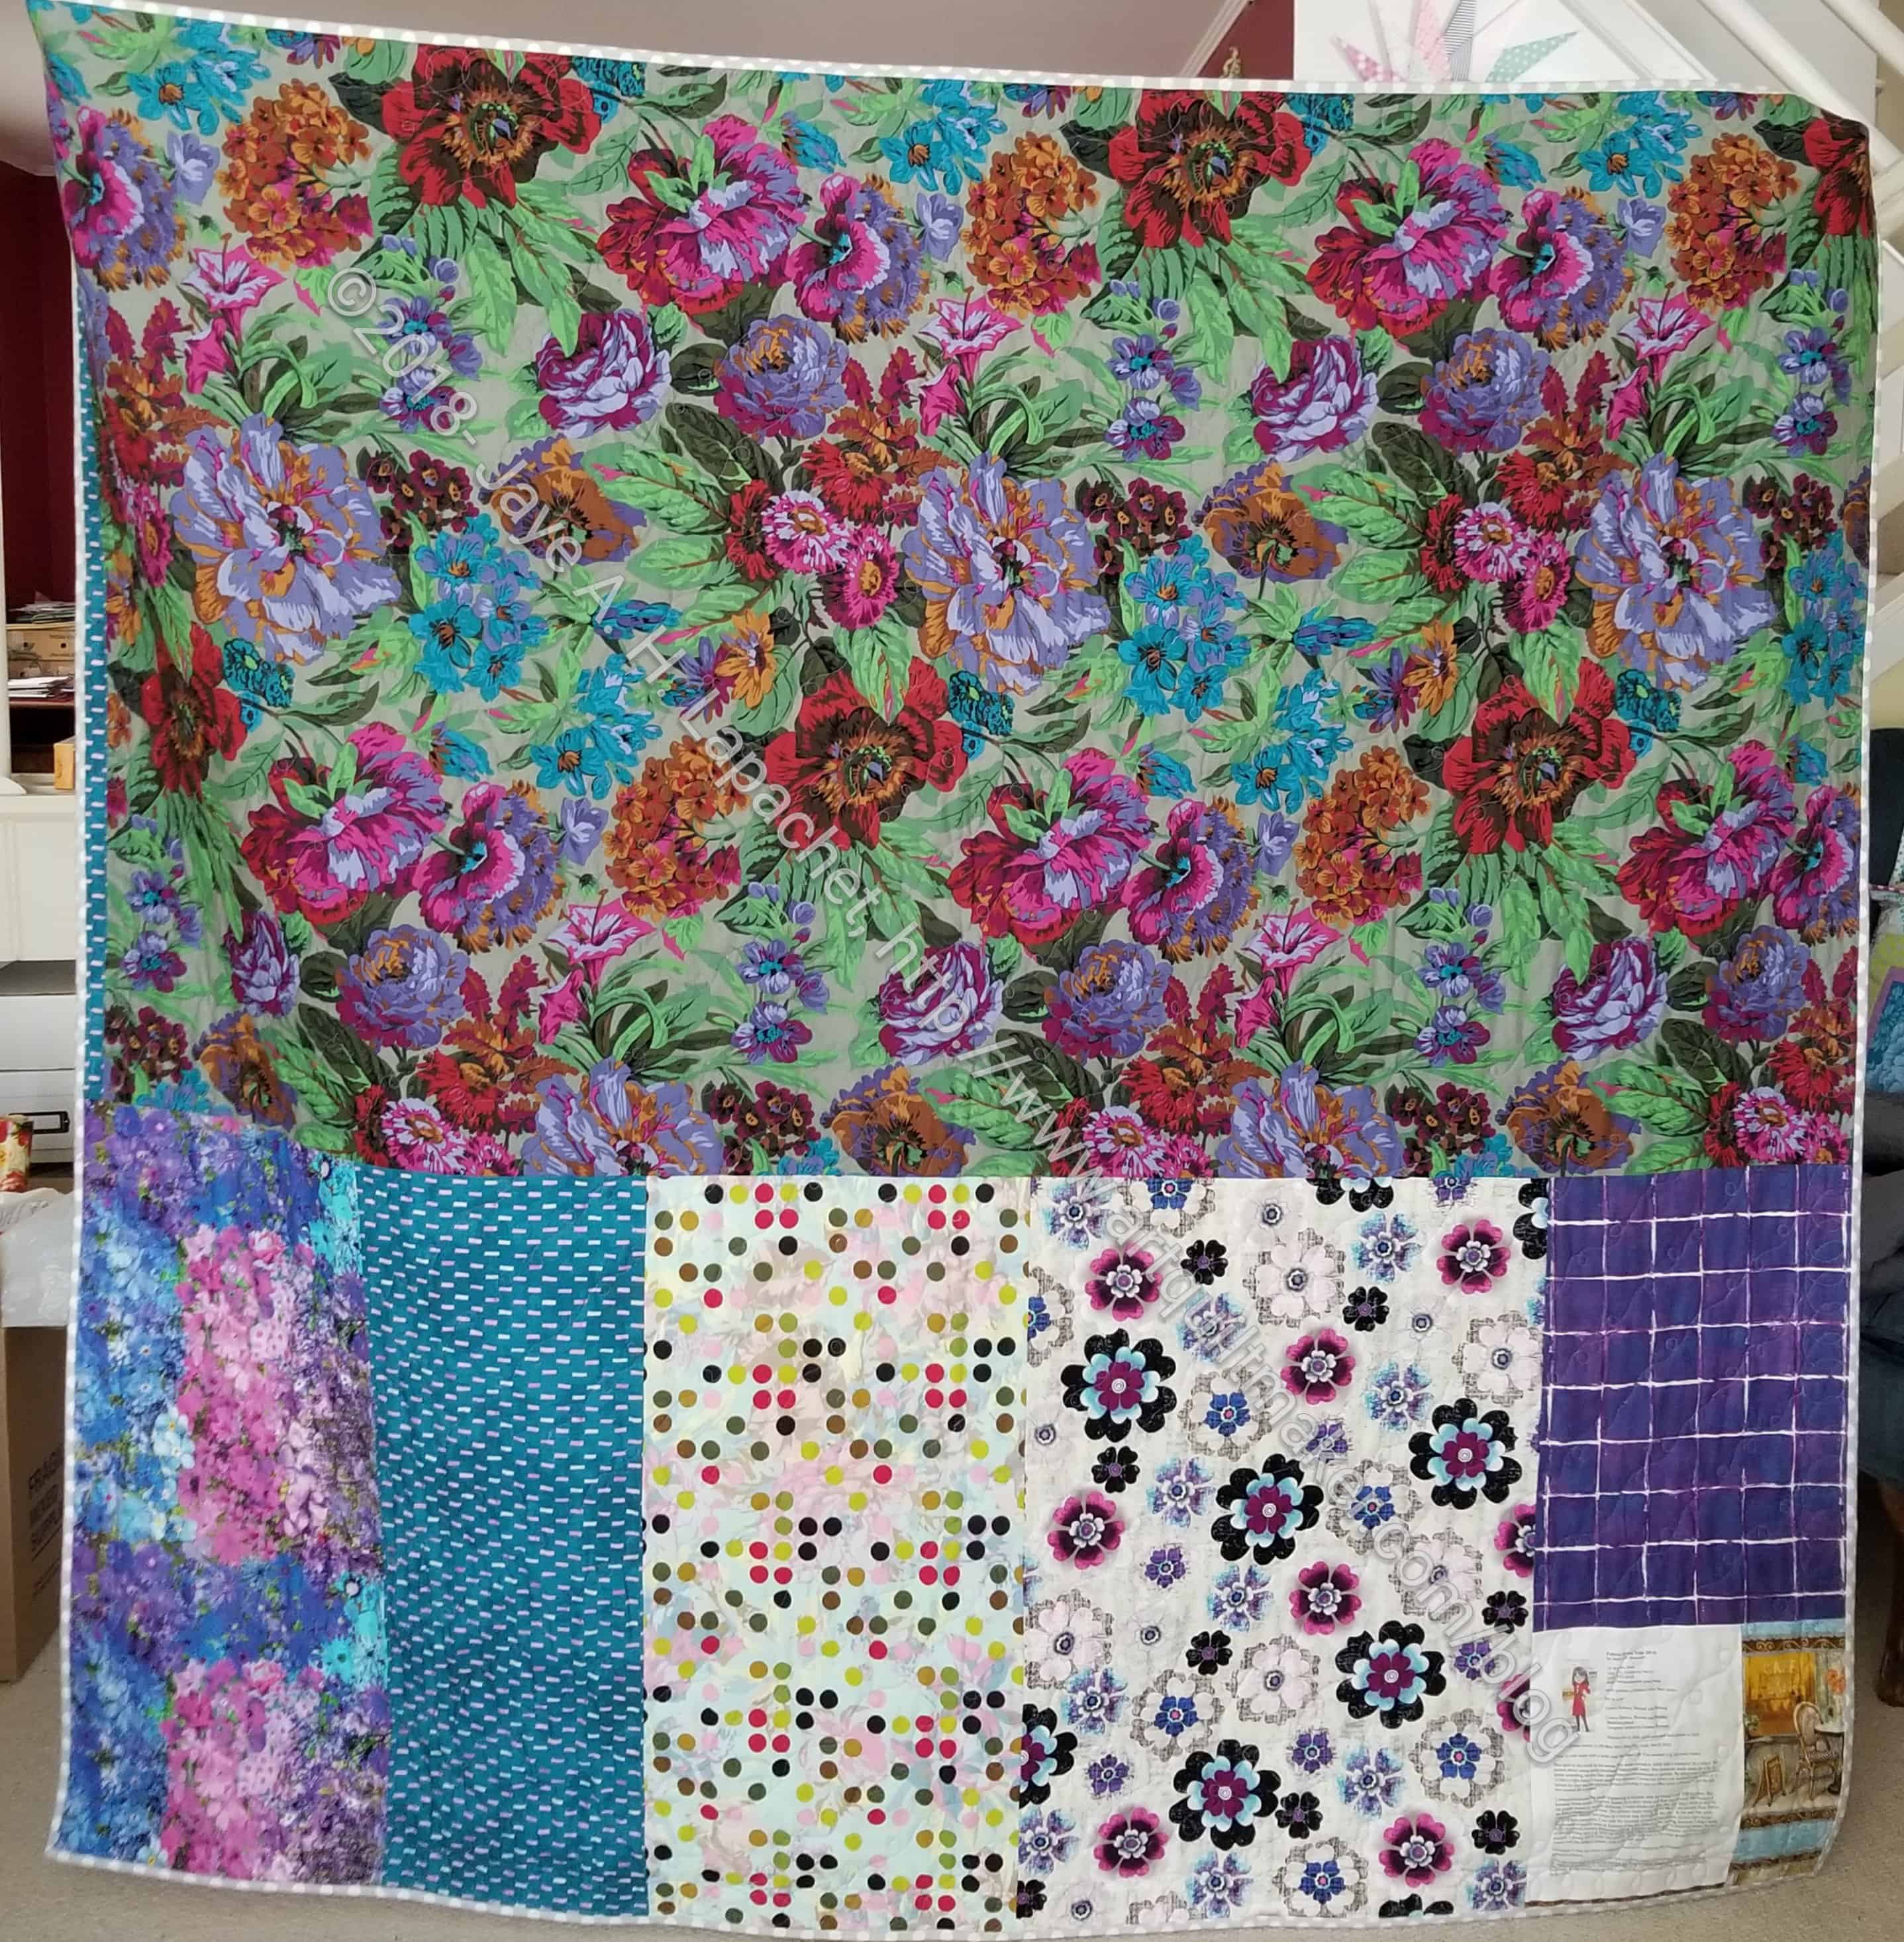
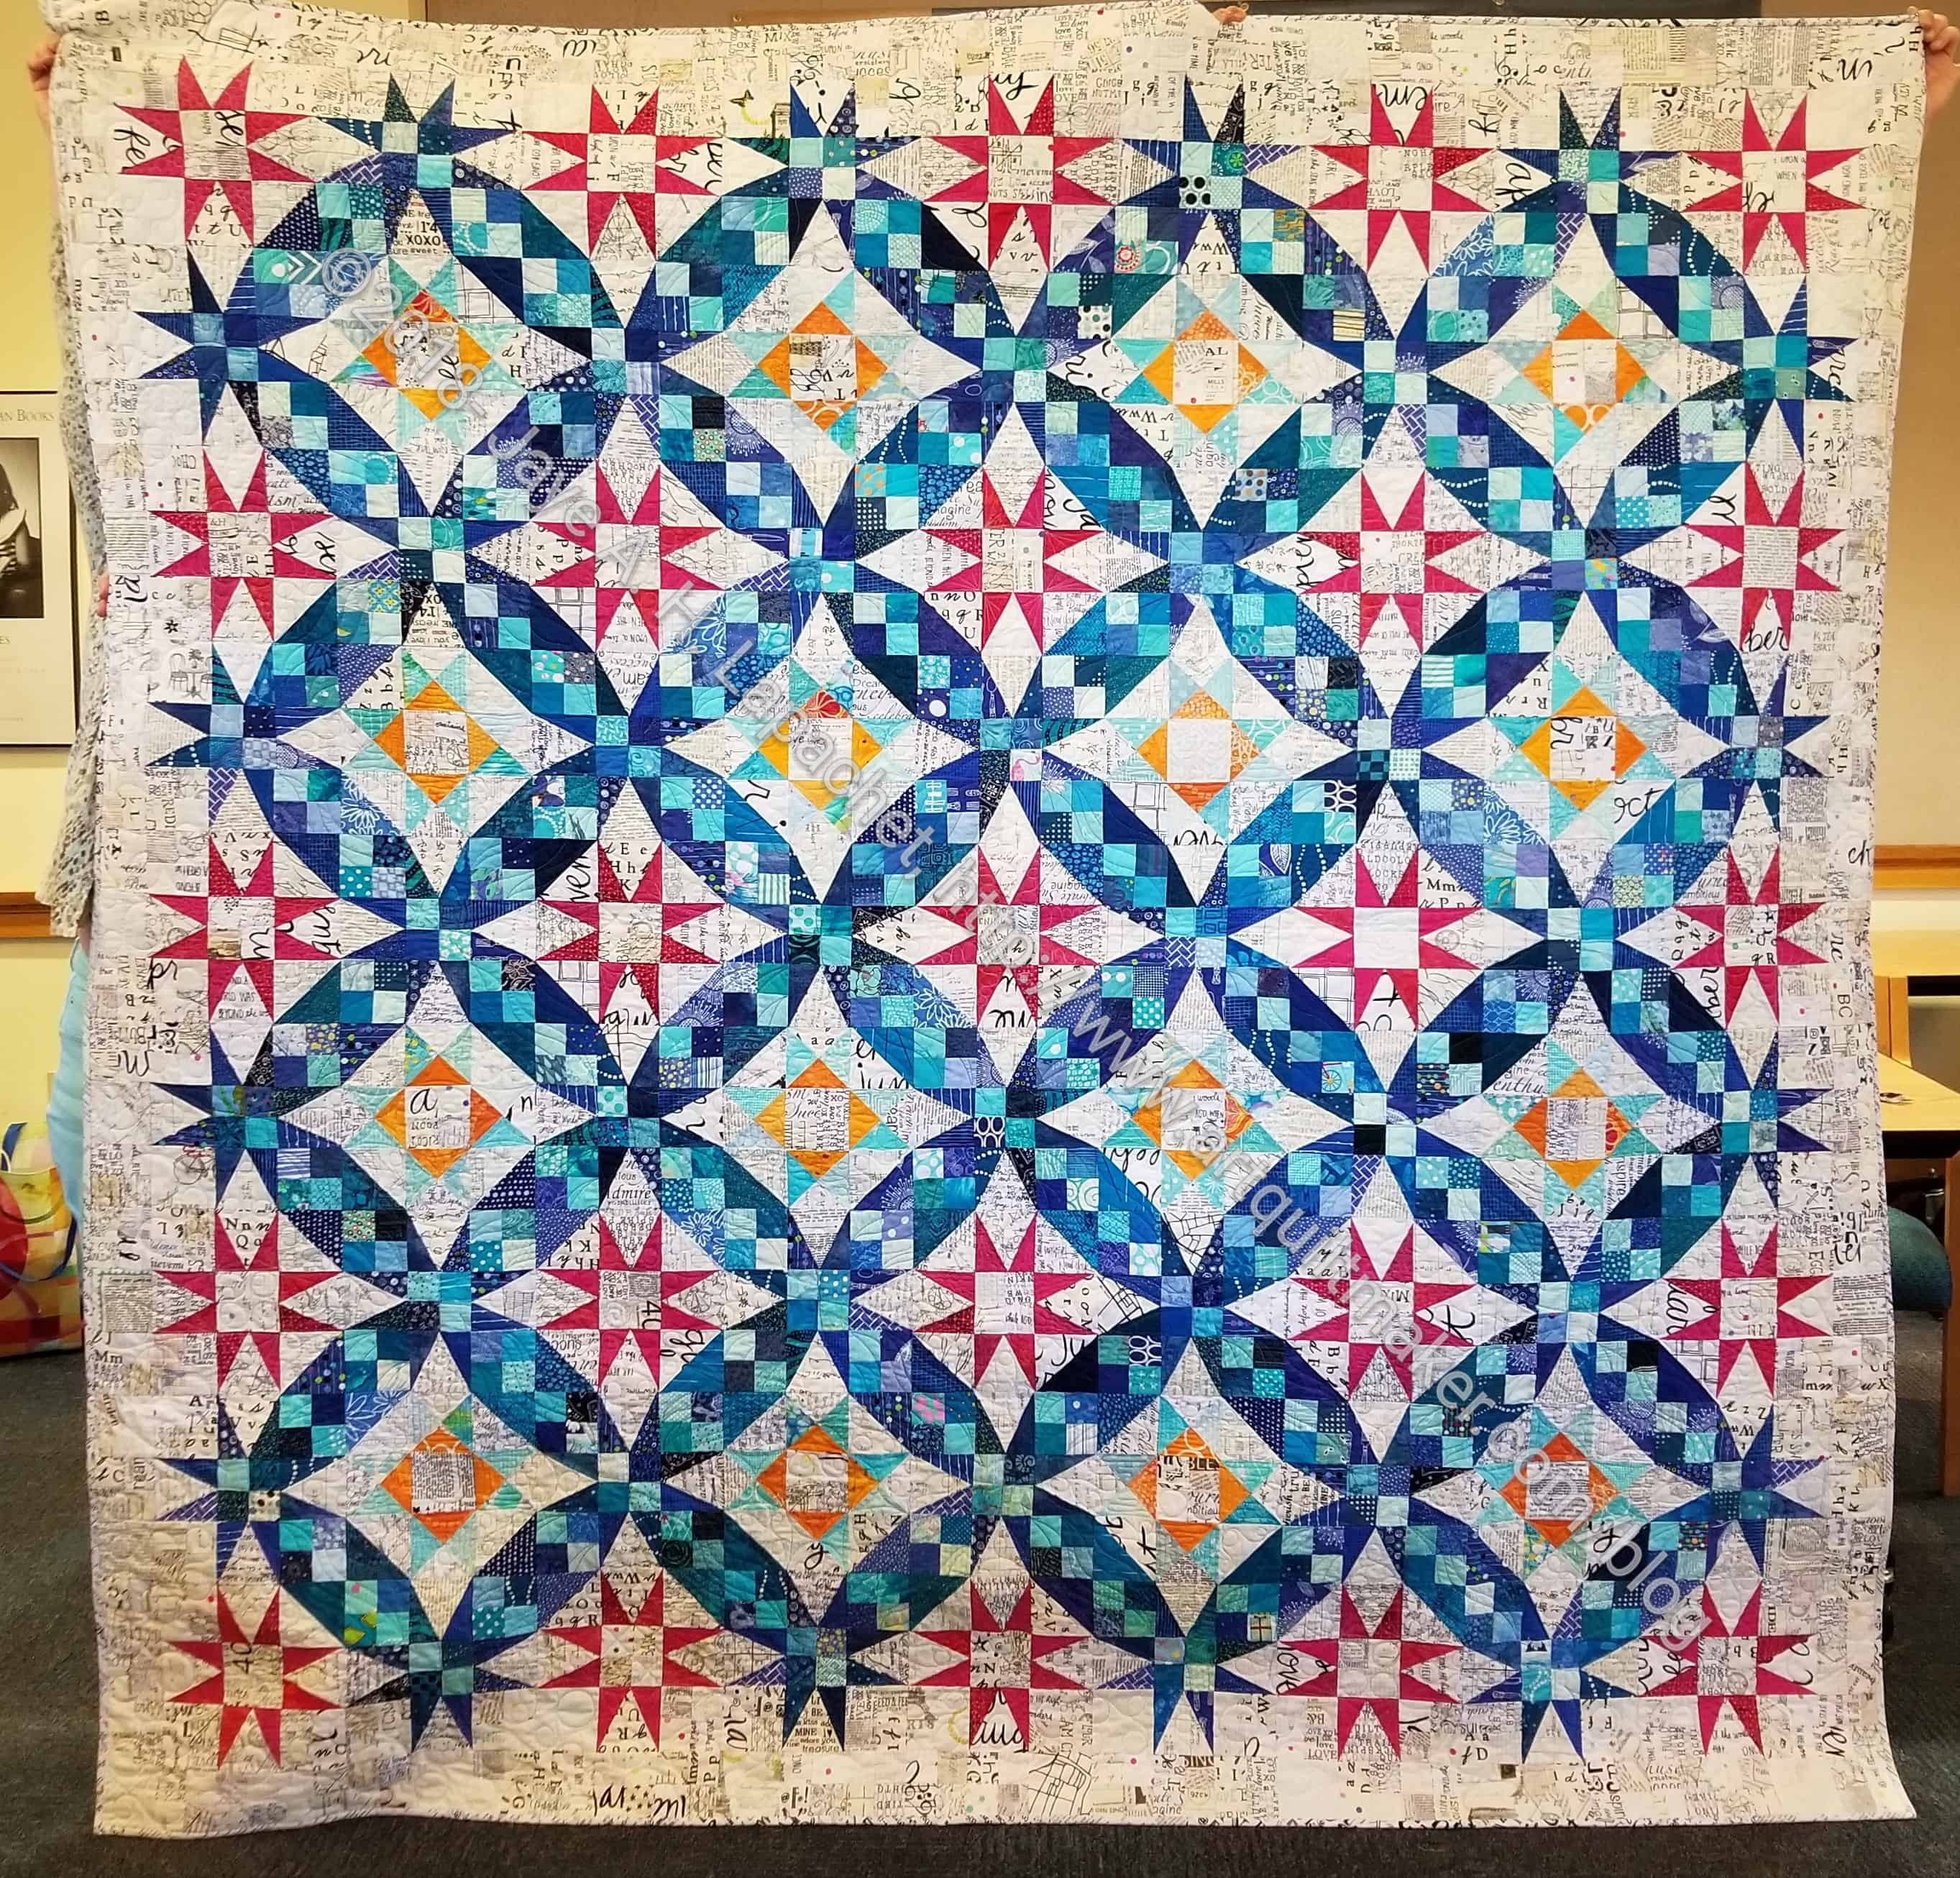
Yes, amazingly enough, I finally finished En Provence a week or so ago. I am so pleased with the finished product. I am sad that I will give it away, but it will go to a good home who will love it very well.
One thing I like about this pattern is that the edges are finished. By that I mean my hard sewn units are not cut off as you see in many quilts with weird edges. I like it that my stars have all of their points.
Also, I want to make another one. 😉 I am not sure when, but I do plan to make another one. If I select a color scheme I can start any time and use leaders and enders to get all of the units made. I haven’t done any sewing yet, as I haven’t selected a color scheme. I really like this color scheme, but want to do something different. How would it be if I reversed the darks and lights?
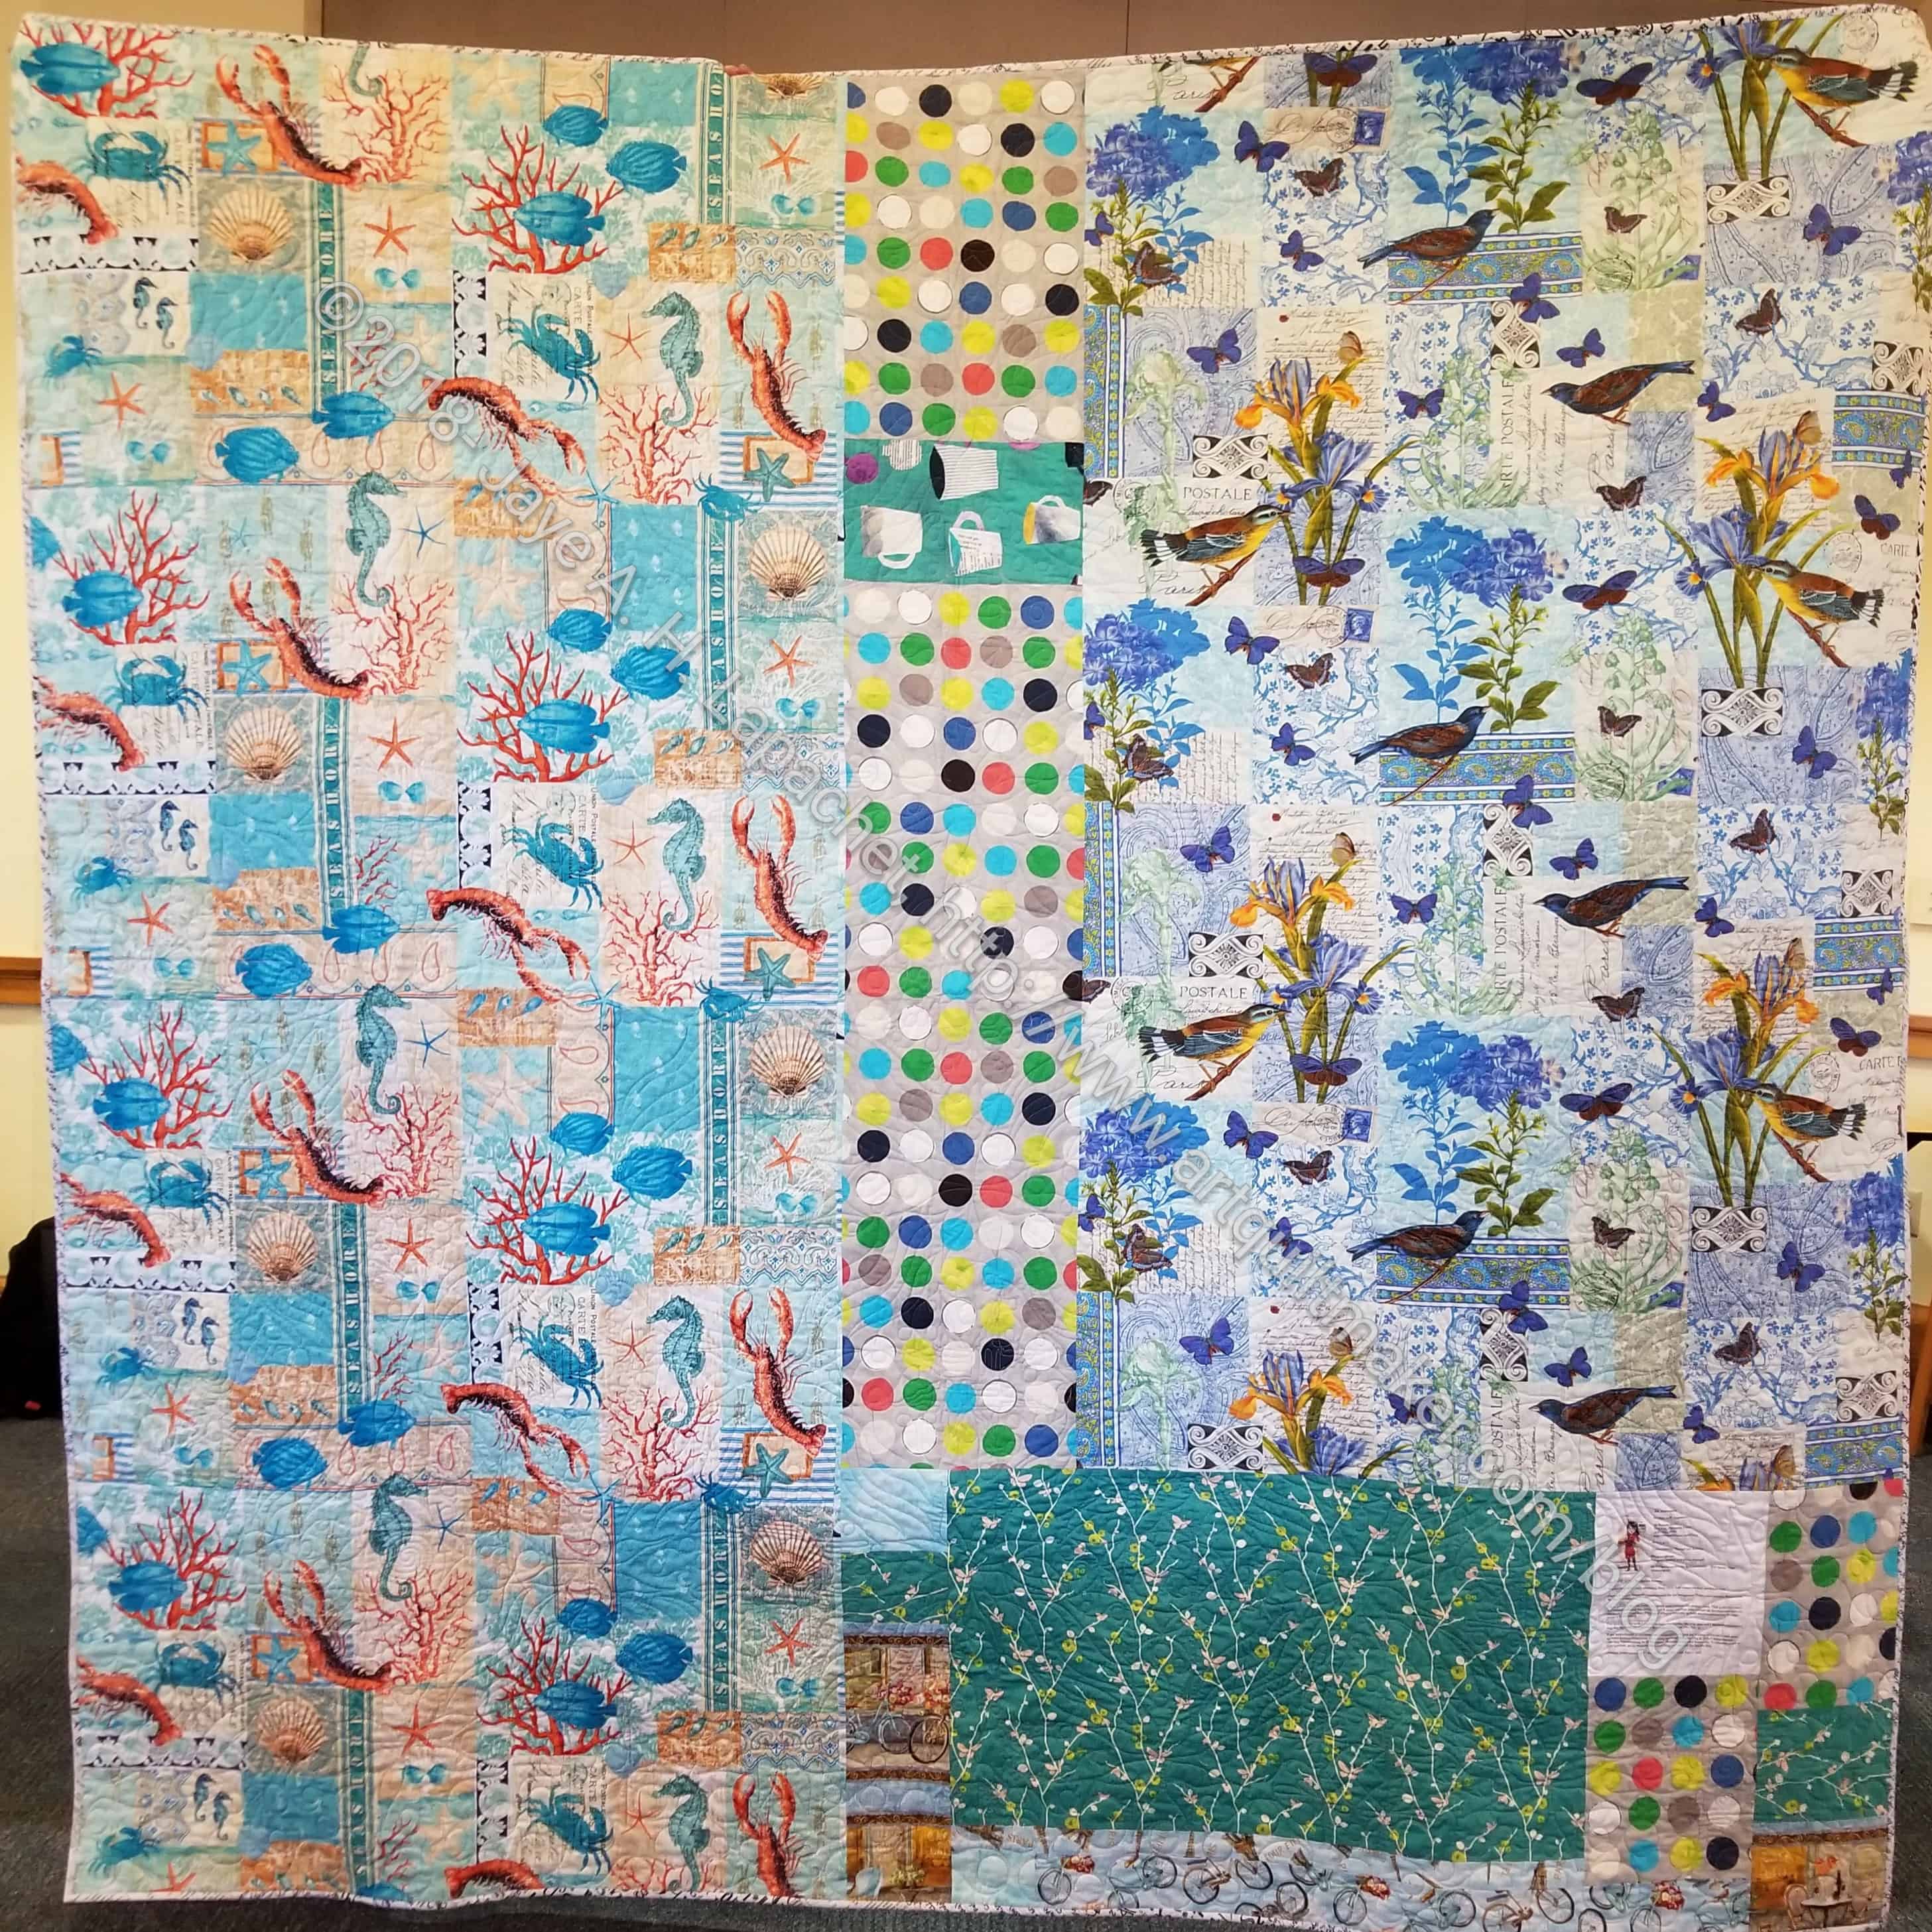
En Provence back
The back turned out to be very funny. Birds and lobsters? What was I thinking? It is definitely a good conversation starter, that is for sure.
I started this on January 10, 2017. You can see all the posts by clicking on the tag. 14ish months isn’t bad, especially when I know I took a long hiatus somewhere in the middle. Also, made most of this quilt using the leaders and enders technique.
I needed to rest at the beginning of March, but knew I had a pillow swap to finish by the April meeting. My recipient’s color preferences were listed as:
Green (lime, pickle)
magenta
orange
white
I wanted to be sure my design was modern, fit the desires of the recipient and wasn’t too difficult to piece. I immediately thought of the Alison Glass fabrics I used for the Triple Star. Except for the white, I thought those fabrics would fit well with the desired color scheme.
I had a pillow I thought was made by my pal Amanda stuck in my mind. I asked her about it and she suggested Pinterest. I immediately found the design for which I was looking – the X Plus O block. Once I had the name, I found a lot of examples and spent a happy hour laying on the couch and looking at them.I also found an example that I thought would be good inspiration.
Before I could really sew again, I worked on the design using EQ8. I was able to play with the size and get the elements right.
Maria’s BAM Pillow Swap in process
After I could sew again, I went back to working on my Sew Together Bag project. In the middle of that project, I needed a break, but didn’t want to reset my machine for piecing. I knew that if I did, I would have three more UFOs and another year would pass before I could give the gifts. Cutting was a good idea, so I cut out all of the pieces.
One of the helpful parts of EQ8 is the ability to print out rotary cutting directions. I found a bug in the process of doing this, which I reported to the Electric Quilt Company. It turned out not to be a bug; they don’t consider a lozenge shape to rotary cuttable. I was able to figure out the size to cut a square as I plan to use the flippy corners method or the Simple Folded Corners Ruler.
I also used the Spoonflower zipper installation instructions. I acually watched the video and found it to be really helpful. I am pleased with how my pillow’s zipper closure came out, though I had to redo it a couple of times. I think the problem was the zipper foot I used. I used the flat snap on zipper foot. I didn’t feel like I could get as close to the zipper as I like. As a result I didn’t catch the seam allowance, which makes a closed up area around the zipper. I should have used the tall, skinny foot. I am used to it. I didn’t use it because I was sick of installing feet and resetting settings on my machine. I paid the price.
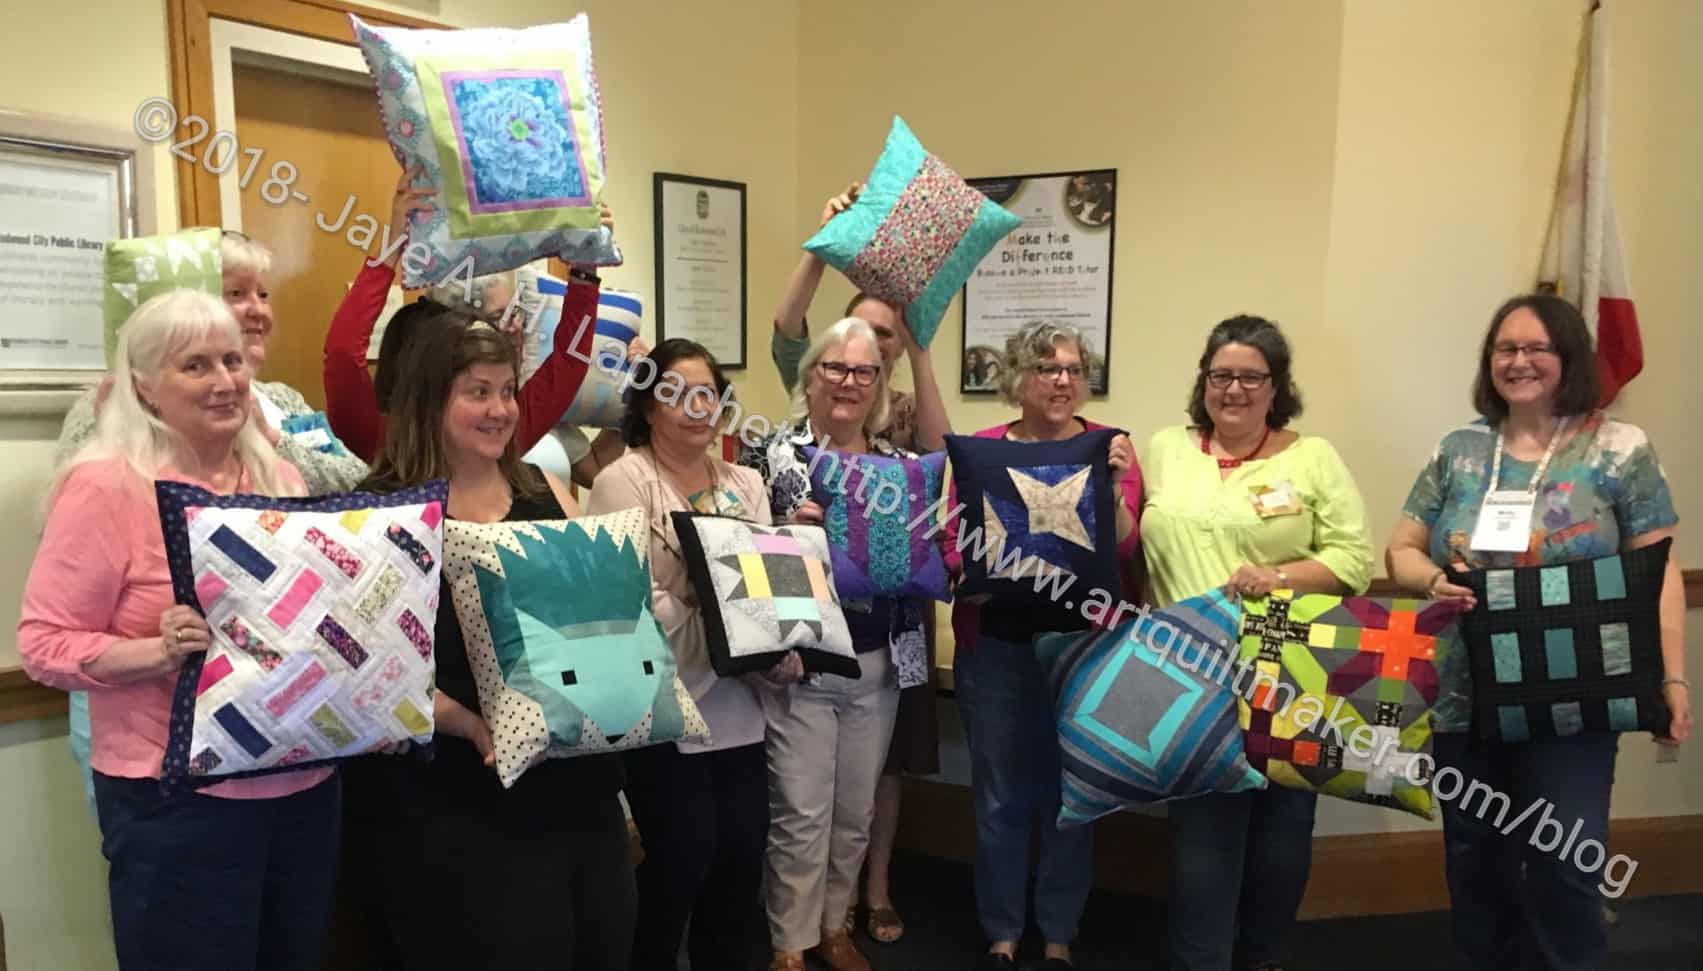
BAM Pillow Swap Recipients
We exchanged yesterday and everyone did a wonderful job. I am behind Christina, but you can see my pillow over my head.
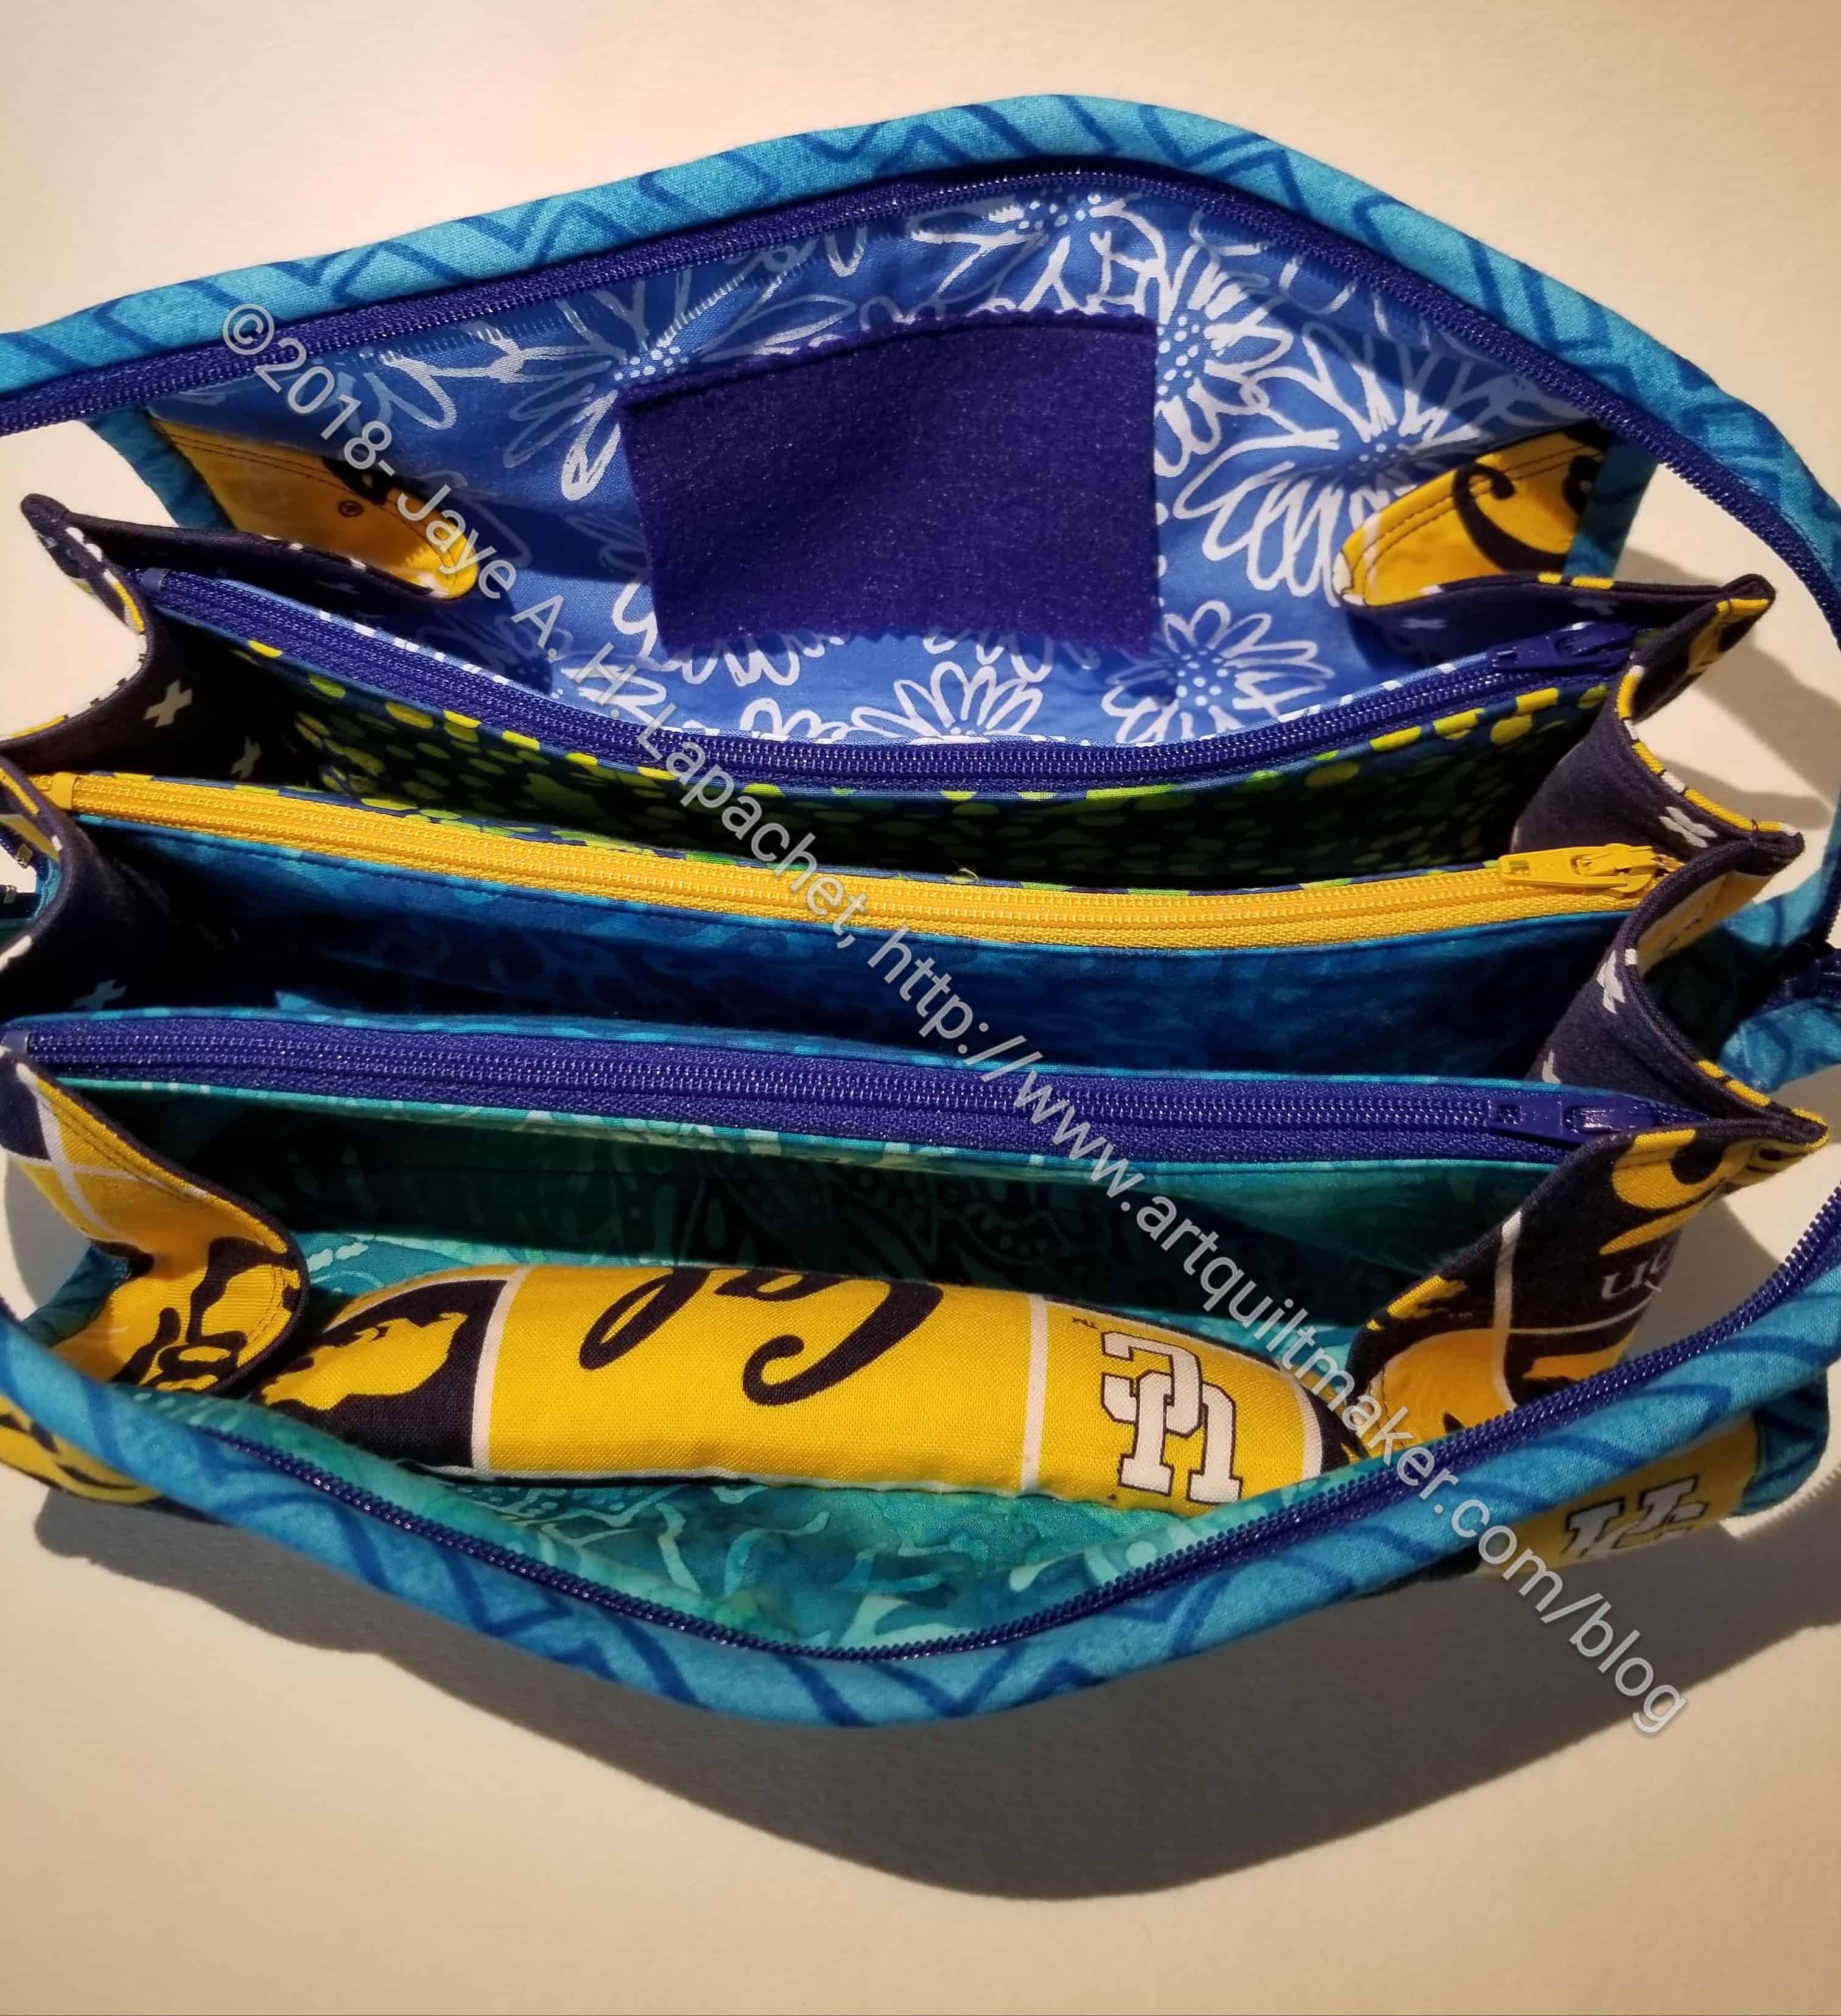
Frankly, I never thought I could make something like this. This is another pattern from the Crafty Gemini Organizer Club. It is one of the bonus patterns. I think it would make a great gift.
I did, though, and while I struggled with some parts, it wasn’t as hard as I thought.
I feel like I am becoming a zipper expert. I can certainly get my zipper foot on and off the machine (screwdriver is involved) with lightening speed. I can now shorten zippers with confidence (remember my fit about the zipper shortening with the Sweet Harmony bag?). I have put in 16 zippers, I think, in the last month. WHEW!
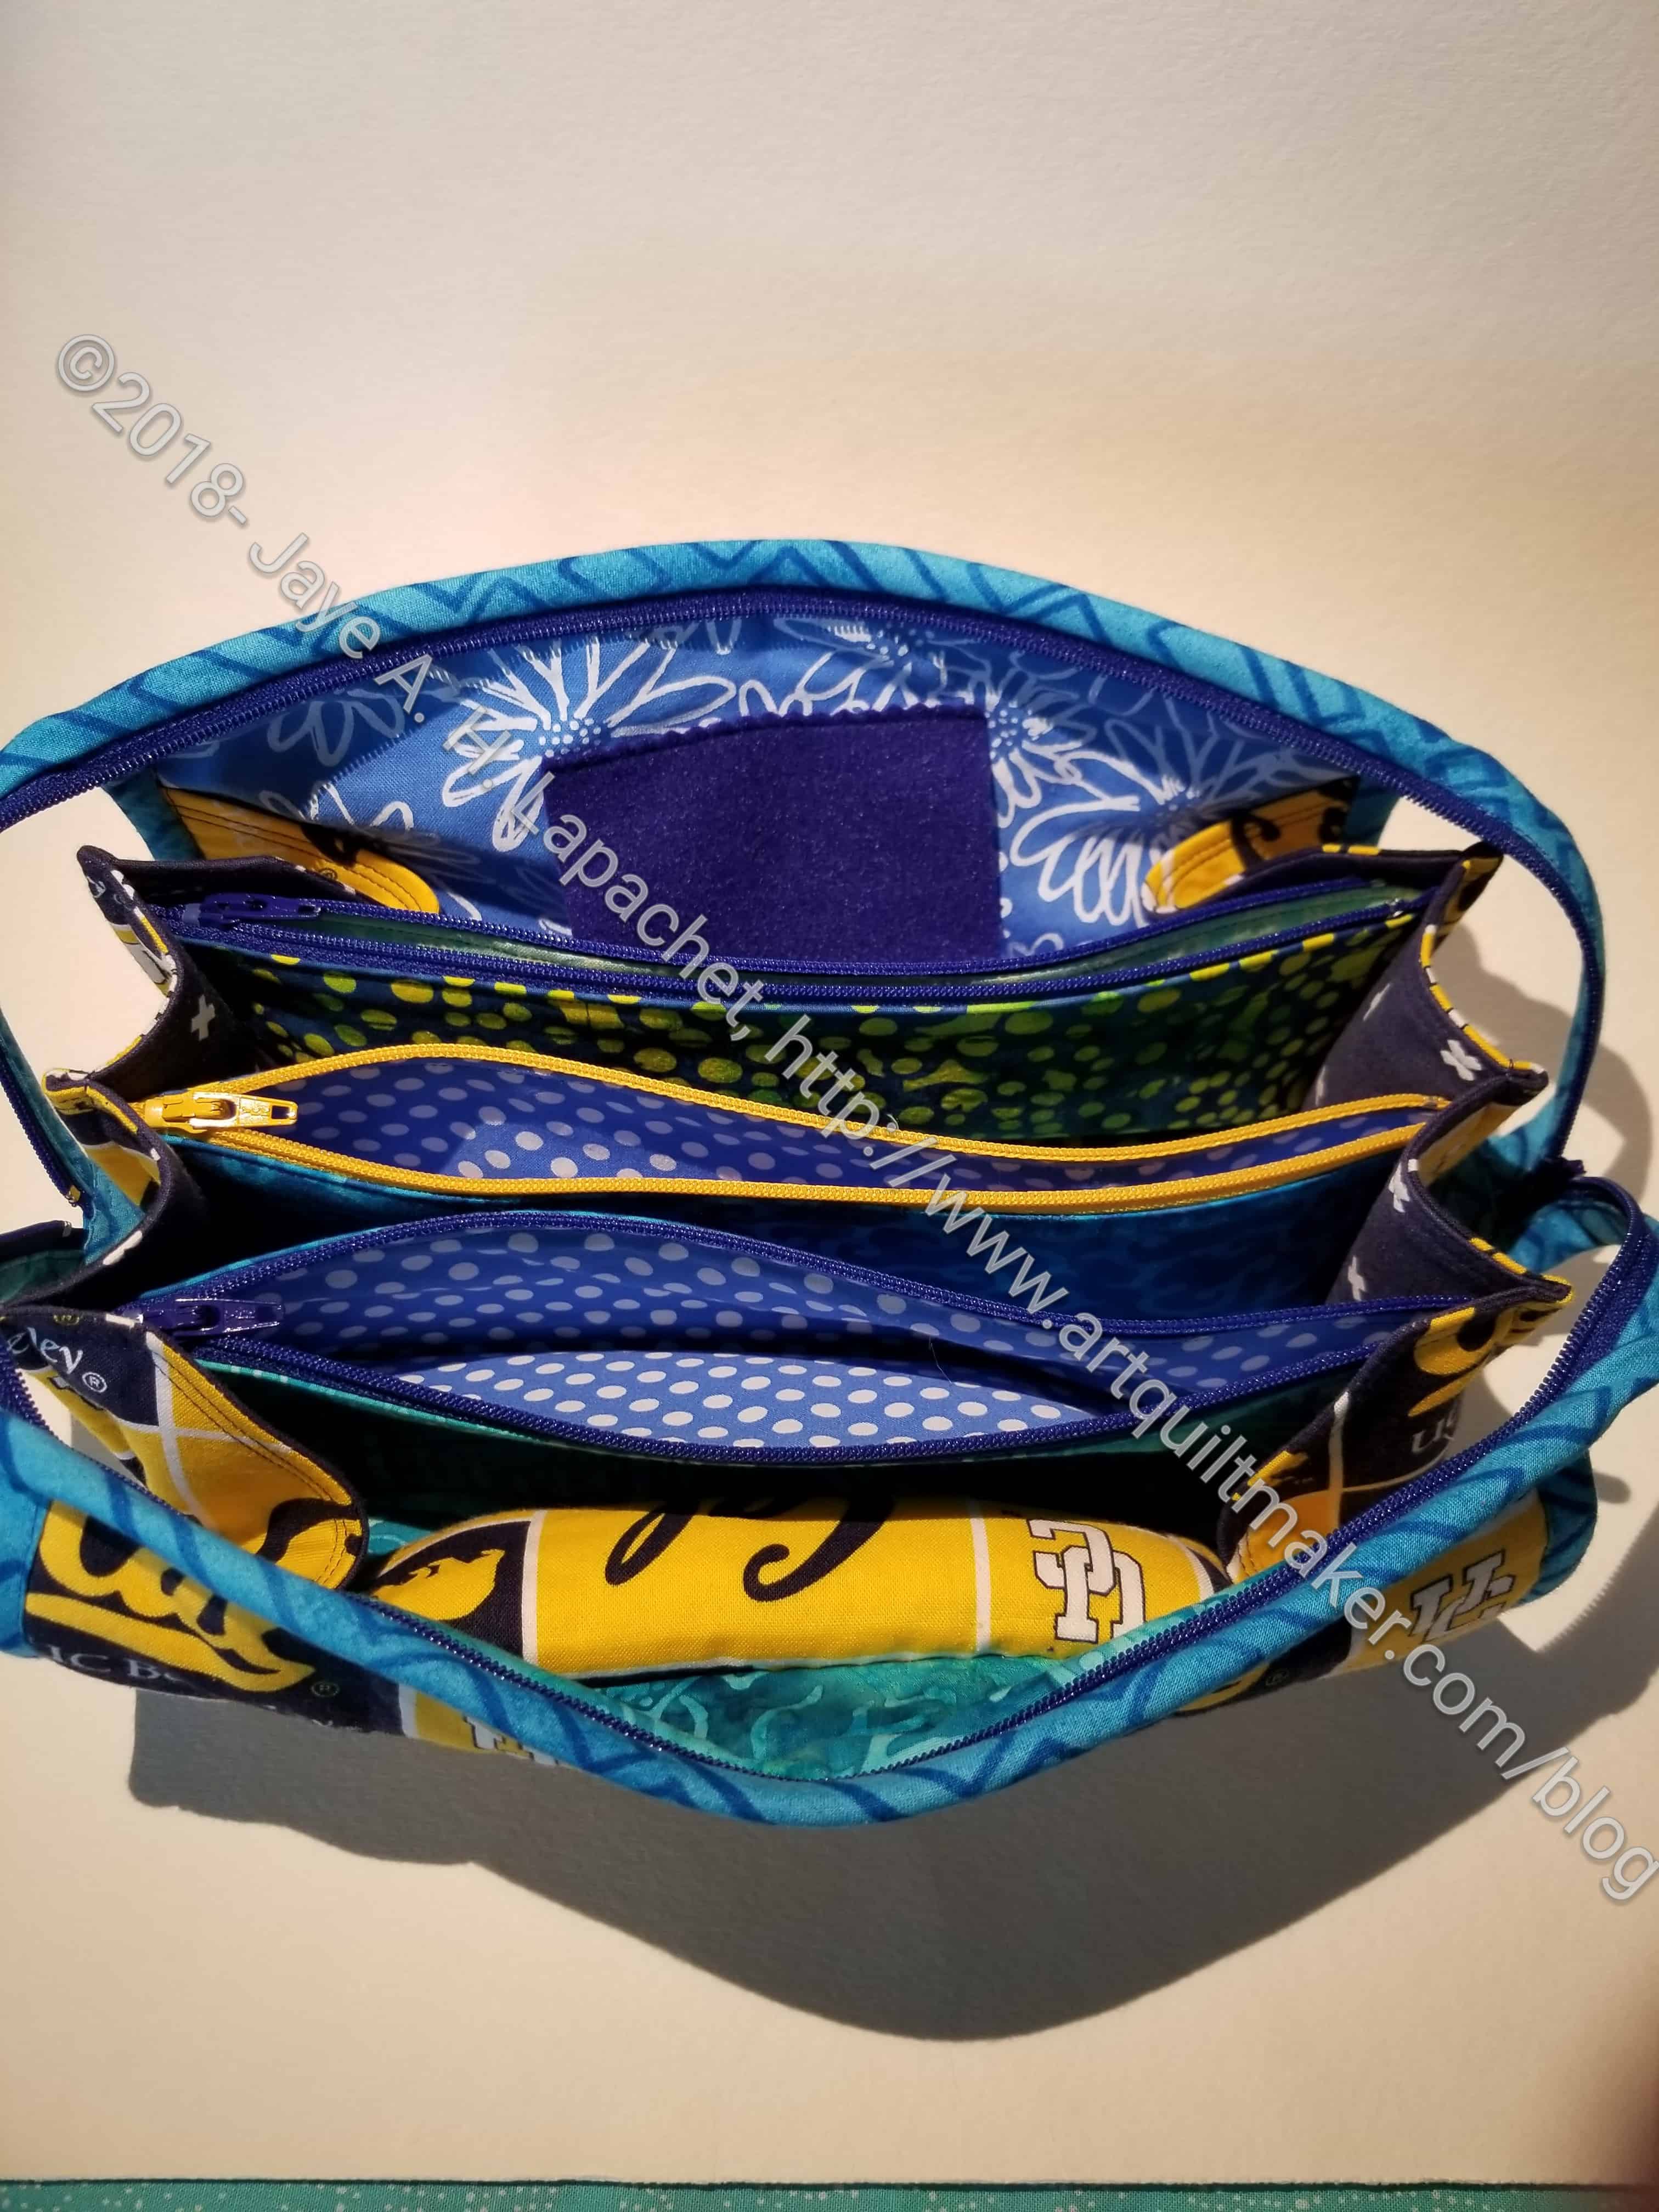
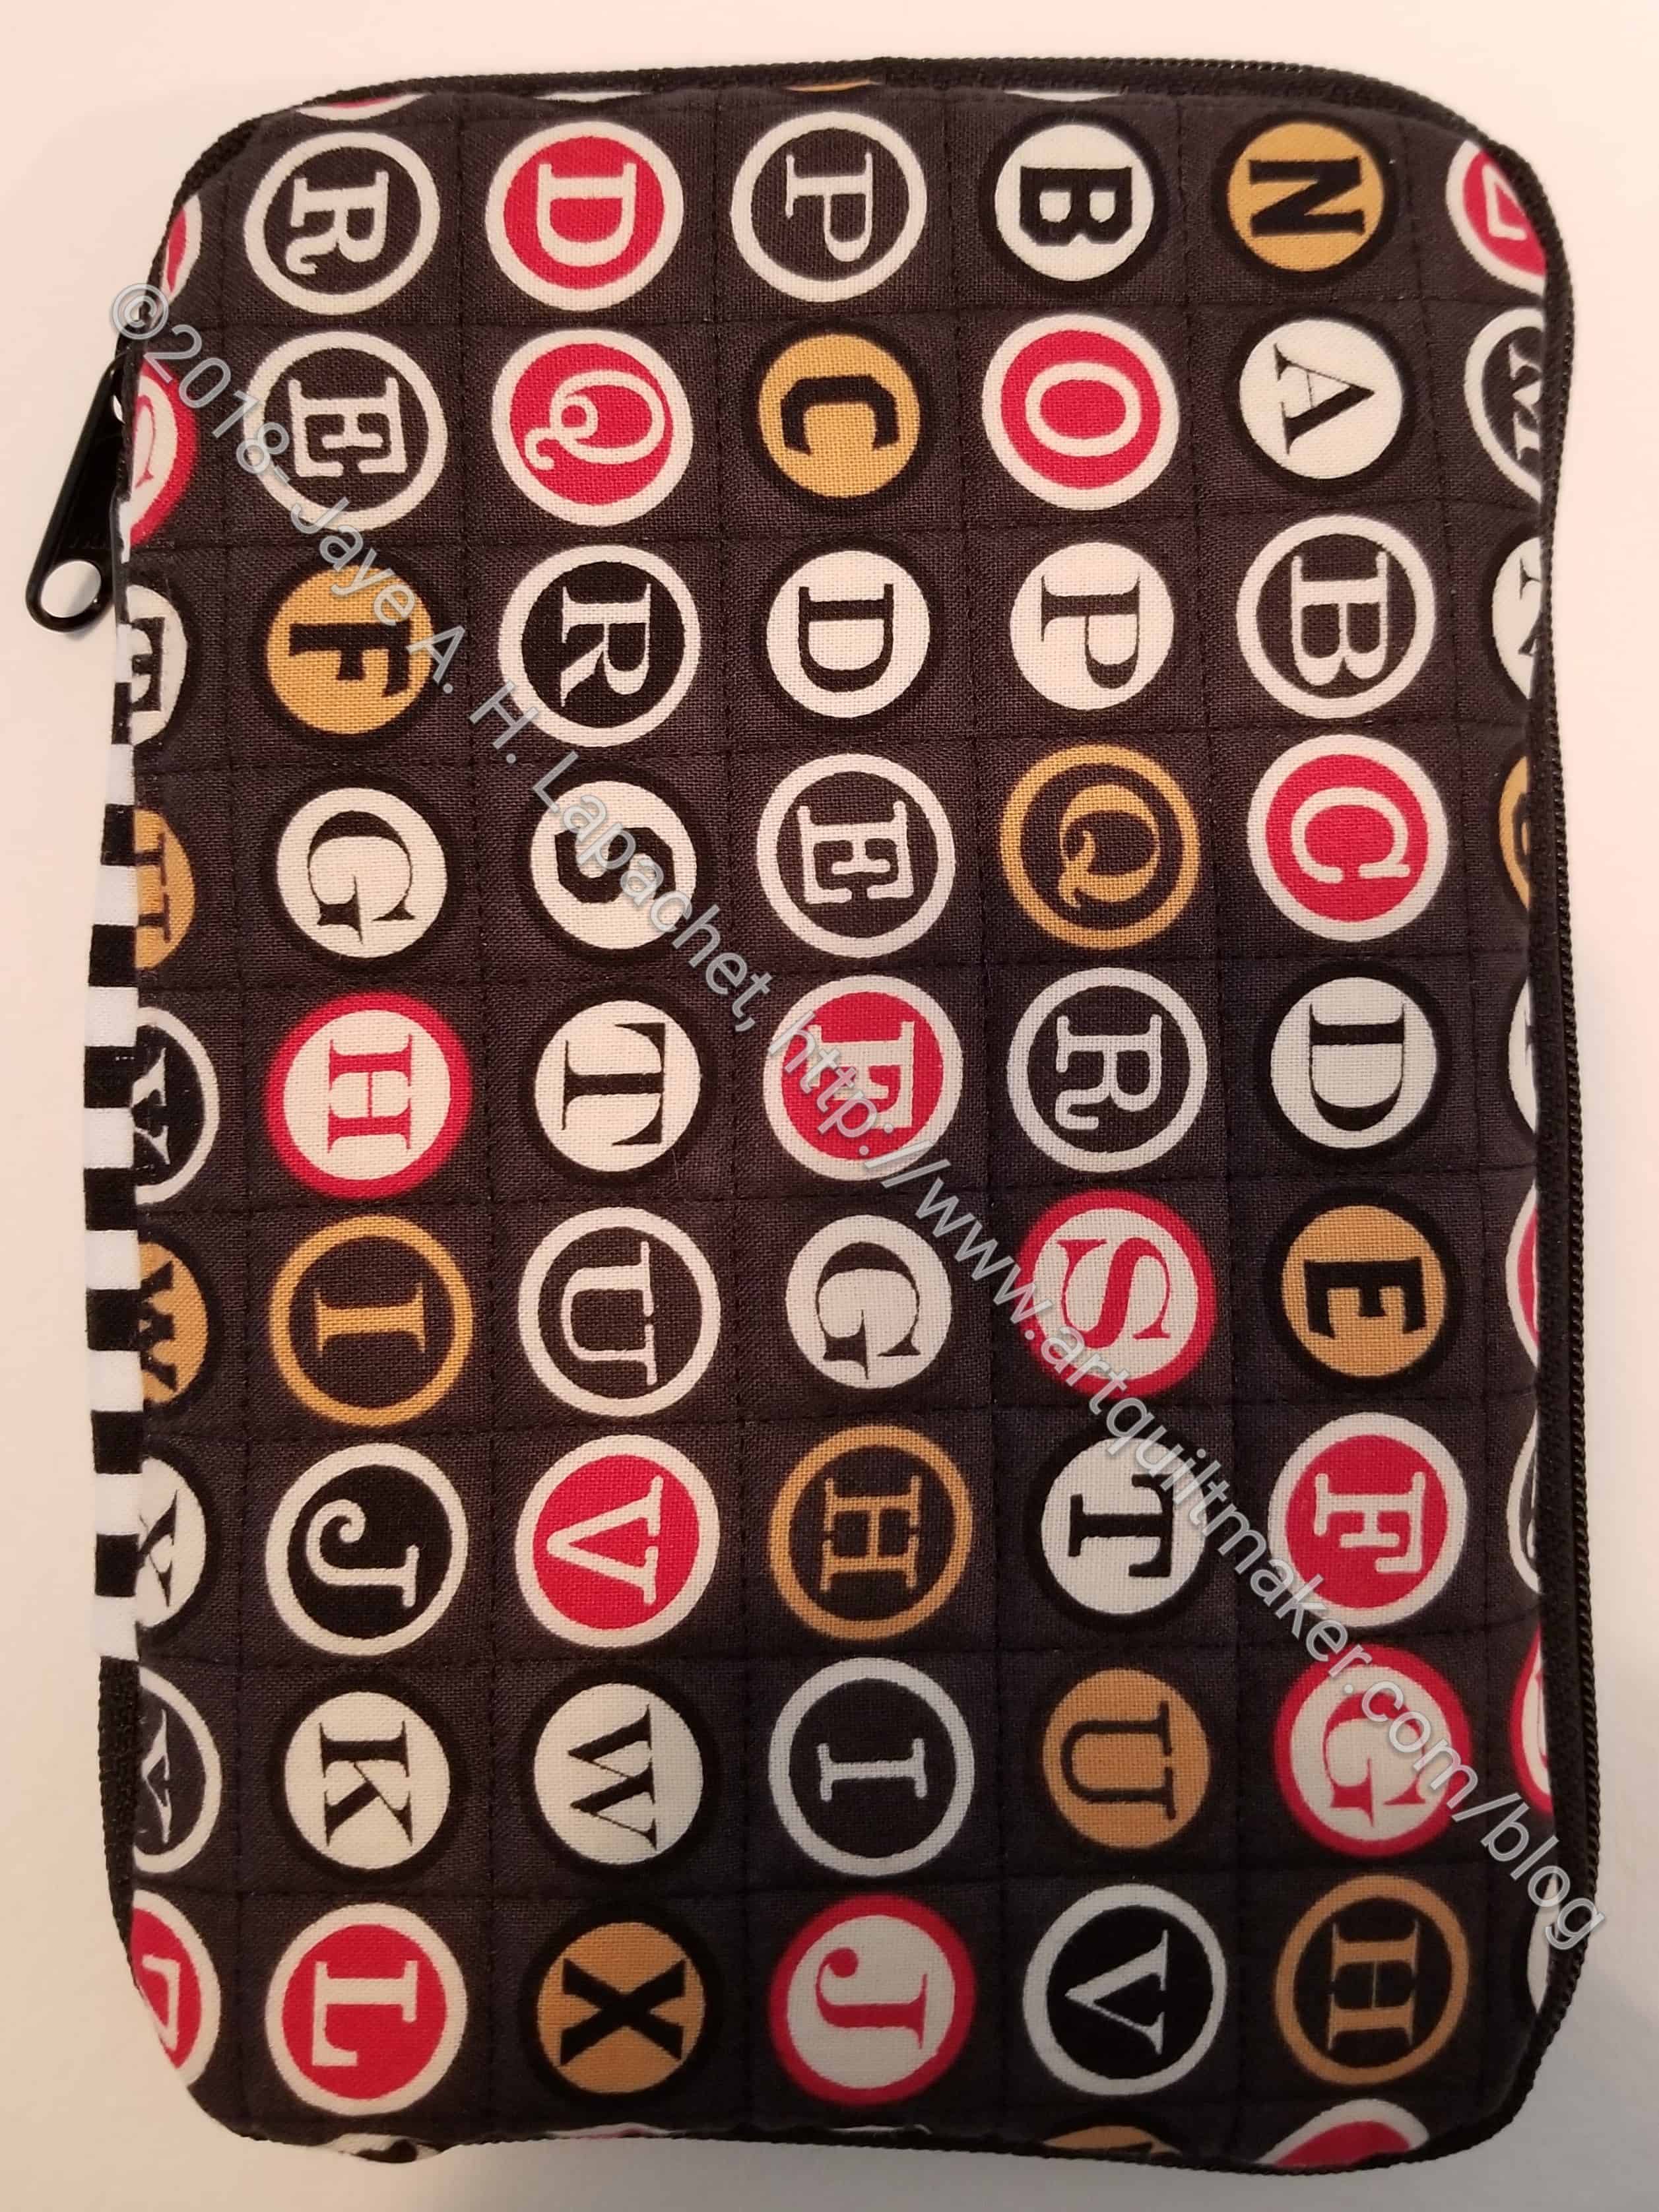
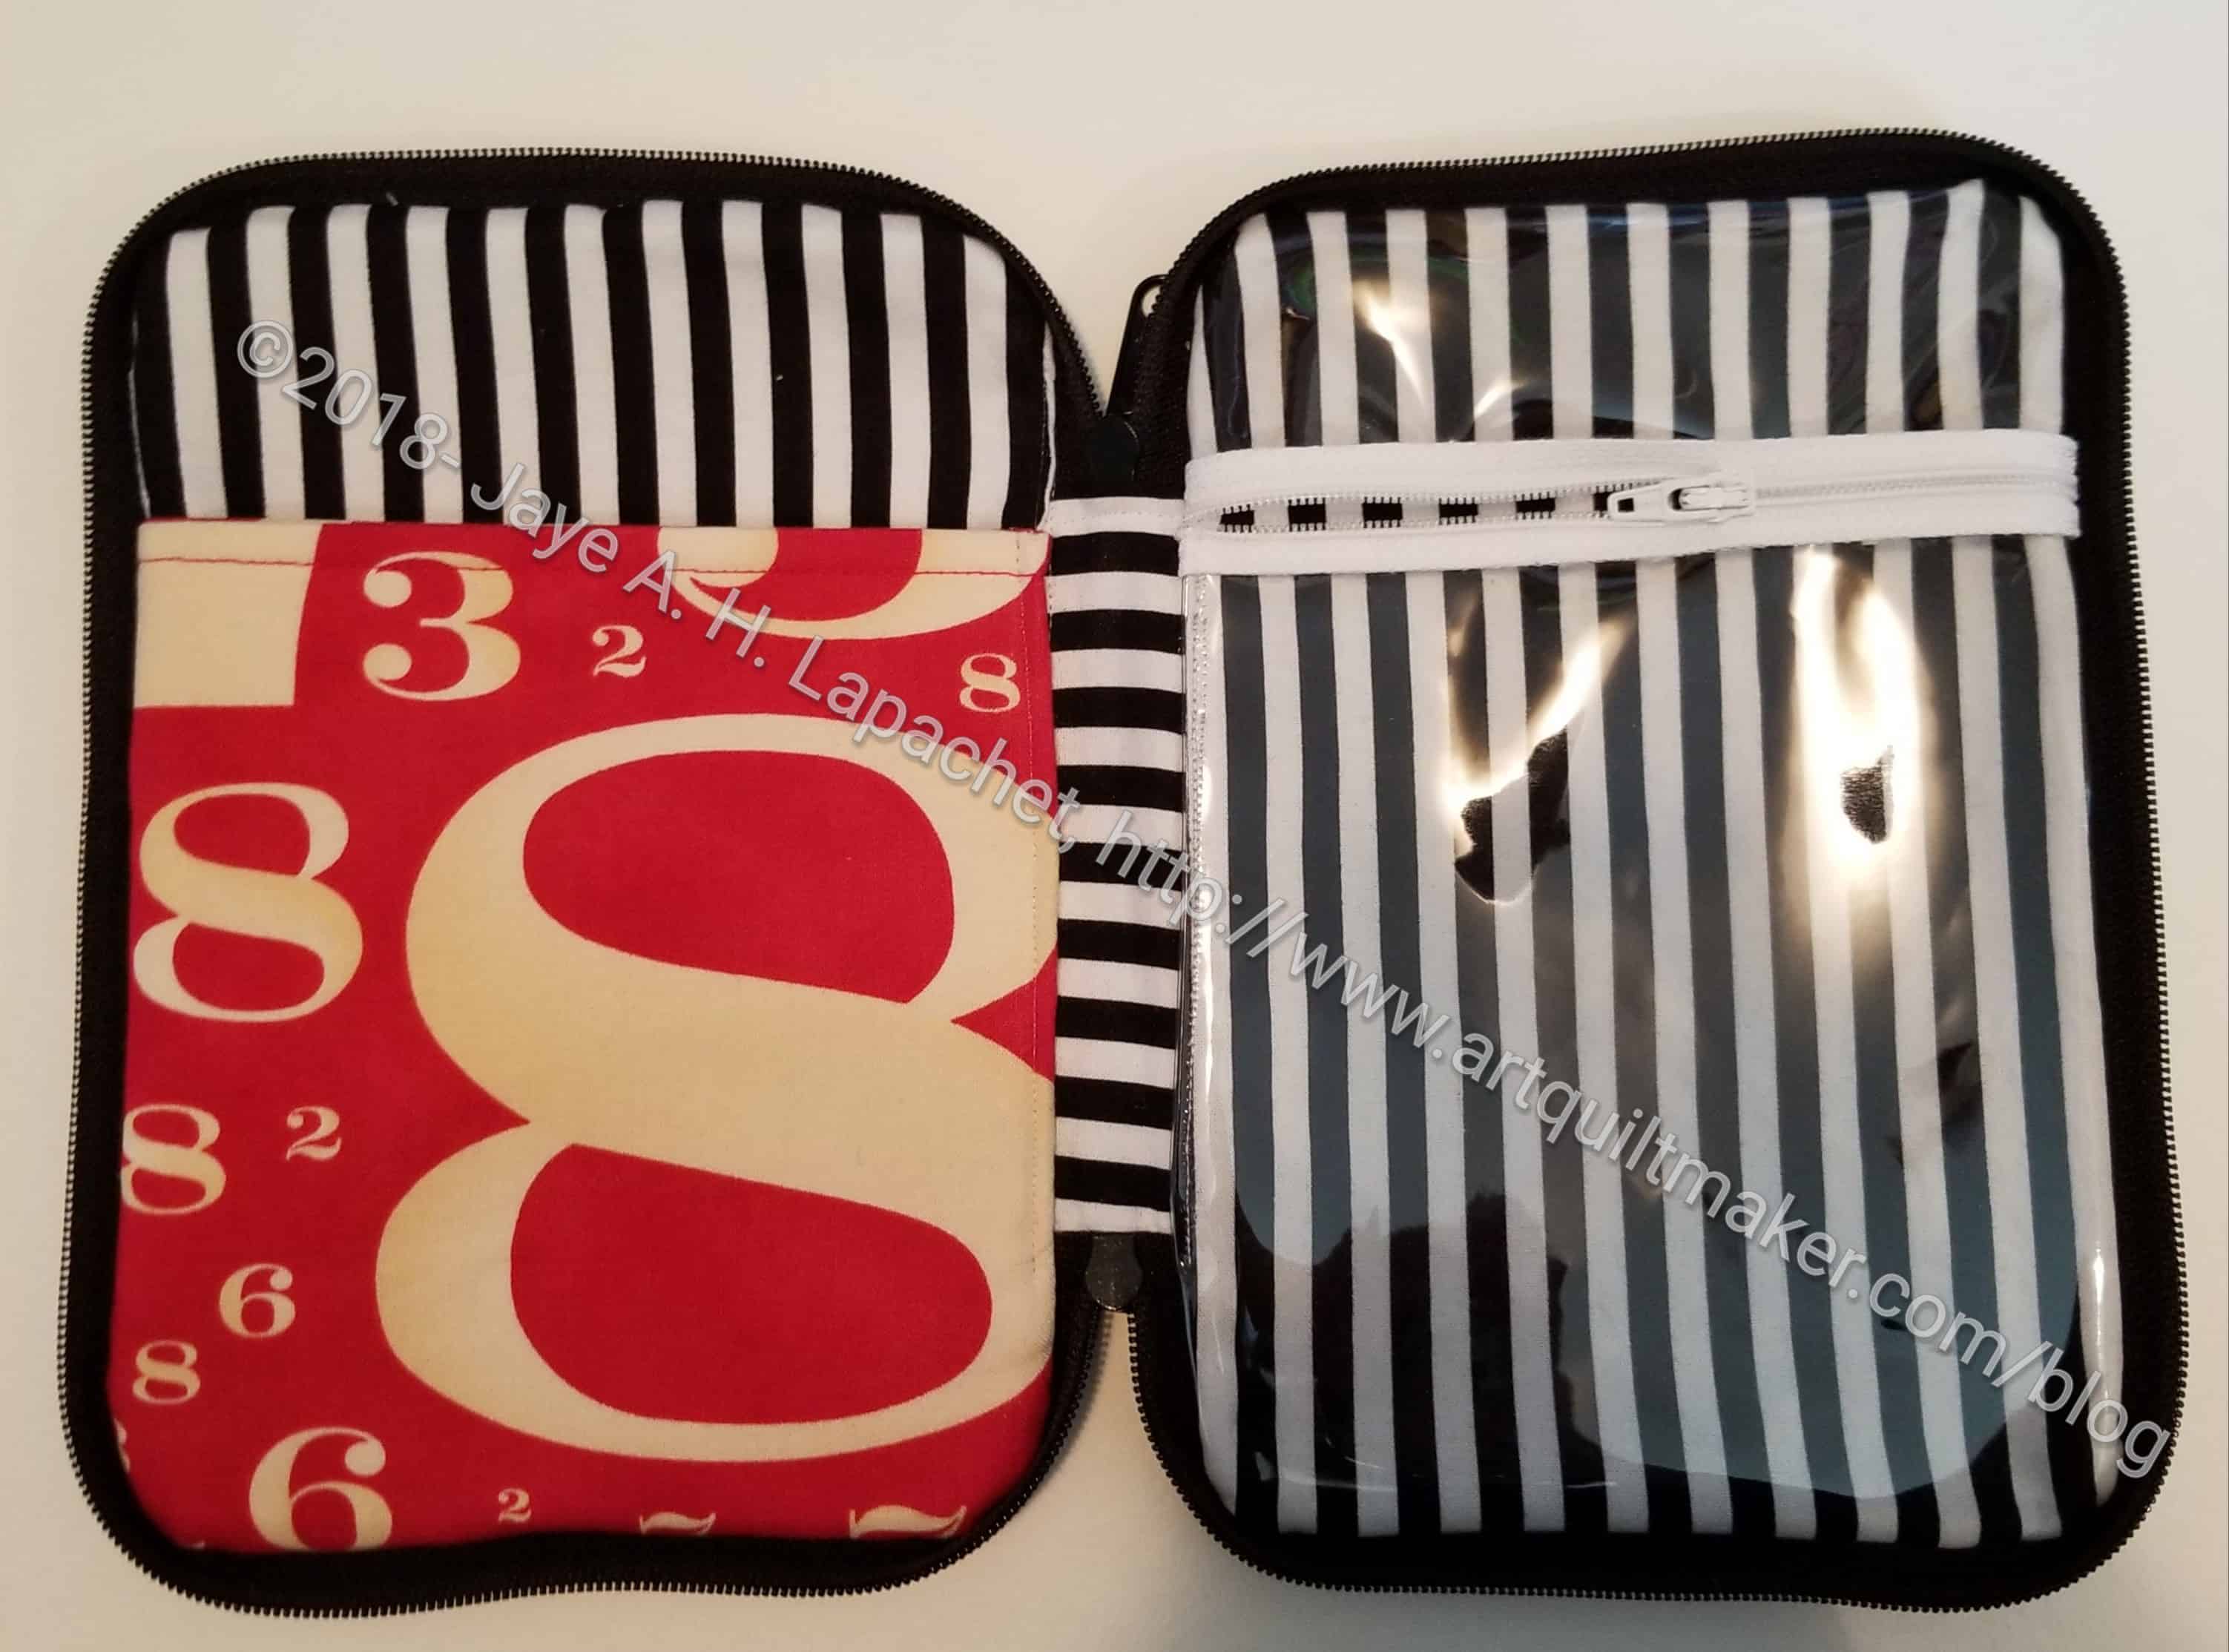
Zip Away Organizer – open
I am trying to think what I can put in this bag.
I reversed the pockets by accident, so the vinyl pocket is on the wrong side. It isn’t so wrong that I felt I had to rip it out, but I will get a zipper pull to help pull the zipper away from the spine.
The fabric for the outside and the inside slip pocket are both from the Cosmo Cricket line. I made the first Stepping Stone quilt out of that fabric. I am out of the typewriter key fabric in black, which is a shame, but I will use another black that works. I used the stripe on the inside, because it works so well in my handbag (purchased, by Pixie Mood). I’ll use it again in other projects in this club.