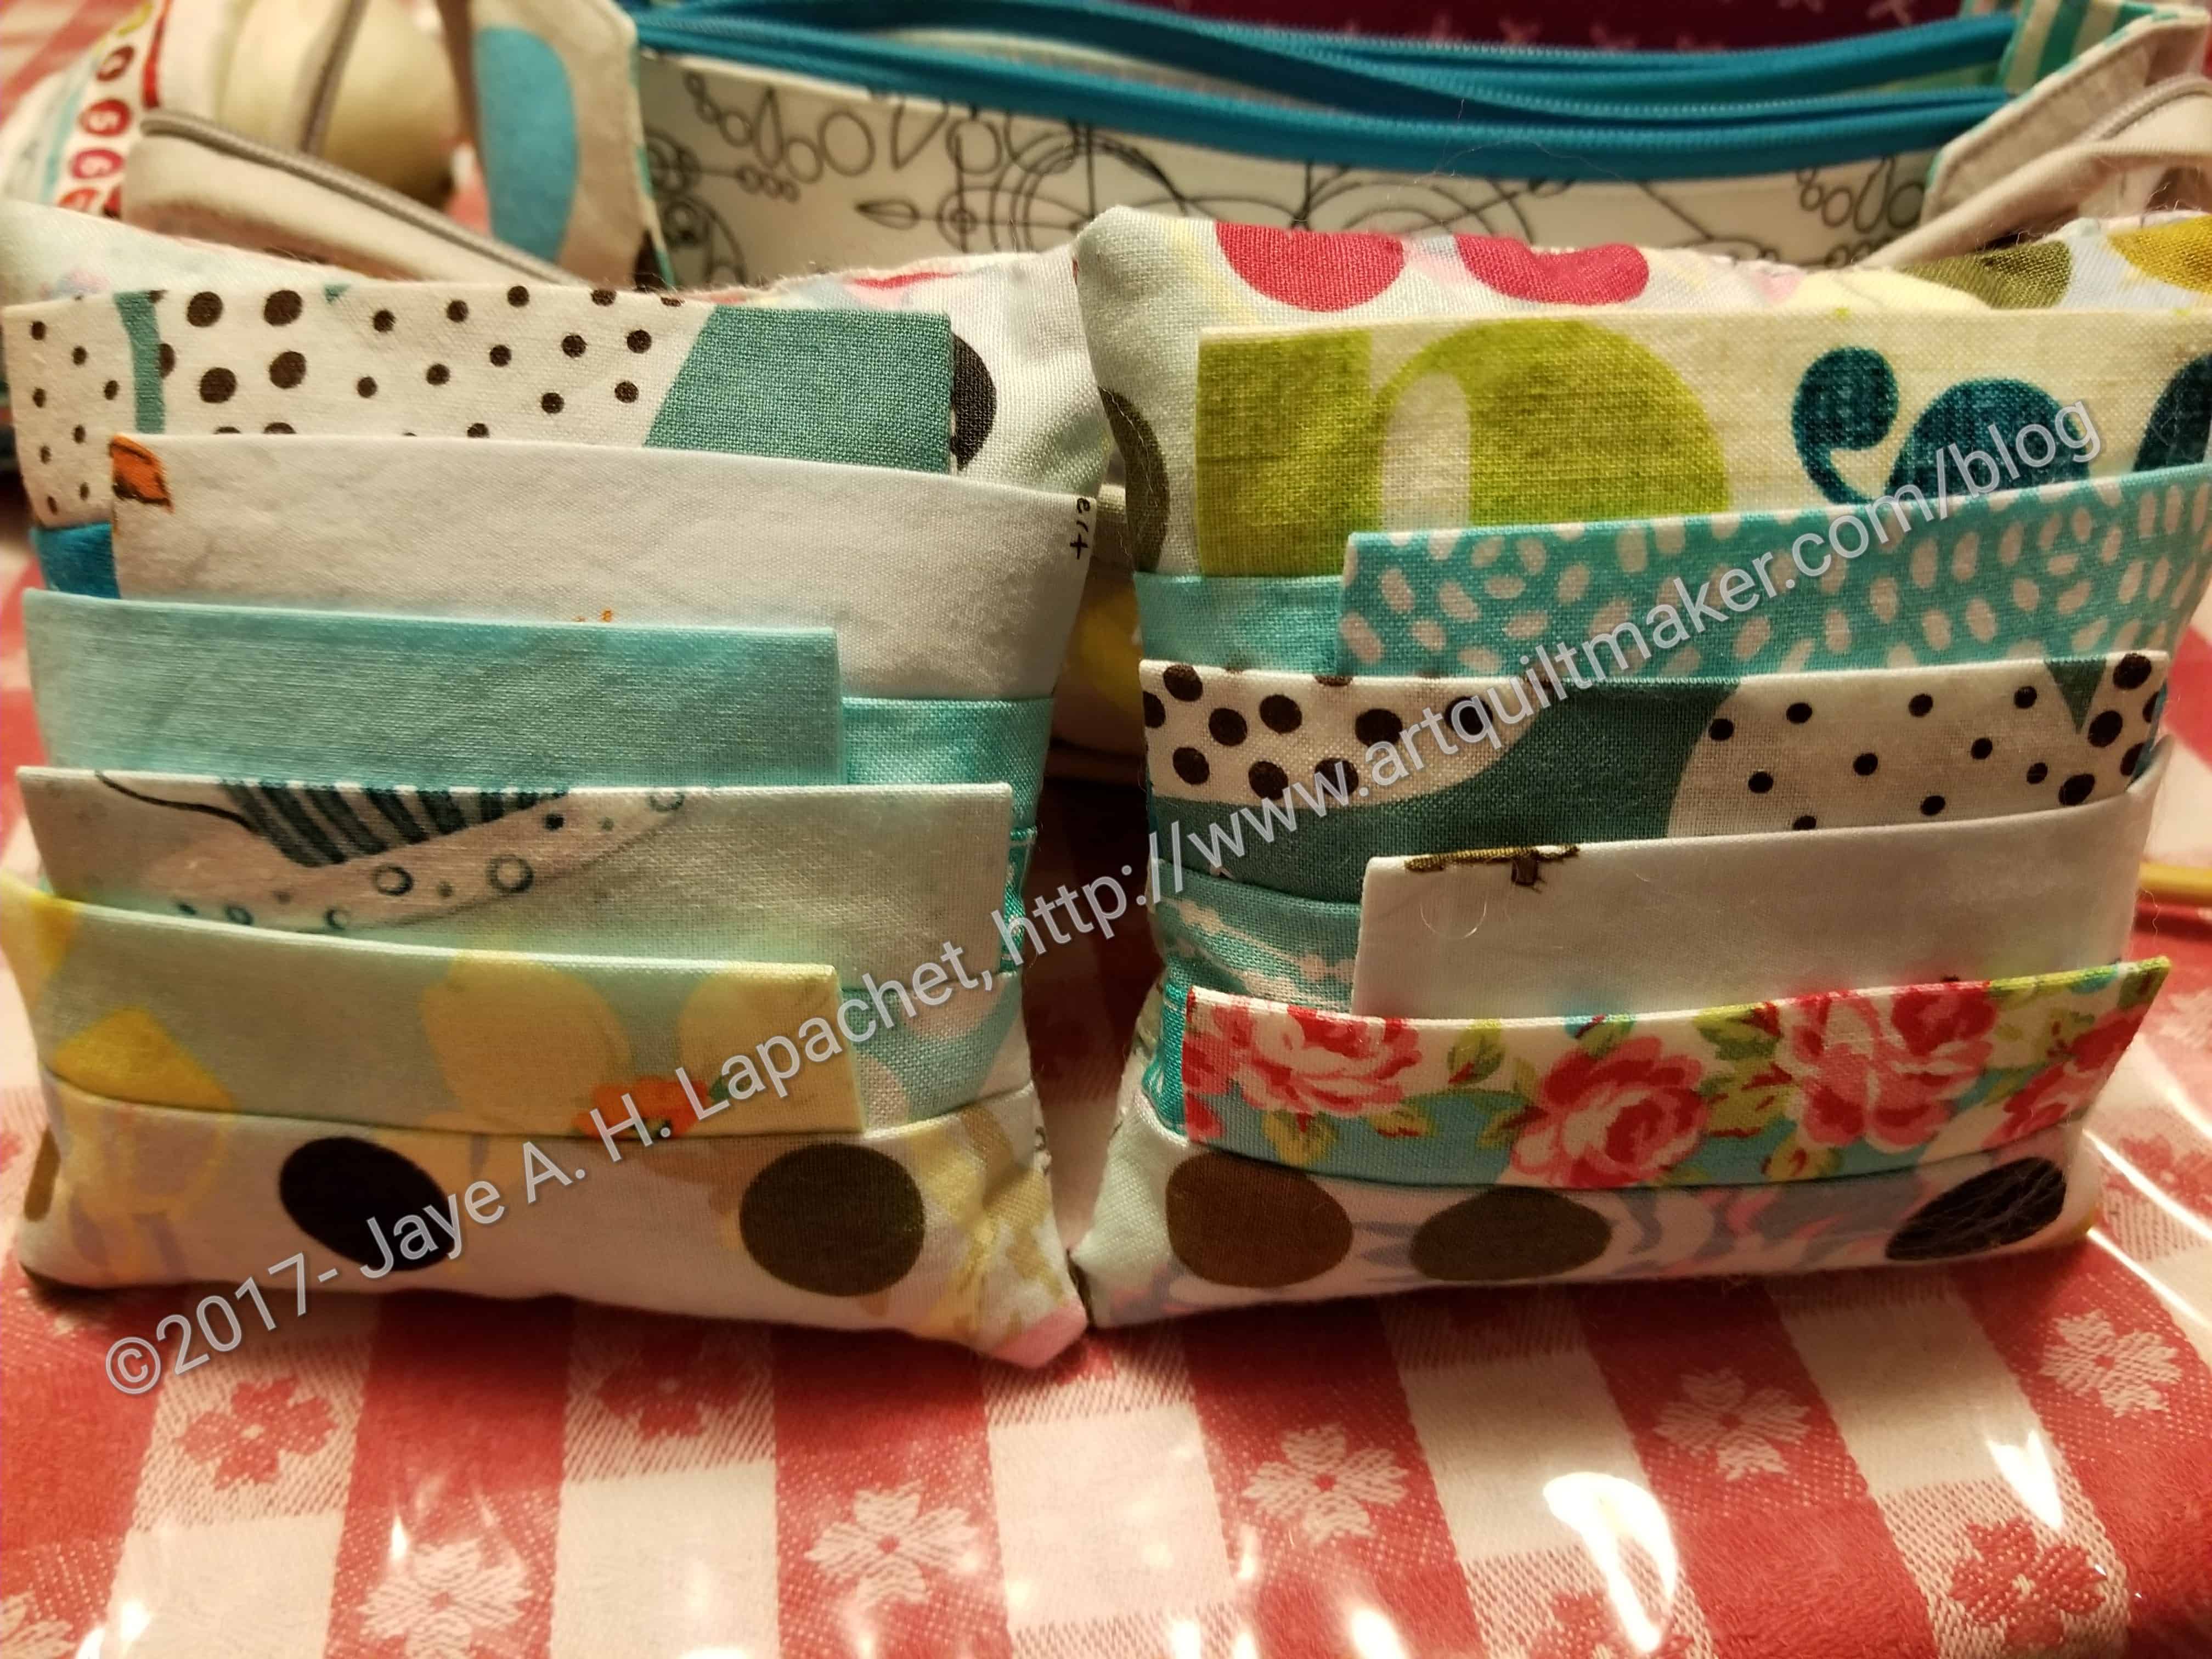
I was sort of in the mood to make something small and wanted to give a small gift to the Retreat Committee, because I had a great time at the Retreat. And because making stuff is fun. Pincushions are fun and I enjoy making them.
I was completely thrilled, because I made these in between work and life. I got them finished after working on them a little bit in the evenings. I was also thrilled, because each entire piece is made from scraps. I did not dig into any yardage.
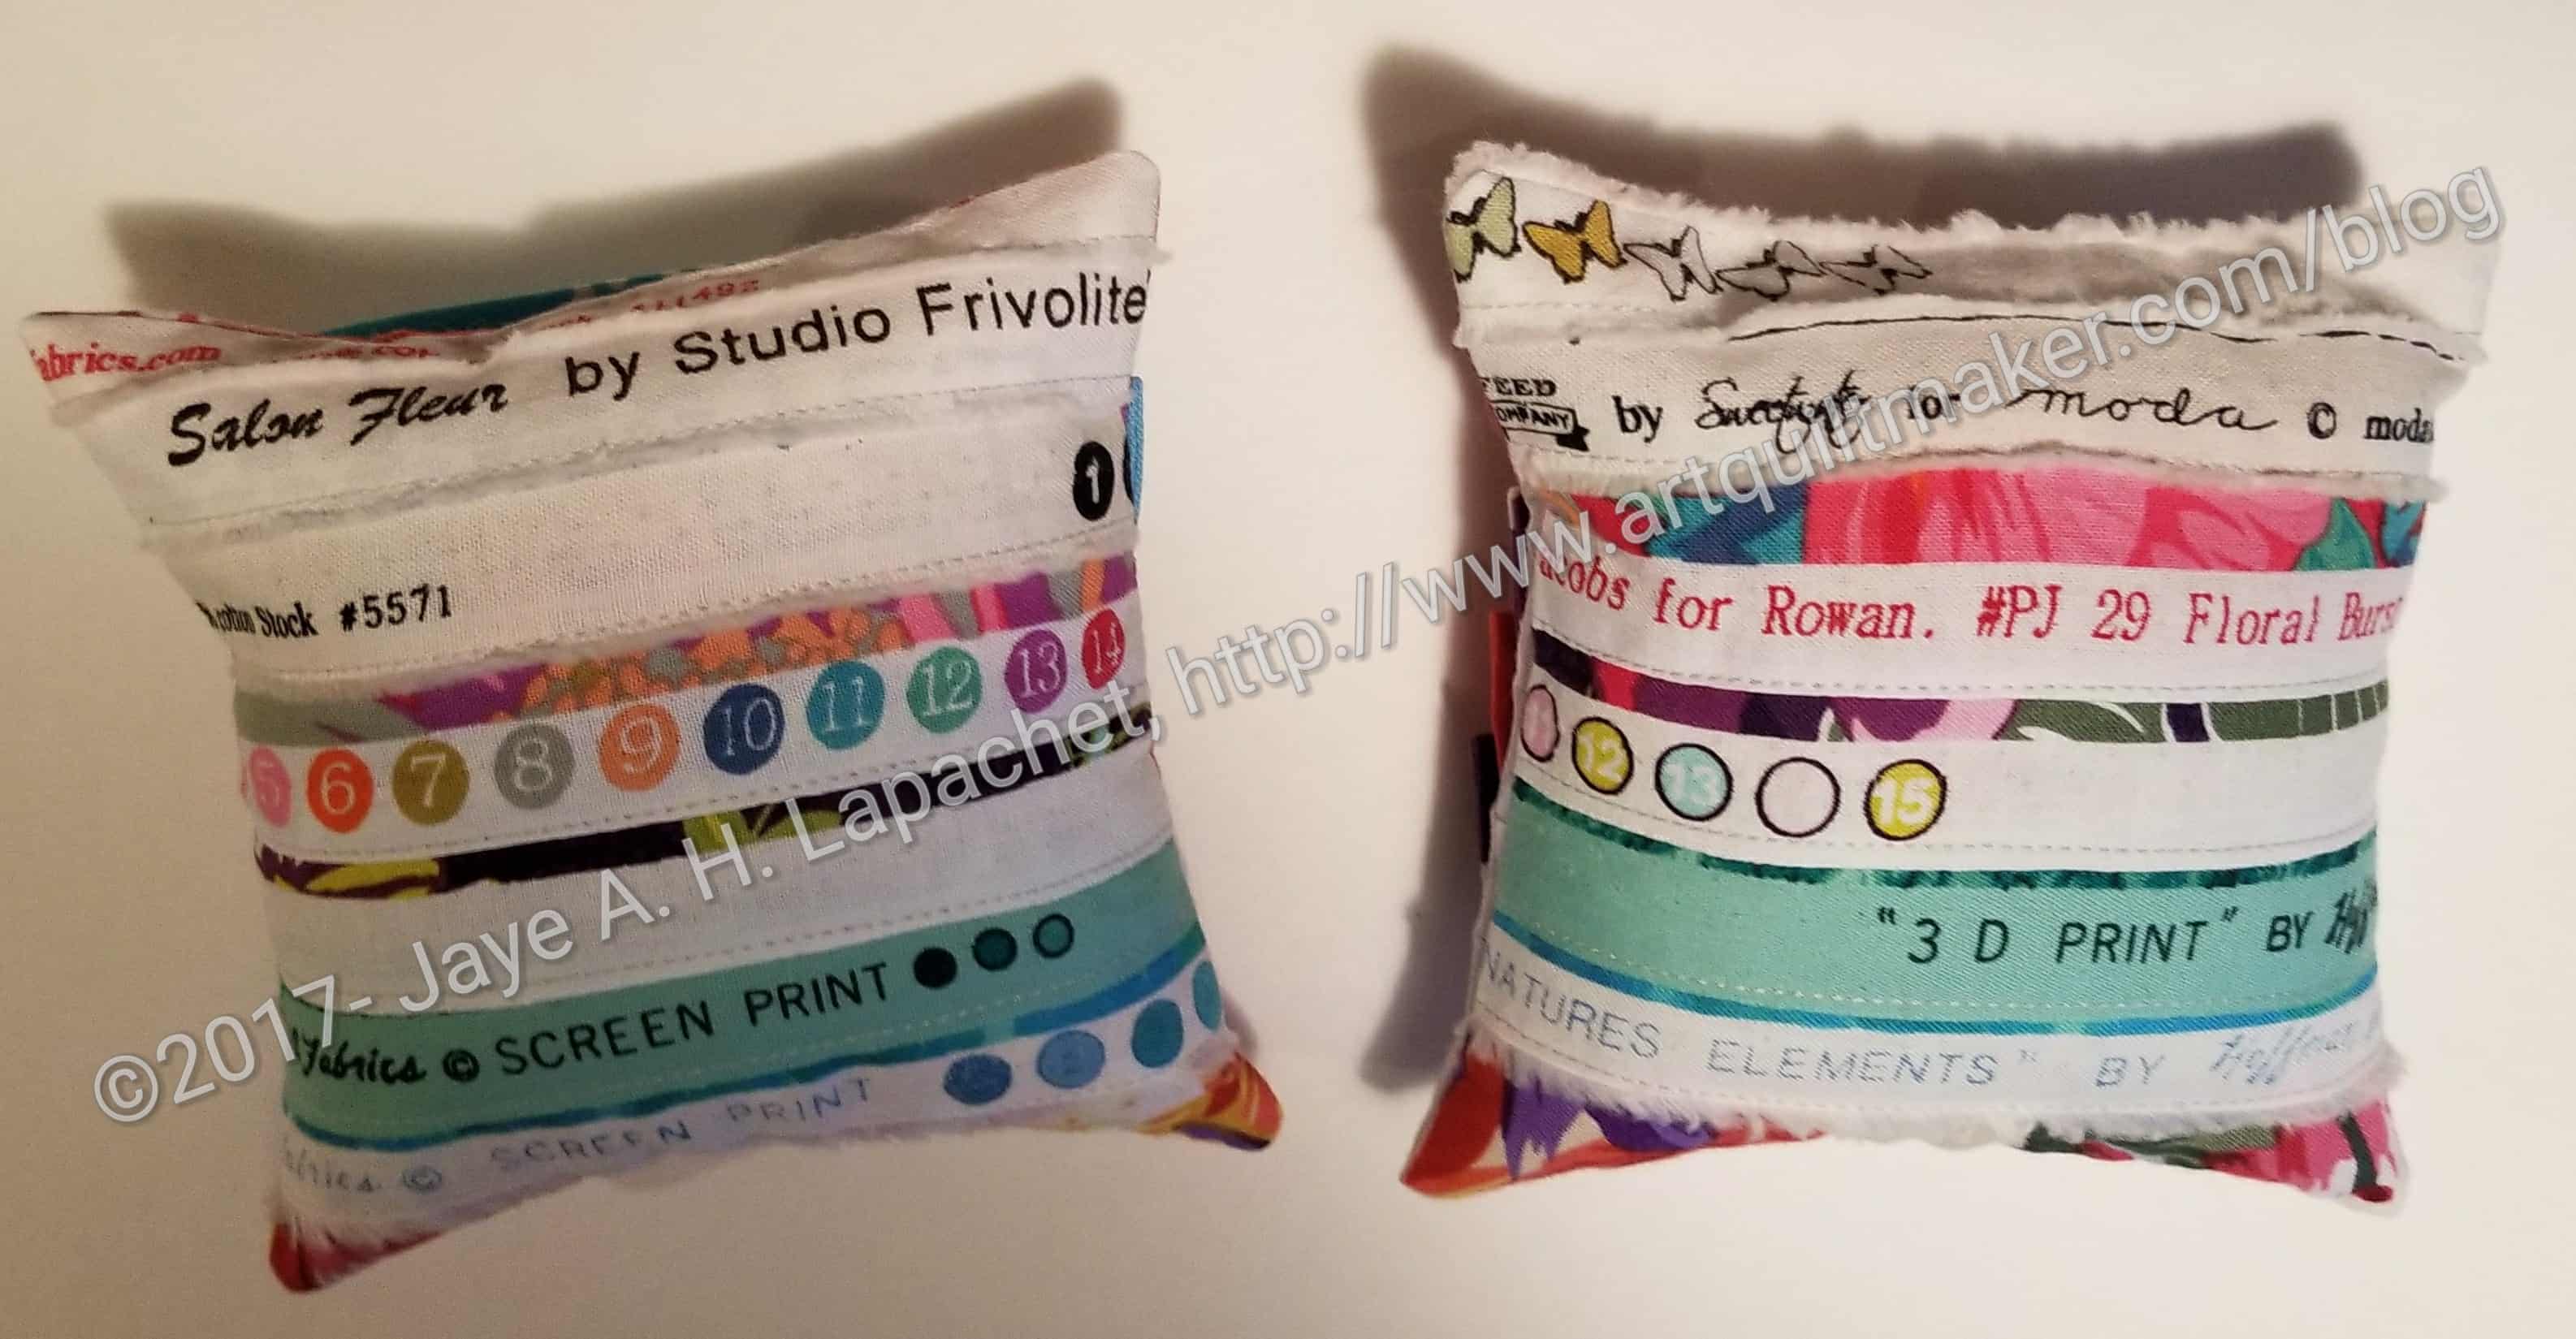
2 of 4 pincushions – back
They are from Love Patchwork and Quilting, issue 39. It is available digitally in the Apple and Google Play stores.
I told myself I wasn’t going to use selvedges again, but I did anyway. I had some sewing failures and had to remake two of the pincushions, because it was too much of a hassle under the deadline to rip them out. My attempt to repair with ShapeFlex didn’t work. Still, the selvedges are very popular, though I don’t think they work very well with pincushions. Whatever. Looks are everything, right? 😉 I’ll get to the repair later and have some pincushions available for gifts.
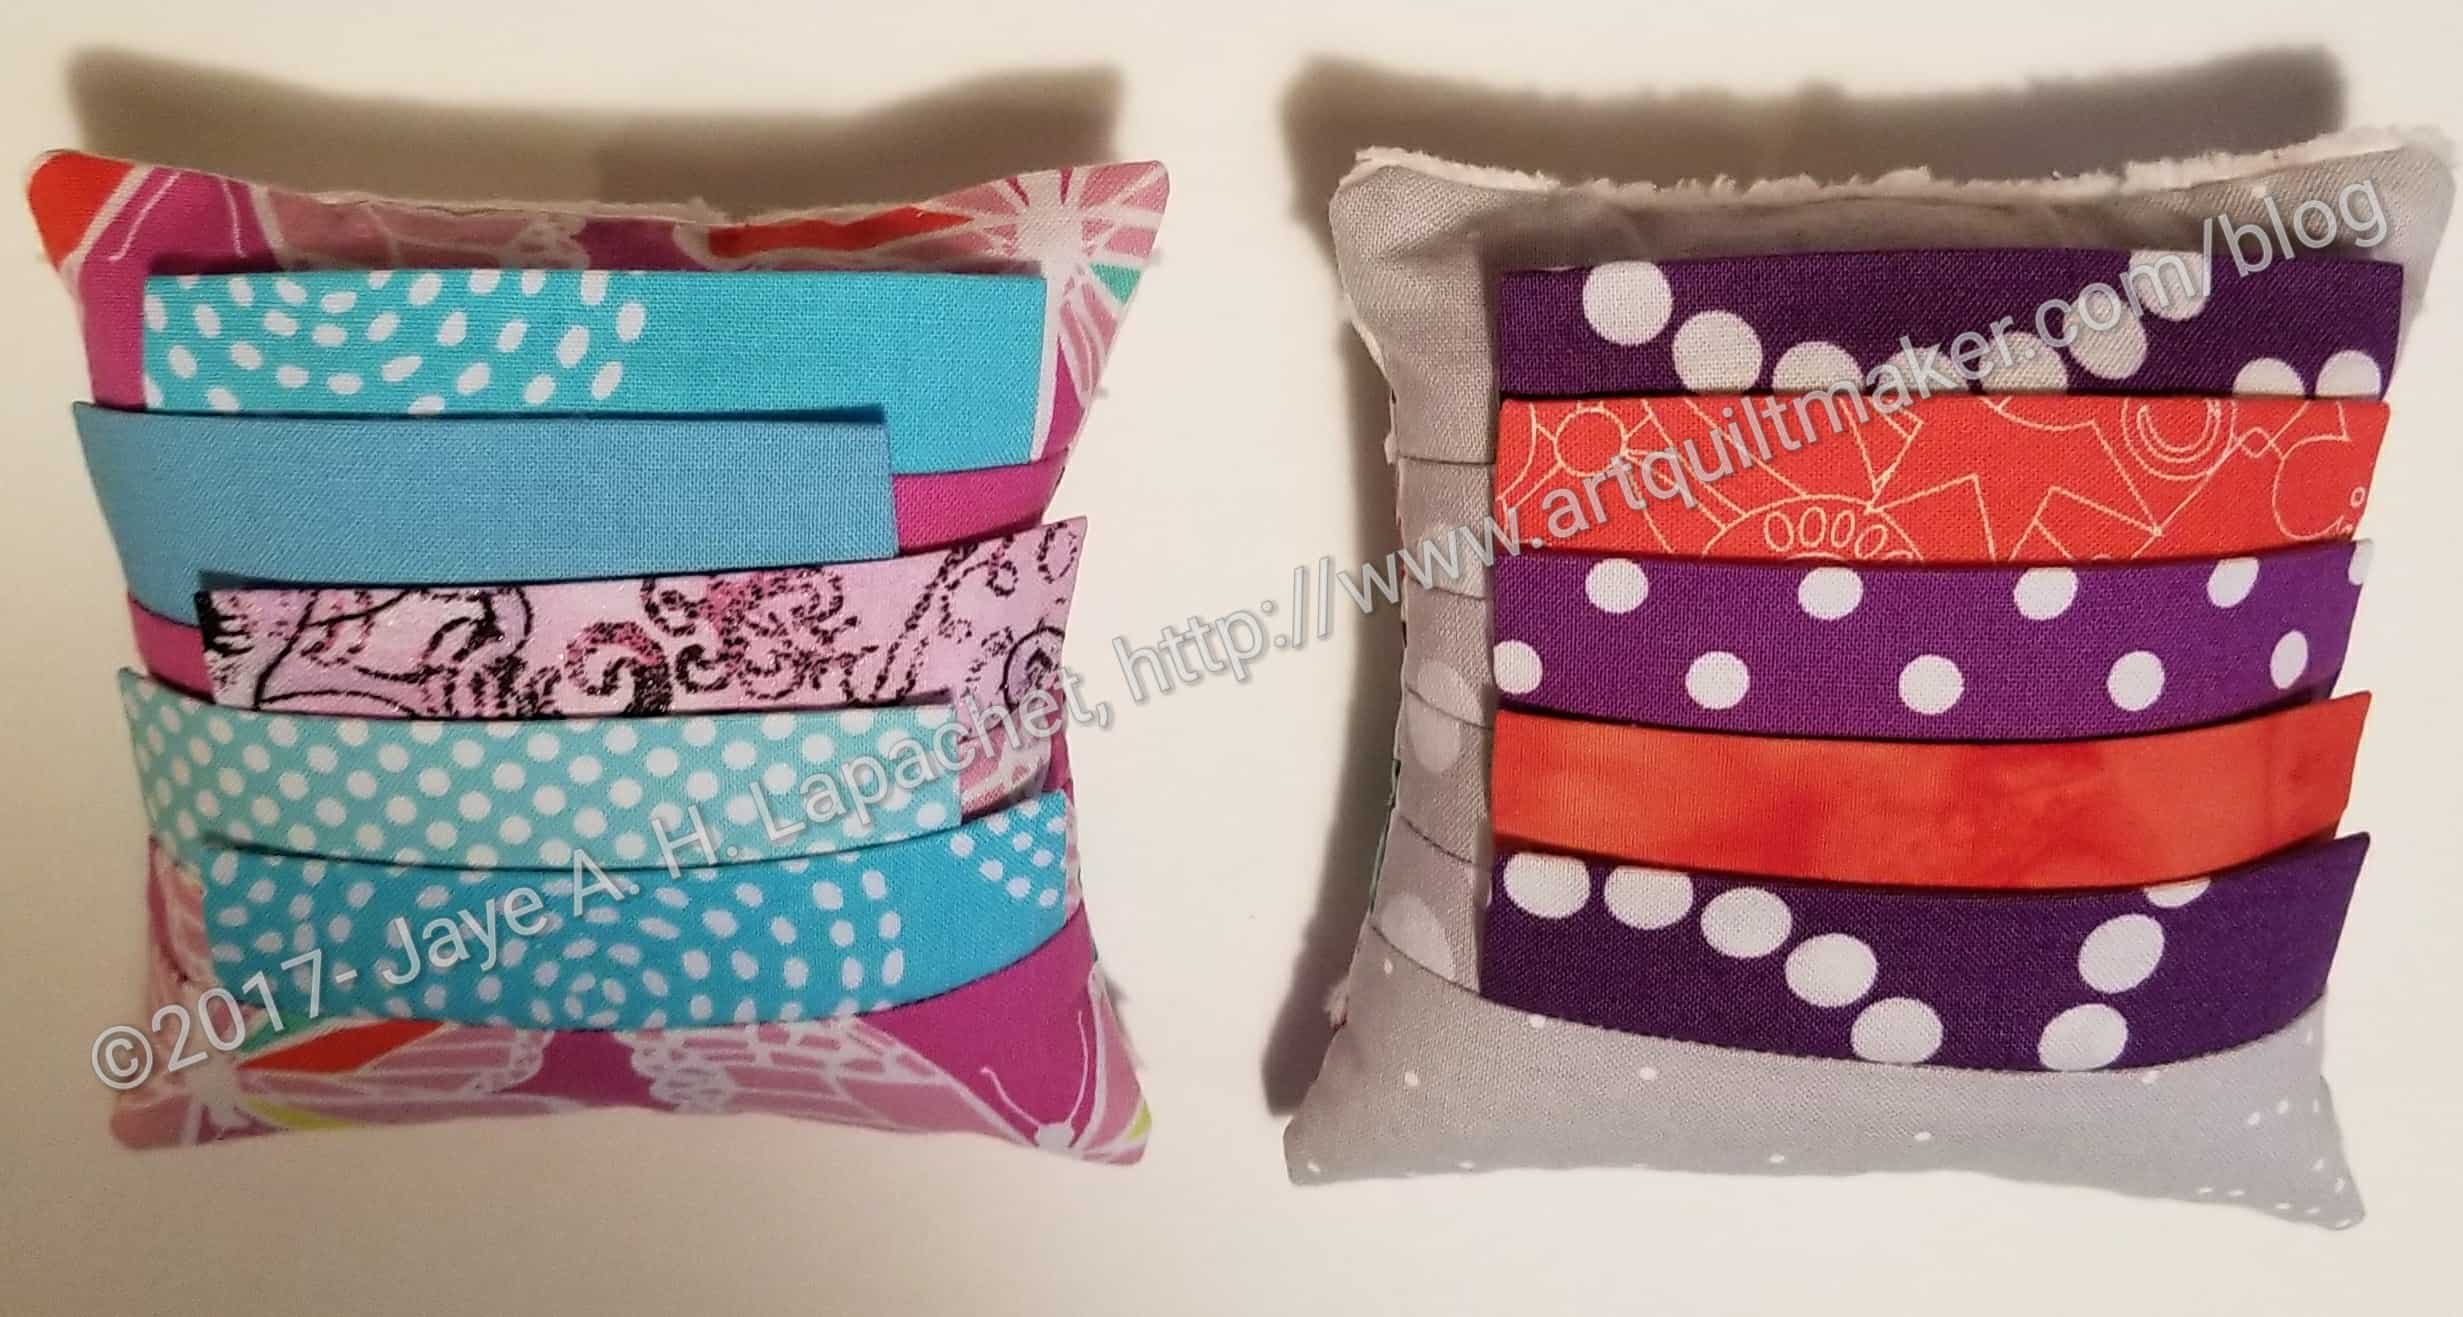
Two more pincushions
The pattern says to center the flaps for the Wonderclips and I haven’t done that thinking it would be too hard to sew. I tried it on one of the pincushions and I think it worked pretty well. I eyeballed the placement and might actually measure next time, but I think it came out well and it looks good.
Tim’s pincushion in the wild
I sent the finished and fabulous pincushions to Gerre, so she could put them with her gift. She reminded me that I had missed one. It is a good thing they are easy to make and I have lot of scraps, because I made up two more quickly. One I gave as a gift – just because and it is already in use.
I enjoy making these I need to buy more wool roving so I can make more – and find some friends who need pincushions.
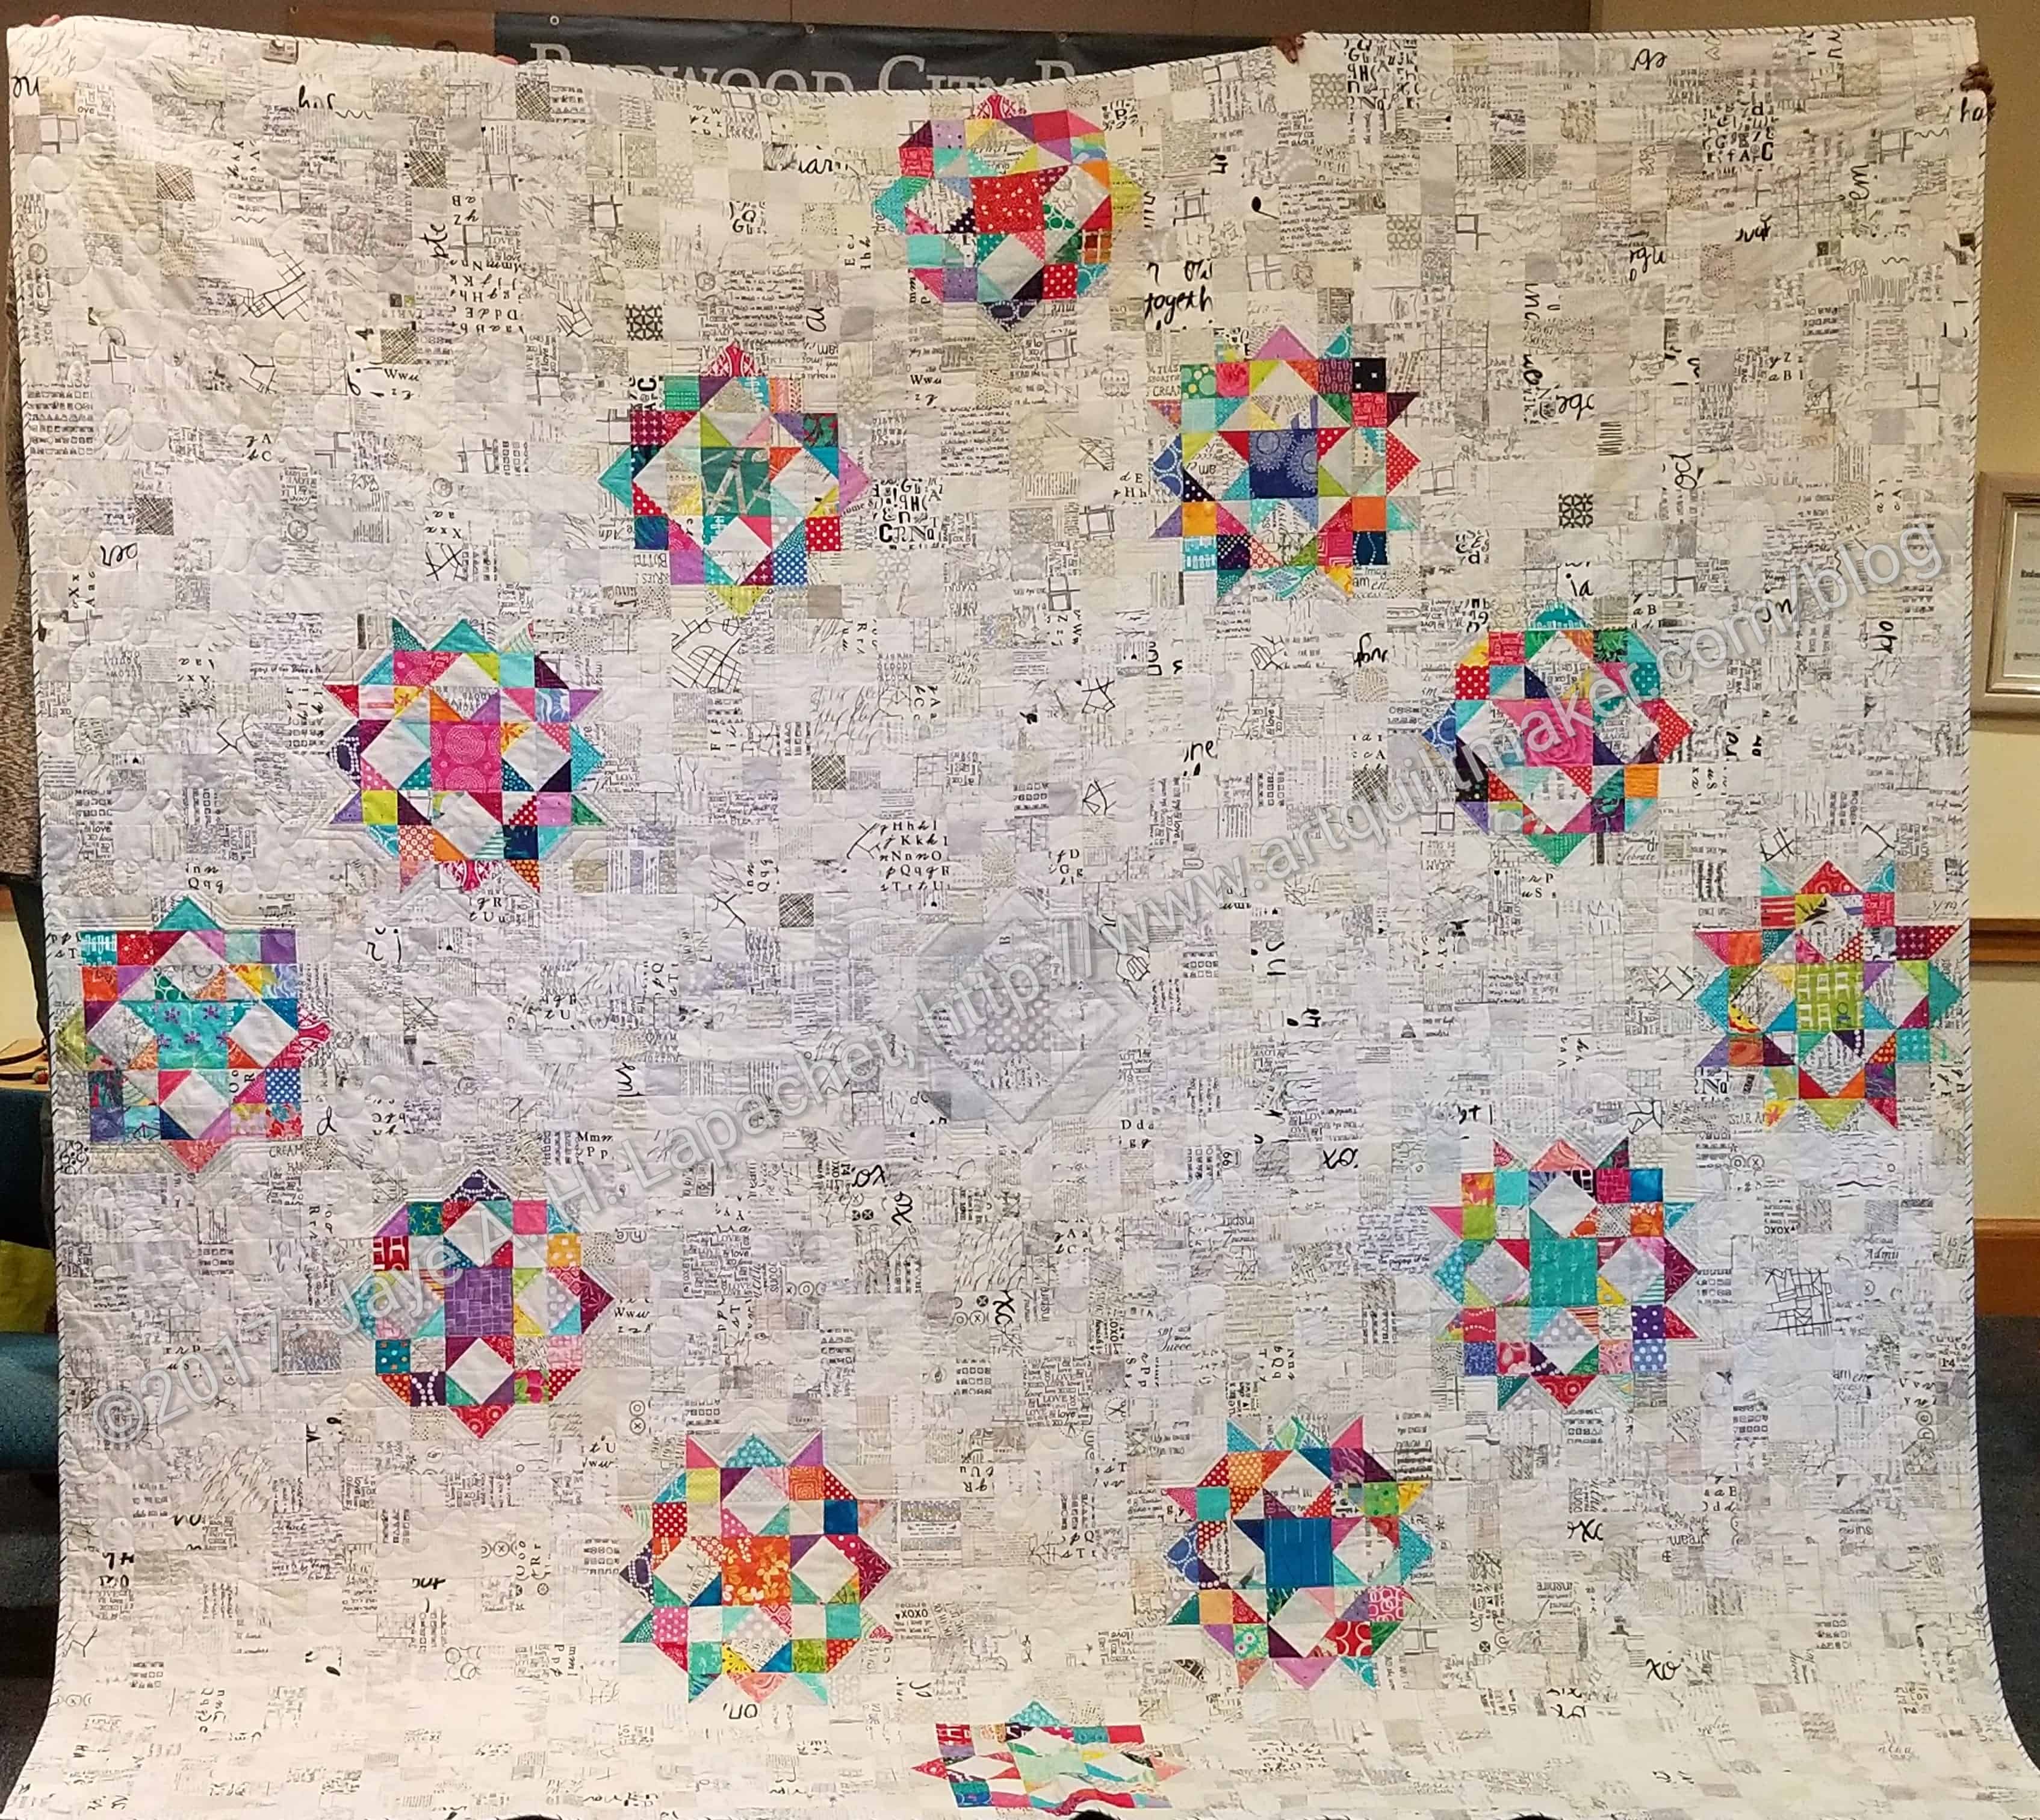
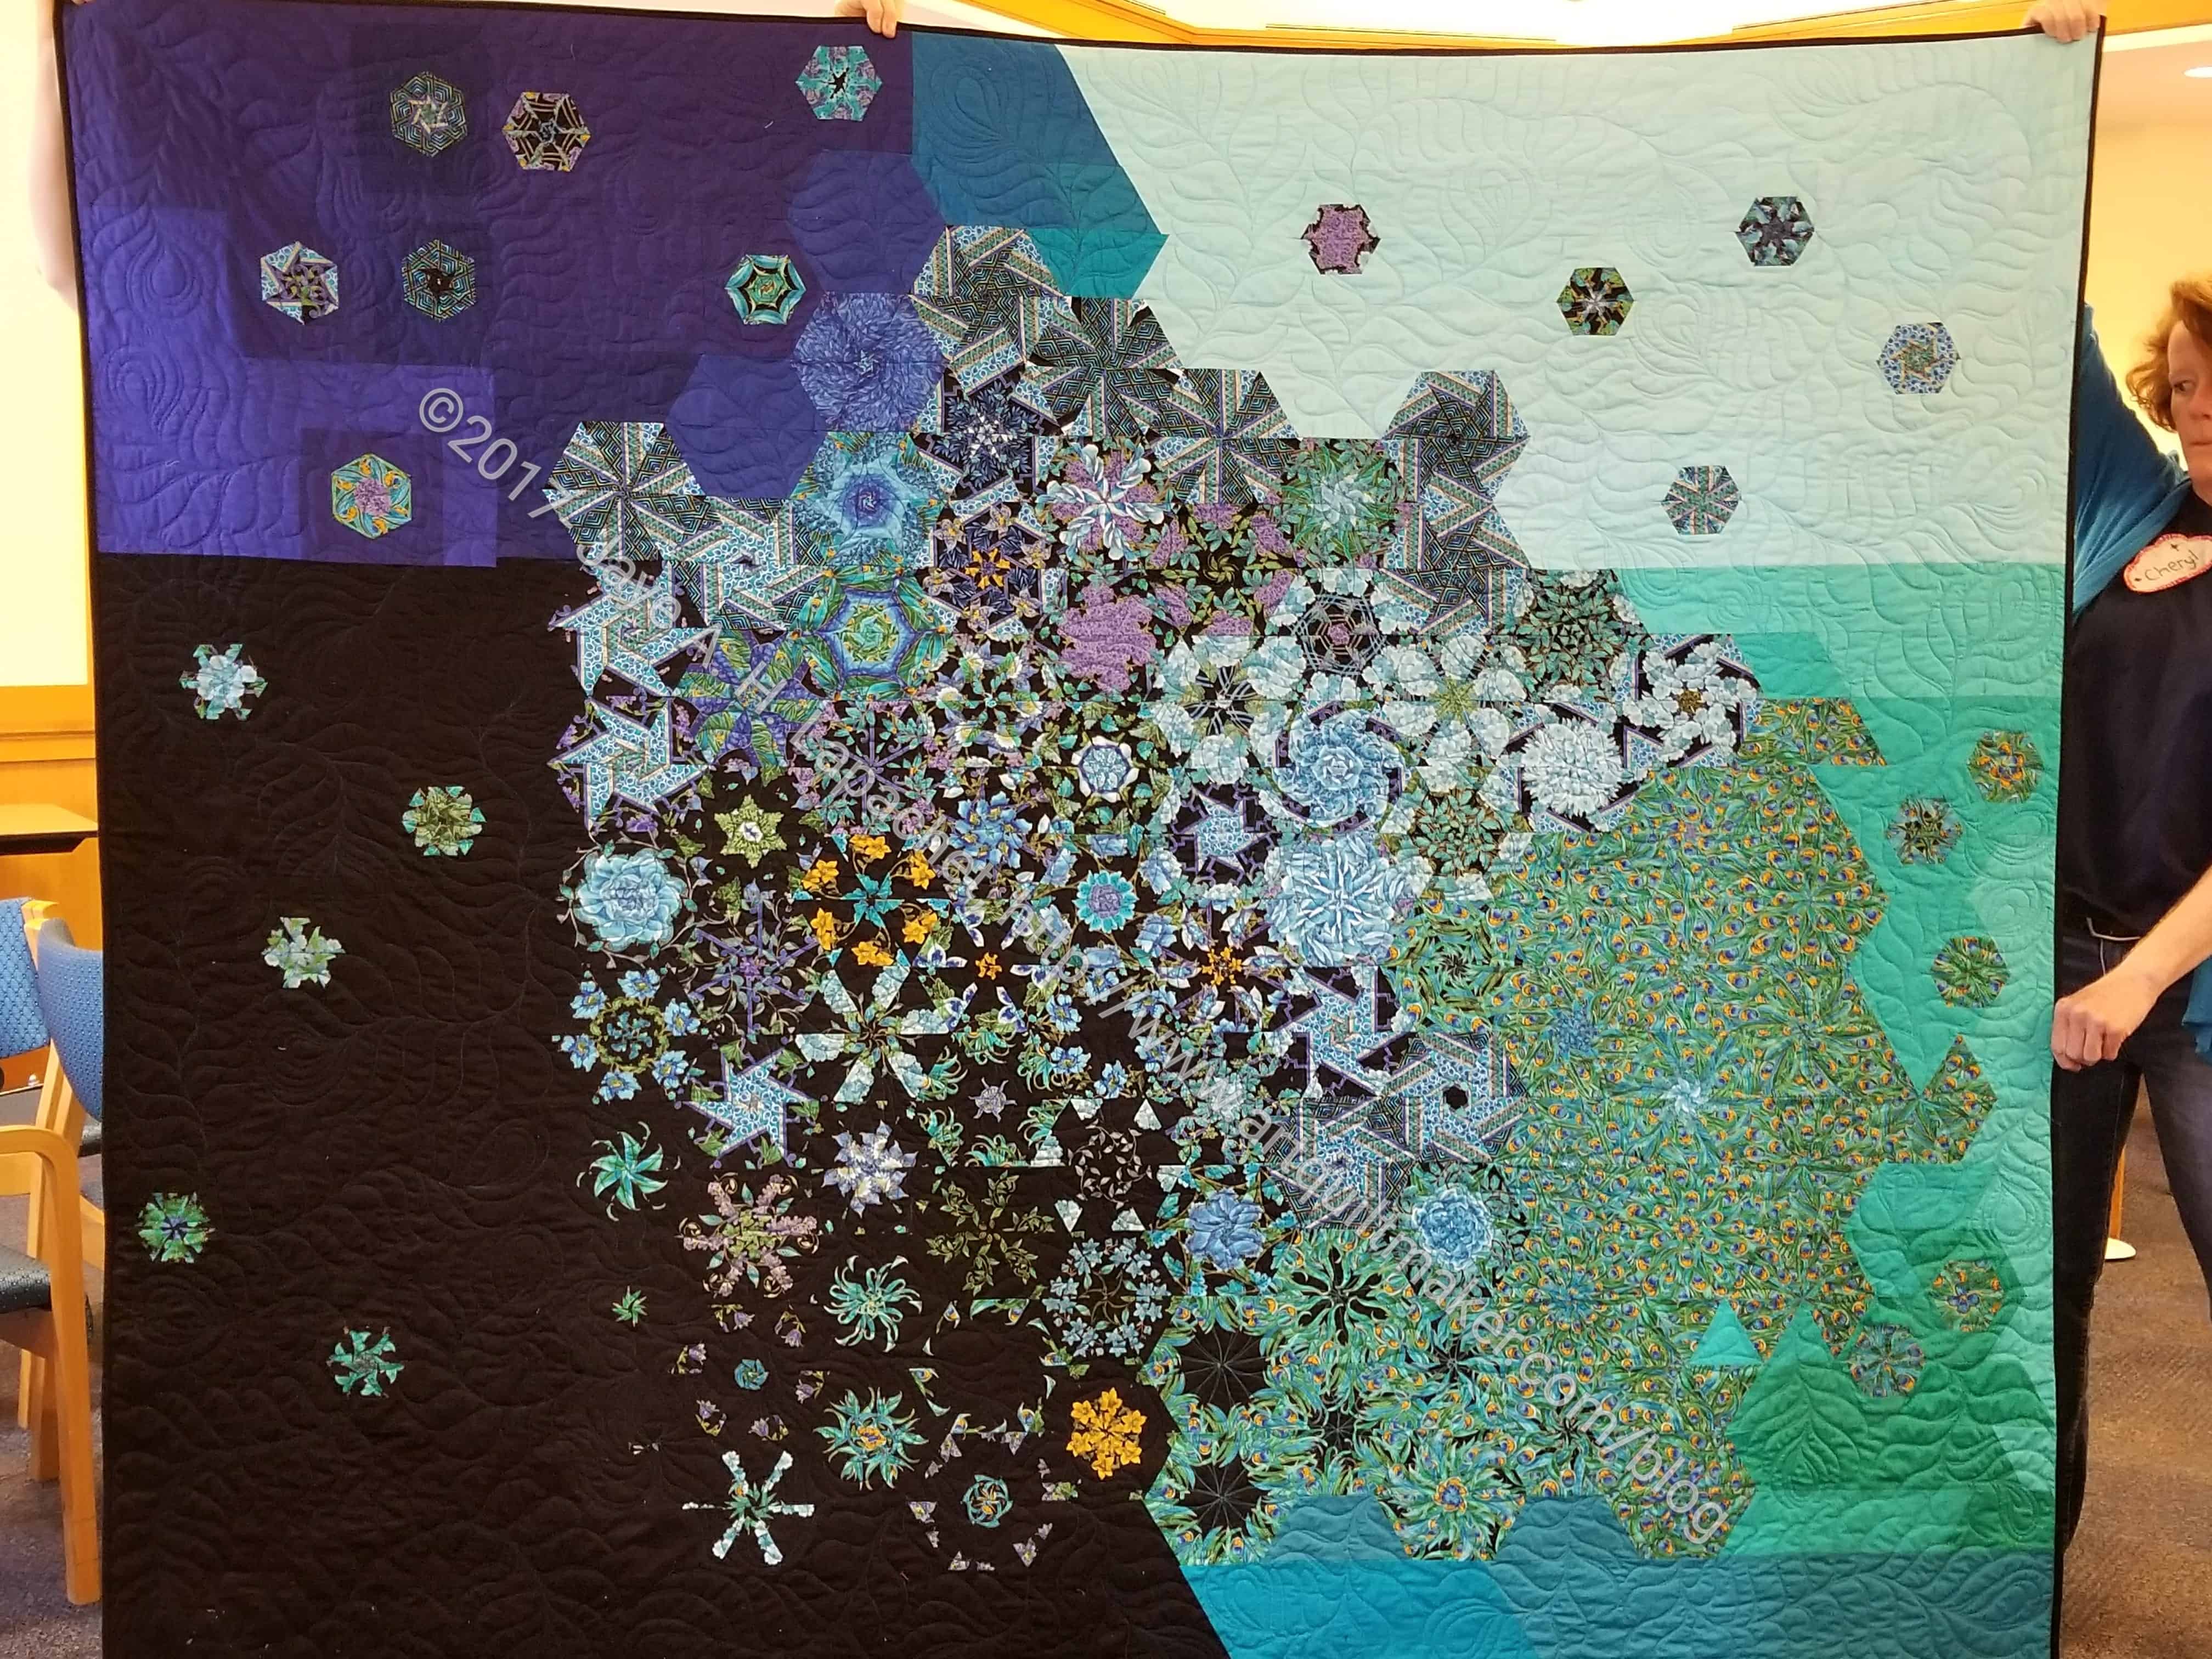
I spent most of the past two weeknight evenings sewing on the binding and the sleeve. I showed it at BAMaQG on Saturday and now I am waiting to enter it into a show.
I had help holding it up. Two members stood up on a table so someone could take a photo with my phone. I thought this might be my only chance.
Did I mention that the thing is a monster? I know what possessed me, but I am still wondering what possesses me to make such huge quilts.
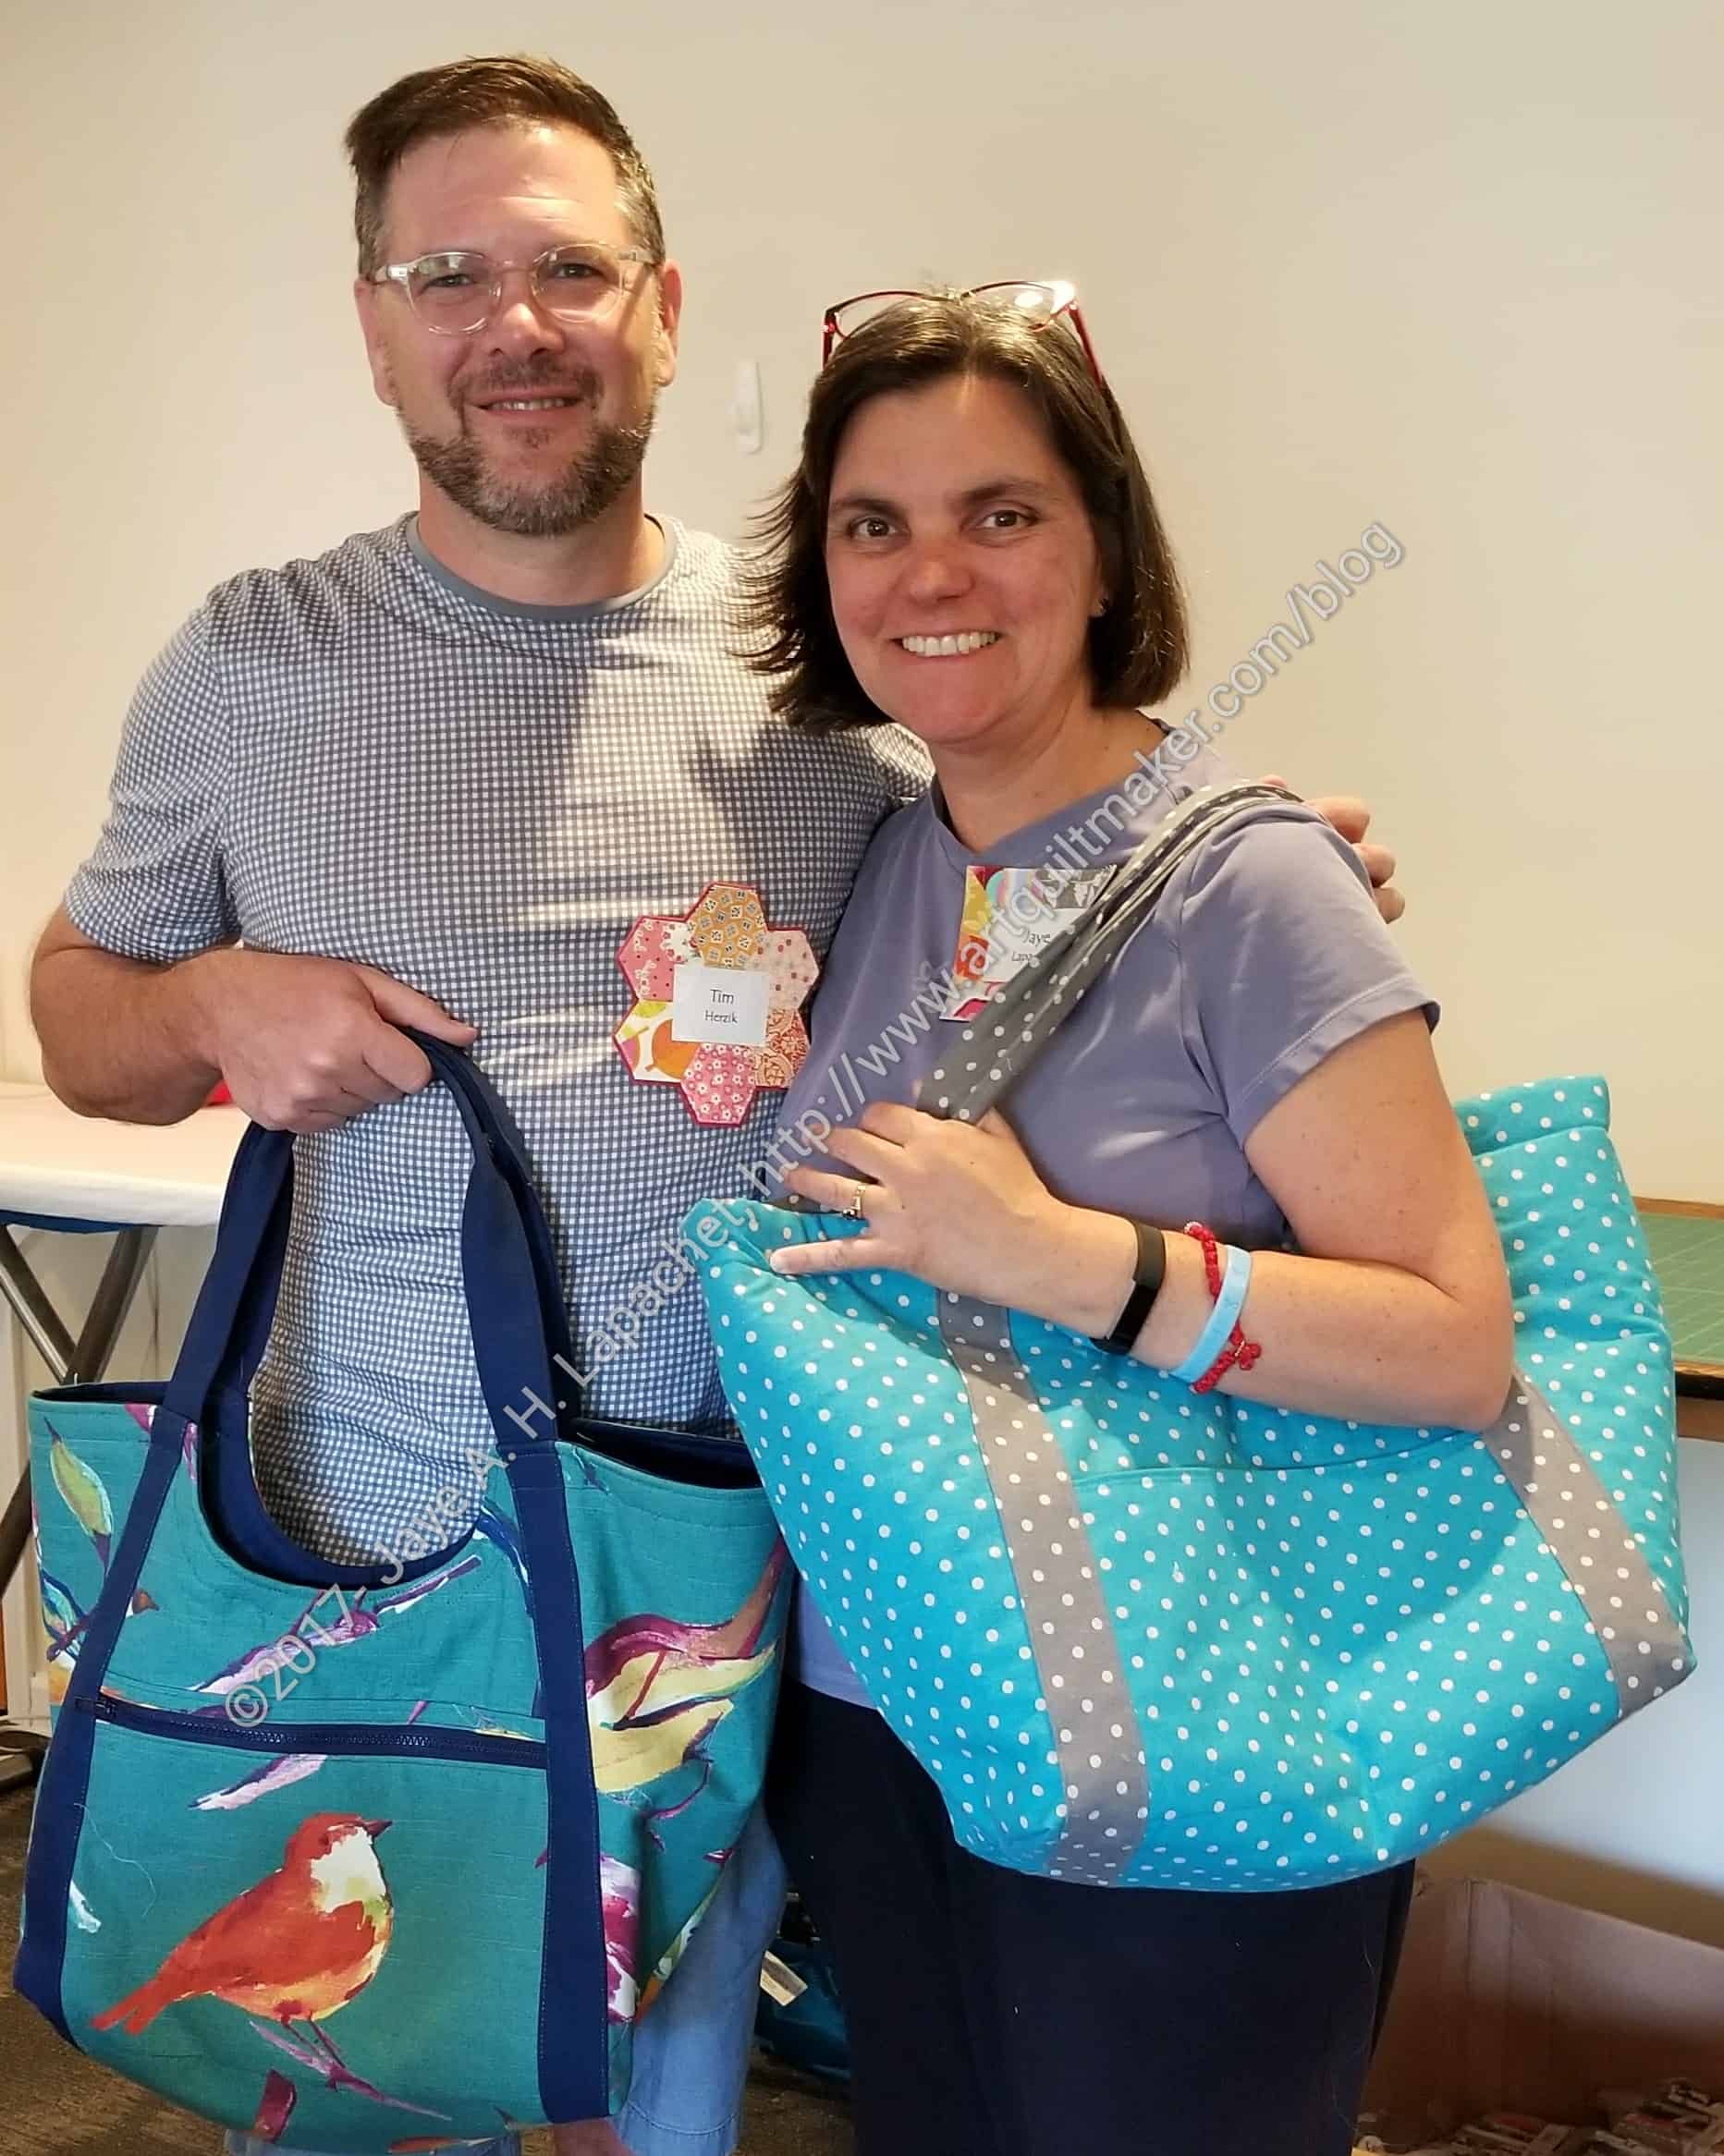
This past weekend was the weekend when I sewed the whole thing together. Tim and I sewed ours at the Retreat. He got busy first and I followed his lead. I had to rip a bunch, so I got behind. It was a great to have a buddy and Diana L acted as mentor to us with some tricky parts.
I love the fabric that Tim used. He fussy cut birds for certain parts of the tote.
Having all the pieces cut and fused was awesome! It made the tote so much easier to put together. Yes, I did have to cut them out at some point, but not having to cut them out and them sew them at the Retreat made everything go much more smoothly.
Poolside Tote facing
I am not sure about making this bag again, though I have the fabric to make a pink version. It wasn’t difficult, but it was fiddly.
The sides have rounded centers, which are kind of a pain. There is a piece of facing that is sewed around the top edge to cover all of the raw edges. In general, I thought it was a good way to cover the raw edges, but it was difficult to sew on. I pinned a lot and still got puckers. It might be useful to fuse down parts of it.
The facing was large enough so I wasn’t sewing right on the edge where the bag was thickest, which was helpful. I sewed slowly and used a walking foot for most of this project.
It would not have been possible, or perhaps convenient is a better term, to use the add on style of walking foot. The 6600 has the integrated walking foot and, while not perfect, that thing is awesome. It was great for bag making, especially after I adjusted the foot pressure to the correct number.
Poolside Tote – inside
I sewed the inside smaller than the directions said (using a larger seam allowance) and it was still really large. You can see the extra fabric really well. I am not sure how much more to adjust it.
I forgot my zippers and swivel hook, so I made slip pockets for the outside and put a metal loop on the inside. The inside has no pockets, which is kind of a design fail, so I think I will make a zipper tote in the same fabric with a swivel hook and clip it on. Either I, or my giftee will be able to put items in there securely without worrying about someone reaching their hand in and easily grabbing them.
Tim & Jaye
I am not sure how I feel about this tote. The lack of inside pockets or a pen pen makes it more for carrying large items rather than everyday use. I guess Poolside Tote is a good descriptions because it would be great for towels and swimsuits.
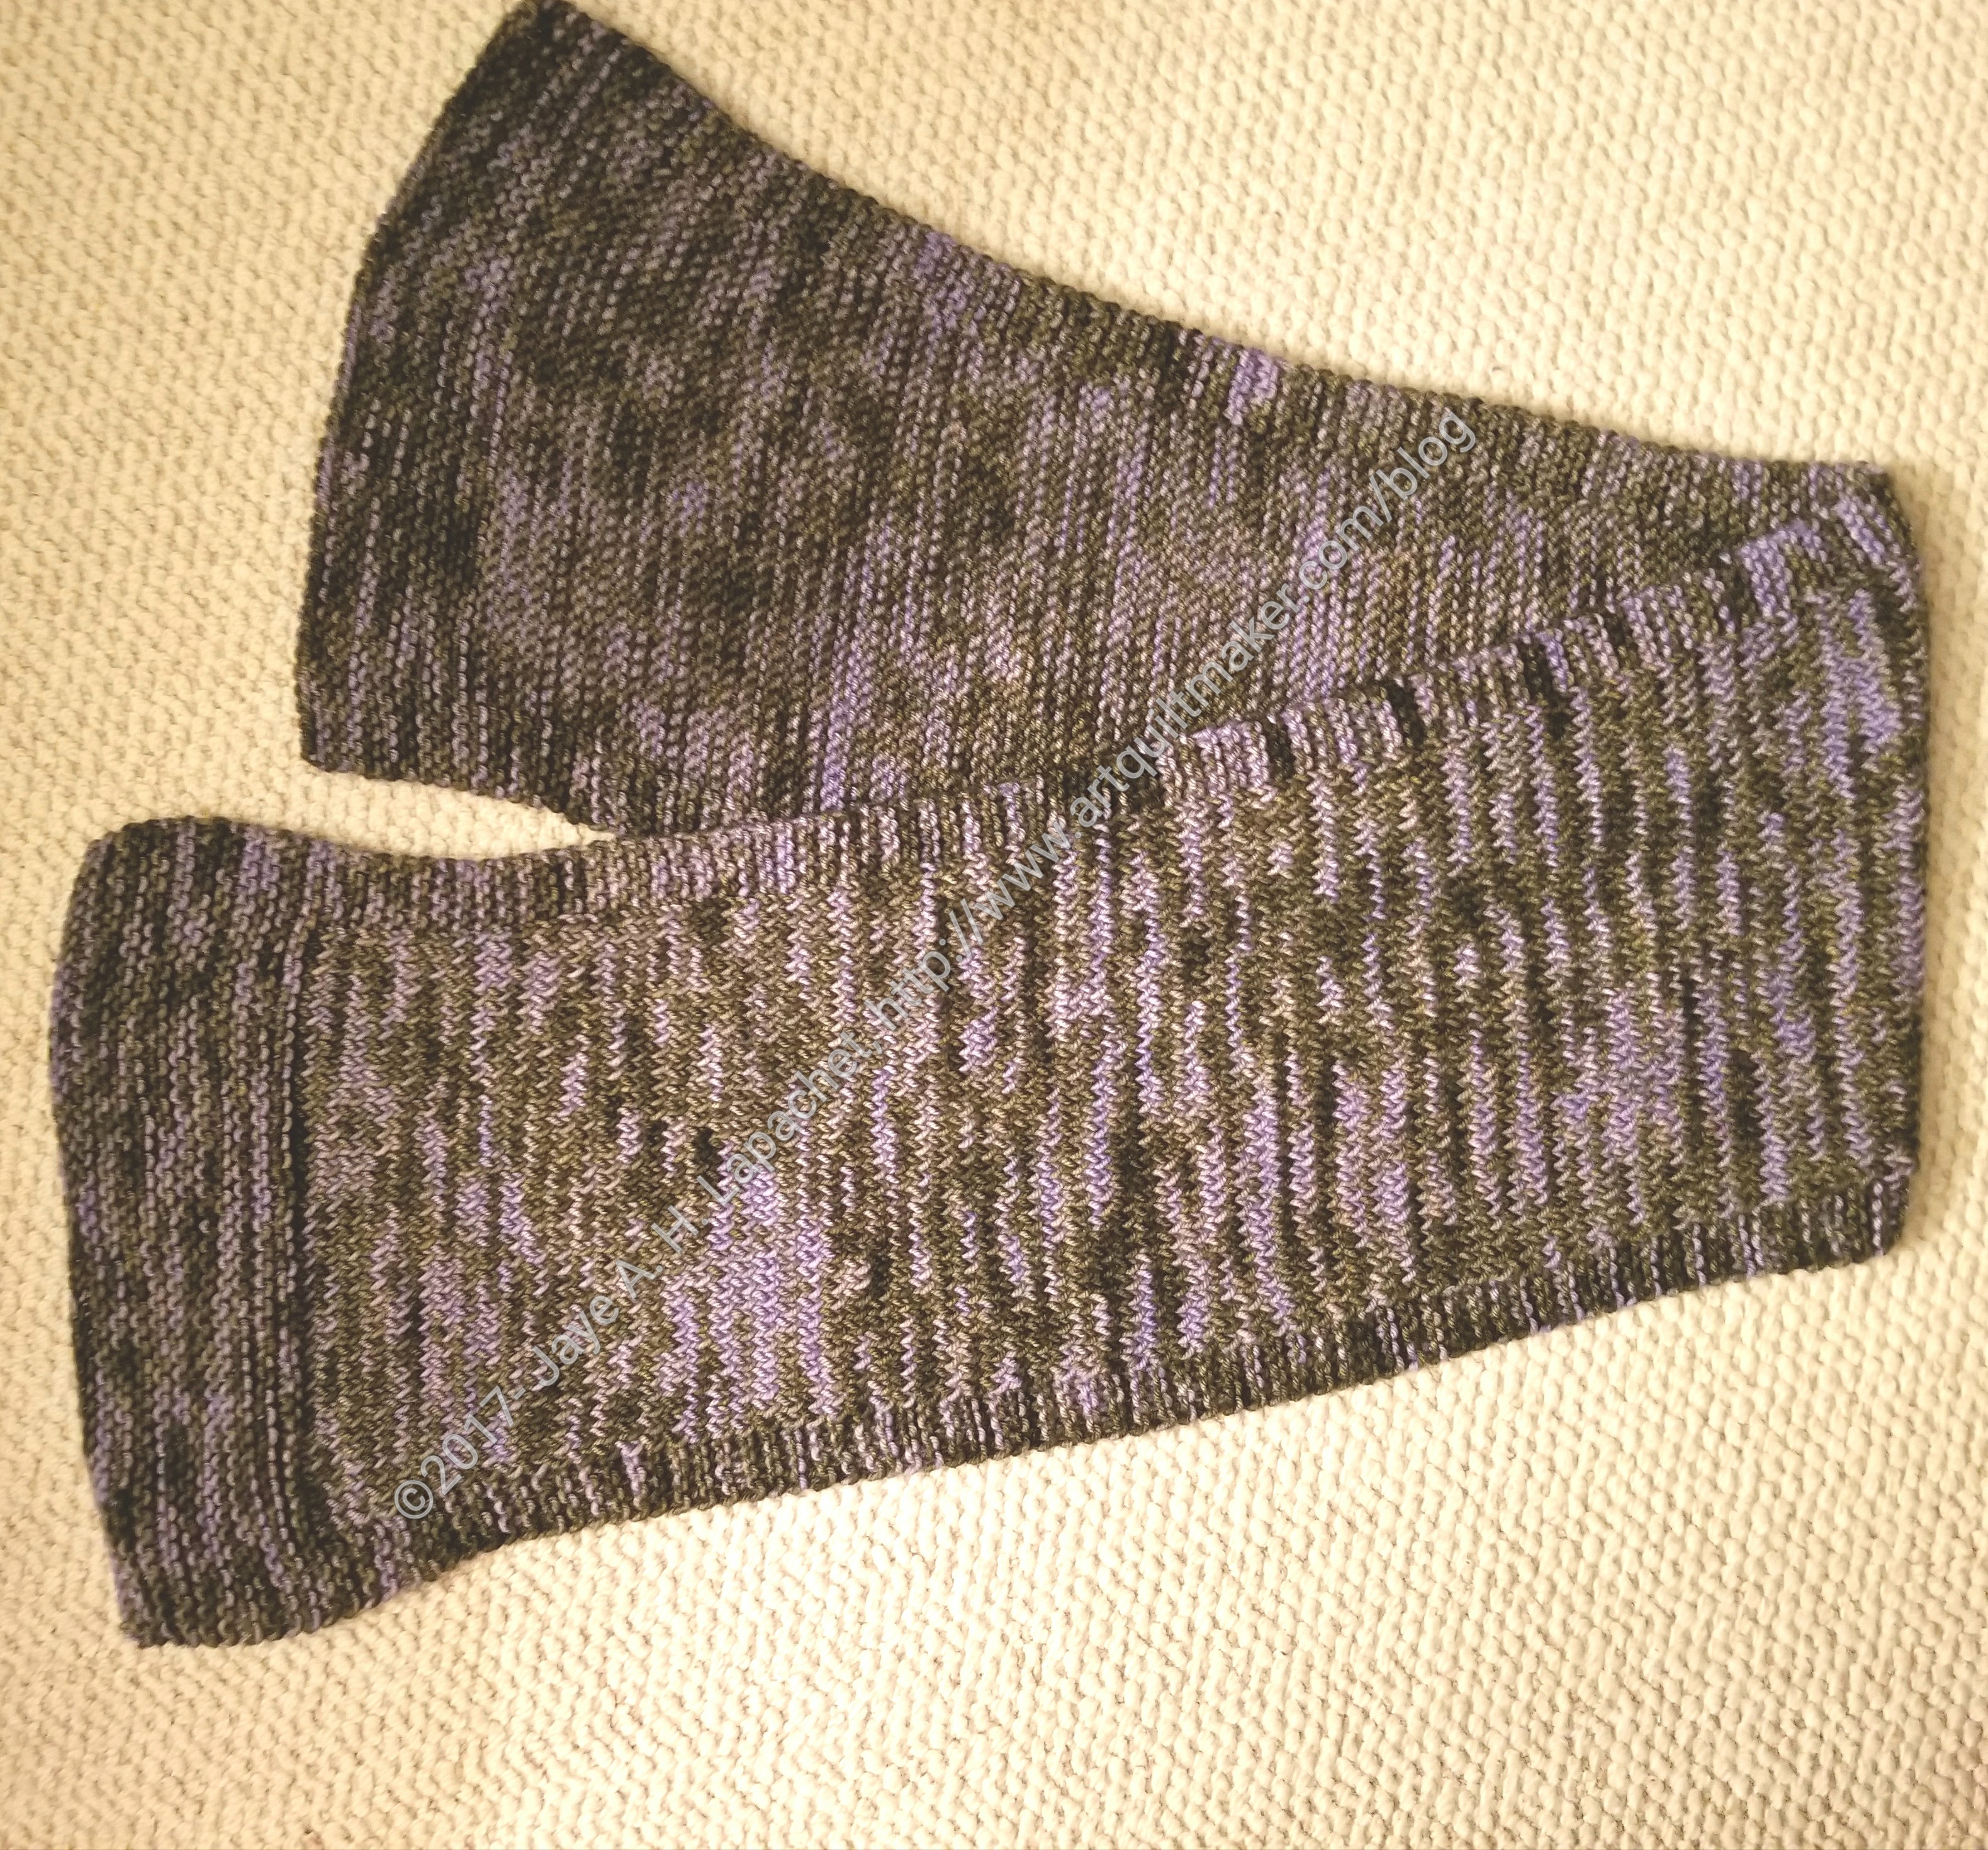
I finished the Lichen scarf. It was finished yesterday, a little later than I wanted, but I didn’t carpool last week, so I didn’t have as much time to knit.
The deadline was because I went to the knitting store on Monday and bought yarn for the next scarf. I don’t want to stash yarn.
The tightness of my stitches was a little off at the end, but I am pleased with how the scarf came out.
I am pleased to say that I finished the Nighthawk scarf. I started it just about a month ago and finished it over the weekend. I wove in the ends at Craft Night, so done and dusted.
As I almost always say, I am pleased with how this scarf came out. I was also pleased with the size and feel of the yarn. As I said in a previous post, it has a kind of springy feel.
The finished scarf is rather heavy. It is also long, but I wanted it to be long. This scarf, the Monarch scarf and the next few scarves will go to the YM’s friends who helped take care of him this summer.
The Peacock is finally finished. Technically, it was a challenge.
I was able to add a lot of fabric to the fabric used column of my spreadsheet.
Still, I am not a fan of this quilt. I am not sure why, but I just don’t like it. I don’t hate it and am really glad it is finished. It just didn’t turn out like the vision in my head.
Nota bene: Clearly, I have to make sure I have two extra days worth of posts ready to publish before I go on a trip. I returned on Wednesday night from Phoenix, but have been so busy the past two days that I didn’t finish either this post or the ColorPlay postI had planned to post Thursday and Friday. The ColorPlay post will show up eventually and you have something to look forward to reading.
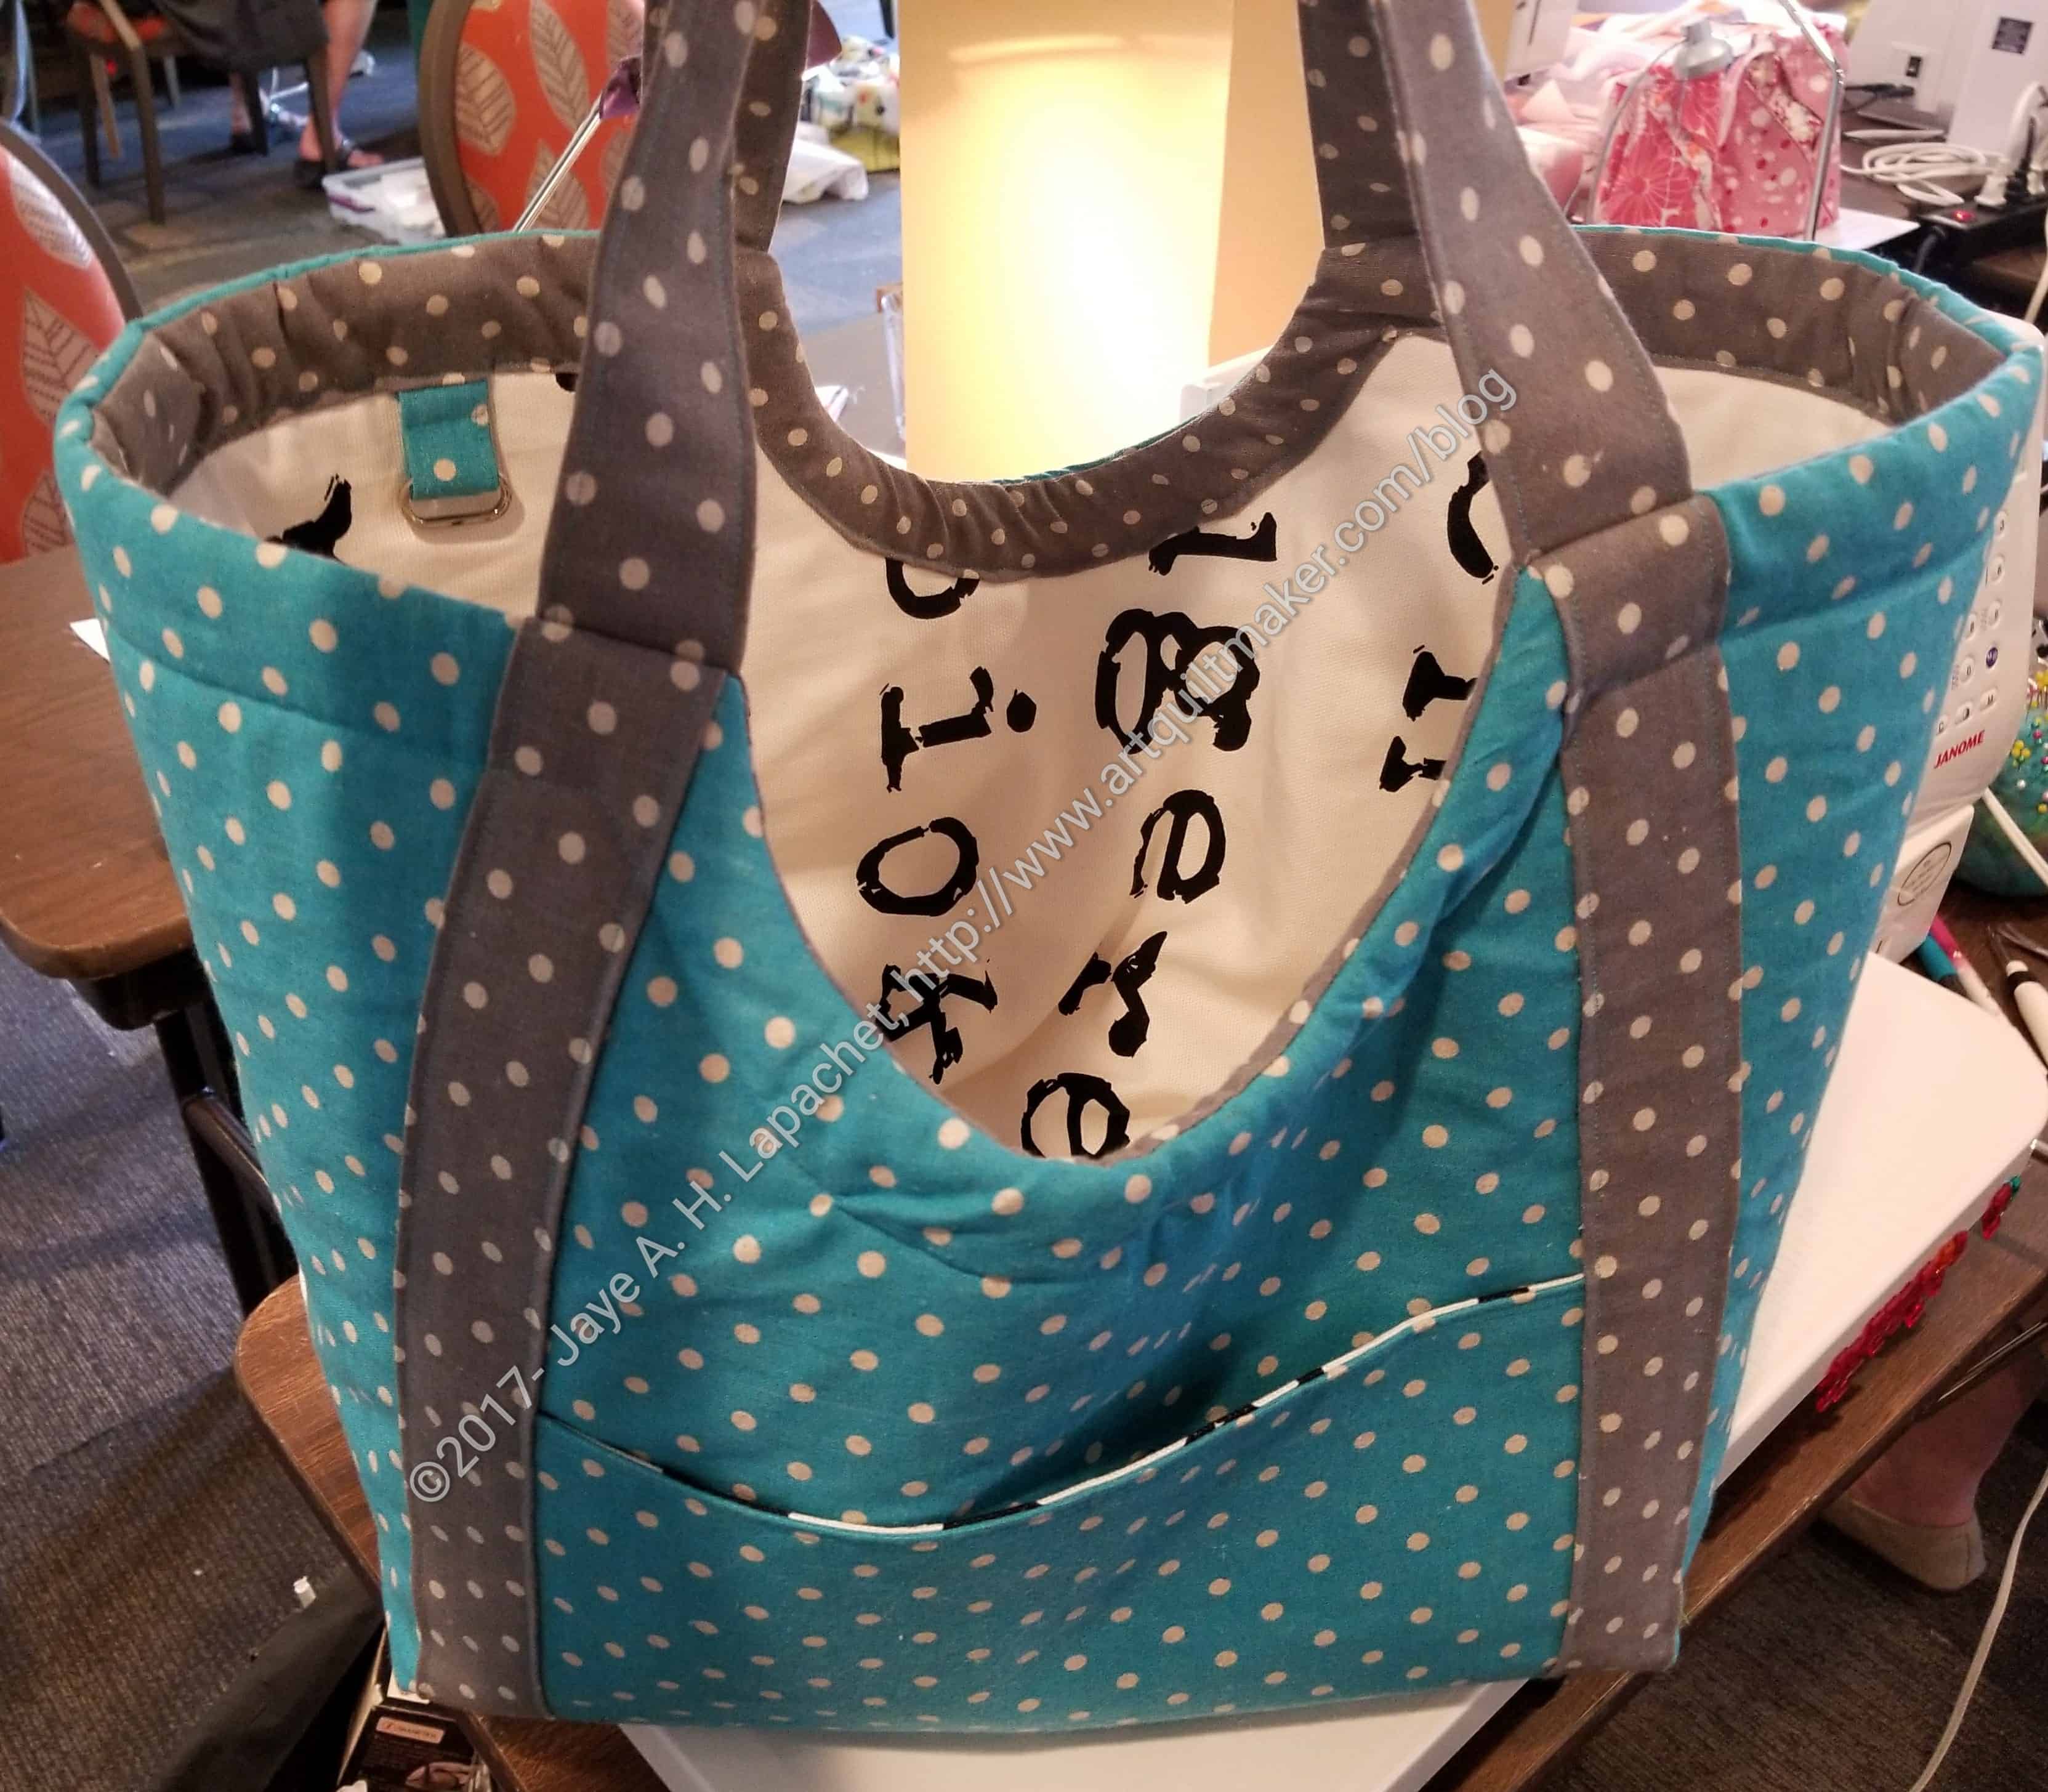
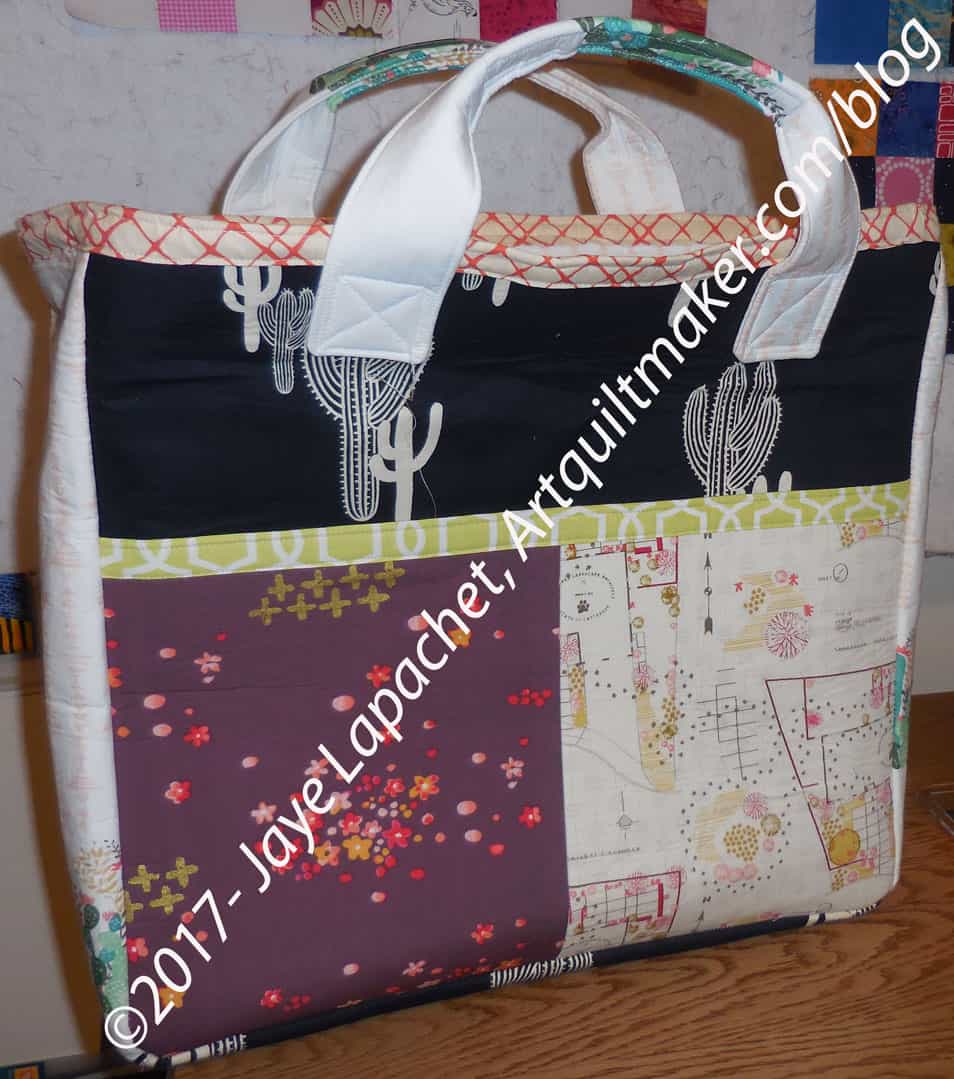
Boxcar Tote Complete
The Boxcar Tote is finished. I bought this pattern from Hawthorne Threads and was pretty excited about the size and shape.
It is a good grocery bag size, though I do think it might be better used as more of a beach bag, carrying swimsuits and towels rather than heavy gallons of milk. It doesn’t have any cell phone pockets or key leashes, so those might be additions to consider later.
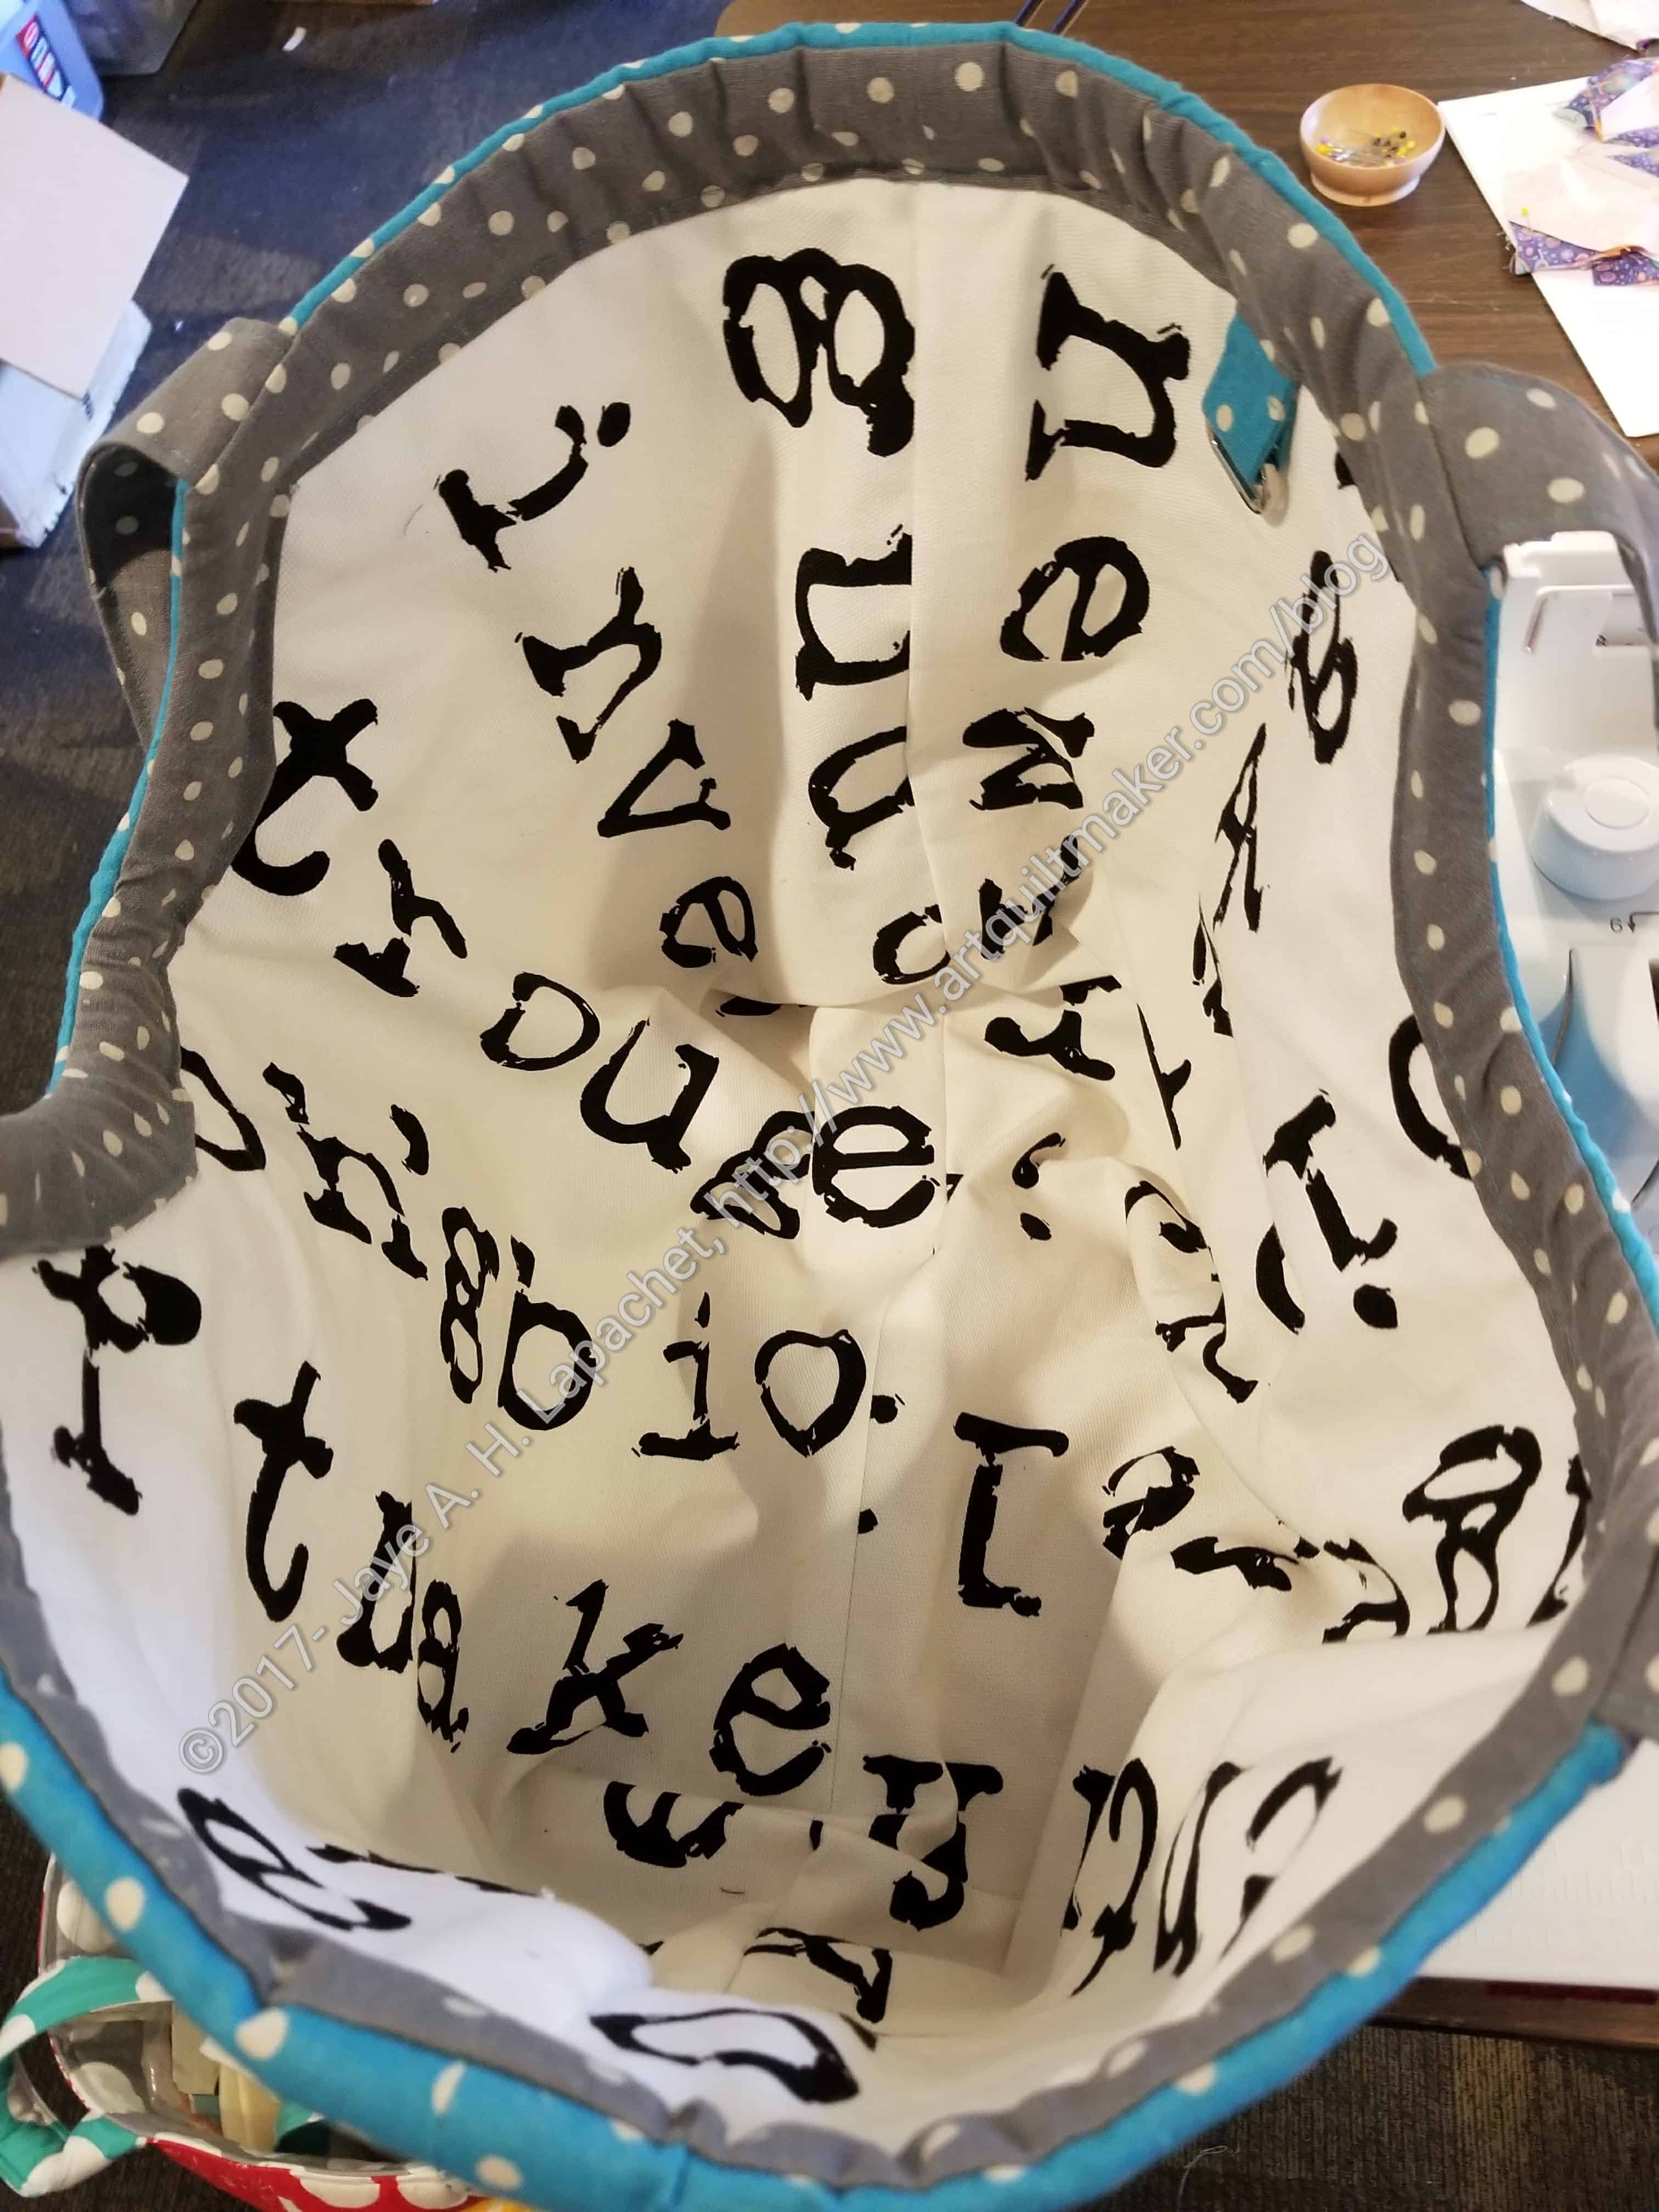
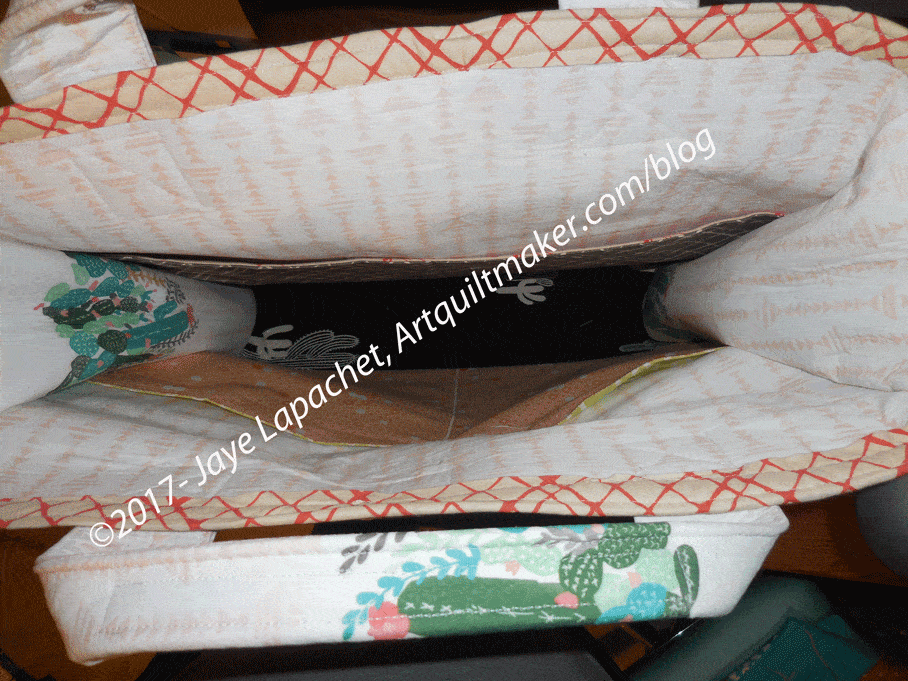
Boxcar Tote inside detail
The finished product has two pockets on the outside, one on each side and four pockets on the inside. The pattern pieces were the same, but I divided the inside pockets into two. They might be a little too slim to be useful, but a tablet or clipboard could fit very well.
The white background cactus fabric is a Hawthorne Threads designed fabric. I chose the various cactus motifs because the friends for which it was made now live in Tucson.
Frankly, I am not happy with the outcome. I found the pattern to be well written enough. It is straightforward and clear. I think my inexperience with Decor Bond as well as using a machine with a small throat were both the main parts of my challenges. I almost never give up on a project, but putting the top trim and handles on almost made me give up the whole enterprise. The only reason I didn’t was because I had bought the cactus fabric especially for my friends.
I really like the shape and size of the Boxcar Tote and thought this was a bag that I might want to make as gifts multiple times. I made a huge effort to follow the directions exactly, so I could really get a feel for the pattern. I did get the feeling that the designer may not have much experience with pattern designing for bags. I am not sure why (except for the construction of the bottom), but that was my impression. I do want to try it again with Soft & Stable.
I had several problems:
Construction of main part of bag
Decor Bond interfacing
Construction of handles
application of handles
application of binding
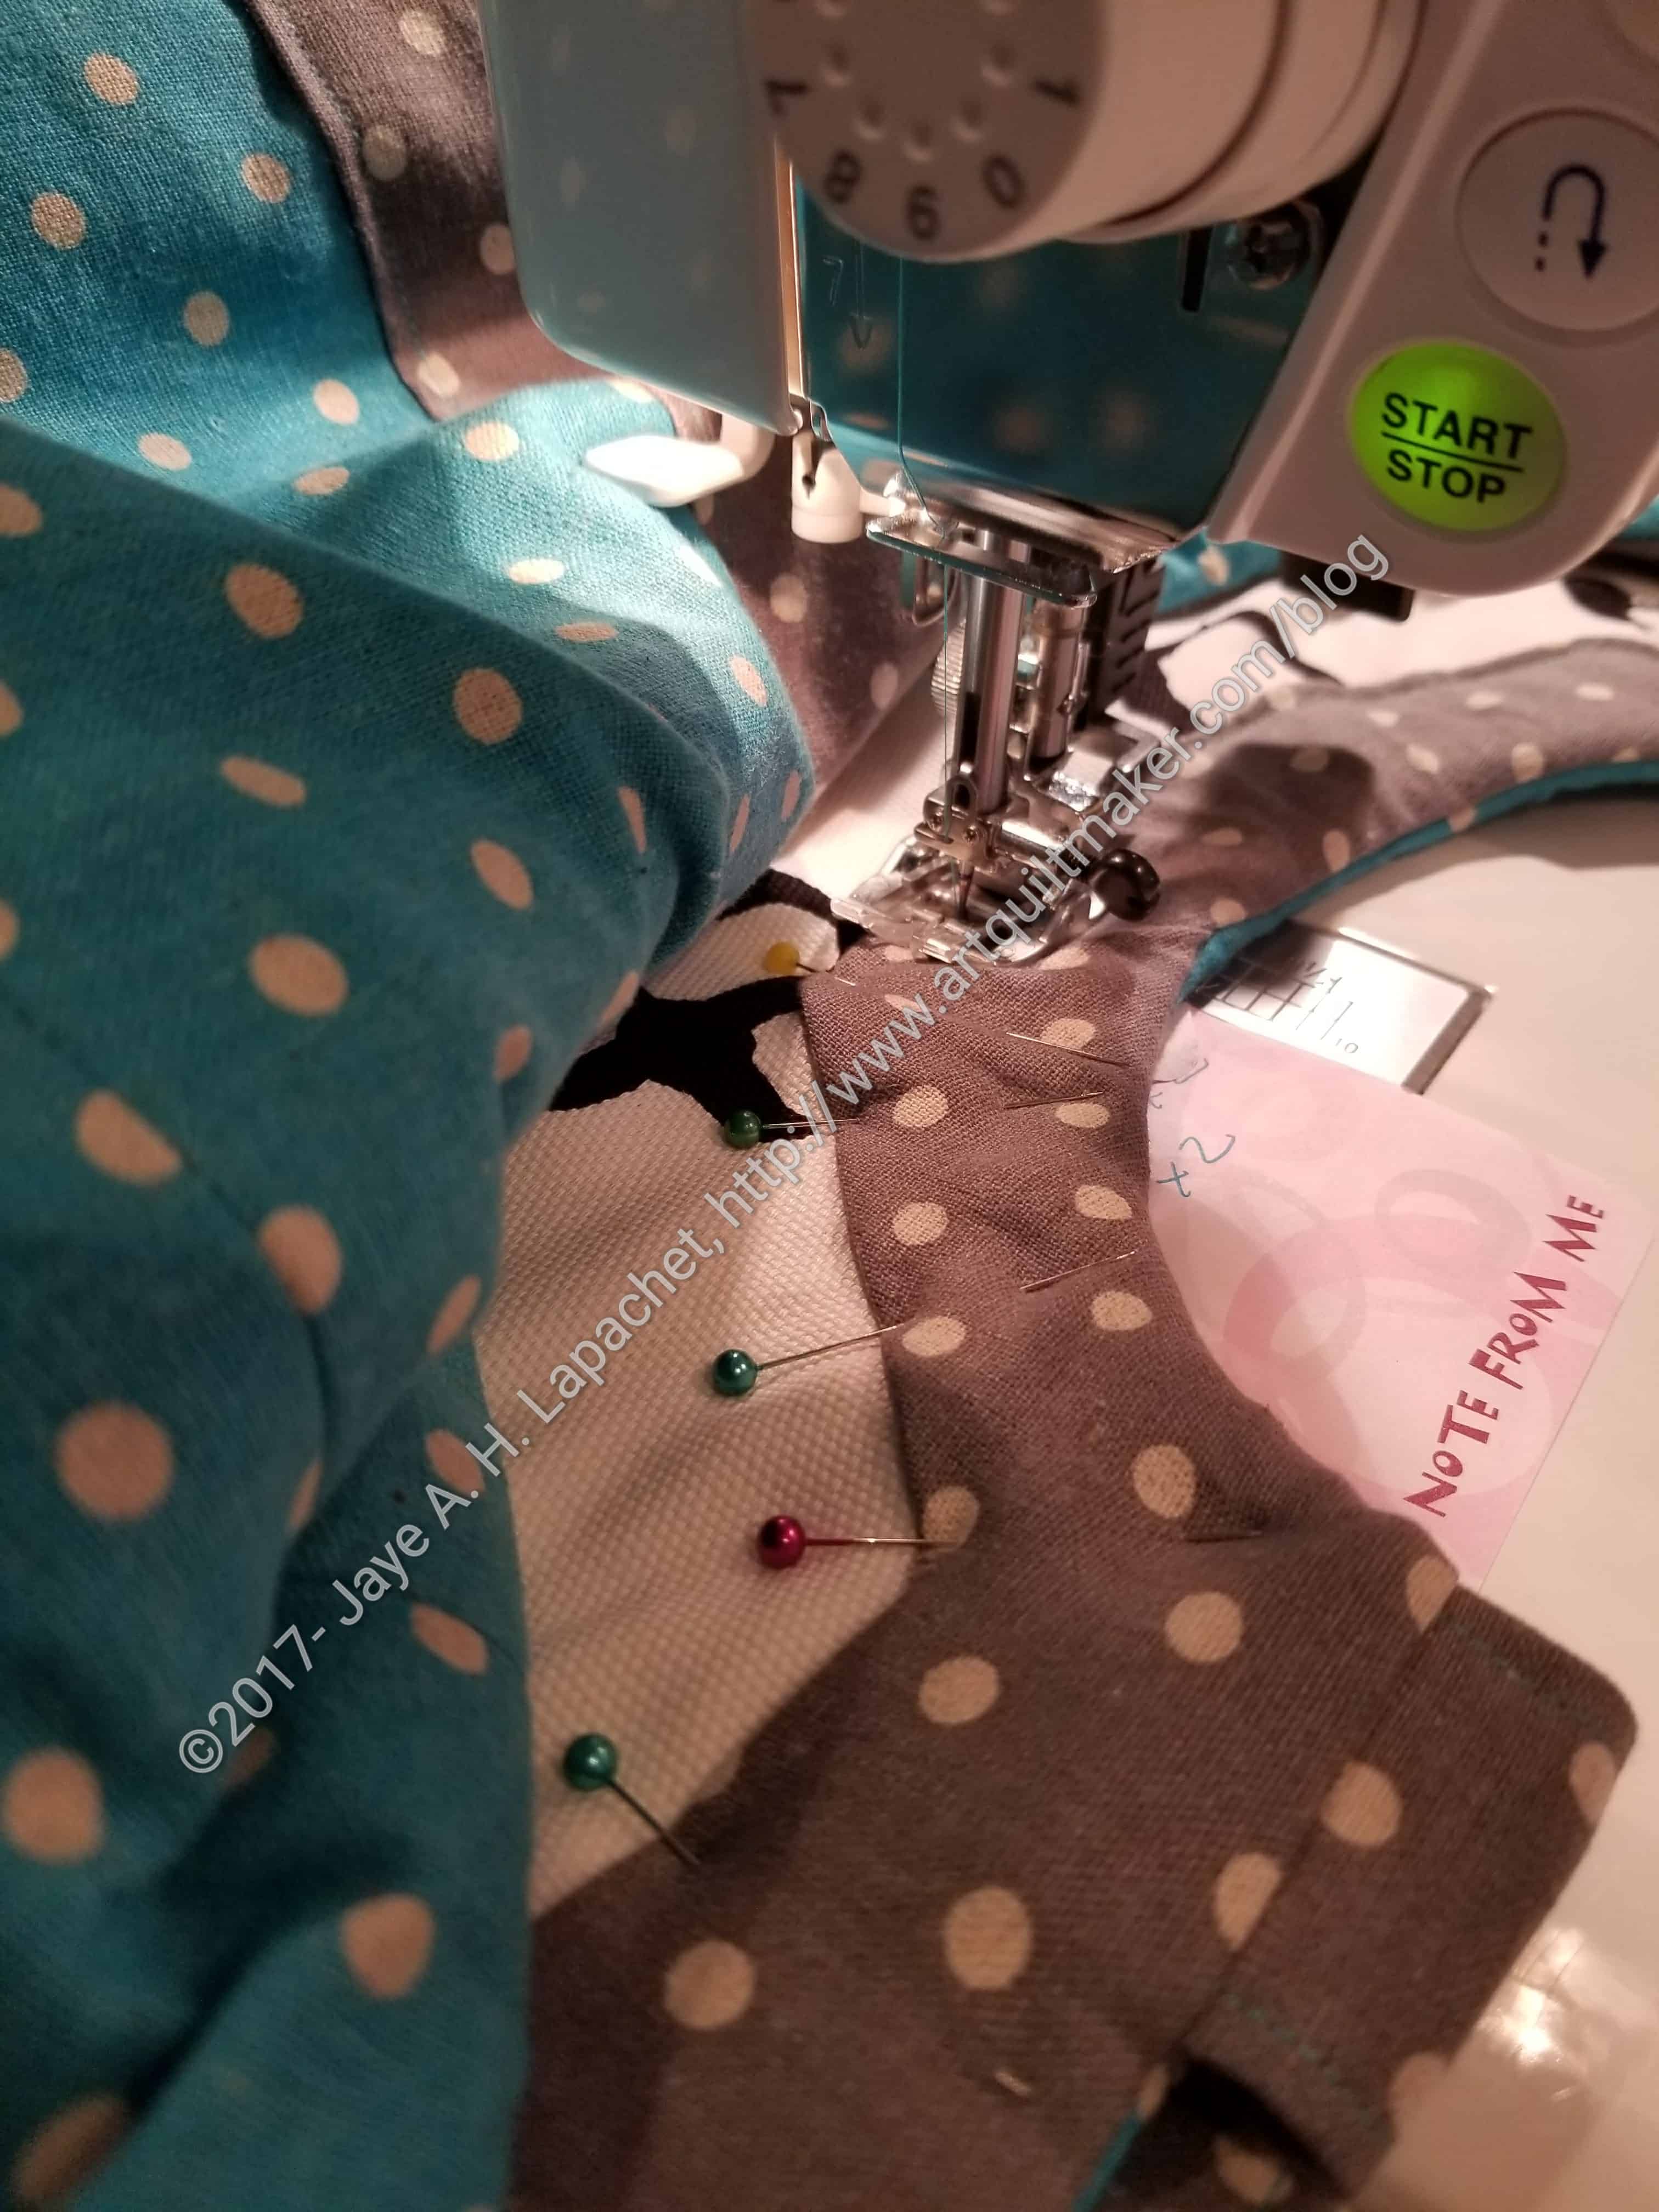
First, the construction of the main bag was in 5 pieces. This means that the bottom was separate. This is an awkward way to construct a bag IMO, because I never feel like the corners are very secure. When I turned the lining right side out I saw severe strain on the corners so I reinforced the stitching again.
If I make this bag again, I might try to cut the two sides and the bottom piece out as one. I would have to figure out a way to differentiate the bottom from the sides, but that might help with my construction issues.
Reinforcing the stitching was really hard because I was using my small machine. I really like this machine as it is a workhorse and has a great stitch, but the throat is really small. Since the bag parts were already together, I had no choice but to struggle through trying to cram it through the harp. The Decor Bond isn’t very flexible in the scrunching up kind of way, so it was a huge challenge and my stitching, frankly, sucked.
I didn’t think much about the Decor Bond when I started. I was excited to try a new interfacing and even more excited when I realized how stiff it was. I knew that the bag would stand up quite well using this interfacing.
The first problem I had with Decor Bond was that after fusing it to my fabric, it refused to stay in place. It didn’t come away from the fabric, but kind of wrinkled up the fabric fused to it as I continued to put the bag together. As I said above, the Decor Bond isn’t very flexible in the scrunching up kind of way. This means that as I had the whole bag put together, topstitching the top binding was nearly impossible. I had to keep stopping and starting and moving the bag slightly. There is very little give so I realized that the shape of the Decor Bond is the shape you will end up with.
As I progressed on the bag, I also realized that I would be sewing through multiple layers of the Decor Bond. Fortunately, my machine was ok going through it, but getting the layers under the needle was the problem. A really big problem. Even when I got the pieces under the needle, they would shift and move and really make it hard for me to sew. Part of this was also the inflexibility of the interfacing.
I don’t want to imply that this interfacing is hard like a tabletop. It did bend and flex, but not, as I said, in a scrunching up sort of way. This also caused the machine to stop feeding and stitch in place when the pieces hit the wall and got stuck.
Boxcar Tote Handles
Using the Decor Bond for the handles was a bad idea IMO. Again, I am not an expert Decor Bond user, but they took me about an hour and many tools to turn.
Yes, just to turn!
The Decor Bond was so thick and in such a small space that the turning was more difficult than any other time I have turned handles.
In the photo, left, you can see the wrinklyness of the fabric fused to the Decor Bond that I described above. Yes, I followed the directions.
The good part is that the handles are sturdy.
The worst parts were the application of the handles to the bag and the top stitching of the binding to the edge.
Boxcar Tote handle detail
The pattern showed placement and the standard box/ X-cross configuration of stitching. I could not maneuver the bag enough to get a straight stitch straight across the part of the handle to be sewn to the bag. Part of it was that my machine harp is small and the other part was the that Decor Bond was not very foldable. So, the top stitching on of the handles looks really crappy. 🙁
My final shame is the binding. I am not a huge fan of binding the tops of bags. It is a lot of work and doesn’t always look good if you are trying to stitch it on after the bag is assembled. Part of my problem was that the two sections (Outside bag and lining) were equally stiff and the tops didn’t line up. I had to force them to line up and it was not a good outcome for the bag. I meant to use a larger seam allowance for the lining and forgot. I could have trimmed the top of the lining, but was afraid. I should have done it.
To be fair to the designer, Alexis Abegg of Greenbee Patterns, I looked up some websites that talked about the pattern. The Crafty Planner is also a visual and verbal learner, like me. Her version looks fantastic. I do think she used something else besides Decor Bond, perhaps Soft & Stable.
Nisha Williams made the tote from a kit and wrote about it on the Craftsy blog. I was relieved to see that she had the same sort of challenges with the handles that I had.
I searched the Greenbee blog and did not find any information on this tote. There is no word cloud, so I couldn’t click on totes or bags or anything and try and find it from there. 🙁 The On Holiday Bag they share in their most recent post (2-17-2017) has the same general shape and the same sort of handles.
The recipient loved it, which was great. I really hope it doesn’t fall apart.
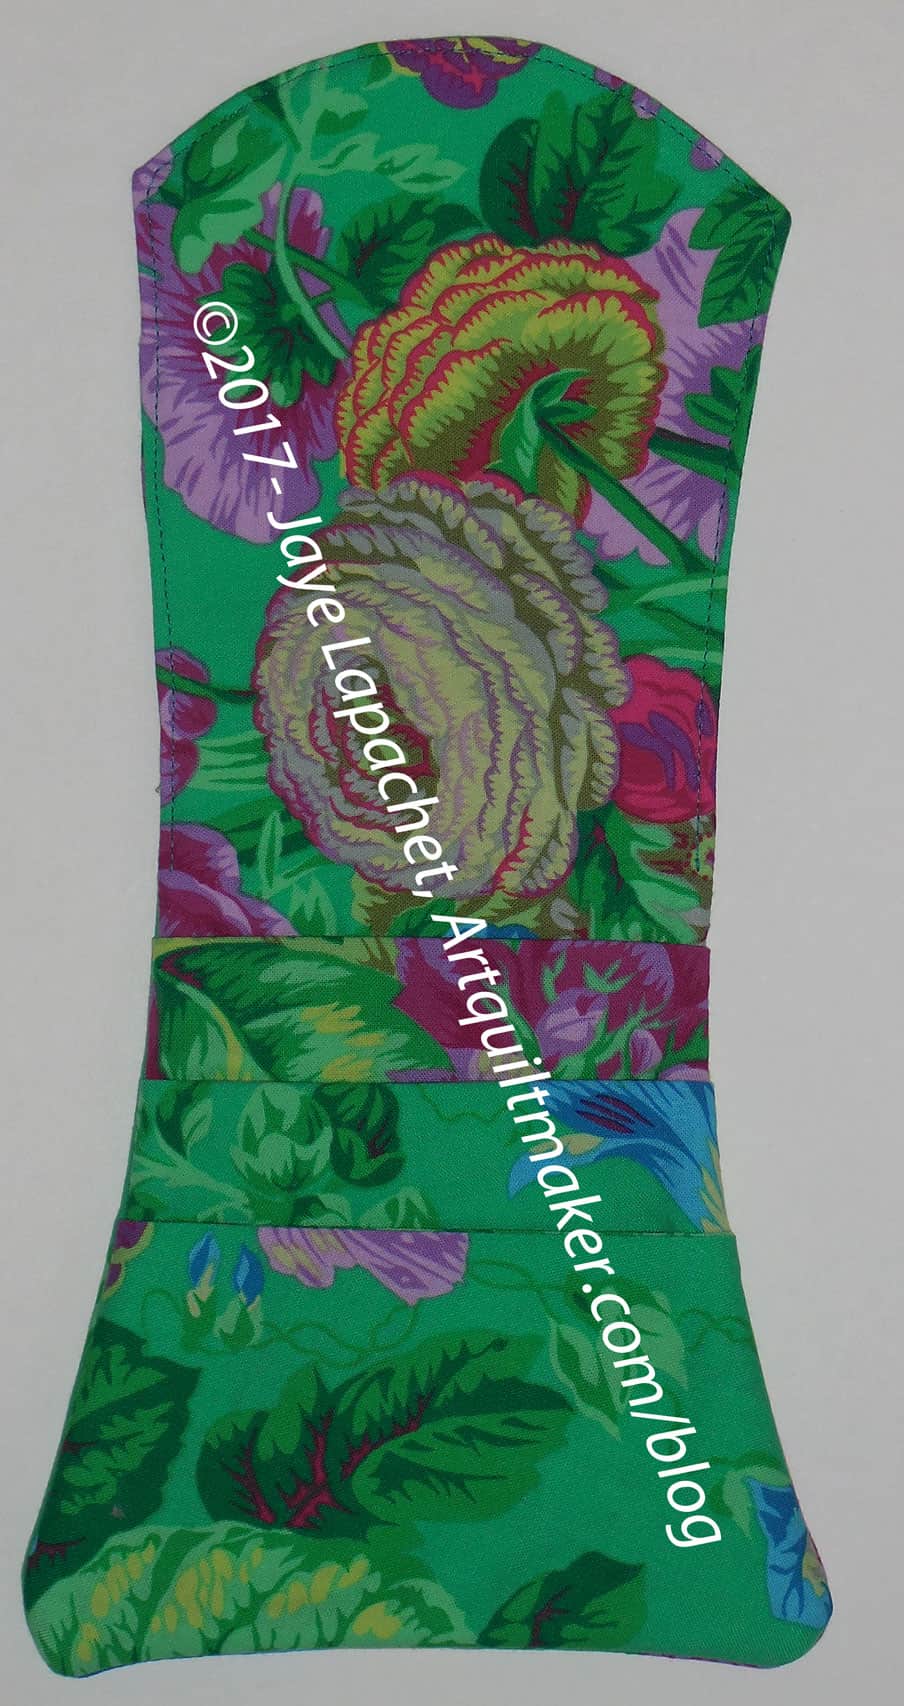
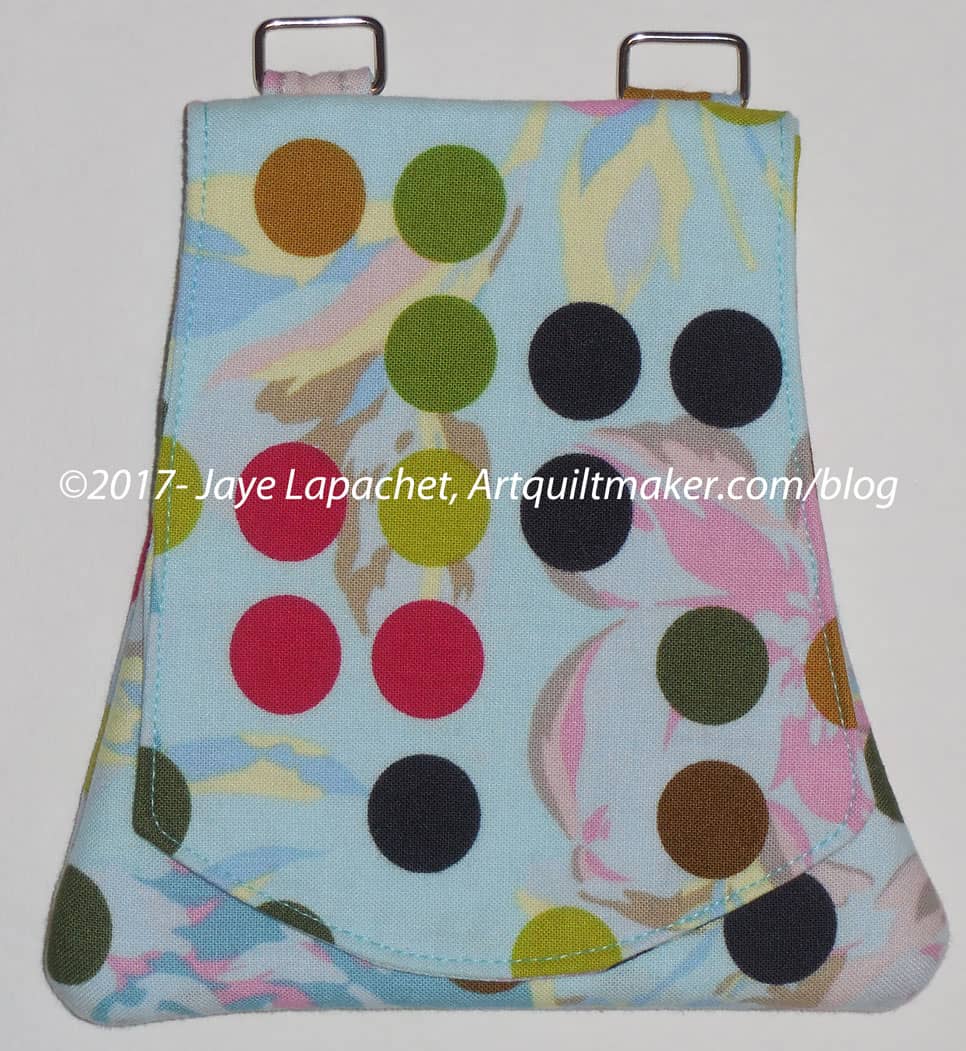
This was another almost finish that I finally did finish. I need these cell phone wallets to wear with dresses that have not pockets. This means that I had to finish a few of them before Grand Parlor. I knew I would be wearing the dresses and tunics, so I had to get sewing. You know I finished the Red Dot Cell Phone Wallet and the Habitat Cell Phone Wallet. Just before we left I finished the Emerald P. J. Cell Phone Wallet as well.
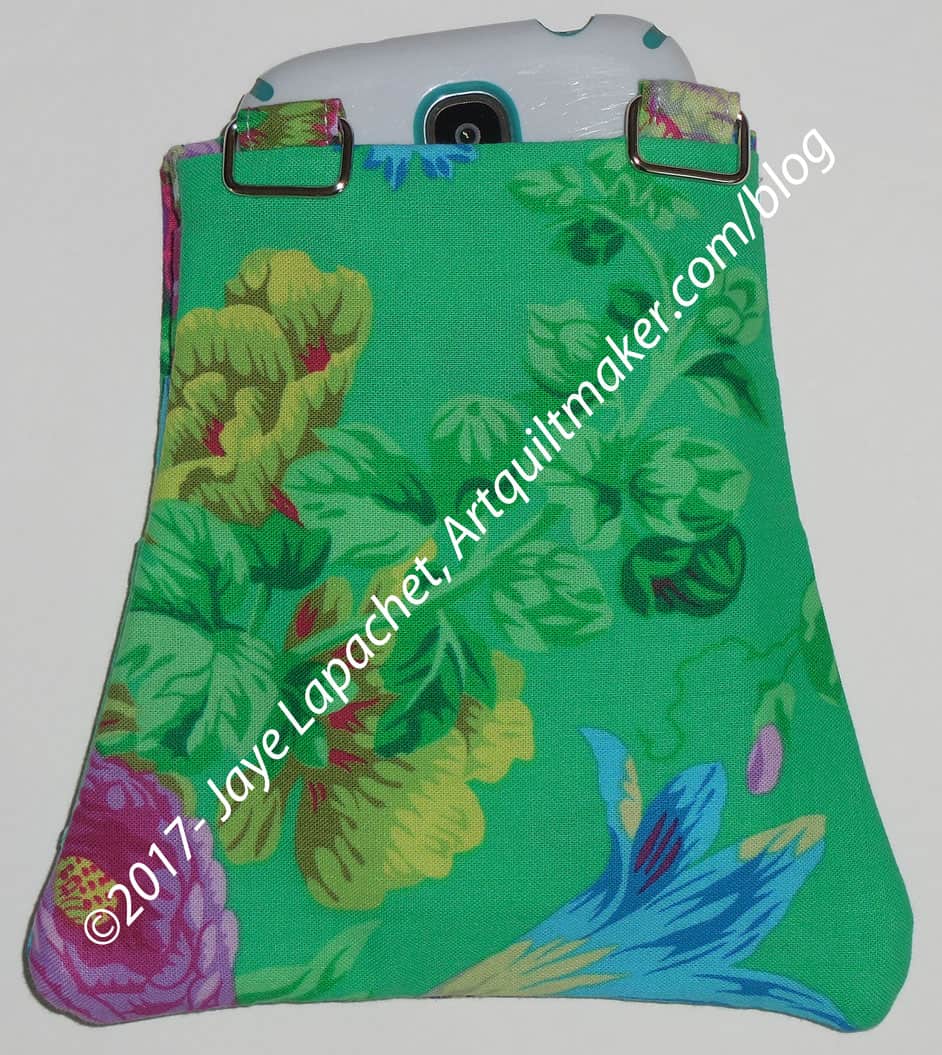
Emerald P.J. Cell Phone Wallet – closed
I find it hard to determine where the fabric will end up when I use the pattern. On this one, I really wanted to the flowers you see to end up on the outside, but they ended up on the inside.
The leaf that did end up on the outside is nice looking, but it isn’t the flower that I wanted.
The pattern calls for a snap on the flap (photo above right), but I haven’t put one on any of the pieces yet. I don’t feel like I need one.
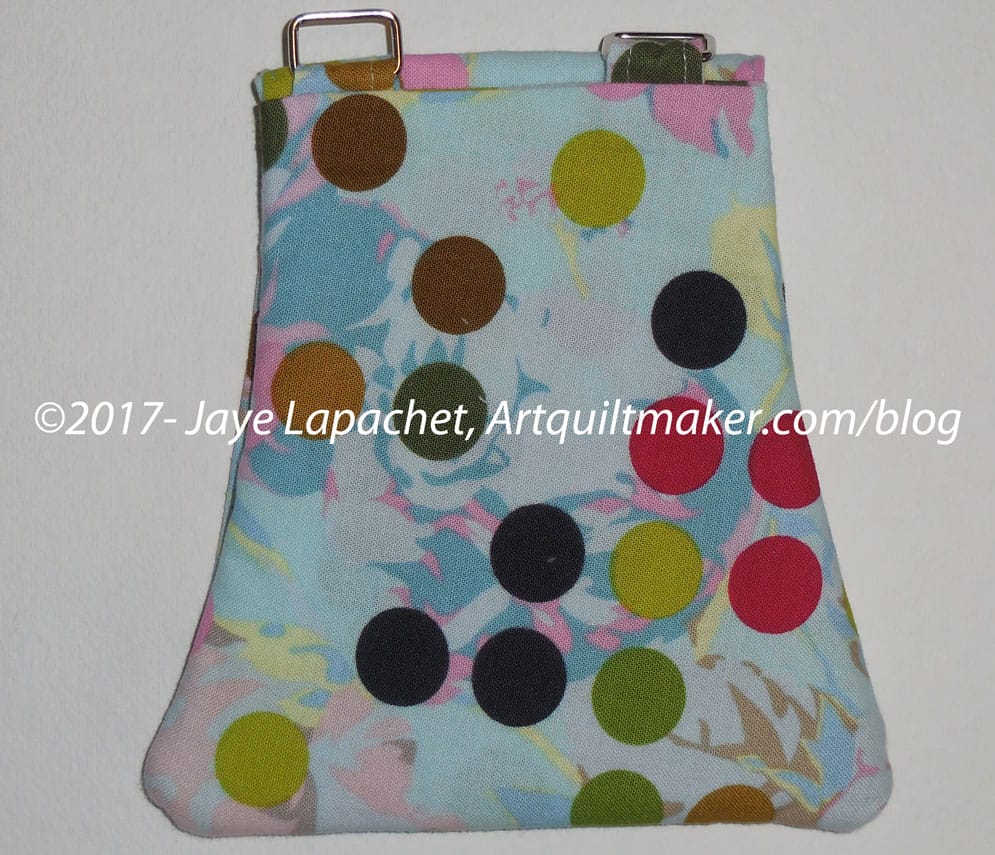
Emerald P.J. Cell Phone Wallet – closed with phone
These bags are so helpful when I am at an event and don’t want or need a full purse. I keep my phone and hotel key in it. I can also put a few other small things in each one. I try not to stuff them too full so they stay flat-ish.
The last photo shows my phone in it. The design is such that I don’t have to open the flap to get my phone out.
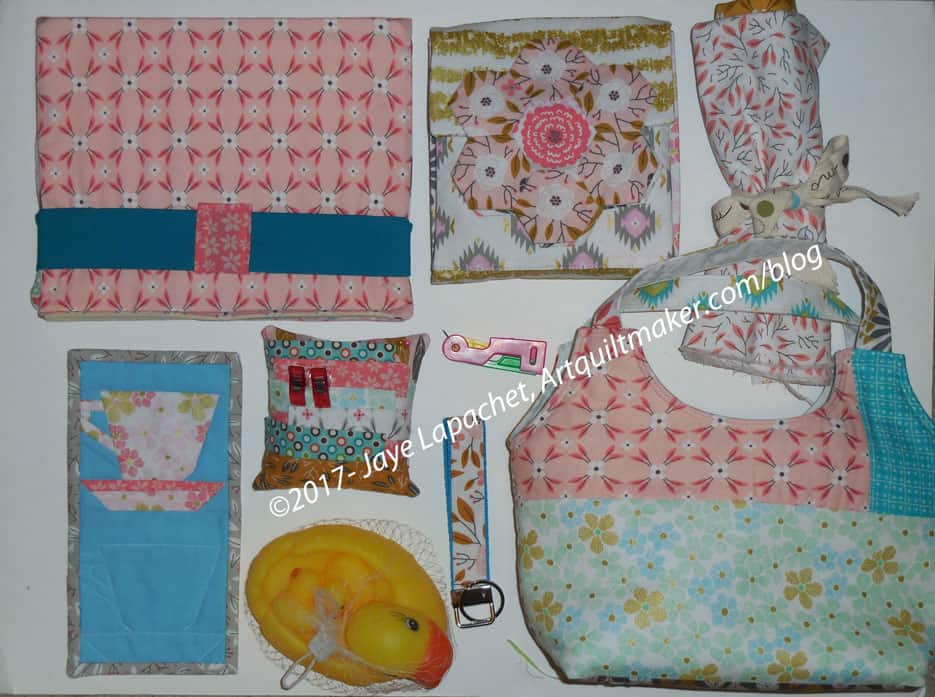
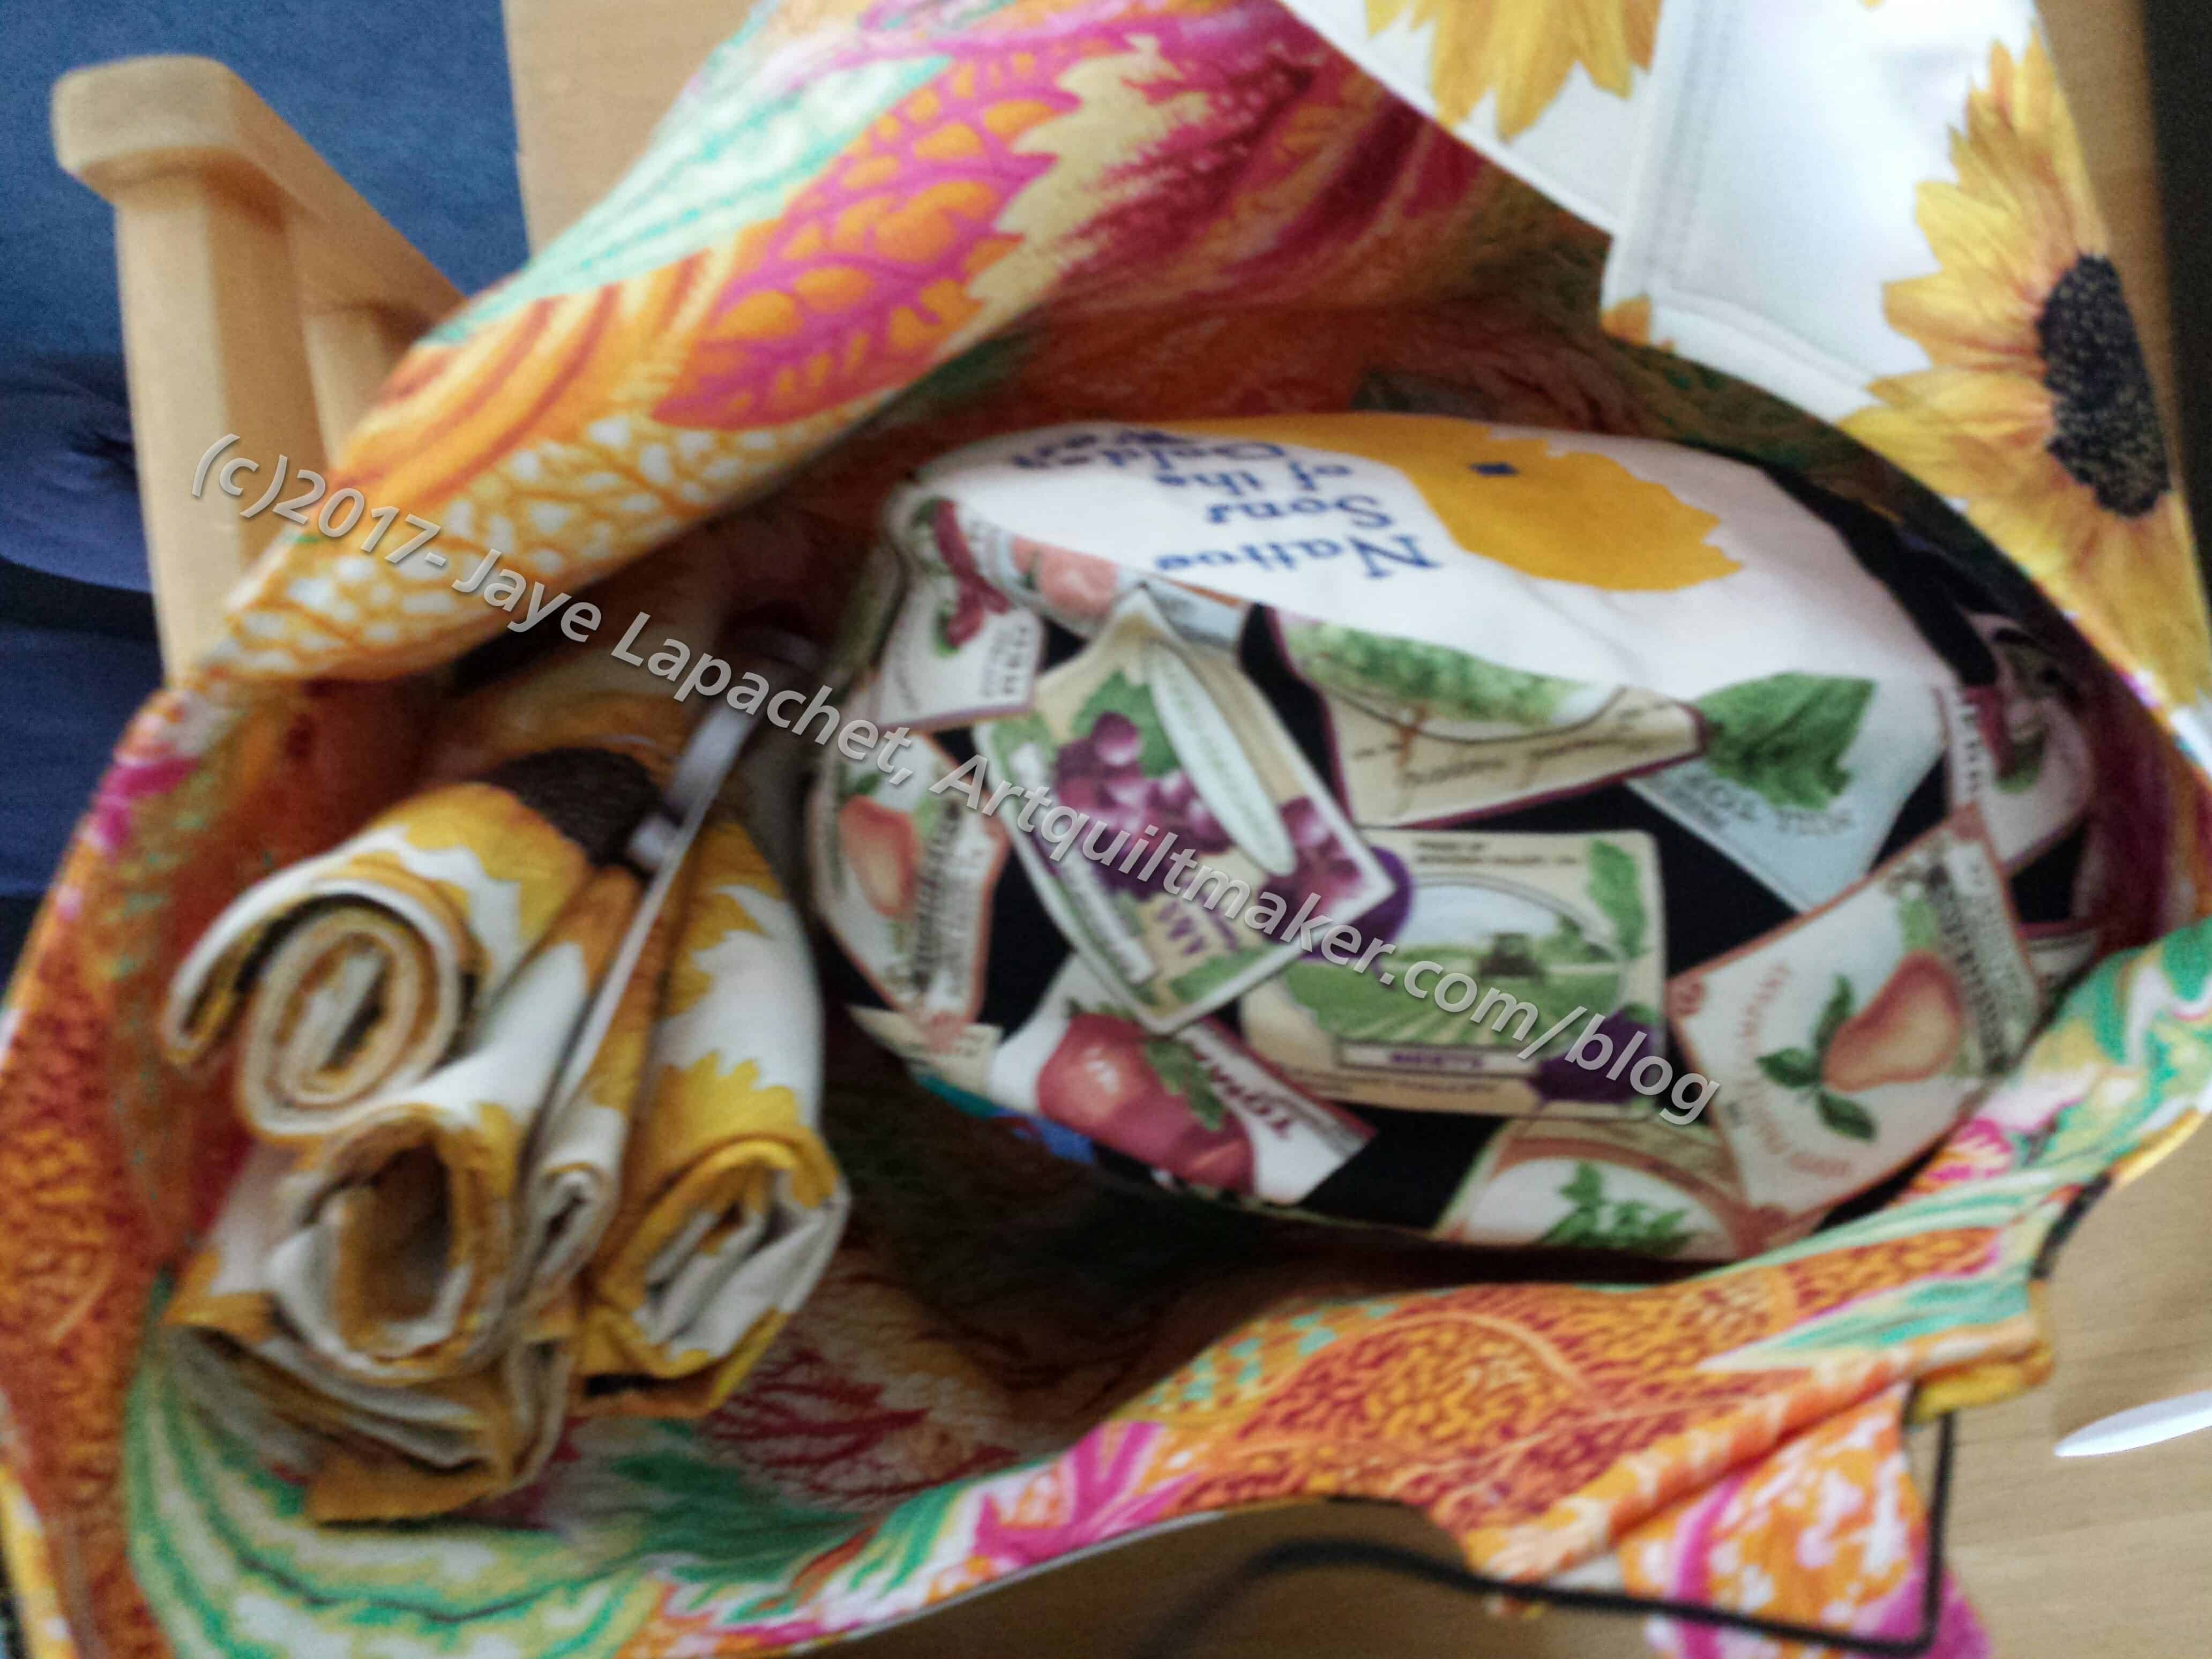
You have seen pieces and parts of the newest Gift Grouping. This is Gift Grouping 2.0, not because it is better, but because I had to think harder of new things to put together. I still like my first group of gifts, which made me quite pleased with myself. I am also pretty happy with this newest group. I used the same basic fabric with both groups.
Gifts laid out
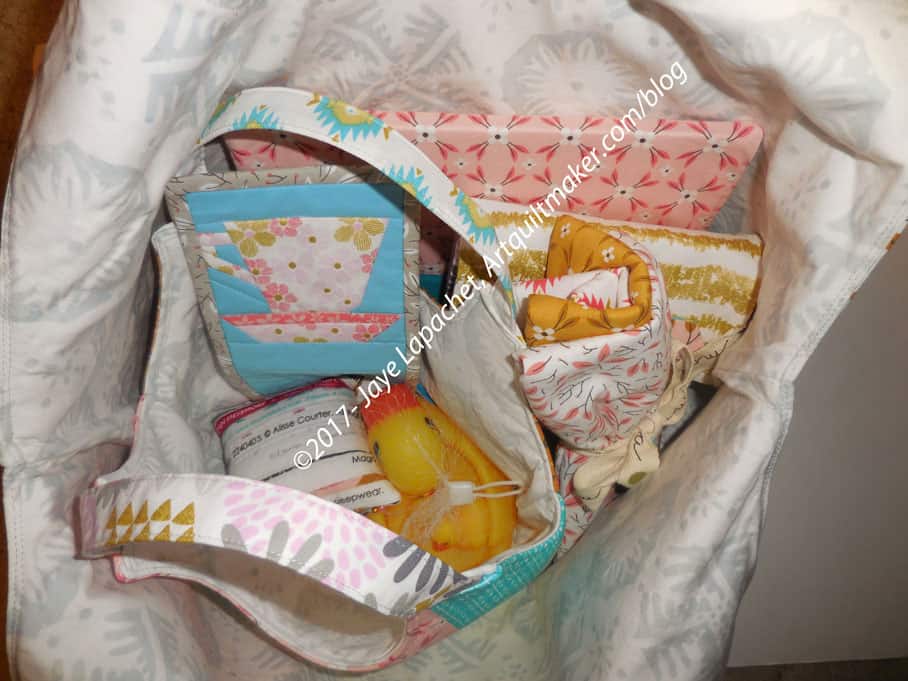
All of the above are in the Big Patchwork Tote from the Make It Take It book. This is the pattern I used for the Sunflower tote. It doesn’t feel like a lot, but as I write this, I am out of time and need to give the gifts to the recipient tomorrow.
Gifts laid out and labeled
You have seen reports of most of these gifts, but I have labelled them so you could relate them to a previous post.
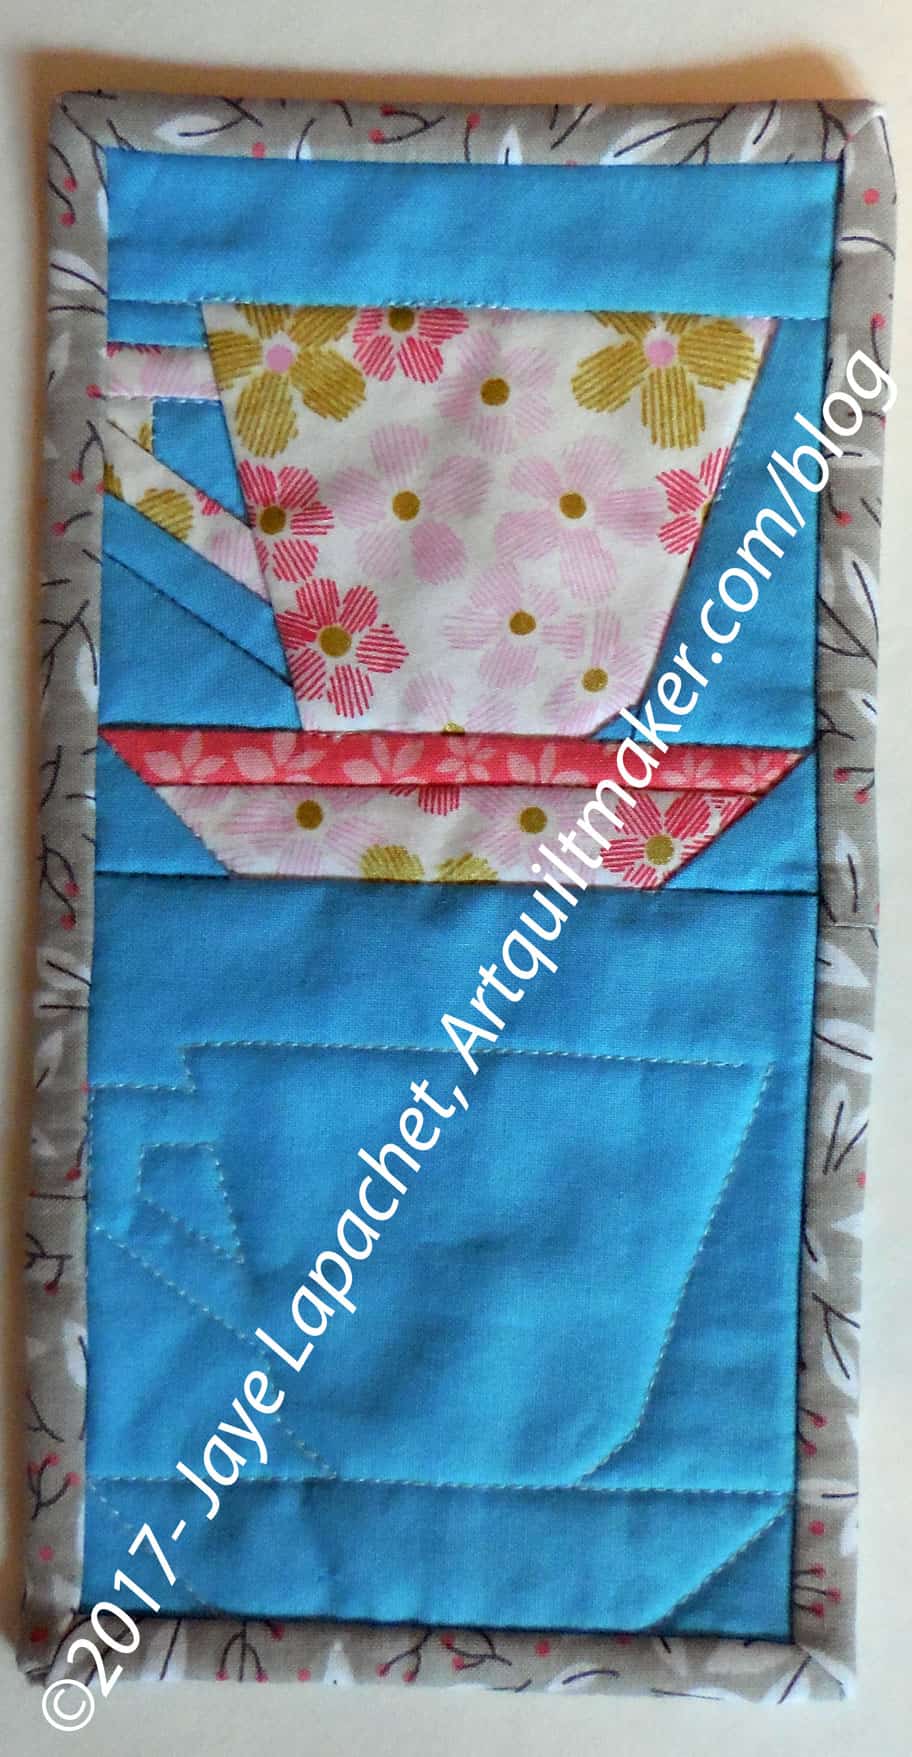
I have finally made a mug rug. I always thought they were dumb, but now find them to be useful. I wasn’t sure what I wanted in terms of a pattern, but thought that a cup or mug would be a fun play on words/imagery.
The piecing on the front as well as the quilting took me a couple of hours. I could have finished the whole thing in, basically, one sitting except I had to hand stitch the binding and didn’t get to it for a few days.
I did a simple web search and eventually found the set of cup patterns on the Piece By Number site. I have about 5 or 6 more from the set I could use to make more blocks, if I wanted. I wasn’t particularly looking for paper piecing, but the blocks appealed to me, so I went for it (good reason to have skill versatility).
This goes with the latest gift grouping on which I am working.
I really like this pattern even though it gave me a few fits before I finished it.
I found this pattern somehow. It is free (for personal use only) from Zen of Making*. I wish I had thought of the name, because there is something zenlike about making and the name is cool.
Anyway.
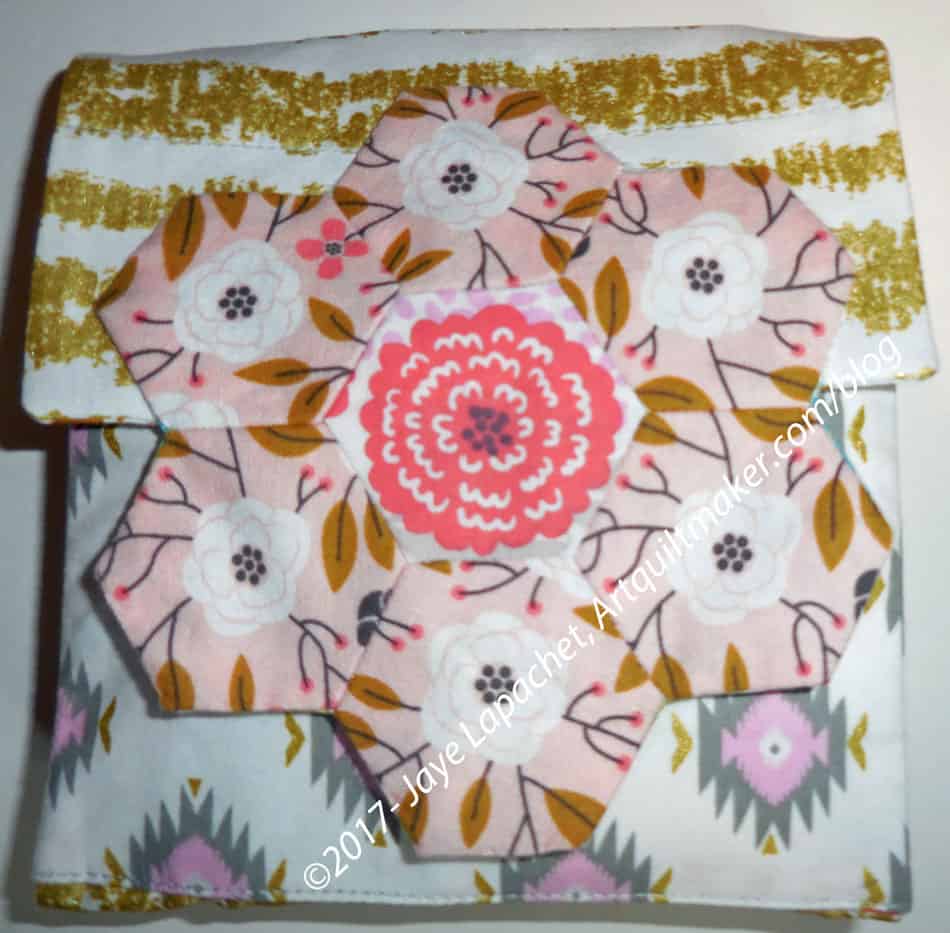
The travel kit is part of a three part series, which includes a lesson on making the hexie flowers. The final piece is making a pincushion out of smaller hexies to use with the EPP Kit. I had plans to make that as well, but ran out of time.
EPP Travel Kit – open (front)
This travel kit is awesome and the problem I had really had nothing to do with the pattern, but with the supplies I had on hand. I hand on hand, and wanted to use, some sew-in invisible magnet closures. Sara of Sew Sweetness uses these in a lot of her patterns and I find I have better success with them than the models with the ‘legs’ used in this pattern.
The closure is pretty awesome. I love the way the hexie flowers stick together. Very clever.
Once I figured out how to get the sew-in magnetic closures oriented in the right direction, the assembly went pretty smoothly. There is a lot of handwork in this pattern, which I wasn’t expecting.
The open look (right, slightly above) is a little odd. I think it might be because of the scrappiness of the whole piece. I think I should have used a backing for the flap hexie flower that matched the hexie flower (the one with leaves and a turquoise center). I do kind of like the scrappy look. I think I will make one that looks like a Dia de los Muertos celebration for a different friend. I definitely want to try different colors.
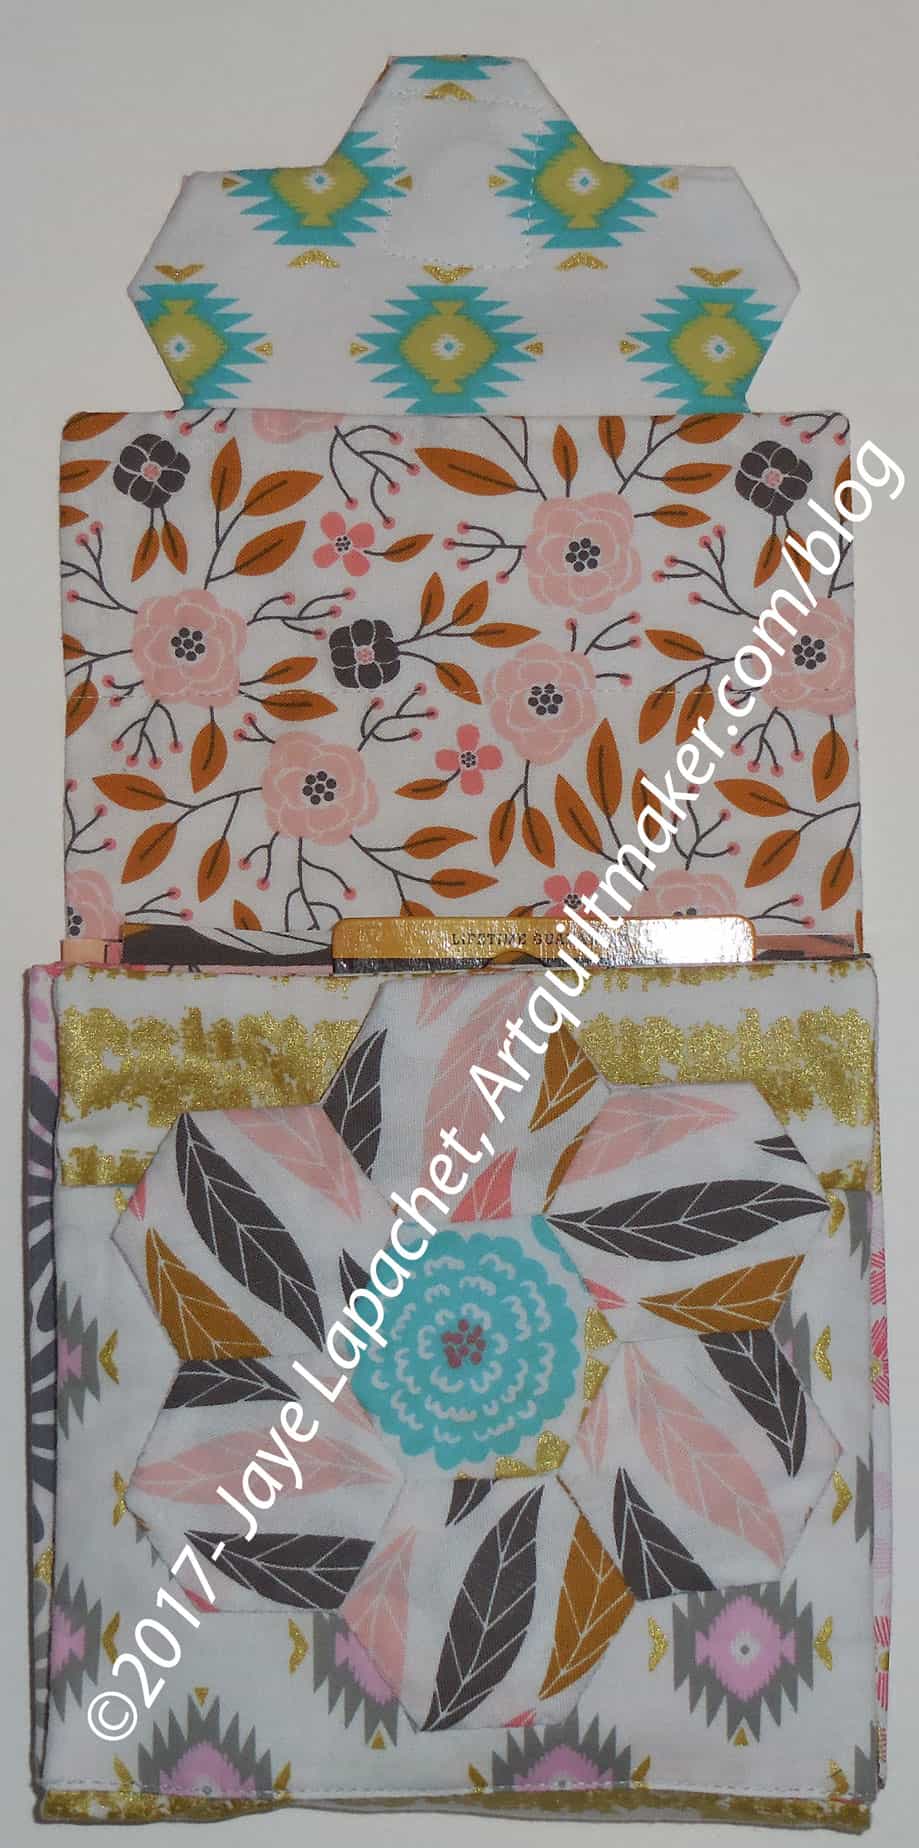
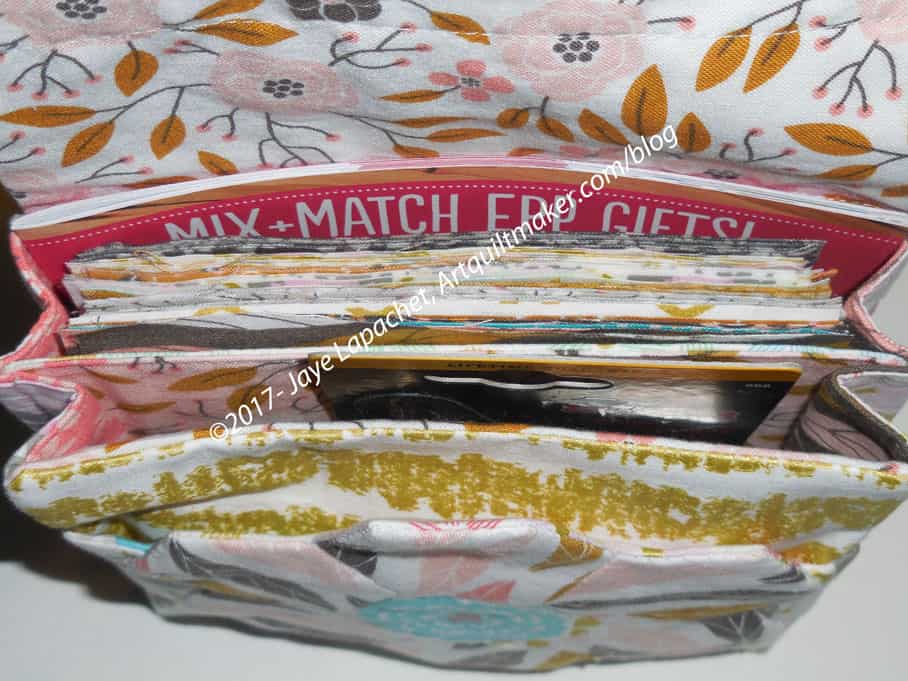
EPP Travel Kit – inside view
Altoids tins fit nicely inside and Haley (blog owner/designer) calls for two of them for this project. I had to scrounge them up. I put a piece of felt in the bottom of each tin to make them less rattly and a little nicer.
I cut and added some 5″ squares, and an EPP book to make the kit look full and fun.
*It appears that the name of the blog has changed to Red Handled Scissors. Not sure why, but the pattern is still there.
I have decided that I like that Big Tote pattern from the Make It Take It book.
This will be the carrier for the other gifts, such as the cloth napkins I talked about earlier this week, DH will present to the NDGW Grand President. This is the first one I made with just two fabrics. No mosaic piecing. The bold print works very well, but I think smaller prints would look better using the mosaic piecing method I used for the second one I made.
There are some things I would like to try, e.g. pockets. In my mind pockets are essential. This isn’t a huge tote, so I envision it being used as a handy bag to put a few things in when you weren’t planning on buying anything.
Kaffe print inside
I couldn’t resist adding a little of my own personality to the inside.
You can see some of the other gifts inside the bag.
This is so small and I used a scrap that I didn’t even put the used fabric on my spreadsheet. I am sure I will get 10 inches by 2 inches at some point.
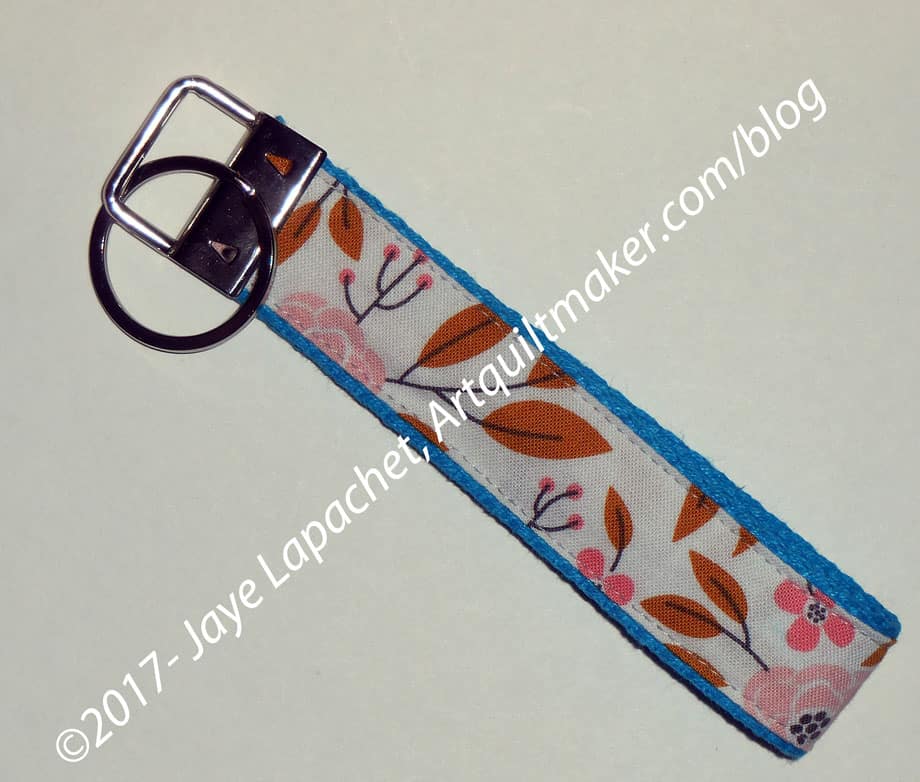
I never thought I would make a key chain. Buying the hardware is the stumbling block for me, but since I was at Fabric Depot and saw them I bought two sets of the hardware.
I was on a roll after yesterday’s finishing of the Red Dot Cell Phone Wallet. As a result, I decided to add to my fabric usage report by finishing the Habitat Cell Phone Wallet.
I forgot to mention that this goes with the other pattern by Valorie Wells called Little Wallet. I have made a few of these as they are really useful when giving gift cards and don’t take very along.
Habitat Cell Phone Wallet – open
This goes with the same dress pattern as the Red Dot version. No pockets in a dress or tunic is something I will avoid at all costs in the future.
This fabric is an older one by Jay Carroll and I had enough scraps from the dress to make this. You can see the details of this version much better because of the asymmetricality of the fabric motifs. The piece has four pockets (one of which is in the back and you can see in the last photo), all with graduated sizes.
I did not put a closure on the flap, though the pattern calls for one, because I wanted easy access and wasn’t expecting to keep anything of great value in it.
Habitat Cell Phone Wallet – back
I find that I do not need to interface all but the covers. The rounded corners are quite bulky and difficult to turn. I did not topstitch the bottom part of the piece. I stuck to the flaps as my needle would not go through those corners no matter what.
I have a black one I want to make and may try the fabric strap. I also have a green one in pieces. I need to find the pieces and sew that one together.
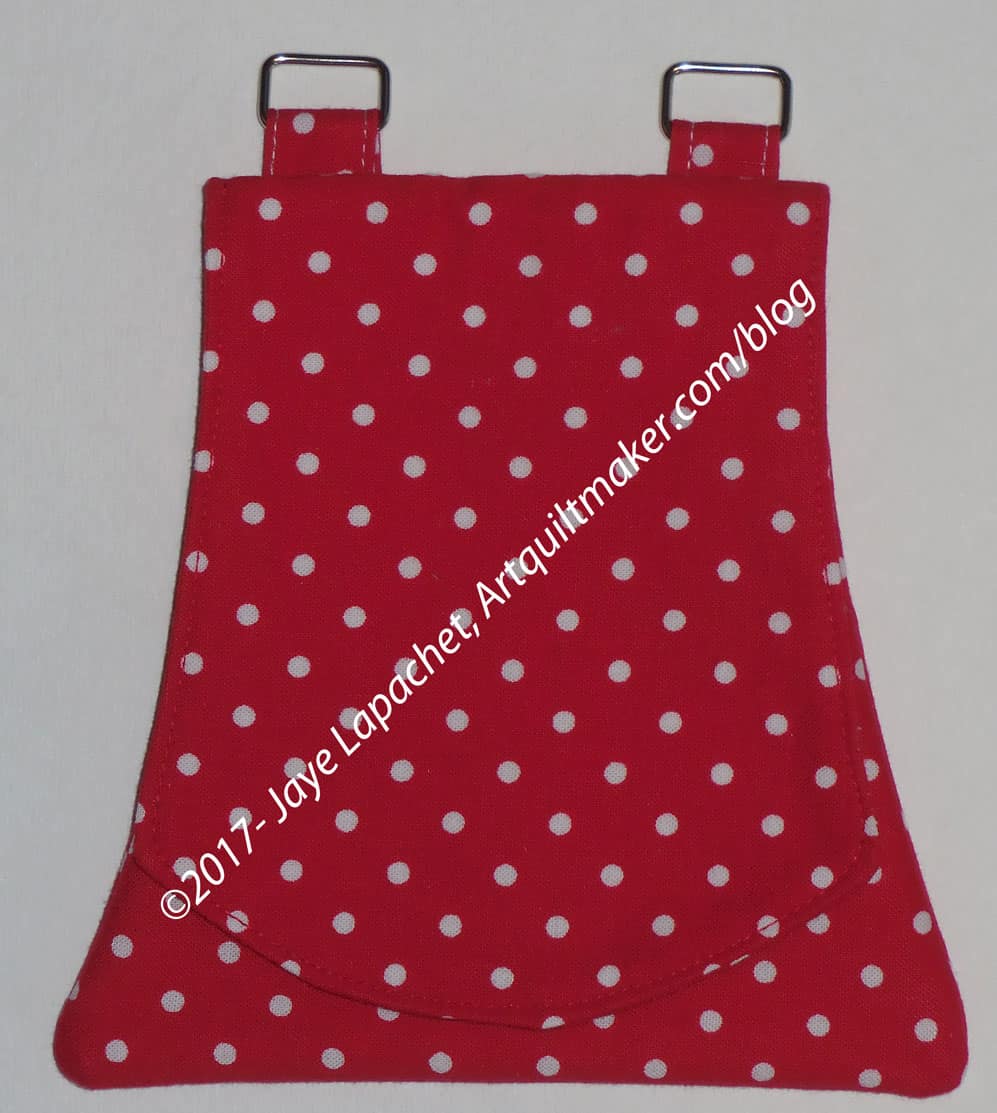
I decided to wear my red dot dress to Easter, despite the rain. That meant no pockets so I needed to finish the Red Dot Cell Phone Wallet. It had been languishing for months and only needed some topstitching. I sewed the topstitching and sank the threads really quick Easter morning before we left for the party.
My SIL noticed right away and I was pleased to have finished the bag. It was very useful for its intended purpose.
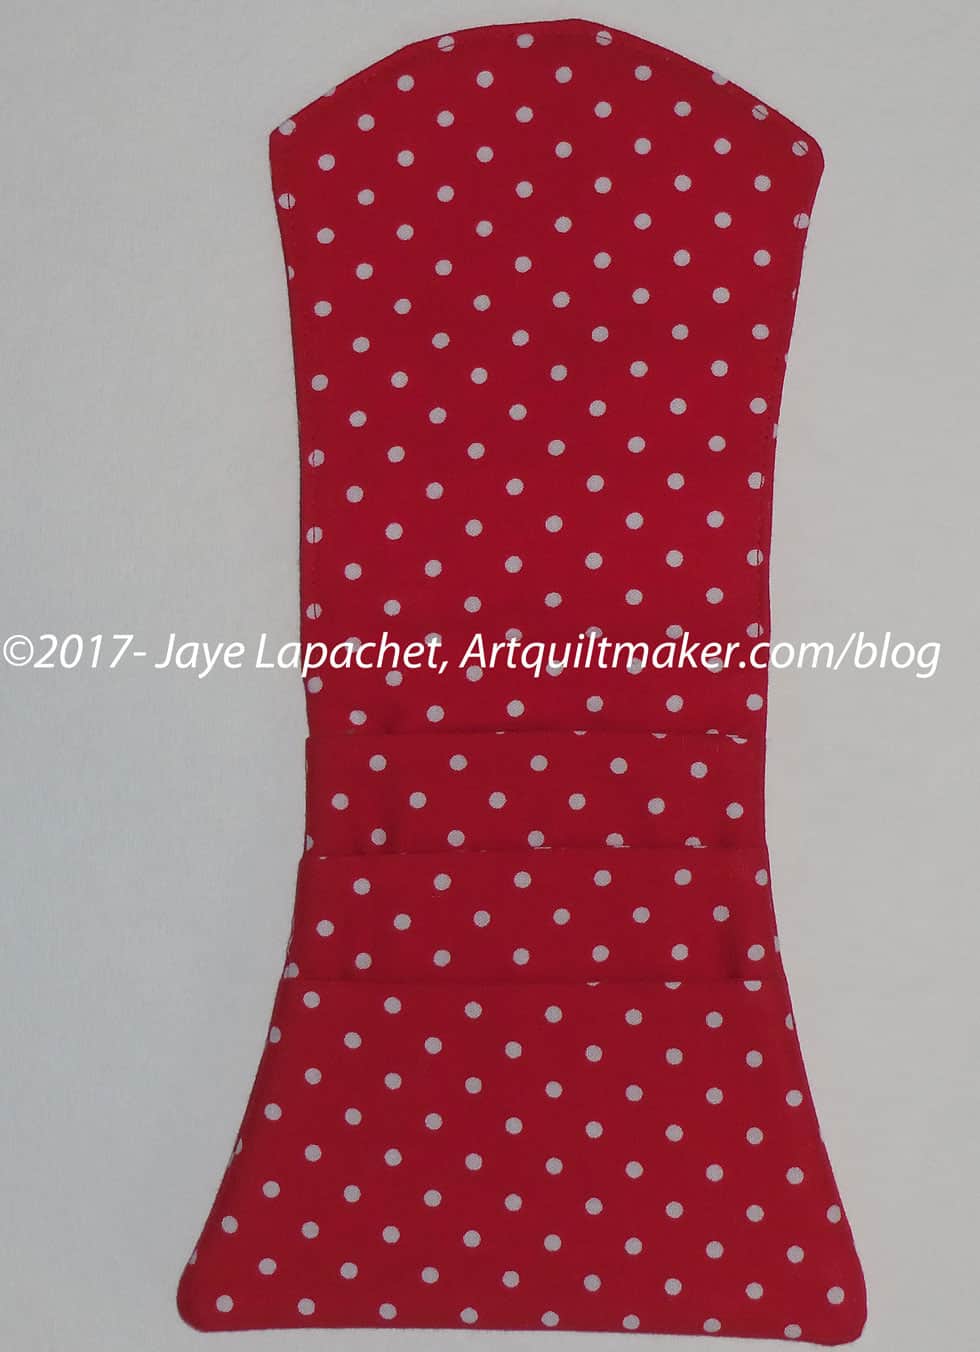
Red Dot Cell Phone Wallet – open
The pattern calls for a strap made from fabric, but SIL gave me the idea of an interchangeable strap. I bought those small rectangular ‘rings’ and a long chain, which I use for this one and two others I have. There are two things I don’t like about the chain. First, it stands out from the dress when I wear it. Second, it is of a sufficiently intricate nature as to get caught in my hair when I am not careful or needing a haircut. If I make more, I may make straps. We will see.
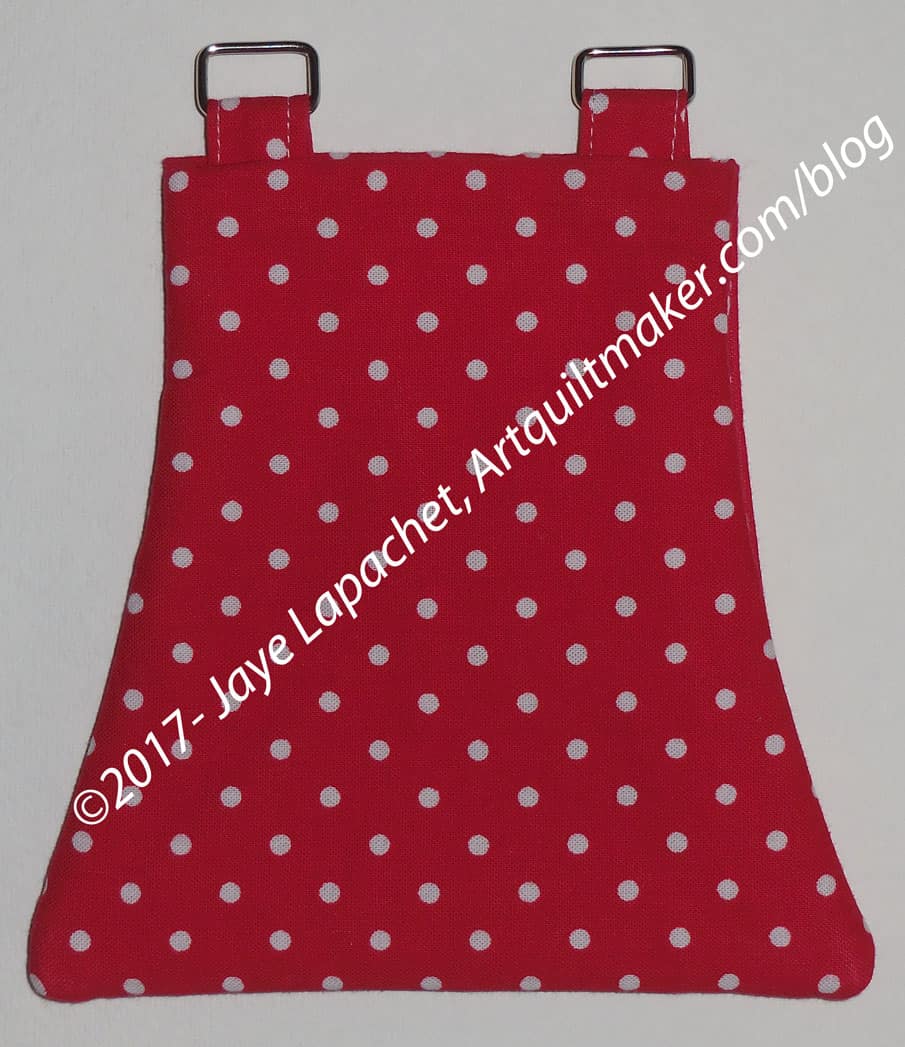
Red Dot Cell Phone Wallet – back
It is a pretty easy pattern and useful for the purpose of providing a pocket in a dress whose pattern does not lend itself to pockets. There are several pockets for cards, though I only use it for a hotel key and cell phone. I have put my keys in there, but my car keys are too bulky because of the clicker for DH’s car. I toss them in and they ruin the slim line of the bag.
After wearing the dress, I think I will bring it with me to Grand Parlor to wear at one of the less official events.