
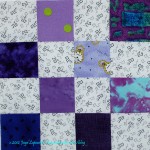
I am working steadily on the pink donation blocks. I have all 16 finished, though I just had 12 finished when I started writing this post.
I have the Corner Store on the portable design wall, so as soon as I finished the last donation block, I started to cut sashing. I haven’t cut all the sashing, but started to sew sashing onto donation blocks anyway in between sewing Corner Store blocks together.
I can’t see the blocks all together yet, because, as implied, both design walls are covered (could I, possibly, do fewer projects at once?) with other projects (A-B-C Challenge, Swoon, FOTY 2012, Corner Store).

I have about 6 blocks sashed and need to cut a bit more sashing.
In between sewing, I also cut some ~8″ pieces to make additional pink 2.5″ squares for a future donation quilt. I used the ~8″ pieces to cut 2.5″ squares using the Accuquilt. I have a big stack waiting for me to sort.

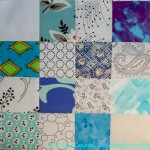
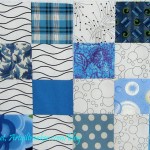
The blocks are all a bit different, but I used many of the same fabrics, as I did in the Blue Donation quilt.
I intended to make the top and back and give it in to the Charity girls at the BAMQG, but since my sewing machine seems so happy, I wonder if I could practice some free motion machine quilting on this piece? The last time I did free motion quilting, it was such a disaster that I might have developed a phobia. I have to see if I can do it…physically, too.

And there are more pink quilts to make as Mrs. K sent me more pink fabric. Just what I needed. 😉
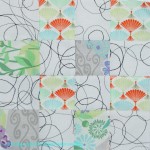
I am going to use the large piece on the left as backing. It is a very soft lawn, I think, and a bit thin, but I think it will be fine. Most of the fabrics Mrs. K sent were shards and strips. I washed them all and am preparing to cut them up into squares. A couple of the pieces, in addition to the lawn, are larger – FQ sized or so. Perhaps they will go on the back as well. We will see.


")


")


