Testing Sewing Machines

I went out again to test sewing machines, this time with my own materials. It made such a difference! I was really able to test what the machines could do.

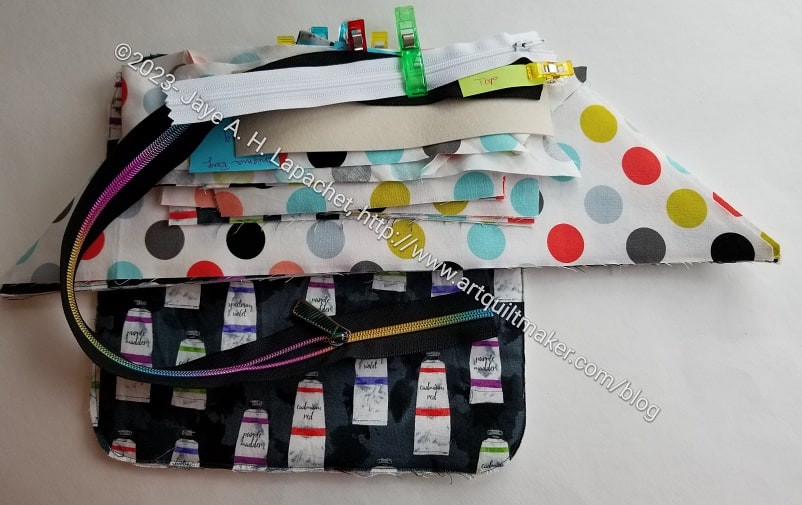
Before I get into that, I highly recommend taking time to prepare you own samples to sew. I spent all the sewing time I had on Sunday prepping materials that I would sew as a test. These were not fake tests, they were real pieces that will be used in bags I am making.

I planned to perform the same tasks on an Elna 792 Pro Ex and a Janome Continental M8. Most everything I brought had two options. Mostly I got the same results from both machines. 

Enigma Side Panel - handle support
Enigma Side Panel – handle support

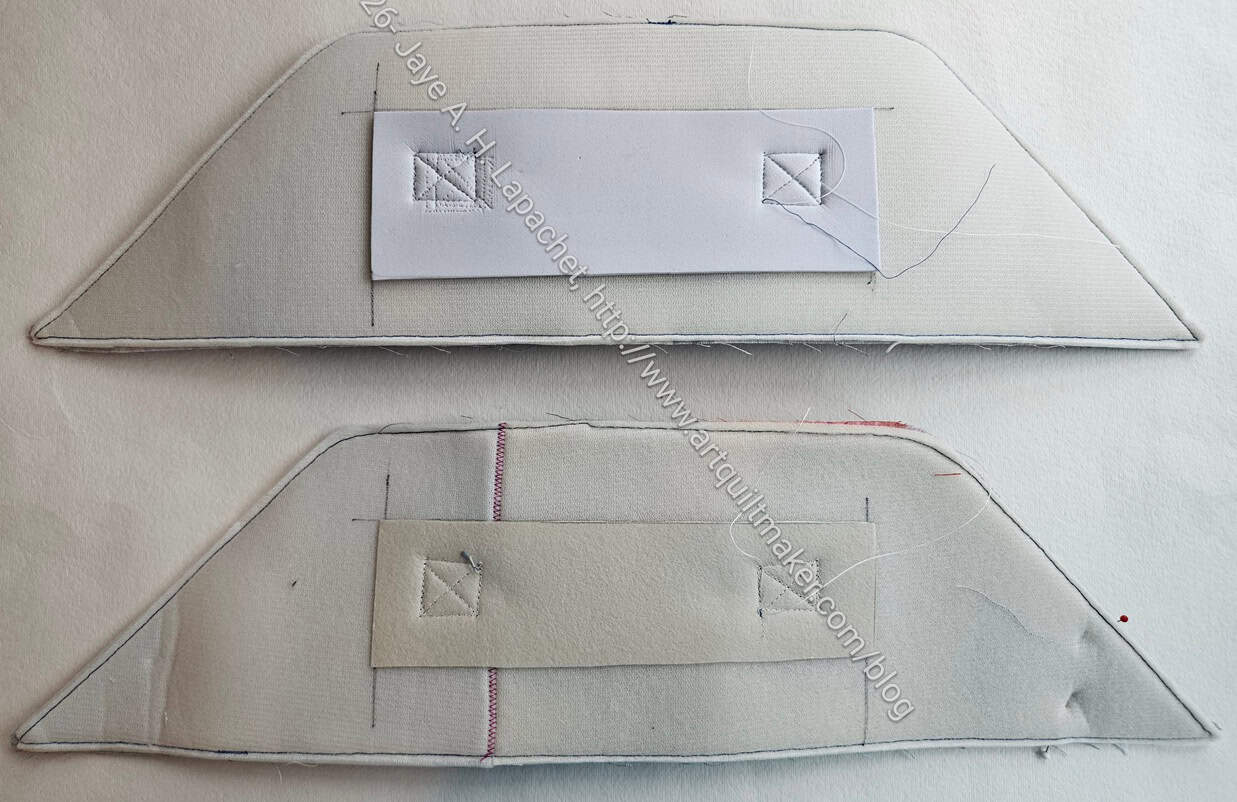
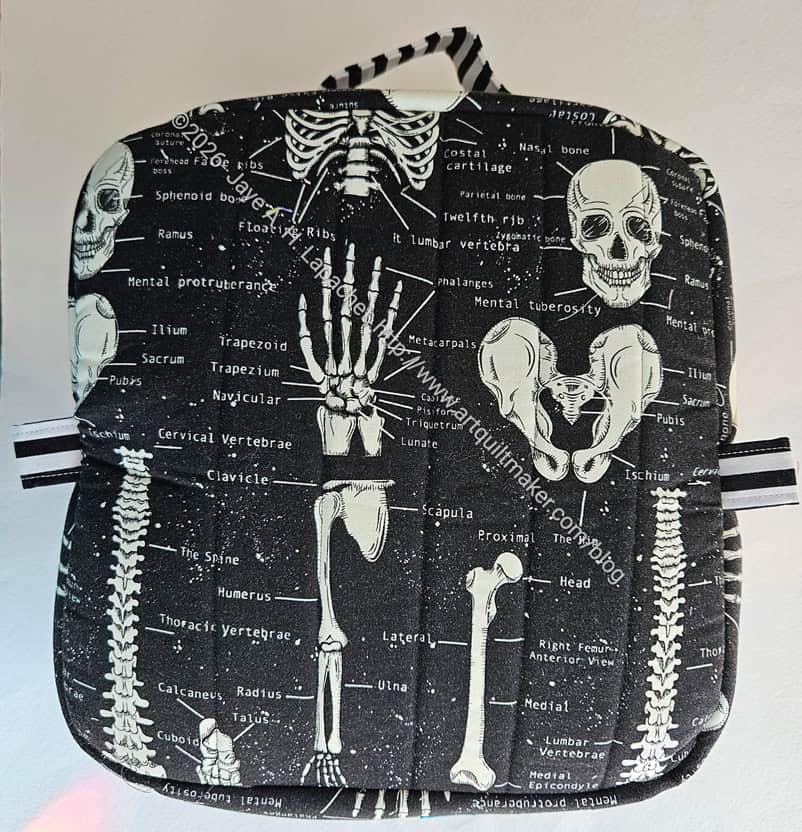
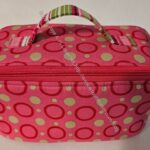
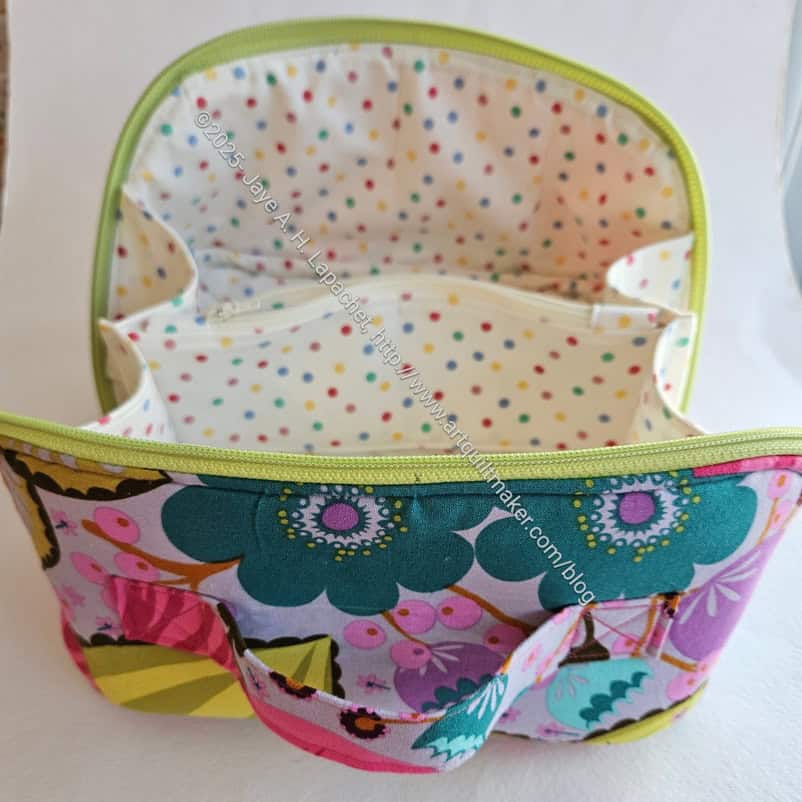
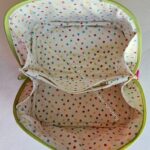
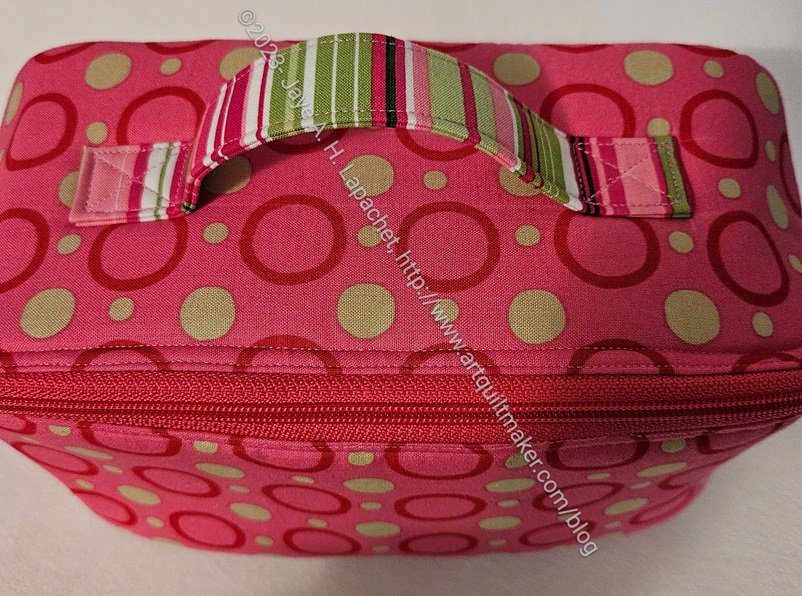
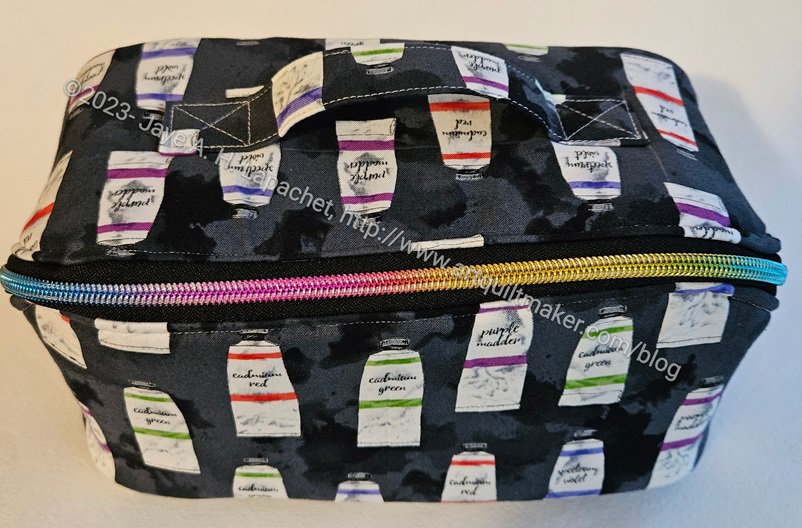
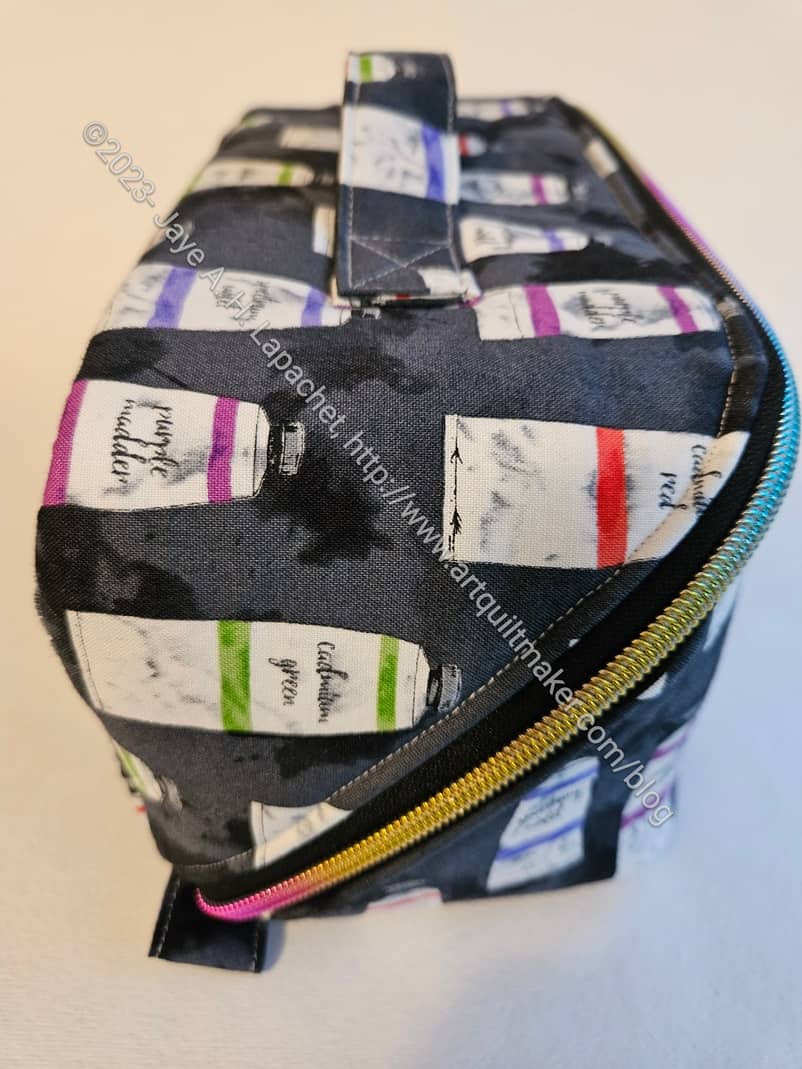
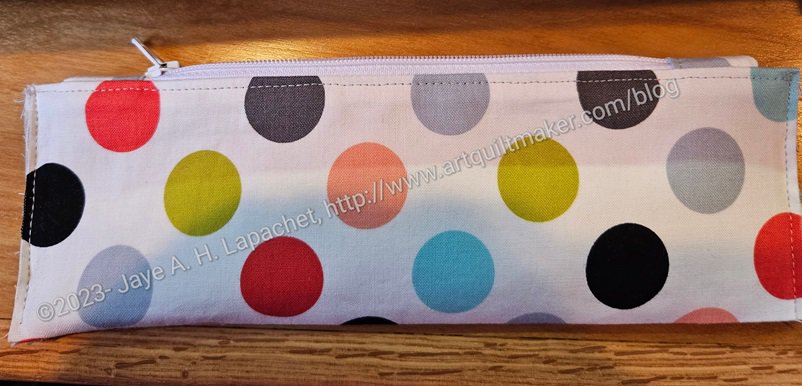
I prepped two Enigma tops, which the pattern calls the Side Panel. I wanted to test going through the handle, one of which included a layer of Decovil (bottom). The other had a layer of the Sewfisticated 2mm stick-on (top) interfacing. I wanted to see the difference in the sewing. I know the underside looks really ugly, but that is the hidden structure of the bag.

I had tried to sew the Sewfisticated 2mm stick-on interfacing on my current Enigma efforts and kept getting skipped stitches. I was annoyed, so I peeled off the Sewfisticated 2mm stick-on (top) interfacing and replaced it with Decovil. This gave me the idea to test them both out on the machines. I quickly put together the pieces for these two bags and took them with me. 

The outcome was that I learned about a new type of needle. Schmetz has a universal needle called the Super Nonstick Needles**. While I didn’t try sewing this special stabilizer with a regular needle, using one of these non-stick needles made the process very smooth. The layers were a challenge, but not the stickiness. WooHoo! I learned something new!  MaryC knows everything and she hadn’t heard of these needles either. 

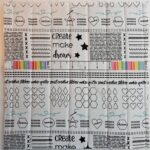
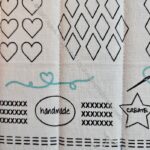
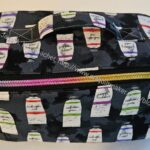
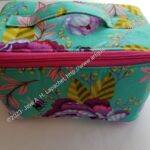
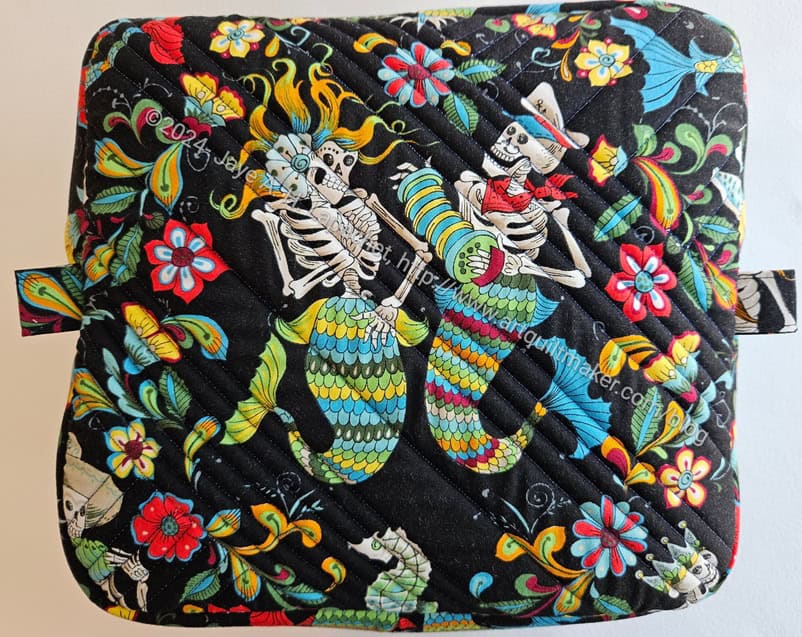
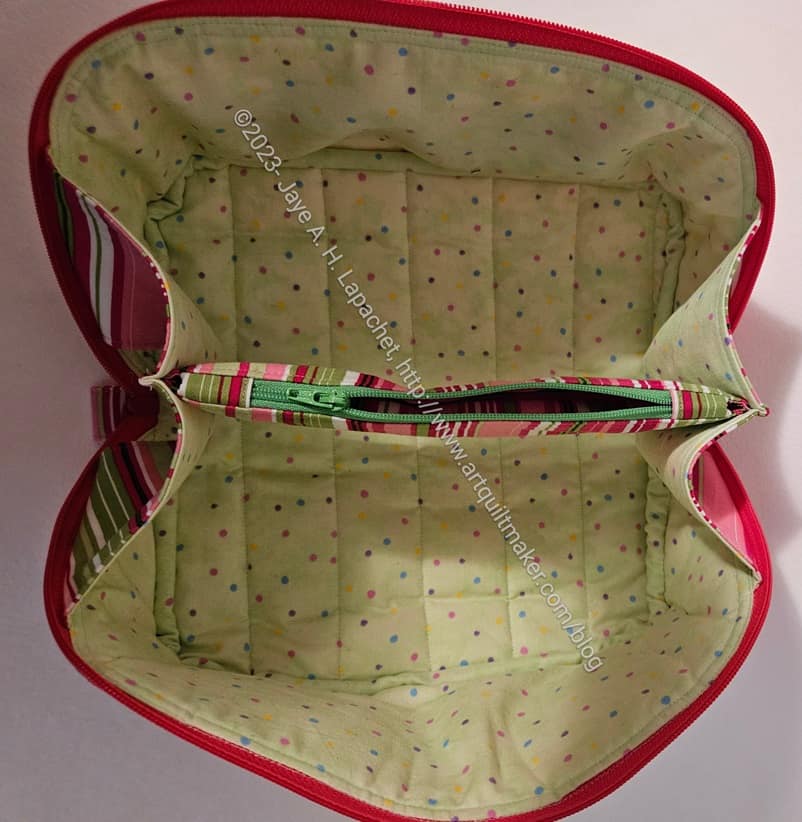
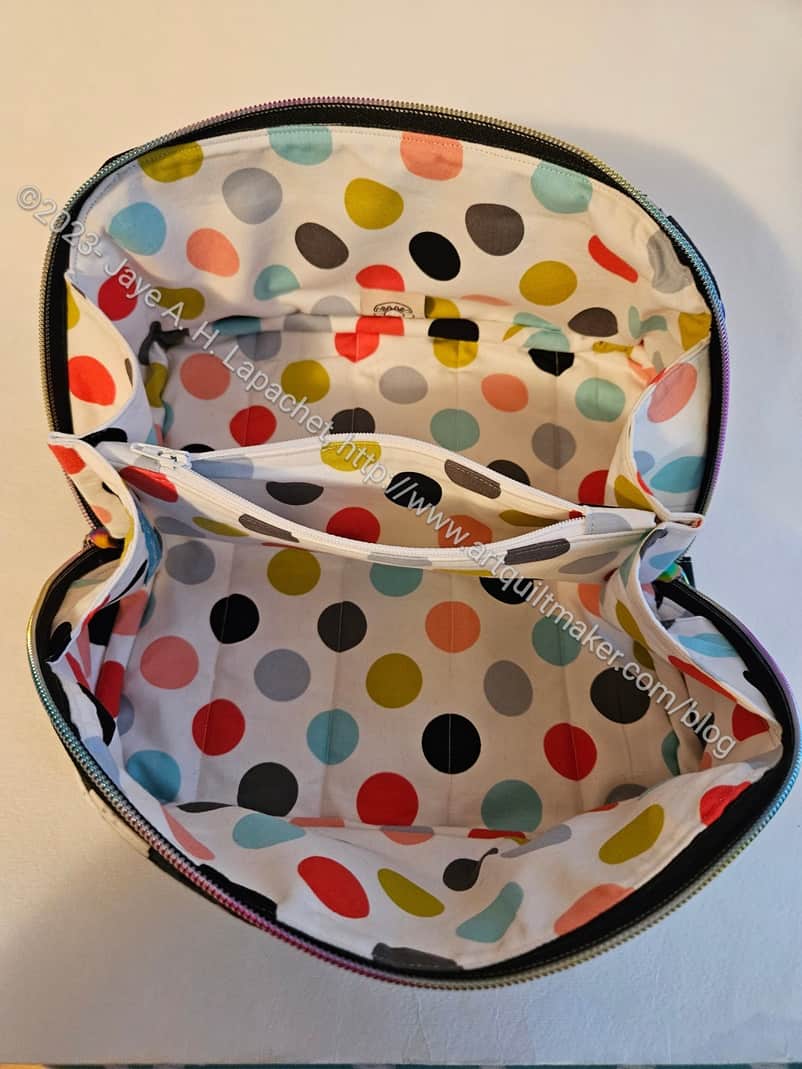
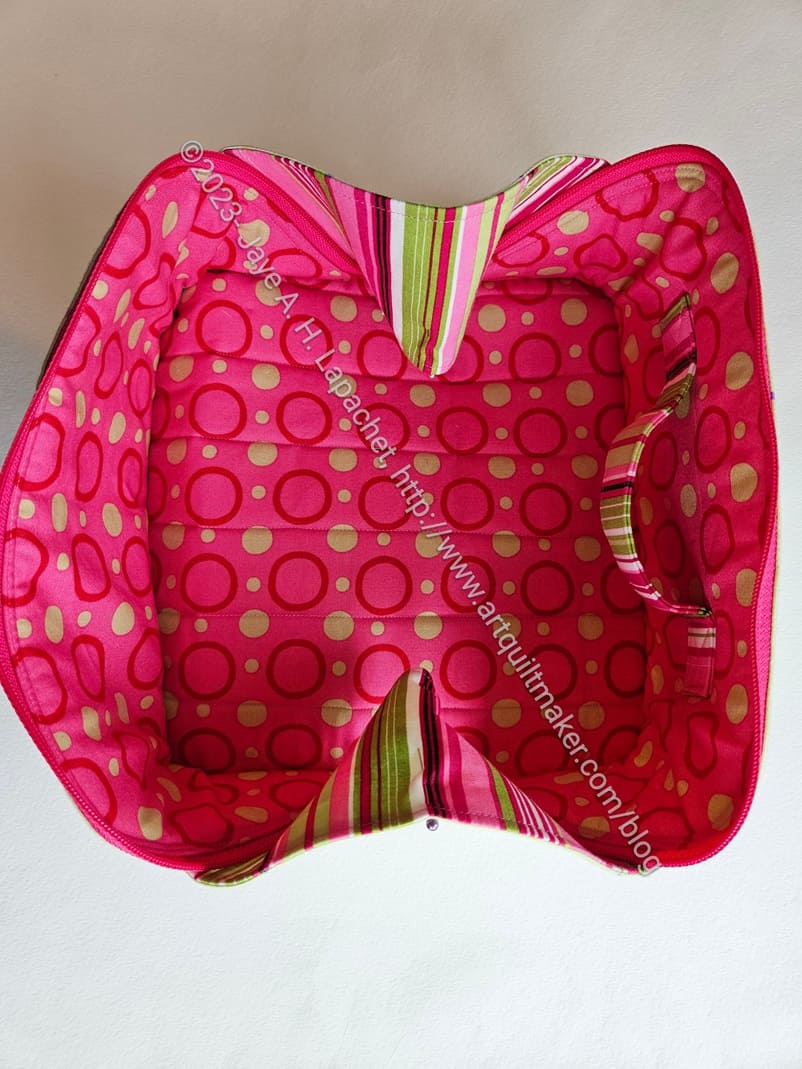
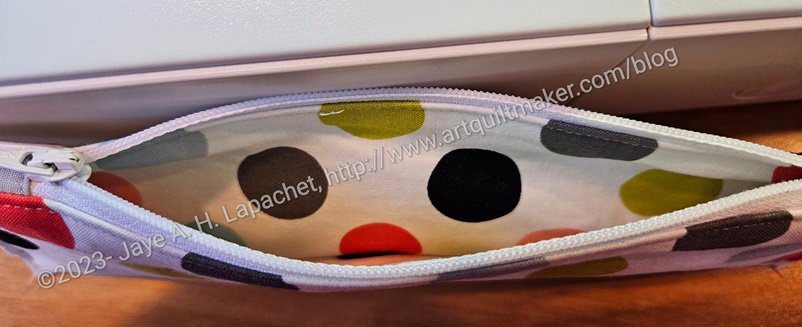
I cut a foam and fabric combination using some scraps and prepped it with the MistyFuse like I have done for the past couple of Enigmas. The test I performed was using two different thread colors. The tension definitely had to be adjusted to get it perfect, but even out of the gate, the quilting looked good. I was particularly pleased that no blue thread showed on the white side.

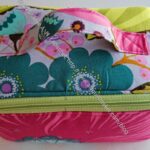
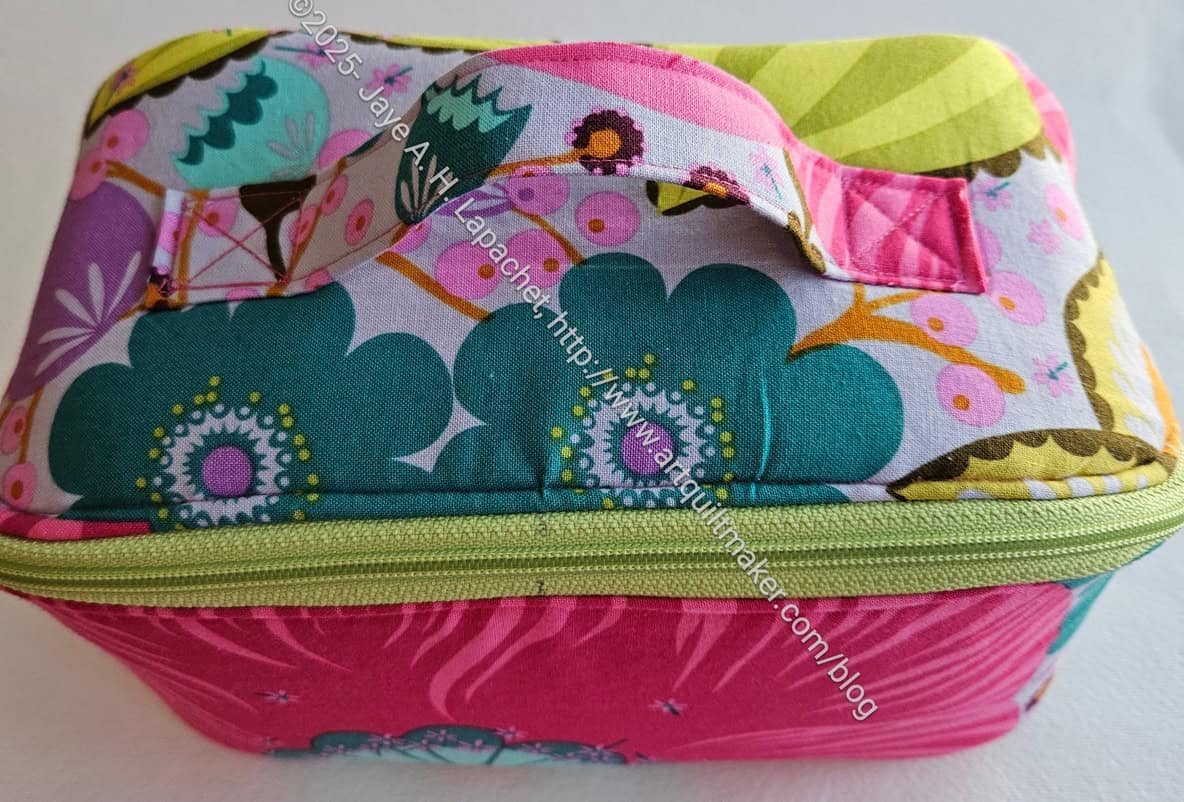
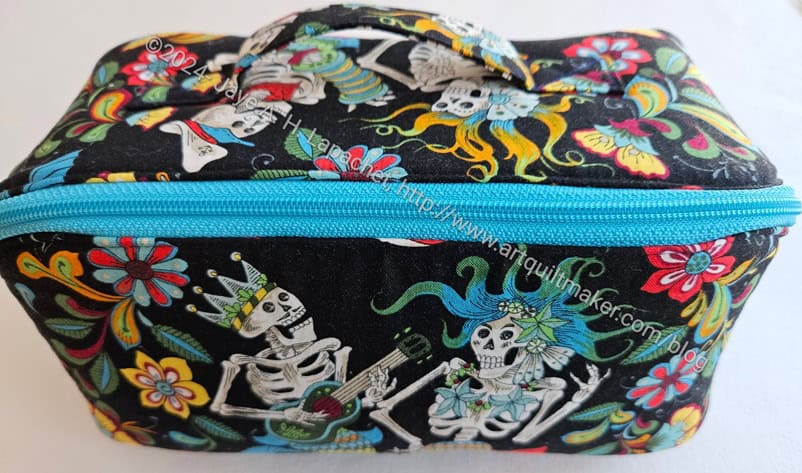
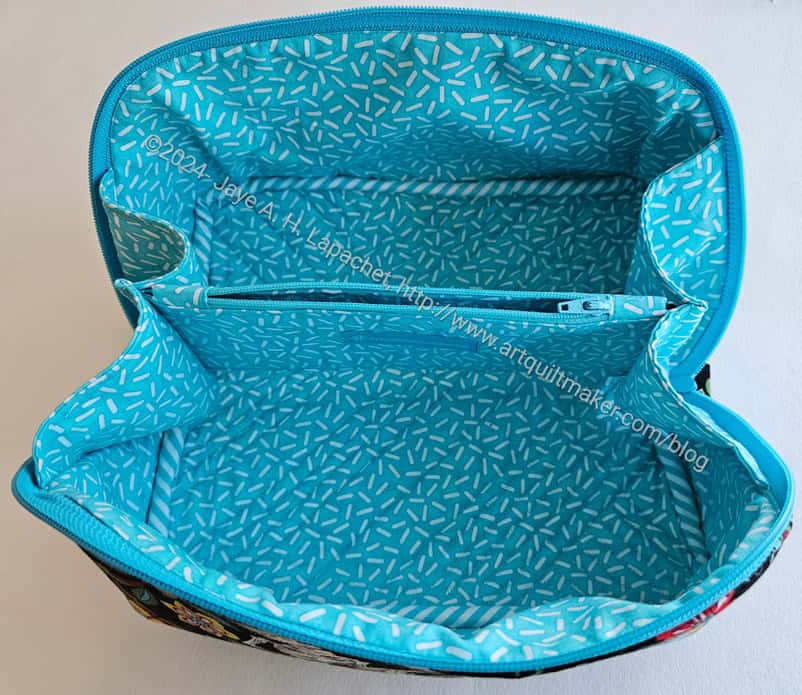
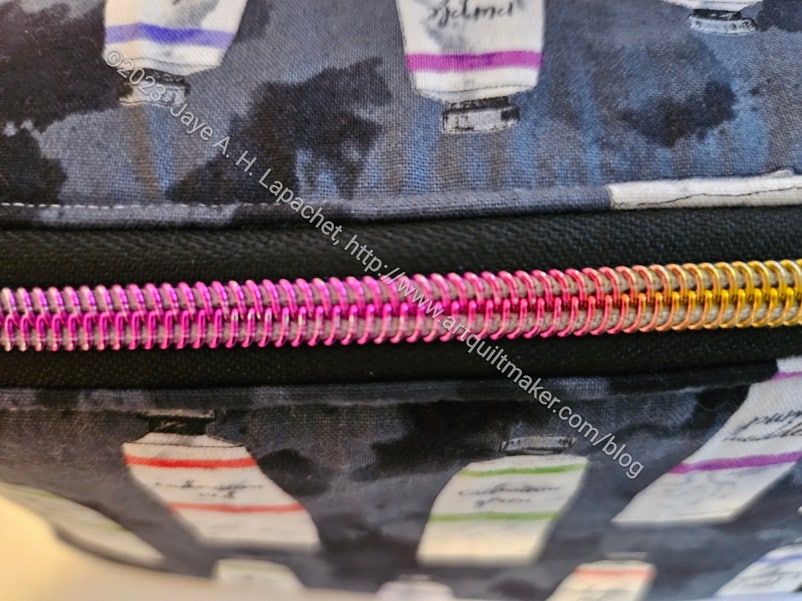
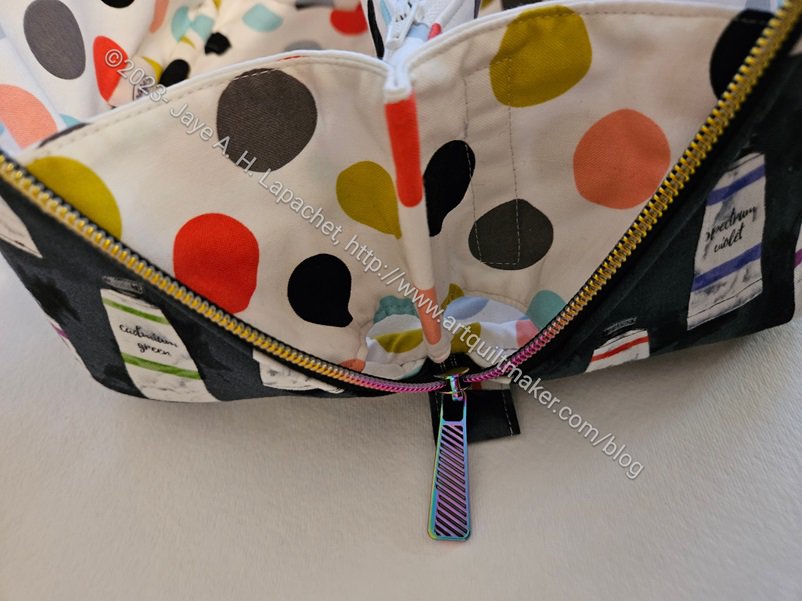
I tested sewing one of the last steps of the Enigma pattern – the side completed panels with zipper to the bottom panel. I had some trouble the other day with the two sections slipping out of true and not getting caught in the seam. I used the HP2 foot with Acufeed, which is described as “… holds fabrics firmly in sync with the feed dogs to achieve professional results.” I found that to be true even when sewing approximately 7 layers of fabric and foam together. Technique is not to be ignored. This time I sewed from the side where I could see the previous stitches, except over the zipper. 

Pandora Charisma #2 front panel

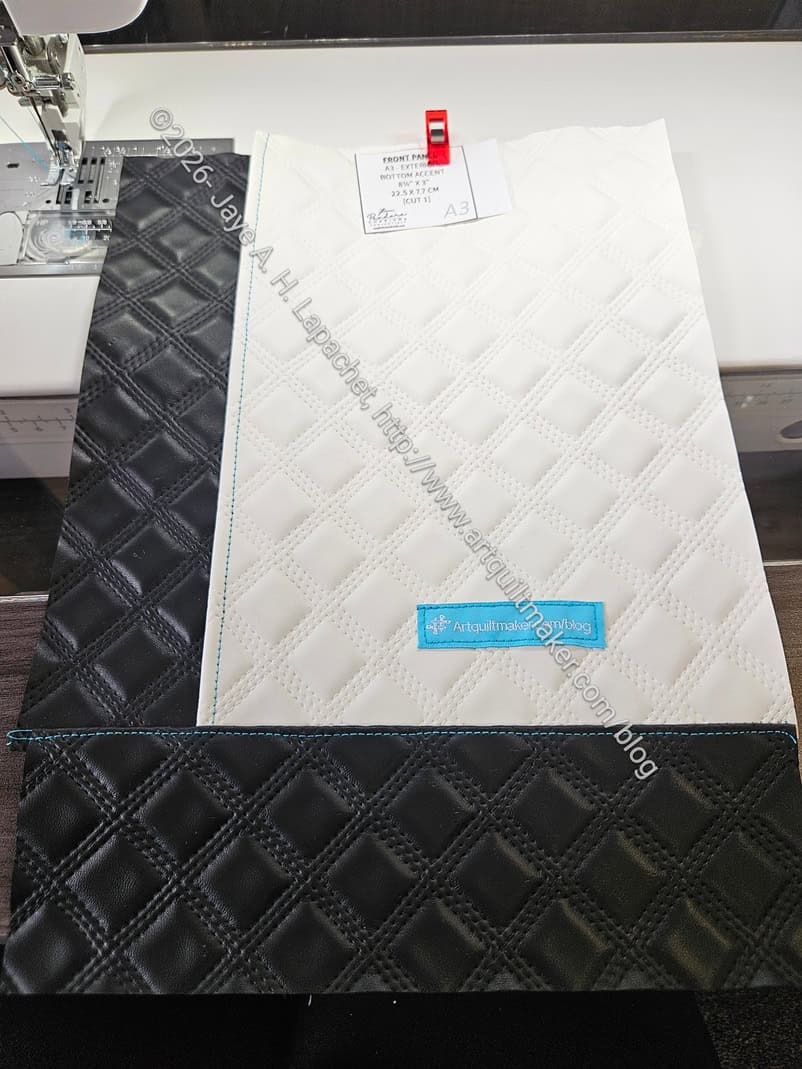
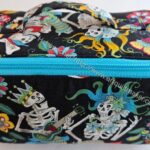
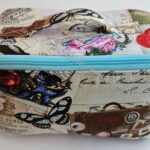
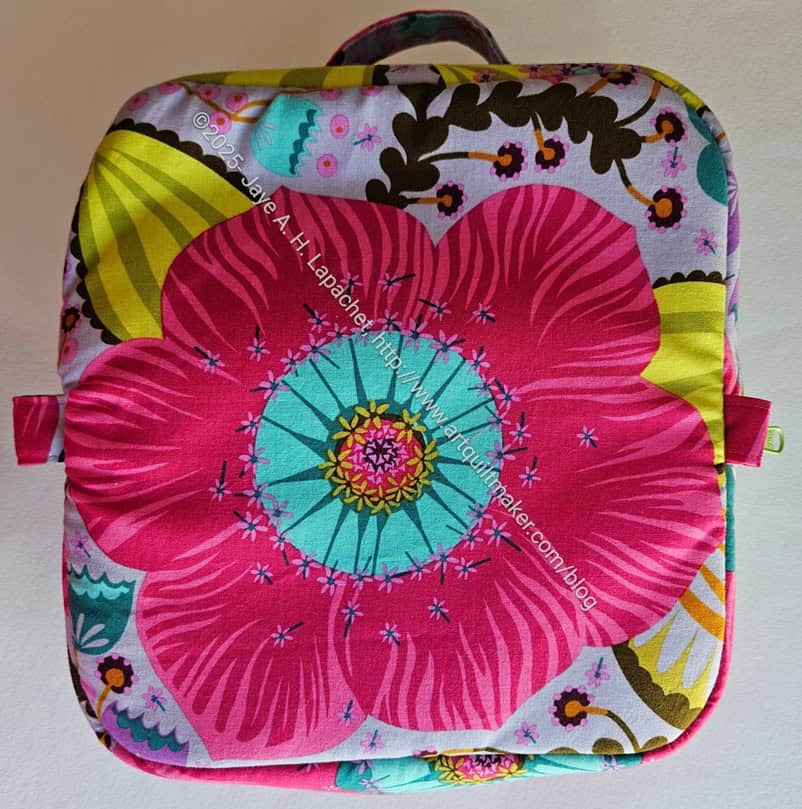
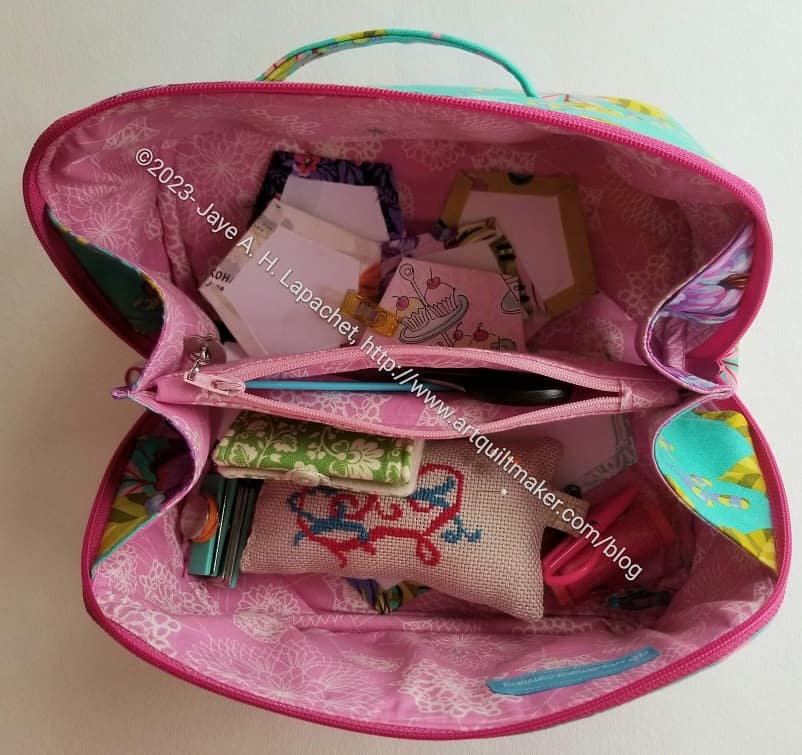
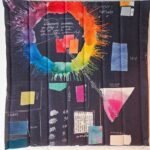
I also prepped the front panel of the second Pandora Charisma. Yes, despite the swearing, I am making another. It is not at the top of the list, but I do plan to finish it. As a result, I prepped the pieces for the front panel, because I thought that if I wanted to put the machine through a hard test, this would be it. Amazingly, I sewed the entire front panel in about a half an hour (!!!) on the machine I am considering. It was amazing. The machine had no problem with multiple layers of pleather and I could really see the difference in the stitch quality. I wasn’t even using special thread.

Pandora Charisma #2 front panel detail

It isn’t perfect, mostly because I am not familiar with handling the machine. Still, I was thrilled with how well I did using the pleather. I really didn’t think it was possible to have an easier time sewing through that substrate.

I know I shouldn’t compare a brand new machine to an older, well loved machine, but I was really excited by the improvement by using a machine with a more powerful motor.

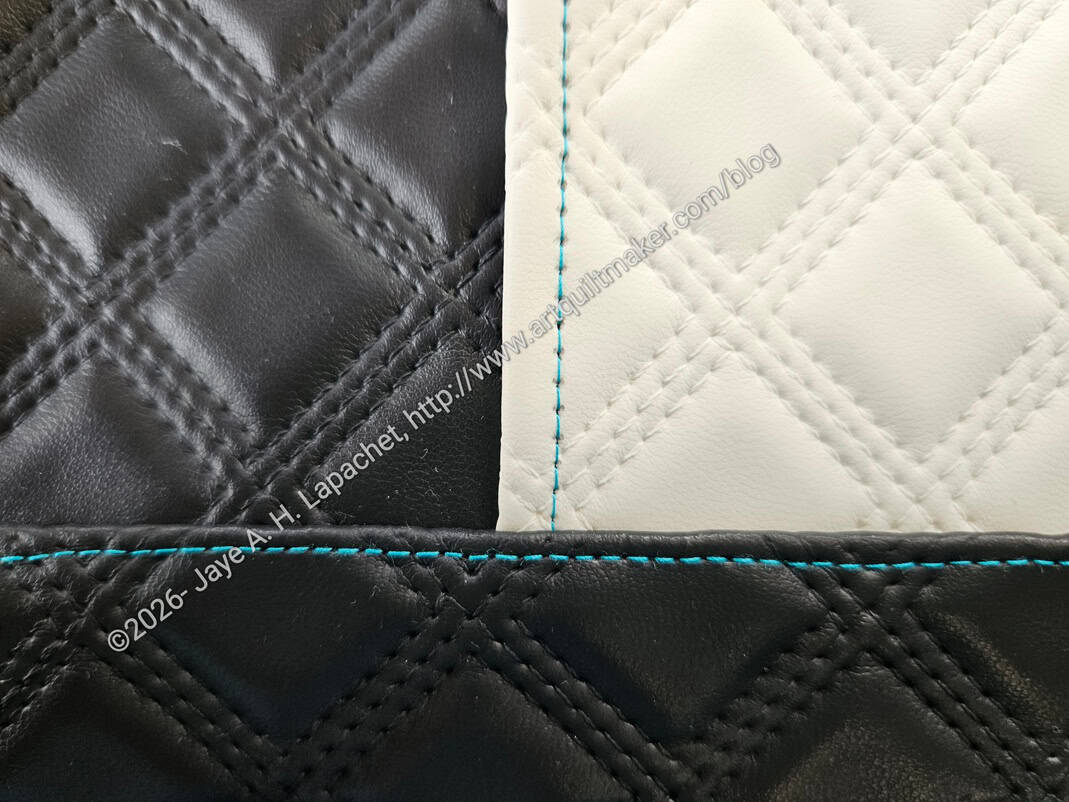
The above two pictures show the differences in the stitch quality. The Pandora Charisma #1  is on the left and #2 is on the right. Both show the same front panel detail. For #1, I upped the stitch length from 2.2, which is the default, to 2.5. It is still almost impossible to see the individual stitches. The pleather is almost perforated on Pandora Charisma #1.

I did not test the Janome M8 with the Pandora Charisma. I was getting tired and wasn’t up for it. I am told that both machines are the same with different housing, so I didn’t feel I needed to do it.

We’ll see what happens. I am inclined to buy one of these machines. I’ll have to wait and see.


**Obviously, you should shop at local quilt shops and small businesses. However, if you are too busy or can’t find what you need there, I use Amazon affiliate links and may be paid for your purchase of an item when you click on an item’s link in my post. There is no additional cost to you for clicking or purchasing items I recommend. I appreciate your clicks and purchases as it helps support this website.

New Enigmas

Two new Enigmas
Two new Enigmas

After looking at all of the Enigmas, I decided to make more this year. I have been slowly working on two new Enigmas in between working on other projects. These are gifts, one of which will be sent off soon and the other is for later this year. I am ahead of the game to a certain extent. I think I plan to make 8 total this year, of which these are number 3 and 4.

Diana’s Enigma is already in use and the Bone Enigma is already on its way to its new home.

My Enigma Rivets

Bone Enigma side panels - pre-assembly
Bone Enigma side panels – pre-assembly

When I sewed the Bone Enigma I followed the directions exactly with regard to rivets. The directions say to add rivets before assembly. The rivets can go anywhere, but I wanted to put them on the ends of the handle, just to reinforce it. It is at the stage of assembly shown in the photo where the directions say to add rivets.

Peony Enigma with rivets - full
Peony Enigma with rivets – full

This is great except for Enigma bags already completed. I decided I wanted rivets on my Enigma bag. The bag is already complete, so I consulted with Mary and we decided it could be done.  We had to squish the top a little, but the overall procedure worked and my bag now has rivets on the handle.

Peony Enigma with rivets - detail
Peony Enigma with rivets – detail

I wanted silver, but Mary thought a gunmetal finish would look better. I am pleased not to worry about ripping out the handle.

Finished: Megan’s Bone Enigma

Megan's Bone Enigma-front
Megan’s Bone Enigma-front

Megan’s Bone Enigma has been on my list for awhile. It doesn’t show up on any of my 26 Projects lists, because I hadn’t started cutting or sewing. It only shows up on my UFO Challenge list, because I have been wanting to make it for awhile and hadn’t quite gotten to it.

I could have waited to write the “All the Enigmas” post, but I will have to write another one as I am already cutting others out. 

Megan's Bone Enigma-interior
Megan’s Bone Enigma-interior

This bag goes with Megan’s Hand Bone Hackney. She said she liked this fabric and I hope that is true. I bought it for another purpose for which the fabric will not be used. I did make several projects from it, but still have at least 1.5 yards left.

One thing I did on the bottom, which are pieces that need to be quilted, was fuse the fabric, both lining and exterior, to the foam using MistyFuse**. I had forgotten to cut the lining and exterior larger before quilting and wanted to try and mitigate shrinkage. I think I could have left the bottom unquilted, because the MistyFuse really adhered well to the fabric. I was kind of surprised since the MistyFuse has been laying around my workroom for years.

I am pleased with how the center looks. I just feel like it came out really well. The fabric, a Birch Organic, looks really great. 

Megan's Bone Enigma-bottom
Megan’s Bone Enigma-bottom

I tried really hard to line up the fabric so that the motifs were oriented in the right way.

In the photo of the bottom you can see how the motifs are oriented towards the top. See the handle? When the bag is closed the part of the bottom with the skull forms the back of the bag and that skull as well as the other motifs are right side up. 

Megan's Bone Enigma-bottom-> back - closed
Megan’s Bone Enigma-bottom-> back – closed

Cool, huh? Sadly, I did not match up the motifs on the top piece with the back piece. I was pretty proud of myself for doing this much, though I don’t think anyone will notice.  *I* notice and that is what is important!

Megan's Bone Enigma-top closed
Megan’s Bone Enigma-top closed


I am on the fence about the striped handle and pull tabs. I didn’t have any solid black at the time I cut those. The design works pretty well, but I think a solid black would have been better. Or maybe a black and grey stripe? Not sure, but I’ll have to think about it. I did use this same strip on the handle of Hand Bone Hackney, so that is something.

An unintended effect looking at the top is that the handle is enclosed by two hand bone motifs! It looks kind of cool. 

I also used MaryC’s rivet press at Sew Day to put rivets on the handle. I am super excited about that!!

I still love the diagonal zipper. I thought the zipper tape I chose would be too large, but it worked out ok. 

Well, even though that number hasn’t been picked in the UFO Challenge, I have finished it. I am giving it to Megan today, so needs must.


**Obviously, you should shop at local quilt shops and small businesses. However, if you are too busy or can’t find what you need there, I use Amazon affiliate links and may be paid for your purchase of an item when you click on an item’s link in my post. There is no additional cost to you for clicking or purchasing items I recommend. I appreciate your clicks and purchases as it helps support this website.

All the Enigmas

I am thinking about making some Enigma pouches again. I wanted to know what I had made and came up with these versions.

Six is a pretty good number, but there is still scope for making more.

Diana’s Enigma

Diana's Enigma - top
Diana’s Enigma – top

This is my first finish of the year! Finally! The Enigma might be my bag of the year as I feel excited about this bag and am eager to make two more. 

I started this, because I had another one on my to do list and thought making two at a time would be quick and efficient. I also thought (and really hoped) it would, maybe, be chosen as the UFO project for the first month of the guild UFO challenge. As mentioned, no such luck, so I held off making the one on the list and just worked on this one.

Diana's Enigma - open, side view
Diana’s Enigma – open, side view

I made this bag for the Angel Mother, and my birthday twin, Diana. I have made a Day Trip Wallet and two Dogwood pouches using the same fabric. I have no idea if she likes it, so I’ll just keep on making bags for her until I run out.

Diana's Enigma bottom
Diana’s Enigma bottom

I wanted to fussy cut the front so it looked a bit better than mine. I ended up fussy cutting the bottom, which ends up being one side. It looks good, but you can’t really see it.

I really like that big flower.

The more times I make this bag, the easier it becomes, but the more I like the construction. I watched part of the video and there were some helpful hints in it. The video is totally worth the purchase when you buy a Sew Sweetness pattern.

Of course, the Enigma is part of a 12 pattern bundle. While Minikins Season 3 is probably my favorite, I have also made several of the patterns from Season 4. See the various projects and decide which season you like best.


Gift Post: Gerre’s Enigma Bag

Skeleton Mermaid Enigma Bag

While I was making my sister’s Enigma bag back in July, I also made one for Gerre for Christmas. This is Enigma #6.

Skeleton Mermaid Enigma - bottom
Skeleton Mermaid Enigma – bottom

I didn’t use my ‘regular’ sugar skull fabric for this one. I used a fabric I bought on my trip to and around Portland and I can’t decide if I like it. The key is whether Gerre likes it.  I thought the seahorses and some of the ocean life were cool, but the skeletons started to creep me out after awhile. If she feels the same, I will make another one of these for her. I’ll have to see what she says. 

I am pleased with the fussy cutting on the bottom. I didn’t have a lot of the fabric and was glad I had enough to highlight the main motif.

Skeleton Mermaid Enigma open

I am also pleased with the way the inside came out. The stripes I bought at the Granary are perfect for the inside.

The pattern calls for a 2.5 inch wide binding. I made the binding 2.25 inches wide, which is my norm for quilting binding. I had to stretch the binding a bit in certain places and trim seams, but mostly the 2.25 inch binding worked well.

Skeleton Mermaid Enigma - interior detail
Skeleton Mermaid Enigma – interior detail

I figured out a great place to put my label on these Enigma bags. The label fits well in the middle of the inside pocket. The label isn’t tucked away unobtrusively and I am not sure how I feel about that.  I am not sure why I didn’t think of it before as it was also easy to install.

As with my sister’s Enigma bag, this one went together pretty easily. I like making the same bags over and over as they get better each time I do it.

Lil Sissy Enigma Bag

Paris Enigma Bag
Paris Enigma Bag

This is Enigma #5. I do like this pattern! I like the way it looks and how functional it is.

You don’t get to see the all the steps, because I have so much to write about and so much to sew that I am just posting the completed bag now.

Paris Enigma Bag - bottom
Paris Enigma Bag – bottom

Lil Sissy was admiring my Peony Enigma bag when she visited us in Portland. She didn’t ask for one, but I decided to make her one any way. Her birthday was July 26, so I had about a week to make it when I returned. I had a week or so in between everything else – niece’s wedding, YM visiting, etc.

I had to quilt the bottom and I am never happy about quilting, but I am pleased with how this quilting came out.

Paris Enigma Bag - interior bottom
Paris Enigma Bag – interior bottom

I used the same fabric I used for the Disco Double Zip pouch and the Percheron Pouch. This is great fabric for my sister as she loves Paris.

I made two of these at the same time. You will see the other one later. Making the same bag multiple times makes them go together faster, but also means I can pay attention to the details. I was able to select which side panel would work for the top and which would be better for the front without a lot of drama. Since I knew what to expect, I could think about the finer details.

Paris Enigma Bag - zipper end
Paris Enigma Bag – zipper end

I also found a good place for my label and was able to add it in the course of making the inside pocket.

The zipper end was a pain, but ending up coming out well.

Enigma #4 in the Wild

I had to go to the office twice last week. That sound so weird to say after years of going 4-5 days per week. Anyway, I always sit near a friend so we can chat if either of us can get a break.

Enigma #4 in the Wild

She had her Enigma with her and was using if for all the computer bits and bobs we have to haul around.

I am so glad she is finding it useful.

Finished: Enigma #4

Pink Enigma
Pink Enigma

I finished the Enigma #4 and also gave it to my friend. She was so touched; it made me want to cry. I don’t think of giving bags to people as anything special. In my small quiltmaking/bagmaking world, everyone gives bags like they are napkins or something equally as mundane. I am always brought up short when I give a bag to someone outside of that world and see how amazed they are.

Pink Enigma #4: open

This one came out really well. I am still impressed by the matching stripe I was able to find. I cannot remember when I bought it or where, but it has been hanging around for awhile. It just goes so perfectly with the pink and green outer fabric. I used up all of the fabrics I used. All had chunks taken out of them when I started and were really just scraps when I finished.


Engima #4 - top view
Engima #4 – top view

Of course, I am still swooning over the diagonal zipper. Of course, I didn’t take a photo of the side where you can see in this version. You can see the diagonal zipper and how it works in the picture of Mom’s Enigma.

I am really pleased, also, with how well the handbag zipper color goes with the exterior fabric of the bag.

I am Miss Self Admiration Society today, aren’t I?

Pink Enigma - open flat
Pink Enigma – open flat

This one also lays flat. I still really like the way this design opens flat for accessing everything inside. 

This piece really came together well in terms of fabric. I am already thinking about the next one I want to make.

Mom’s Enigma

Paint Tube Enigma for Mom

I briefly talked about Mom’s Enigma bag in the post I did about all the gifts I have made for her. It was so brief that you probably didn’t notice.

This is the third Enigma Bag I have made and I am especially pleased with how good the zipper looks with this fabric. You can see the other Enigmas I have made by looking at the Minikins page.

As you know, the Enigma is part of Minikins Season 4 from Sara Lawson at Sew Sweetness*. It came out in November or December – I can’t remember – late last year in any case. I am pleased that I have made 6 projects from this group. Yes, four of them are the same pattern, but still a good showing.

Paint Tube Enigma for Mom

This is the bag that is great for handwork, especially in the car or on a plane, because of the open flat, completely enclosed design. There is a small pocket in the middle. It is a floating pocket, so your items fit underneath it. I want to try making it in vinyl.

Paint Tube Enigma for Mom

As I mentioned, I am happy with the zipper. I used zipper tape either from  Sew Sweetness or Sew Hungry Hippie. The rainbow look is a favorite, but I also like how the zipper tape blends with the fabric color.

Paint Tube Enigma for Mom - end
Paint Tube Enigma for Mom – end

I am not that fond of these giant zipper pulls. They are easy to grip, so Mom won’t have a problem opening and closing the bag, but they do clunk together in an unattractive way. I have some other options coming.

You can also see that the construction of this bag using a similar accordion construction technique to the Sew Together Bag. If you have made an STB, then you can make this bag, no problem.

Mom's Enigma - side view
Mom’s Enigma – side view

One of the reasons I have made 4 of these is because of the diagonal zipper. I really like that look.

Mom seemed to like, though she is making noises about having too many bags. I still have a lot of fabric for gifts for her, so I’ll have to think about that.


*No affiliation. Just a happy customer.

Enigma #4 in Process

Enigma #3 exterior in process

I worked hard on the Enigma Bag over the weekend, but, frankly, projects get easier the more often I make them. This project went very smoothly until the end, when I didn’t quite catch the lining bottom with the sides and had to do a lot of ripping. I think this goes back to the quilting when the fabric shrunk up and left some foam showing.

I wrote myself a note to quilt then cut the piece the correct size. Sara gives specific instructions about that, but my quilting isn’t up to par, so this is my new strategy as I expect I will make another one.

New Enigma

Enigma #3 inner zipper pocket

I went over to Cyndi’s house the other day to sew. We had decided a few months ago to make the Enigma pouch together. We both prepped our pieces at home, then worked on sewing them all together.

With bags the prep is the hardest and most tedious part. It doesn’t matter how many times I have made a bag. The prep is a drag.

Enigma #3 inner zipper pocket top

One of the things I had to do was make the inner zipper pocket. This is such a tiny little pocket. I have found it useful on my Peony Enigma. Still, I marvel at the small size of this pocket.

I ripped out the main zipper and sewed it in a second time. The second time I actually used my zipper foot and the zipper installation went perfectly. Now I have a big note on the pattern to install the *&^% zipper foot!

New Enigma Bag

Enigma Bag #3
Enigma Bag #3

I am going to sew with a friend tomorrow and we are working on Enigma Bags. Mine will be a Christmas gift, so you’ll see the finished product in a few months. I am happy that I got everything ready to go.

I am using some zipper tape that I bought, but didn’t try until last weekend. The zipper heads I bought to go with it didn’t fit, but I have plenty of zipper heads. I found one for a new Hackney I am making and will use the same kind of head on this one.

Enigma in Use

Enigma for EPP
Enigma for EPP

I finally found a use for the Enigma Bag.

I plan to use it for small EPP projects when I am on the go. In this case, I have the pentagons that will be made into a ball in the bottom.

I was able to stock the bag with scissors, needles etc by using some other gifts I have received that haven’t had a home yet and I am really pleased about that.