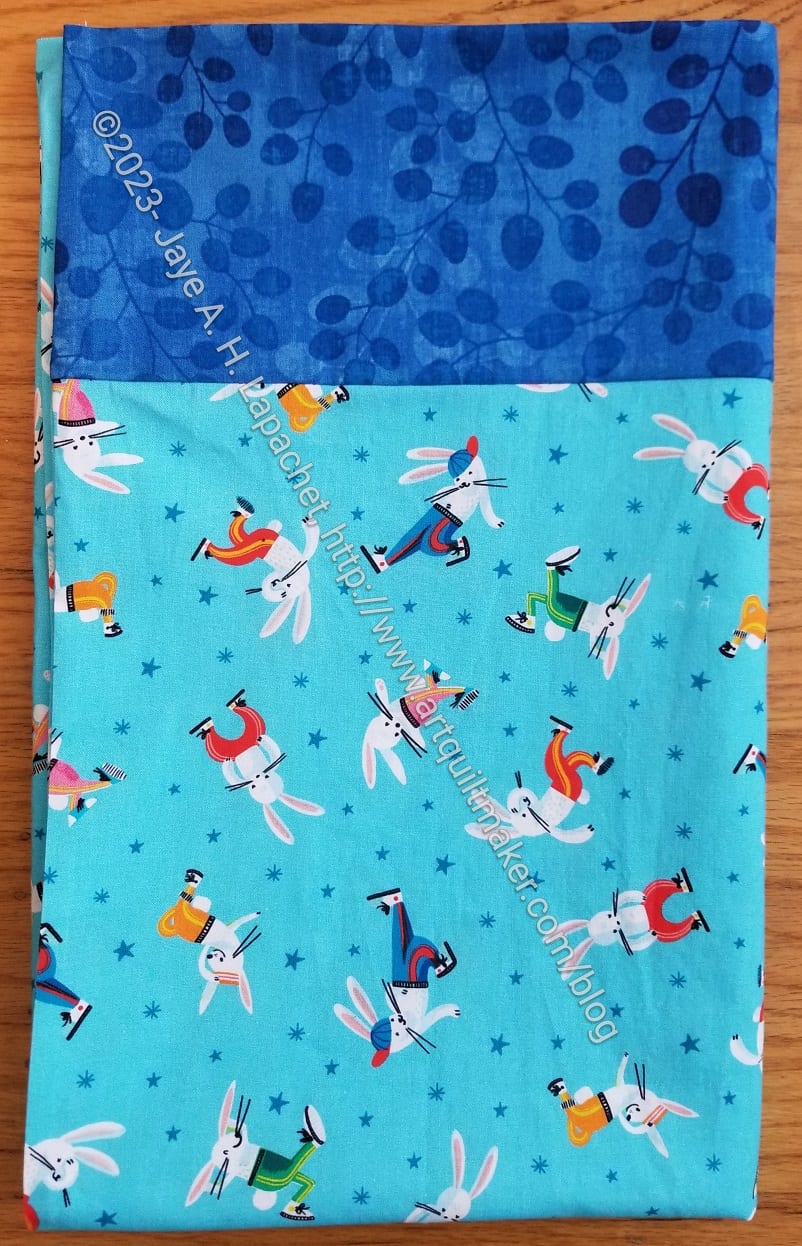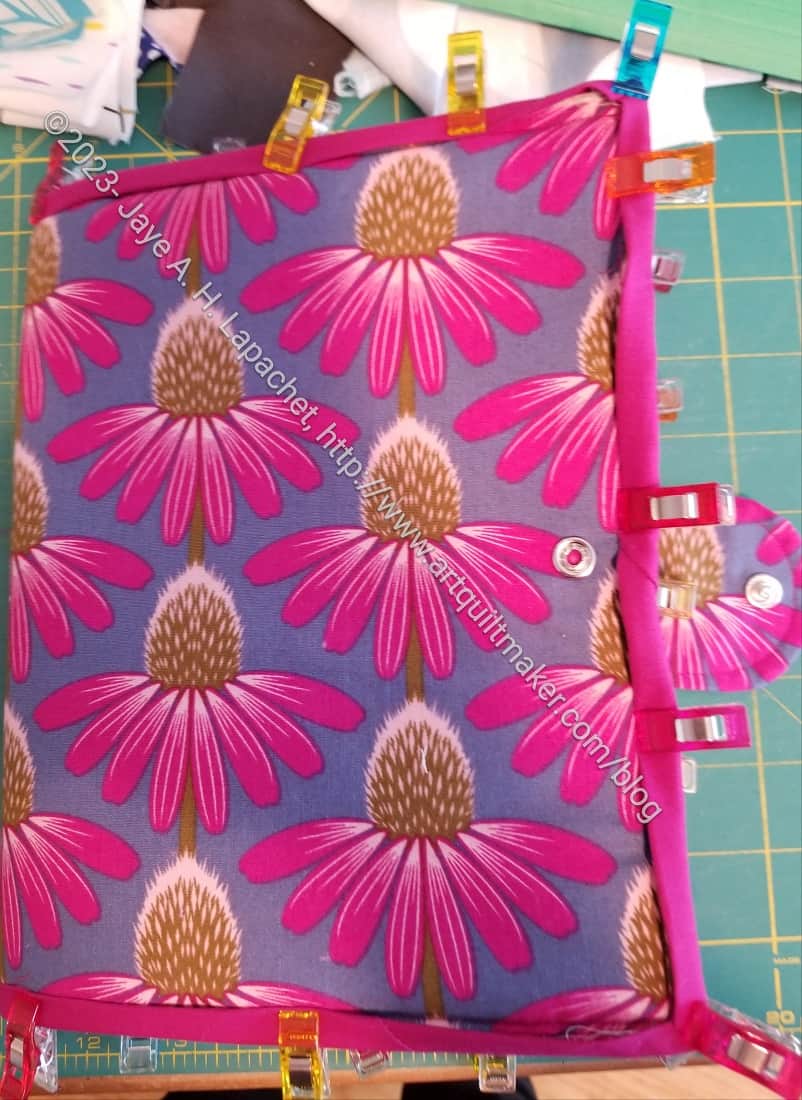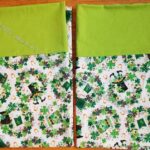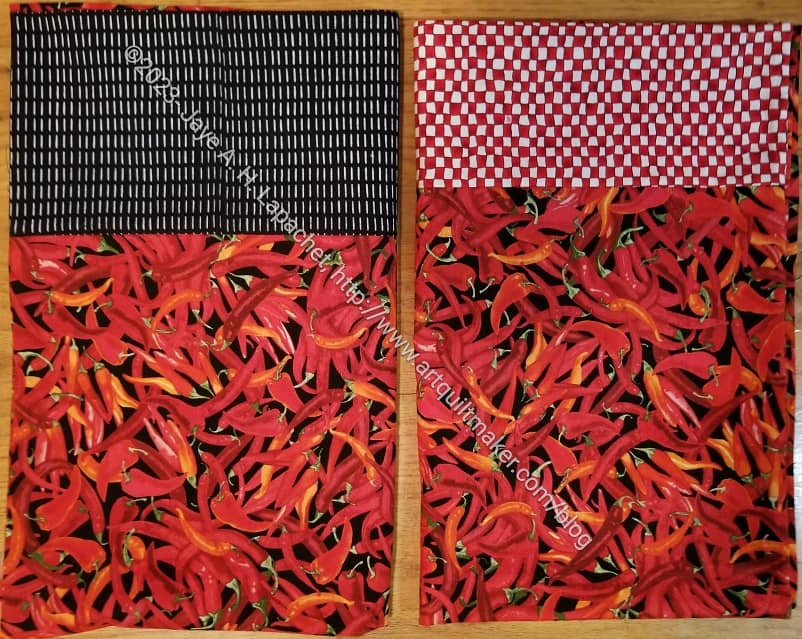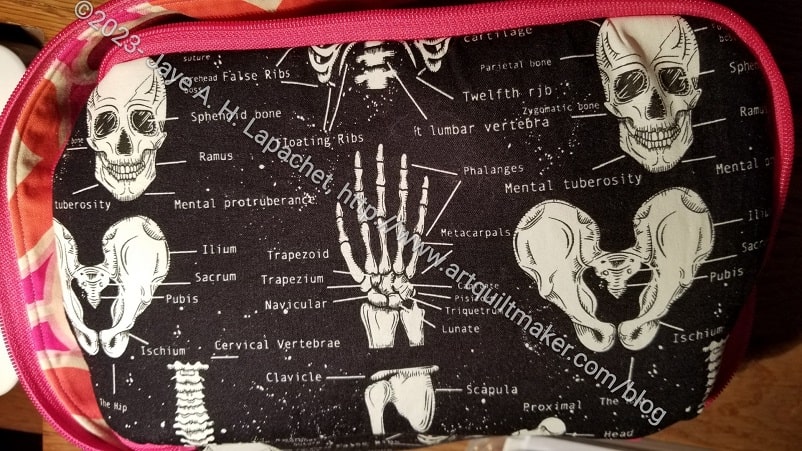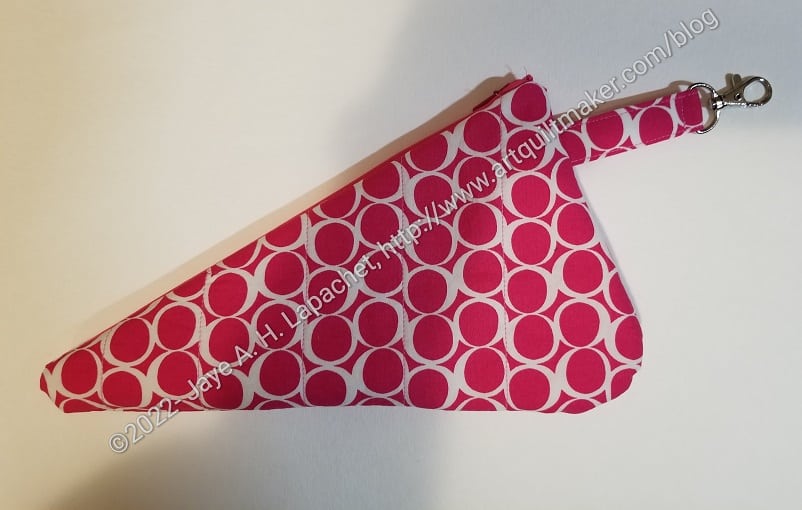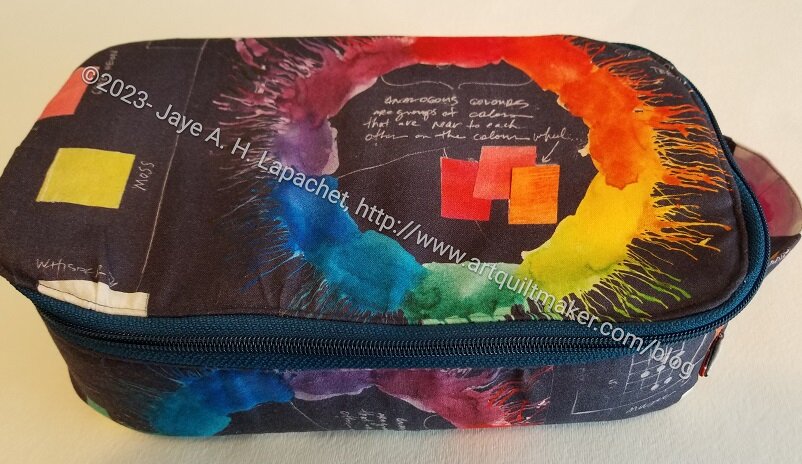
I finished my most recent class with my fabulous students, Sue and Carrie. I had planned to make them each a Hackney for Christmas with this great Carrie Bloomston fabric, but moved the gifts up to be ready for our end of class lunch last Sunday.
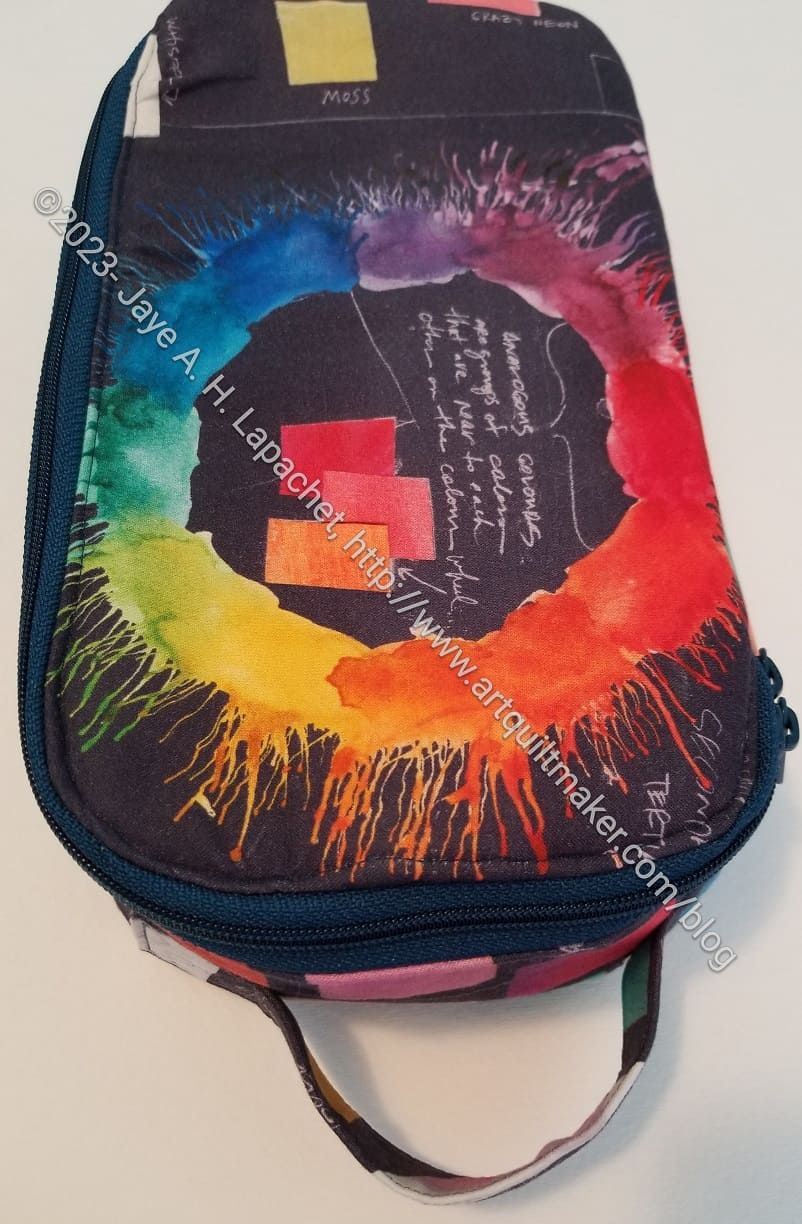
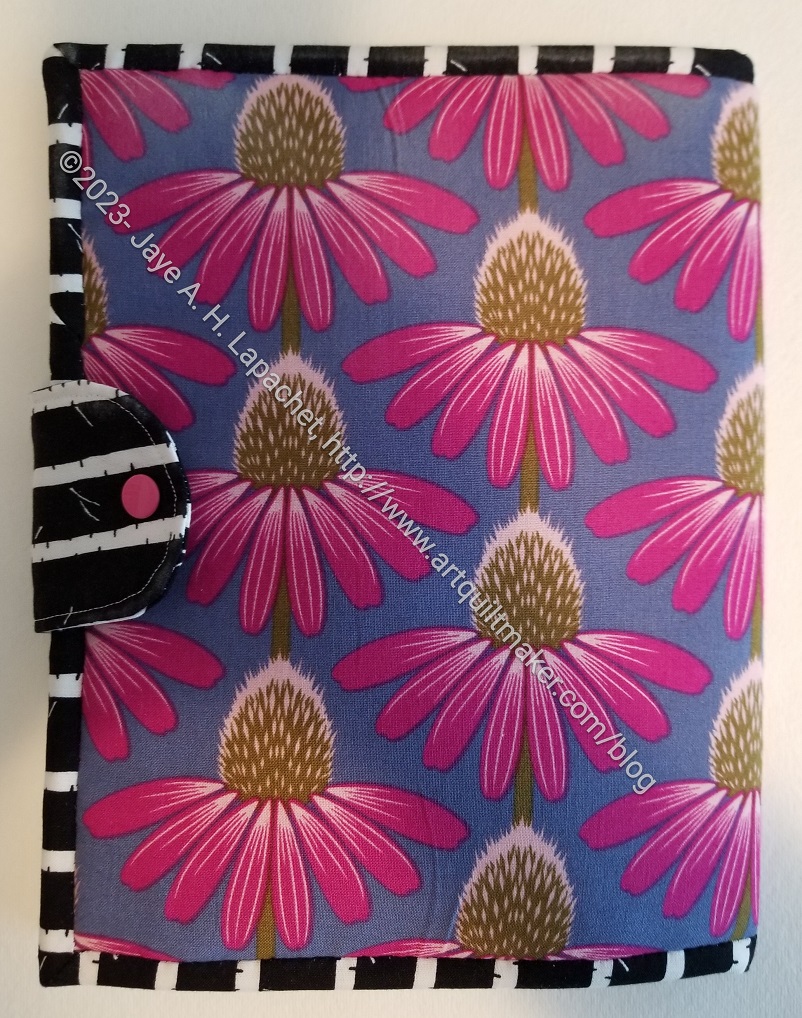
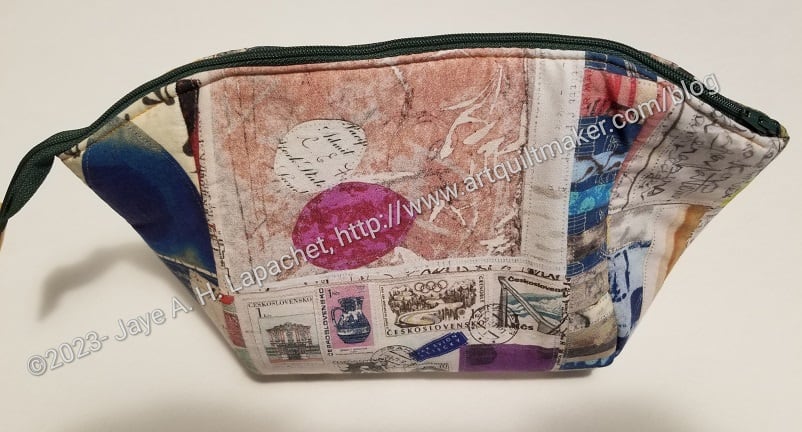
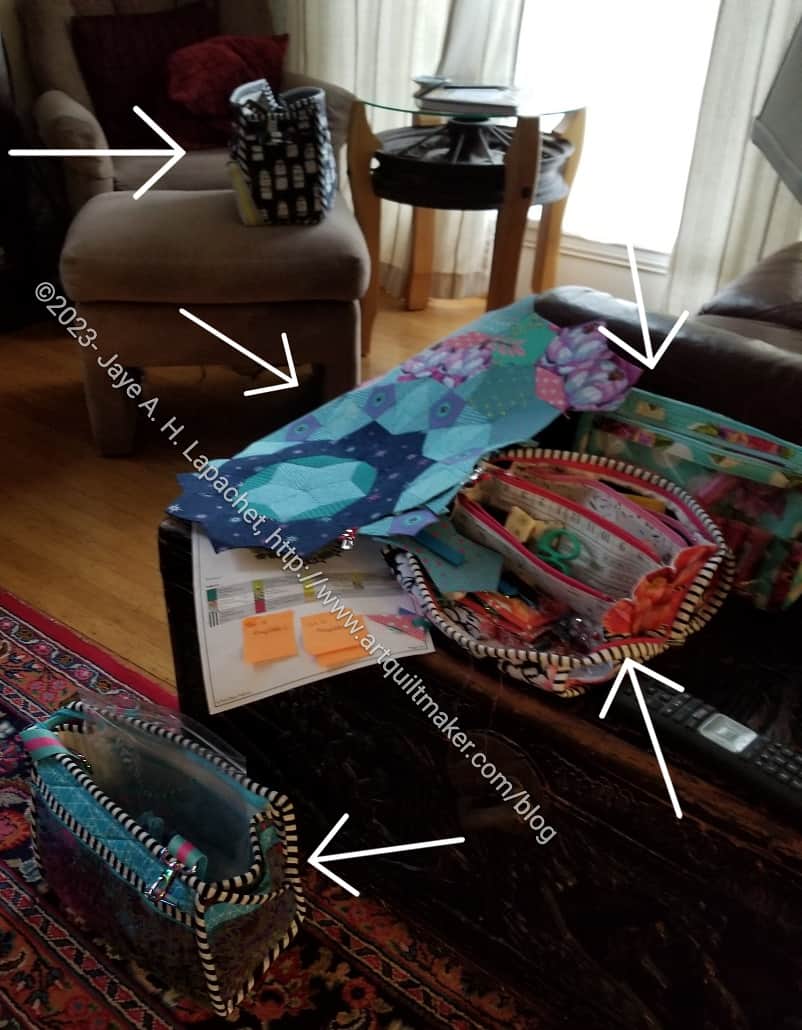
One of the reasons I chose this fabric is that it matches another pouch, the Boxy Clear Pouch, I made for them. the fabric is fun and cheerful despite the dark background. Because I can’t stop teaching, I also wanted a reminder to them to use their color wheel. 😉 Finally, this is great fabric. Doesn’t it look like an explosion of color?
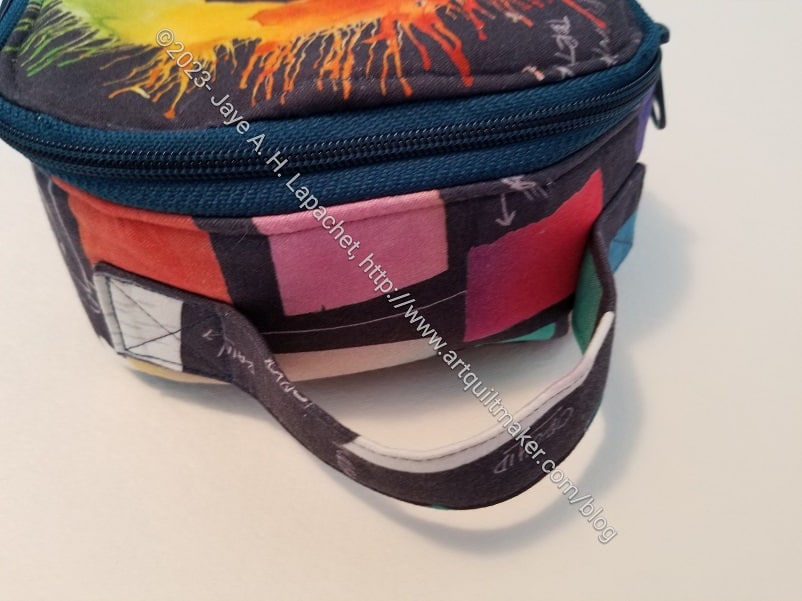
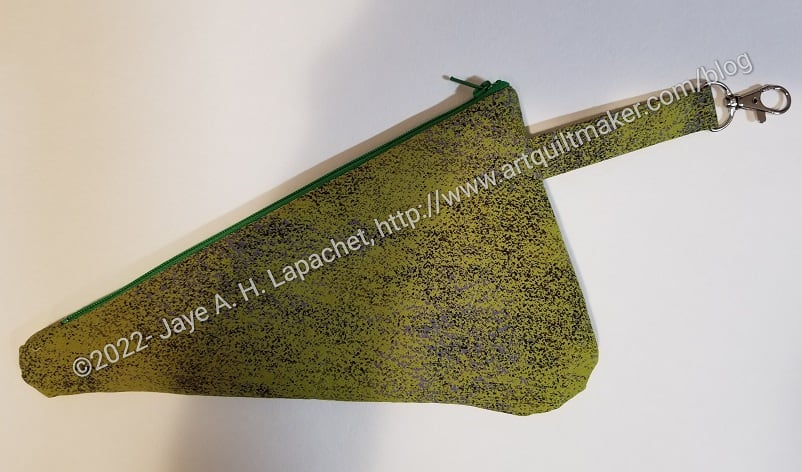
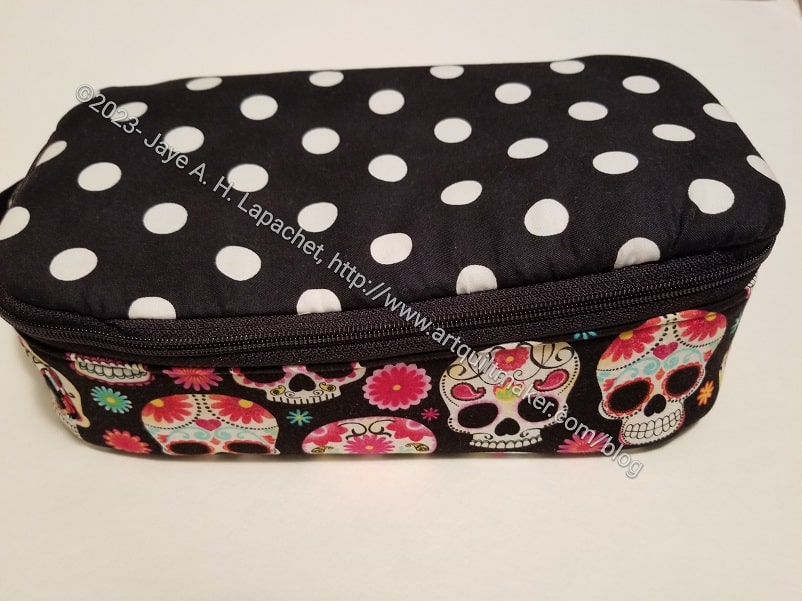
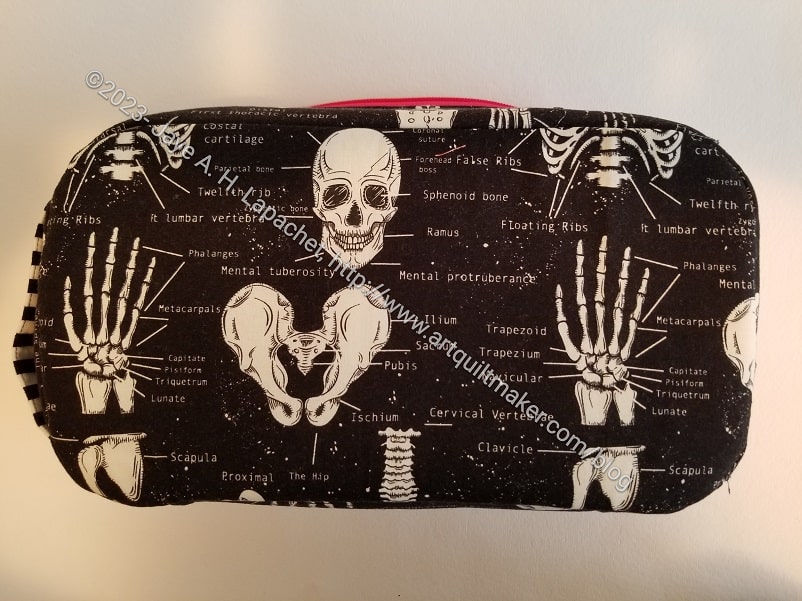
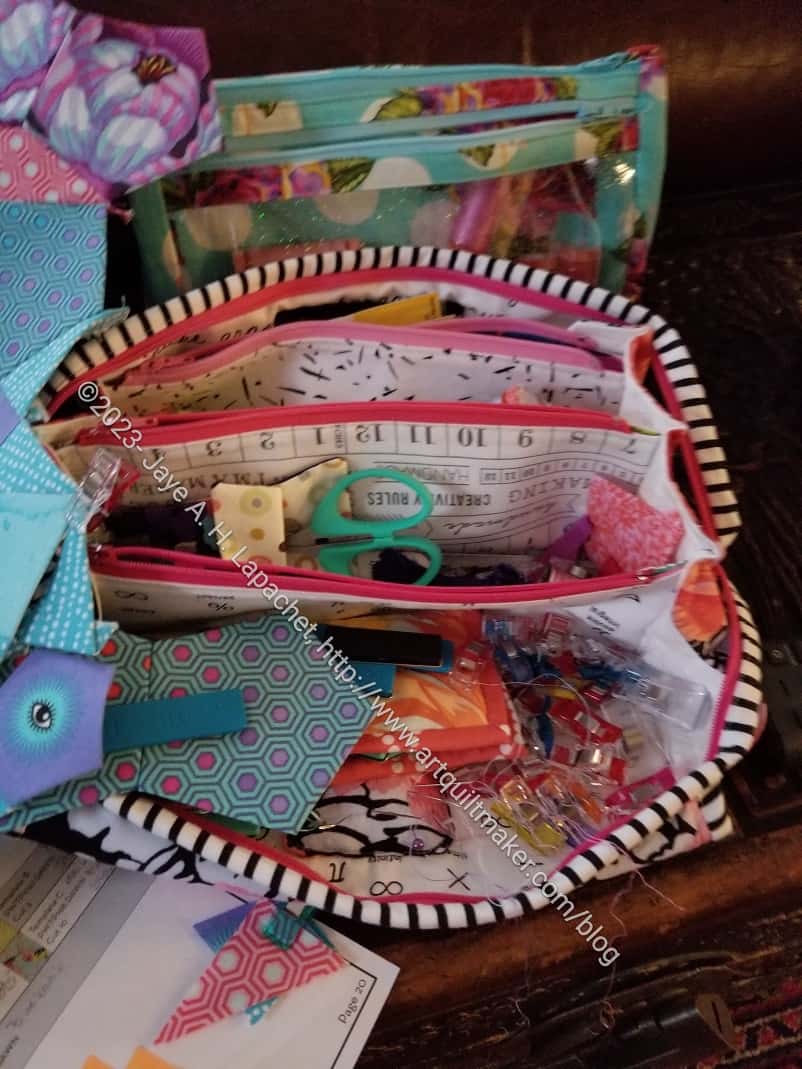
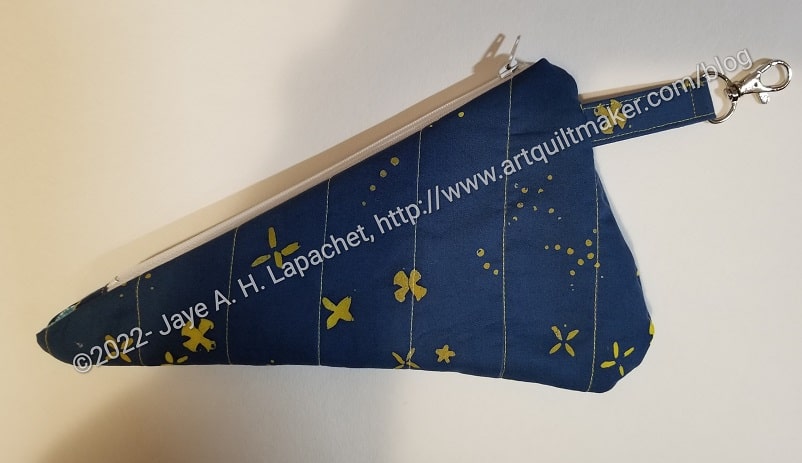
This Hackney is like all the others. I have added a handle to this one and think that is a standard addition I will make to all the others I make. Having a handle is useful. I am not sure why Sara didn’t include one in the original directions. Perhaps the pattern is intended to go into a suitcase or something? Regardless, I think a handle is useful.
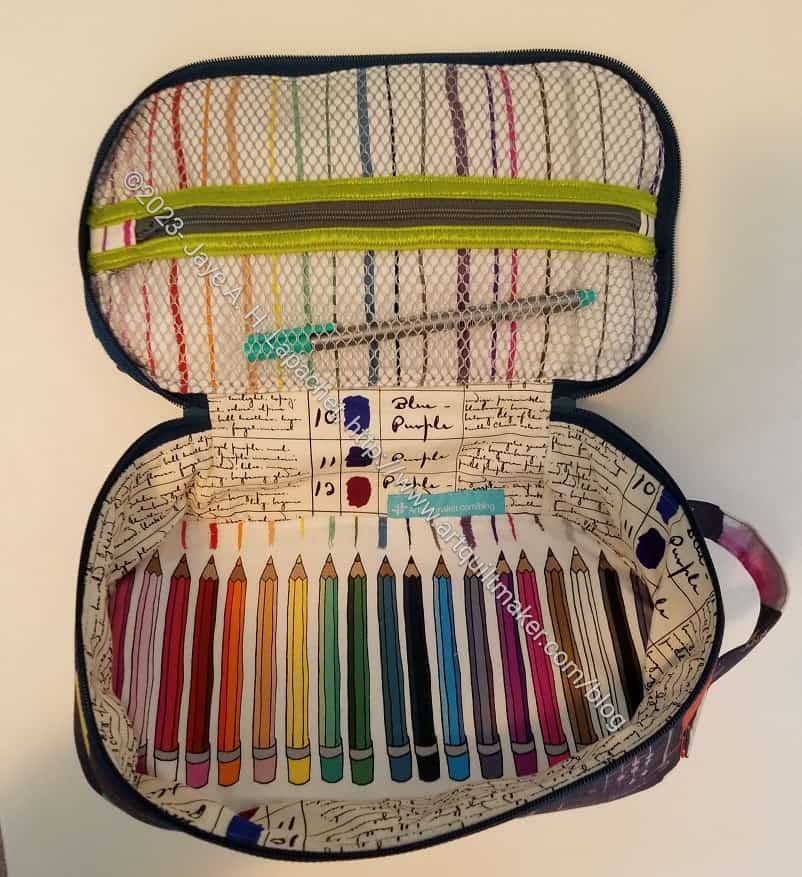
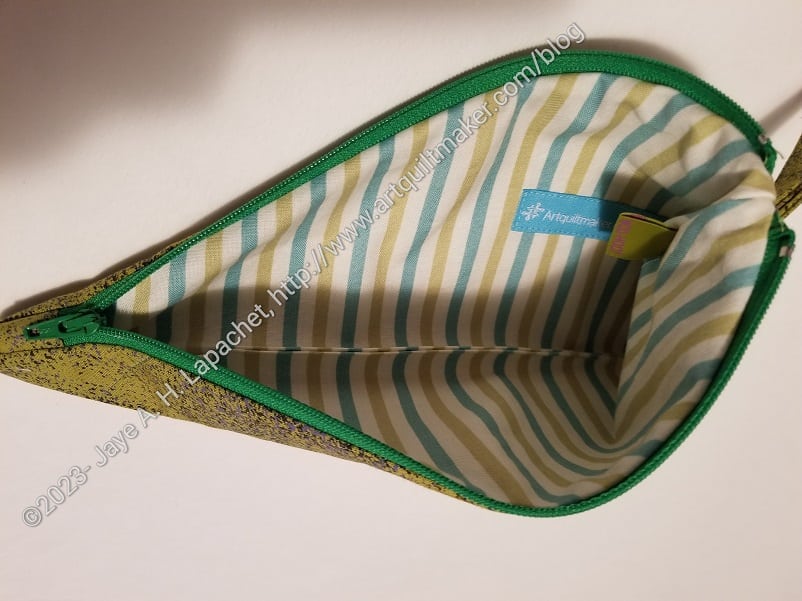
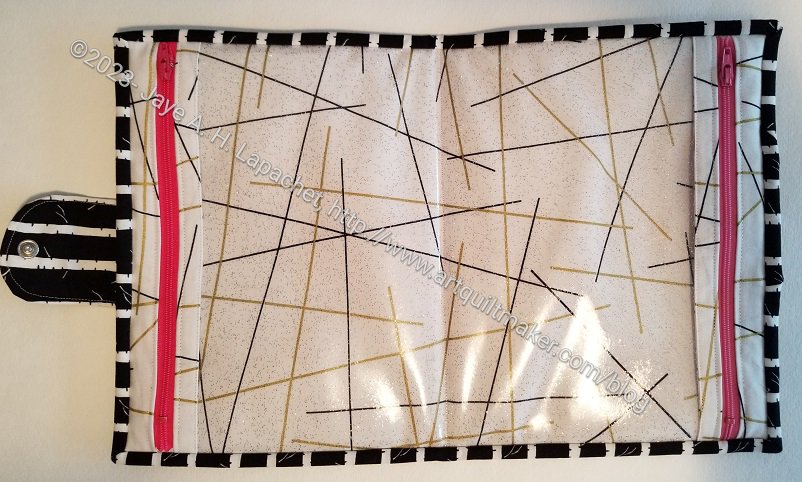
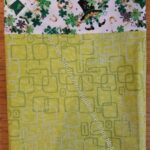
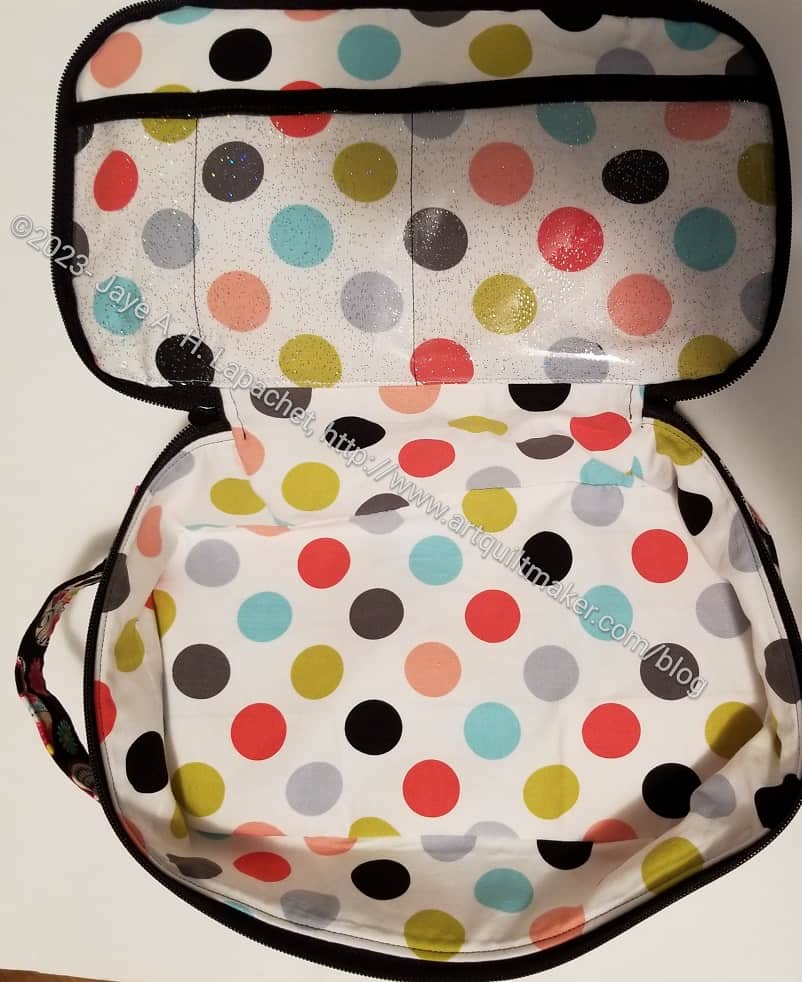
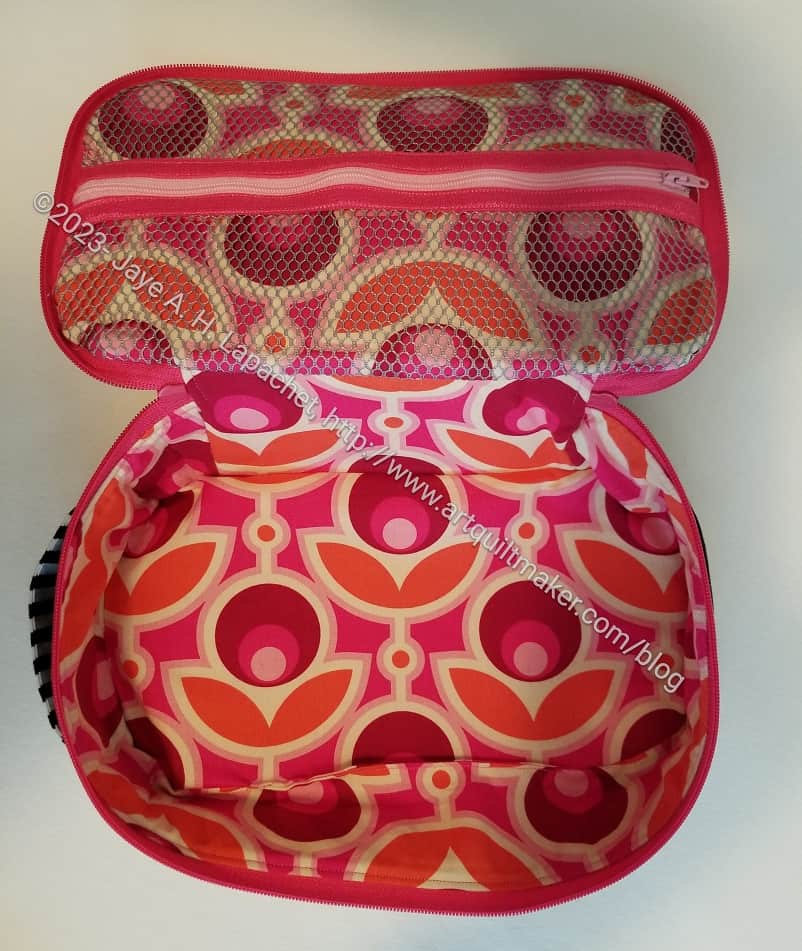
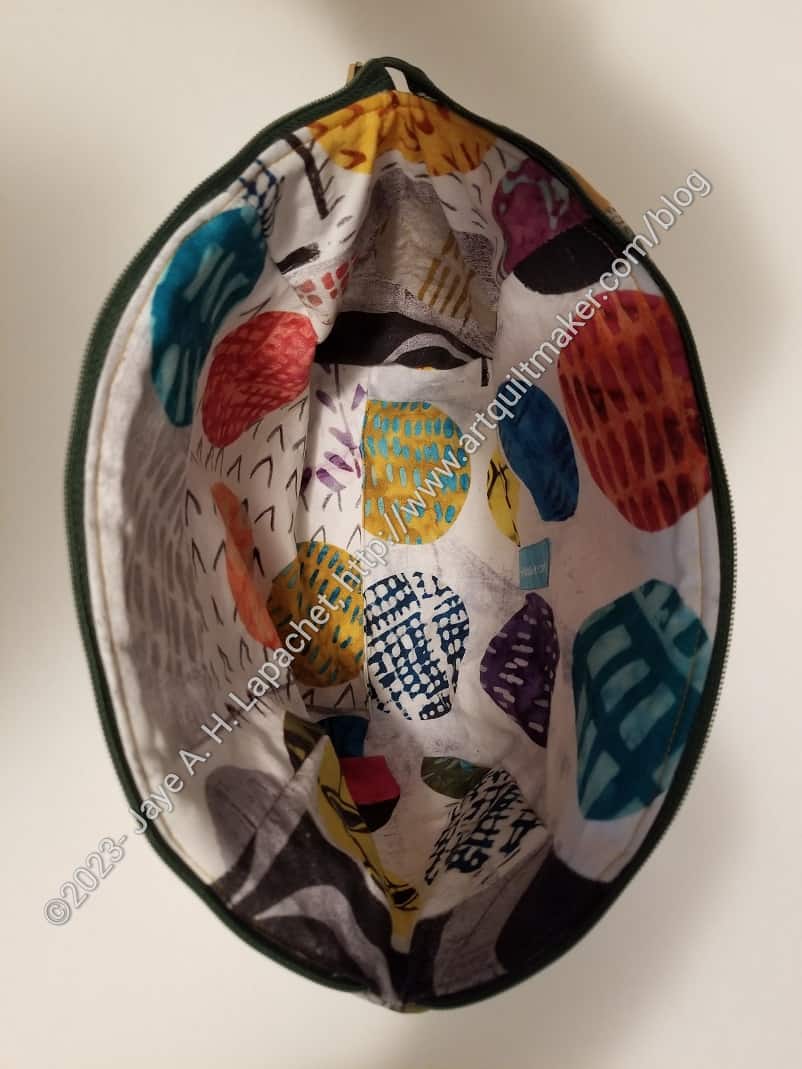
I am particularly pleased with the fussy cutting I did on the inside bottom. Don’t those pencils look great? I measured very carefully to get the whole pencil on the bottom and am thrilled with how successful I was.
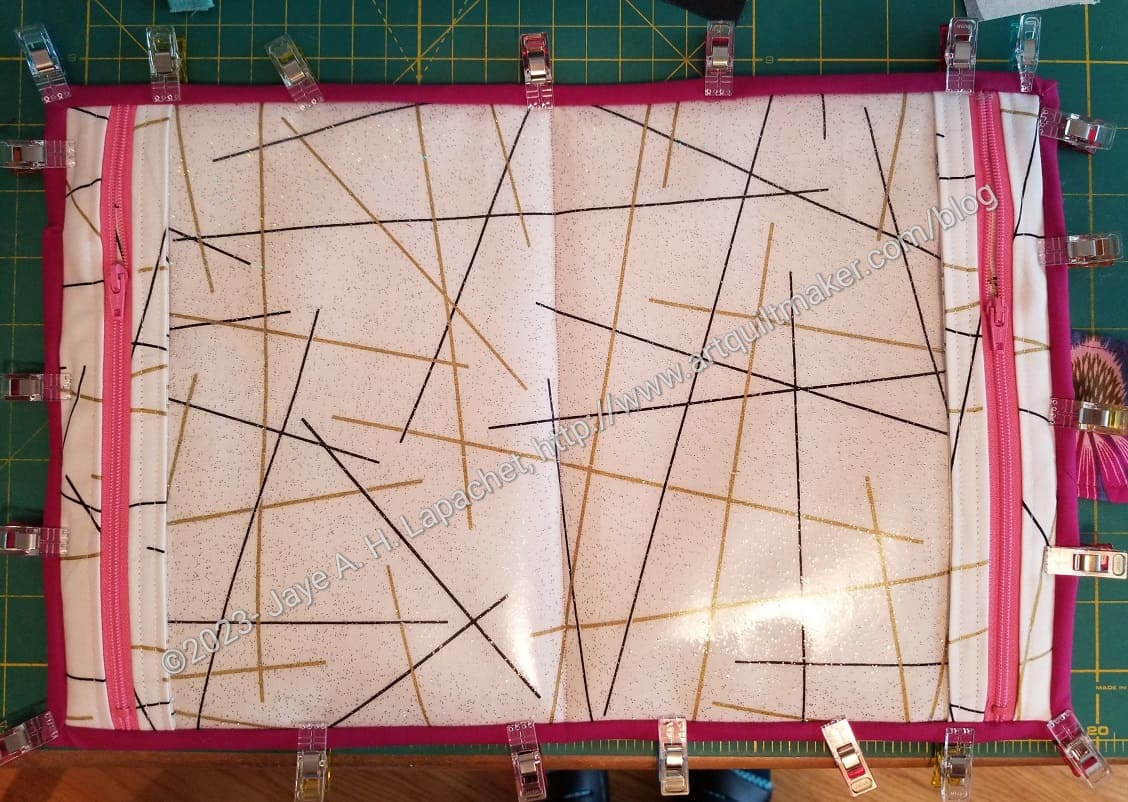
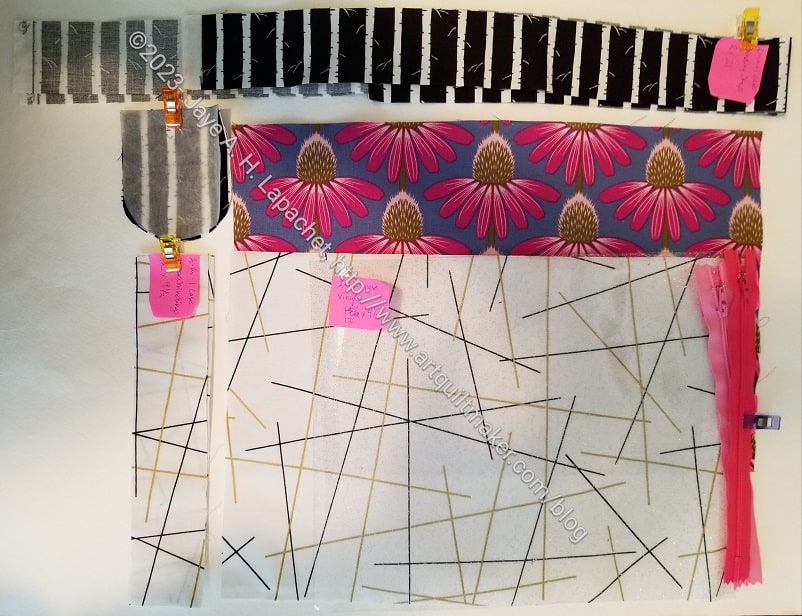
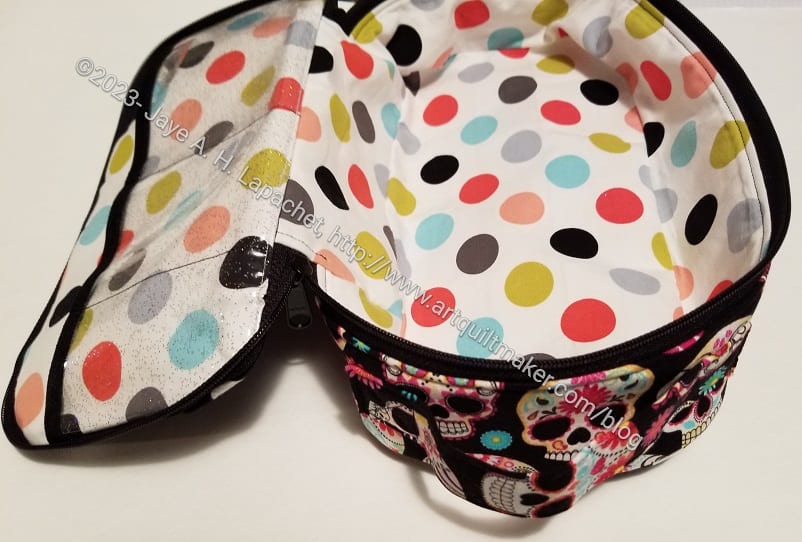
I am still not 100% happy with the mesh pocket. I think it is useful, that is not in dispute, but the construction doesn’t appeal. The zipper tabs end up being too thick. I made a vinyl pocket on the Sugar Skull Hackney. I think it came out ok, but I wasn’t concerned about the final topstitching. My next test will be making pencil loops on the top. I’ll see how those come out.
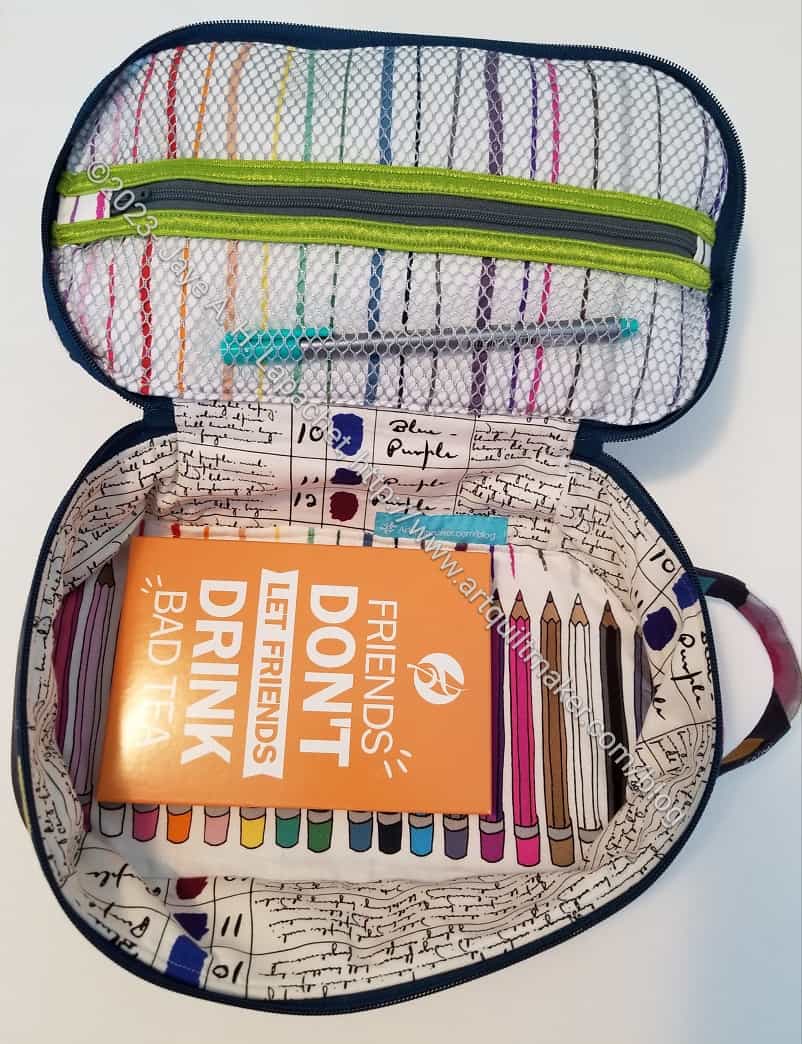
I have put a few things in the bag including some Adagio tea.