We are well into the school year and, as you know, the YM is back at school after the Christmas break. He is finishing up week 1 of the semester. He talked about taking an extra pillow back to school with him. That was the only thing he felt he was missing.
September– Done
- Theme: soft
- Fabric: Minkee and flannel
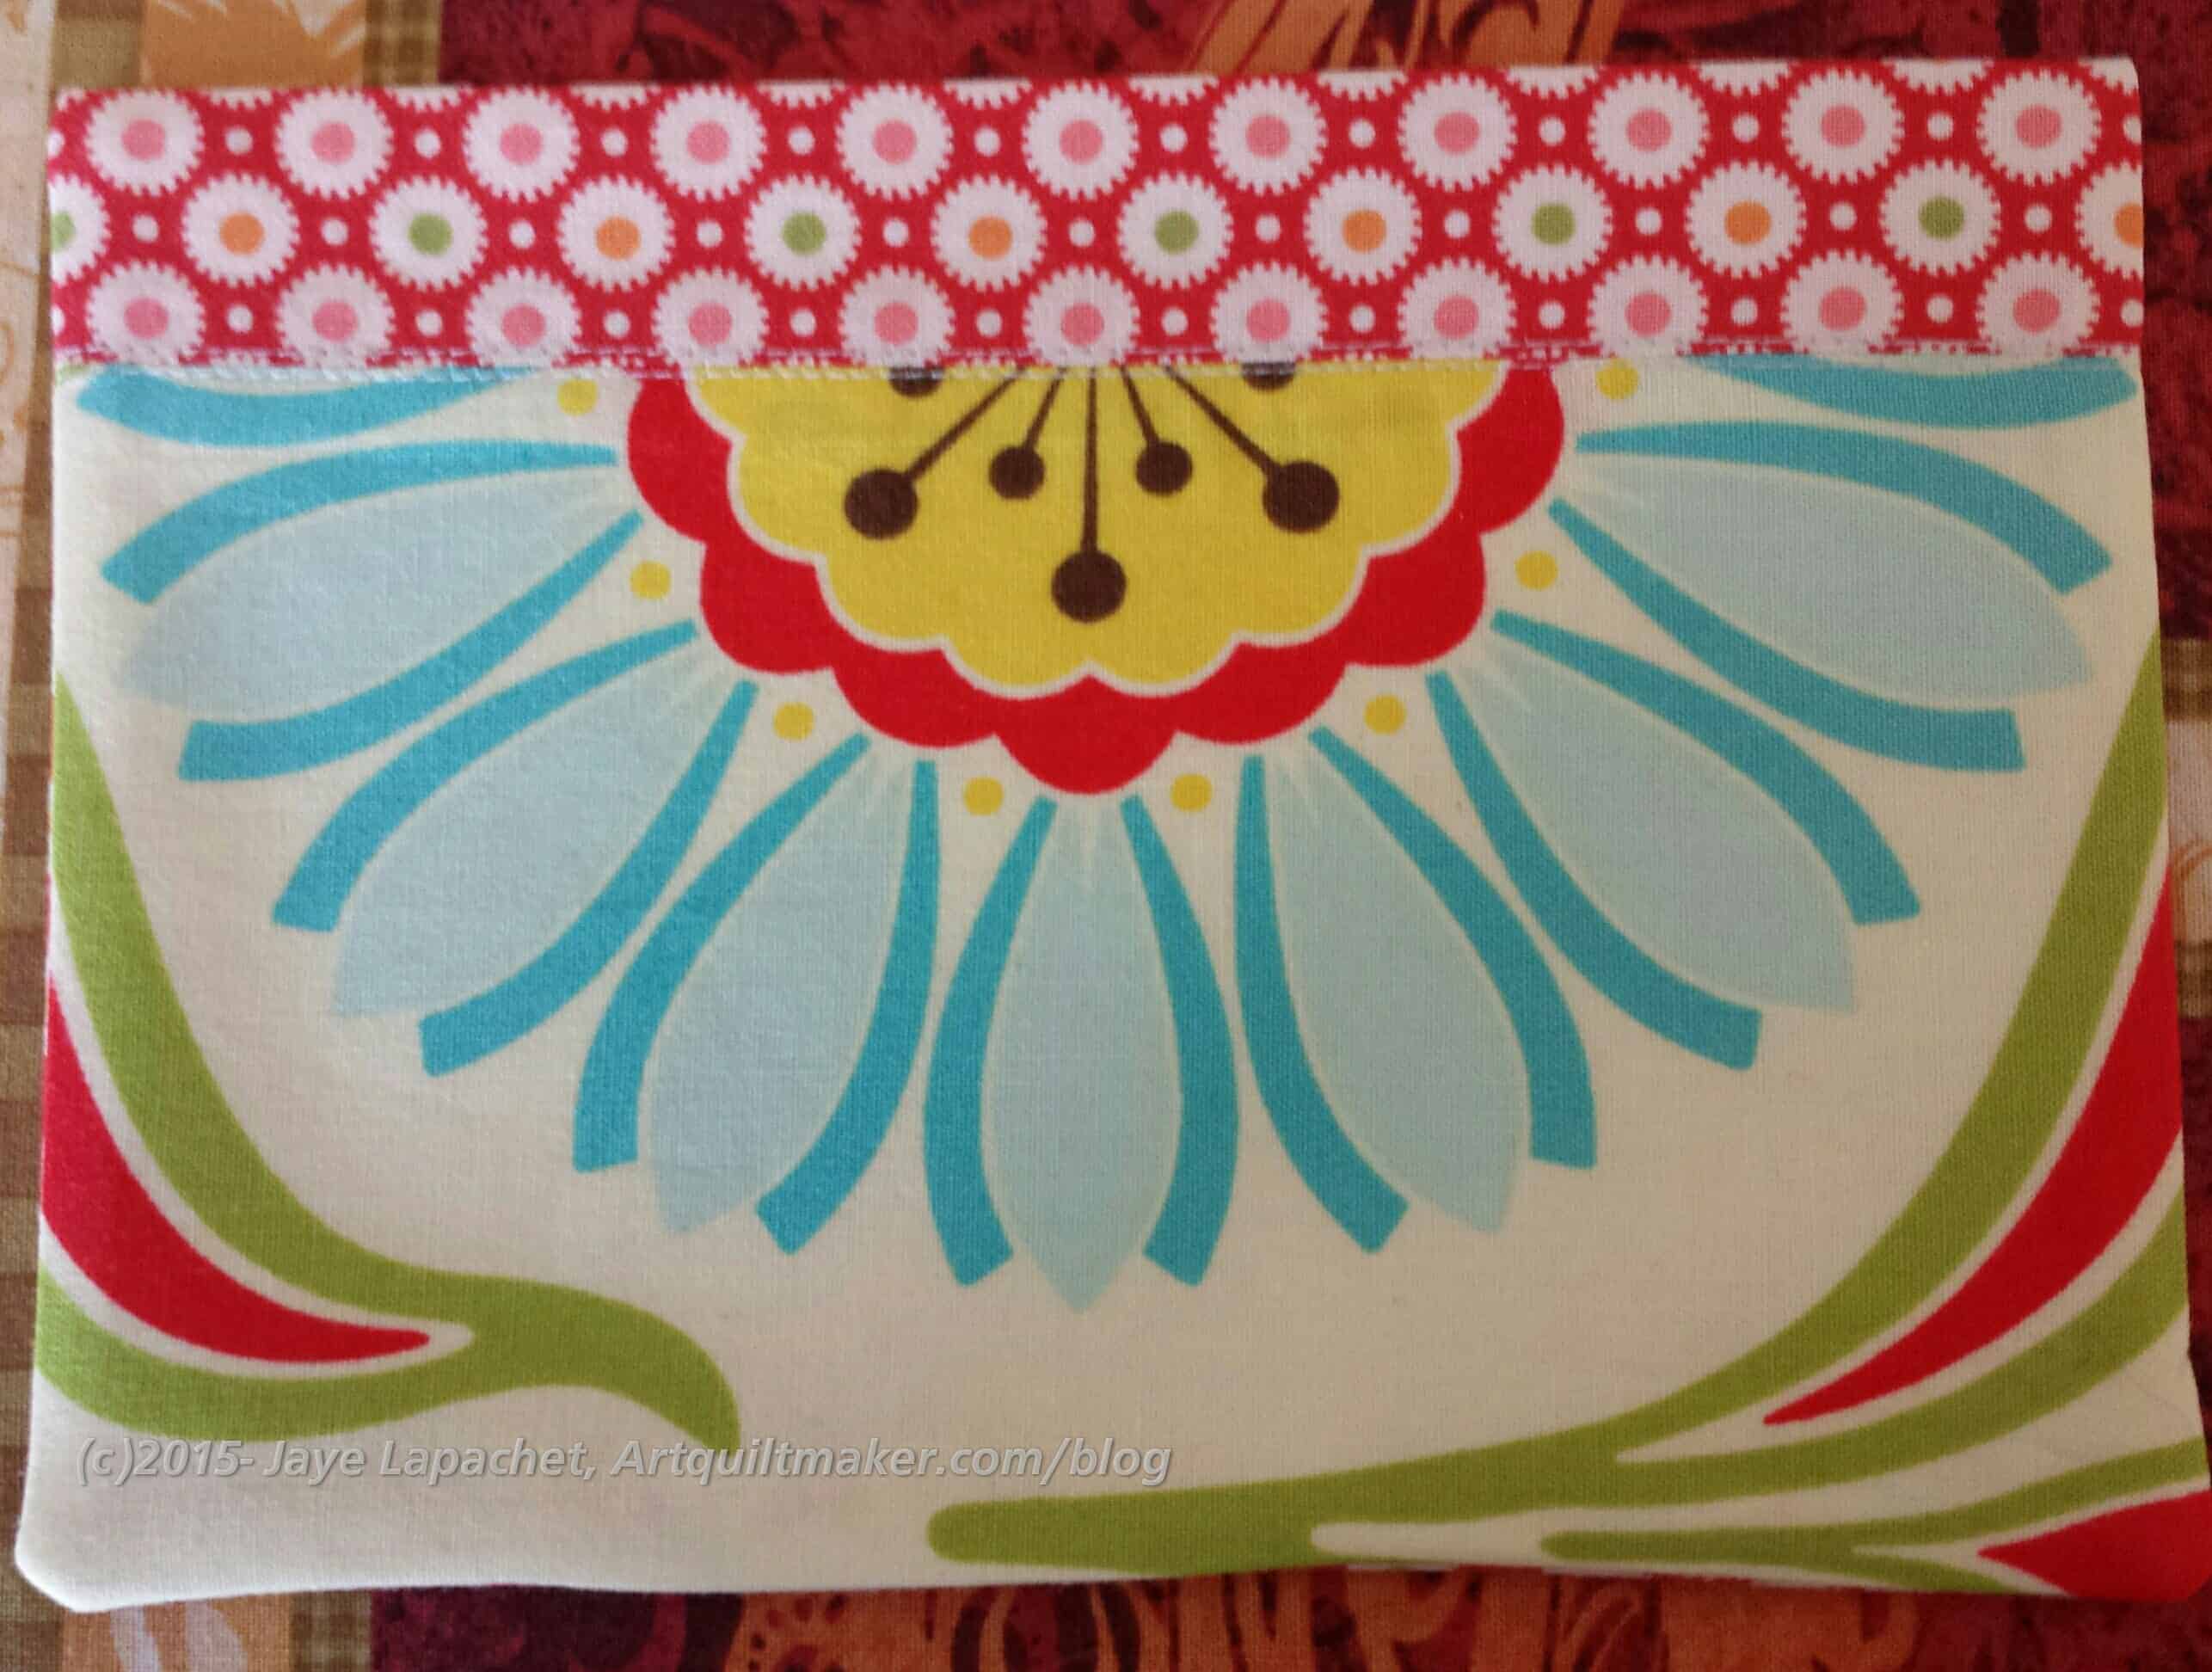
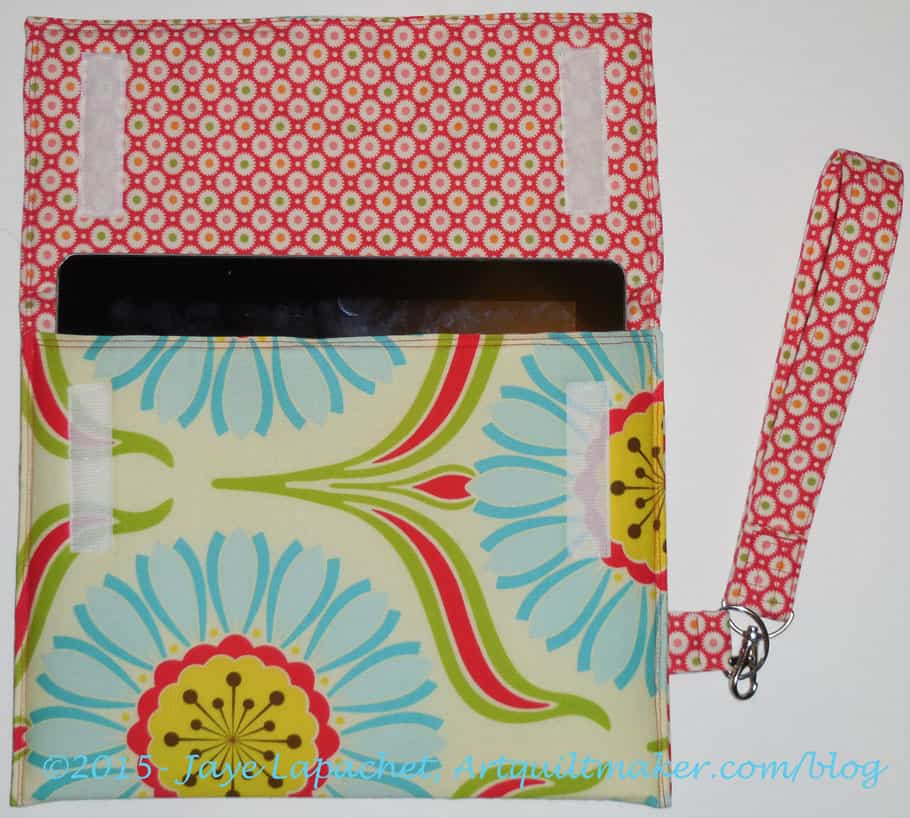
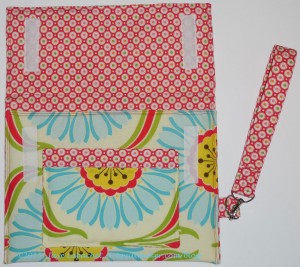
- Theme: Back to School
- Fabric: Timeless Treasures Fun #2306

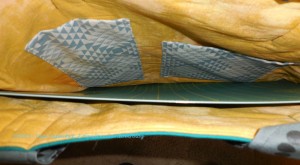
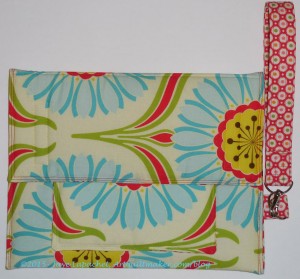
September College Pillowcase
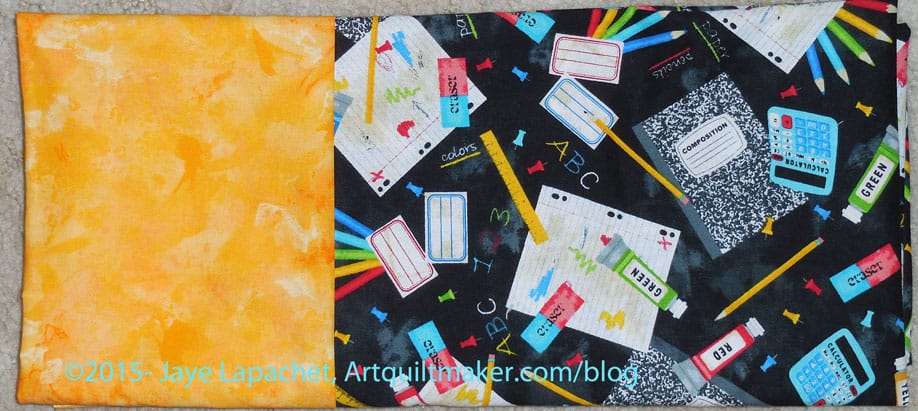
Back-to-School Pillowcase
As I said in my previous post, I was tempted by a “School Daze” theme, but I didn’t want to send him something that will embarrass him. I also want him to use the pillowcases. I decided to make him a really soft pillowcase, which I did. Then In Eureka, I saw the Timeless Treasures fabric. I texted him a picture and he approved so I bought some fabric and made the pillowcase when I got home from dropping him off. It went into his first care package.
October – Done
- Theme: Halloween
- Fabric: skeleton fabric by Timeless Treasures for the body. The cuff is an old P&B Fabric.

Halloween Pillowcase for YM
This is a gimme. Very easy fabric to choose and I am pretty sure the YM will like it.
I also made 3 matching Hallowe’en pillowcases for the YM and his roommates.
November – Done
- Theme: Thanksgiving
- Fabric: Timeless Treasures Golden Harvest
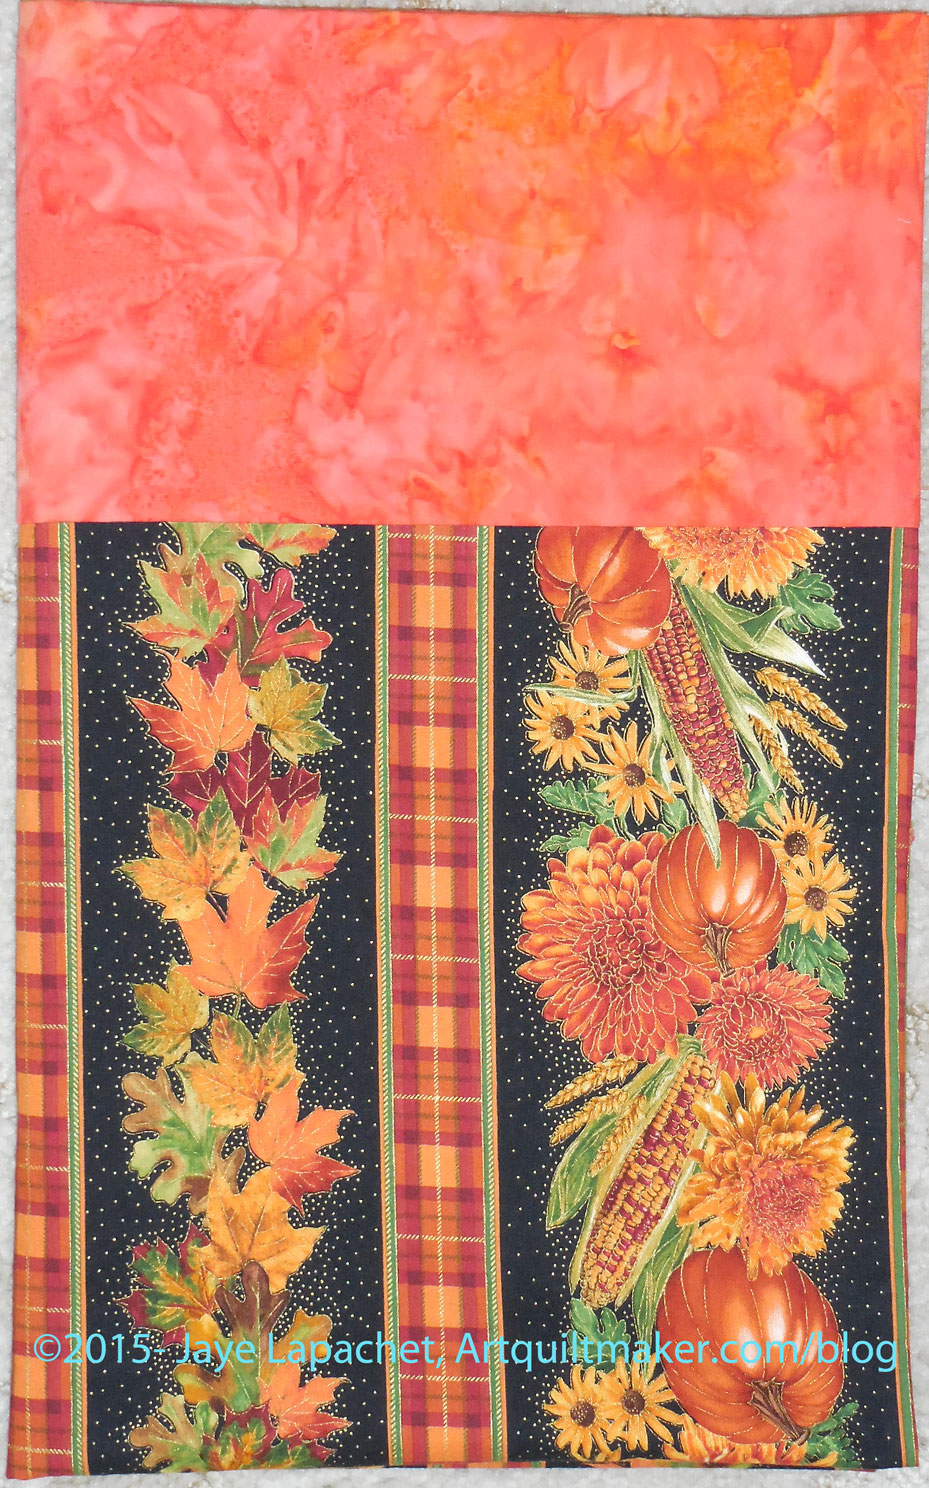
Thanksgiving Pillowcase
I was disappointed I couldn’t find a cornucopia fabric, but this fabric looks very Thanksgiving-y.
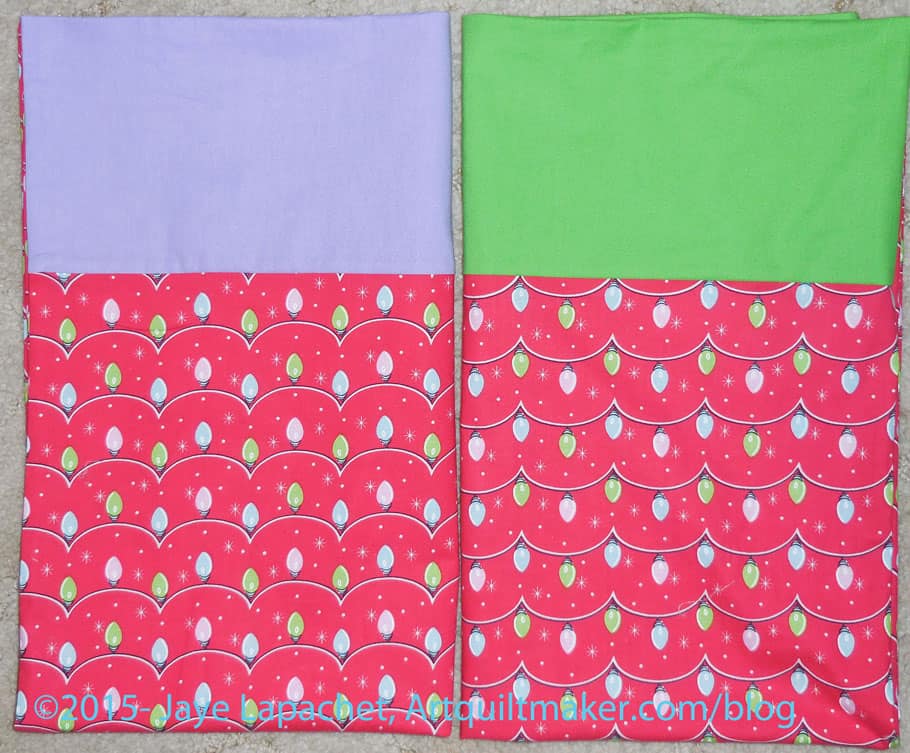
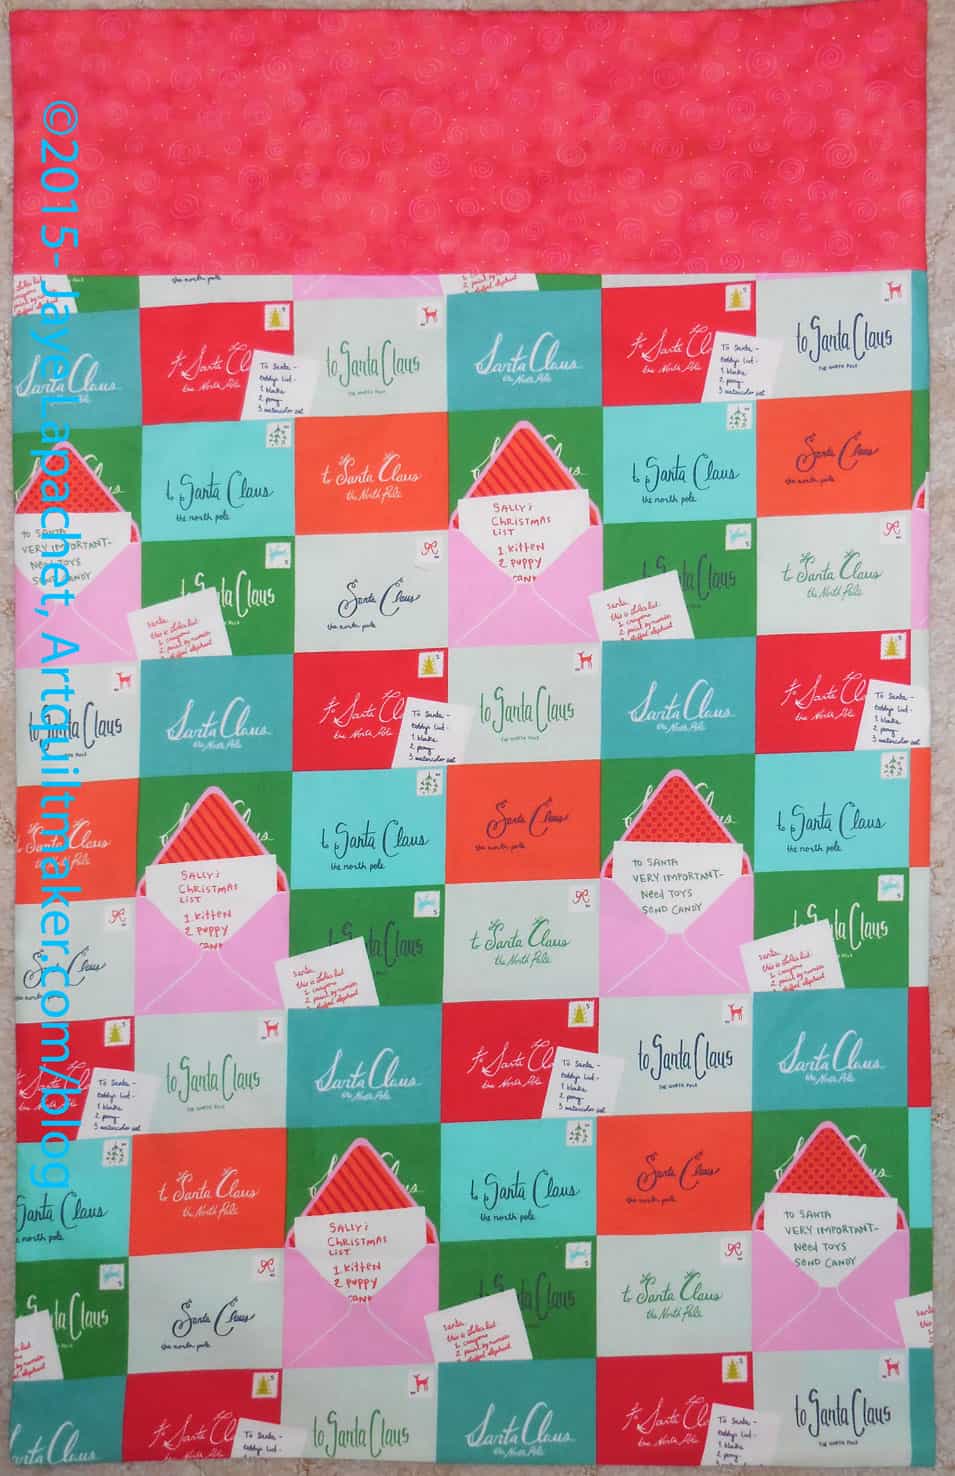
December
- Theme: Christmas
- Fabric: not purchased
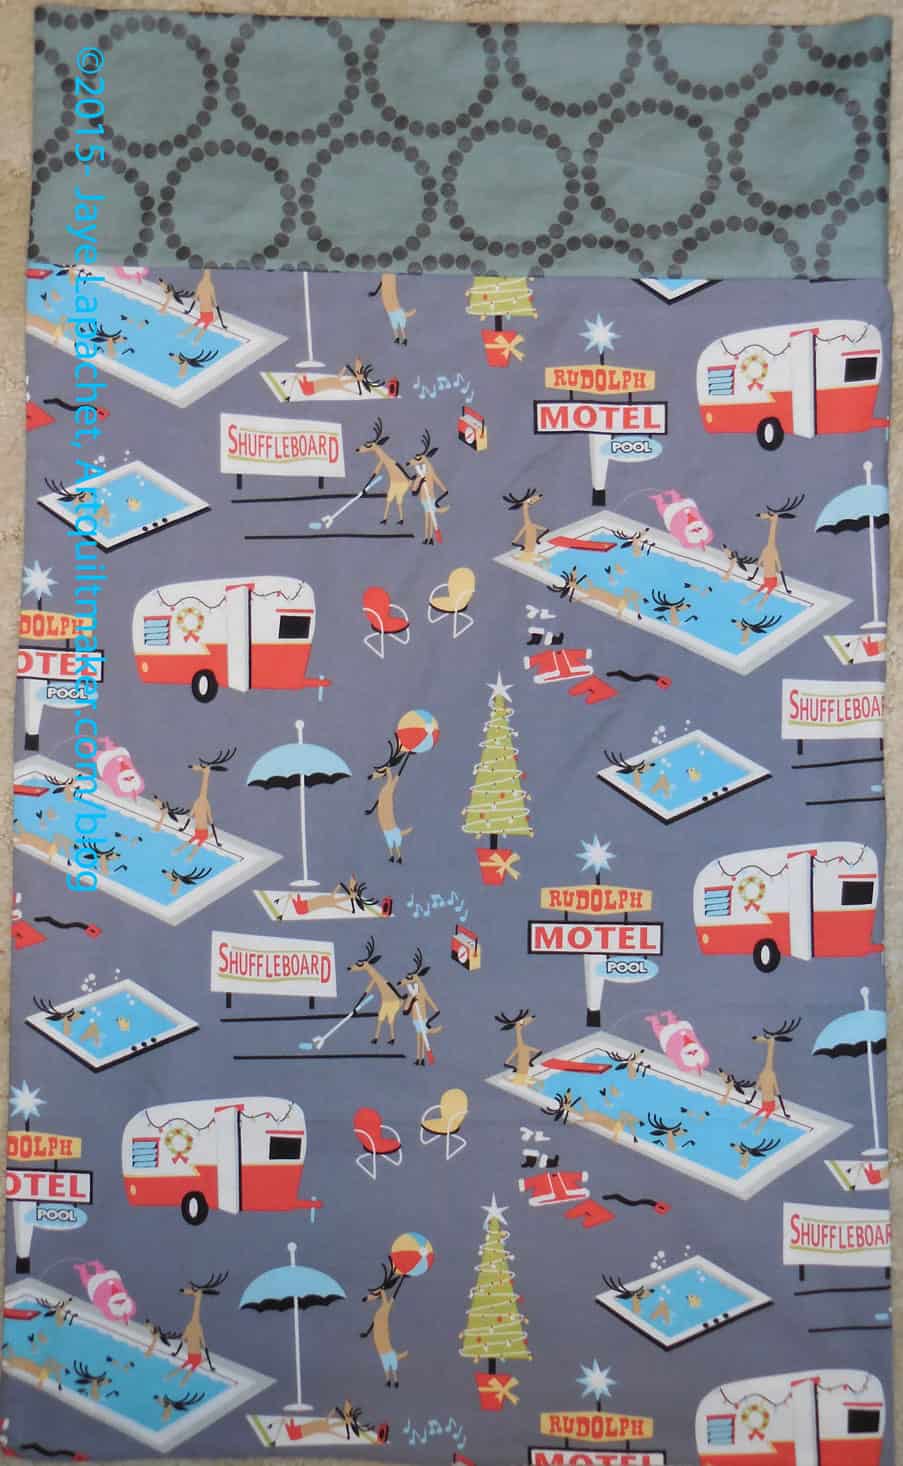
YM’s Christmas Pillowcase
January – Done – UPDATE!
I didn’t send this off to him, though I still have time if I want to send him a January care package.
- Theme: Pokemon
- Fabric: Robert Kaufman licensed from Nintendo
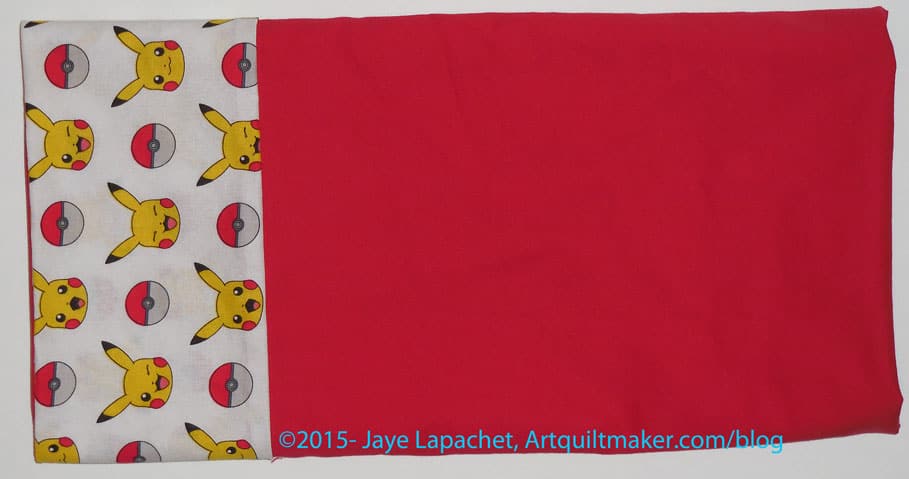
Pokemon Pillowcase #2
I had the fabric on my ‘to be ironed’ pile and the YM saw it. I didn’t say that it was for a pillowcase for him and asked him if he would want a pillowcase out of it. He, very tactfully, said I should make one for someone else, so I made one with red fabric for the body and a cuff from the Pokemon fabric. I have another pillowcase with a Pokemon body and think I will give it to his cousin, who is 11.
February – DONE – UPDATE!
- Theme: Valentine’s Day
- Fabric: Moda
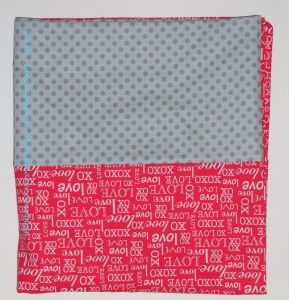
I really wanted to send him a Valentine’s themed package, so I made a Valentine’s pillowcase and will send it off towards the end of the month. I think the grey (Julie’s suggestion) makes it not too sweet. The color is heading towards pinky red..The original theme below will have to carry over to another month or end up as a gift for one of the nephews.
- Theme: Video games
- Fabric: Angry Birds
March
- Theme: St. Patrick’s Day?
- Fabric: ?
April
- Theme: Easter?
- Fabric: ?
May – UPDATE!
The YM will be home in May (the dorms close on 4/29), so no pillowcase for May.